DIY Kitchen Cabinets
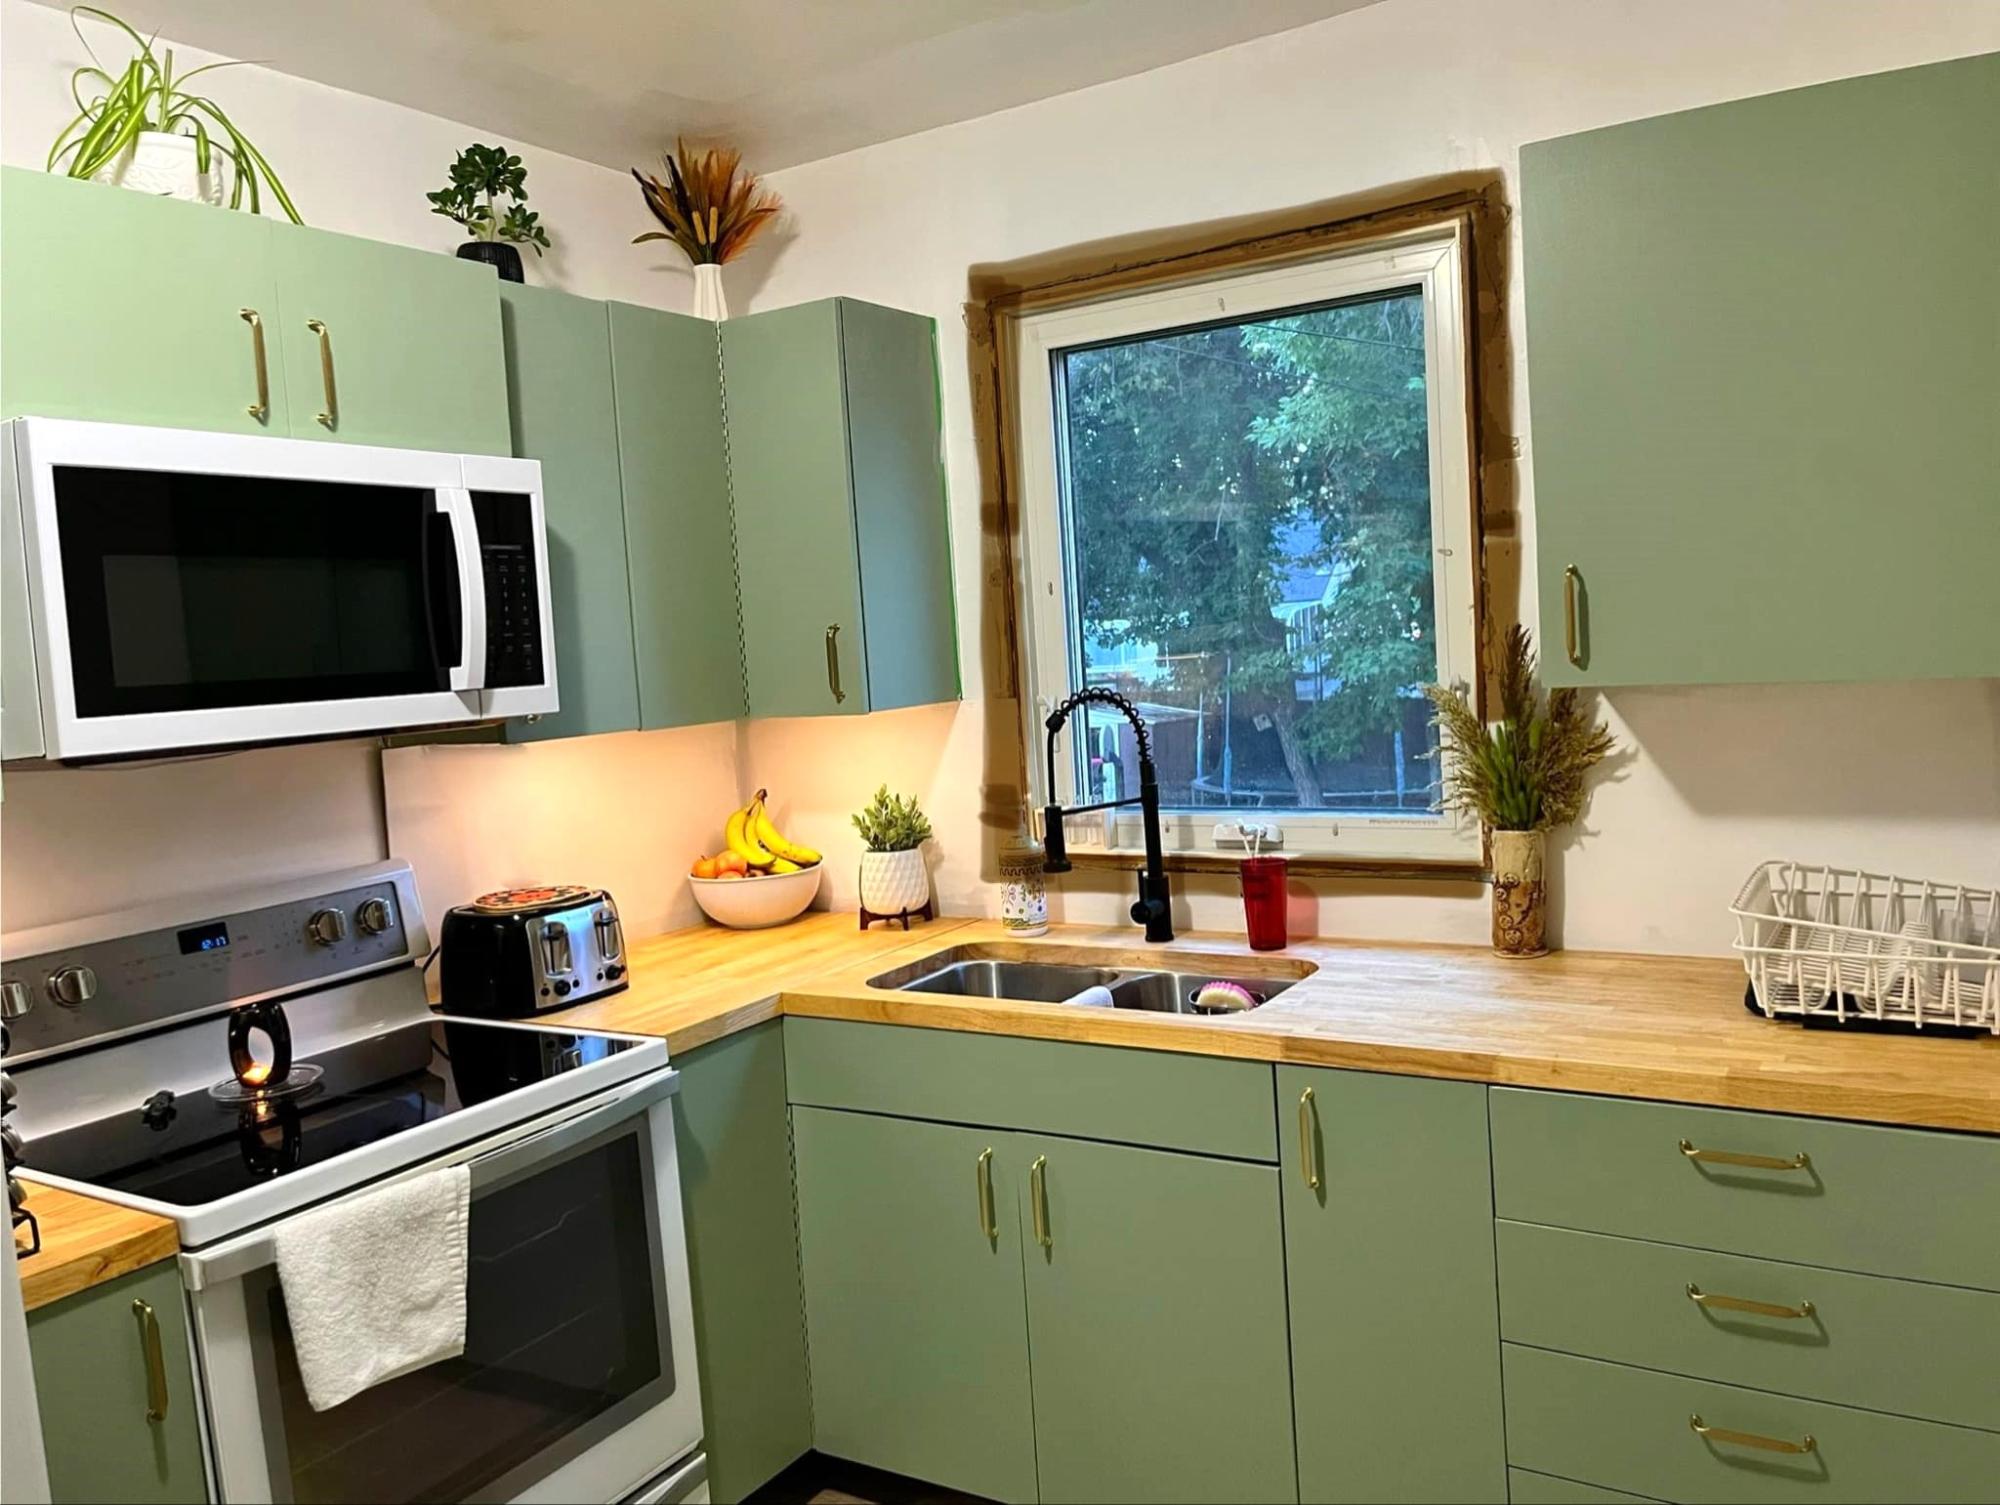
Built some cabinets from scratch for my daughter this summer. This is the finished product. -
Robert zsmith
Built from Plan(s)
Built some cabinets from scratch for my daughter this summer. This is the finished product. -
Robert zsmith
It was a fun project over two weekends. Thanks to this platform. - Teji

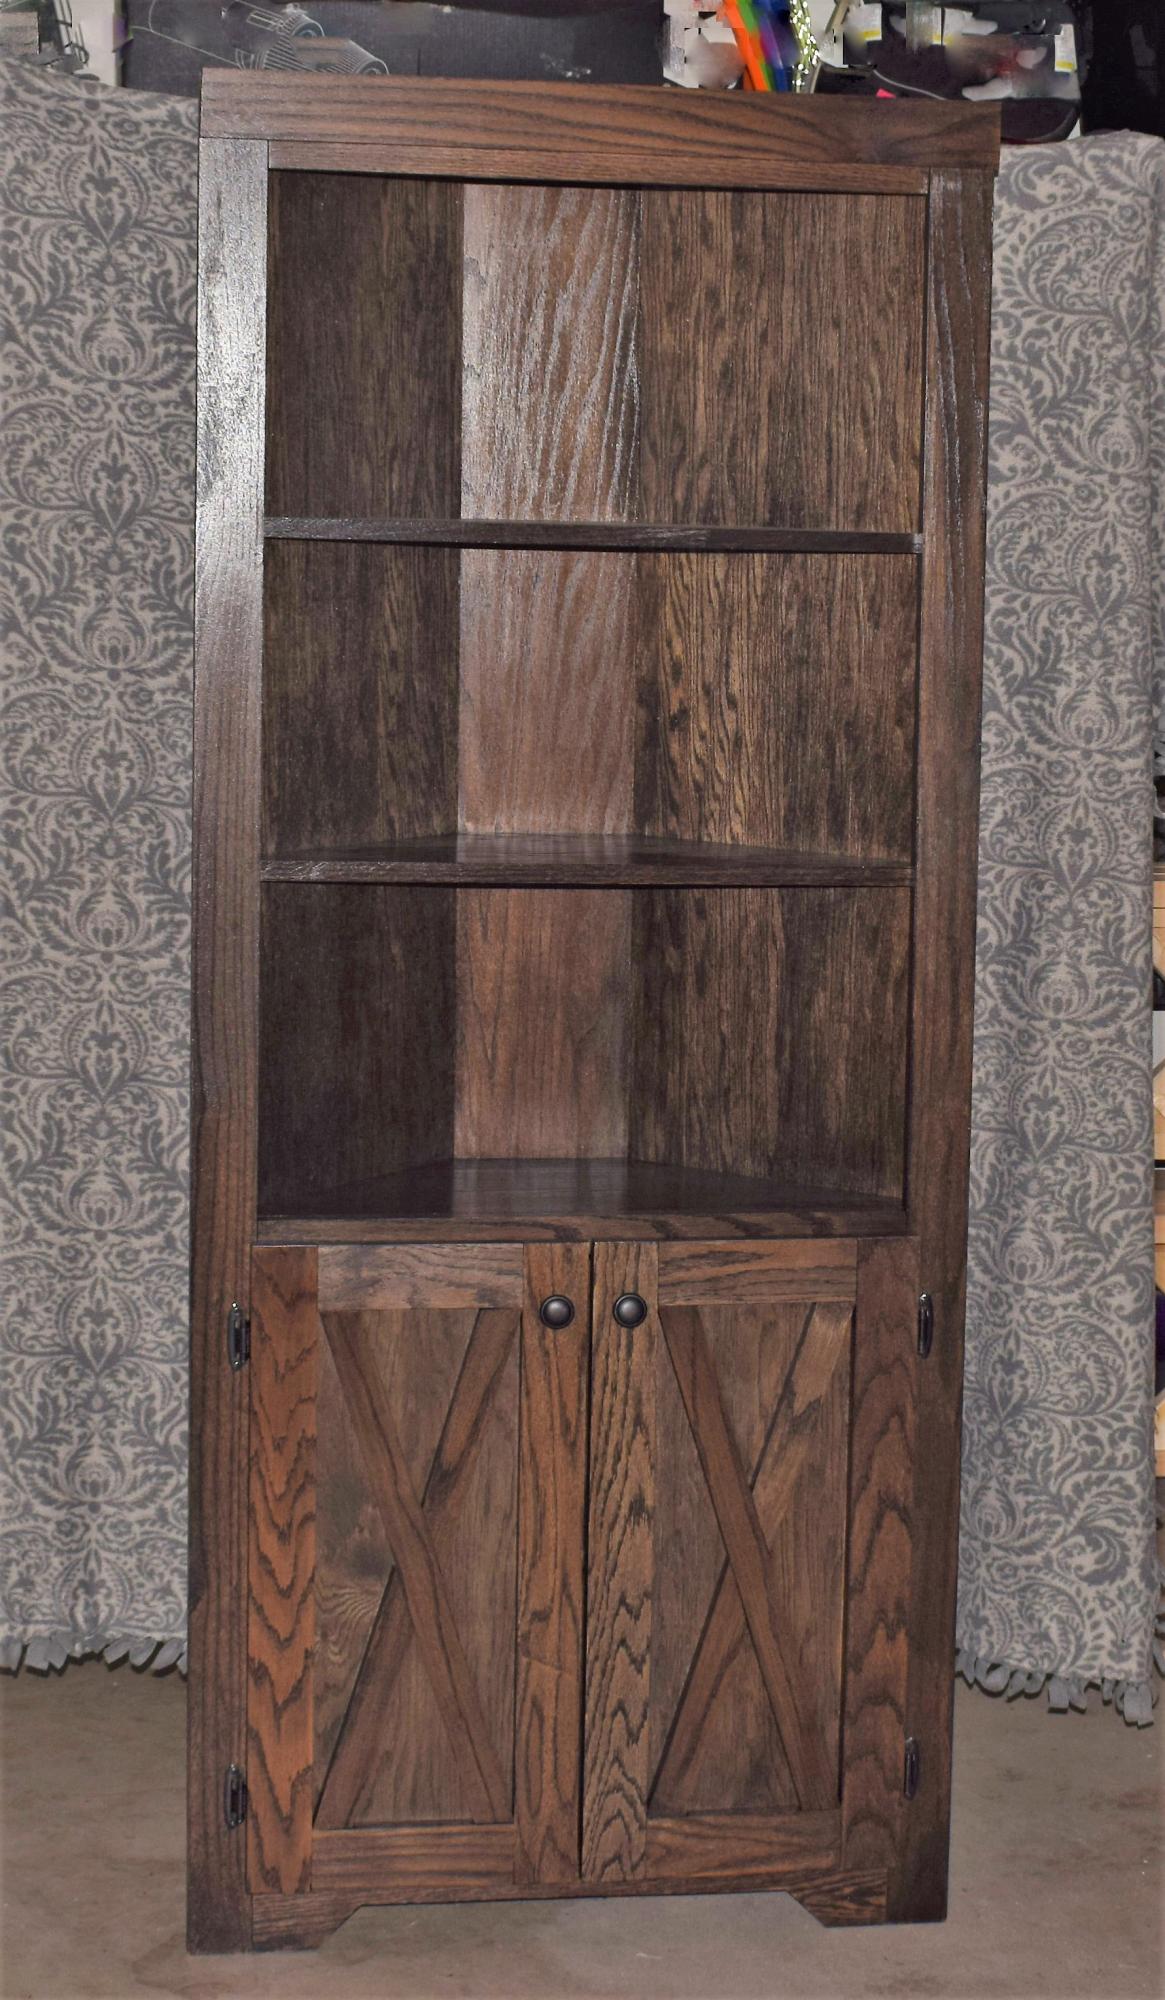
Thanks to Ana for the custom corner cupboard hutch plans! This project turned out great using Red Oak boards and an ebony stain. My customer loved it!!
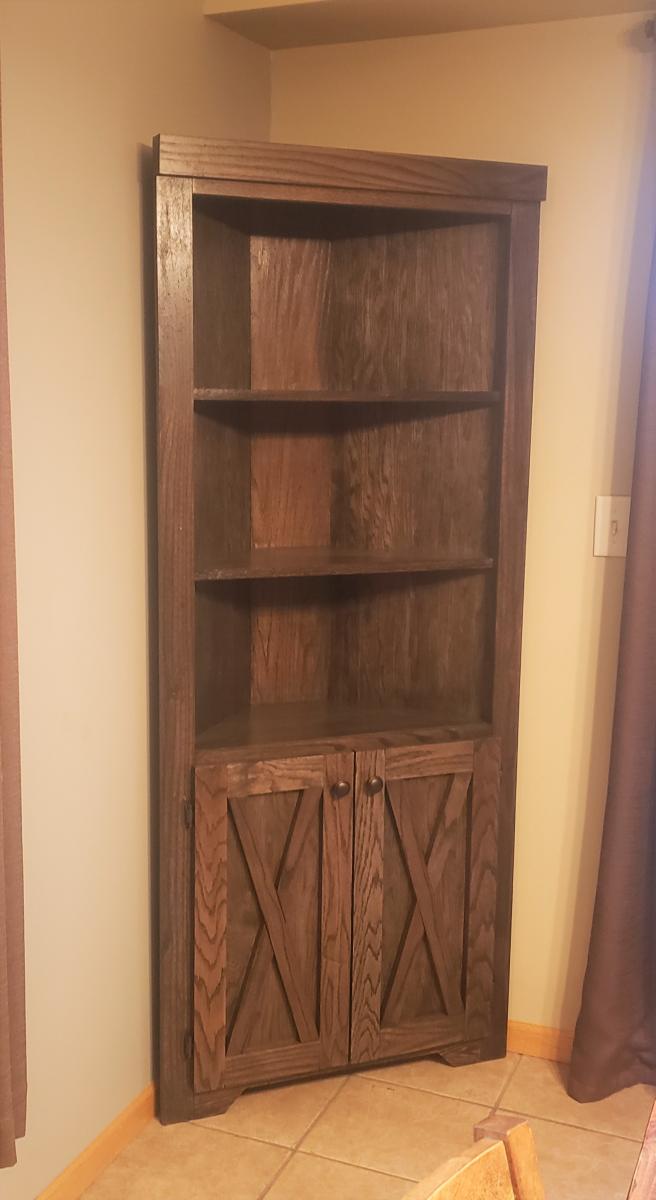
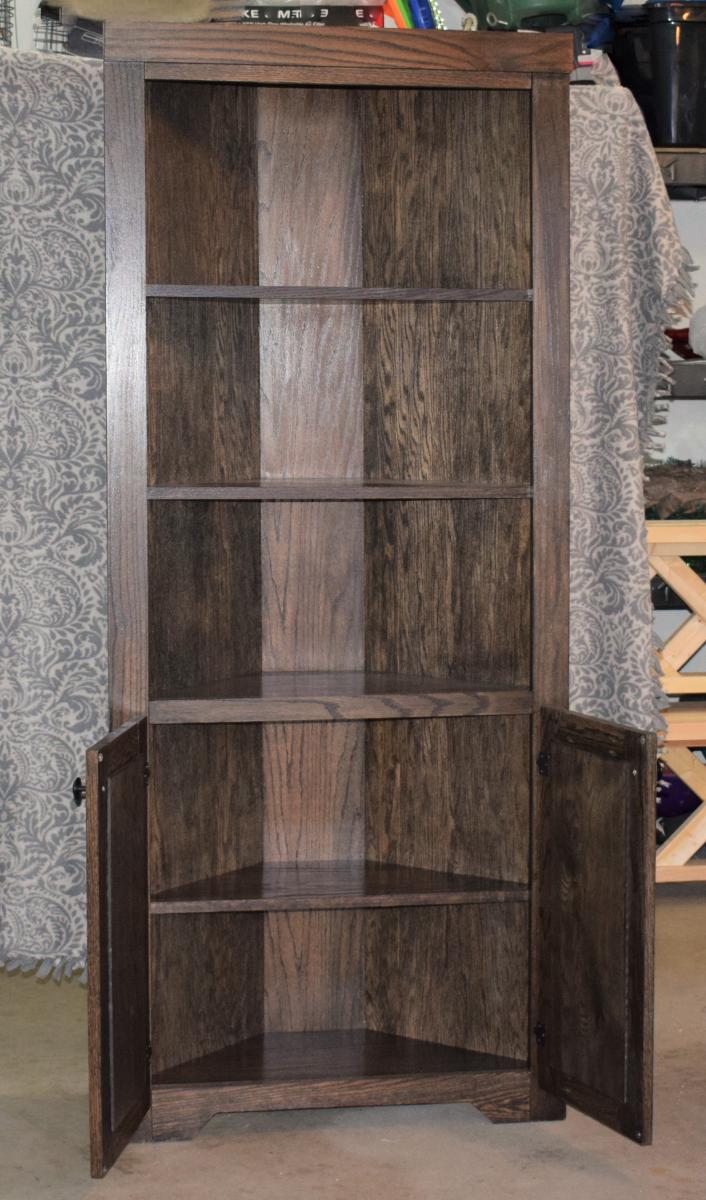
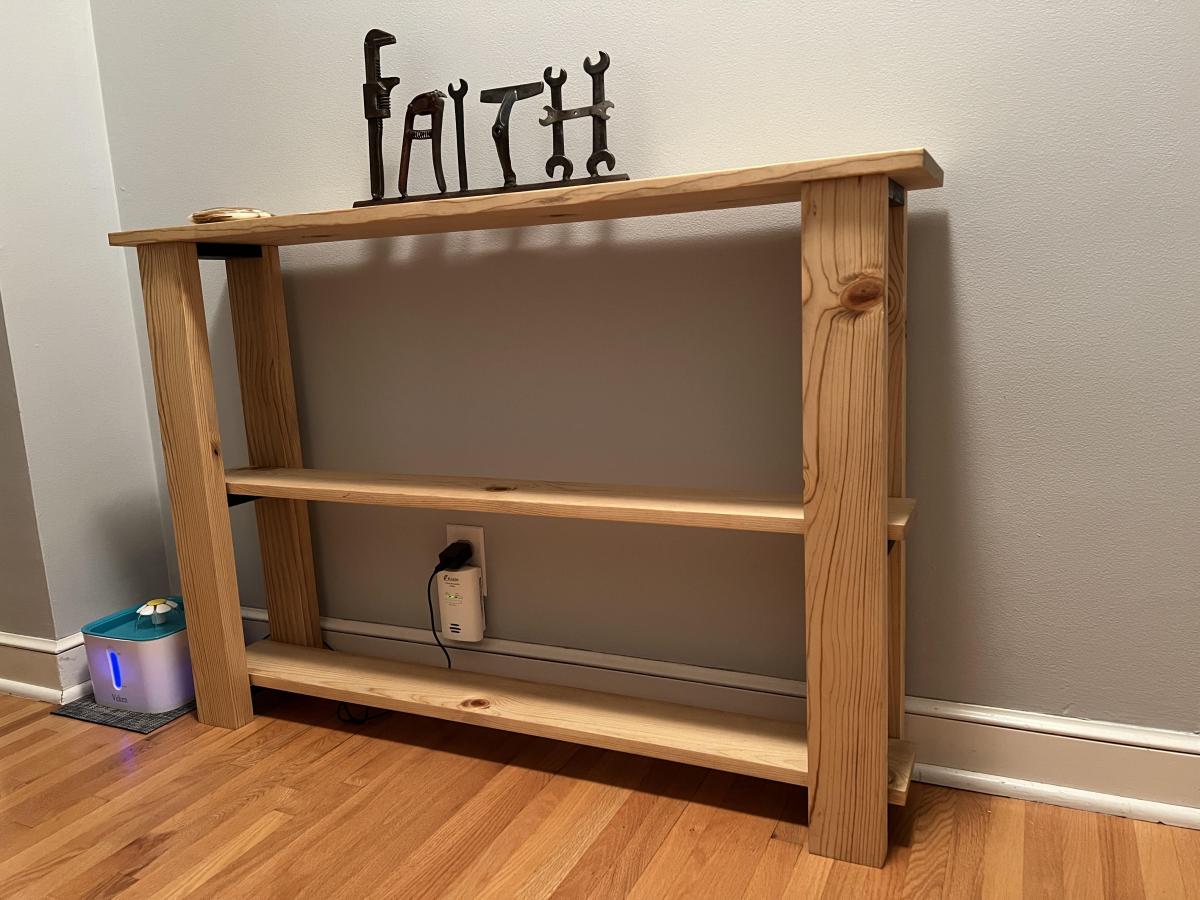
Followed your plan but added extra 1 x 2 trim to the sides, feet made from 1 × 3 and 1x 3 trim around the top
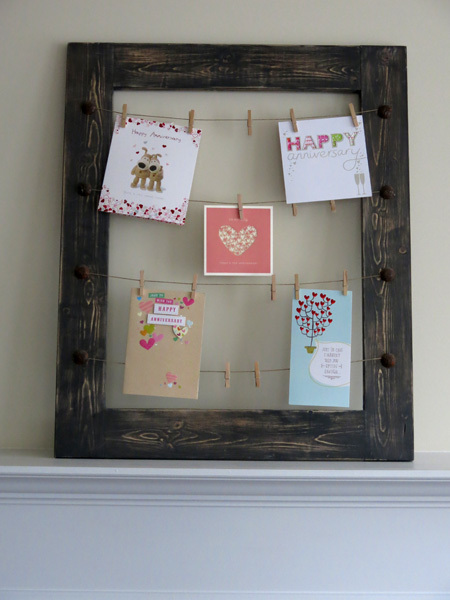
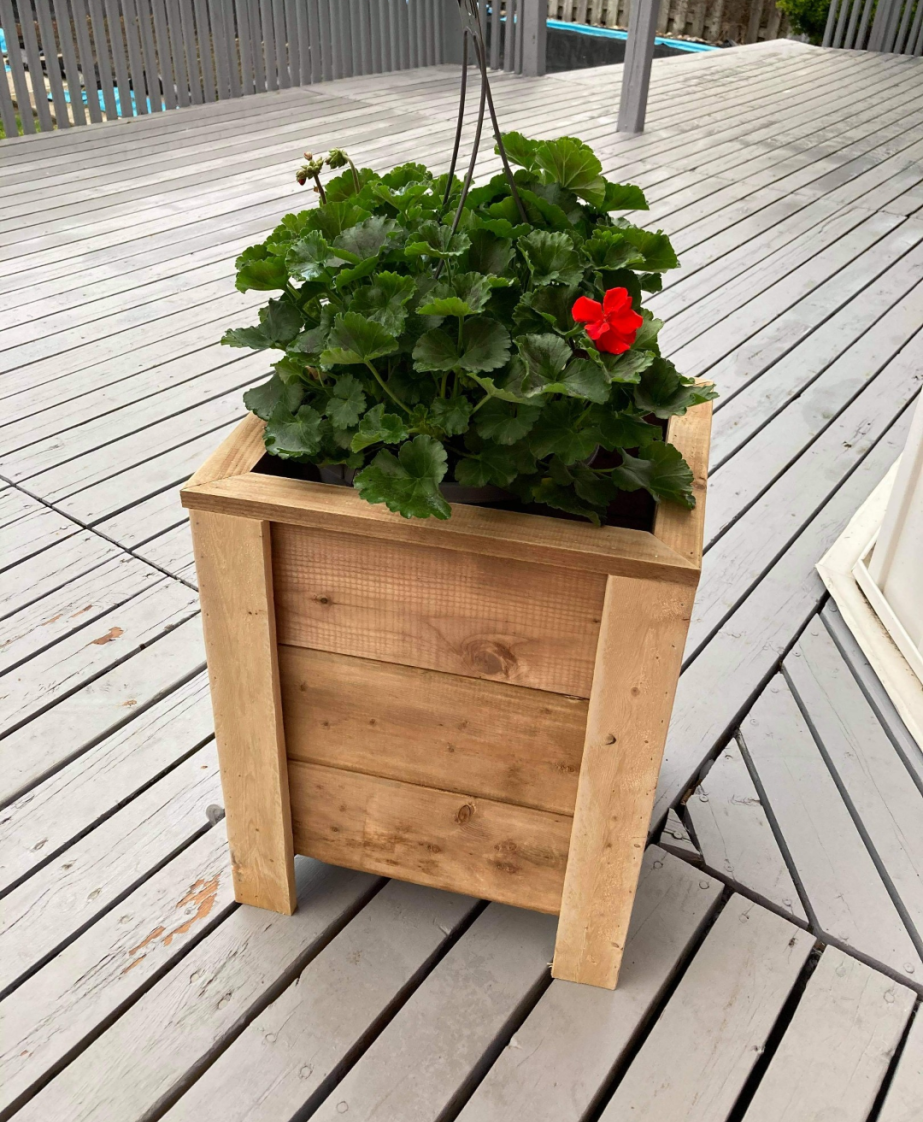
Initially made this to display Christmas cards in.
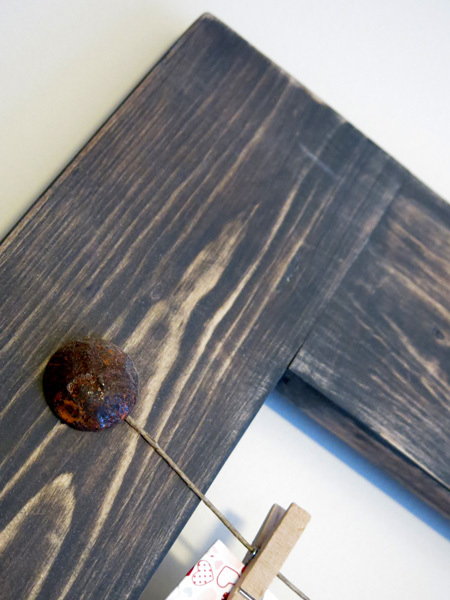
Made from 1 by 4 No. 2 Whitewood. Was stained with Rustoleum Driftwood and then painted with some left over paint I found in garage. I then sanded it back a bit to show the grain and stain through.
The nails are 1 inch Clavos nails from a website called www.Directfrommexico.com
Measures about 30 by 25 inches on outsides.
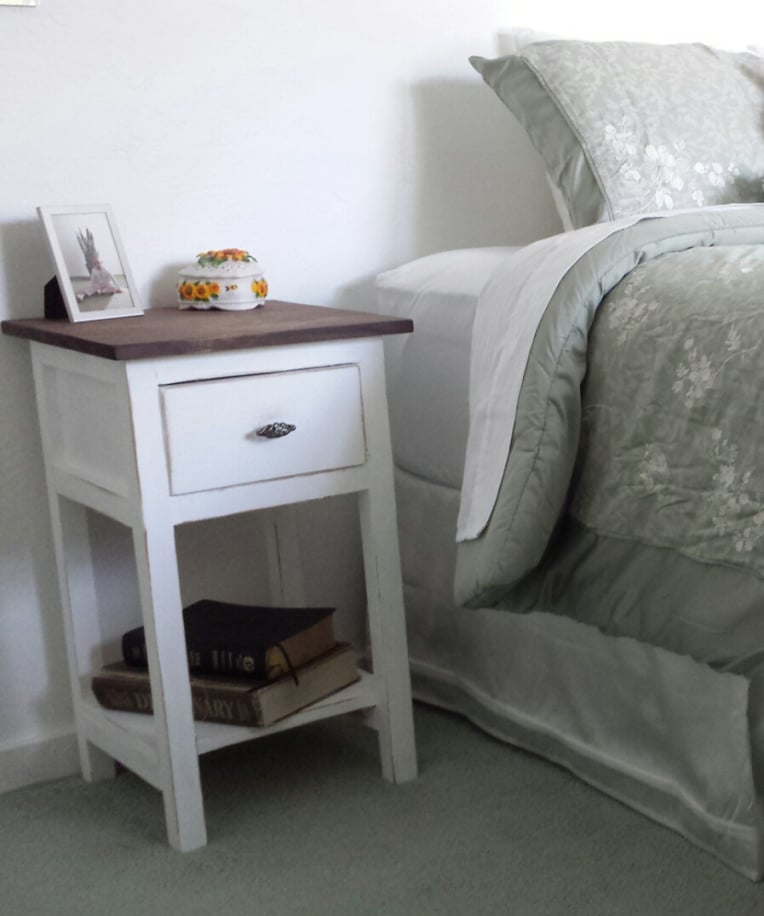
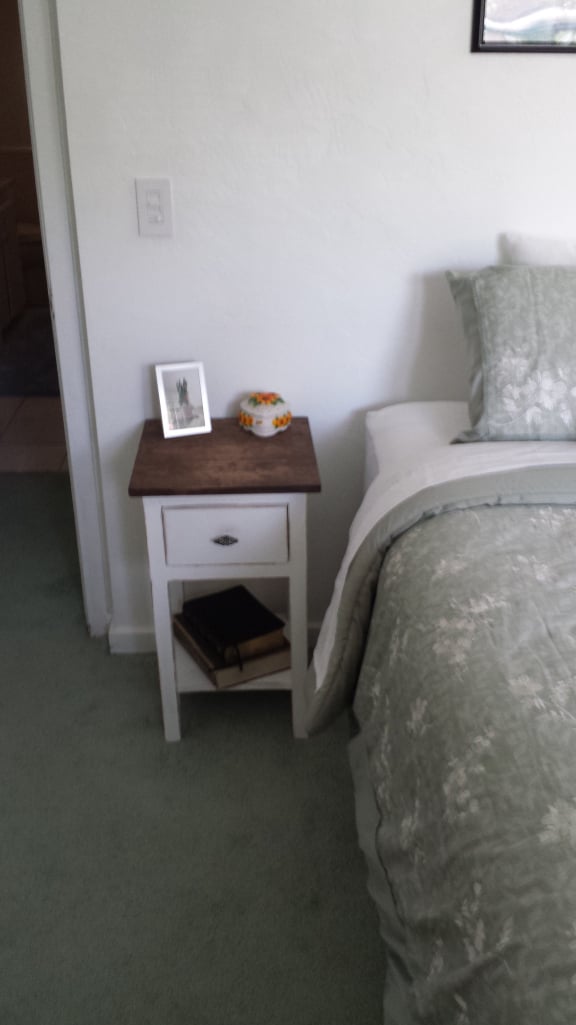
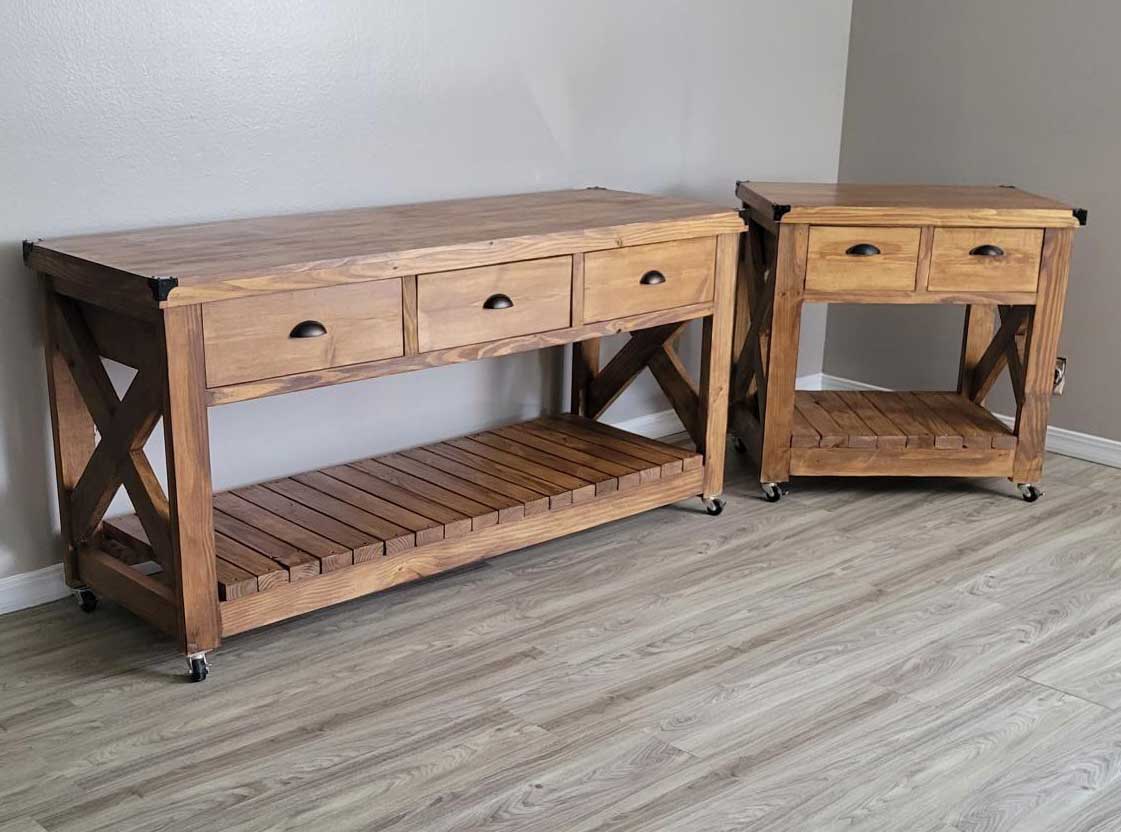
I built this nightstand when my wife and I purchased a new bed. We had to rearrange the bedroom and as such, I no longer had a desk or table on my side of the bed. I wanted something "country" style and after searching through several different plans I found a brag post that fit exactly what I was looking for. Well, technically, I found the original Farmhouse Bedside Table plans and modified them to fit what I needed. It wasn't until after I completed the project that I realized there was a "Mini" version as well. What can I say, I'm not that great as using search. I actually built this over a year ago at this point, and it was the second project I ever built. I learned quite a bit on this project, including the fact your project will only come out as good as your lumber selection! This build actually created my addiction for DIY and woodworking. Thank you Ana!
Mon, 09/14/2020 - 18:41
this is going to be a perfect first project for me and my daughter to tackle!
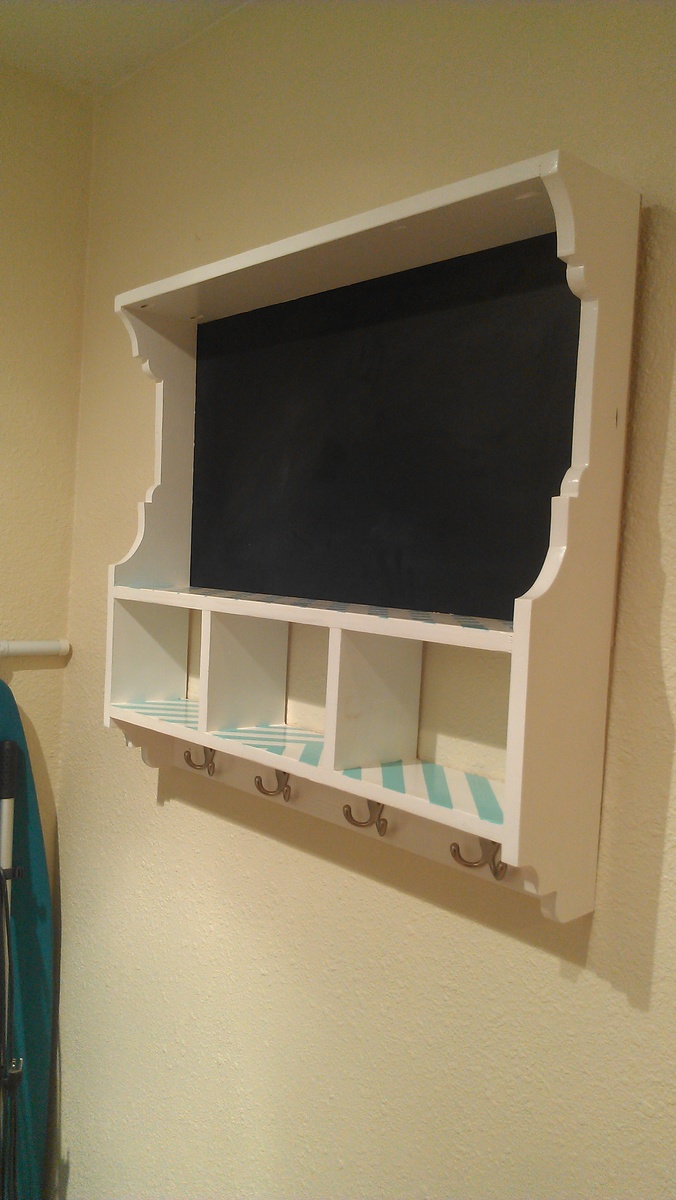
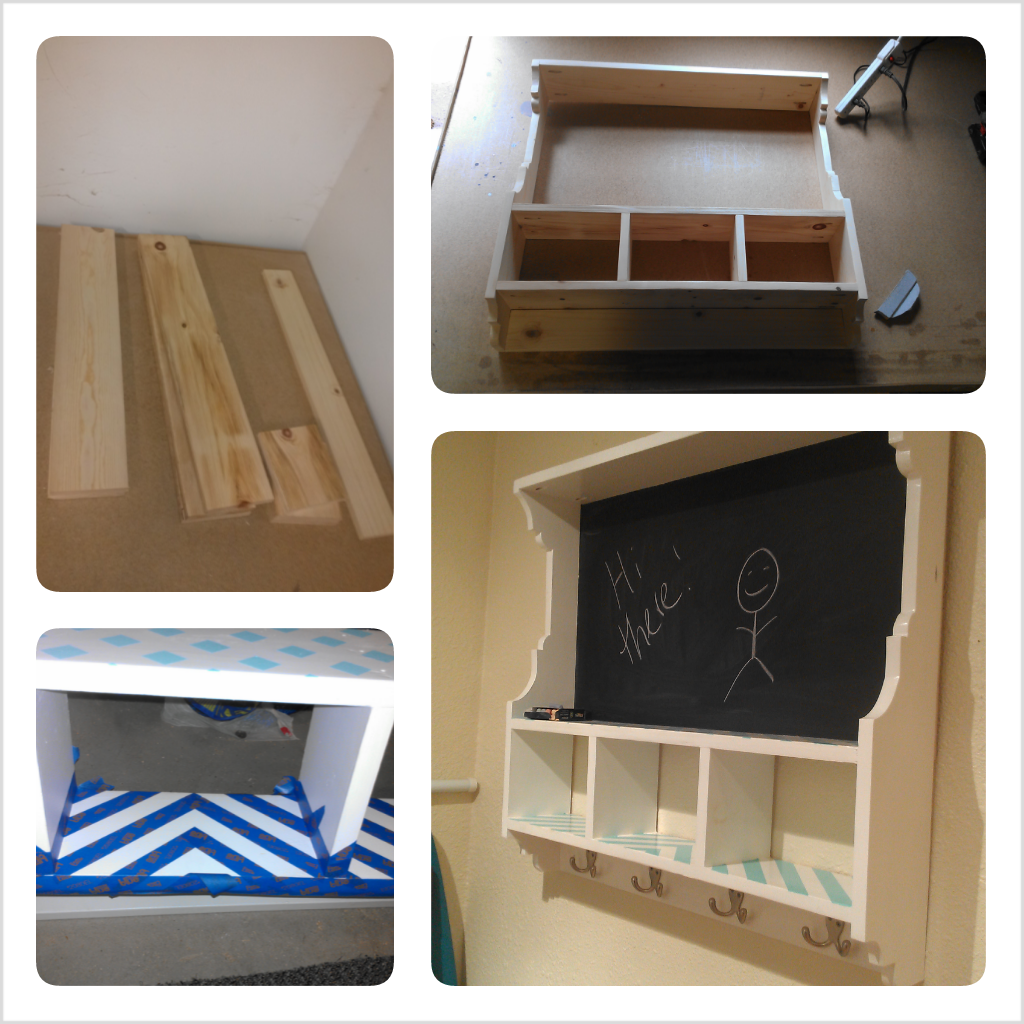
This cubby was my very first project! I just finished remodeling my kitchen, all that was missing was a place for my keys, dog leashes etc. My little house doesn't have a proper entryway so I created a "welcome station" with this cubby. The trickiest part was definitely cutting the sides, but I was able to get those tight circles with a little forethought and a lot of sanding :) I used leftover paint and samples from choosing colors for the kitchen, so it automatically coordinated with the rest of the decor.
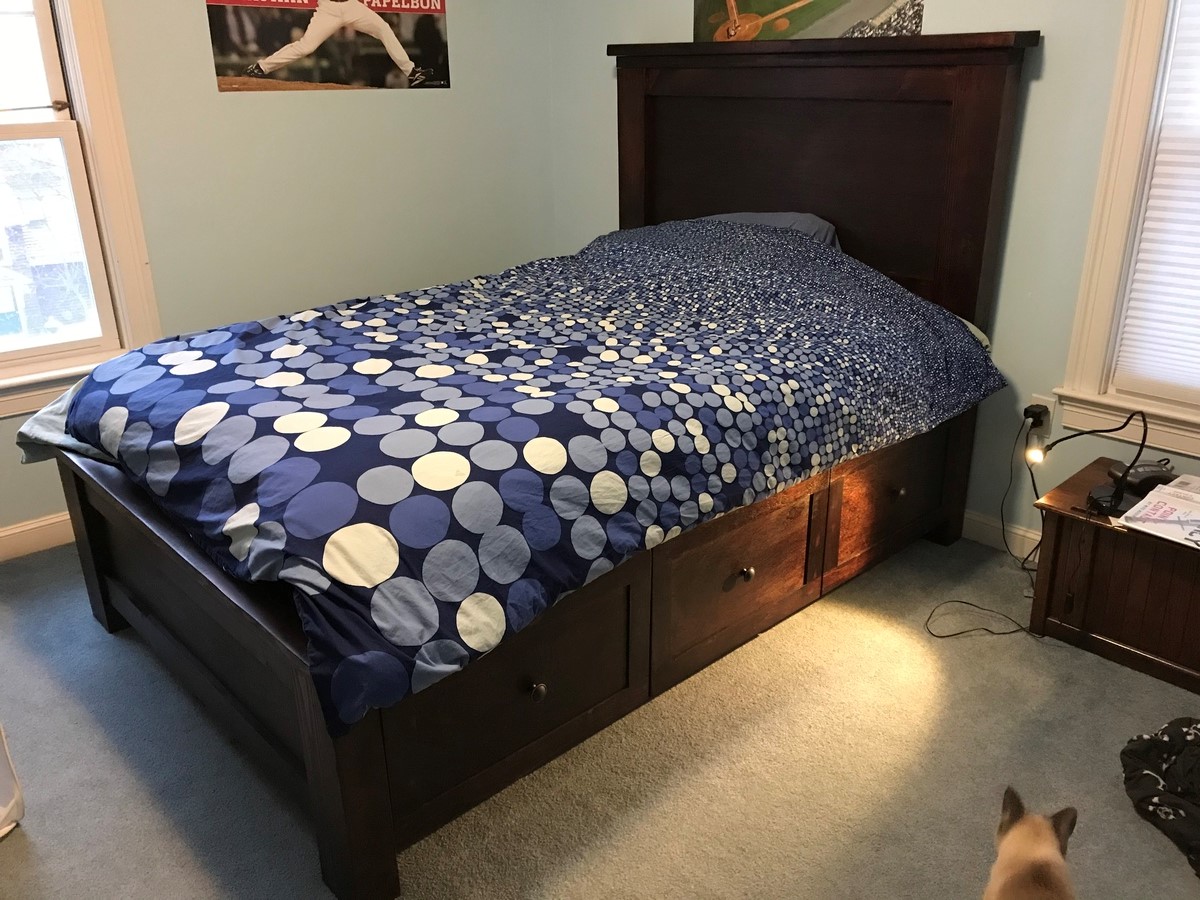
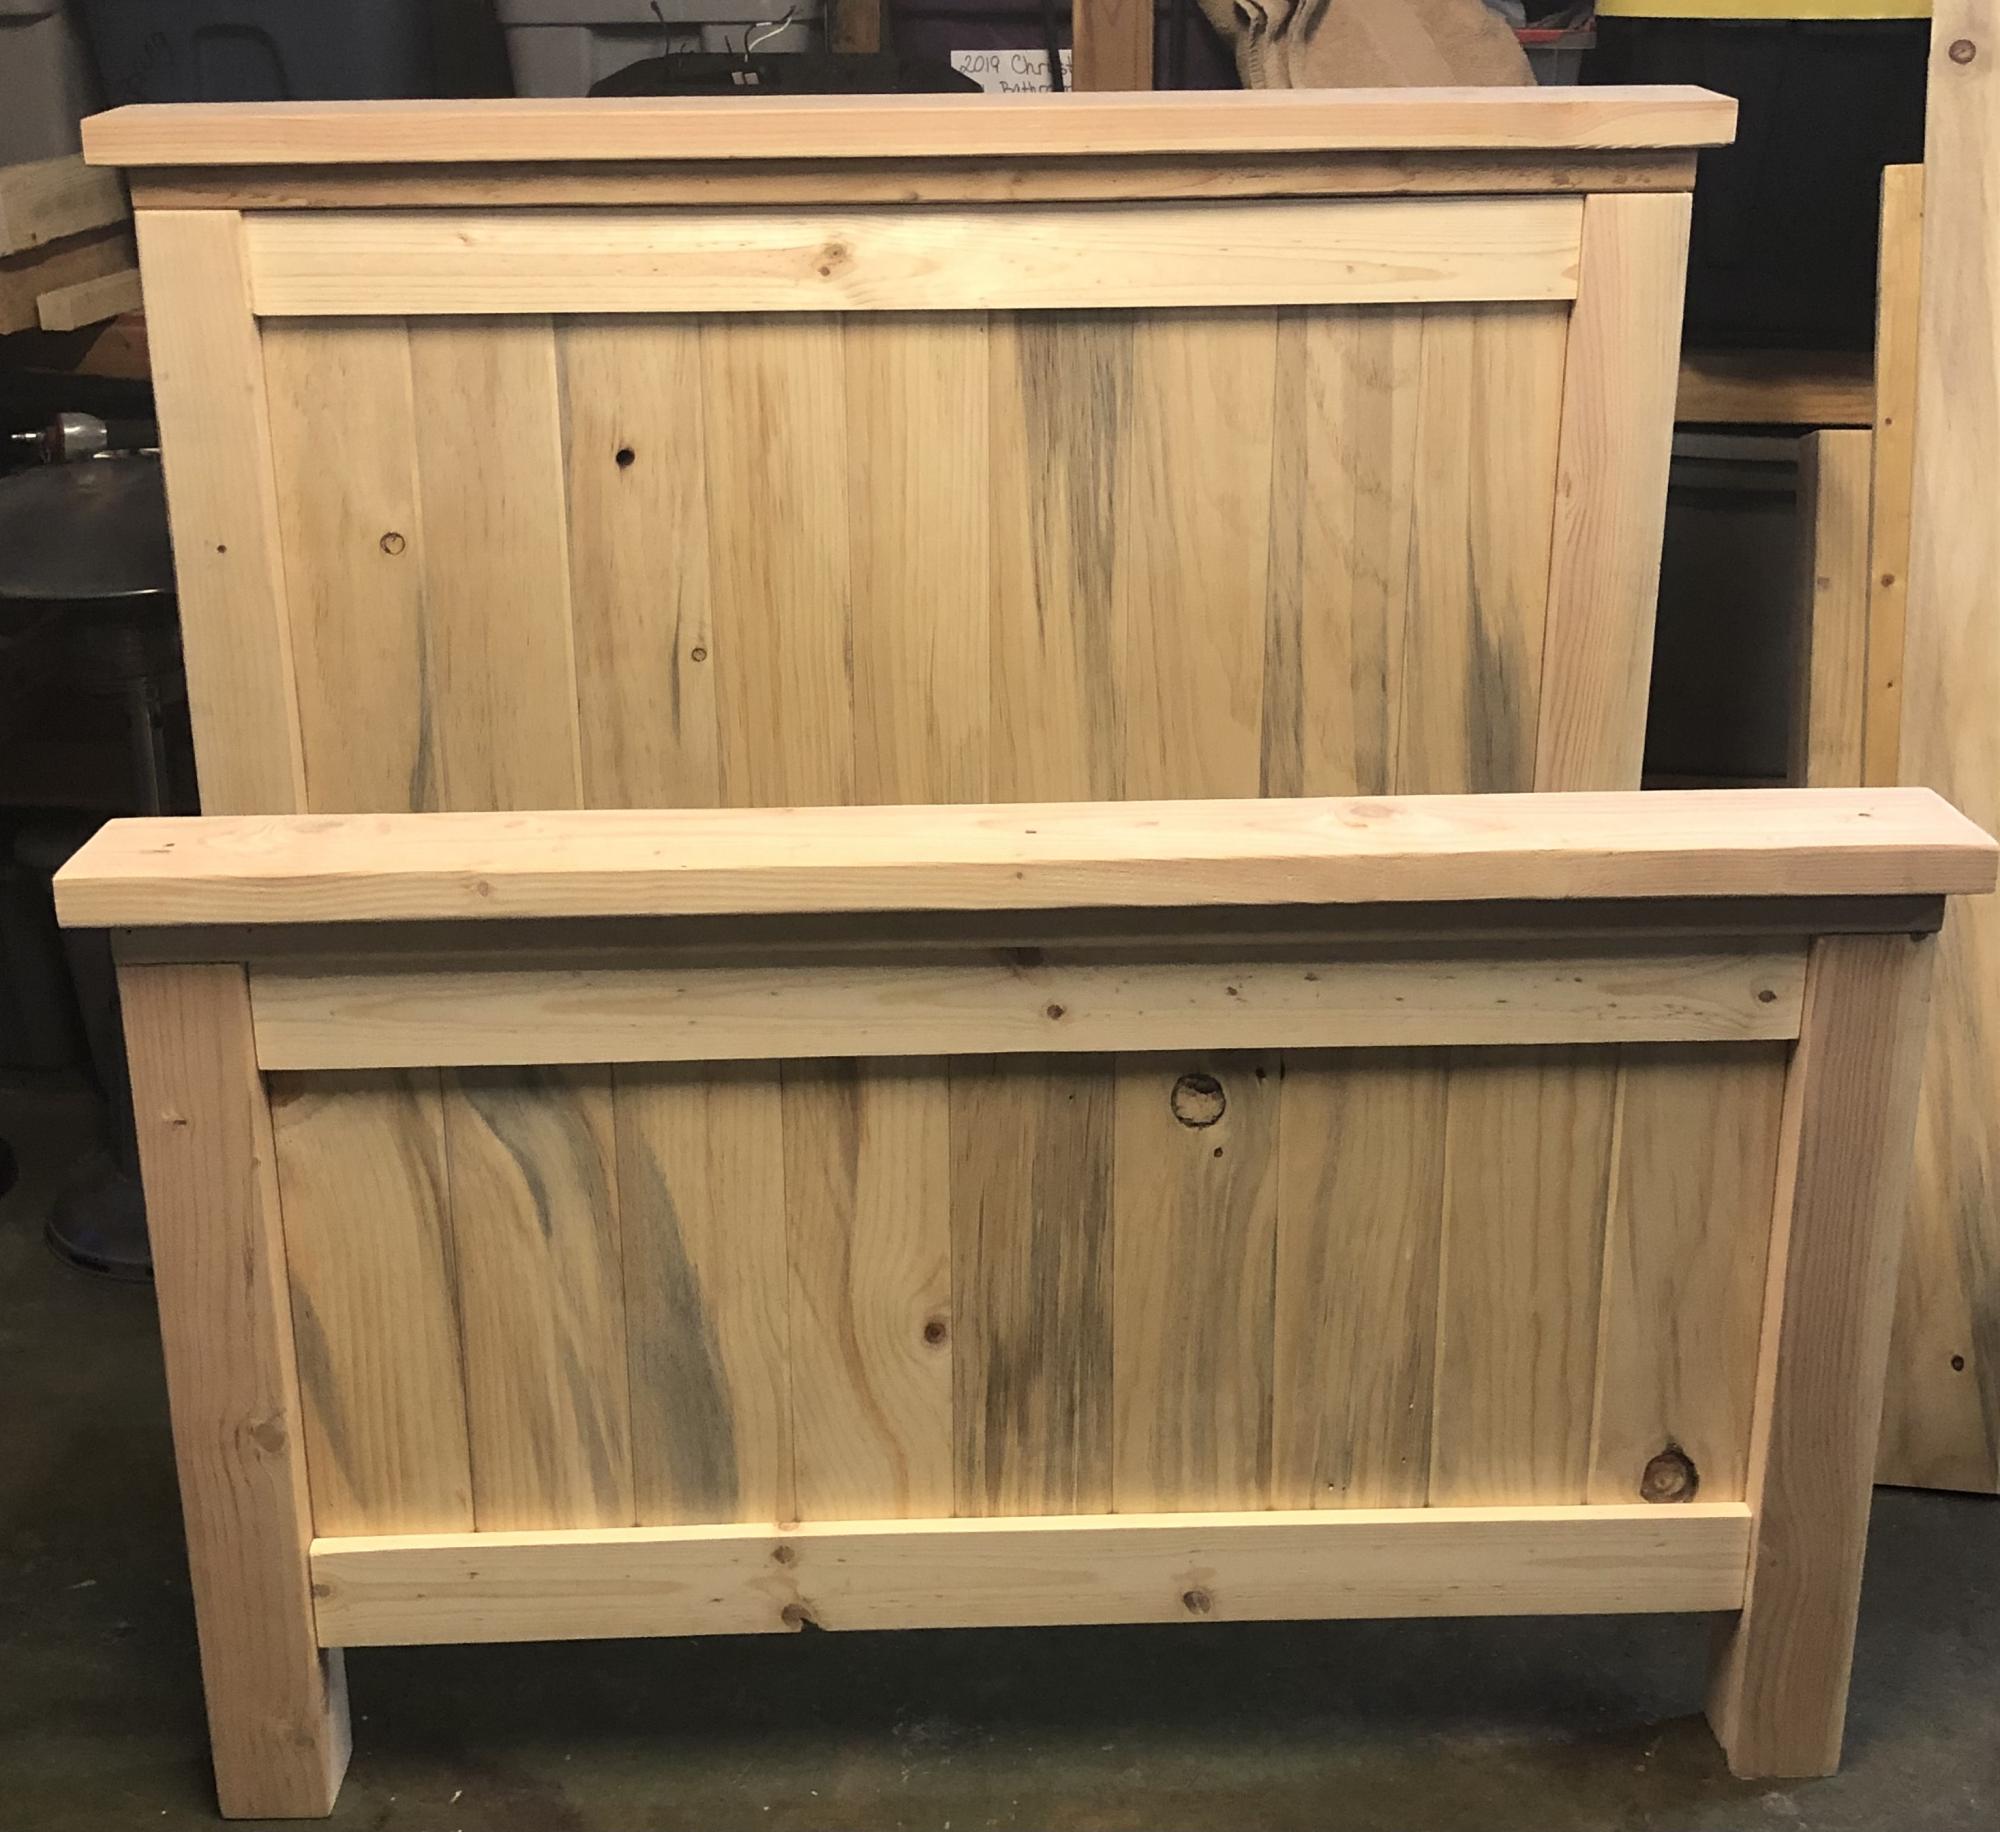
Made the standard full farmhouse bed with storage, but did a couple modifications. 1) Didn’t use drawers, but wanted closed, not open cubbies. I made the drawer fronts and then attached with full overlay hinges and magnetic catches do they open from top down like a horizontal cabinet. 2) built the slats as two, one piece slat frames which sit on the cleat so that they can easily be removed for the extra long term storage between the cubby boxes. Just lift mattress and the two pieces of slats and lots more space.
Loved how these plans were so easy to follow and certainly appreciate the accompanying video.
Tue, 12/21/2021 - 10:20
Thank you for sharing, love the raw look and the build is fantastic!

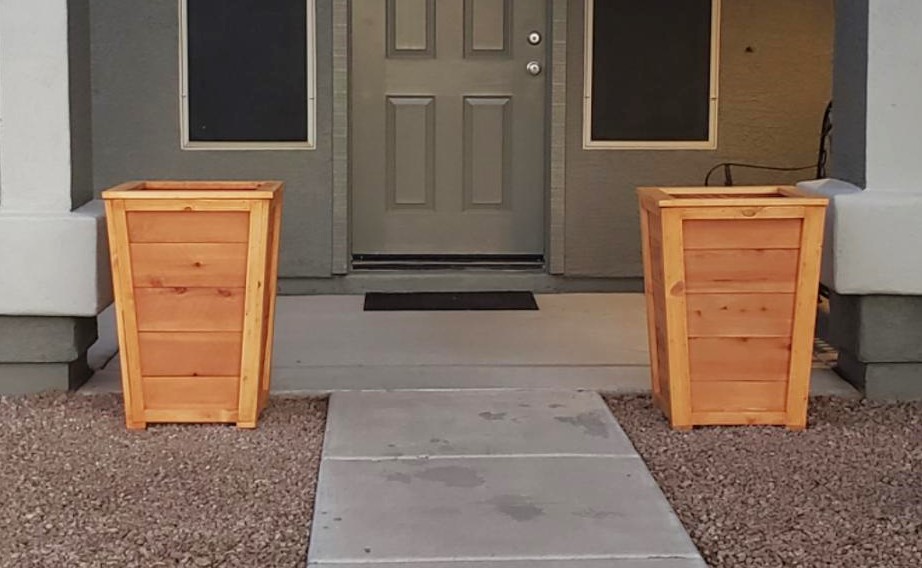
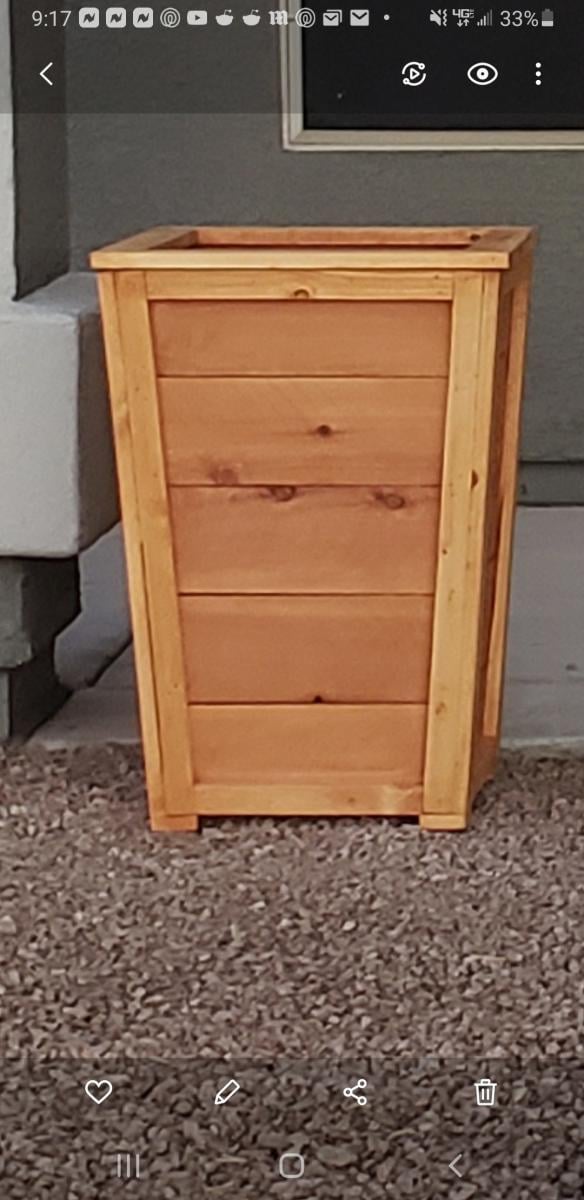
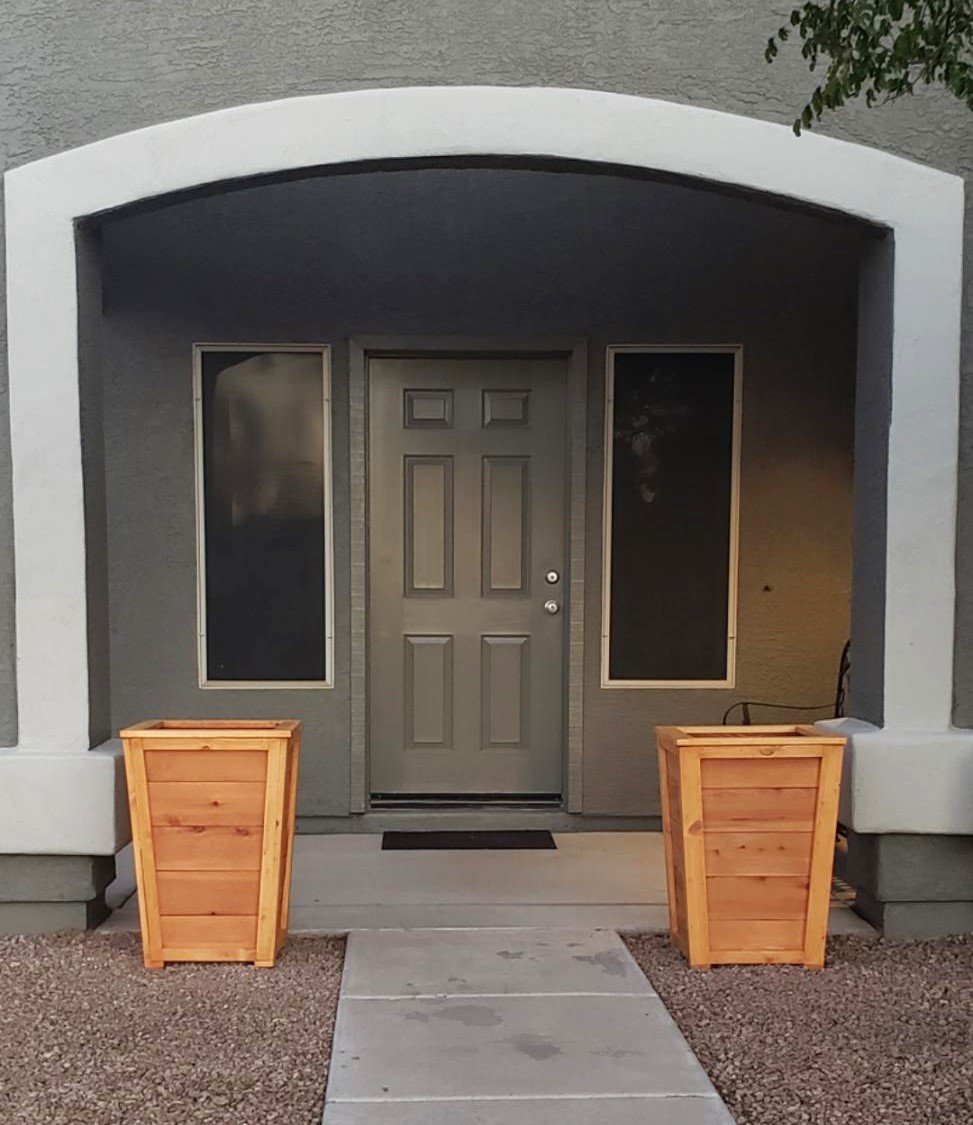
I needed chairs that would fit on my narrow front porch. This plan was great because I was able to resize it to 20x20. I used 1x4s that I already had and some wood glue. They turned out solid. I made the tryde table with left over wood. That one is 17.5x17.5. Super happy with the results. We are doing the garage shelves right now. I have a list of other things I want to make thanks to Ana's wonderful website.
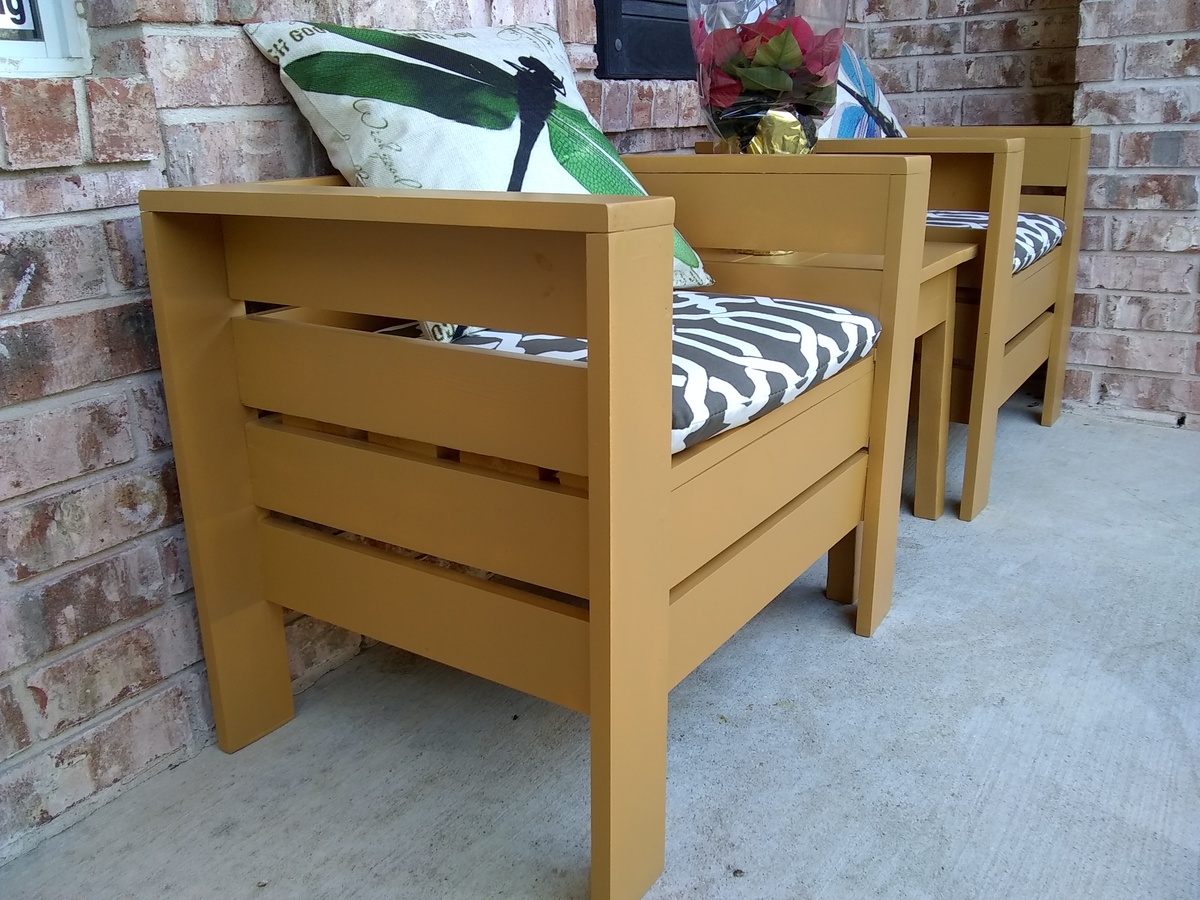
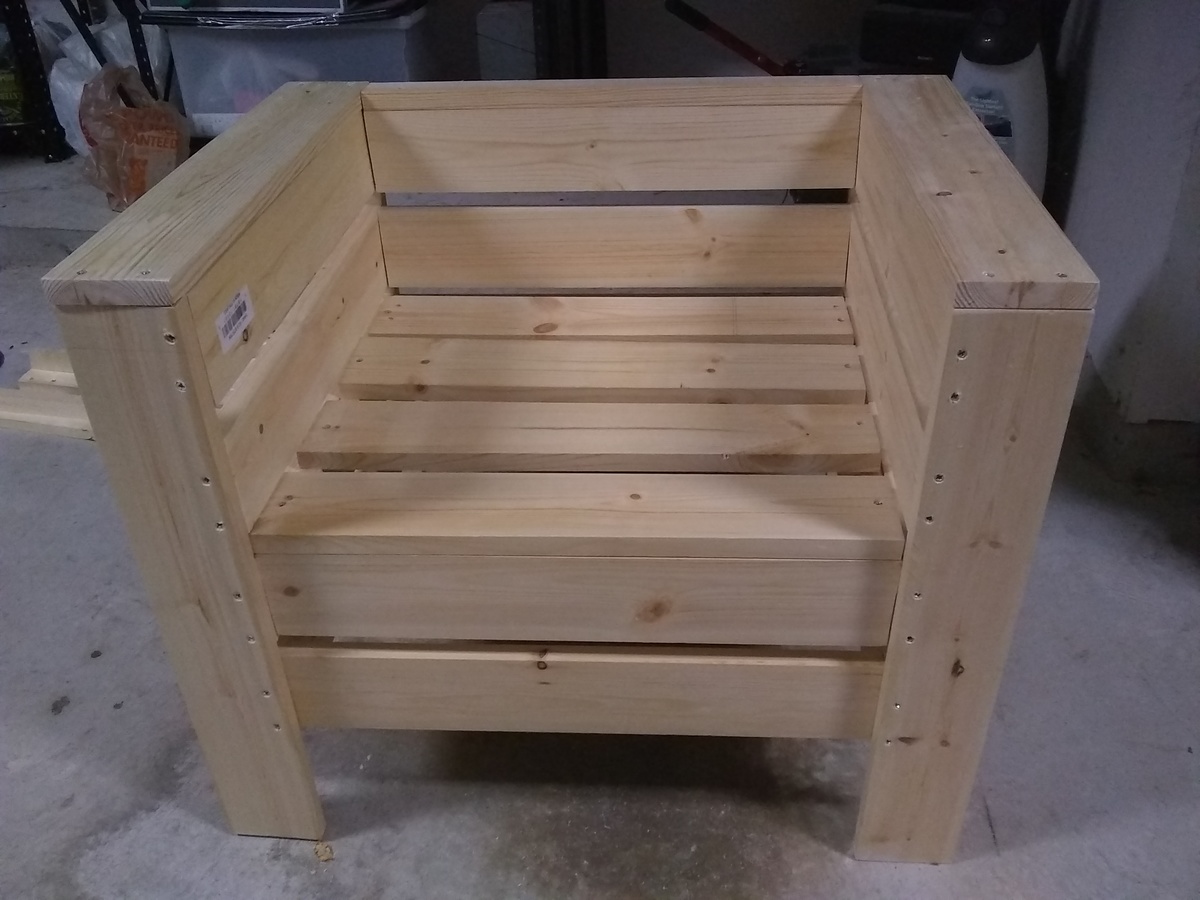
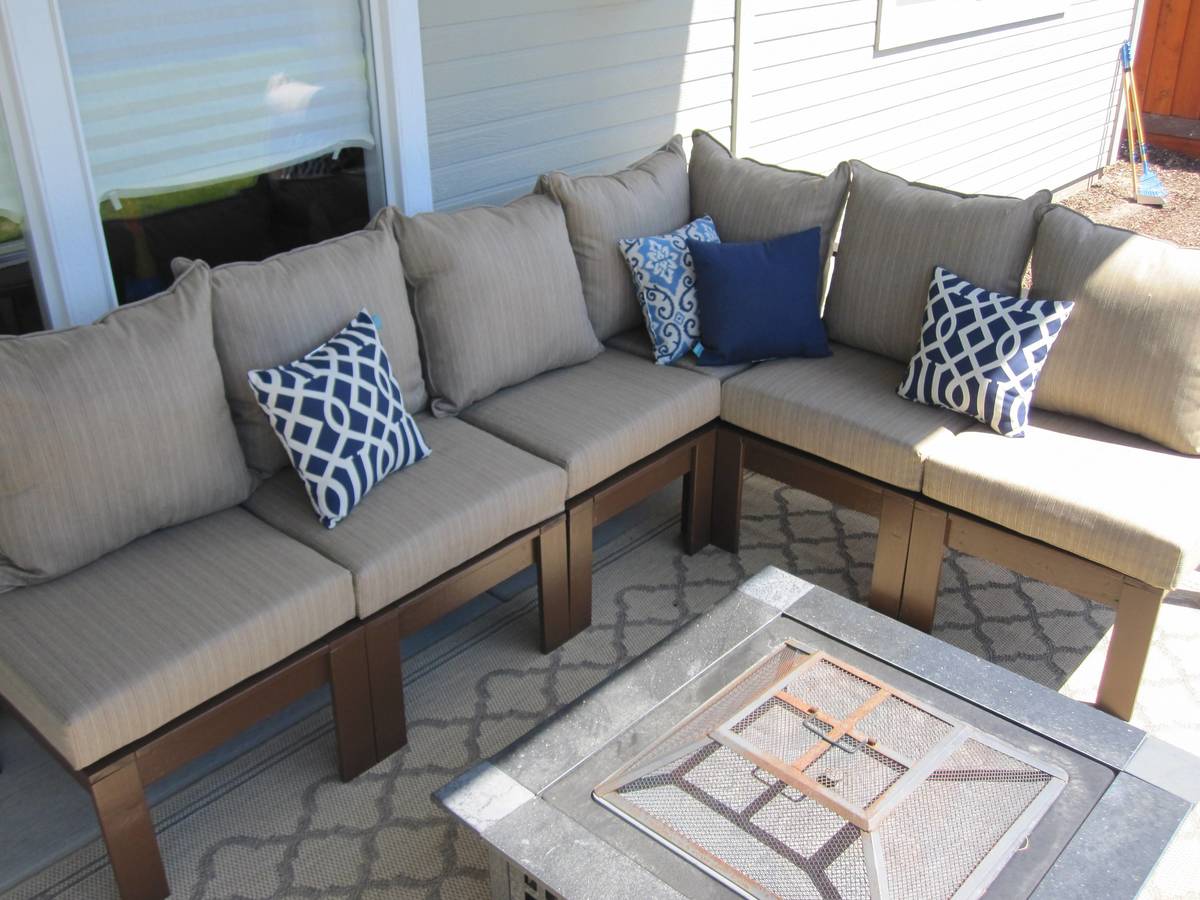
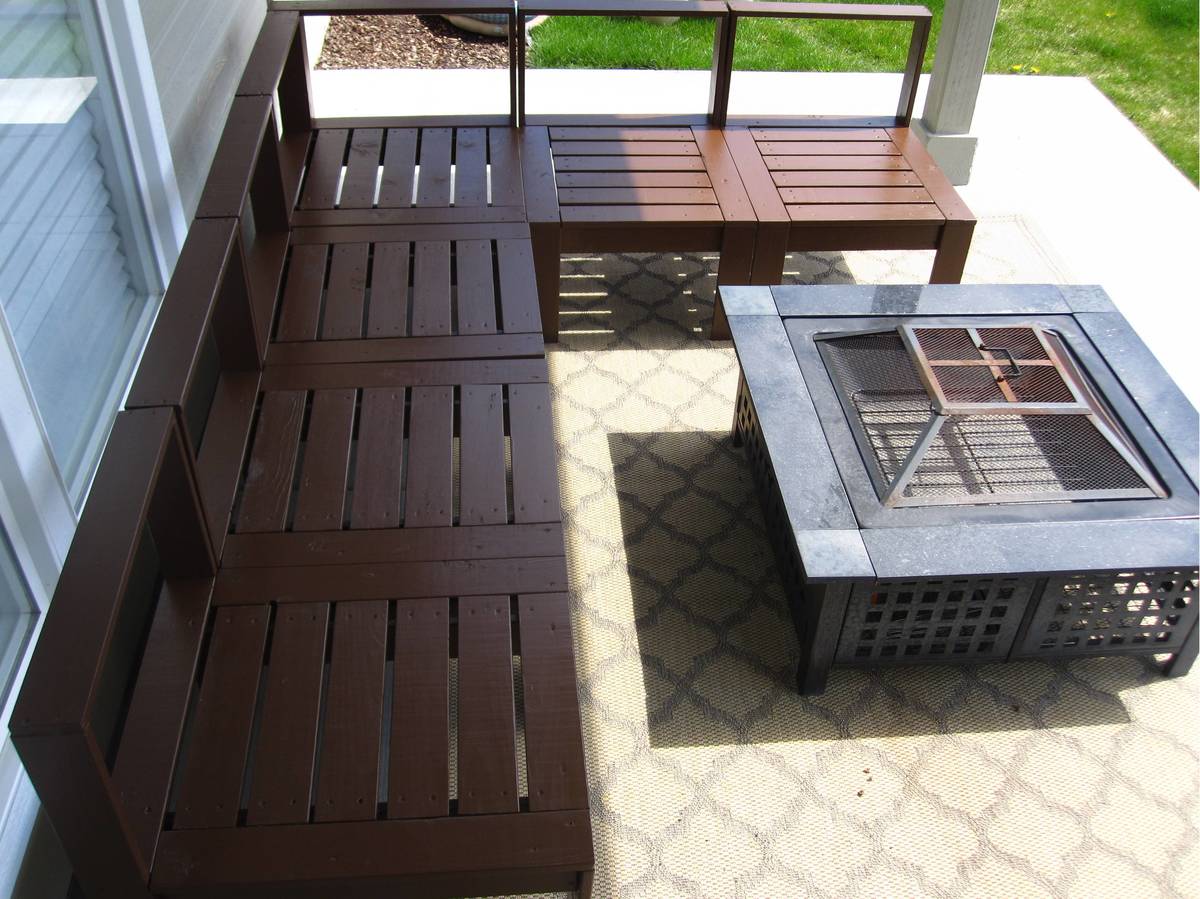
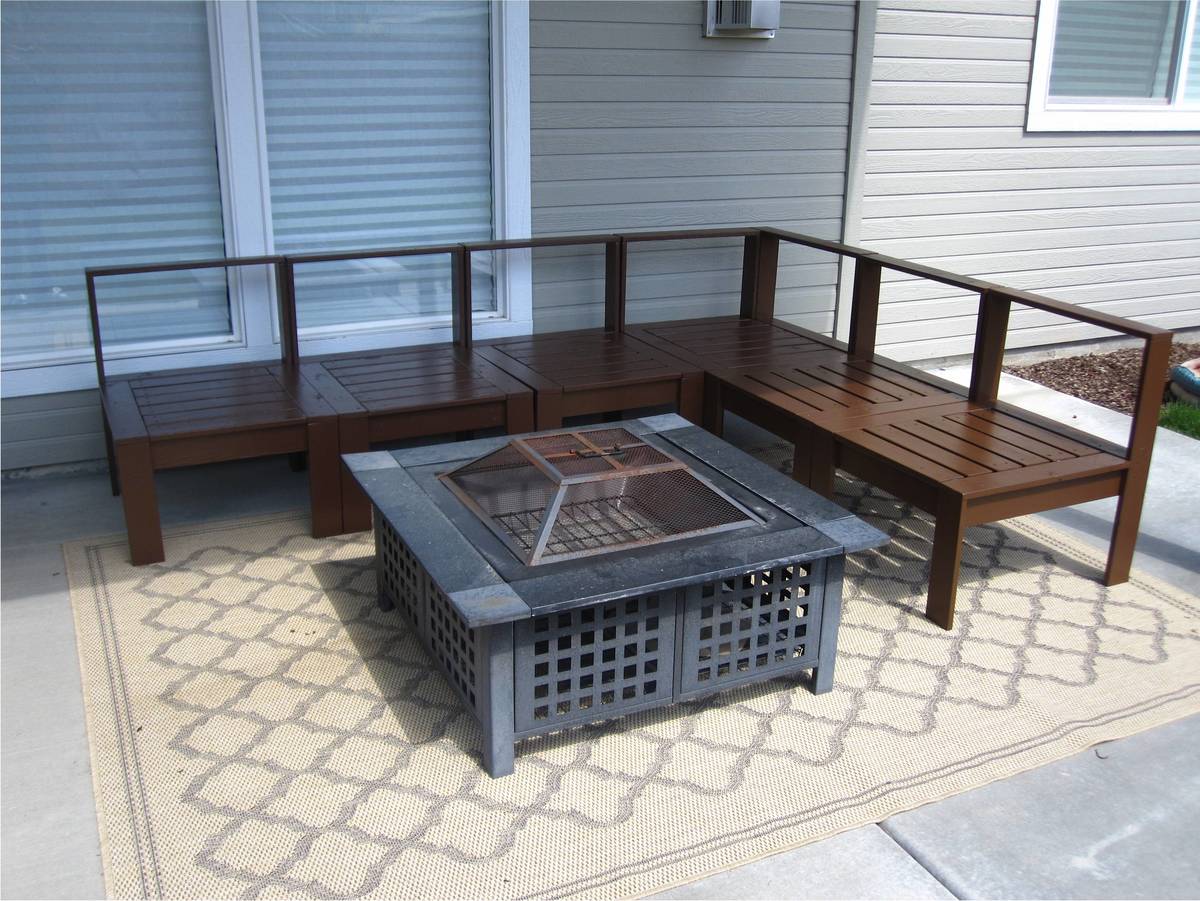
We needed furniture for our back patio and as I was searching for plans online, I stumbled across Ana-white.com. I was so excited to show my husband who built this in a day. I had thought that I would sew the cushions myself but after a few failed attempts at sewing box cushions with piping, I decided to buy the cushions. Buying them is actually a LOT cheaper as foam is very expensive in this size. I bought our cushions and back pillows from Walmart and the accent pillows from Target.
Cost: $355-cushions
$115-Wood
$25-Primer
$20-Paint
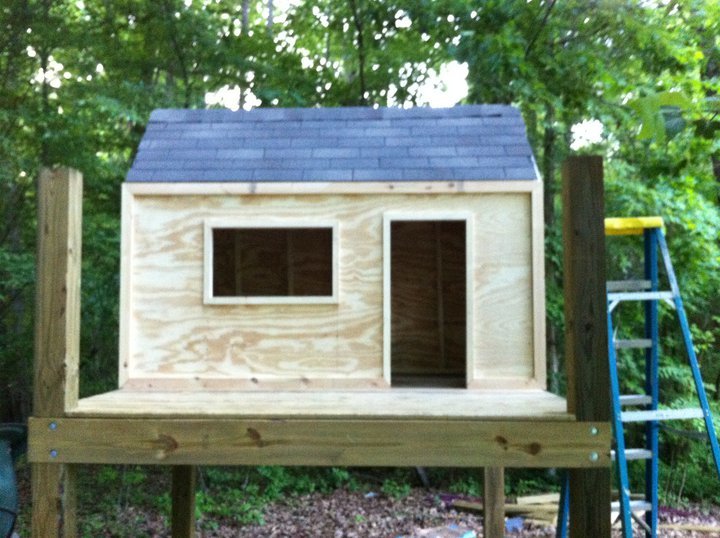
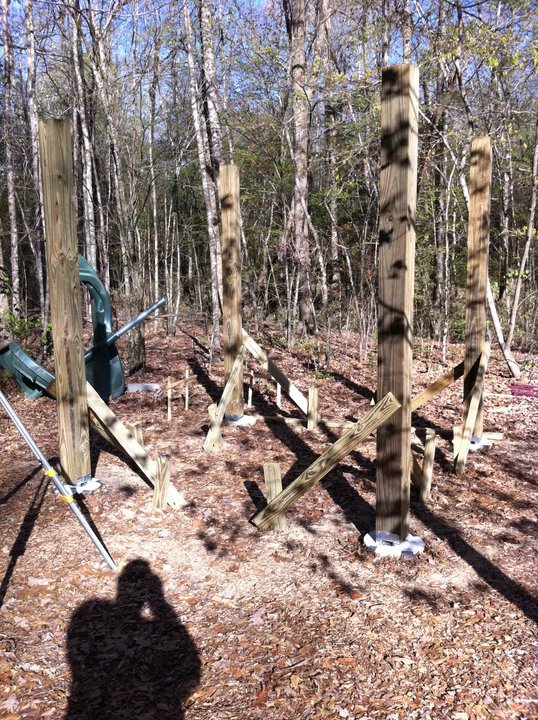
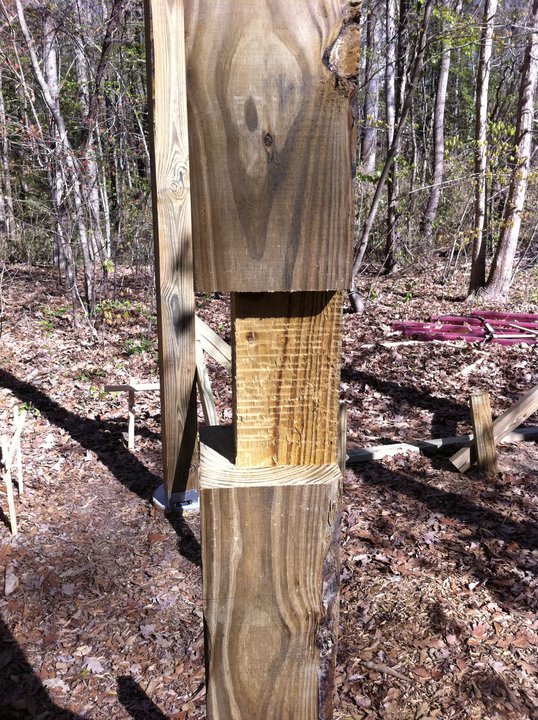
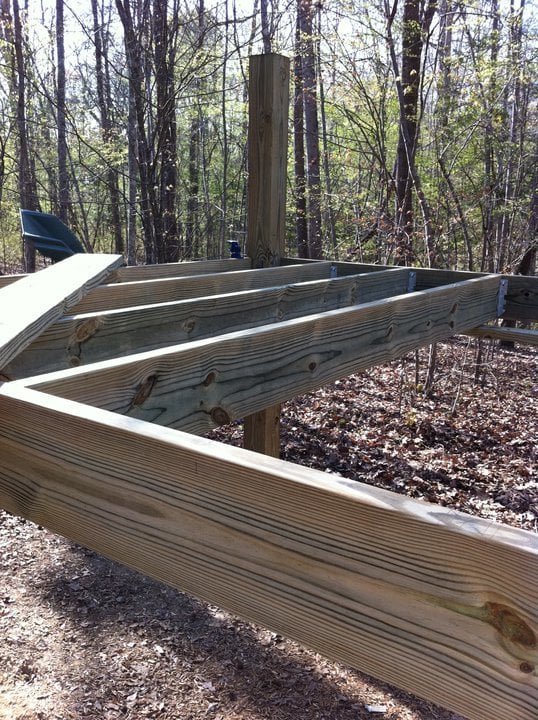
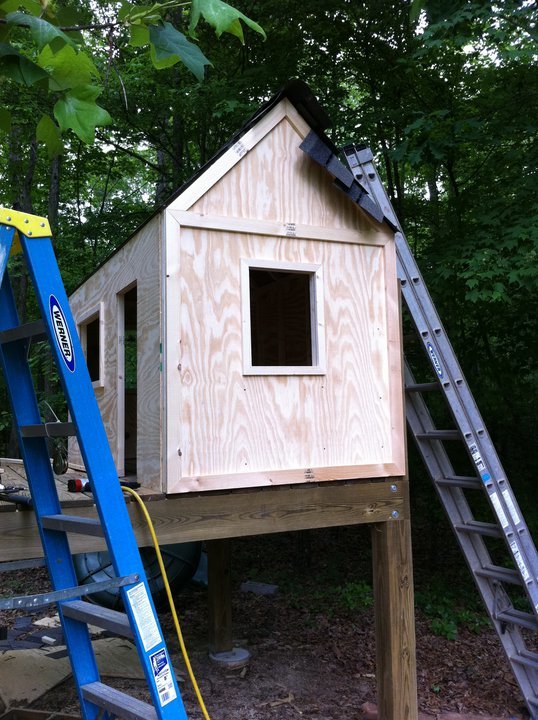
Due to rain (and horrible ability) this project has been taking a LONG time it seems. =) We had one of those "cheap" playsets from one of the warehouse clubs that would scare me to death anytime my girls got to swinging on it. So... we knocked it down and I took some liberty with the details from Ana's playset plans.

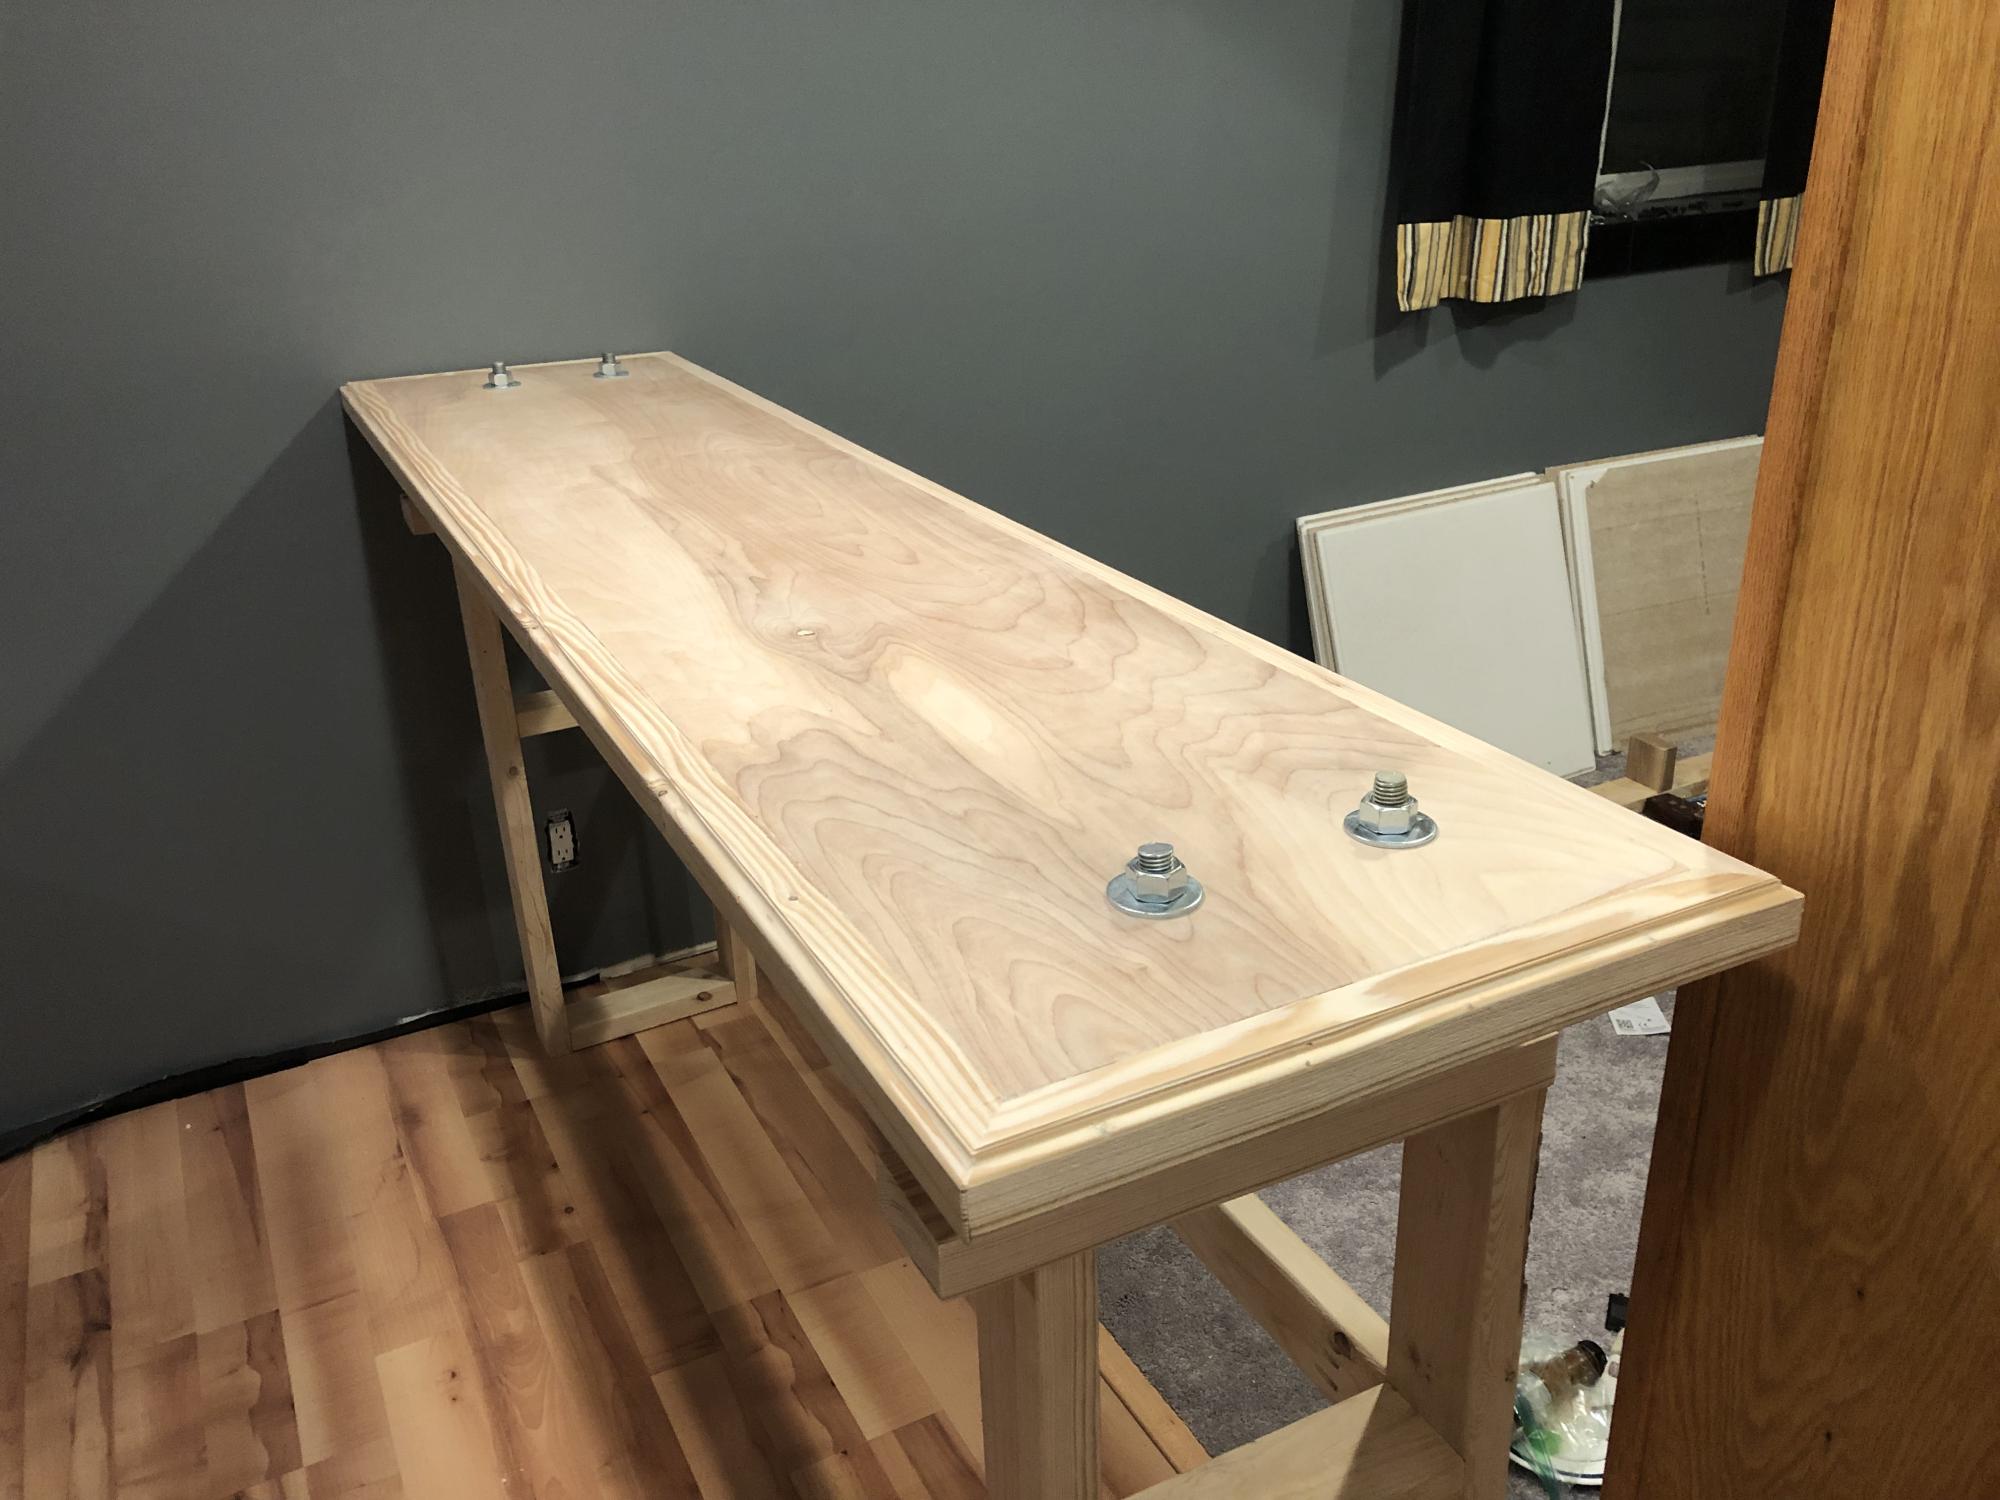
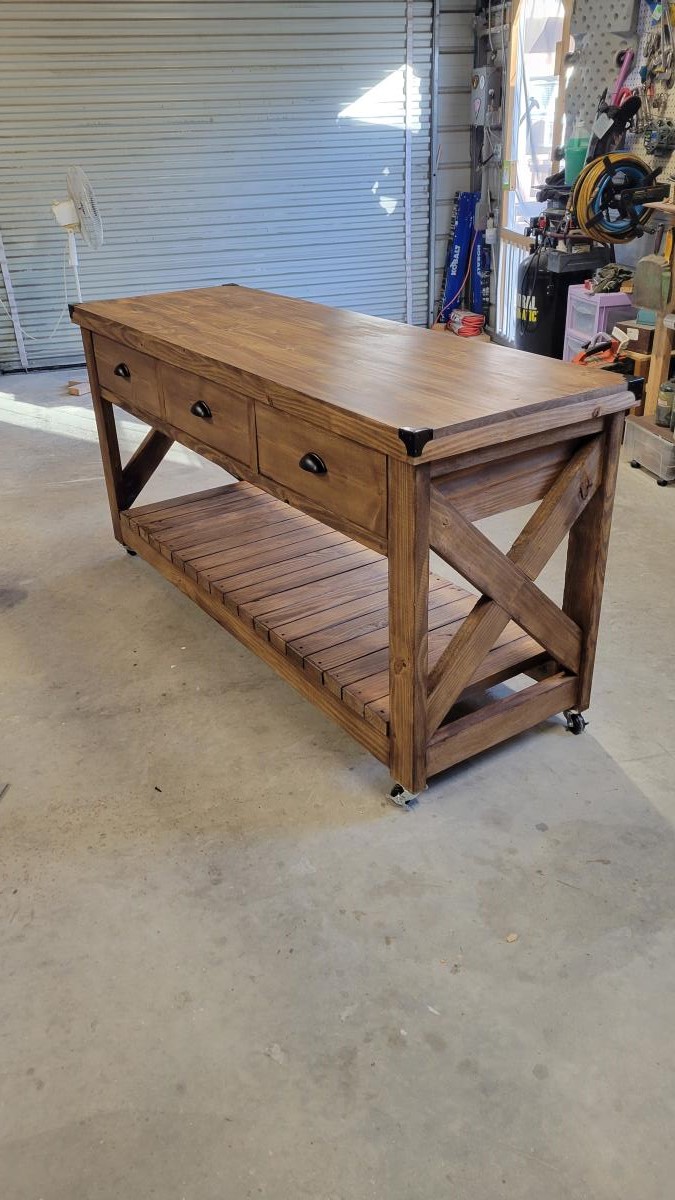
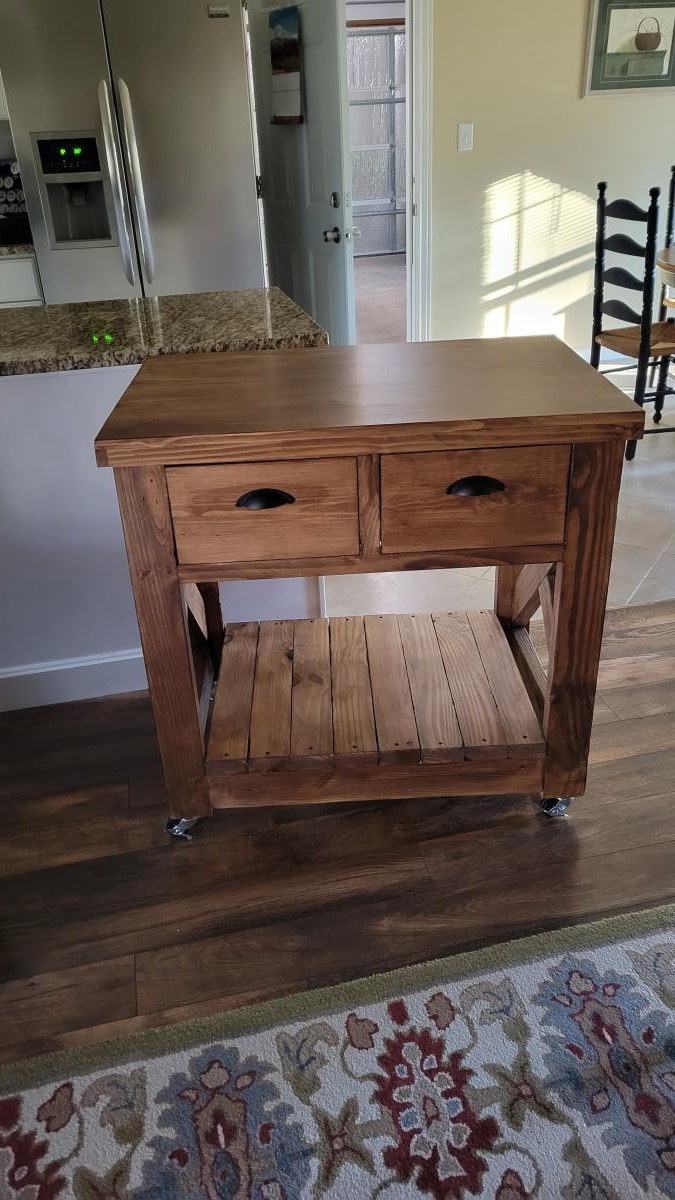
I need more seating in mu basement so I belt the sofa/bar. I used Ana’s plans of her outside bar table. Thank you


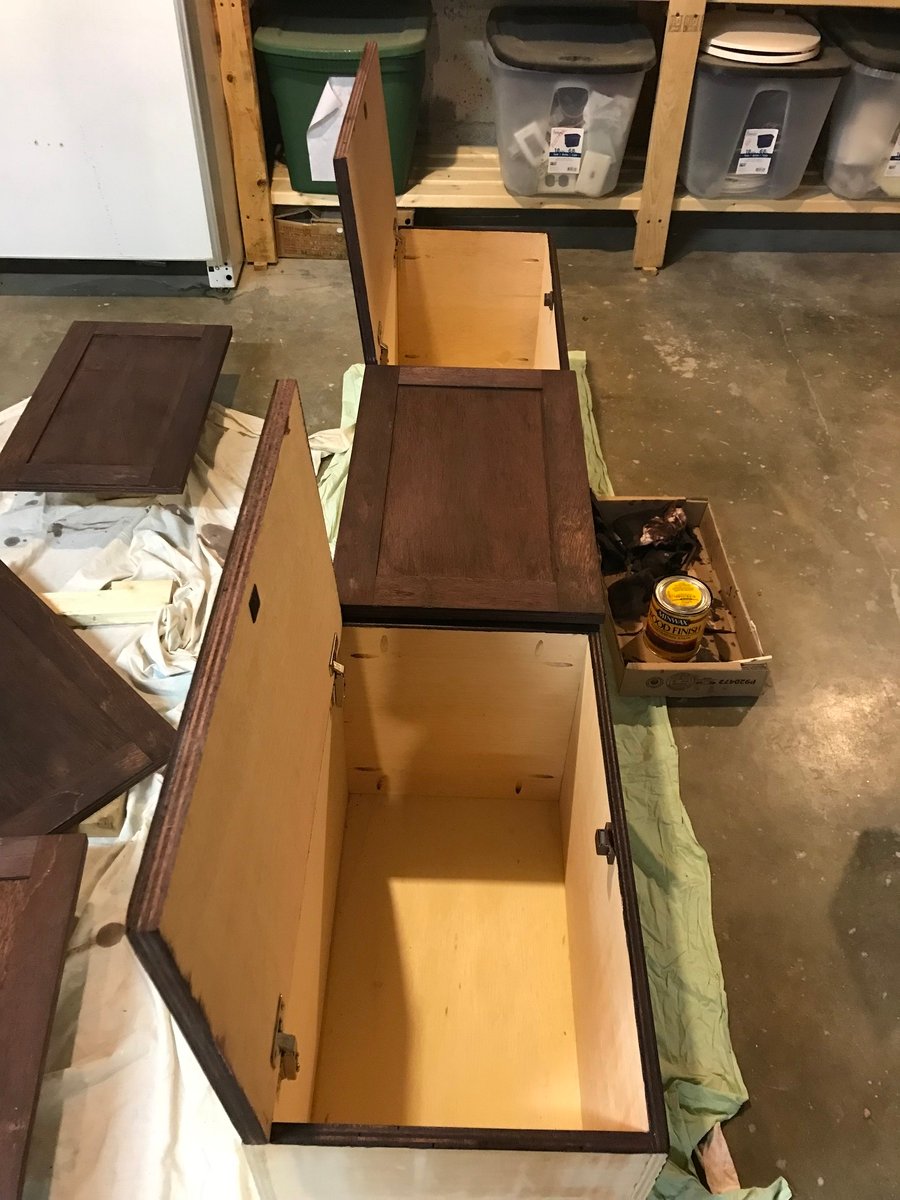
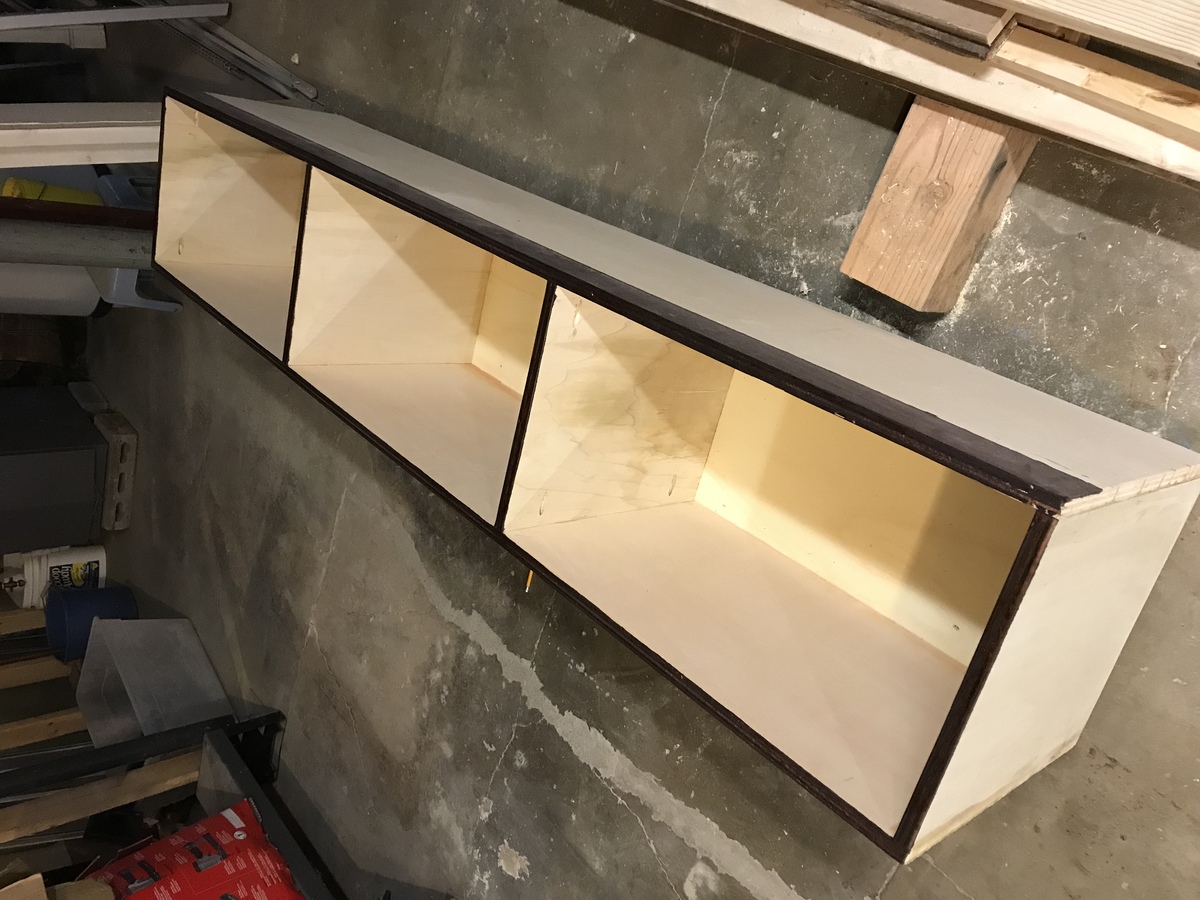
I didn't build this shoe dresser because I particularly needed one, but it looked so lovely that I couldn't resist.
- I modified the plans by building 3 bins instead of 2 so it could hold more shoes.
- I decided against the dowel stick and opted for hinges instead, which were surprisingly not too difficult to assemble. I found that I didn't even need the magnets after installing the hinges as the doors stay closed.
- I used 7" chains on both sides of each bin instead of a belt to make it extra sturdy.
- I added two back legs.
Et voila! This is the end result. I'm very pleased.
PS. Those flopping bins are a pain when you're trying to build!! An extra pair of hands is definitely recommended.


Fri, 07/05/2013 - 22:49
Pretty :) Good Job. Now if I only had the space for one thats 10 rows high :P I like the stain color too. Shanty 2 Chic always uses Rust-o-leum. I think its called dark walnut. Dont quote me though. I love the stain and spray paint combo colors they use.
~Melody
In reply to Nice Job by SoCaliforniaMel
Sat, 07/06/2013 - 20:00
Rust-o-leum, that's the one!
Yes, if only every woman could own a 10-row cabinet for all her shoes! :)
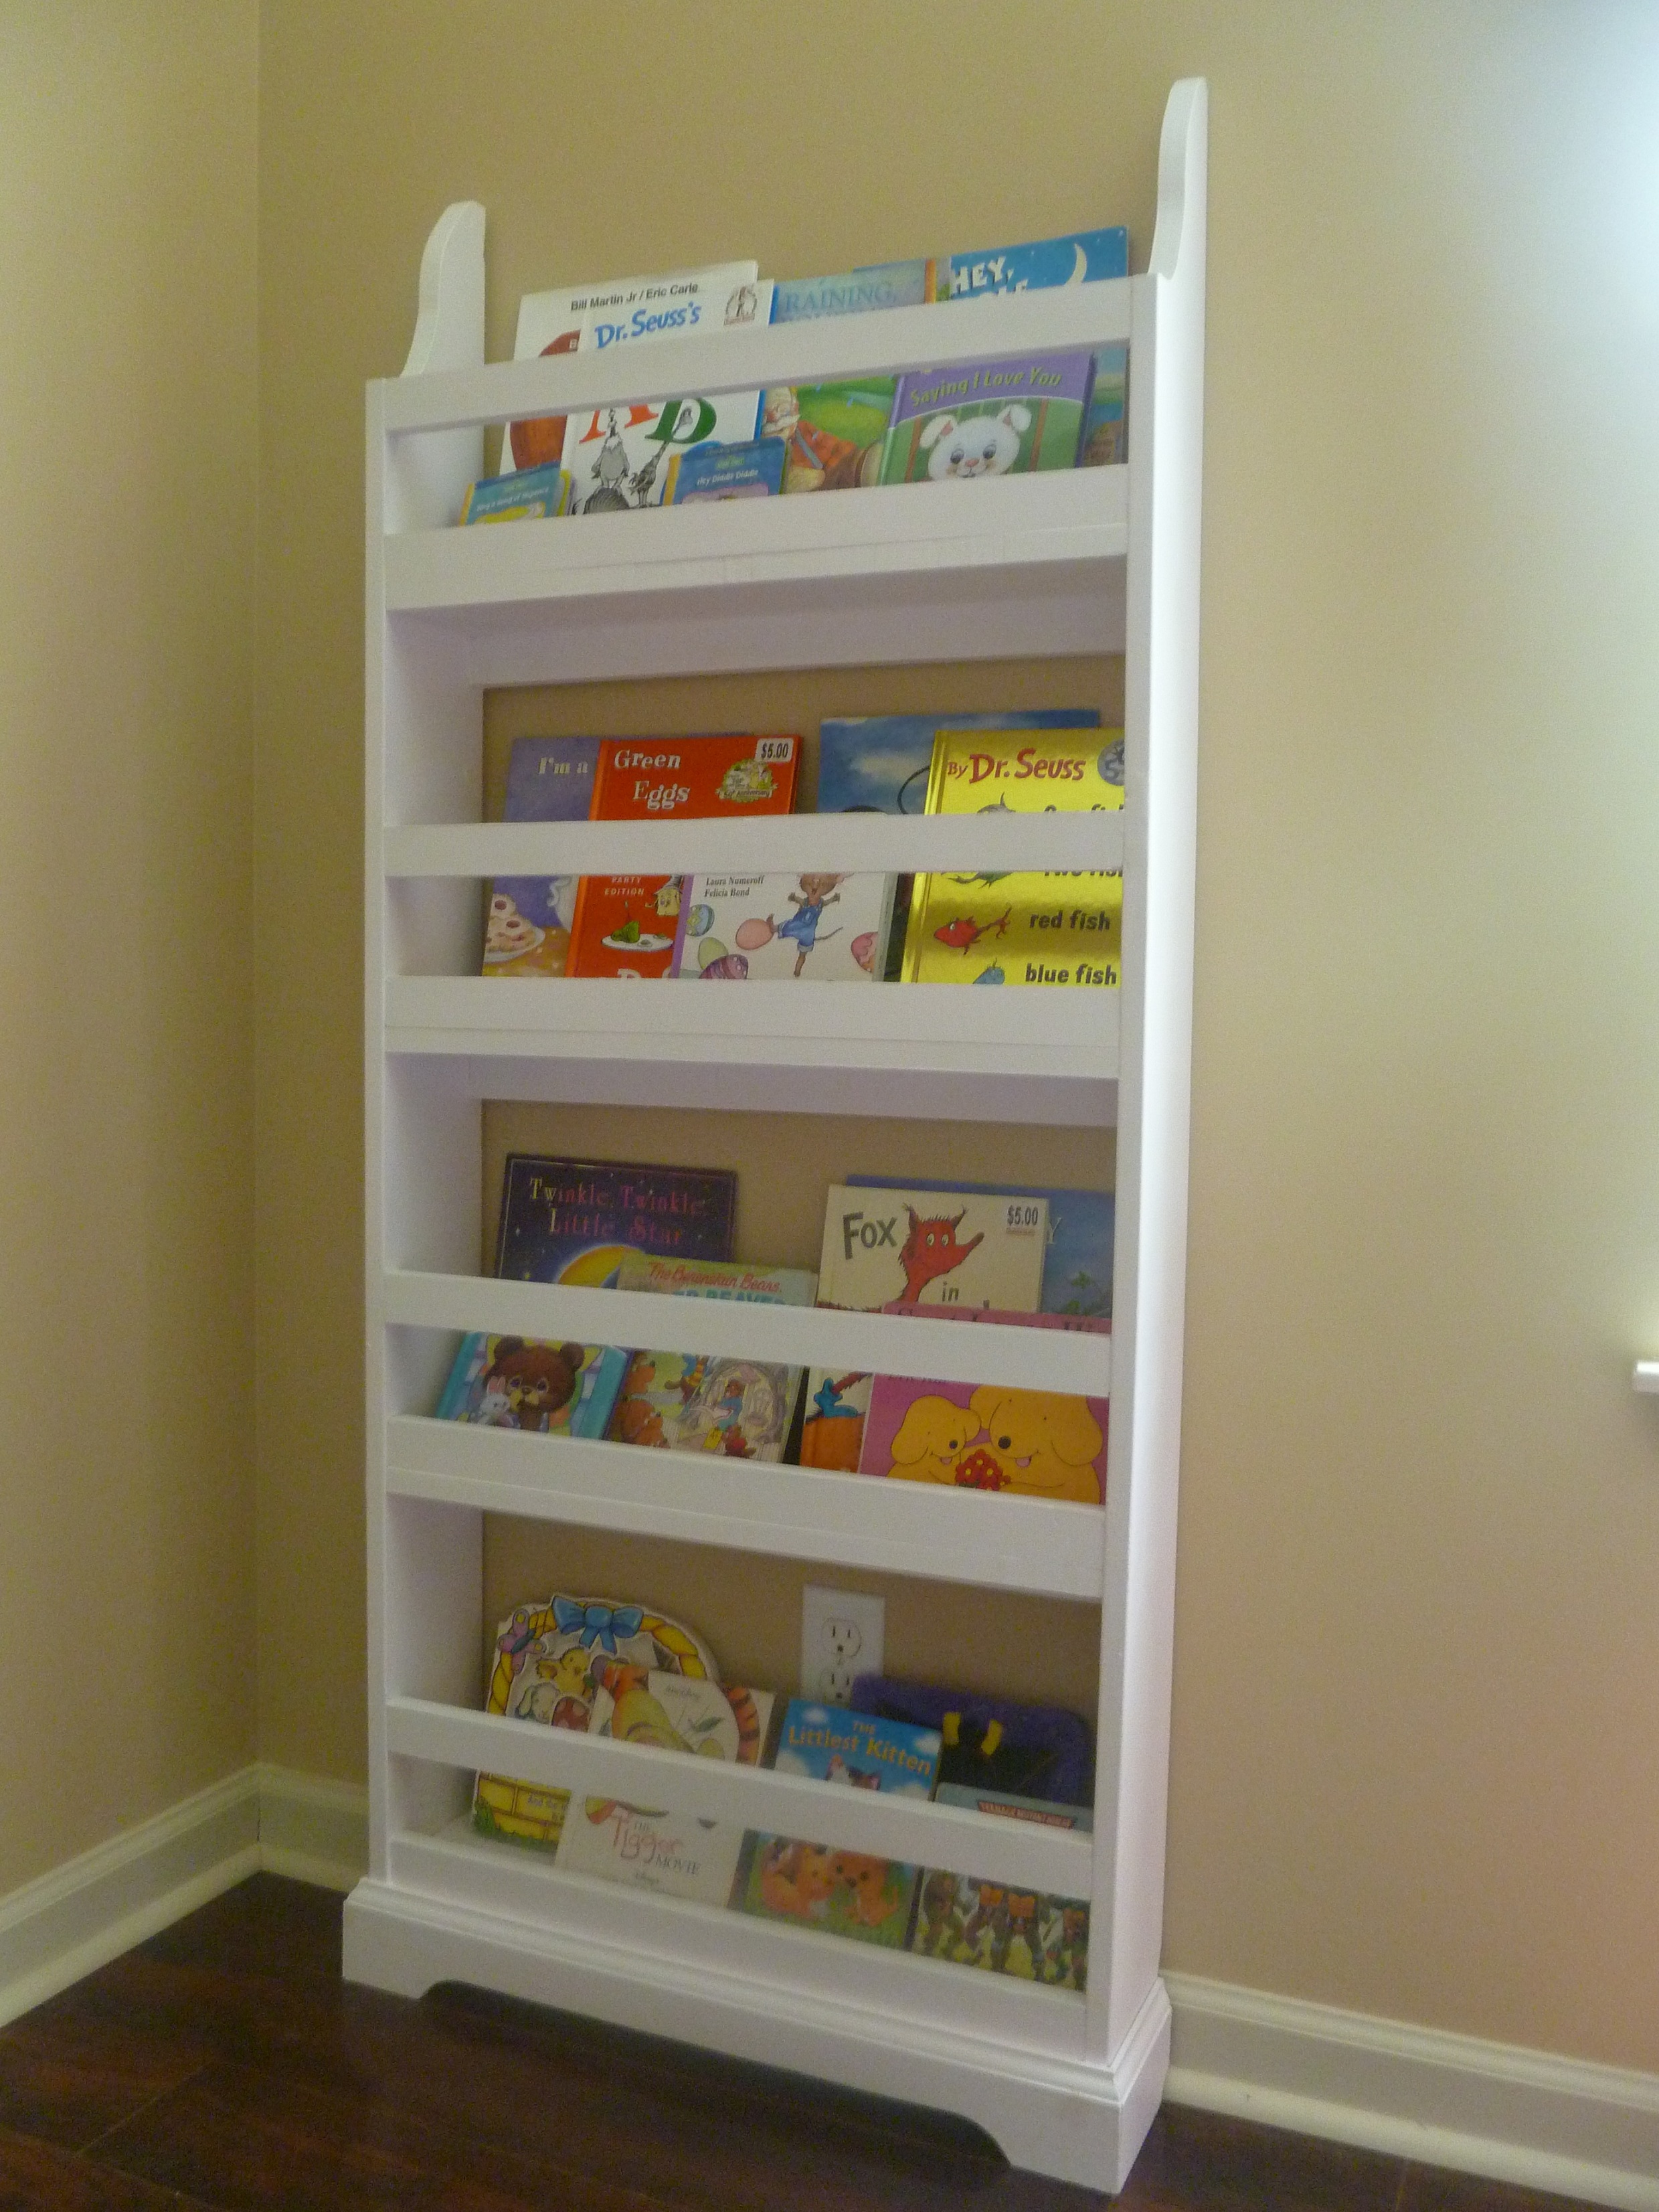
This plan was a breeze to put together (go out and buy some clamps if you don't have any!!) until I finished it, then looked at my wall and saw the baseboards. I really wanted it to be screwed/nailed into the wall, so it needed to be flush. That's where the nightmare being. Eventually (over a week later) I got that finished, however, and am loving my little one's new bookcase! I just can't decide where to put it now, in her bedroom or in her playroom. Maybe I'll make another and she'll have two! :D This plan was very simple to follow, and the materials weren't expensive, so I could definitely do that.
Still need to paint it. Perfect weekend project. Such an easy build! Thank you!
Used Ana's plans with a little modification.
I built 2 different sizes and donated to our church for their fellowship hall.
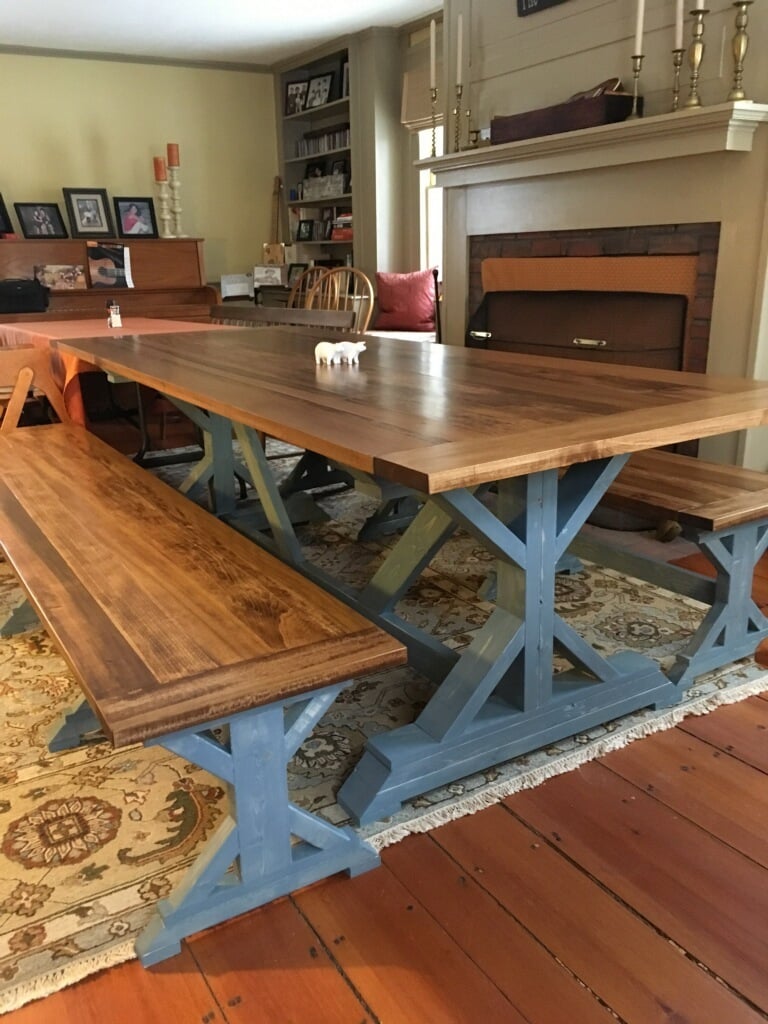
This was my first big furniture piece that I've built. I'm pretty happy with how it turned out. I used 5/4 poplar for the tops instead of the 2x10s for the table and 2x6s for the benches that the plans called for. Finished the tops with Minwax Early American stain then 3 coats of satin oil based polly. Finished the bottoms with water based Minwax tinted River Stone then coated with water based polly.
Wed, 03/14/2018 - 06:18
You did a great job, especially for your first big piece.
I love the River Stone color you chose for the bases, beautiful combination.

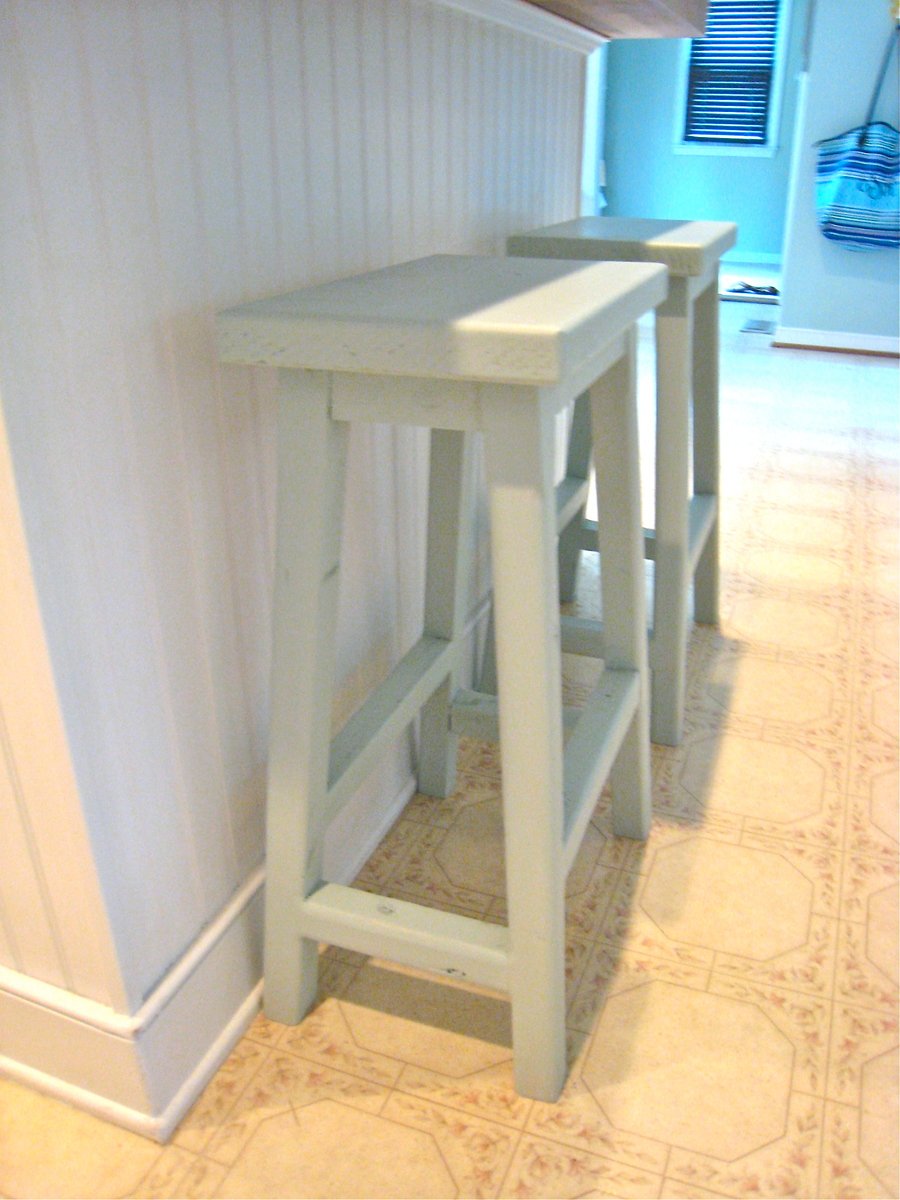
We've been looking for some saddle back stools for quite a while that would fit snug under our kitchen island. I couldn't find any, so I checked Ana-White and found the perfect building plan. I used scraps to build two matching stools and so I altered the plans to fit what I had. Other then the dimensions being different, I also used a 2x12" piece of wood cut down to 9x15" for the stool top.
I've documented the process as best as I could at; http://www.tommyandellie.com/Site/Home/Entries/2011/6/13_More_Seating_f…


Thu, 06/30/2011 - 04:50
I skipped a step that I might redo. I'd recommend taking some wood filler and spreading over the knots and imperfections before painting it. Sand it down, smooth it out, and it'll be Looking flawless.
Thu, 07/07/2011 - 15:02
I've been looking for some stools like this, so I followed your lead and just finished making some. Thanks so much for sharing!
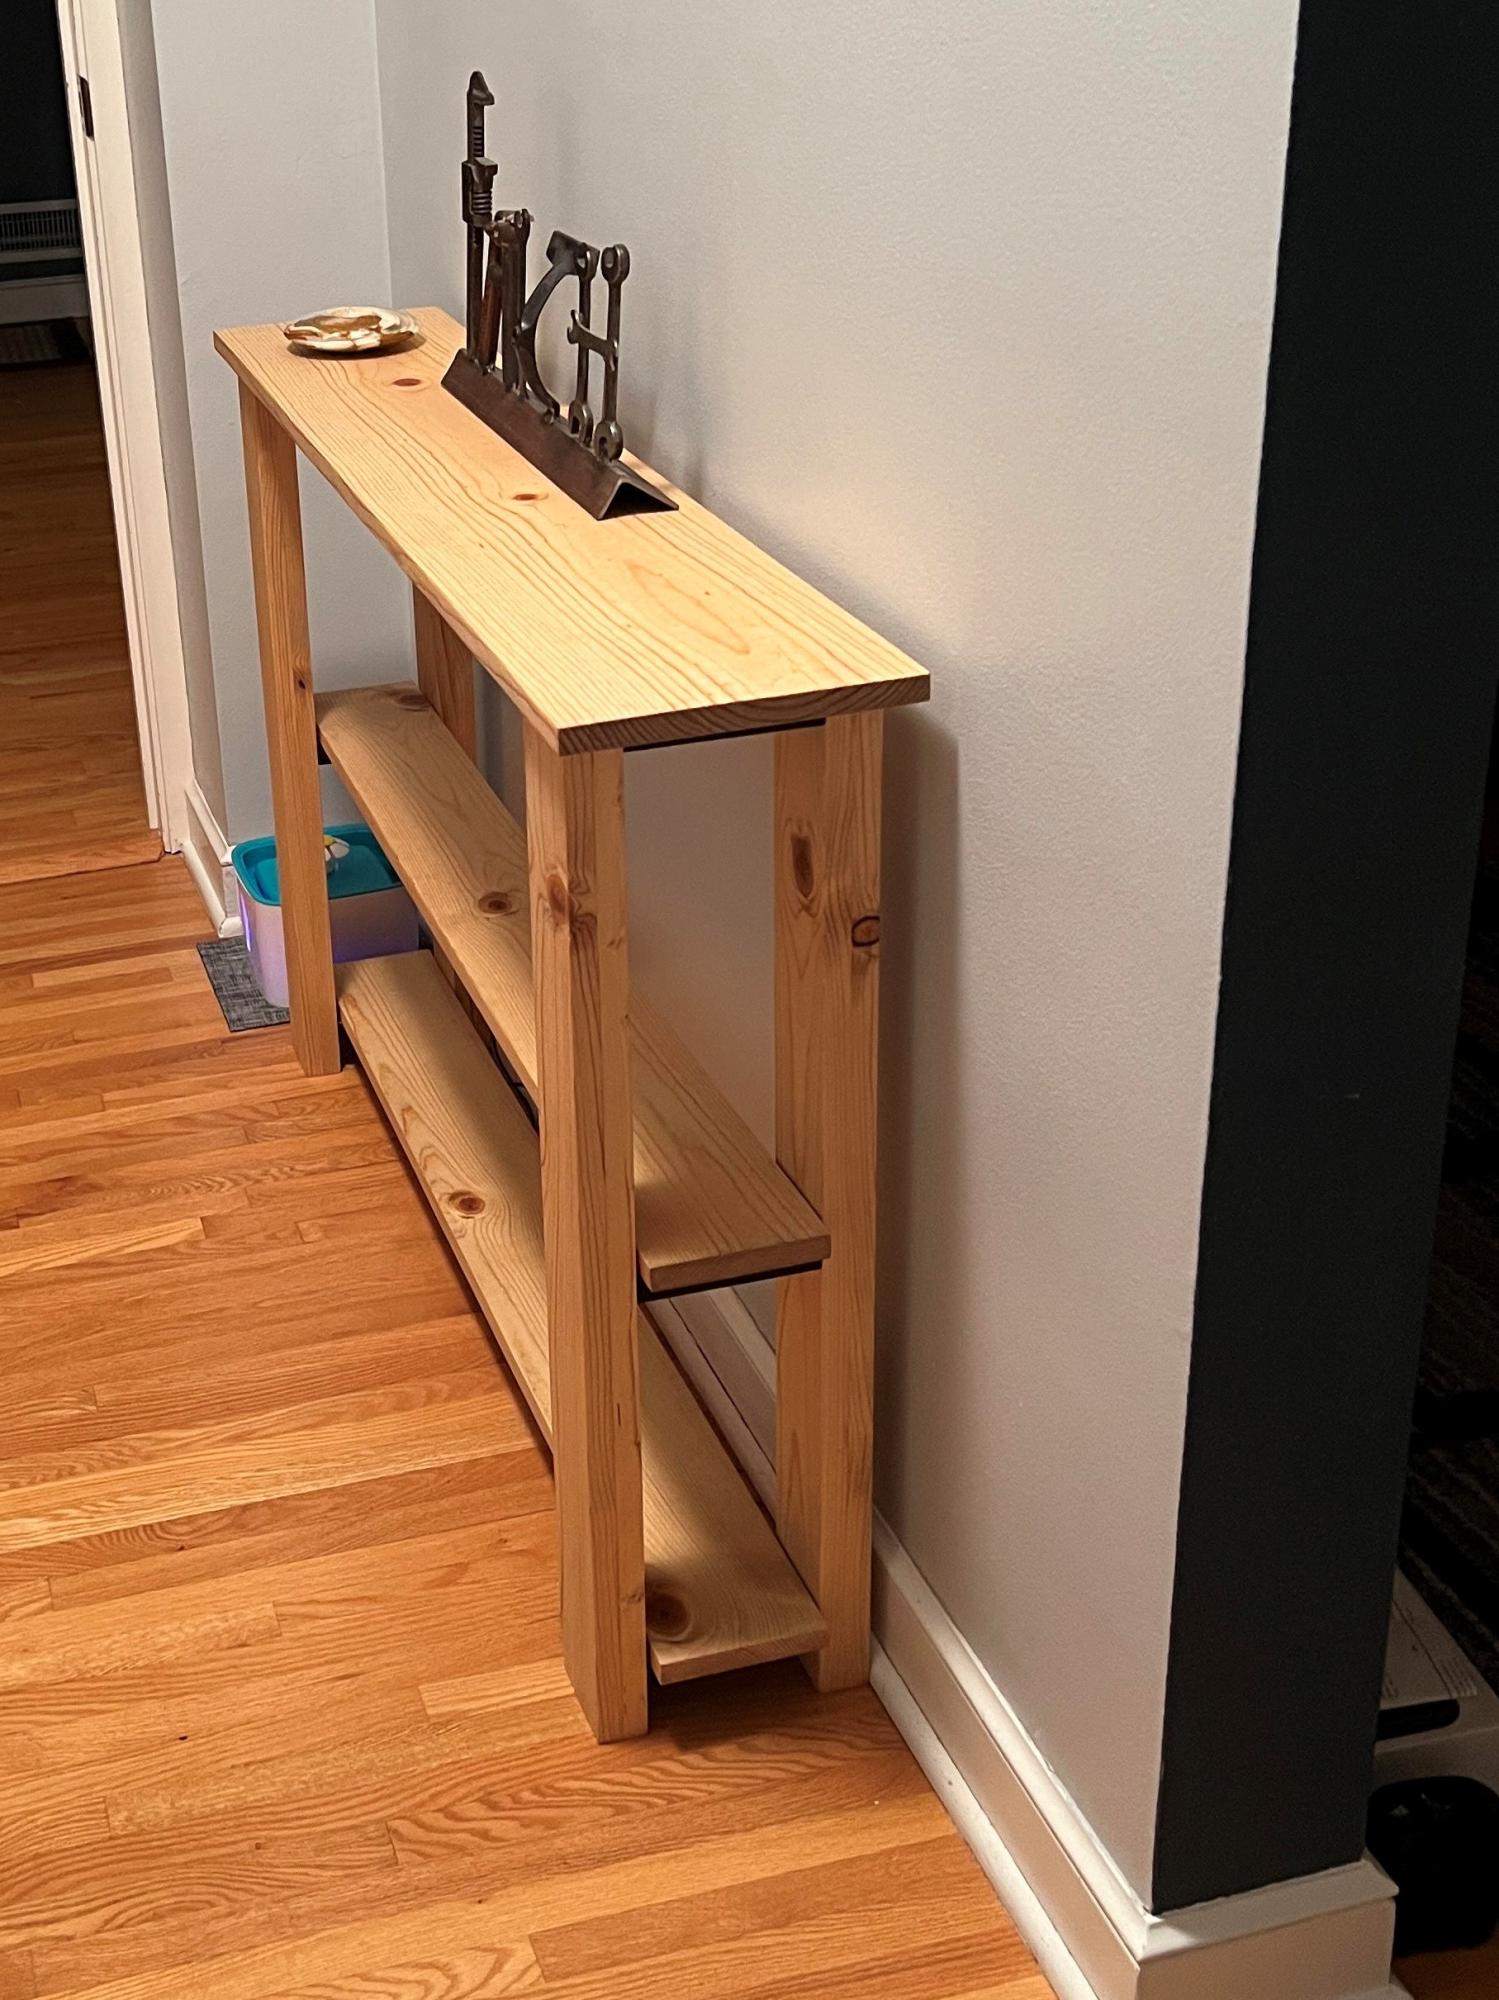
I used dimensional lumber for a little nicer look and laminated two boards for the legs. I used light walnut danish oil to finish. I adjusted the width and got It the perfect width for my hallway.