Tree Wall Shelf with lights
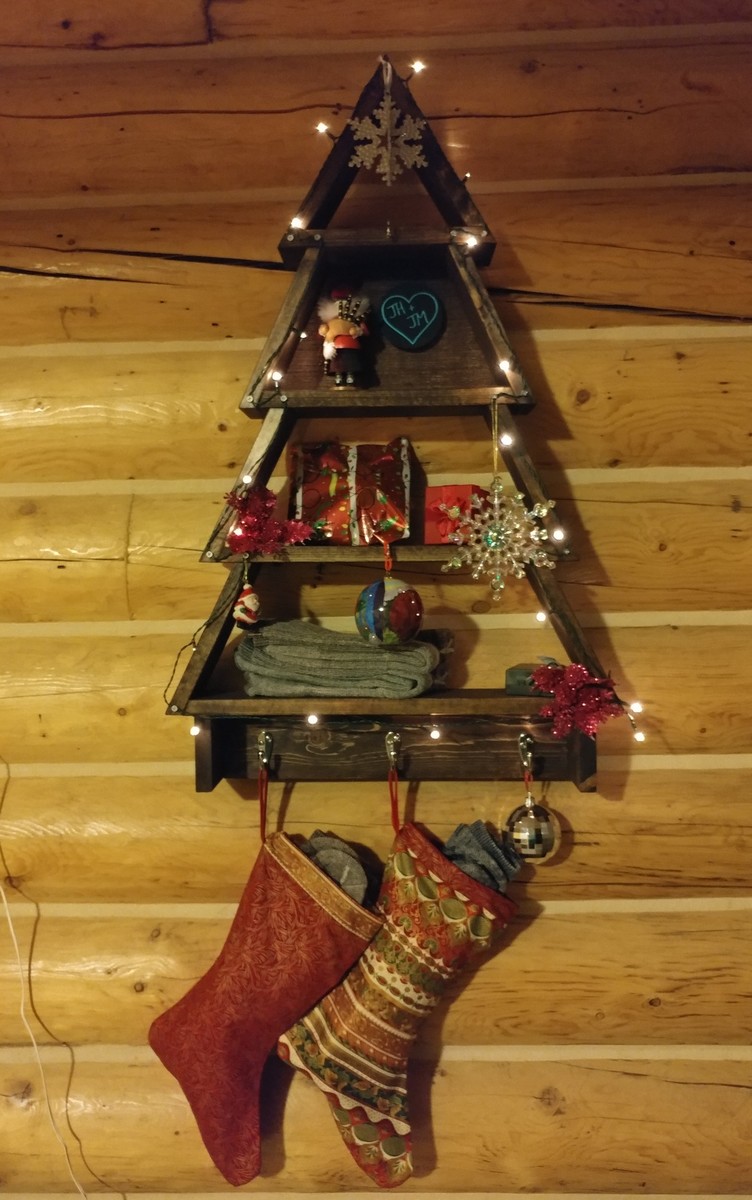
Quick, easy and inexpensive build... I opted not to do the rounded corners at the base of the tree as I was in a hurry.
Built from Plan(s)
Estimated Cost
$25
Estimated Time Investment
An Hour or Two (0-2 Hours)
Finish Used
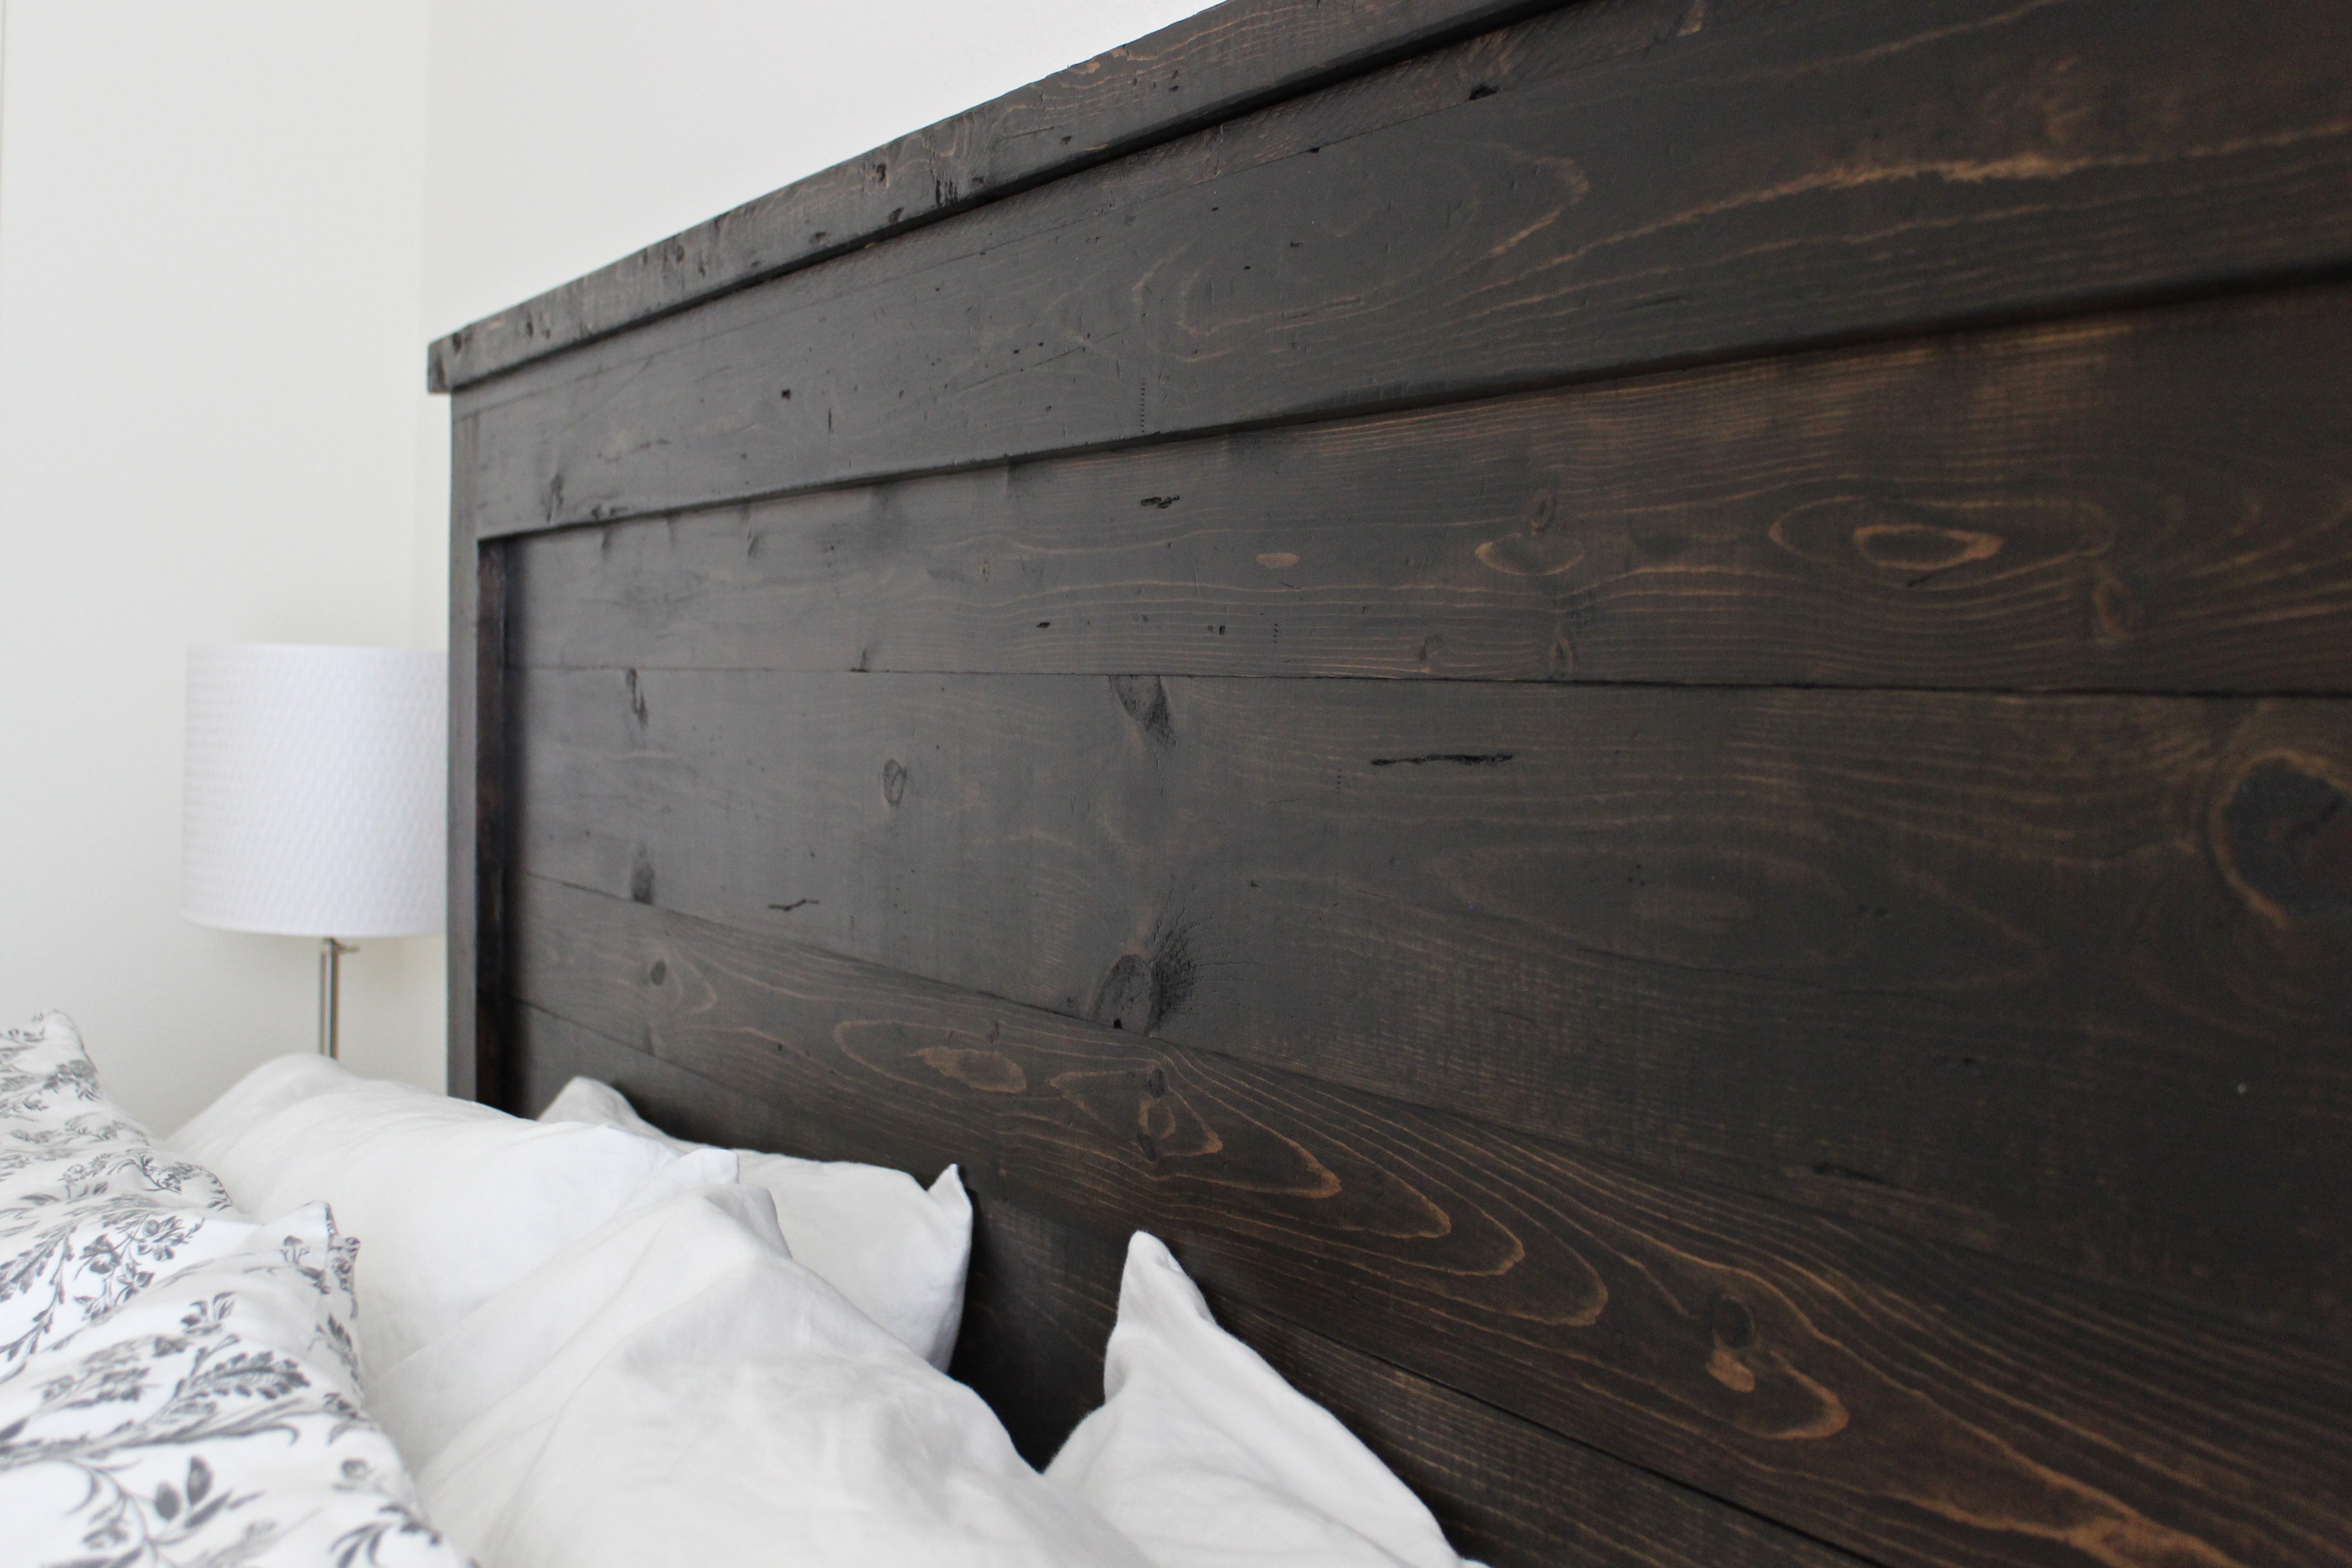
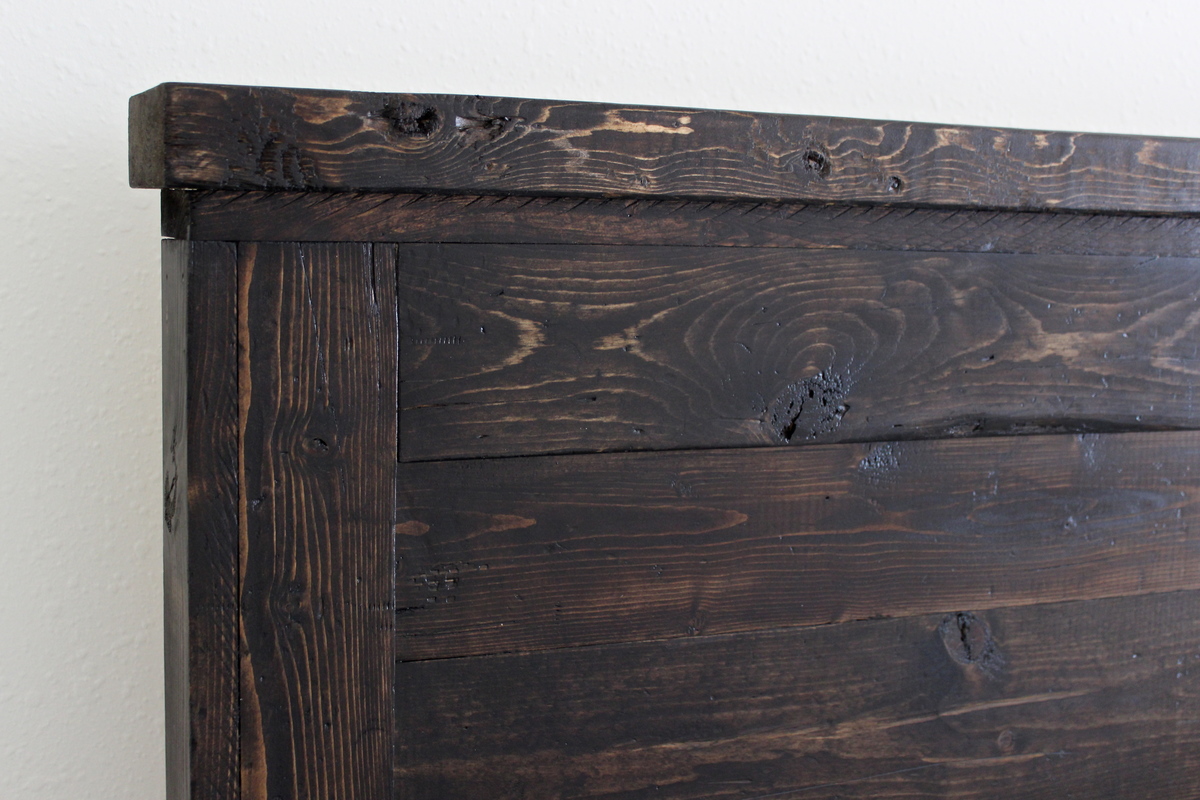
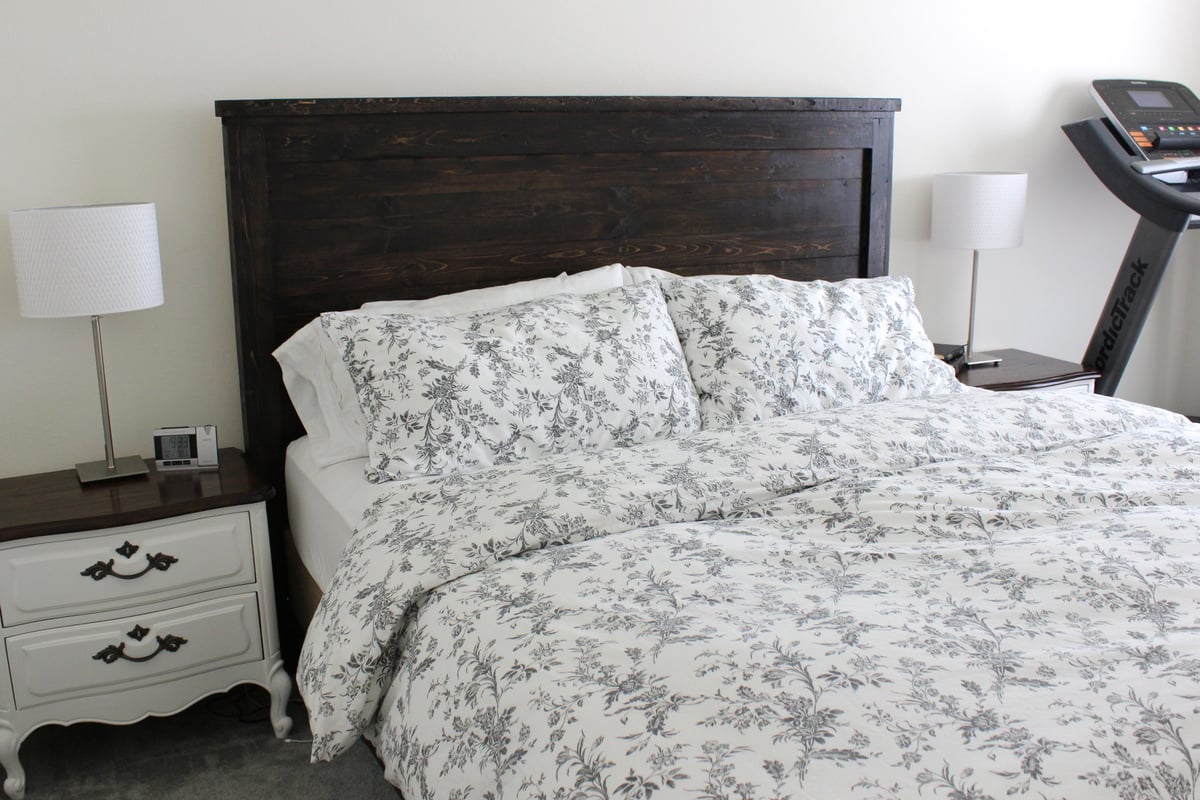
Minwax espresso
Recommended Skill Level
Beginner