Community Brag Posts

Thin Book Display Ledges

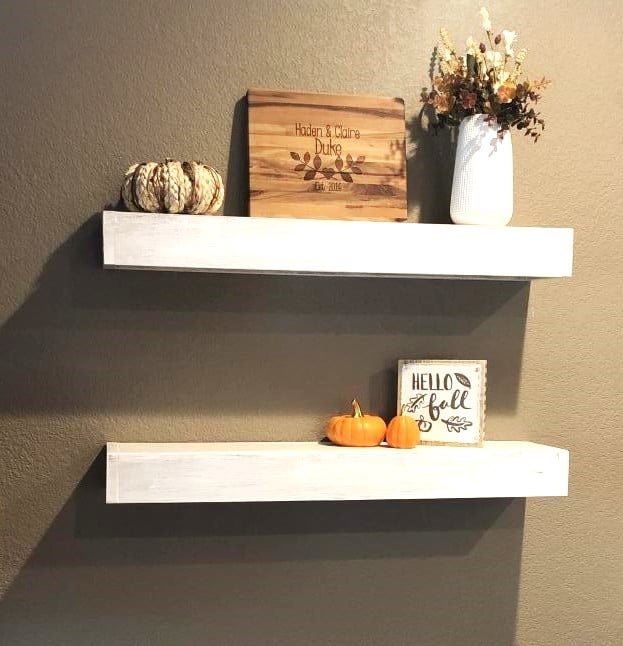
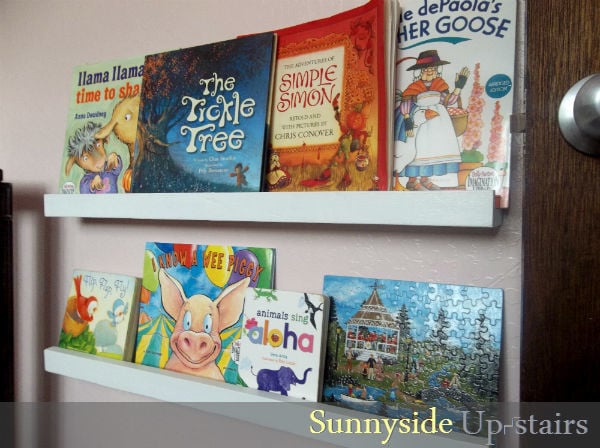
Using scraps I originally purchased from a Re-Use warehouse on my island (O'ahu), I put together two book display ledges for my daughter's bedroom. They are made with 2- 1x2s (lip and bottom) and 1- 1x4 (back). I was able to make two 28 3/4" ledges from first cut to installation in the 3 hours my daughter had gone on a "field trip" with my mom and brother and surprised her with new book ledges when she got home. :)

Built from Plan(s)
Estimated Cost
$1.40
Estimated Time Investment
Afternoon Project (3-6 Hours)
Finish Used
Olympic (No VOC) Semi-Gloss White
Recommended Skill Level
Starter Project

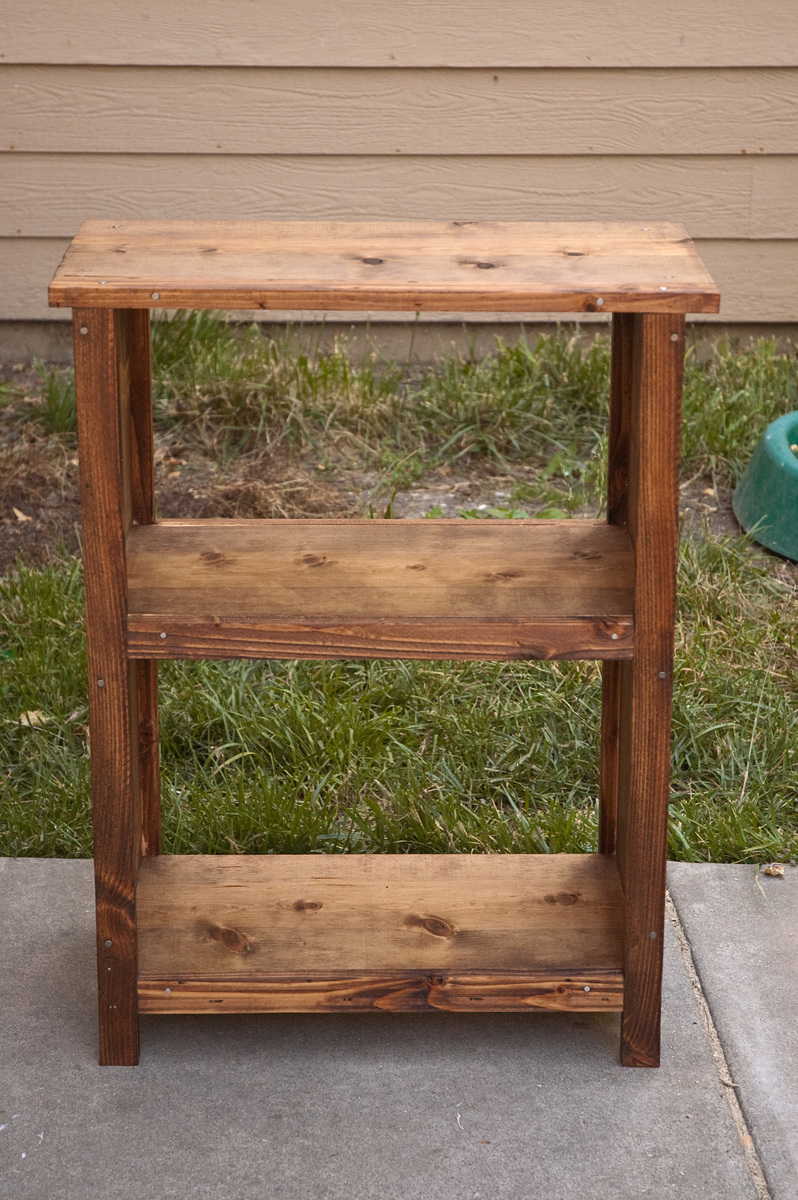
Simple Bookshelf

Submitted by binah06 on Thu, 05/26/2011 - 18:47

Came together pretty easily. Took about half a day.

Built from Plan(s)
Estimated Cost
$20 for wood, $20 for screws, nails, sandpaper and stain
Estimated Time Investment
Afternoon Project (3-6 Hours)
Finish Used
Minwax stain in Provincial. Tung oil as a finish. Might put a better finish on later.
Recommended Skill Level
Starter Project

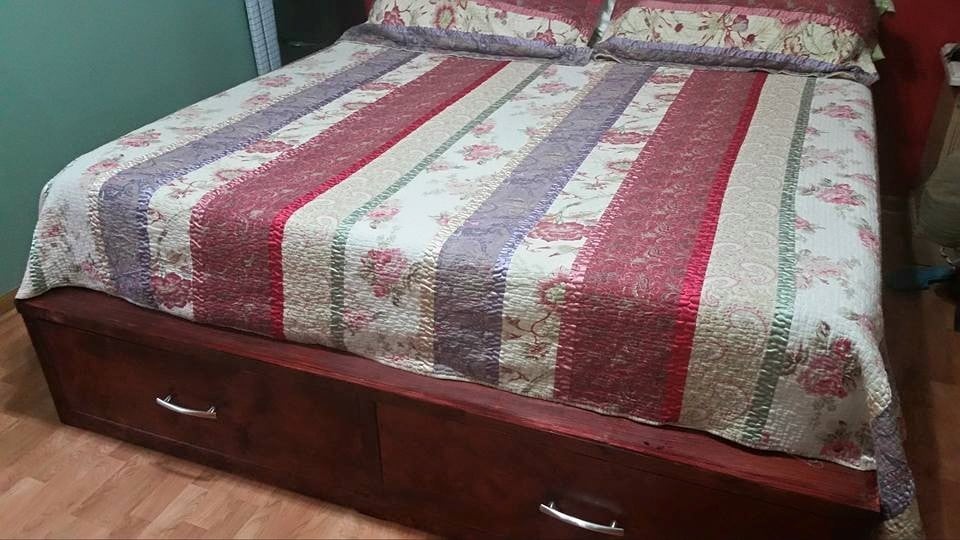
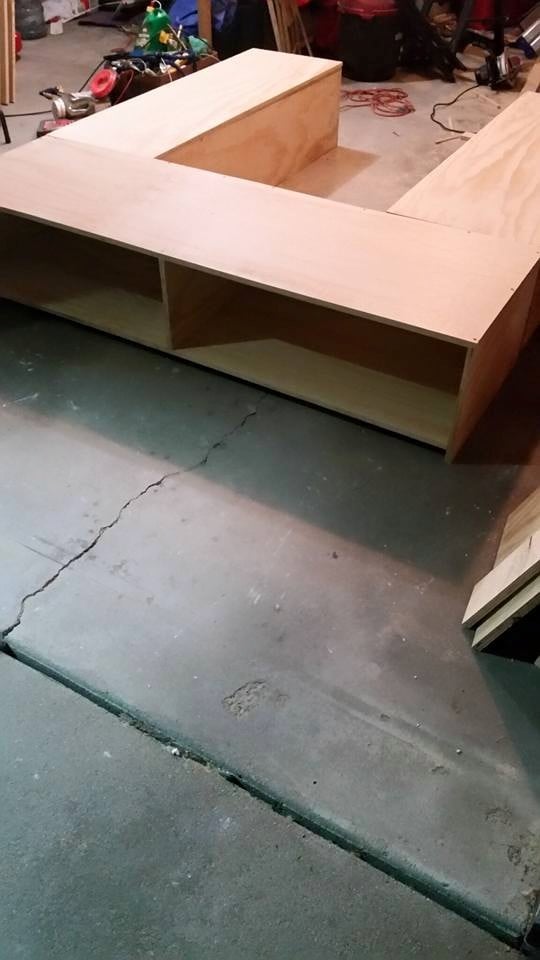
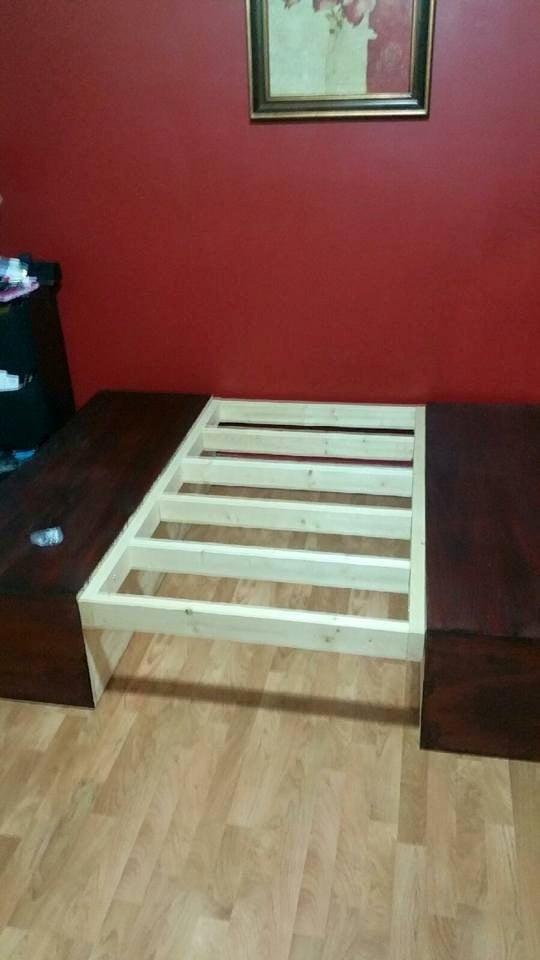
King Storage bed

Submitted by Pbelton40 on Mon, 07/20/2015 - 06:57

From start to completion, it was exactly two weeks.  One of those weeks, I was sick and didn't get a chance to do much.  I believe we picked the hottest days to work on this project, so we were taking more breaks than actually working.

Built from Plan(s)
Estimated Time Investment
Week Long Project (20 Hours or More)
Finish Used
Bombay Mahogany stain
Recommended Skill Level
Beginner

Outdoor Canopy Daybed Modified

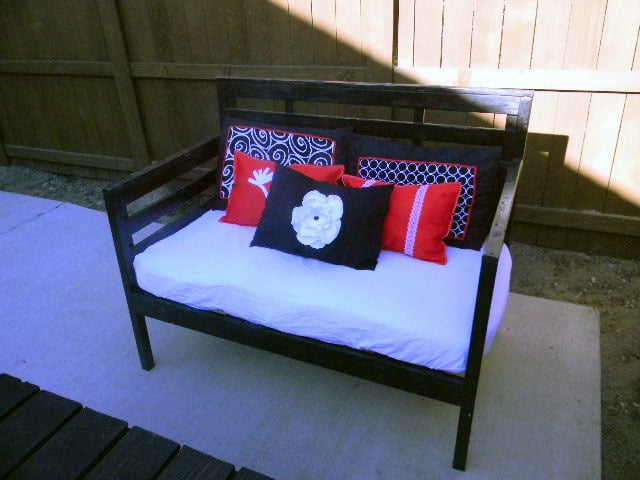
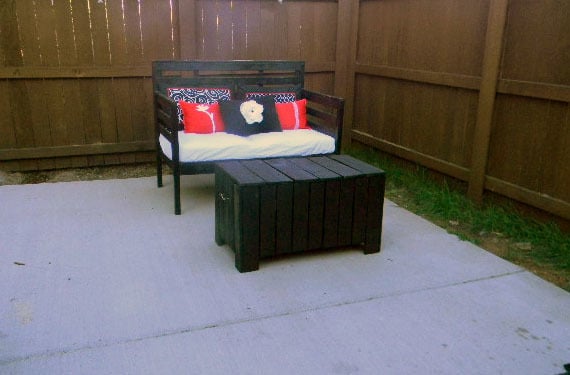
I really loved the outdoor daybed, but after discussing it with my husband we decided to go without the canopy feature. We, also resized the bed from a twin size to a toddler size (which happened to be almost the same dimensions as our love seat). In order to make the daybed without the canopy, I had to put the top pieces on last in order to have them go all the way from edge to edge. All in all, this was a super easy project, and I had a lot of fun doing it!

I got the crib mattress free of craigslist, and since a crib mattress is already covered with vinyl, I didn't do anything extra to waterproof it, and the fabric came from the home decor remnants section at our local fabric store for $4 a yard, which I applied a 40% coupon to. The throw pillows are not the ones we will be using, but I haven't made those yet, so these are just for looks :)

Estimated Cost
I spent a total of $63 with stain, screws and enough wood left over to make a table to match
Estimated Time Investment
Day Project (6-9 Hours)
Finish Used
I used minewax stain in ebony, and applied several coats to get the look I was going for... I don't typically like stain, and I probably won't use it for a project like this again...
Recommended Skill Level
Beginner

Comments

brookifer86

Mon, 06/06/2011 - 13:56

I love this! The fact that it's bench-sized, that it fits a waterproofed crib mattress, all of it! I'm totally doing something like this with the crib mattress we got secondhand.

CreativeBaggage

Sat, 06/11/2011 - 00:13

I think now that I have done this one, I may do one with the canopy for my daughter's room... Ana has so many amazing plans, I have the hardest time making up my mind on anything! But, so far this has held up great.

Tanya (not verified)

Tue, 07/26/2011 - 11:33

Going to be making the outdoor daybed for my daughter this weekend and think this will make a very great reading bench for her room! We are going to make a bunch of throw pillows out of old sheets and just make it nice and comfy looking!

CreativeBaggage

Tue, 07/26/2011 - 11:38

I absolutely love that idea, and the thought of re-using old sheets to make new pillows. For these ones, I used some fabric I had around and a bag of fill, but when I ran out I was in search for old teddy bears no longer being played with :) I would love to see pictures when you are finished!

King Farm House Bed

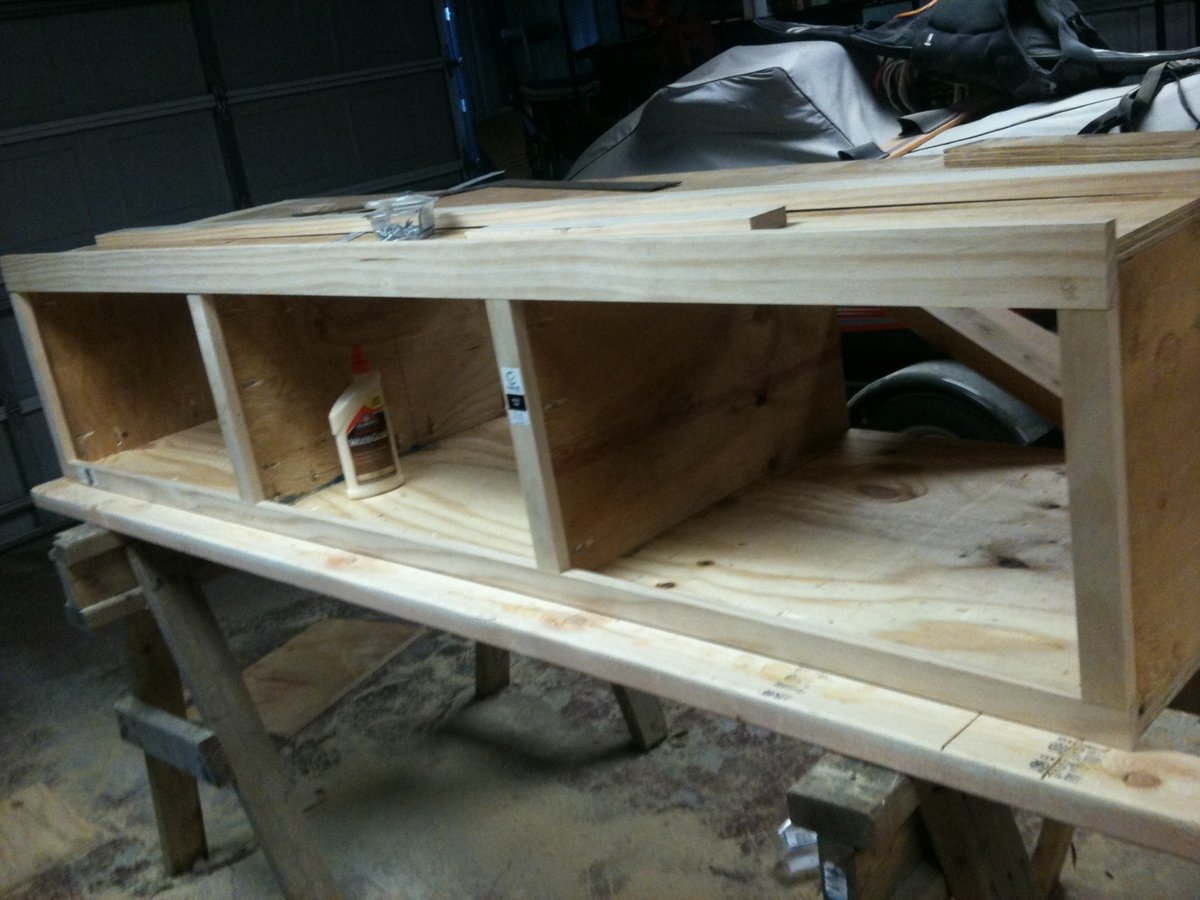
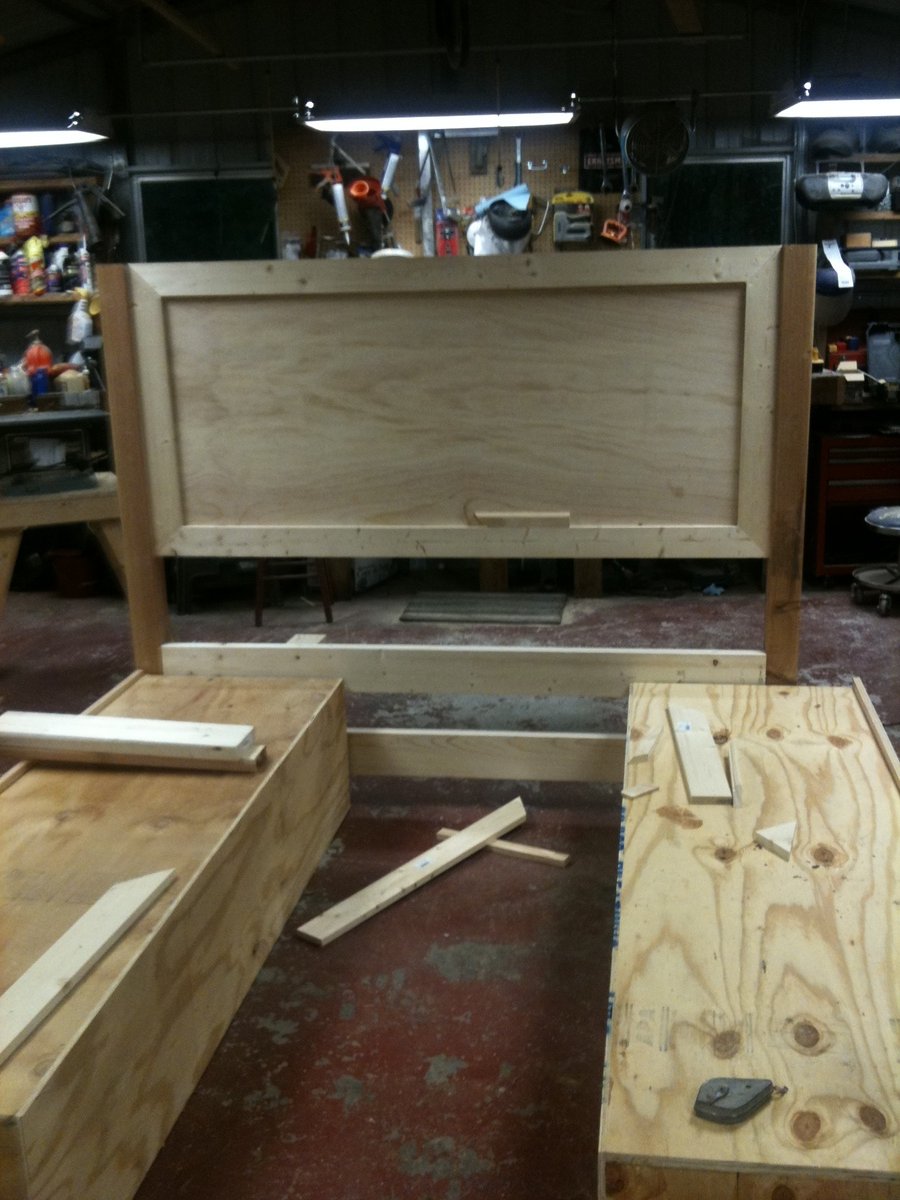
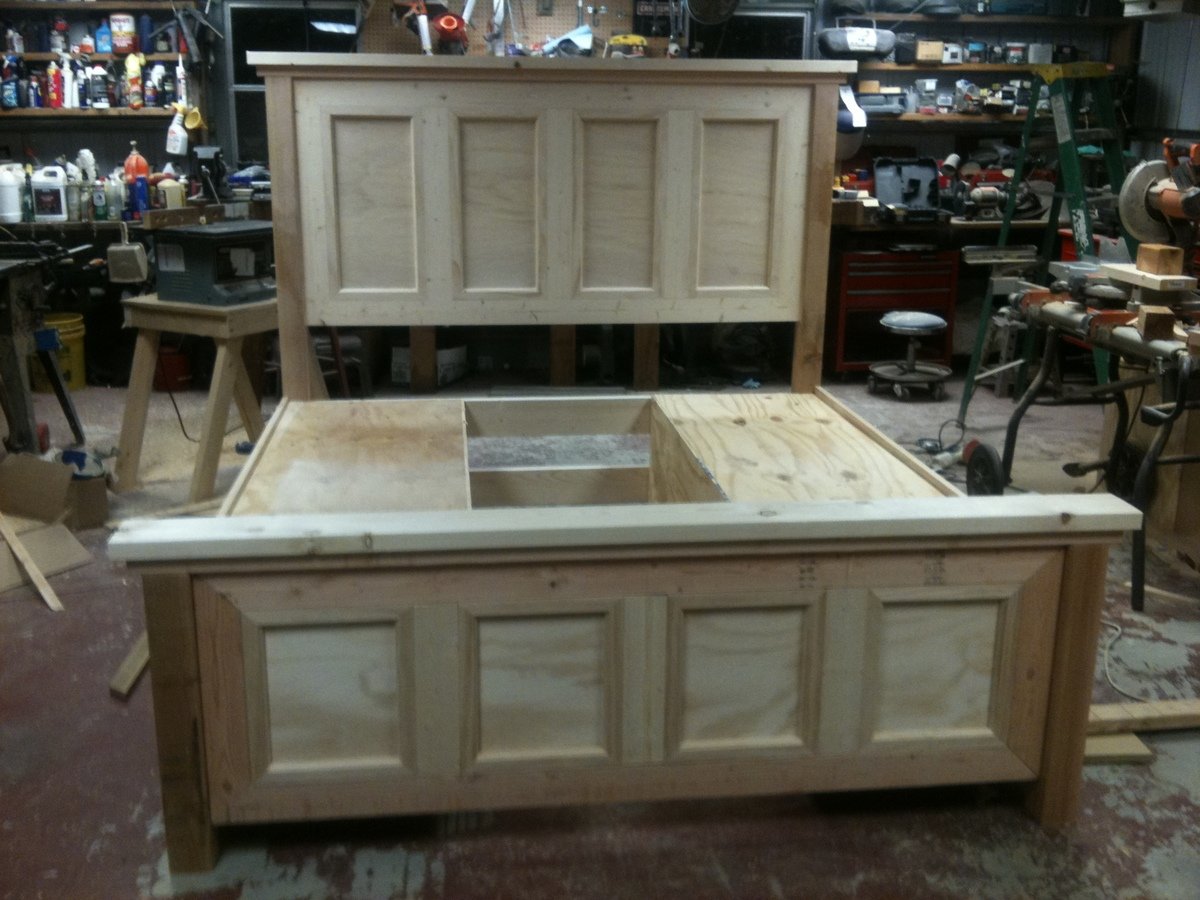
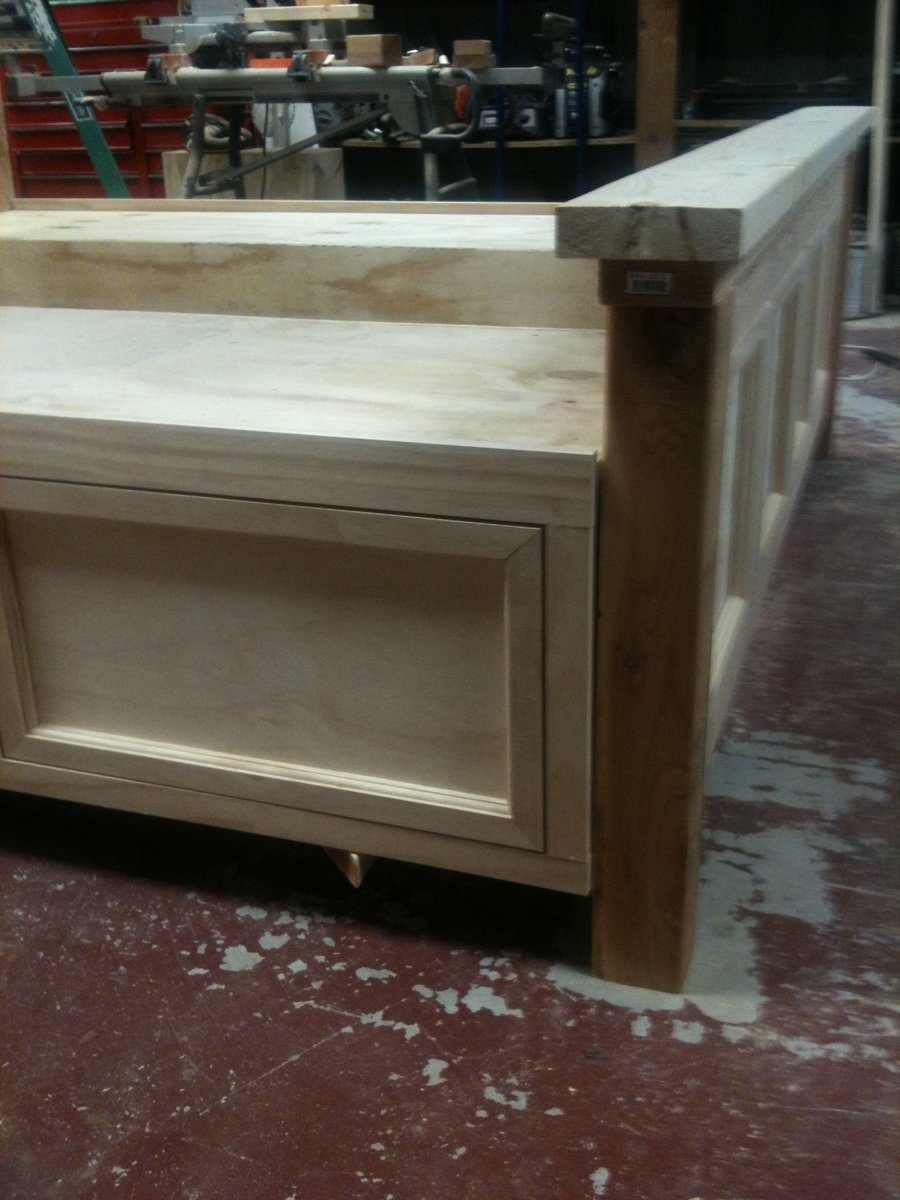
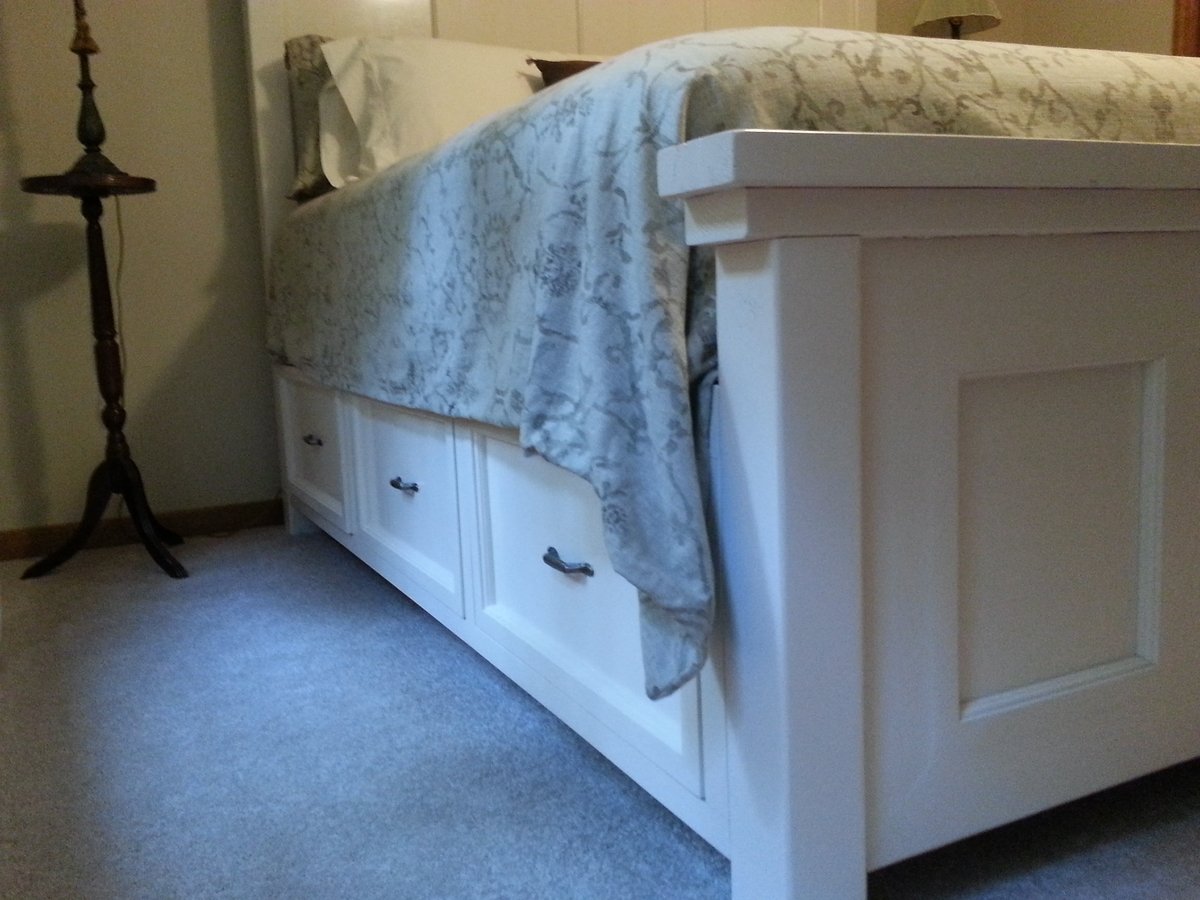
My husband designed this after the farm house bed. I wanted panels on the head board and foot board to "dress it up a bit" and storage drawers. He did a wonderful job. I don't think I have ever had a more prized piece of furniture. Now to find some tall night stands.

Estimated Time Investment
Week Long Project (20 Hours or More)
Finish Used
Off white oil based semi gloss paint
Recommended Skill Level
Intermediate

Comments

vanash2012

Wed, 09/23/2015 - 11:54

Any chance you or your husband would share the adjusted plans to include the storage under mattress?

Thank you so much! love your site and your work!

vanessalust

Thu, 01/21/2016 - 21:52

Hi Ana! 

I was wondering if you had the plans available for this bed with the drawers underneath and the head and foot board ? 


:) thank you!

vanessa

nateleejohnson

Fri, 02/10/2017 - 05:27

What a beautiful bed.  Like others I was looking for the plans for the headboard and drawers.  Are they available?

Thanks,


Nate

danthony313

Sun, 12/17/2017 - 16:03

the wife loves this design but are there plans for the whole thing yet?

Tacoma9596

Wed, 09/25/2019 - 10:40

Ana,

   Can you provide plans with pics for this bed?   My wife wants it and I got tasked with doing it.

Cat Condo

Submitted by Me-go-Eco on Tue, 08/09/2011 - 10:20

Built my sister a cat condo before she moved so she could take it with her to her new house. Made out of carpet remnants, and scrap wood, so it was FREE! hahaha. I like free! Don't you?

Estimated Time Investment
Day Project (6-9 Hours)
Recommended Skill Level
Beginner

Dining Room Buffet Cabinet

Submitted by kdins31 on Sat, 08/13/2011 - 11:26

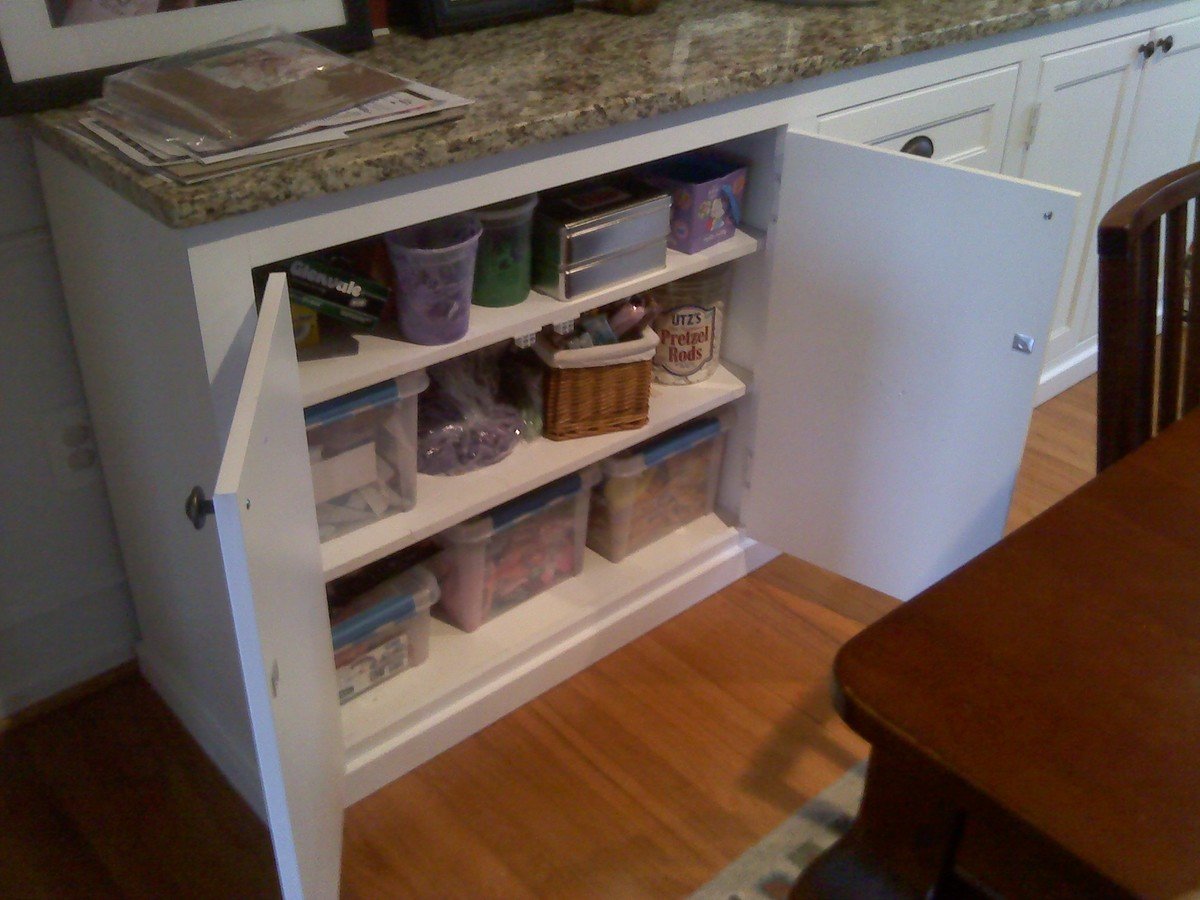
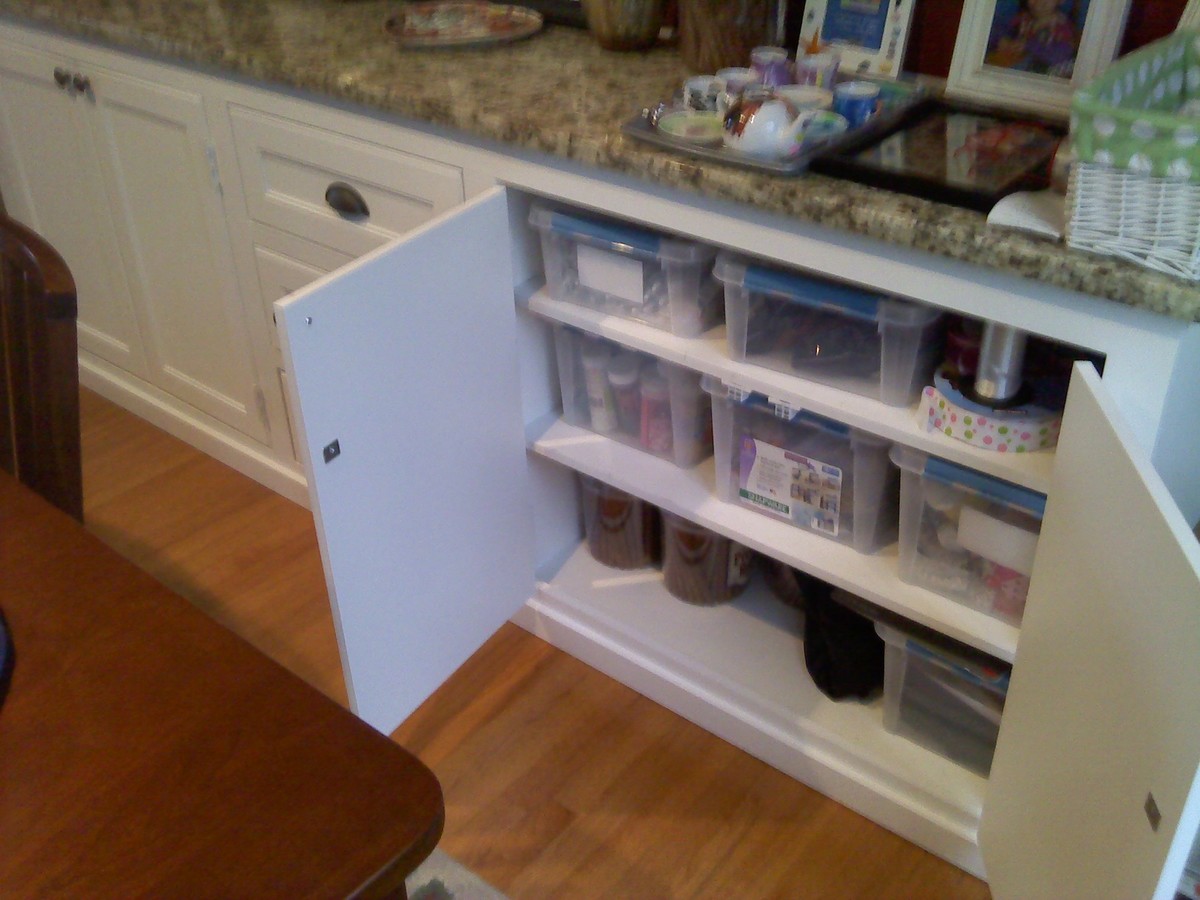
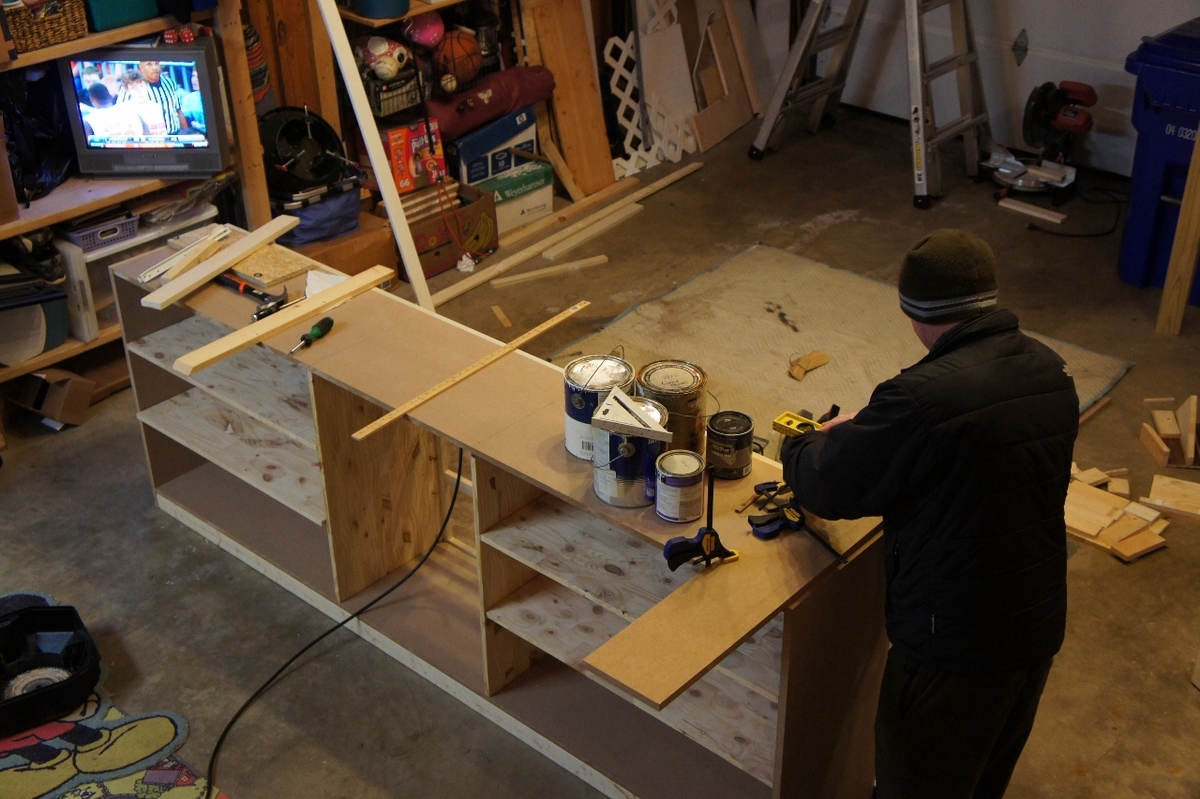
I scoured the web unsuccessfully for months trying to find a cabinet big enough to store everything we needed to store. I wanted something huge and bright and simple, and so I decided to just build away. It's 8'4" long, 18" deep and 36" tall. Topped with a slab of Giallo Napoleon granite and painted a nice plain white. Took me only a few nights to build and paint, thanks to my power nailer and power paint sprayer. Thanks to a great deal on a remnant granite slab, this was just about $400 total start to finish. I winged the entire plan and didn't really use any plans in particular, though I have gathered many great ideas and tips from this site.

Built from Plan(s)
Estimated Cost
$450-500
Estimated Time Investment
Weekend Project (10-20 Hours)
Finish Used
Satin white, nothing special!
Recommended Skill Level
Intermediate

Comments

shanestric

Sat, 08/13/2011 - 14:51

Wow - looks great! You would think it was done by a pro! You should be very proud of your finished product.

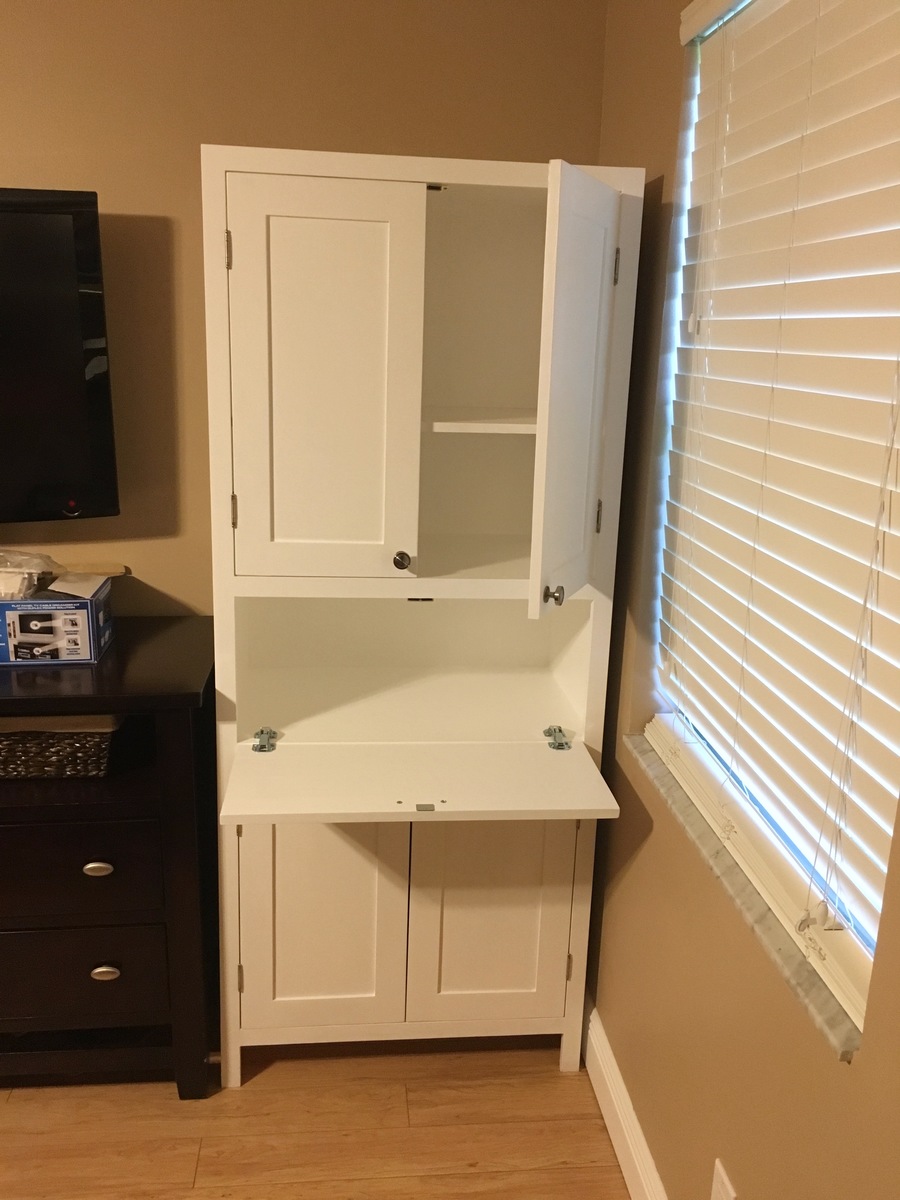
Secretary/Storage cabinet

Submitted by Kirch3333 on Mon, 11/02/2015 - 05:39

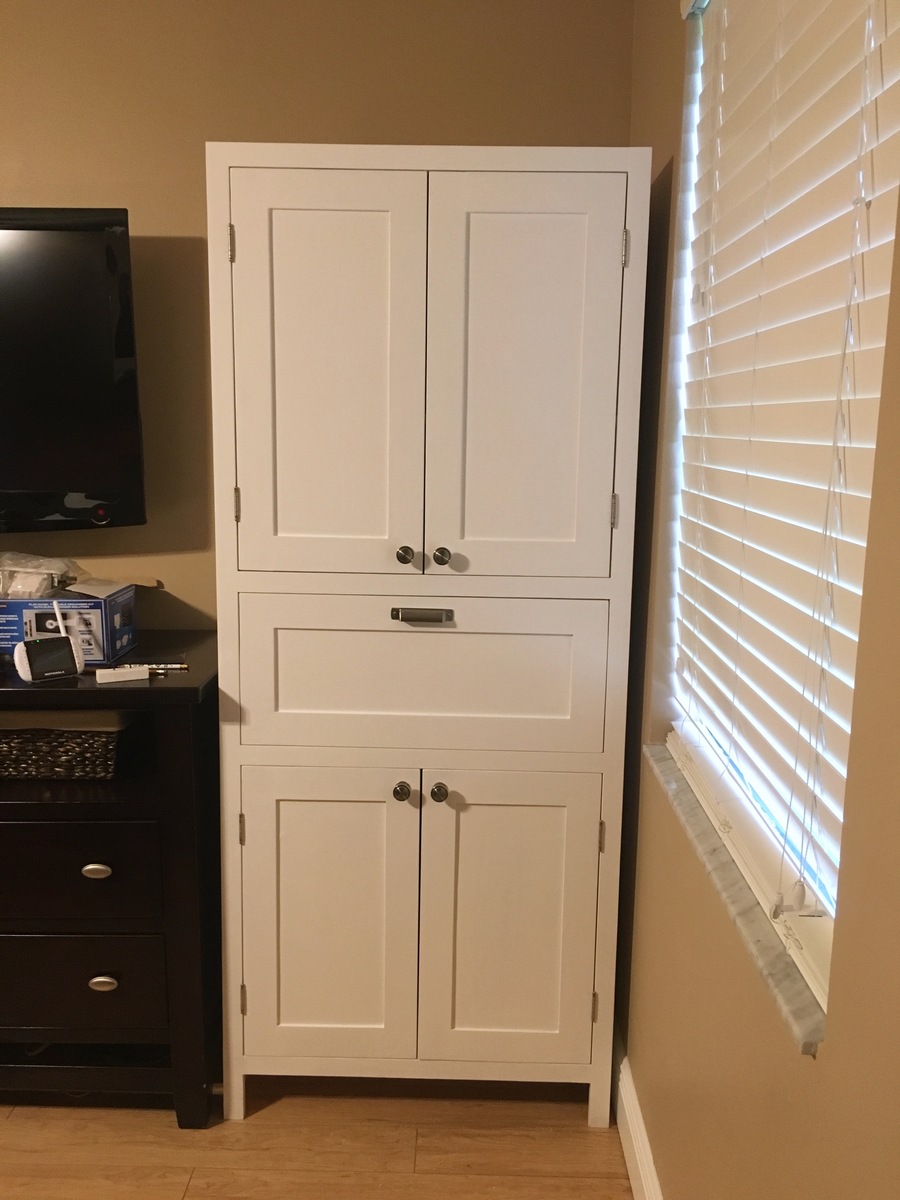
Inspired by the Tall Secretary with mail slots but with my own twist/needs incorporated in it. Finished with pure white satin paint.

Estimated Cost
$150
Estimated Time Investment
Week Long Project (20 Hours or More)
Finish Used
Pure white Behr satin enamel paint, finished with Varathane Matte Soft Touch Polyurethane
Recommended Skill Level
Intermediate

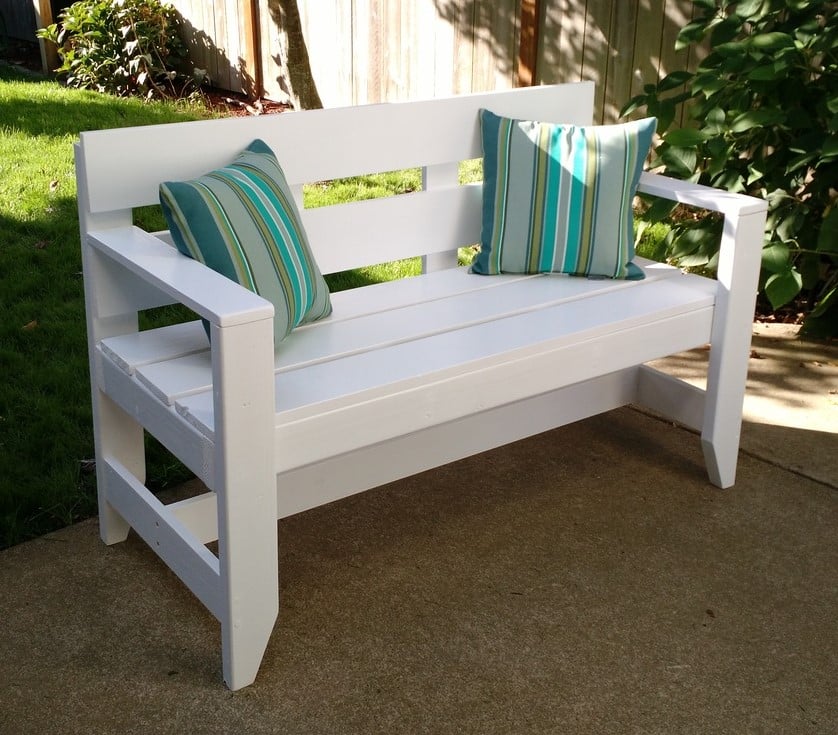
Bench

Submitted by marchand on Thu, 11/12/2015 - 14:52

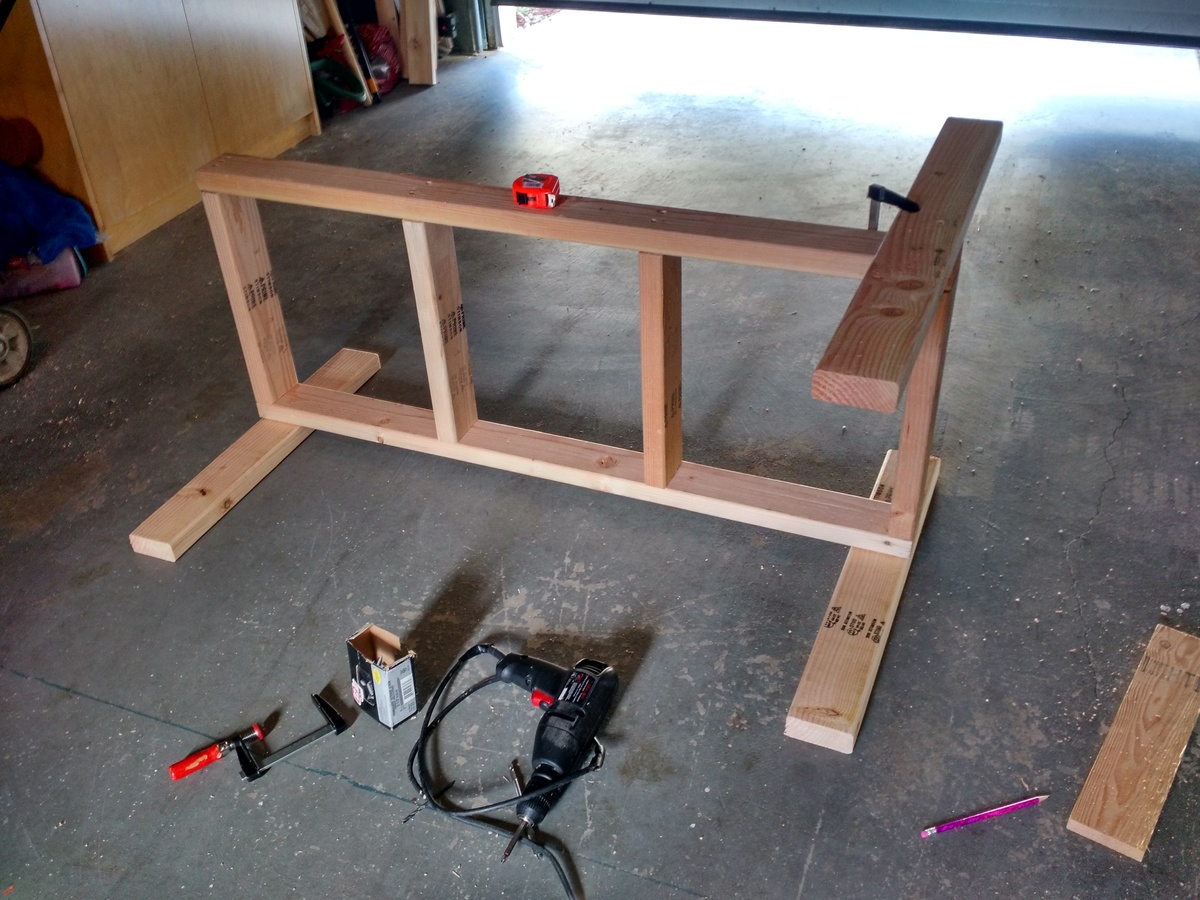
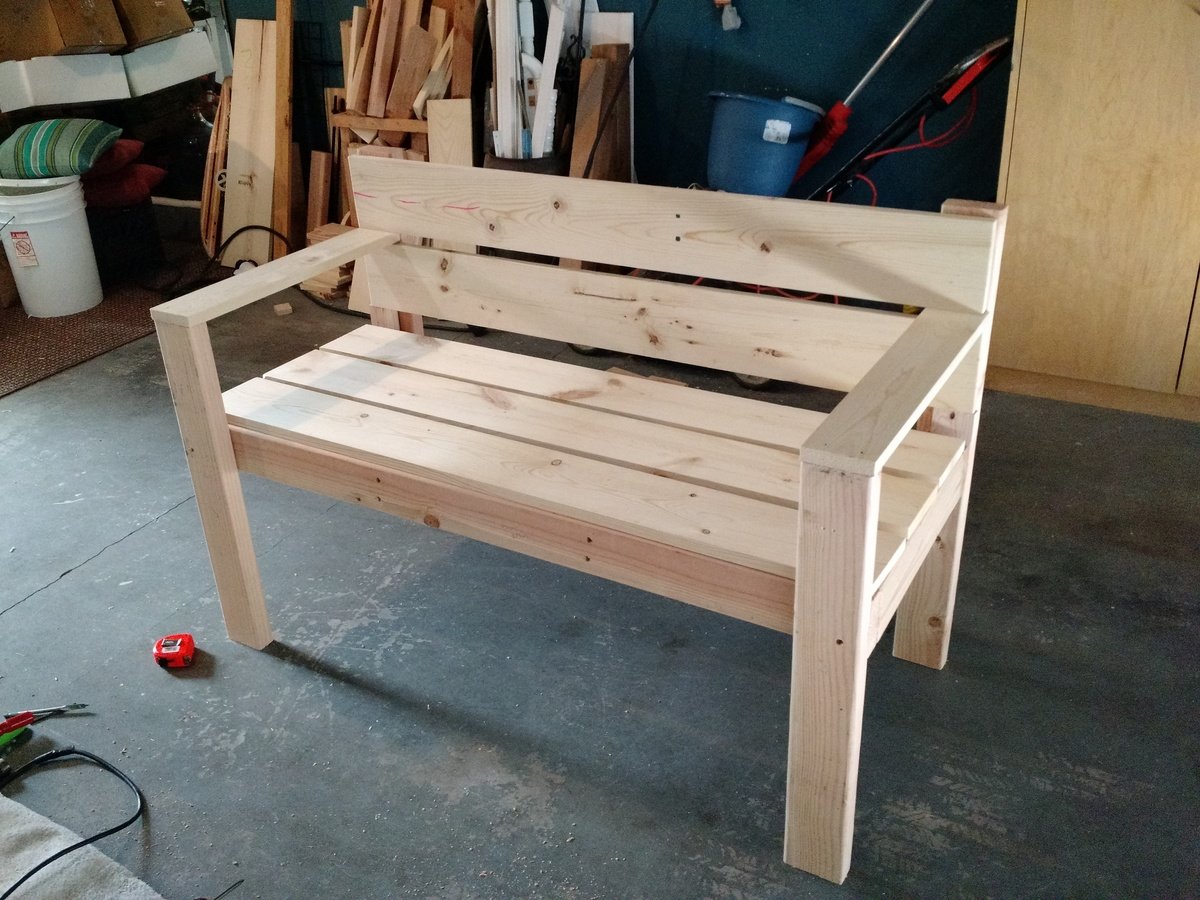
I used a mix of 2x4's and 1x4's for this project. It is only 4 feet long so I thought 2x4's would make it too bulky. It goes together very quickly and it looks great!

Built from Plan(s)
Estimated Cost
$60.00
Estimated Time Investment
Day Project (6-9 Hours)
Finish Used
exterior white paint
Recommended Skill Level
Beginner

Comments

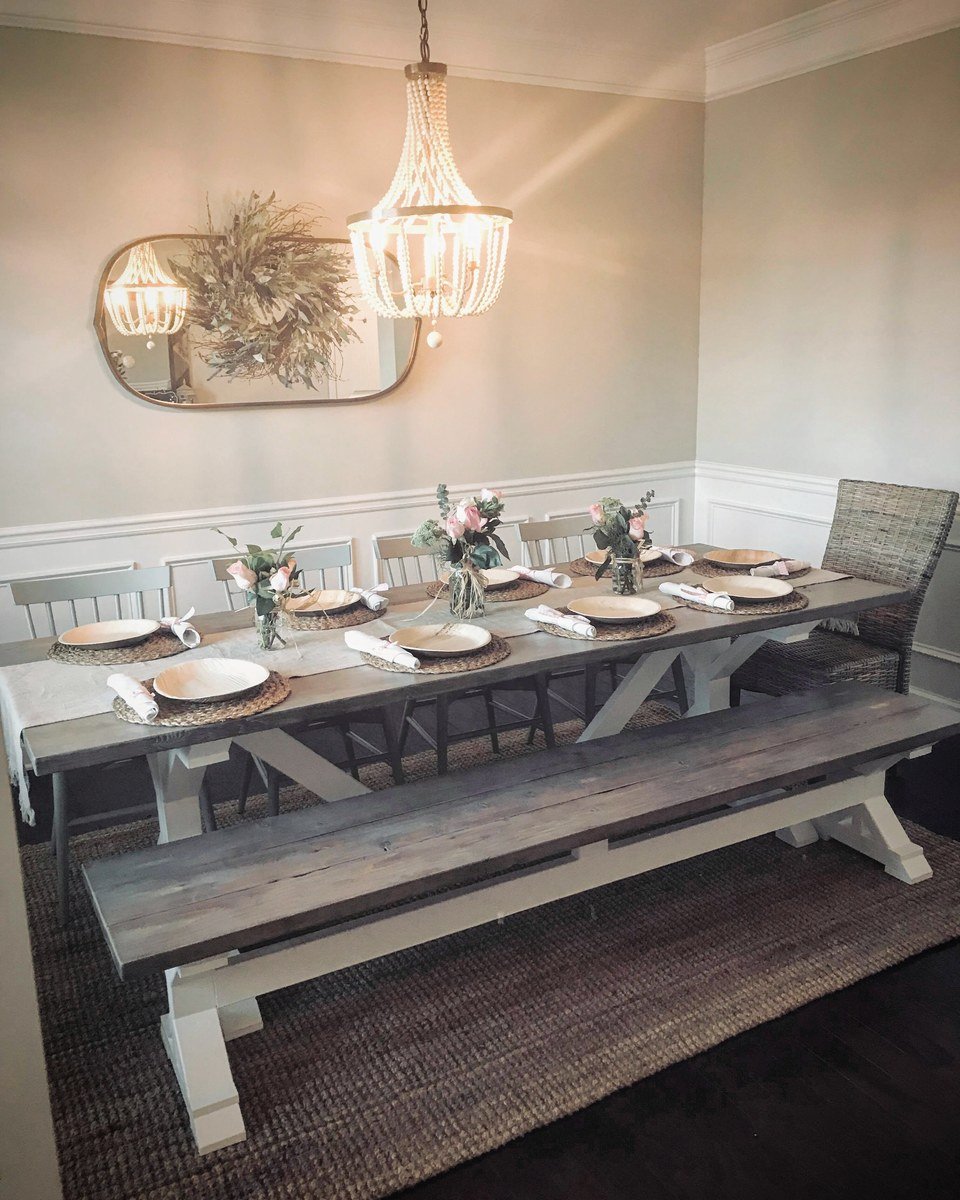
Farmhouse Table

Submitted by Anonymous (not verified) on Fri, 01/04/2019 - 22:25

Love this table!

Recommended Skill Level
Beginner

Comments

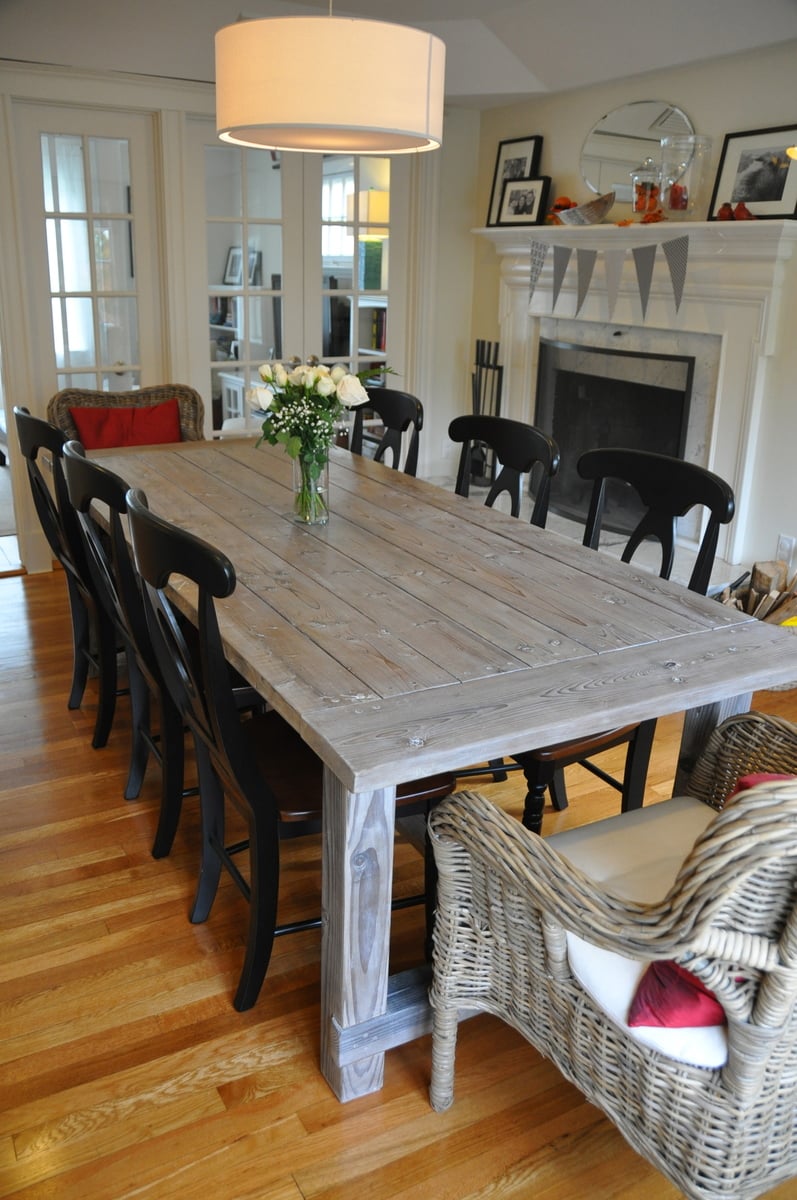
Farmhouse Table with Extensions

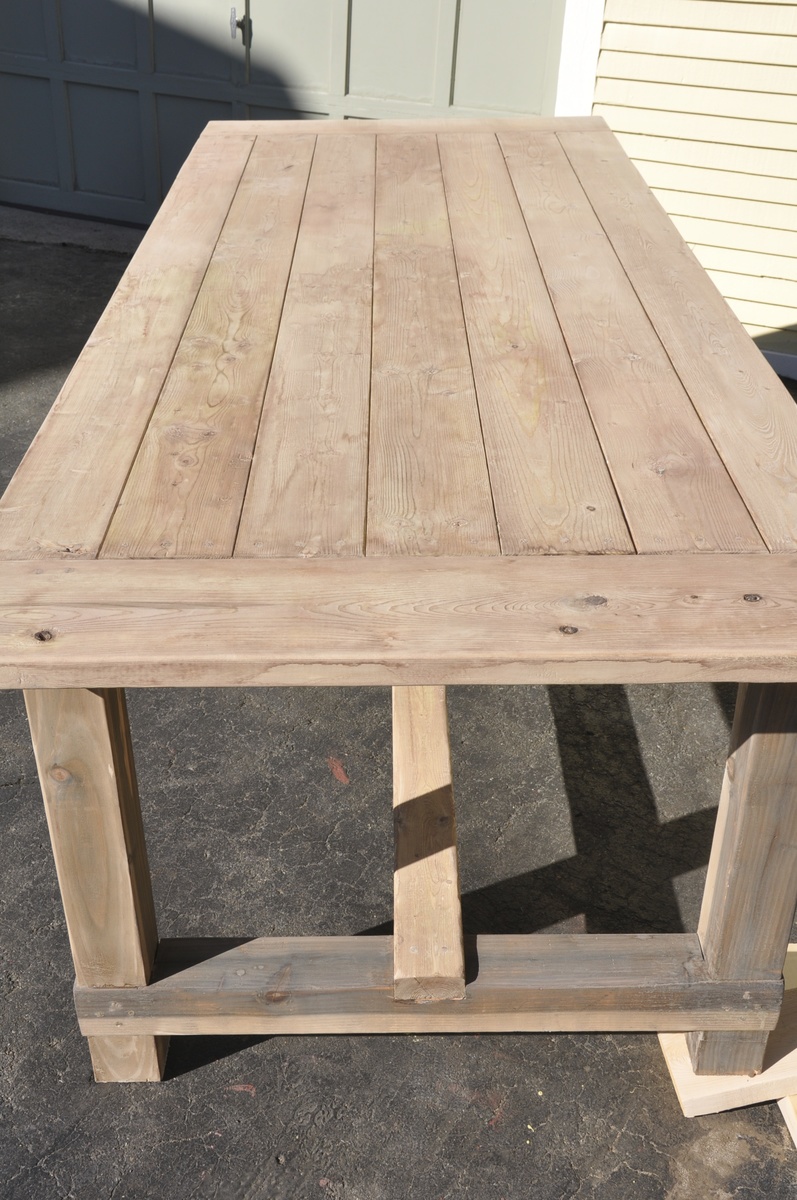
This was my first build and I learned A LOT and watched A LOT of youtube diy videos. The main take-away from this project is not to build in the freezing cold if the finished project is for inside. I finished this project in below freezing temperatures and I noticed that the wood expanded (increasing slightly the gap between the finished boards on the top) when it was brought inside.

I built this from the original farmhouse table plans with no kreg jig although I did buy and use a pocket kreg jig to make the extensions. The main modifications were using 4x4s such as were used in the Country Living magazine spread that inspired this build and also making modifications to allow the addition of 15" extensions at each end of the table's bread boards.

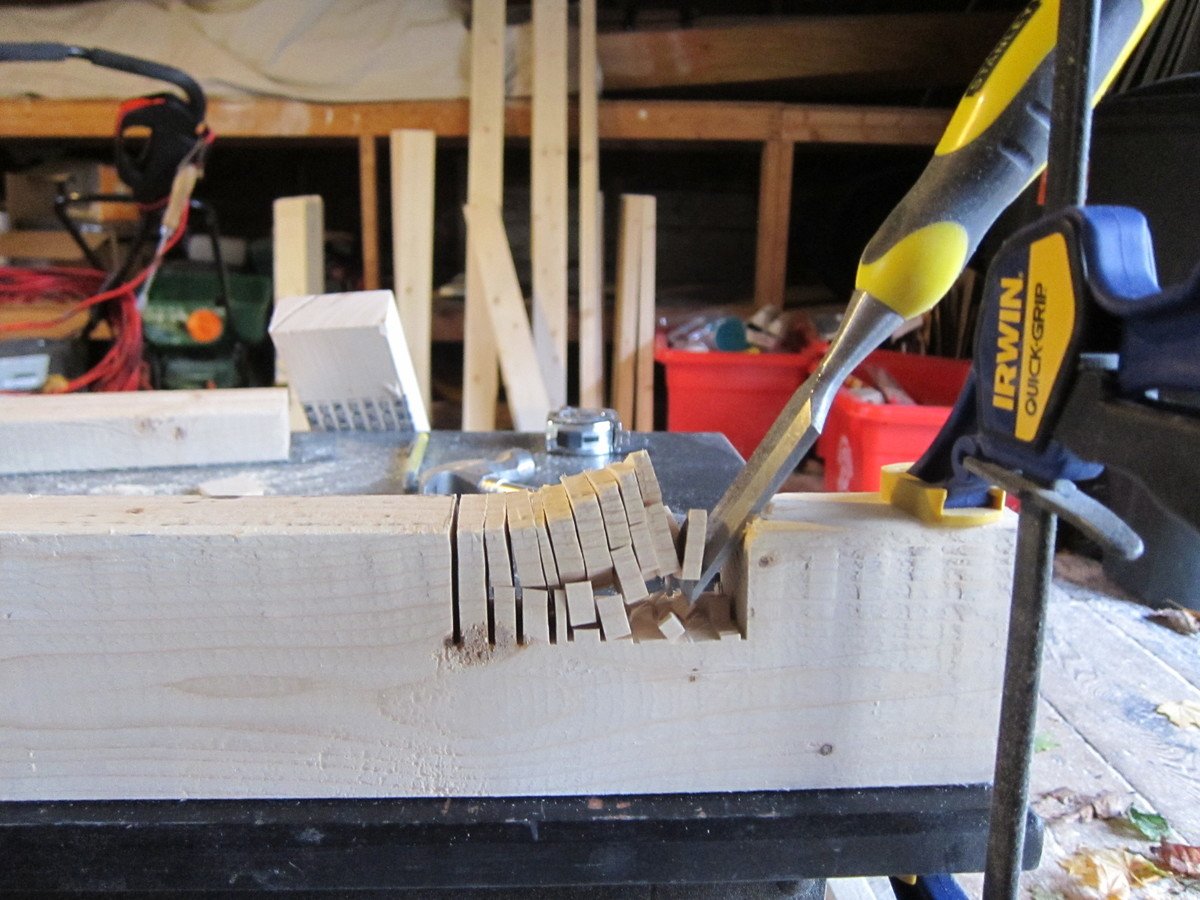
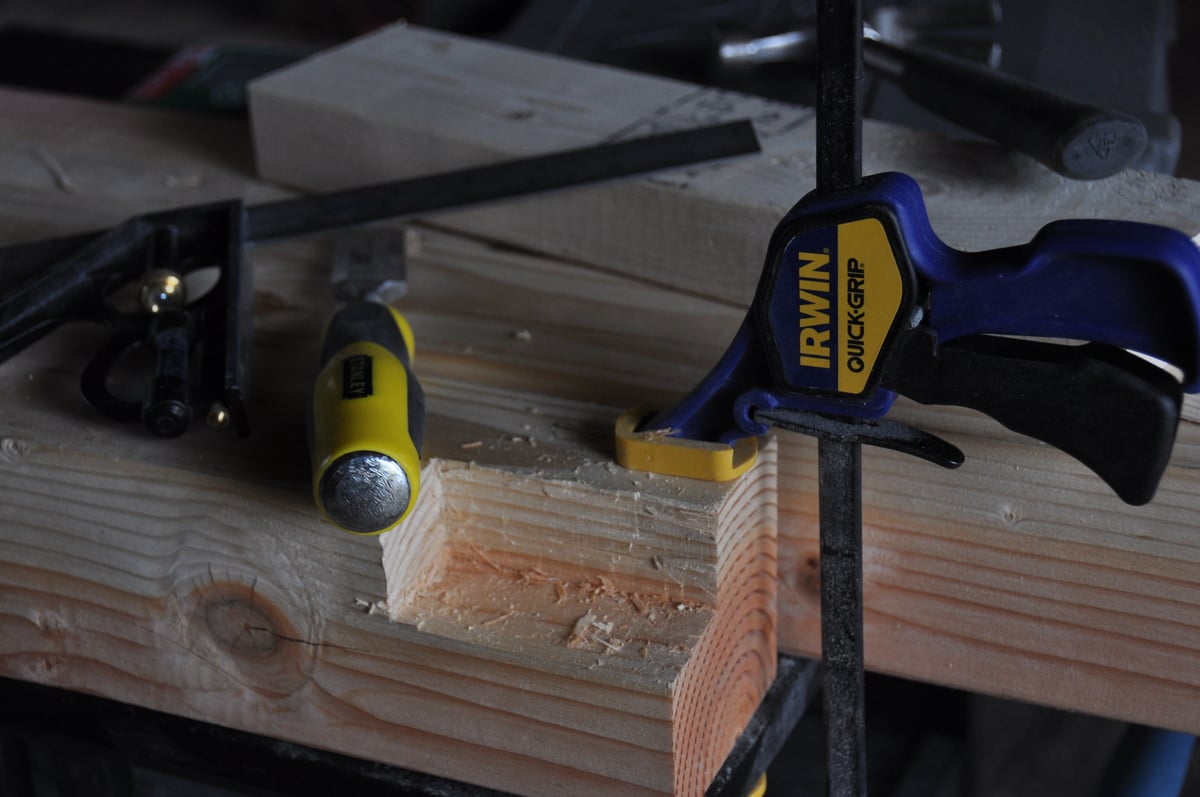
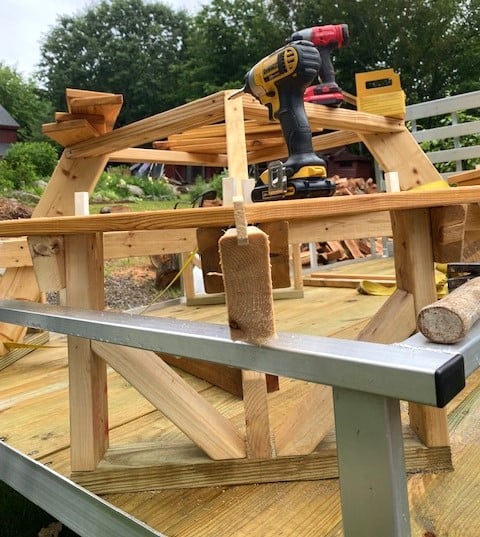
My first challenge was figuring out how to build with the 4x4 legs instead of the 2 2x4s screwed together. In order to accomplish this i had to use a chisel to create the corner lip that the table top frame would sit on. I added photos of this so I hope it will help someone. Chiseling these 4 corners (one on each post) only took an hour or two and was so worth it for the look of the 4x4s. Just measure carefully and work carefully with a sharp chisel. I actually removed half the wood by sawing off the corner at a 45 degree angle. Remember when cutting your boards for the table ends that a 4x4 has different dimensions than 2 2x4s screwed together. Compensate for this in your cuts.

Another challenge was hiding the screws on the table legs and table top. I was leaving the finish natural so didn't want to use wood fill. I accomplished this by getting a countersink bit and then buying wooden dowels the same diameter. For these screw holes, after finishing screwing, I put a dab of wood glue in the countersink hole, inserted the dowel as far as it would go, used a fine hand saw to cut off the dowel flush with the table and then used a hammer to make sure the dowel was in tight and flush.

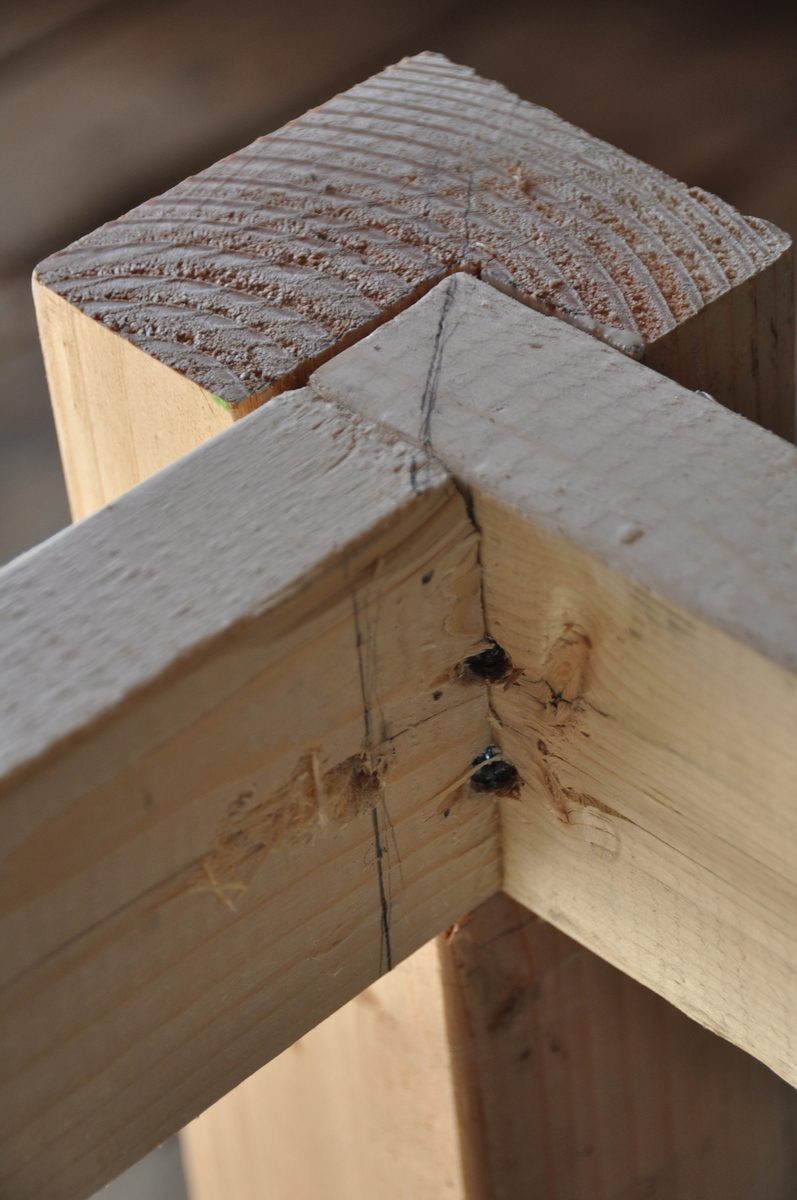
I had trouble figuring out how to attach the table top frame to the table legs with the long screws from the plans so I included a picture of this step. Its really easy but I was not able to use three screws as the plan calls for. I used two instead and it has been very solid. I used the long screws as proscribed.

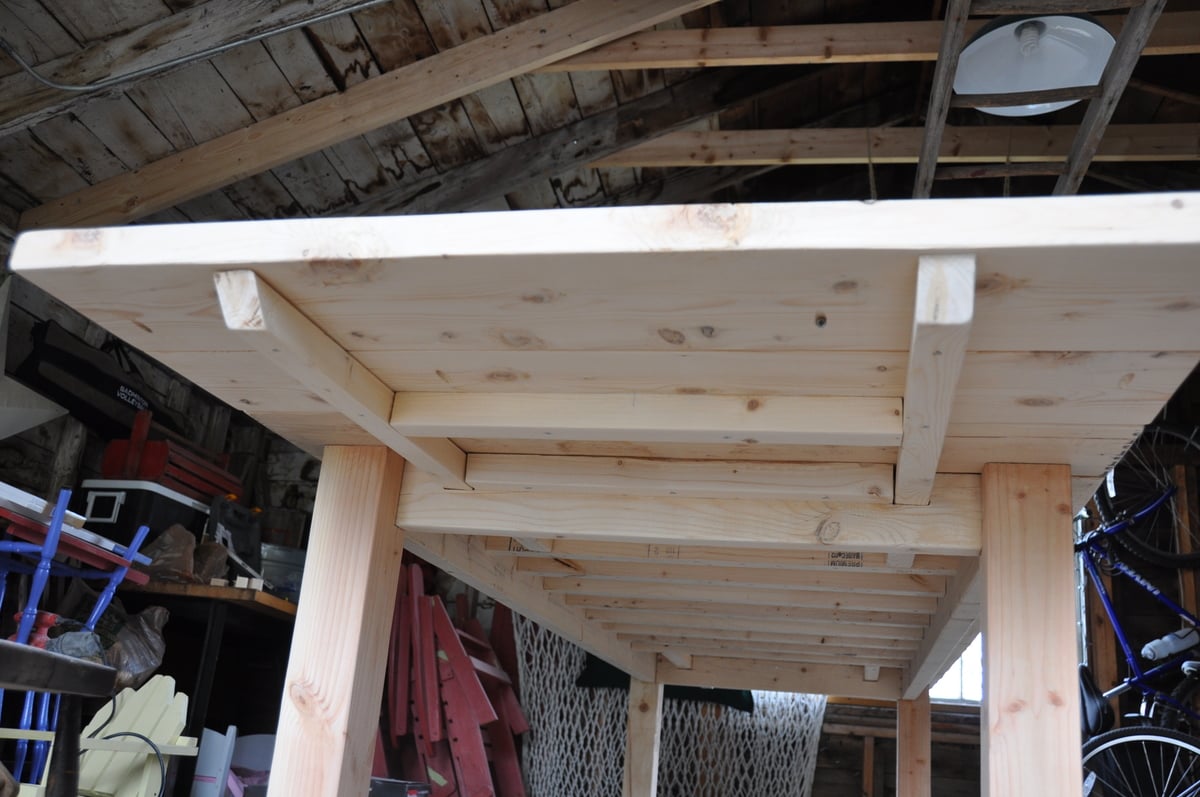
Finally, I wanted to build extensions (2 2x8 boards kreg jigged together) so I could increase seating up to a max. of 12 persons, so I needed to cut out 2x2 gaps on the table ends. I also included a picture of these in place. To make room for the 2 2x2s that extend under the bread boards and table top to brace the extensions, I left out one of the 2x2 cross beams at each end of the underside of the table (the boards that the table top boards screw into).

I hope this is helpful to you!
Estimated Cost
$250
Estimated Time Investment
Week Long Project (20 Hours or More)
Finish Used
Vinegar and Steel Wool Solution (soak steel wool for 24 hours in vinegar and be sure to test on a sample) to "age" the wood. Tung oil over this sealed the stain/wood. over this I applied a wax finish. First I used Briwax Liming Wax to enhance the gray finish and leave a slight white wash patina. This finish was enhanced because I had steel brushed with the grain to remove some soft wood so the liming wax would enhance the grain. I finished the project with clear briwax. We have been using this as our everyday table since February and there are no stains or problems with this finish.
Recommended Skill Level
Starter Project

Comments

dyemond47

Mon, 02/10/2014 - 11:55

Great job on the table! I love...I had visions of this table before I saw it. I wanted to use the 4x4's for the legs as well, the same finish. I am concerned now about the 4x4's because I am an amateur and I think that may throw too many wrenches into my plan. I started with the bench, finished in 3 hours I have patted myself on the back. Plotting on a Kreg jig right now.

epweigel92

Sun, 07/24/2016 - 09:57

Love the look of this table! Just to make sure I'm following correctly, the extensions are ones you can add and remove, not fixed? Do you have a pic of how they slide in or out?

Raised Wood Planters by Urban Wood Solutions

Planters build by Urban Wood Solutions

Comments

Double trash can cabinet

Submitted by jenklase on Thu, 05/04/2023 - 15:43

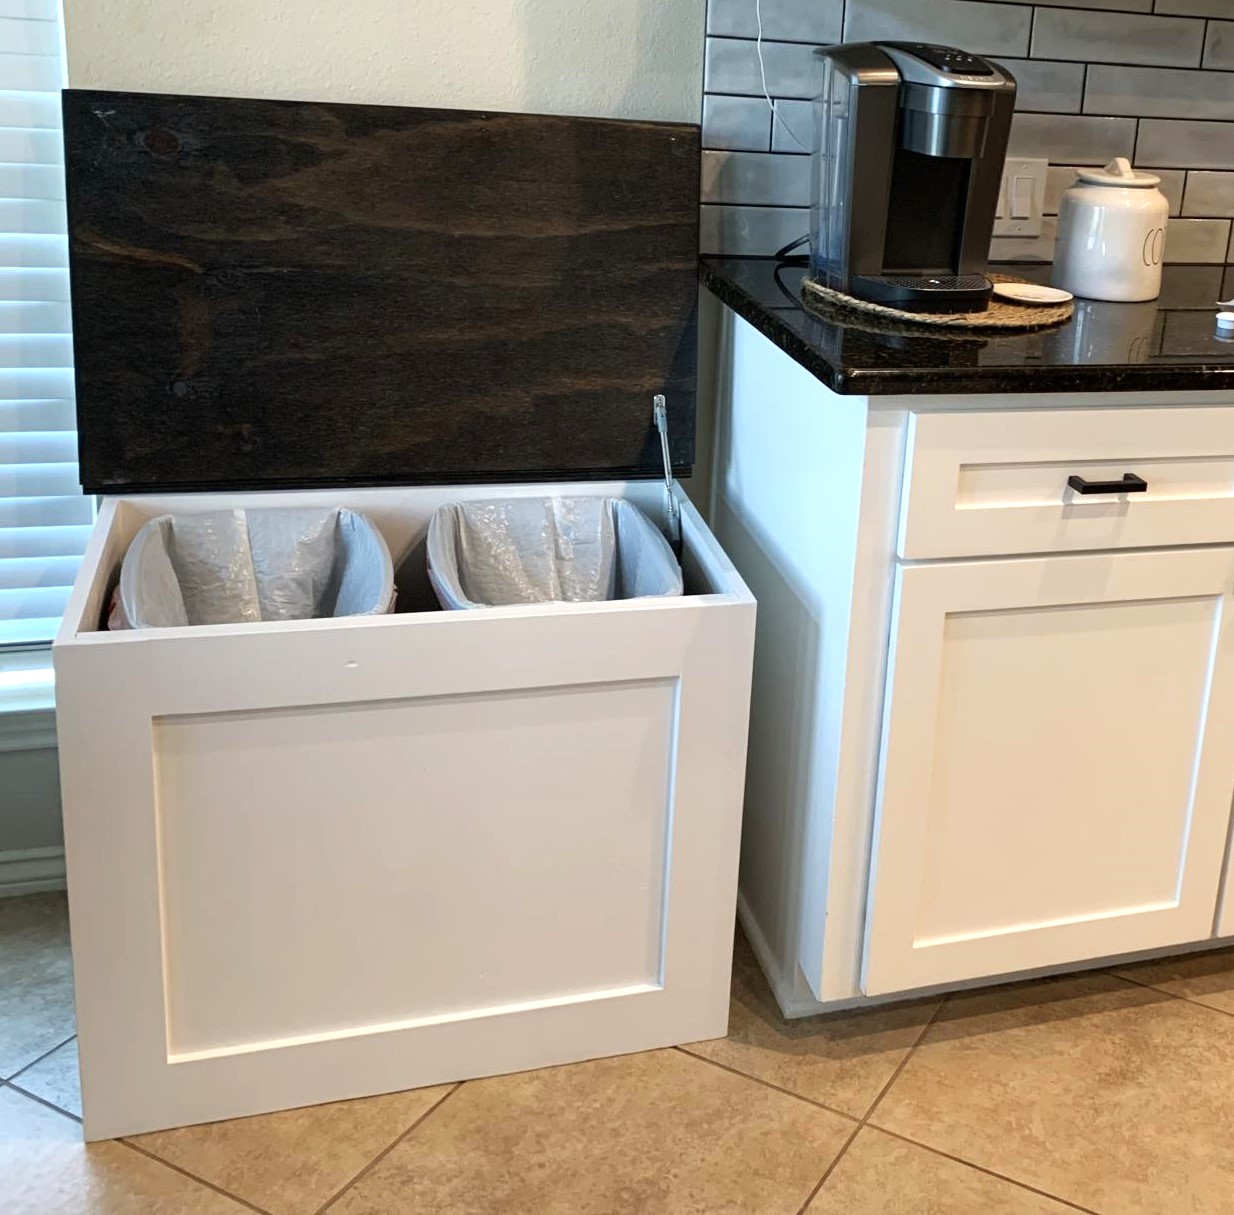
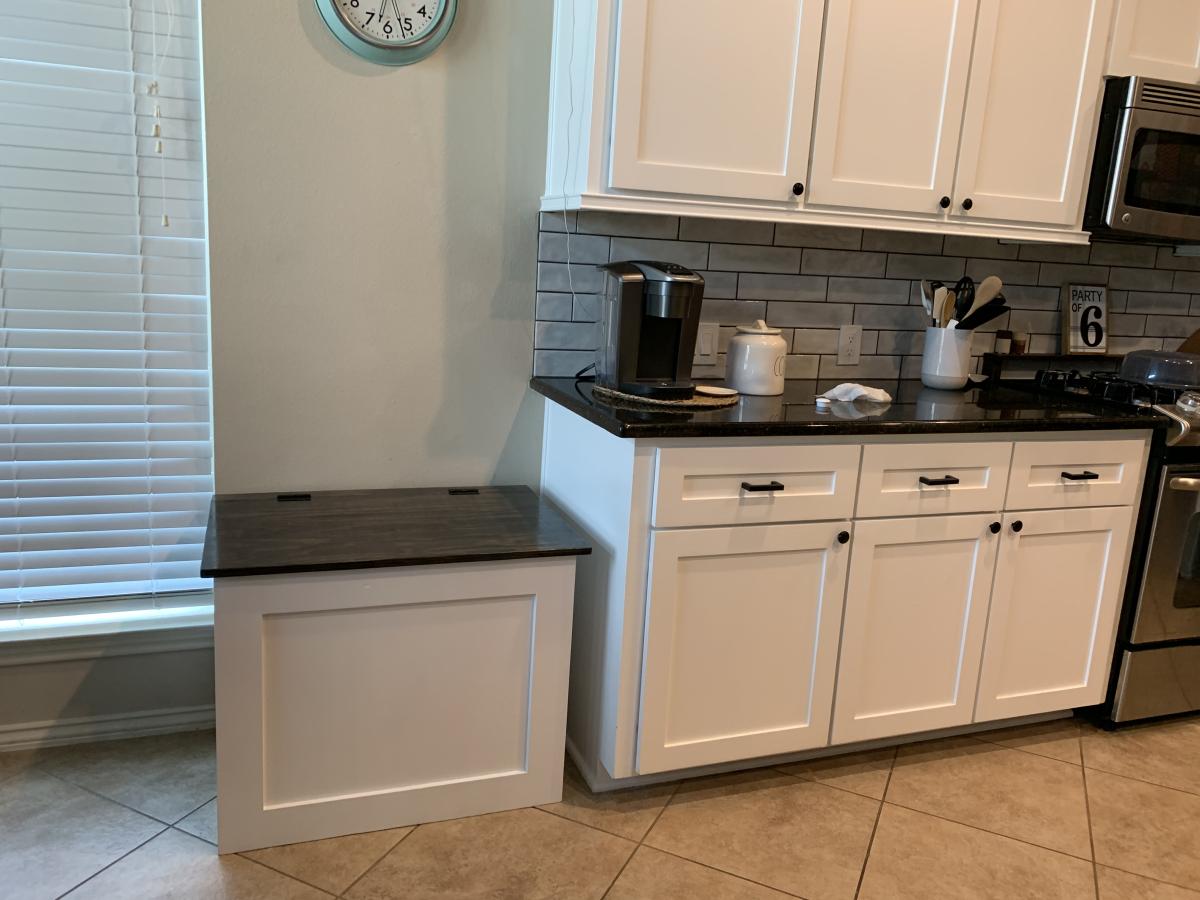
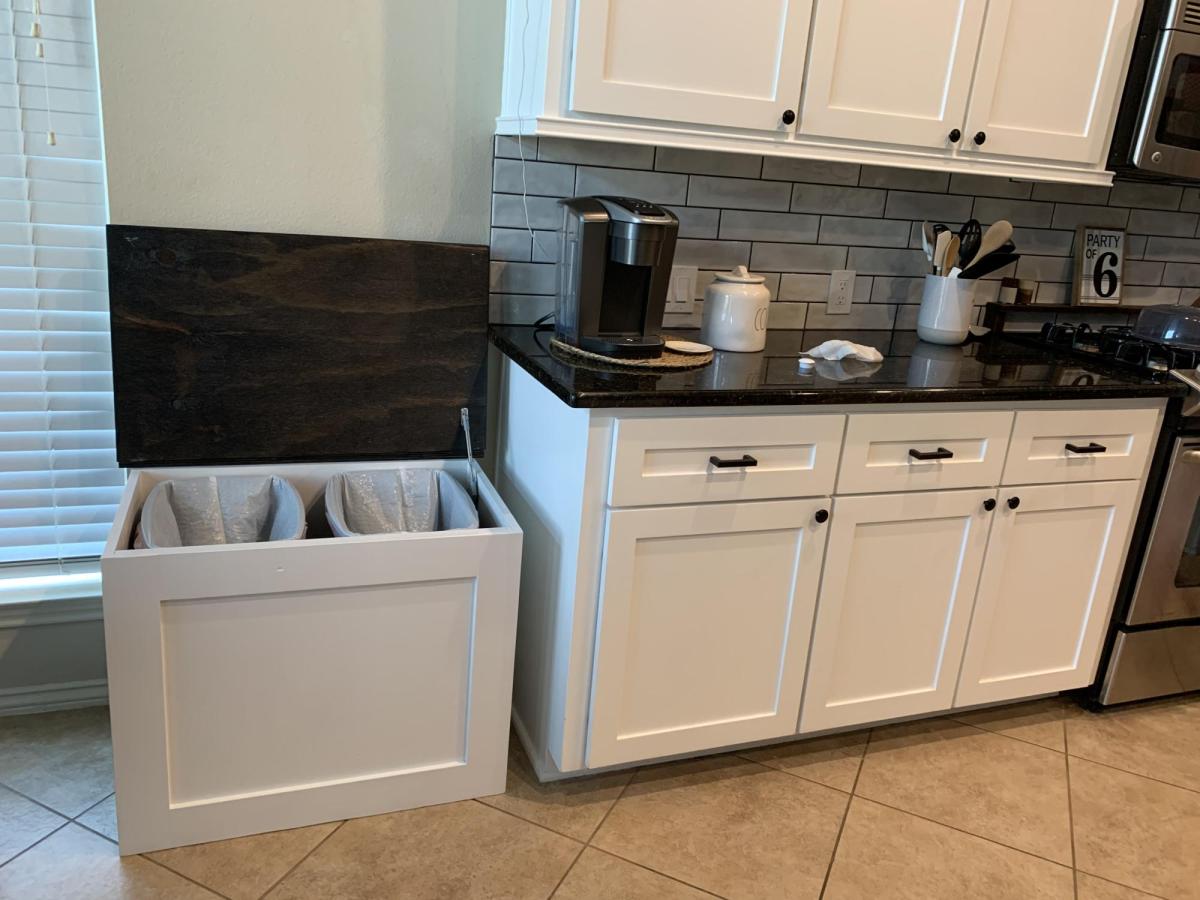
Double trash can cabinet made of plywood. Included soft close hinge. Holds 2 13 gallon cans.

Comments

Kid 4x4 Truss Farm Table

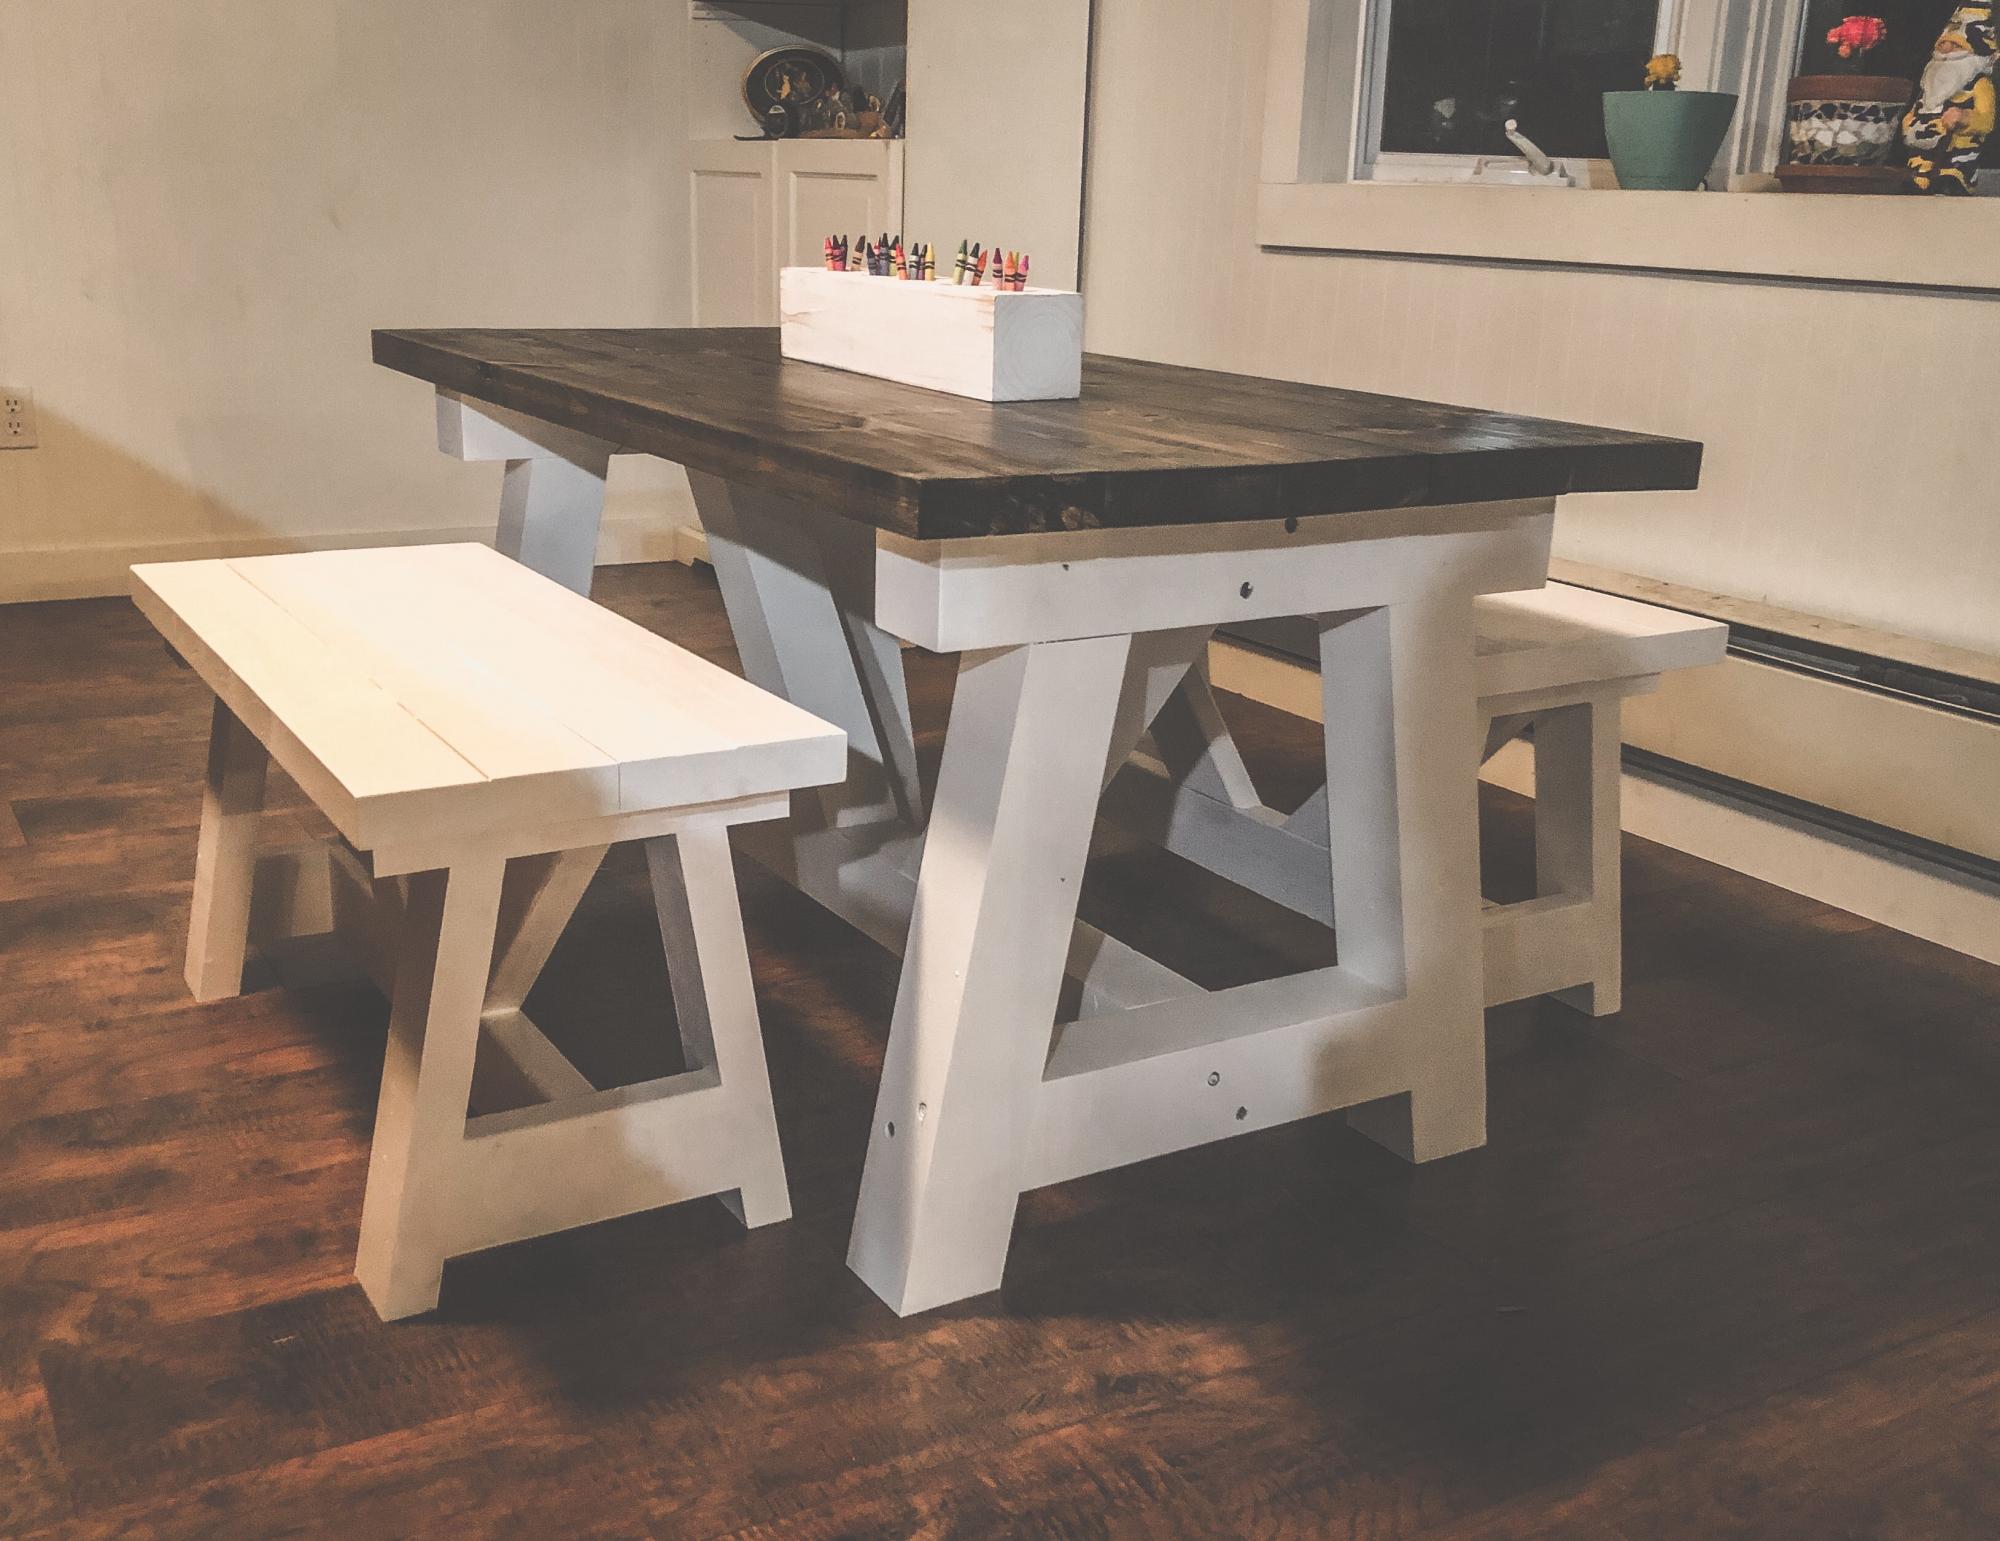
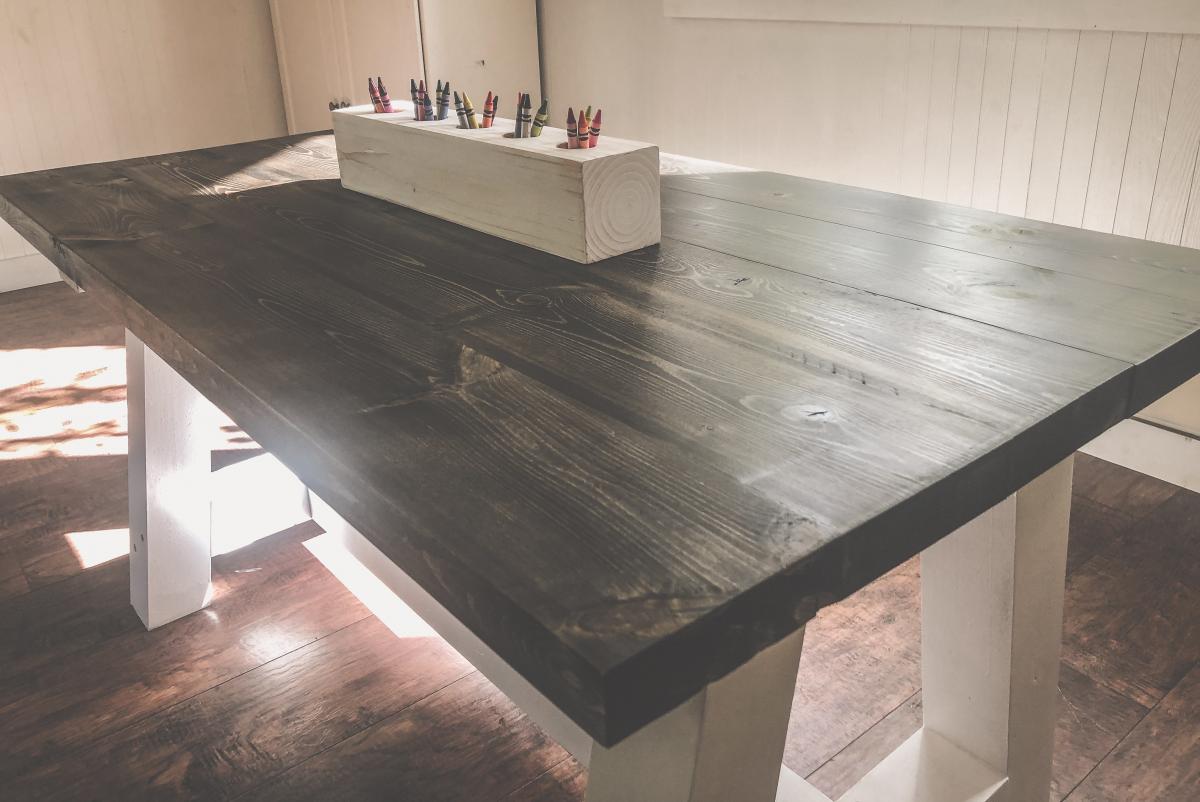
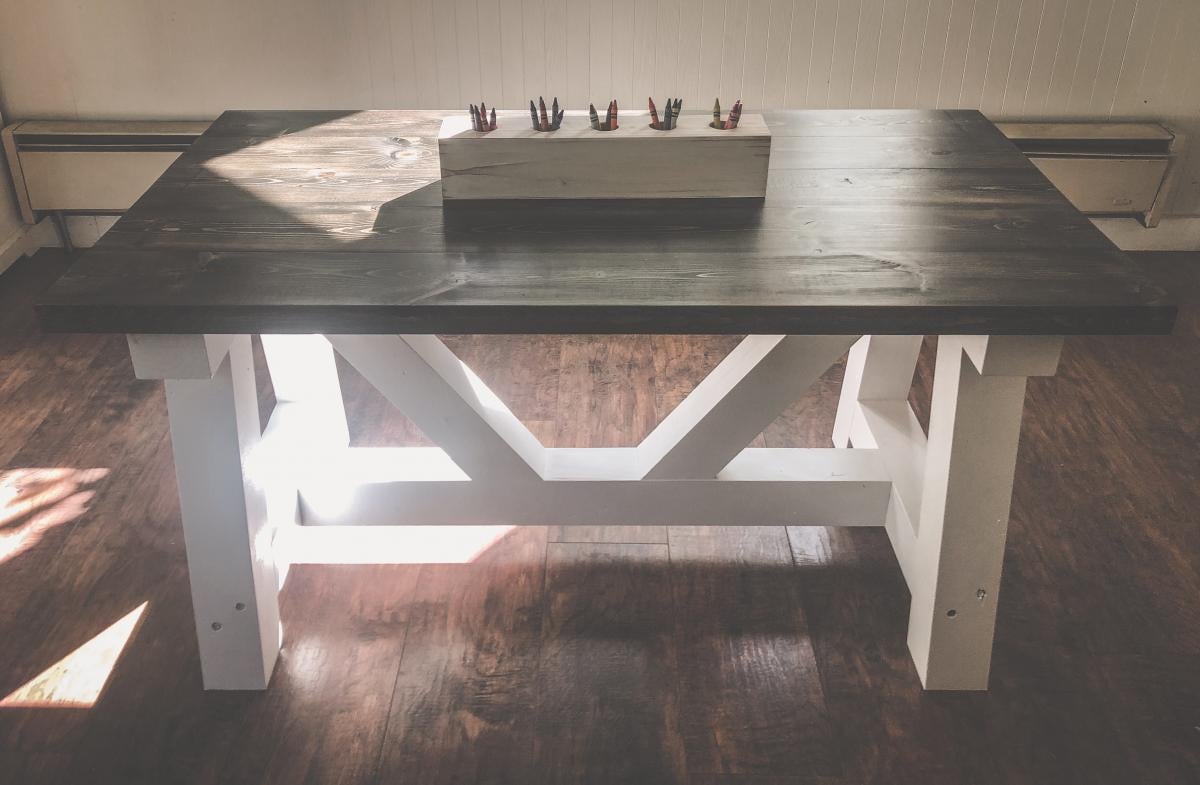
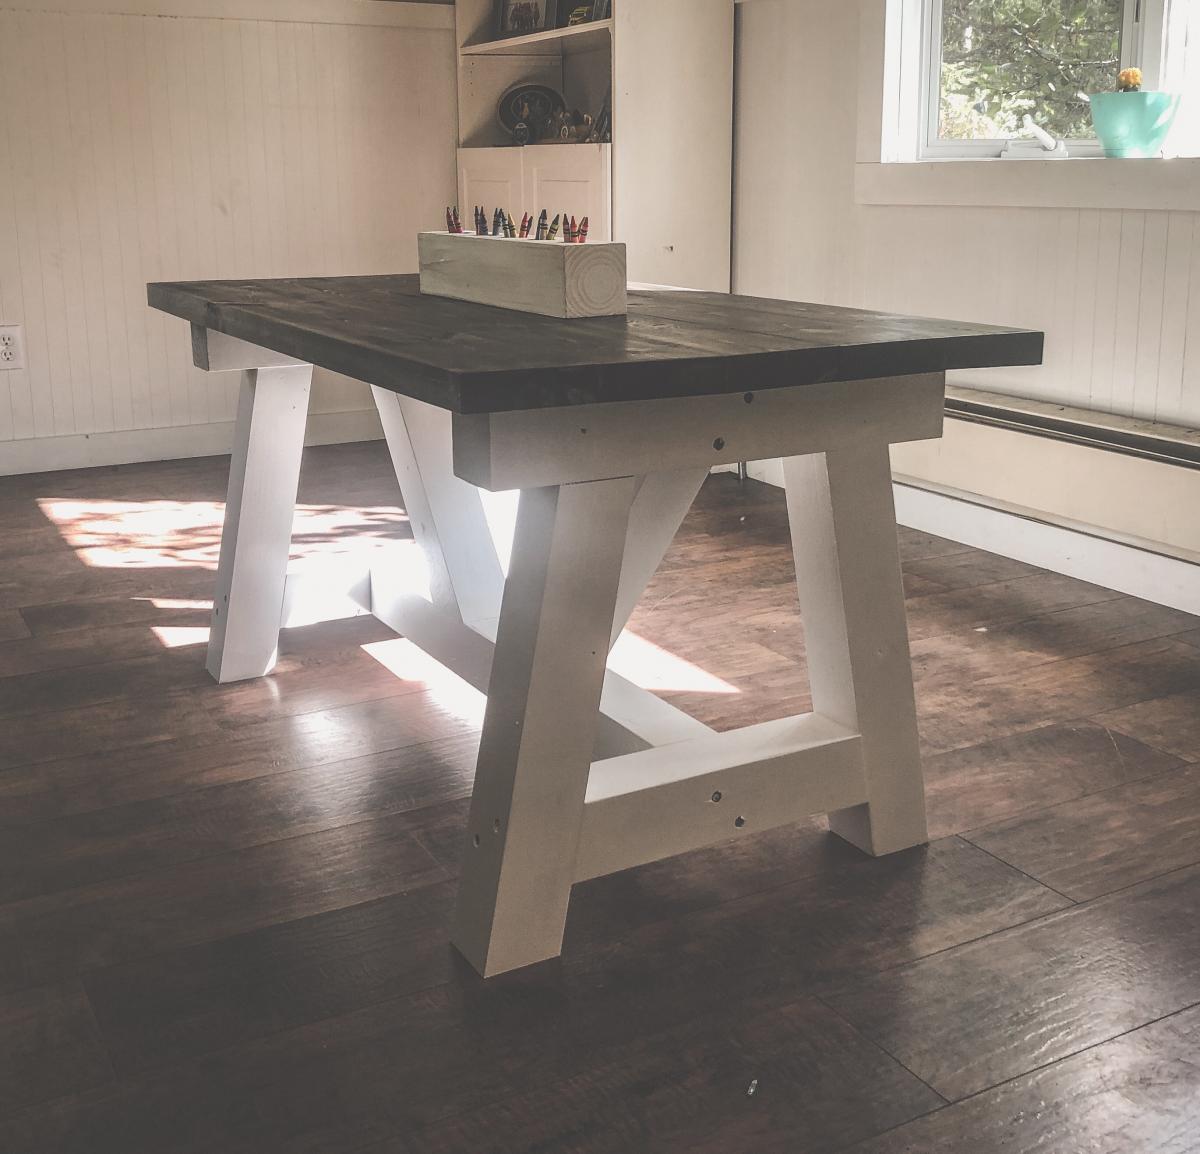
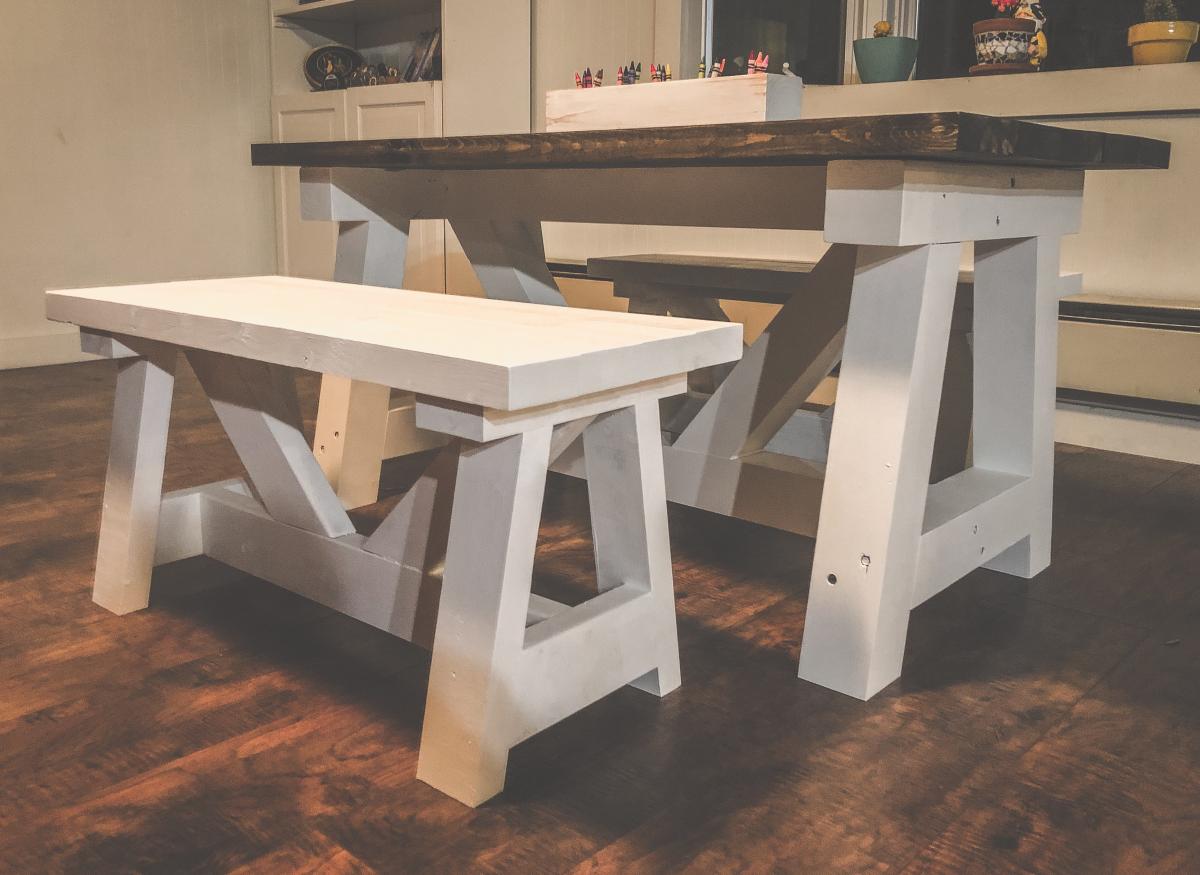
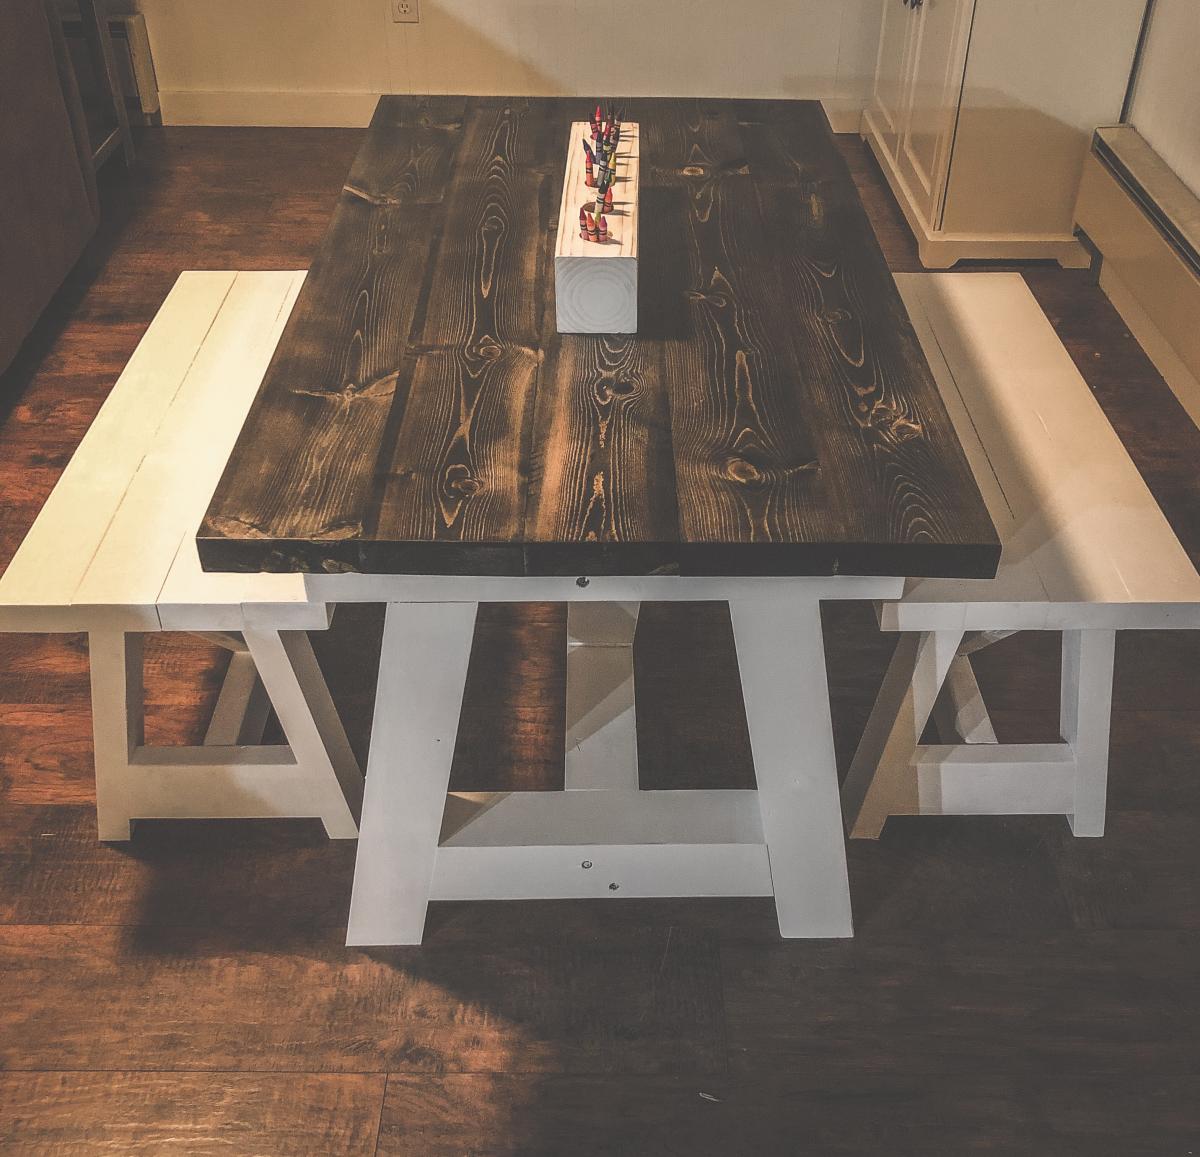
A friend asked for a kid sized farmhouse table and I knew immediately what plans I wanted to modify! The 4x4 truss table is my favorite go to table because it is extremely solid, easy to build and looks so nice! I know this table will hold up to the wear and tear of 4 kids for years! I also modified the 2x4 truss benches to match. They are the same style but not as chunky as the 4x4 truss bench plans. 


Dimensions for table are 24”h x 24”w x 48”L

benches 16”h x 13.5”w x 33”L

Estimated Cost
$82 for table and two benches
Estimated Time Investment
Day Project (6-9 Hours)
Finish Used
Ebony stain for the top and 2 coats of poly. Behr paint and primer for base and benches- just white off the shelf
Recommended Skill Level
Beginner

Simple jig to save time and increase accuracy

Submitted by Anonymous (not verified) on Thu, 06/15/2023 - 12:13

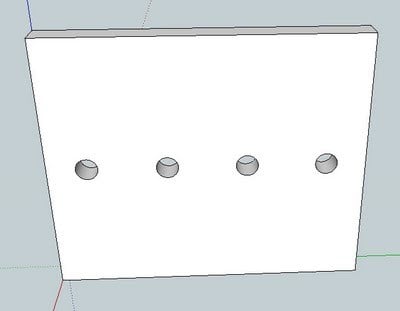
I downloaded the plans for the octagonal table. I have made several and used a few different woods, made a few minor design changes as well as creating a routine and using a jig or two. This jig fits in between the two boards that form the seat support frame. I used a large paint stick and a scrap piece of 2 x 4. Using a table saw, I cut a groove in the 2" edge, approximately 1/2" deep, this took two passes (pass it through, turn it and pass again), a slight adjustment and another two passes. Insert the paint stick and seat all the way down. Place jig between seat support frame, might be a little snug or use a clamp to hold in place. Adjust so just the paint stick sticks up enough to separate seat boards. With seat boards against the jig, it forms the perfect angle/guide to match cuts. I also used 1/2" spacers to create consistent spacing. Love the various plans you make available as well as your videos.

Comments

Storage sofa

Submitted by psleang on Mon, 02/13/2012 - 17:08

We and our dogs love our new sofa! This is the place where we cuddle with the dogs and serve as extra seating when we have guests. It looks great! Thank you so much Ana.

Built from Plan(s)
Estimated Time Investment
Week Long Project (20 Hours or More)
Finish Used
None.
Recommended Skill Level
Intermediate

Comments

spiceylg

Fri, 02/17/2012 - 02:42

That looks professional looking and I also love your fabric choice!

psleang

Wed, 02/22/2012 - 17:59

Thank you so much for all the positive comments! I believe it is suede. We had so much fun making this sofa!

mrskatie (not verified)

Thu, 03/08/2012 - 10:24

I would love to have something like this for our family room, but I'm afraid I would miss the arms. I love to cuddle in the corners in a couch.

So, anyone with this style of couch/sofa, how comfy is it for cuddling up with a spouse on and watching a movie?

Snardles (not verified)

Wed, 04/18/2012 - 03:51

I have not made this (yet) but imagine it wouldn't be too difficult to modify the plans to add arms to this sofa based on the construction of the back Actually, I've got all sorts of modifications running through my mind for this one including extending the back on one side so I can make an L-shaped sectional...

MrsE916 (not verified)

Mon, 10/01/2012 - 10:49

@Snardles If you do end up revising this to make it a sectional or have arms I would love to see it!

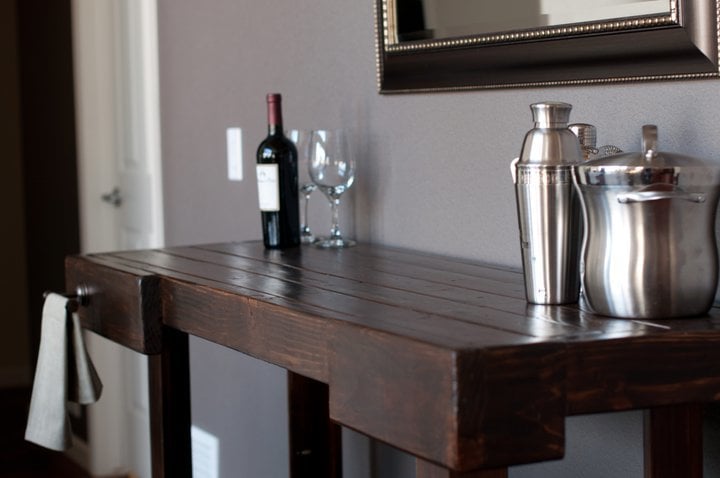
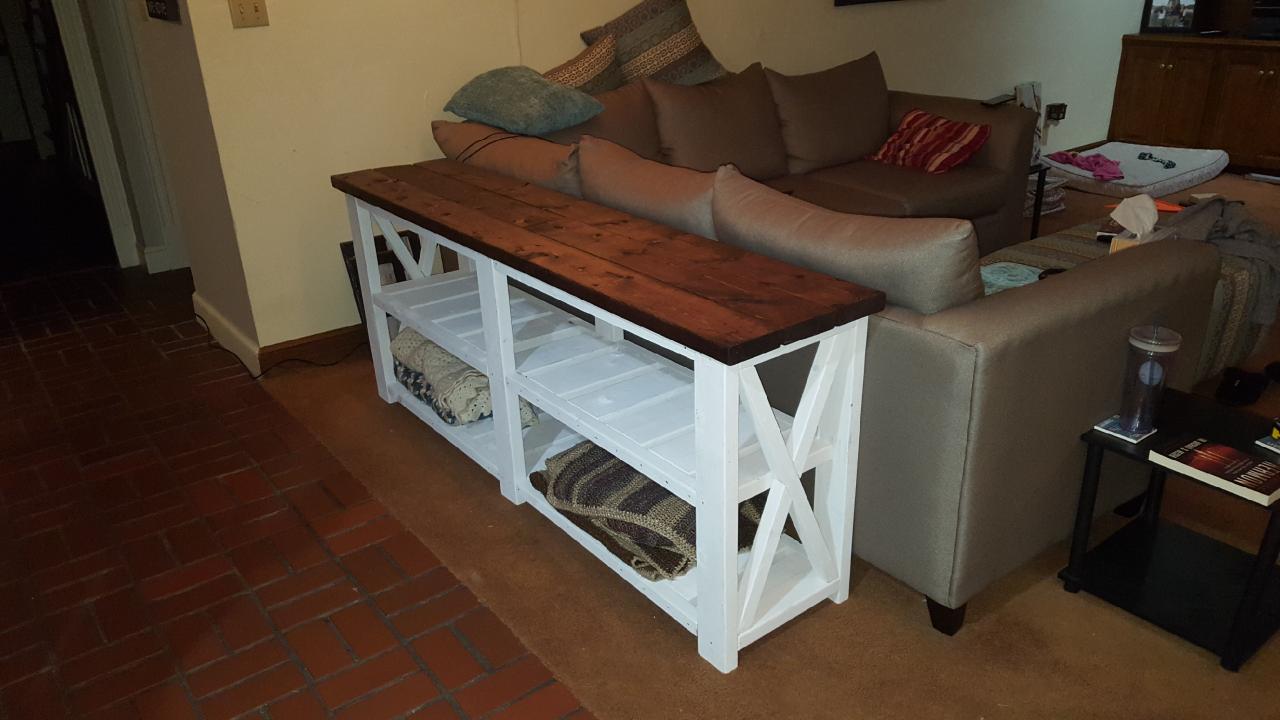
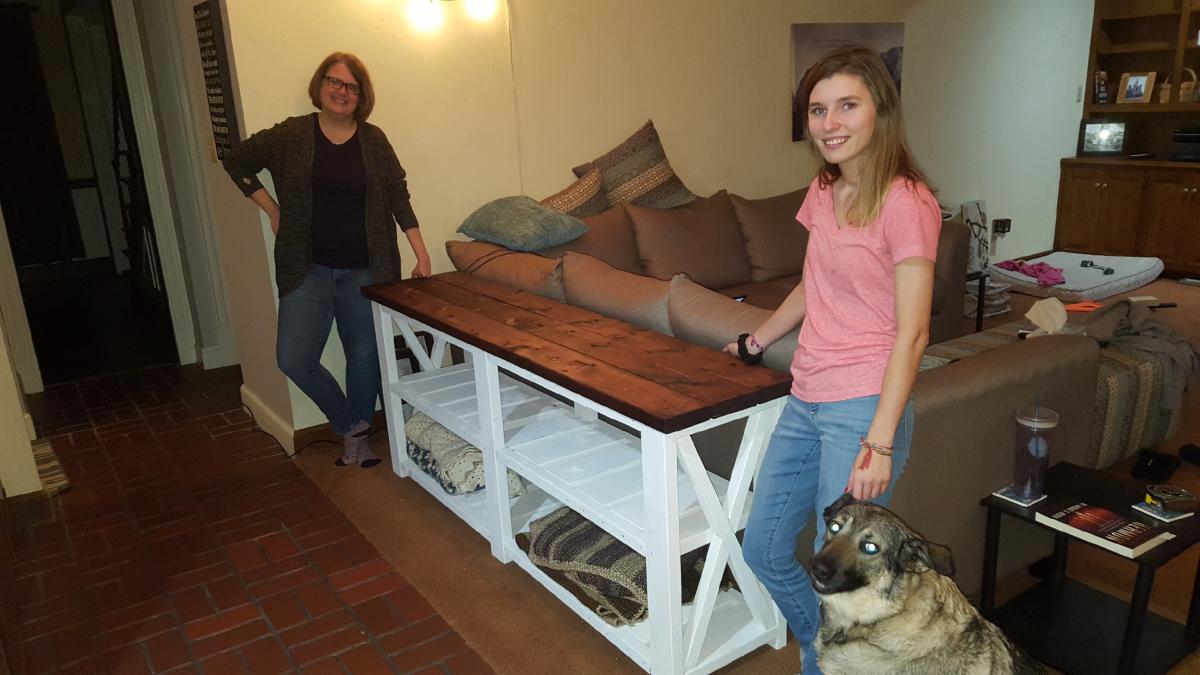
Farmhouse Console Table

Submitted by LatvianGal on Sun, 12/01/2019 - 18:31

This was my first furniture build, and my 20 year old daughter did it with me! We made some rookie mistakes, but we love it!  Super excited to make some matching end tables and or coffee table!

Built from Plan(s)
Estimated Cost
$85
Estimated Time Investment
Weekend Project (10-20 Hours)
Finish Used
We whitewashed the bottom and stained the top with Minwax Red Mahogany.
Recommended Skill Level
Beginner

Comments

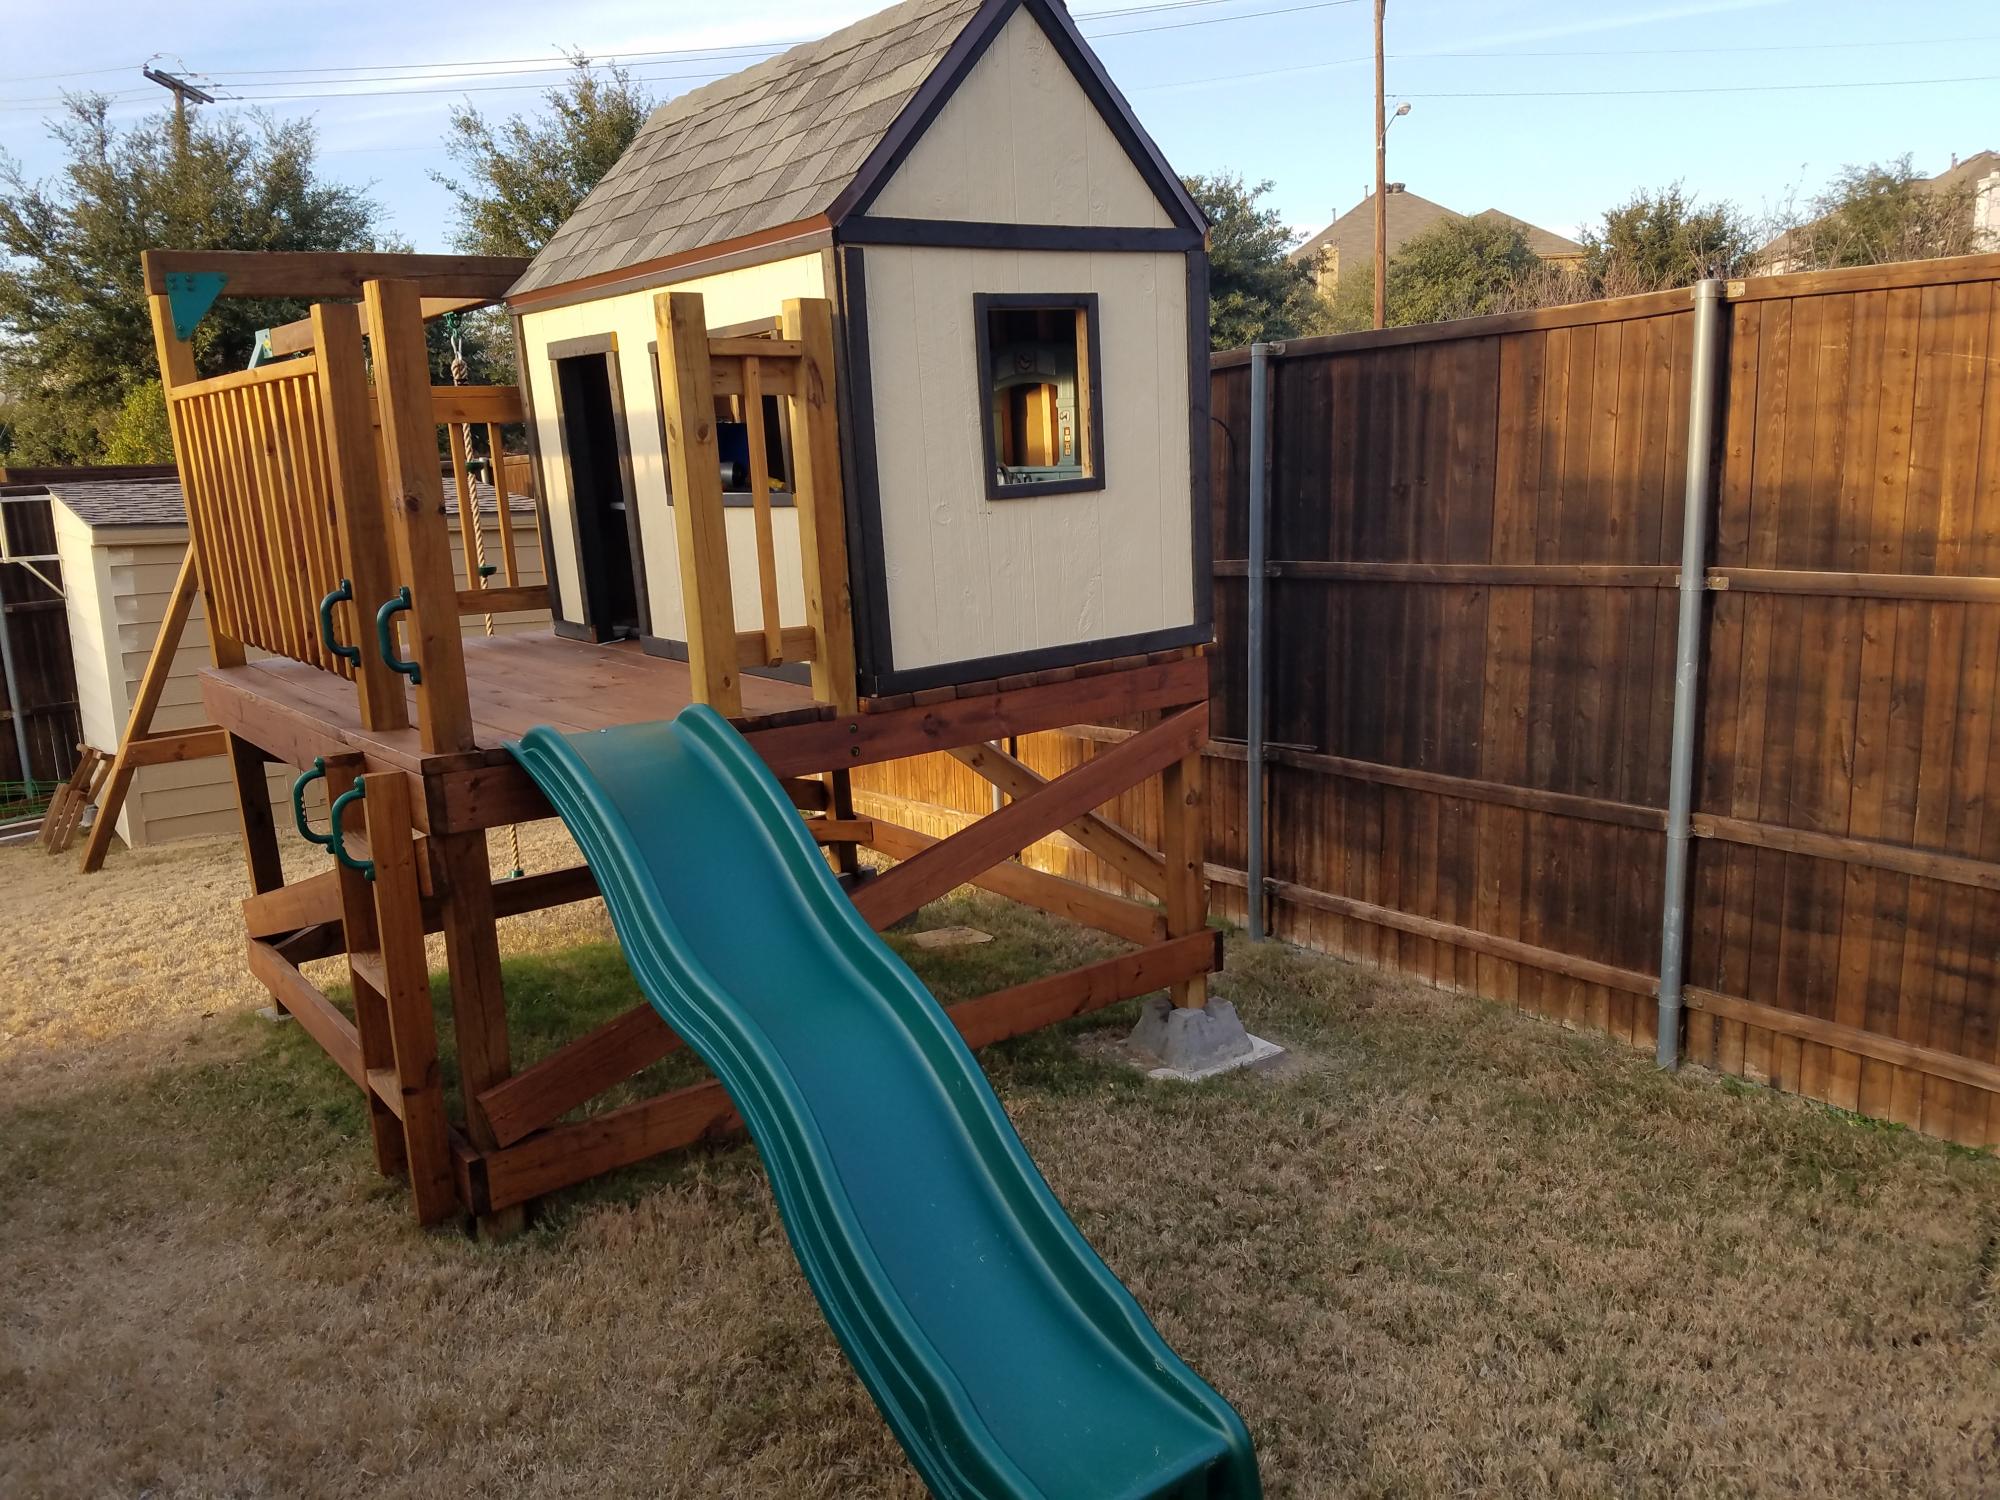
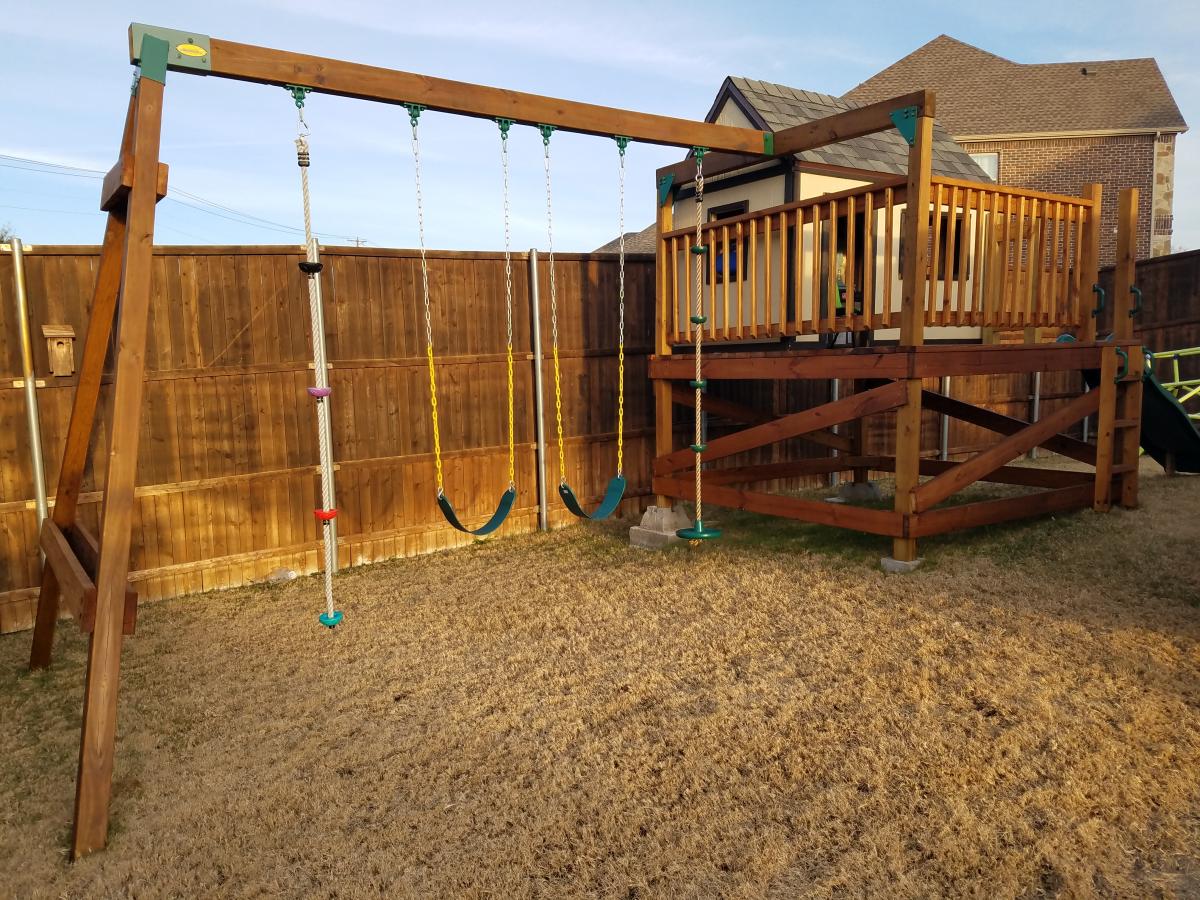
Swingset with playhouse

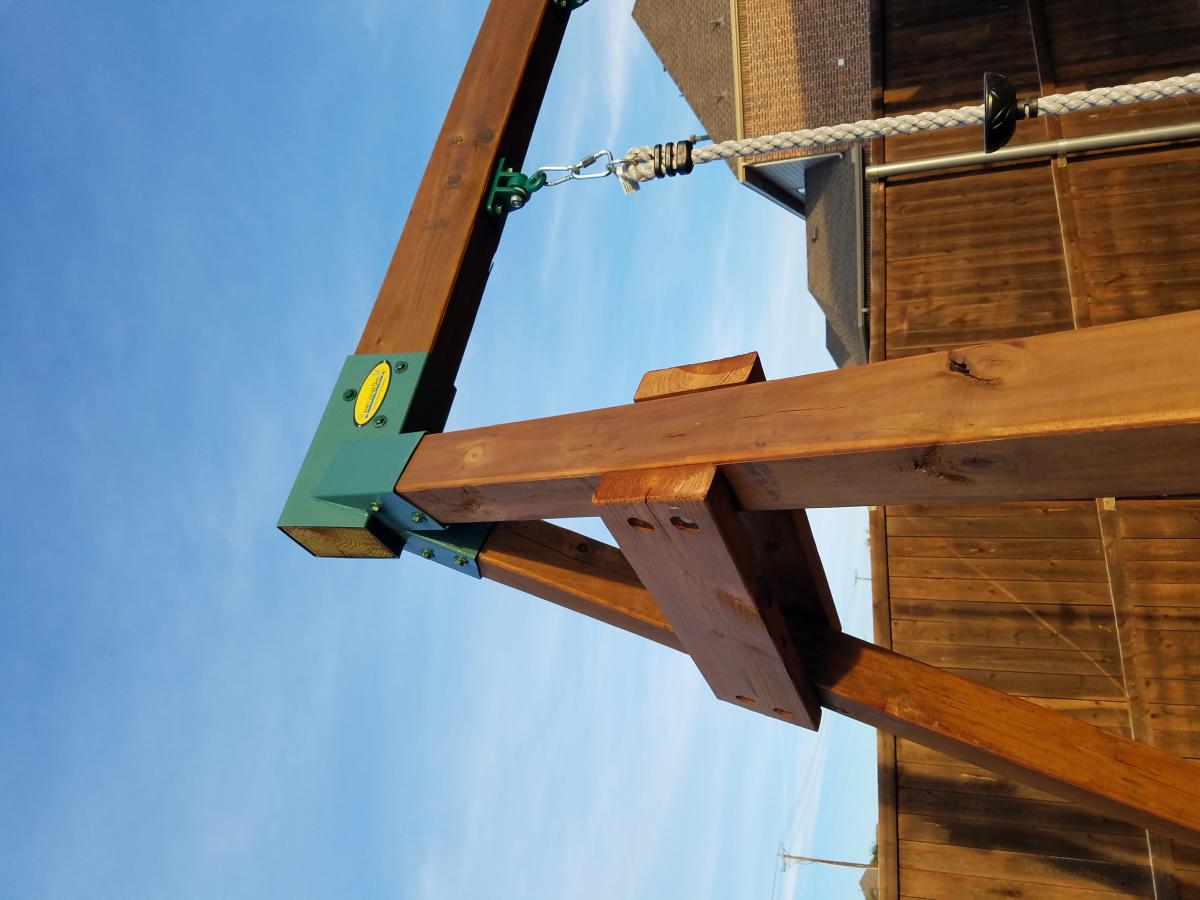
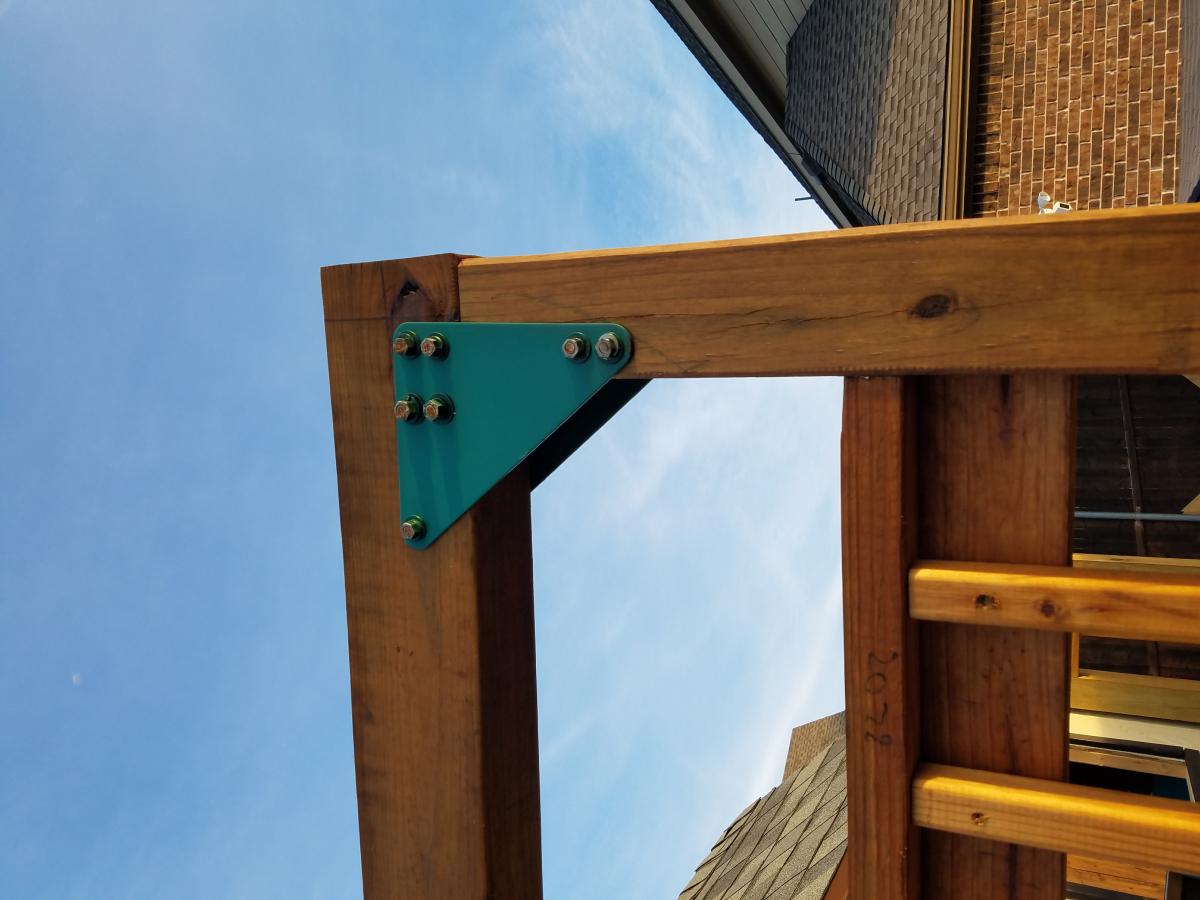
Submitted by Handy Dad on Thu, 12/19/2019 - 14:44

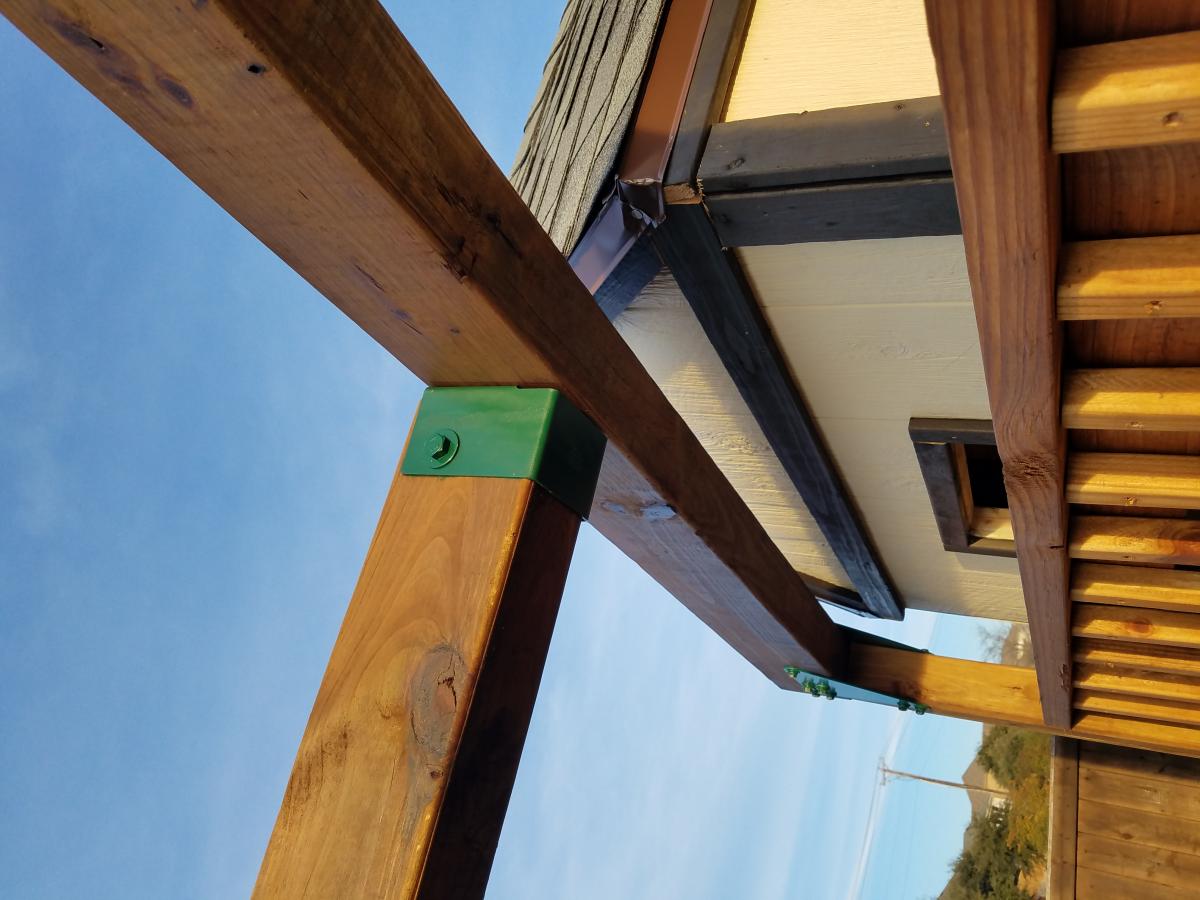
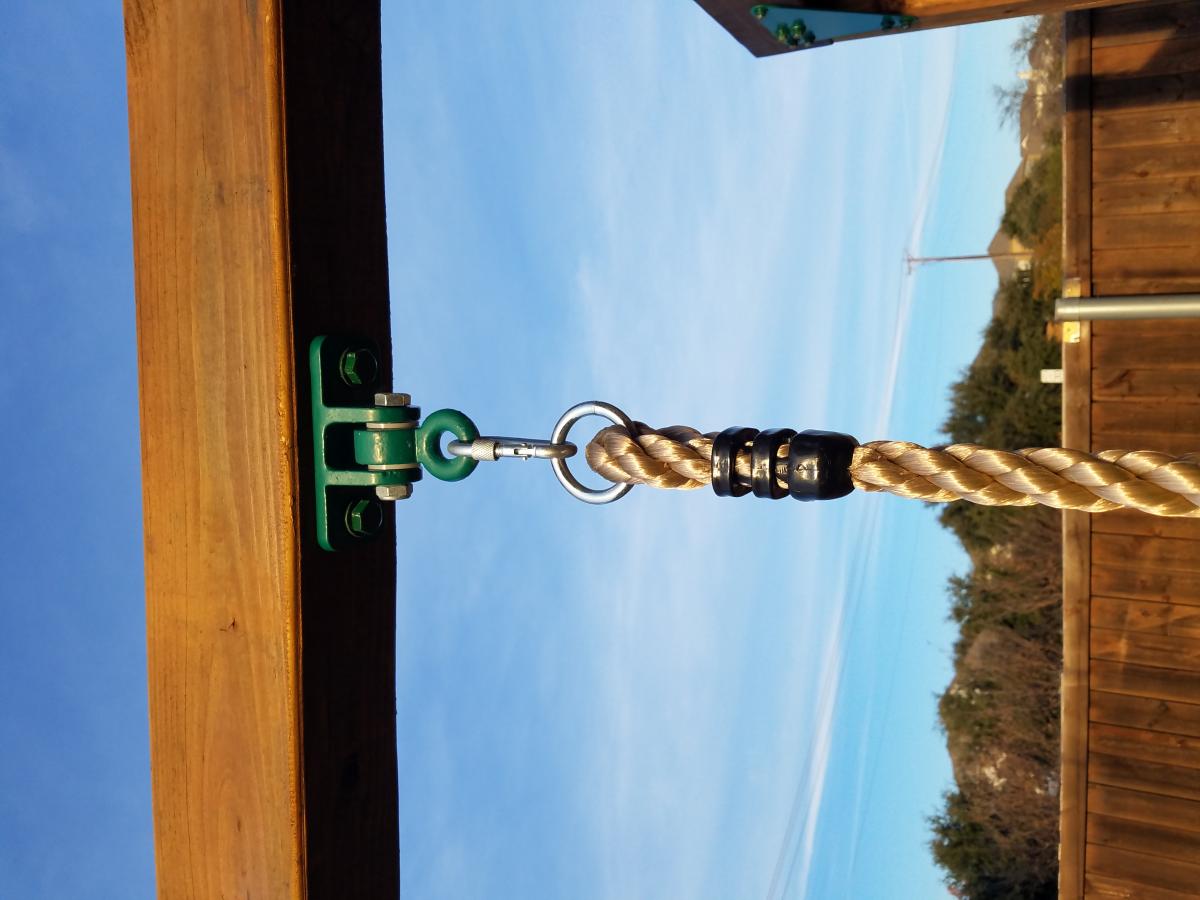
I deviated quite a bit from the plans.  Mostly, I used readily available swingset hardware to beef up the design. This stuff can be found on big online sites or specialty sites. 

I bought all of the swings, and ninja rope online along with the 4ft slide and safety handles.

Estimated Cost
$1200
Estimated Time Investment
Week Long Project (20 Hours or More)
Finish Used
Outdoor Stain/Urethane
Recommended Skill Level
Intermediate

Comments

Hailey Storage Daybed

Submitted by kelli224 on Wed, 04/04/2012 - 12:09

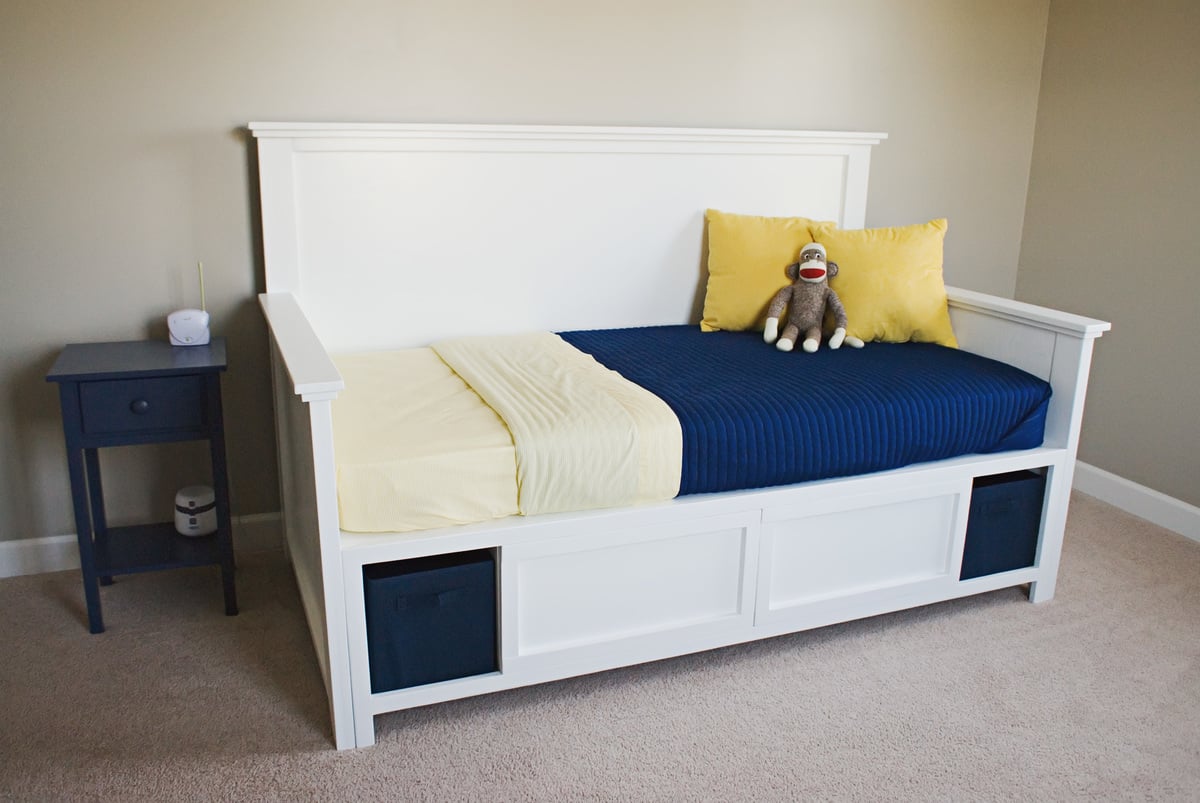
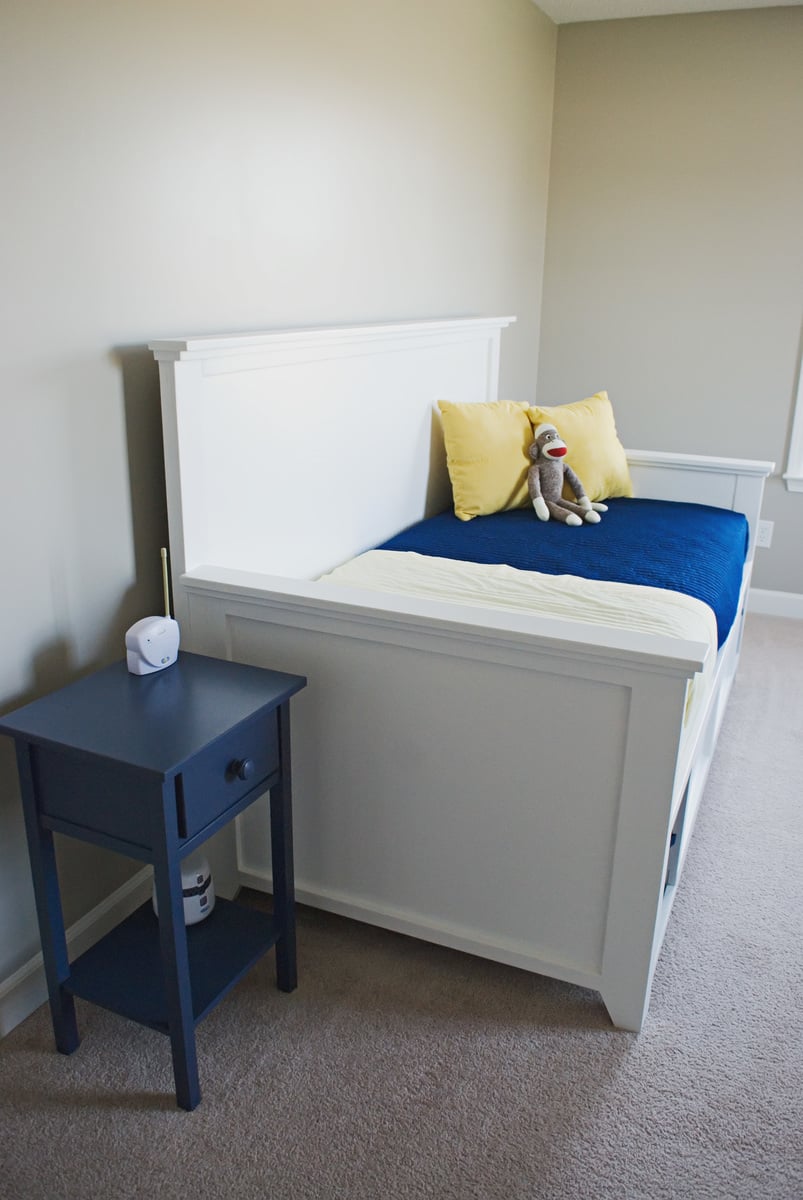
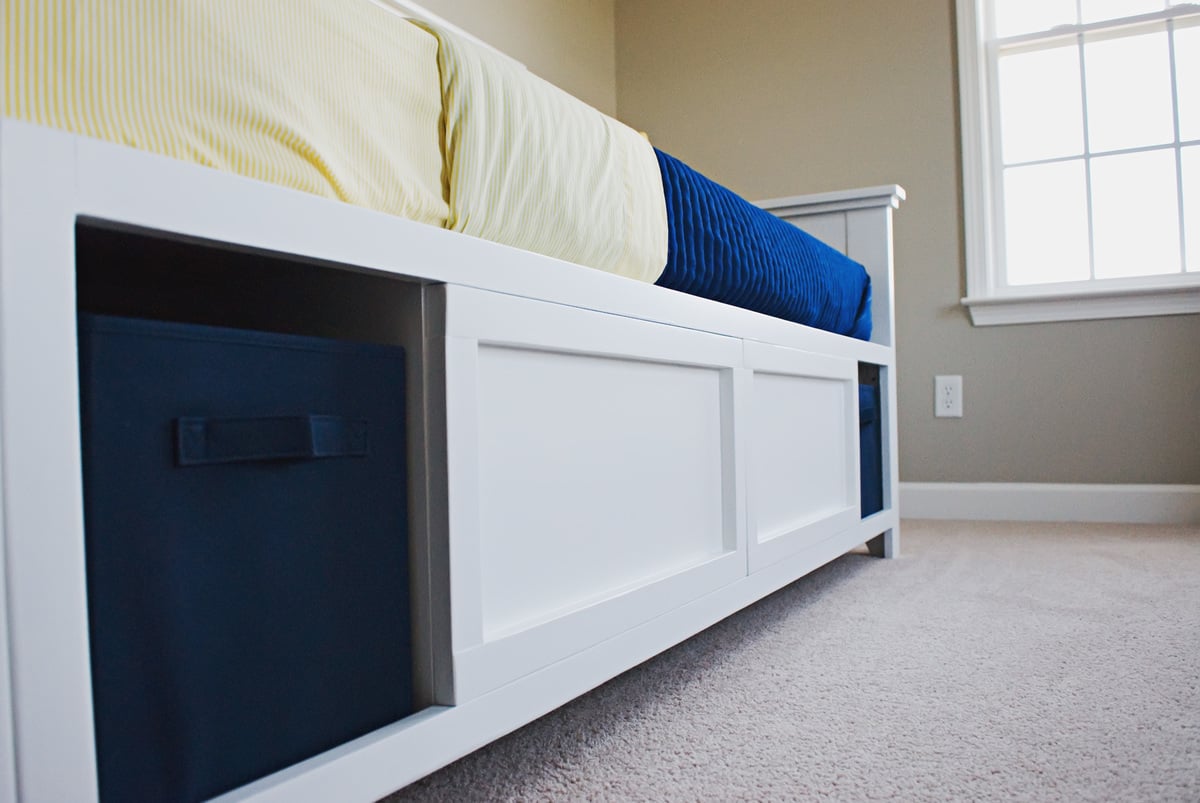
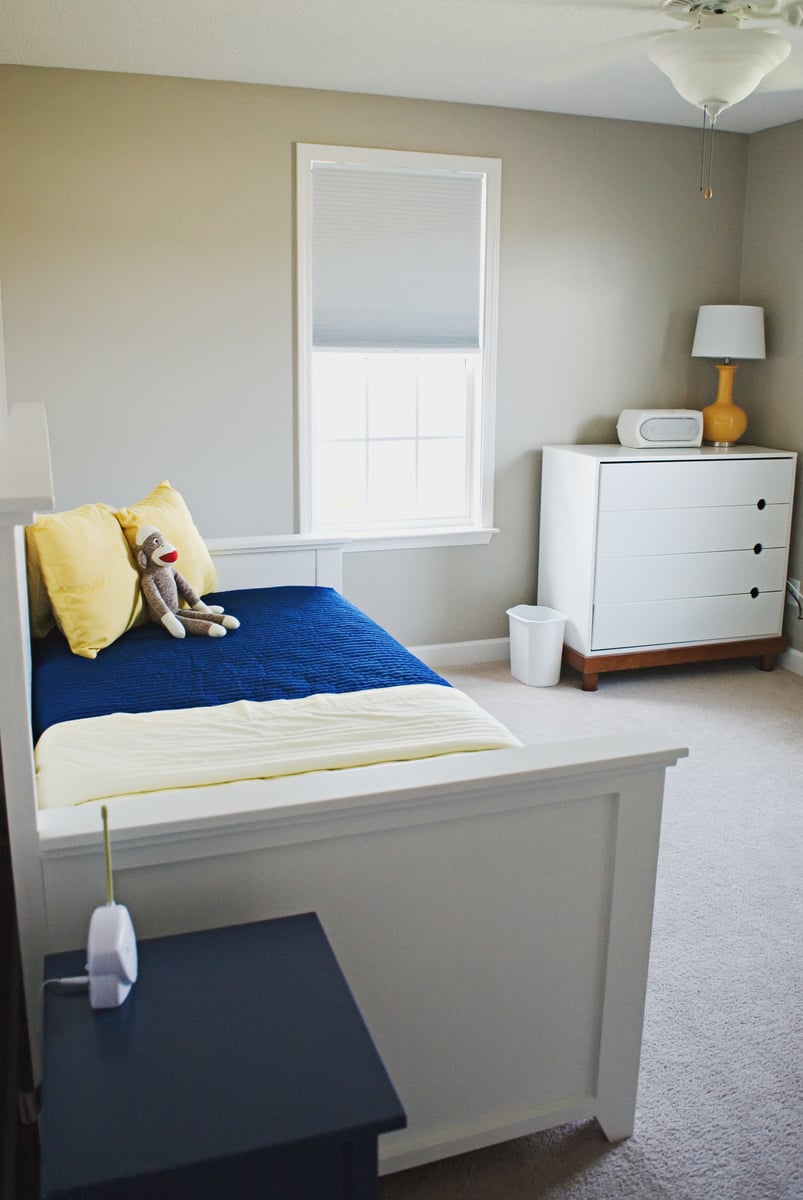
This is our second bed from Ana and definitely our favorite. This bed is one nice, sturdy piece of furniture. It went together easily and everything was right on. We did make a couple changes. Instead of putting two legs on the end of the bench in back, we put three - one where the center divider is and one on the dividers on each side of the center. We changed it so you wouldn't be able to see the bench legs from under the bed. It worked perfectly! Also, we added a 1x4 top trim to the back and arms instead of just stopping with the 1x3. Thank you so much for saving us hundreds of dollars!

Estimated Cost
$300
Estimated Time Investment
Weekend Project (10-20 Hours)
Finish Used
Benjamin Moore Advance Snowfall White in Satin
Recommended Skill Level
Beginner

Comments