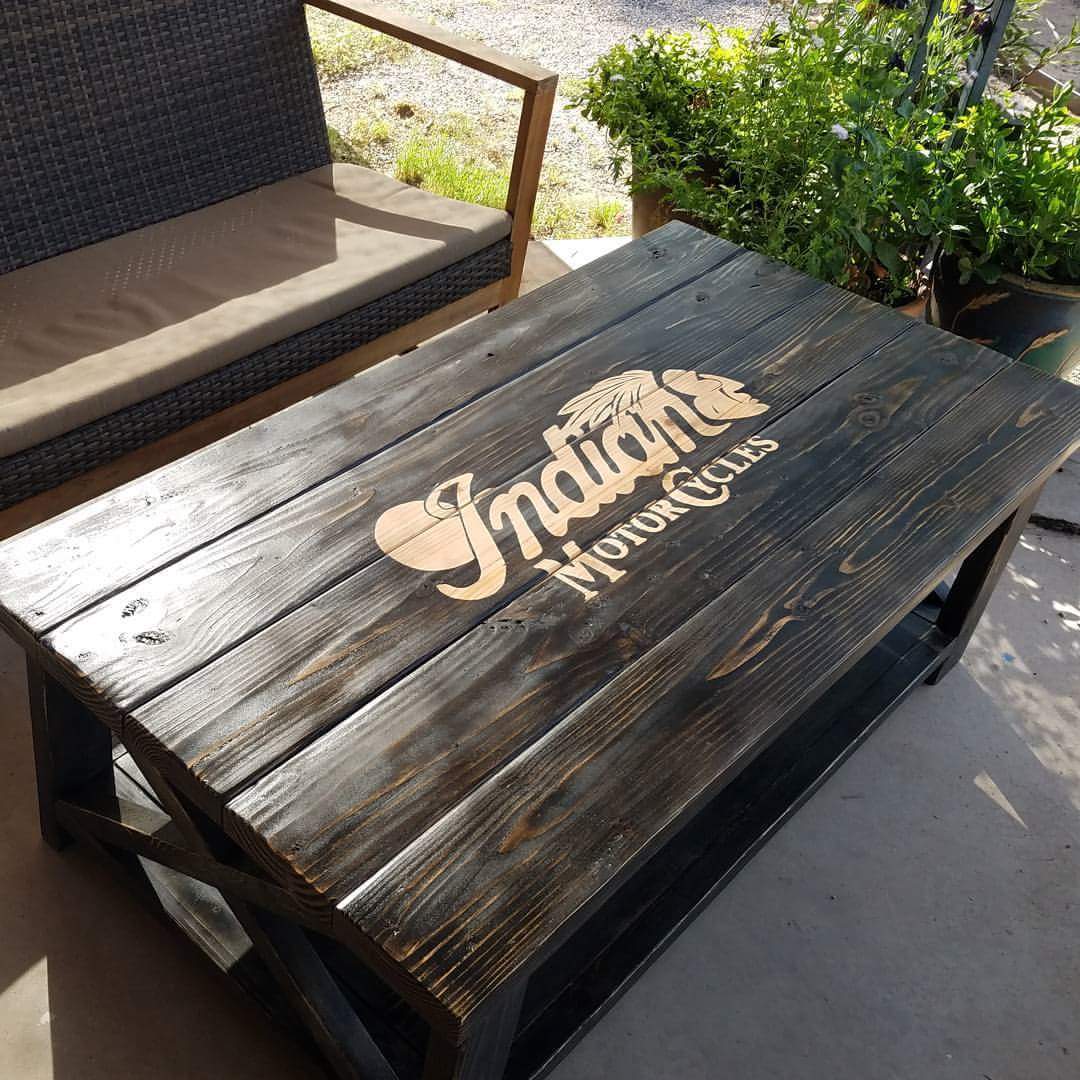
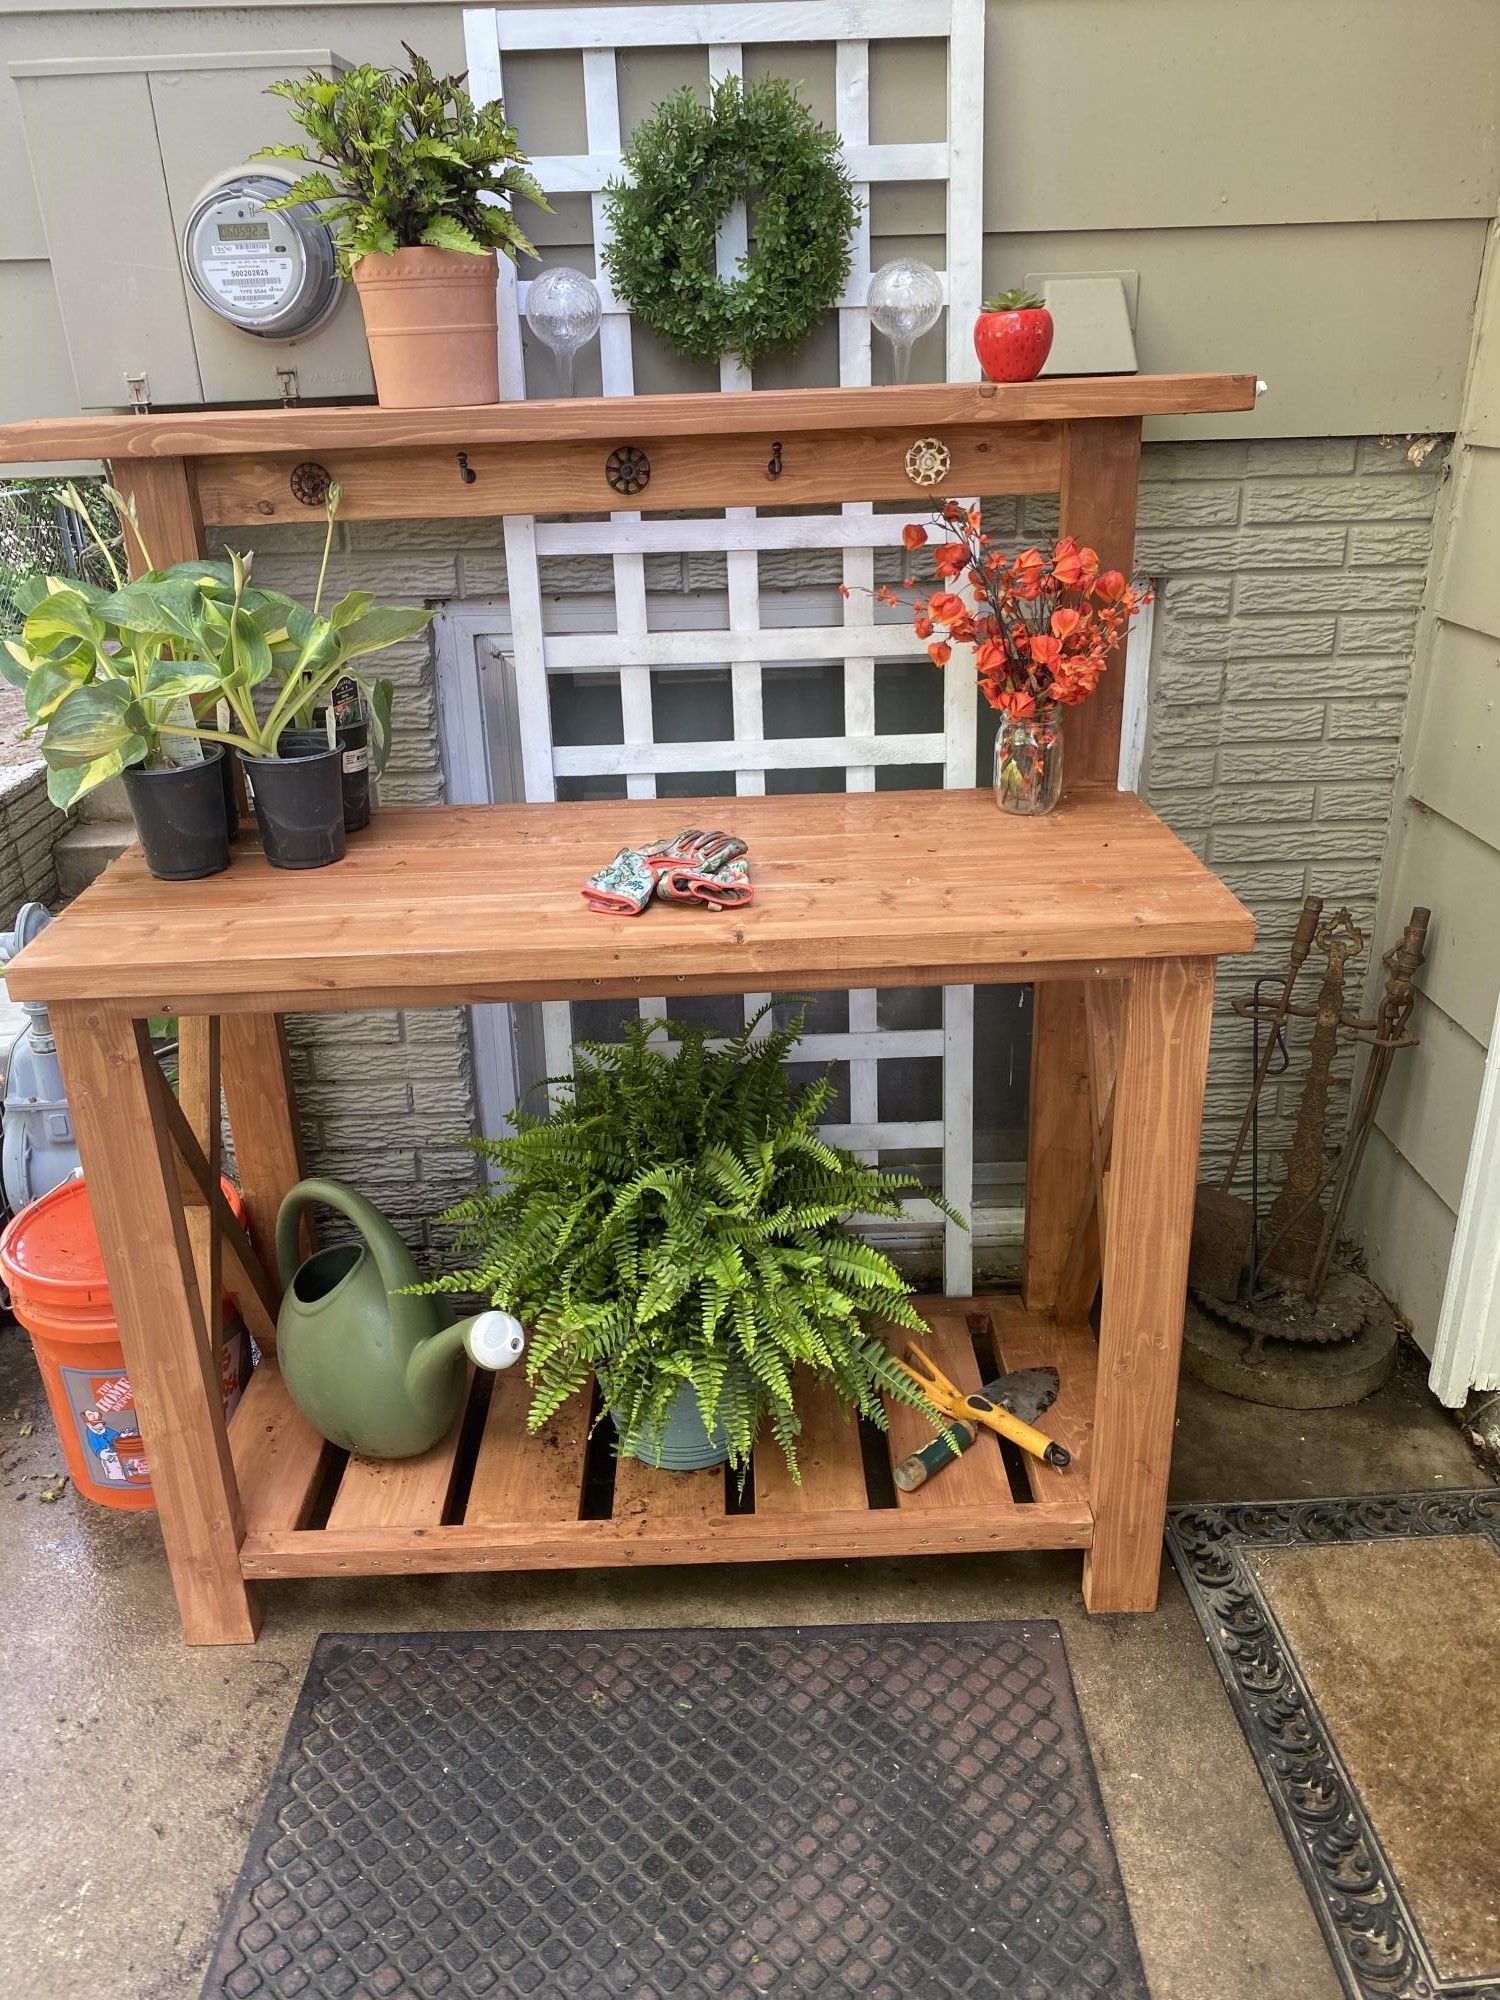
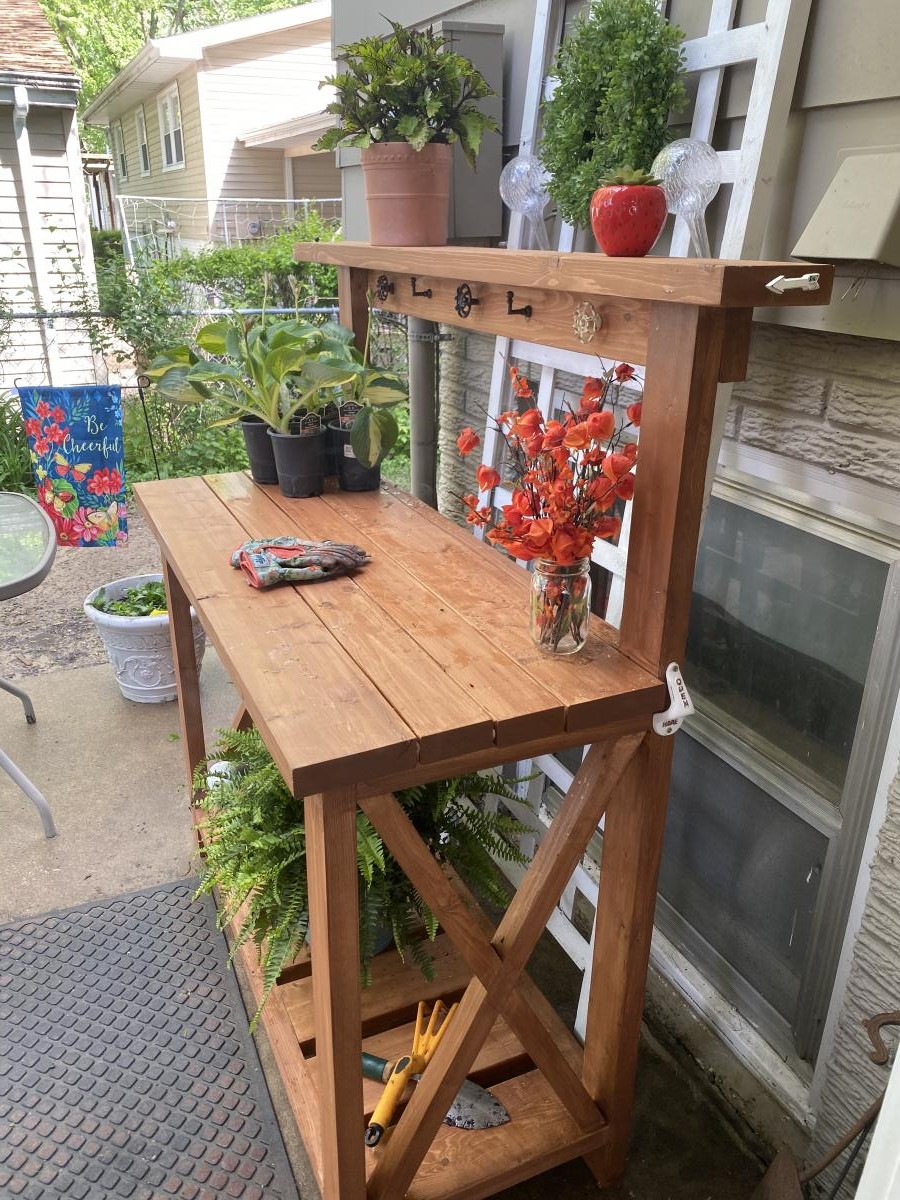
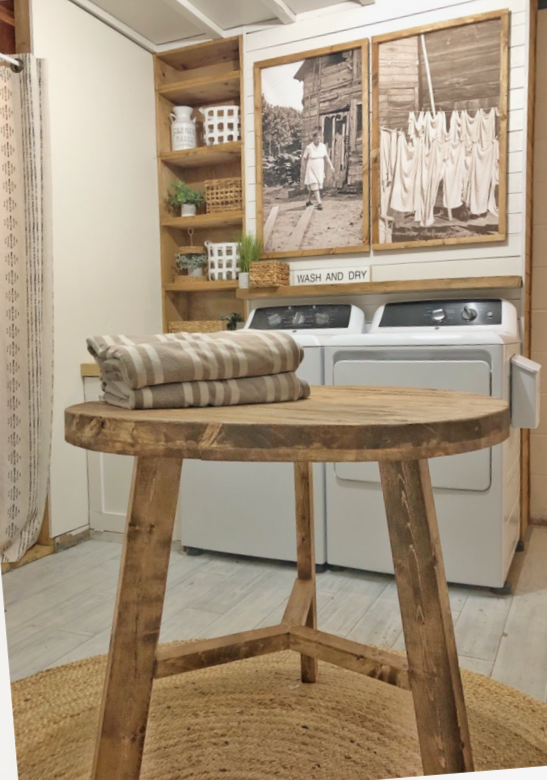
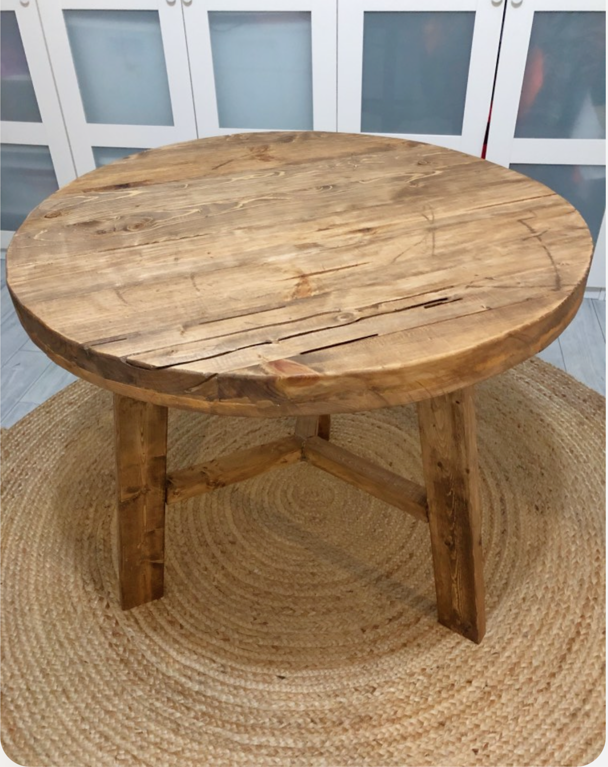
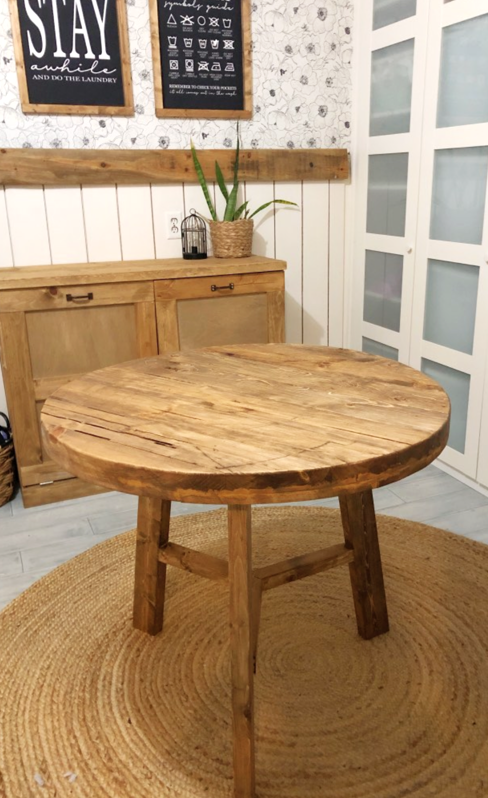
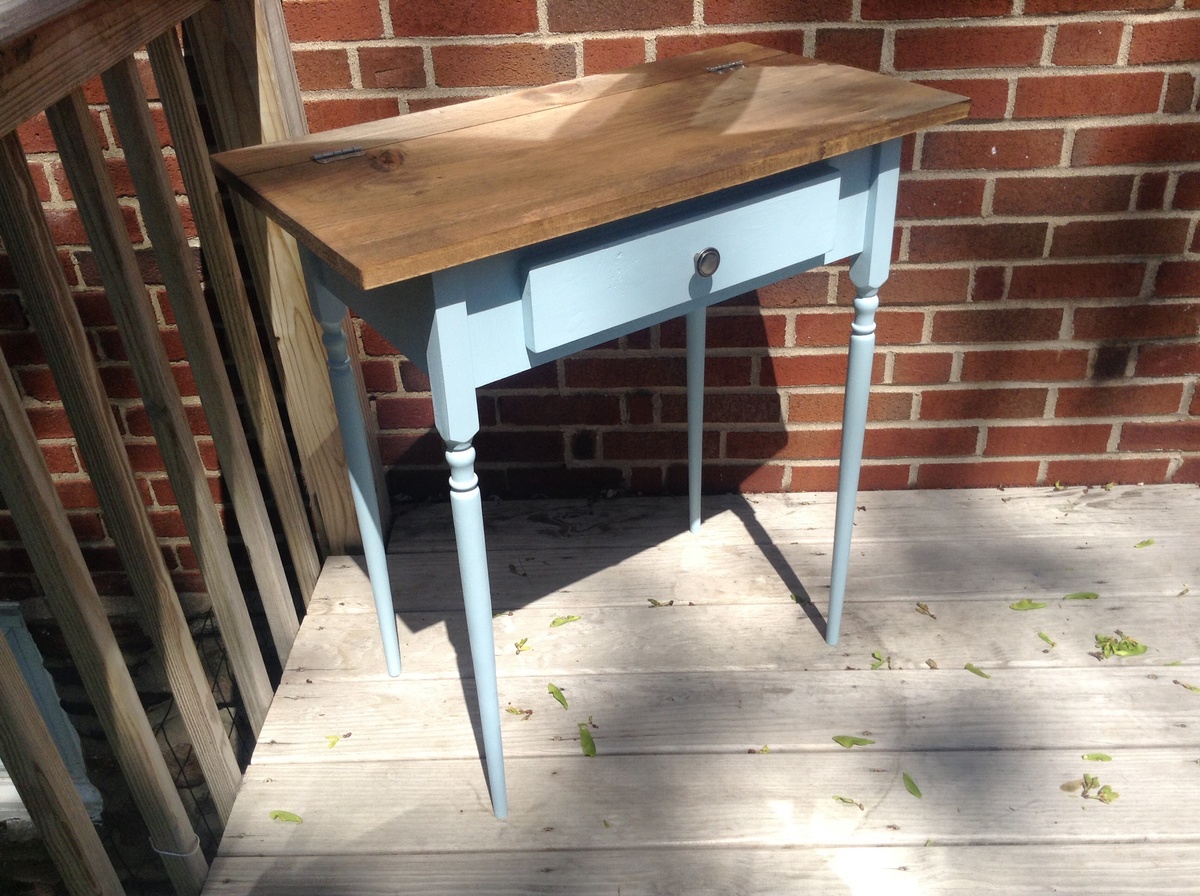
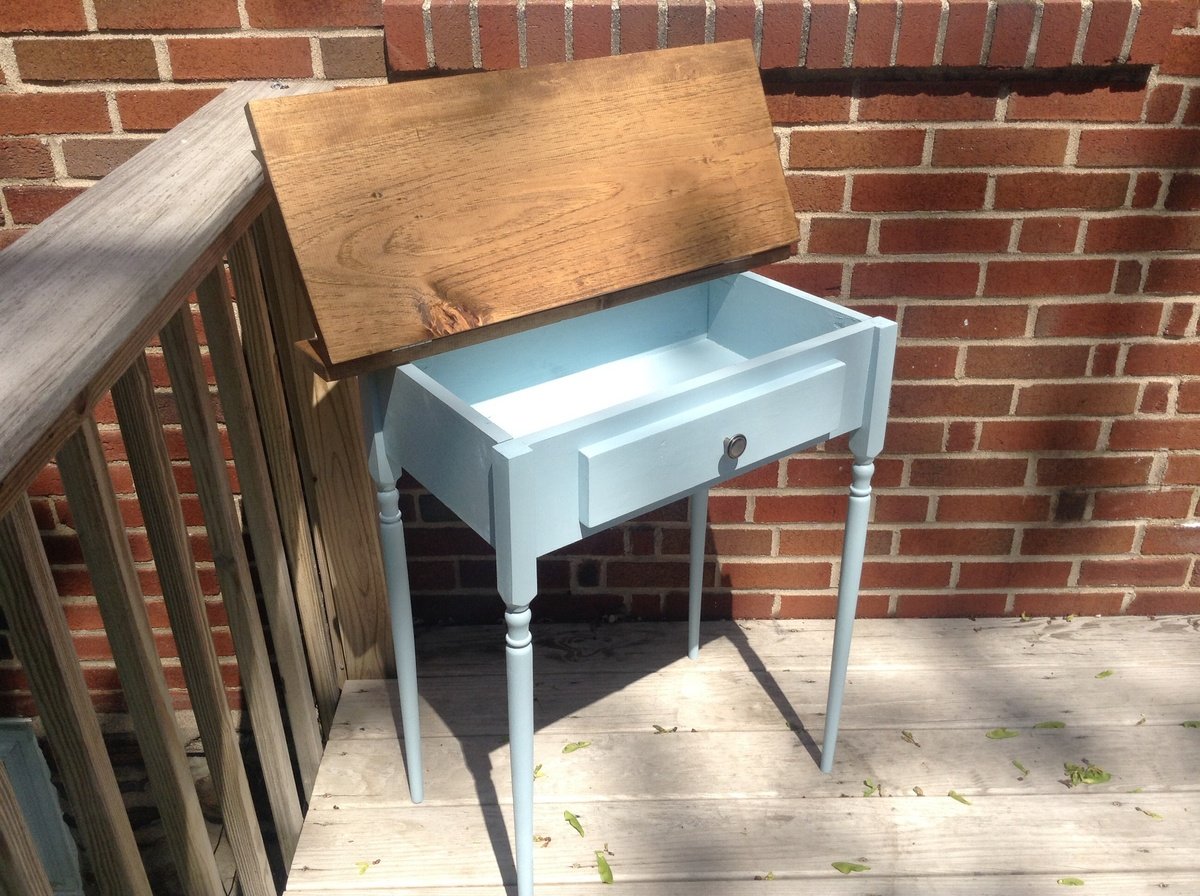
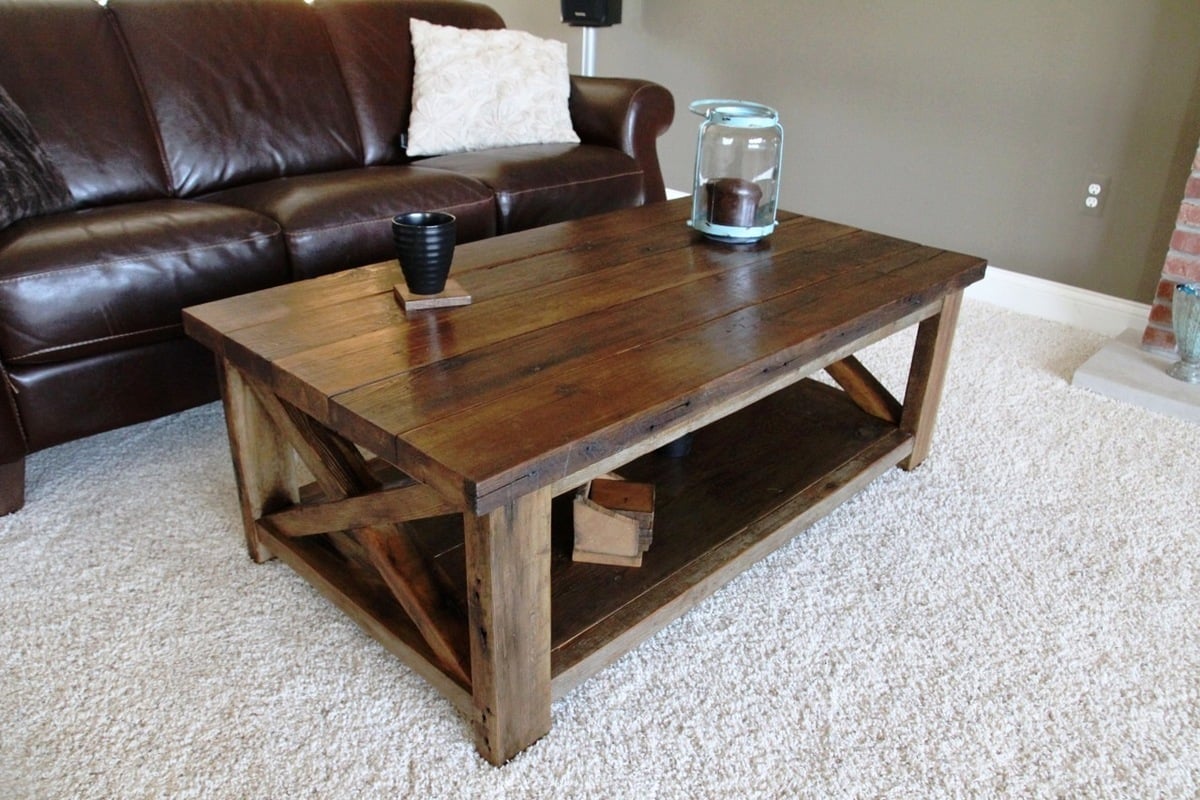
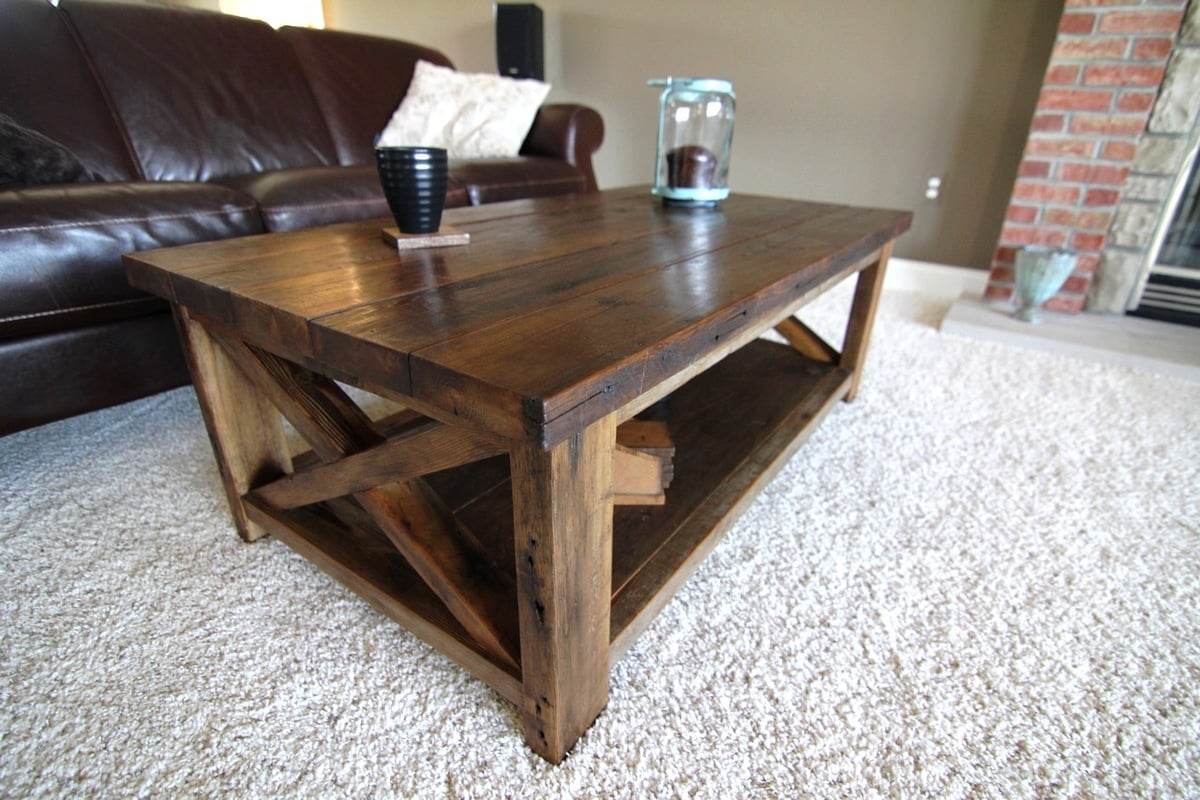
Fancy X Farmhouse Table
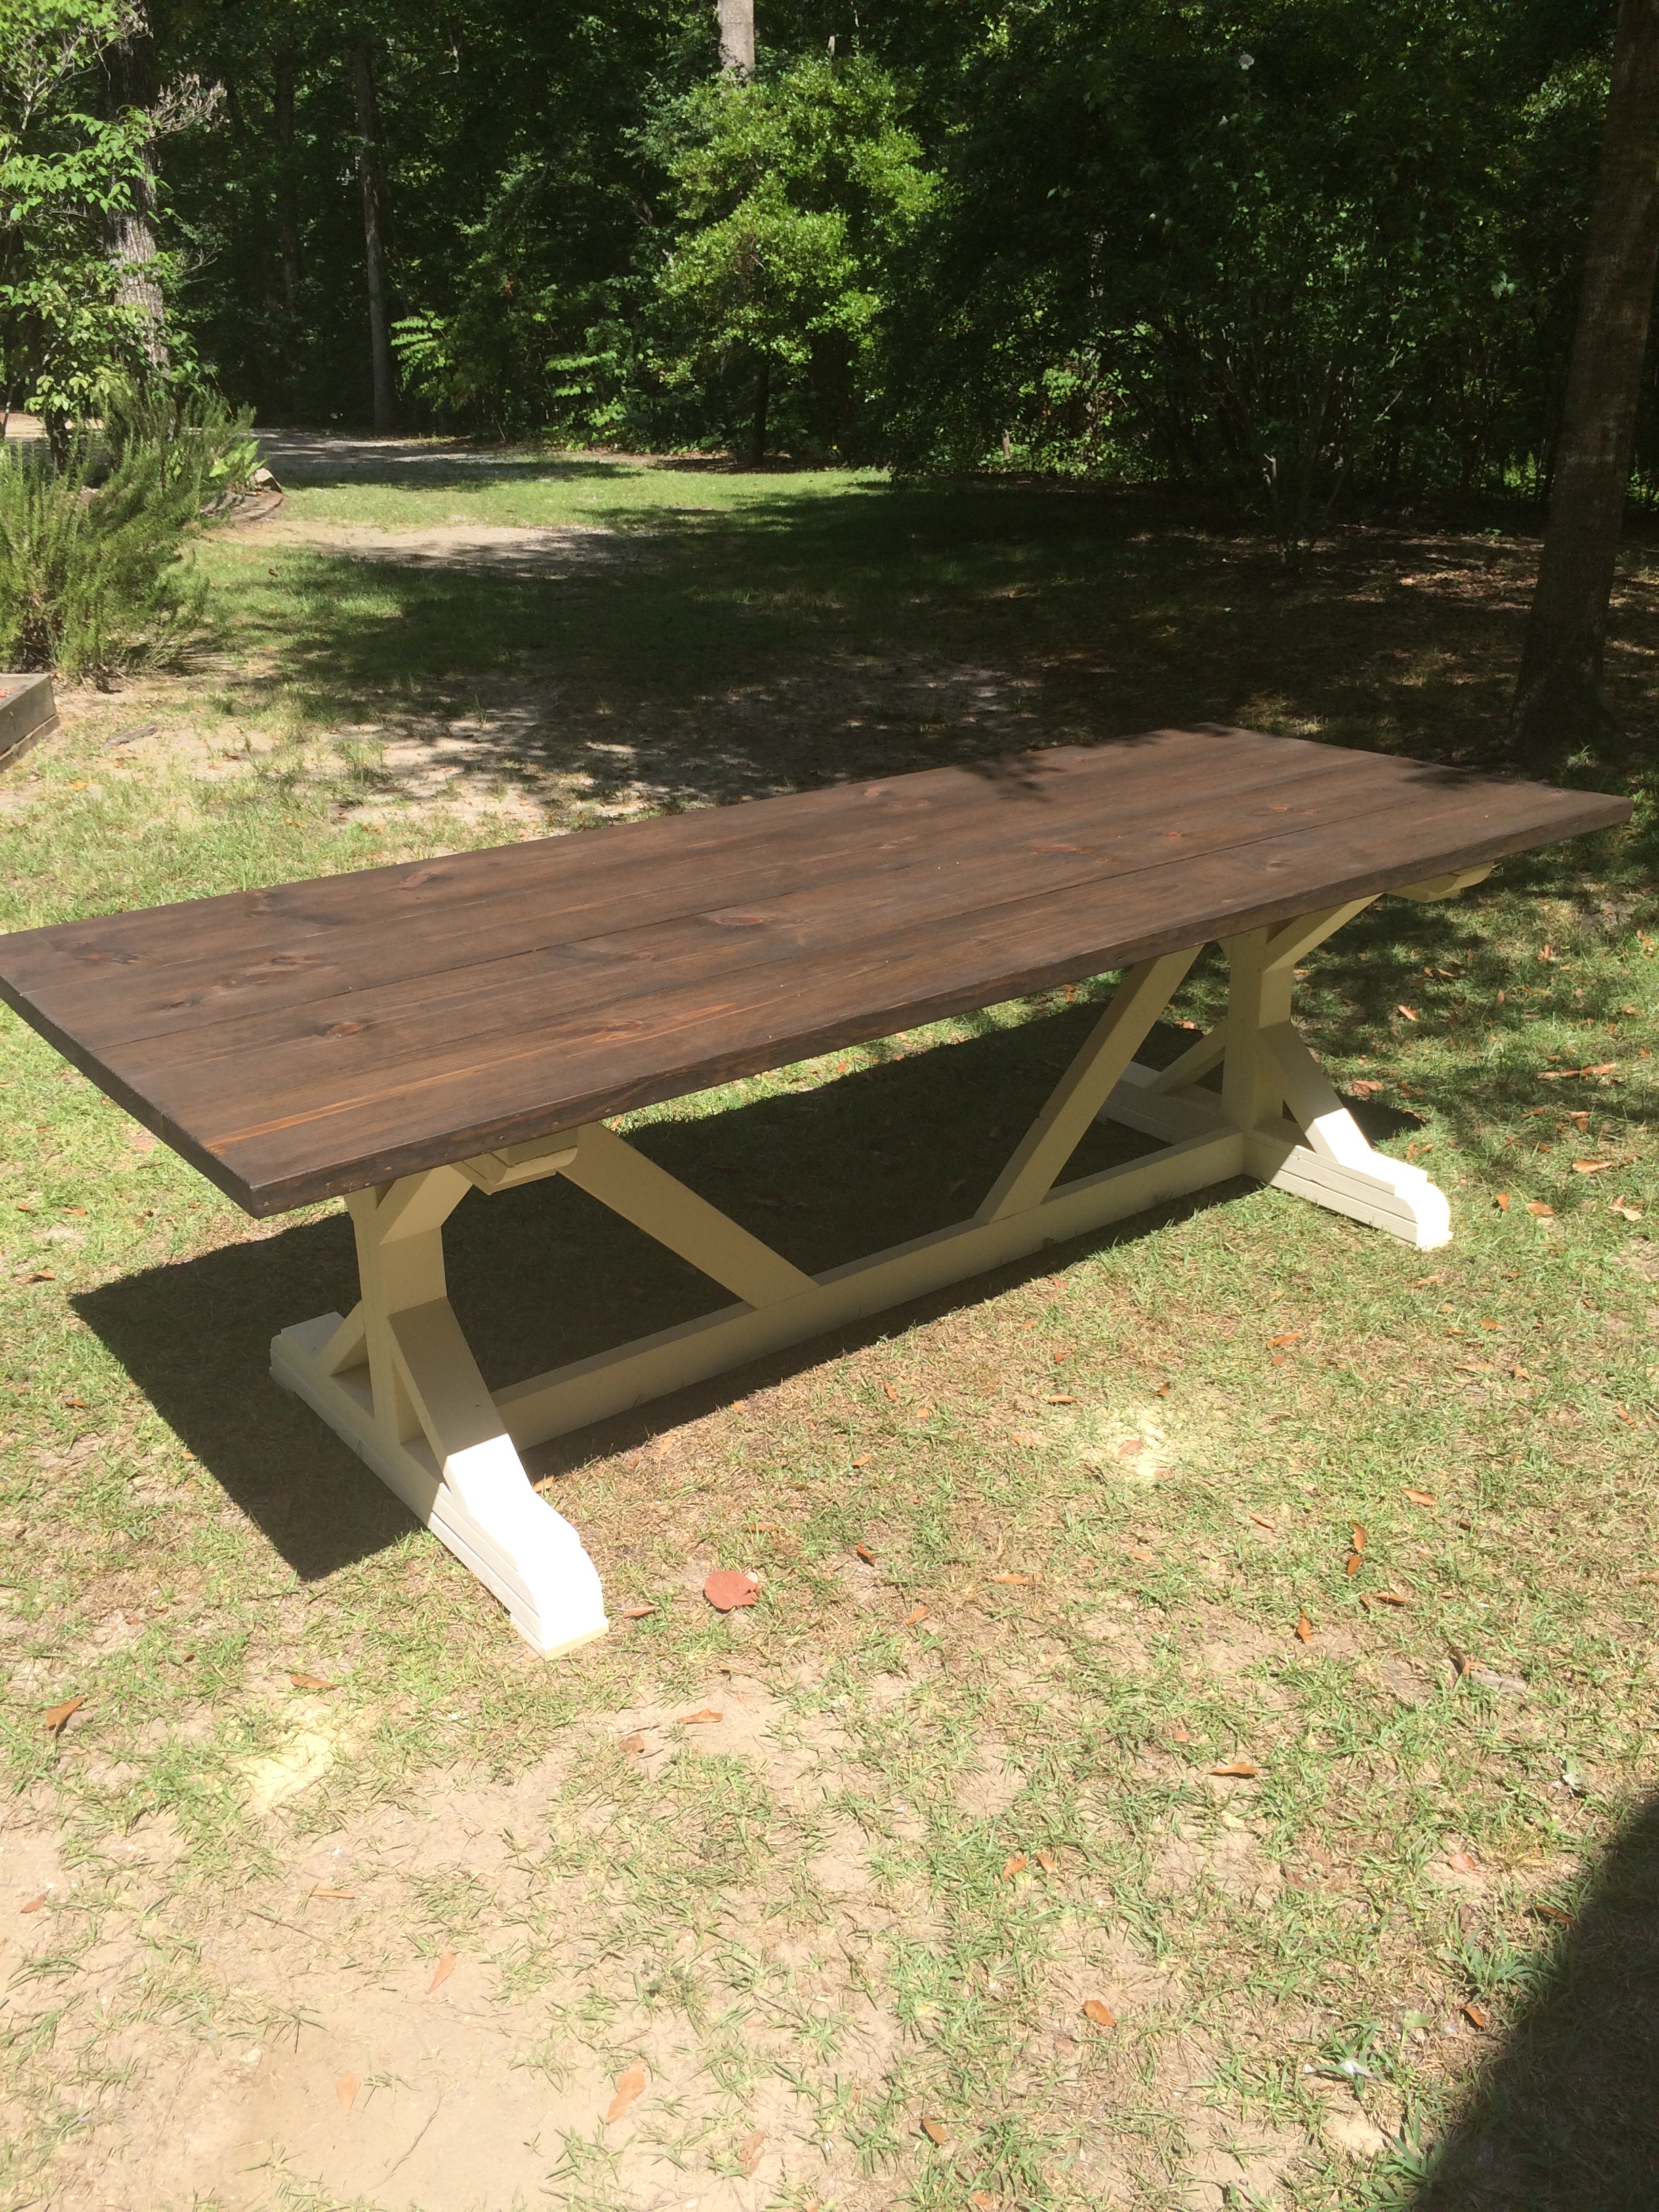
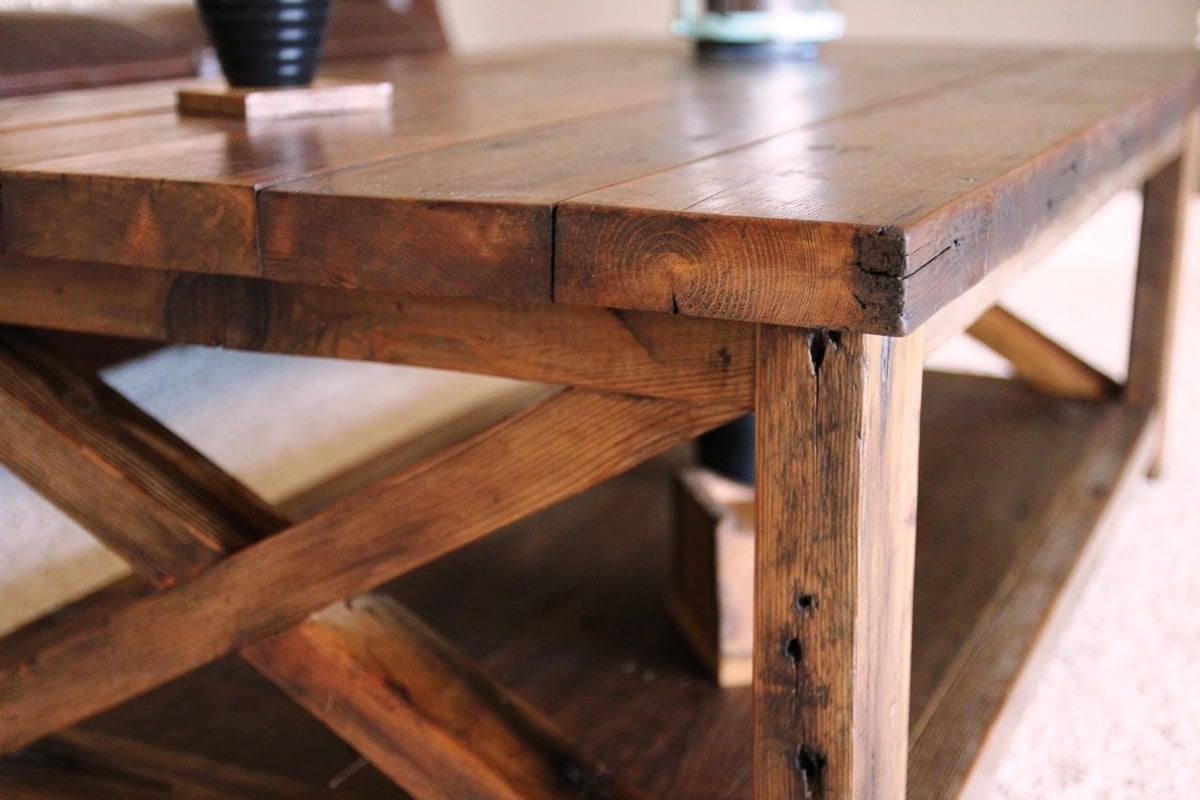
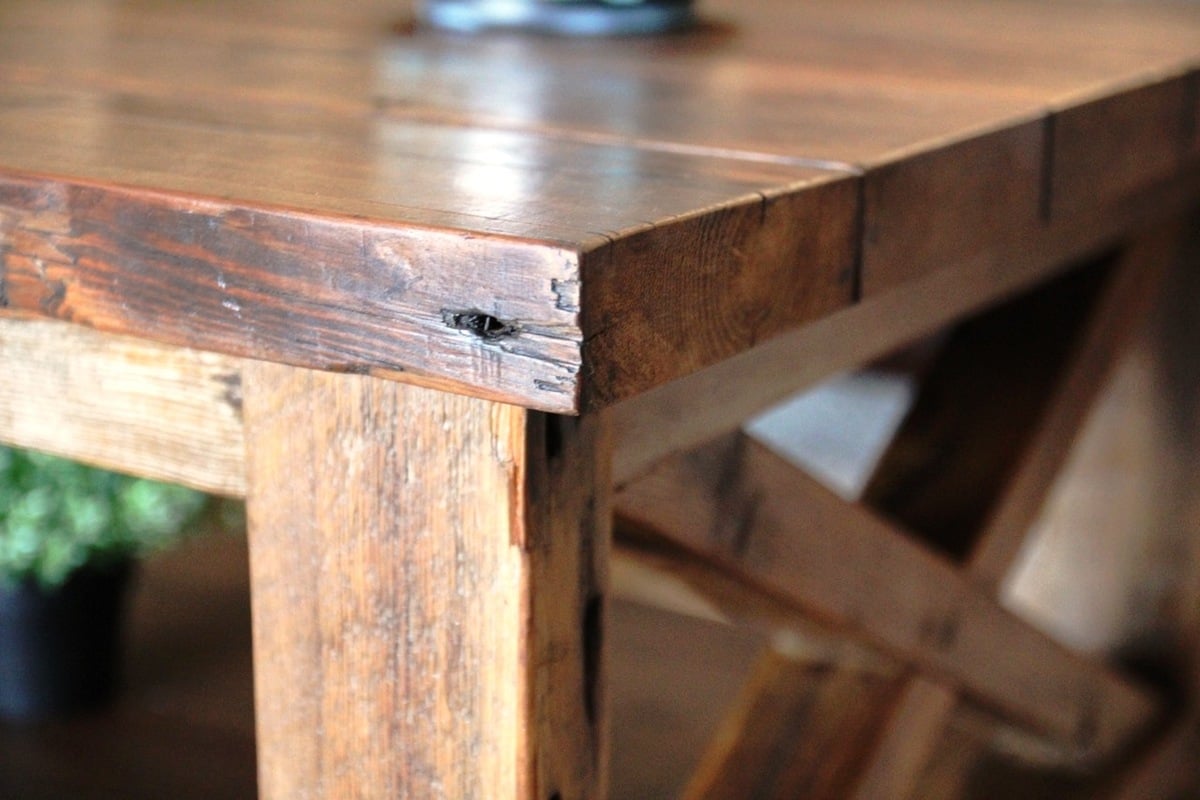
This was a fun one to build. I love how it turned out. Most importantly this wife loved it! I used the miter saw to create a curved love on the feet, this was really easy to do just took a couple practice boards then I had it. I dont remember how much I had in the money I had in the wood but I was a lot cheaper to build rather than buy.
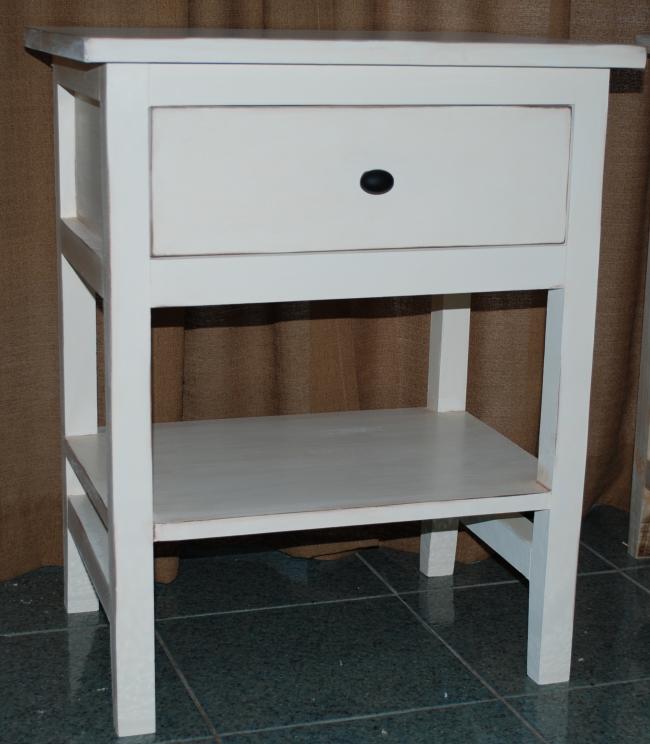
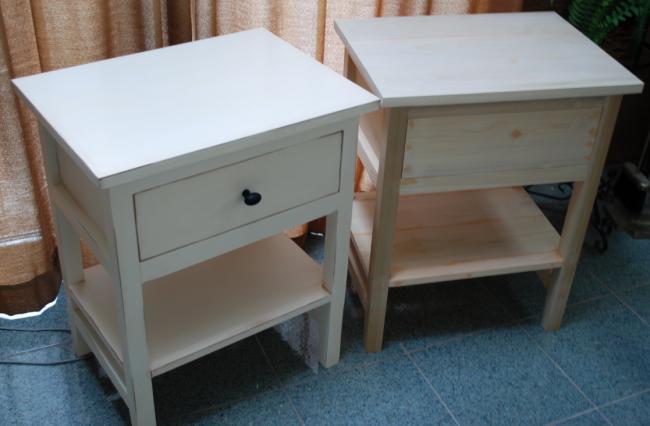
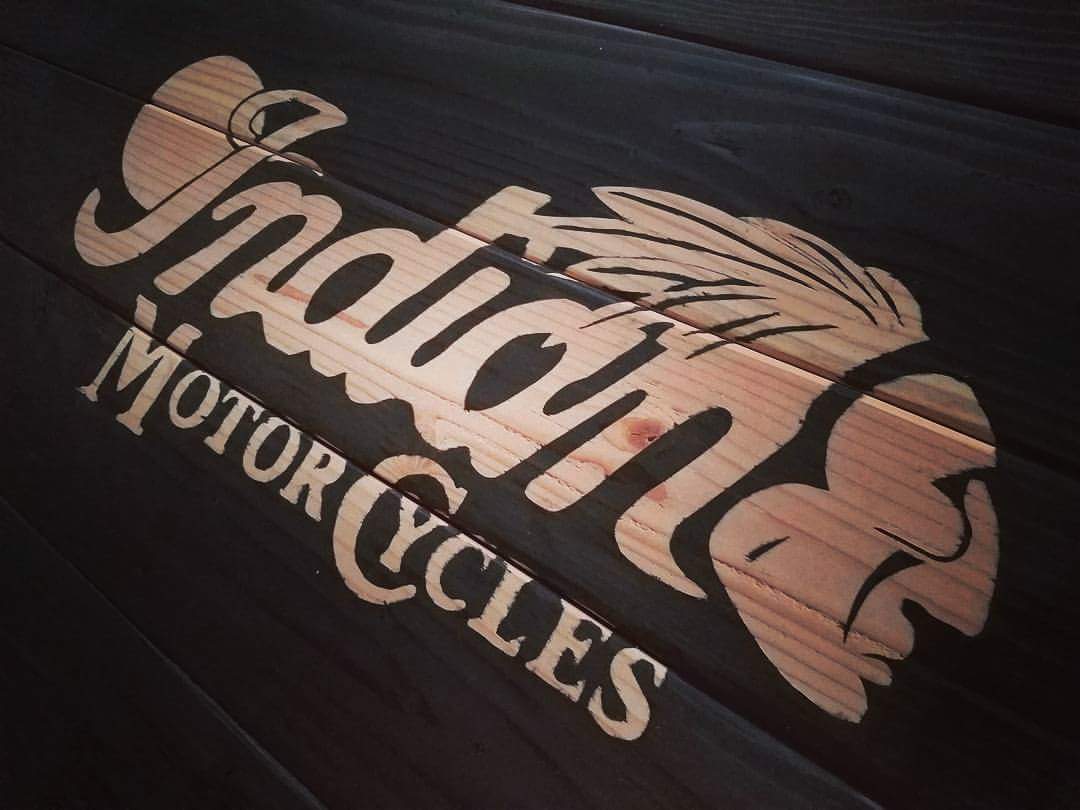
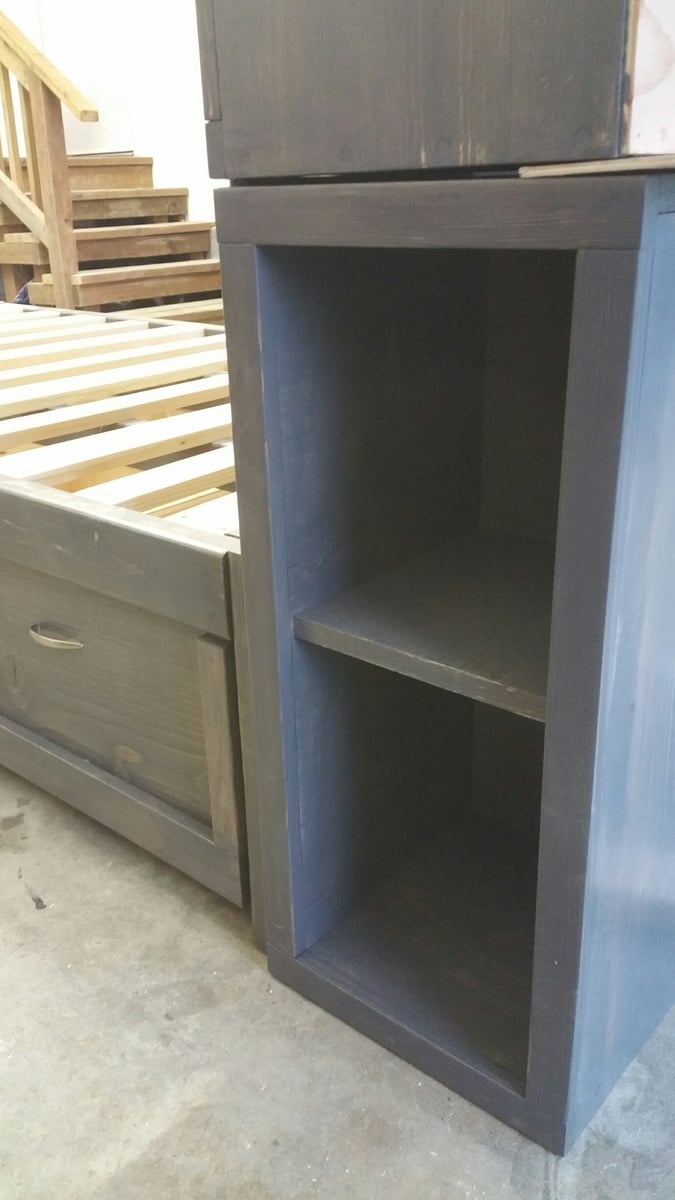
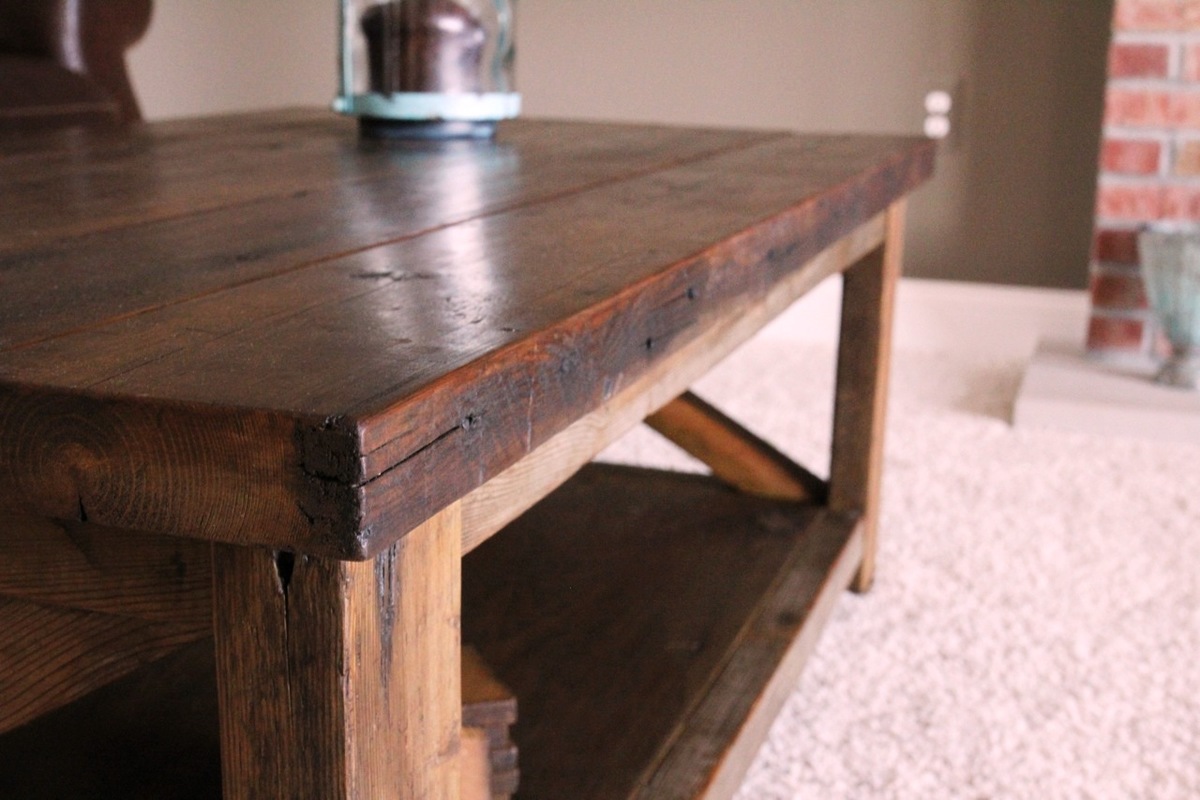
Table top stain is Espresso
BAse paint is some cream color I dont remember sorry.
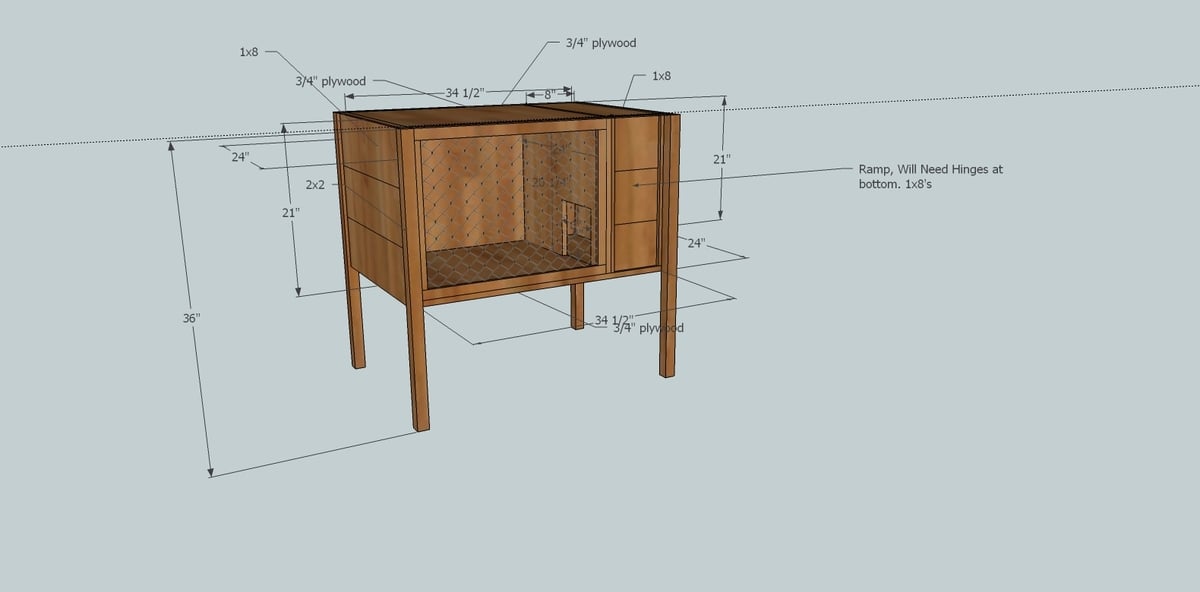
Built from Plan(s)
Estimated Cost
$100
Estimated Time Investment
Weekend Project (10-20 Hours)
Finish Used
Minwax Espresso Stain
Cream paint
Cream paint
Recommended Skill Level
Intermediate