Double Wide Cedar Fence Picket Storage Shed
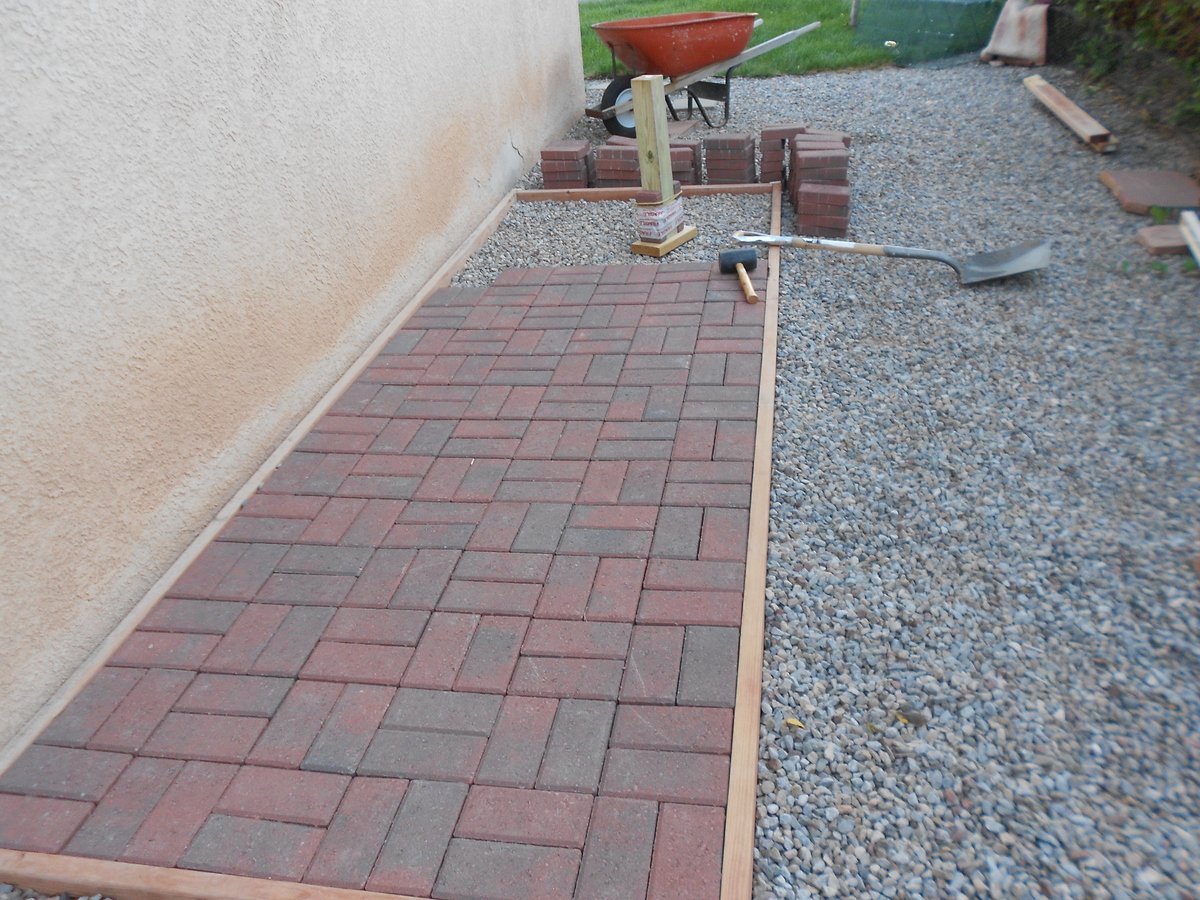
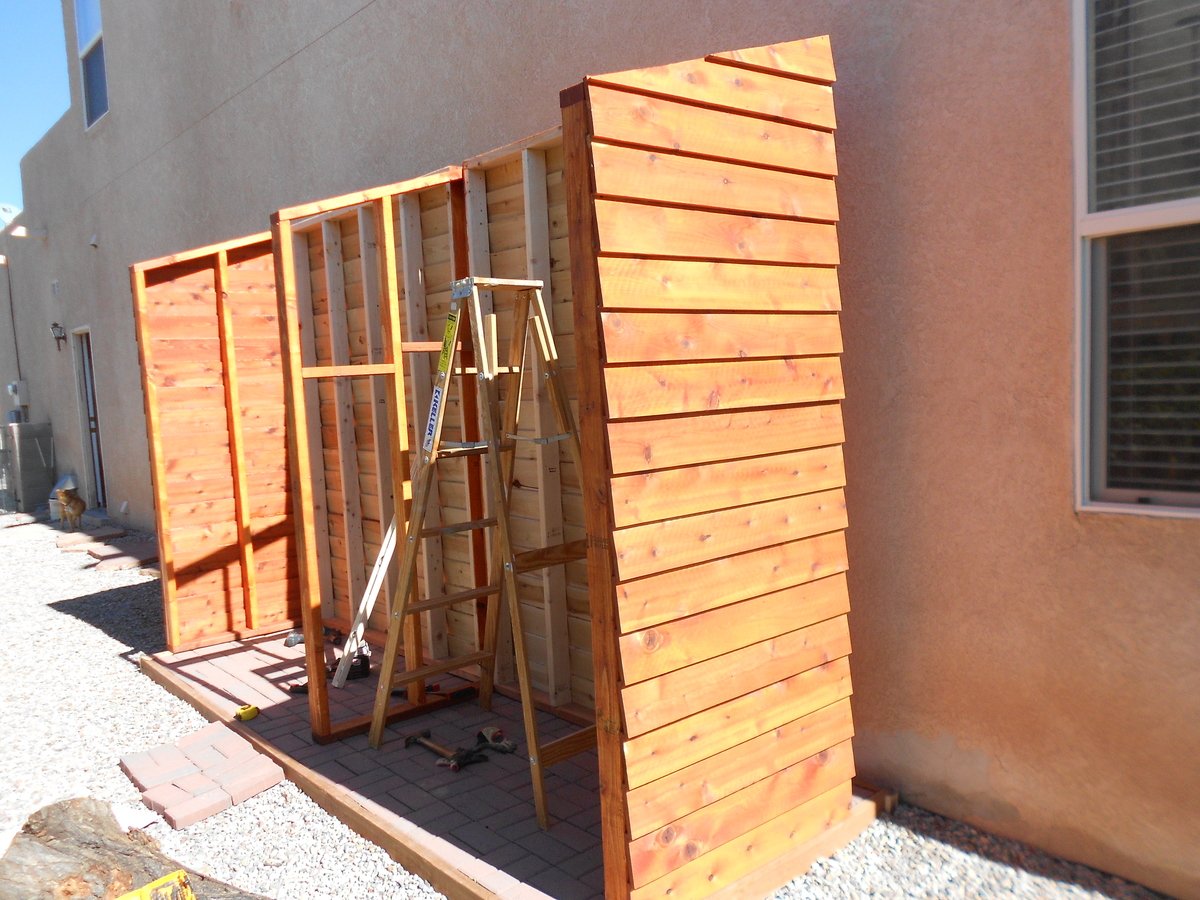
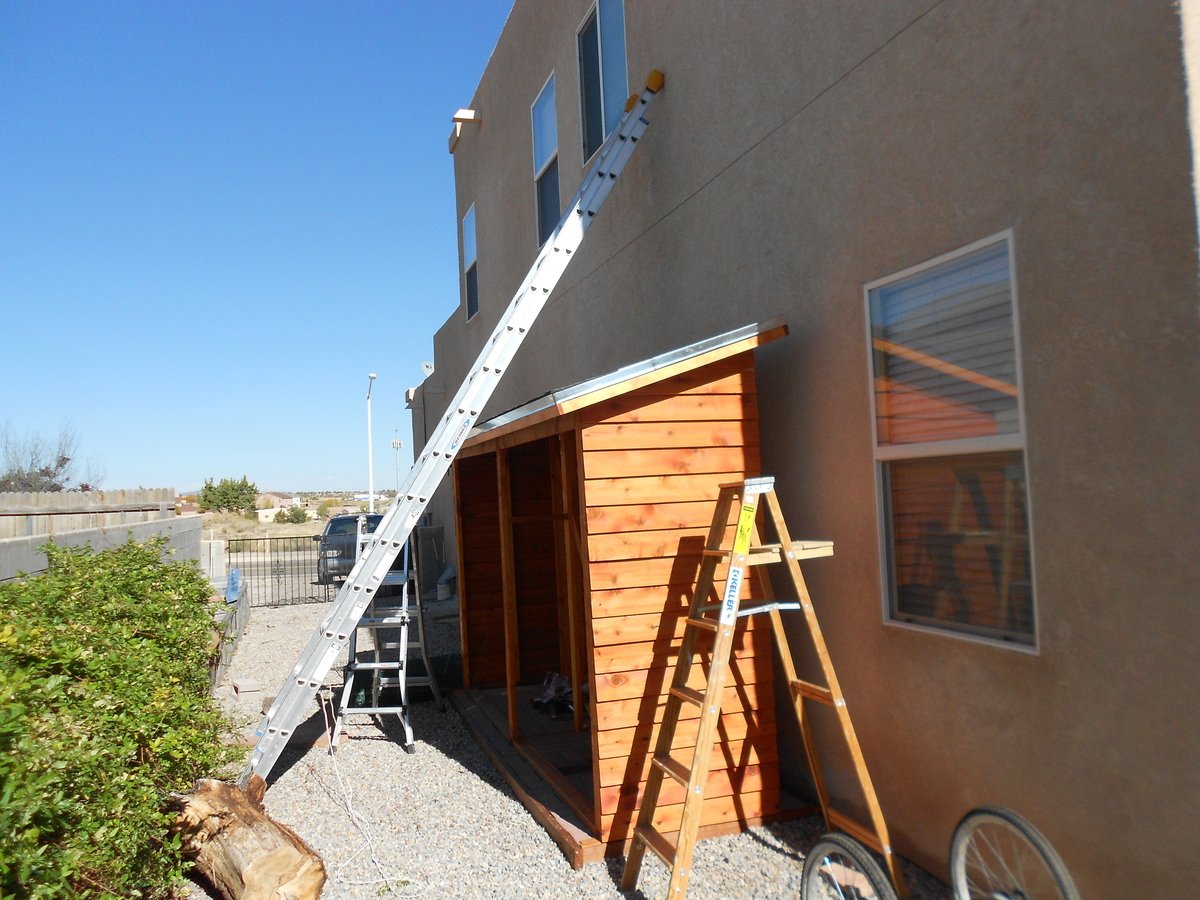
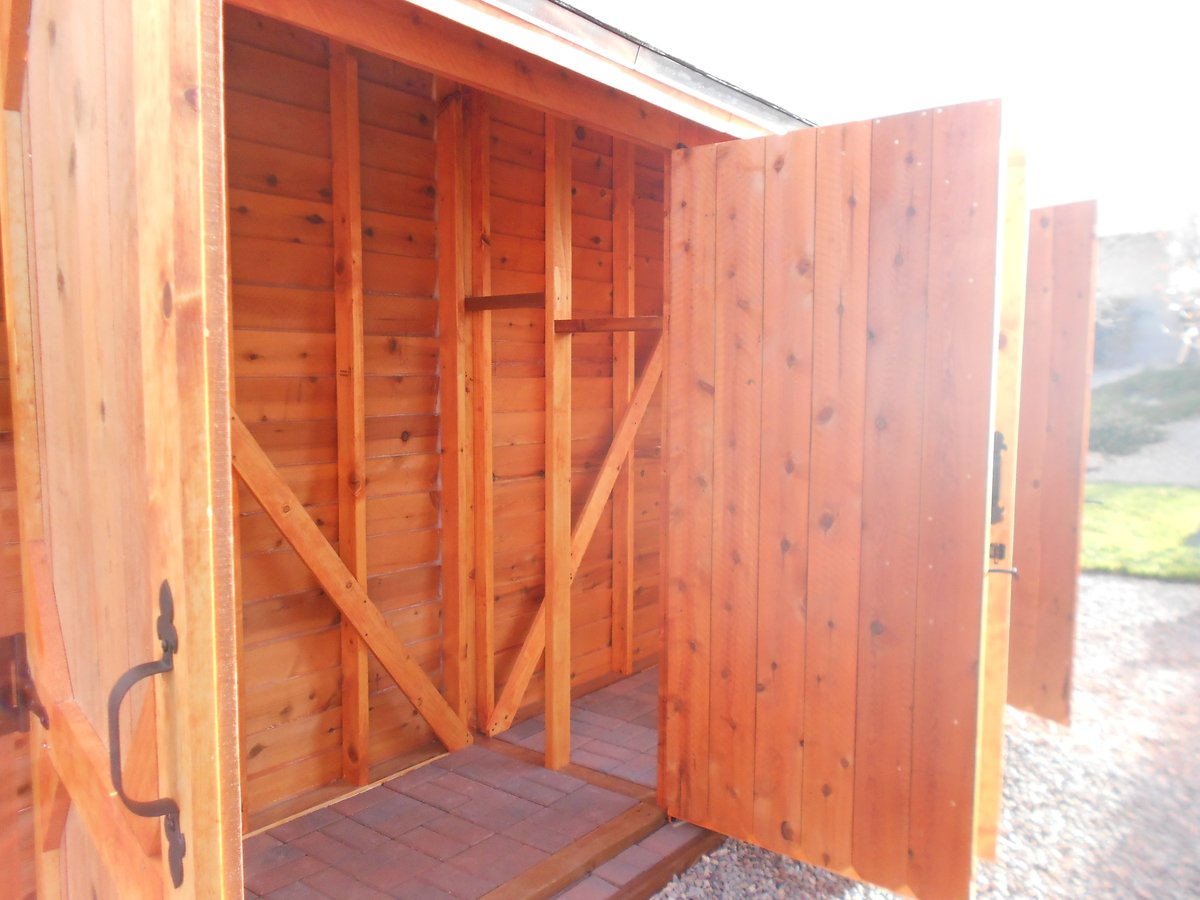
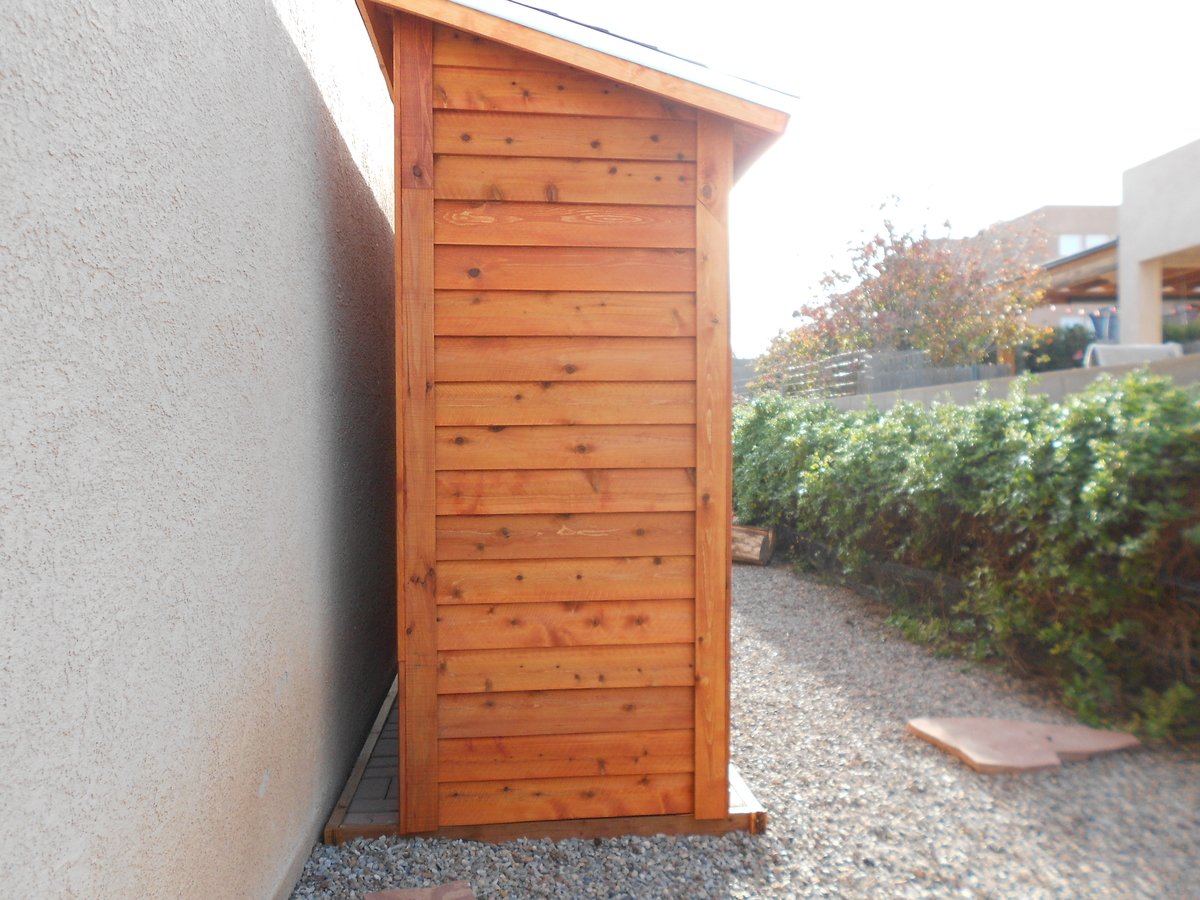
I read and studied every comment and brag post about this shed. I must have read the plans a hundred times before I got up the courage to tackle it. It’s a very attractive and affordable shed design. I thought a double wide version would be perfect for our long, narrow side yard, and it is! I mostly stuck to the plans except for a few things. I made it 10” taller overall so there would be plenty of head clearance under the doorway. That was a very easy modification. I used 2x4s for the walls instead of 2x2s because we have high winds in our area. That modification was a little bit more challenging, but I planned it out and it worked! Also I used 2x6s for the headers instead of 2x4s. I also added 2x4s at the thresholds because I couldn’t image making it stay square without them. I basically made two sheds joined by a common wall in the center. I did not increase the depth, mostly because I was afraid to mess with the angles and how that would change the pitch of the roof. Joining two sheds together meant that I didn’t have to put the exterior pickets on the middle wall. But it also meant that I had to build 4 doors. Yuck. They were difficult to get lined up and level, but I was amazed it actually worked and that all the doors operate properly and smoothly. I was questioning the wisdom of my decision to do 4 doors while I was in the thick of it, but now that all the work is done, I love that I can open all 4 doors and have easy access to absolutely everything in the shed. Very convenient! I told my dad I was building a shed and he recommend that I add cross braces. It seemed sturdy enough without them but it certainly can’t hurt. My dad knows everything about building and I know nothing, so I took his recommendation. If I were to do this again, I would overlap the cedar pickets by 1” instead of ½”. My pickets were not quite wide enough. I could swear they shrunk after I applied the stain/uv protection. I used liquid nails along each lap but it didn’t hold. Where the glue DID hold tight, the wood split lengthwise. Anyway, for whatever reason, gaps appeared and I spent a fortune on clear silicon applied on the interior walls to make it water tight. I had to keep going back for “just one more tube.” So with hind sight I would have been better off just buying a few more pickets and increasing the overlap. Another thing I might do is make it deeper. I decided against it initially because I was worried that increasing the depth would make it flimsy. Now I don’t think that would be a problem. This shed is sturdy. I can’t say thank you enough. Great plans and a great website! I am completely hooked.












Comments
Ana White
Mon, 11/11/2013 - 07:20
Love it!
You did an amazing job here! Thanks for sharing!
moosmani
Mon, 11/11/2013 - 14:51
Thank you Ana! I can't thank
Thank you Ana! I can't thank you enough for introducing me to the best hobby ever. Your plans are the best!
brettfox27
Mon, 11/11/2013 - 12:01
Estimated Cost
Great Work. Any estimated cost of what this would cost to build?
moosmani
Mon, 11/11/2013 - 14:56
I kept every receipt from
I kept every receipt from caulking gun to stains and brushes. I just now added it up and it came to (cringe) just under $900. But I have lots of left overs for another shed and it's still a huge bargain. Other sheds that are similar to this plan are much smaller and start at $1,999 and up! I think it was well worth it to have a sturdy bargain shed that's also beautiful.
t0mpr1c3
Sat, 01/22/2022 - 23:01
Great job!
It looks great with the stain. I think your Dad's advice was good. Also I like that the heavier timbers add rigidity to the frame.