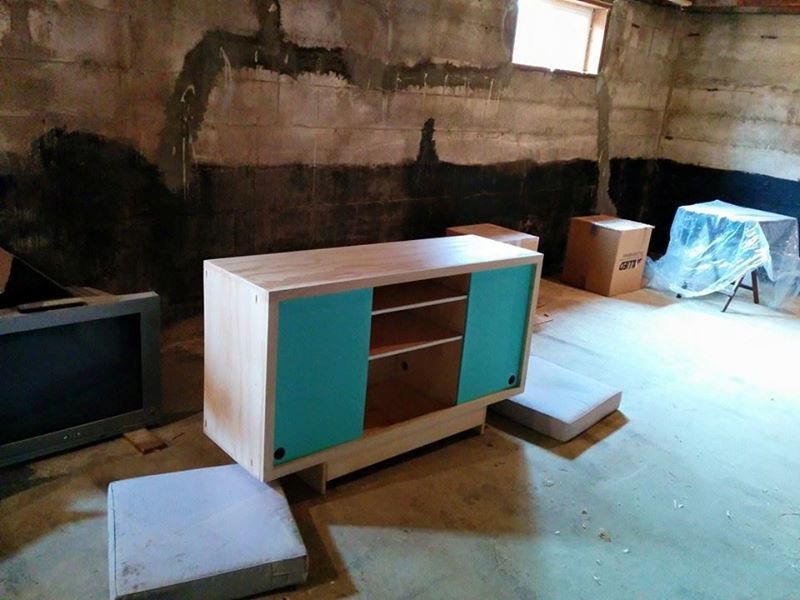
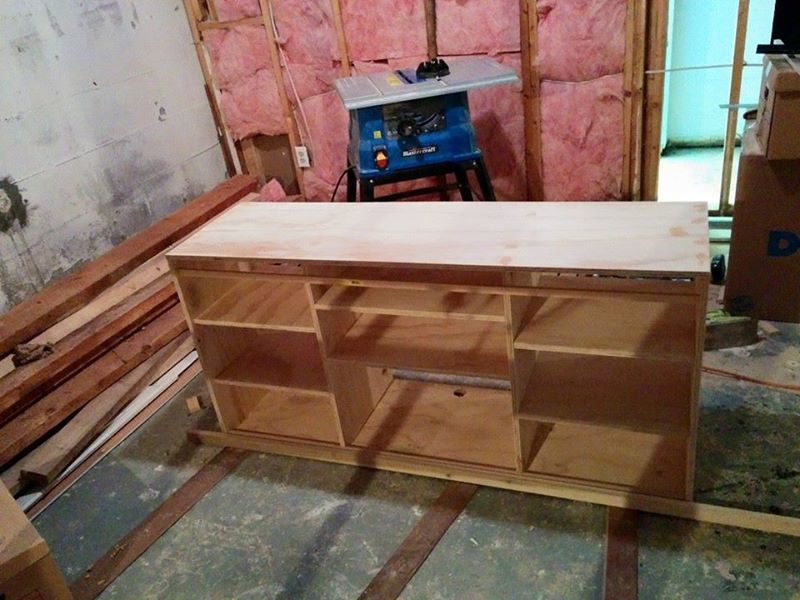
Console with sliding doors
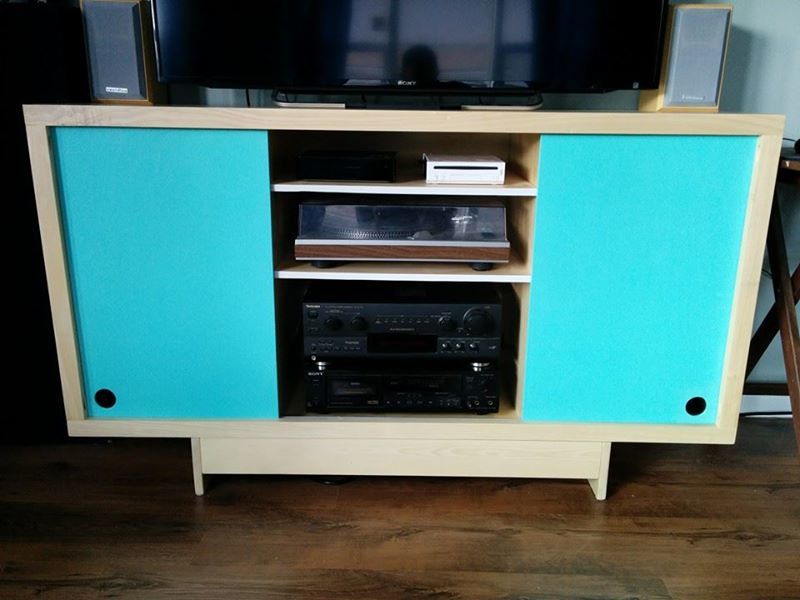
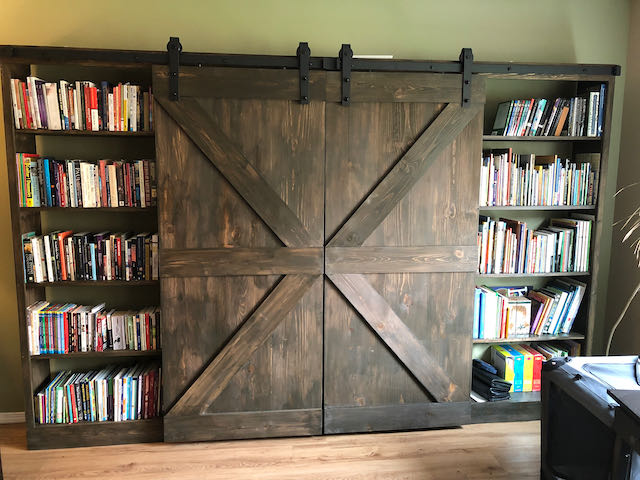
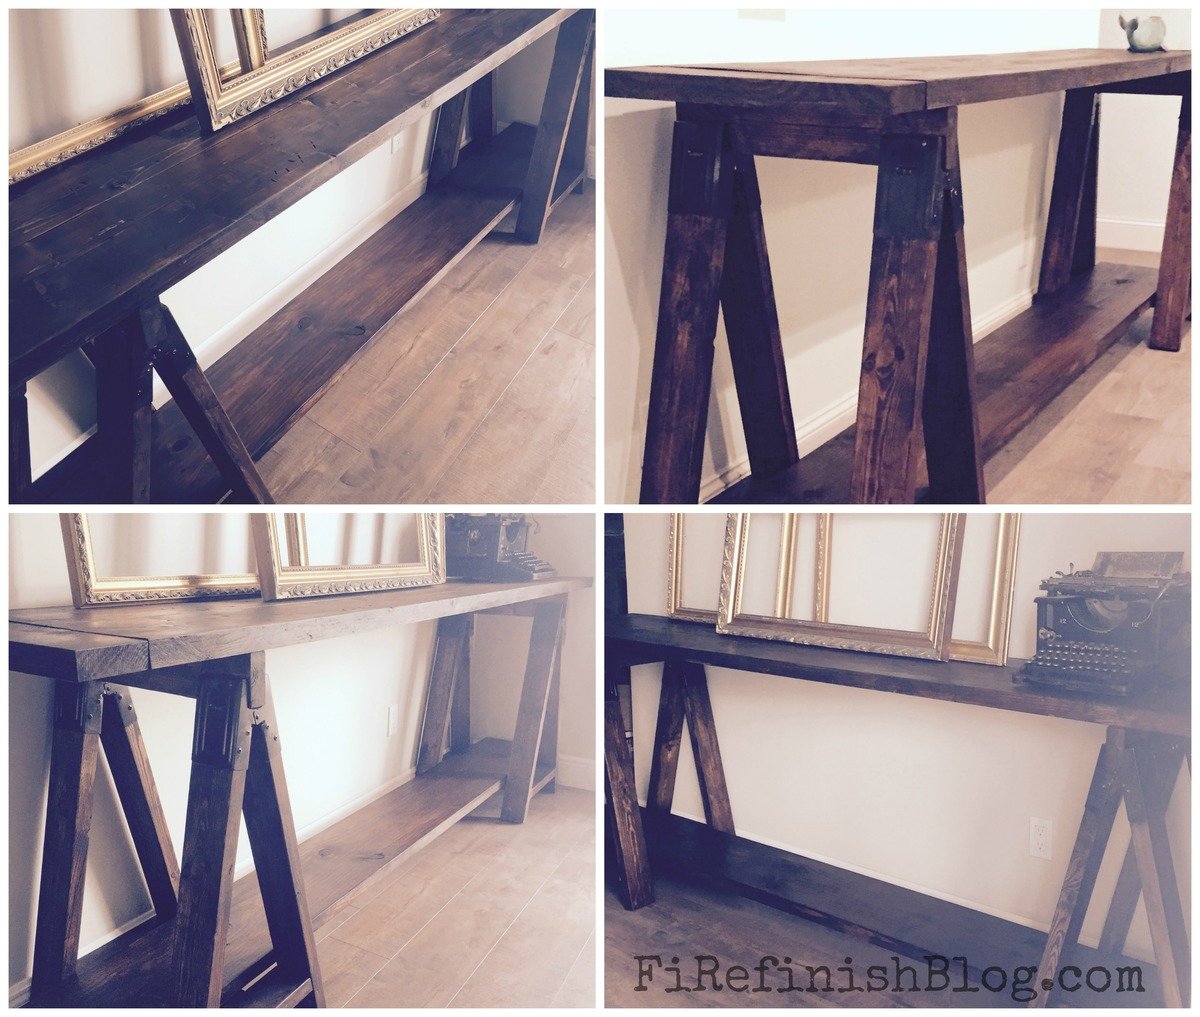
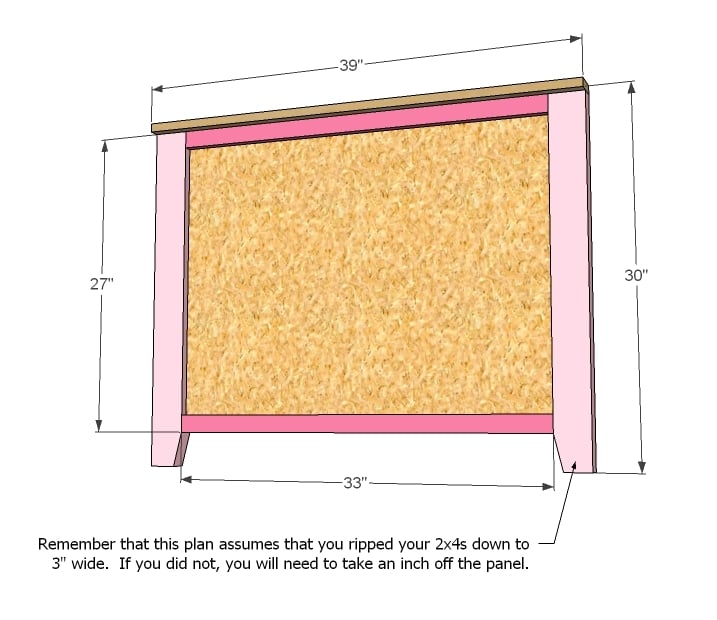
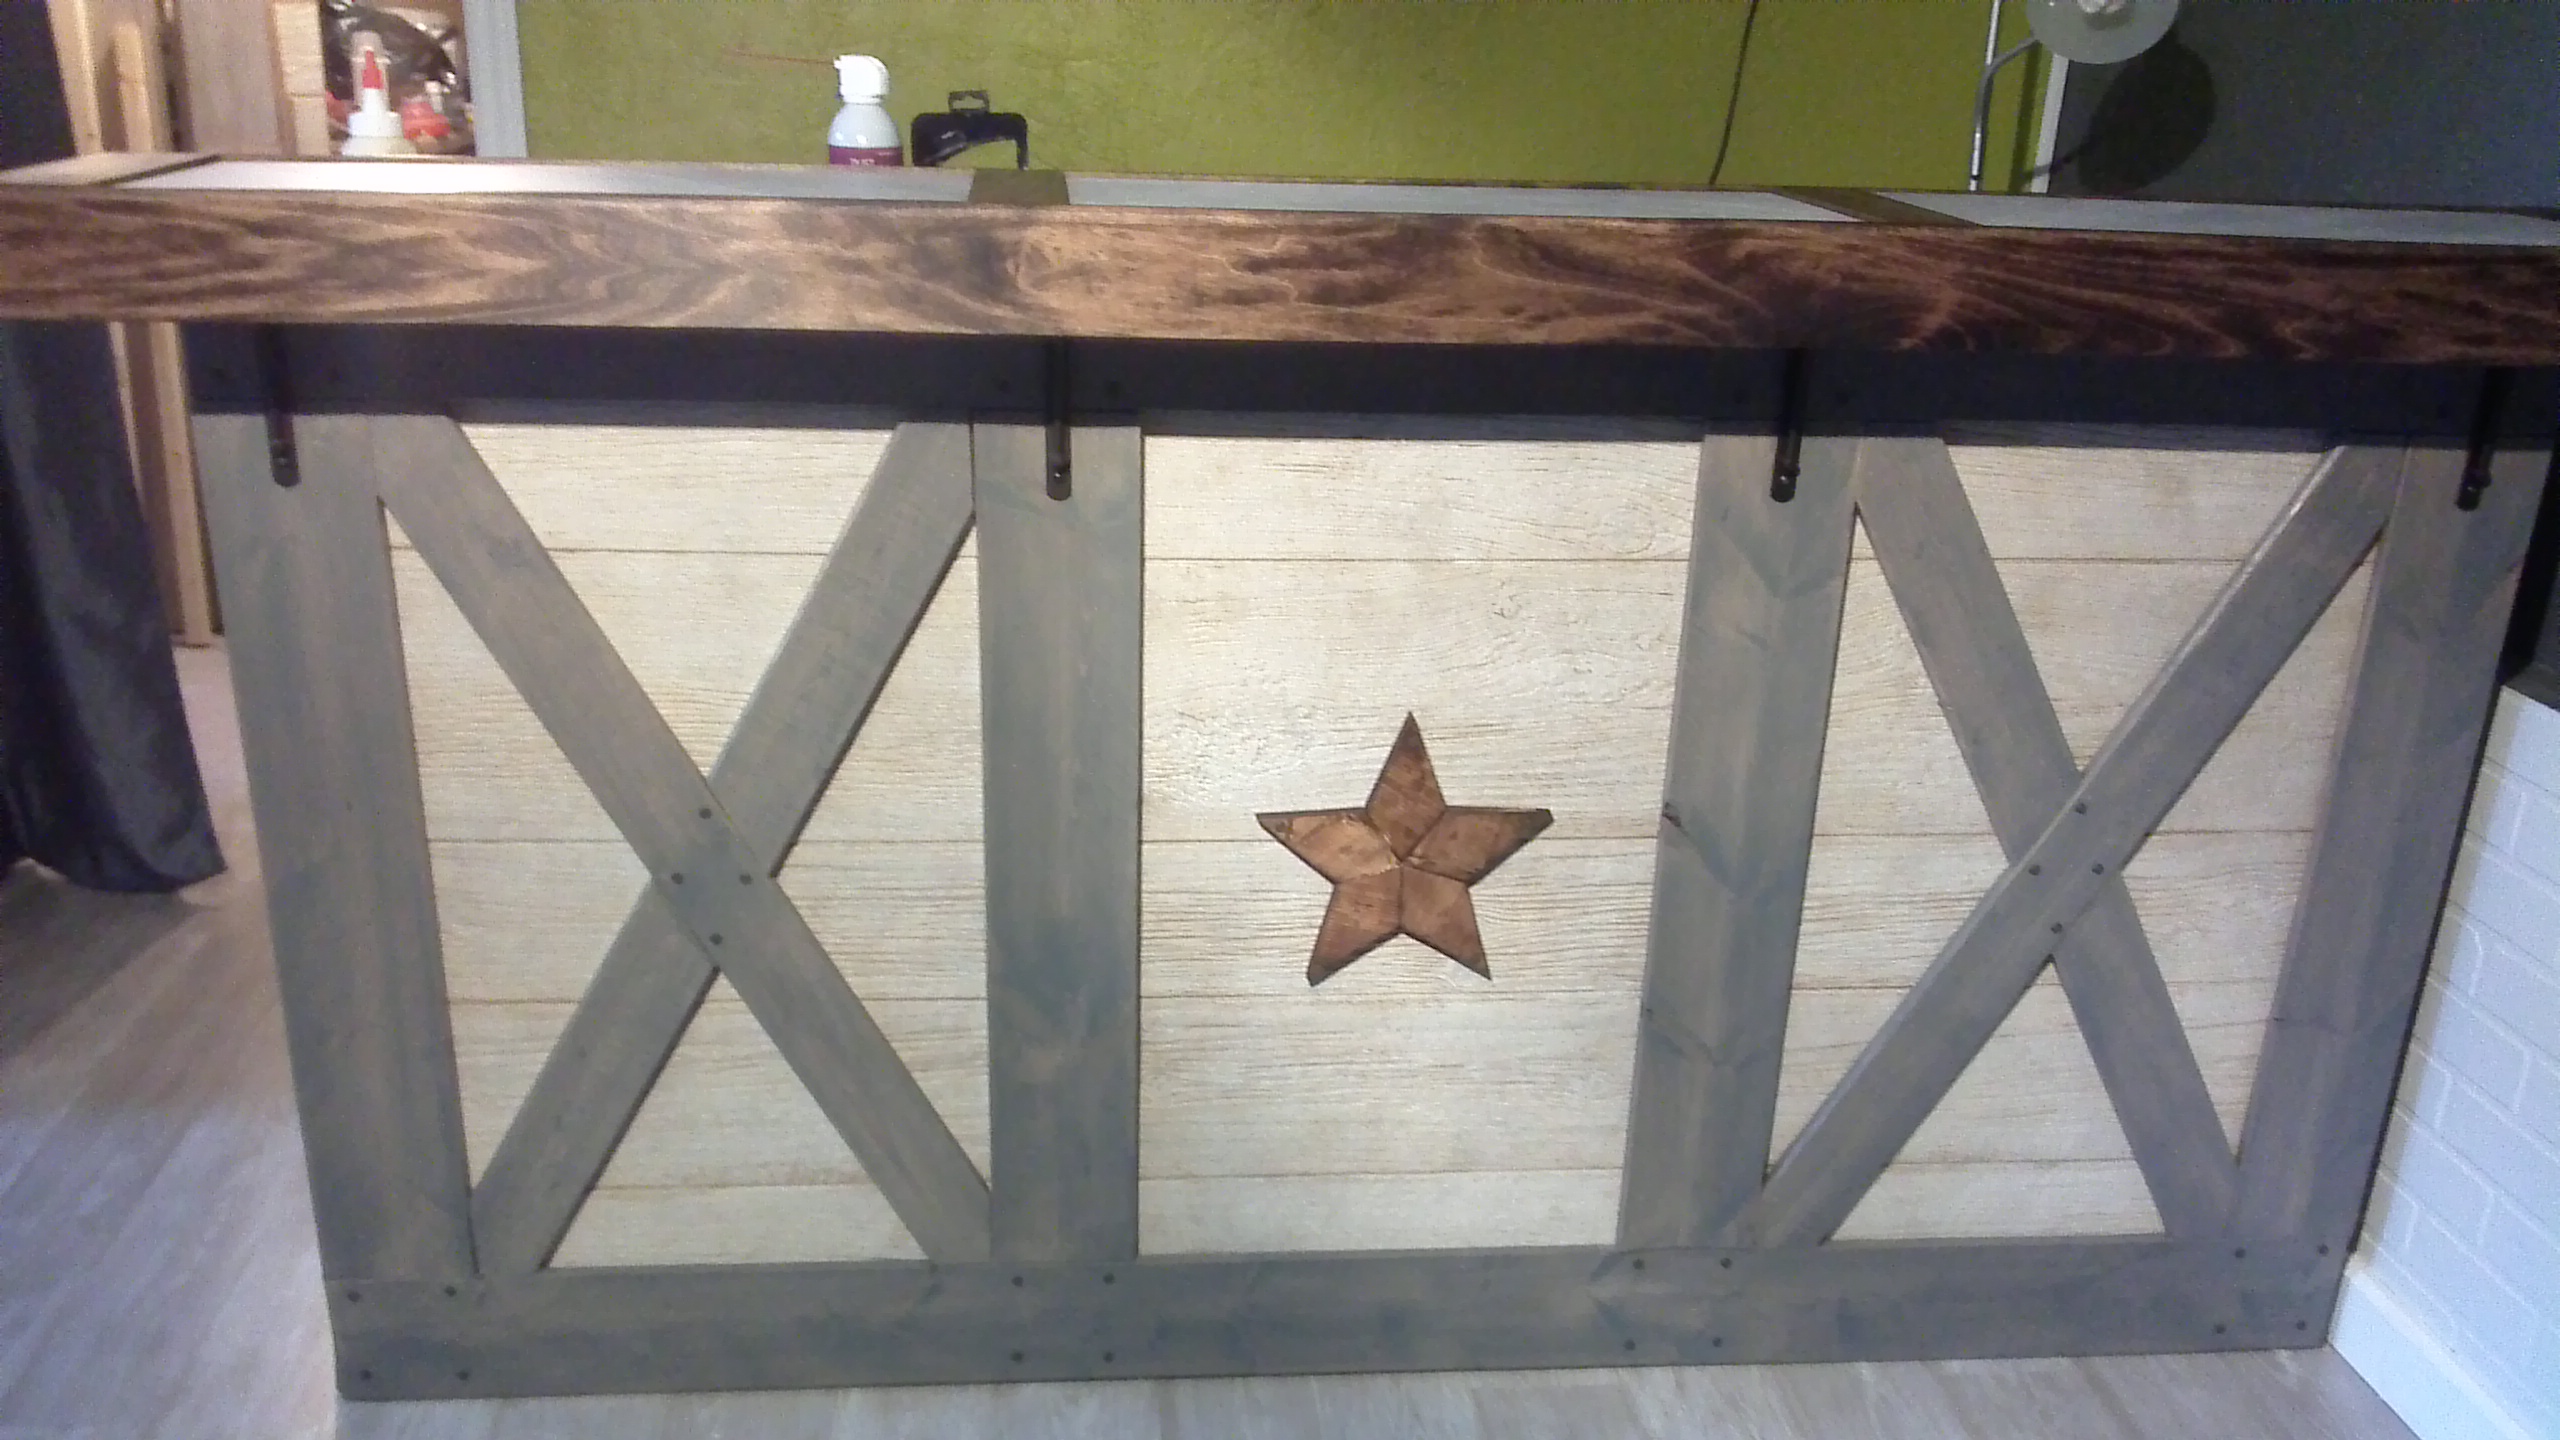
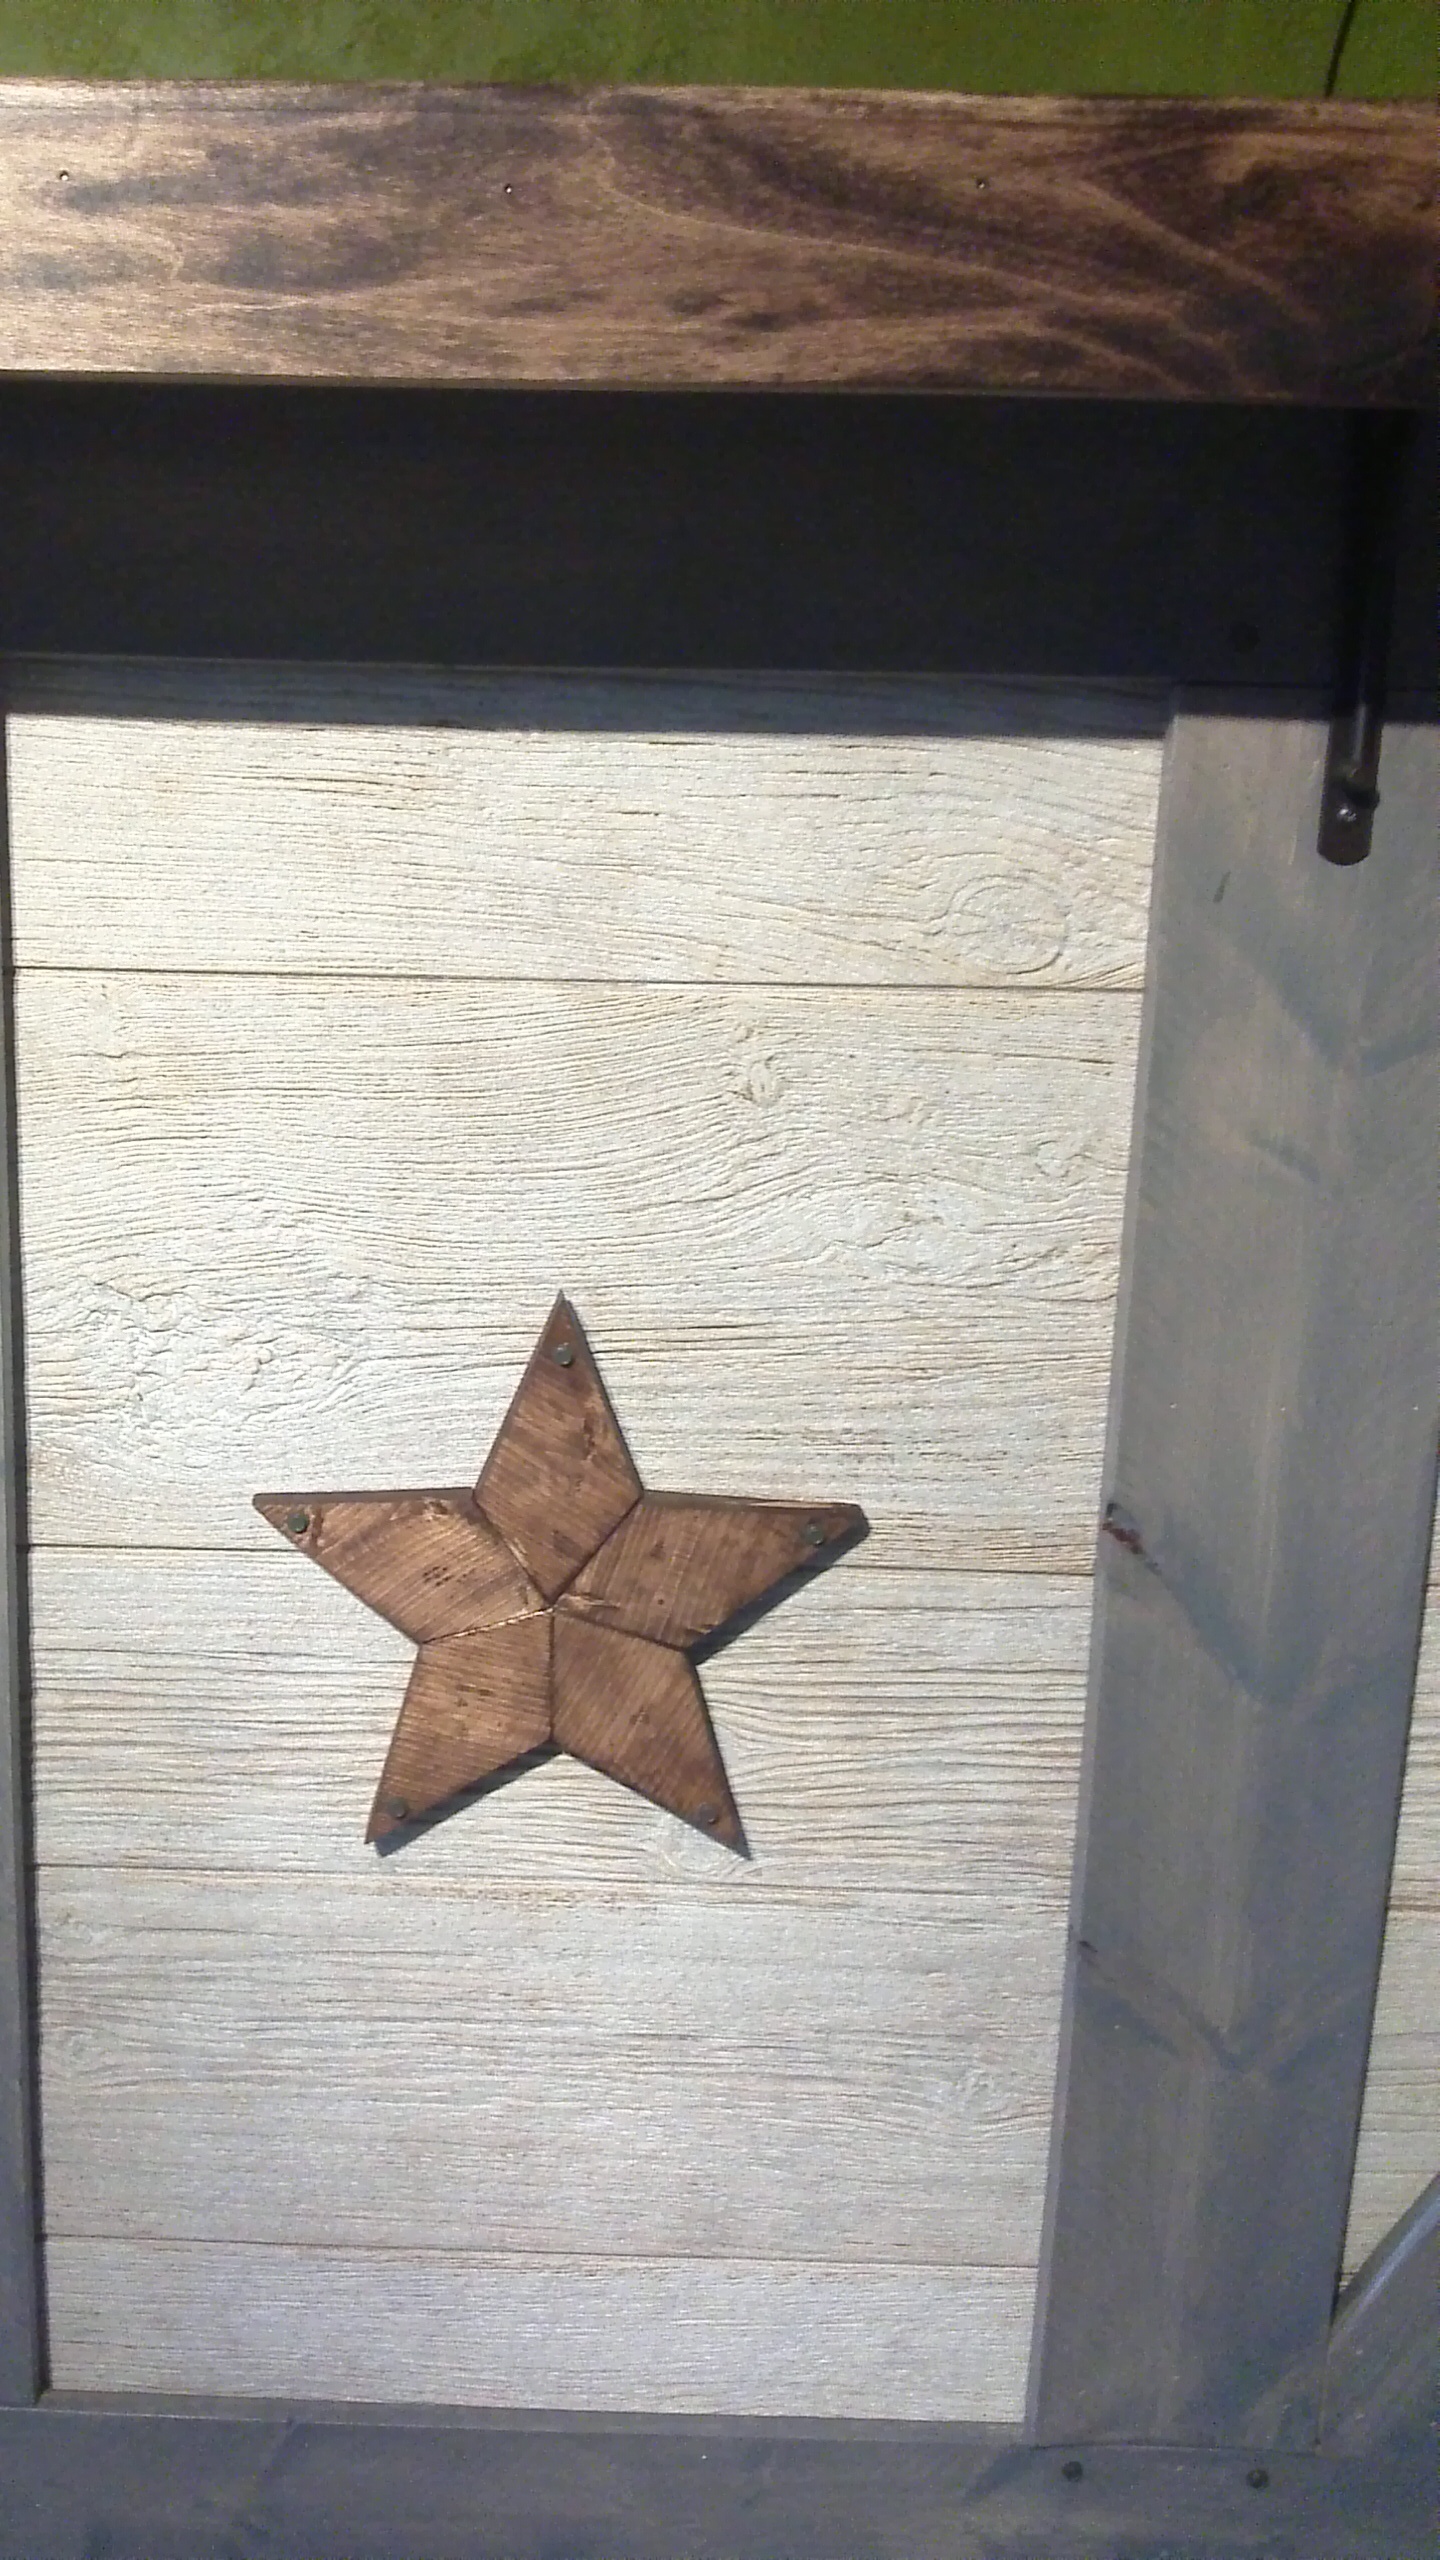
I followed the Emersen Console plans, but with a few changes. The biggest in that I went with sliding doors because I didn't want the doors to open into the living room. This meant having the doors run between the face trim and a guide I tacked into the inside. I also adjusted all of the measurements to fit what I was planning on stuffing into it. I drilled a 3 inch hole in the bottom for all of the cords to run to the power bar and left a gap between the shelves and the back. I kept the wood light to contrast with my floor and painted the doors blue for a mid-century modern-ish feel.
Built from Plan(s)
Finish Used
Varathane Diamond finish and Behr paint (applied with a foam brush).
Recommended Skill Level
Intermediate

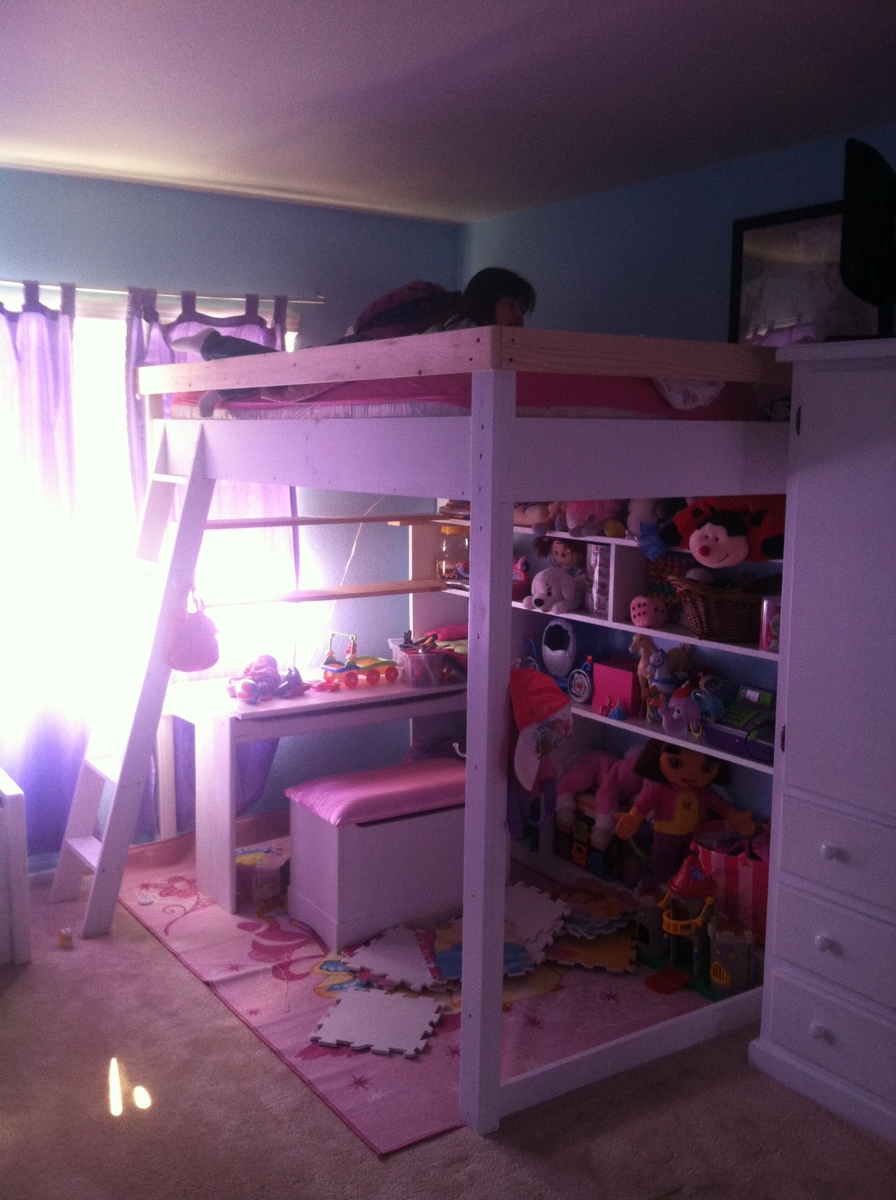
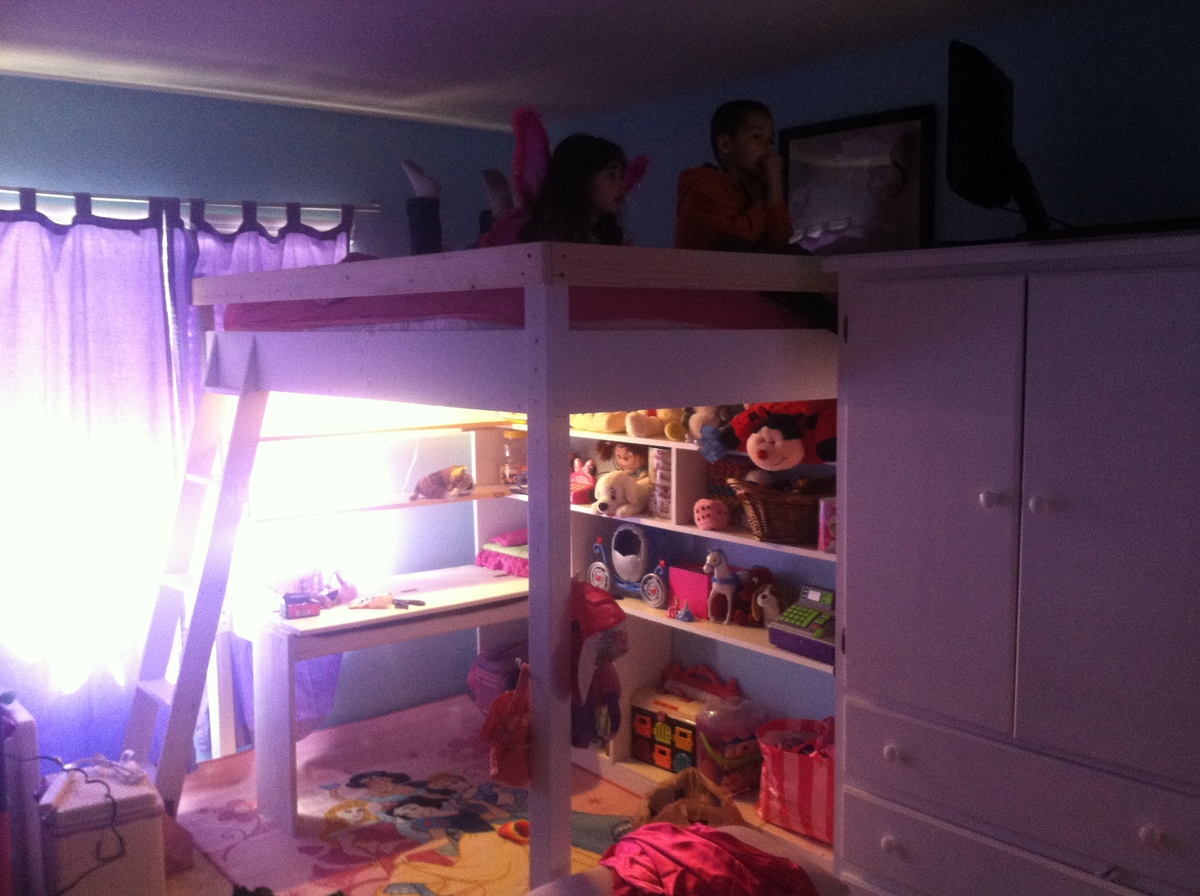


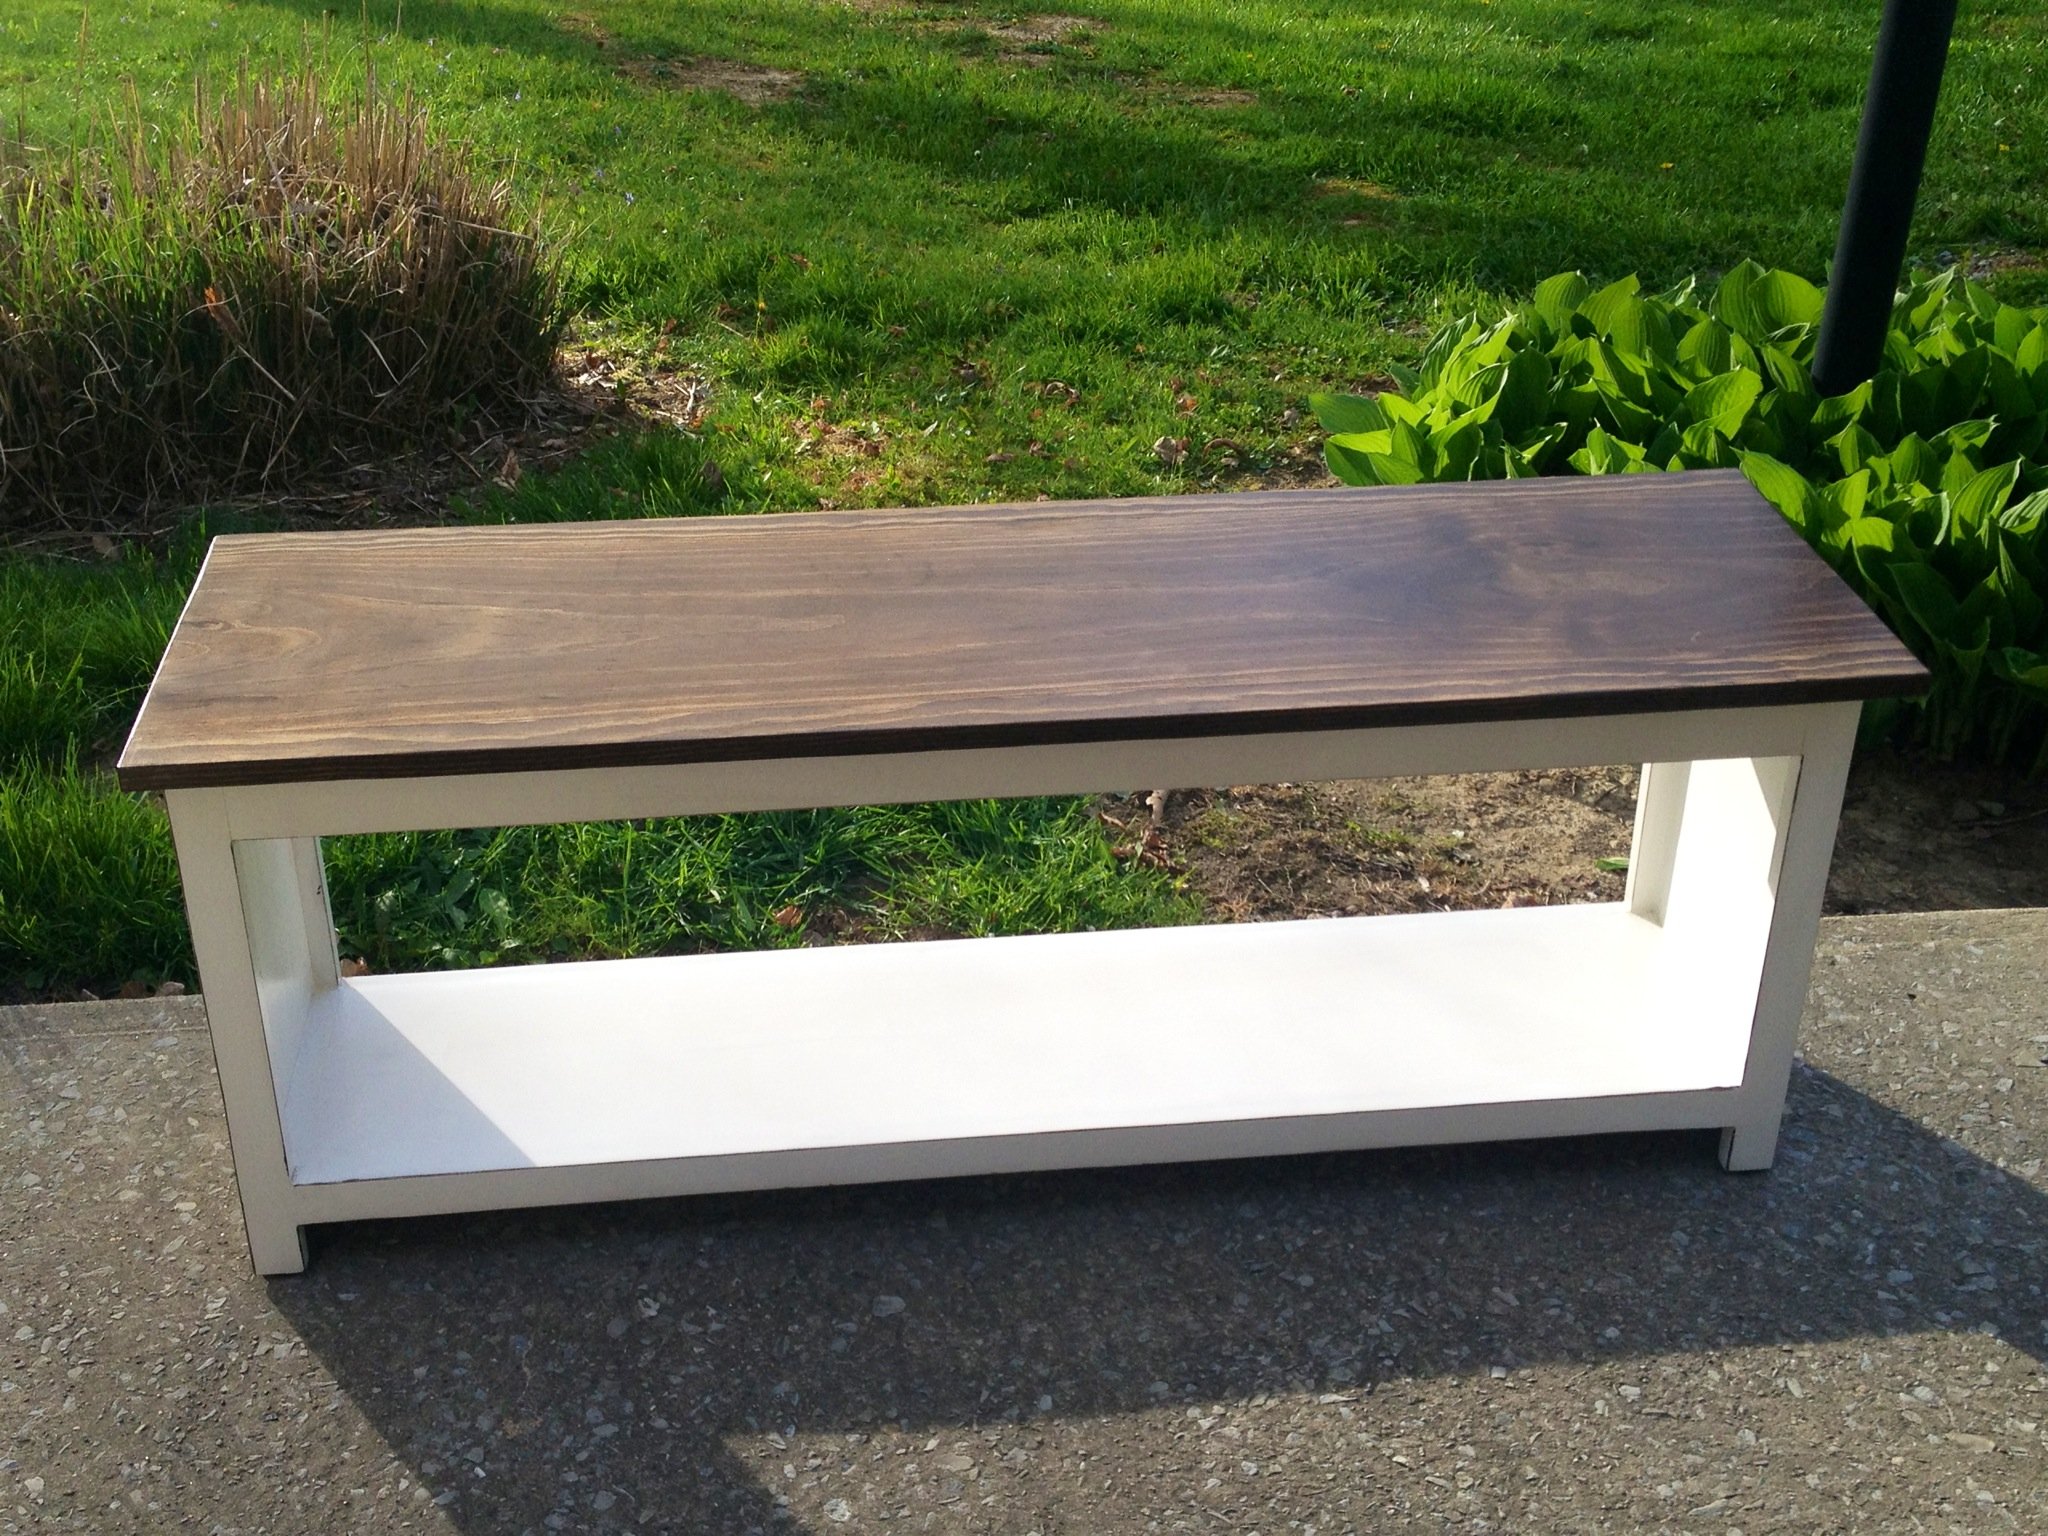


 . Painted walls, added new flooring, still have to customize the closet, but with Ana's help that will be a snap. I would have never gotten the courage to do some of the builds I've done without Ana's site. Thank You Ana!!!
Comments
Karli
Thu, 07/23/2015 - 08:30
Hi , I've been looking a
Hi , I've been looking a console with sliding doors , how did you install the guide? did you do it with a router?do the doors run in one same guide or there are 2 guides and one door runs behind the other? Thanks !