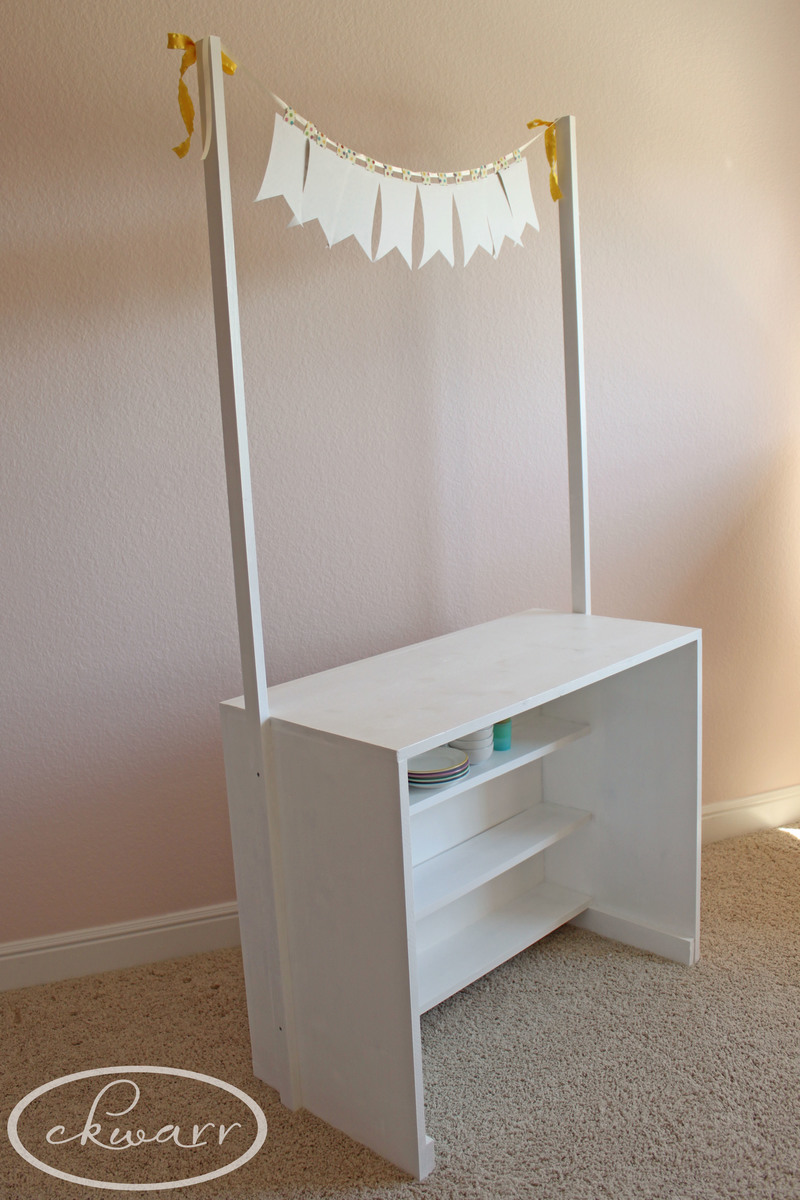
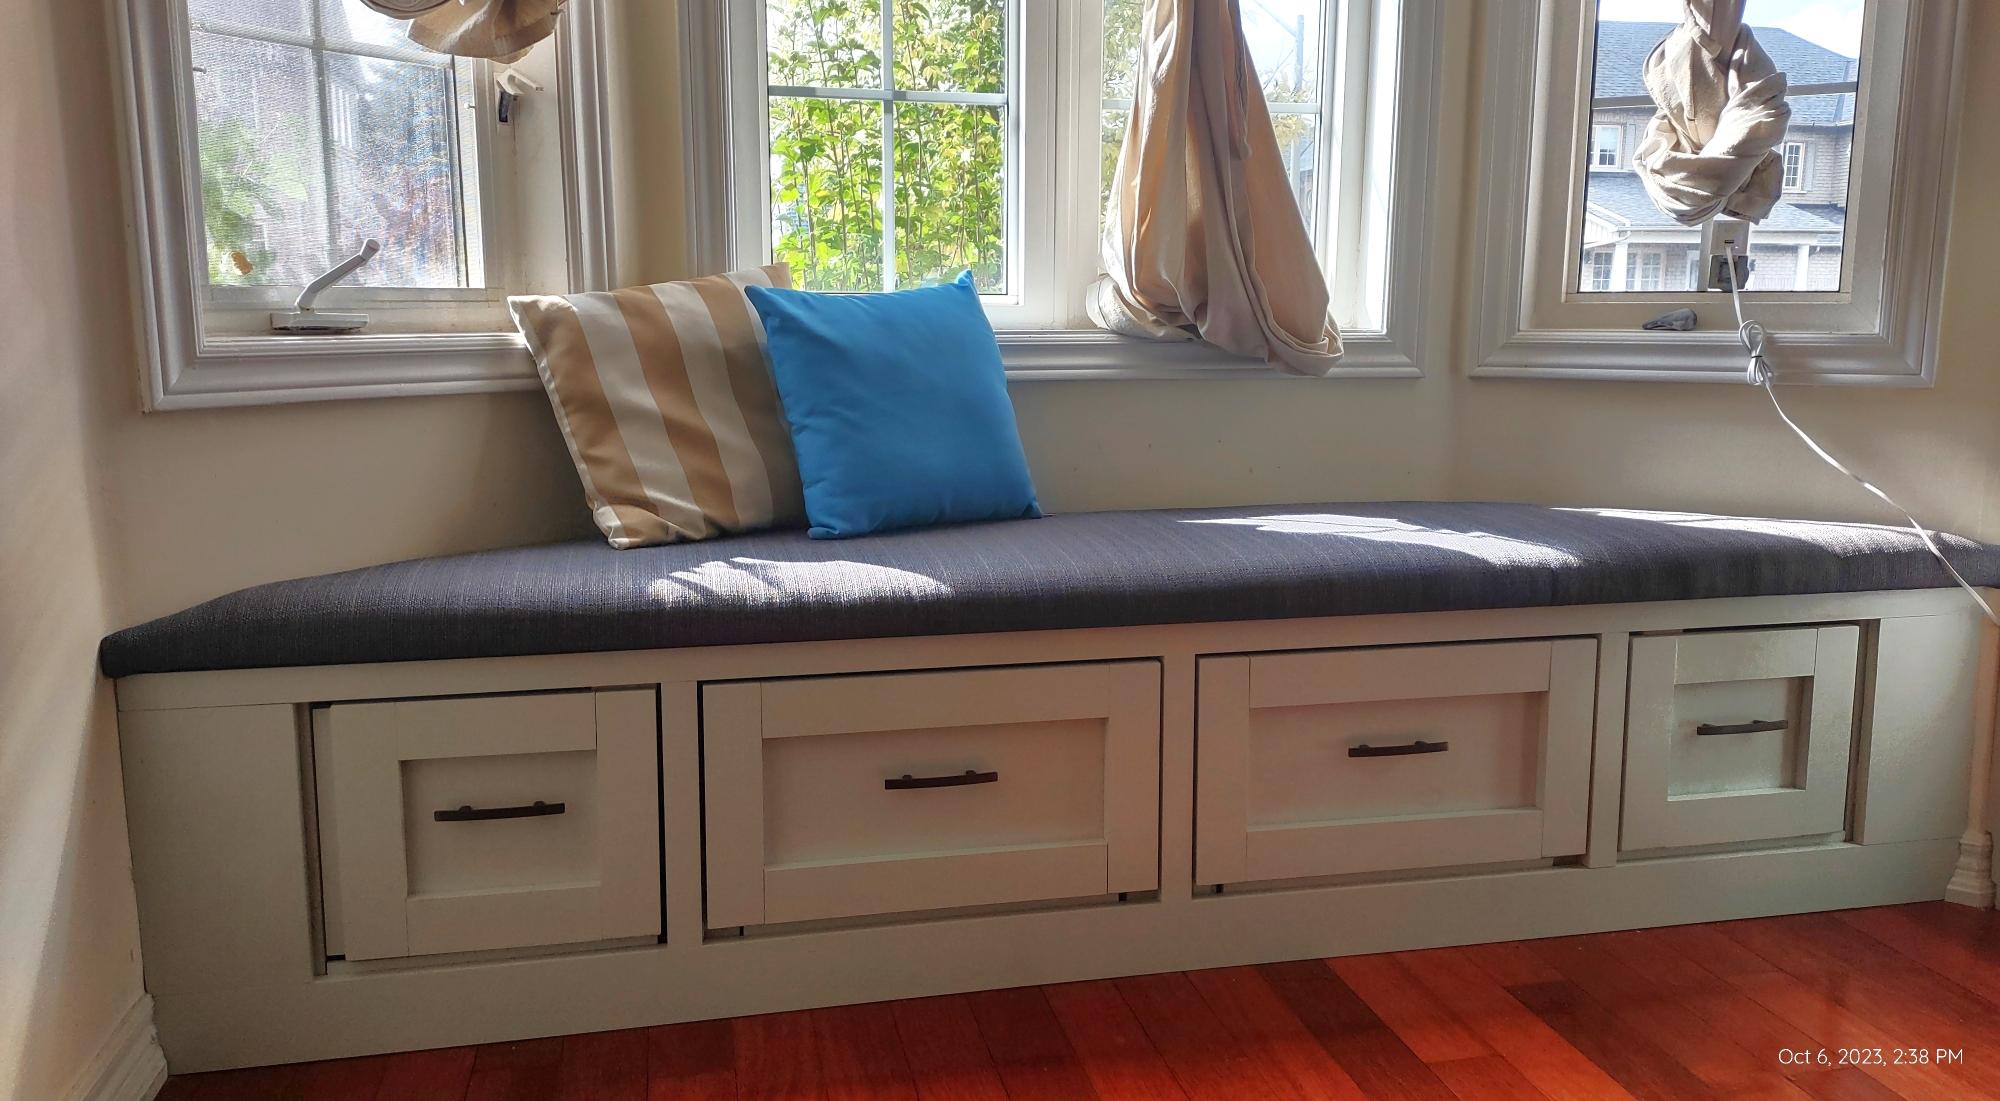
Mudroom Bench & Cubbies
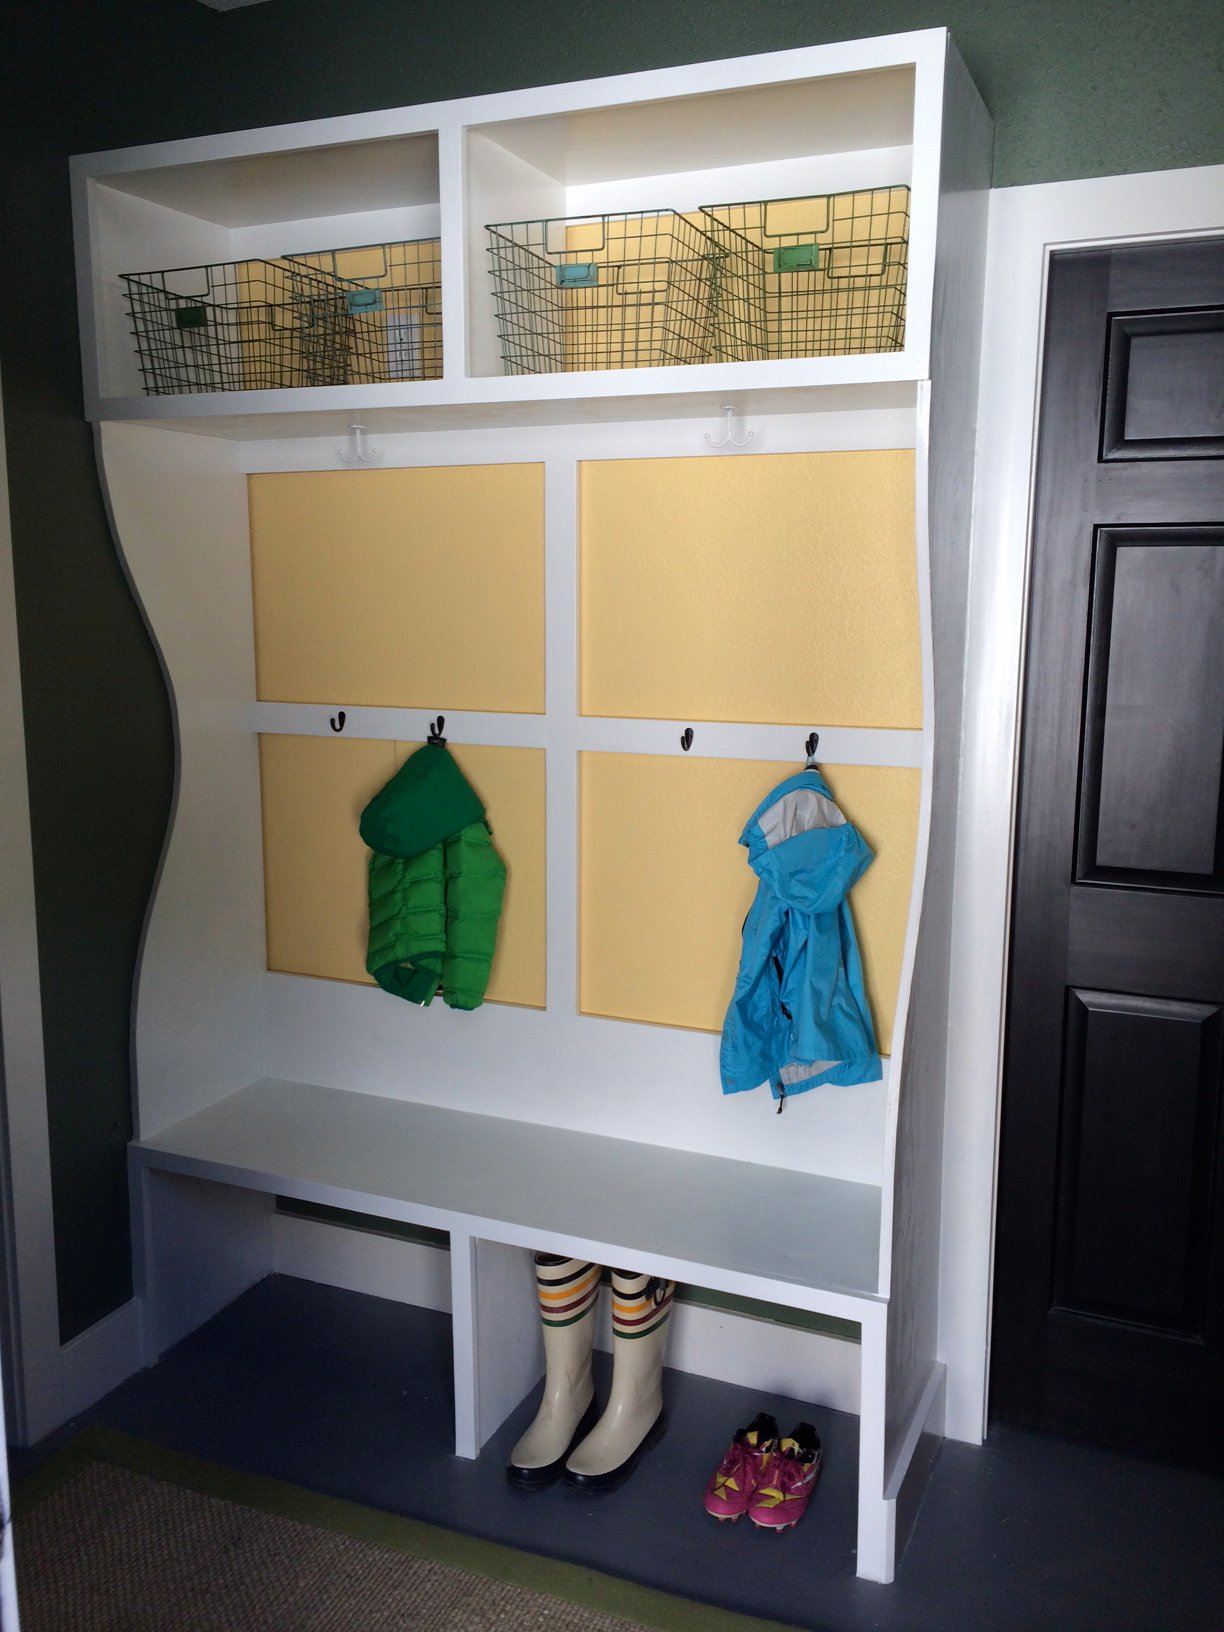
I used the Smiling Mudroom as a starting point, but had to make some modifications for size and to accomodate the fact that I couldn't secure much to the wall behind the bench because there is a pocket door in that wall.
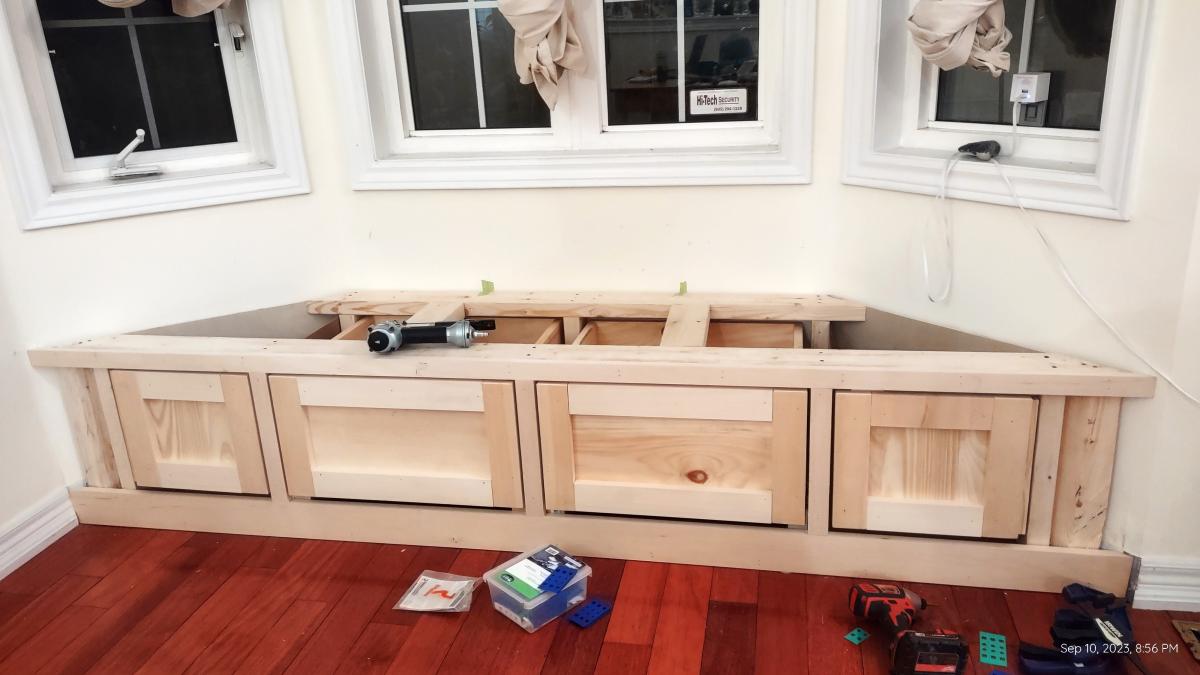
The main difference in my plans is that the sides of the cubby/bench are continuous instead of broken into Cubby, Divider, and Bench. I think it would have been easier to keep things square (which I didn't, really) and certainly could have moved it all by myself without any husband help (but he needed to feel useful, right?) if I had built it as separate pieces. But, it was worth a shot.
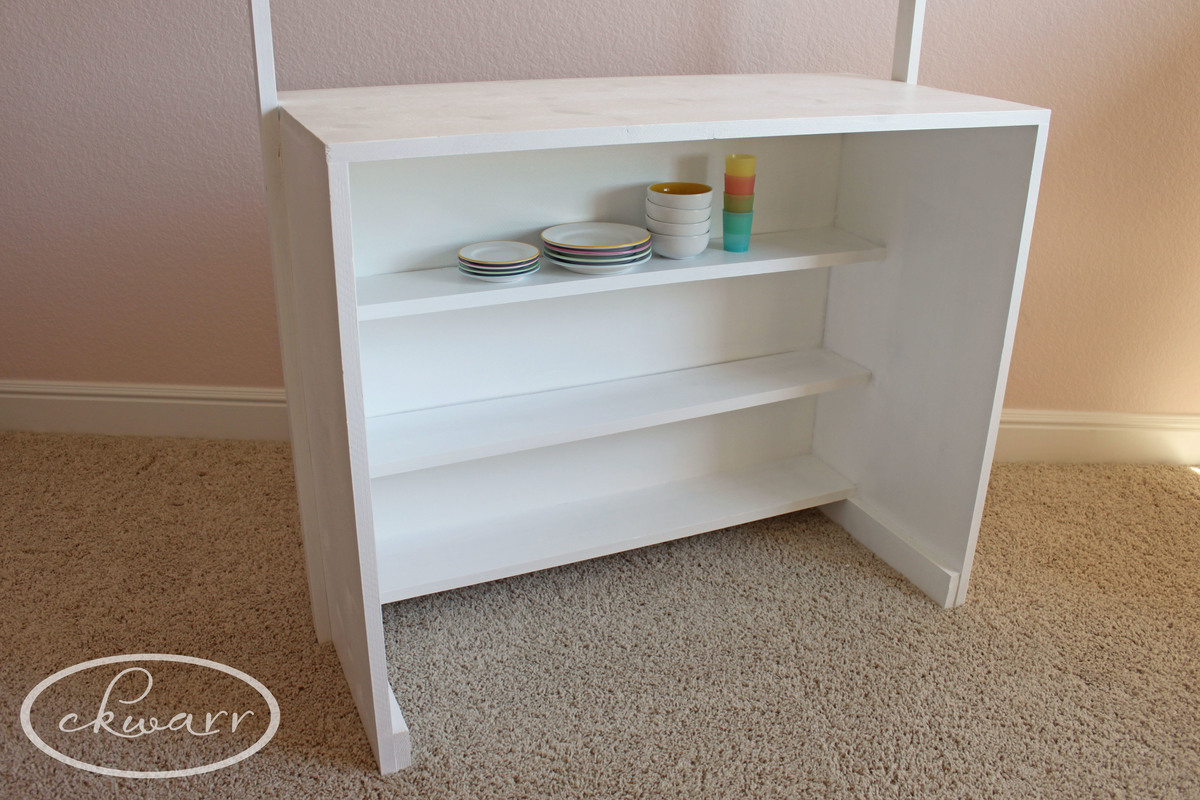
Up close it's a bit rough looking here and there because I got the plywood that is only sanded on one side (Home Depot guy was less than helpful when I asked to find the furniture plywood). So I had to do a lot of extra sanding and filling myself and at some point I just threw up my hands and said "RUSTIC! It's done."
Minor errors aside, I am really happy with this. It was my first big project, and first one with the Kreg jig, and I had fun.
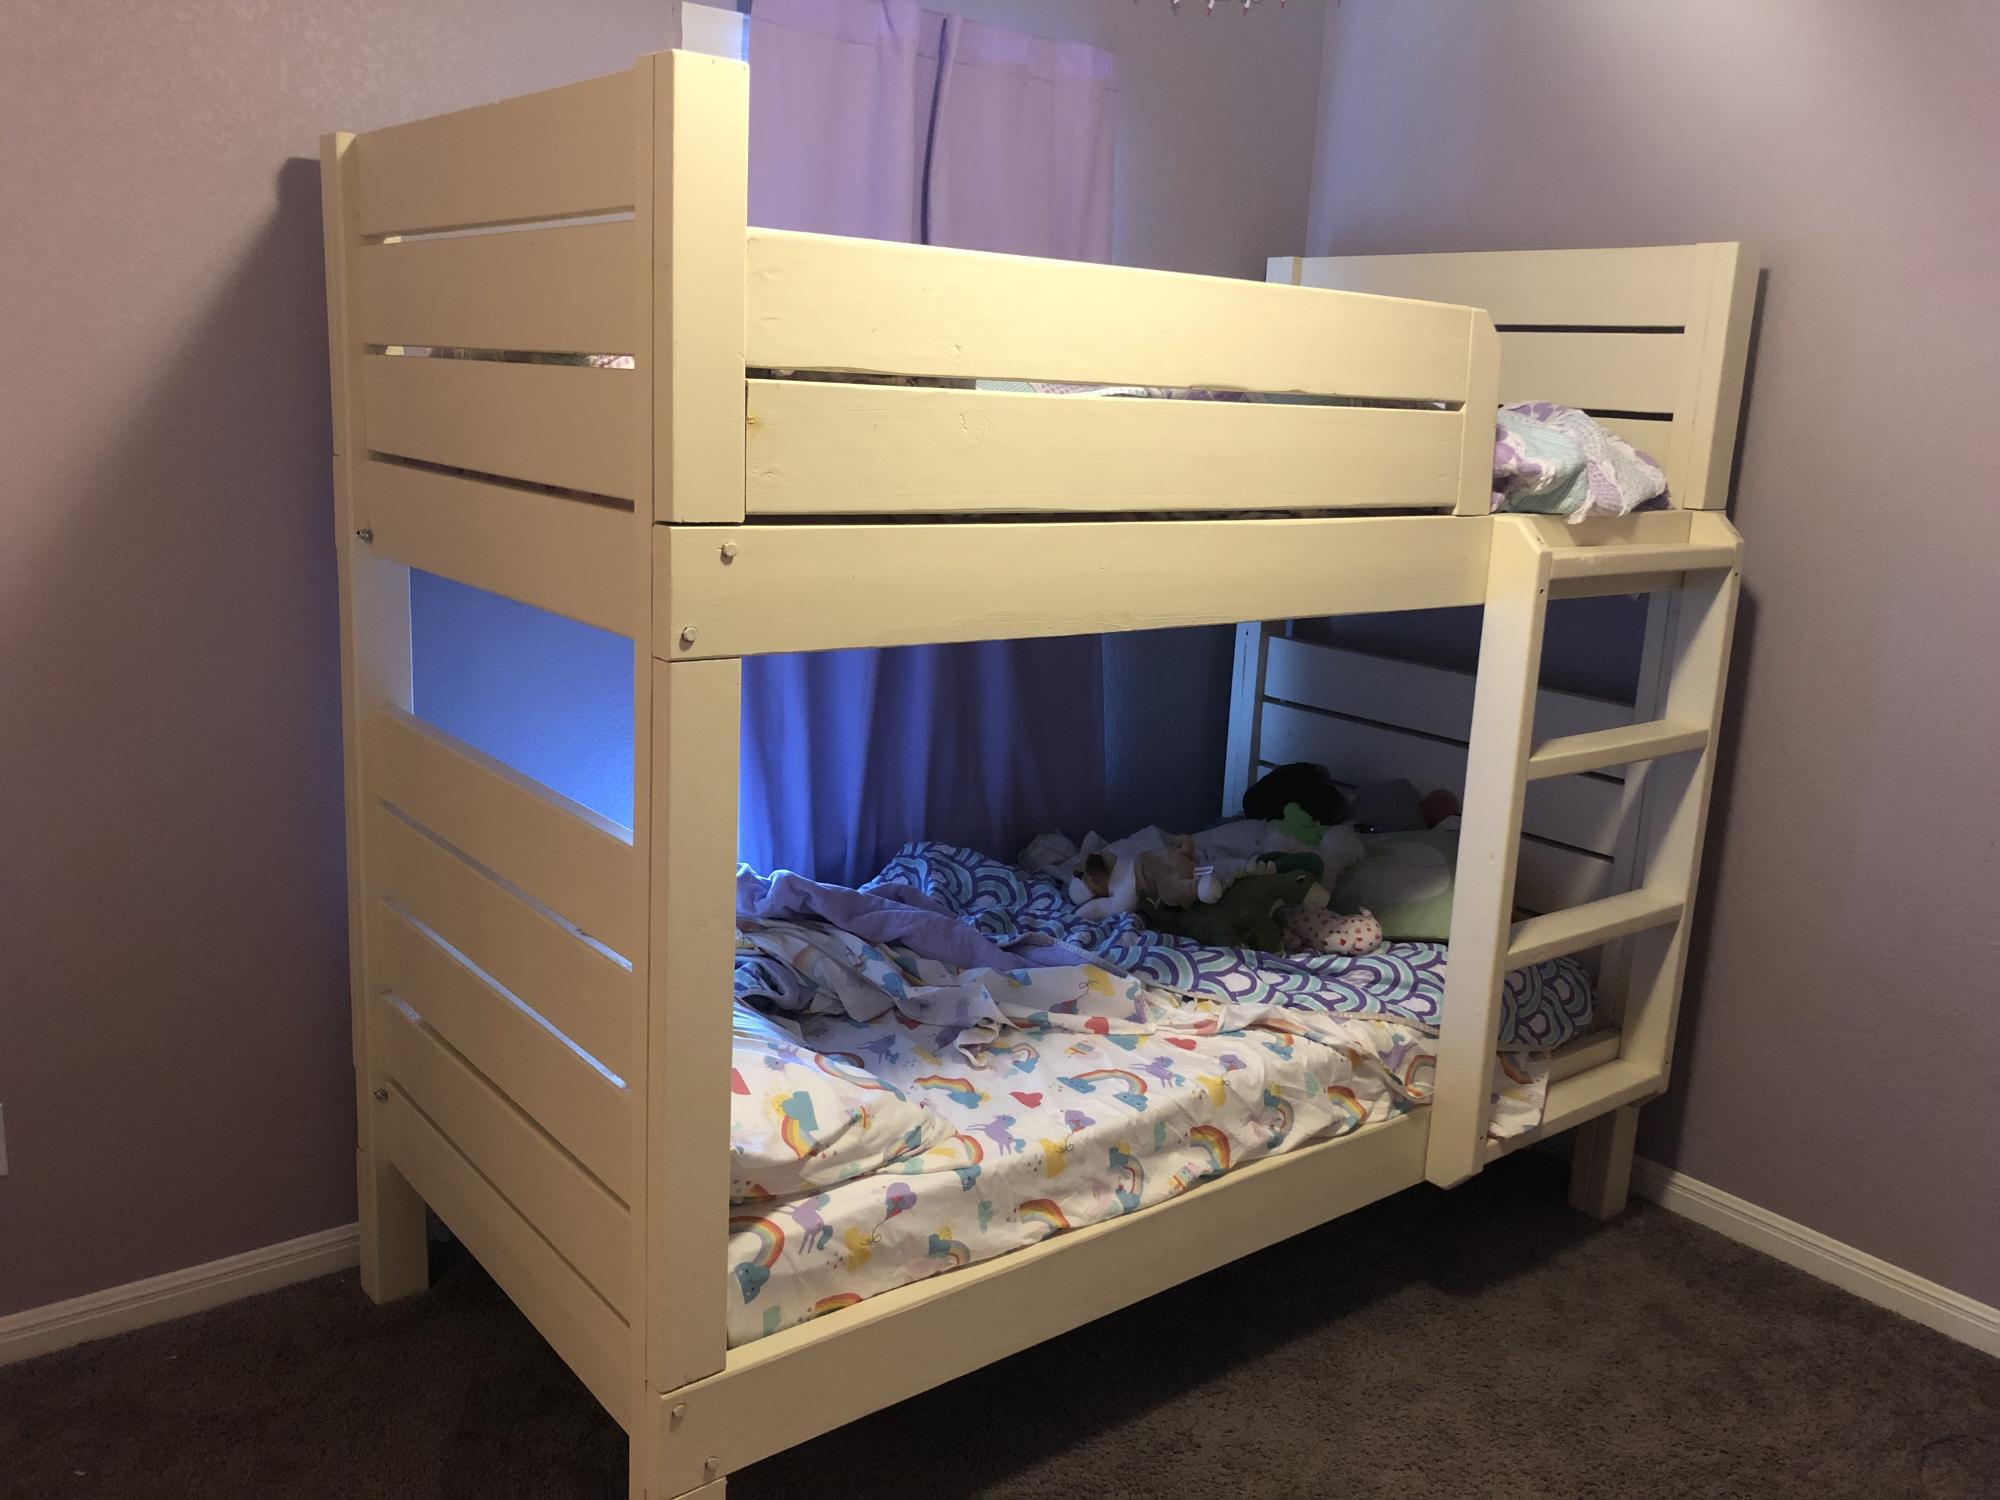
Benjamin Moore Advance semi-gloss "Oxford White"
Hooks: black single hooks along back are from Home Depot; white locker hooks are from local hardware store that is part of the Do it Best chain.


Comments
Veronica P
Wed, 10/08/2014 - 20:40
Beautiful Build!
If there are any "minor errors" on your build, they're not visible in the picture! It looks gorgeous to me! :)