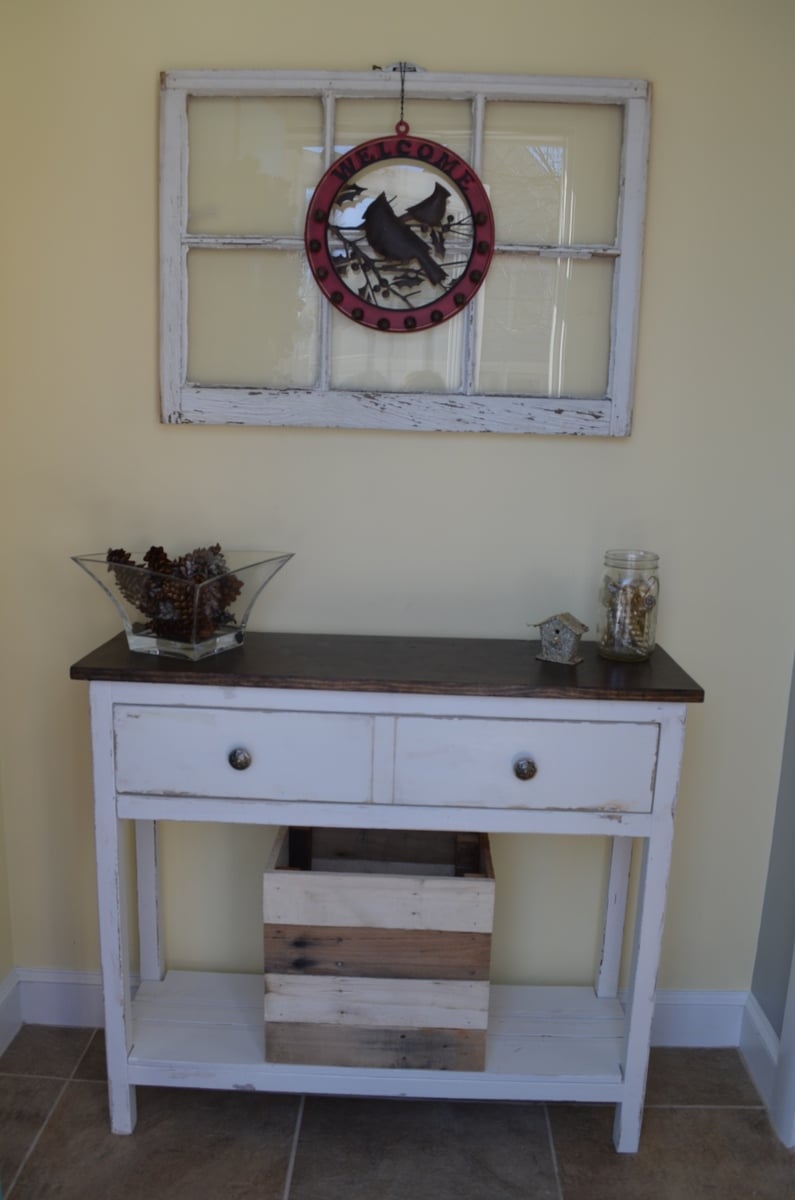
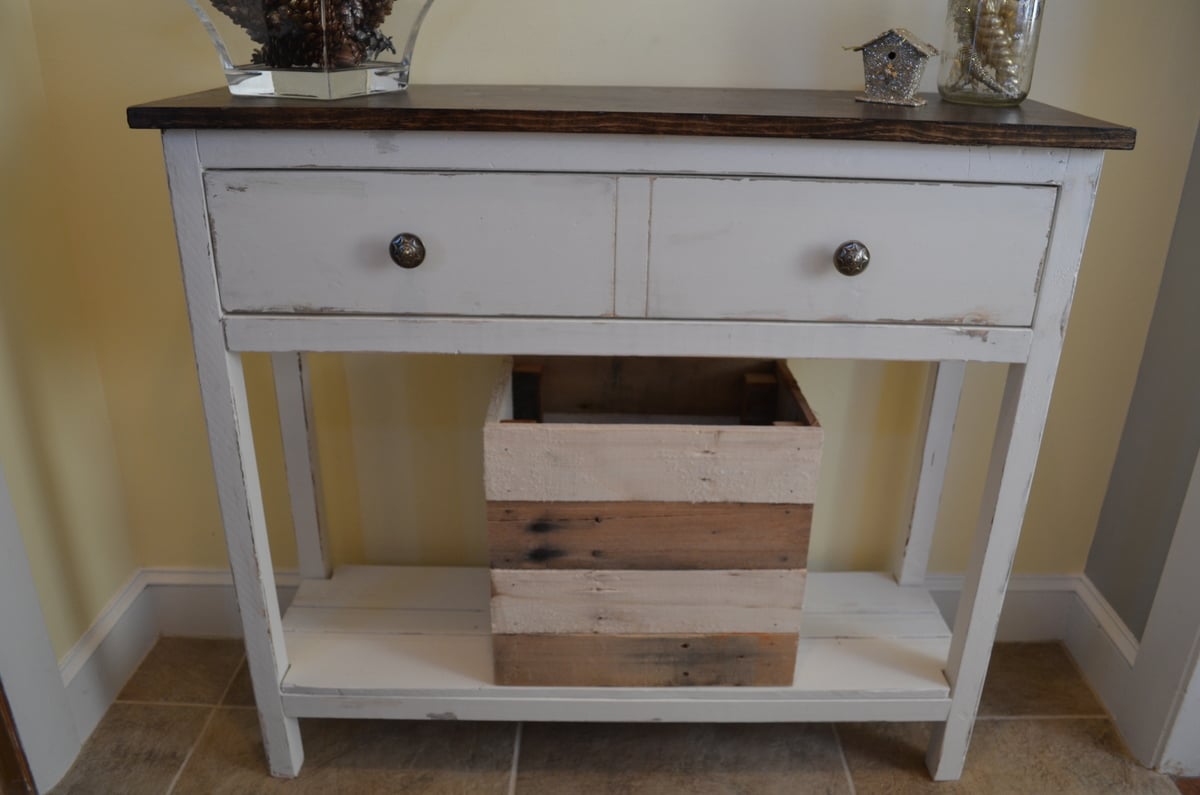
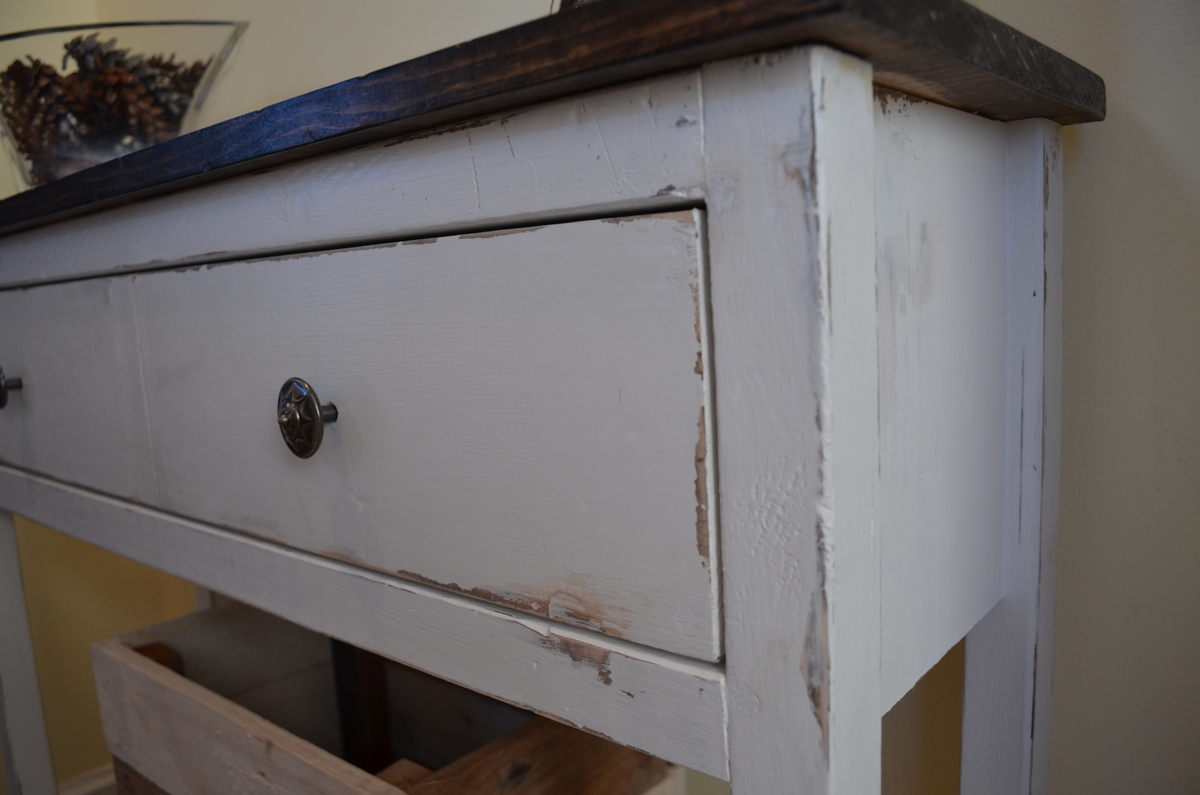
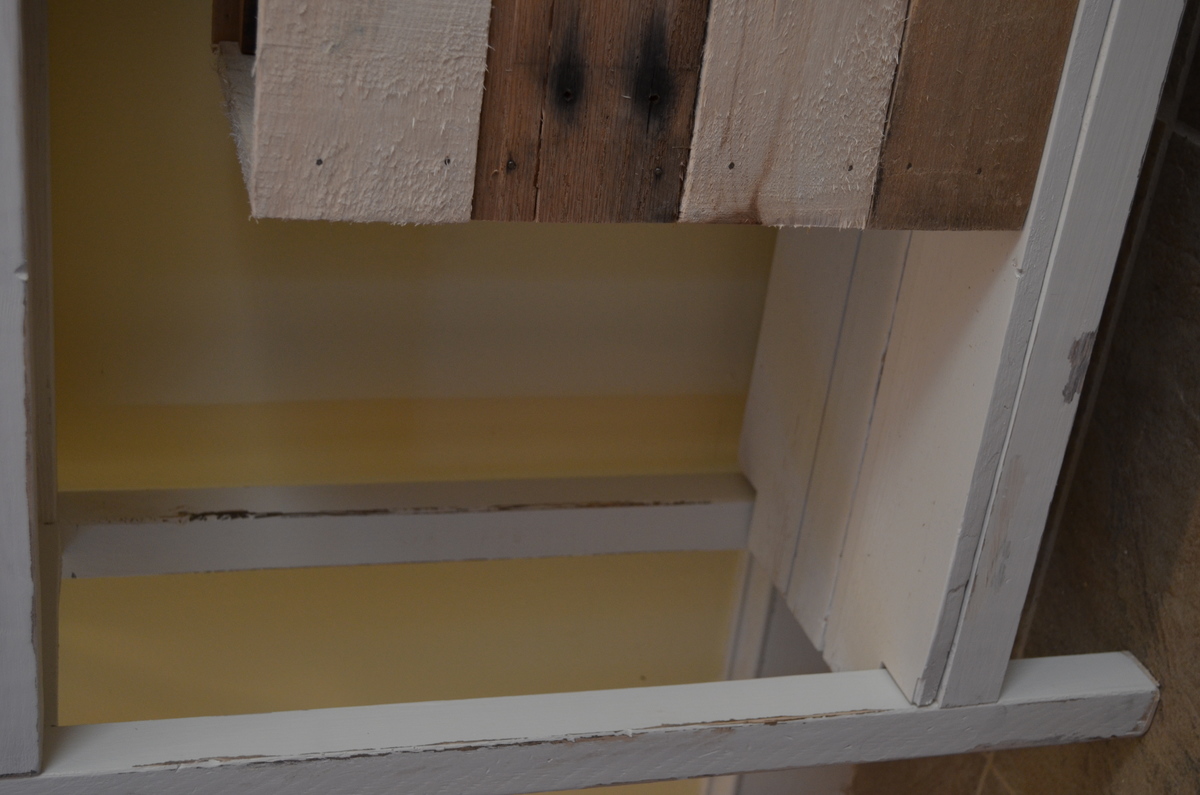
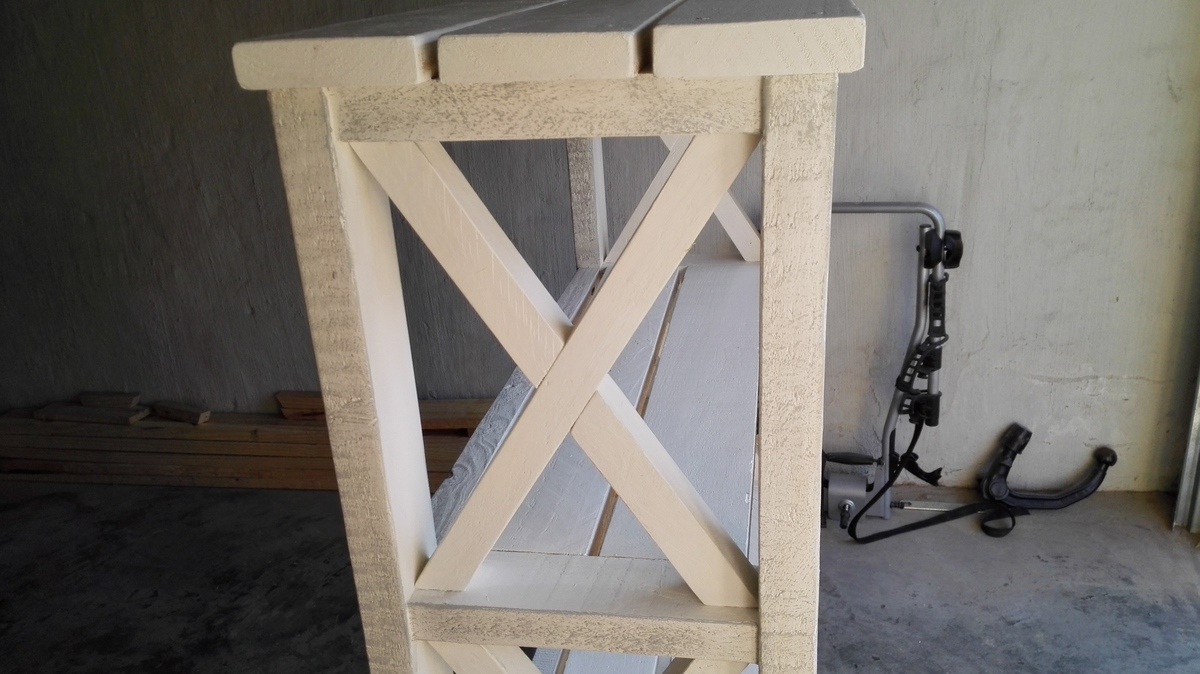
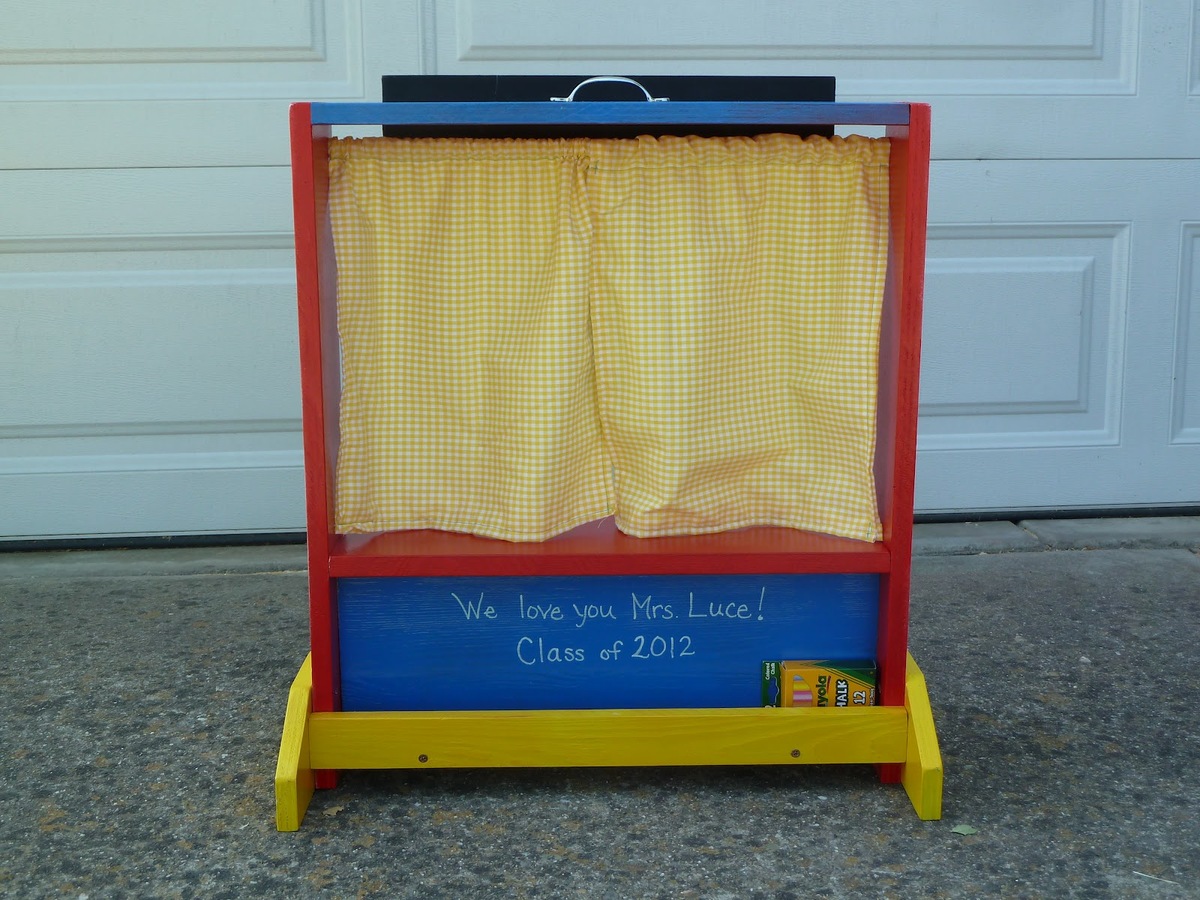
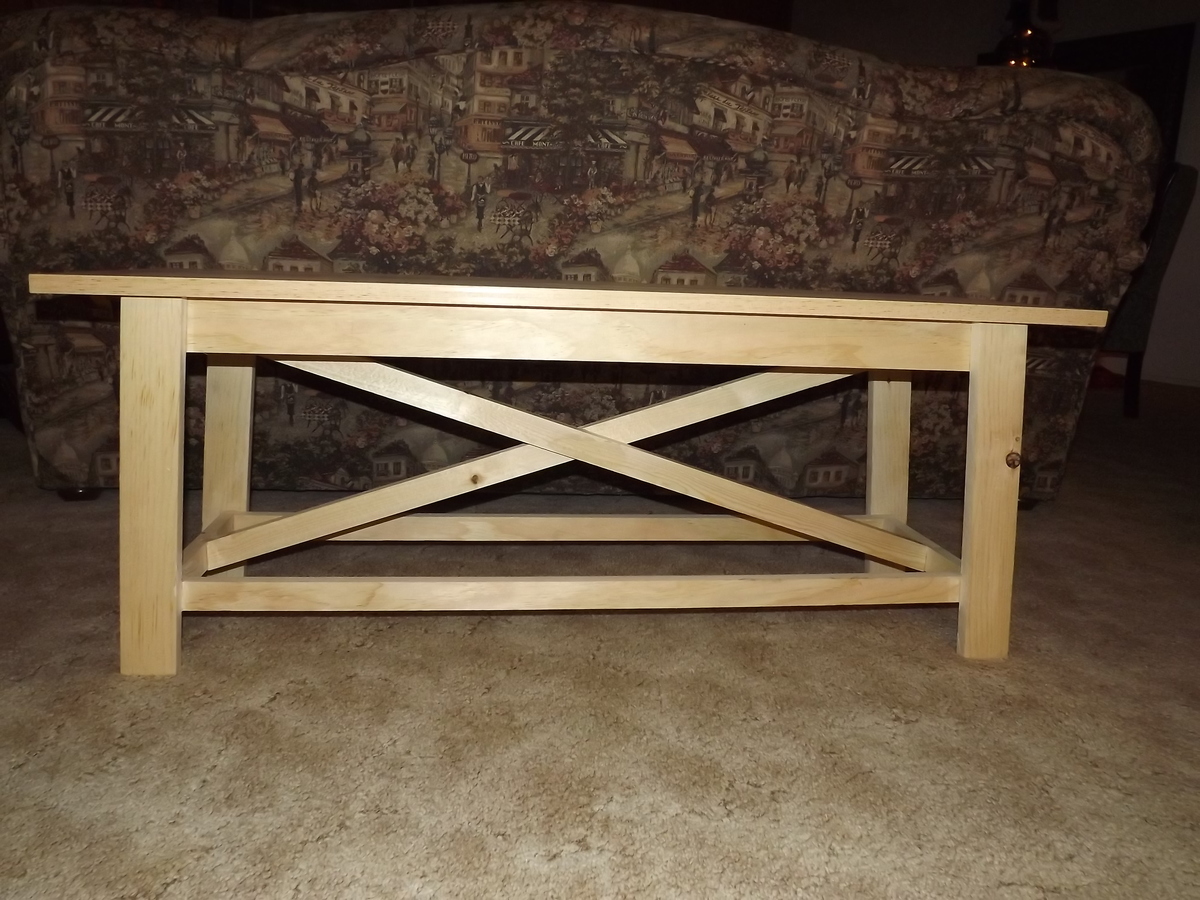
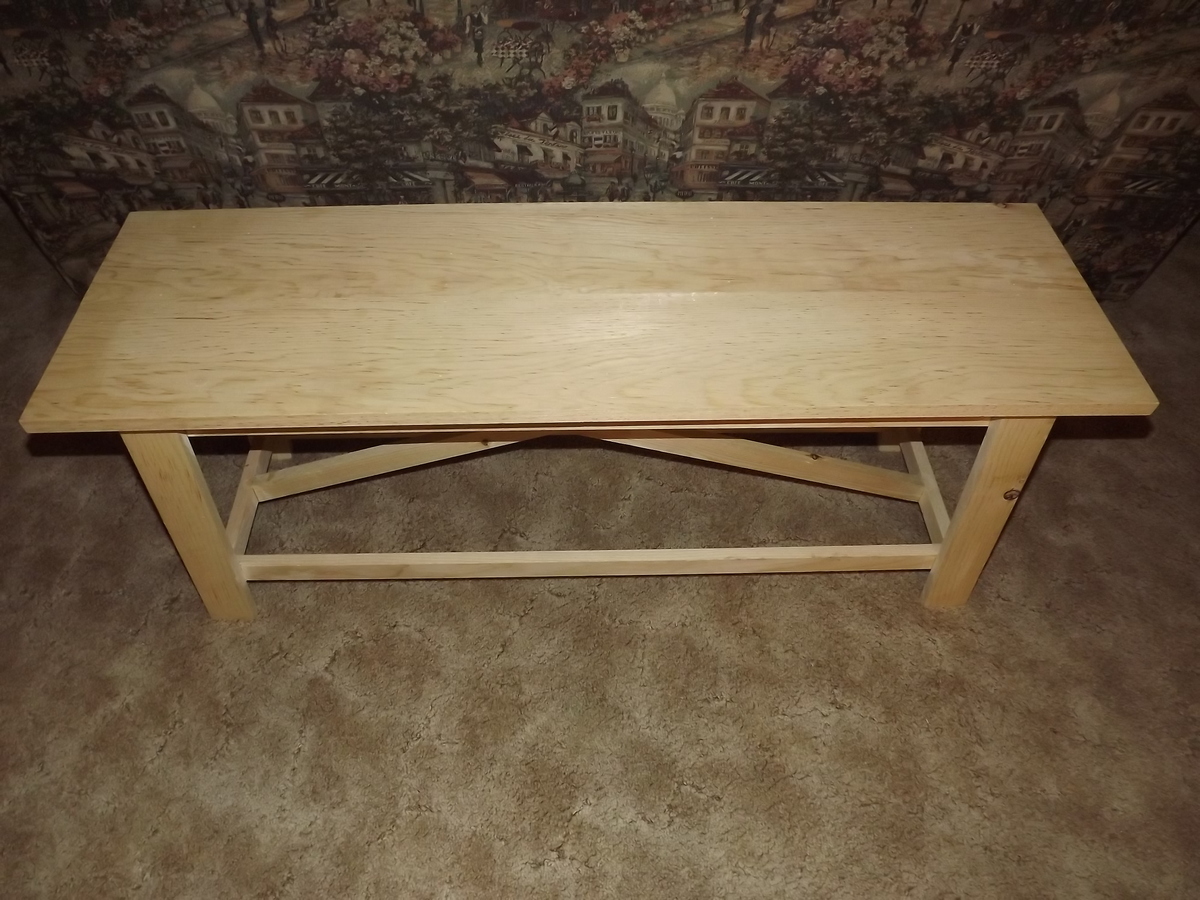
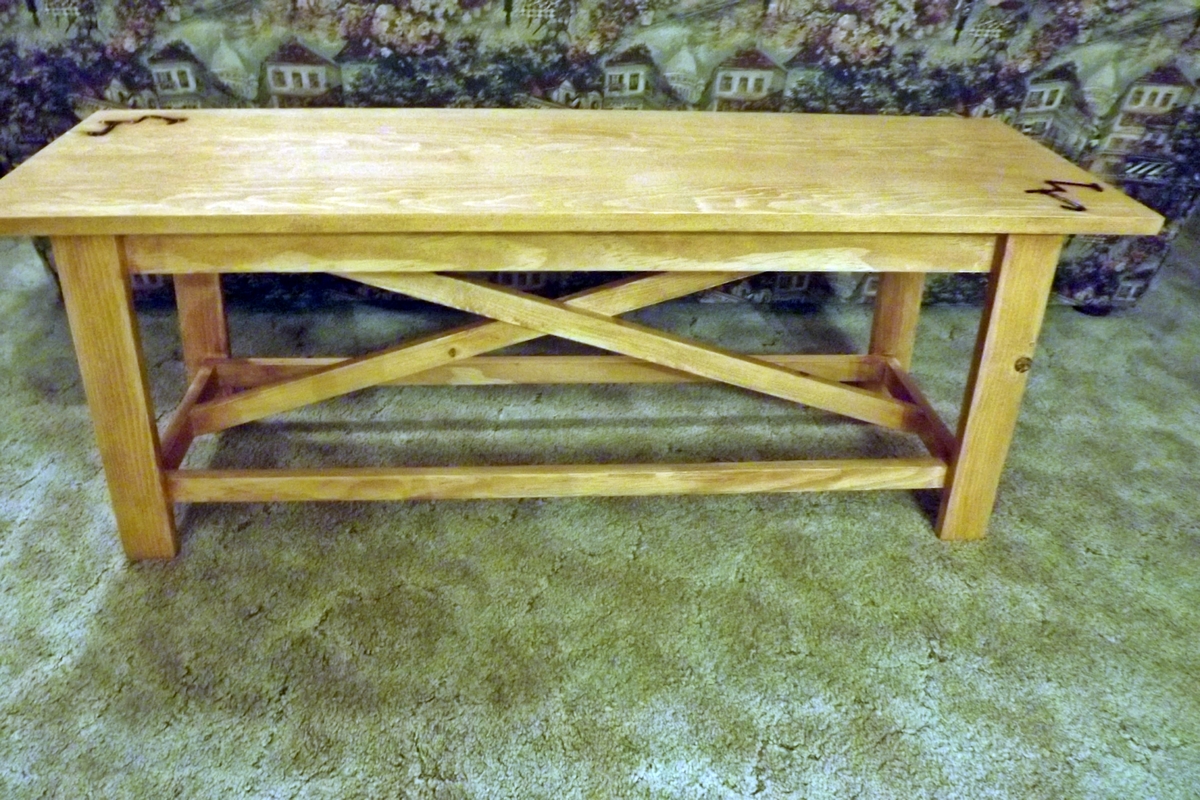
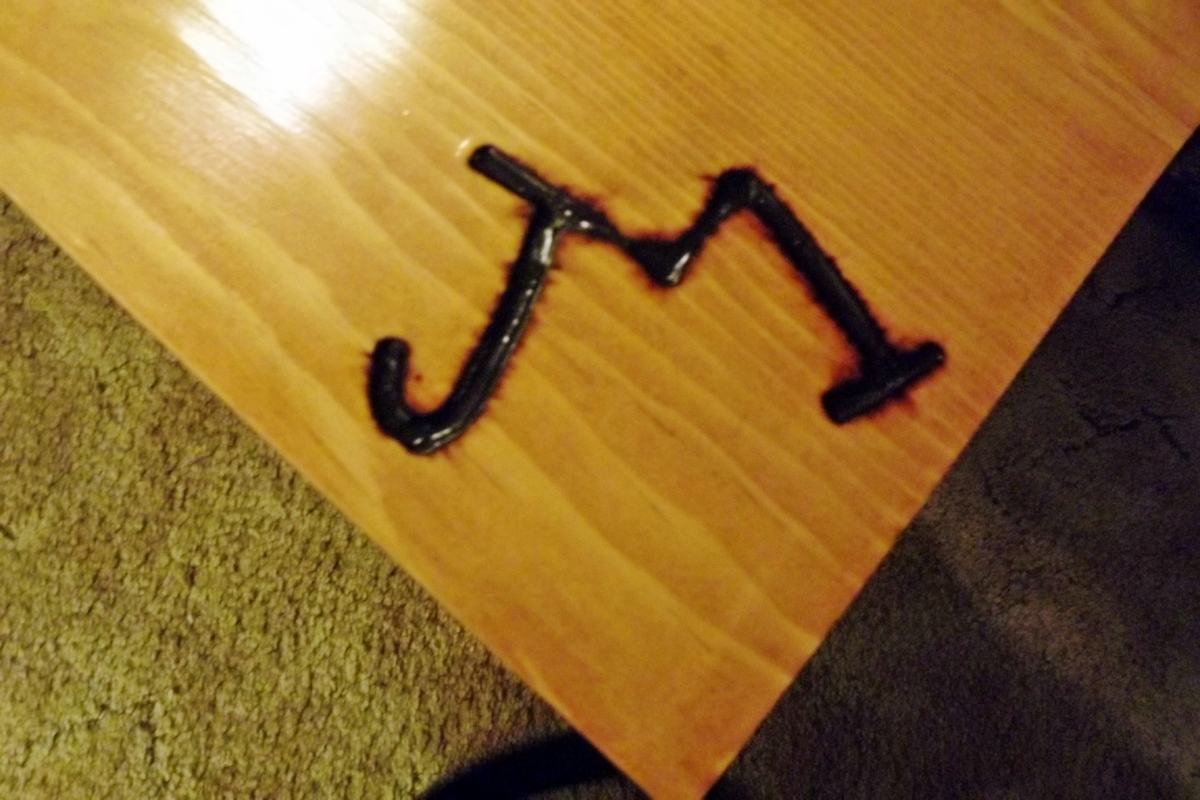
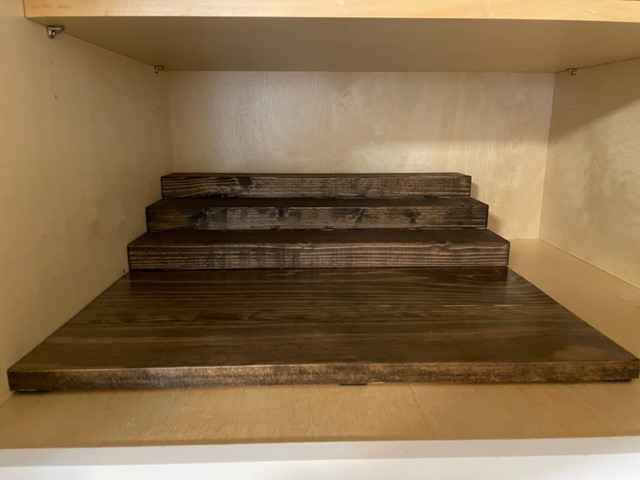
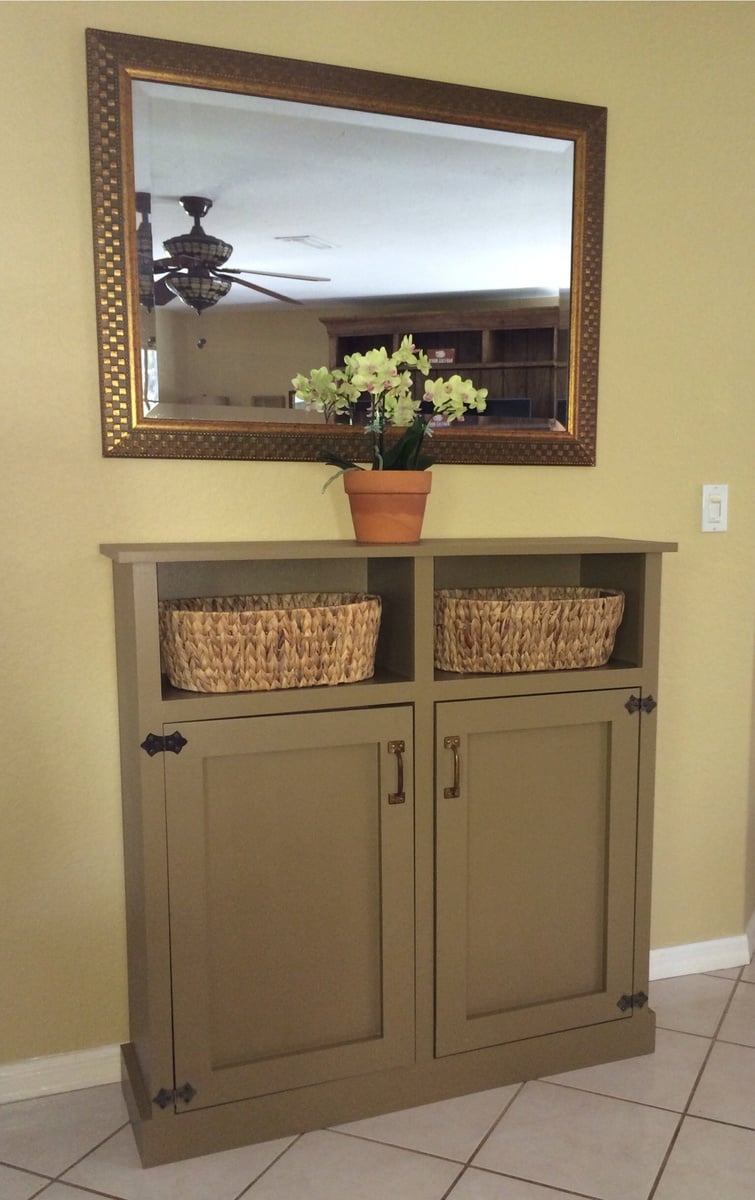
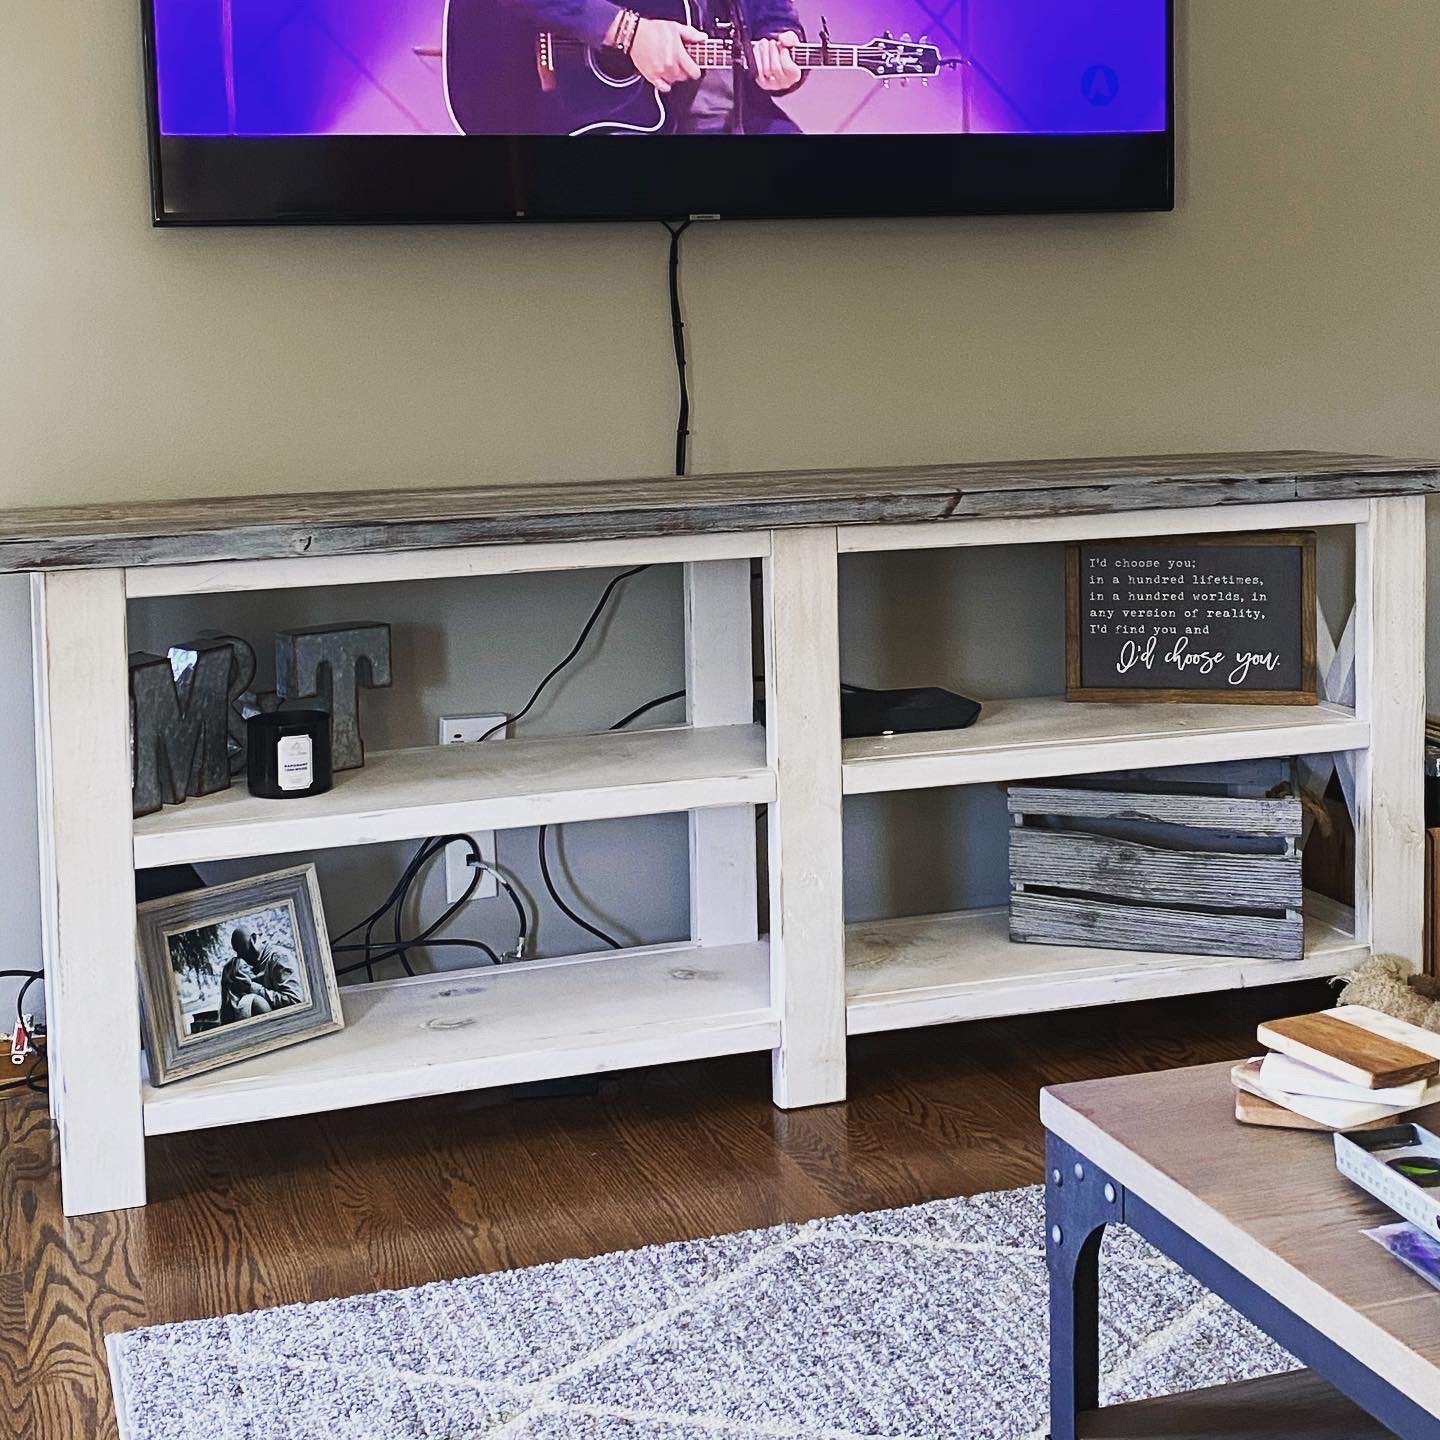
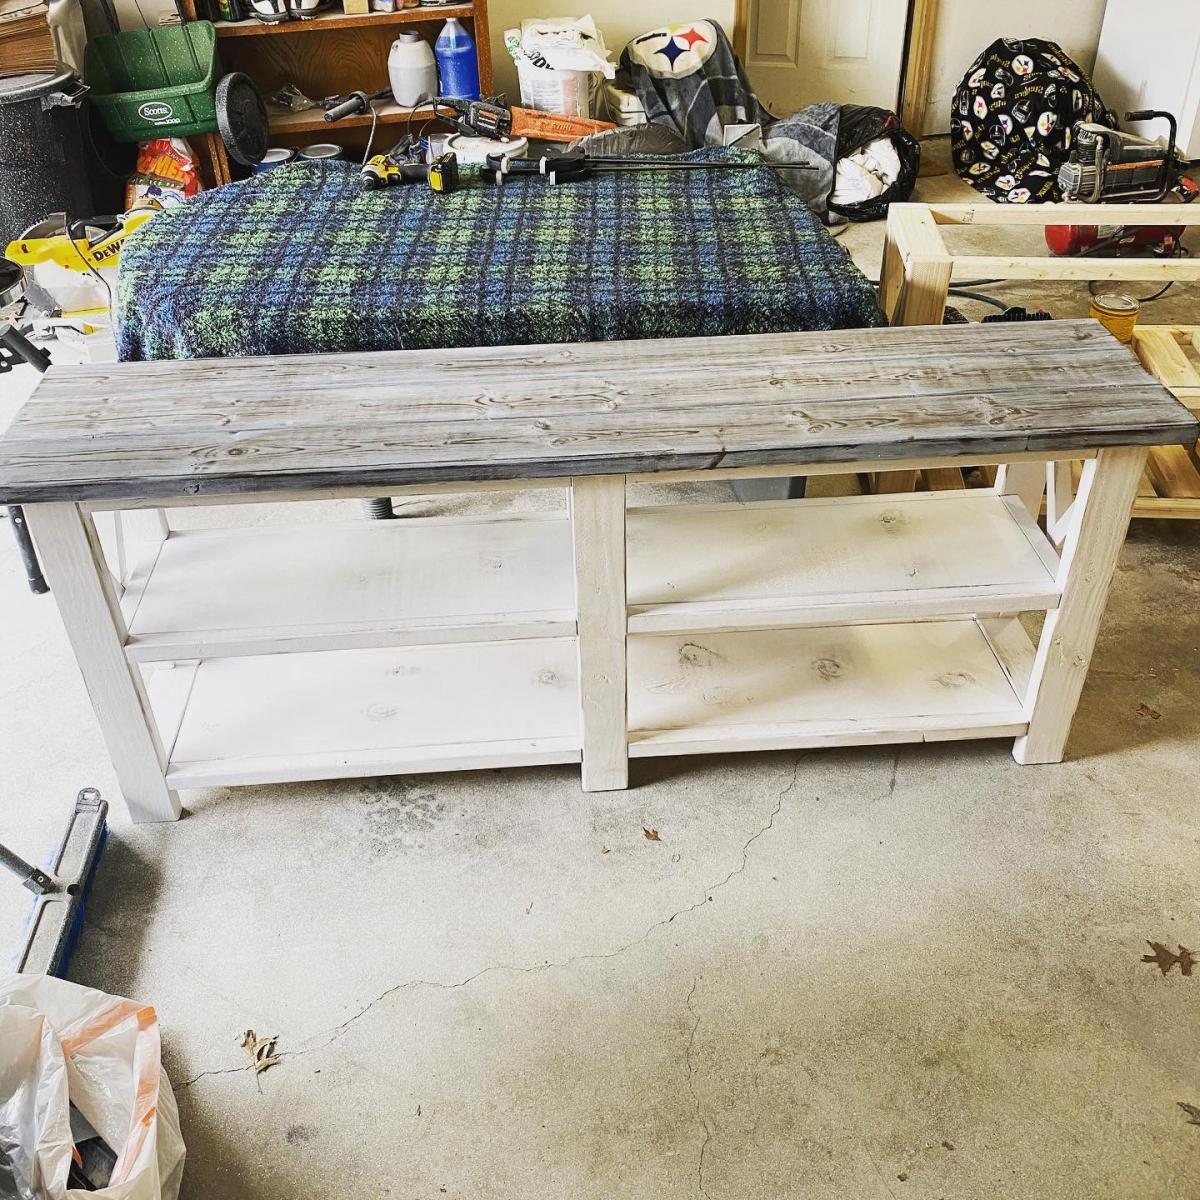
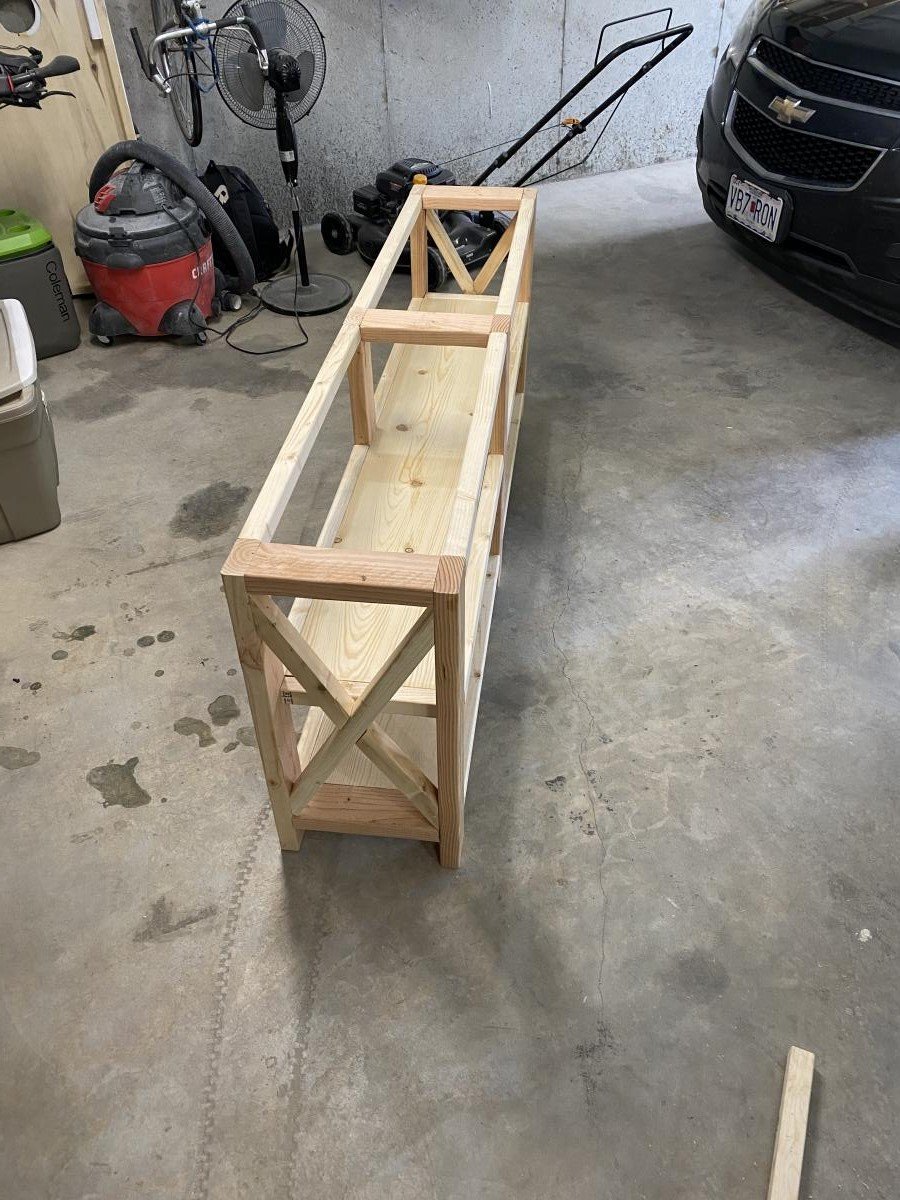
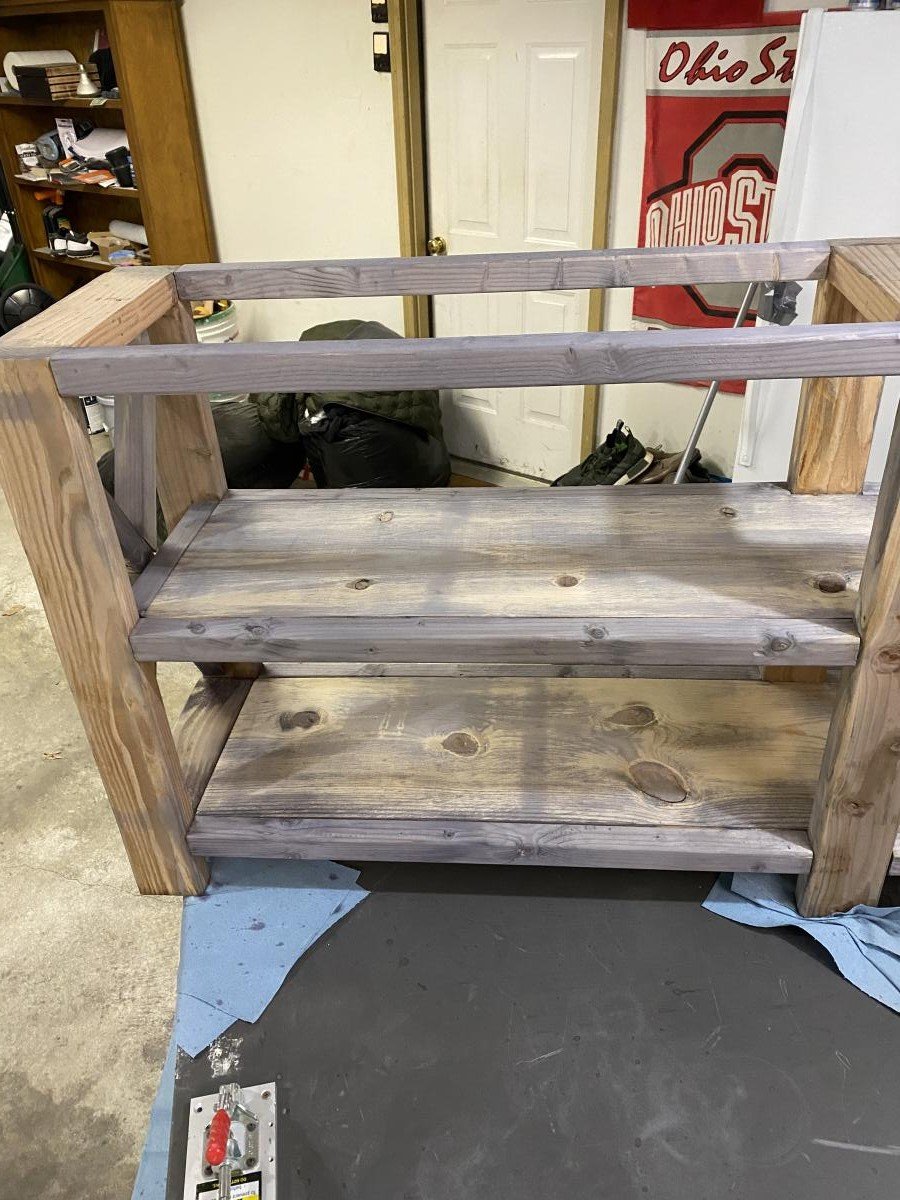
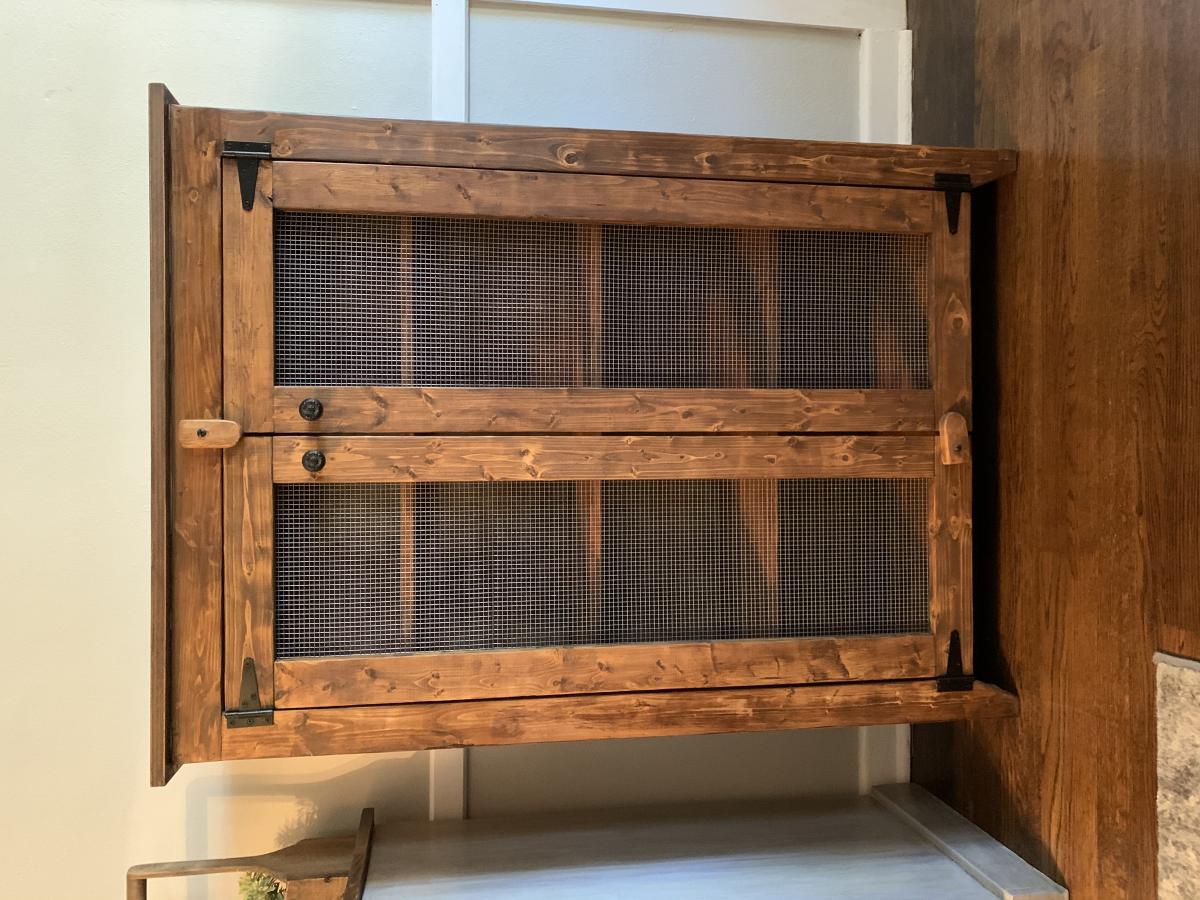
Patrick’s Jelly Cupboard
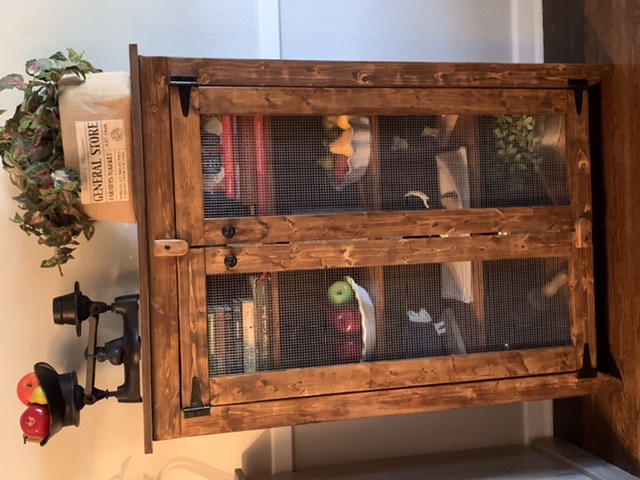
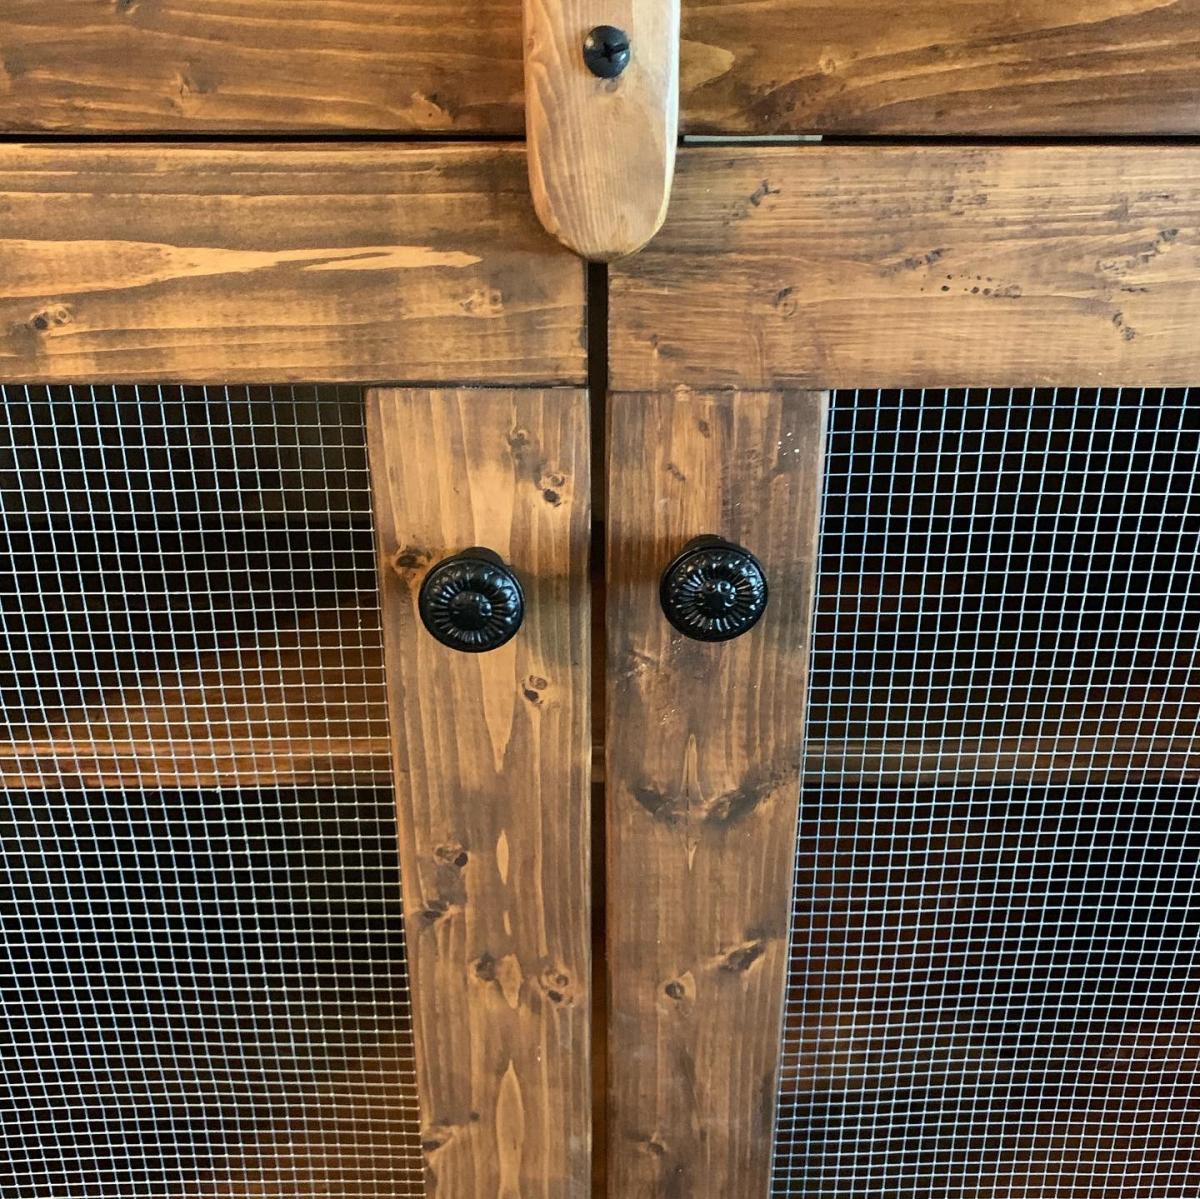
My husband and I loved this plan and created a few original touches. Like many other of Ana’s plans, we enjoyed making it.
Estimated Cost
$70
Estimated Time Investment
Week Long Project (20 Hours or More)
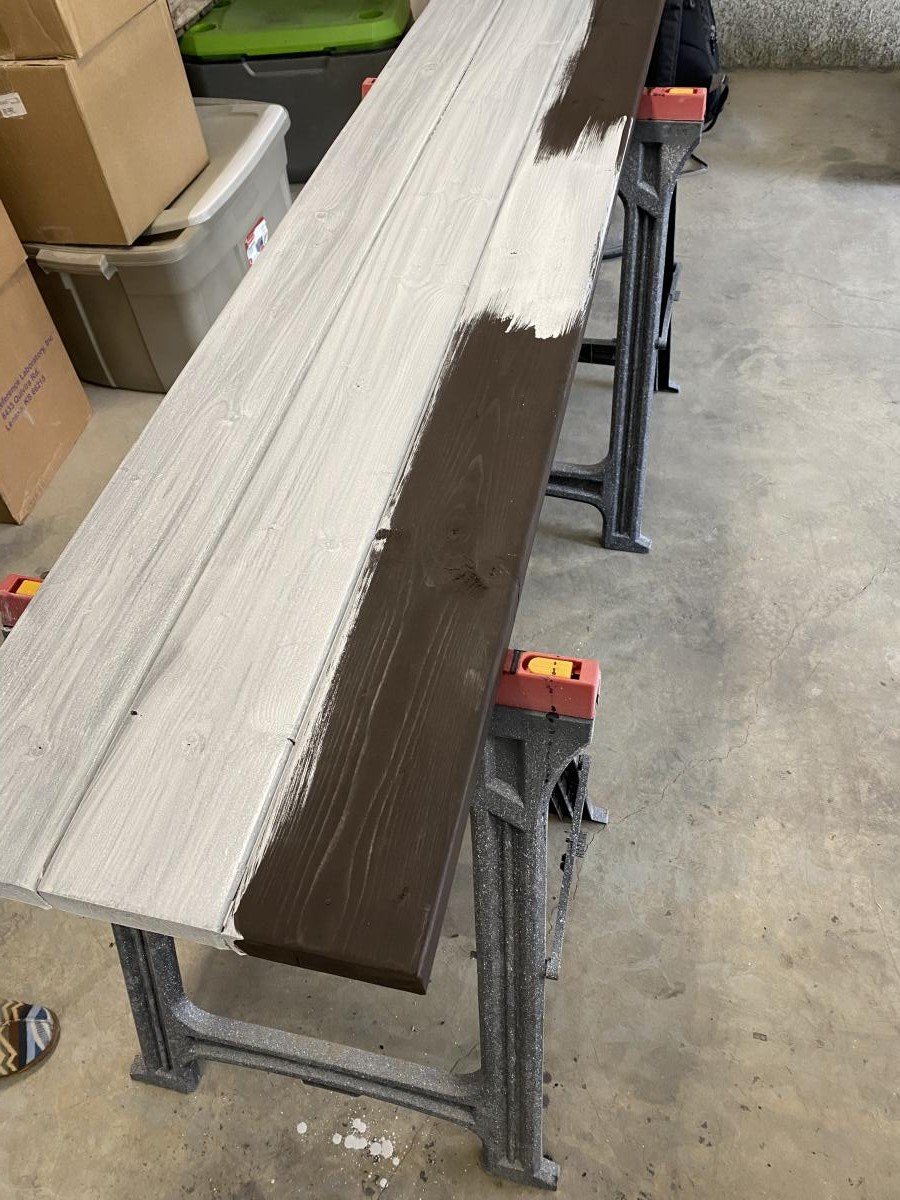
Finish Used
General Finishes Antique Walnut Gel Stain and General Finishes Gel Topcoat
Recommended Skill Level
Intermediate