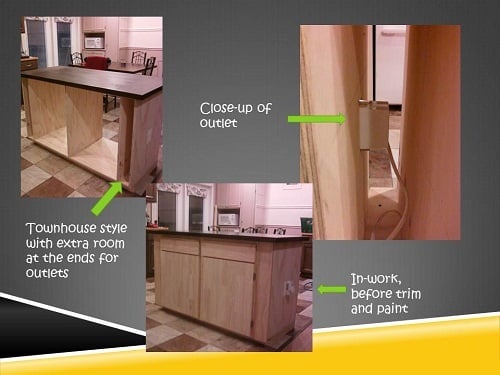
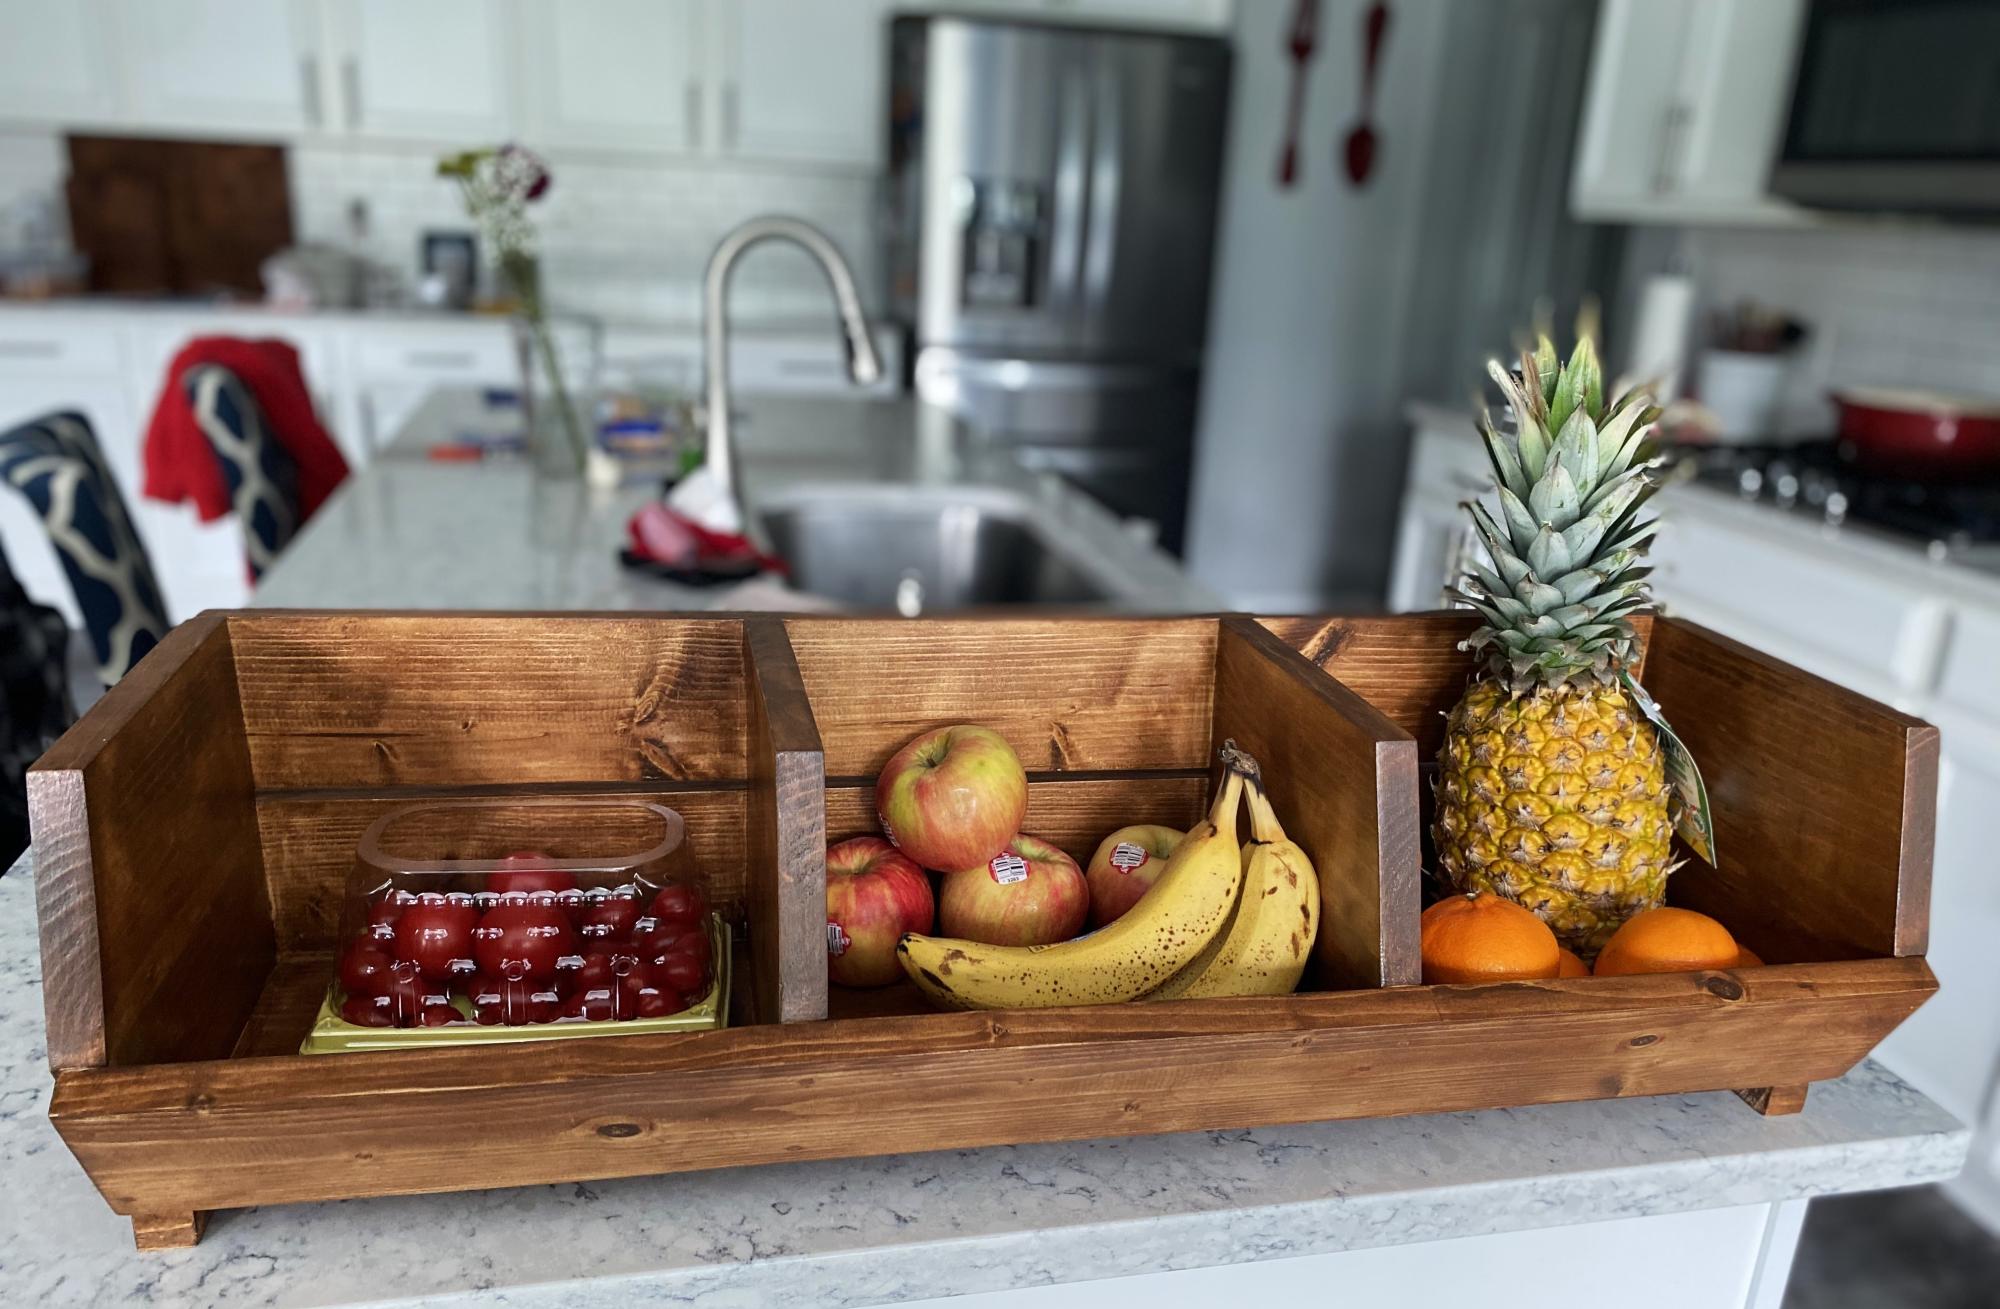
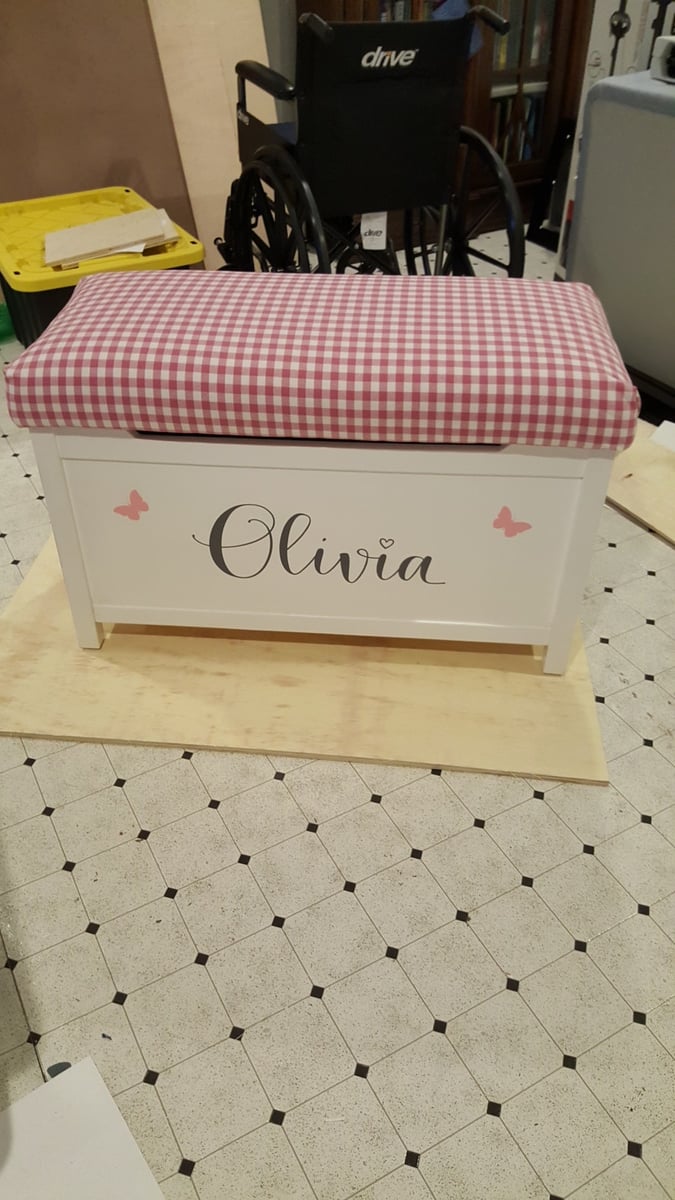
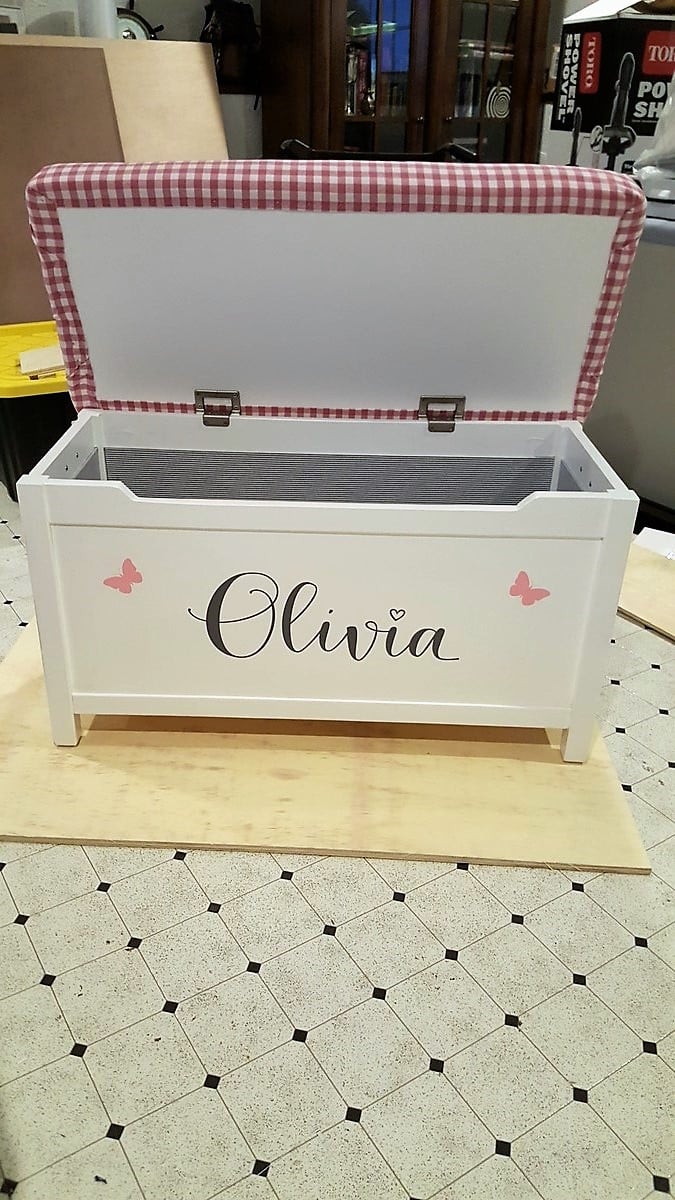
Letters to Santa Bin

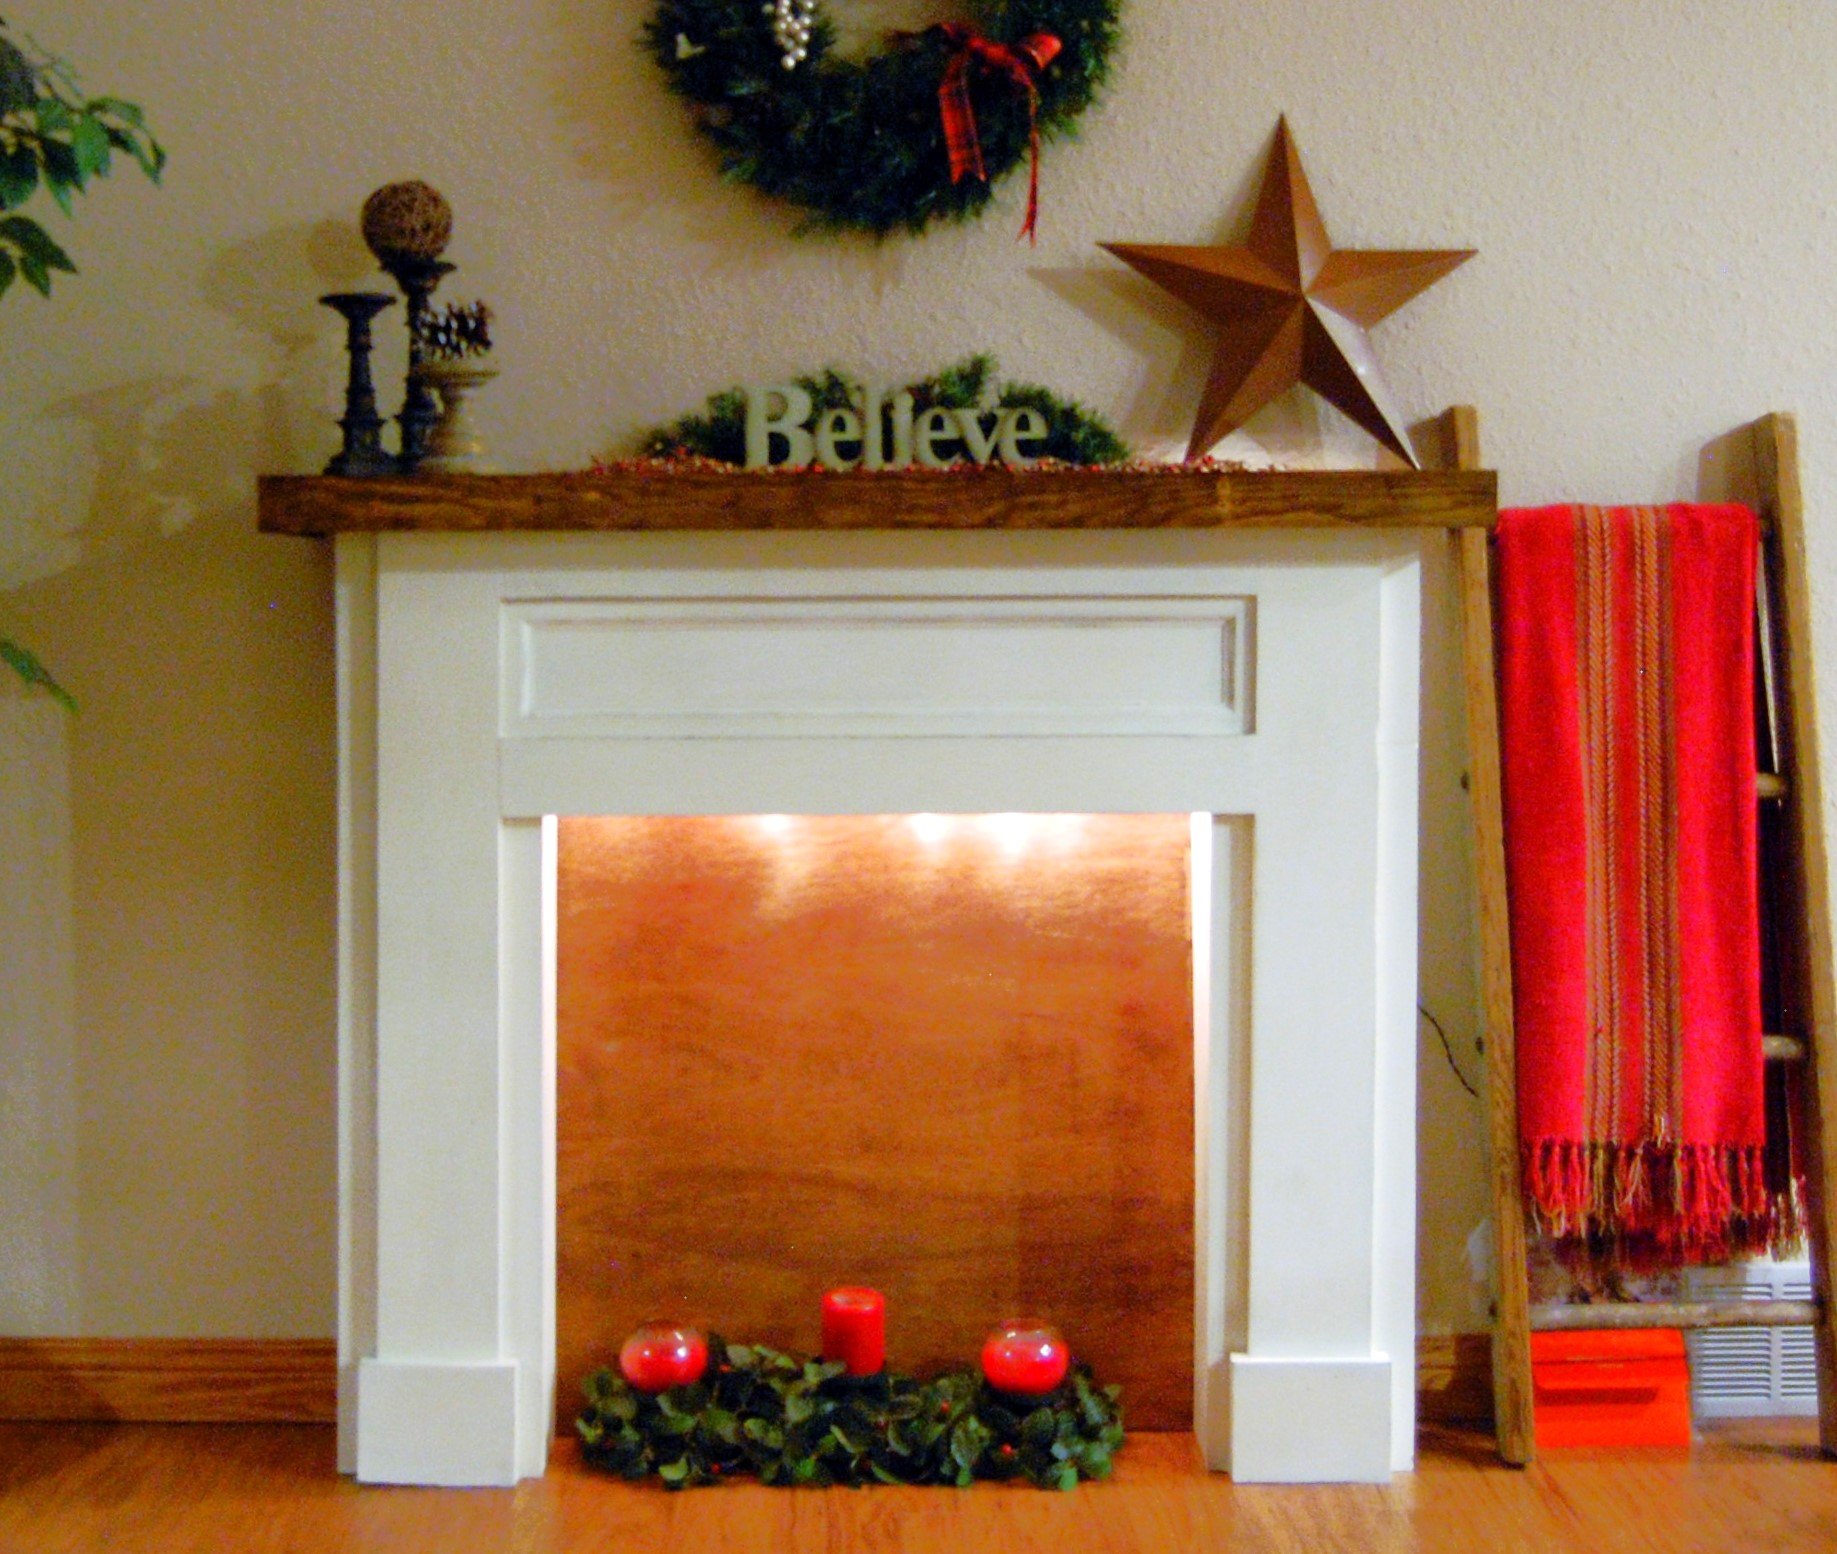
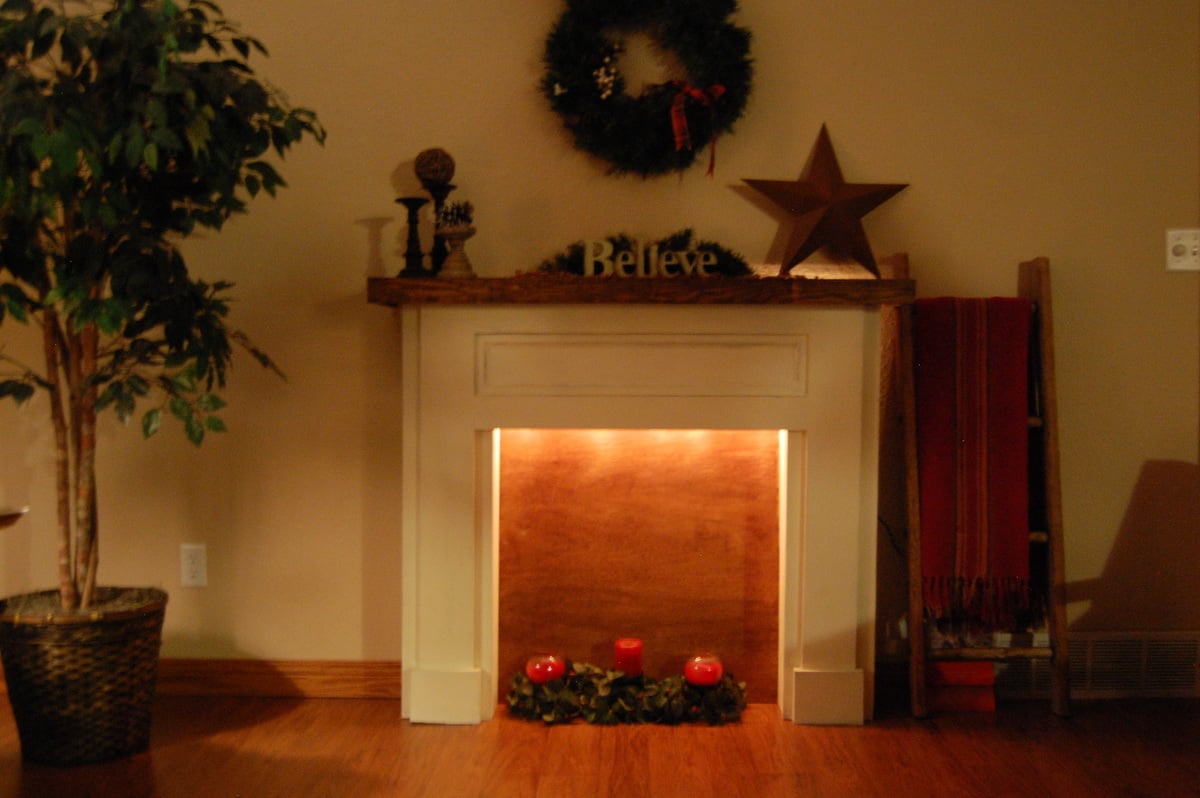
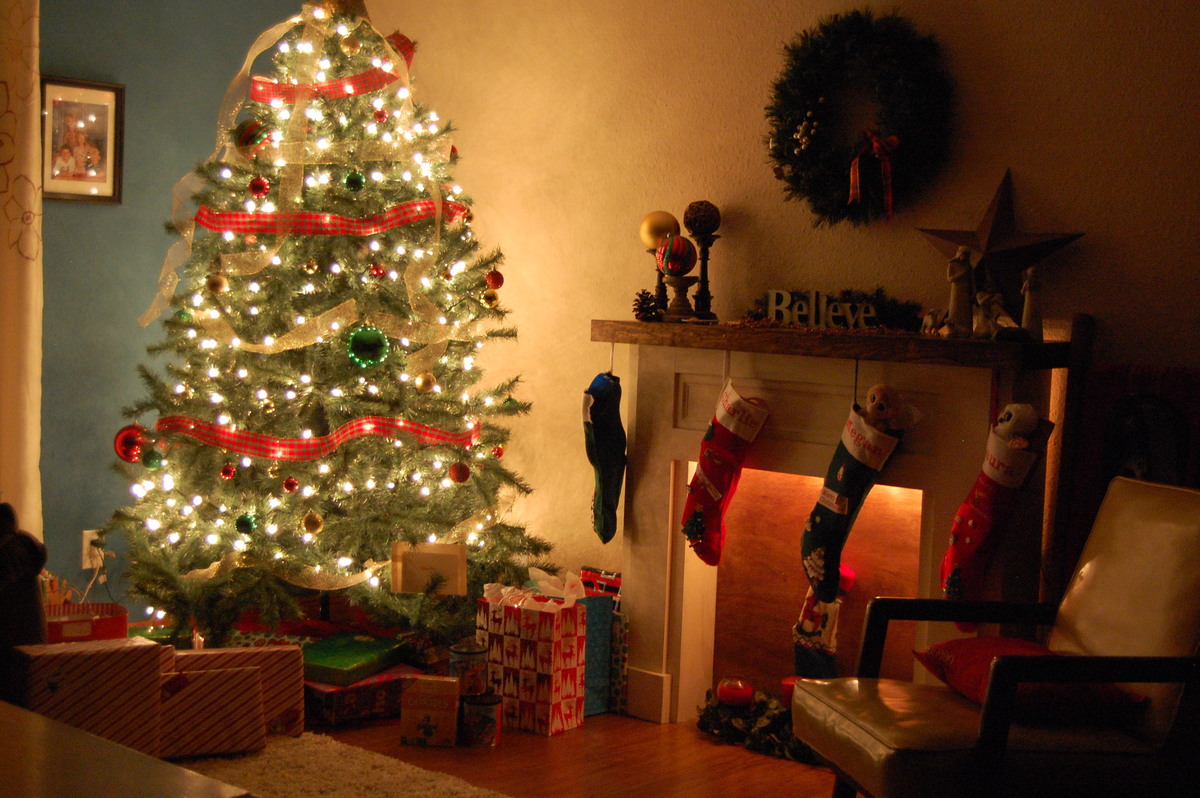
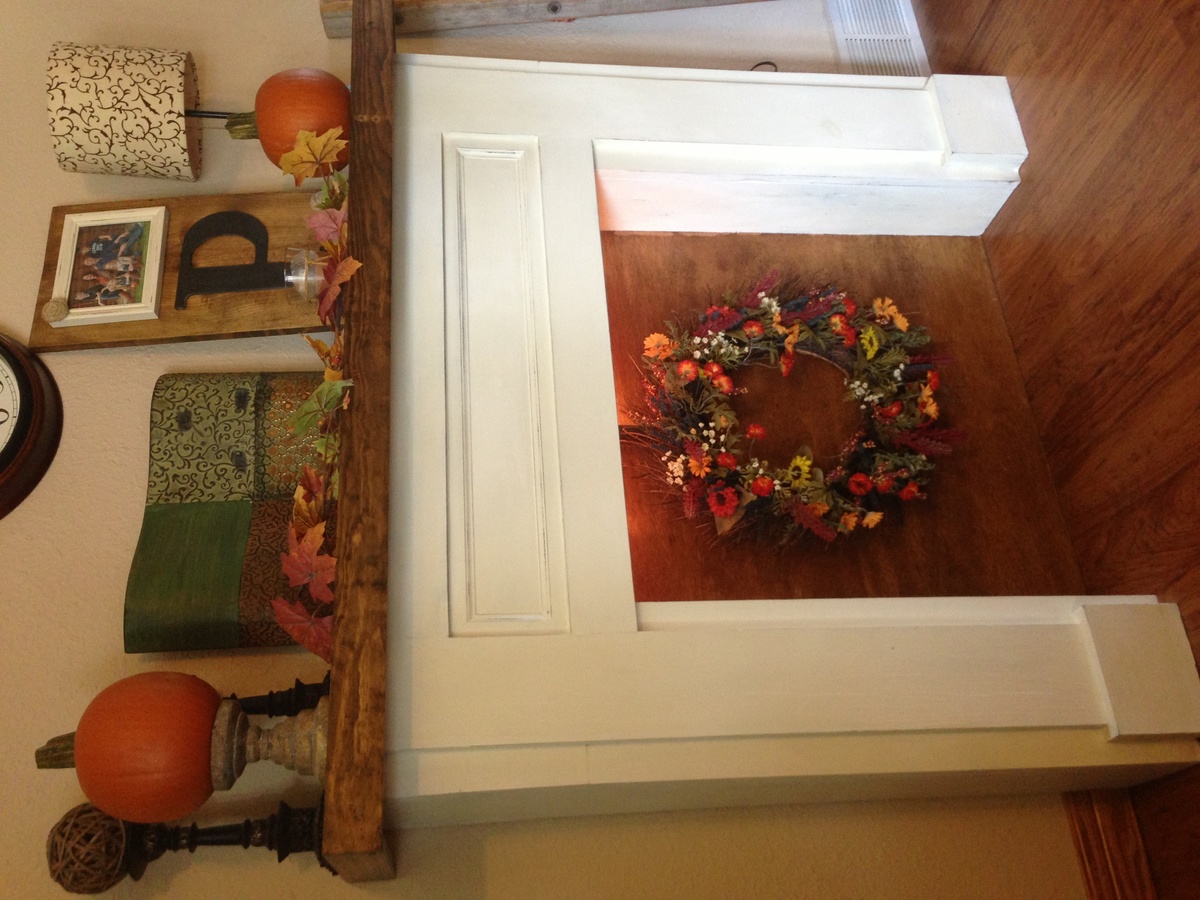
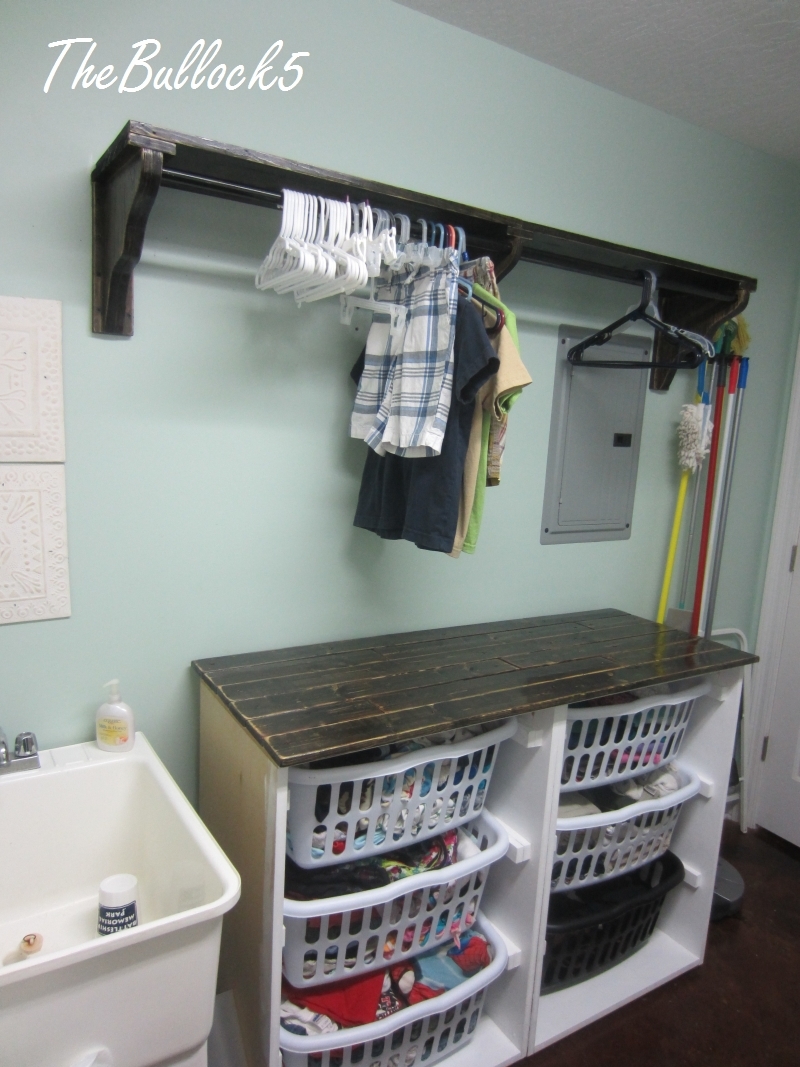
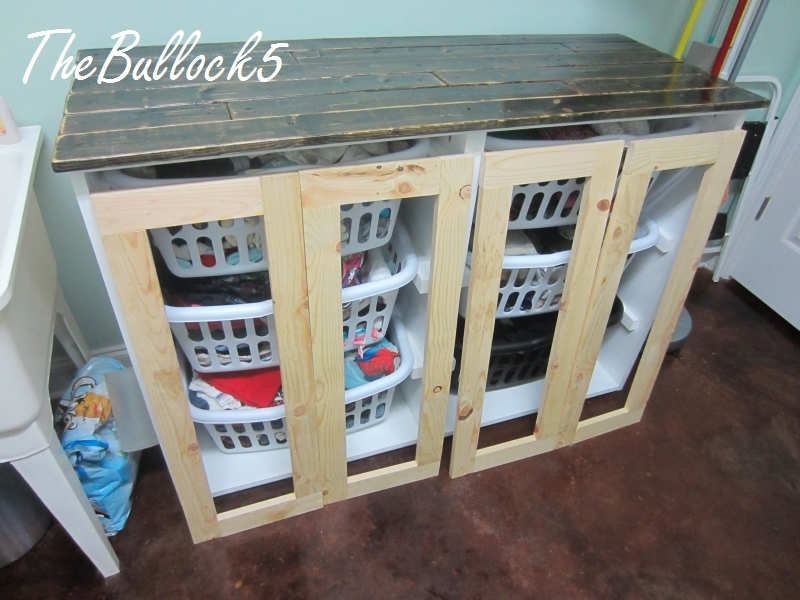
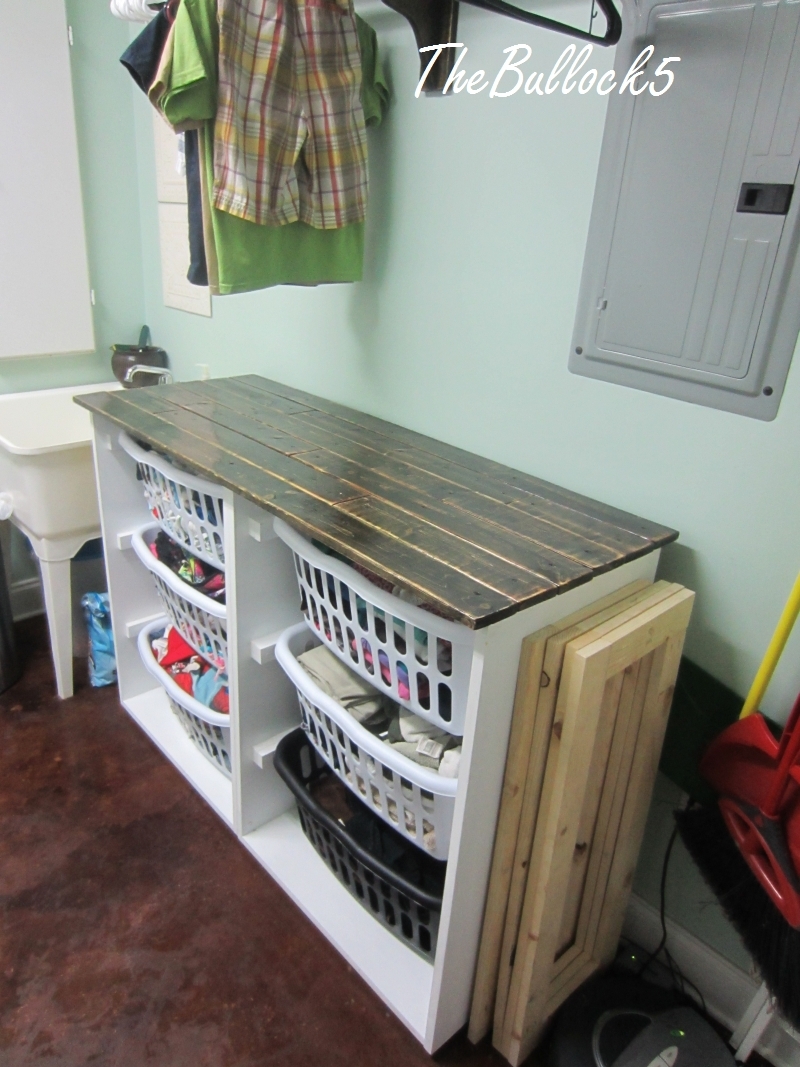
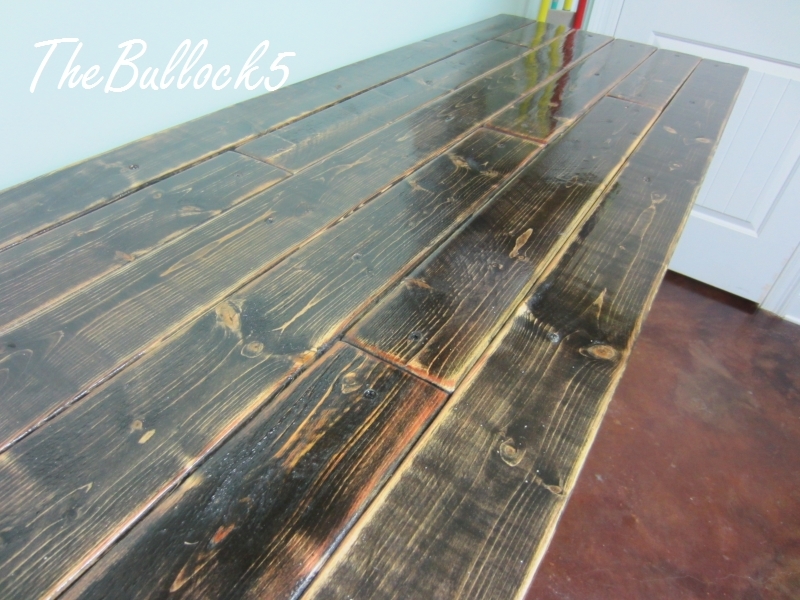
Ana, you're the BEST!! Thank you so much for sharing these plans. This was a very simple build ... my problem was trying to decide how to paint and decorate it. There's a lady in our little town that cut out the letters for me. I think it turned out so cute. I'm working on a Christmas collection for our church auction next April and thought it would be fun to have Christmas in April :-). Thanks again Ana!!!
Built from Plan(s)