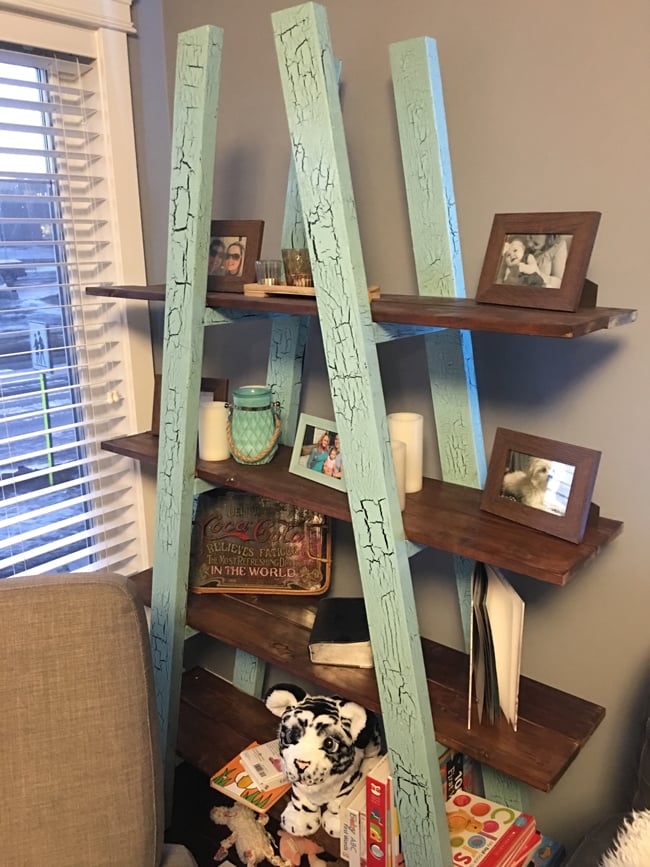
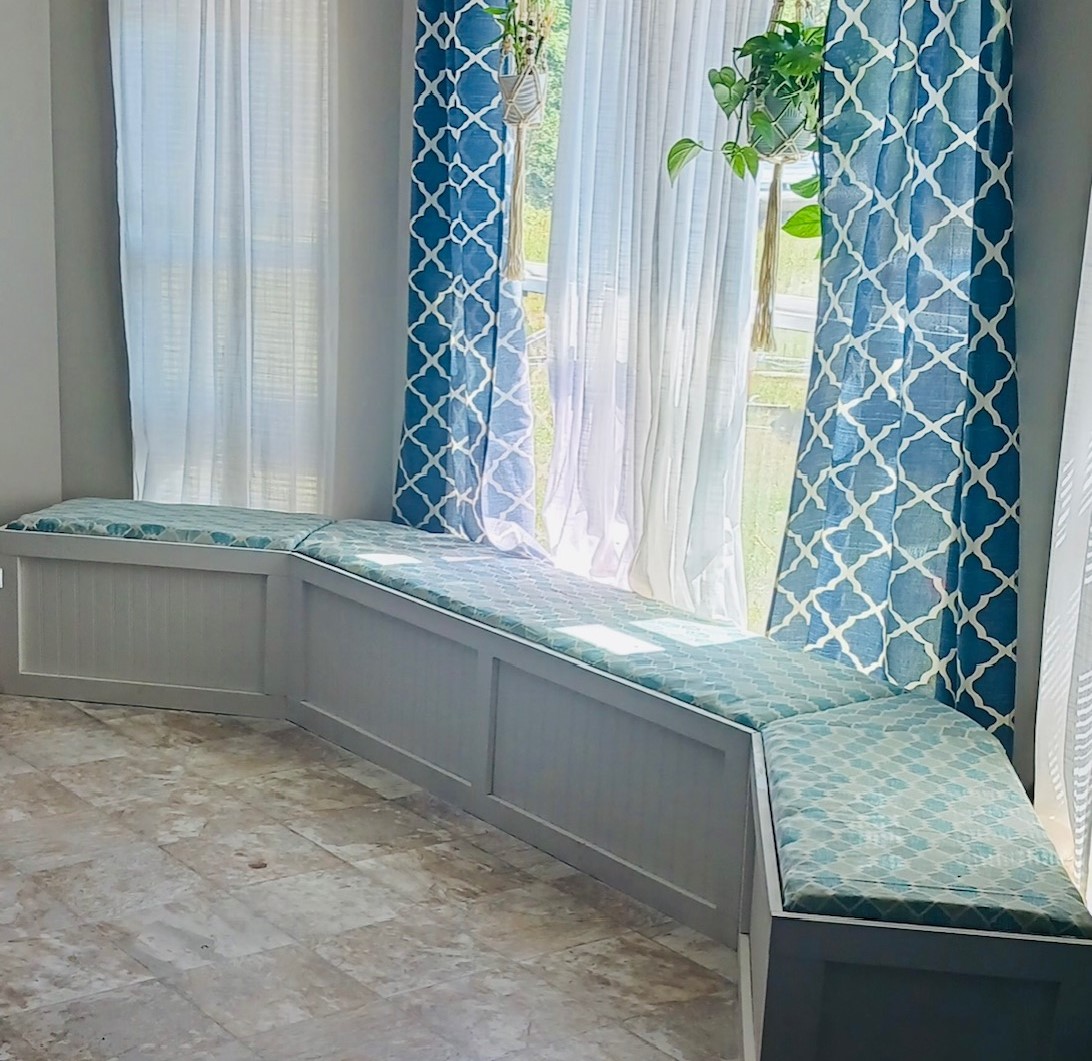
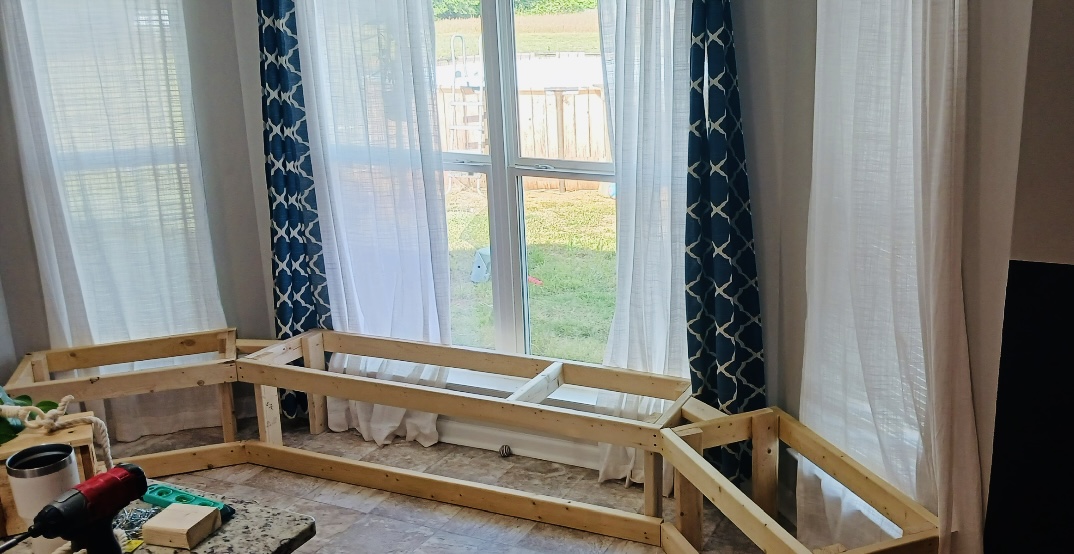
Curved Bench
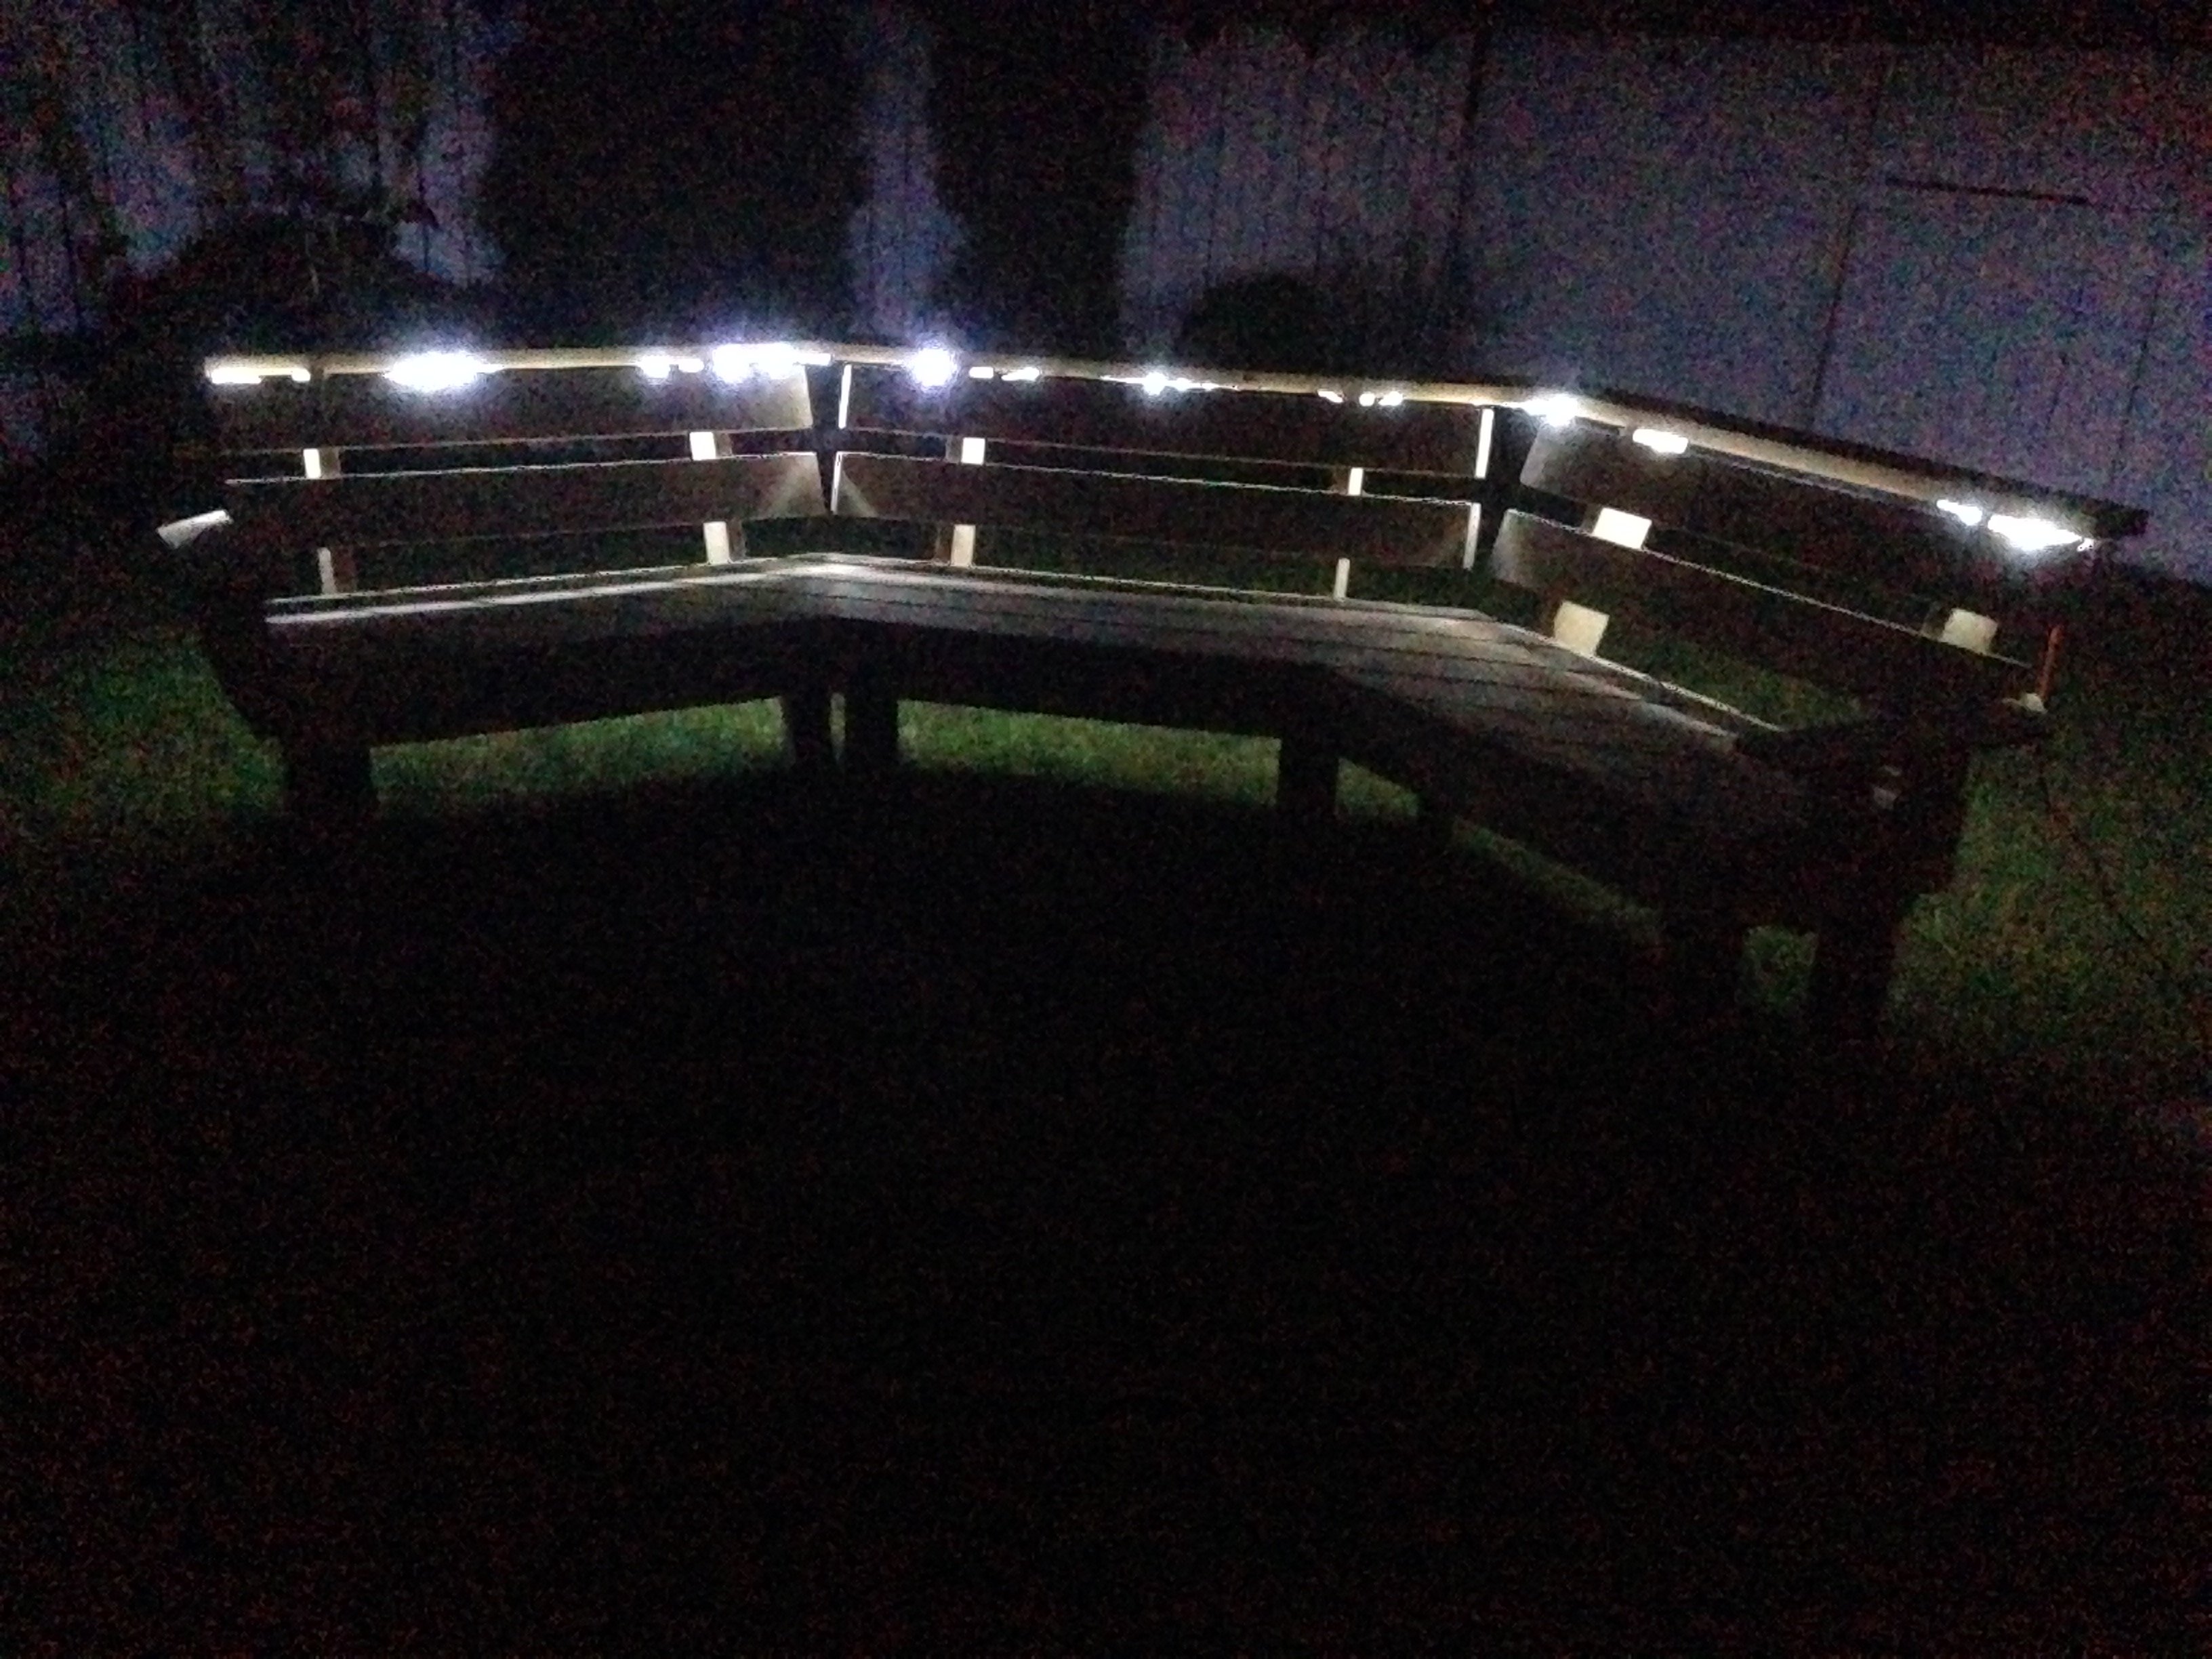
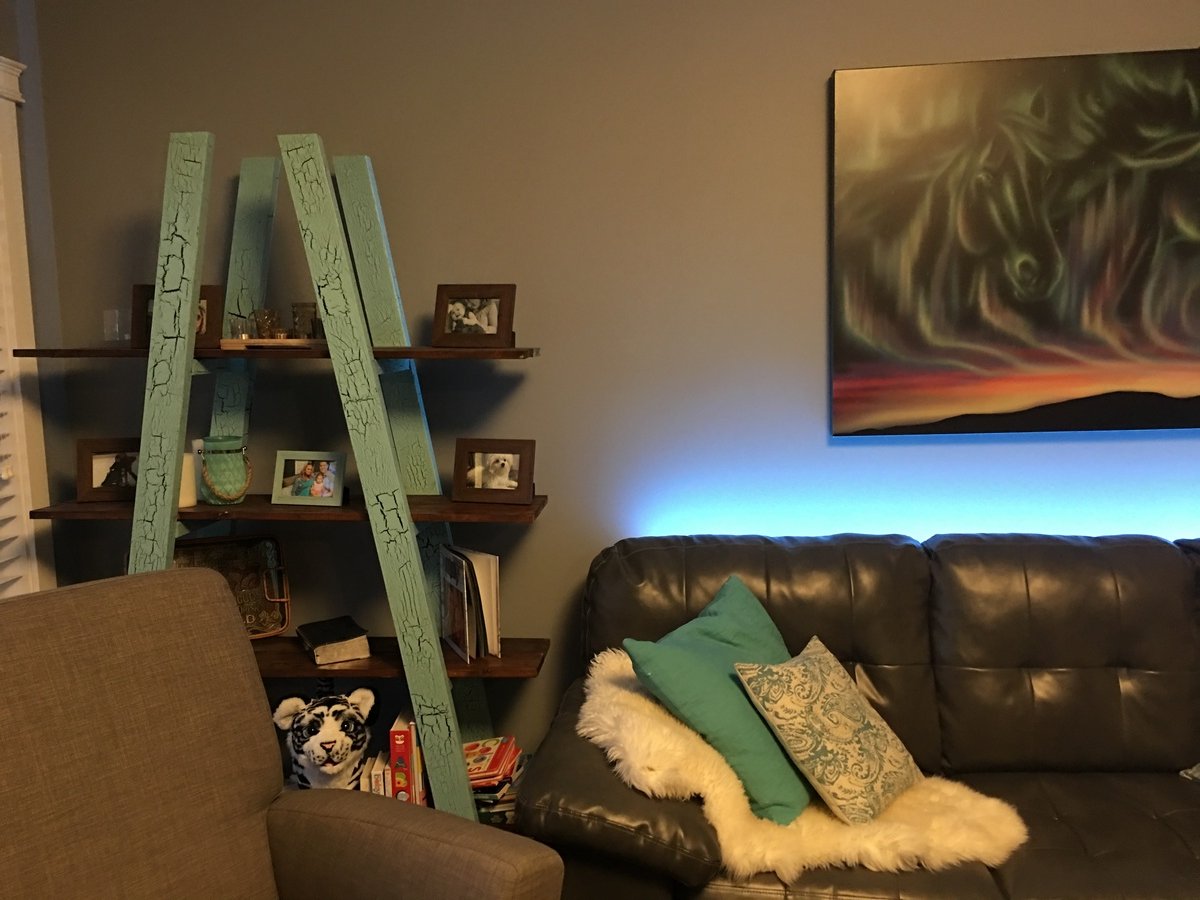
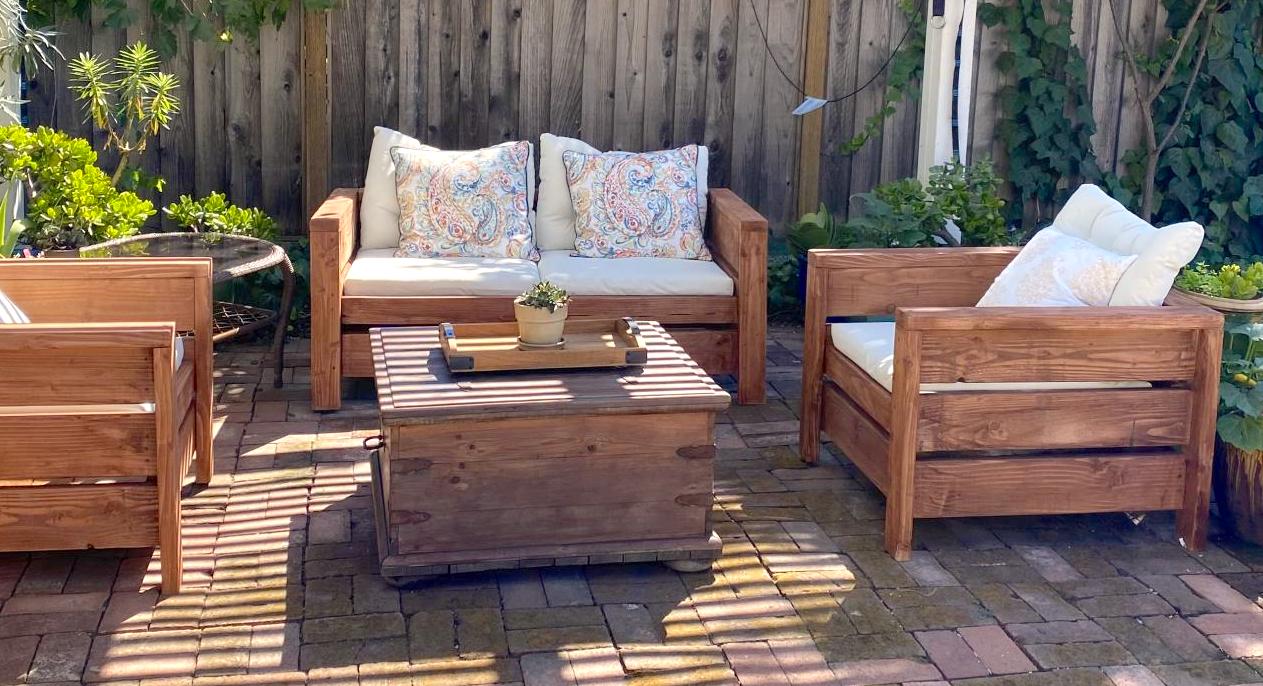
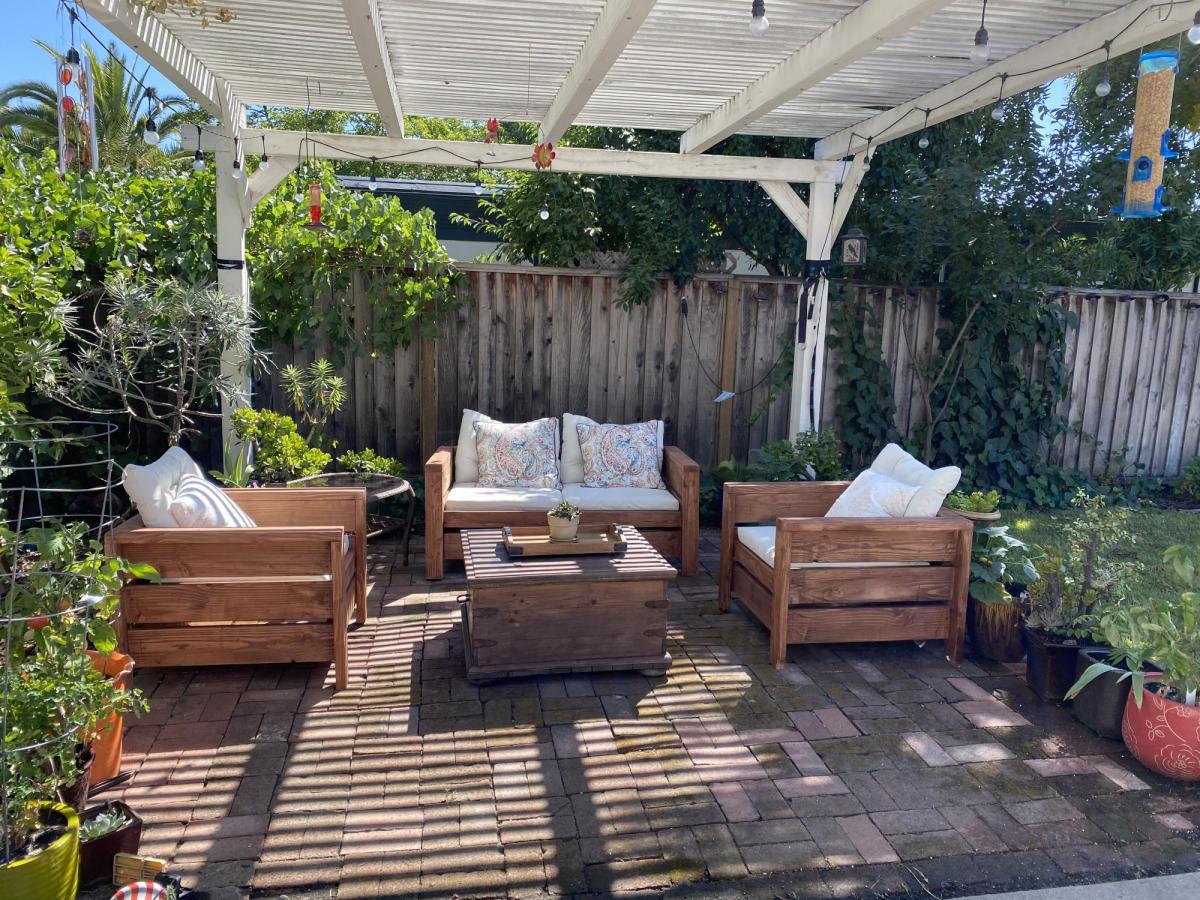
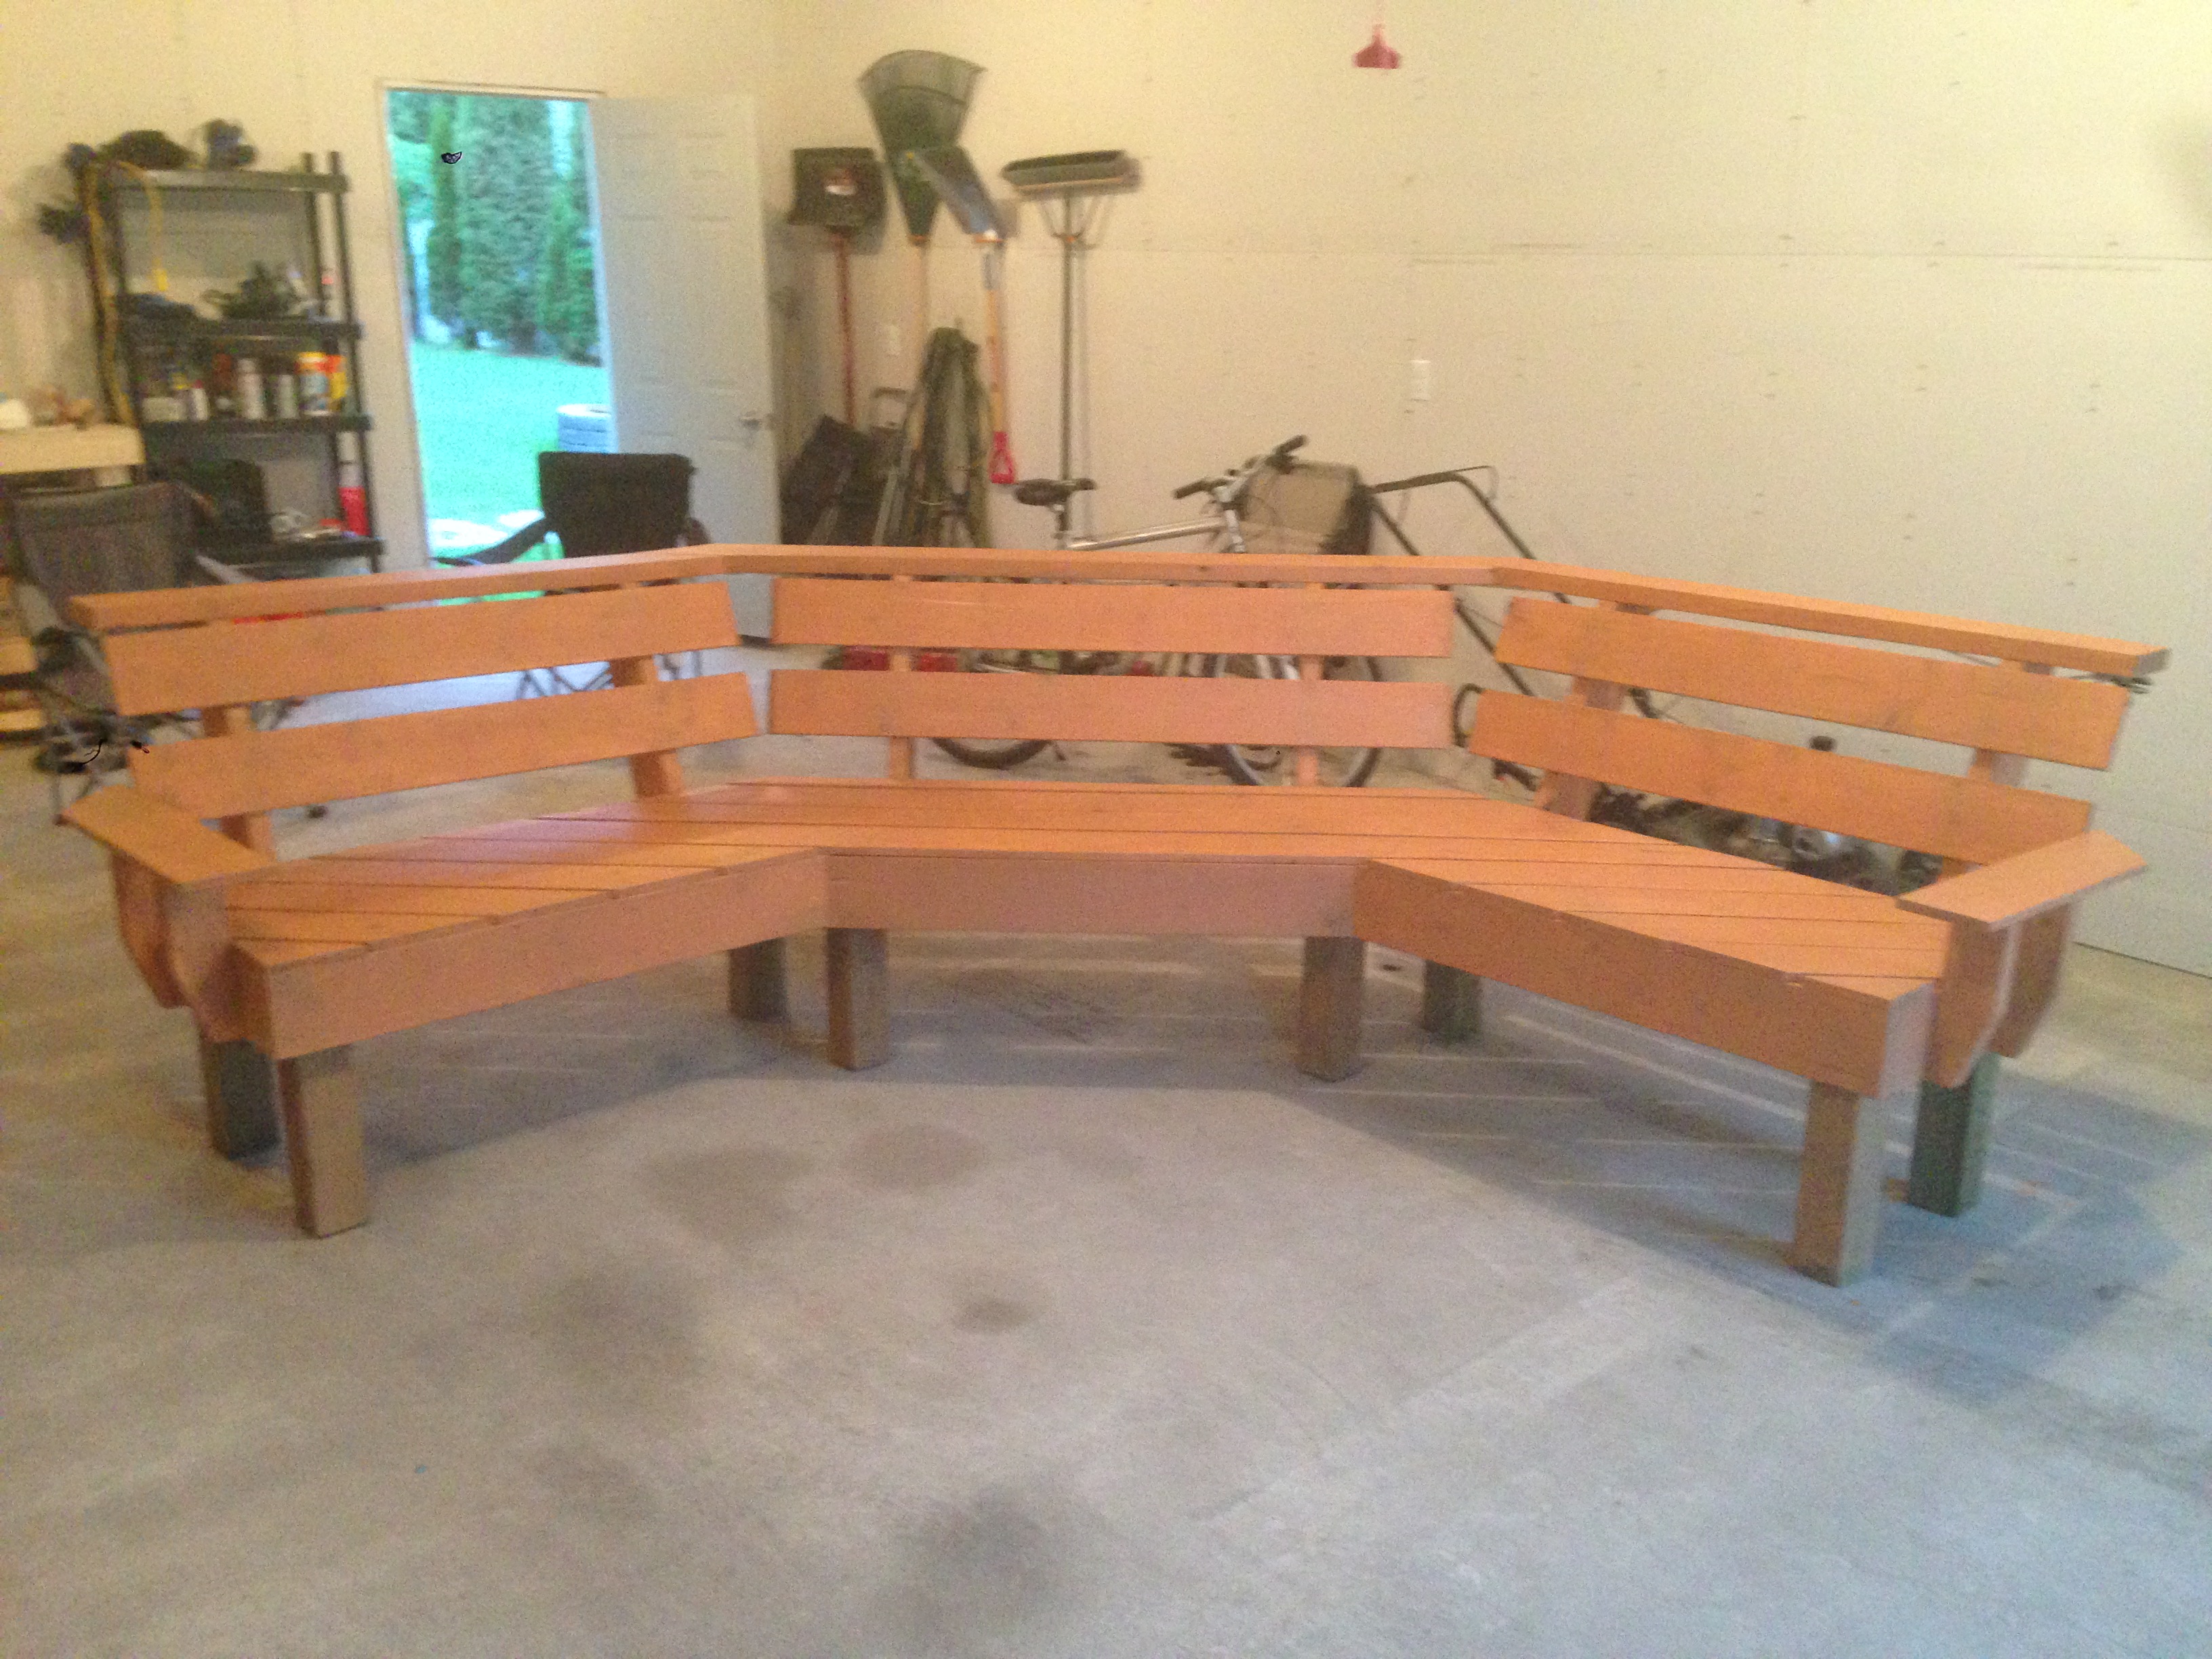
I followed your idea but i think my bench is a touch smaller. I decided to add arm rests on each end, I kept the top beverage ledge or "Bever-ledge" as I call it and ofcourse I added rope lighting along the underside. This was my first ever DIY project.
Built from Plan(s)
Estimated Cost
150
Estimated Time Investment
Weekend Project (10-20 Hours)
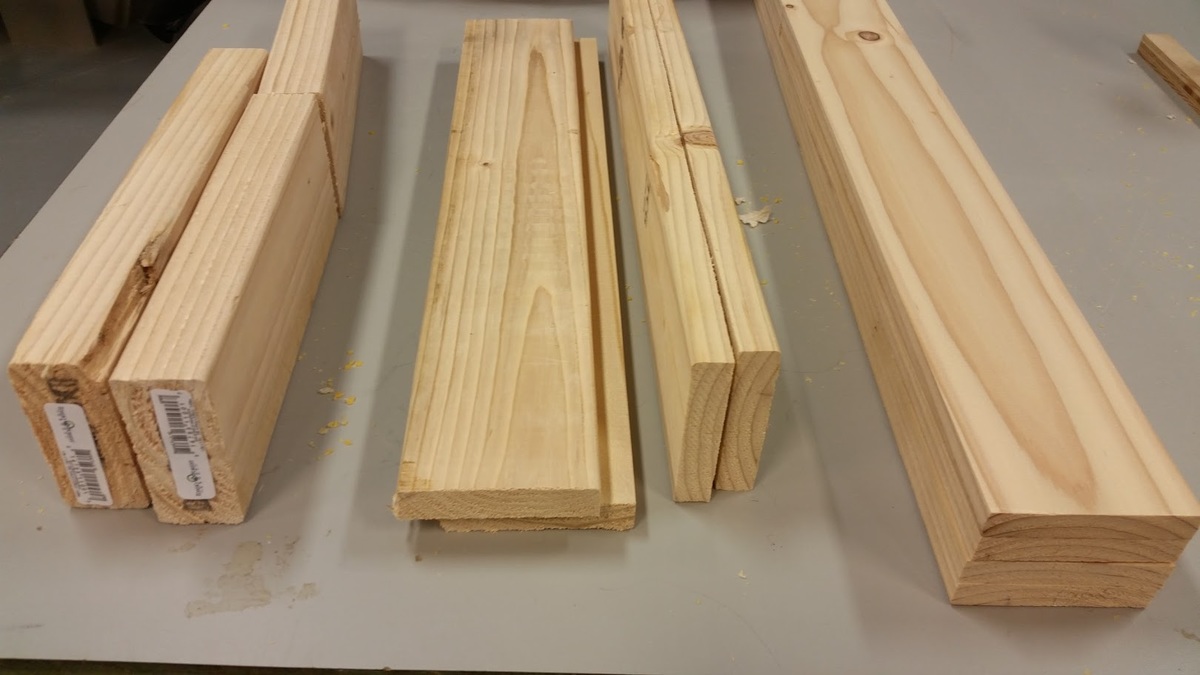
Finish Used
I used a Cedar Tone semi-transparent finish which turned out a little more orange than i though but it still looks good!
Recommended Skill Level
Intermediate