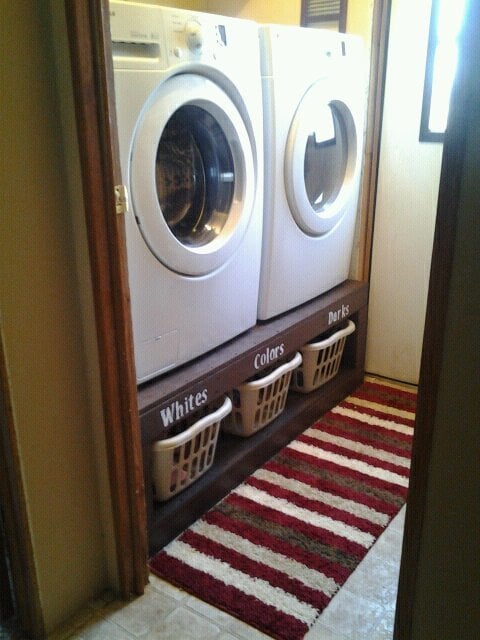
Brook Laundry Basket Dresser

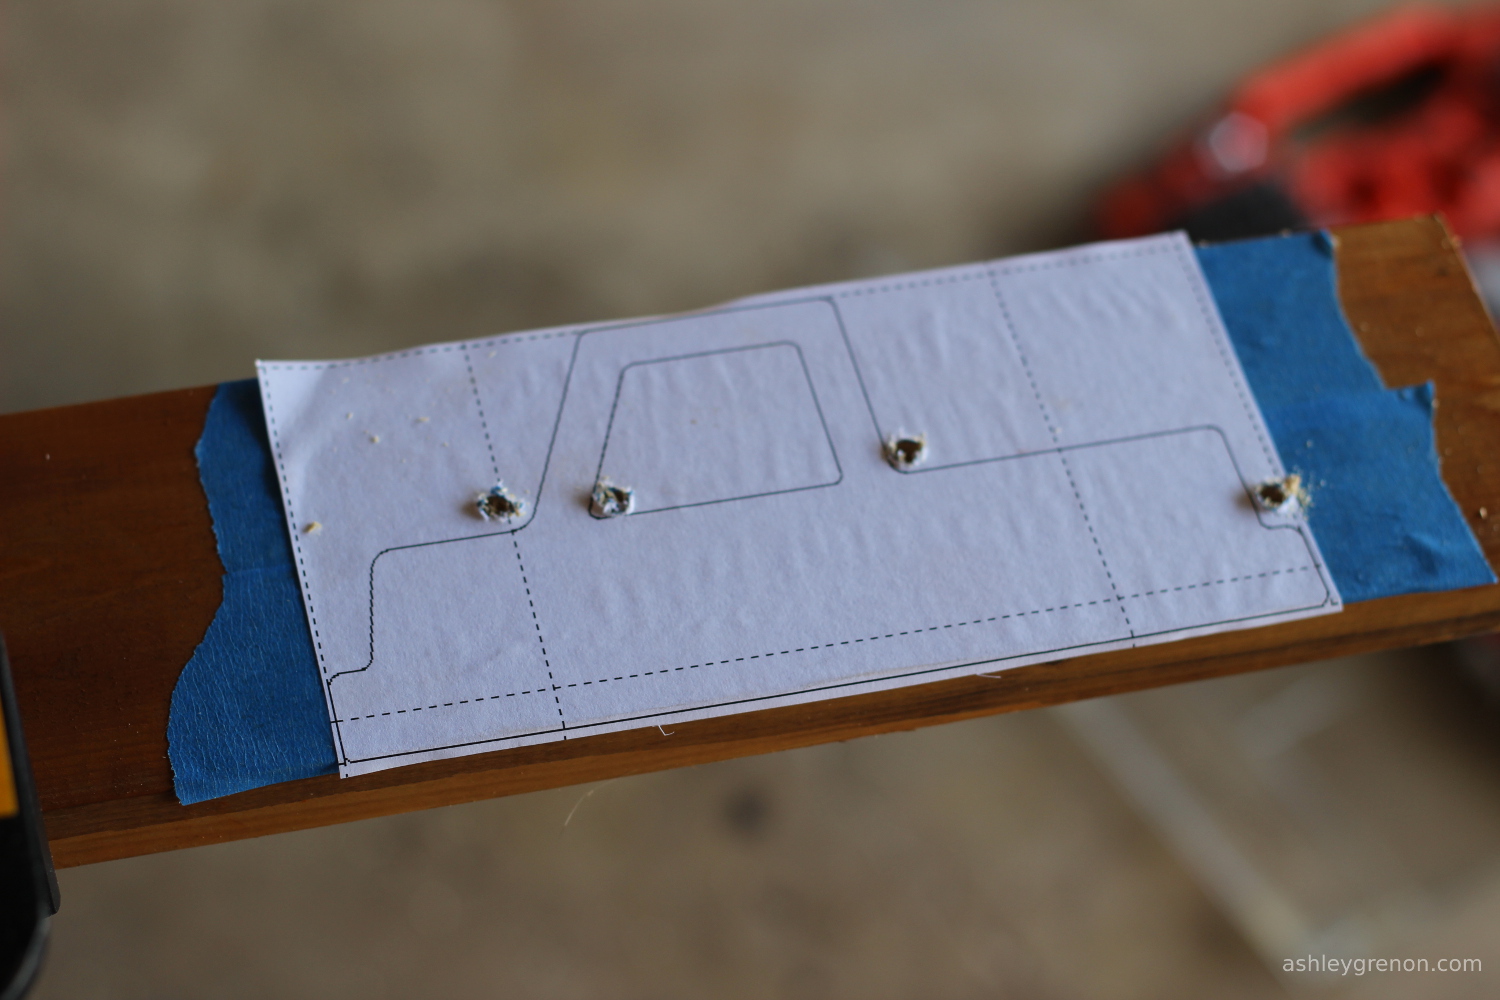
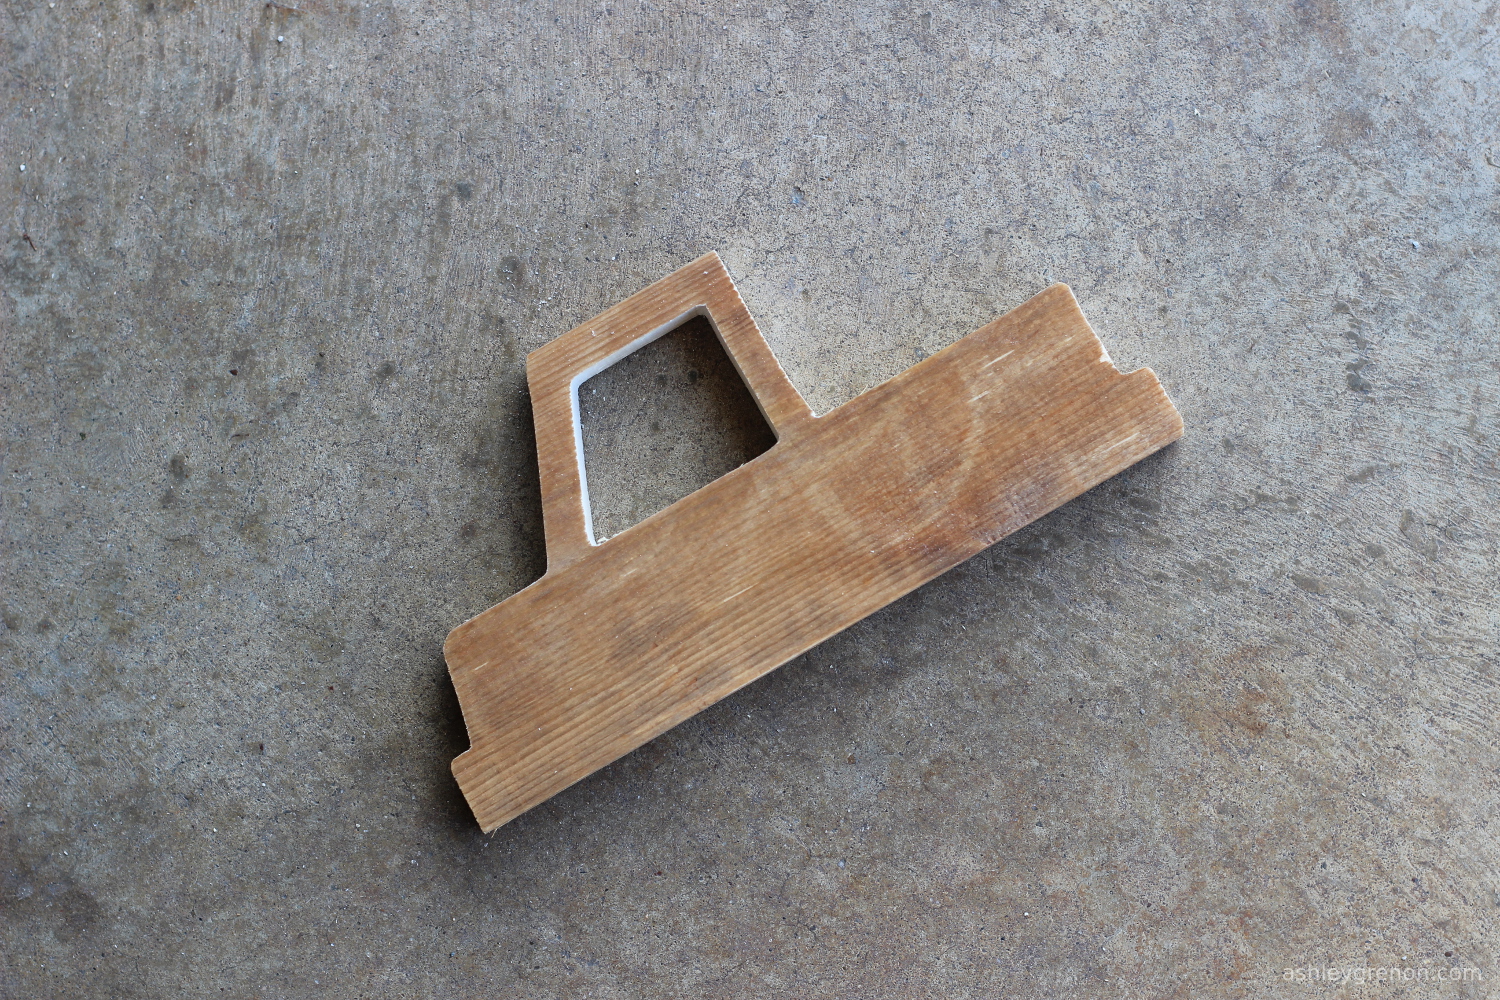
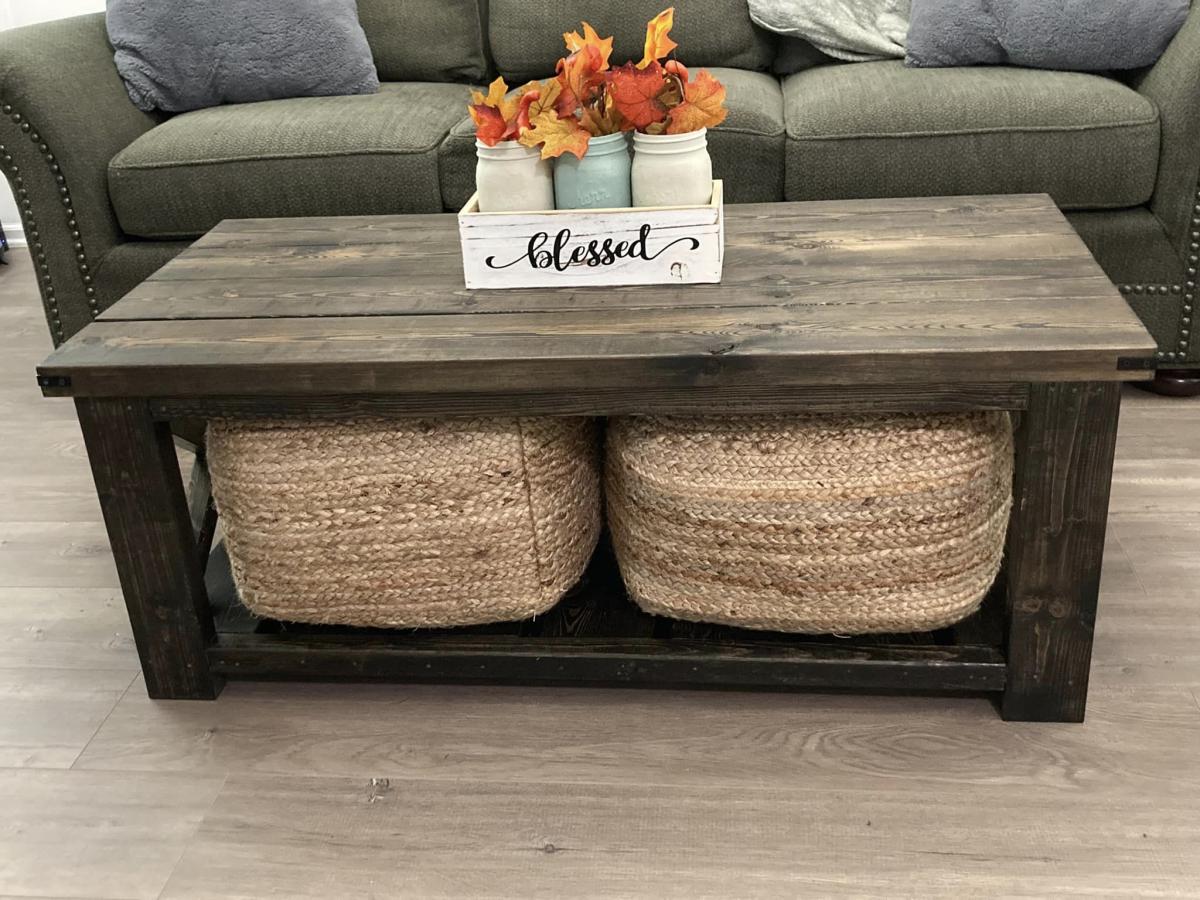
Used square laundry baskets instead of regular rectangular baskets. The square ones aren't as deep but are a bit taller so I had to modify the plans. I added a backsplash and some wooden tags to the baskets to designate them for certain colors. I also added some decorative trim and finished the bottom in a gray stain and used white chalk paint for the top.


Built from Plan(s)
Estimated Cost
$70
Estimated Time Investment
Day Project (6-9 Hours)
Finish Used
Weathered gray stain
White chalk paint
White chalk paint
Recommended Skill Level
Beginner