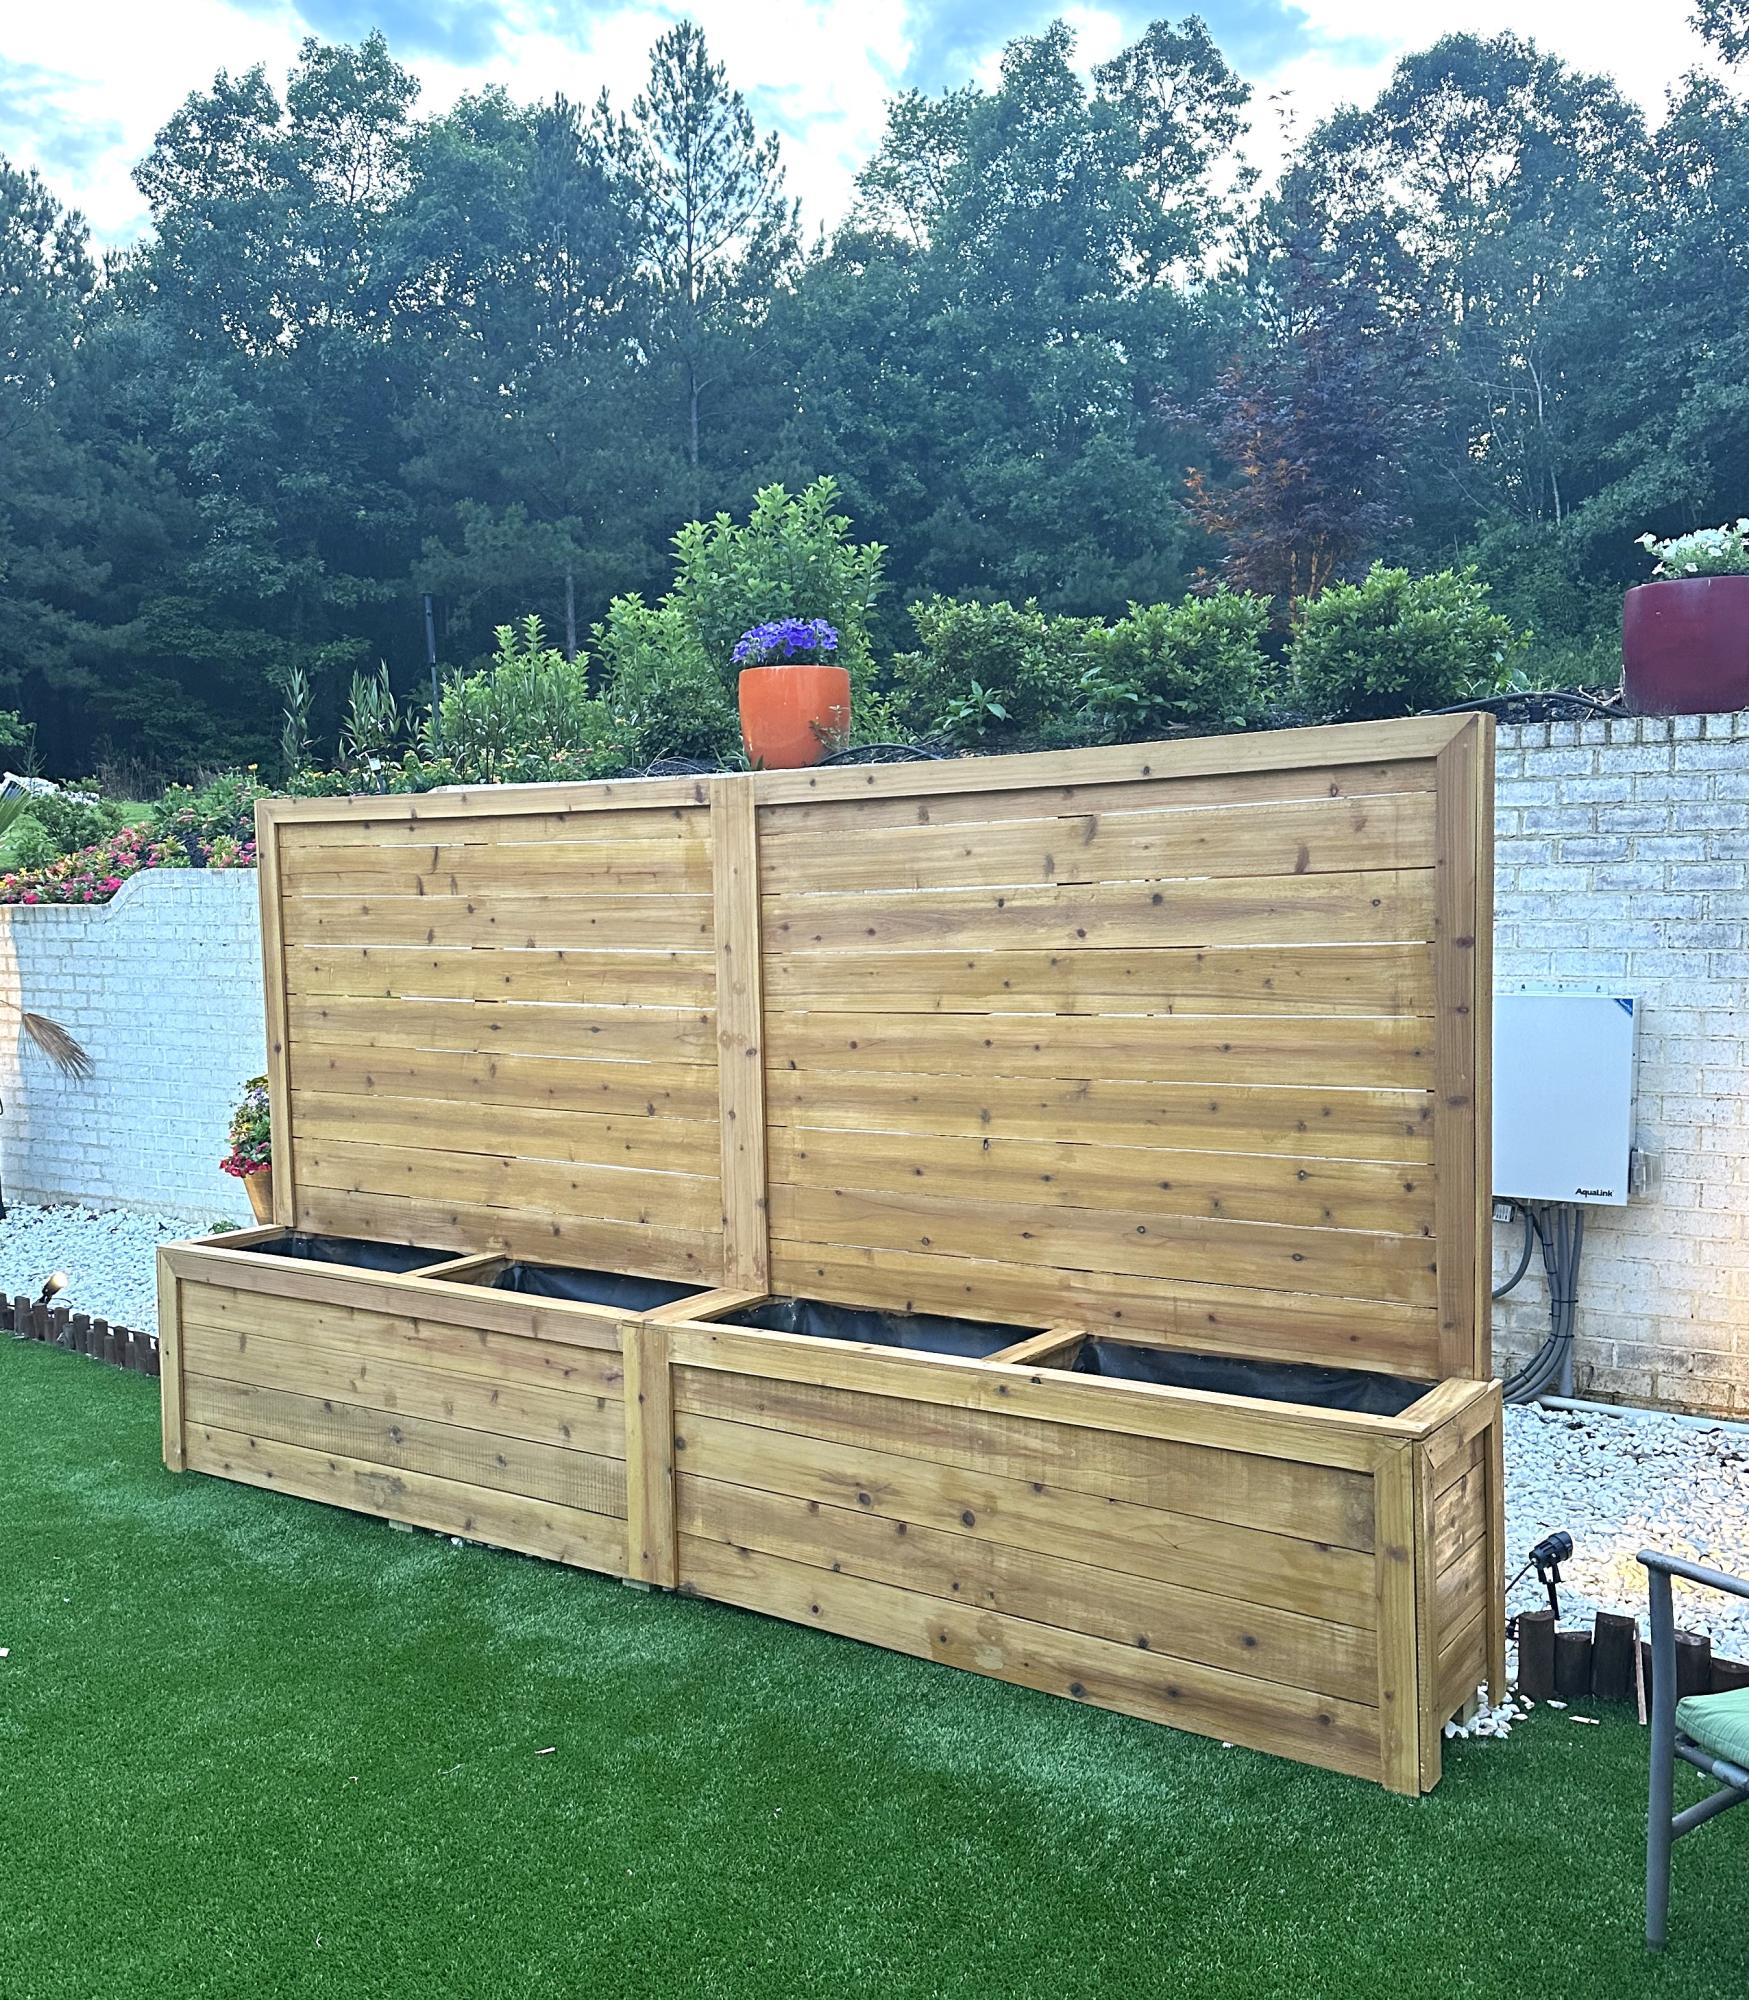
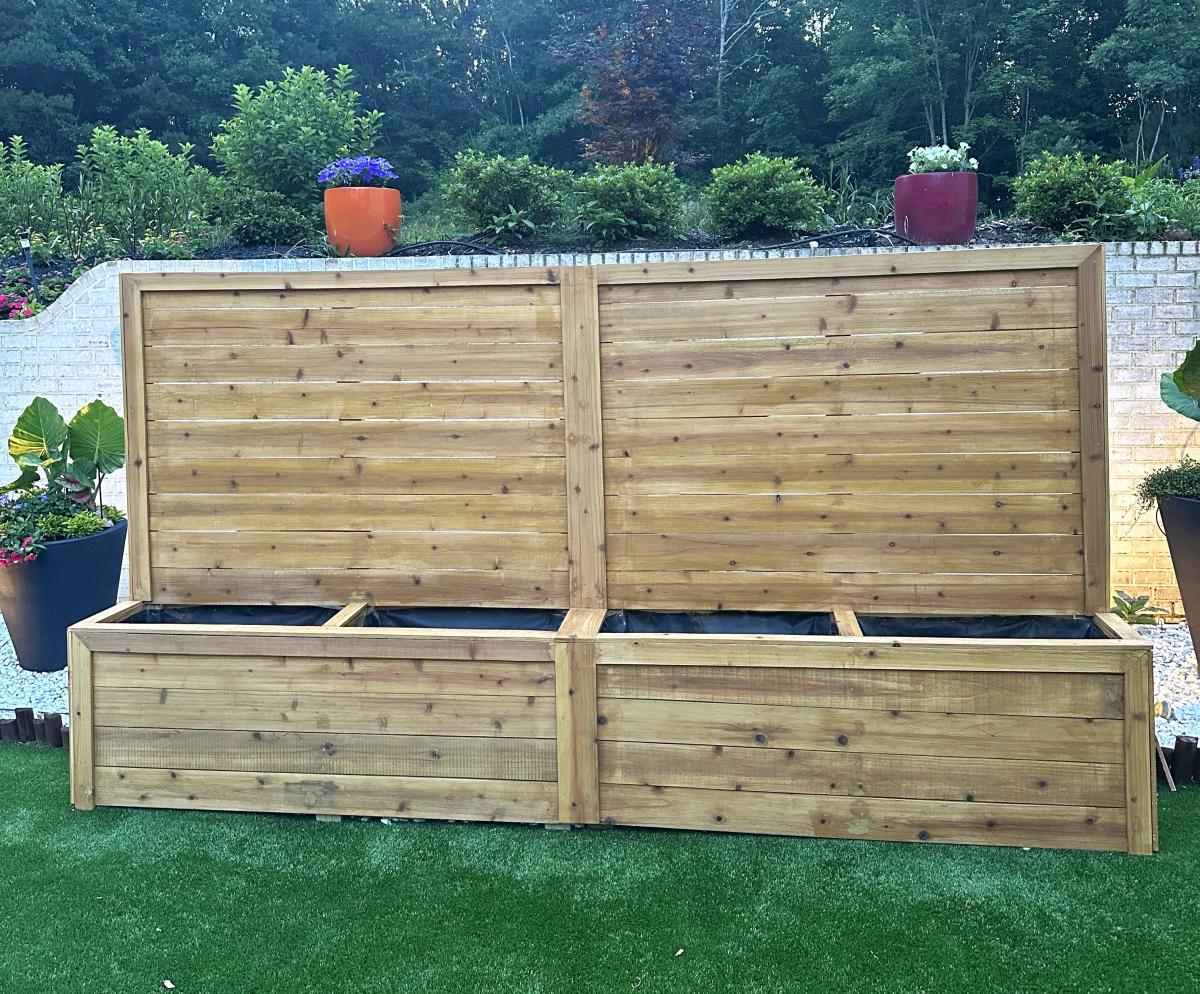
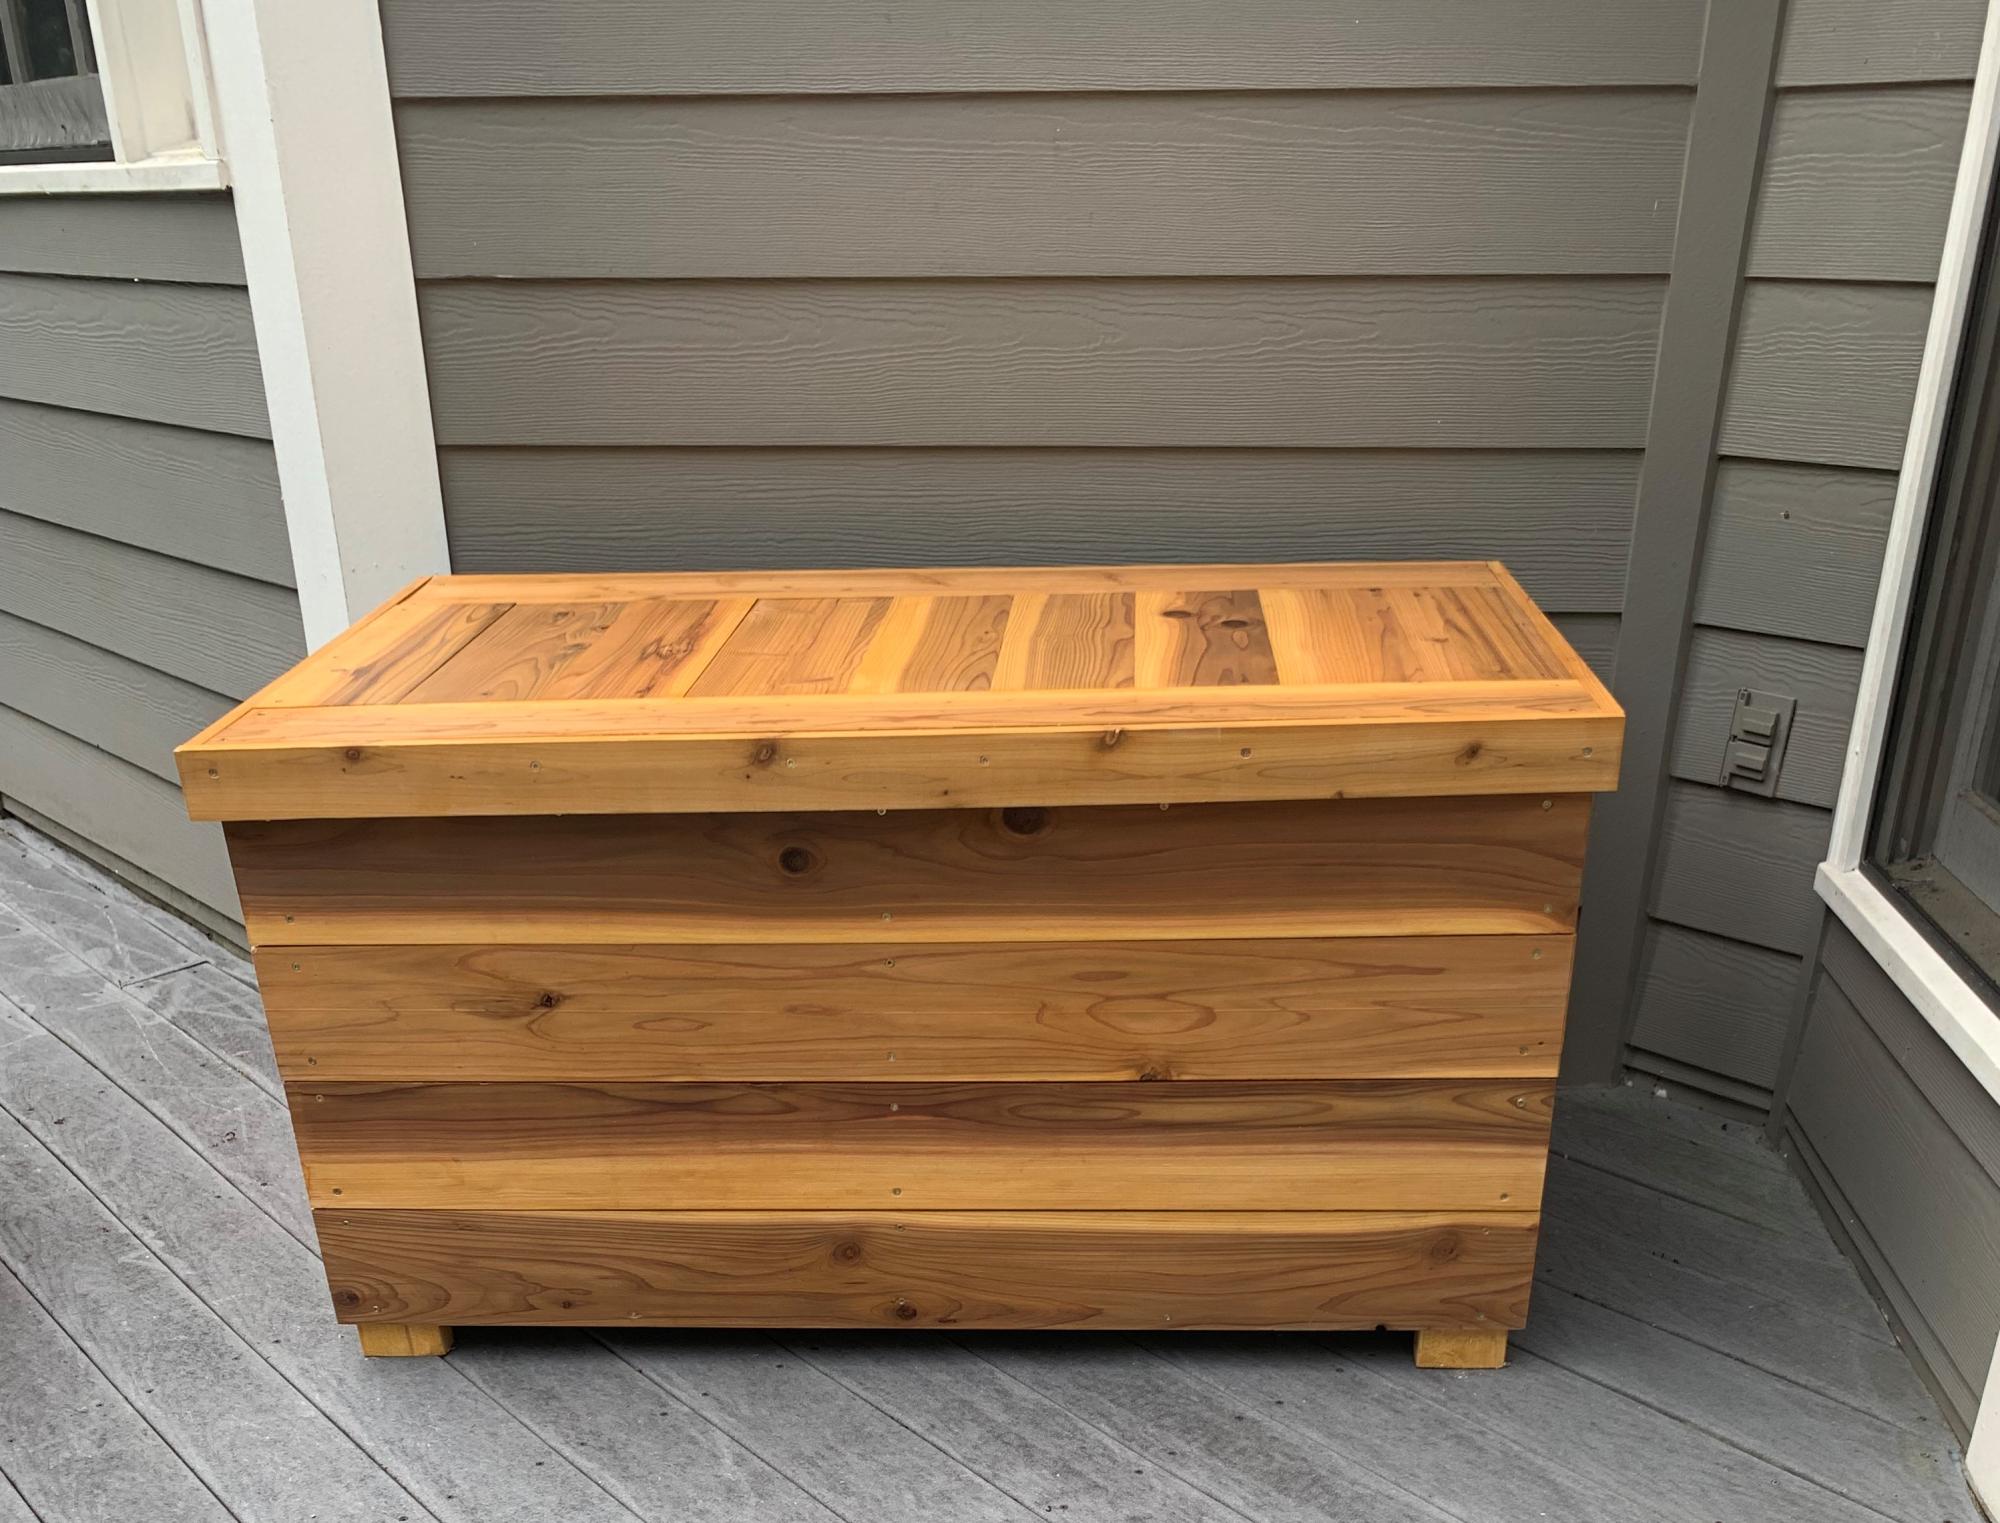
Cedar Tiered Flower Planter
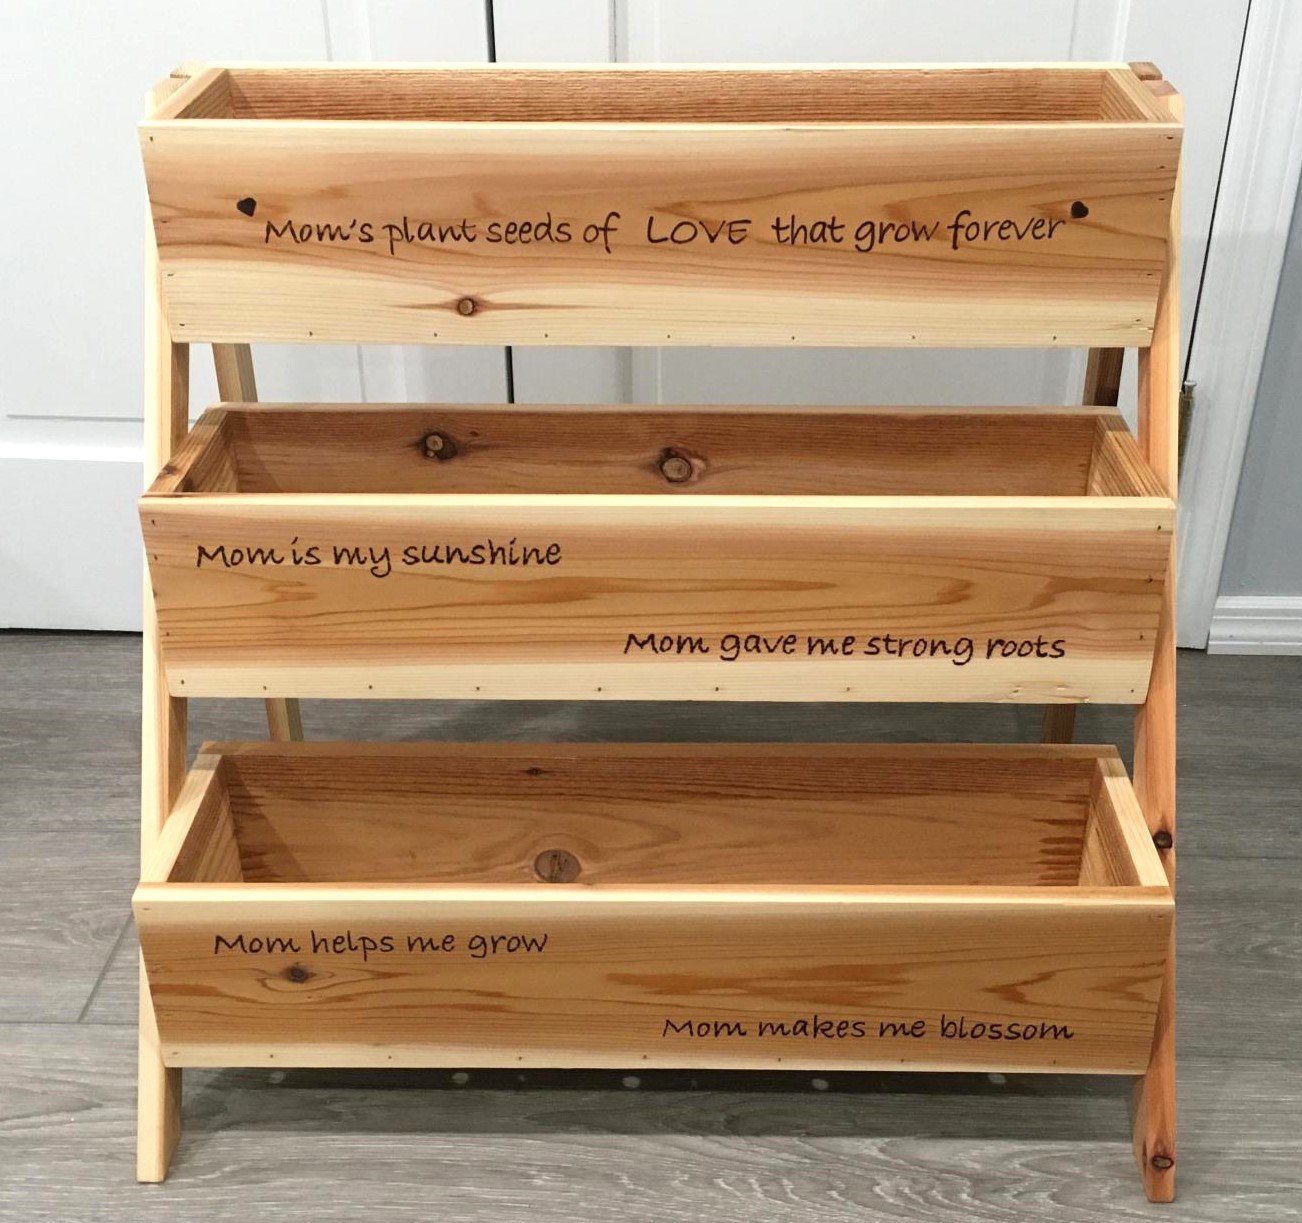
We made this tiered planter for a Mother's Day gift for my wife. It was a simple build and the plans are very easy to follow. I couldn't get any cedar fence pickets so I used standard 1x6x8 cedar boards that were available at the local big box store; that's why the cost is a little high. The planters were made 24" wide for more room instead of 16'" wide as per the plans. We personalized it by adding the quotes to the boards and burning them into the wood with a pyrography pen.
Built from Plan(s)
Estimated Cost
$50
Estimated Time Investment
Afternoon Project (3-6 Hours)
Finish Used
Varathane Classic Penetrating Wood Stain - Natural
Recommended Skill Level
Beginner


Comments
Ana White Admin
Wed, 05/05/2021 - 12:22
Wonderful gift!
This is so sweet! Thanks for sharing.