Community Brag Posts

Garden Trellis

Submitted by mtairymd on Tue, 05/12/2015 - 17:38

Video of the Build:
https://www.youtube.com/watch?v=xH3ABM3X3uE

Build Instructions:
http://www.instructables.com/id/Garden-Trellis/

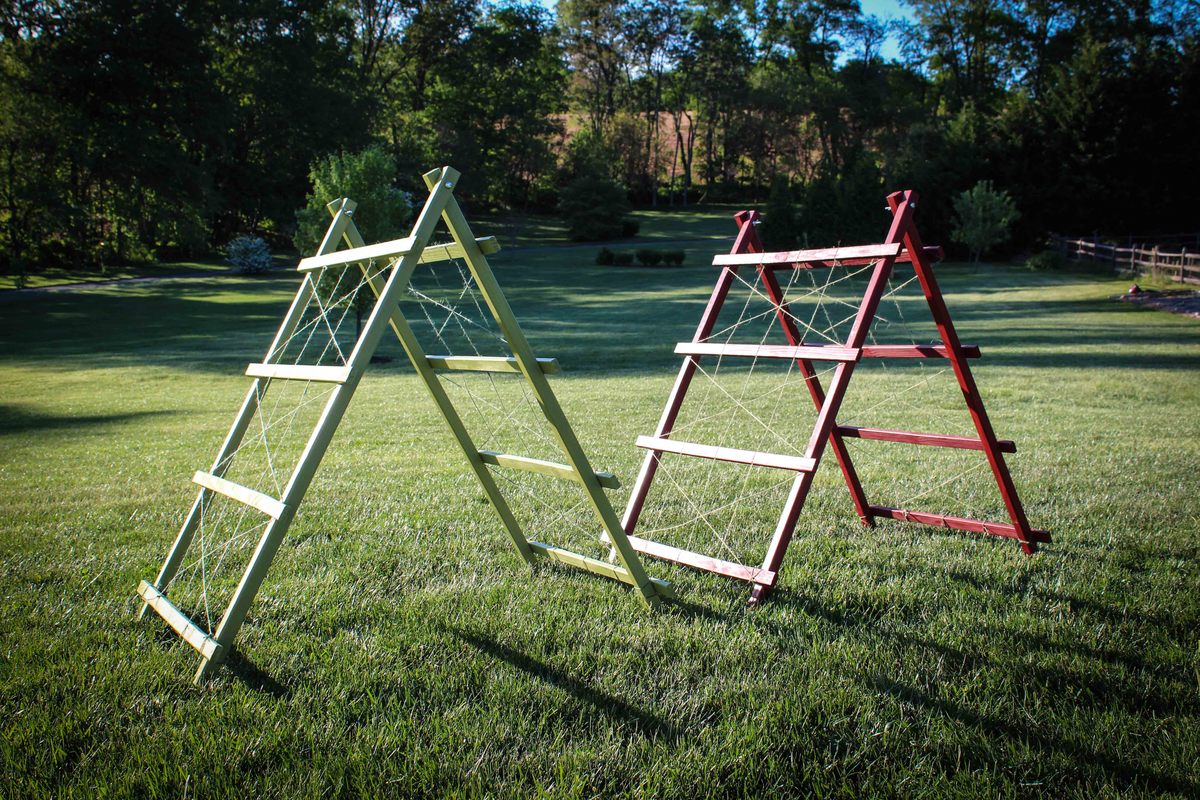
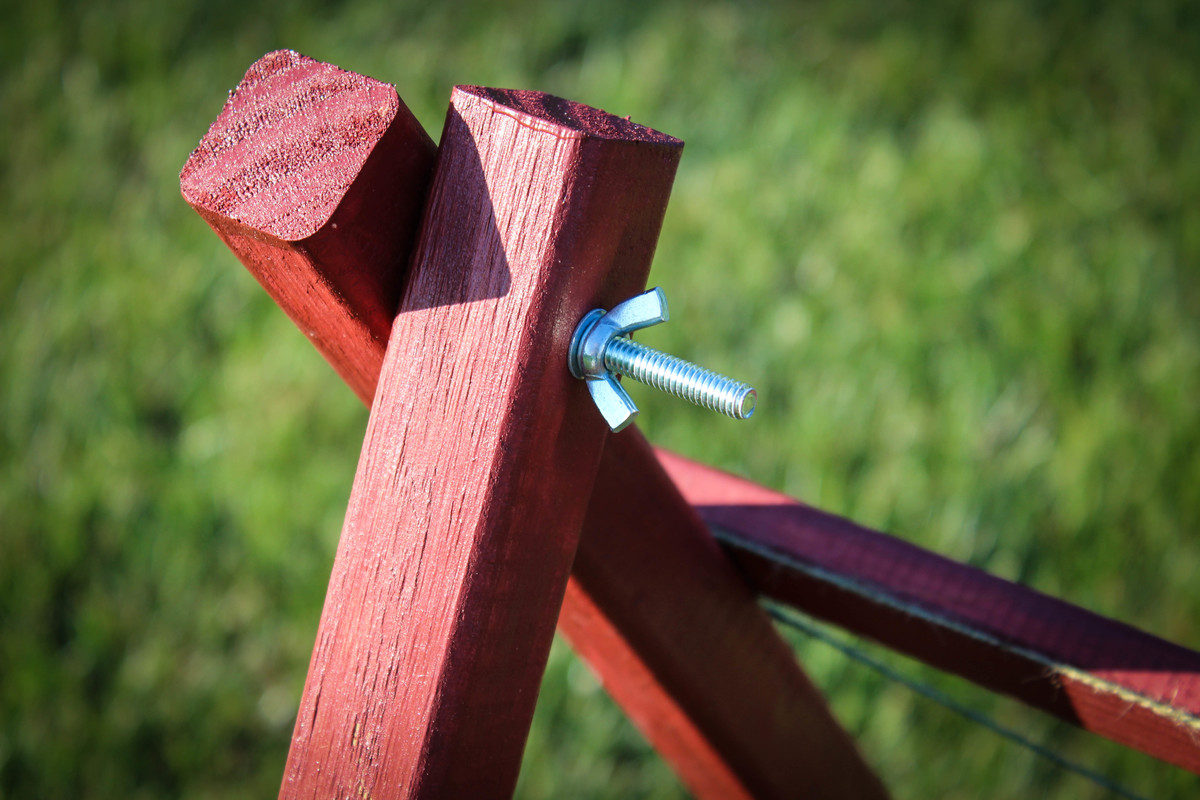
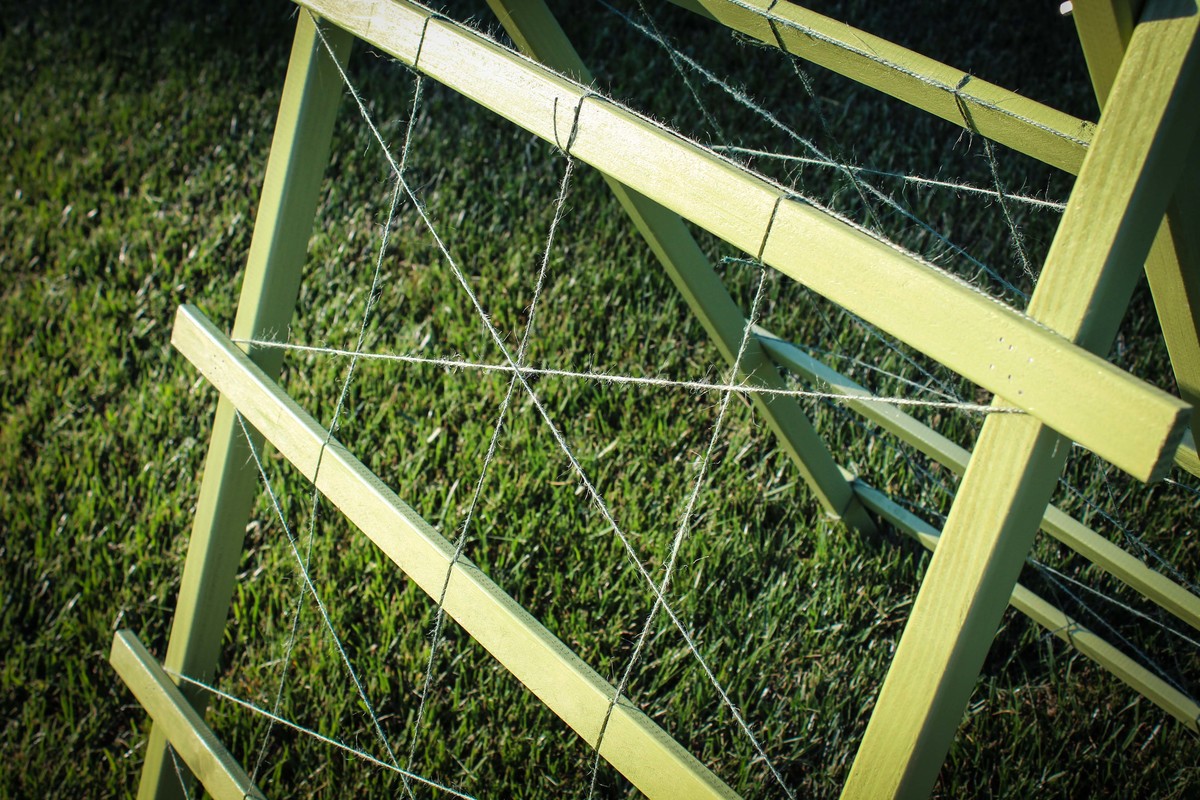
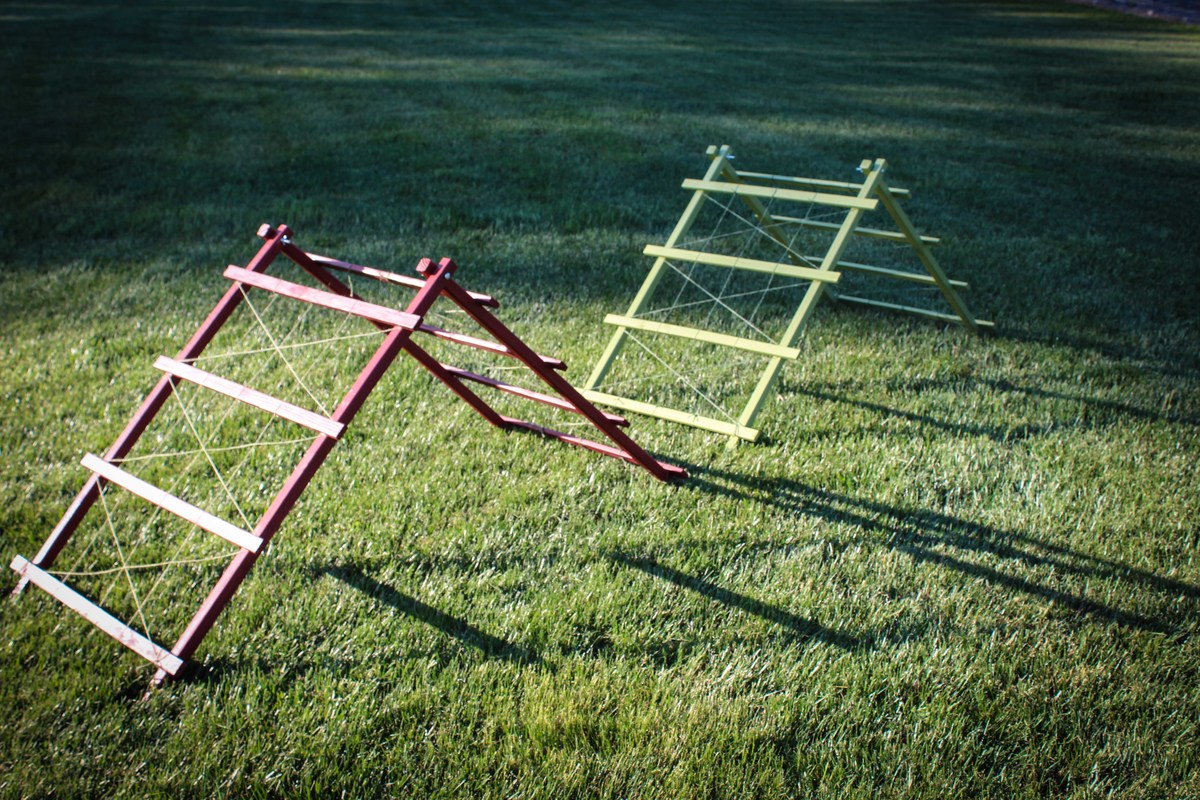
This adjustable garden trellis for cucumber/pea/bean vines is a quick project for the vegetable garden. The trellis gets the vines off the ground and is more productive in less space. No giant rotting cucumbers to find three weeks after the rest have matured. It is made from small lumber and twine. Paint is optional but gives a nice pop of color. Just in time for the rapid growth of summer!

Estimated Cost
$10
Estimated Time Investment
Afternoon Project (3-6 Hours)
Finish Used
Paint
Recommended Skill Level
Starter Project

Drop-Down Door Hutch Desk

Submitted by danicarby on Thu, 05/14/2015 - 13:47

I designed this desk from another desk I built. With this one, I wanted the overall foot-print smaller but still something that was able to organize all our office stuff and be able to close everything to keep it clutter-free. We have a small apartment, and although this desk is about the size of an up-right piano, it works perfectly into our living space!

I made it out of raw hardwood (Ash) and because I knew just the wood alone would make this desk heavy/bulky to move I made the top hutch removable. It's held in place by wood pegs (dominos). All the shelves are adjustable and the drawers are full-extension (something I've never had - wahoo)! The drop-down door is help up by 2 pull-out boards on each side (my first desk had chains). I spend a lot of money on this desk because I knew it was a chance in a lifetime to make and wanted it to be perfect and something that would last generations.

I built the main carcass off of plans/measurements I designed, but then all the insides, drawers, shelves, doors, etc where made as I built (because just a millimeter difference in building changes everything)!

If you want more pictures/descriptions of the building process I wrote about it in a 4-part series on my blog.

Estimated Cost
$1,000 for all wood & supplies
Estimated Time Investment
Week Long Project (20 Hours or More)
Finish Used
To achieve the ash gray color I used "General Finishes" brand water-based stains (equal mixtures of Walnut, Antique Oak & Whitewash) with 1/2 ratio of Pre-Stain Conditioner (bought from Woodcraft). I did 2-3 coats stain, lightly sanded and sprayed 2 coats of Ceramithane clearcoat using HVLP sprayer (sanding with 550 grit paper in between).
Recommended Skill Level
Intermediate
Comments

Basement Storage Shelves

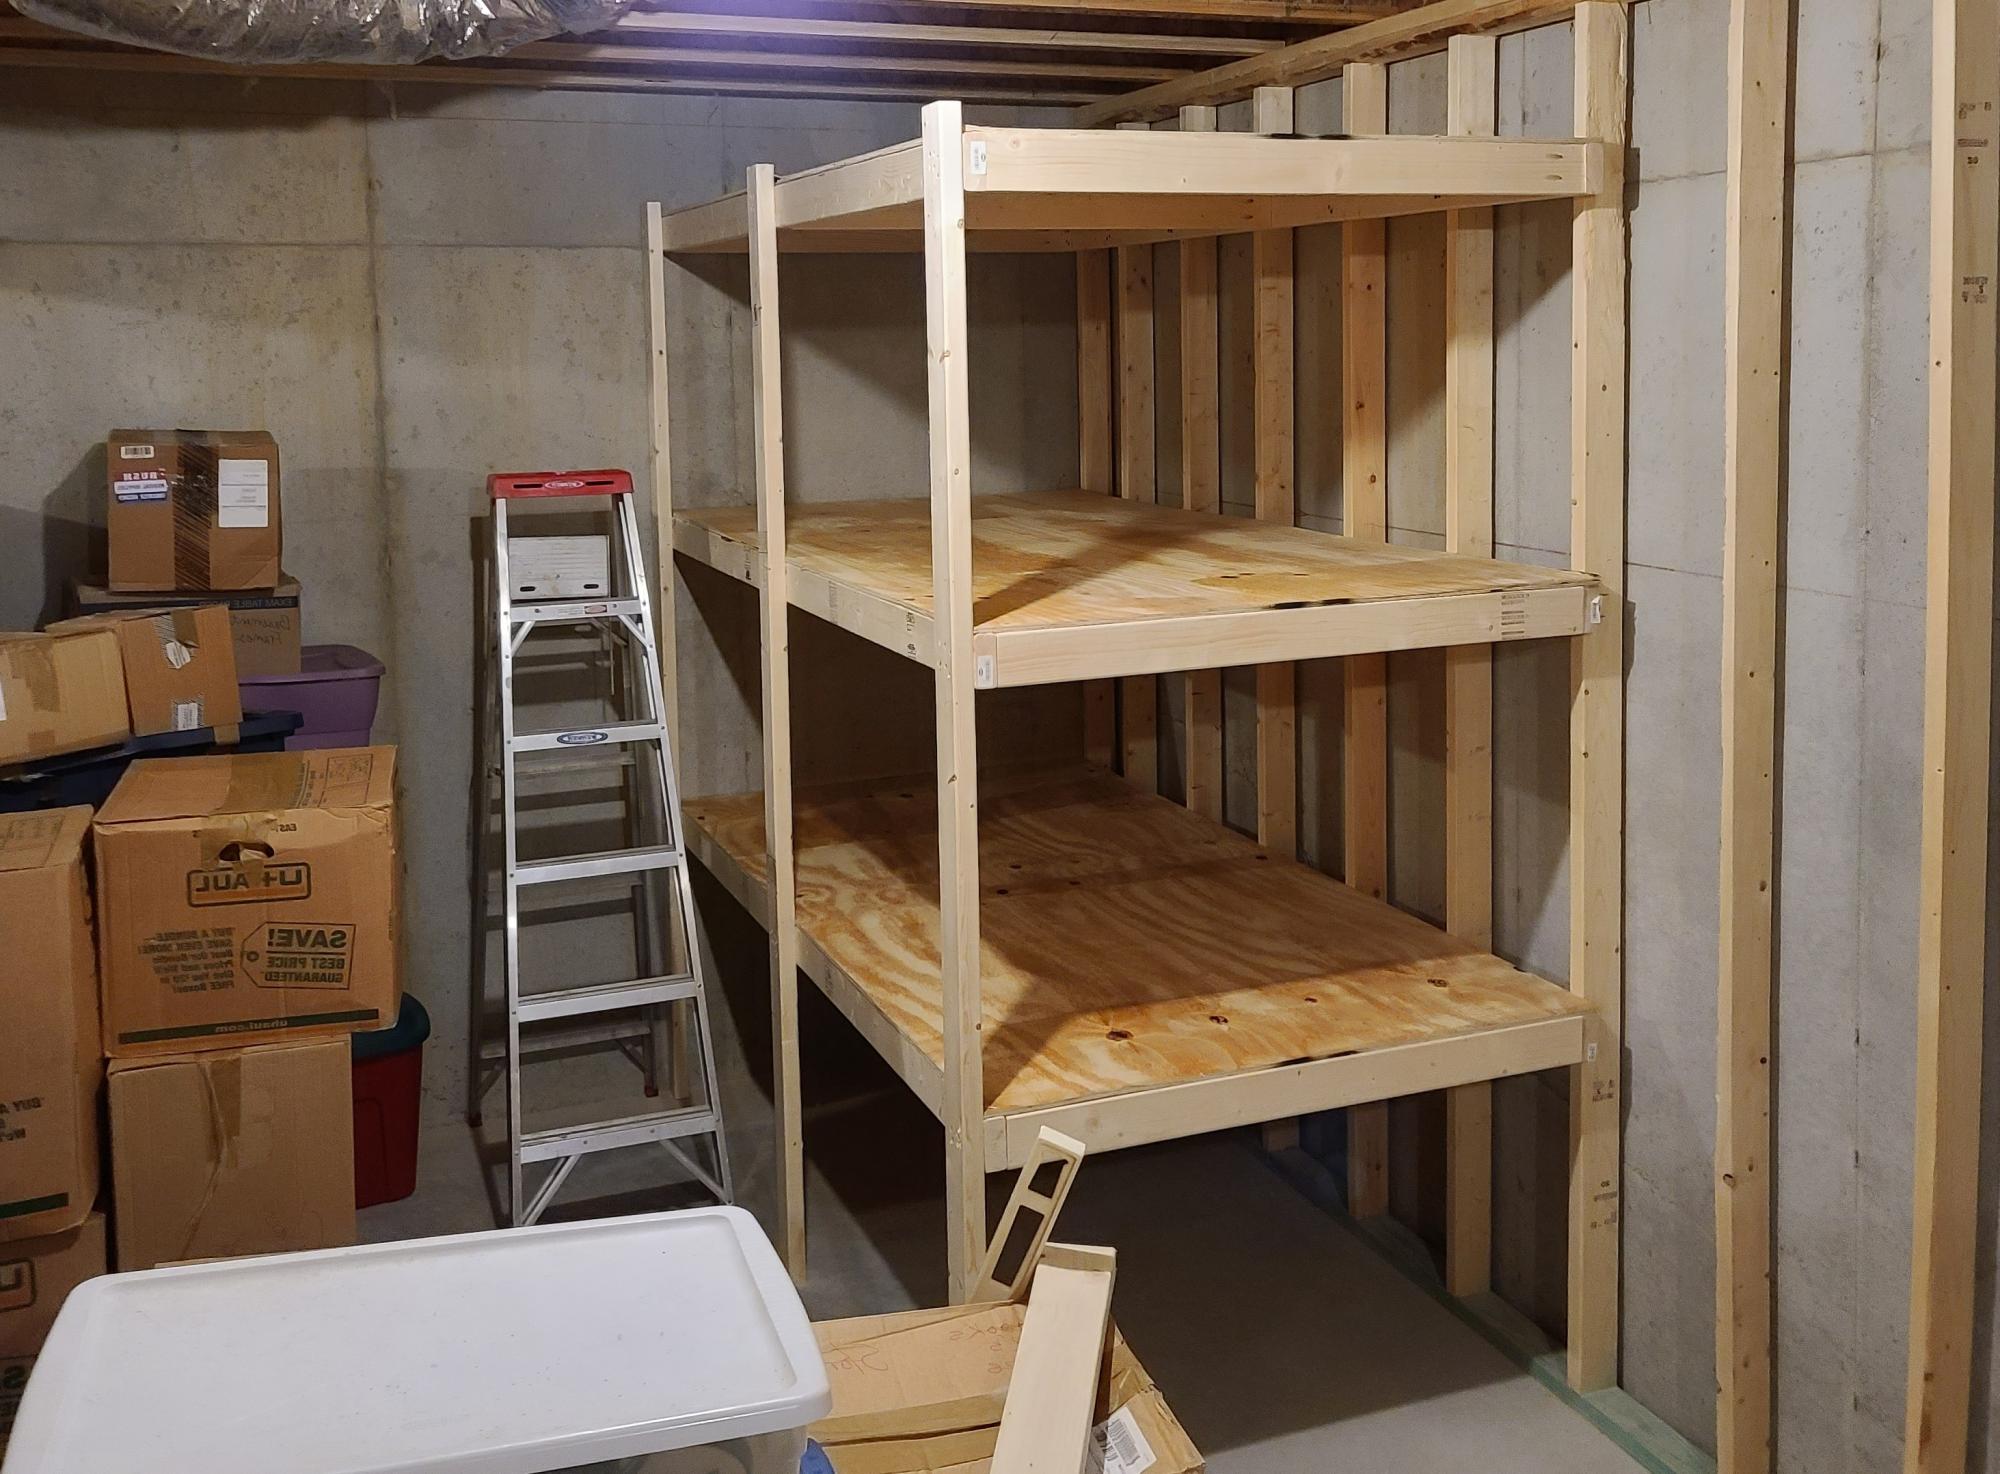
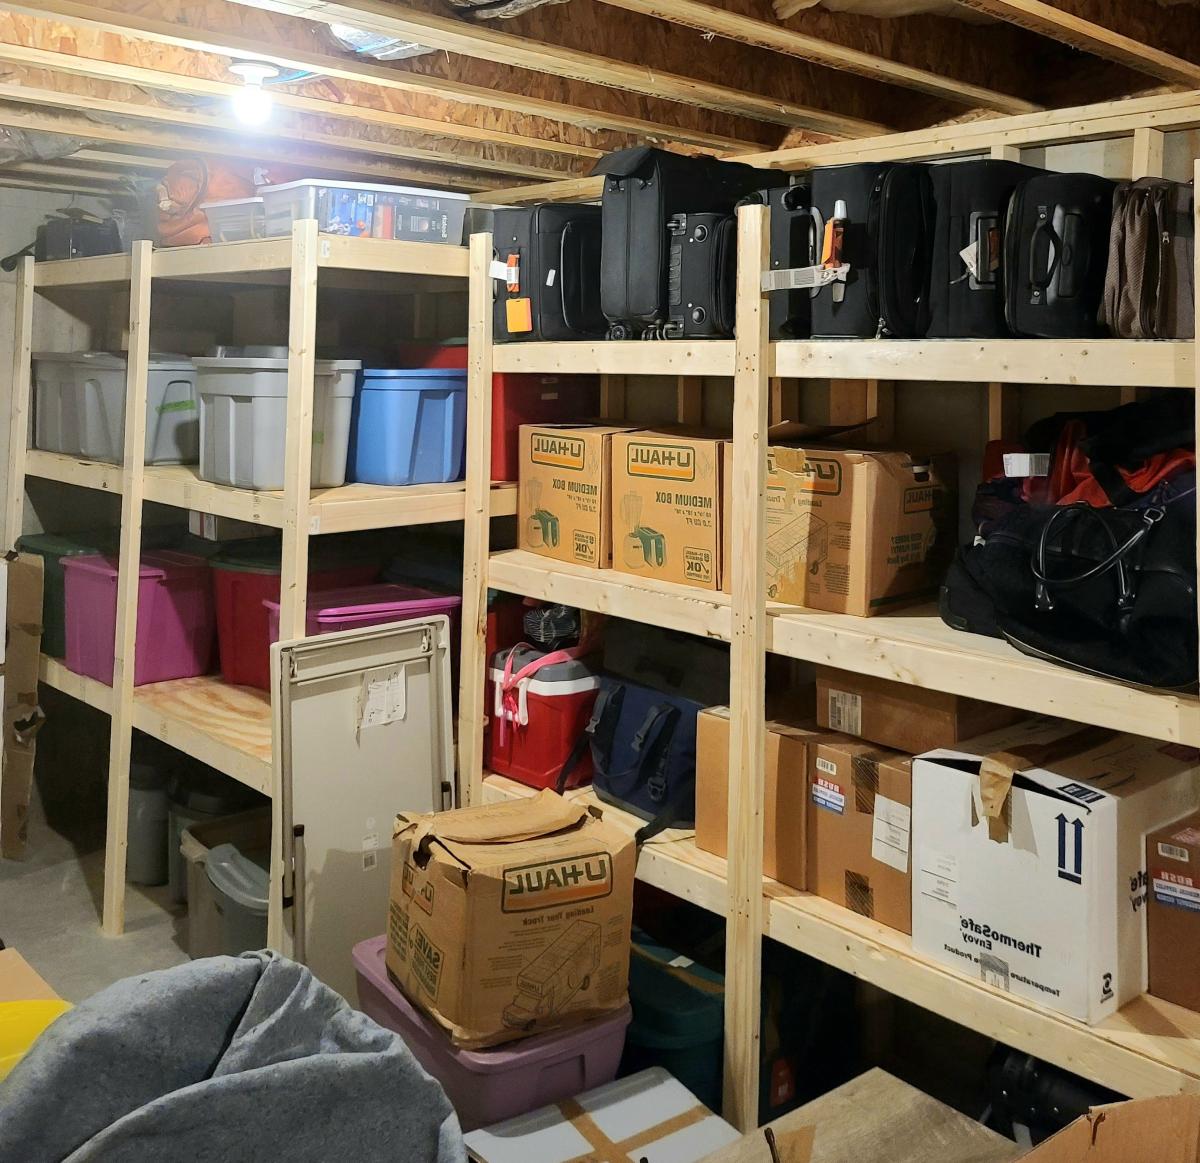
New house equals room for all the junk. Built this off the Garage Storage Shelves plan for our basement storage area. Leveraging the existing exposed studs made it a bit easier. Made these 48" deep to accommodate the big bins with all the holiday decorations. I added another along side, but made it 24" depth...one more yet to go. The wife can't throw anything away!

Comments

Daybed with Storage Trundle

Submitted by Crafty-Mom on Sat, 01/27/2018 - 10:38

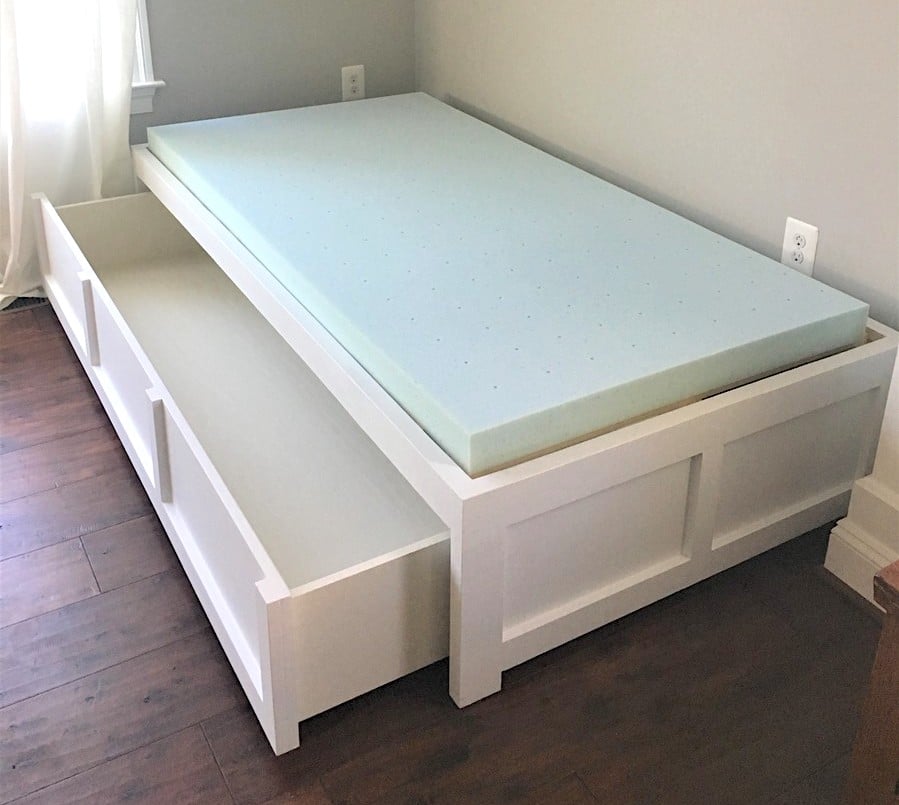
This was my first project from Ana's website and I'm hooked! I'm a beginner, but thank goodness for my Dad's help because I have a lot of learning to do!

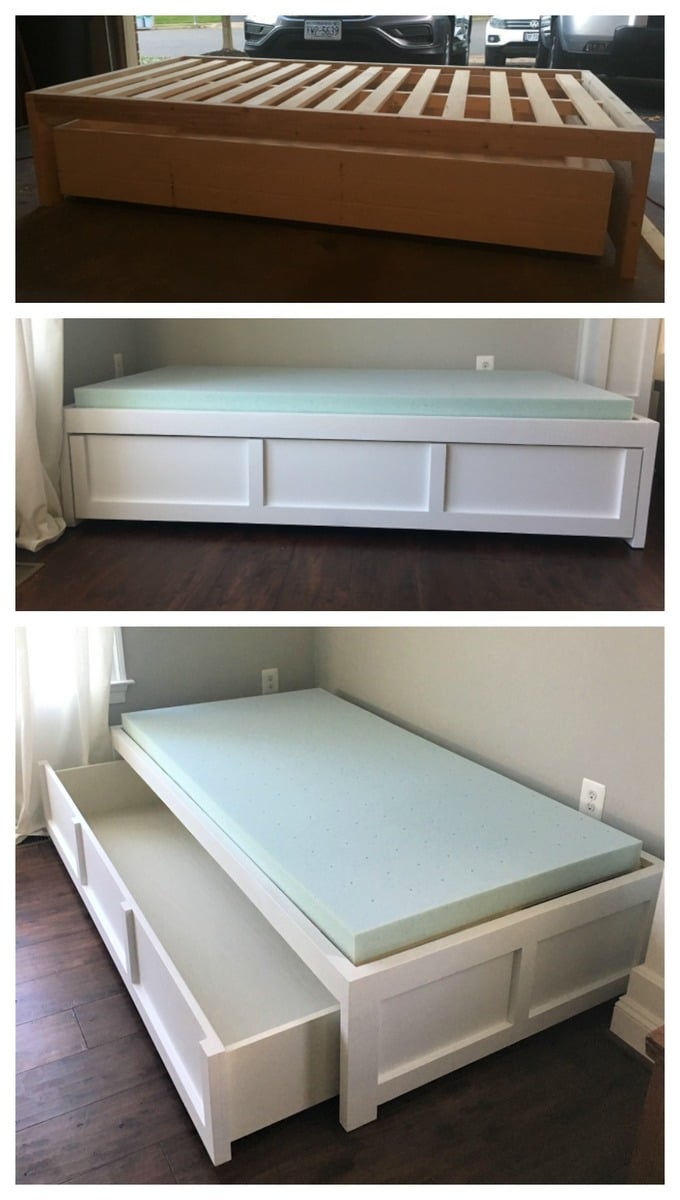
I wanted the drawer to be 1 drawer instead of 3. I feel like it looks cleaner (without having to adjust 3 drawers constantly to make it look good when you push them in). I was thinking the bed could actually be used as a trundle bed in the future too! I use this to store toys right now and it is Awesome!

I increased the bed size to fit a twin mattress and increased the height of the bed slightly so that the drawer would be a little bit deeper. We also added a back to the bed and carried around the trim to make all sides look the same. We added a bumper to the back and sides of the inside of the bed so the drawer is easy to push in and fits in snug. Finally we reinforced the bottom of the drawer with more 1x4 boards so that if a child does sleep in it, it would be more sturdy. I now have kids come over and jump into the drawer (literally) and I'm glad we reinforced it.

The changes we made did add to the cost and our time (as well as being newbies), but I think it's worth it and the bed turned out beautiful!

Estimated Cost
$180
Estimated Time Investment
Weekend Project (10-20 Hours)
Finish Used
Behr Marquee (I'll have to find the name of the white color we used). We almost went with chalk paint, but after talking to the HD guy, he talked me into this paint and I'm glad we used it! So much cheaper and turned out beautiful.
Recommended Skill Level
Beginner

Comments

Nisssc

Mon, 10/12/2020 - 07:51

This looks great! Any suggestion if I want cubbies instead of a trundle? Also, cubbies only on side as bed would be against the wall. Thanks for the inspiration!
Sandy

My First Project: Spinning DVD Rack

Submitted by Dan Y. on Sat, 07/13/2013 - 20:19

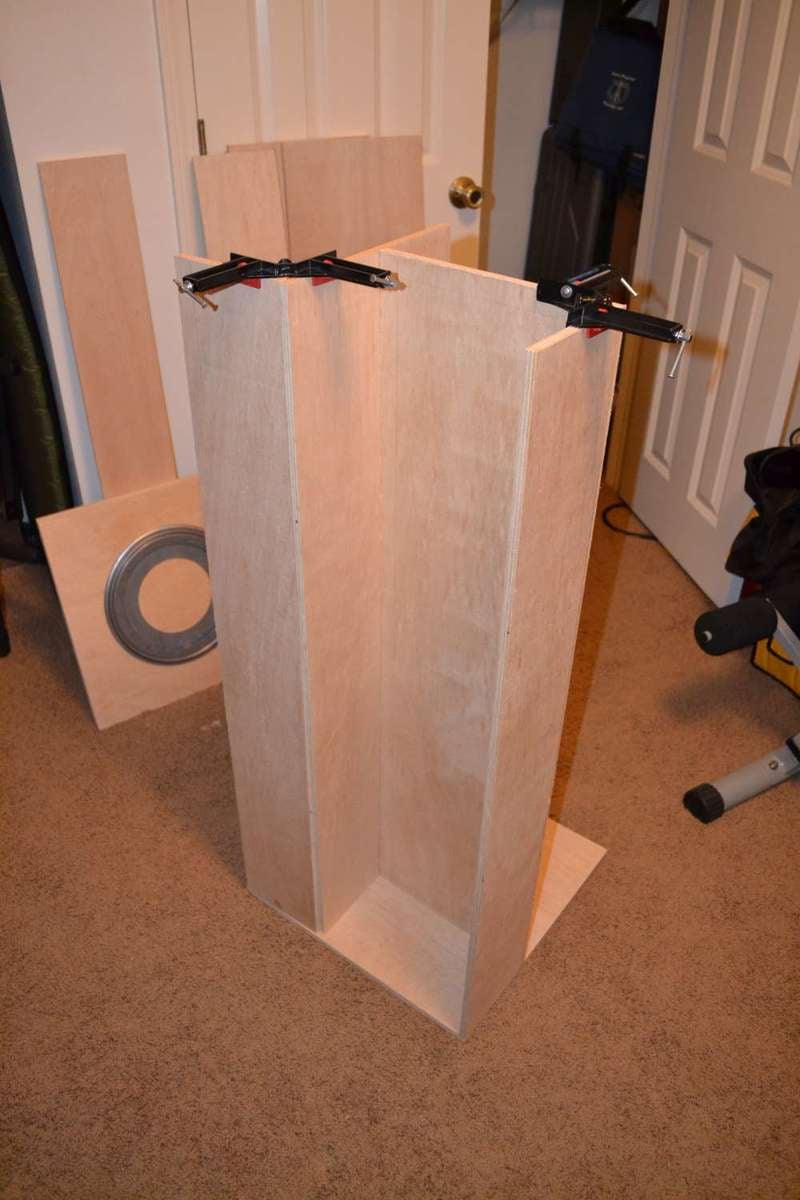
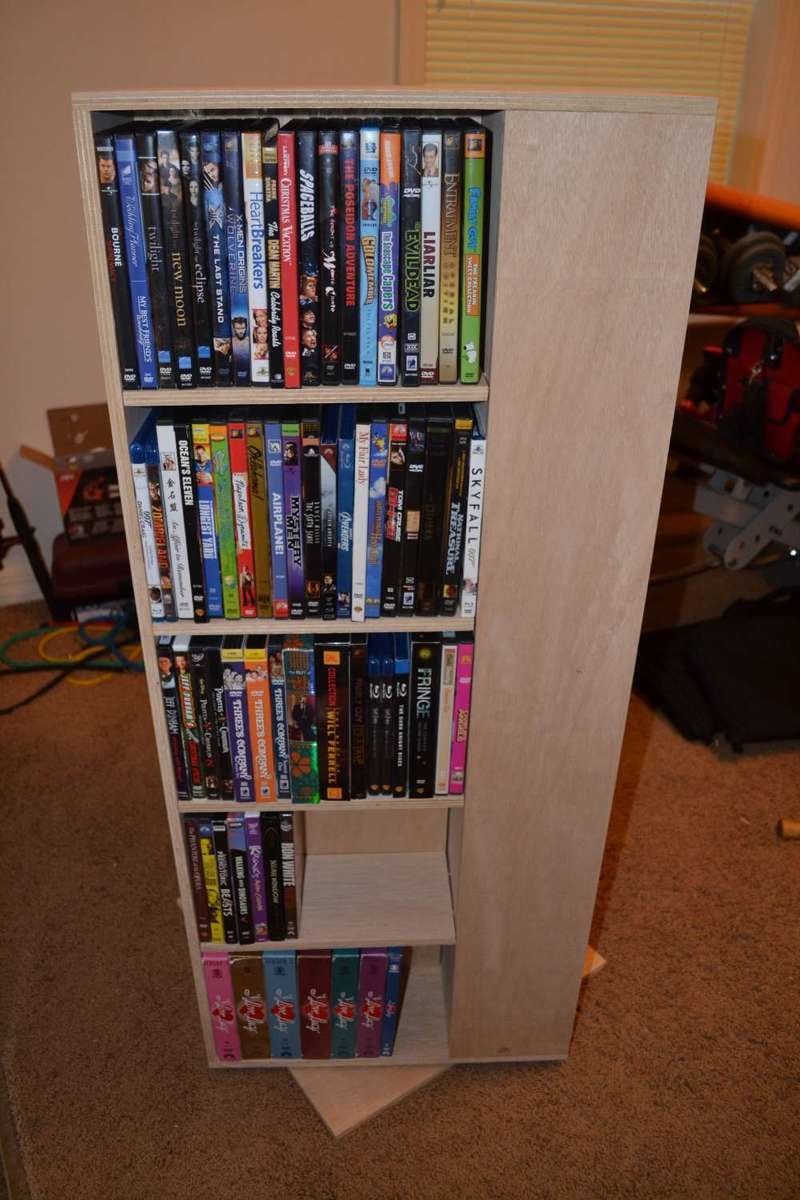
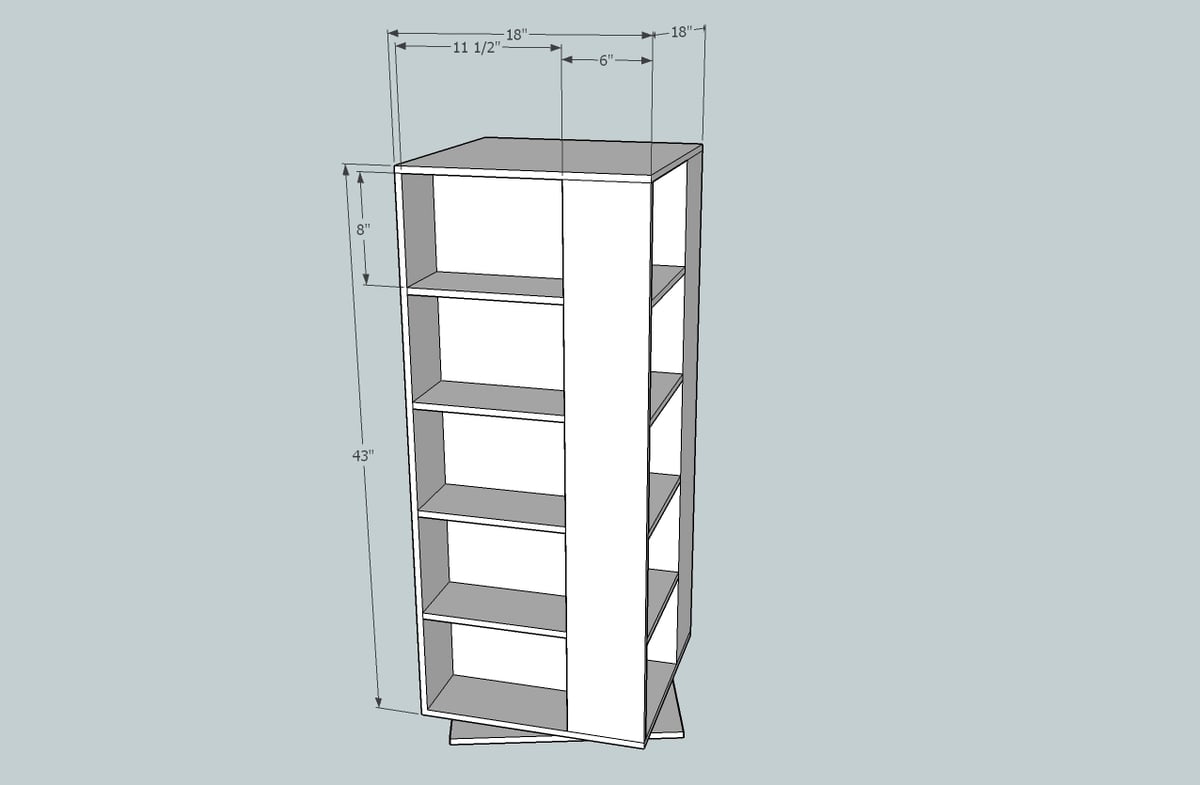
I was looking online for a spinning DVD rack to buy when I stumbled across a picture of a custom built rack. I decided to give it a try and this is the result. This is the first project I've done outside of basic shelves and it was a great learning experience. The overall fit and finish isn't quite where I'd like it to be but overall I think it turned out pretty well. I was able to find a 12" lazy Susan at a hardware store that supports over 300lbs and worked perfectly for this project.

I used pocket holes for the shelves, finishing nails for the top and screws for the bottom and lazy Susan. I also used pocket holes to attach the shelf backs and hid them behind the shelves. One thing I definitely won't use next time is spray paint/enamel. The finish isn't nearly as nice as I wanted and it cost far more than I was expecting.

This is also my first time using SketchUp and I'm really impressed with it. I've uploaded a copy of the plans.

Criticism and suggestions are appreciated.

-Dan

Estimated Cost
$170
Estimated Time Investment
Weekend Project (10-20 Hours)
Finish Used
Rust-Oleum Universal Satin Spray Paint - Espresso Brown
Rust-Oleum Crystal Clear Enamel
Recommended Skill Level
Starter Project

Comments

Val Manchuk

Sun, 07/14/2013 - 11:35

I like this spinning DVD unit! Coincidentally, I just finished using spray enamel to redo some cupboard door handles. It's horrible stuff! I ended up sanding it off, and doing it over in flat black. I roughed up the edges with 180 grit to antique them a bit. Looks much better!

Laundry Dresser

Submitted by biffnderf on Sat, 07/02/2011 - 23:08

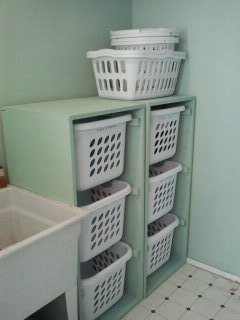
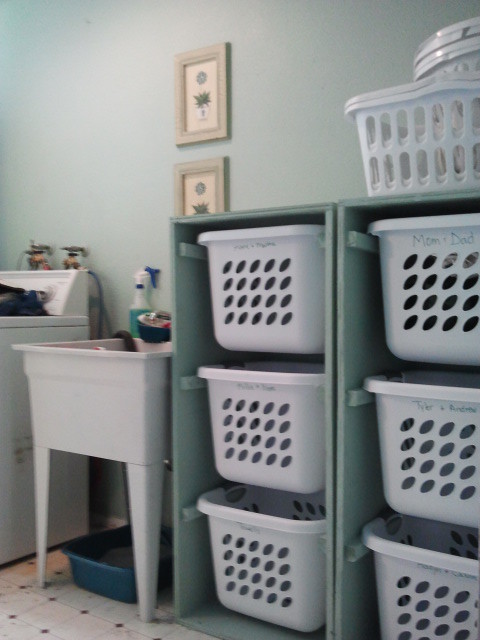
We had a very limited area for these to fit, so my hubby had to change the dimensions to fit these square baskets. We needed enough spots for our family of 10! I LOVE THEM, thanks; Ana!

Built from Plan(s)
Estimated Cost
$50 each
Estimated Time Investment
Afternoon Project (3-6 Hours)
Finish Used
Water based paint
Recommended Skill Level
Starter Project

Comments

Guest (not verified)

Wed, 01/11/2012 - 14:53

We are going to have to turn the baskets the same way due to the space in out laundry room. Do you happen to remember the dimensions of them? Thanks.

Guest (not verified)

Thu, 02/09/2012 - 07:08

Do you have the dimensions for the square baskets? These would work much better in my home.

Guest (not verified)

Tue, 02/14/2012 - 16:42

We did something similar when our family was 8 (6 foster children). We bought 4 baskets (2 people per room) and then just had them on regular shelves. I LOVE the look of these! Unfortunately baskets give out over time and I can't ever seem to find baskets that once again are the same size as previous baskets. Did you order the baskets on-line someplace that you can consistenly get the same size for when the baskets wear out?

Guest (not verified)

Wed, 02/22/2012 - 12:35

I have all the same laundry baskets that I bought at wal mart for like 3 or 4 bucks a piece. I would think that just meausring out the size according to the laundry baskets would work out fine! they have never stopped selling the ones that I buy, i find them at every wal mart I go to

Lindy Holcomb (not verified)

Fri, 03/02/2012 - 06:05

I would love the Dimensions for this shelf.

Lindy Holcomb (not verified)

Fri, 03/02/2012 - 06:19

I would love the Dimensions on this shelf.

Guest (not verified)

Thu, 03/08/2012 - 05:13

Seriously? $50 for these plans. Get real. Fine woodworking plans don't cost this much. Take some wood, make a box, and put slats in it to fit the baskets. The entire set wouldn't cost $50!

davidmac (not verified)

Thu, 03/08/2012 - 06:18

The plans are free. The build costs $50. See the plans on the link above the cost.

christine (not verified)

Sat, 03/17/2012 - 20:54

once again can anyone please give the measurements for this square basket design and the basket model number as well. i am very challenged when it comes to building things, but with the idea of home depot doing the cutting i think i could manage if i had the measurements. i need the square size to work for my space though. thanks in advance.

Guest (not verified)

Sun, 04/01/2012 - 09:18

I have tried clicking on the link above the cost to get the Plans...however it brings me back to the ORIGINAL Plan rather than YOUR plan (skinnier and taller)...Im sorry if I am being dense but I would really love to get the dimensions of YOUR plan but am having trouble accessing them?? Help please!!

Guest (not verified)

Fri, 04/13/2012 - 23:27

Where it says PS there is a link to the other dimensions.

Cari Downing (not verified)

Fri, 04/20/2012 - 14:05

If you use the large wire baskets made by elfa they would not break like the plastic. The initial investment would be more but would save money over time.

Sonya Chapin

Tue, 07/24/2012 - 04:34

Easy and awesome! My teenage children and I made these over the week-end! Super easy and great looking! Our first project was the laundry pedestal and these are a great compliment. We let Home Depot cut the wood due to time restraints and assembly was a snap! Thanks for the great family projects. My husband passed away in April and these projects have really helped us in the healing process (excellent for constructive bonding time).! Thanks again

drop leaf sofa table

Submitted by maggiekat on Sun, 10/25/2015 - 08:24

When we rearranged the living room to create better sight lines for the football games, we lost table space near the sofa. My daughter helped me design these: she asked for the drop-leaf, even though they currently reside over the arms of the sofa.

My sofa is so low-to-the-ground that I couldn't put casters on these. Otherwise, they are Seriously Over-engineered: heavily framed with 2x4s!

Estimated Cost
about $40 for the pair, including the drop-leaf hardware?

Estimated Time Investment
Afternoon Project (3-6 Hours)
Finish Used
diy chalk paint, made from Mythic paint "Sunny at Heart," finished with 2-3 coats of beeswax/mineral oil rubbed on
Recommended Skill Level
Beginner

Farmhouse Toybox

Submitted by Anonymous (not verified) on Fri, 03/10/2023 - 05:56

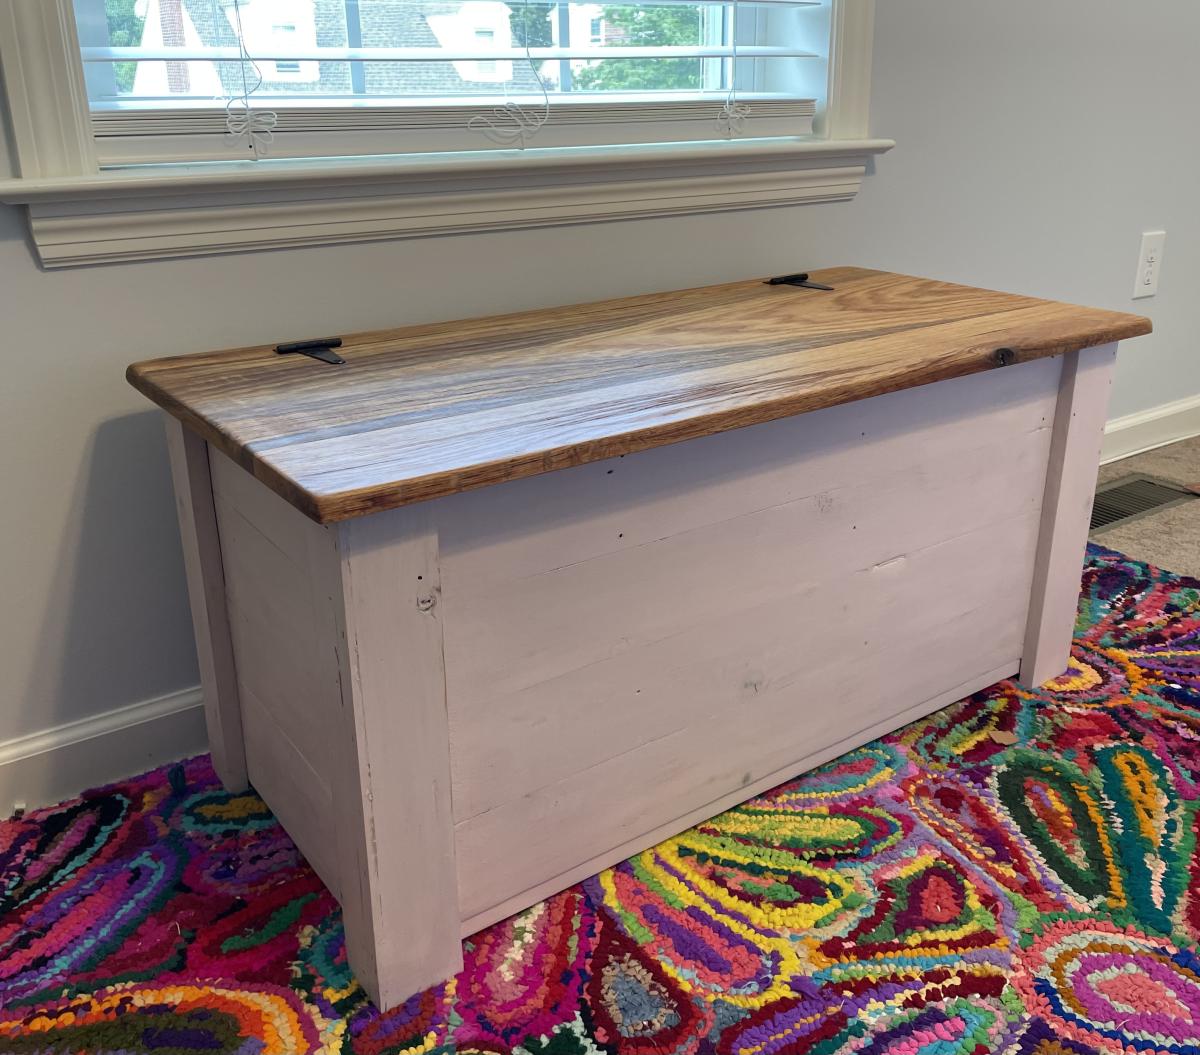
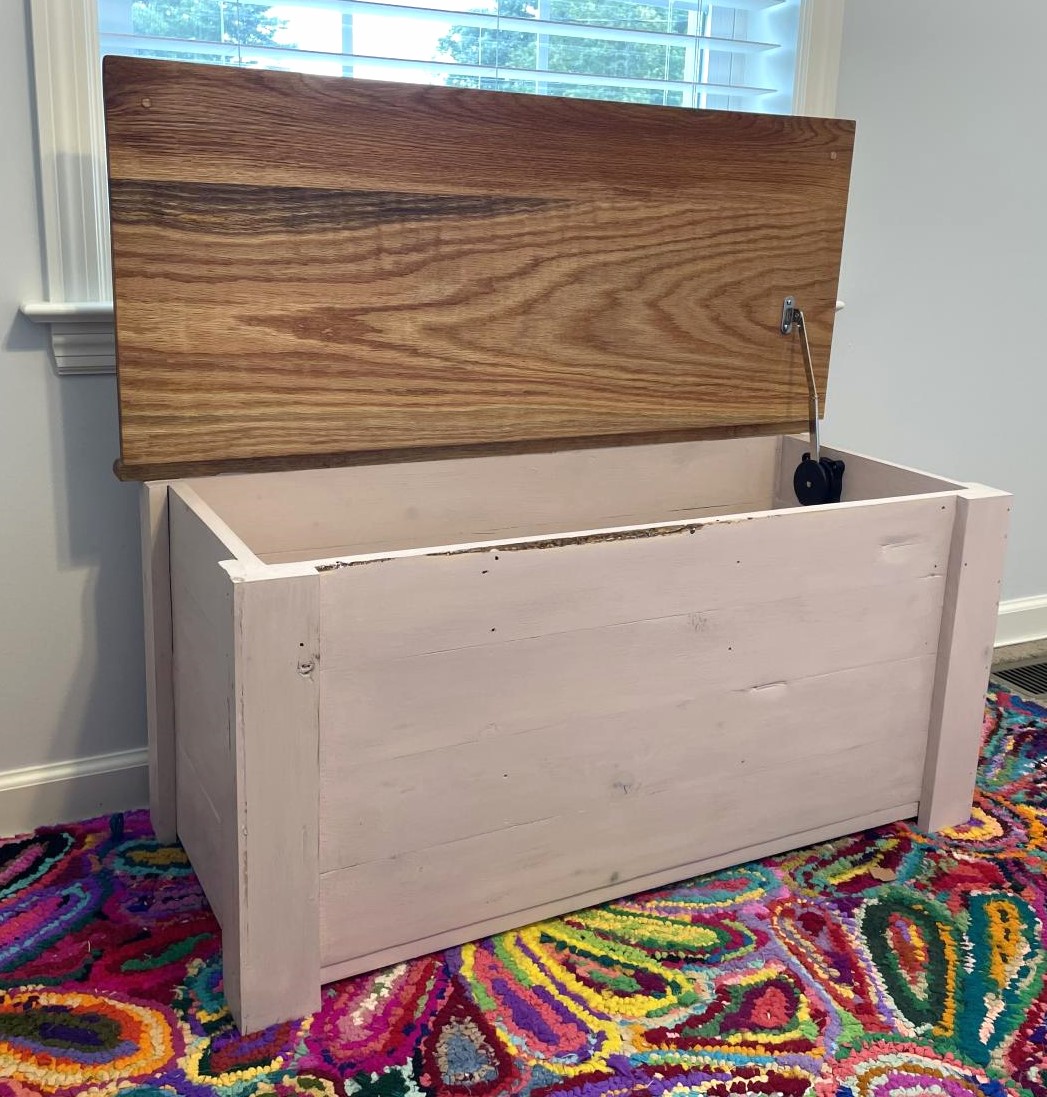
I've wanted to build a toybox for our daughter as soon as she was born, and Ana's plan was my favorite. It took a couple of years to finally get the supplies and start building it, and I was able to build it last year. I used recycled wood (I believe it's pine) I had and used a couple of nice pieces of oak for the top. I ran into a few snags with the box itself, with the wood splitting easily in some spots (used a lot of wood filler!), but was able to get it looking the way I wanted keeping a distressed look . I rounded out the corners of the top by hand with a rasp plane and sandpaper. The box was lightly painted with Annie Sloan Chalk Pain (Antoinette/Pink) and finished with Annie Sloan Clear Wax. The top was finished with three coats of linseed oil (24 hours between coats). The slow closing hinge was found on Amazon after a long time spent searching; I ended up using just one which works great. I'm very happy with the end product and my 3-year old daughter loves it! I was very pleased with how simple the plan was to follow, thank you Ana!

Built from Plan(s)

Comments

Double Bin Trash and Recycling Bin

Submitted by Anonymous (not verified) on Tue, 02/02/2016 - 12:54

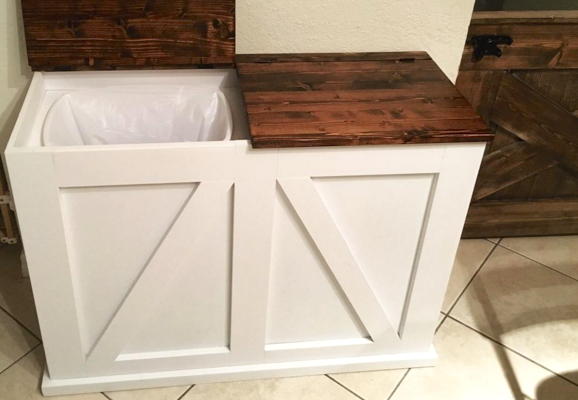
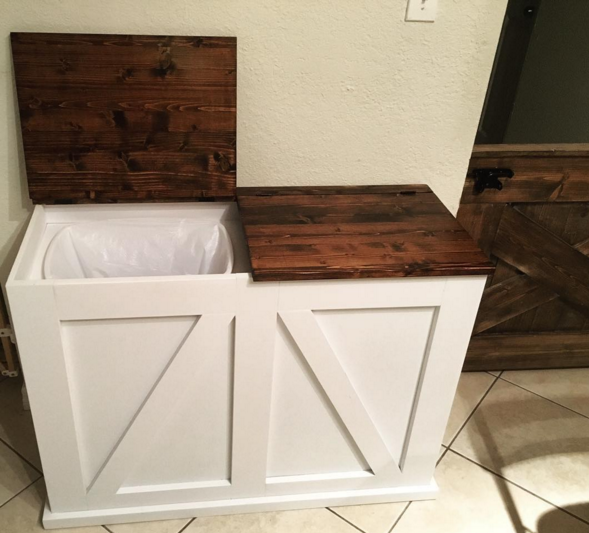
Modified the design a bit to be lift up lids instead of tilt out.

Estimated Cost
125
Estimated Time Investment
Weekend Project (10-20 Hours)
Finish Used
White Painted Base, Dark Walnut stained top
Recommended Skill Level
Intermediate
Comments

Matt712

Sat, 03/07/2020 - 02:29

I’d be grateful for details, plans, measurements for this project. This is an amazing build, nicely done.With green top looks fantastic and complements the white very well.

smbanks75

Thu, 01/11/2024 - 20:31

To everyone asking for the plans, it's a modified tilt out. It states right there under the pics that it was modified and the original plans are there in red, under "Built from plans"

Kid Built Stool!

Submitted by Anonymous (not verified) on Mon, 07/10/2023 - 08:46

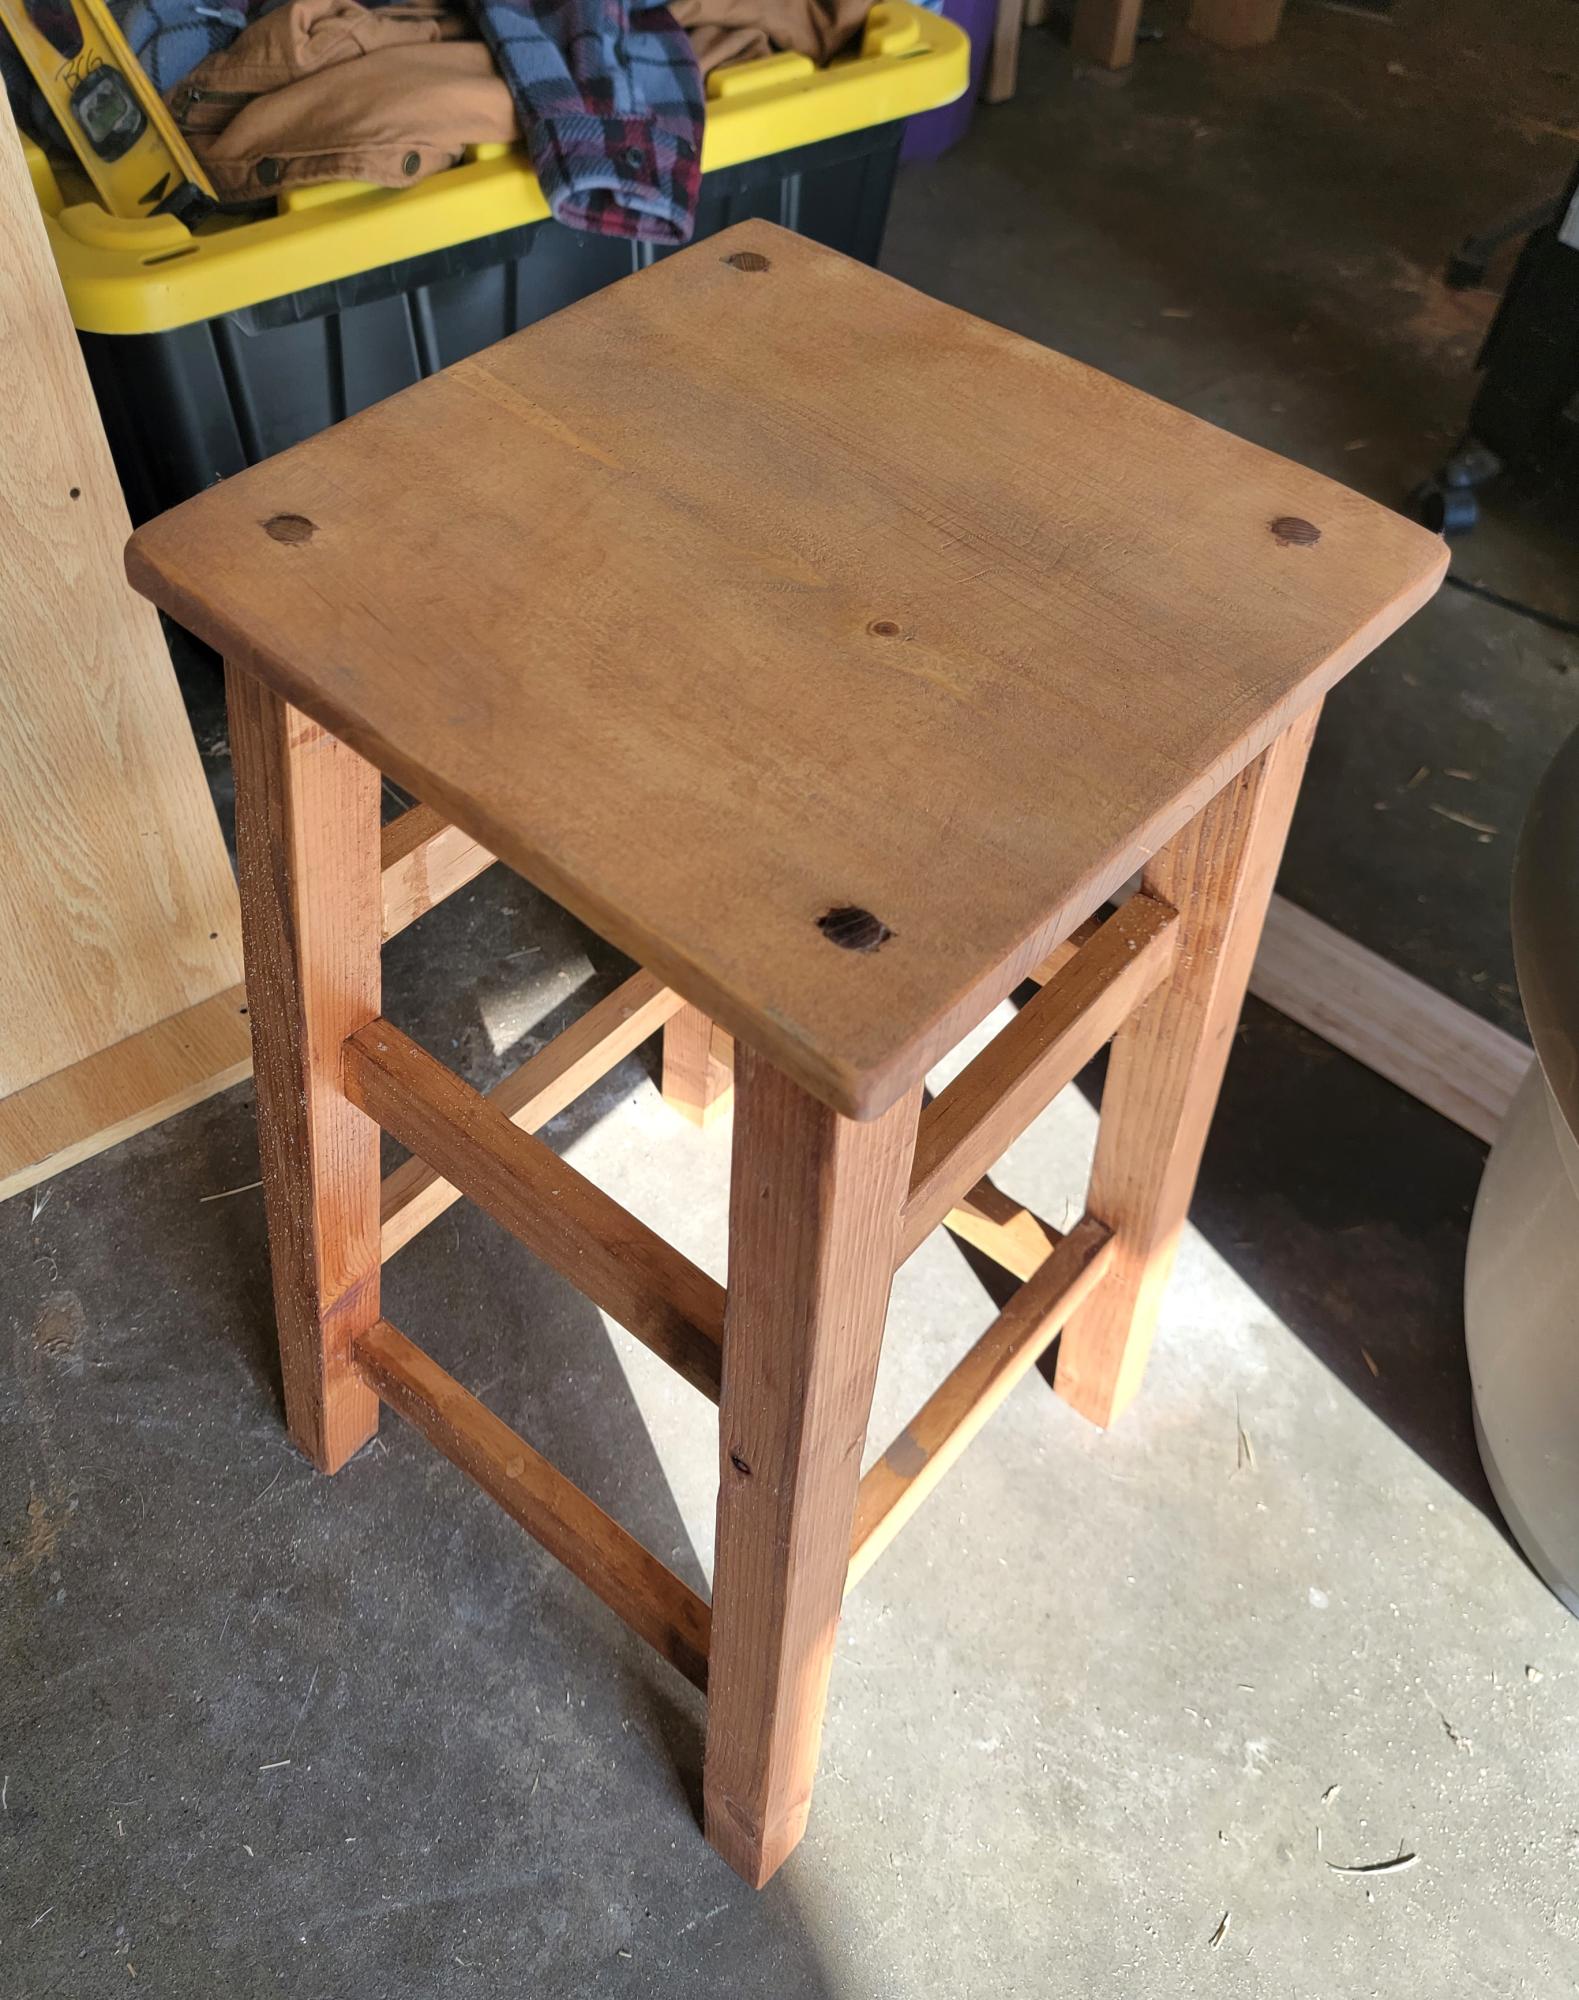
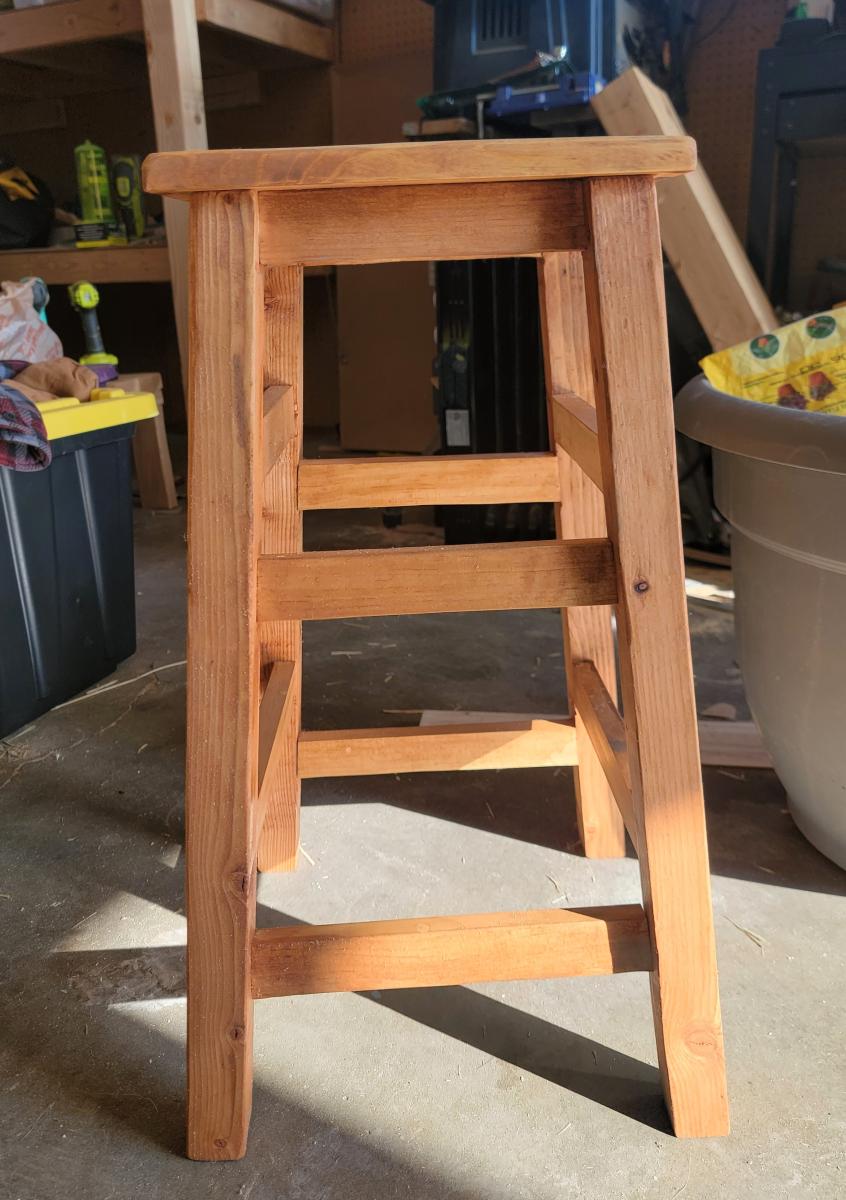
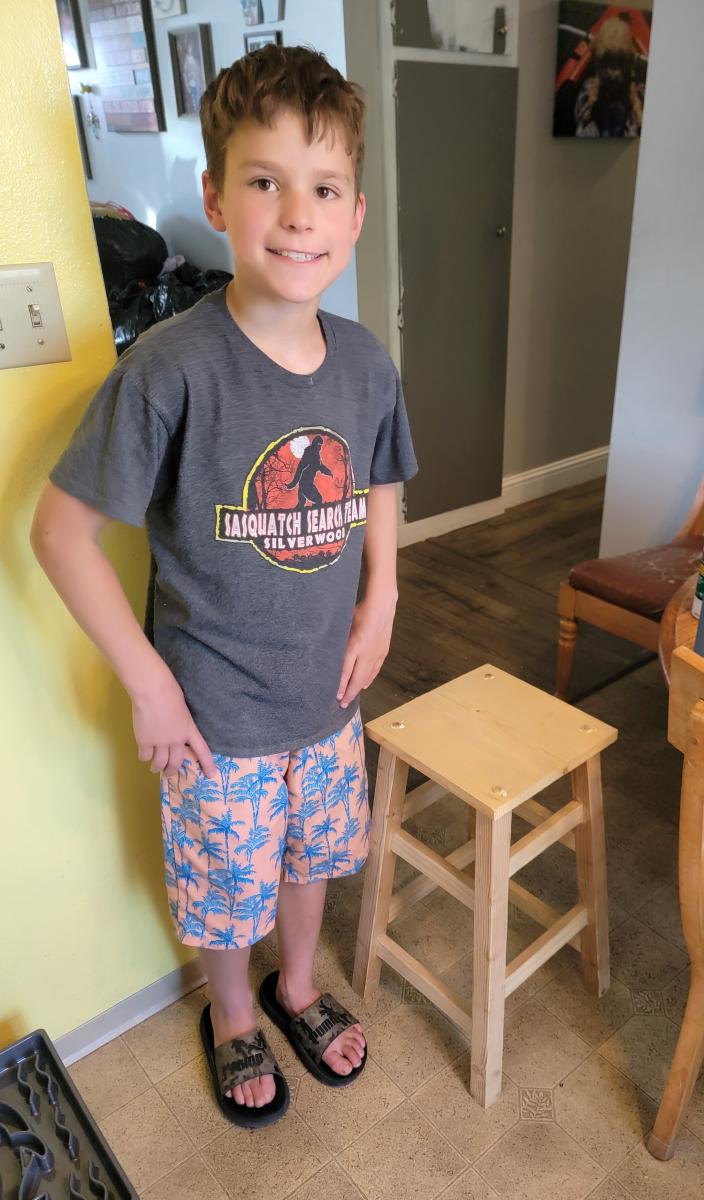
Summer lessons, had my 10 year old and 13 year old build. It was their first project and they did all the work. Great designs and easy to follow. We will do more this summer from Ana White.

Jerry

Built from Plan(s)

DIY Double Queen Size Lounge

Submitted by Anonymous (not verified) on Sat, 08/26/2023 - 12:13

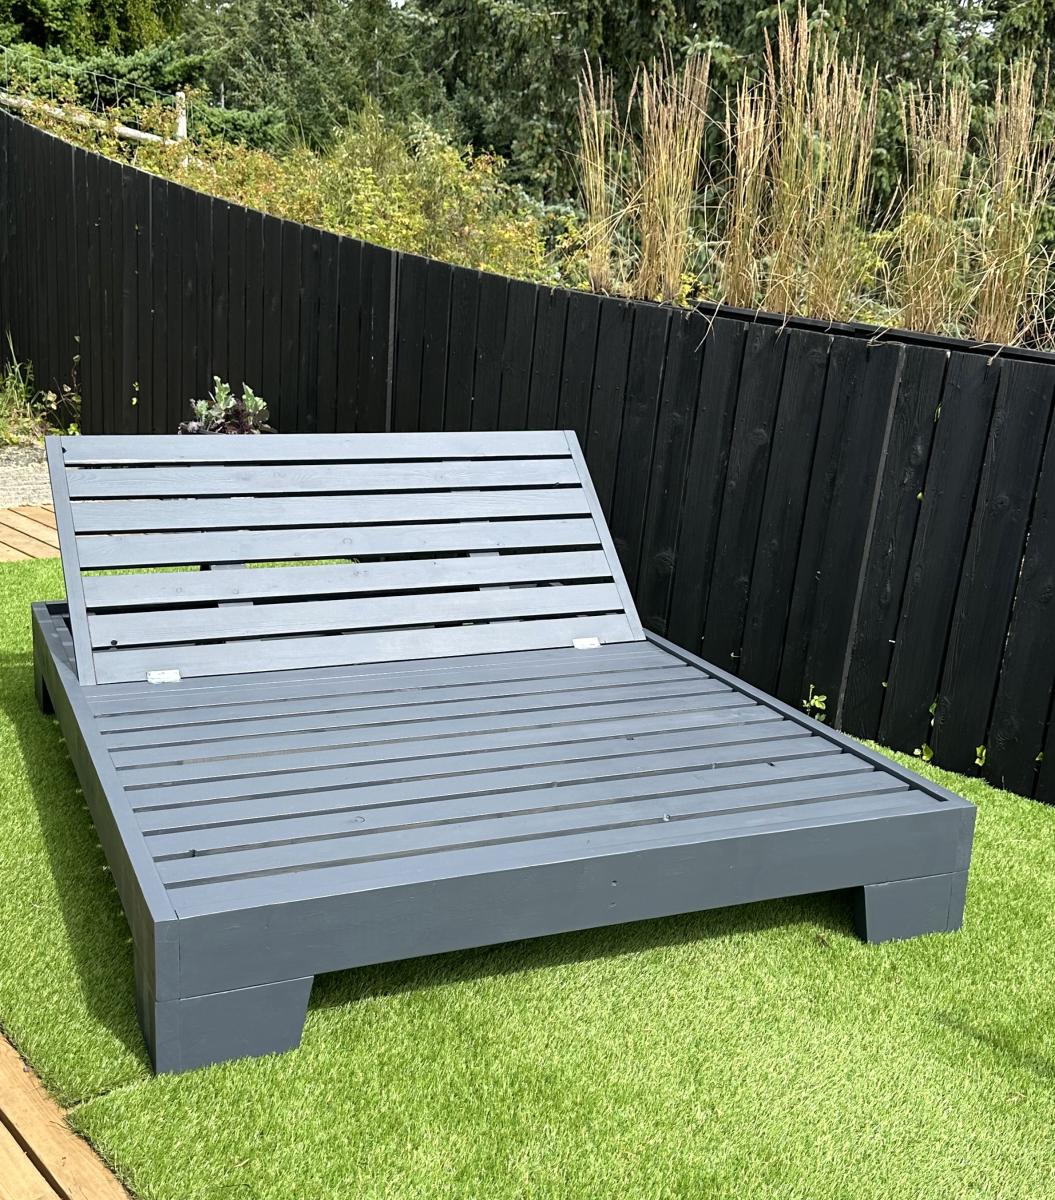
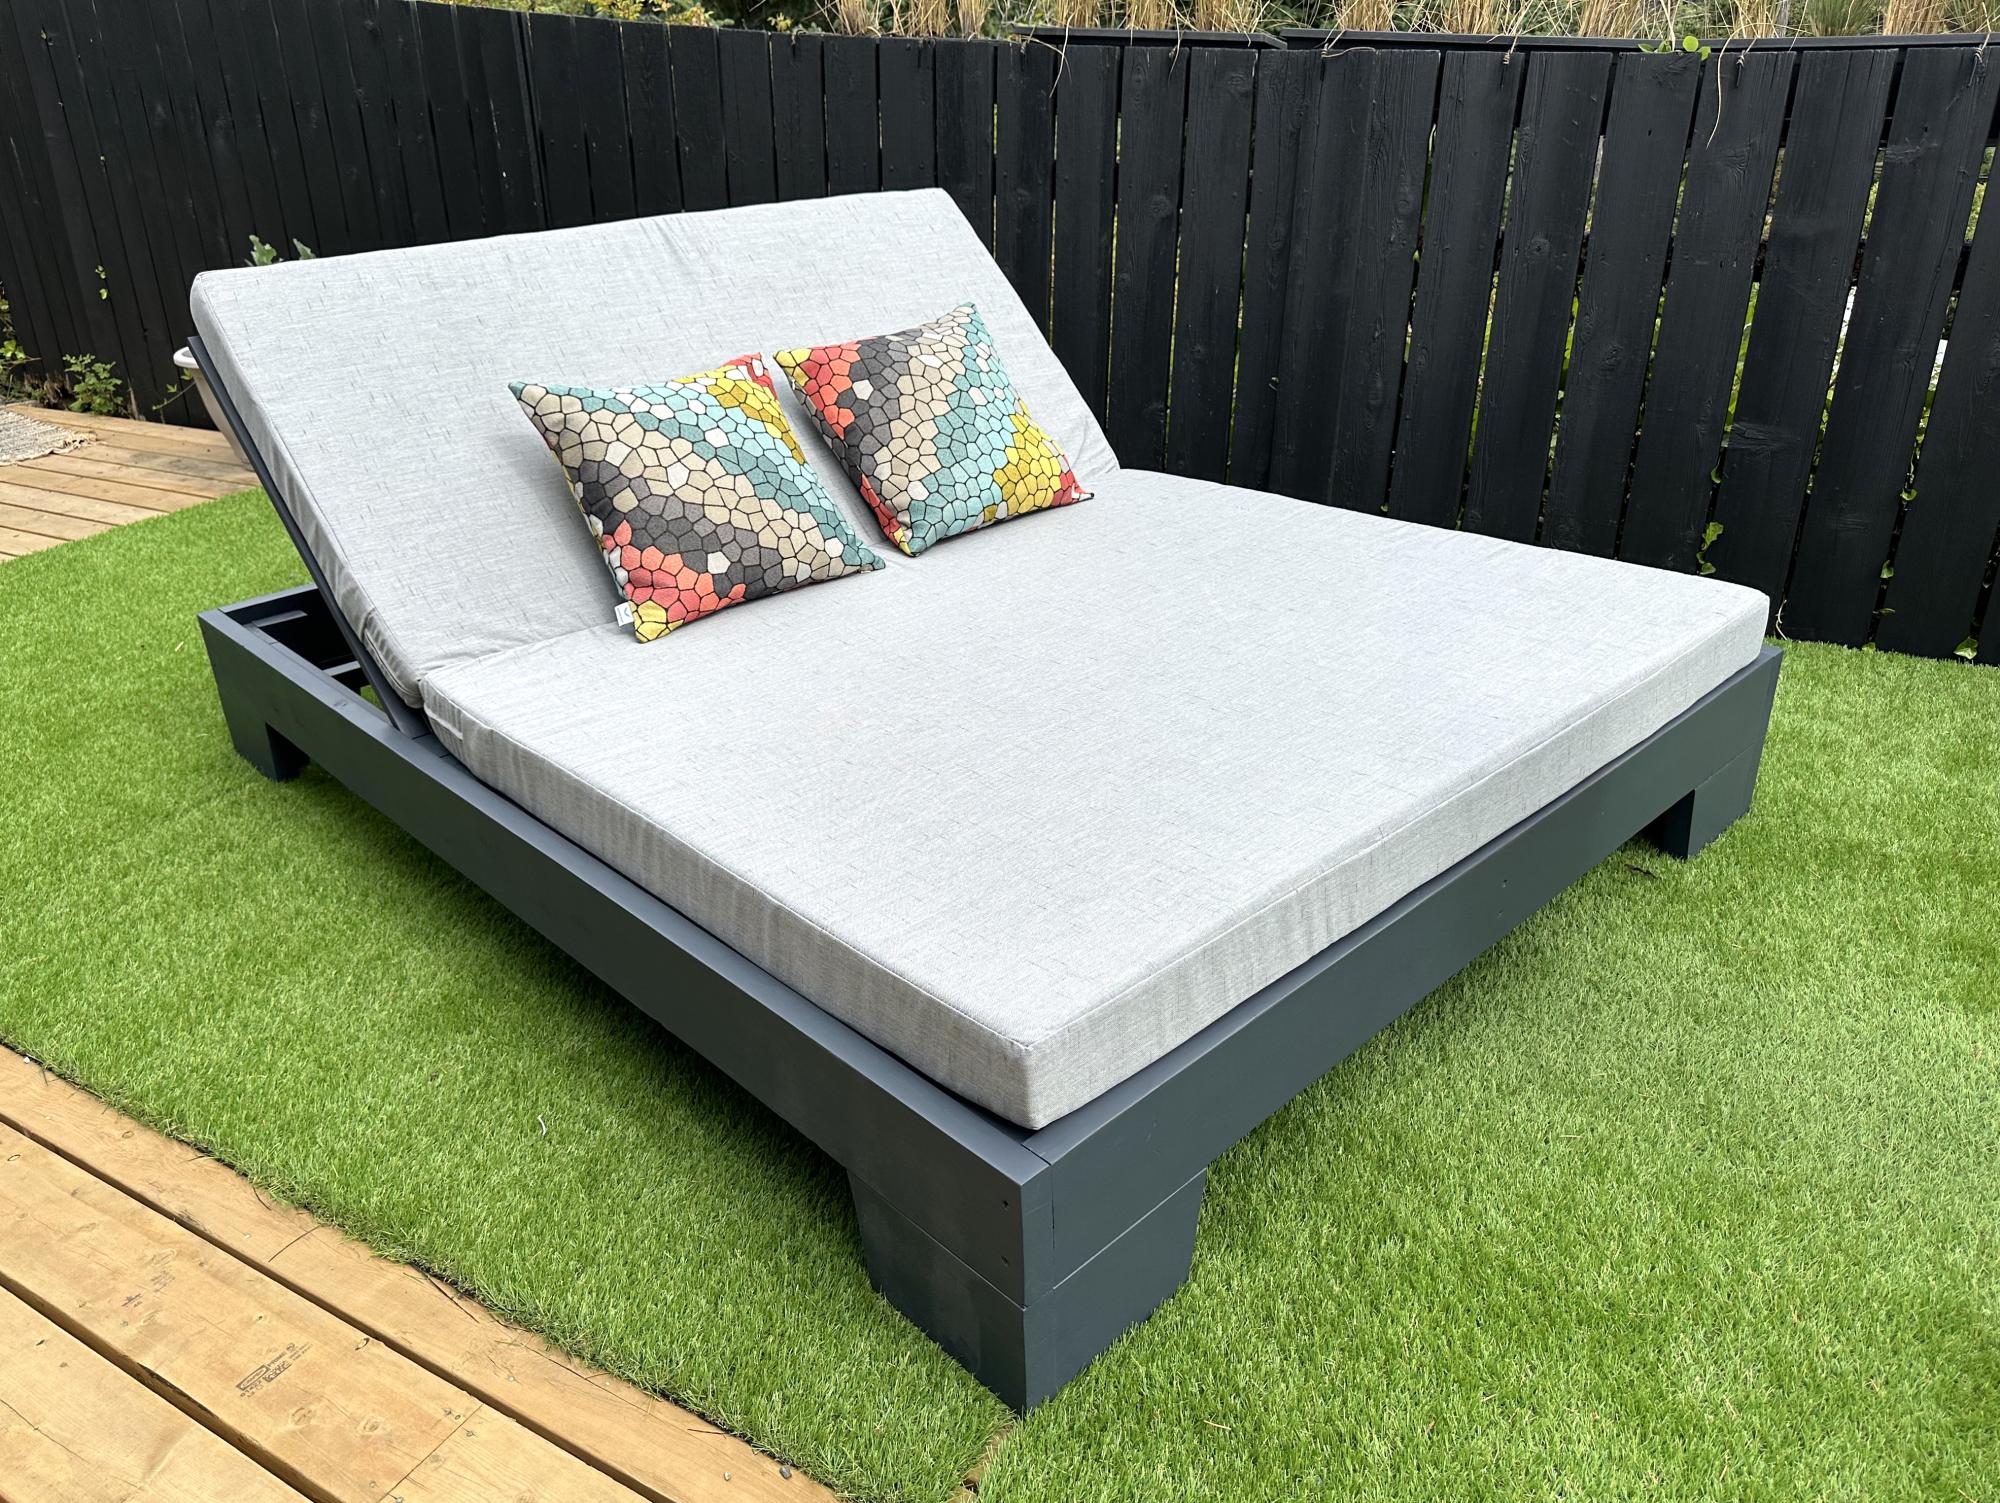
A friend asked me to build her a durable queen sized lounger for beside her pool. I used this platform style and added the multi-adjustable tilt. The lounger looks amazing and will double as a spare queen size bed for guests.

Mary Wikene

DIY Bar Cabinet

Submitted by Anonymous (not verified) on Mon, 02/24/2020 - 16:27

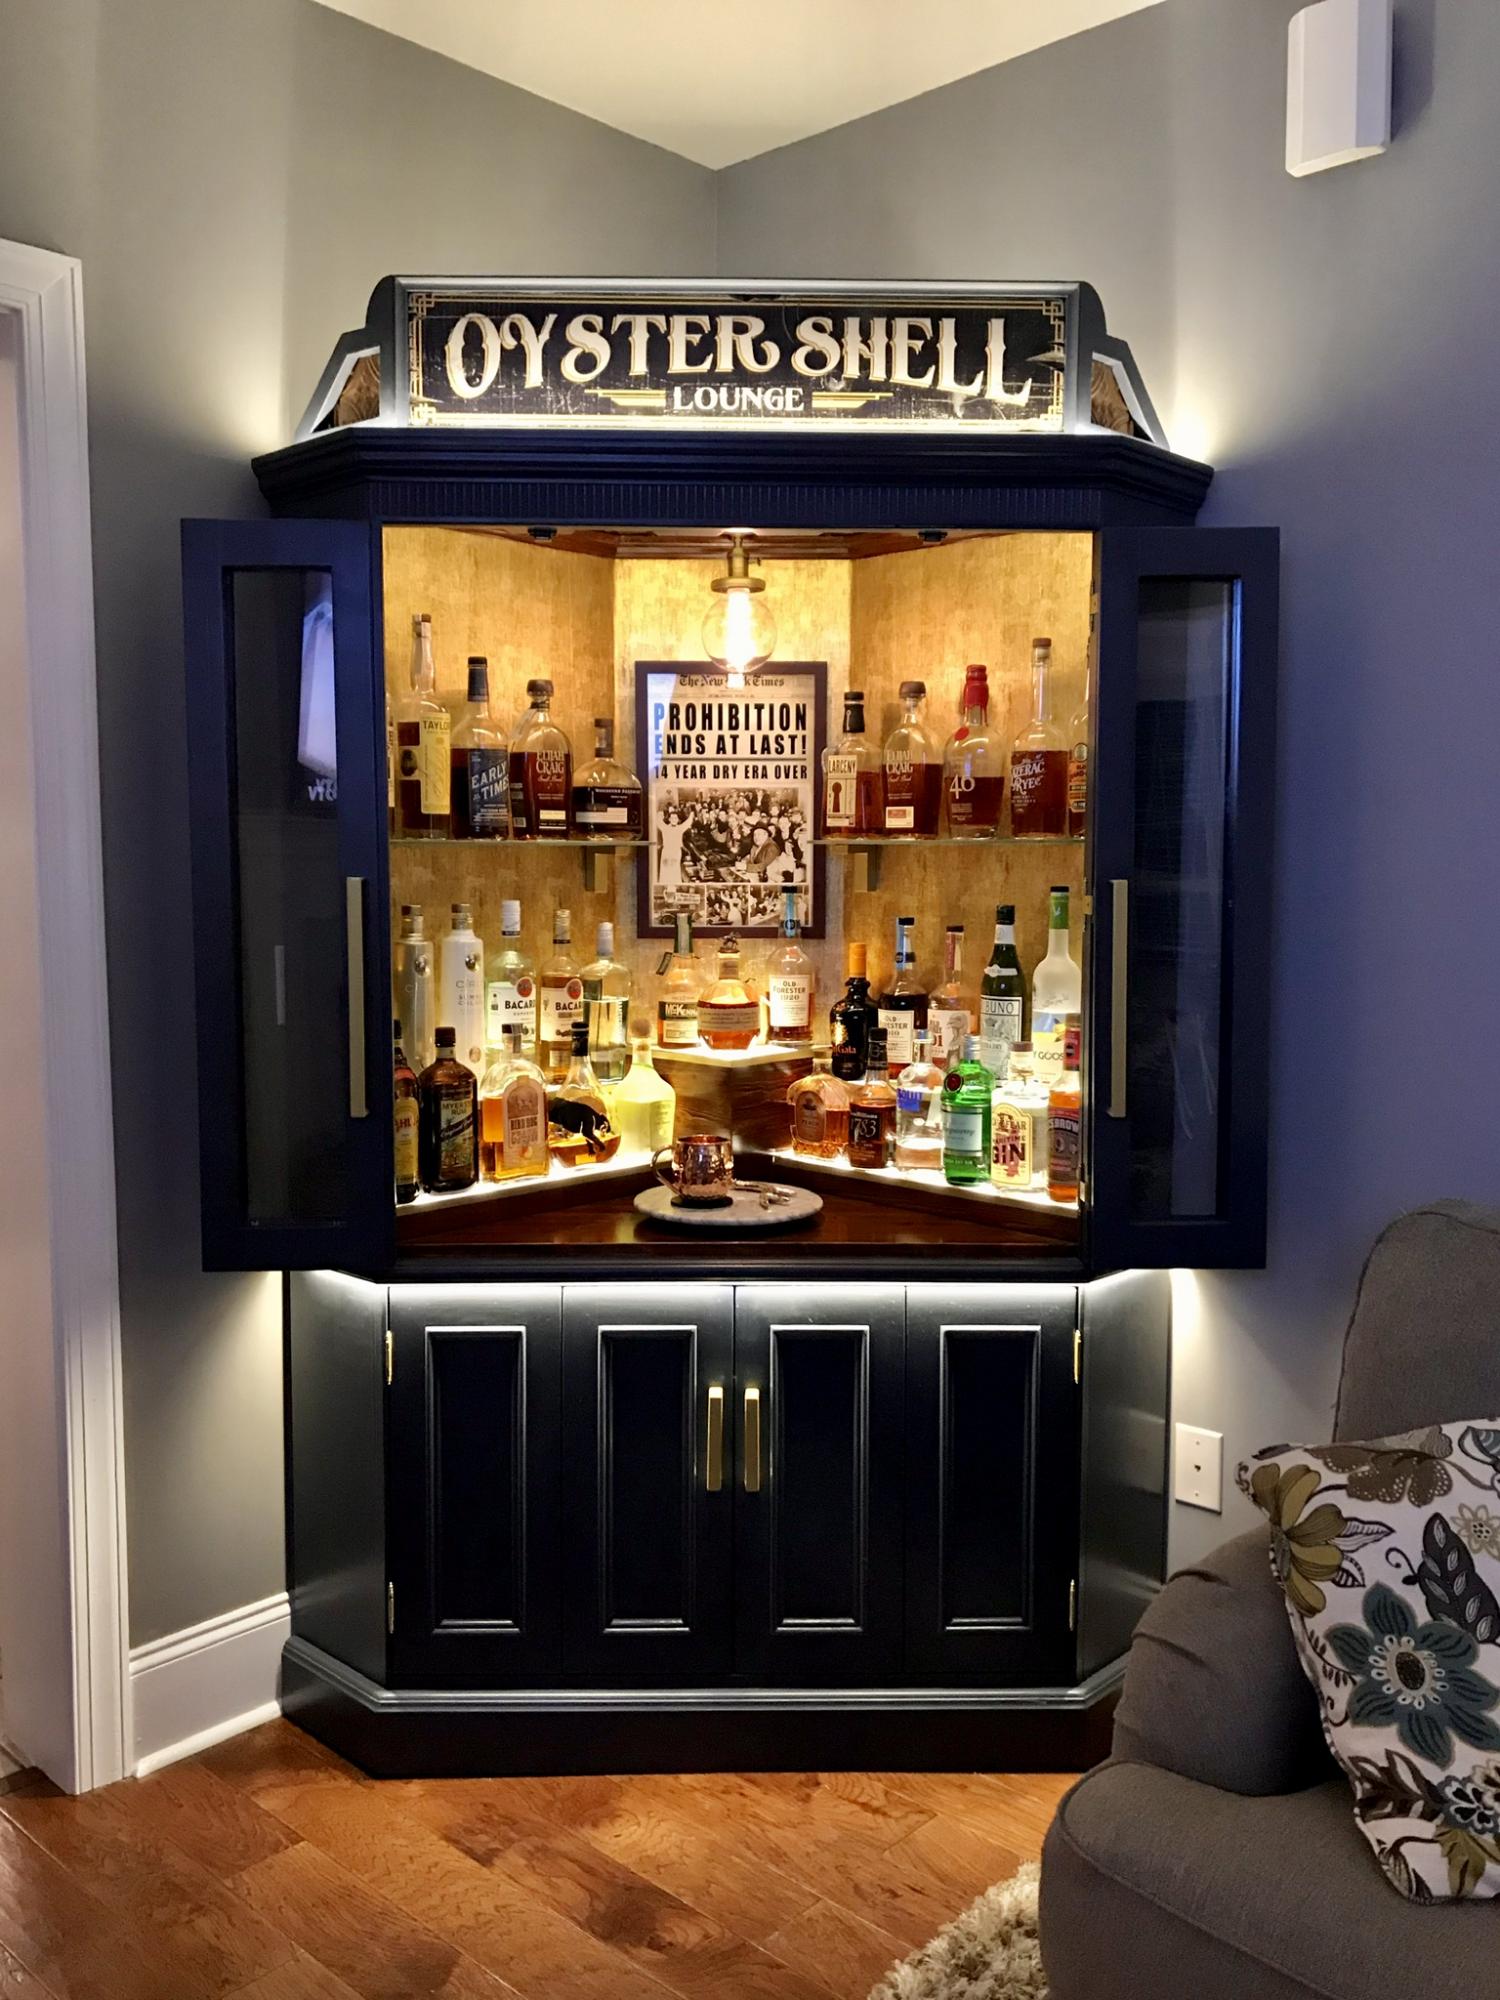
I bought this tv corner cabinet for $40. I spent many hours turning into my perfect bar cabinet. I built a custom lighted liquor display. I have posted photos of the transformation.

Estimated Cost
$1000
Estimated Time Investment
Week Long Project (20 Hours or More)
Finish Used
Benjamin Moore- hale navy
Recommended Skill Level
Intermediate
Comments

frendlygrl

Tue, 07/06/2021 - 19:04

So this is not your project? Because there isn't much information or a before and after picture. This gave me an idea for our home.

Princess bed

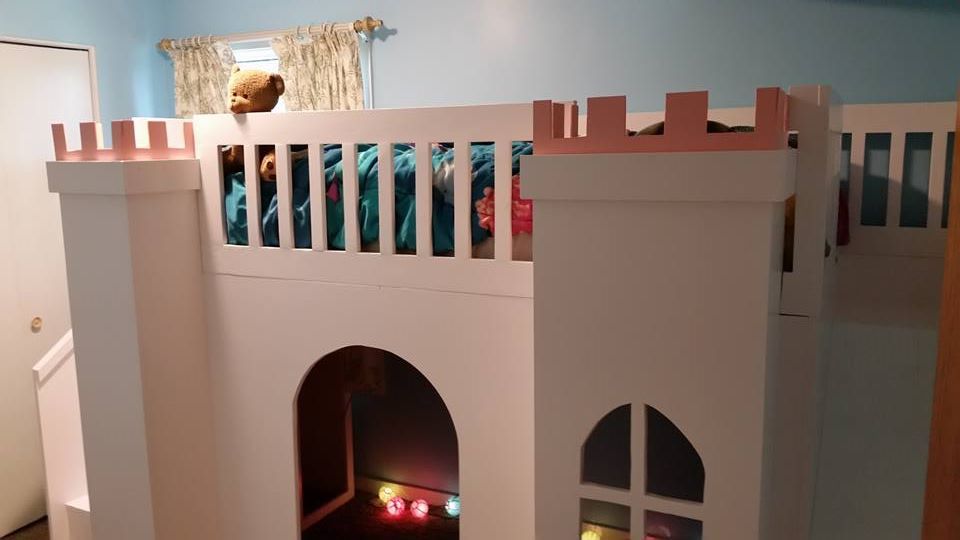
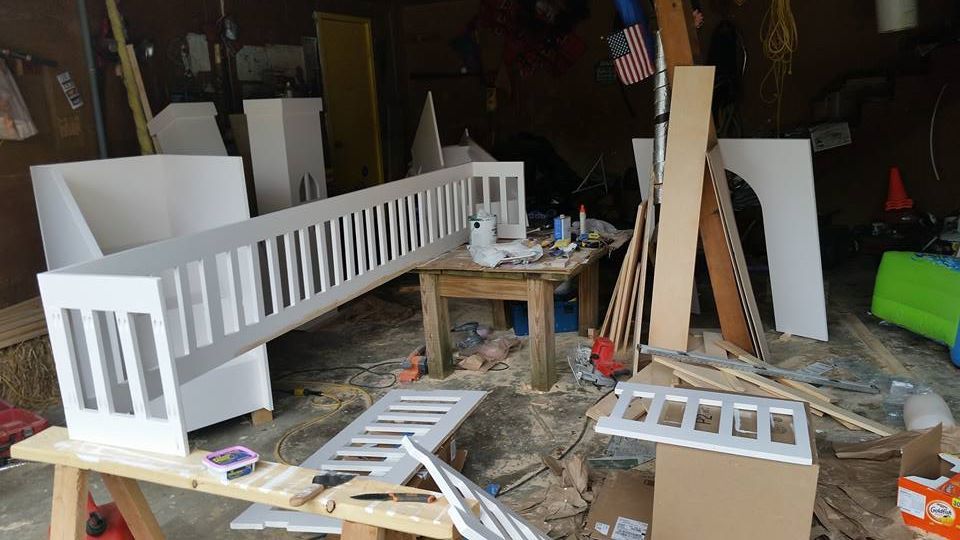
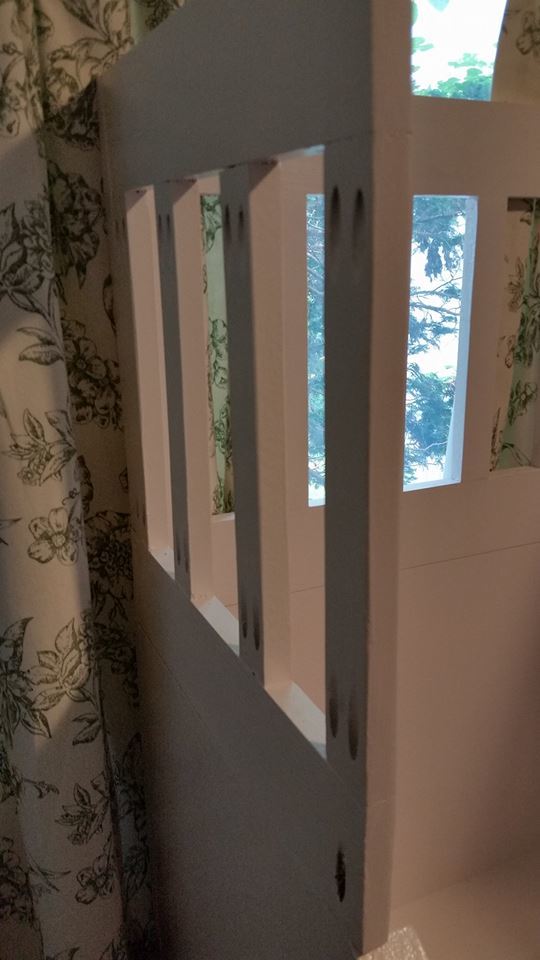
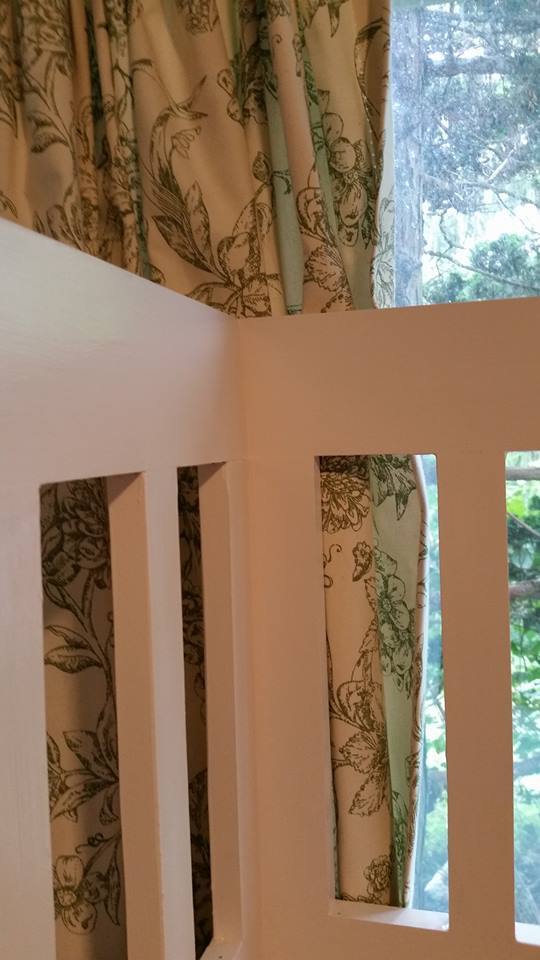
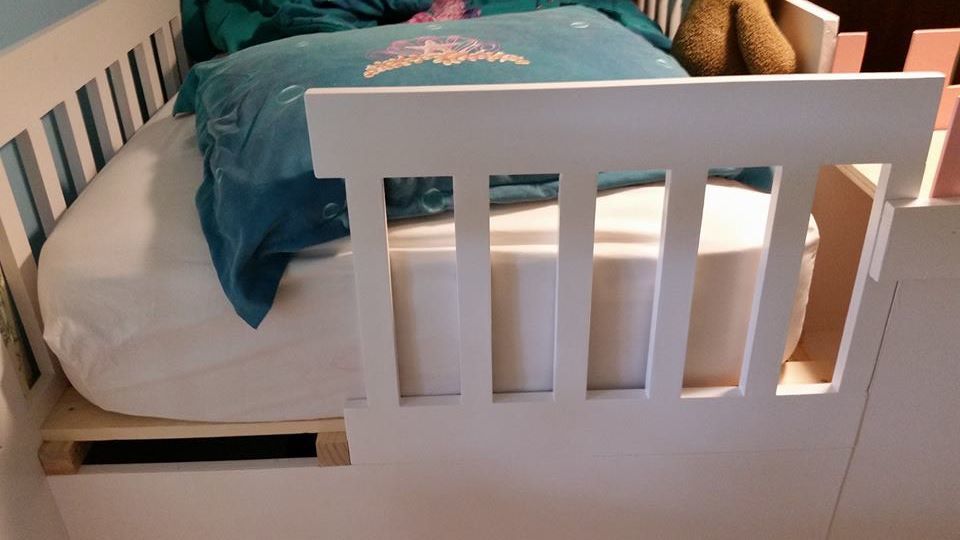
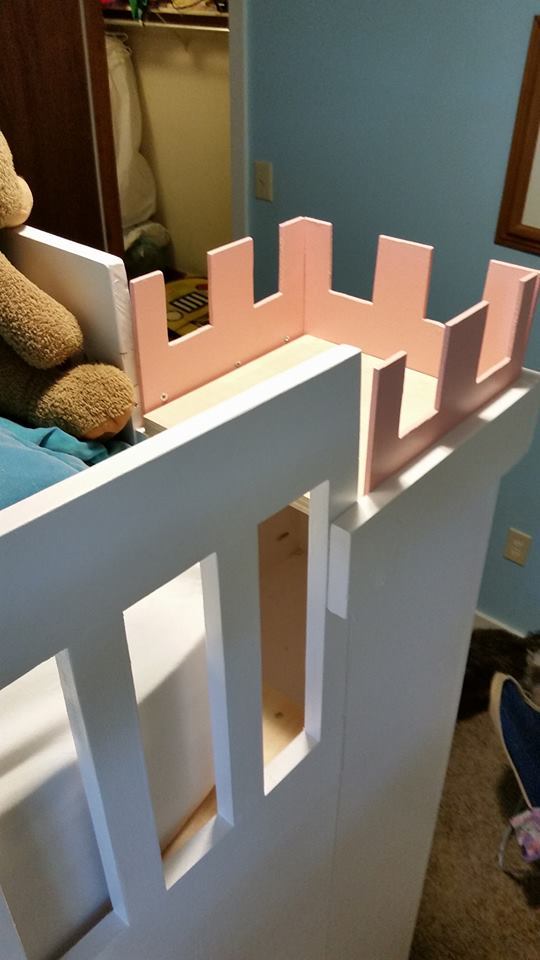
I spent about 40 hours. I made slight changes to the trim & rails for a bit more support. The back rail was very sturdy as it was attached to itself. I used an extra 2x2 to support the bed & cut 2 of them longer than fsmumfords, so they could rest on the edge of the units. I did not attach it to the wall or add any bracketing underneath. The back rail was an exact 10' for my build. You need to think about how that & the bulky stairs unit can get in the room! Also, a new saw blade for your circular saw at the begining of your project should probably be considered essential!

Estimated Cost
$411
Estimated Time Investment
Week Long Project (20 Hours or More)
Finish Used
kills2 primer then undercoat 2x gildden peach ribbon white. Might have been better to use a non water based, but I largely got away with it.
Recommended Skill Level
Intermediate

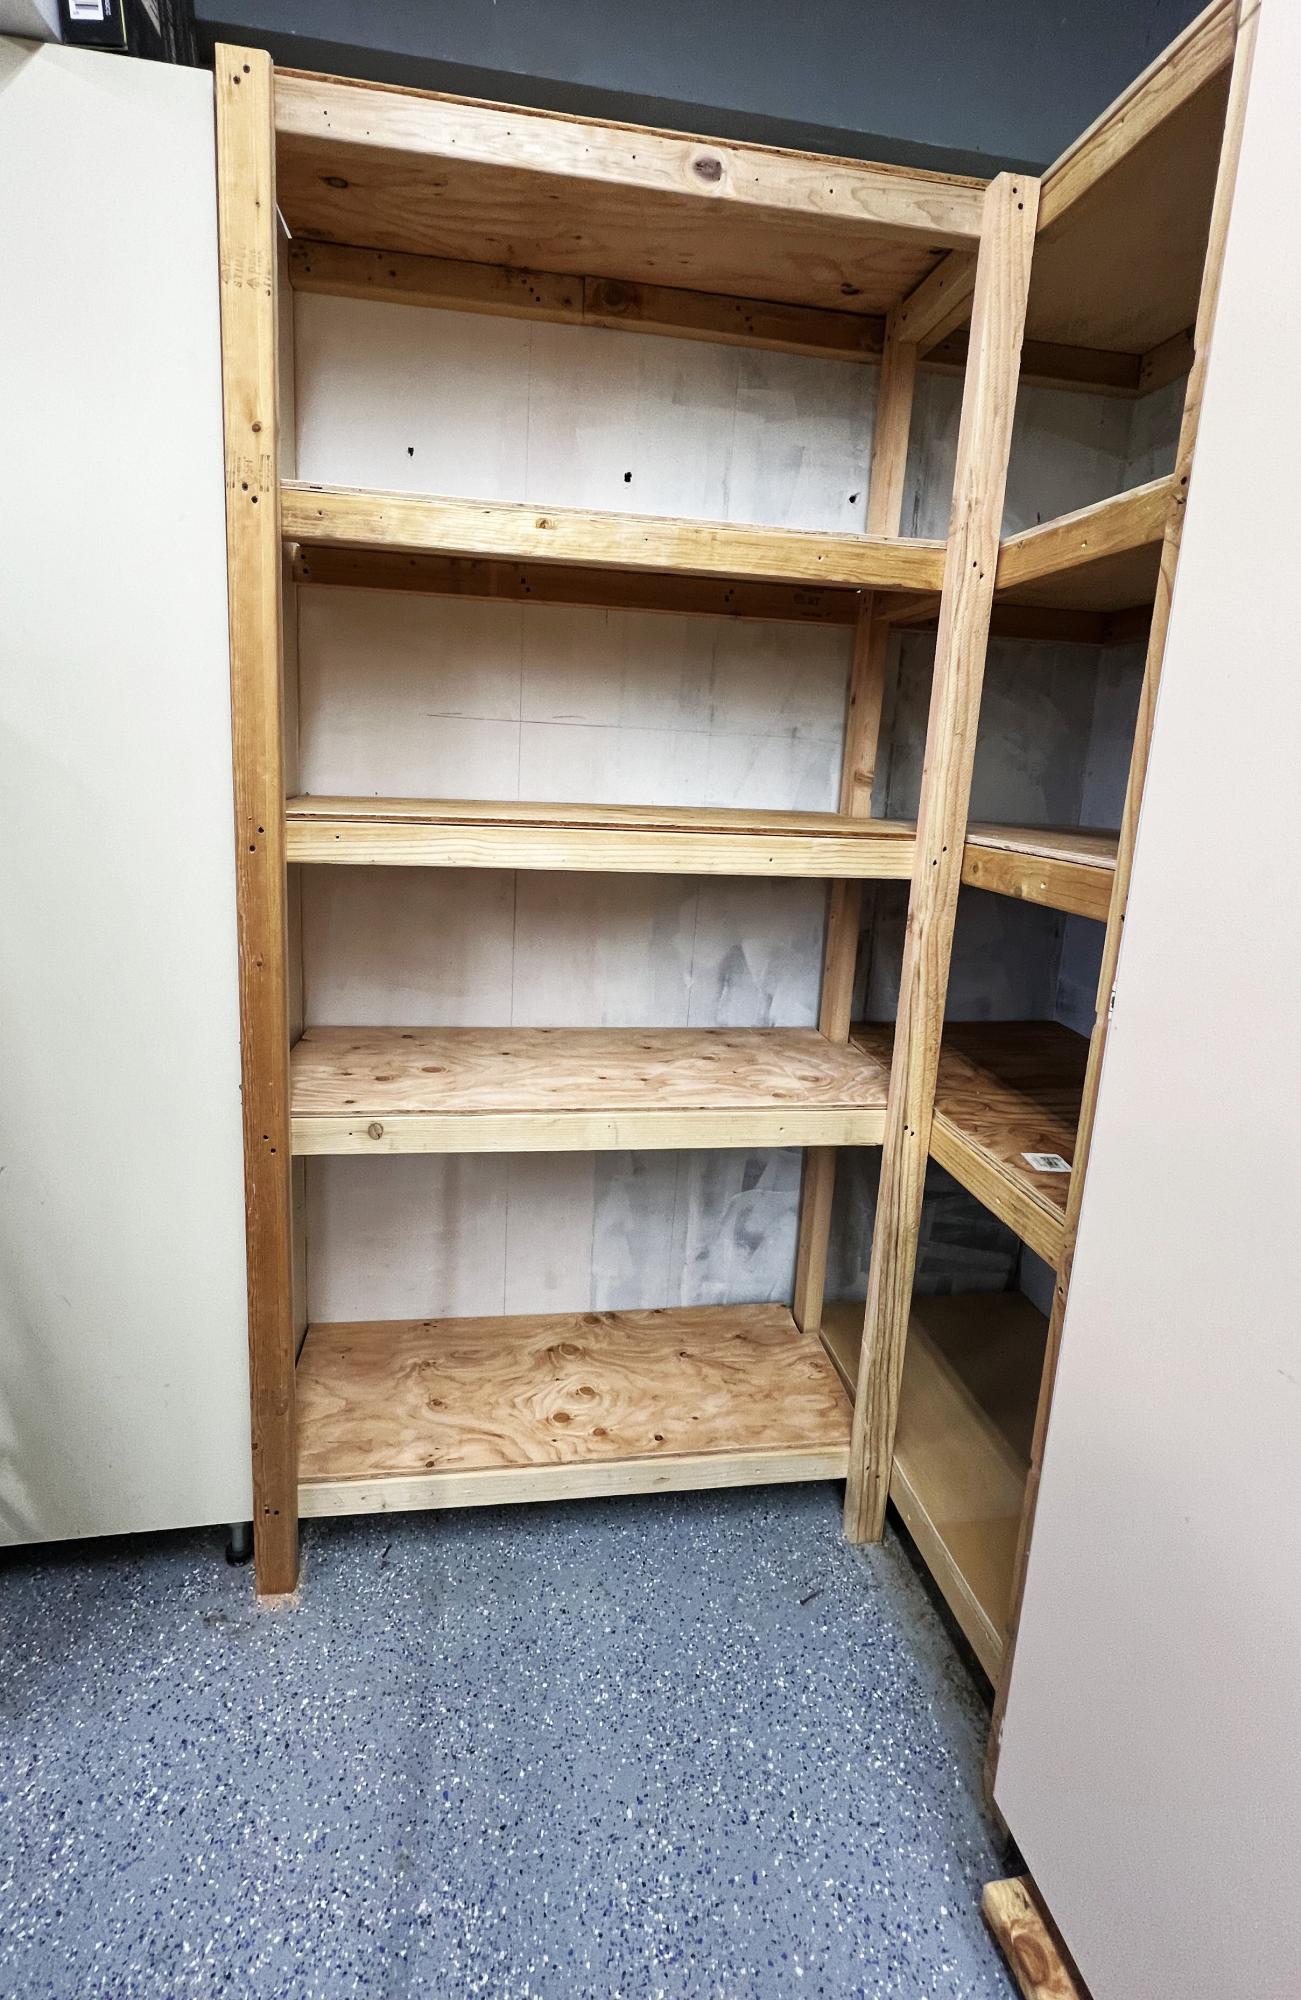
Wood Garage Shelves

Submitted by Anonymous (not verified) on Tue, 02/20/2024 - 08:40

This was made using Ana's "Garage Shelf" plans. I modified it for a corner spot between two exiting cabinets, so it took a bit of thought, but the Ana's technique for the build made it so easy.
AND I used up scrap wood that I'd been hording in the garage for the build.
Thank you Ana!

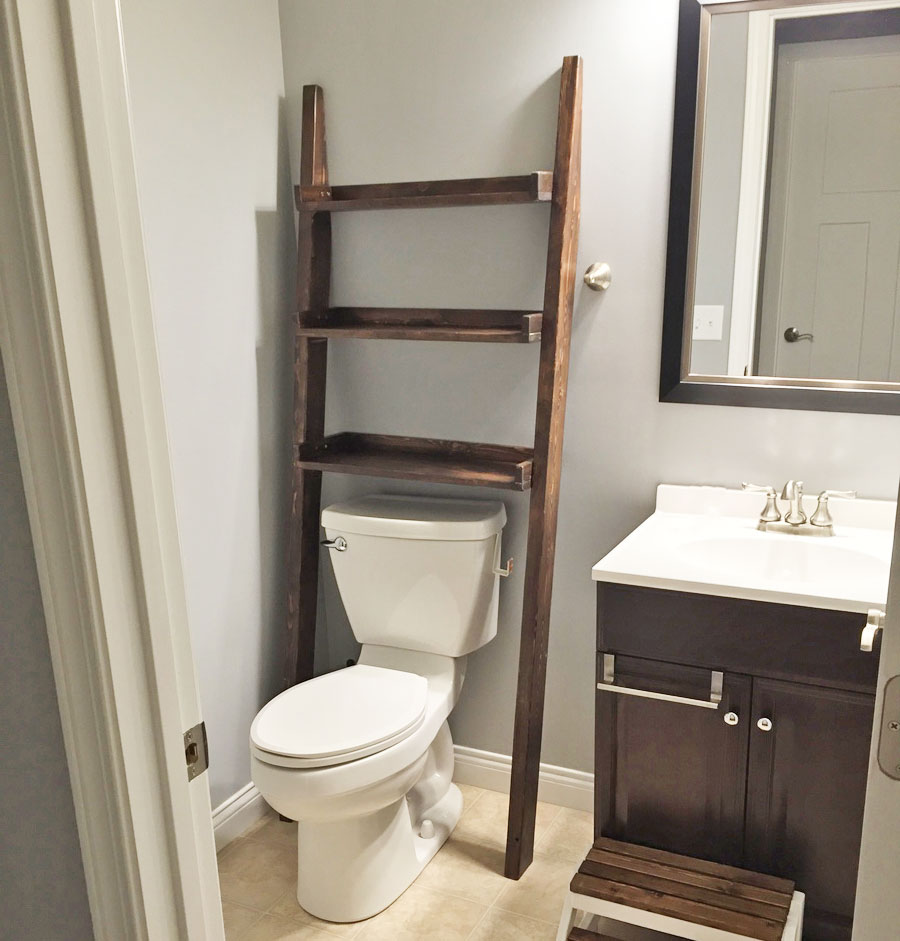
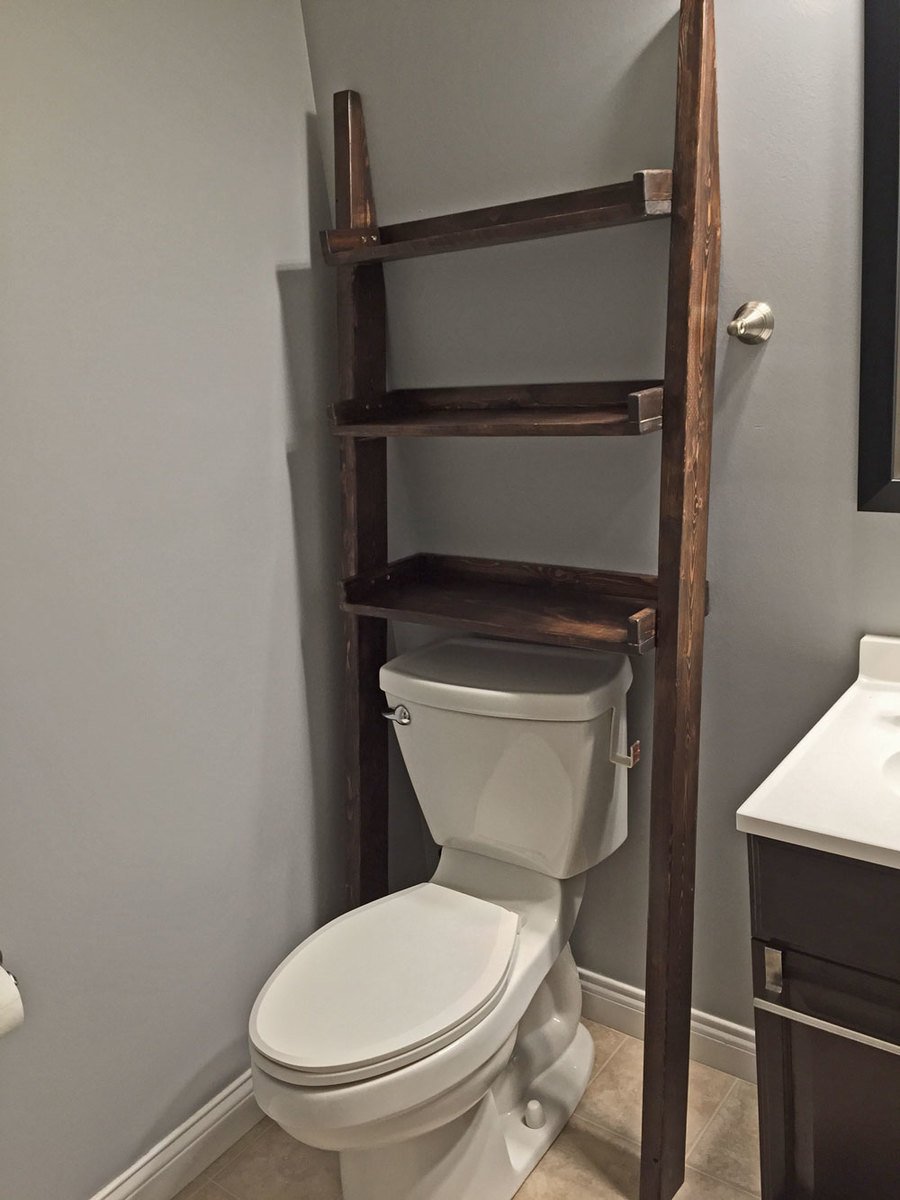
Leaning Bathroom Ladder Shelf

Submitted by Jminor83 on Thu, 06/20/2019 - 10:53

My wife saw your post for this shelf and knew it would be perfect for our half-bathroom.  She showed it to me and I agreed.  I built it in a few hours one afternoon.  Stained and sealed a few days later and it fits perfectly.  Now we just need to wait (impatiently) for everything to cure so we can actually begin to use it.  We'll try and share another final photo when in full use.

Estimated Cost
Already had all supplies on hand. If I had to price it....
$5 for 2 2x4s (sides)
$10 for 1 1x10 (shelves - ripped to shorter widths as needed)
$6 for 3 1x2s
(+screws/nails/glue/stain/sealer)

Total $21
Estimated Time Investment
Afternoon Project (3-6 Hours)
Finish Used
One coat of stain, followed by two coats of polyethylene. Light sanding with sanding sponge to smooth everything out once dried. Going to wait a week for everything to cure before placing anything on the shelves.
Recommended Skill Level
Beginner

Cedar Patio Table

Submitted by rygy on Thu, 07/03/2014 - 18:19

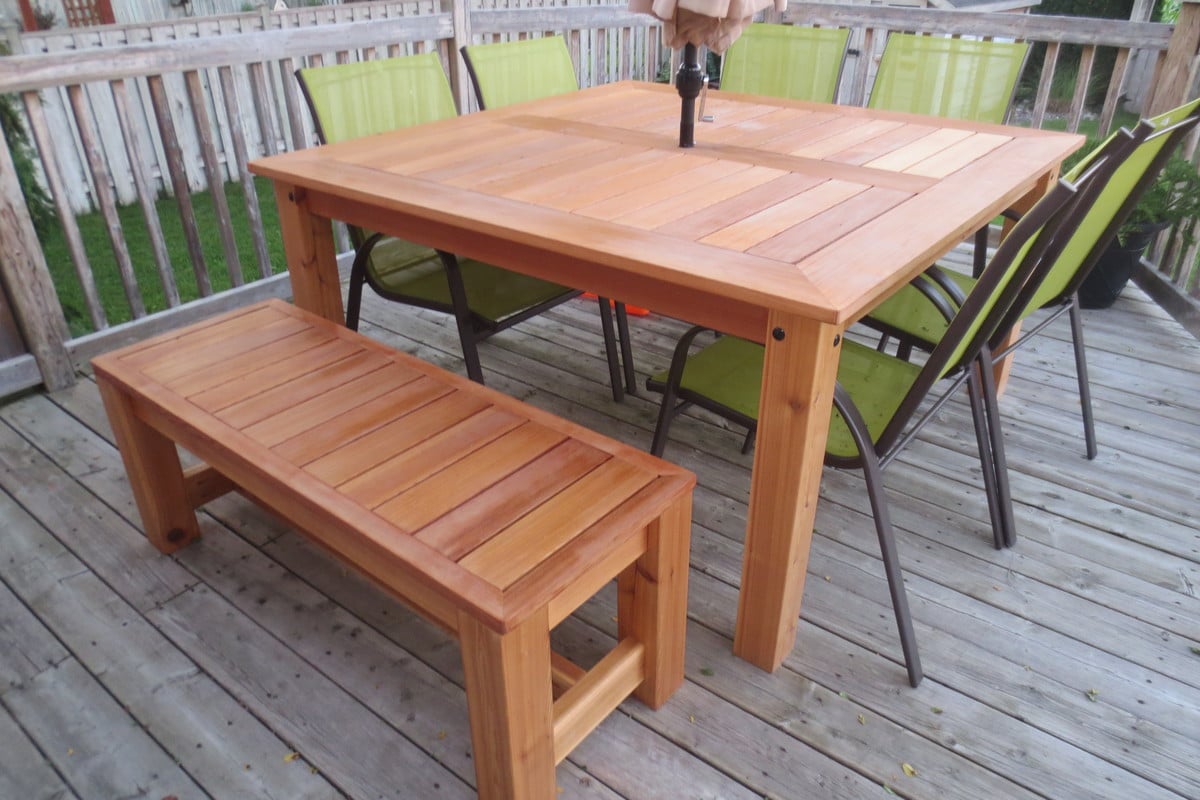
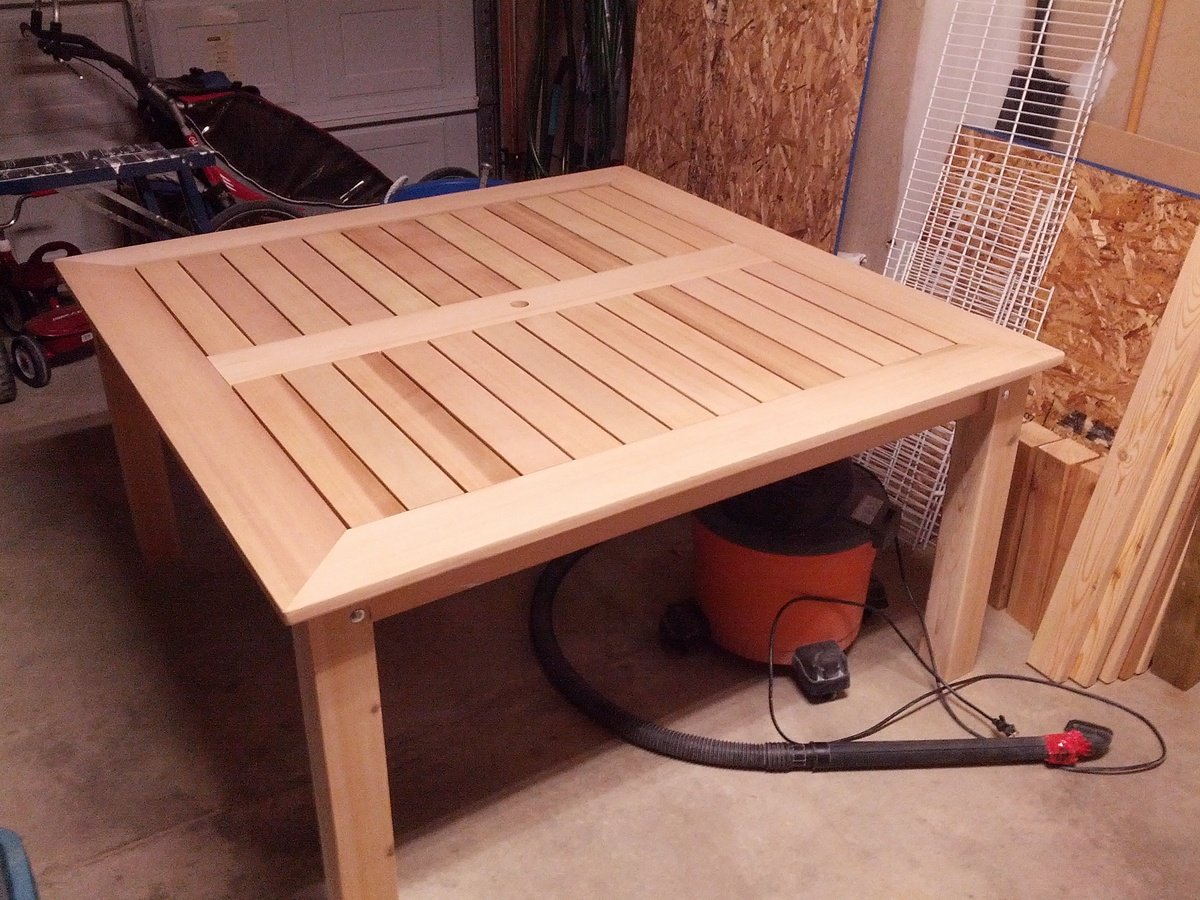
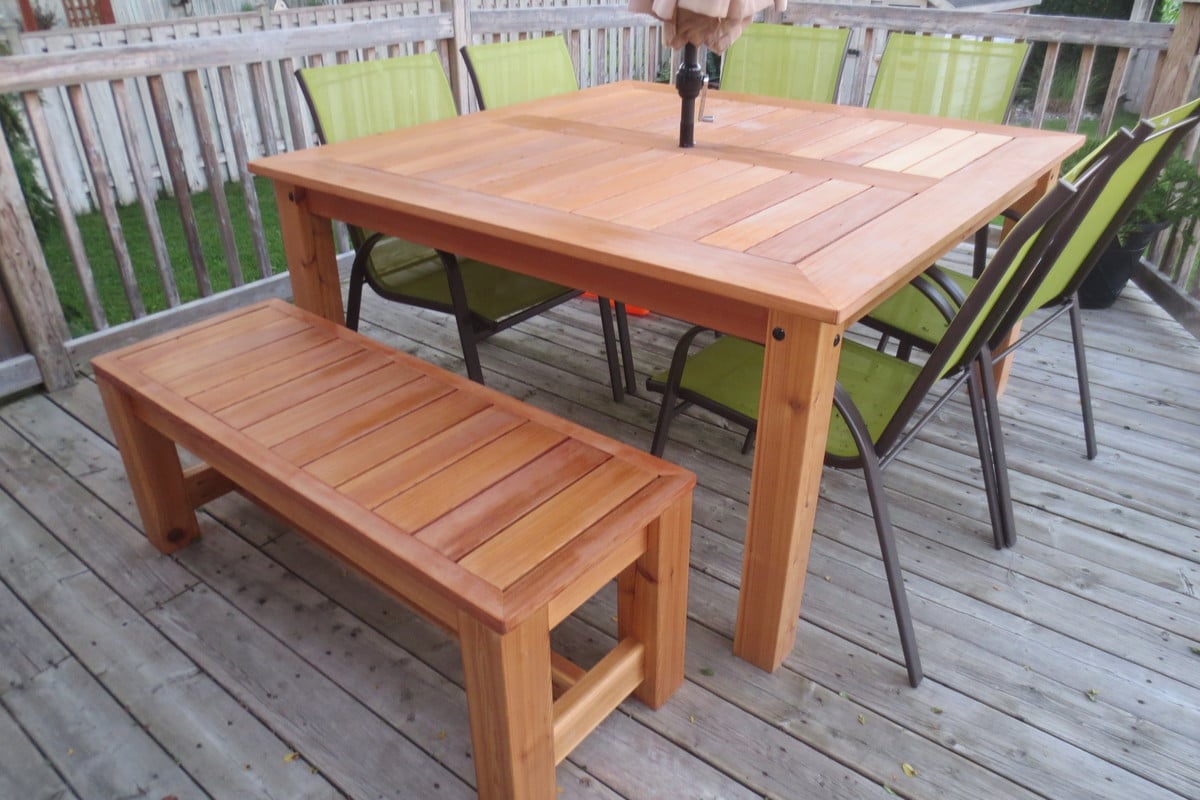
I grabbed this idea from one of the brag posts linked off of Ana's easy dining table post. The entire table top is made from clear Western Red Cedar. The legs are made from 4x4 cedar fence posts (the clearest I could find). The table top is 5ftx5ft. All the joints were made using Kreg's pocket hole kit.I did change a couple of things from the original picture that was posted:

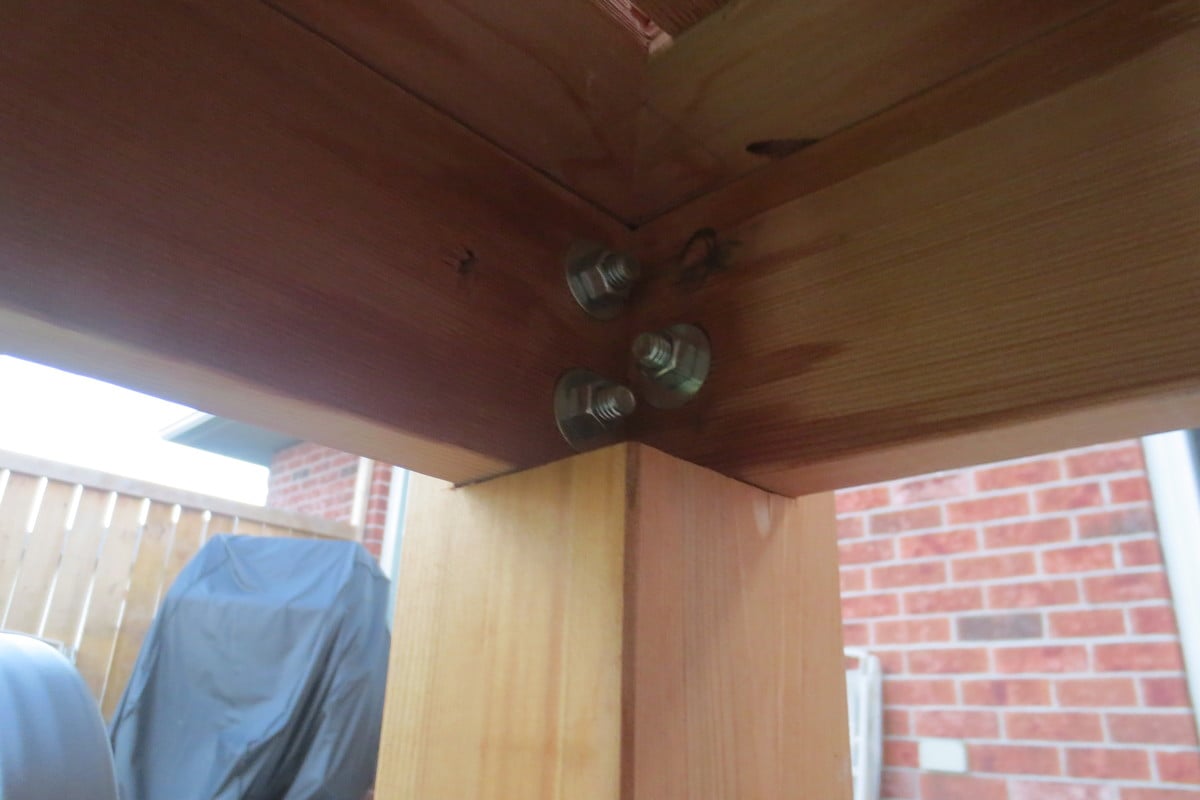
1. I notched out the 4x4 cedar legs to accept the main frame of the table top (which provides the best support possible) and also bolted though the leg and frame. Not to mention it gives it a more finished look than simply putting the legs inside the frame and bolting through.

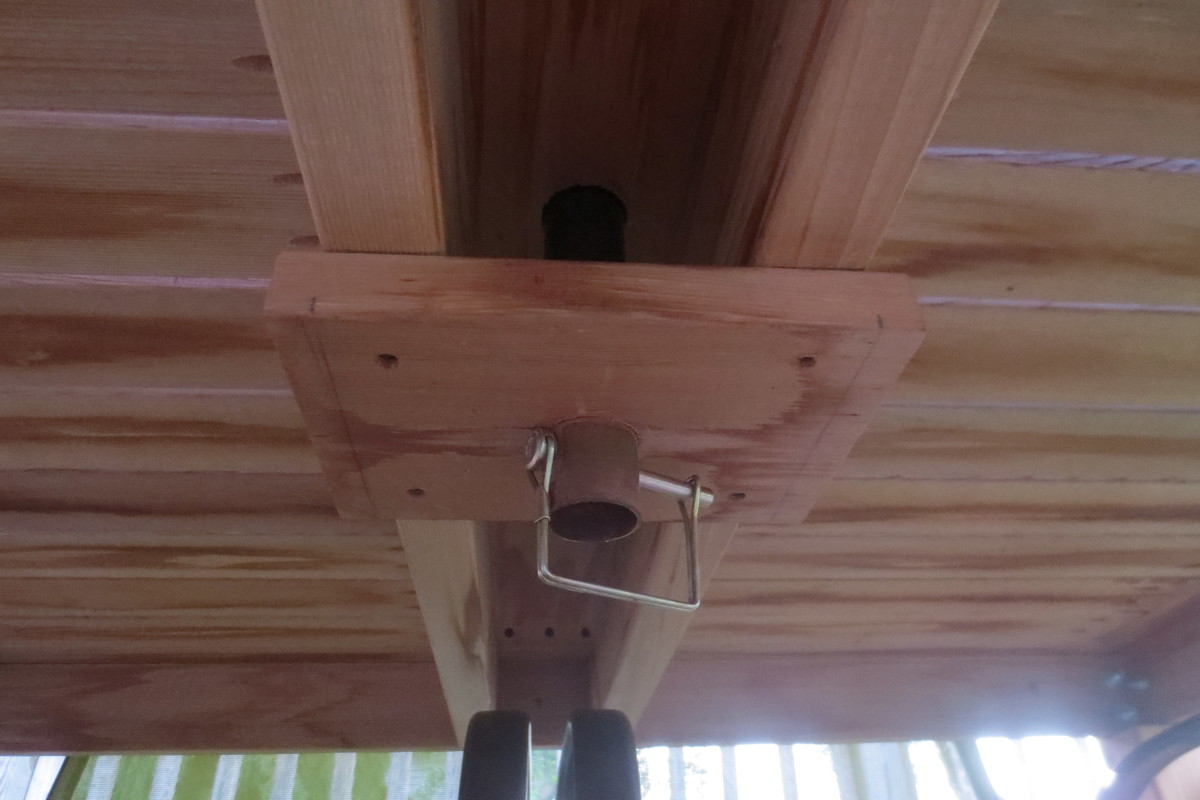
2. I also made a custom bracket to support an umbrella so that I did not have to have bulky umbrella stand under the table (see attached pic)

I finished the table and bench with two coats of Teak Oil. I am not convinced this was the best choice, but it sure did look awesome the first month after it was complete. The colour of the cedar has faded a bit now that it has been out in the elements for two months. Any further suggestions on great finishes that hold up to the weather are appreciated.

Estimated Cost
$290.00
Estimated Time Investment
Weekend Project (10-20 Hours)
Finish Used
Teak Oil
Recommended Skill Level
Intermediate

Comments

mmeixner

Thu, 06/30/2016 - 20:50

I really love this table. Could you provide more details on construction, or post more photos of under the table? What is the table top's thickness? Looks like you used 13 boards 1x4 and the outside boards seem to be 1x8 but I'm not sure. Also, how did you attach the table top to the base ?

thank you, great work!

Michael

Pallirondack Laundry Basket Dresser

I showed my wife the Laundry Dresser featured on Ana White's website and she asked if I could make one for her, but not quite so tall. I also turned the orientation to fit our laundry room space. I used primarily oak from recycled pallets to build the Laundry Basket Dresser. She wanted a work space on top, so folded laundry, empty baskets, etc. all have a temporary resting place depending on the day. From start to finish, it took me about 6 hours. She plans to stain the piece at some point, but its already in use, so I'm not 100% sure that will ever happen until we move or something. ;-) Great idea and laundry room organization!

Estimated Cost
Half a box of screws
Estimated Time Investment
Afternoon Project (3-6 Hours)
Recommended Skill Level
Intermediate

Comments

Kathy in Pittsburgh (not verified)

Mon, 09/10/2012 - 10:22

I love the open sides, plus it makes it much more feasible to build with scraps repurposed wood, which I love. Thanks for the inspriation
payne.kj

Mon, 04/08/2013 - 08:48

Hi, do you have any kind of plans for how you did this or atleast dimensions? I think this one fits more of what my wife needs, but I'm pretty new to making anything.

nicholas_ftm

Sun, 06/14/2015 - 20:16

Soooo I made this according to the measurements and no laundry basket I find fit. Kind of dissapointed in the fact that this cool thing I just built doesn't have any baskets that will fit it. Any advice on finding a basket that fits?

jkread

Fri, 07/10/2015 - 20:56

I think the idea is to build it to fit the baskets you have or buy some and build around them.

Email Me
Free Plans

Get new plans sent right to your inbox for free!

    We won't send you spam. Unsubscribe at any time.

    Back