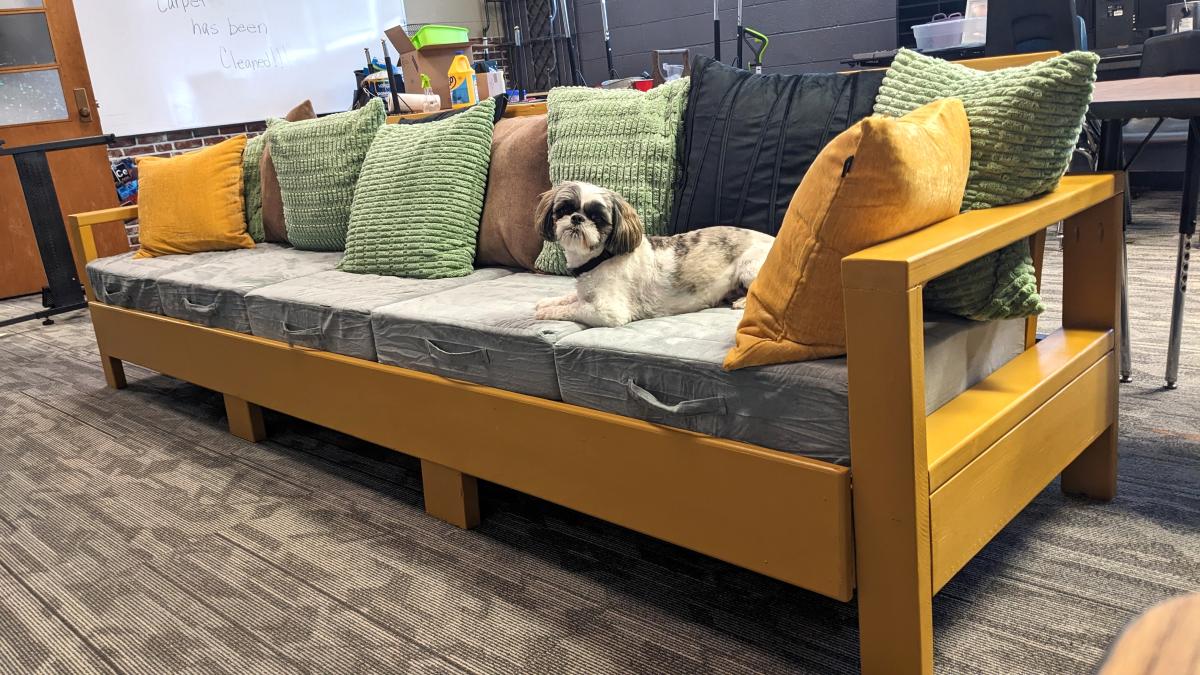
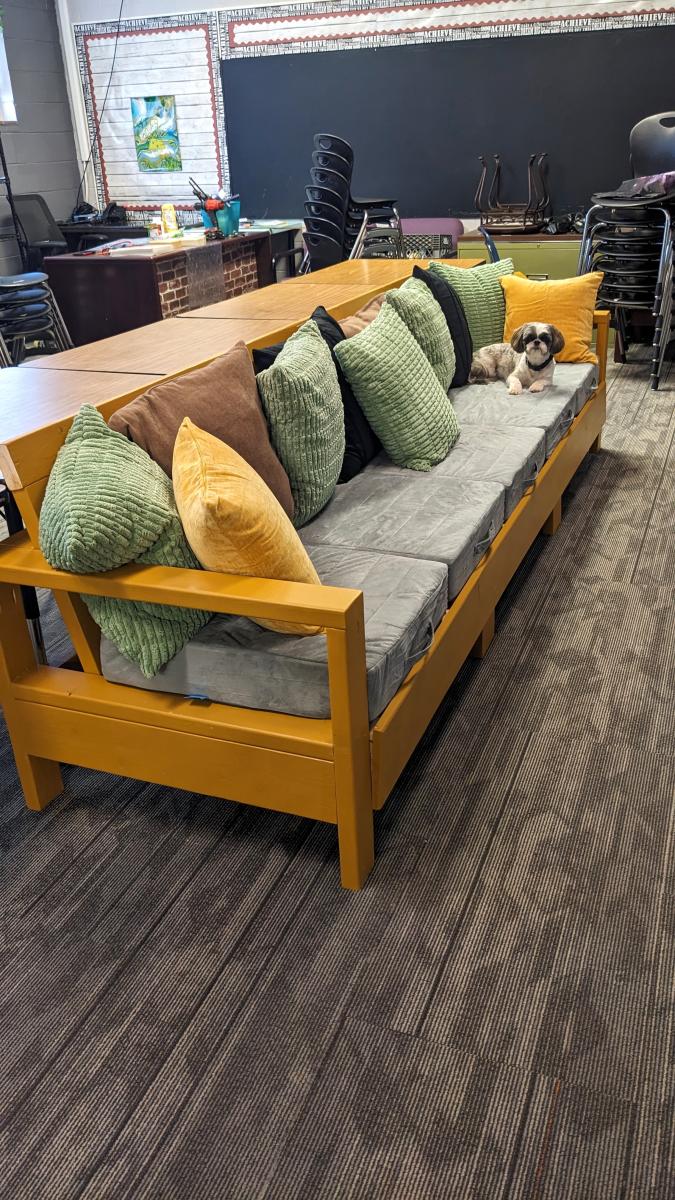
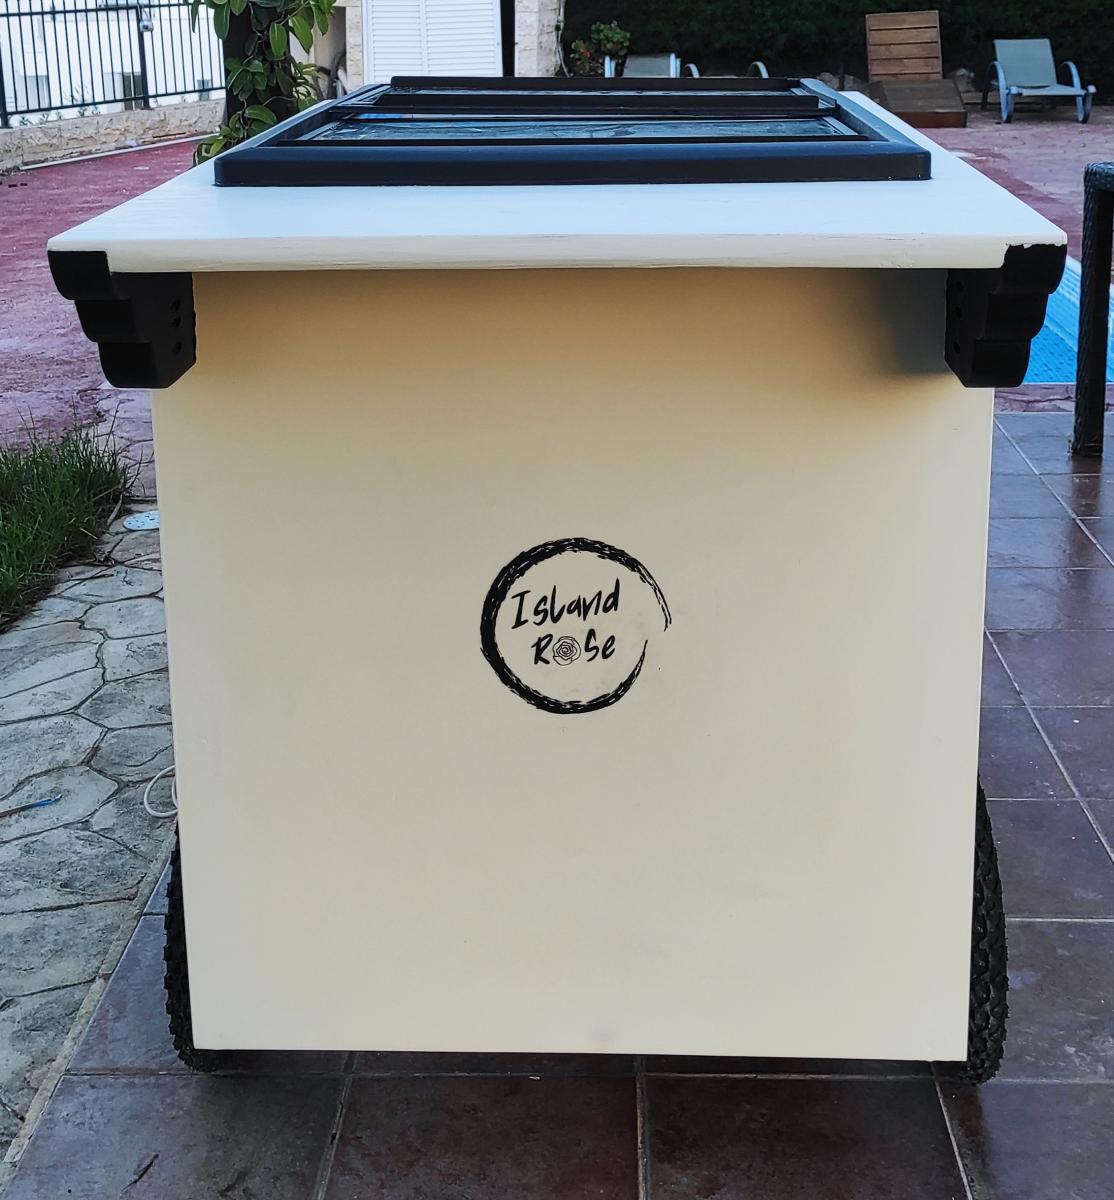
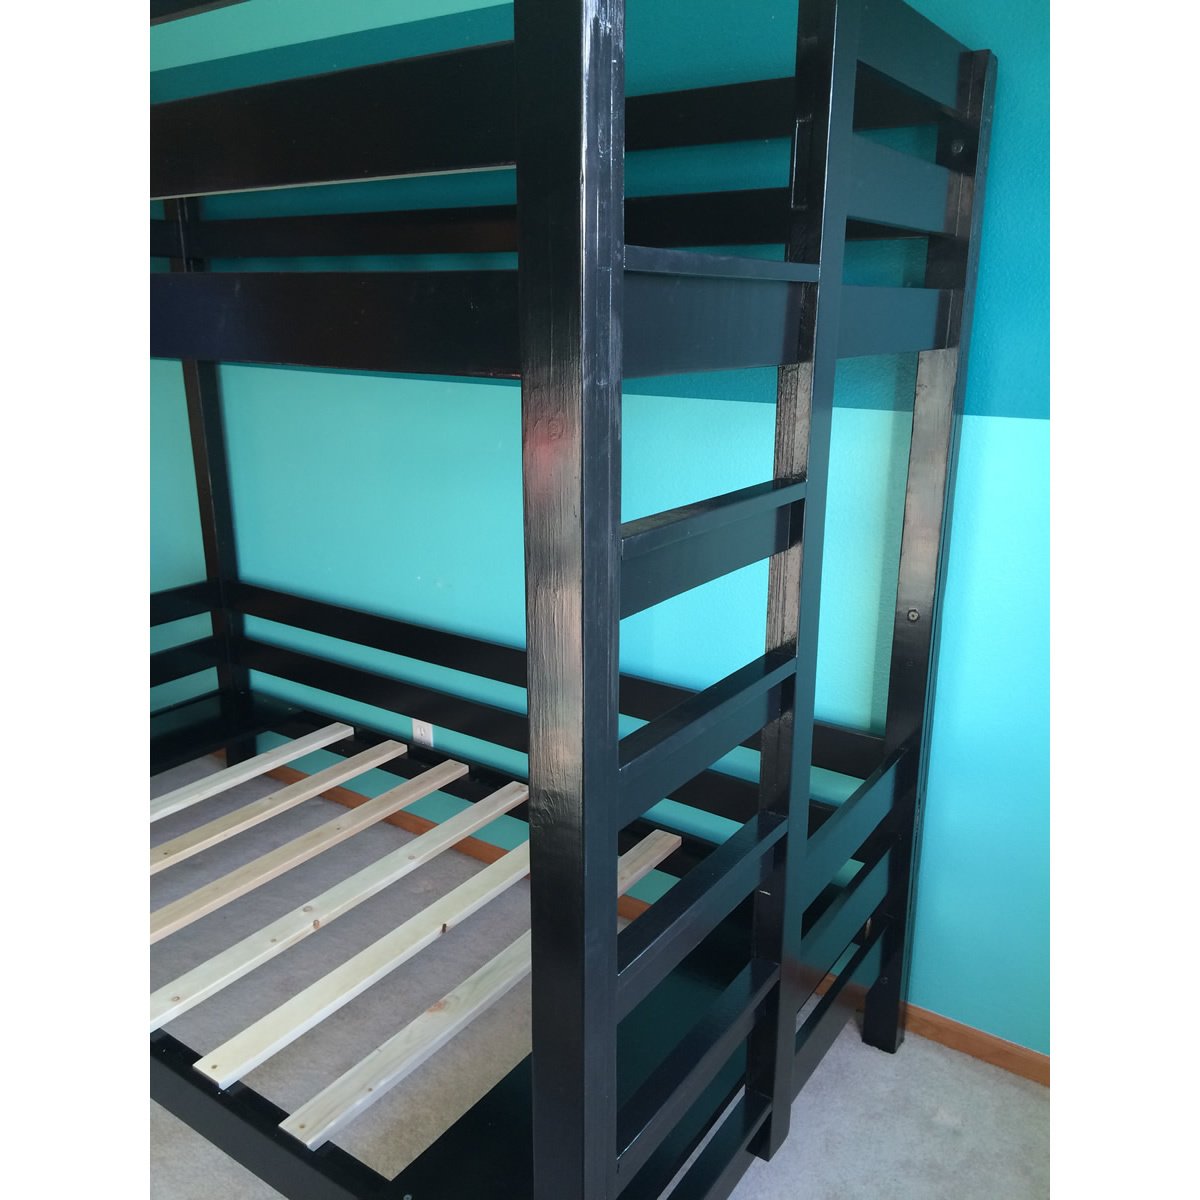
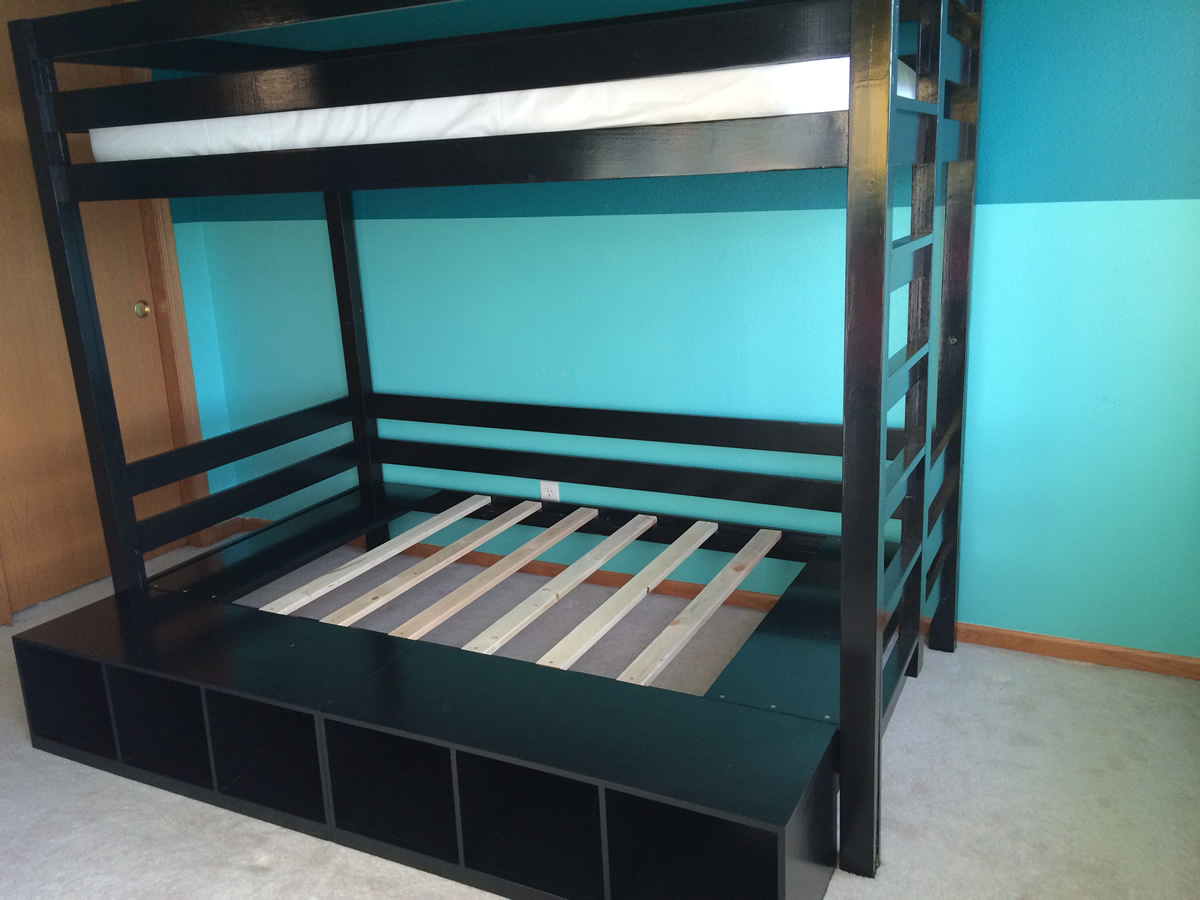
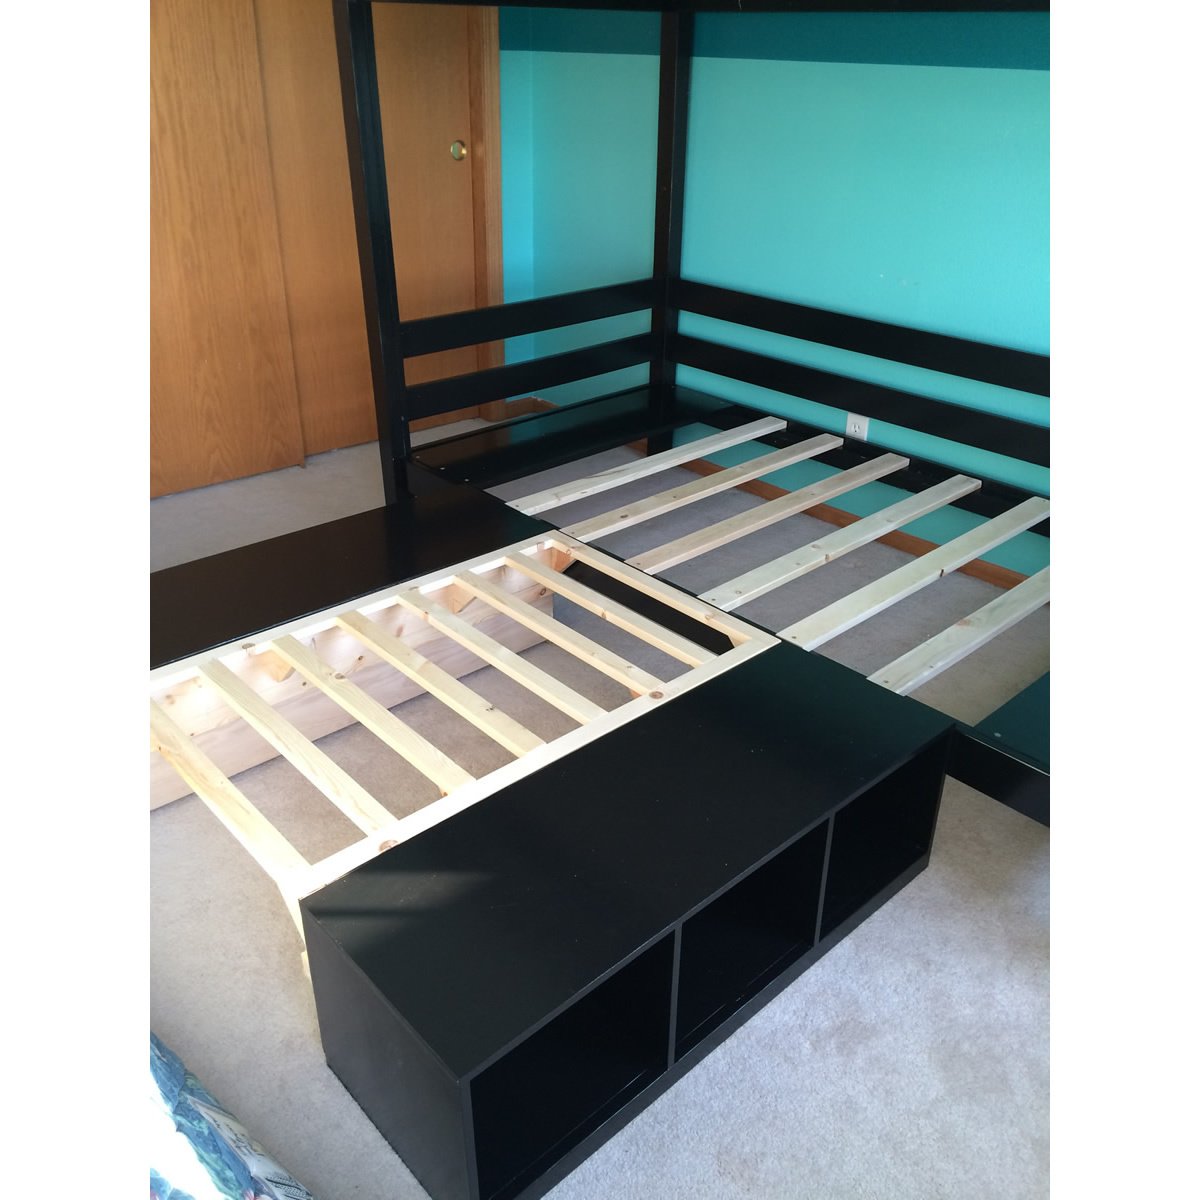
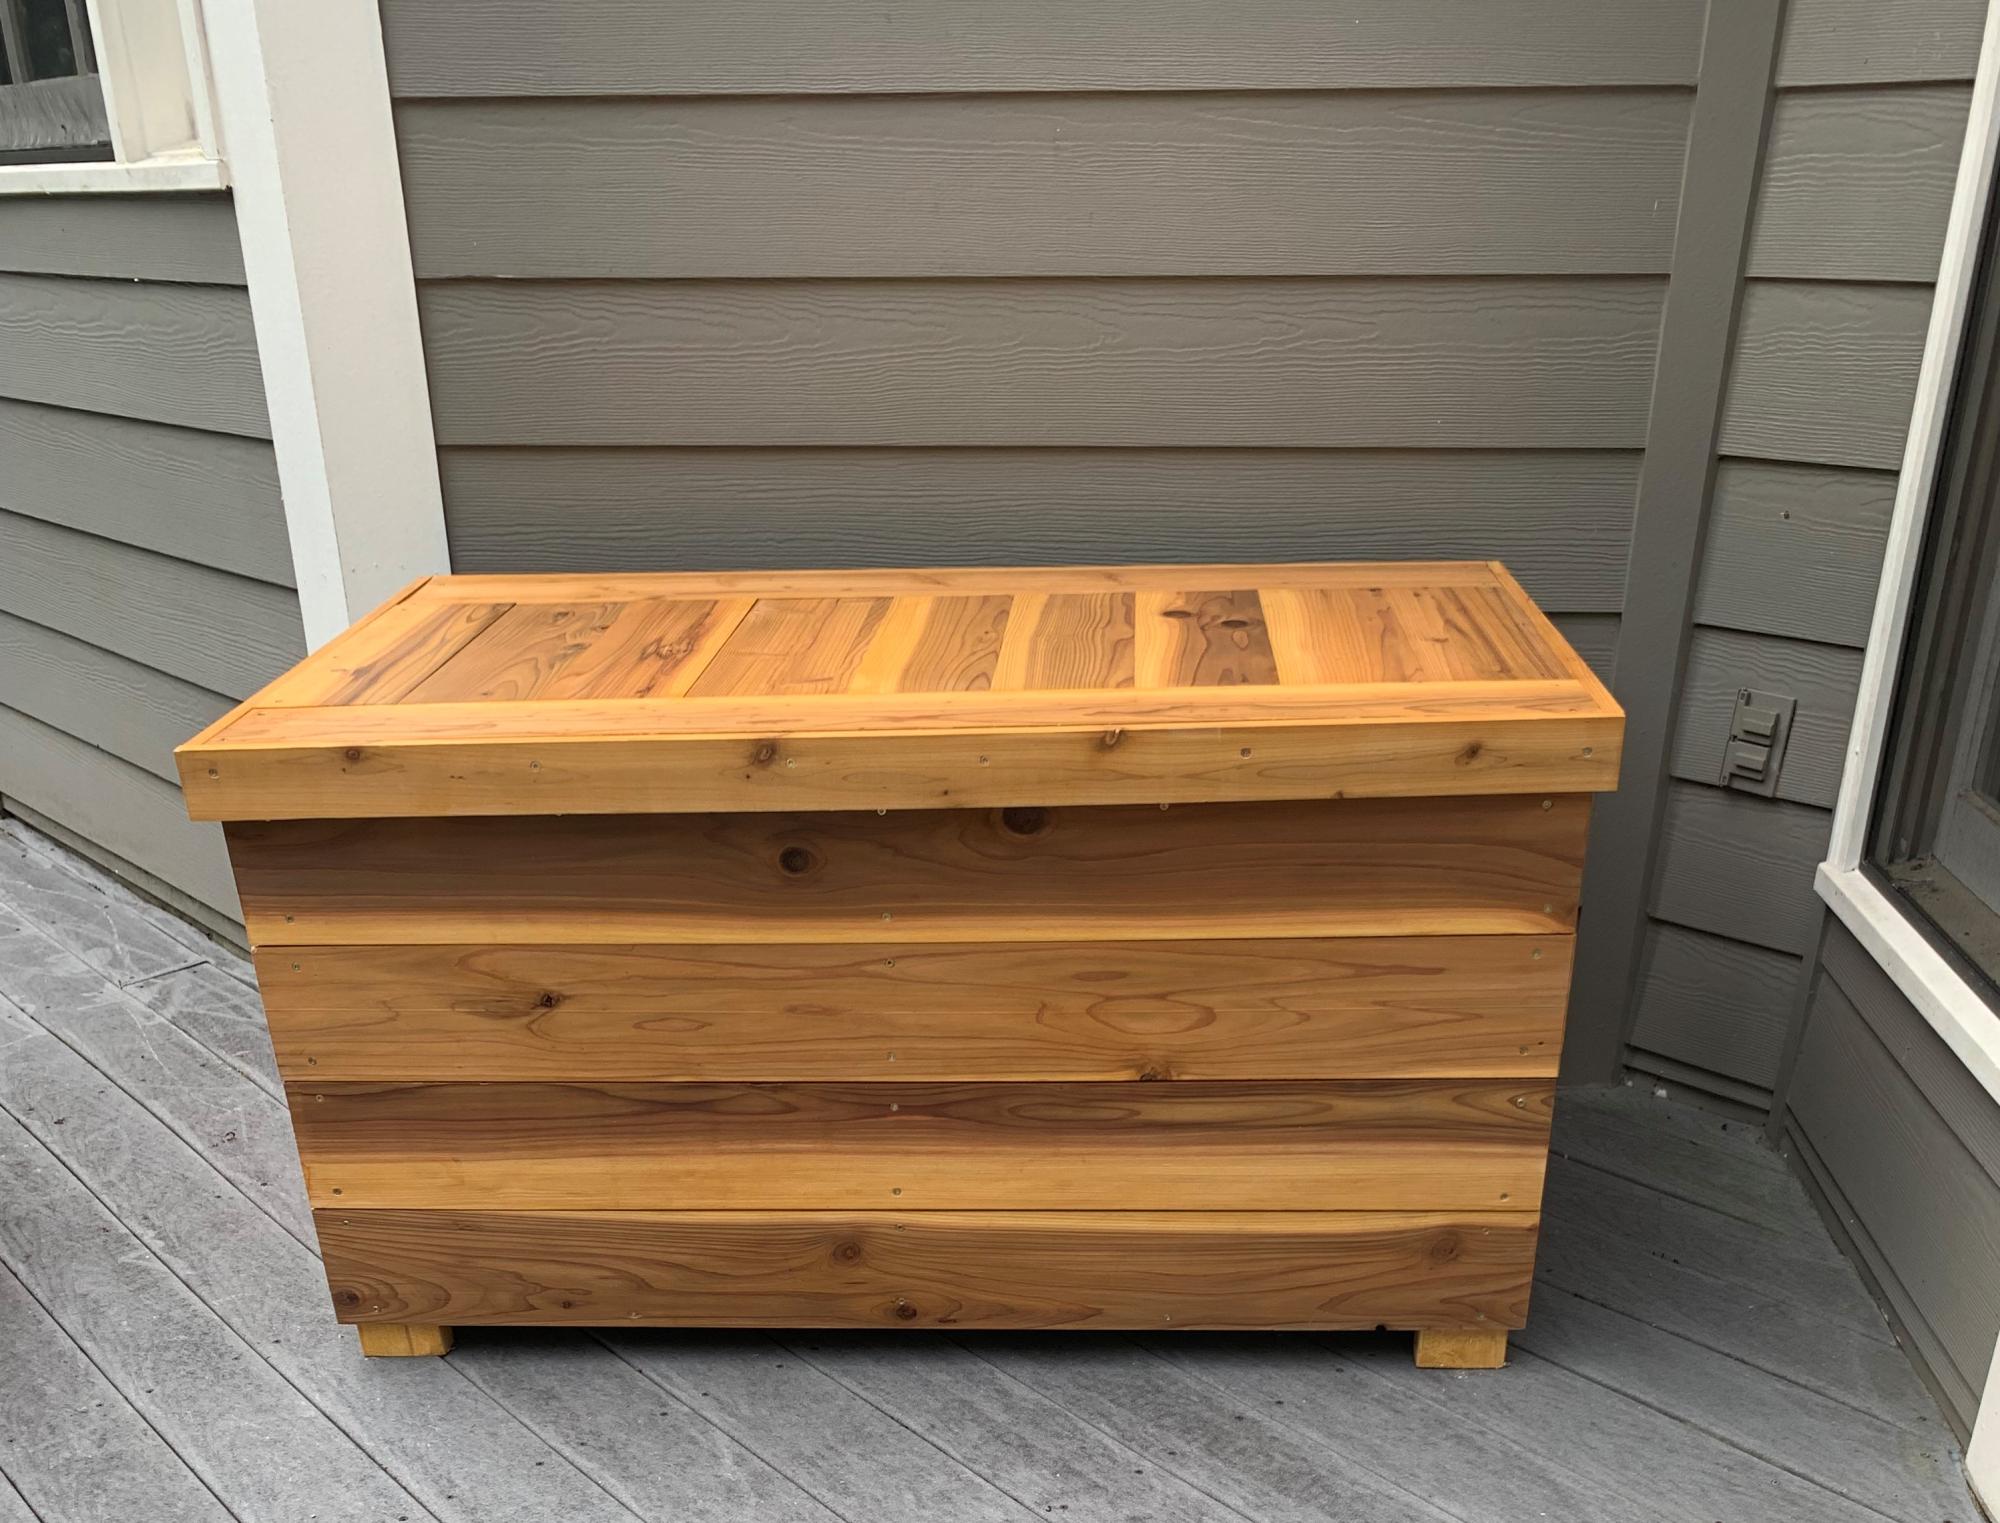
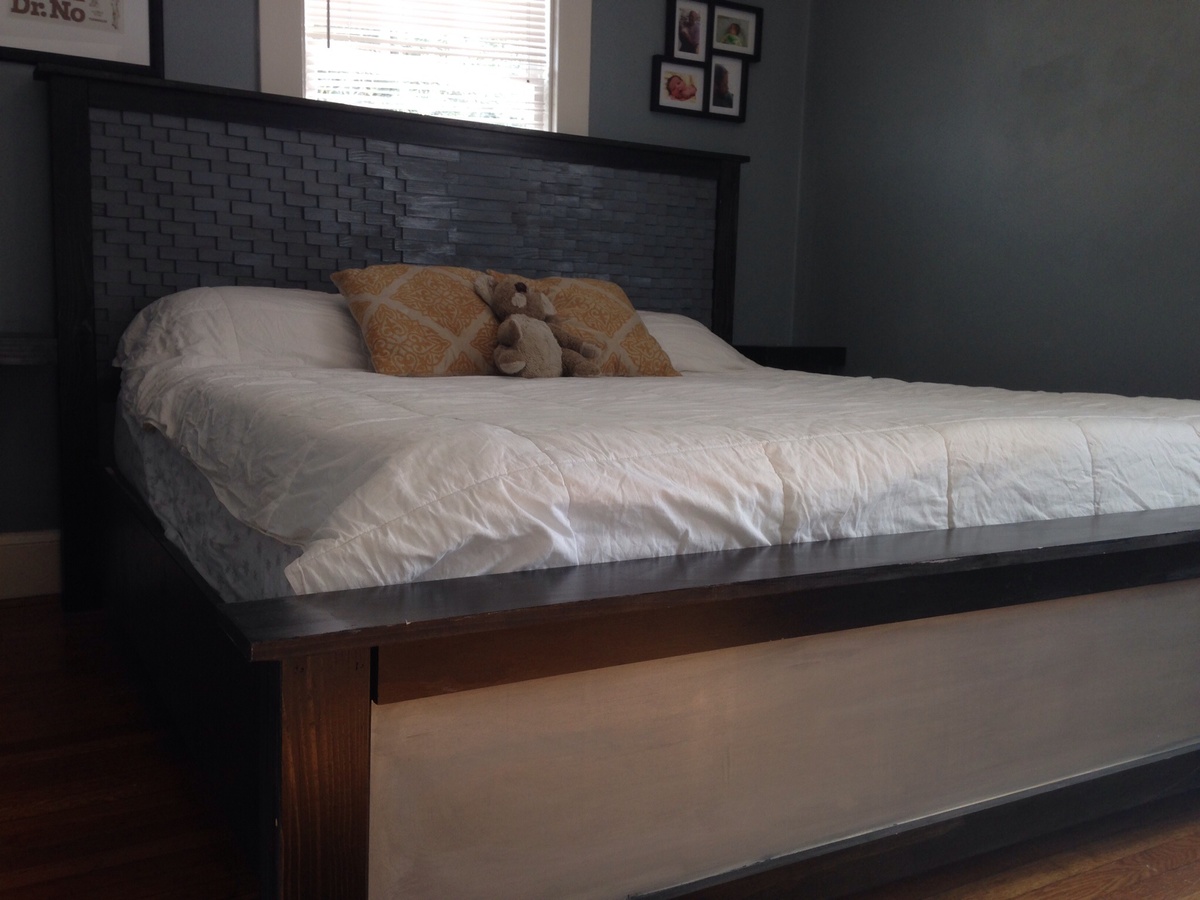
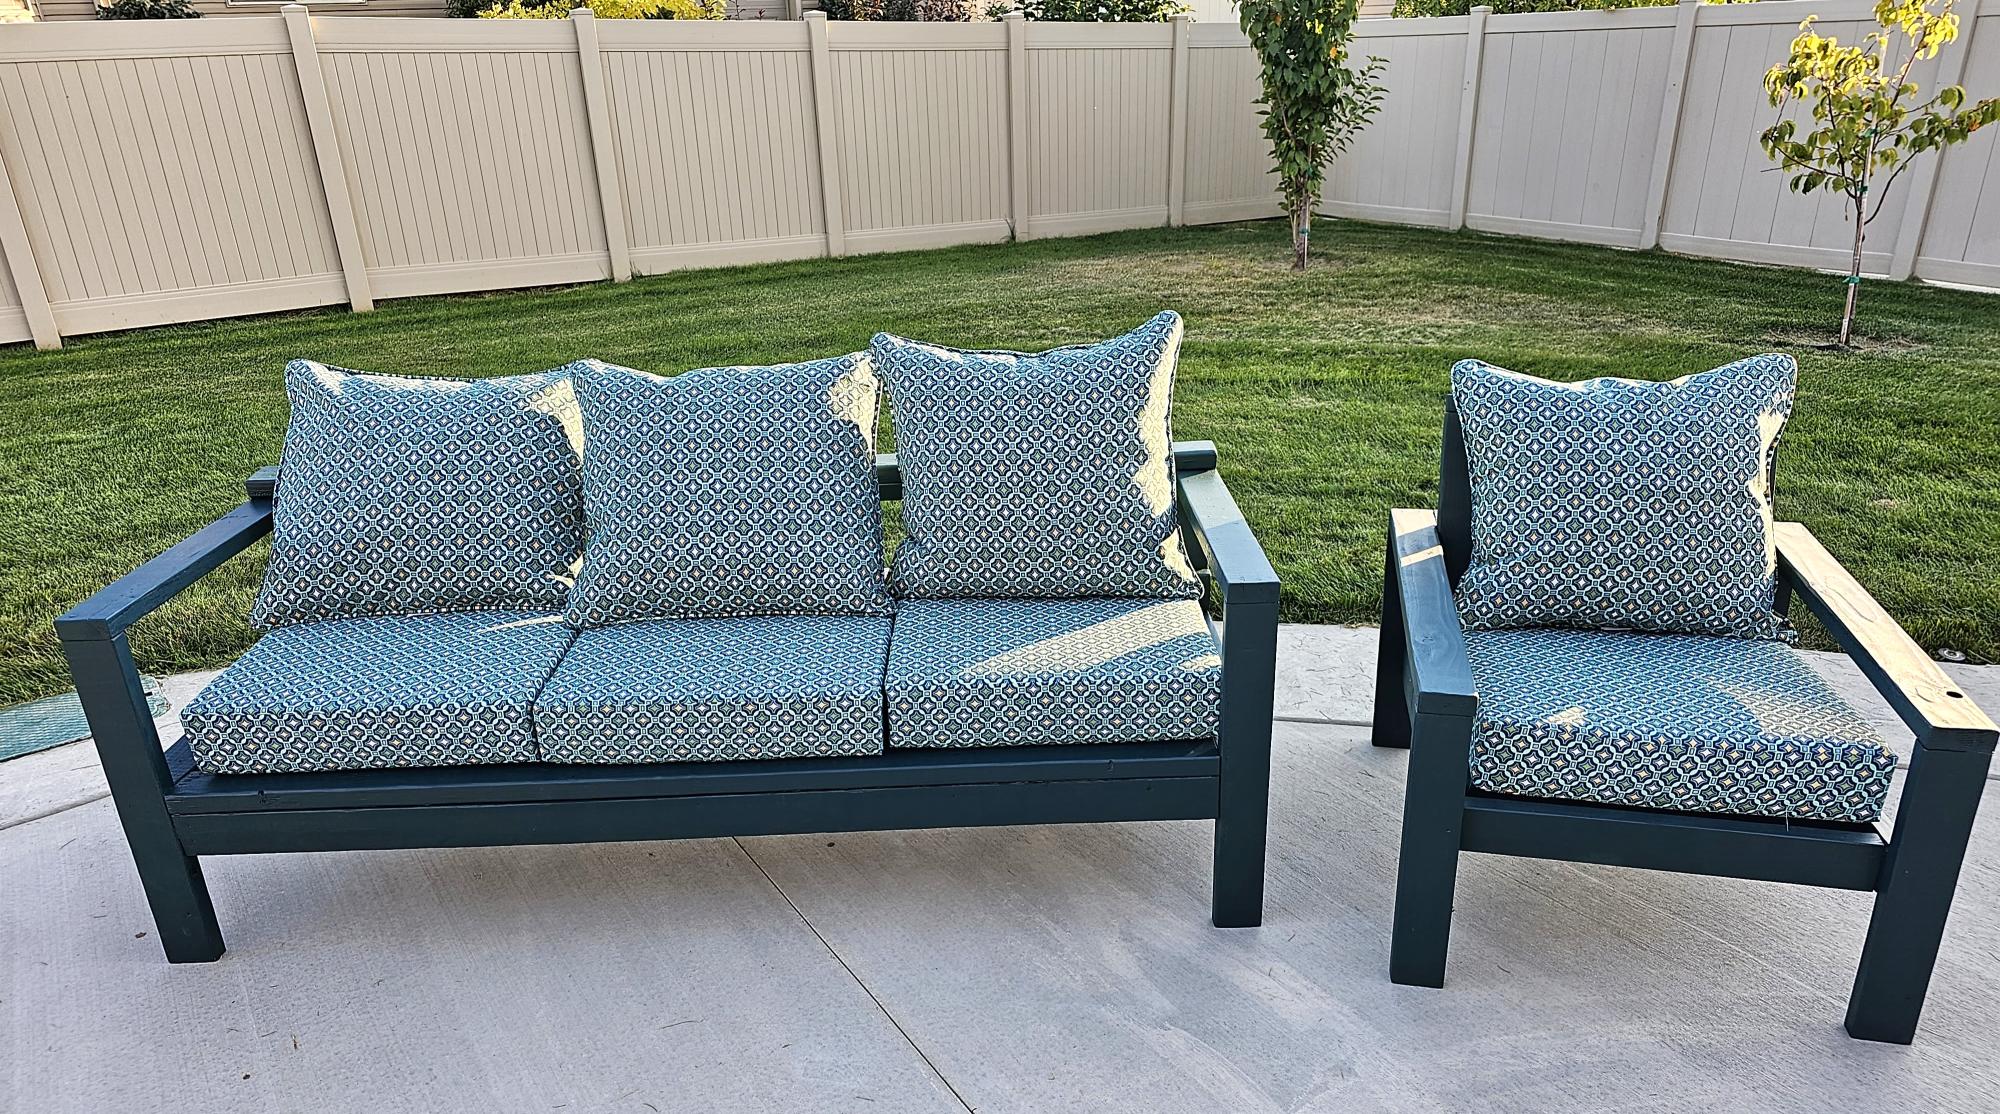
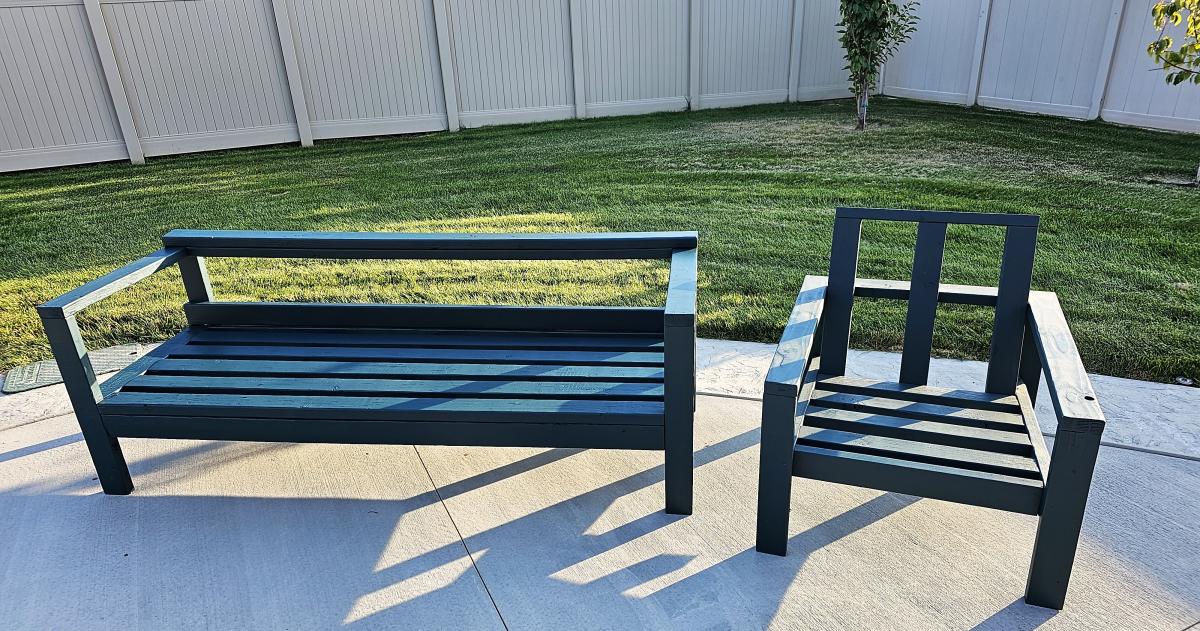
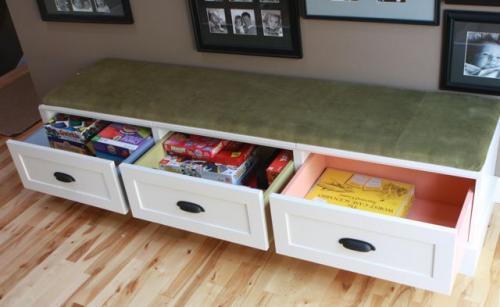
Community Brag Posts

Classroom Couch

Submitted by Anonymous (not verified) on Mon, 07/15/2024 - 13:27

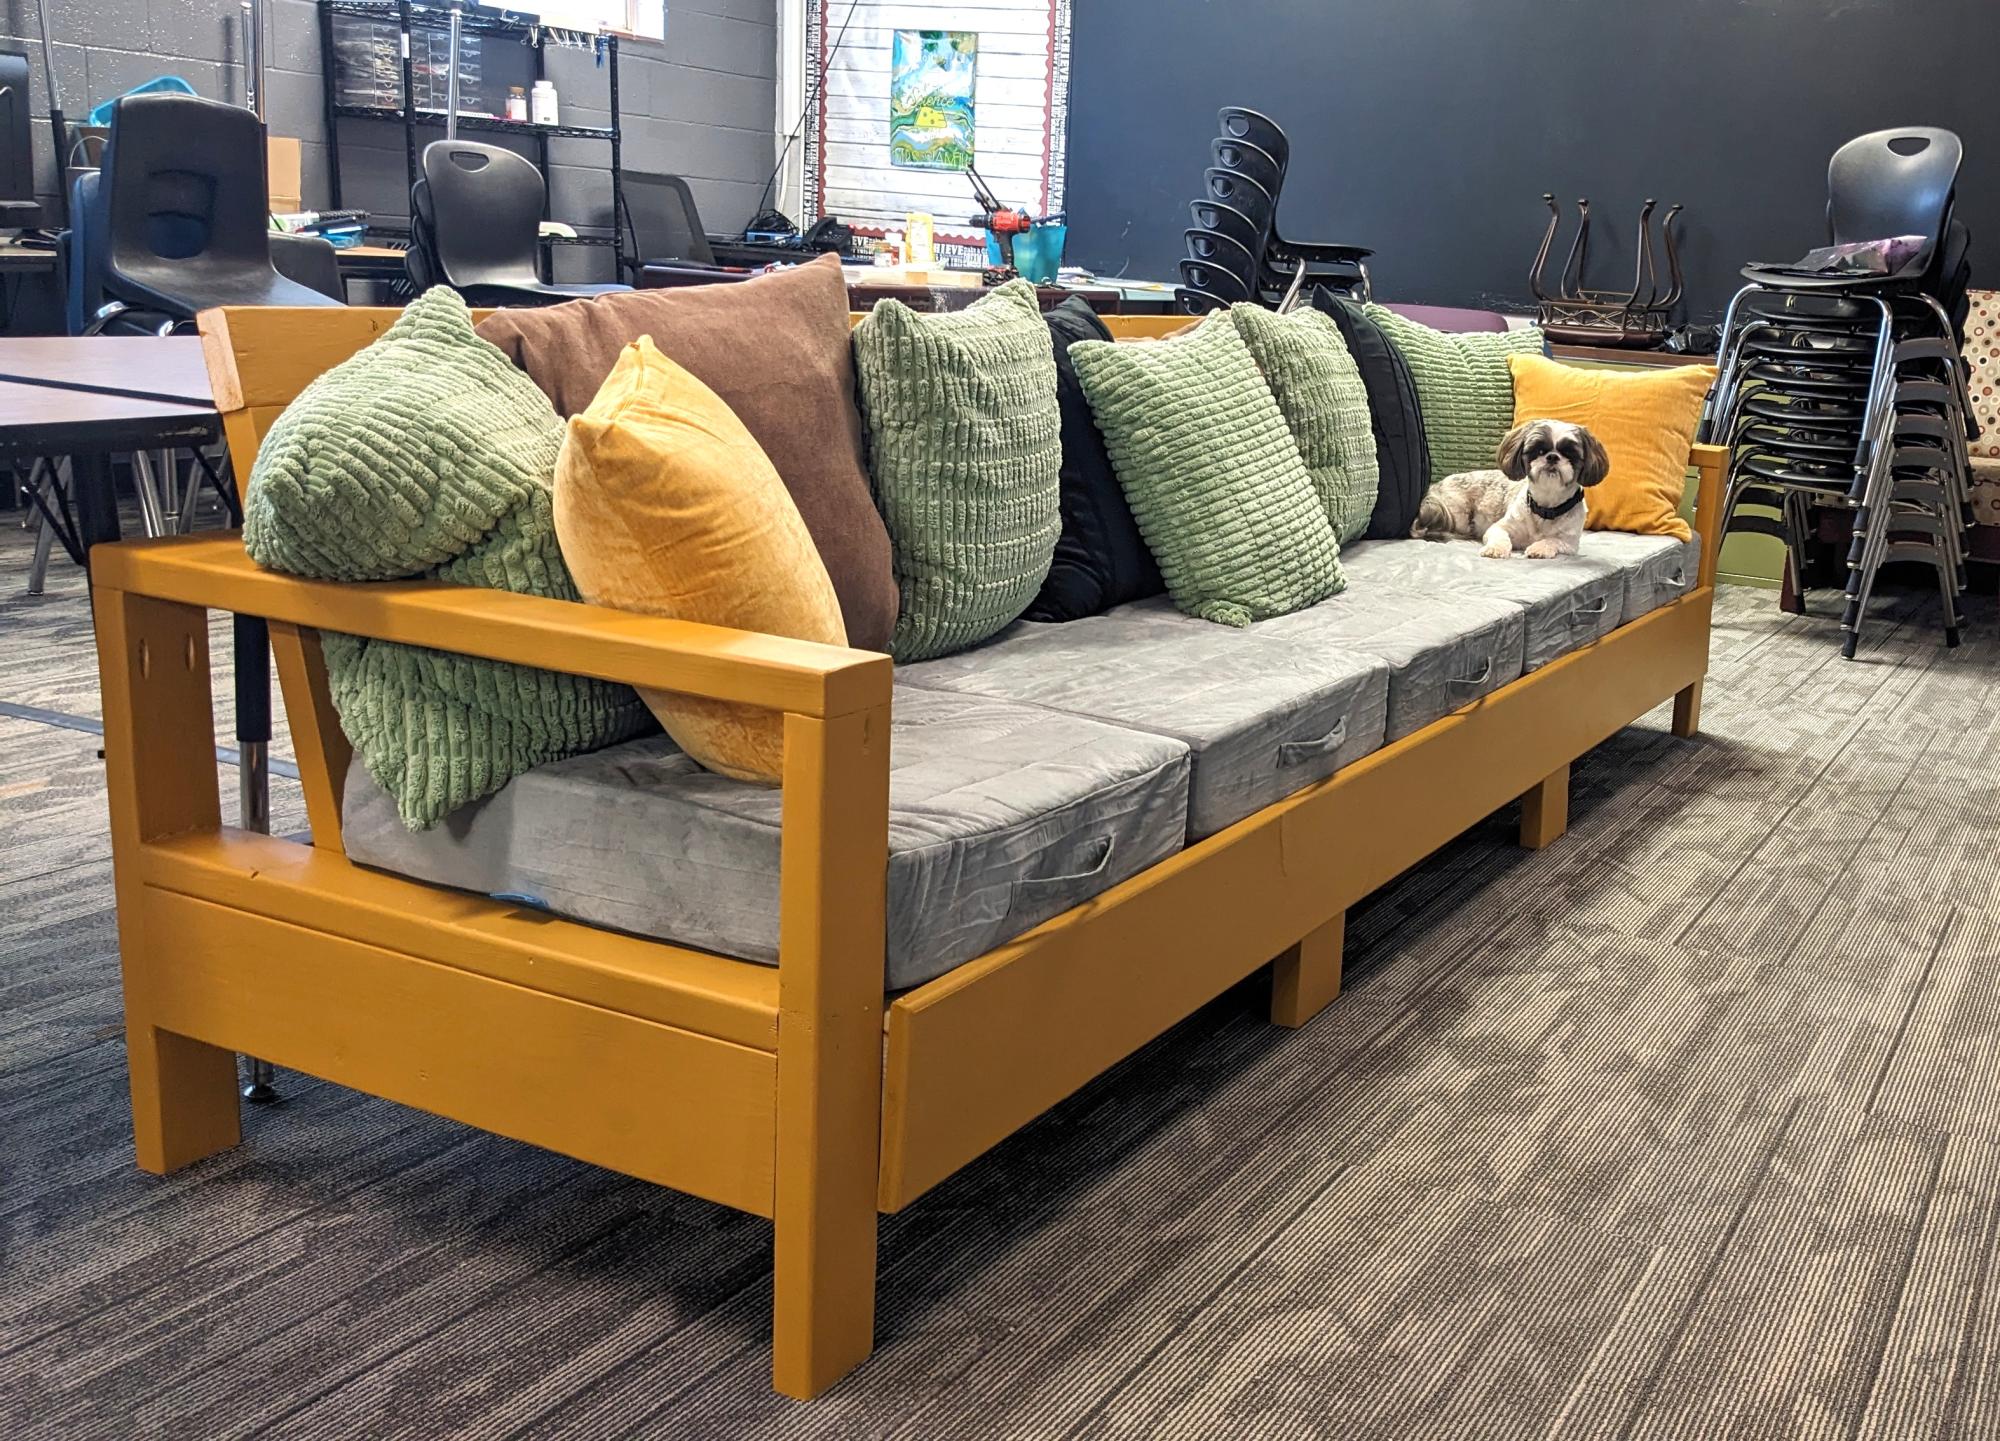
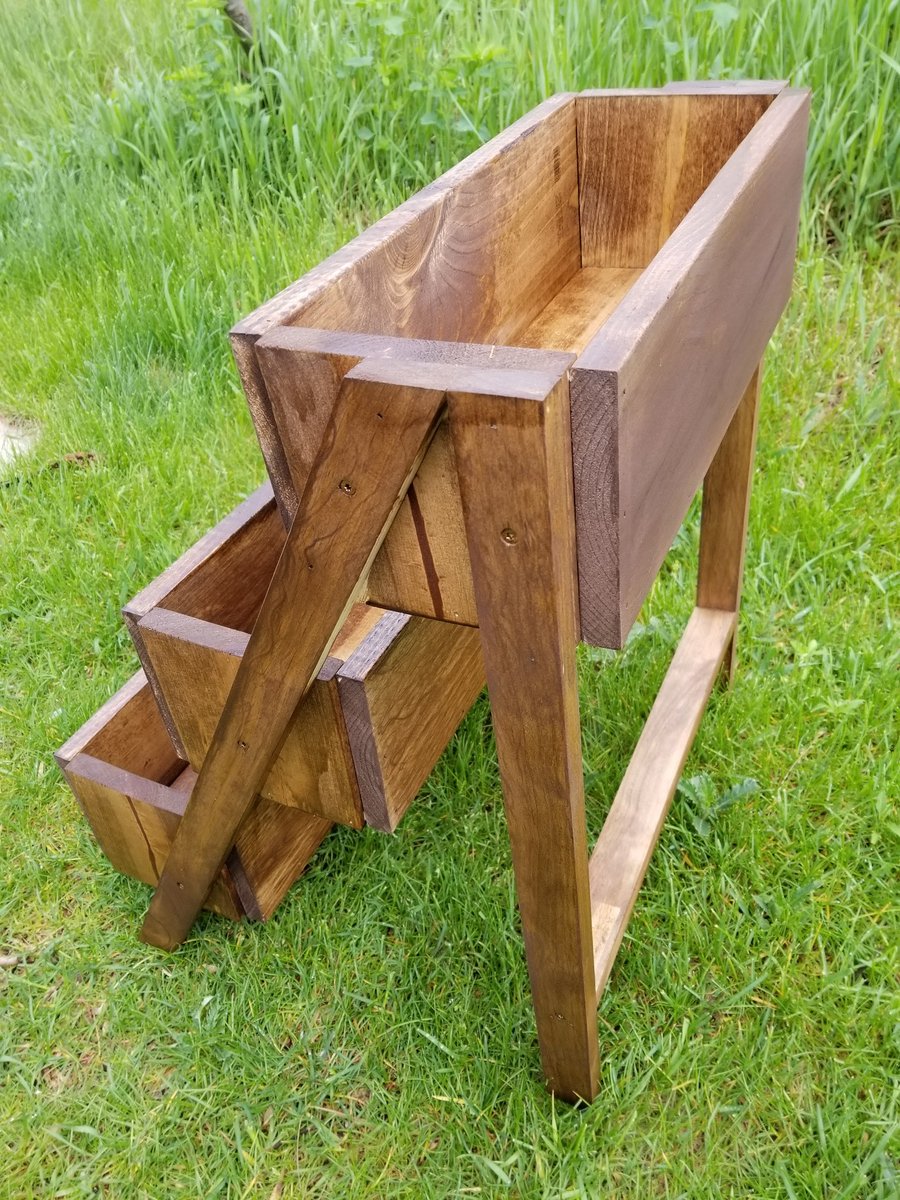
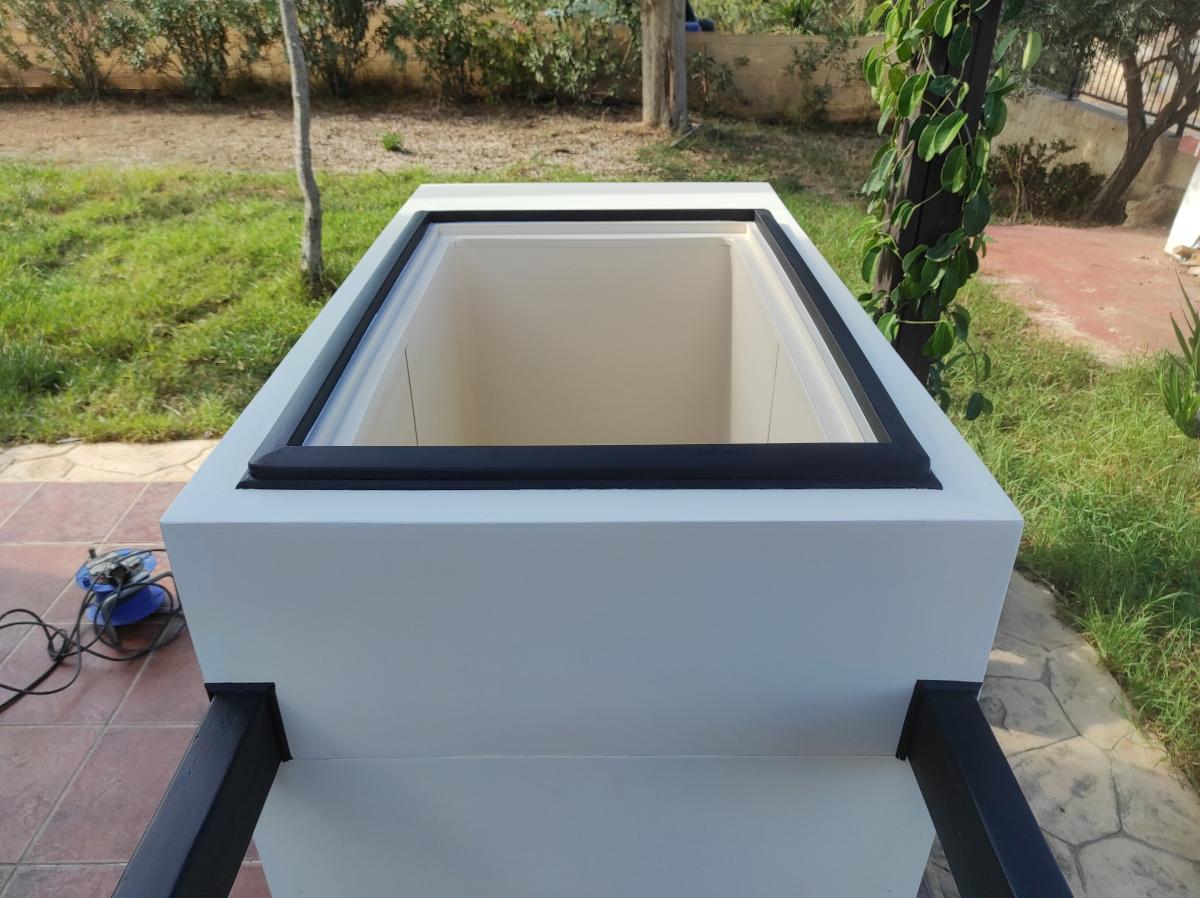
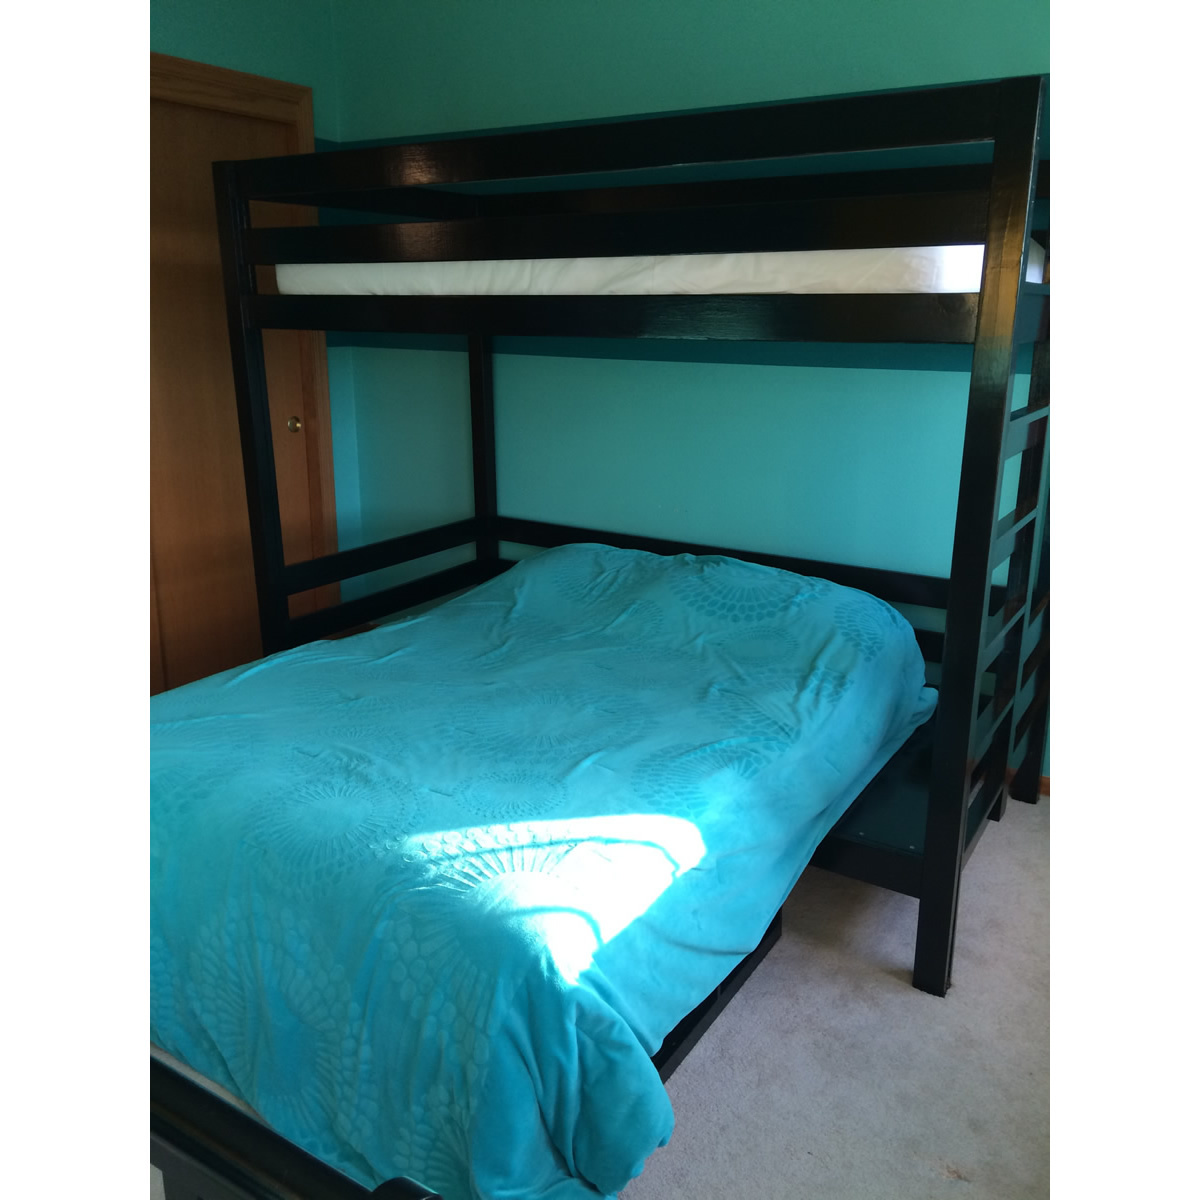
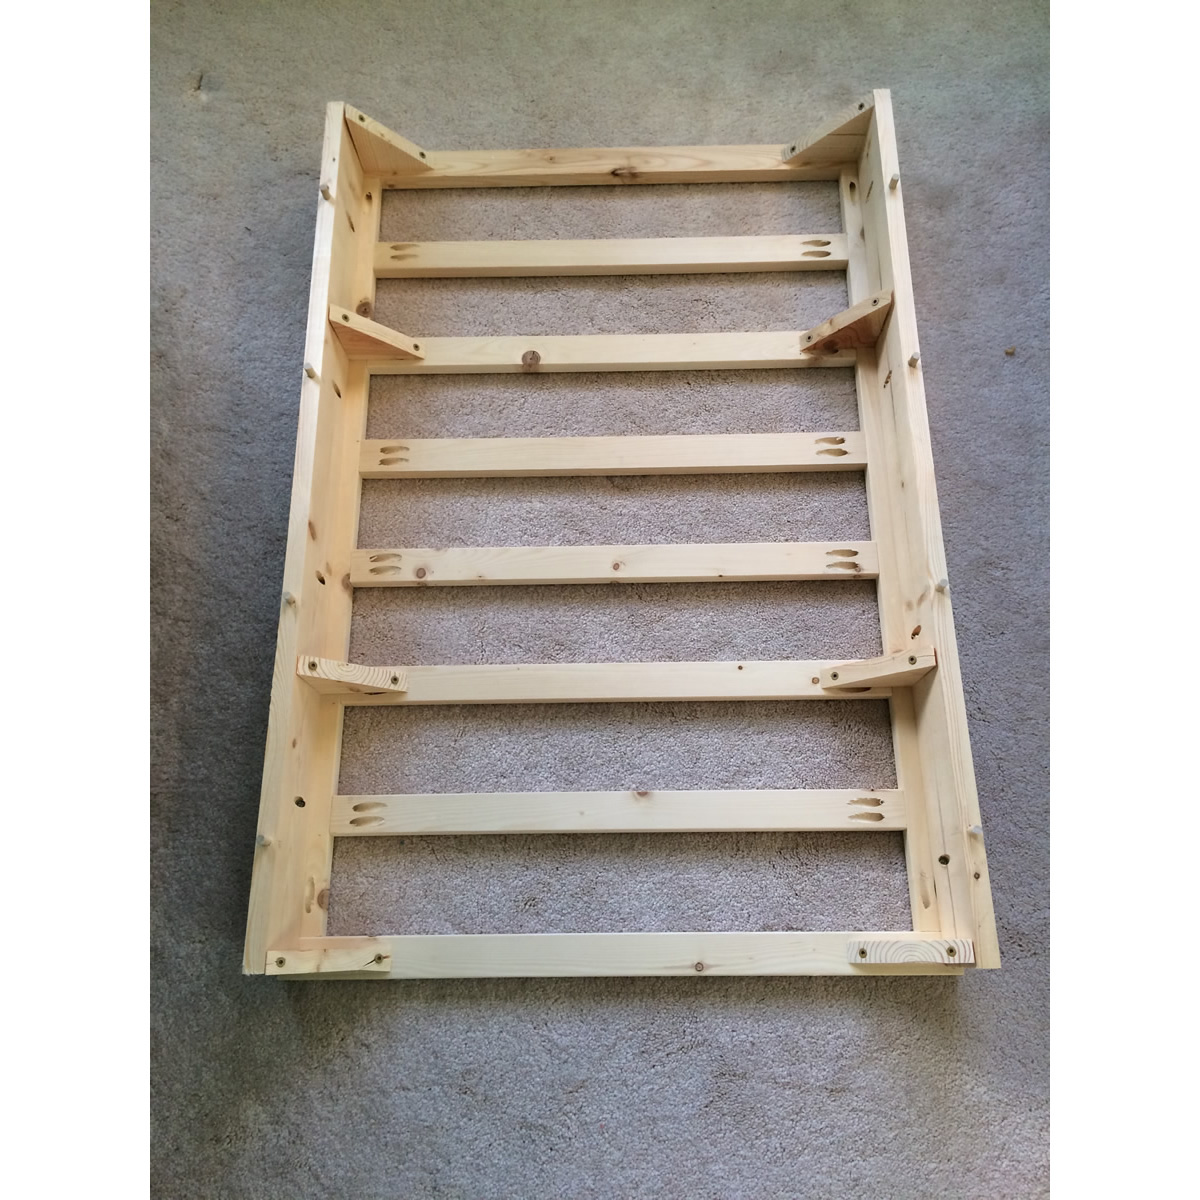
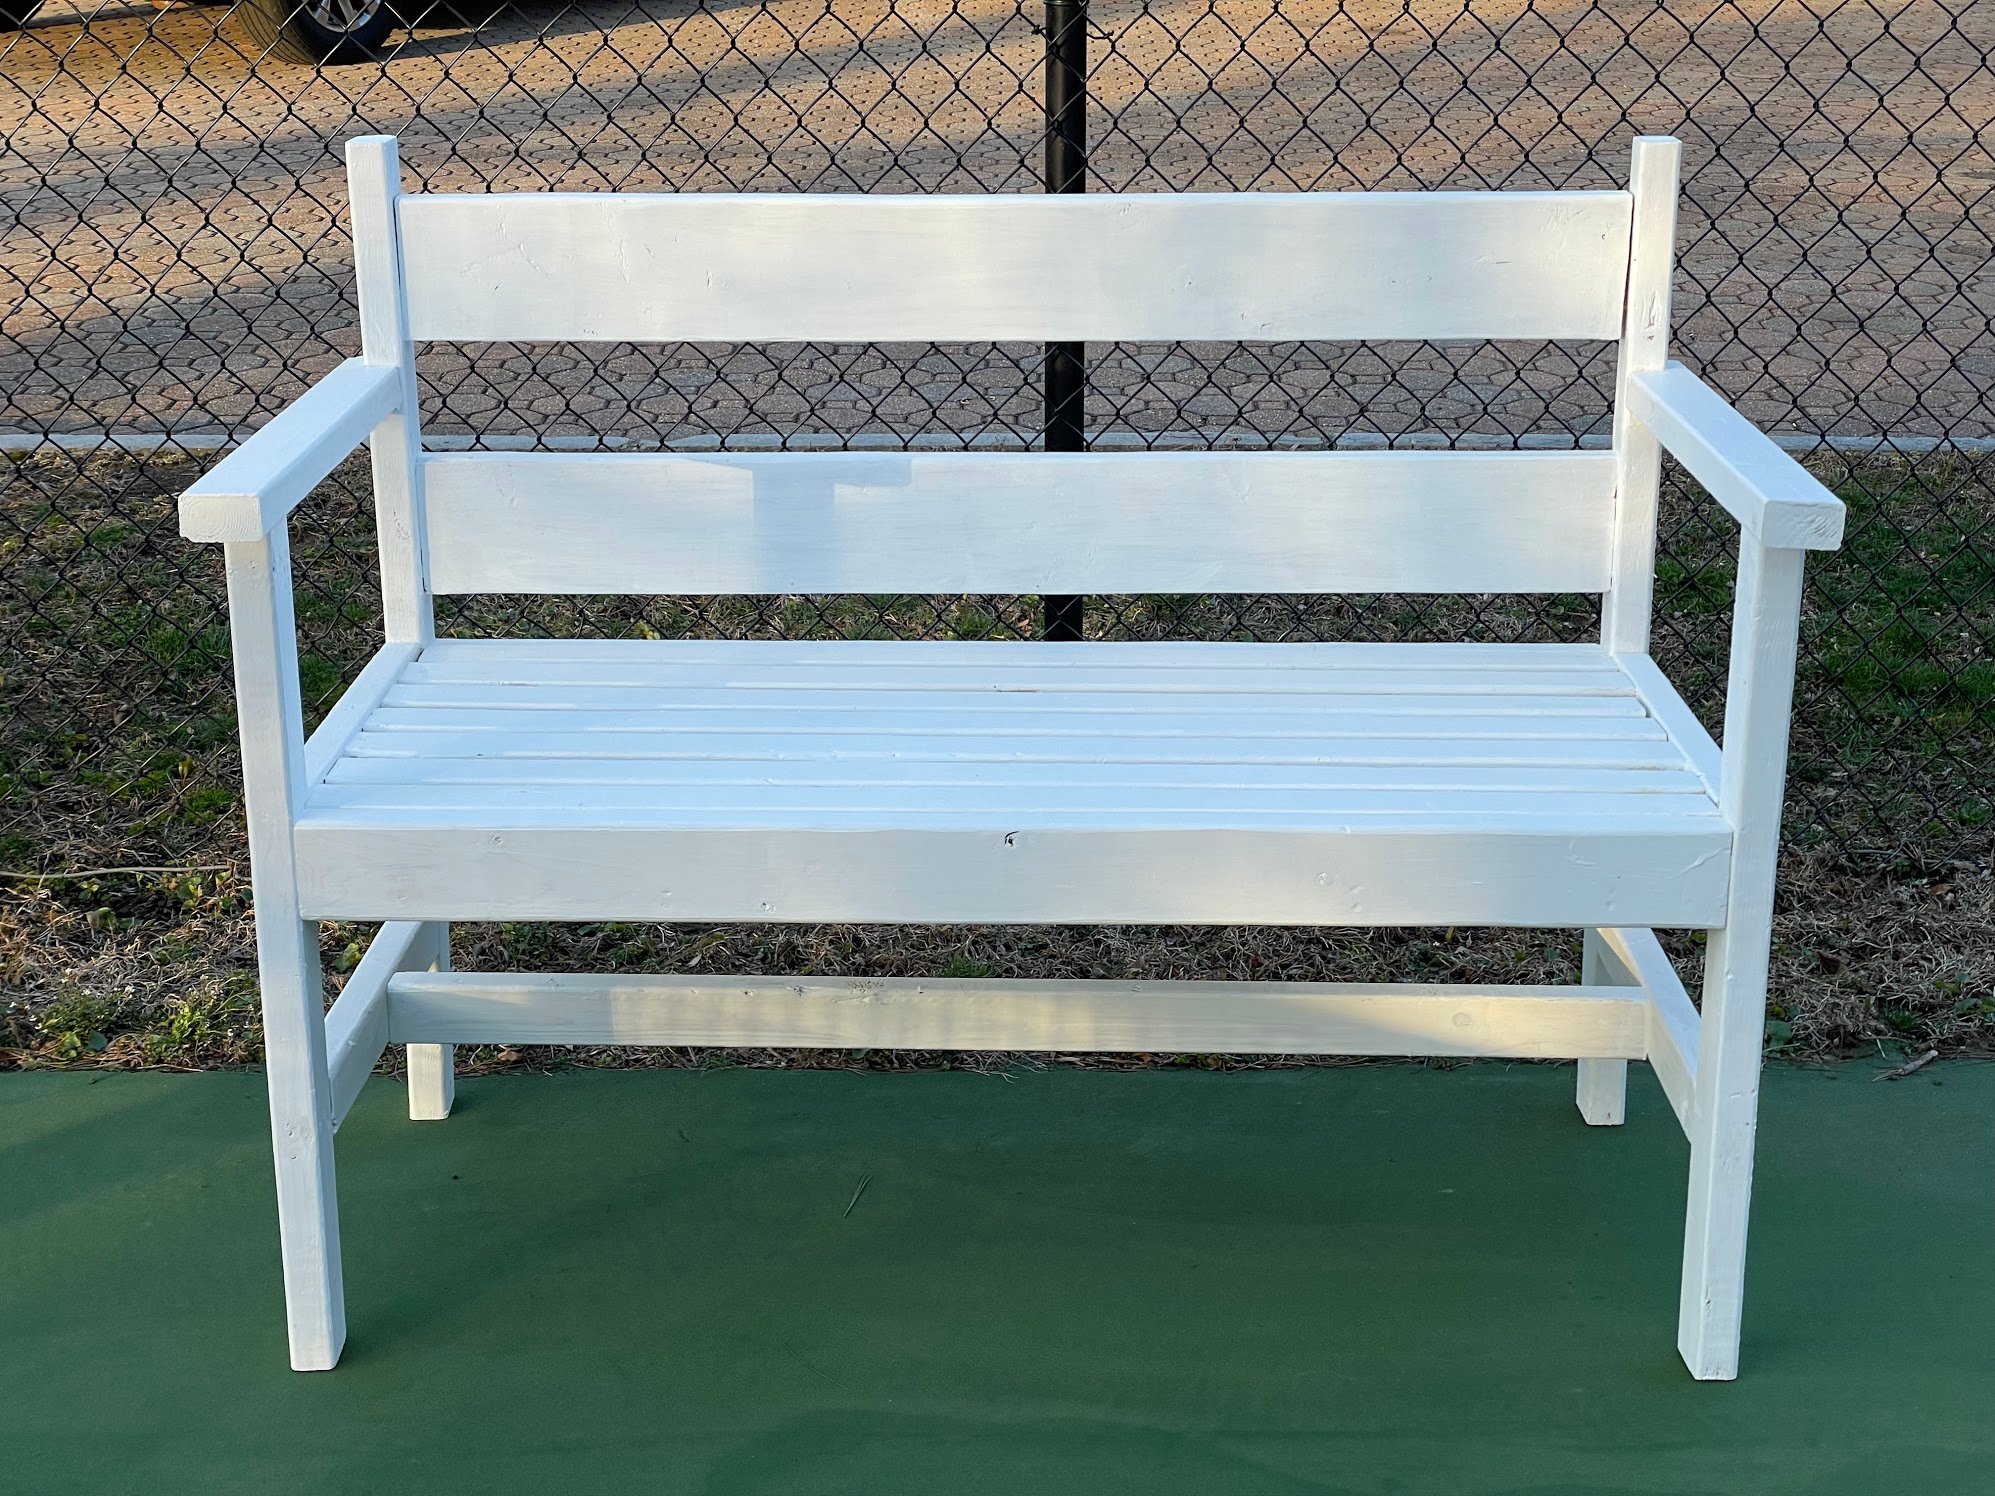
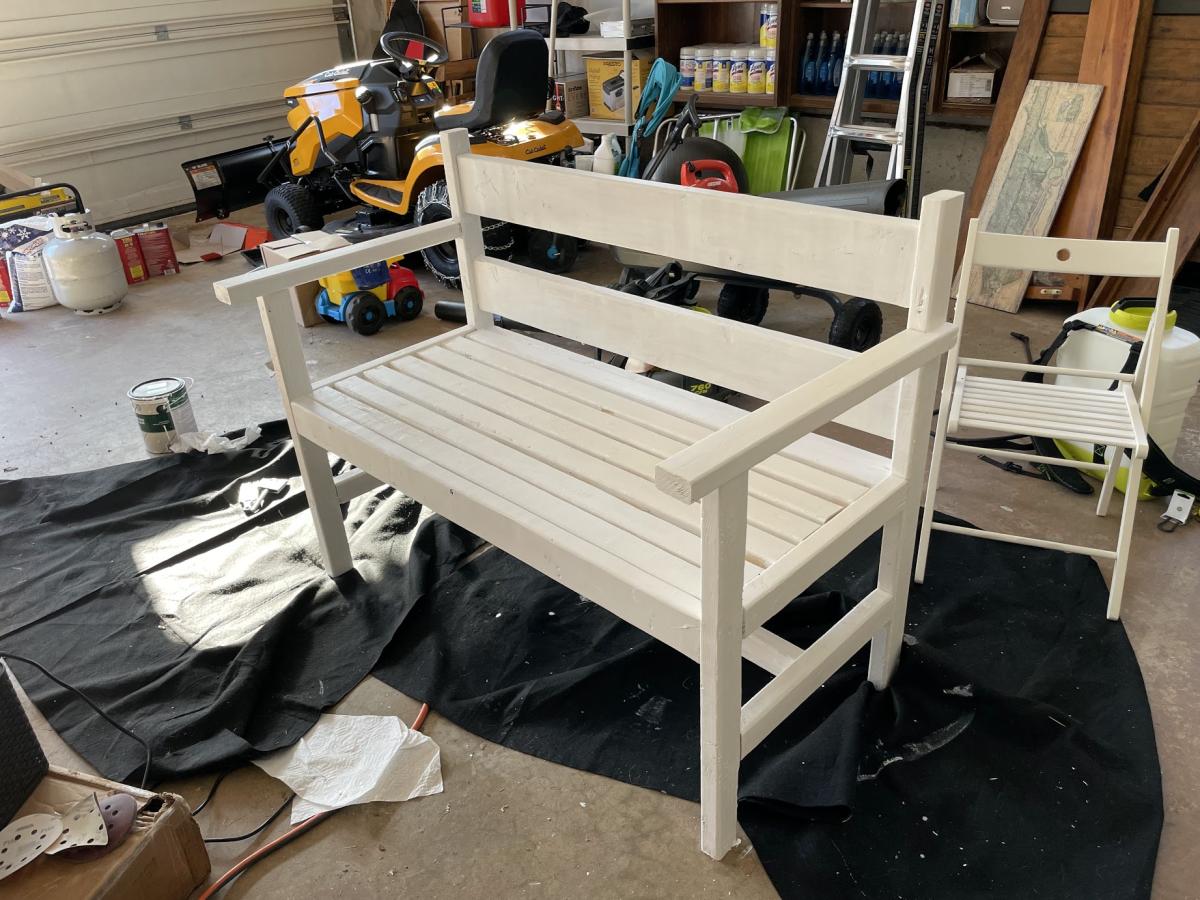
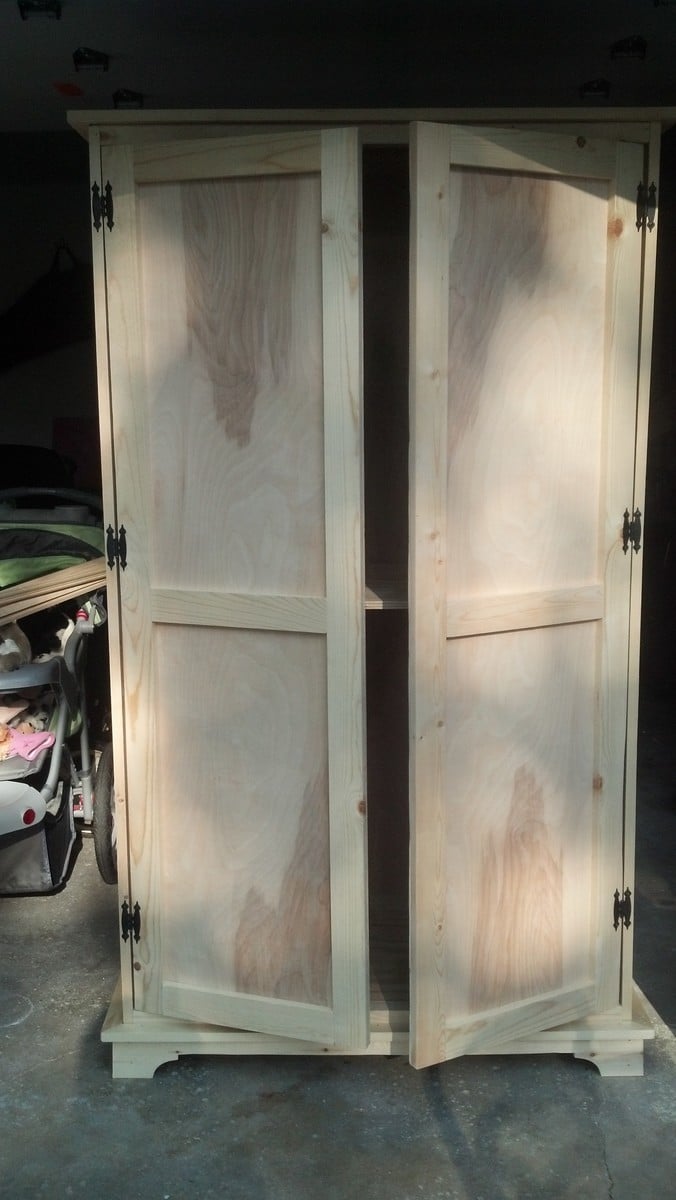
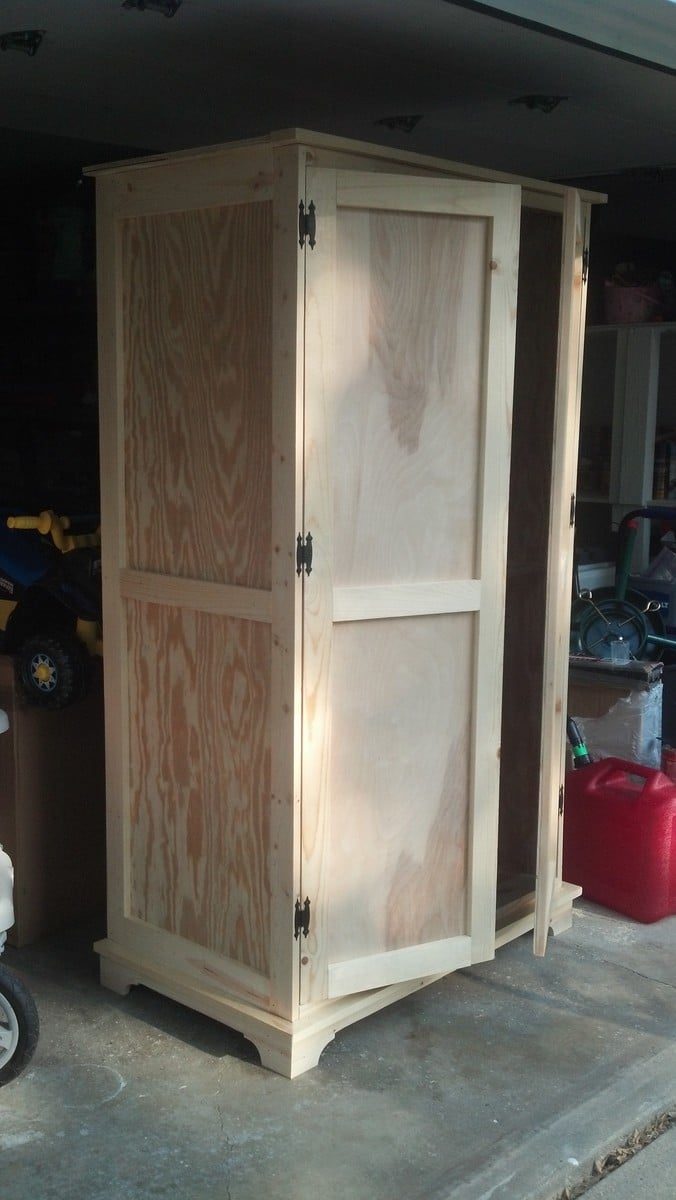
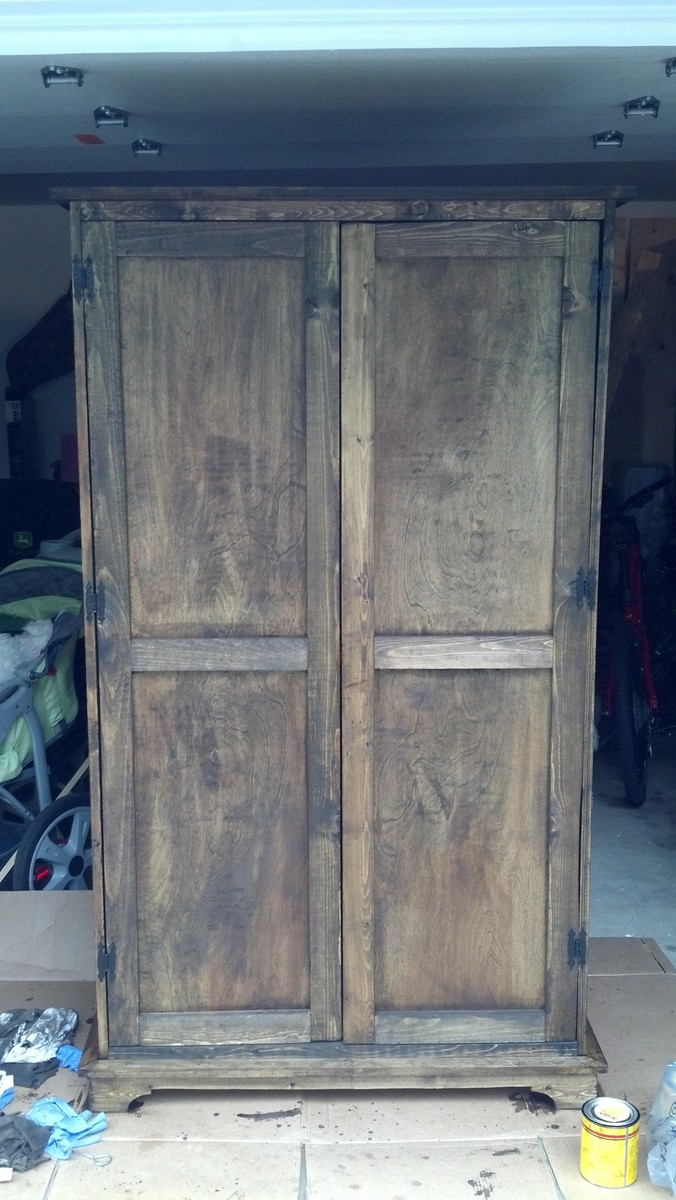
I'm a high school teacher and like flexible seating. I needed something that is very sturdy and can take a beating from teenagers. I used Ana's "2x4 Outdoor Sofa" plan, made it longer, added some extra braces, and here it is! My new classroom couch.

Julie Stanfill

Built from Plan(s)

Comments

Cipher7

Wed, 03/12/2025 - 06:19

Writing academic papers can be a demanding task for students, requiring extensive research, proper structuring, and strong argumentation skills. Many struggle with time management, balancing multiple assignments, or simply finding the right words to express their ideas effectively. Professors expect well-researched and properly formatted papers, which can sometimes feel overwhelming. For those who need guidance, this resource https://phdify.com/ offers professional academic assistance to help students meet their deadlines without compromising quality. Whether it's a research paper, dissertation, or coursework, having expert support can make a huge difference in achieving academic success. With the right approach and resources, students can enhance their writing skills and gain confidence in their work, ultimately preparing them for future academic and professional challenges.

Kentwood Book Shelf

This was my first major build with plans from Ana. I actually found this bookcase via Shanty2Chic. It went smoothly and all in all took me a few evenings about an hour at a time. I have 3 kids so it did take me a little longer to finish. I am so impressed with myself and so is my husband. I used a 10" chopsaw for most of the cuts. I also used my KregJig. Thanks Ana!

Estimated Cost
$100
Estimated Time Investment
Day Project (6-9 Hours)
Finish Used
Minwax Special Walnut followed by Annie Sloan Chalk Paint Dark Wax Finish.
Recommended Skill Level
Intermediate

Comments

Kitty Outhouse

My first Ana White project. Built Ana’s awesome small cedar shed as an outhouse for our many cats. The have access to it from inside the house. Great way to keep litter boxes and the mess out of the house. It is stand alone, and attached to the house, in front of a bedroom window. There are two ‘entrances’ as well as two, one-way, escape hatches, if a cat in the outhouse is interrupted by another cat (I.e. a male cat comes in and the female feels trapped) they can exit to the outside (one way so no critters can come inside!). Ana has easy to build plans, great site! I plan on making the square table just posted today for my newly refurbished deck. Keep in mind, my estimated costs and time reflect a LOT of additional features on the inside. The shed itself, very easy, simple, inexpensive. Very little waste with Ana’s projects as well.

Built from Plan(s)
Estimated Cost
$500
Estimated Time Investment
Week Long Project (20 Hours or More)
Finish Used
No finish, at least not yet.
Recommended Skill Level
Intermediate

Comments

3 Tier Planter

Submitted by ranlim on Thu, 05/18/2017 - 21:24

Love this planter. Used quality pine. Perfect size for the balcony! I use it for fresh herbs... i have have other people wanting one too!

Estimated Cost
17
Estimated Time Investment
An Hour or Two (0-2 Hours)
Finish Used
Special walnut
Recommended Skill Level
Beginner

Ice cream cart

Submitted by Markb25 on Mon, 11/22/2021 - 23:52

A friend wanted a tatty old chest freezer turning into a traditional looking ice cream cart for her business. The freezer itself was way to heavy and not really fit for purpose but, after a week of tinkering about with a couple of design changes here and there to accommodate the weight, I don't think I've done too bad a job.

The internal frame is Nordic fir, half lapped at the joints and secured in place with 38mm oak dowels, the cladding is 6mm birch ply finished with paint from the French chic Al fresco range, the writing proved a little challenging on the the eyes and my hands aren't as steady as they used to be but she's happy.

Comments

Foldable Farmhouse Table 2

I recently published my first foldable farmhouse table last week here: http://ana-white.com/2013/06/foldable-farmhouse-table The first one I made was very heavy because I used 2x6 tops and 4x4 legs. I decided to make another one that would be lighter and easier to transport. The plans are basically the same just instead I used 1x6 for the top and put 2x4s together for the legs. I also shorted the length by about a foot. The only issue with making the table shorter length is that the legs don't fold completely flush. You could easily make the legs short enough to fold flush, but then the table was a little too short from the ground up for us. The same as before I simply used kreg joints to join the top boards together. I then made a 2x4 frame and attached it to the bottom. I made each of the legs separately by joining 2x4s together and sanding everything down. Everything was stained before putting the legs on using Miniwax Dark walnut stain. I used 2 coats of Miniwax water based clear coat to seal it. A notch was cut out on each of the bottom 2x4 supports on the legs and I glued in a small piece of wood cut to size. These are so I can put in a 2x4 support board under the table so that the legs do not fold in on themselves when it is standing up. The legs are just attached using door hinges you can buy in packs in the hardware section. Be careful when screwing into the 1x6 top not to use too long of screws or else you will over screw and have them come through into your table top. Table design was by Amber Veatch Designs and photographed by Andi Mans Photography

Estimated Cost
120.00
Estimated Time Investment
Day Project (6-9 Hours)
Finish Used
Sand to finish and then used Miniax dark walnut stain followed by Miniwax water based clear coat.
Recommended Skill Level
Beginner

Comments

Freddyflis

Tue, 07/07/2015 - 06:41

We have built something very similar and we have a good bit of wobble at the top, even though the stretcher down the center of the table is holding solid in there and secred with clasps. Were thinking of some sort of sliding pin into the top of the leg to the apron. Anyone run into this before?

Seasonal And Holiday

Convertible Classic Bunk Bed

Submitted by sharonw on Mon, 06/22/2015 - 22:24

I modifed the Classic Bunk Bed and Cubby designs to create a convertible twin over full bunk bed. The bottom full-sized bunk can be rotated to be parallel to the wall (when my son sleeps there) or perpendicular to the wall (for when we have guests so they don't have to climb over one another). Changes I made were:

- I moved the ladder to the end of the bed to make room for the full-sized mattress.
- I added 1x2 treads to the ladder to make it easier on the feet.
- I raised the height of the top bunk. Finished height of the bed is 68" to add head room on the bottom bunk for taller people.
- I built 2 custom cubbies (full dimensions of each 37.5" x ~13.5" x 11.5") to support the added width of the full-sized bottom bunk. These cubbies can also be rotated to support the mattress in the perpendicular position for use as a guest bed (see pictures).
- I built an additional support that fits onto the back of each of the cubbies when they are turned to support the perpendicular guest bed (see pictures).
- I changed the end support rails for the bottom bunk to 1x12s that I painted to match the bed to be used as night stands when the bed is rotated to be a guest bed (see pictures).
- I used wood thread inserts and 1/4"-20 connector bolts (from Fastenal) to assemble the bed, so it would be easy to disassemble and reassemble.

Funny story - When we went to move it to the second story bedroom from the garage where I had finished it, the long sides wouldn't fit up our stairs!!! Our stairs have a tight 90 degree turn partway up. After all the hours I put in building and finishing it, I almost cried! Fortunately after using a straight edge blade to carefully cut through the paint, we unscrewed the upper most rail and were able to just barely get it up our stairs. I was so thankful I hadn't glued those boards on!

Estimated Cost
$200
Estimated Time Investment
Week Long Project (20 Hours or More)
Finish Used
1 coat primer, 2 coats Olympic ONE in their standard Black (satin), 2 coats Minwax polycrylic (satin - although I thought it looked shinier than I expected). All applied with a Purdy 3" angled brush.
Recommended Skill Level
Intermediate

Garden Bench

Submitted by Anonymous (not verified) on Sun, 04/03/2022 - 09:31

Second project ever! Came out pretty nice in my opinion!

Built from Plan(s)

Comments

Cedar deck box

Submitted by JMG on Wed, 07/06/2022 - 19:47

I had to modify these plans to use what I had on hand. I used left over cedar fence pickets (planed down and sealed) and adjusted the size to fit all my outdoor cushions. Overall dimensions are 49" wide x 28" deep x 26" high. I also used 2x4's instead of 2x2's because that is what I had in my shop. I added 1x3's around the top to fit snugly instead of using hinges (again trying to use what I had on hand). We get A LOT of rain in the summer so hopefully the cushions will stay dry. I also added some screen left over from the screened in porch to the bottom before adding the "floor" to keep bugs out. I just stapled it to the frame before adding the floor boards. I did add a piece of treated 1/4" plywood under the top in hopes of keeping the rain out.

Built from Plan(s)

Comments

Outdoor sectional

Submitted by Anonymous (not verified) on Wed, 10/02/2019 - 04:17

Made the outdoor sectional. The coffee table was made out of left over pieces!

Estimated Cost
$260
Estimated Time Investment
Weekend Project (10-20 Hours)
Finish Used
We used a semi transparent stain applied with brush. We would recommend a hand sprayer instead.
Recommended Skill Level
Beginner

Comments

Farmhouse Media Cabinet (wall unit)

Submitted by bwblack2 on Wed, 01/15/2020 - 14:34

This project started as an idea to build a single Farmhouse Media Cabinet with a "42 tv mounted above it. I quickly realized that this space deserved so much more. Fast forward through weeks of debate and scouring the internet for inspiration, before finally settling on what you see pictured above. The first decision we made was to buy a monstrous 75", then everything else fell in to place from there. The tight stairwell leading to the basement forced me to build this unit in 6 sections (2 farmhouse media cabinets, 2 flanking cabinets, and 2 bookshelves.) It ended up sprawling 17' long when it was all said and done, but it fills the space so beautifully. It was by far the largest project I've ever tackled, but it was totally worth the hard work. Big shout out to Ana White for the inspiration!! 

Estimated Cost
$1200-$1500
Estimated Time Investment
Week Long Project (20 Hours or More)
Finish Used
Minwax(Early American), and Behr Premium Plus Ultra (Maui Mist)
Recommended Skill Level
Intermediate

Comments

Cassidy king bed

Submitted by Krigsvolds on Tue, 03/04/2014 - 13:05

My wife and I loved the look of this bed and decided to try to do it together. I built the frame and she tackled the headboard. In my haste at the hardware store I picked up the smaller packets of shims, a happy accident in my opinion! I decided to put the supports together with joist hangers to make it easier to take apart ,if need be.
We used a nail gun to attach the shims to the head board , and changed to
the pattern a little. Being that we were putting it in a smaller room I made some floating bed side tables as well. What a gratifying project!

Built from Plan(s)
Estimated Cost
$350
Estimated Time Investment
Week Long Project (20 Hours or More)
Finish Used
Rust oleum ebony and weathers grey stains (1 coat)

Minwax polycrylic semi gloss (2 coats)
Recommended Skill Level
Intermediate

DIY Outdoor Furniture

Submitted by Anonymous (not verified) on Mon, 06/03/2024 - 09:25

I couldn't see spending several thousand for outdoor furniture, so I looked at what you had done. It was so much easier and sturdier than I thought it would be. Thank you for all you do for the community.
I added the board on the back of the sofa to stop the cushions from slipping through. My wife wanted a fun color so we found a waterproof stain and had it tinted. I thought it came out very nice.


Drawer bases turned banquette

I took Ana's open base and drawer plans, added a few inches to the height (so that the base trim on the storage units would clear the base trim on our walls), and put them together to create a banquette-style bench with tons of storage underneath. We use the drawers for our family board games and photo albums.

Estimated Cost
$100-$150
Estimated Time Investment
Weekend Project (10-20 Hours)
Finish Used
Sherwin-Williams Pro-Classic in semi-gloss followed by Minwax Polycrylic.
Recommended Skill Level
Beginner

Clubhouse based on Ana's Plan

Submitted by MattSl on Tue, 05/03/2011 - 09:18

I used Ana's plan as a base.

I changed it from 8x8 to 8x12, made the 4x4x8's to 4x4x10' for a higher main platform and swing platform, and added a 12' long monkey bar set to the other side. Also, an 8' climbing wall and a plank walkway to accompany the two slides.

For the clubhouse, I used Hardiplank 4x8 sheets for the siding and an EZ-Framer kit for the structure itself.

The slides I purchased from Lowes, monkey bars from Amazon, and the swing frame braces from Amazon as well. The swing kits I got from ebay.

Estimated Cost
1500
Estimated Time Investment
Week Long Project (20 Hours or More)
Recommended Skill Level
Intermediate
Seasonal And Holiday

Toy Armoire

I adjusted the height of the armoire to 72 inches. It was a little tricky getting the doors to hang straight. I blame the new driveway; we just moved into a new house with a sloped driveway (our old one was super flat). I got the hardware at Lowe's. I also added a block of wood at the top, on the inside, to mount the door catches. I mounted them on the top and bottom on both doors, so four catches total. That really helped with the way the doors looked when closed.

Built from Plan(s)
Estimated Cost
$100
Estimated Time Investment
Weekend Project (10-20 Hours)
Finish Used
I used Minwax Dark Walnut with Minwax Satin Polyurethane. Two coats of each.
Recommended Skill Level
Intermediate

Cedar Boxes

Submitted by drowland on Sat, 07/09/2011 - 07:18

We built these before we saw these plans, but they are pretty much the same... We added the chicken wire to keep the rabbits (and our dog) out of the garden. We added the owl to keep the birds out. We've gotten a ton of tomatoes, onions, and bell peppers so far. Next year, we'll add a few more beds. We also added the verticle garden to take up less space, but its not deep enough. We'll make the next one deeper.

Estimated Cost
$30
Estimated Time Investment
An Hour or Two (0-2 Hours)
Finish Used
none
Recommended Skill Level
Starter Project

Comments

KatieO (not verified)

Sat, 07/09/2011 - 20:11

Wow! LOVE IT! I love the taller posts so you can incorporate the chicken wire! I SOOOO needed to do something like that this year. Also, the vertical garden boxes are BRILLIANT! LOVE IT!

drowland

Thu, 11/17/2011 - 07:59

We ended up getting a ton of tomoatoes and green peppers from the garden boxes. We've actually built a couple more. We'll probably double again before next spring. We're looking at adding more veggies.

We now have ton of stuff planted for the fall...

Guest (not verified)

Tue, 03/13/2012 - 10:46

How did you build the upright planter boxes? Do you mind explaining the building process/design? I really want to plant this in my yard!

colton's mom (not verified)

Tue, 04/03/2012 - 06:19

i love the vertical boxes. I am just trying my hand at the world with a green thumb and could use as much advice as possible about how to make as well as to line the boxes or not to line them. All advice appreciated!

berman (not verified)

Fri, 11/23/2012 - 21:53

Hi, my name is berman. I found you pin from my pinterest and your box garden is so great. I am a newbie in this field and so interested to build garden in my house. If i can ask you some question, could you please to answer that?

cheers,
berman

Seasonal And Holiday

Claire's Loft Bed

Submitted by hook Fam on Thu, 08/11/2011 - 10:00

A few months back a friend of my Sister asked if I would build a bed for her 10 year old daughter. I was excited to do it! So I finished up the projects I had already started and then went to work. I had never built bookshelves before. I wanted it clean and "hole-less" on the outside, so we found a Kreg Jig and I started learning. SUPER easy!! I believe it has been painted white. I can't wait to go see it!!
I followed Ana's plans except I used 2*2s for slats and used 16" wide boards for one of the bookshelves and the desk top. I want them to be able to use this for years to come and not out-grow it too quickly.

Estimated Cost
$300
Estimated Time Investment
Weekend Project (10-20 Hours)
Recommended Skill Level
Intermediate

Comments

Cindy from Indiana (not verified)

Sun, 10/23/2011 - 11:08

This turned out fantastic! You did a wonderful job.

judee (not verified)

Sat, 02/25/2012 - 05:56

hello just a quick question about the railing. Is it screwed on or is it just sitting over the wood? Very nice bed.

WannaMakeA LOFTBED (not verified)

Tue, 08/07/2012 - 13:35

How many 2x2s did you use? I think I am going to do the same to make sure that I do not outgrow the bed. Also did you have to change the size of the little bookshelves when you changed the desk to 16" instead of 12" ? I'm trying to build the whole set on my own (im 14)

In reply to by WannaMakeA LOFTBED (not verified)

hook Fam

Tue, 08/07/2012 - 15:09

I think I used around 20 2x2's, and did use a center beam to add strength. I only changed the one bookshelf to a 16" (the one under the desk). The other one I left as a 12". Good luck building your bed!

WannaMakeA LOFTBED (not verified)

Tue, 08/07/2012 - 18:29

Thank you sooo much. I have left questions in the comments sections and you are the only one who has answered. I greatly appreciate it.

jvanhorn

Sun, 05/12/2013 - 19:37

Hook fam, Thanks so much for your work and for the pictures. I really like how you left the lower back side of the big book shelf off and still included the desk behind. Love the 16" too and I think I will go with that for the desktop but leave the 12" for the shelves. Thanks again! This is now my next project!!!

16ft x 5ft farm table

Submitted by Anonymous (not verified) on Tue, 10/29/2019 - 18:43

This table was created using a variety of plans. It can seat up to 20 people comfortably. The table top was built with 5 pieces of 2x12. The legs were a combination of 4x4 posts and 2x6s. 2 coats of Minwax Weathered Gray was the stain and then 3 coats of varathane semi-gloss finish. We sanded between each coat of poly.

Estimated Cost
435.00
Estimated Time Investment
Weekend Project (10-20 Hours)
Finish Used
Varathane semi gloss poly
Recommended Skill Level
Intermediate
Seasonal And Holiday

Email Me
Free Plans

Get new plans sent right to your inbox for free!

    We won't send you spam. Unsubscribe at any time.

    Back