The wood for this project cost me about $50 from Lowes (and this was combined with making a 3ft square table and another love seat, so in total for all 3 was about $145).
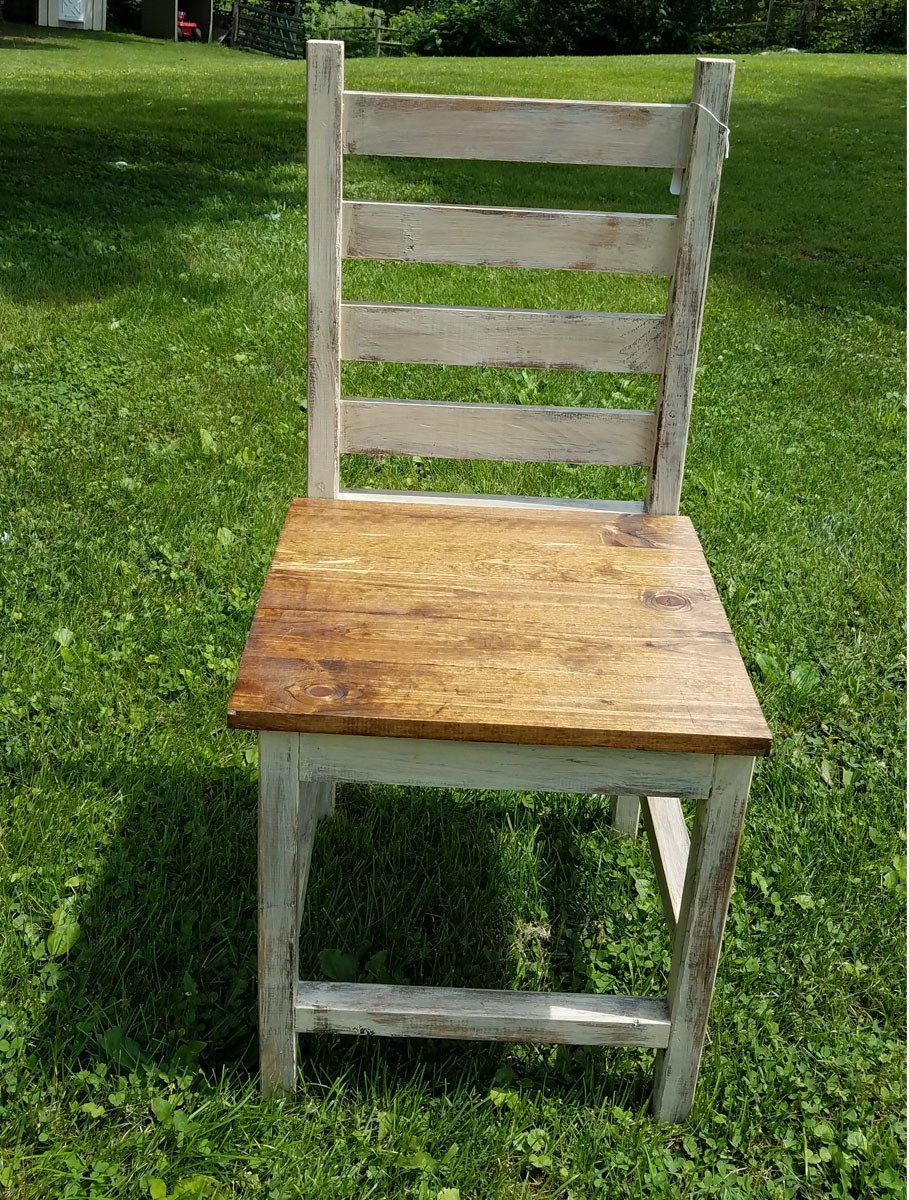
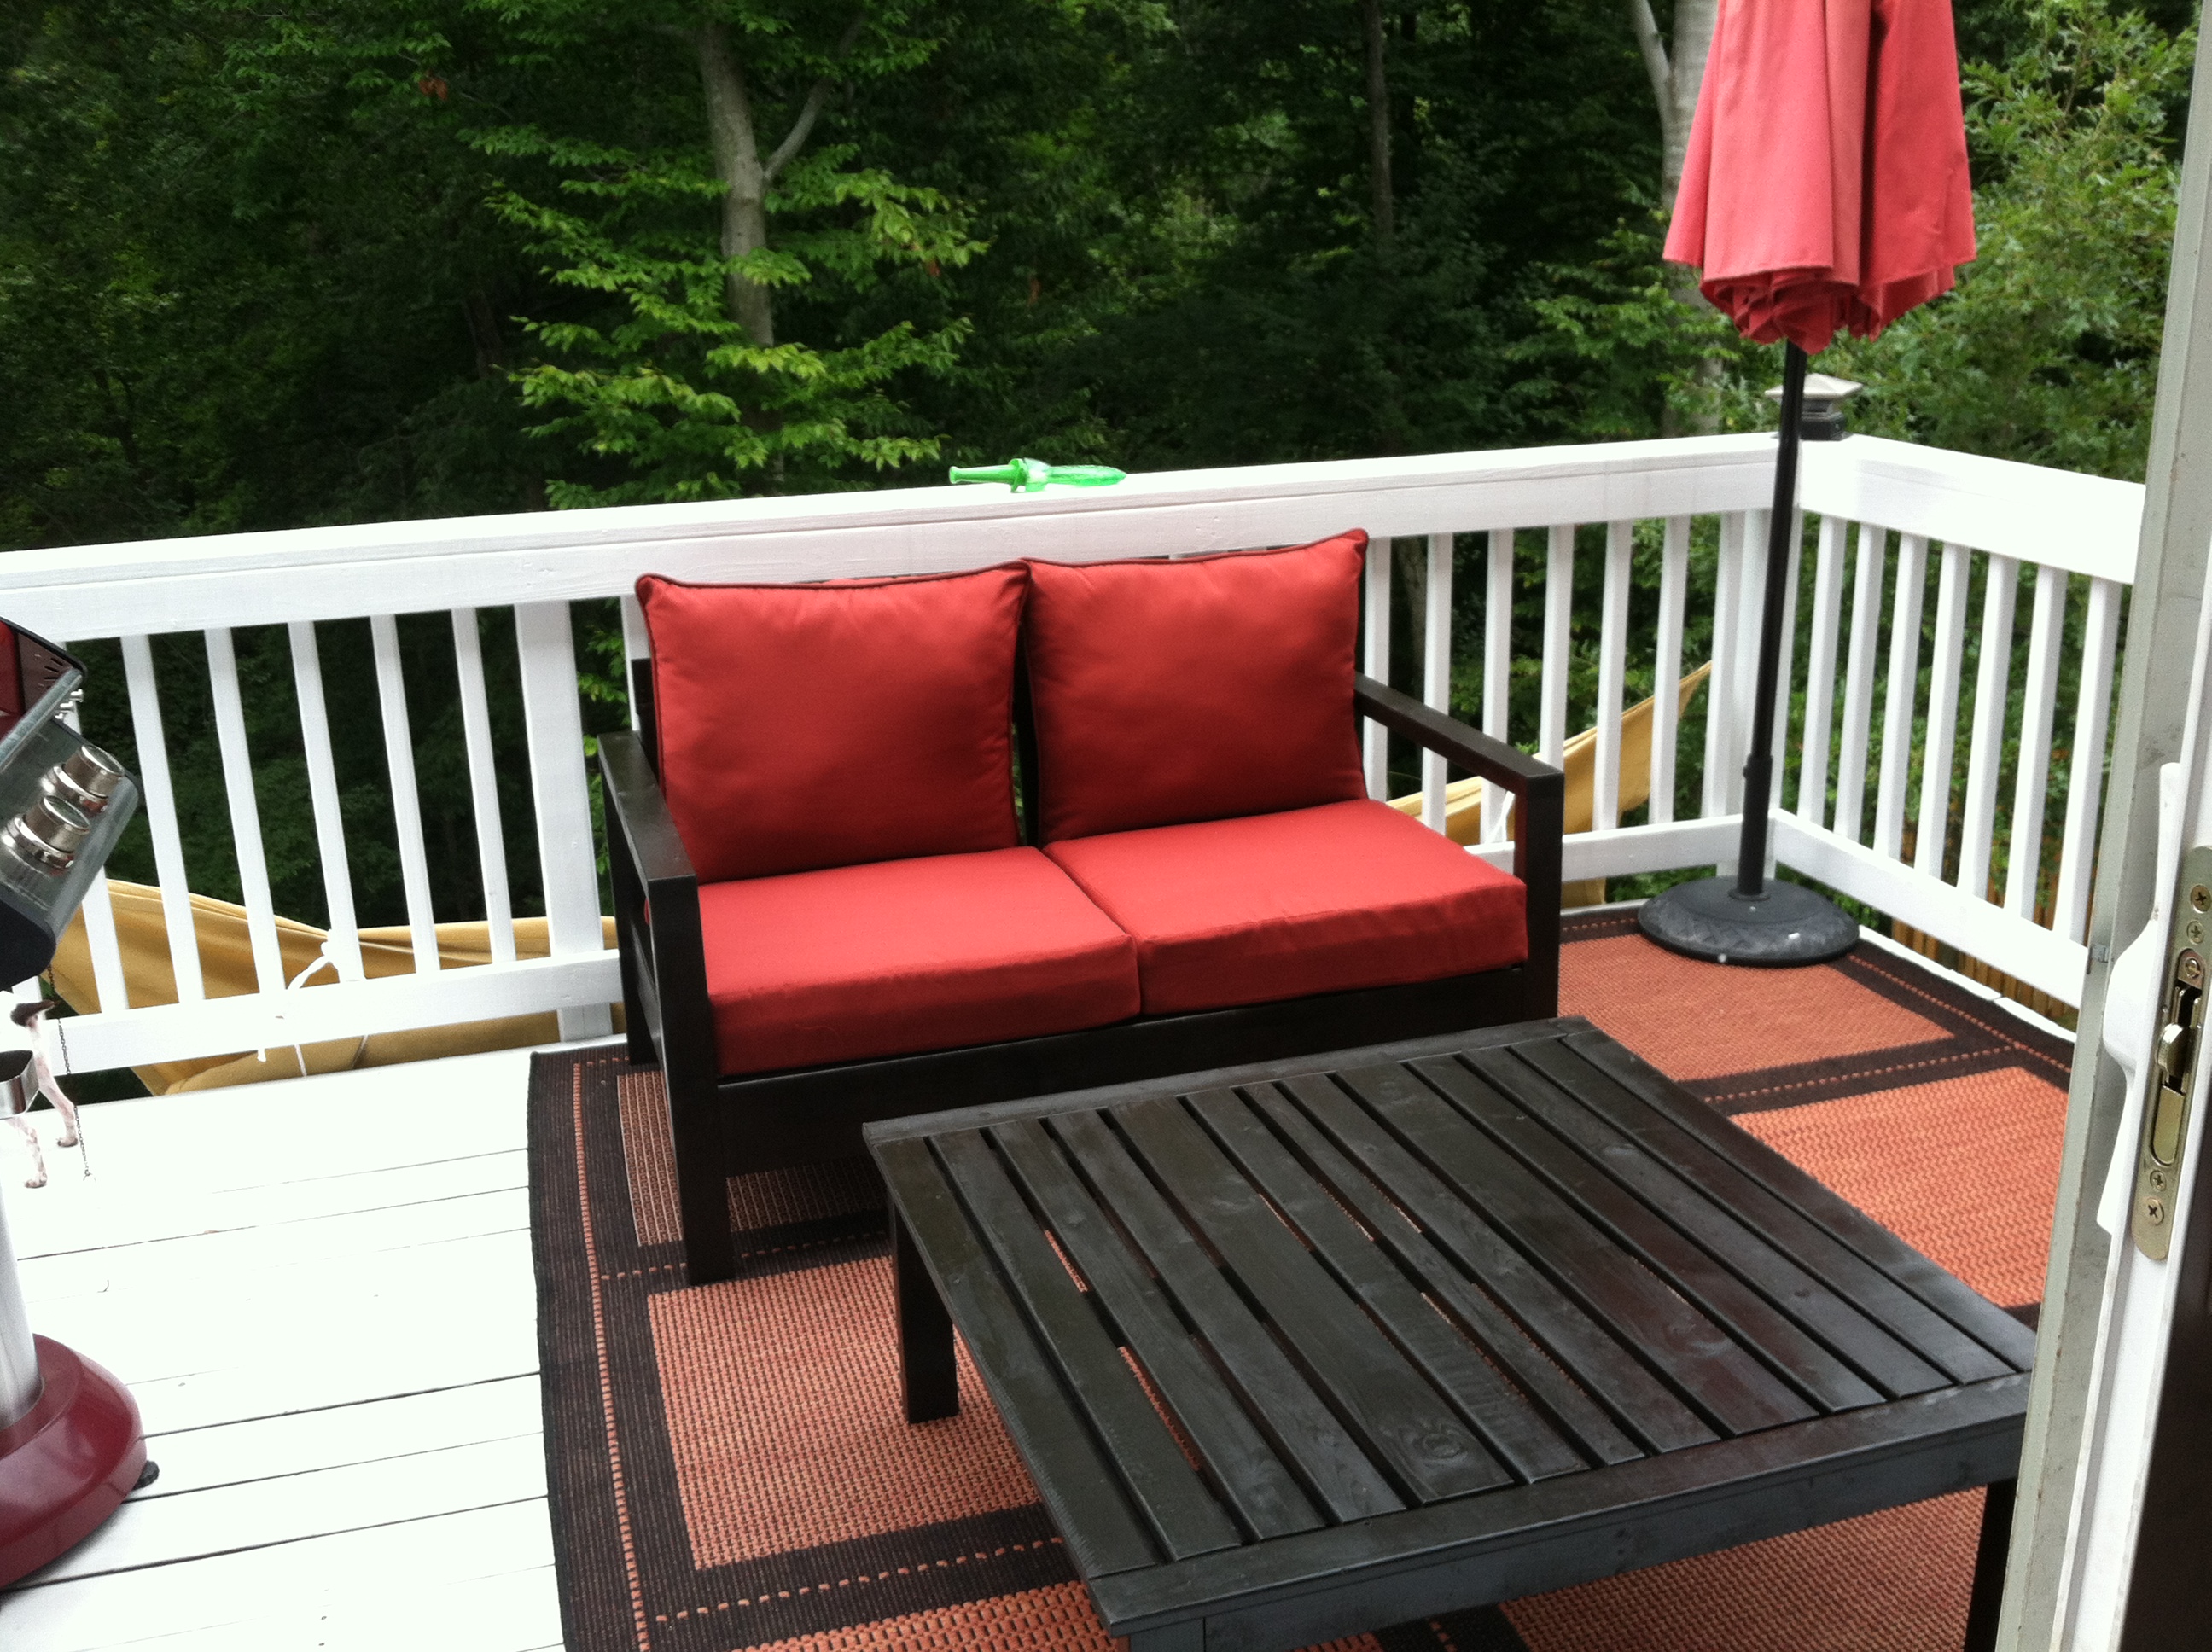
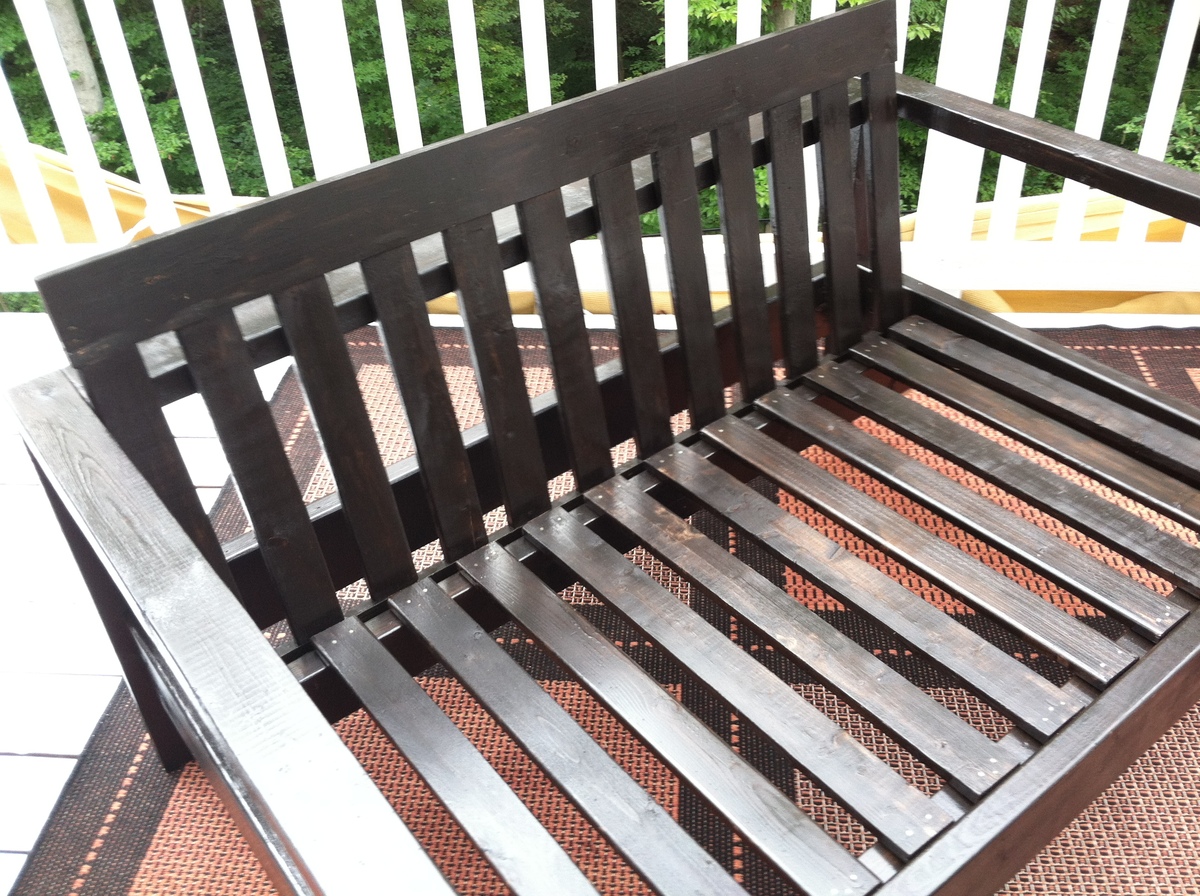
I didn't add the trim pieces (I felt they were unnecessary and more likely to come apart or fall off), I used only 1x3 for the slats on the seat and back, and 1x4 for the seat back top rails. I used 2x3 for the legs because the 2x2 was horrible quality and I used a 2x3 for the front cleat, which I think makes it stronger.
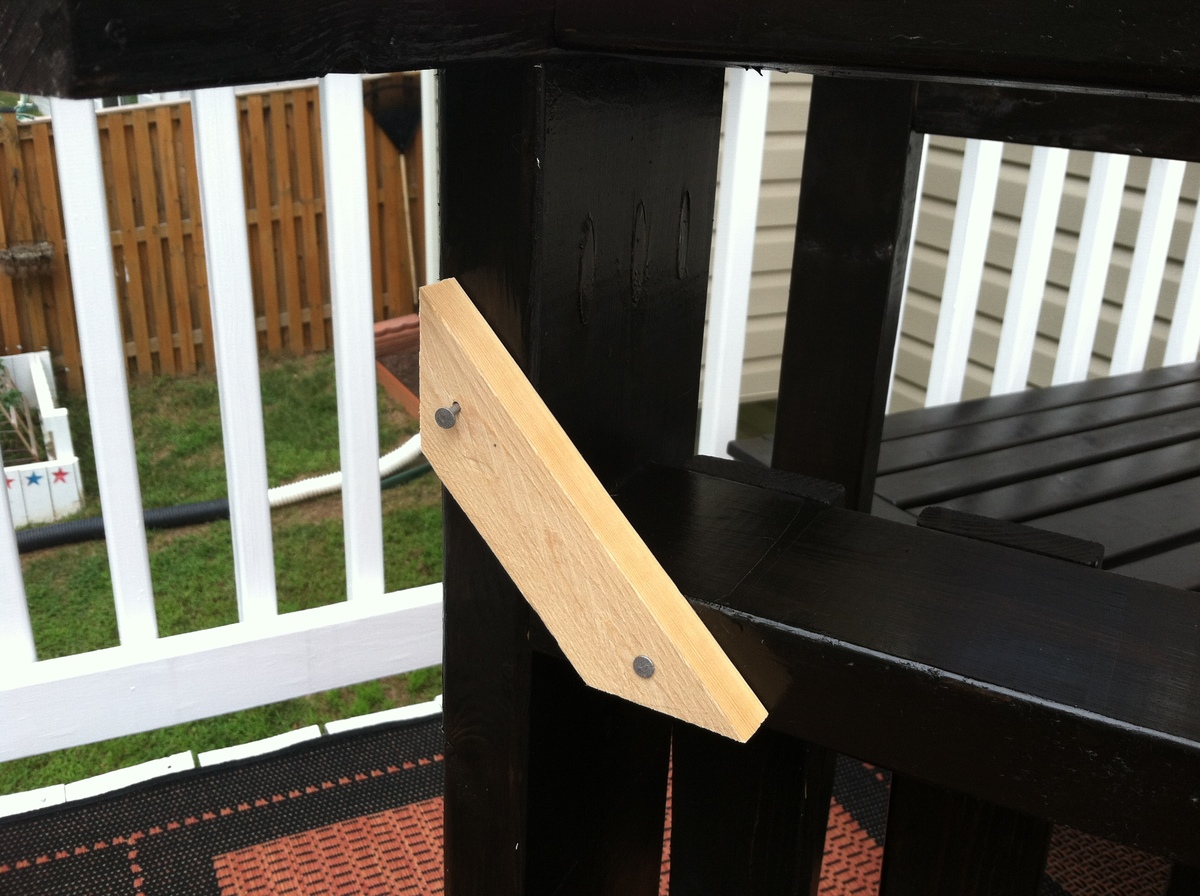
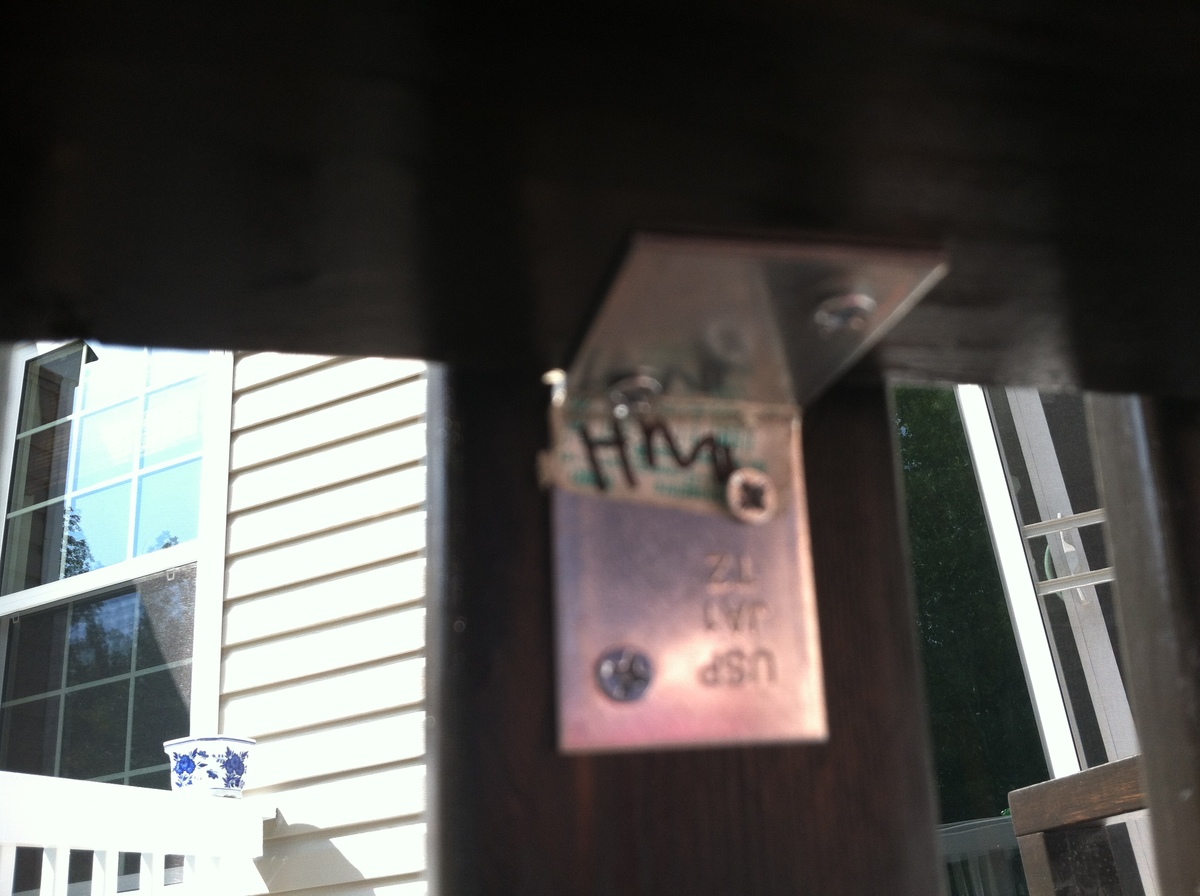
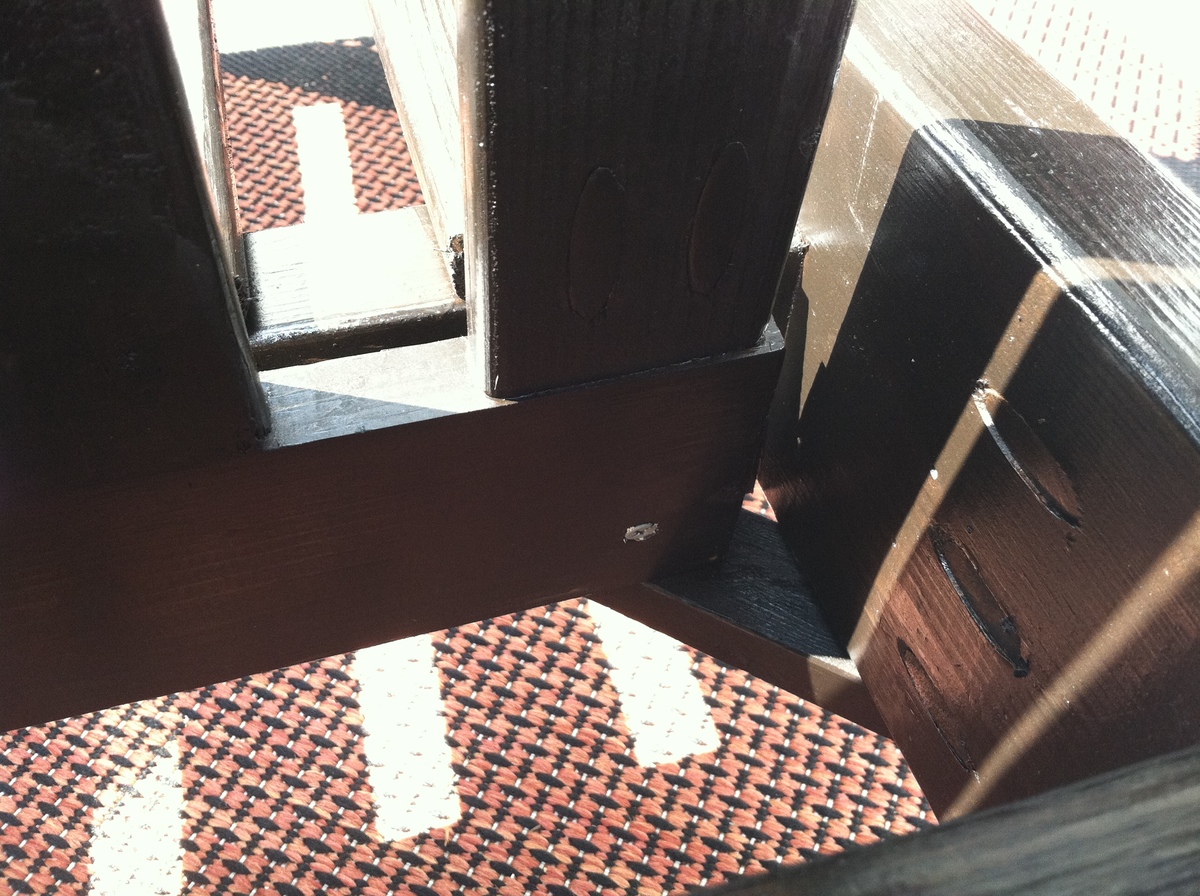
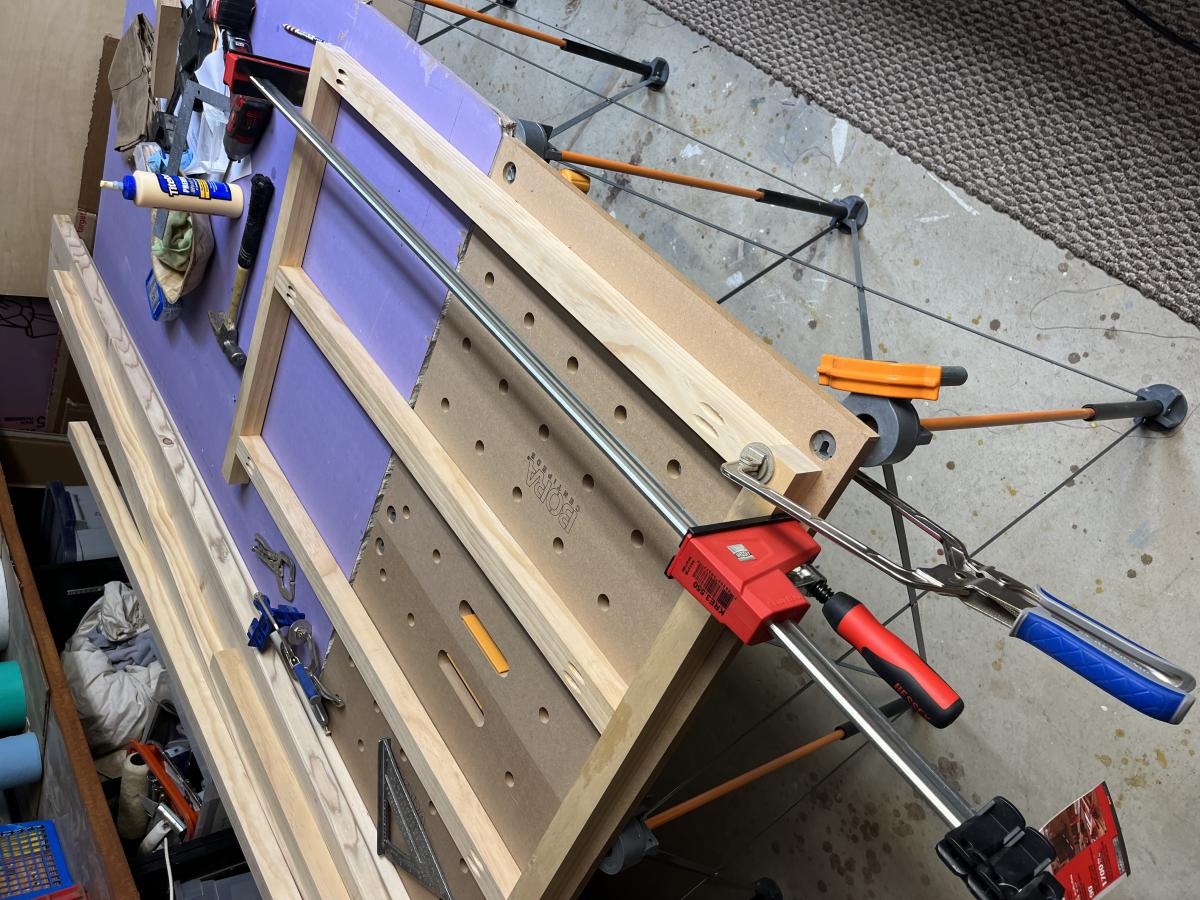
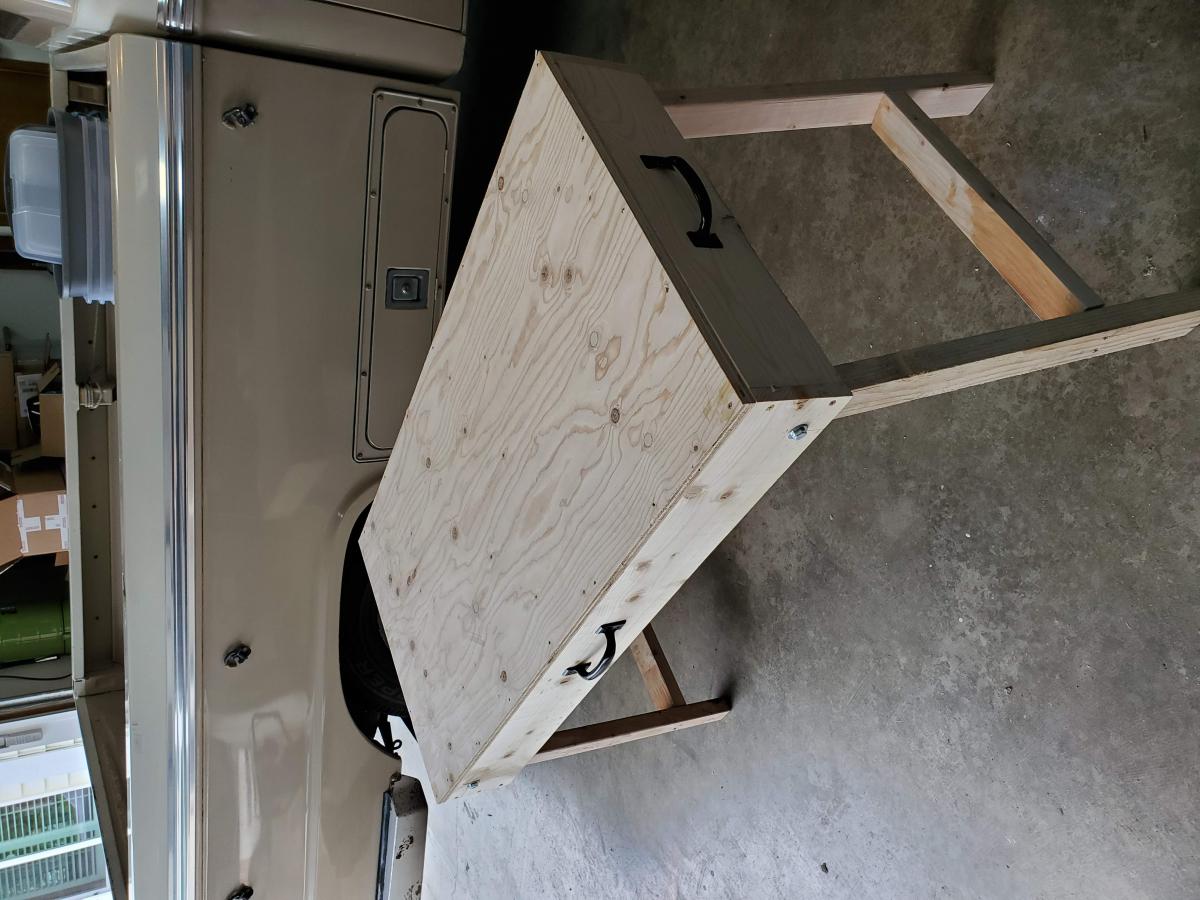
I also didn't attach the back the way the instructions say as I thought all those screws would look ugly, so I fashioned a wooden corner brace to hold the back in place, and used metal corner braces and screws (in 3 places, UNDER the back rest 2x4) to hold the seat back still and then only 2 screws to hold the bottom of the back in place. I added photos of these changes to help you see what I did.
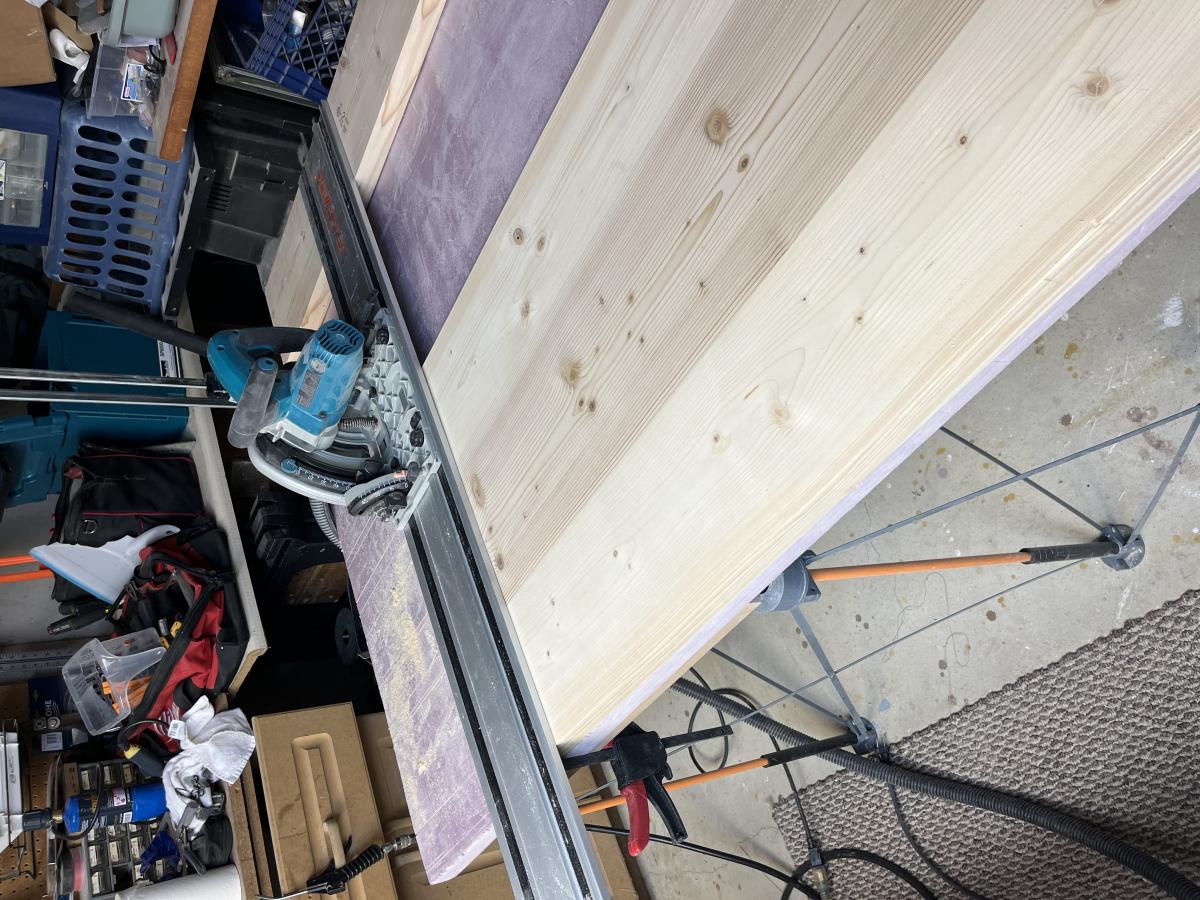
One HUGE TIP - assemble the frame (minus the slats) and stain / paint that part, THEN stain and polyurethane the slats before attaching - it's horrible to try to stain or paint with the slats in place as there are too many tiny gaps to fill!
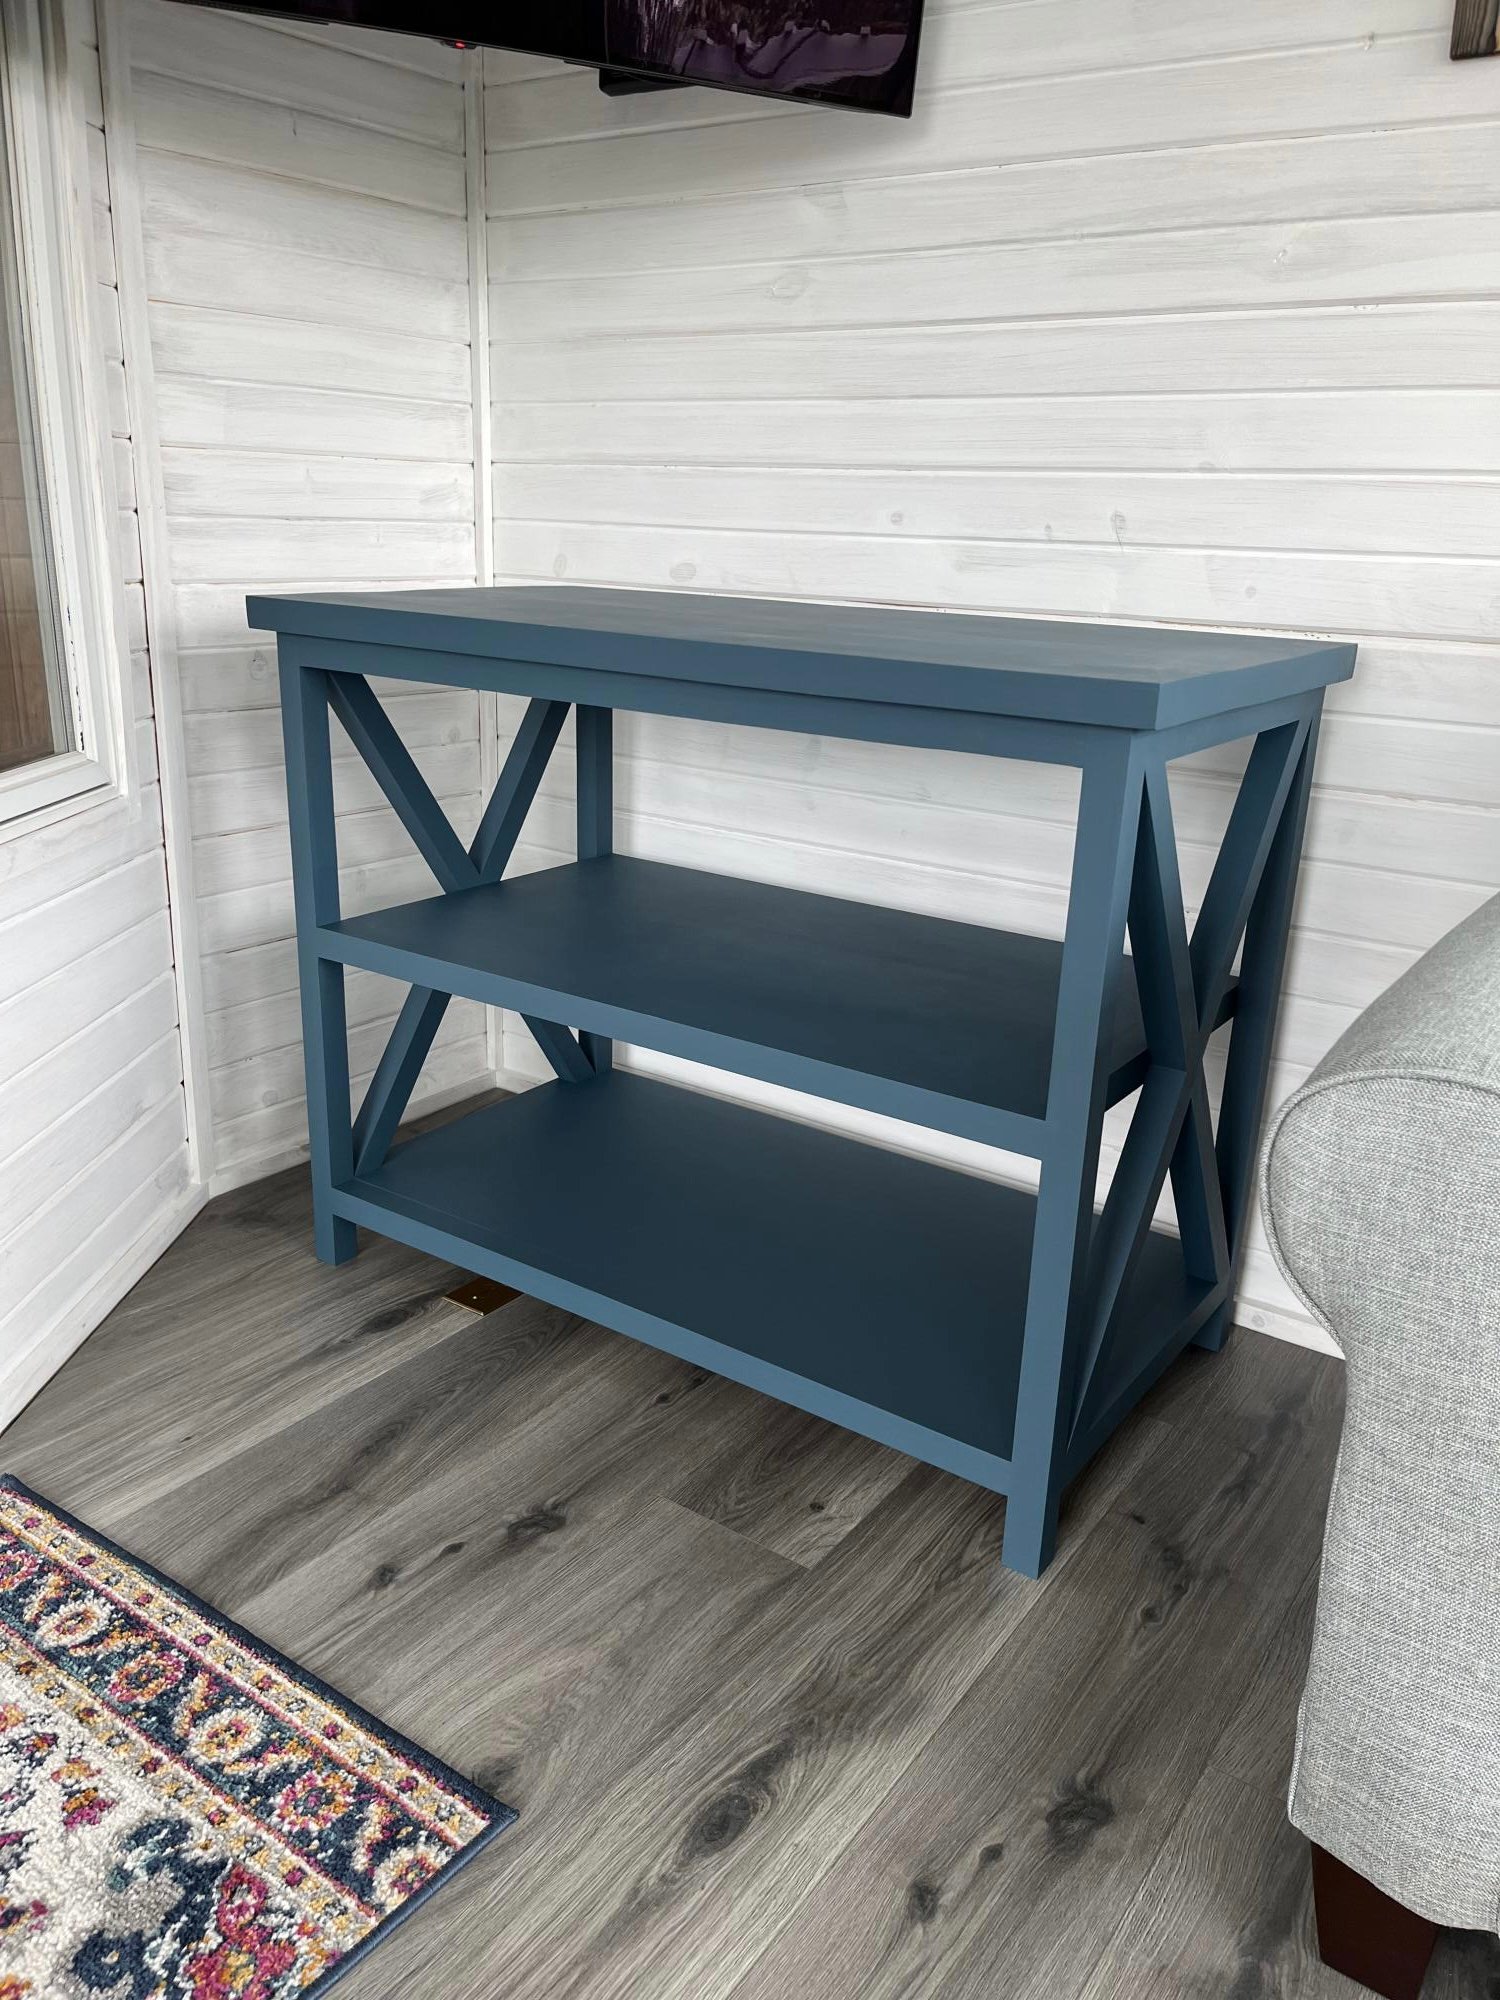
All in all, I think this plan of Ana's is brilliant - it's simple, rustic looking and yet looks great on my deck - I will take a photo of the 2 sofa and table as soon as the second sofa dries enough to finish assembly.
First sofa took me a little longer as I was getting used to the Kreg, second sofa has taken me about 6 hours in total so far.
One issue I do have is that I think I would use a 2x4 for the top rail of the seat back, simply because the 1x4 has a tendency to split easily.
If you make this project, you won't be sorry, it looks awesome!