Custom Children's Chair
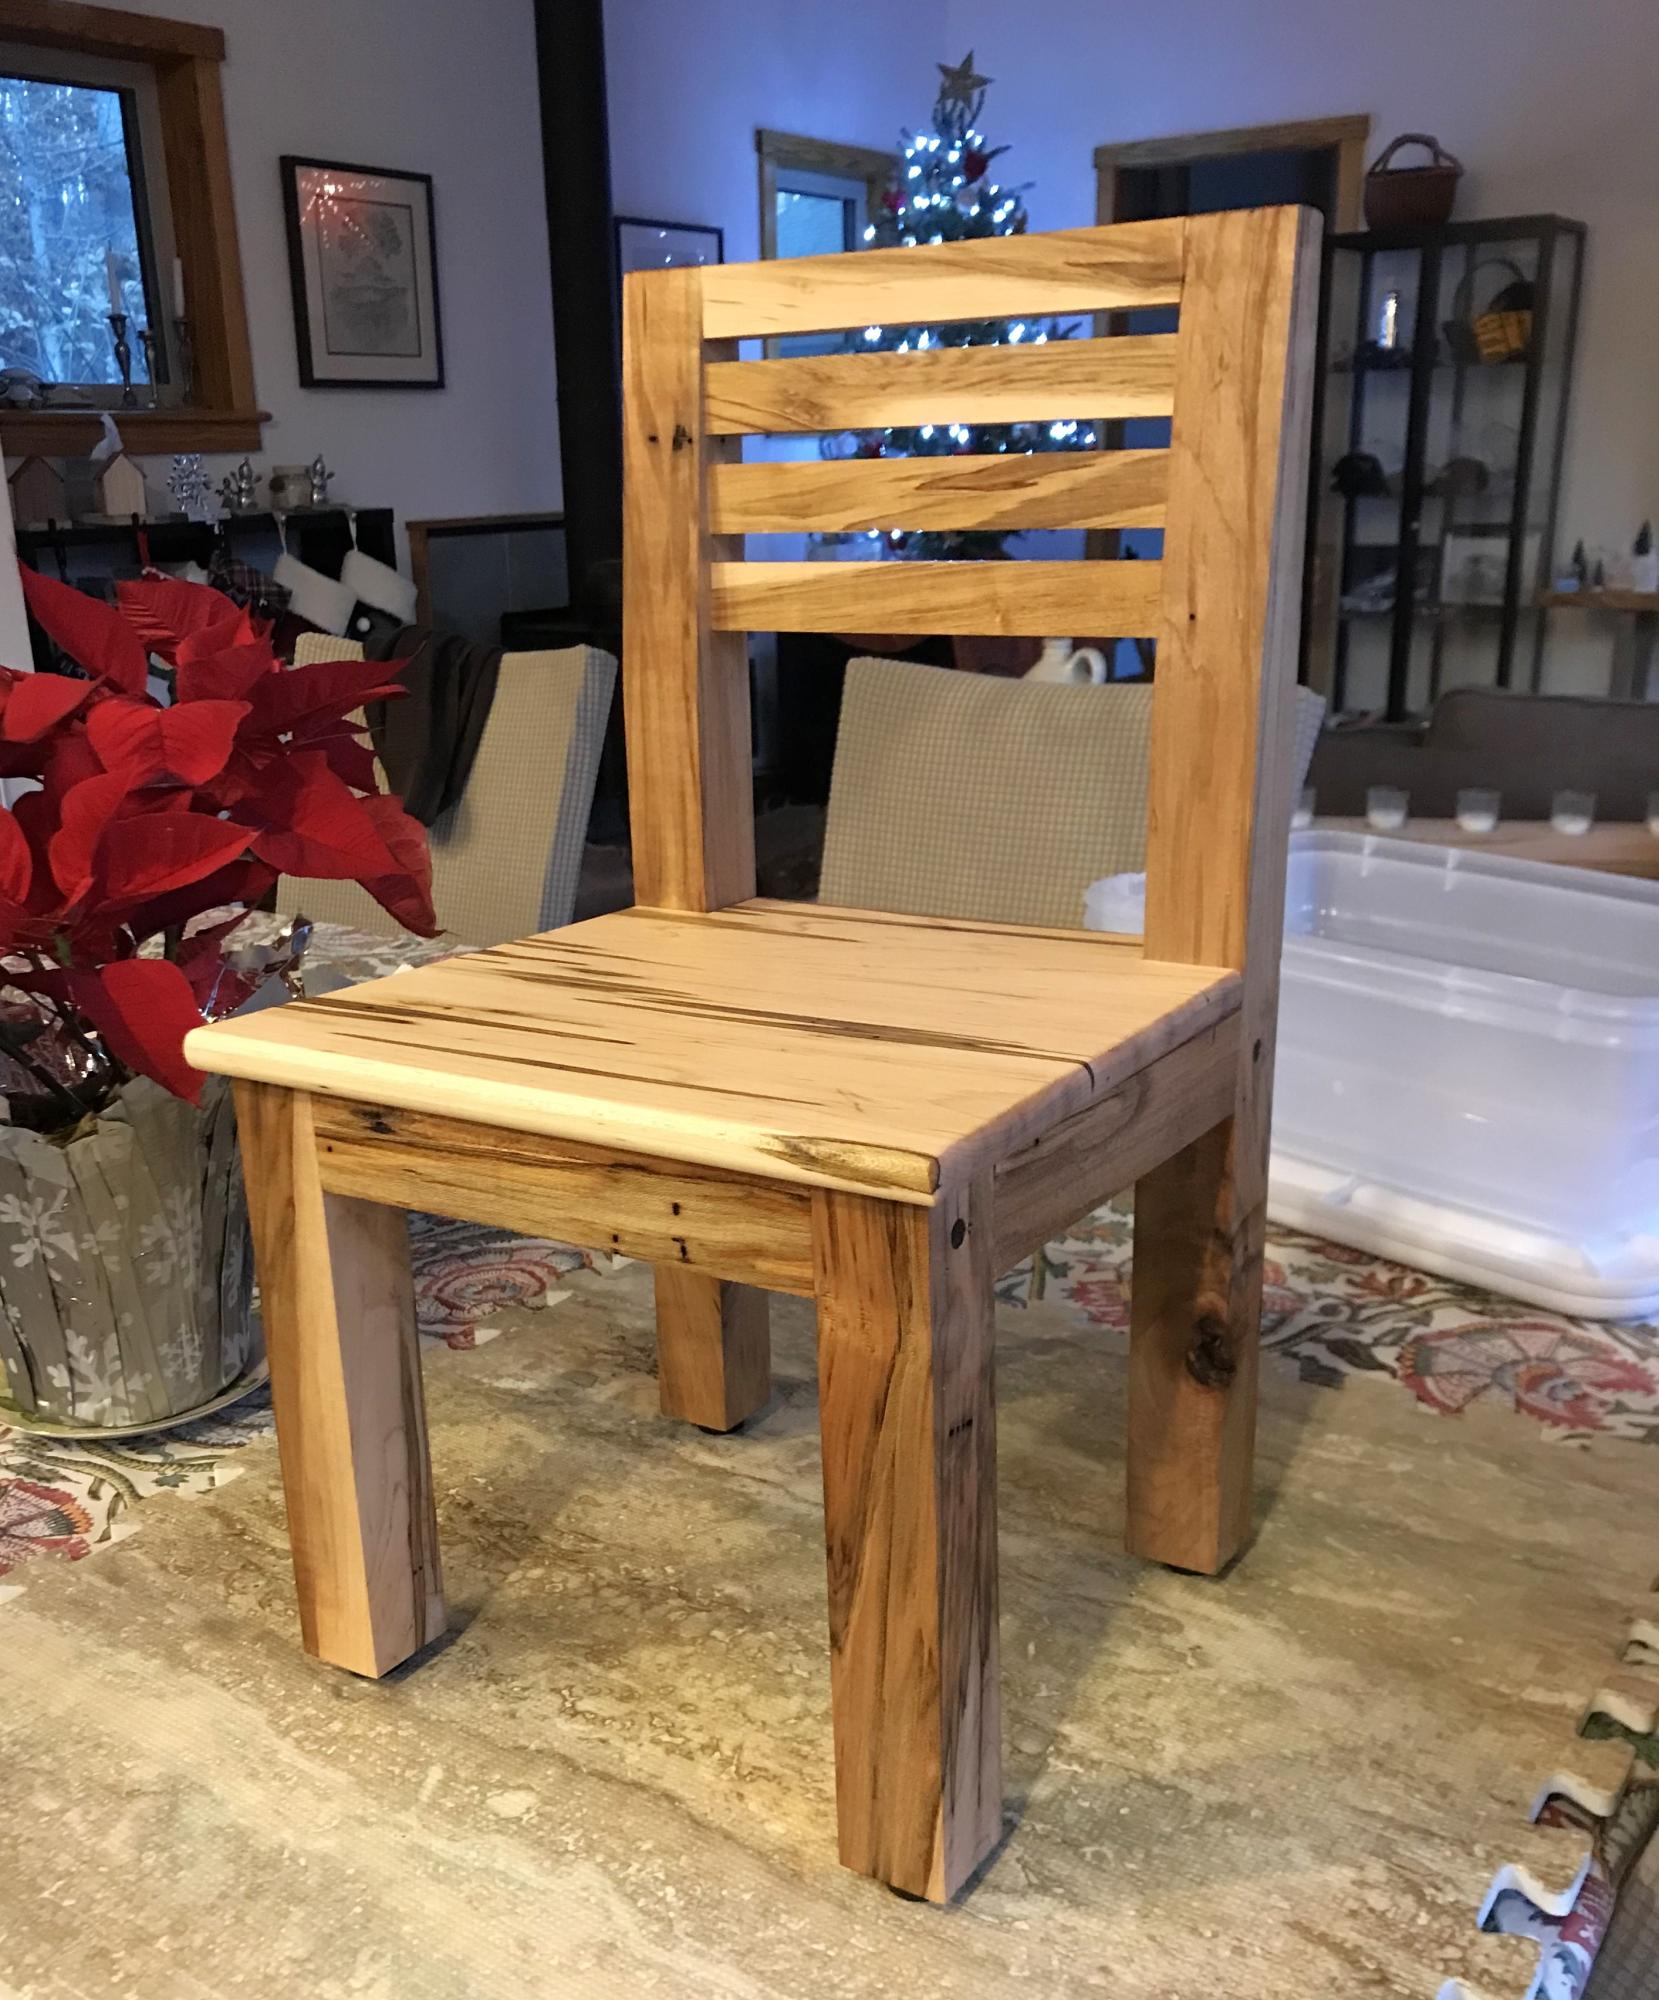
Child's chair. I used wormy maple
Built from Plan(s)
Child's chair. I used wormy maple
Prior to making this table I had never used a power drill in my life, and I was scared to death. I was intimidated by the power and scared to death to mess up, and in making this table I messed up A LOT! It was a big undertaking but I was determined. It’s rustic and authentic and full of mistakes and I LOVE IT!! Thank you Ana for modeling how to make such wonderful things. Up next is the raised flower bed.
This is my first project. I loved how easy it was and I loved my husband’s reaction to the completed project.

I recently had a workshop built and I have been trying to now work on the furniture for it. My first project was this workbench inspired by the plans "garage workshop workbench". I added drawers on each side and will probably end up adding a shelf in the open area as well after letting my kids finish decorating the top. It's already a nice addition and I may build a smaller version for my garage. I added casters and have the option to roll the table around or have it stationary.
Tonie

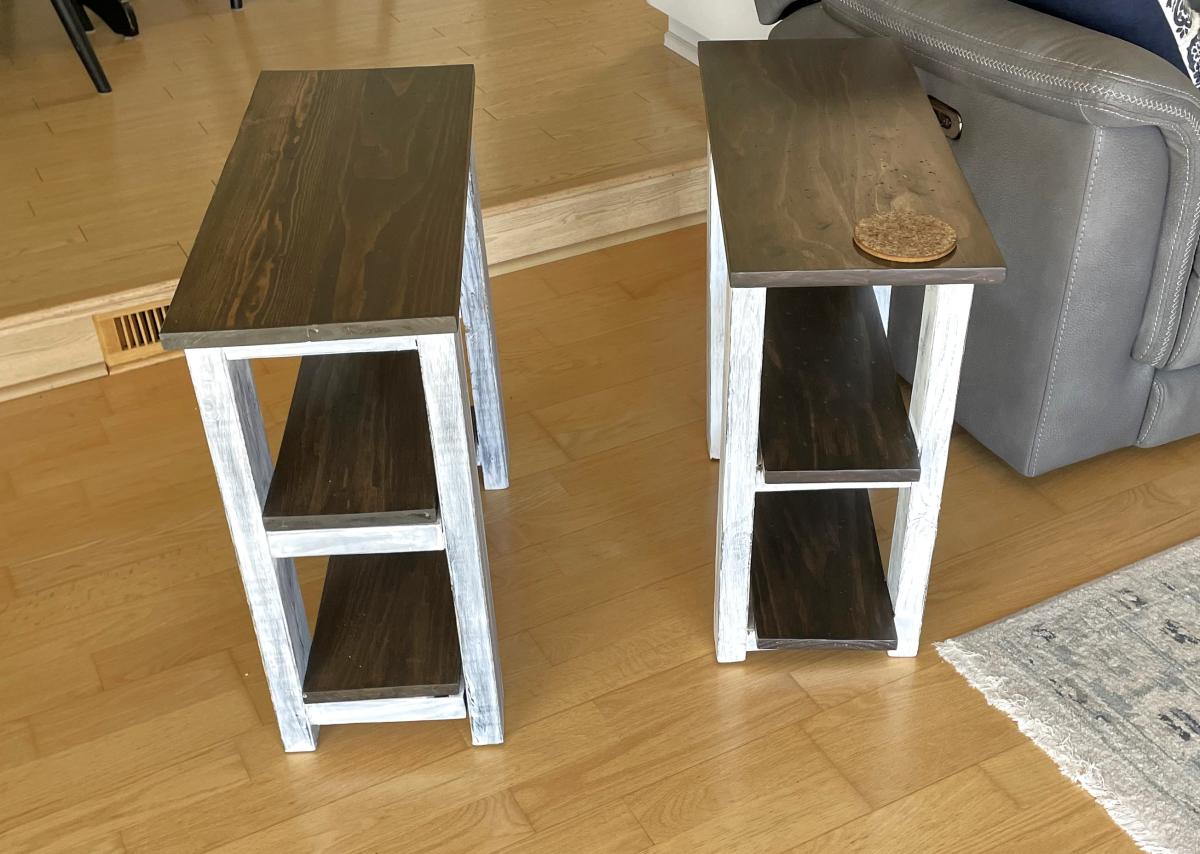
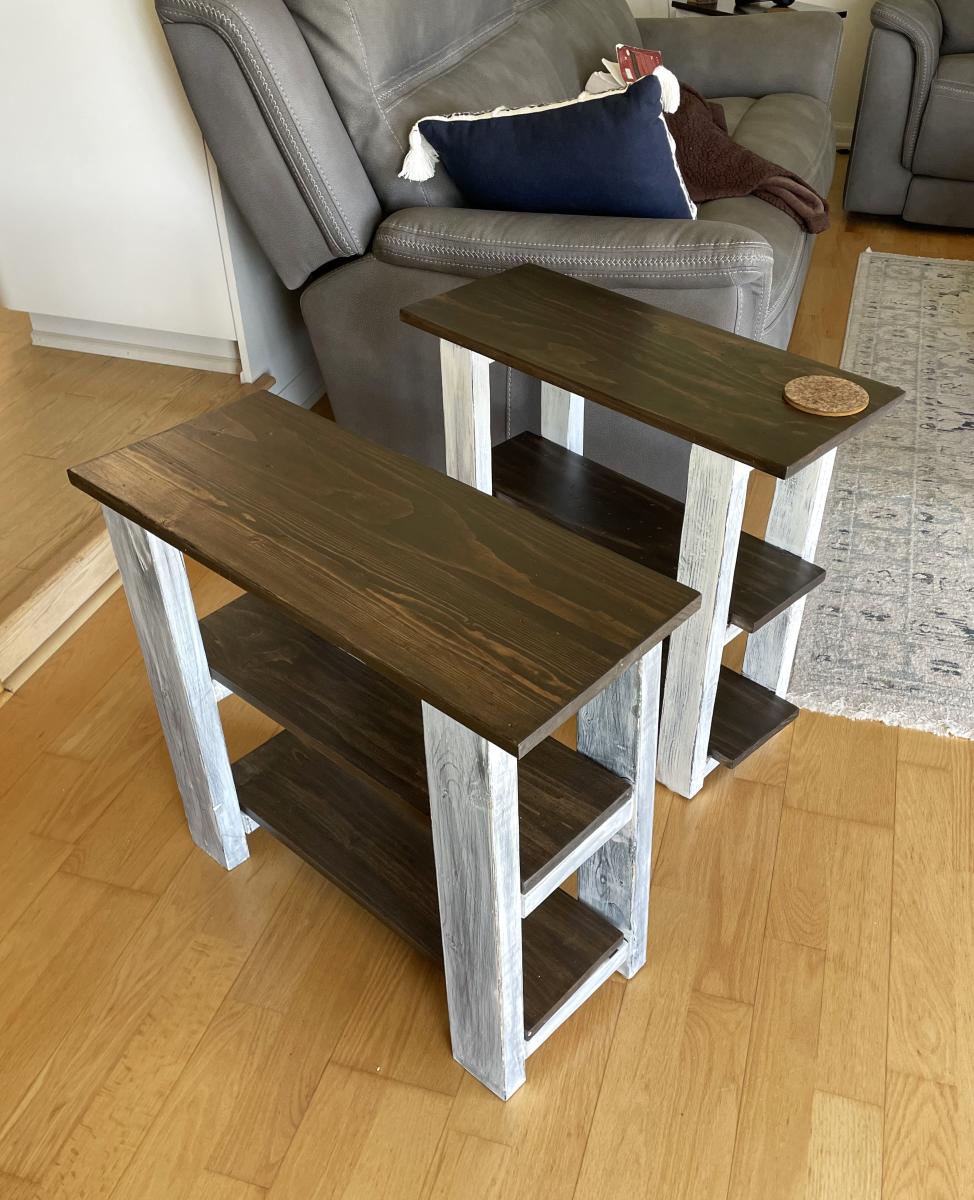
This a good build! I learned a lot especially about measuring where the middle shelf should go so it is even. I am so happy to have made all the tables in our family room!
Kim Rachow
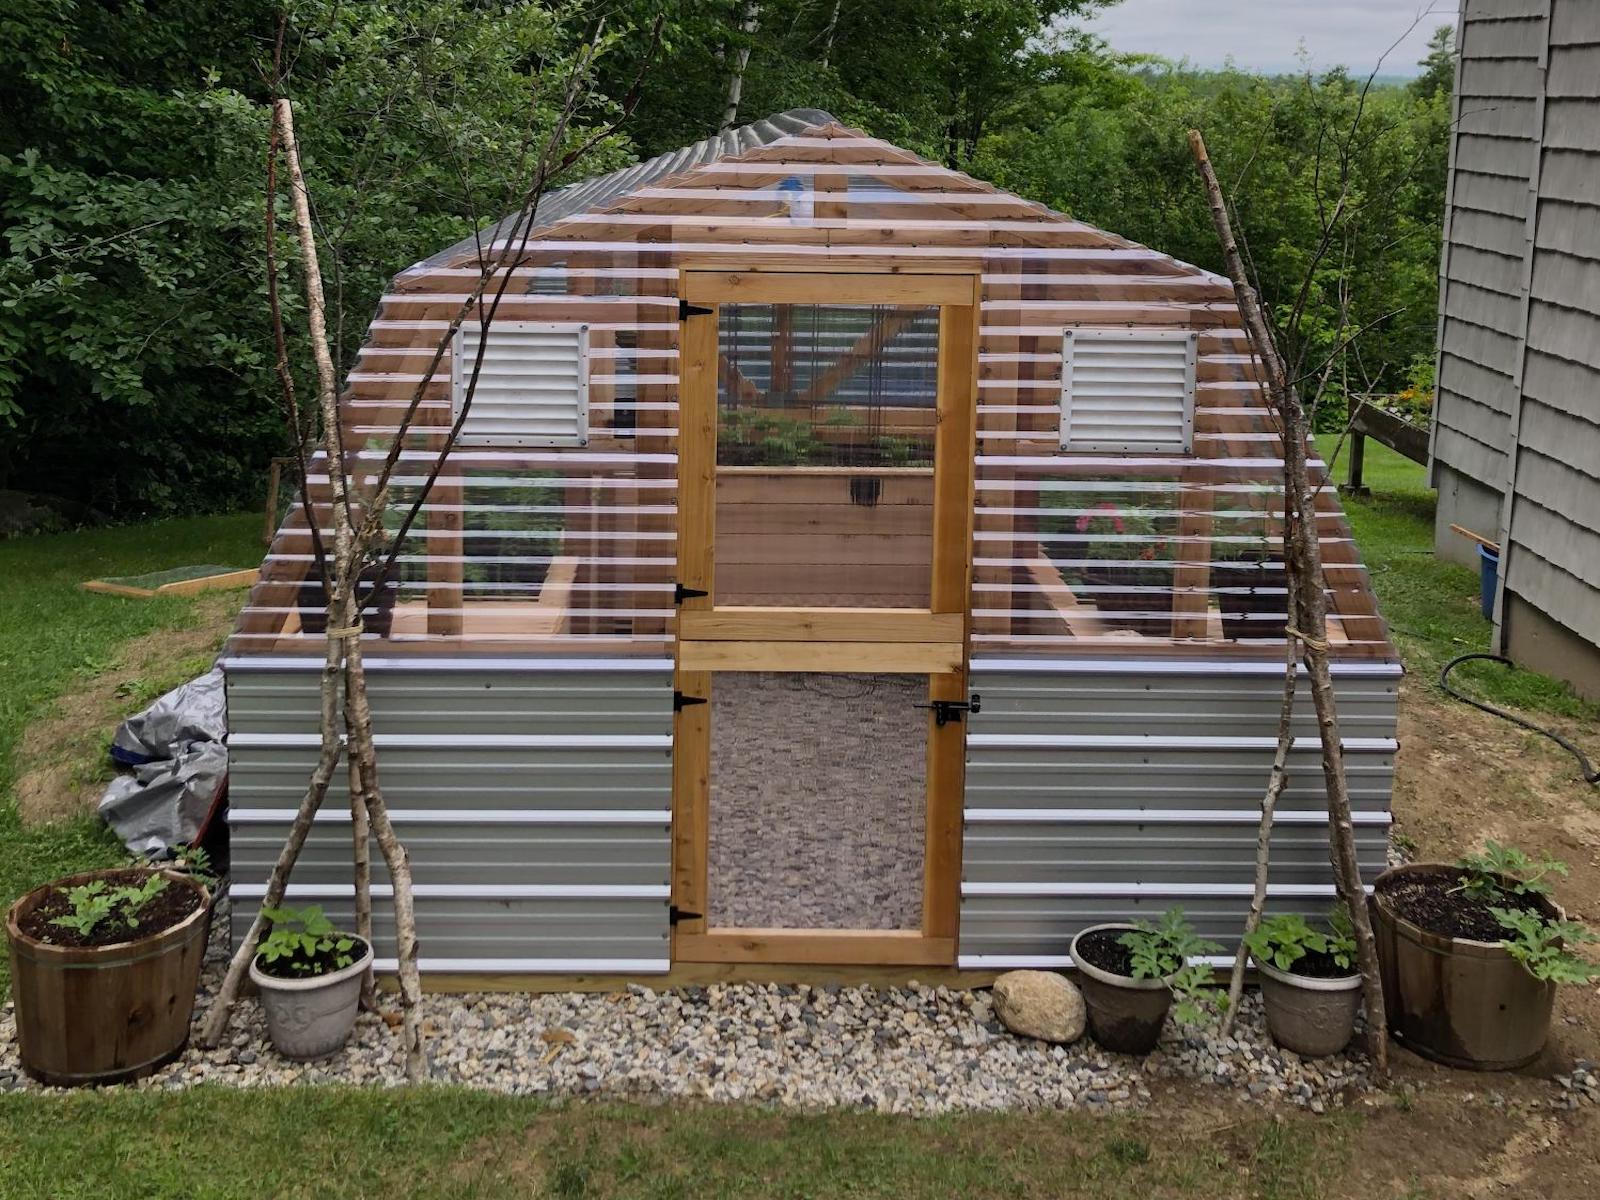
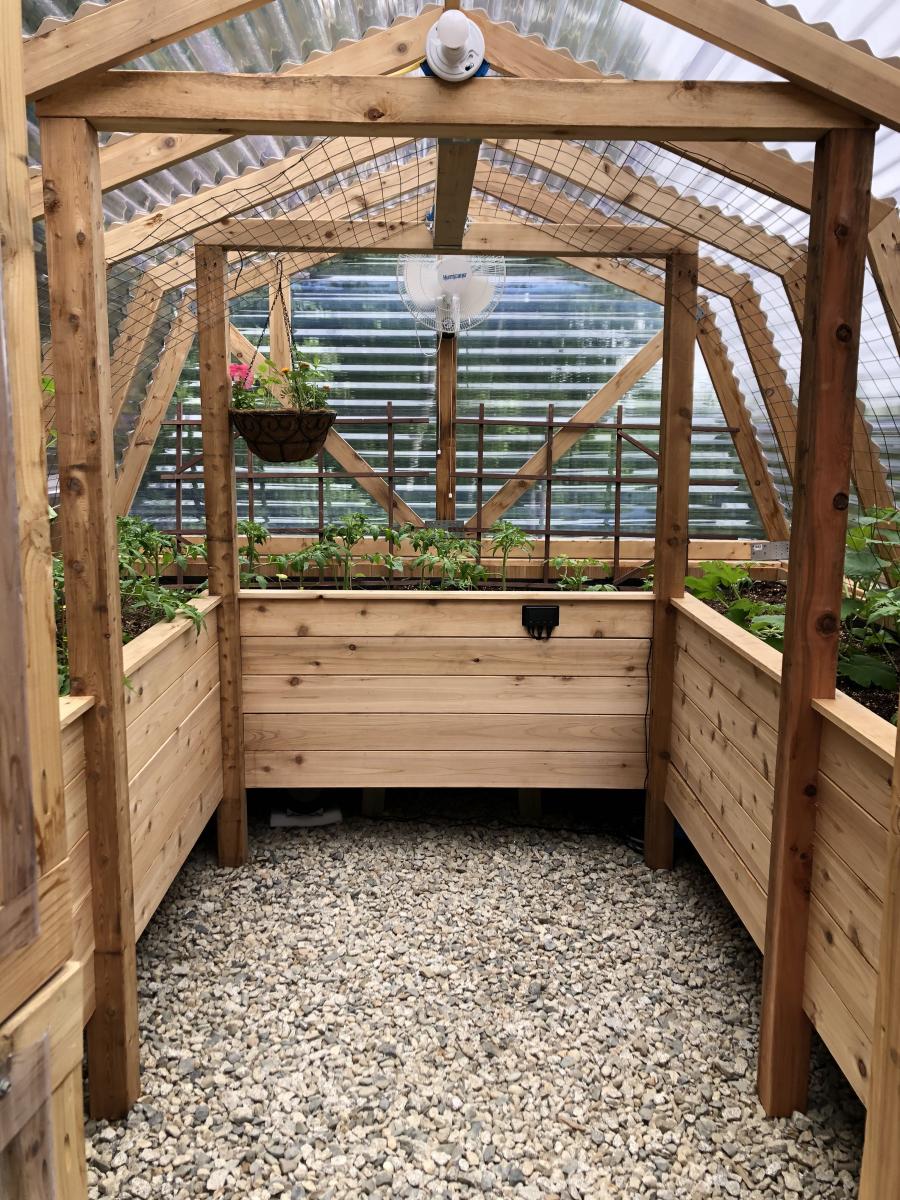
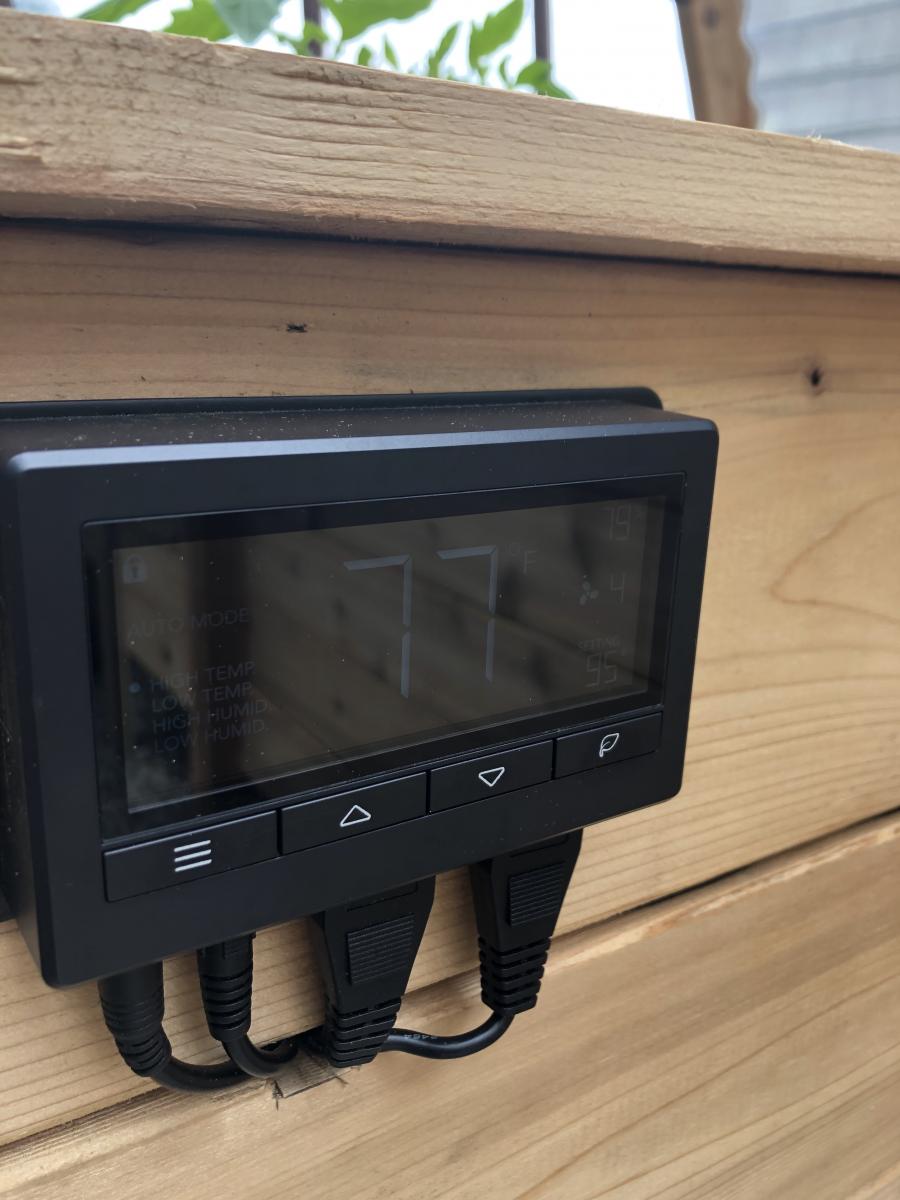
We loved this greenhouse plan from AnaWhite and wanted to be able to grow in 3 seasons so we modified the design to include humidity & temperature control & 18" deep elevated cedar beds inside with 4x4 posts for support and trellis option. We added electricity in order to have a lighted workspace and the ability to put in a circulating fan to control mold and fungus. We added 2 work tables (2x2') on the inside of the door left and right side door in order to do seed trays & store supplies. This was a wonderful project for my husband and my plants inside are doing incredibly well compared to my outside garden beds here in zone 5. Products used:
Foundation
We had a landscape company come and scape/dig a platform and then fill/compact with crushed rock
My husband then used rebar driven into a 4x4 frame in order to secure the frame to the ground and create a base upon which to build the greenhouse
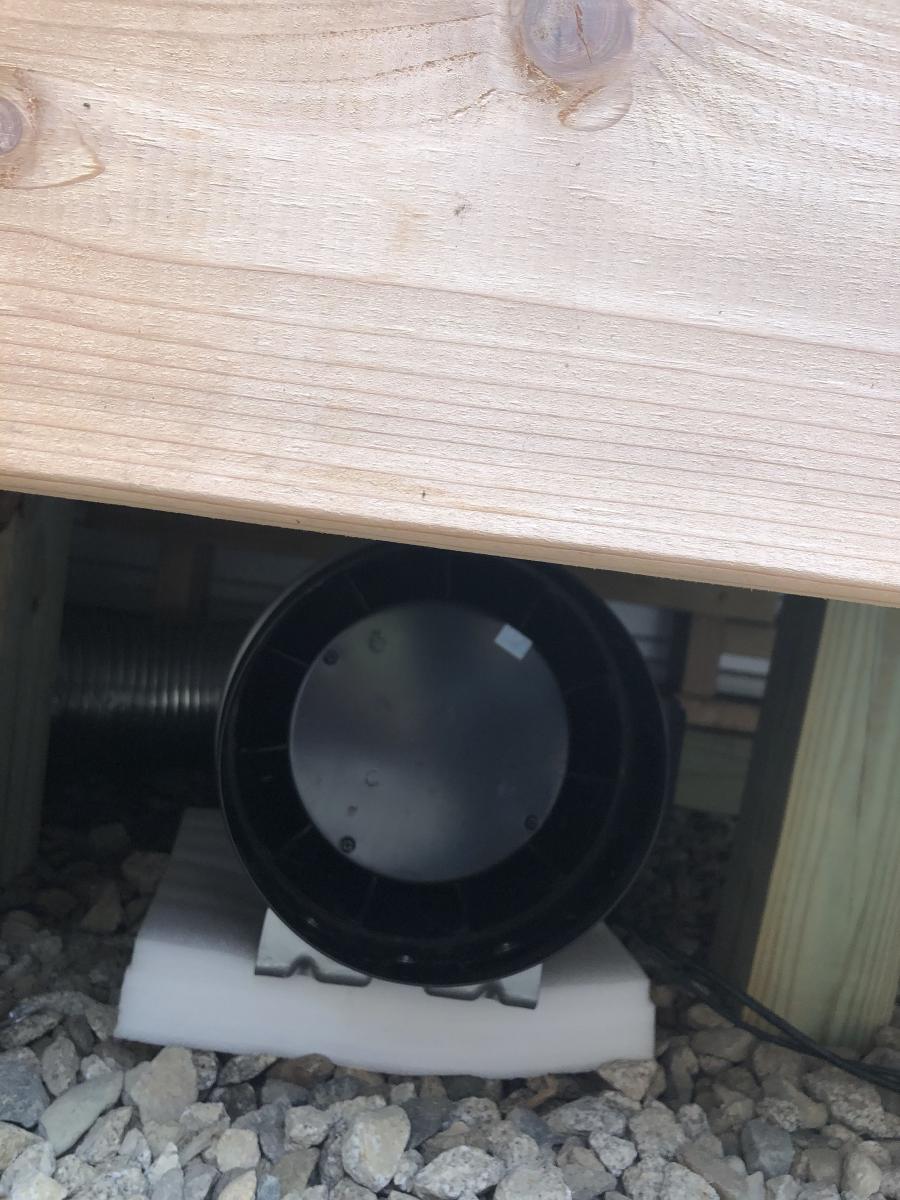
Active ventilation
AC Infinity Cloudline T8 Inline duct fan
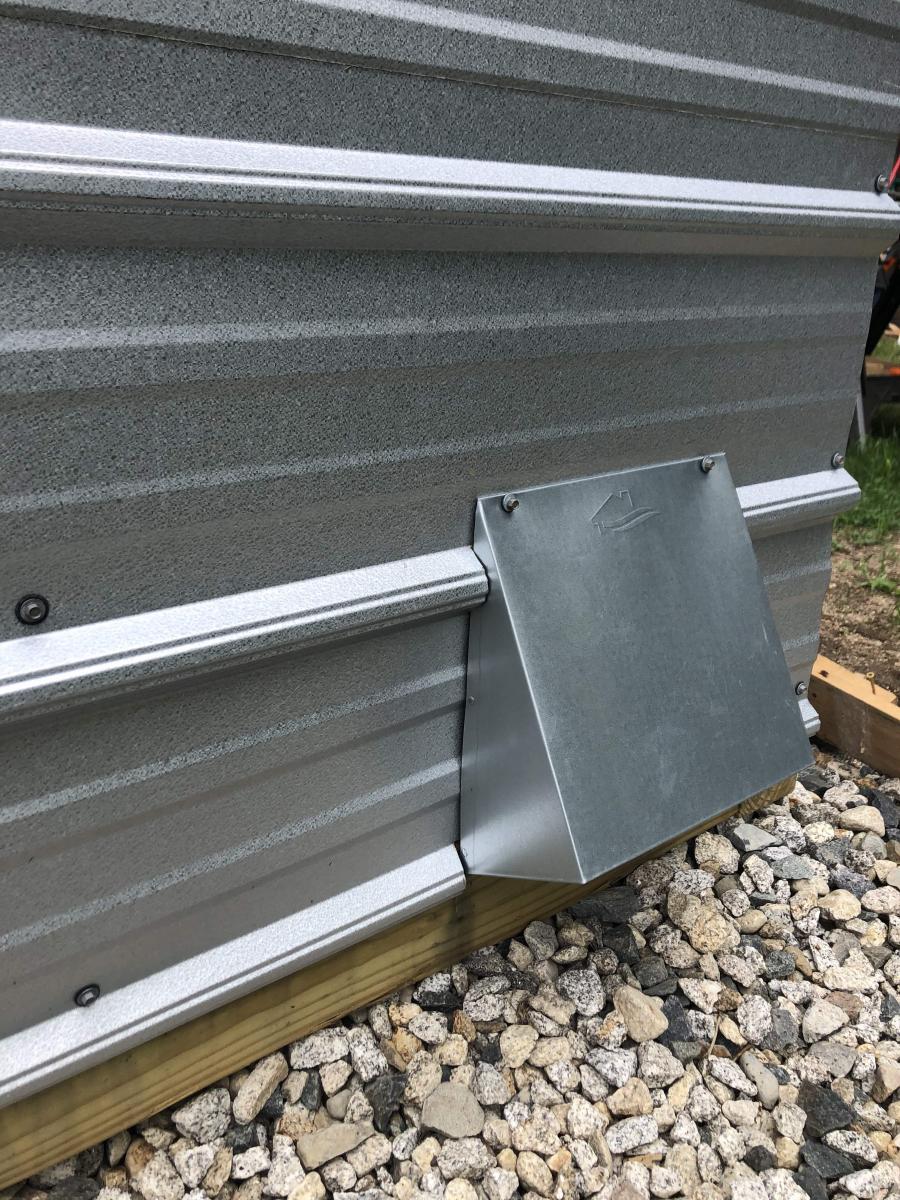
Air king range hood wall cap 8" on the bottom outside of the greenhouse wall for air intake + flex 8" duct to the fan itself
Shelter logic autovent automatic shelter vent kits (1 on each side of the front wall) in order to allow air intake from the bottom back of the greenhouse under the elevated beds to flow to the front of the greenhouse and out
Circulating fan- Hurricane wall mount fan 16" - this fan has 3 speeds with tilt function and small mounting bracket
Soil - sourced 3 yards of 50/50 loam/compost from local landscaping supply
60% loam
30% organic compost
10% organic topsoil + perlite
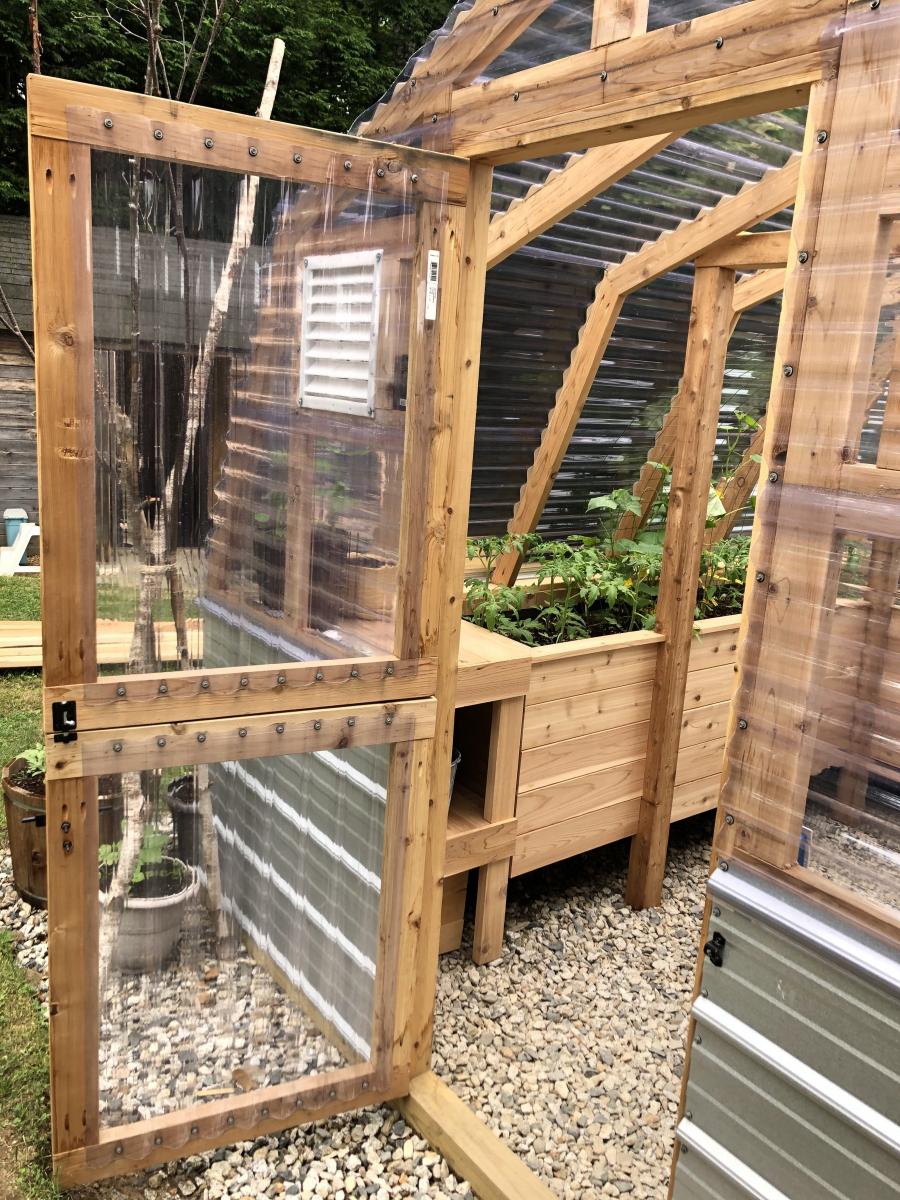
Soil beds
-cedar frame 2 feet wide along sides, 3 feet wide on the back wall
-galvanized metal roofing with holes drilled into it for drainage
-landscape cloth lined
Wed, 09/09/2020 - 13:09
Thanks for that update! I was wondering how to vent this project, as Green houses need the ventilation. Good to know dollar amount also. Great photos.
Wed, 09/09/2020 - 13:09
Thanks for that update! I was wondering how to vent this project, as Green houses need the ventilation. Good to know dollar amount also. Great photos.
Wed, 09/09/2020 - 13:09
Thanks for that update! I was wondering how to vent this project, as Green houses need the ventilation. Good to know dollar amount also. Great photos.
Not quite finished but love the table already. Trying to decide how to stain/paint it. The Kreg jig was a must for this project. It was my first of hopefully many! I used cedar for the 4x4s and 2x6 top pieces. The 2x4s are treated lumber (only because there were no more cedar ones....apparently lumber is getting hard to get lately!!!). Anyway....thanks for the great plans and motivation for this project.
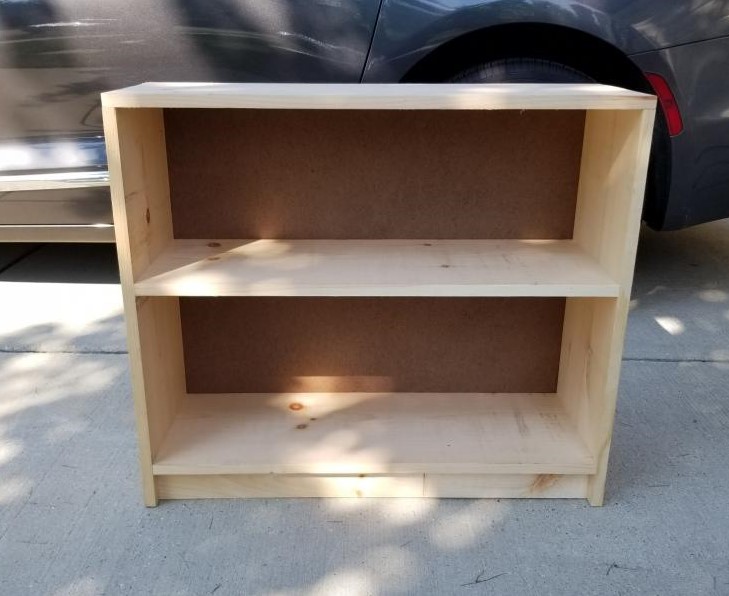
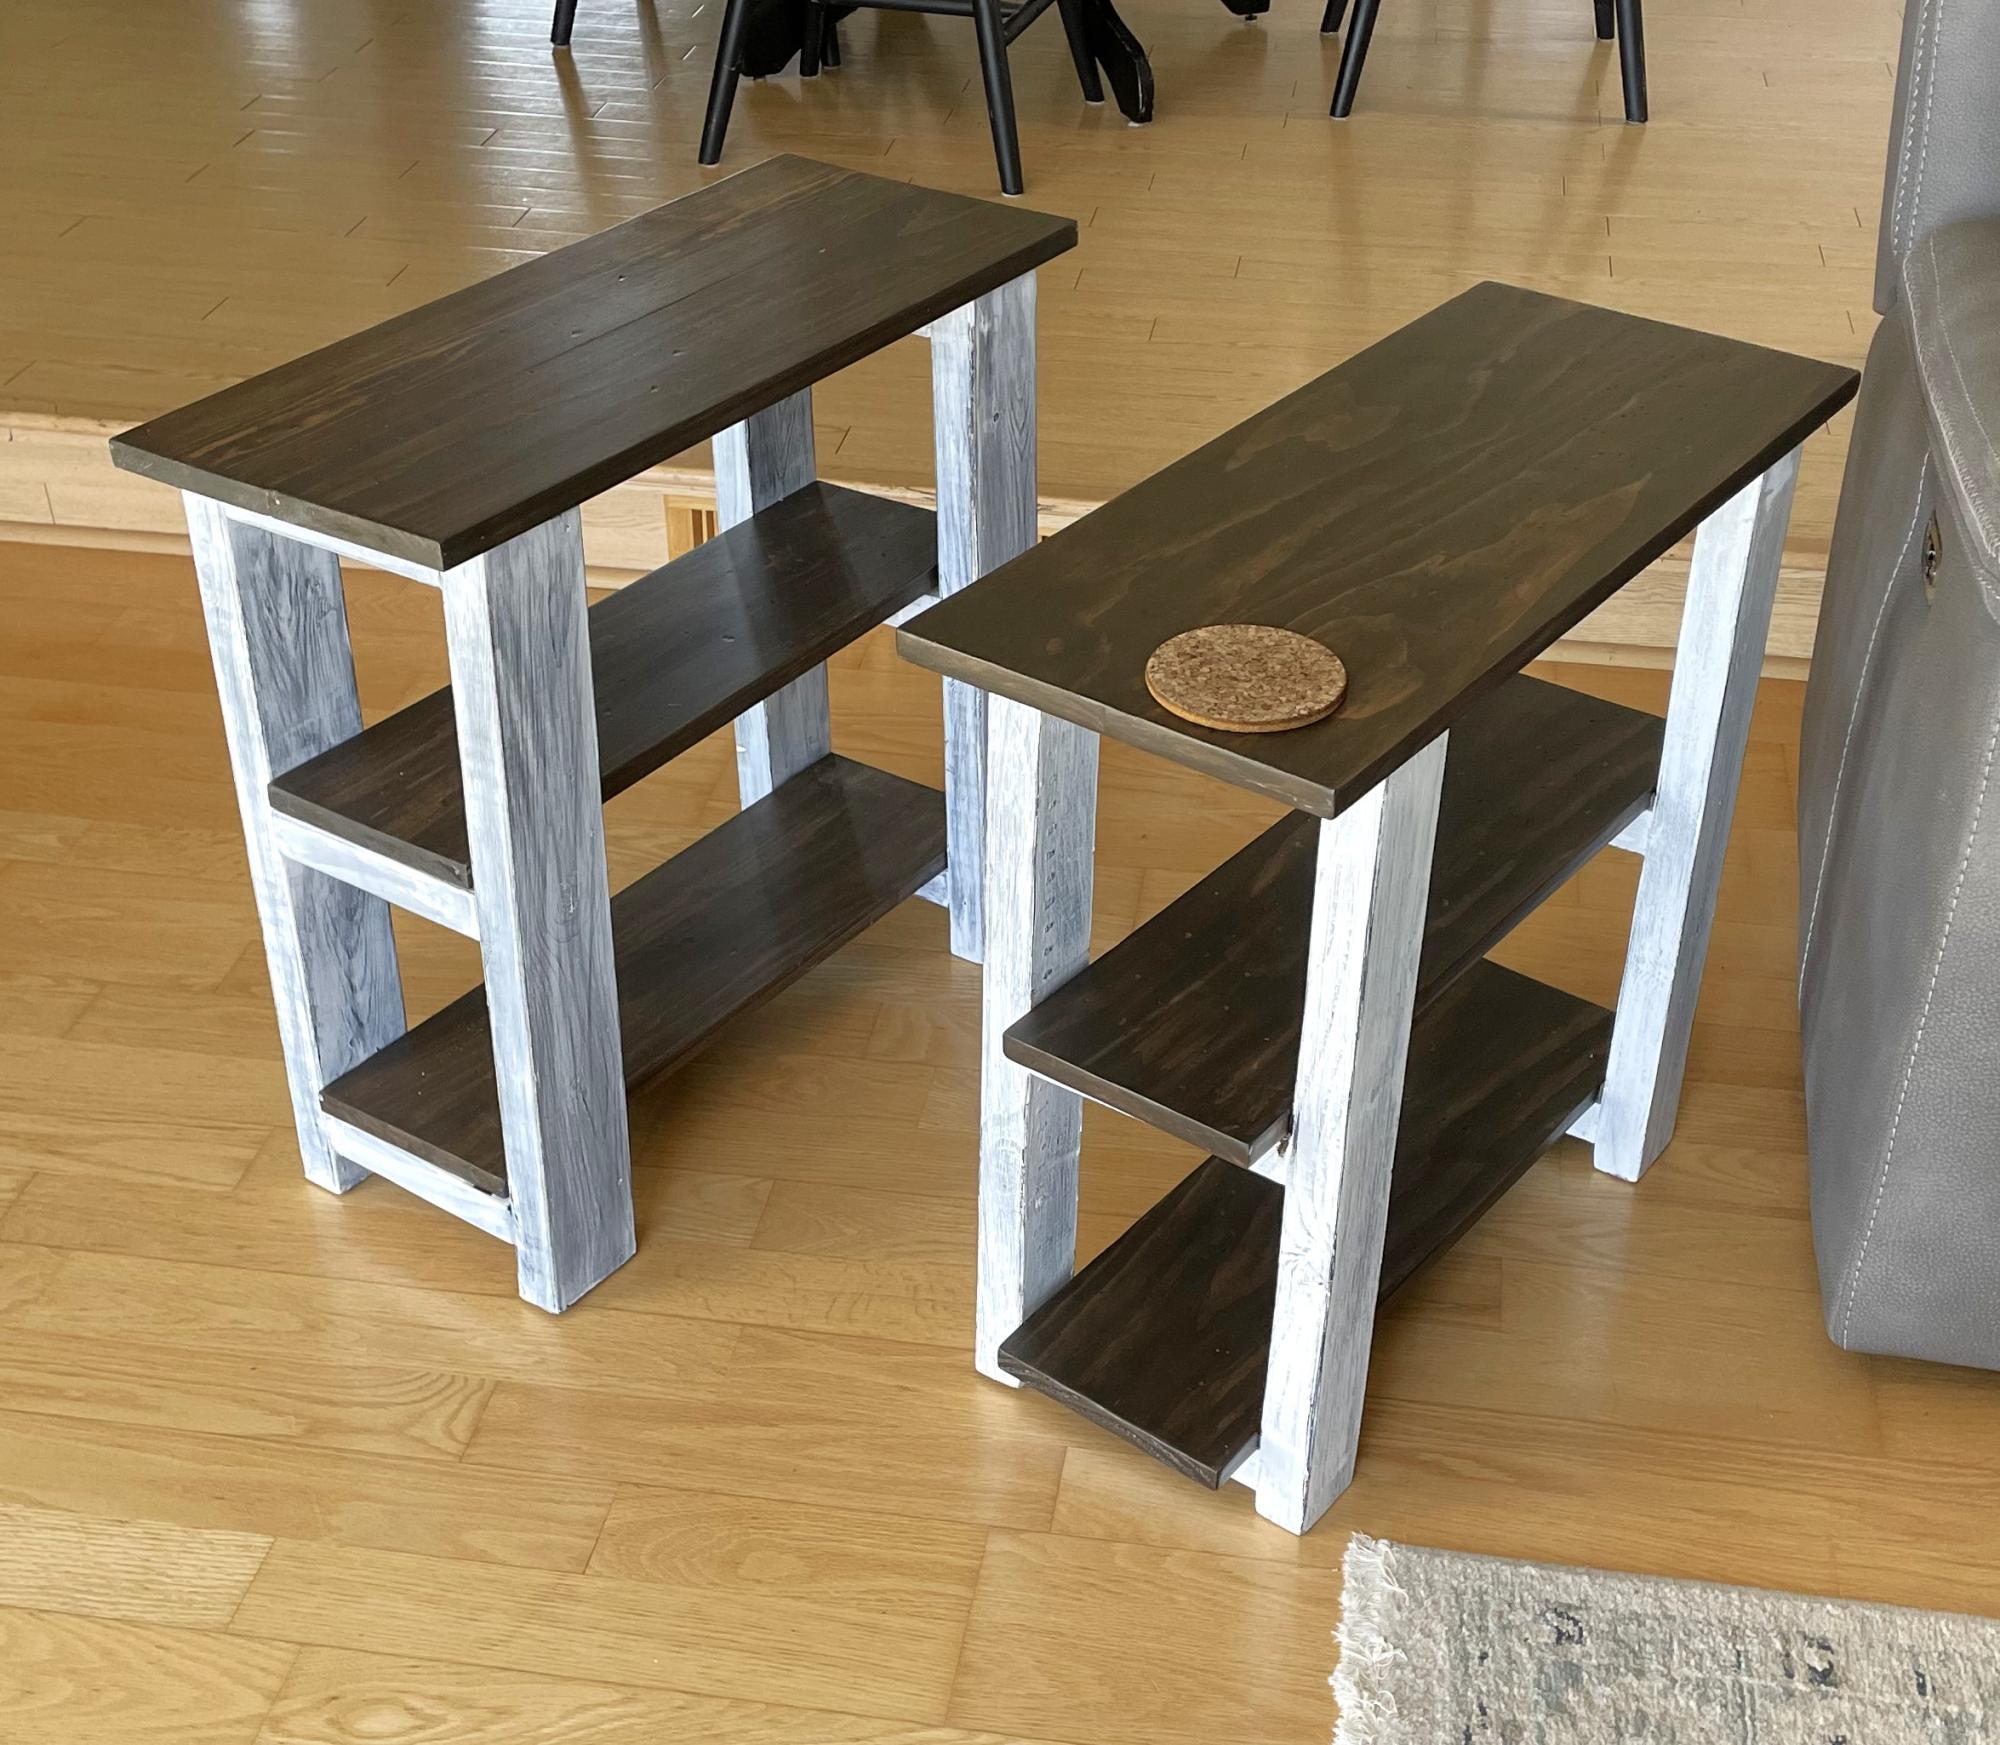
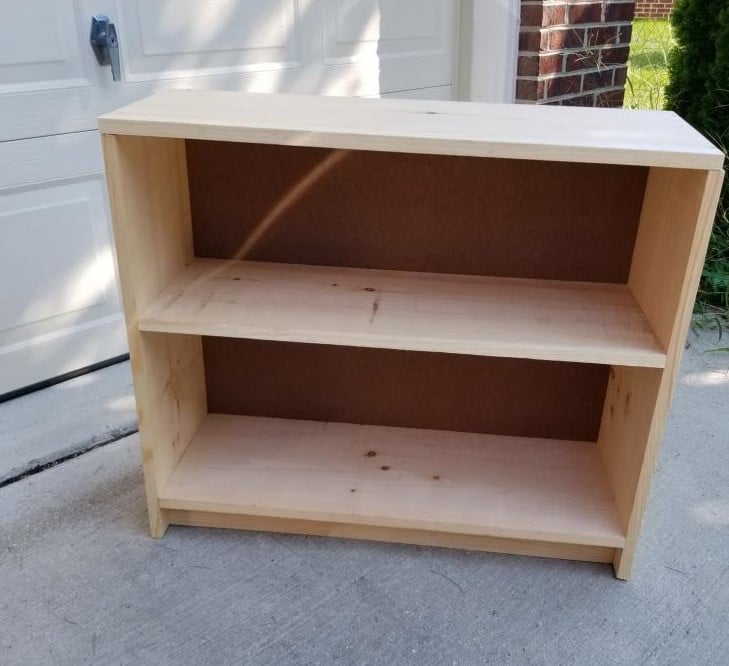
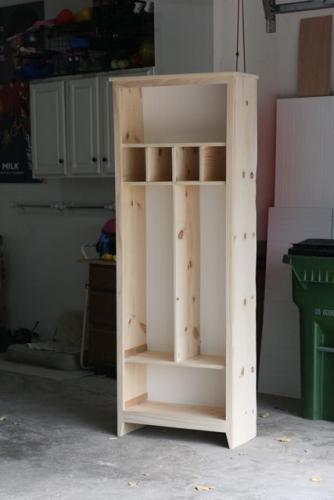
2 bookcases for my family, storage and organization. Left raw for them to customize. Current vision is purple and pink or maybe an ombre stain like we saw on Good Bones. Hopefully I can add update of final decision.
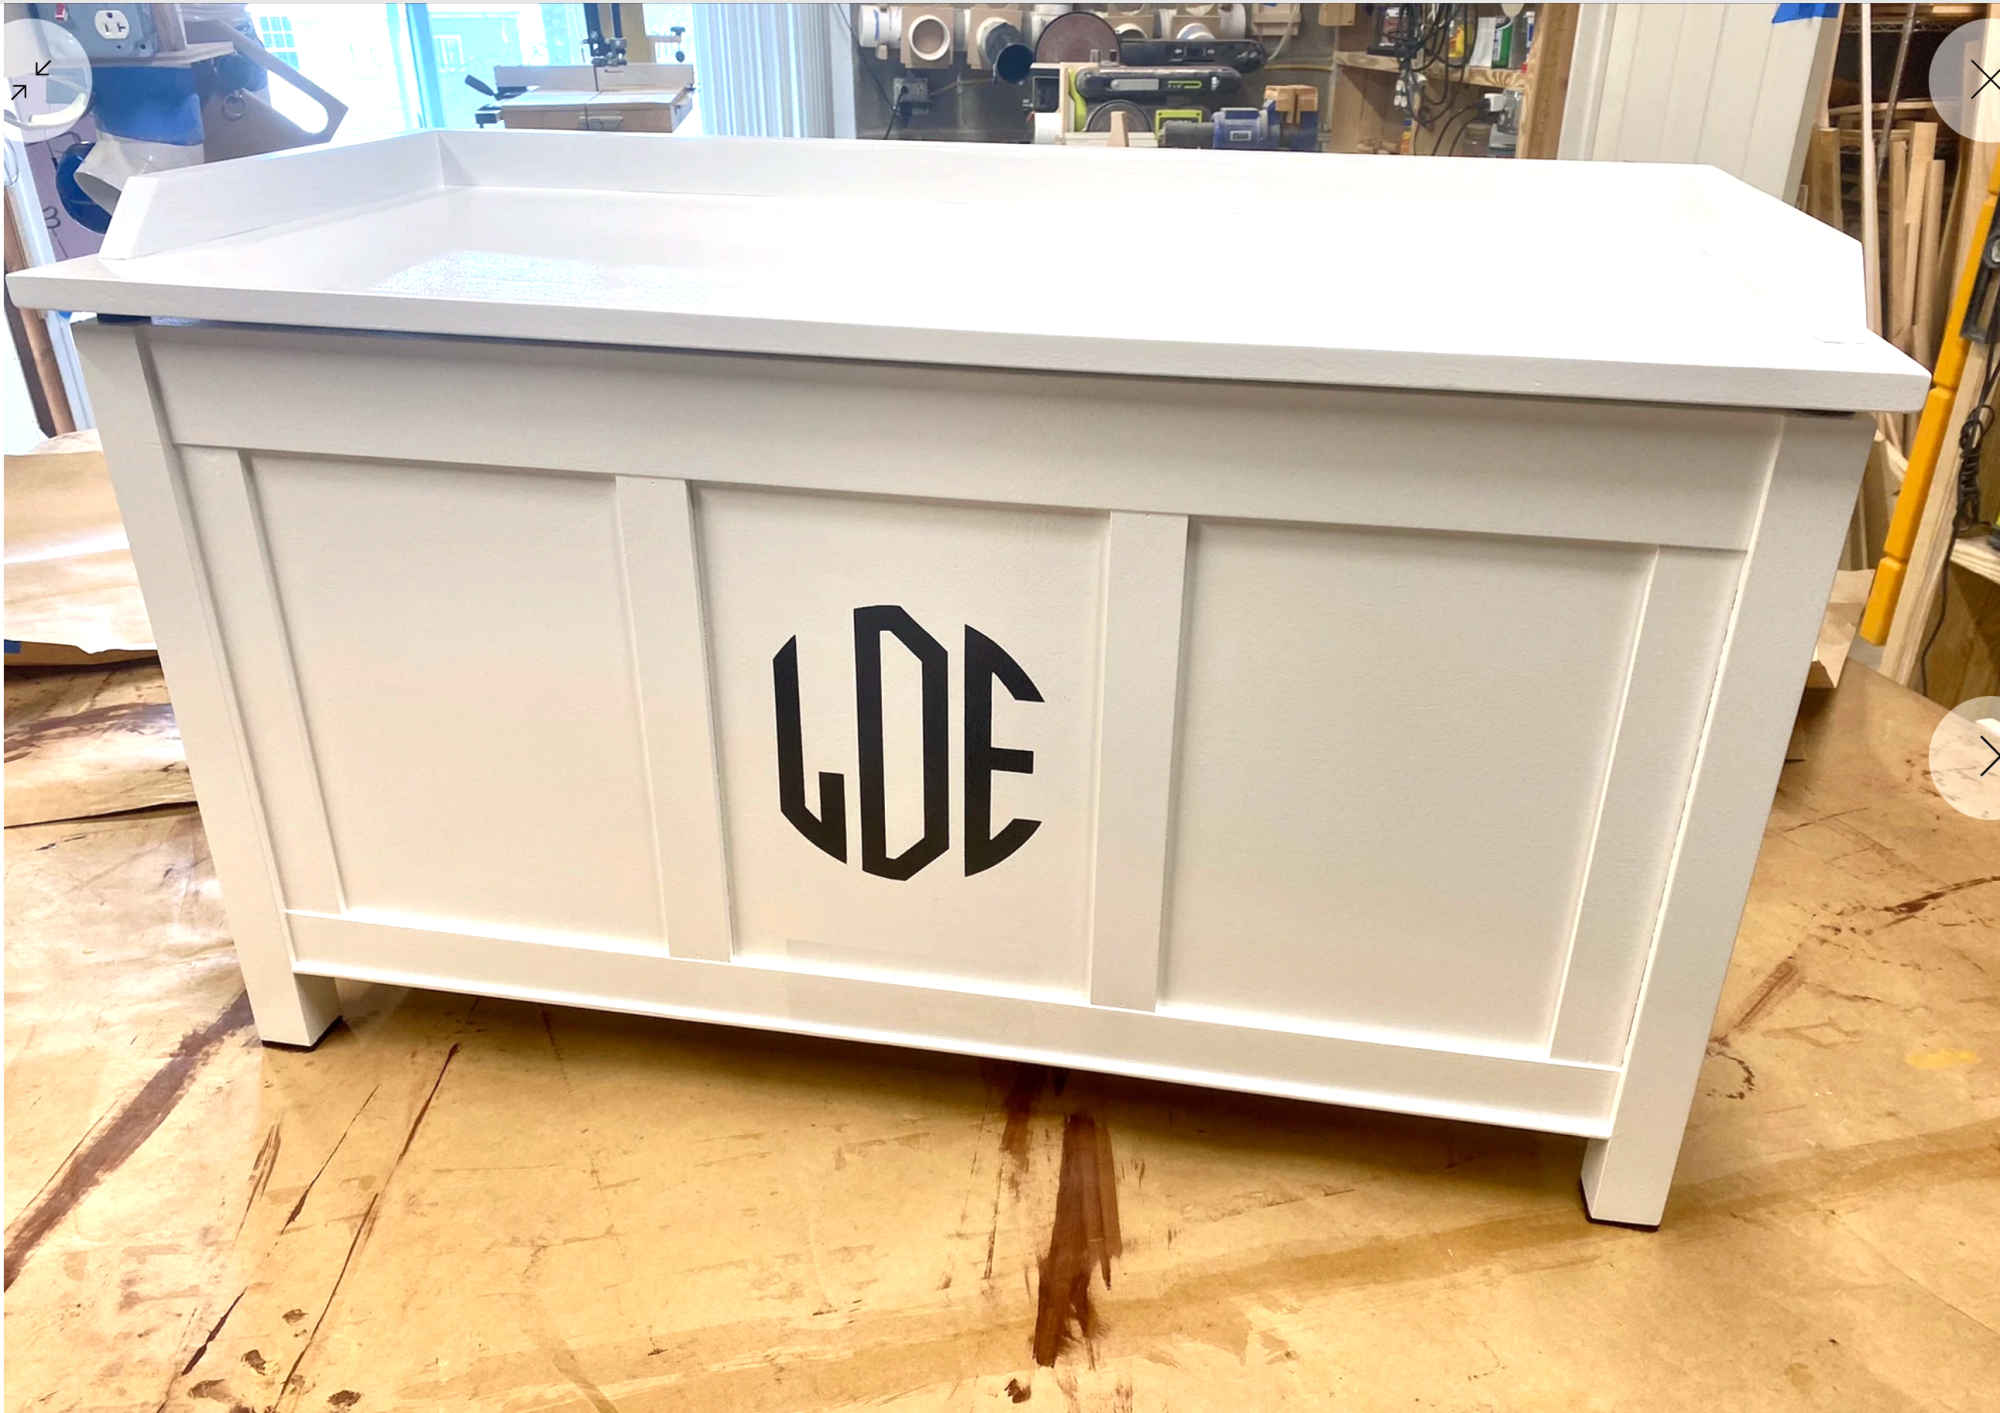
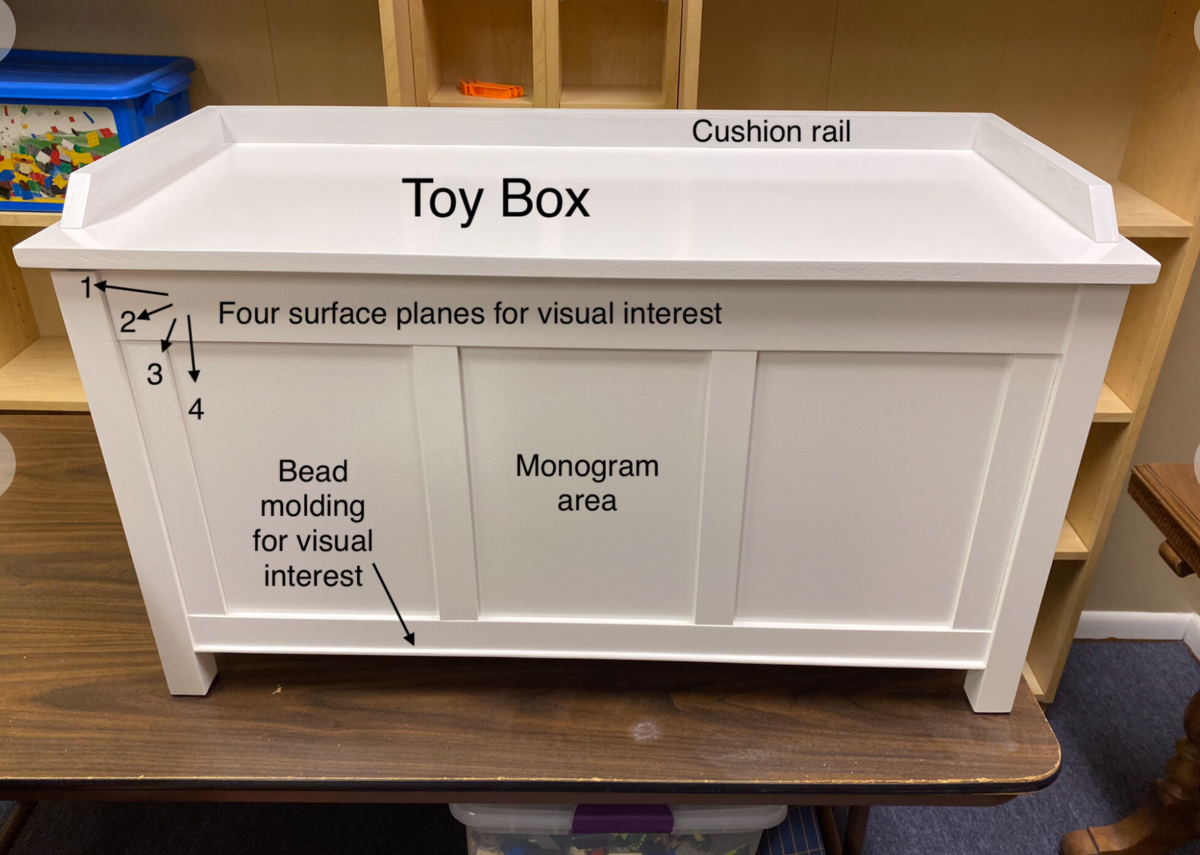
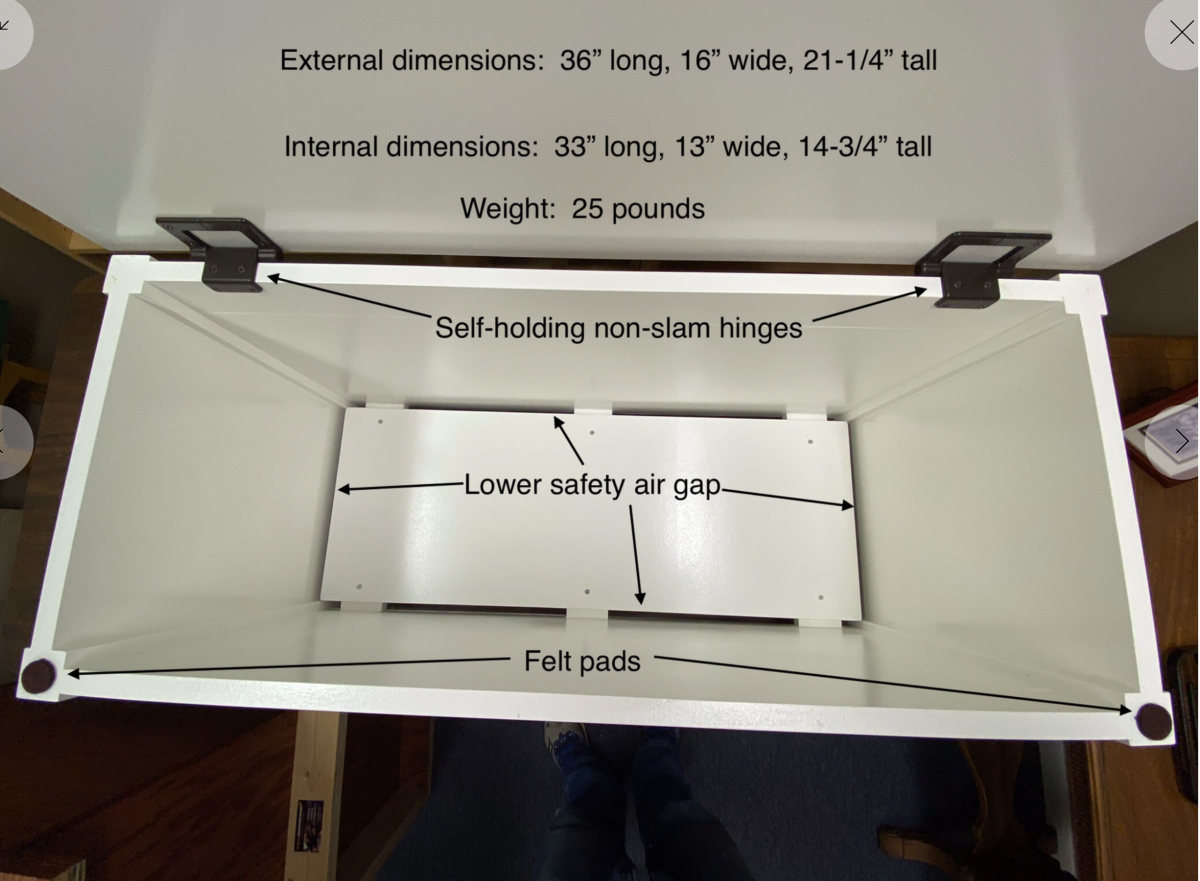
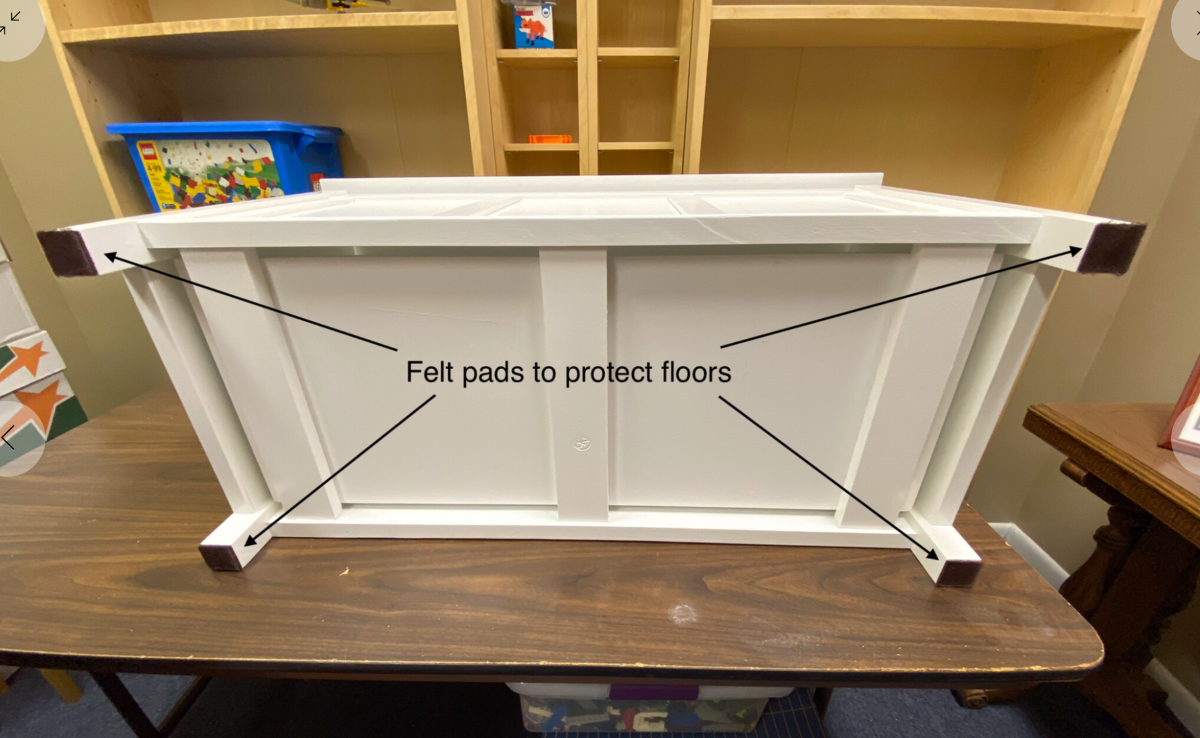
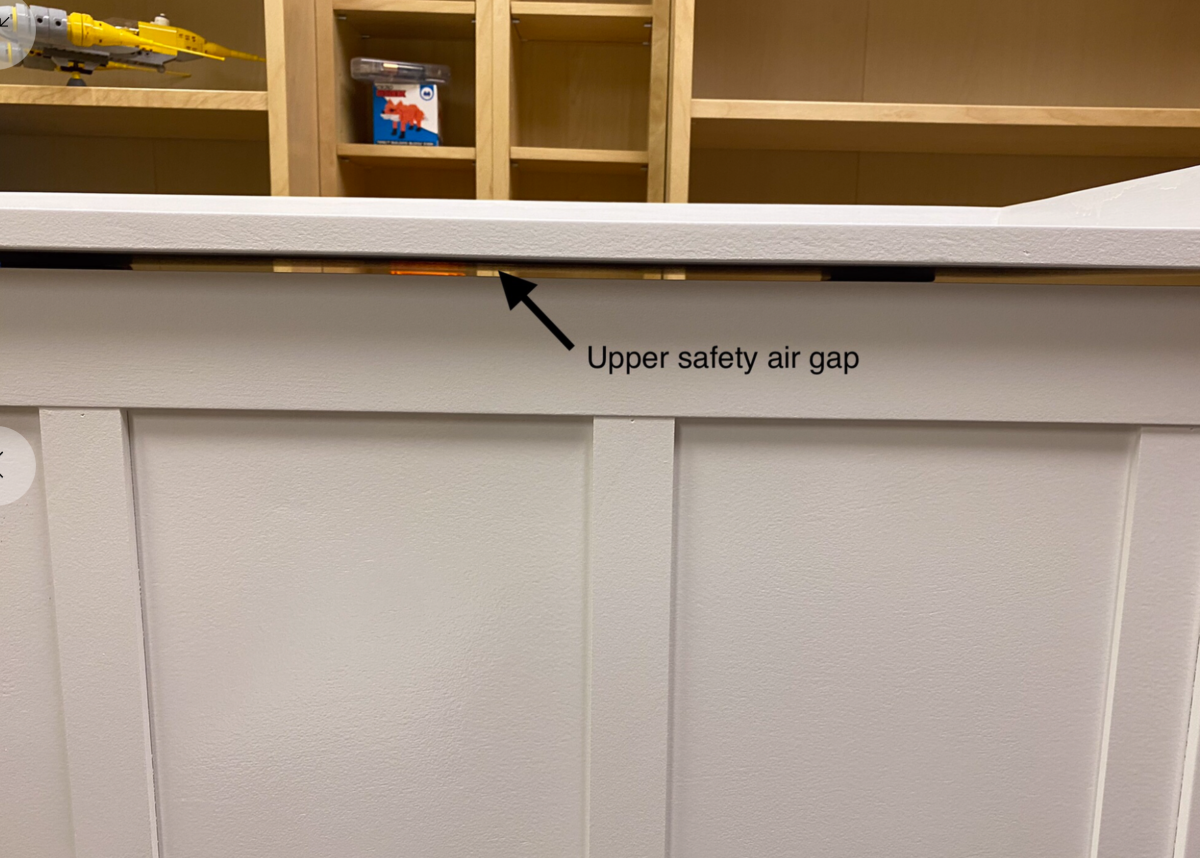
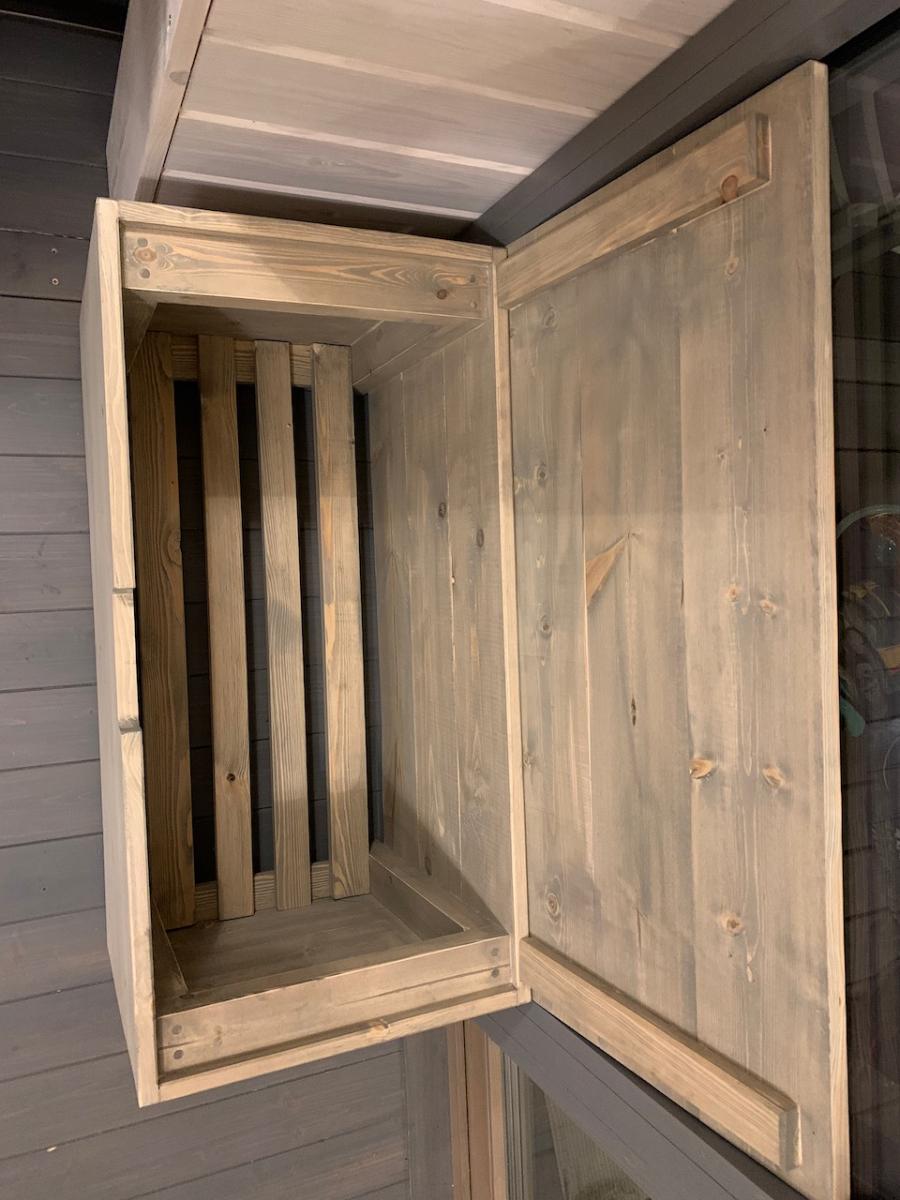
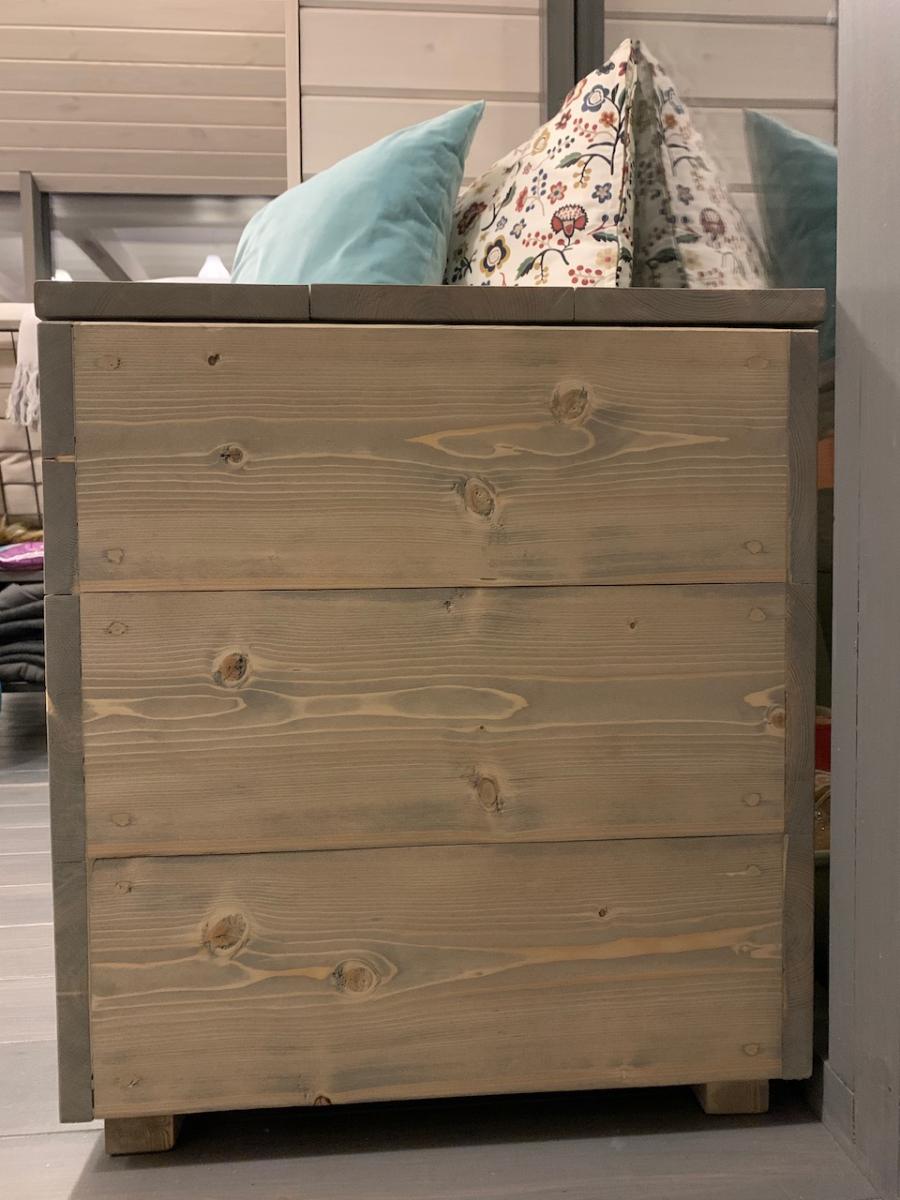
Dear Ana, thank you so much for your excellent plan! I have now made four of these toy boxes over the last eight years for my four granddaughters. Initially, I was tempted to modify your plan and make it out of thicker material such as three-quarter inch plywood instead of half inch plywood, but I decided in the end to stick with your plan and I’m very glad that I did. It is still just as strong and yet it is much lighter in weight this way and easy to move around, which happens quite a bit with toy boxes over time. I’m pretty sure these will be treated as heirlooms in my extended family for many years to come. - Chris Kairys, Franklin Park, Pennsylvania. RetiredWoodworker.com.

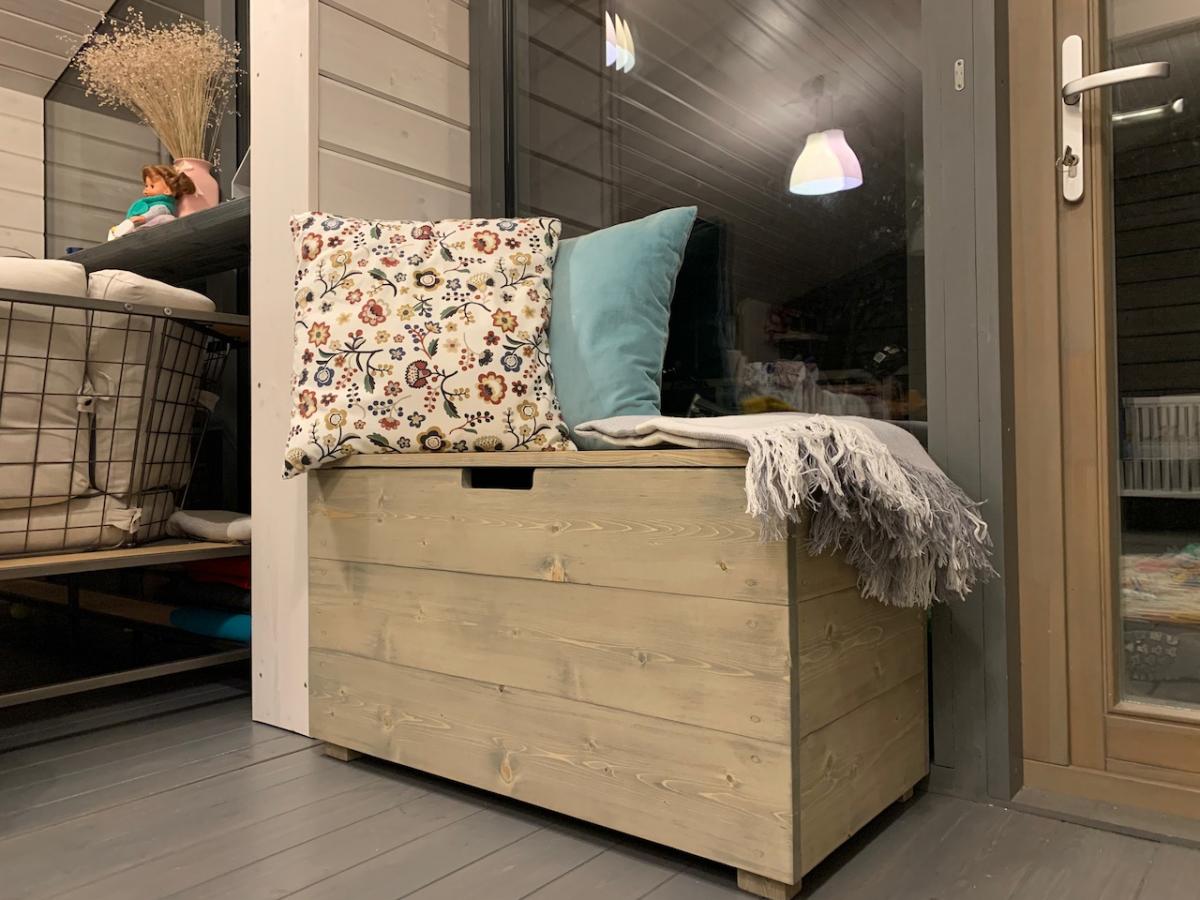
No fireplace yet and needed a place for the stockings. Made this for my daughter and her family. -
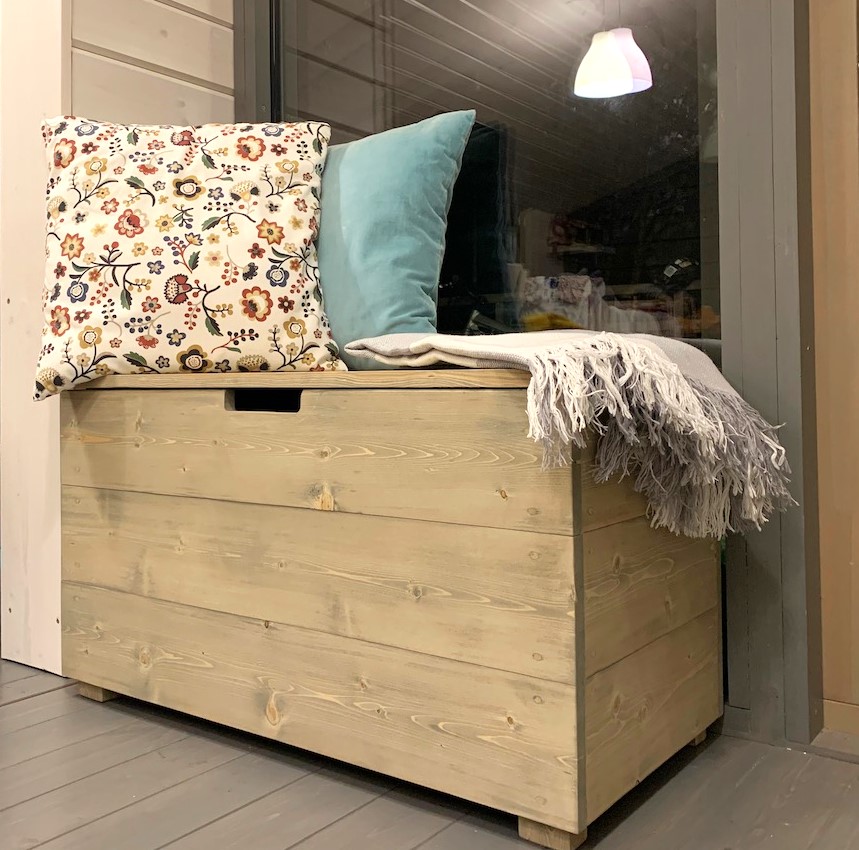
Super useful chest for winter clothes ! Sand it for perfect smooth indoor use, hide all screws. Thank you for plans.
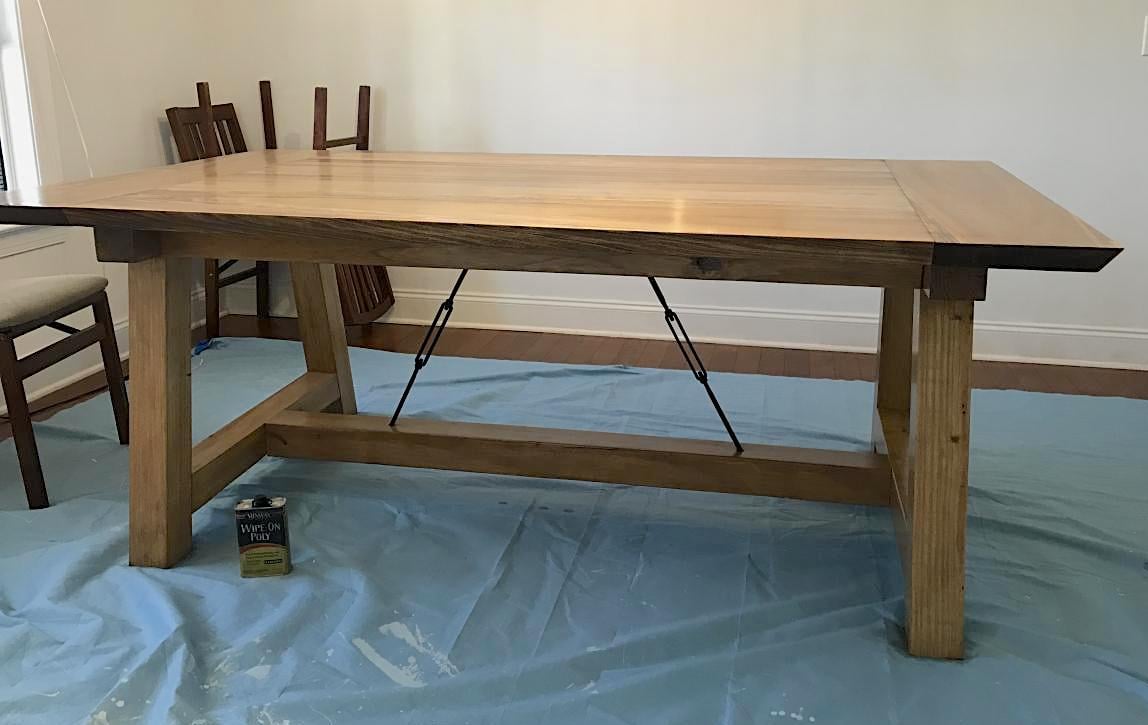
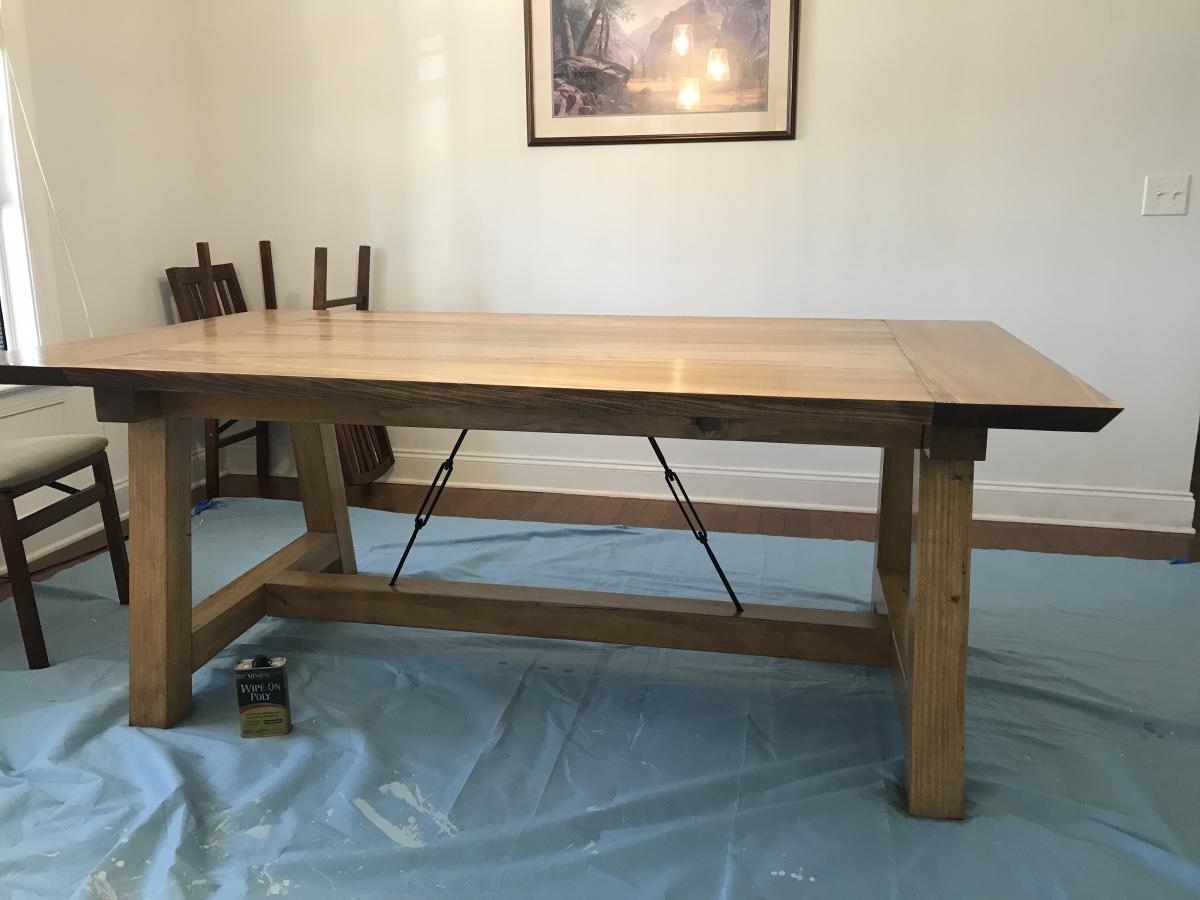
My hubby and I used the tressle table plans to make this awesome table. We changed it up, adding the turnbuckles like a Pottery Barn table that we wanted. I think this turned out way better!
We used yellow pine for the lower portion and poplar for the top.
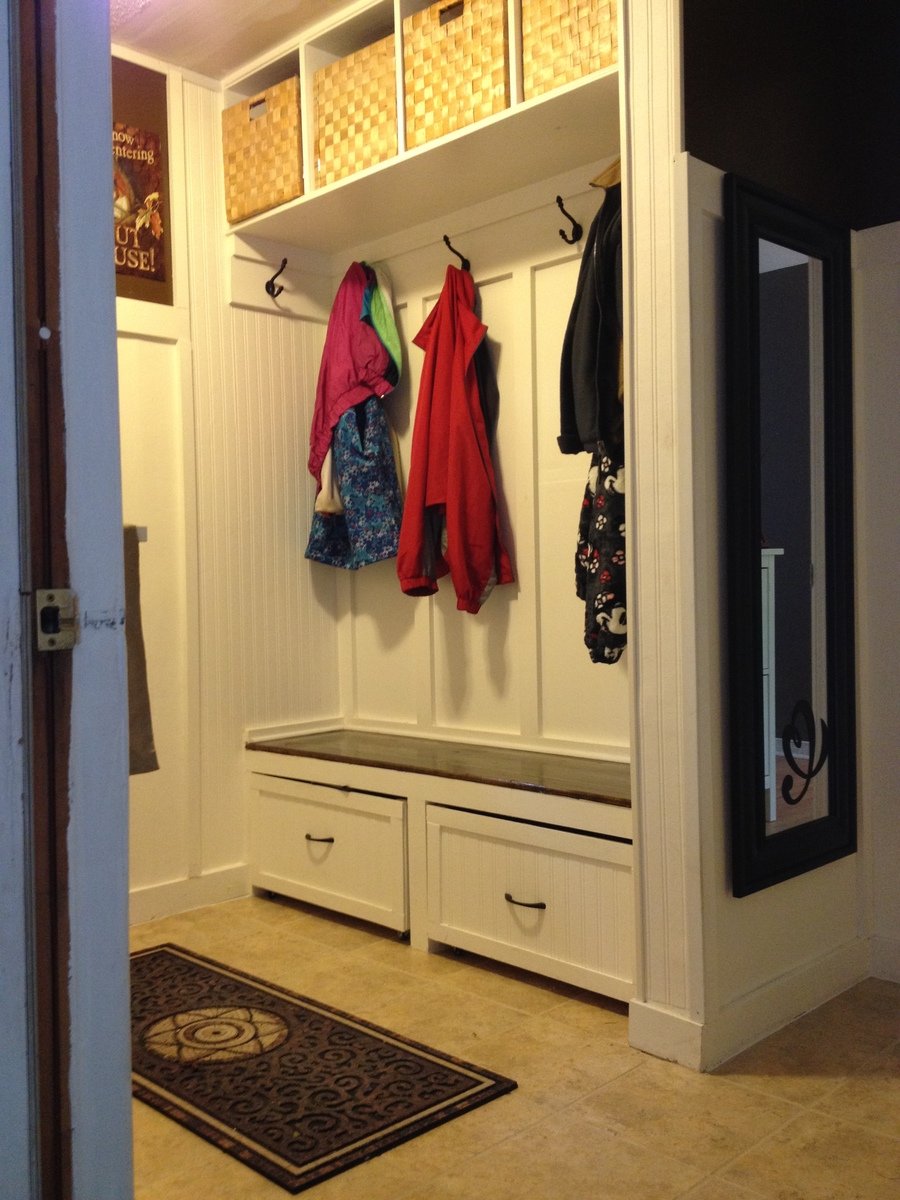
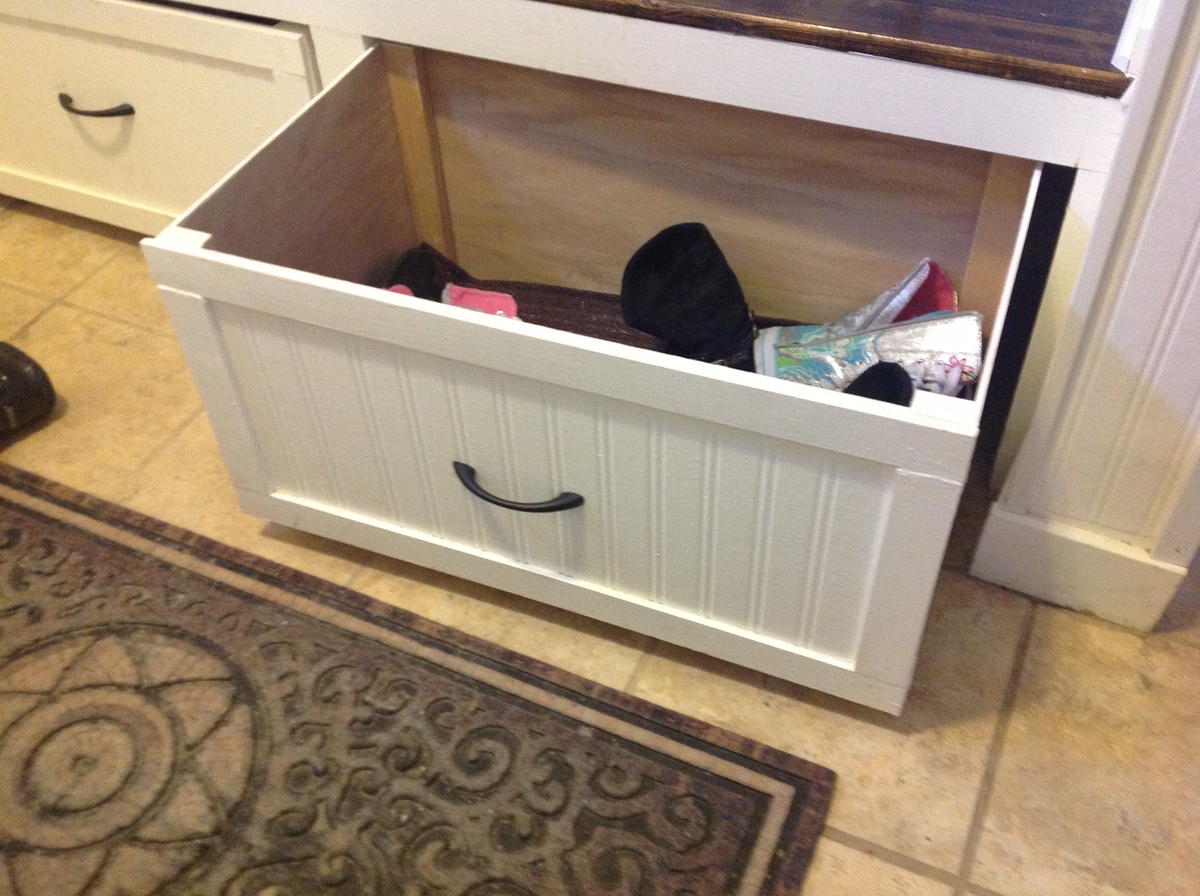
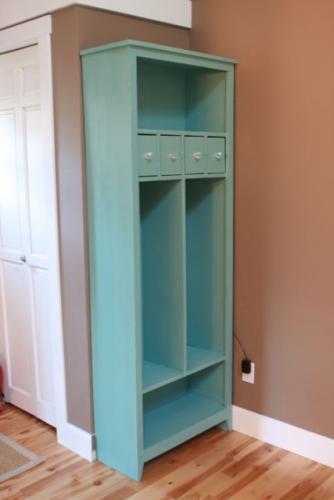
This is a twist on the Modular Family Entryway Mudroom System - Pullout Rolling Bench Cart . There have been many posts on the net for a mudroom locker set such as the one I have. In our case we had a mudroom with a closet, not much room to move when sliding the doors open, and as well we have kids that need a place to sit in order to put boots/shoes etc on. I took advantage of my husband's work assignment out of the country to rip back the closet,to 20 inches deep and open it up and added a bench for seating, baskets above for out of season/rarely used stuff, and used rolling cubbies below, but in my case I wanted storage bins instead. My thinking was so that I could make it look clean pretty quickly by just chucking every thing in to the bin... These are tall enough for our boots. In the bottom of the bins I put a piece of outdoor carpeting, then a plastic grid, and over that another layer of outdoor carpeting so if the footwear is wet it will drain and dry-no biggie to vacume or sweep out. Best deal: I can simply roll them out of the way when I want to sweep underneath! I measured cubby space to basket size above, and made the bins below after doing the bench and middle supports, to ensure a good fit. The bench top is an old piece of pine board I sanded, stained and used 4 coats of marine varnish so it would take lots of wear and tear.
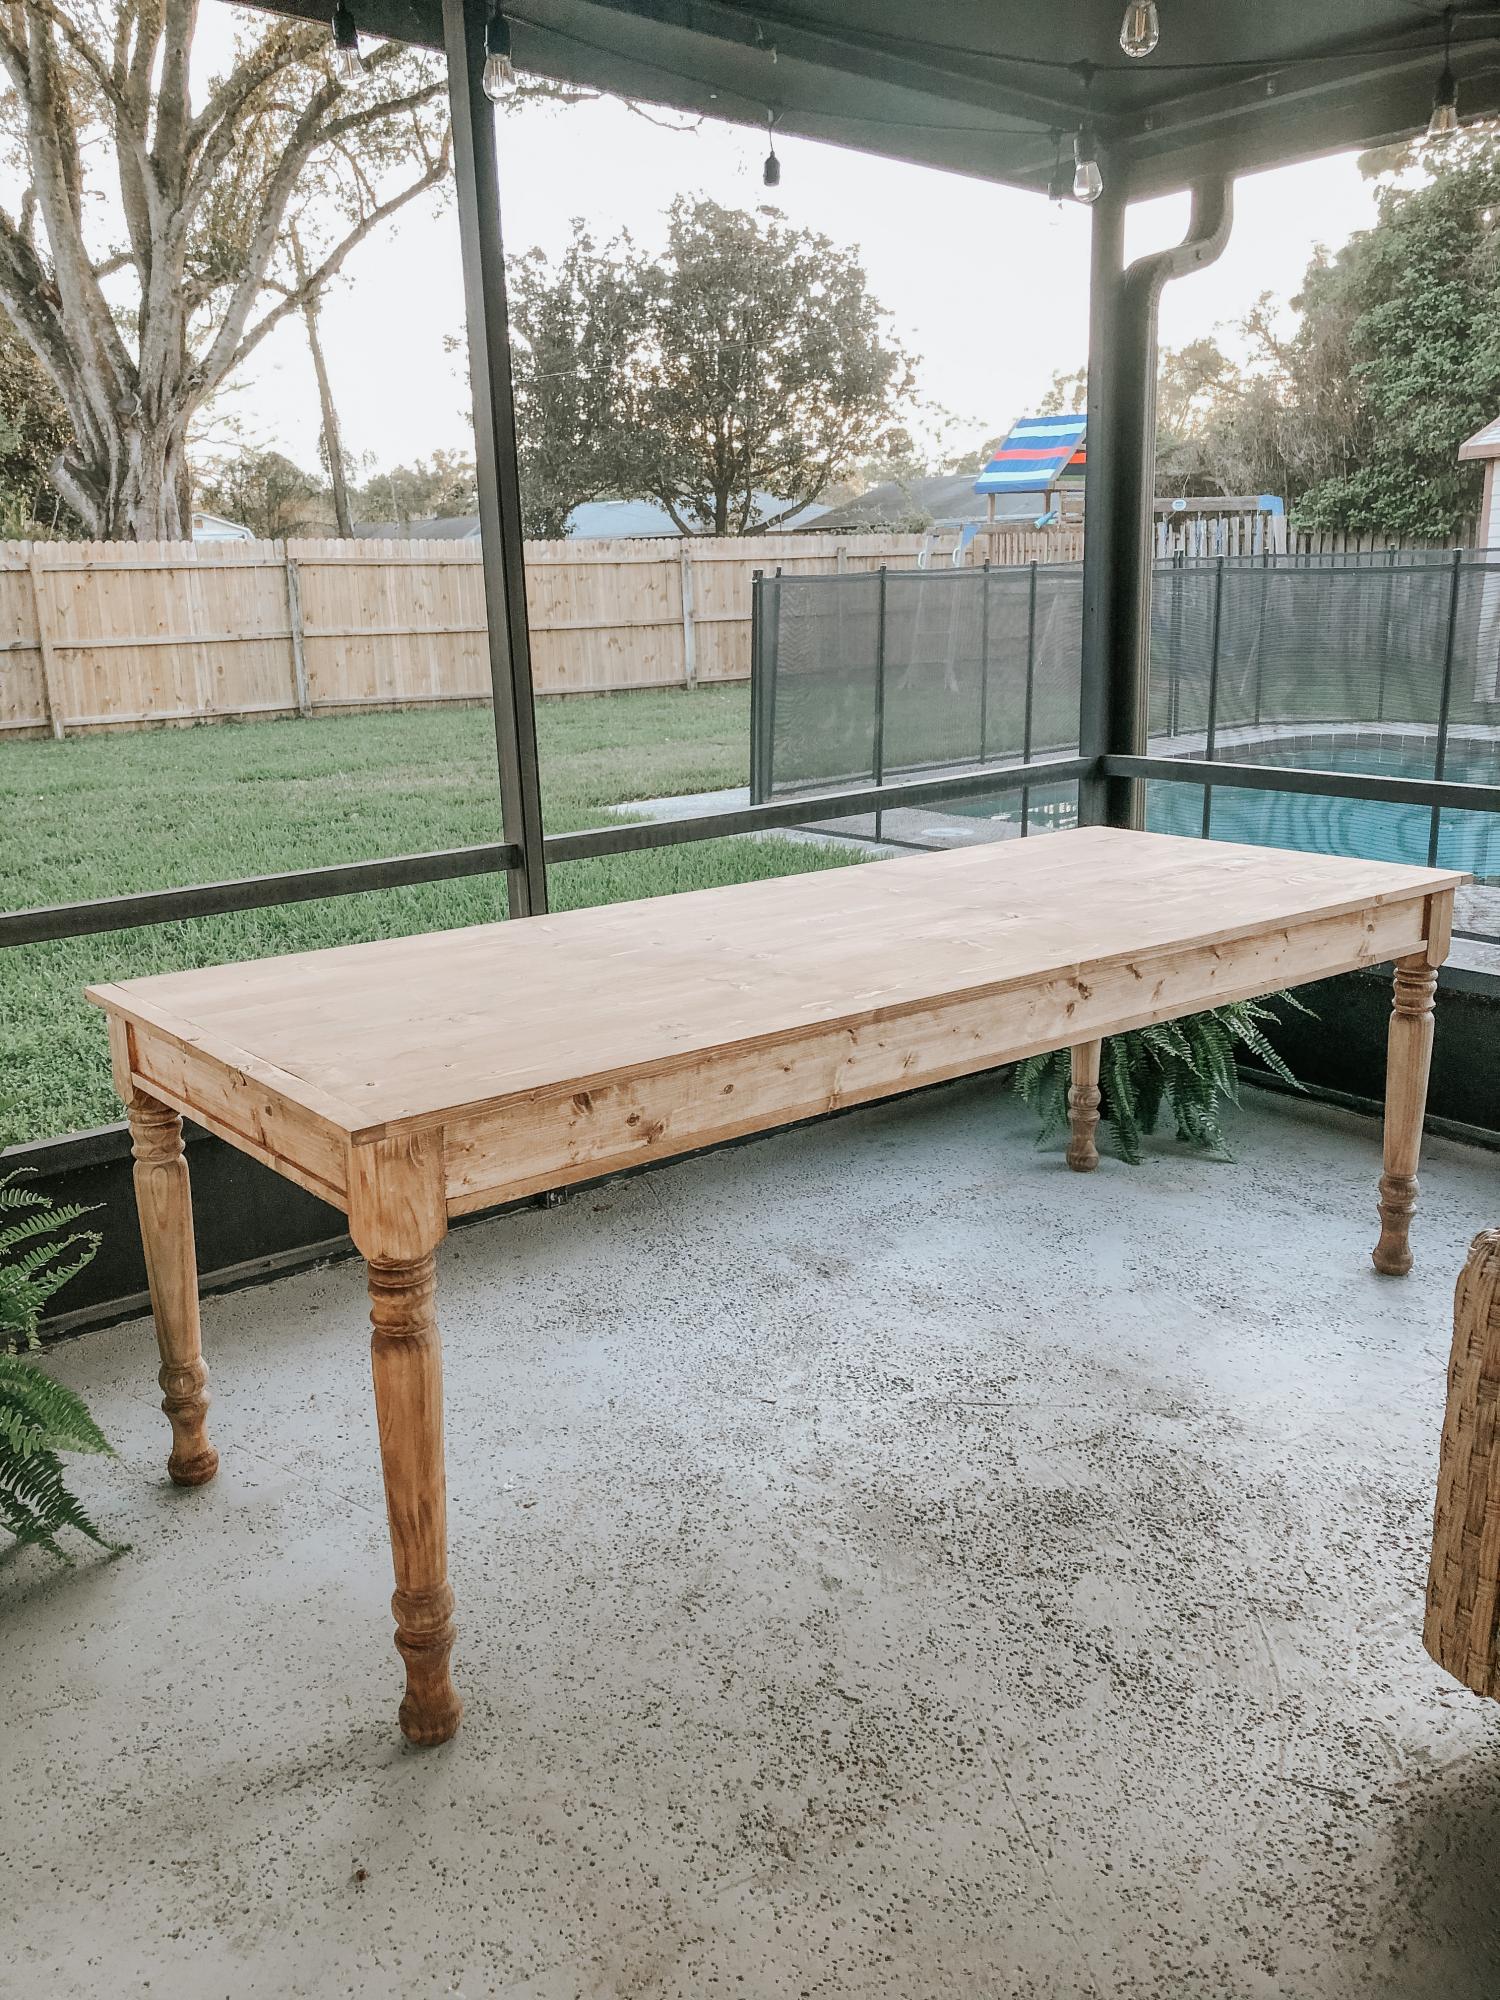
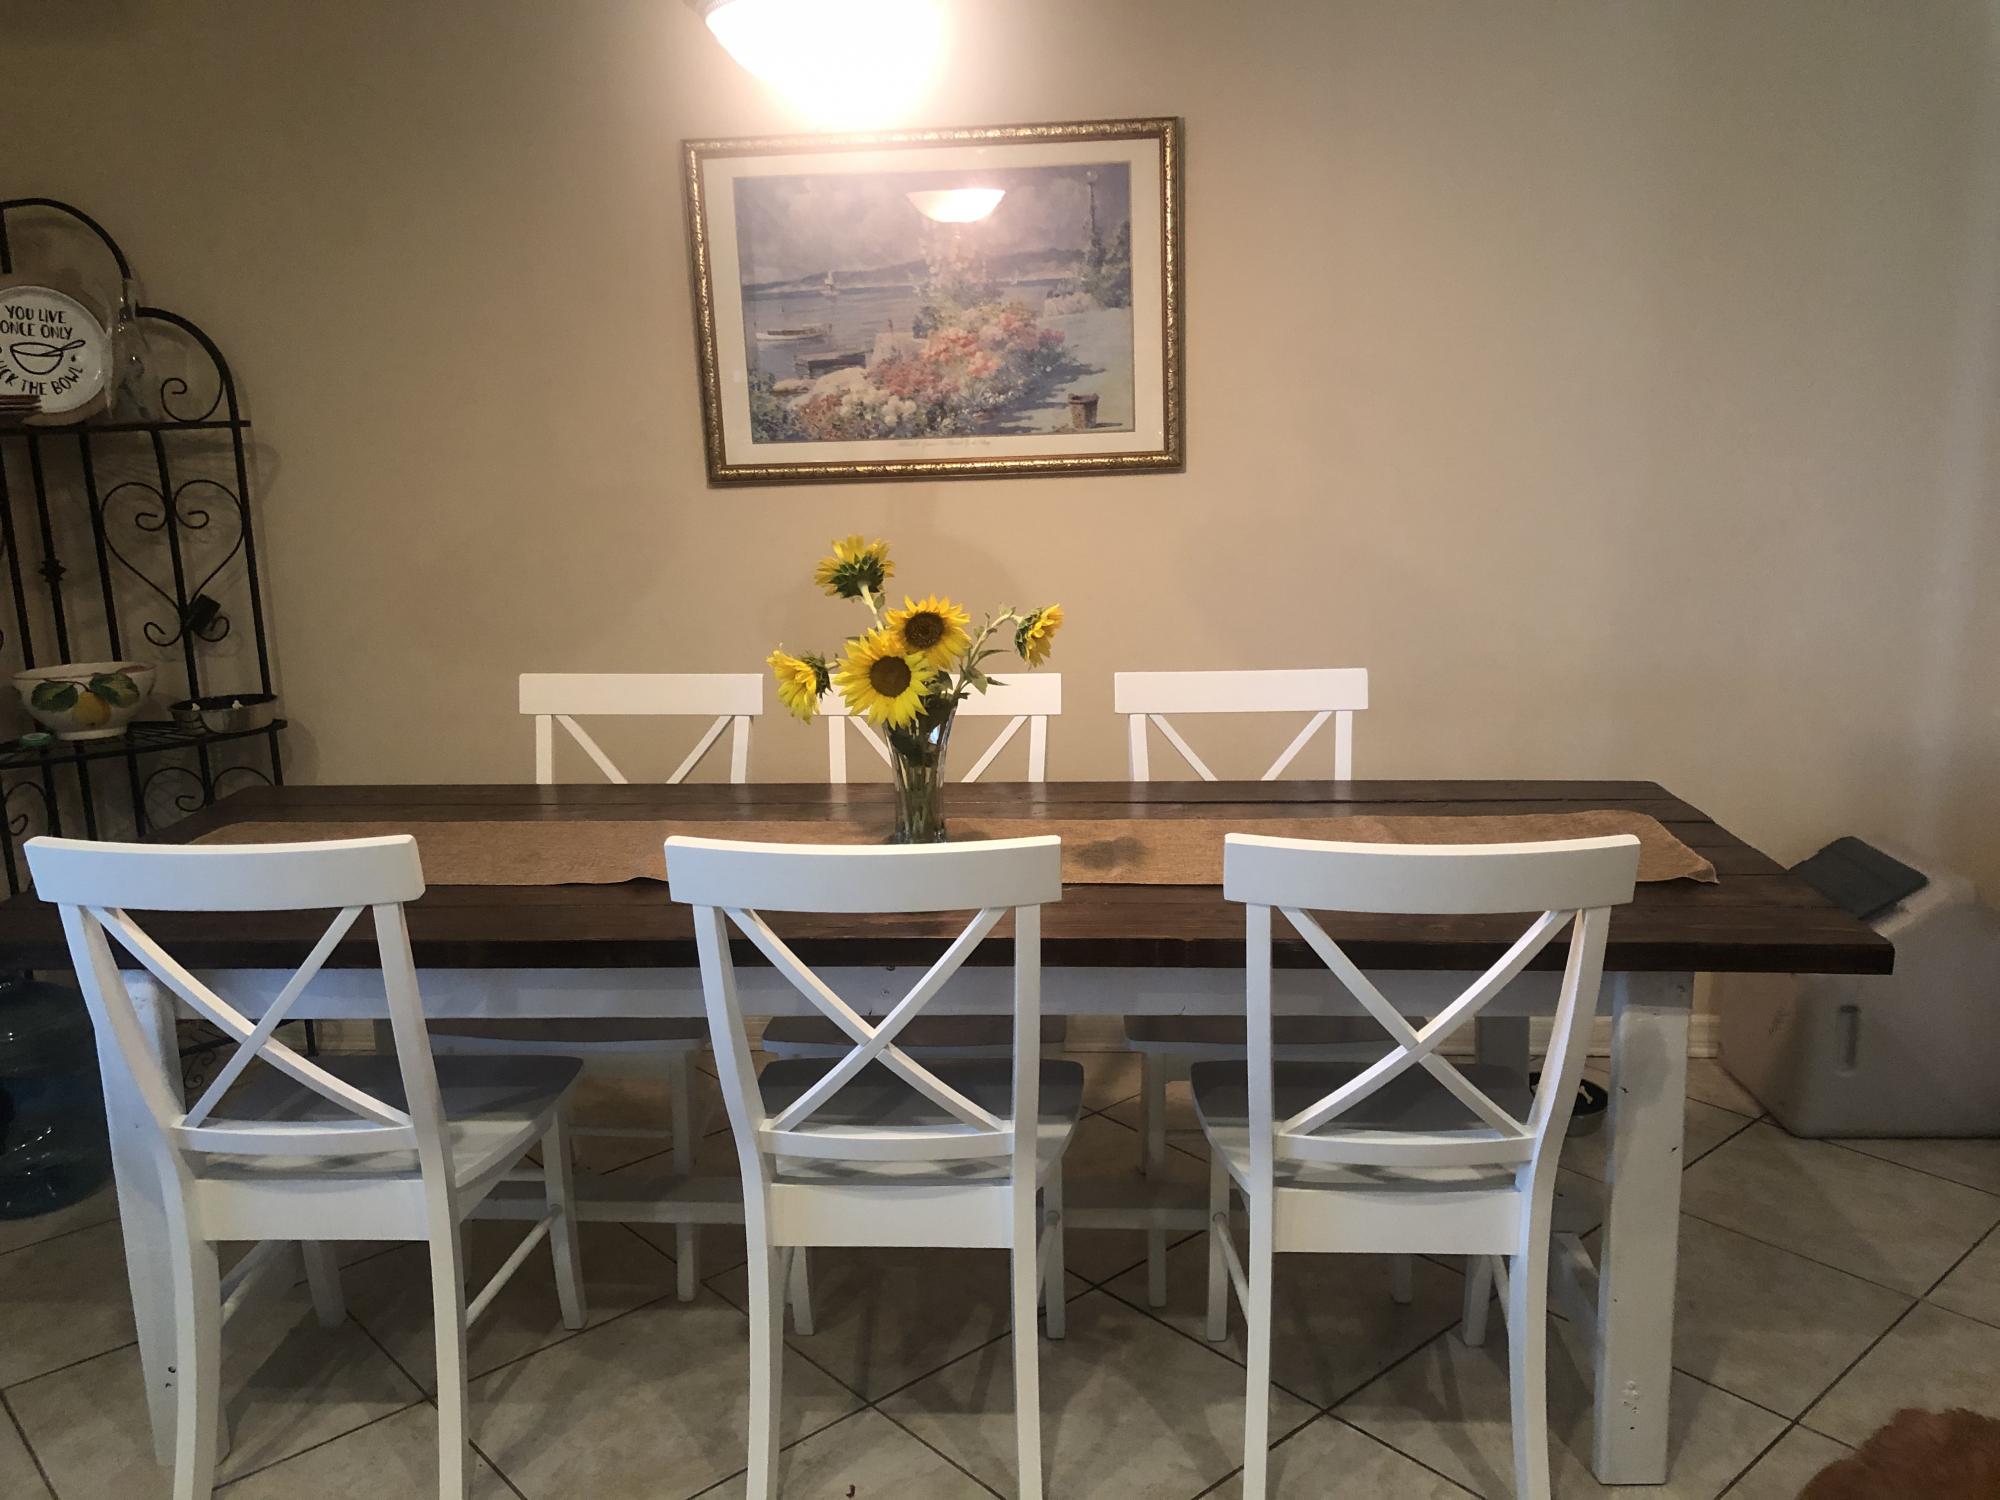
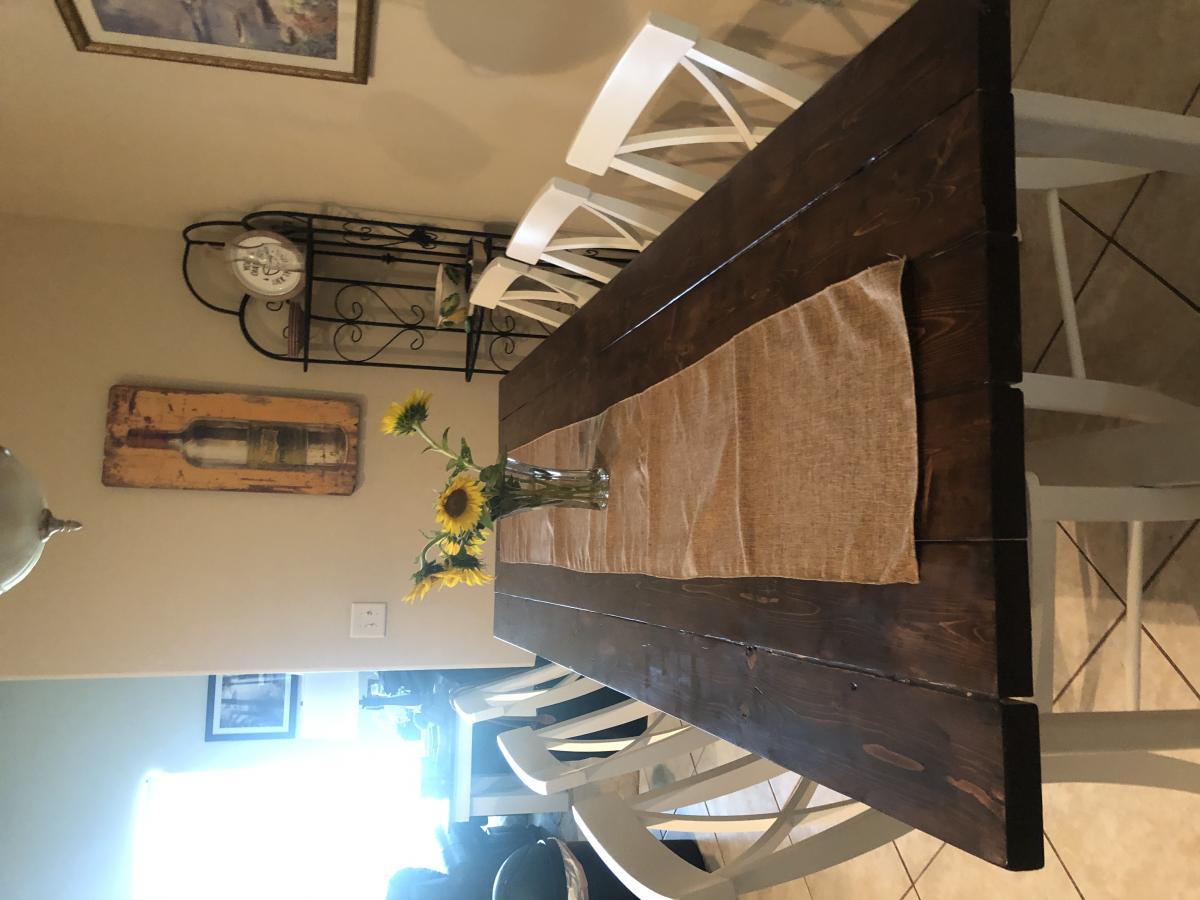
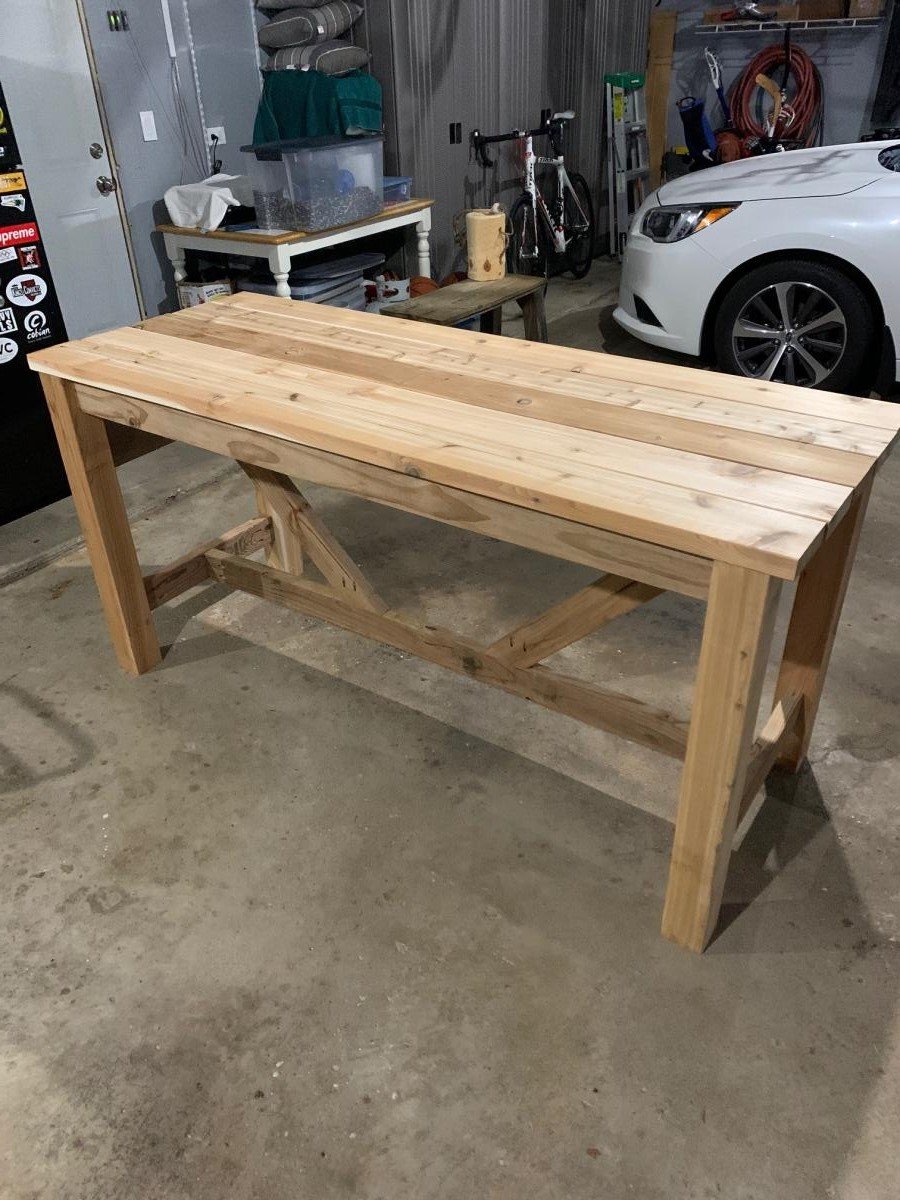
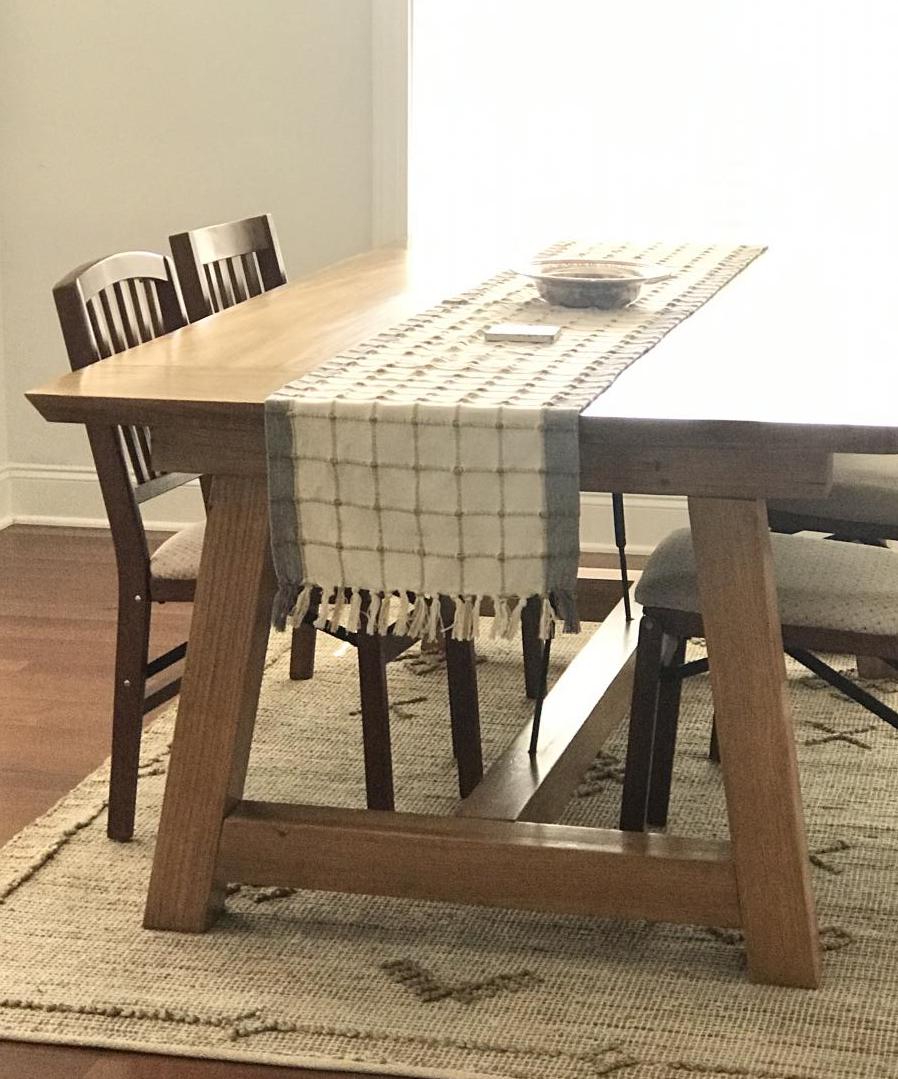
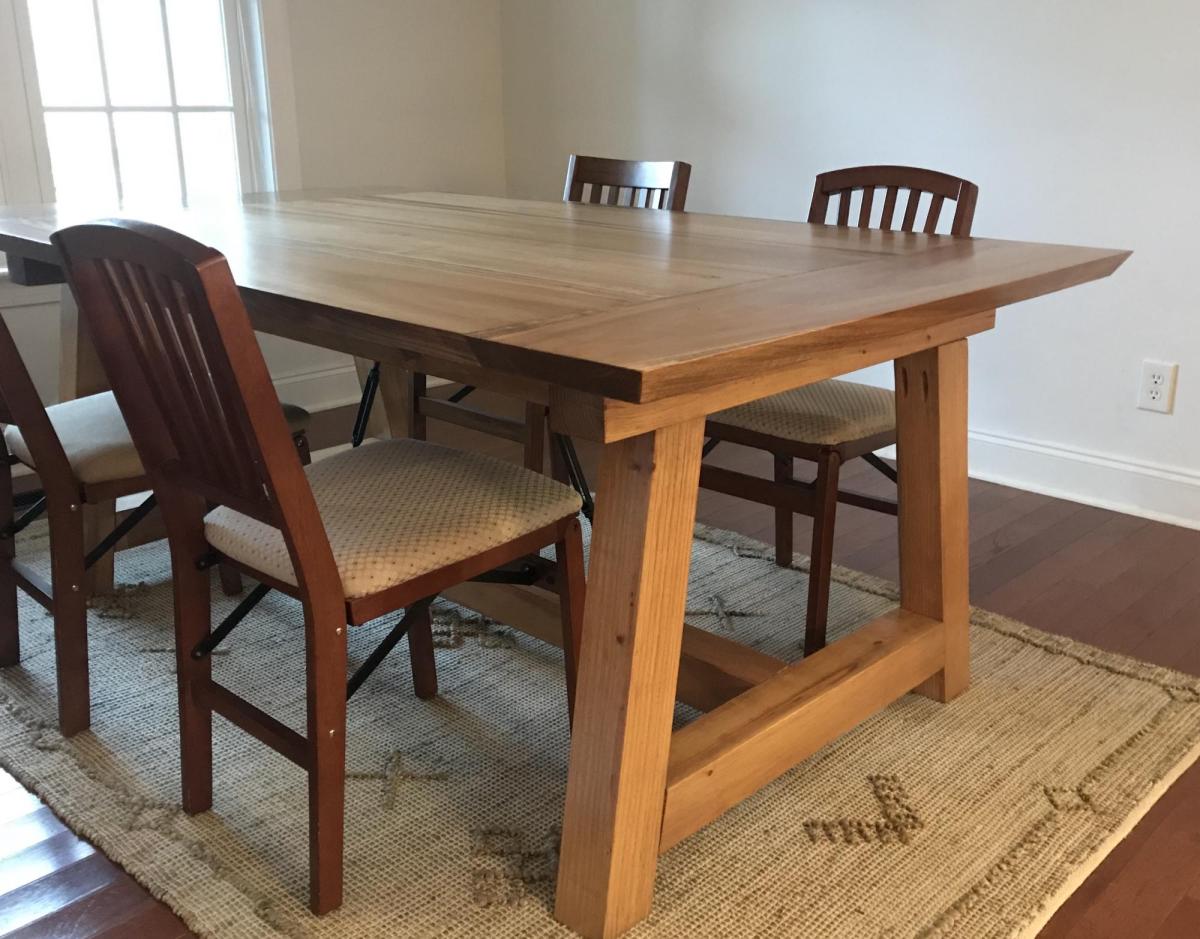
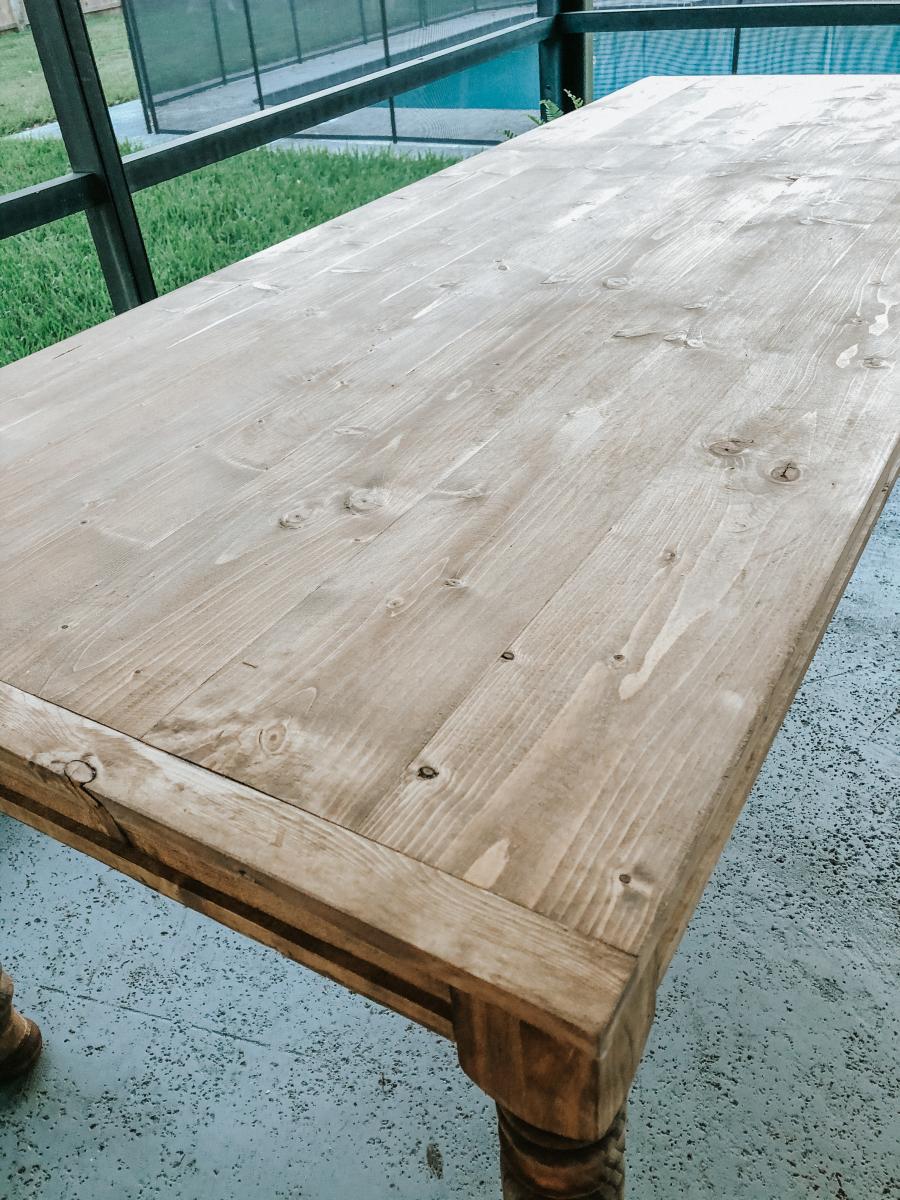
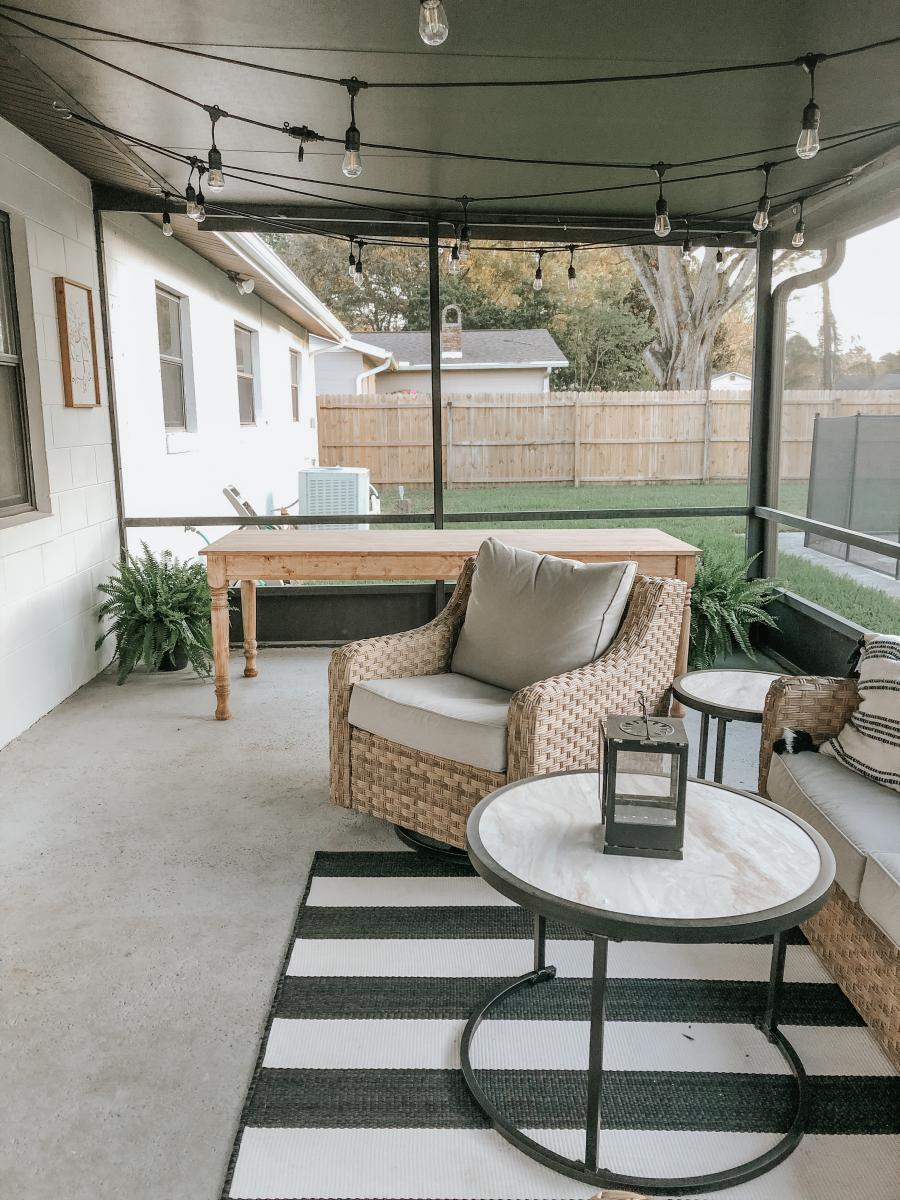
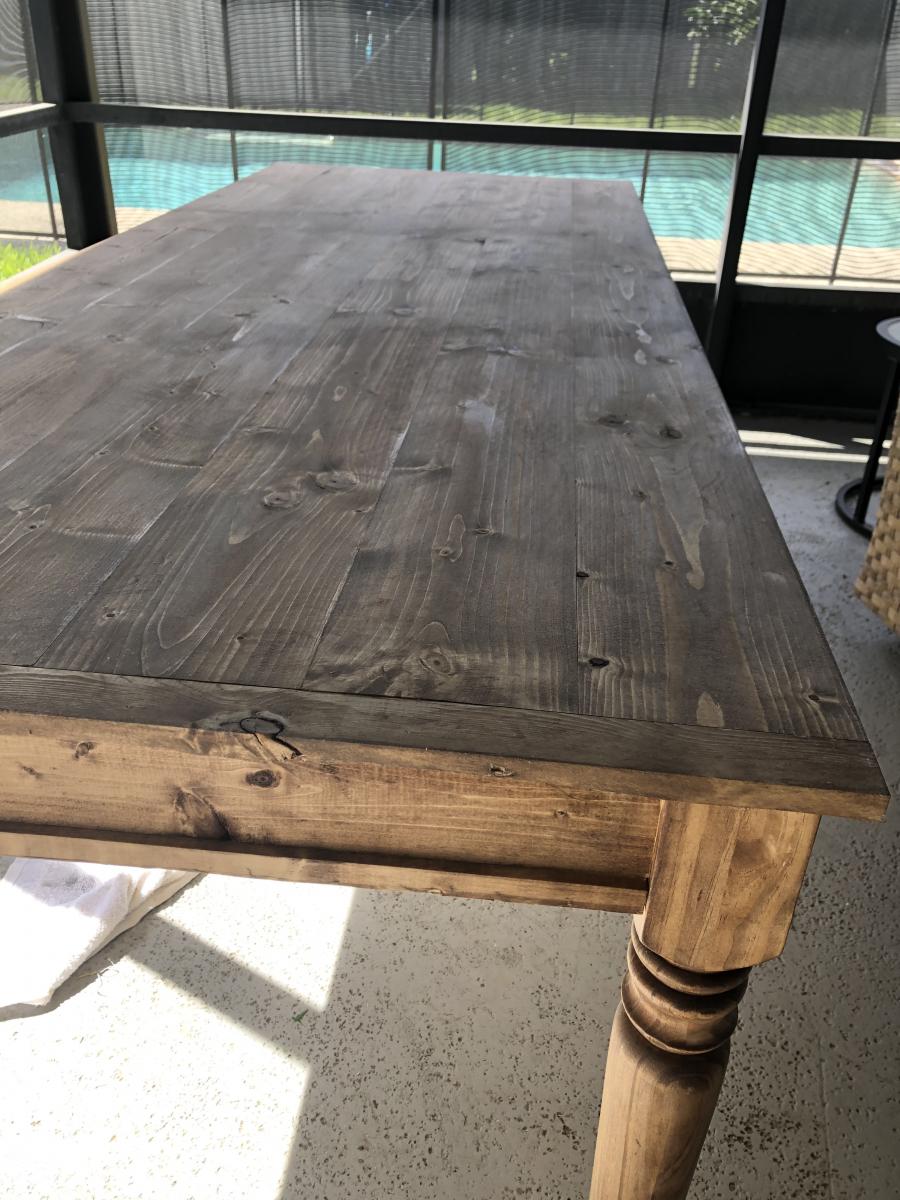
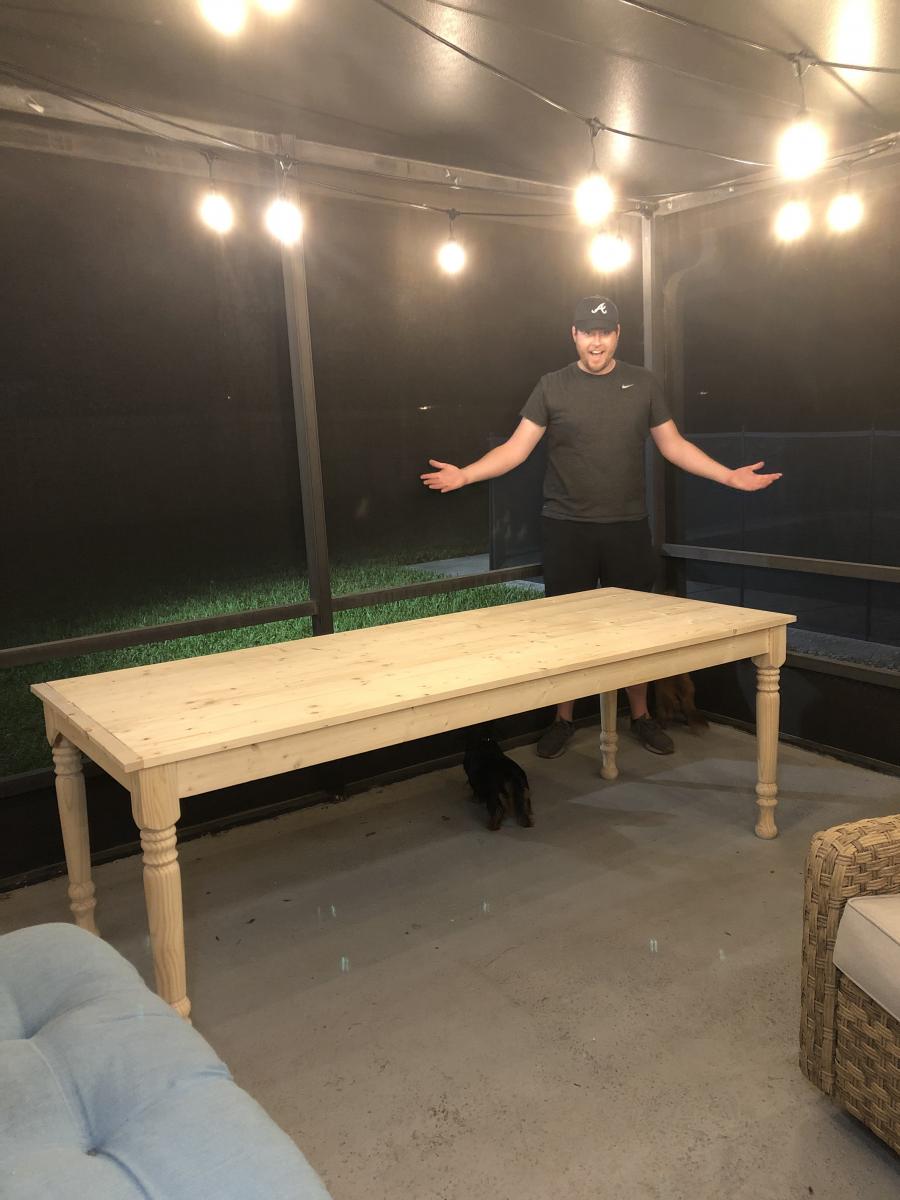
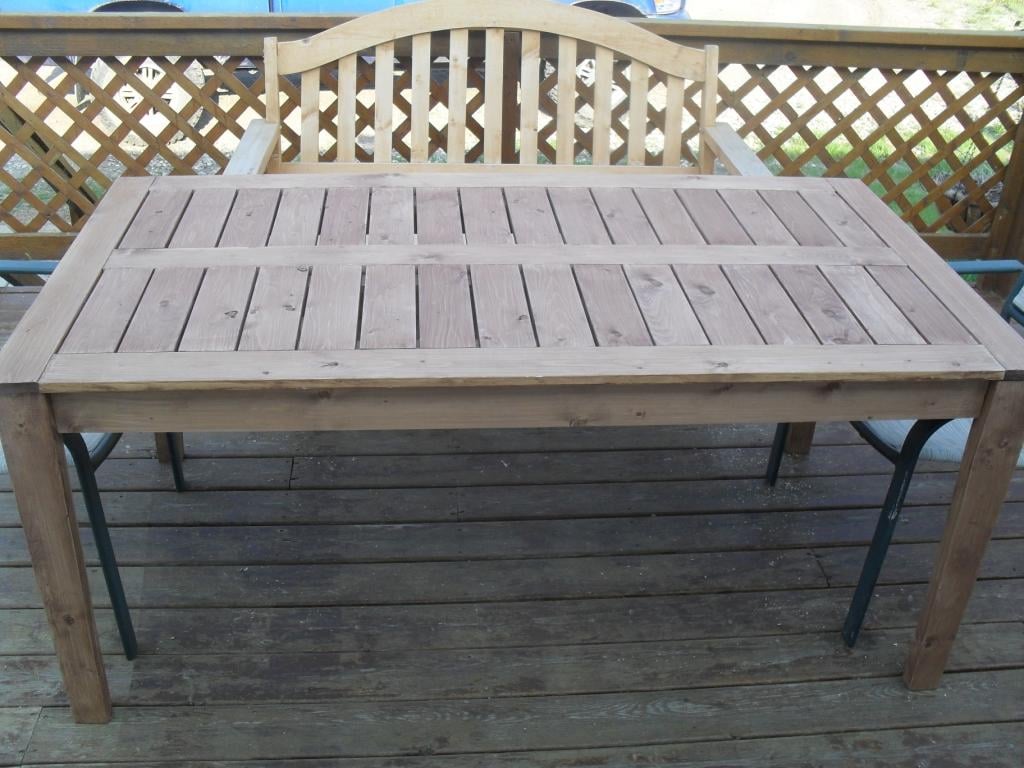
My wife and I were wanting a large outdoor farmhouse table that looked stylish, and like it could have been bought at Pottery Barn or another high-end furniture store. We found this plan that Ana white had made "Small Old English Style Farmhouse Dining Table". We often host groups from our church and will have 15-20 people on our patio or around our pool area, so we needed a bigger table... I just made some modifications to make it longer (7ft) in length to better fit our space and allow for more people to sit.
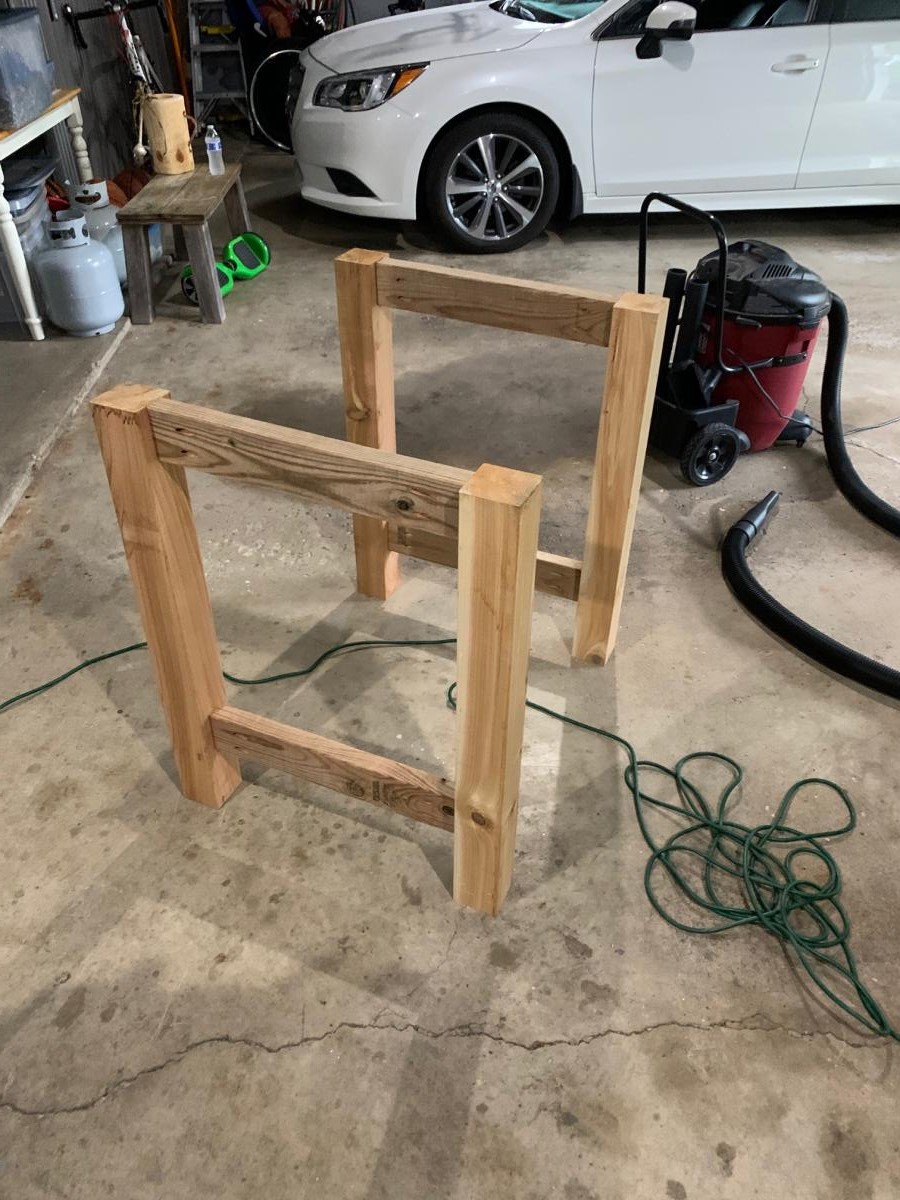
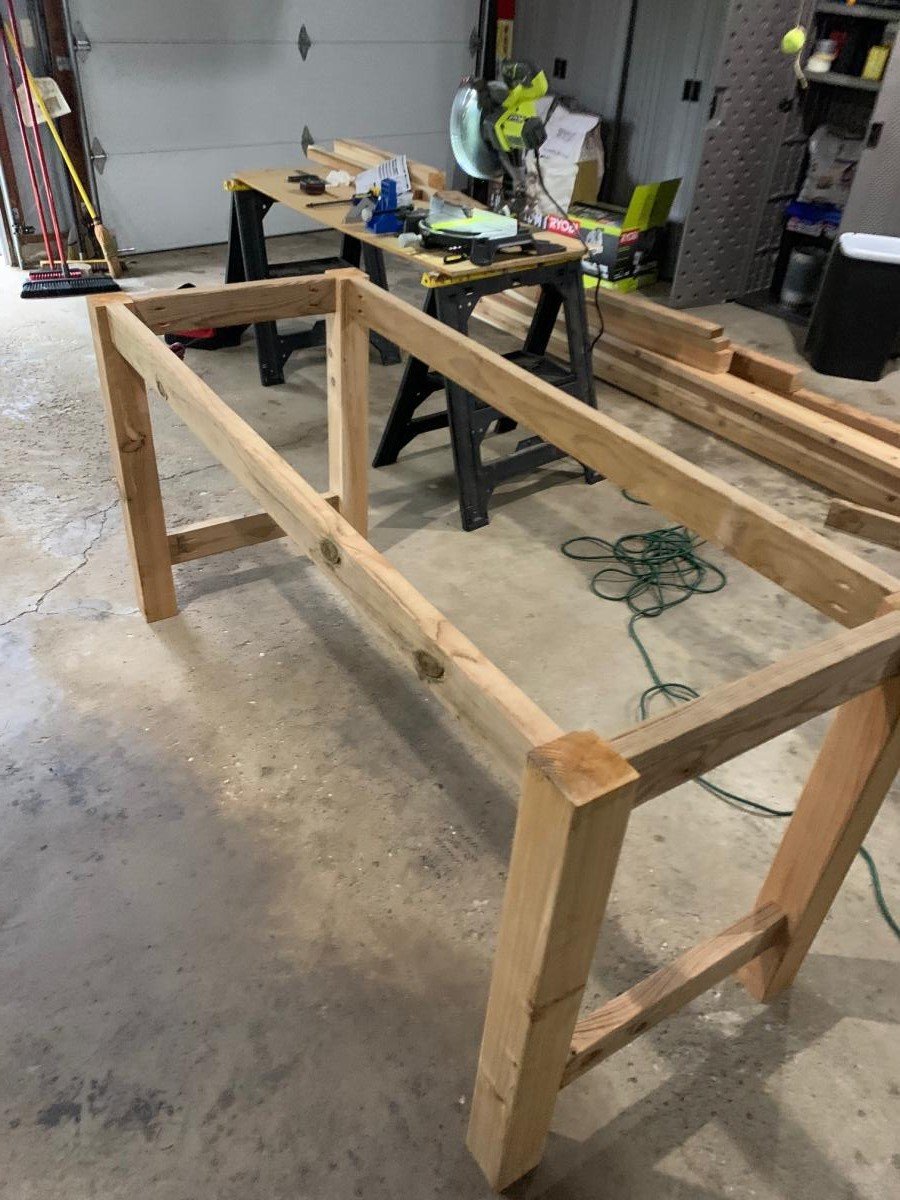
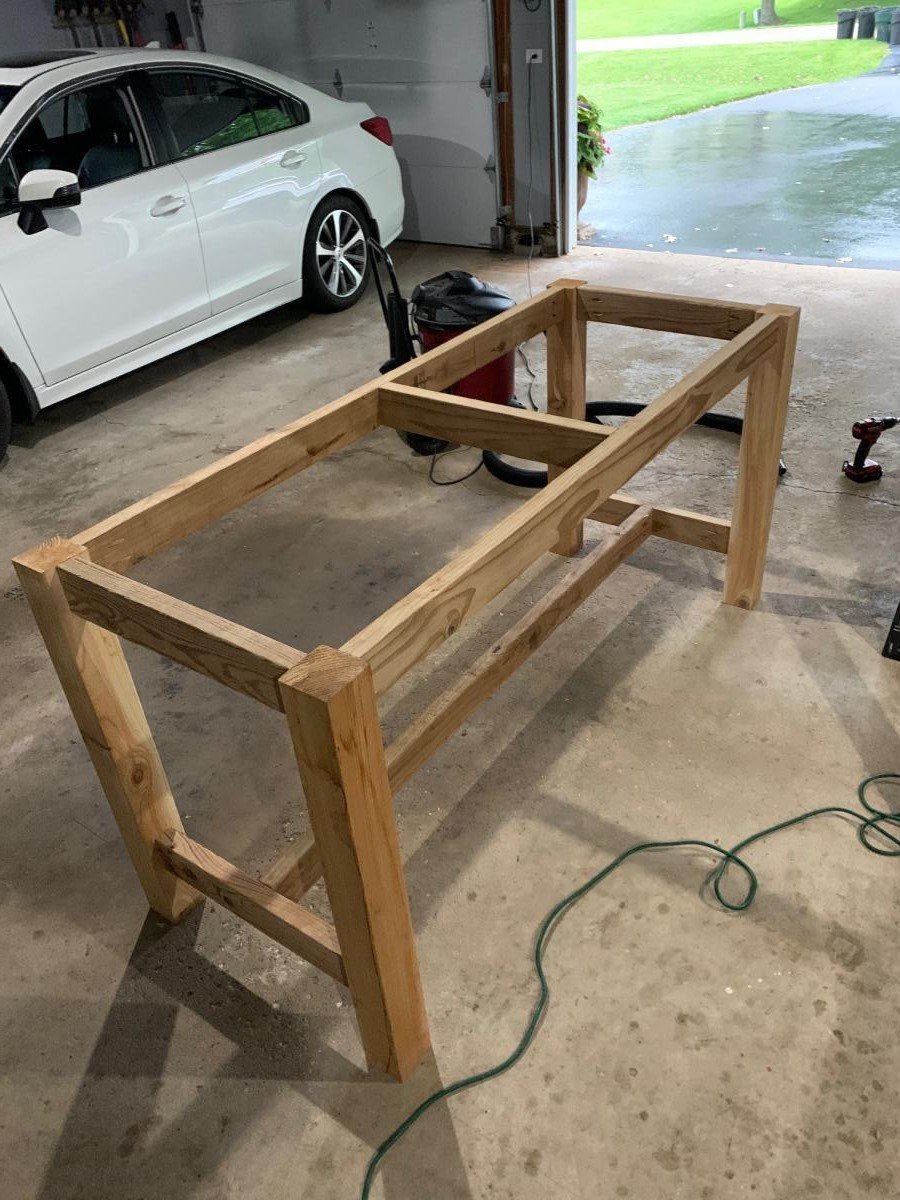
To make this plan longer, I simply adjusted the cut-list on the long 1x2s, 1x4s, and 1x6; and added a crossbar to prevent the longer tabletop from sagging. I also added the diagonal corner struts to make the table a little sturdier.
Adjusted Shopping List:
4 - 1x2 @ 8ft
5 - 1x4 @ 8 ft
6 - 1x6 @ 8ft
Waterproof 1 1/4" Kreg screws (for outdoor use)
Minwax Weathered Oak
Minwax Vintage Grey
Adjusted Cut-List
• 2 - 1x2 @ 26.5"
• 2 - 1x2 @ 76.5"
• 2 - 1x2 @ ~33.25"
• 2 - 1x4 @ 26.5"
• 2 - 1x4 @ 76.5"
• 4 - 1x4 @ 7.25" w/ 45º miter (diagonal corner supports)
• 1 - 1x4 @ ~28" (Crossbar - I forget the exact measurement)
• 6 - 1x6 @ 82"
For seating we just bought some inexpensive farmhouse weather resistant chairs from Walmart:
https://www.walmart.com/ip/Yaheetech-Metal-Dinning-Chairs-Stackable-Cof…
Tue, 03/02/2021 - 08:46
Love the to see the increased length on this plan. thanks for sharing!
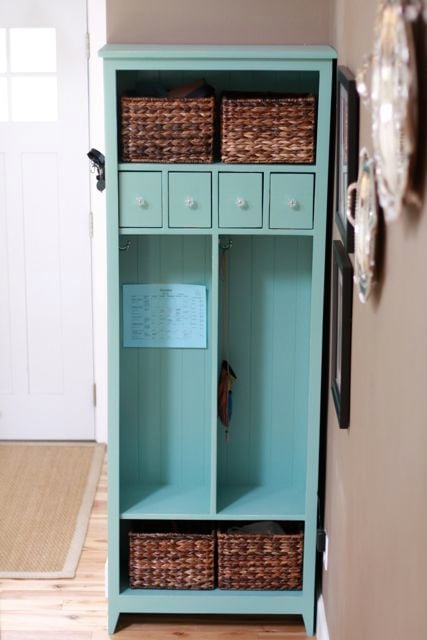
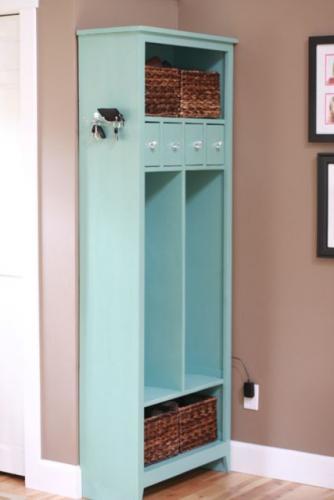
This locker cabinet was my first build and I learned a ton. For example:
1. Use the Kreg face clamps while drilling into the Kreg Jr.
2. Buy straight wood.
3. Buy wood that is not warped.
4. Do not try to buy wood with grouchy kids in tow.
Are you seeing a theme? Yep, your project will only be as square and perfect as the wood you buy.
I modified the locker plan to include apothecary-style drawers for our cell phones, sunglasses and chapstick. I also drilled through the back of one of the drawers to turn it into a charging station for our cell phones.
The locker has been super useful so far and is such a great way to keep my kids' backpacks and lunchboxes organized. The baskets are designated for my purse, stuff I need to return to stores, the dog's leashes, and library books. It's so nice to have all this stuff near the front door and never wonder where any of it is!
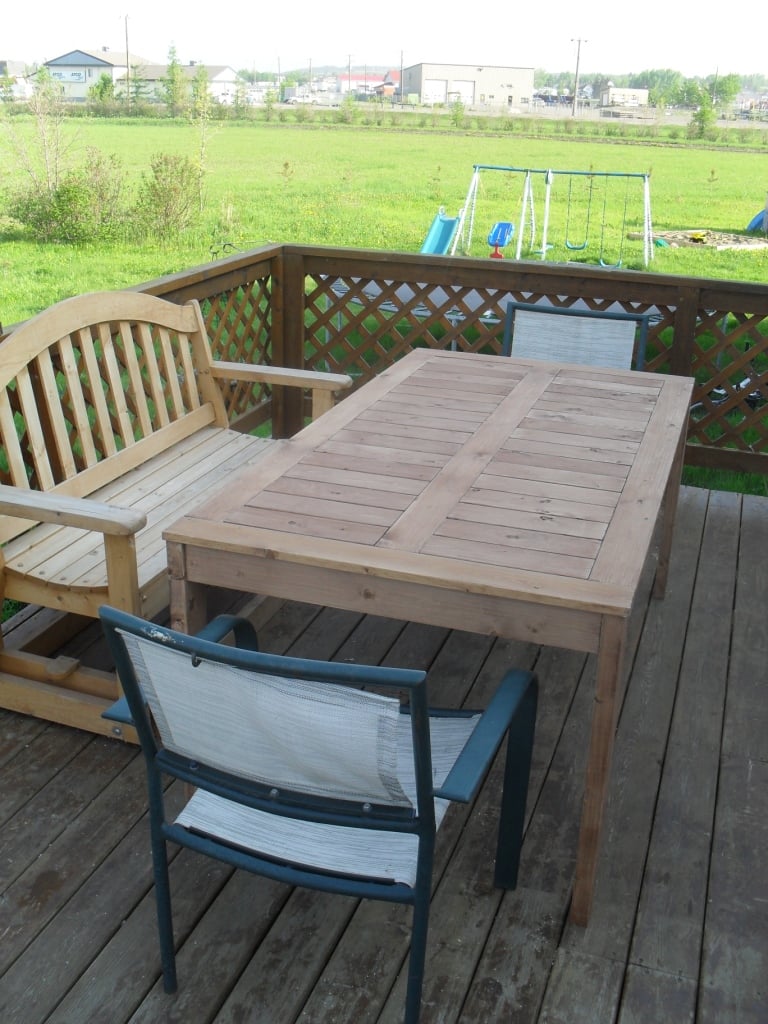
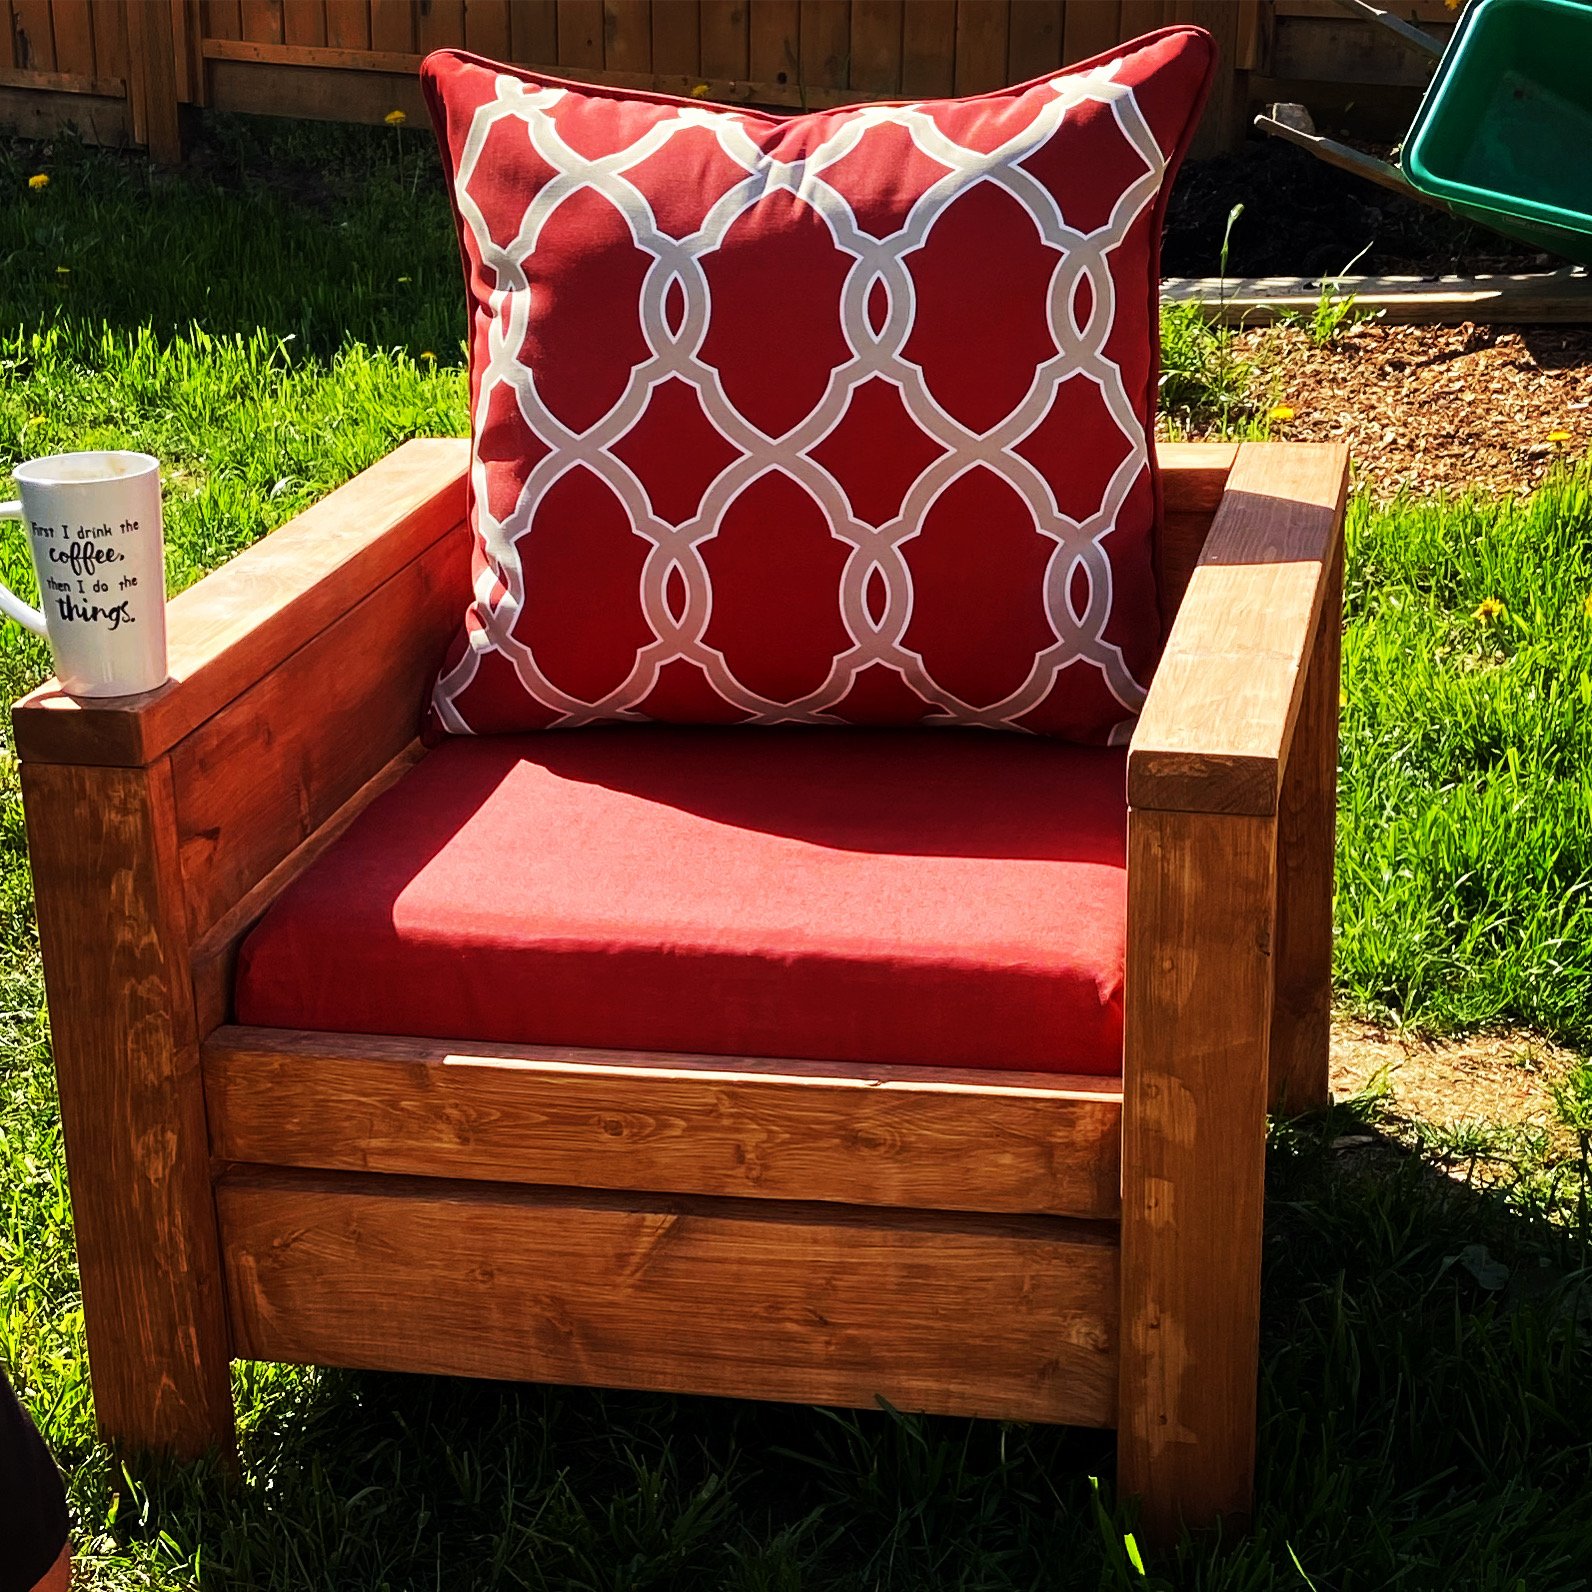
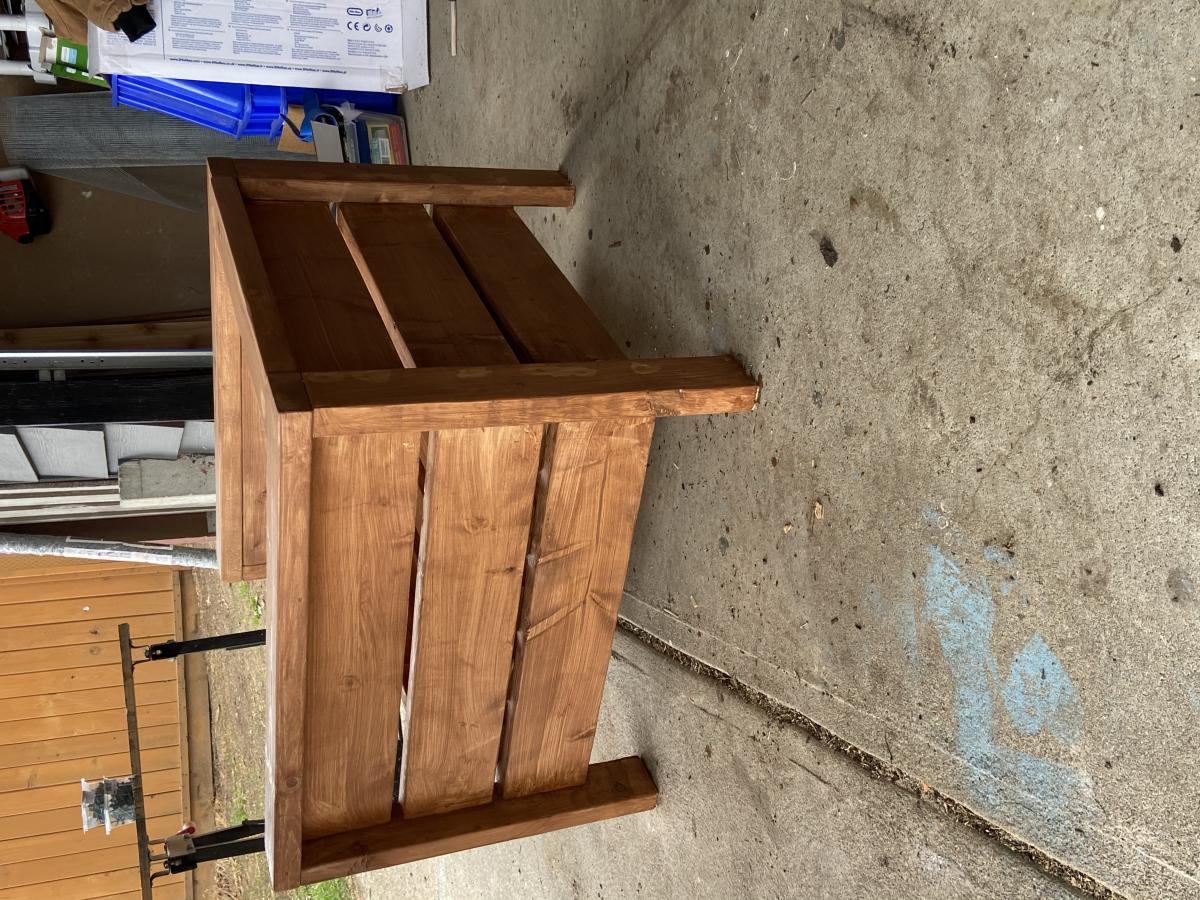
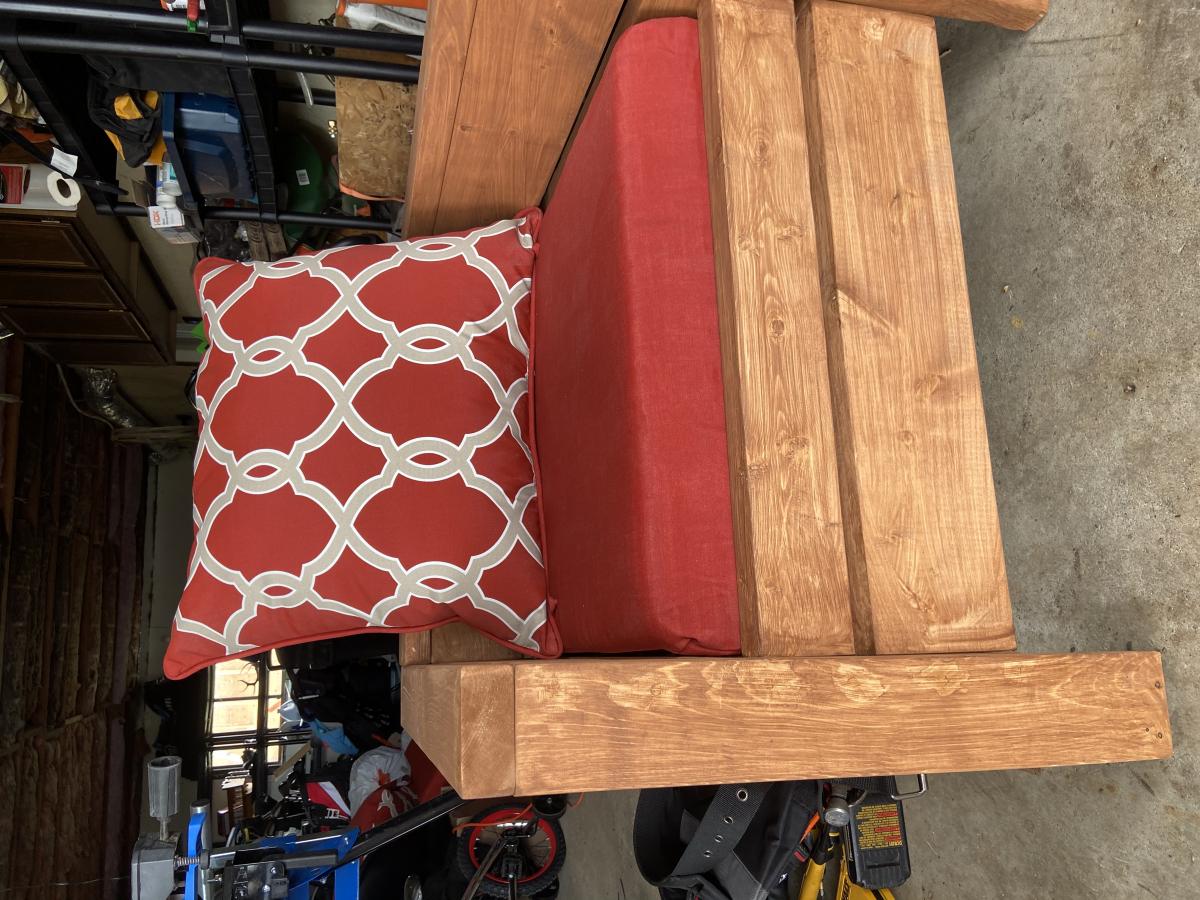
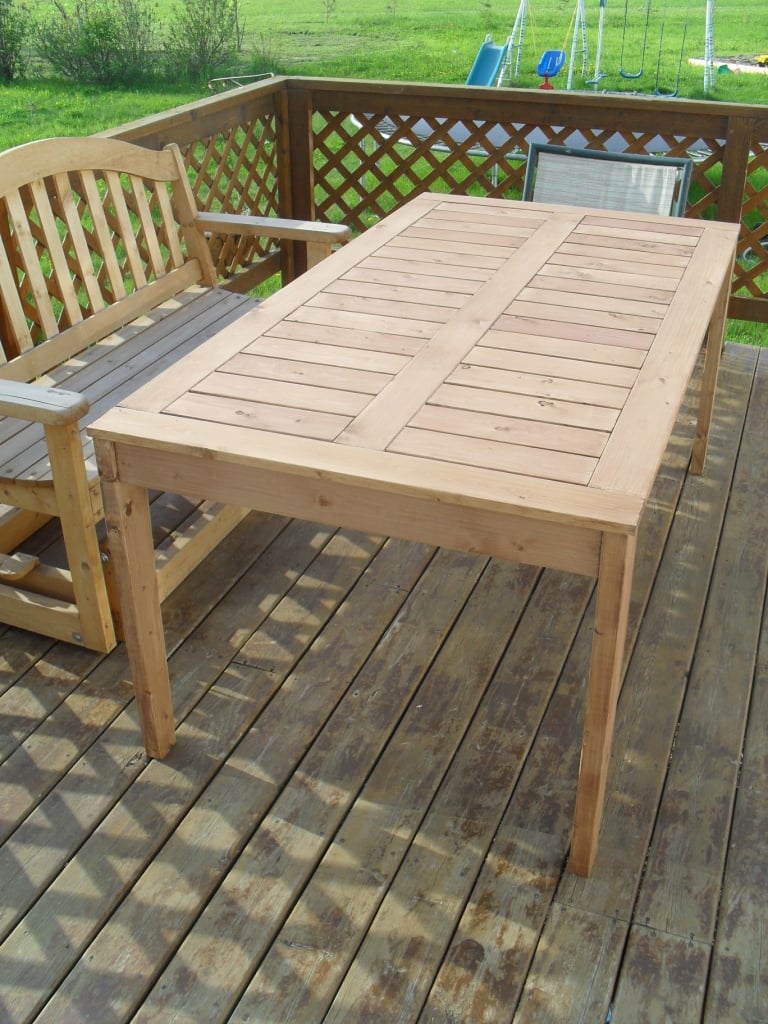
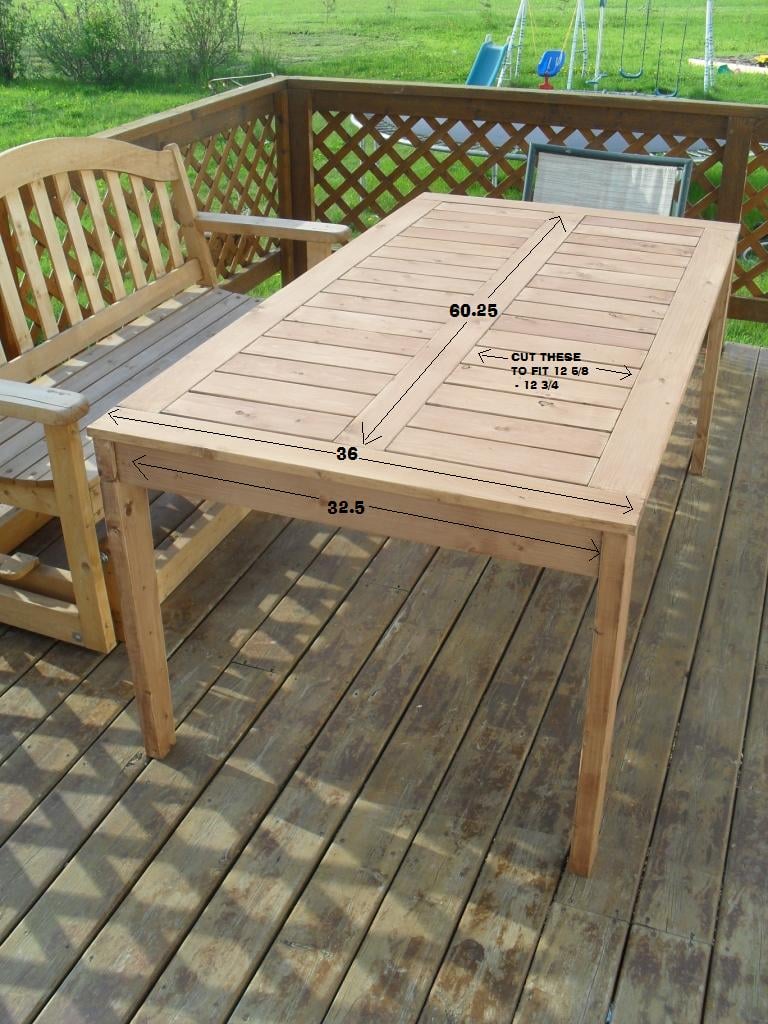
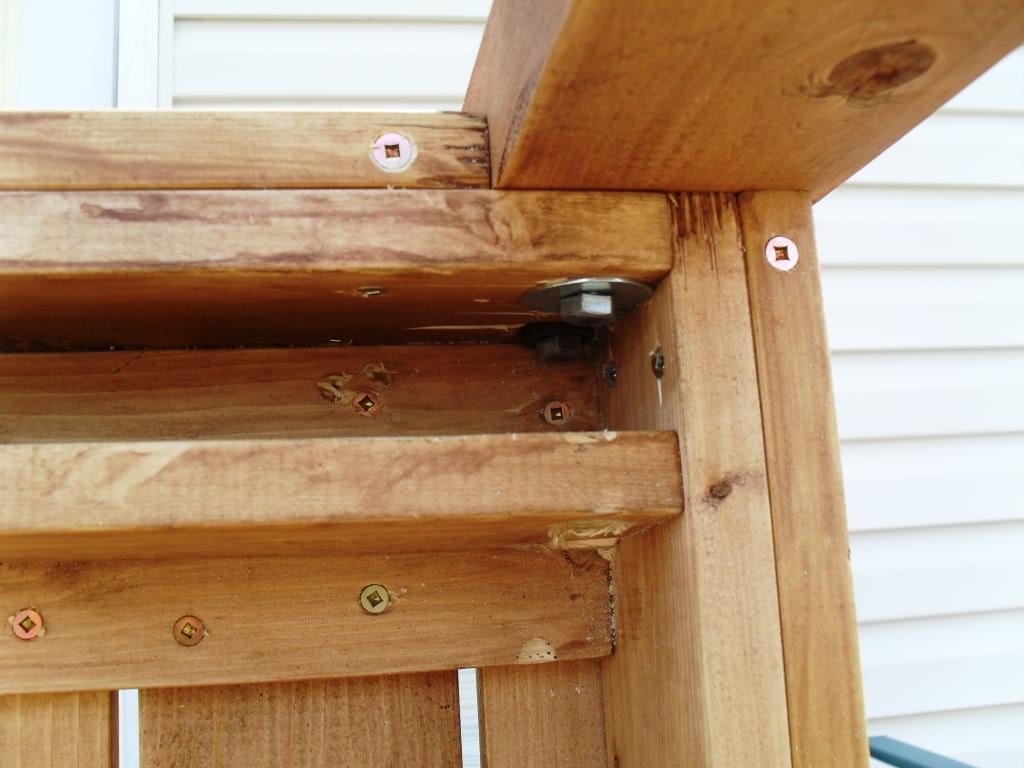
Wanted a Patio table and when I saw the plans on this site I really liked it; I just changed the plan a bit. Everything was screwed from the underside of the table, also I attached the legs with 2" lag screws.

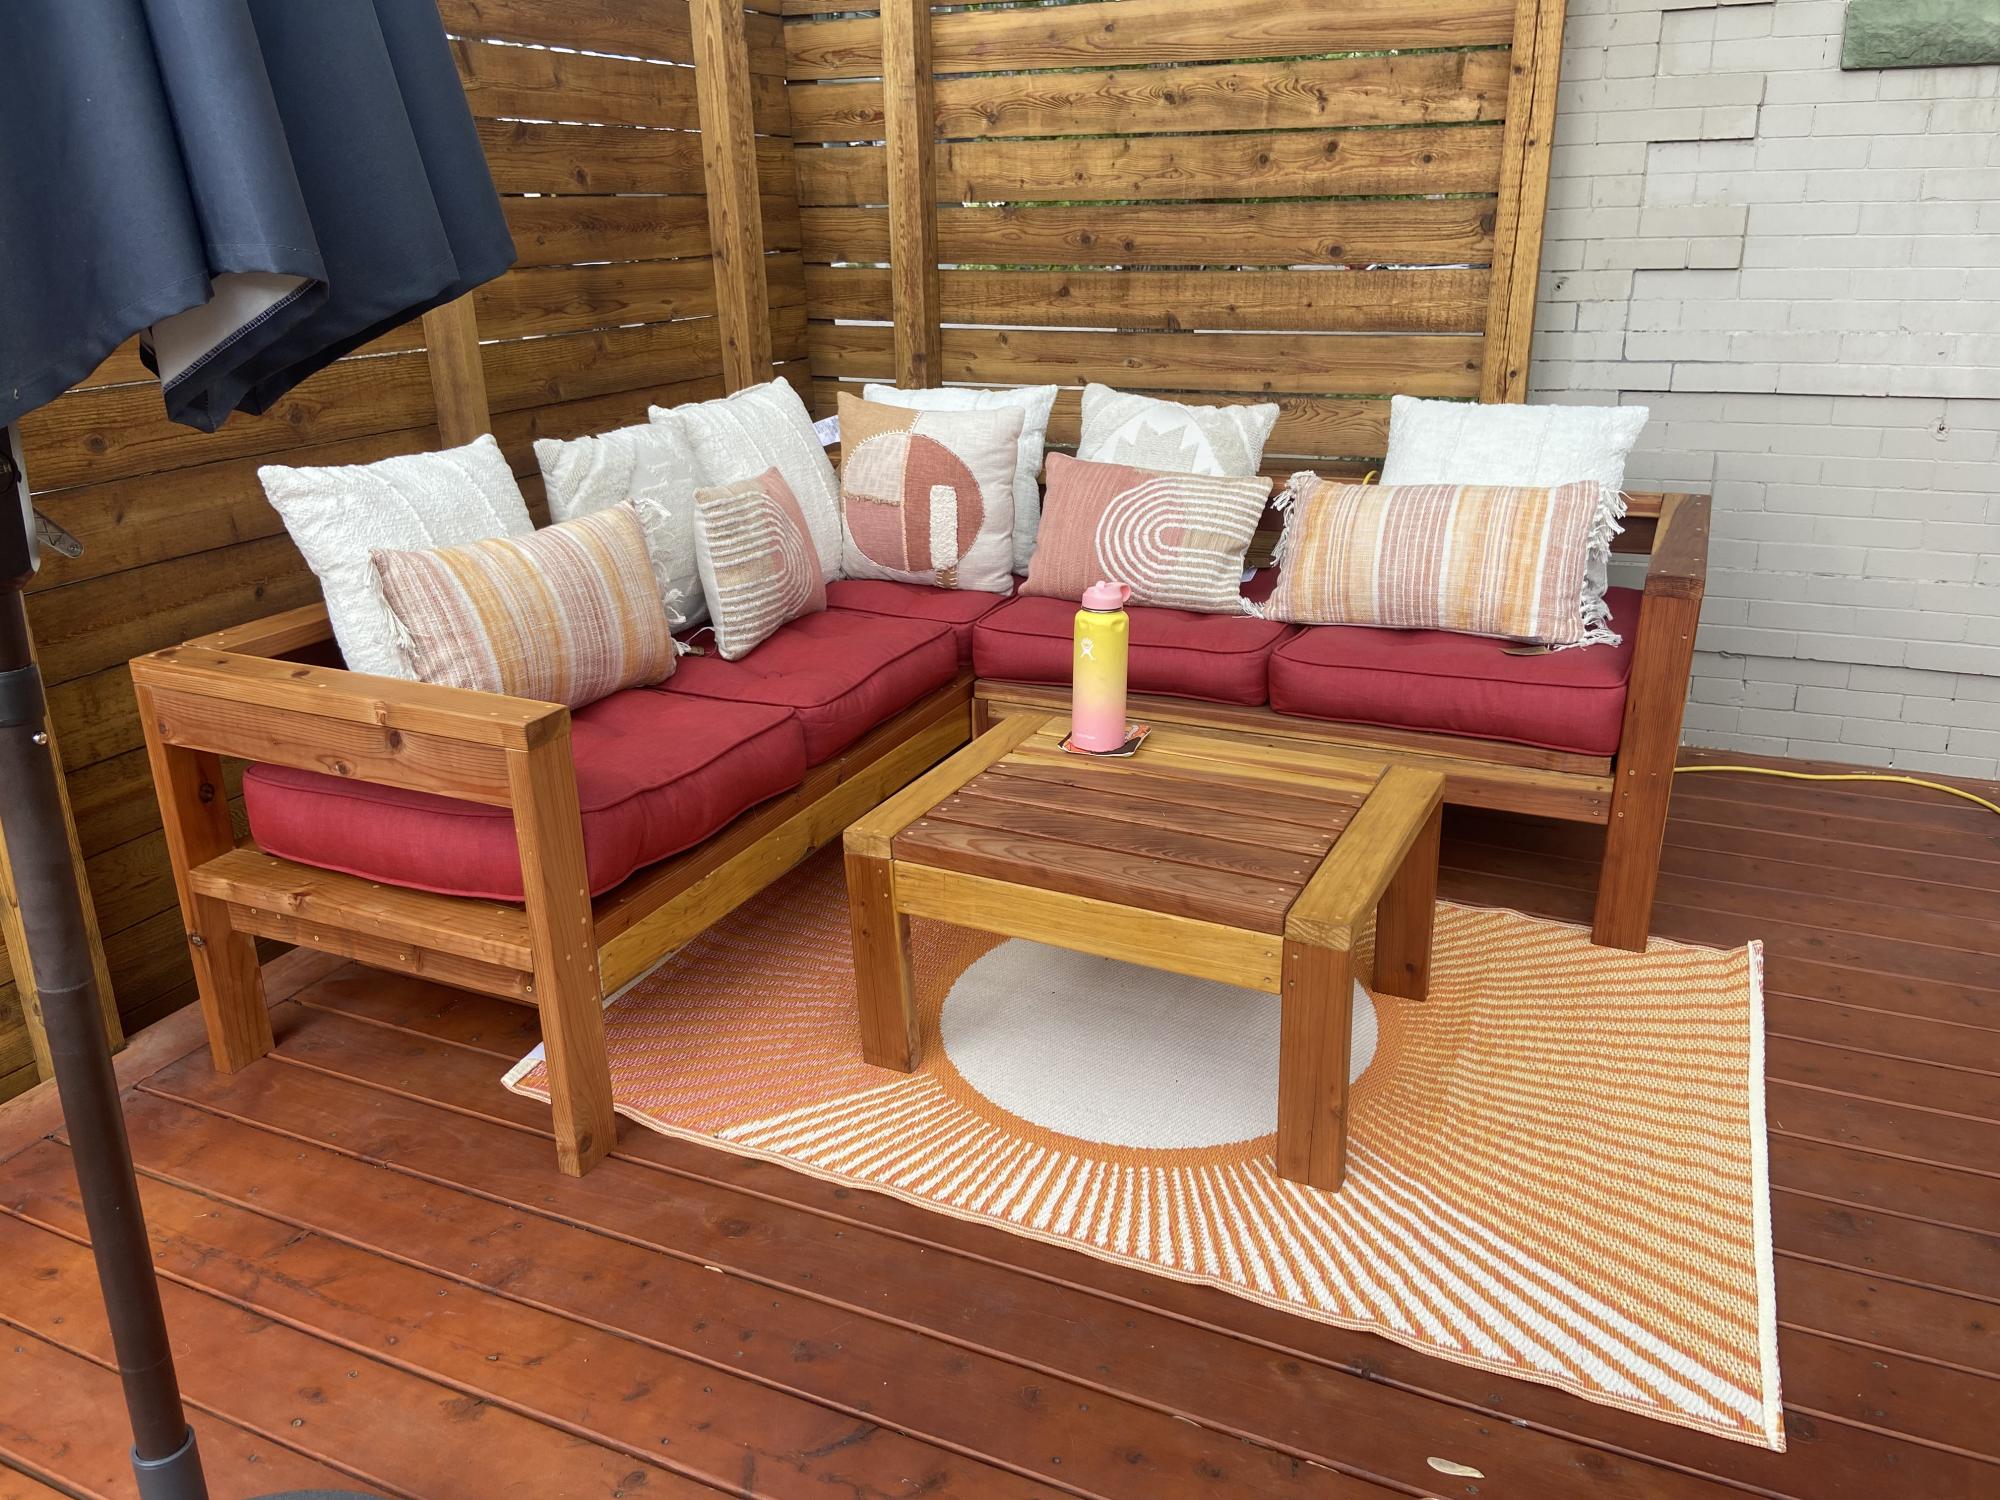
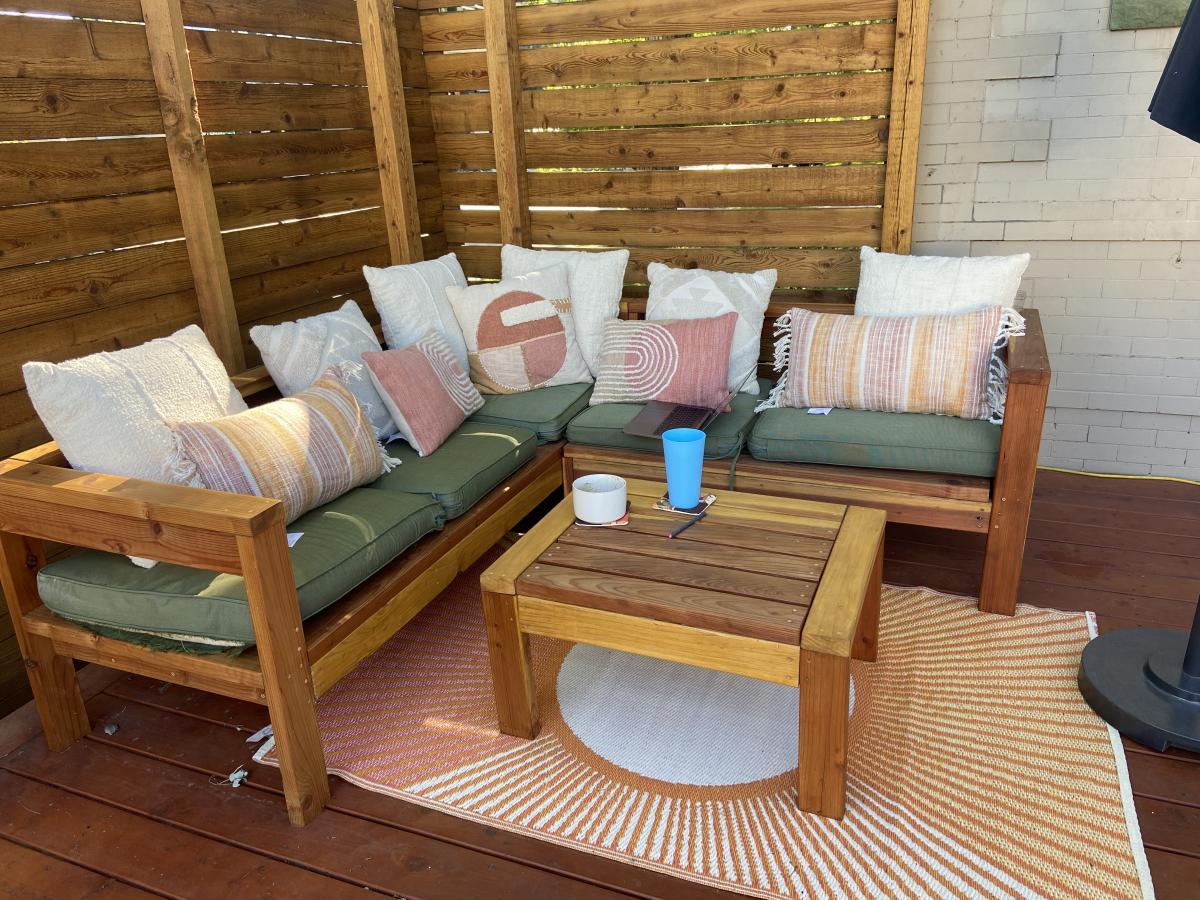
I built the two piece sectional + table and adjusted the sizing so the lengths of the sectionals pieces are the same.
Turned out amazing. So much fun building this and I can’t wait for my next project!
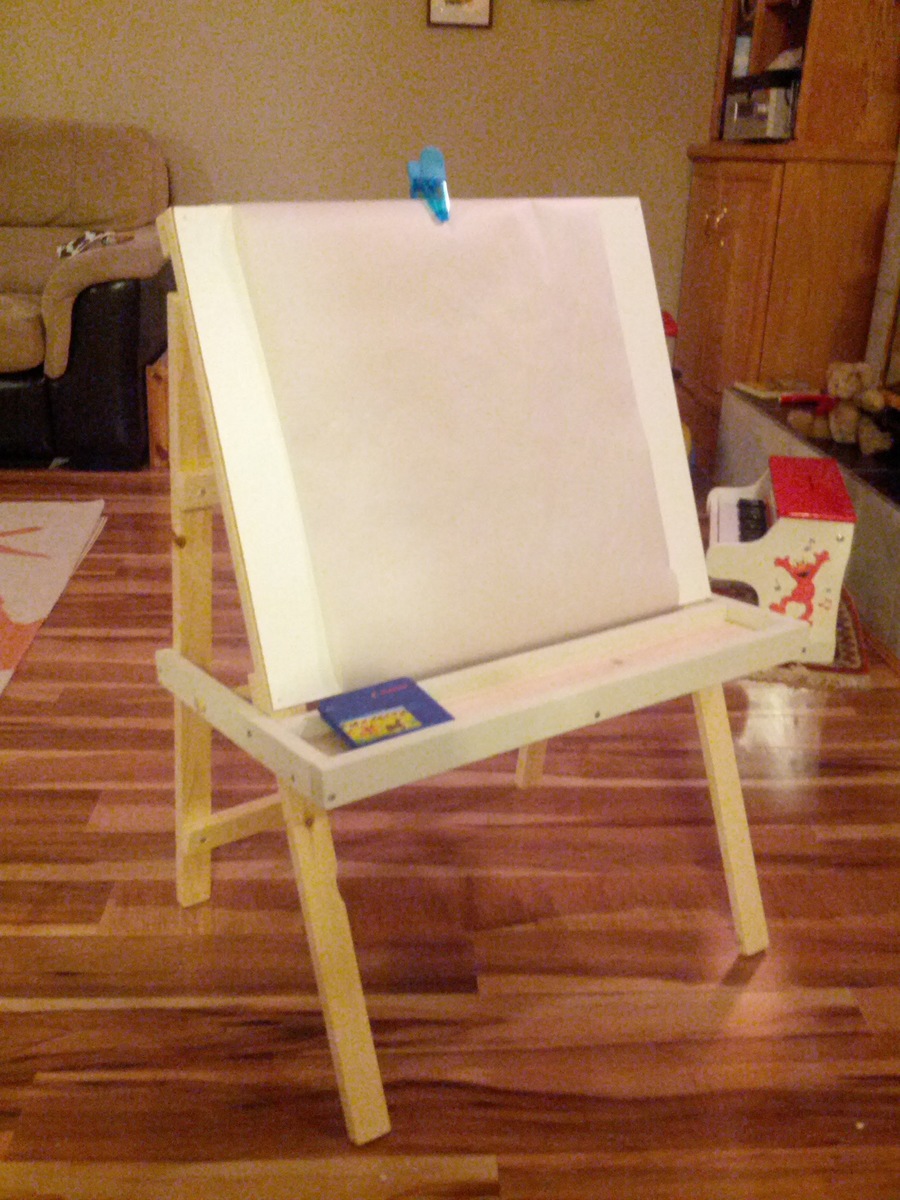
We opted to make this a regular easel (no chalkboard) and just used a sheet of paneling as the background. It's perfect, our toddler loves it. Thanks Ana!

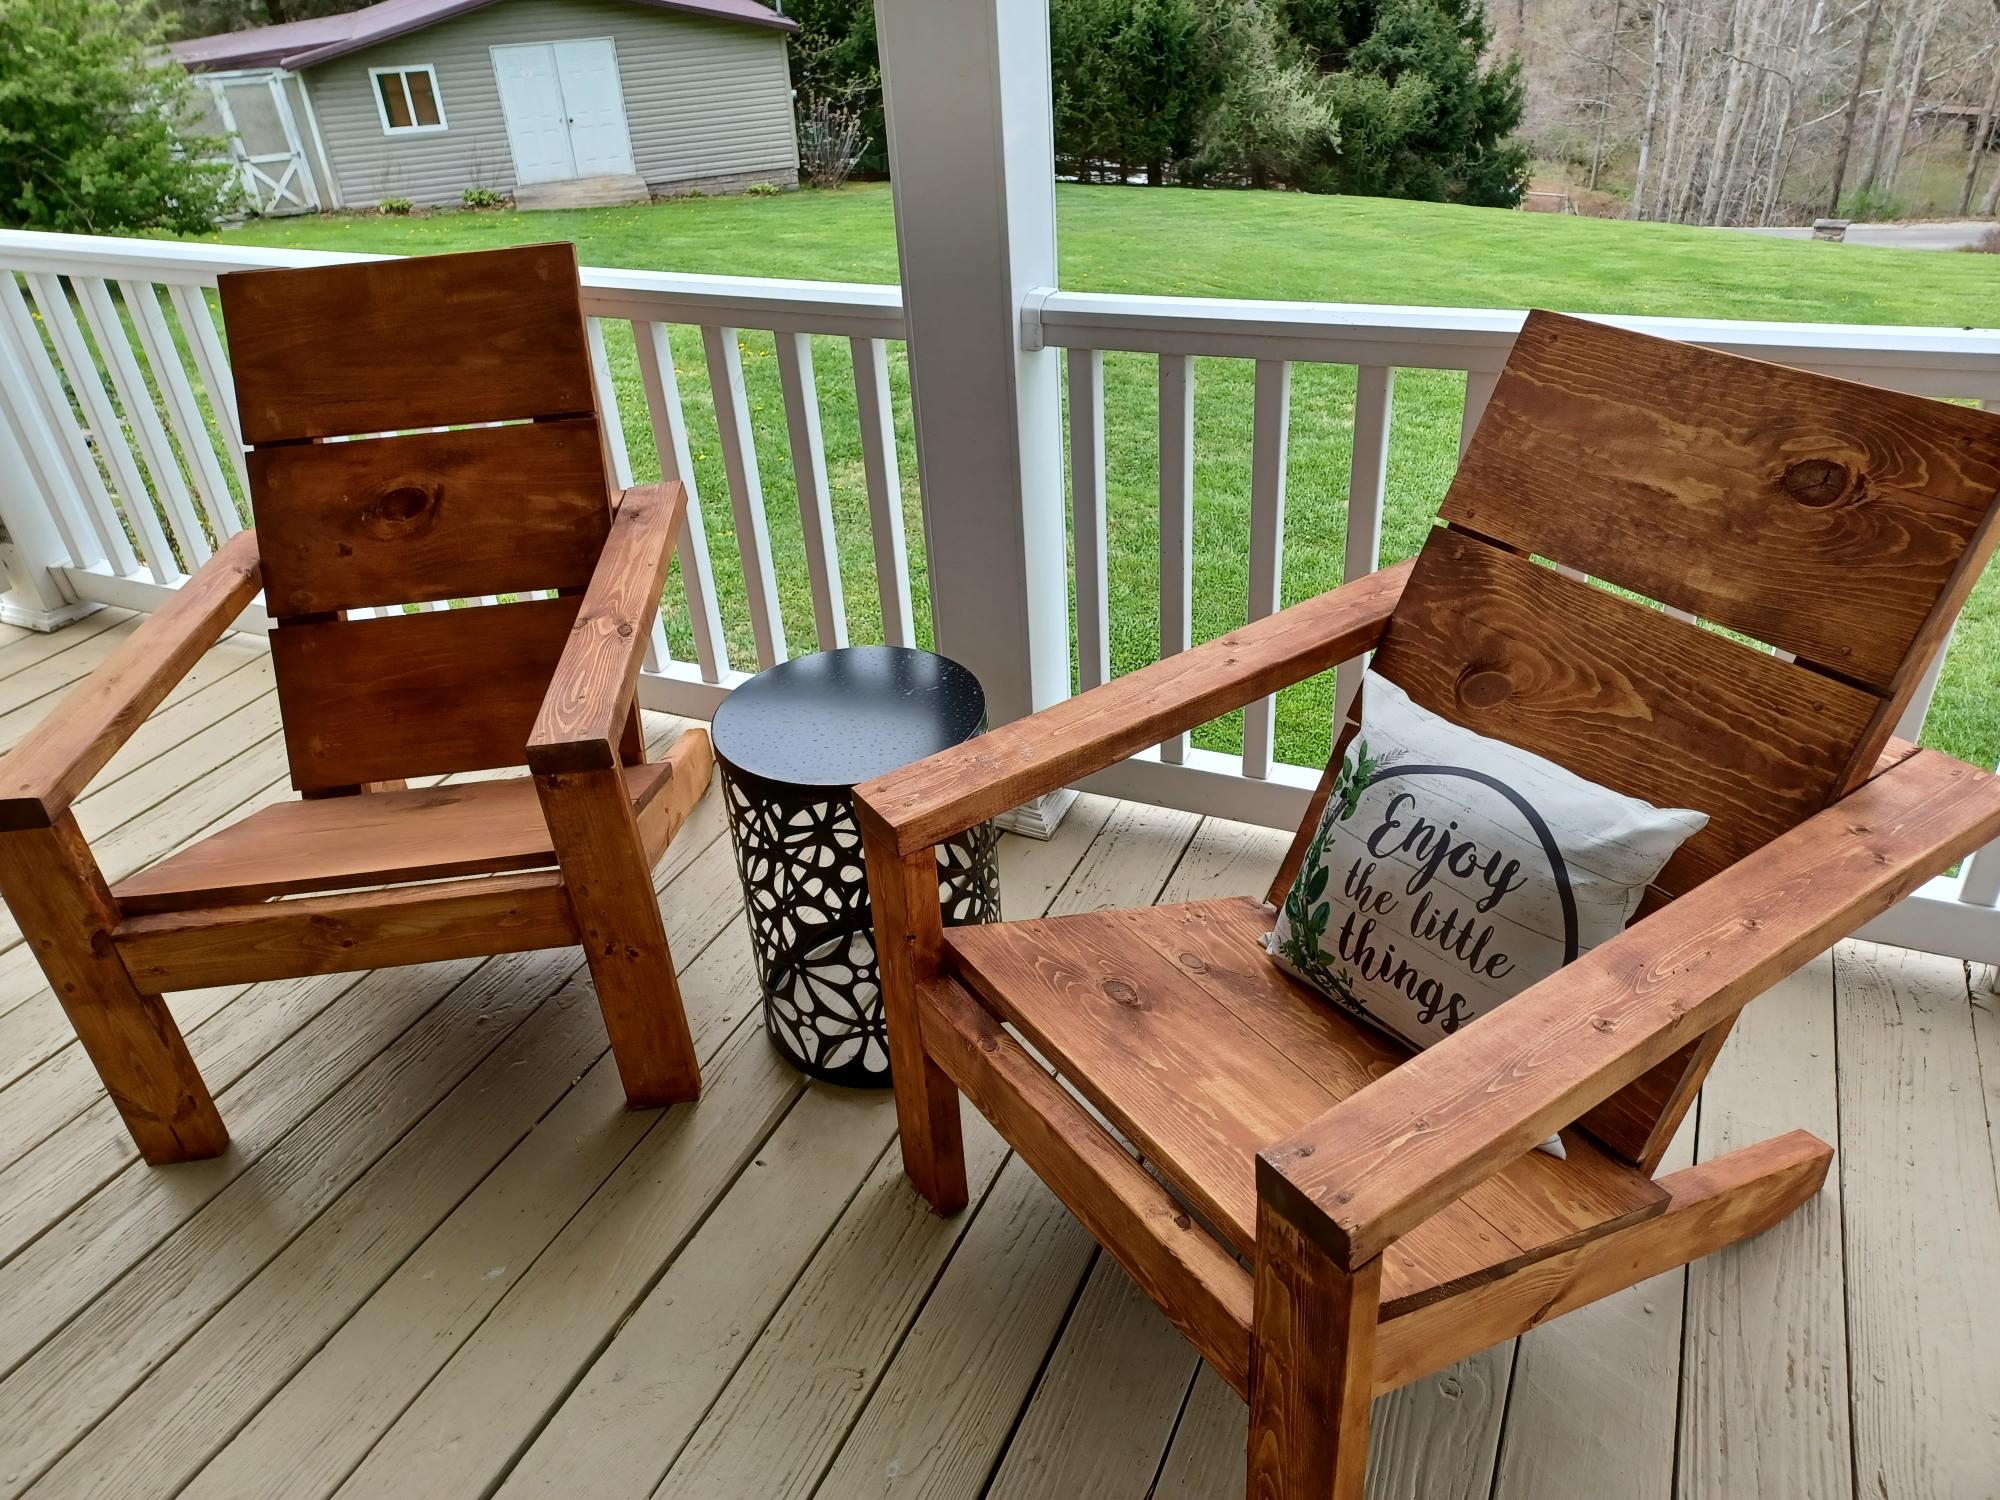
I built a set of chairs and a coffee table for our newly designed outdoor area. These look amazing and people love sitting on them and hanging out outside our house.


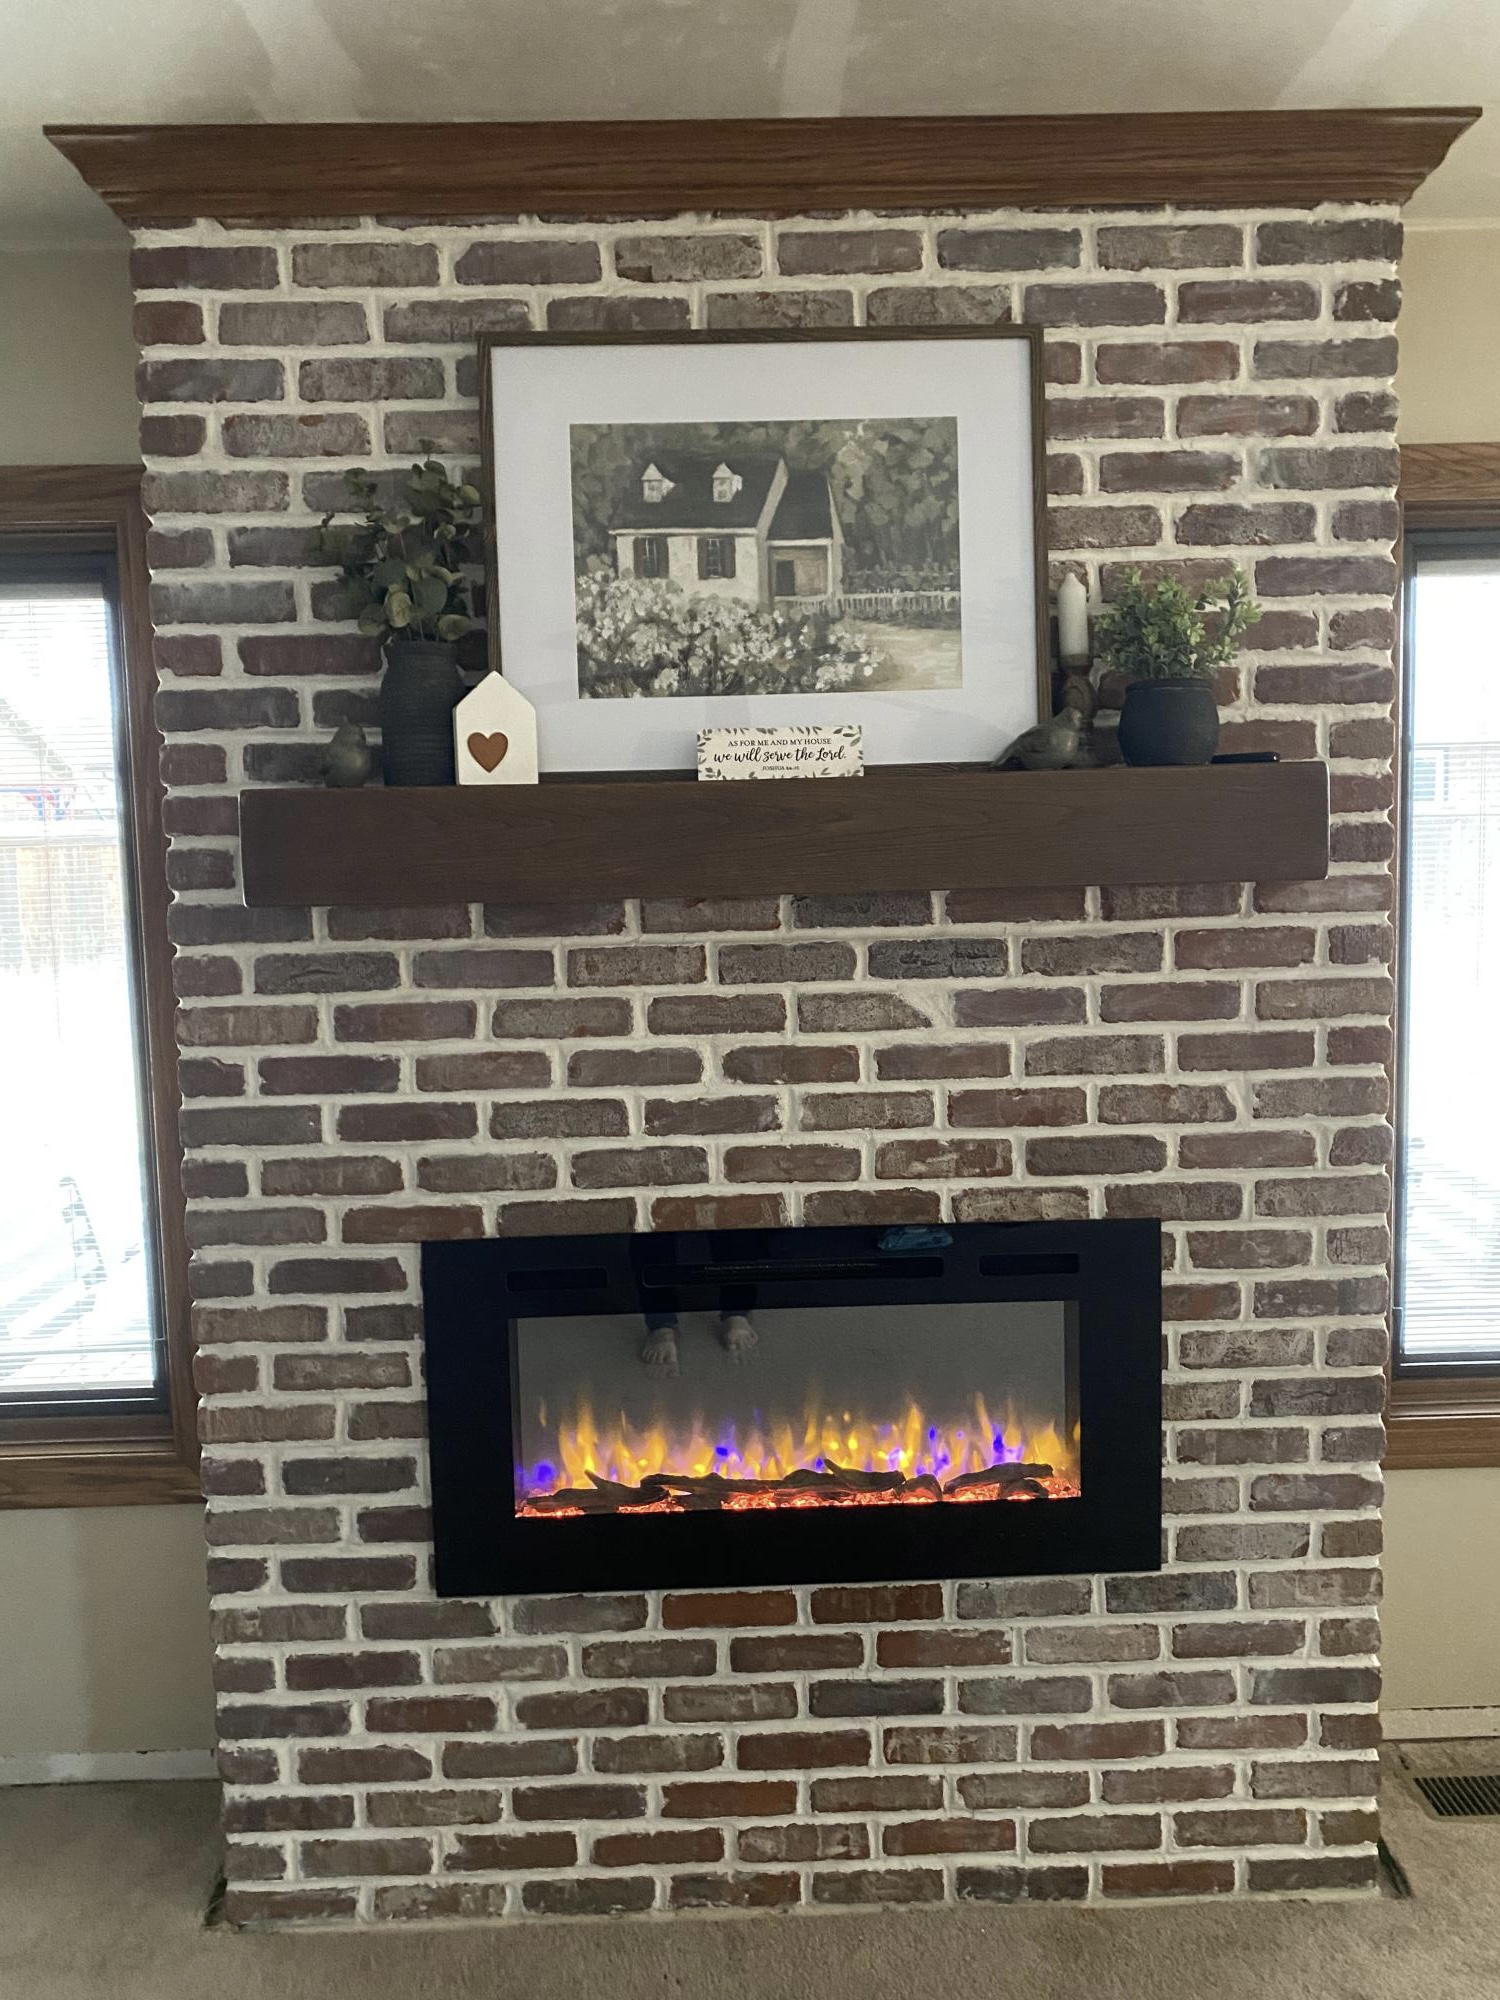
We used Ana White shiplap fireplace tutorial to build the structure and then followed her advice for brick installation instead of shiplap. It all turned out so great. The fireplace has changed the entire feel of our house now. Thank you Ana!