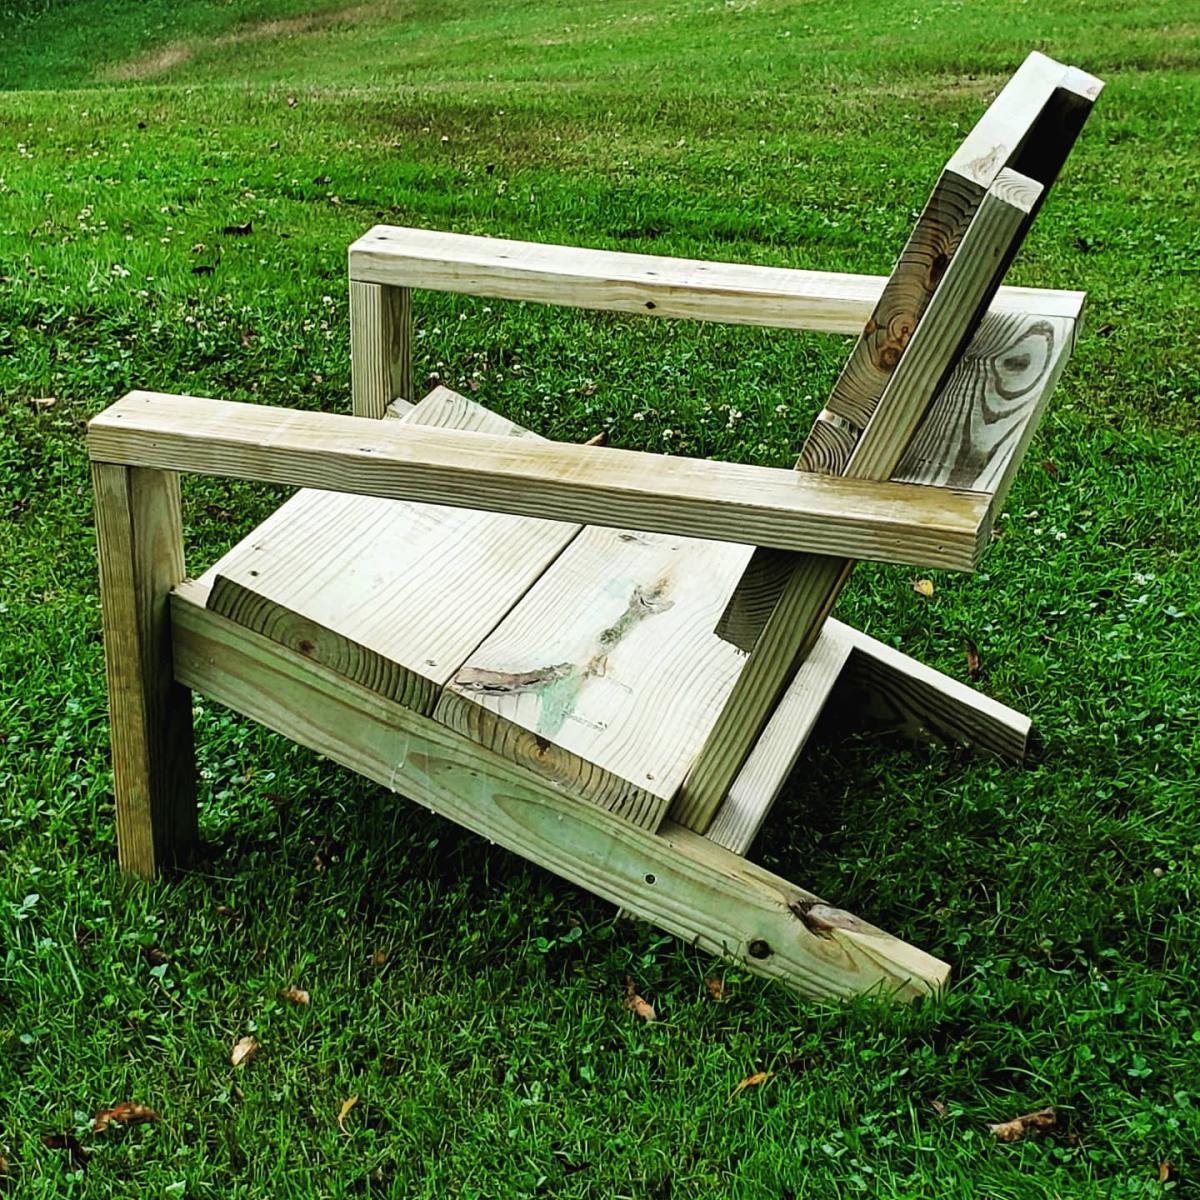
modern Adirondack using 2x6s for the seat and backs
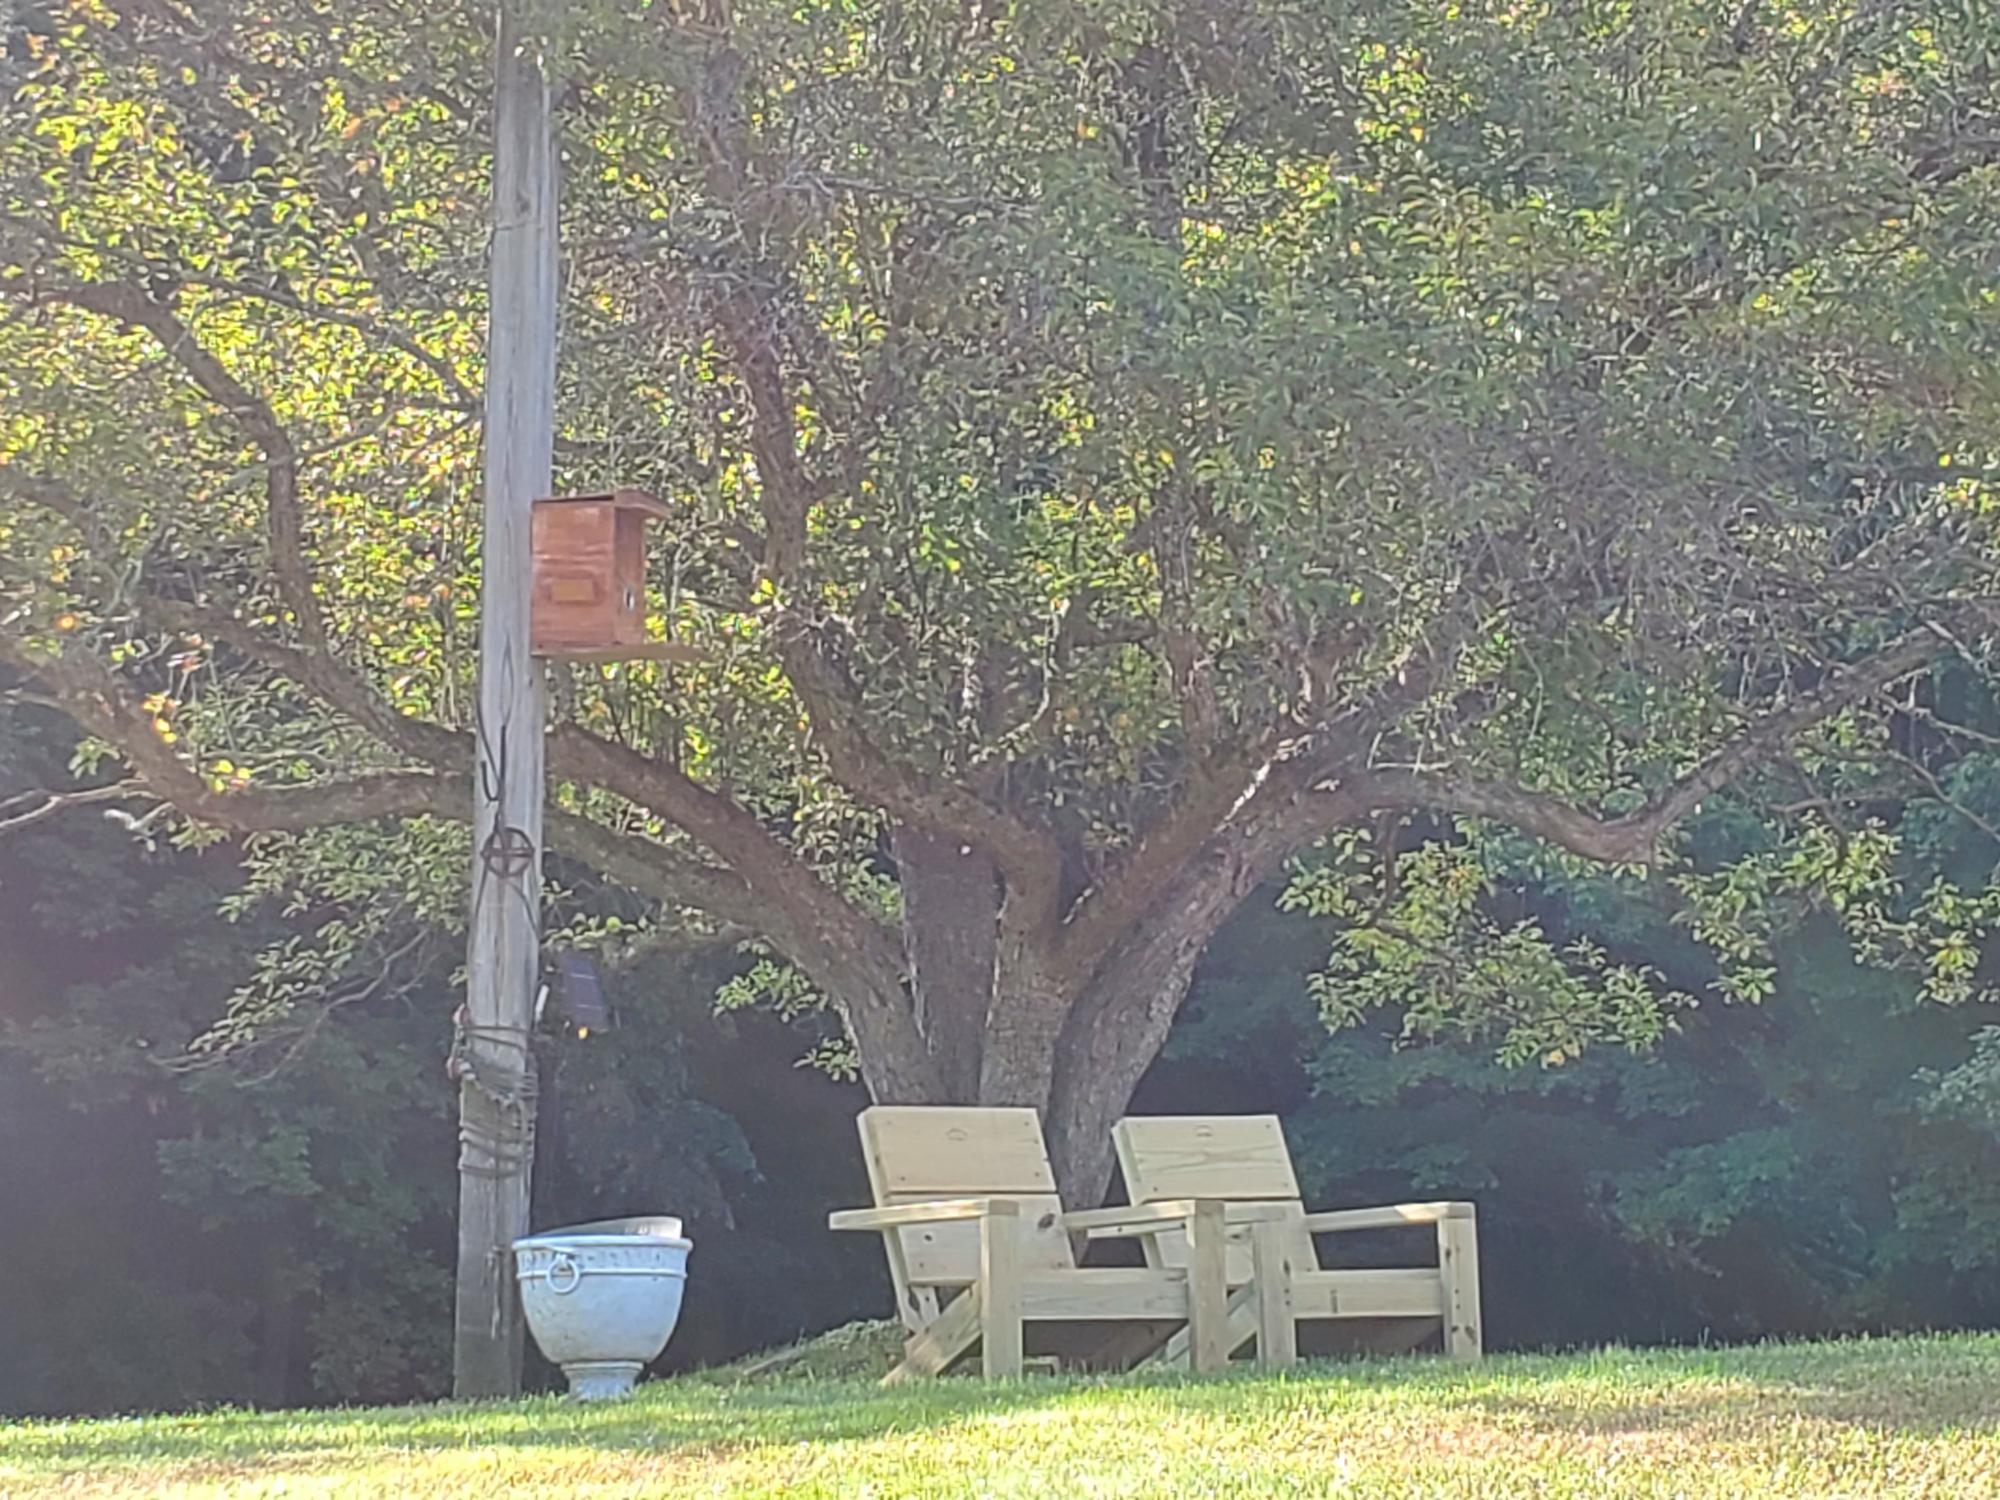
slight change using 2x6 pieces for the seat and back... Otherwise followed the plans to a T and love the outcome
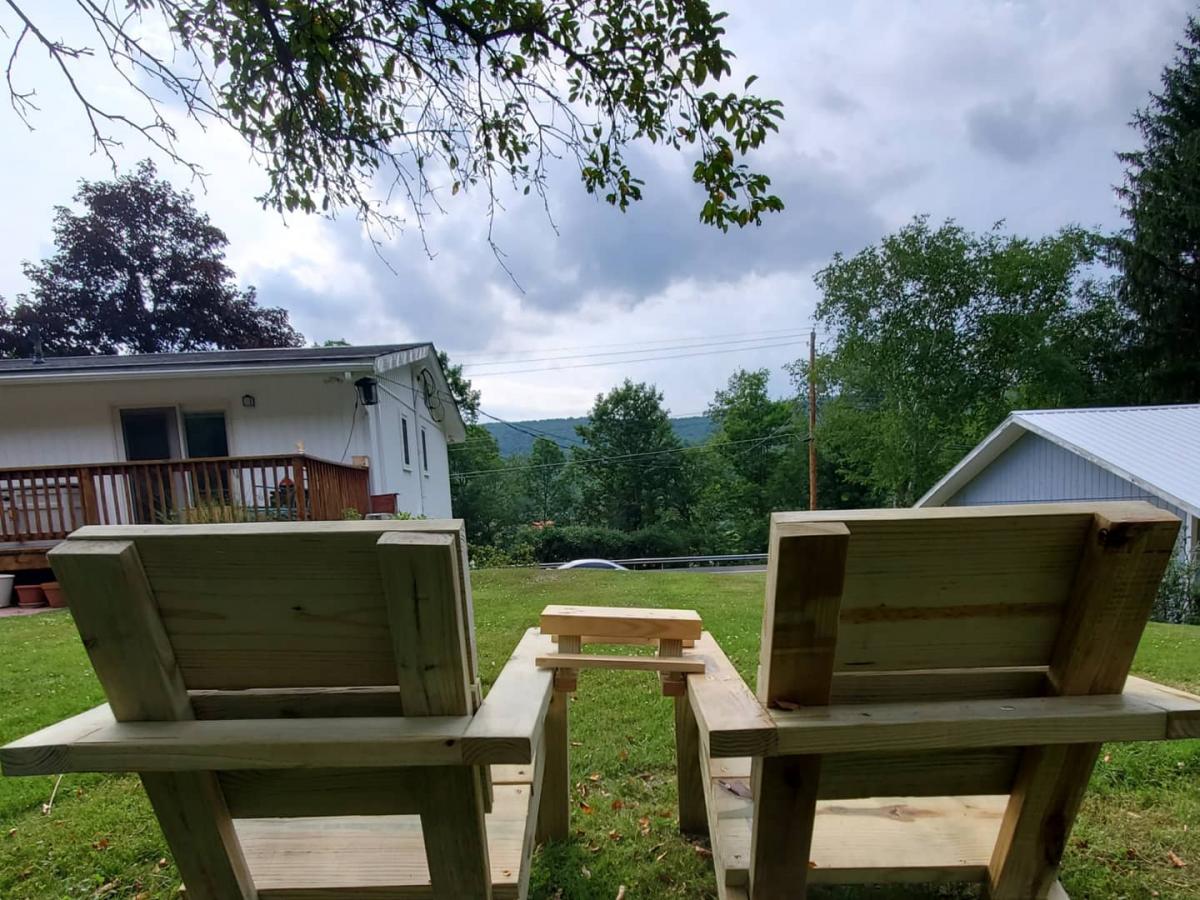
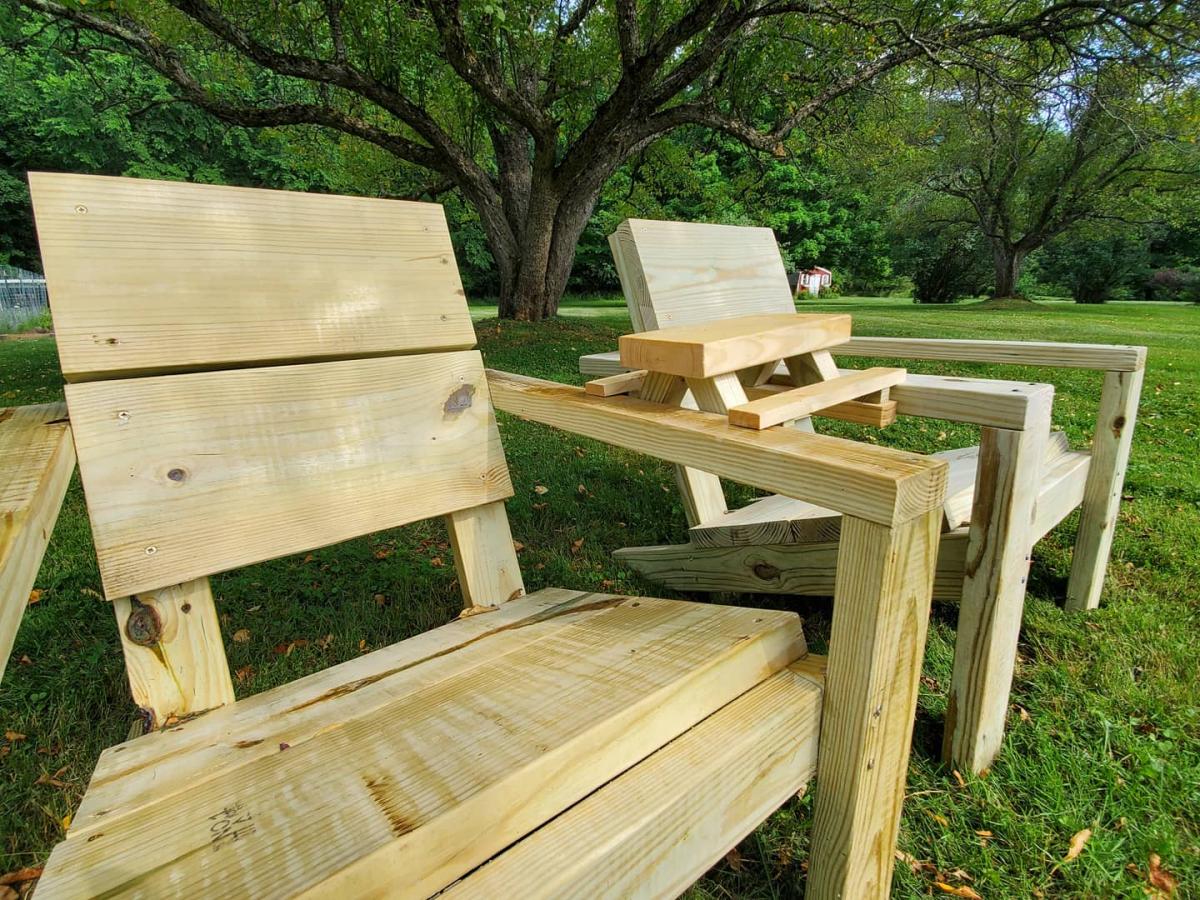
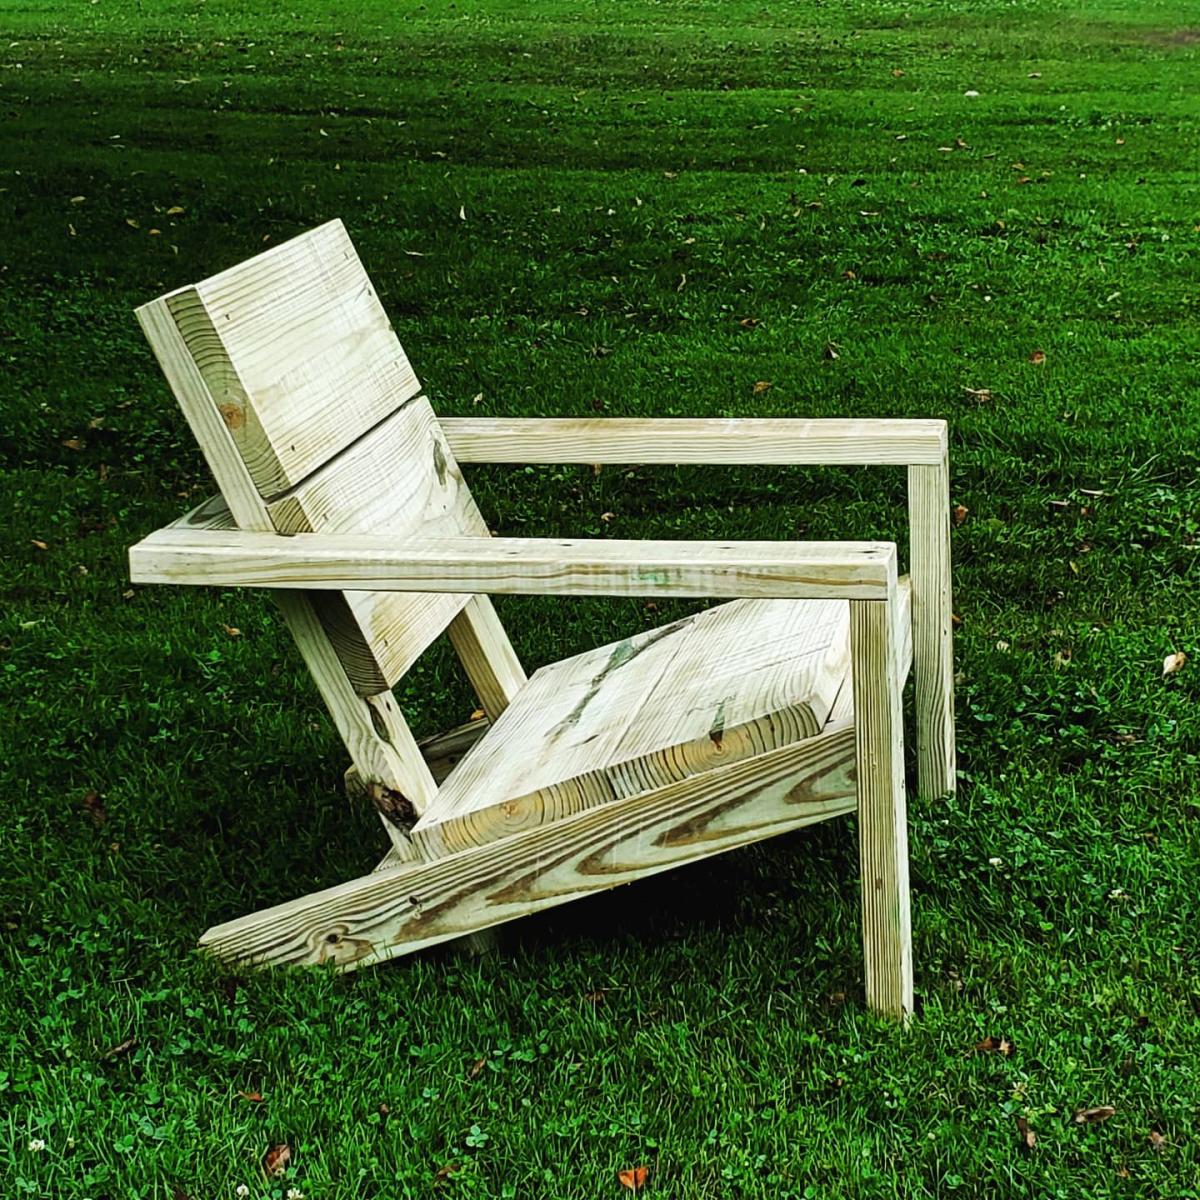
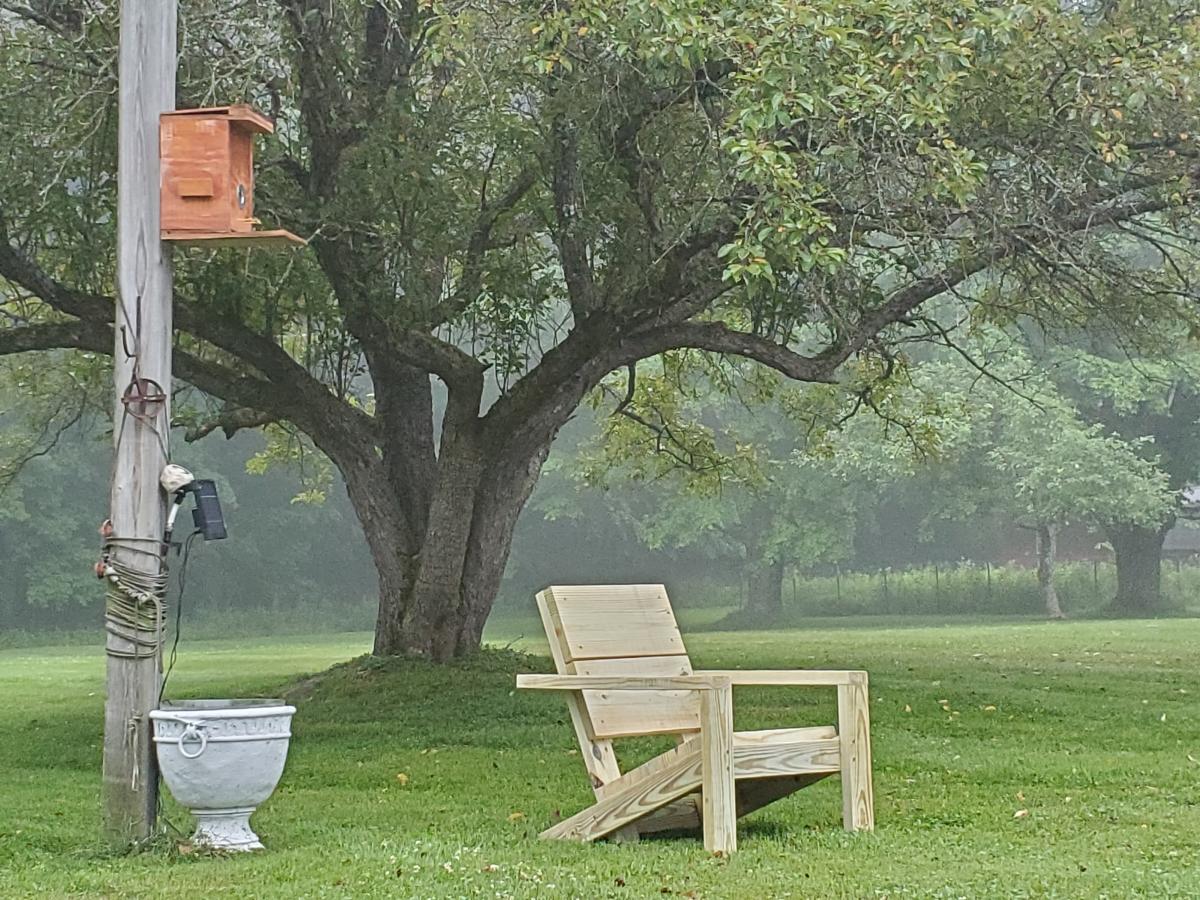

slight change using 2x6 pieces for the seat and back... Otherwise followed the plans to a T and love the outcome


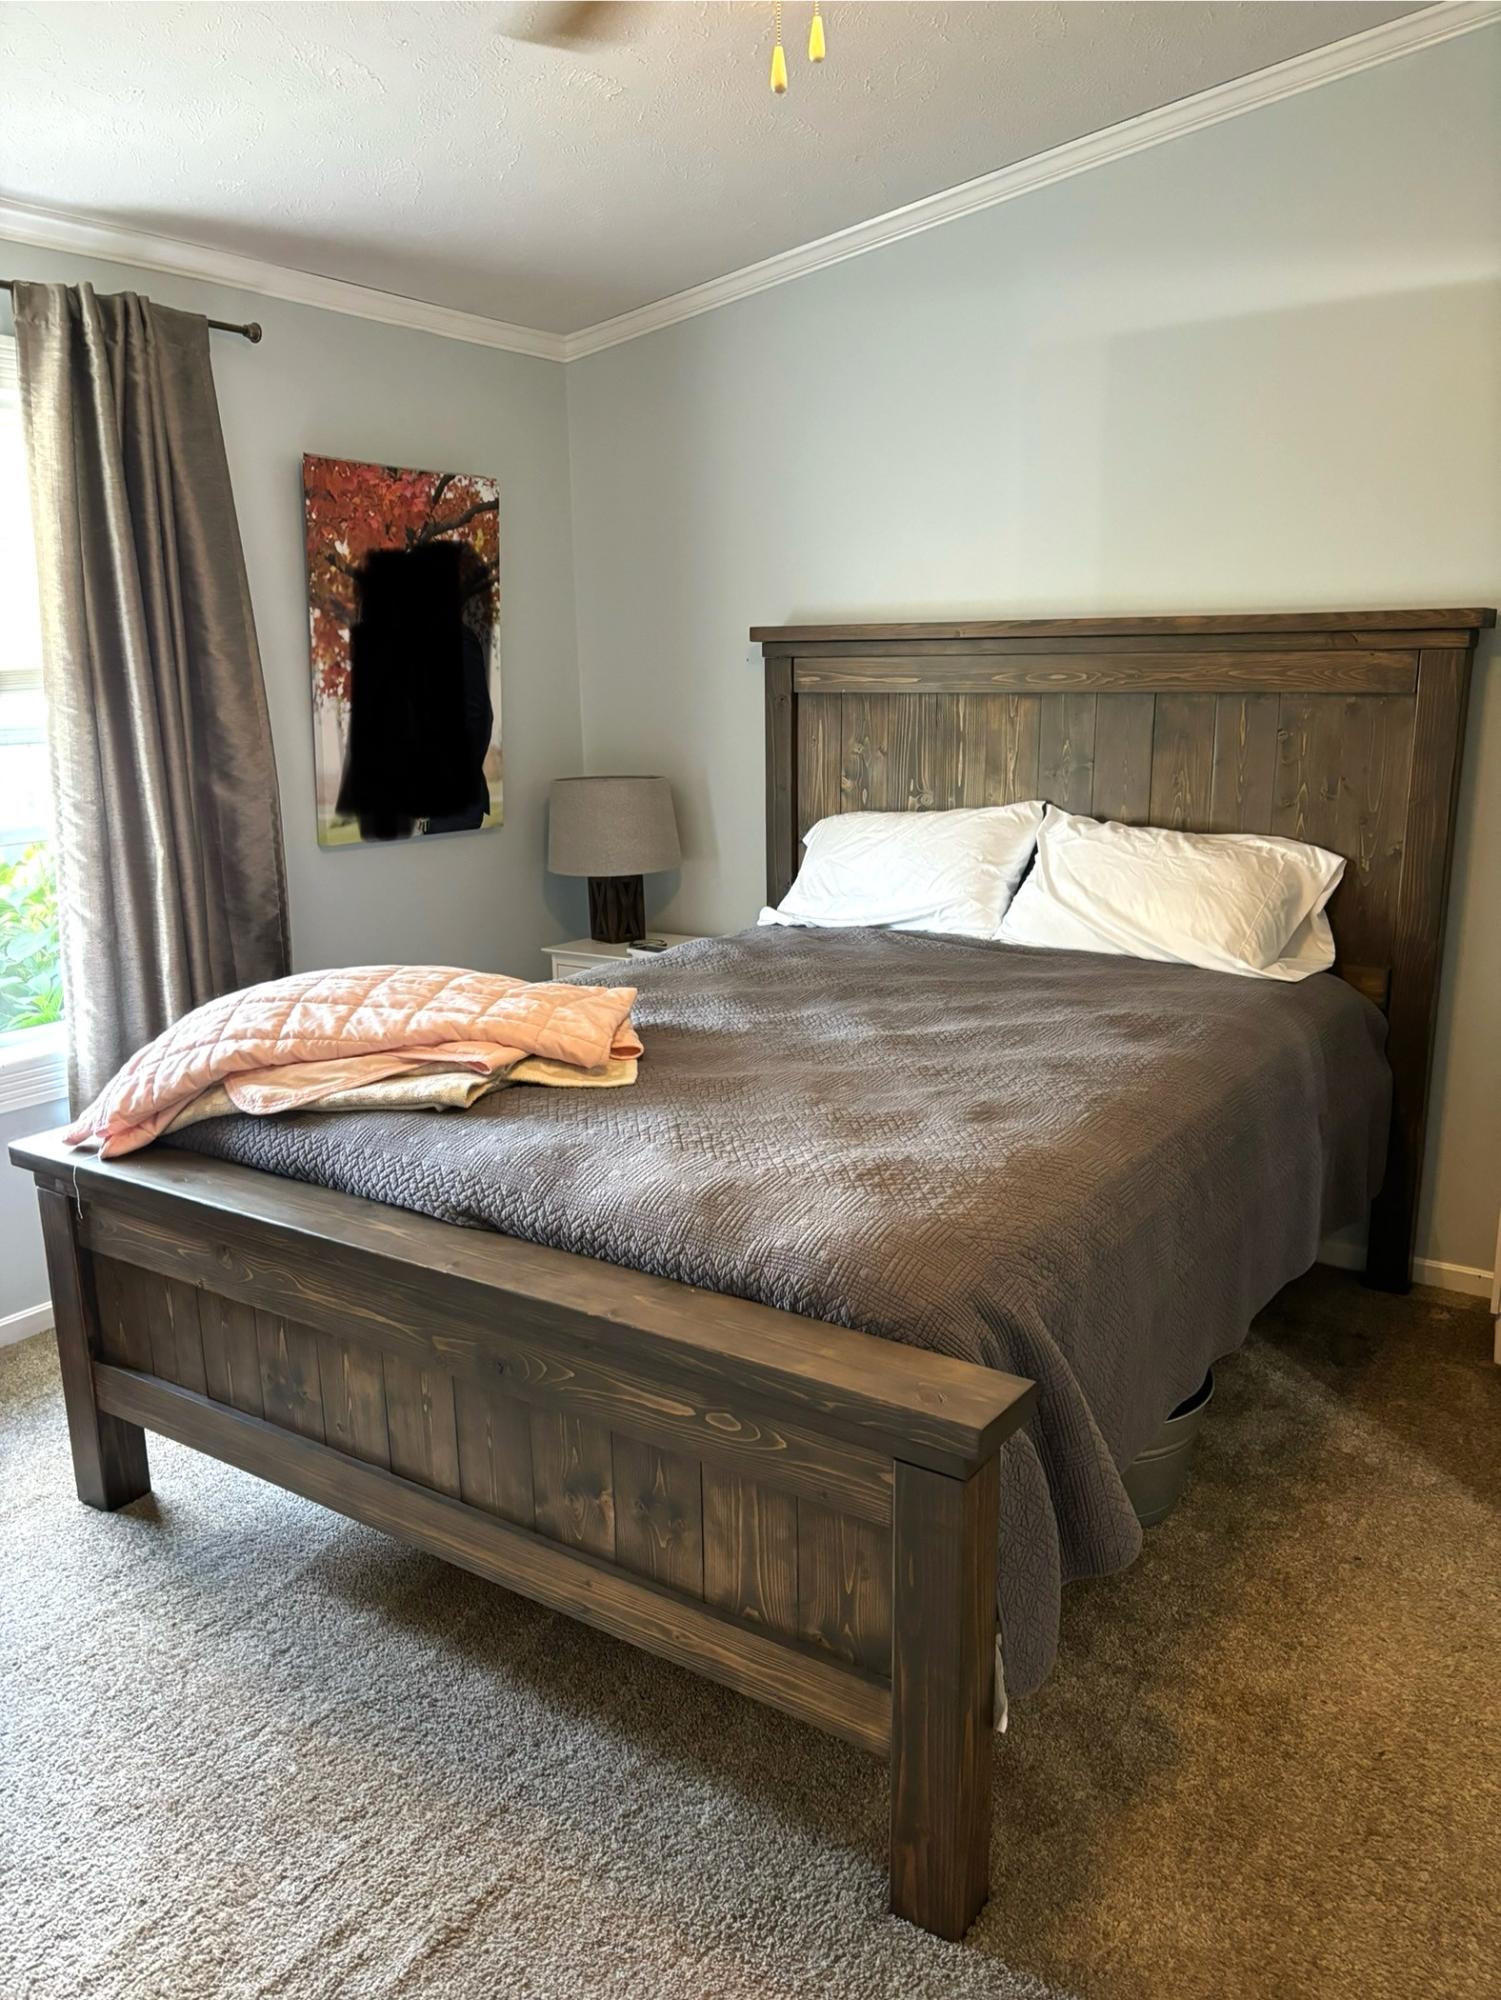
I made this in the evening over the course of a week. It’s exactly what I was wanting. The instructions are easy to follow. It is heavy and very sturdy. I added bed rail hardware from Amazon to make it easier to take it apart if we ever move and I added a couple inches to the legs so that we had a little more storage underneath. I stained it with briarsmoke from Varathane and topped with Varathane triple thick water based poly. We’ve used this finish a few times including a desk and our dining room table and it seems to hold up pretty well for us.
Shelby

2x4 Potting Bench with Sink - Pinterest image by Caye Weaver
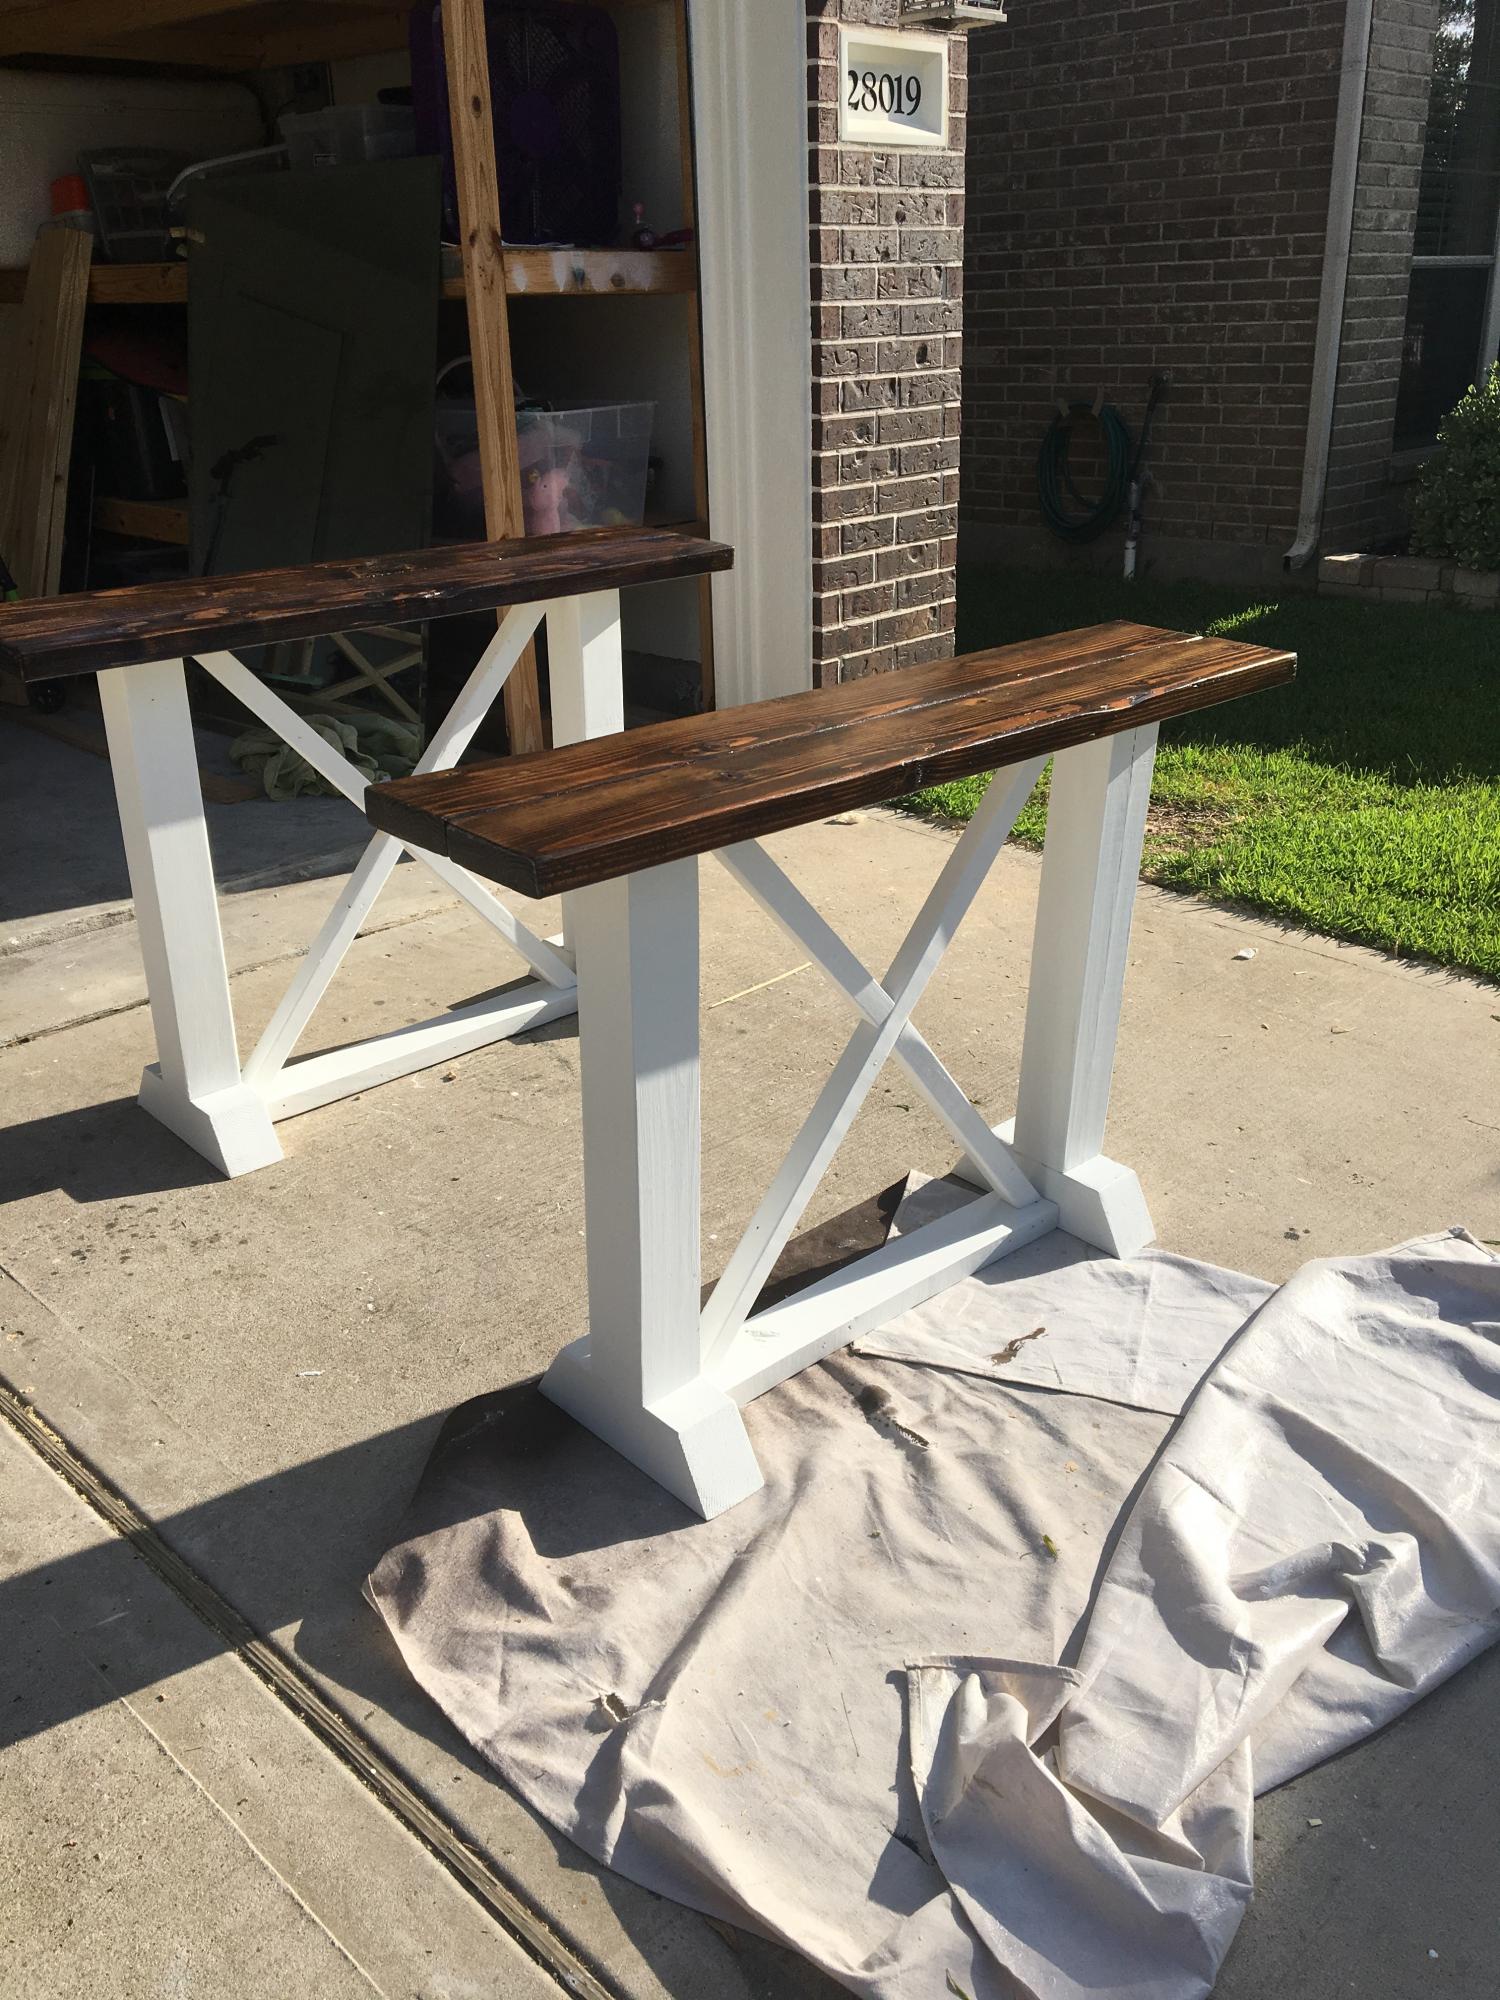
I made this to match Ana's rustic x console, end and coffee table!
Tue, 10/04/2022 - 10:22
Awesome design and I love the 2 tone finish! Thanks for sharing.

One day project with hubby! Wanted a wood set, but couldn’t find a reasonable price. Bought tools, wood, supplies, and cushions for under the cost of one online!

Instead of attaching the top to the coffee table base as done in the plans, the top is attached using a set of coffee table lift top hinges.

Fri, 08/21/2020 - 23:38
Looks wonderful, love the finish. What kind of stain did you use?
Wed, 09/30/2020 - 19:59
I love this table. It is just what l have been looking for. Is there any instructions. I would love to make this.
thanks
peggy

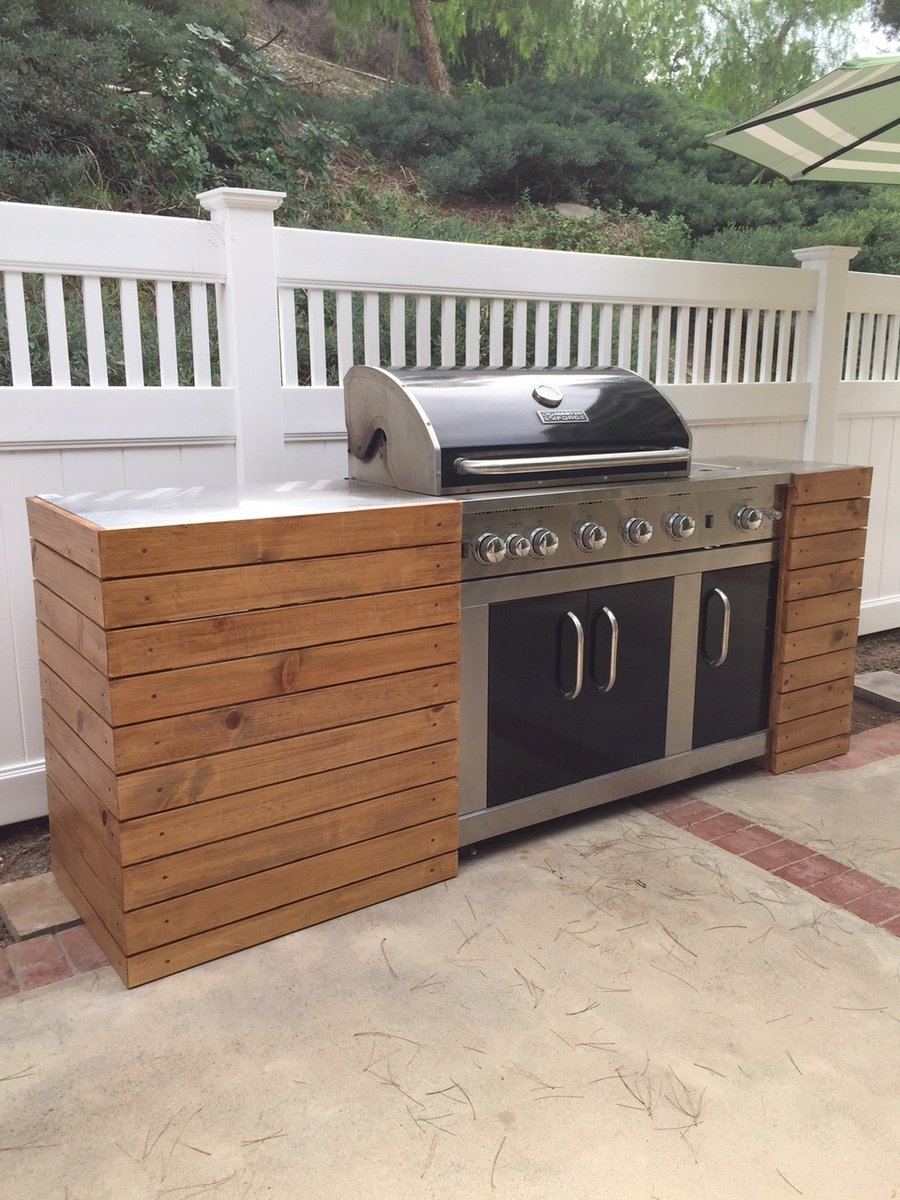
This was just a standard BBQ with an attached folding table. I used a combo of Ana's plans to add a little character and style to the BBQ and it made a huge difference in not only the BBQ, but also the backyard.
Mon, 05/23/2016 - 12:29
Hello: Very interested in which plans you used to build the BBQ Built In. Thank you.
Wed, 06/08/2016 - 09:22
Hello dbryant1977, please share the plans. Also, what's brand/model of BBQ? Very nice.
Thu, 04/09/2020 - 18:27
This is my guess on the plans used! https://www.ana-white.com/woodworking-projects/diy-grill-island-featuri…
Fri, 08/30/2019 - 09:50
Are there plans for this project or at least some pictures from while you were building it?
Thu, 04/09/2020 - 18:27
This is my guess on the plans used! https://www.ana-white.com/woodworking-projects/diy-grill-island-featuri…
Wed, 04/22/2020 - 15:52
Can you provide us with the plans for this? I would love to build one.
Mon, 03/04/2024 - 14:49
Hello: Very interested in which plans you used to build the BBQ Built In. Thank you.

Great for a small flock of 5 or less.


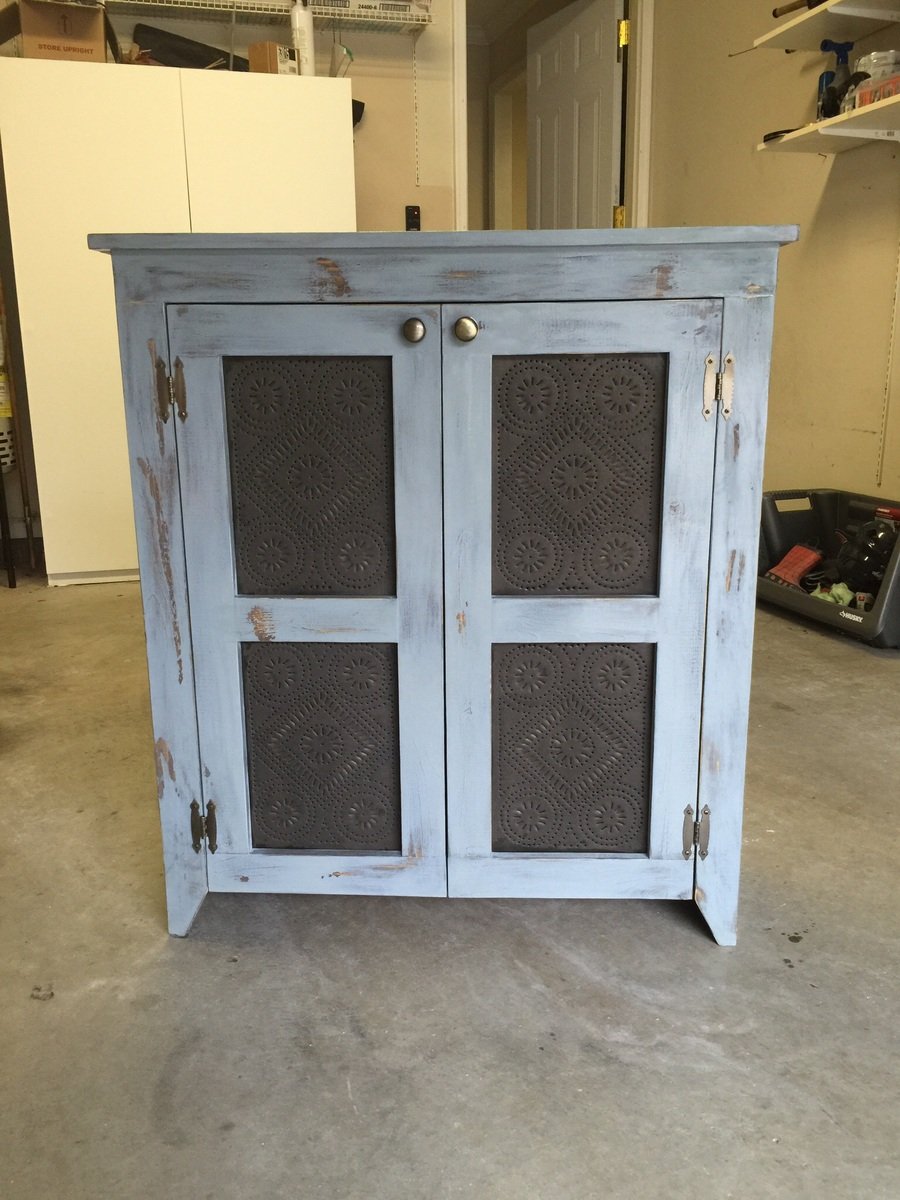
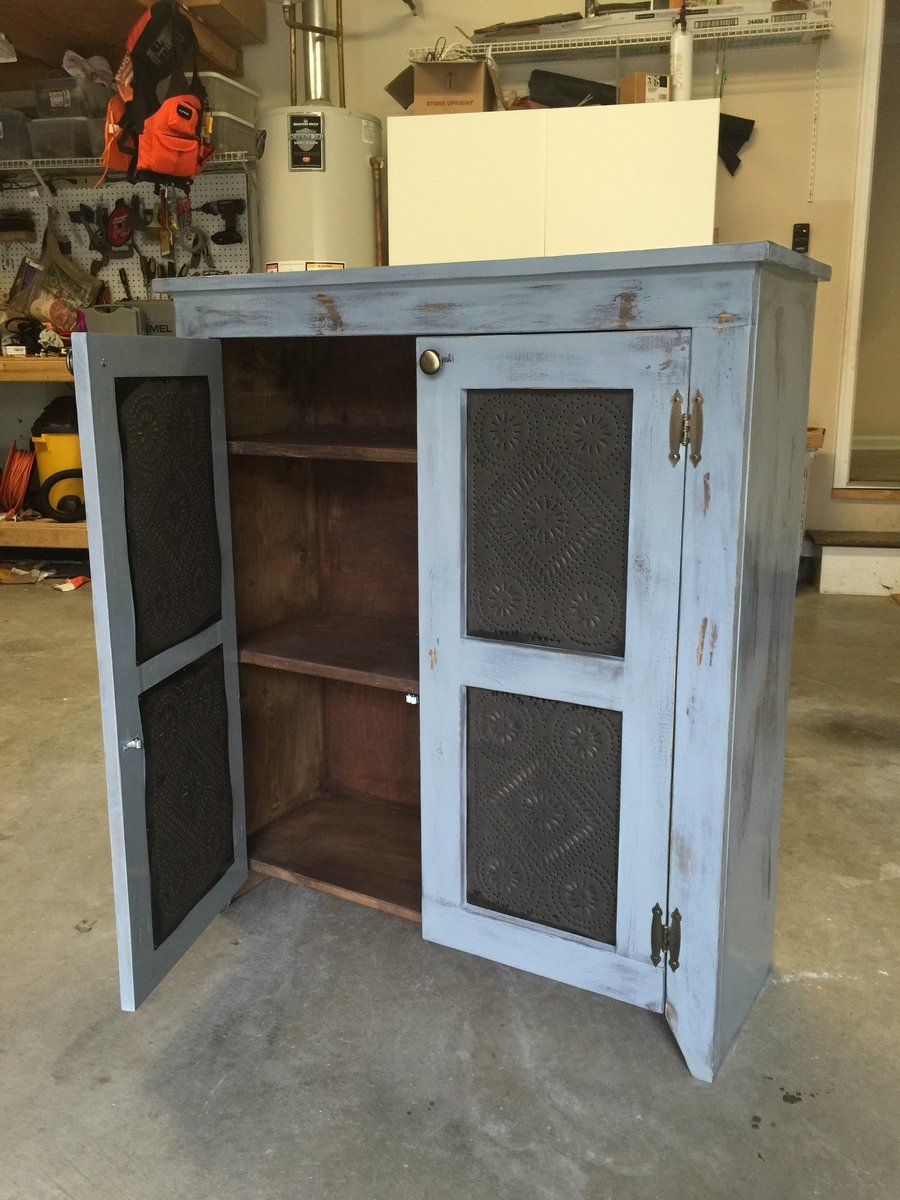
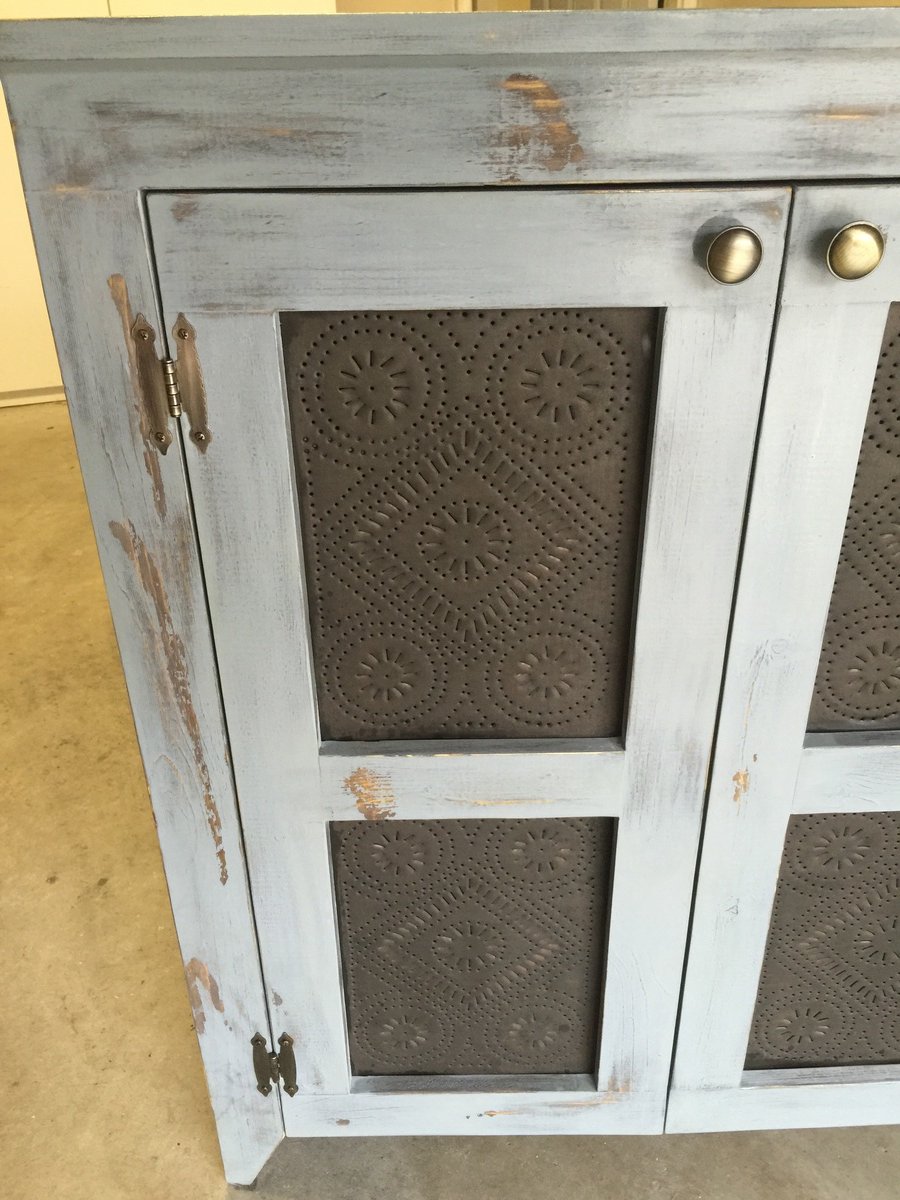
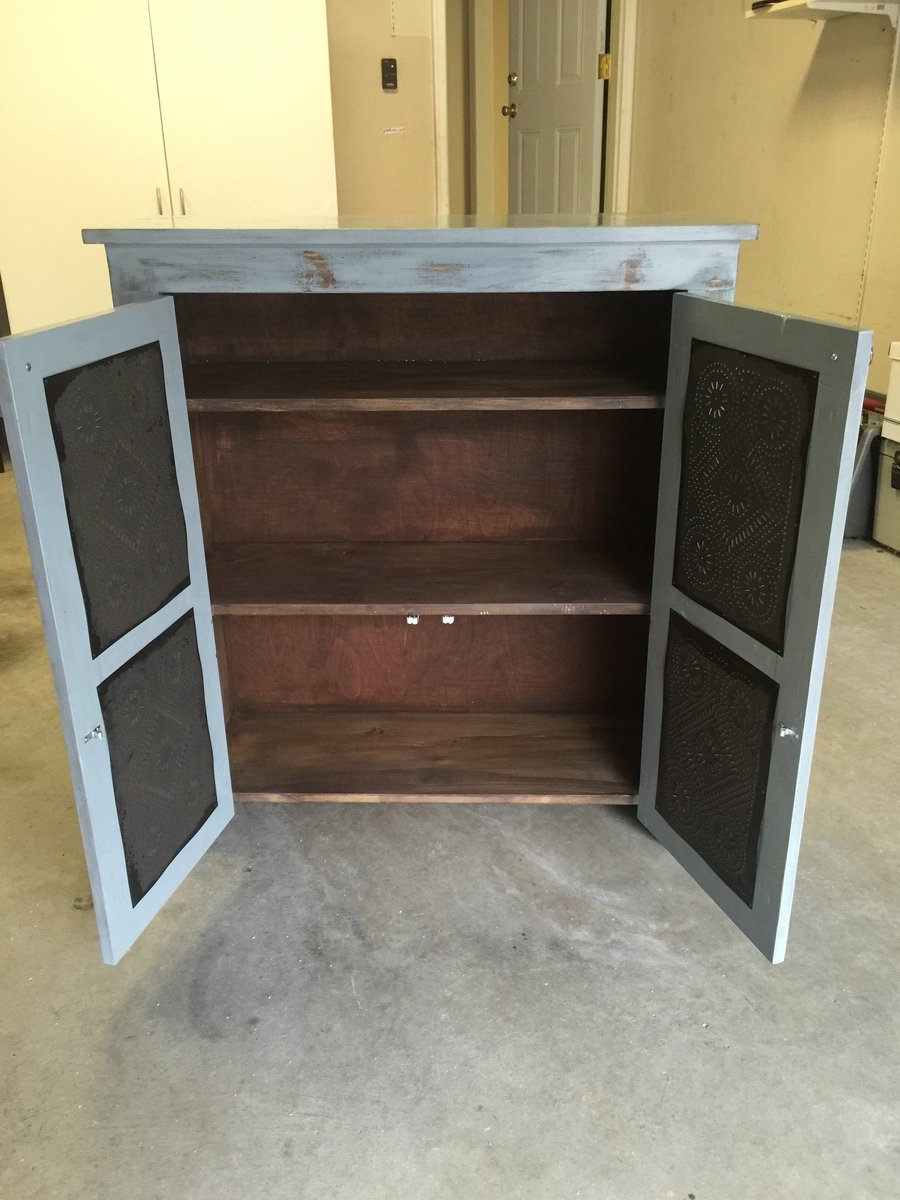
This is my first, of hopefully many projects to come. I modified Patrick's Jelly Cupboard plans to be 40" tall and added the tins to the doors. I used spruce and pine board from a local lumber yard. The finish is Miss Mustard Seed milk paint inside and out. With kids in the house I didn't want to use stain with the heavy chemical smell so I mixed the milk paint with a lot of water to look like a stain. That product is so easy to use and looks great. Needless to say my wife loves her pie safe. Thanks Ana for this site and the inspiration to give this a try. I'm hooked!
Sat, 10/31/2015 - 09:36
This is really beautiful! Might I ask where you got your tin inserts? Thanks!
Tue, 12/01/2015 - 11:13
Thank you for the comments. I ordered the tins from Irvin's online. They were quick to ship and were packaged well. Here's the link
https://www.irvins.com/category/Kitchen-Cabinet-Punched-Tin-Panels/08_2…


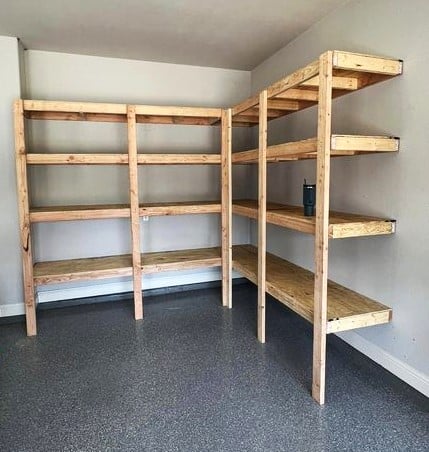


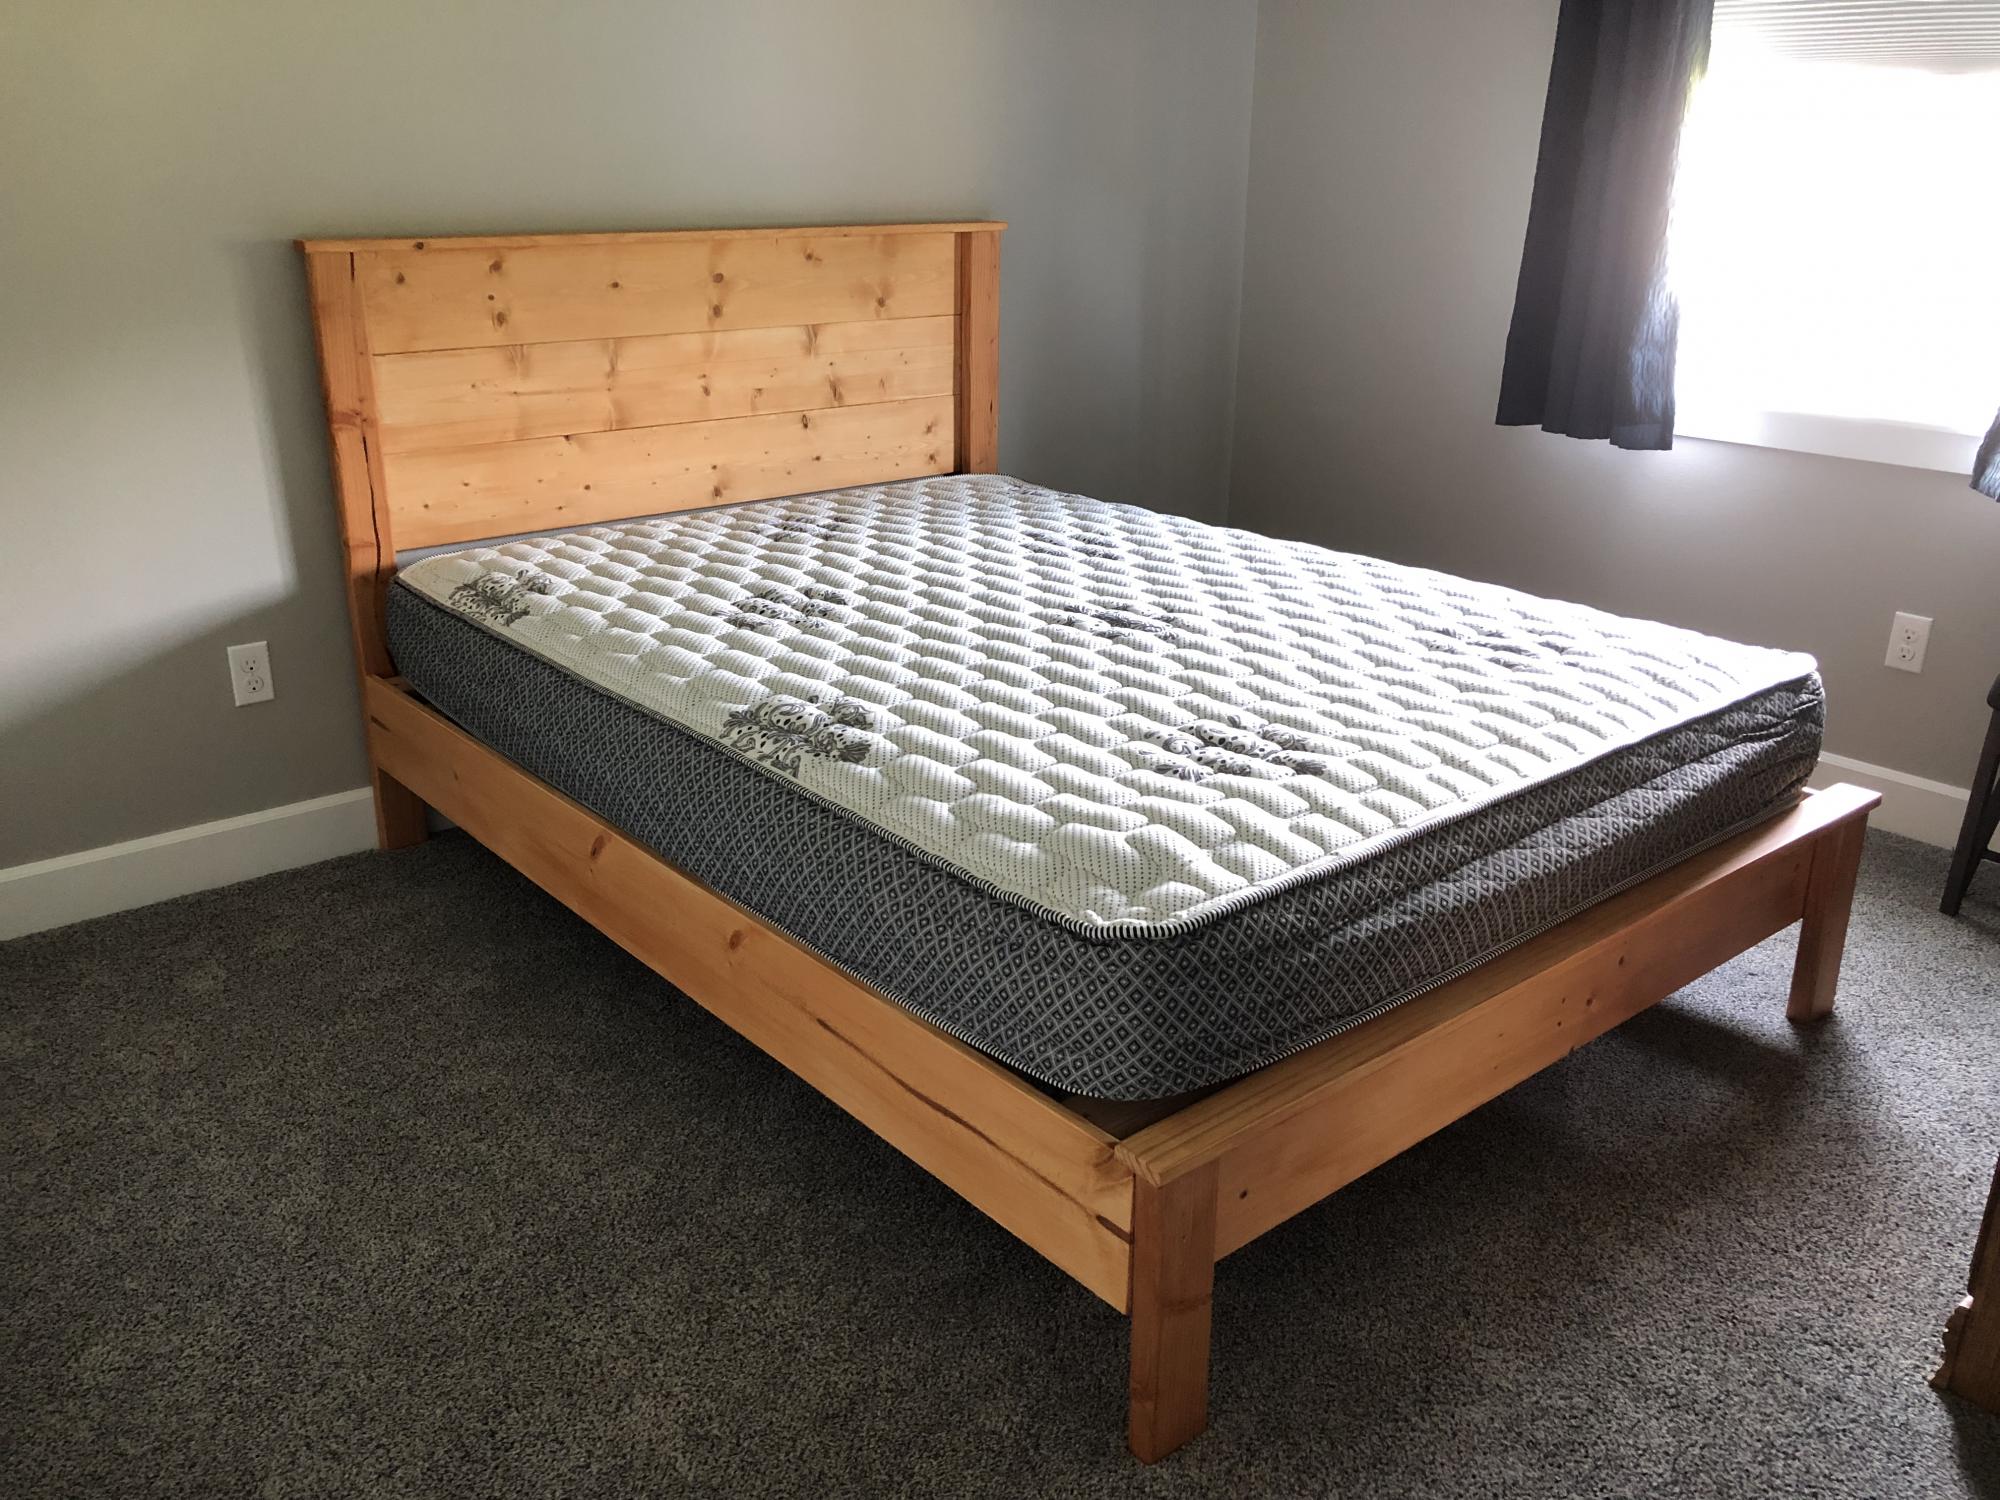
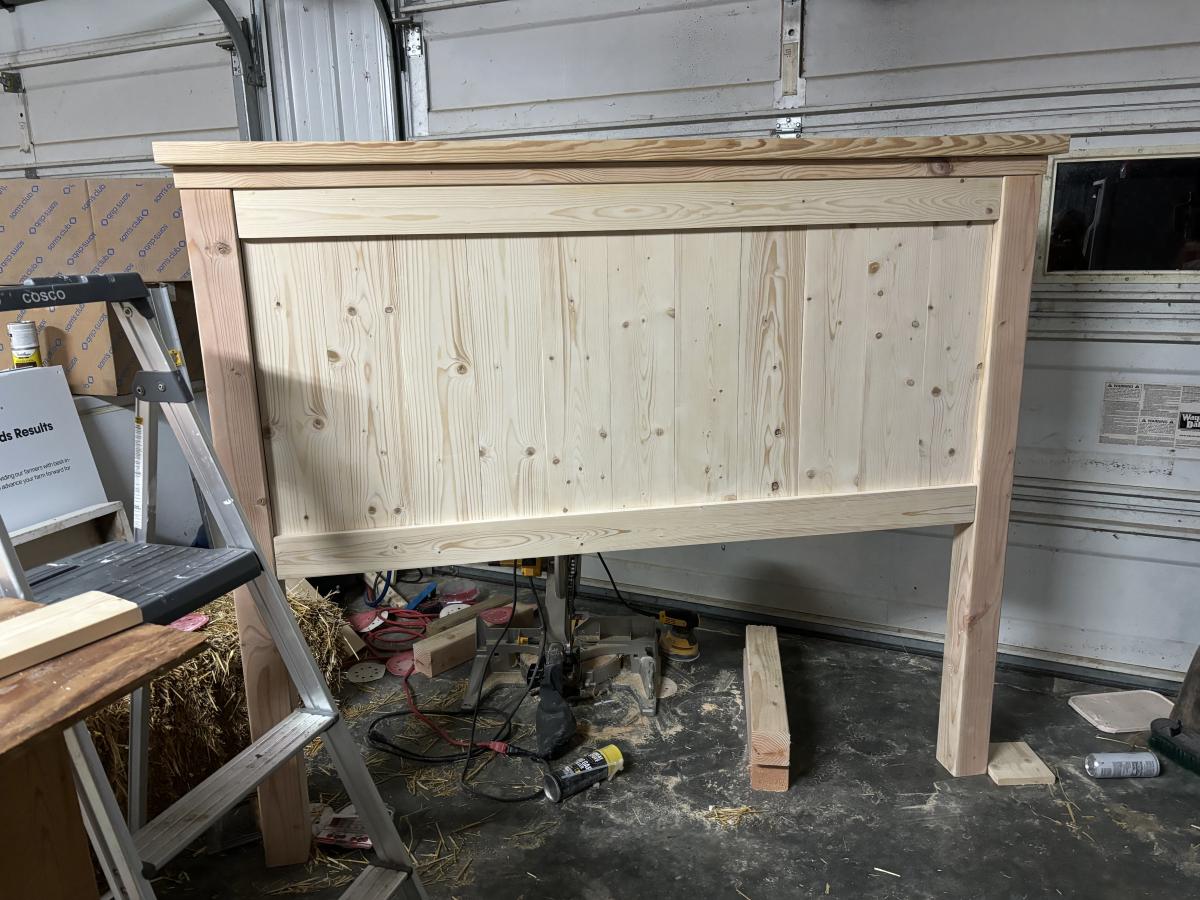
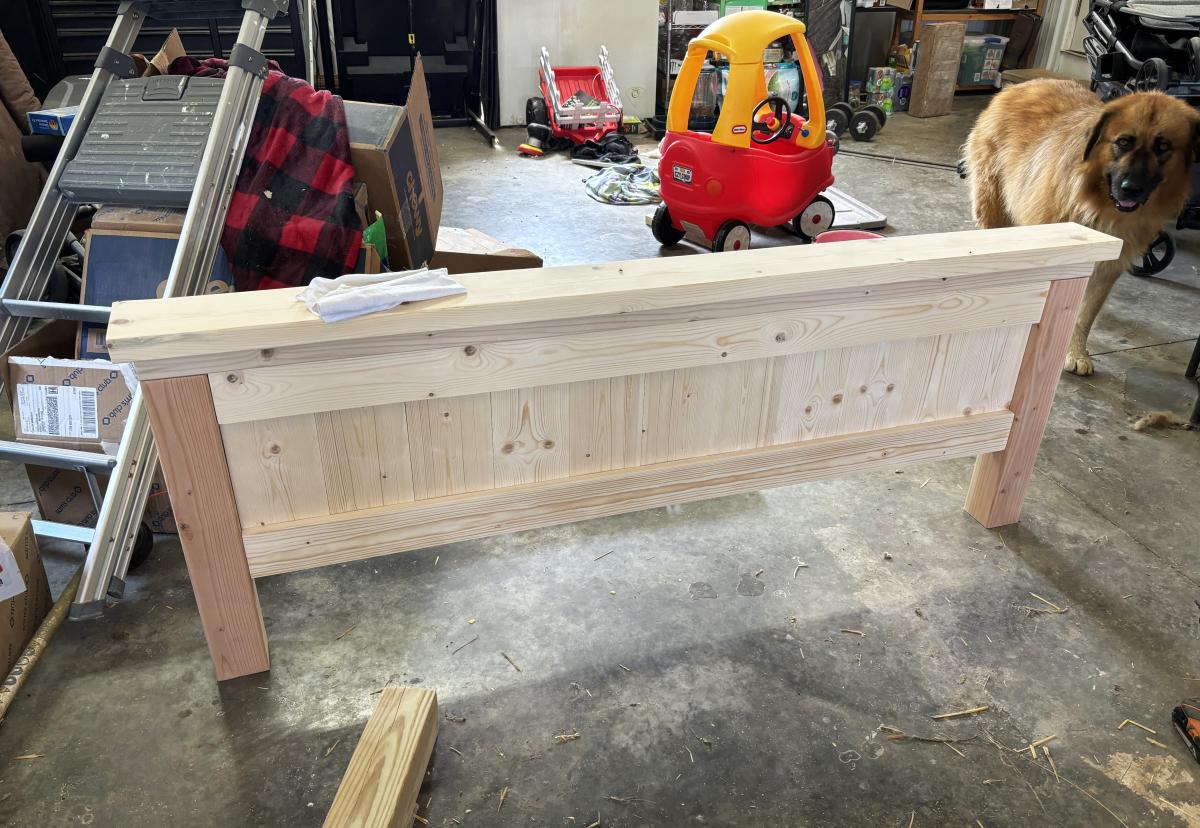
We looked for a simple plan for a bed and found this one on Ana’s site. Easy to build in a weekend.
Mon, 06/03/2019 - 11:35
Thank you so much for sharing a photo! I've been looking forward to seeing how the bed turns out! Great job!
Thu, 02/20/2025 - 15:13
Did you have to rip the boards down before making the bed?

Made 2 of these for my coffee shop in Puerto Rico. Easy instructions. Thank you!
Javiel Cardona
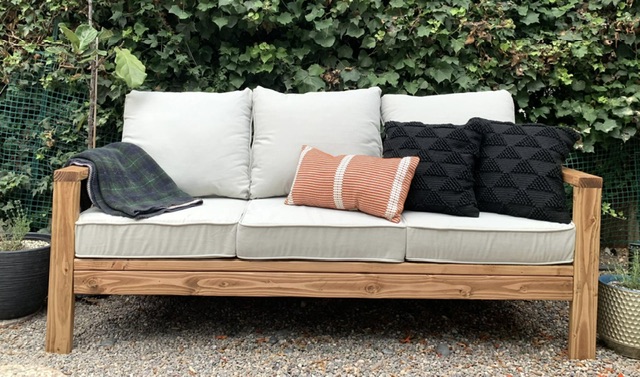
This was my first ever piece of furniture that I made and it was so much fun! I’ve got the furniture making bug now!
Melissa Pilcher
Wed, 08/02/2023 - 10:42
Thank you for sharing, so happy you went for it! Can't wait to see what you build next.

I used the basic framing plan for the project, but extended roof overhangs, added engineered siding / trim and cedar shake roofing. I put 2x4 bracing on for the platform.


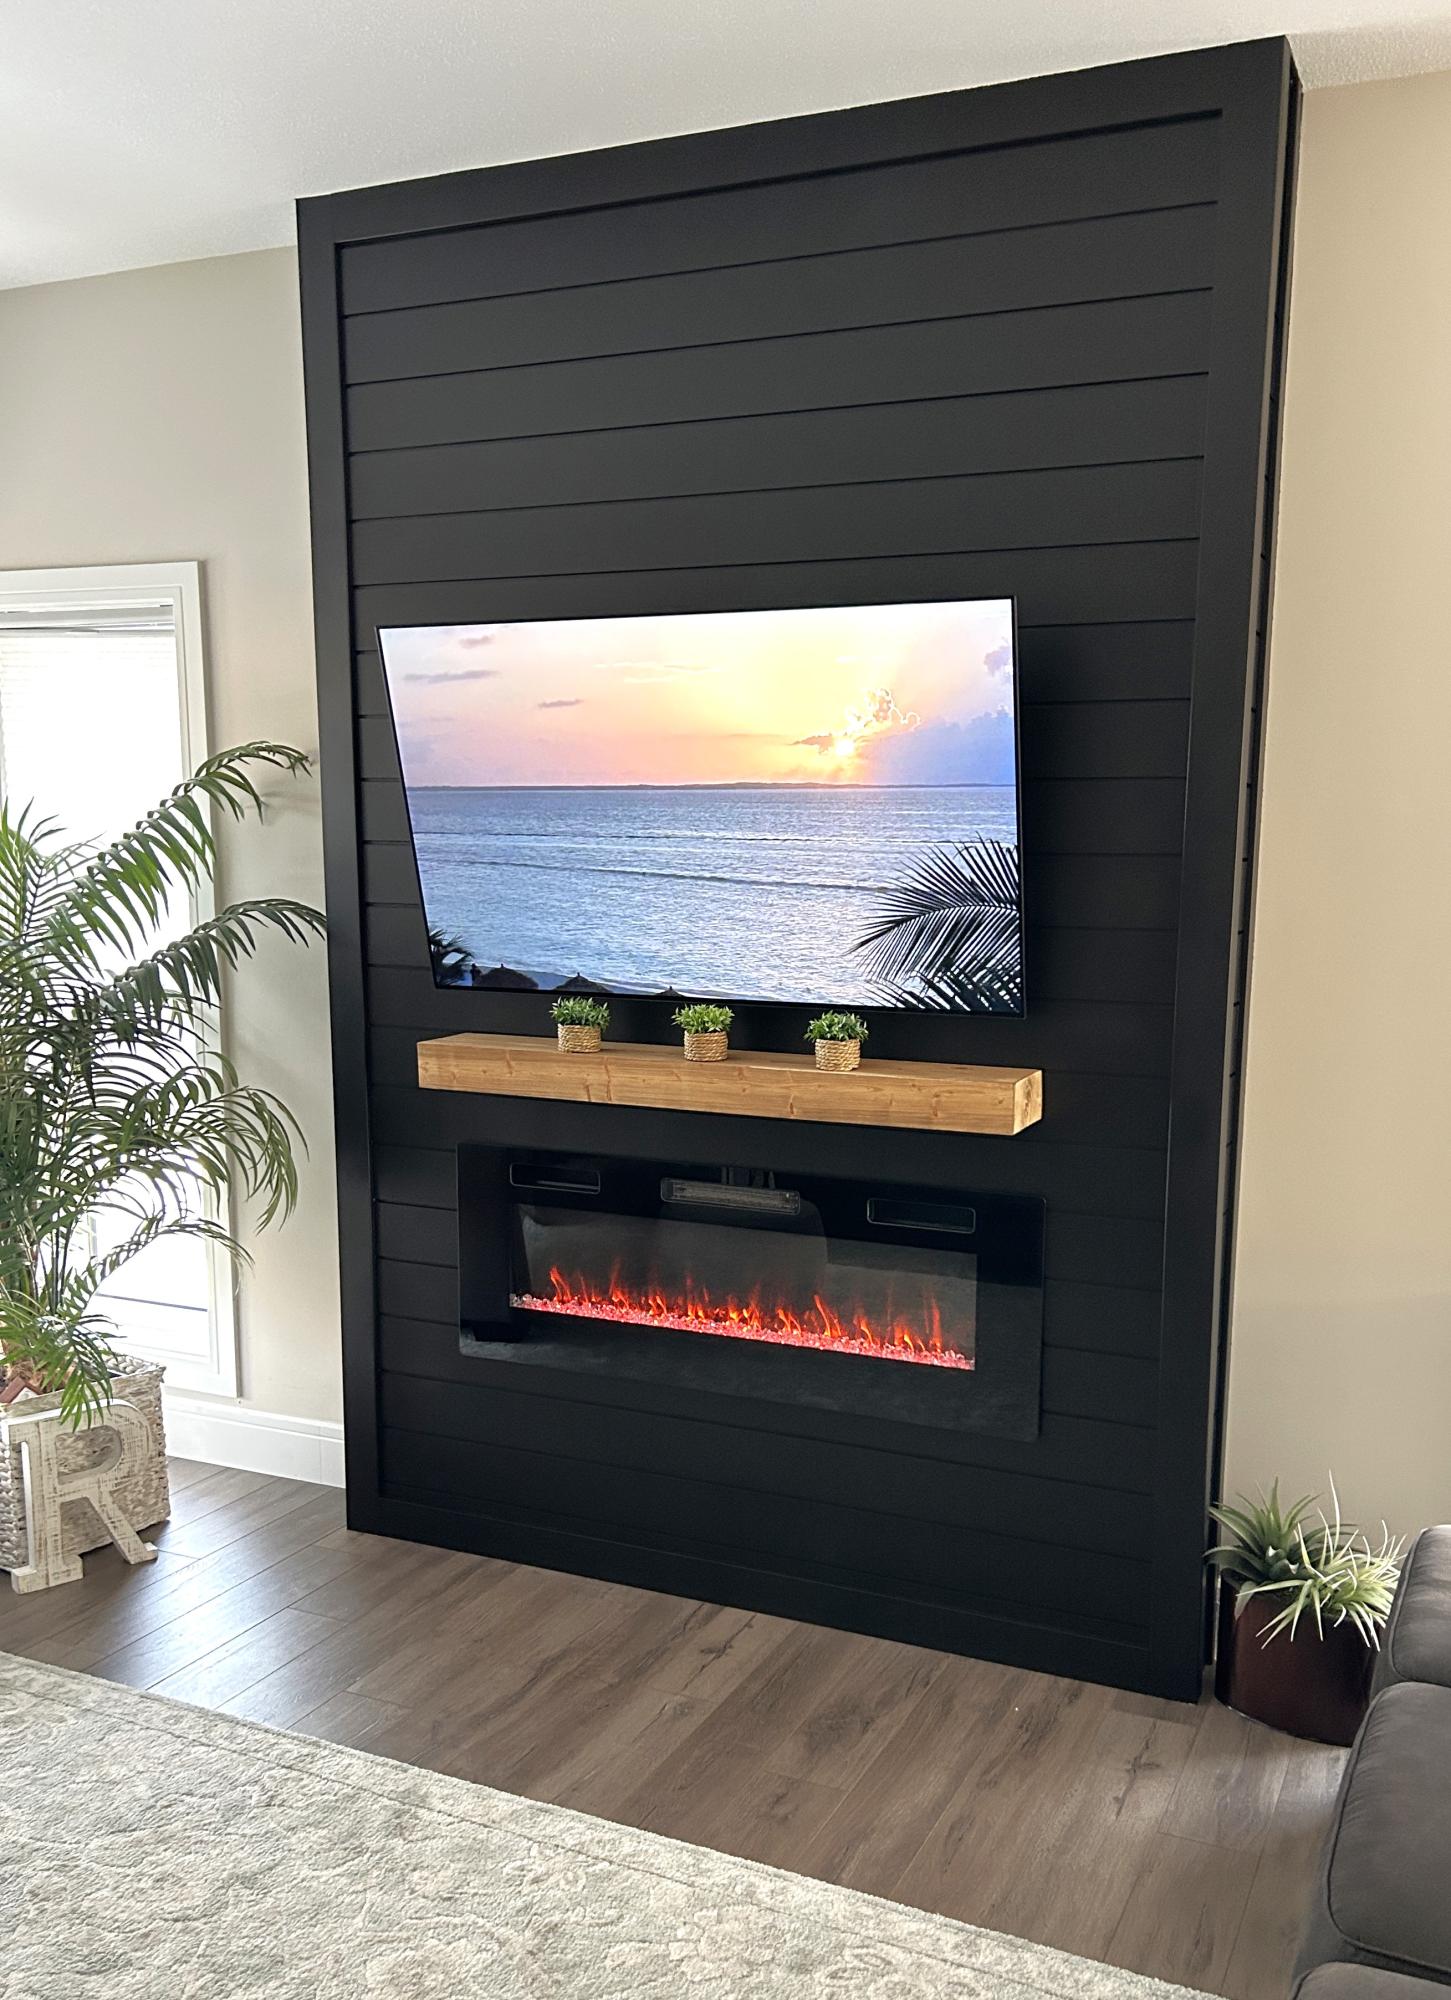
Livingroom mantle and fireplace.
Todd Richards
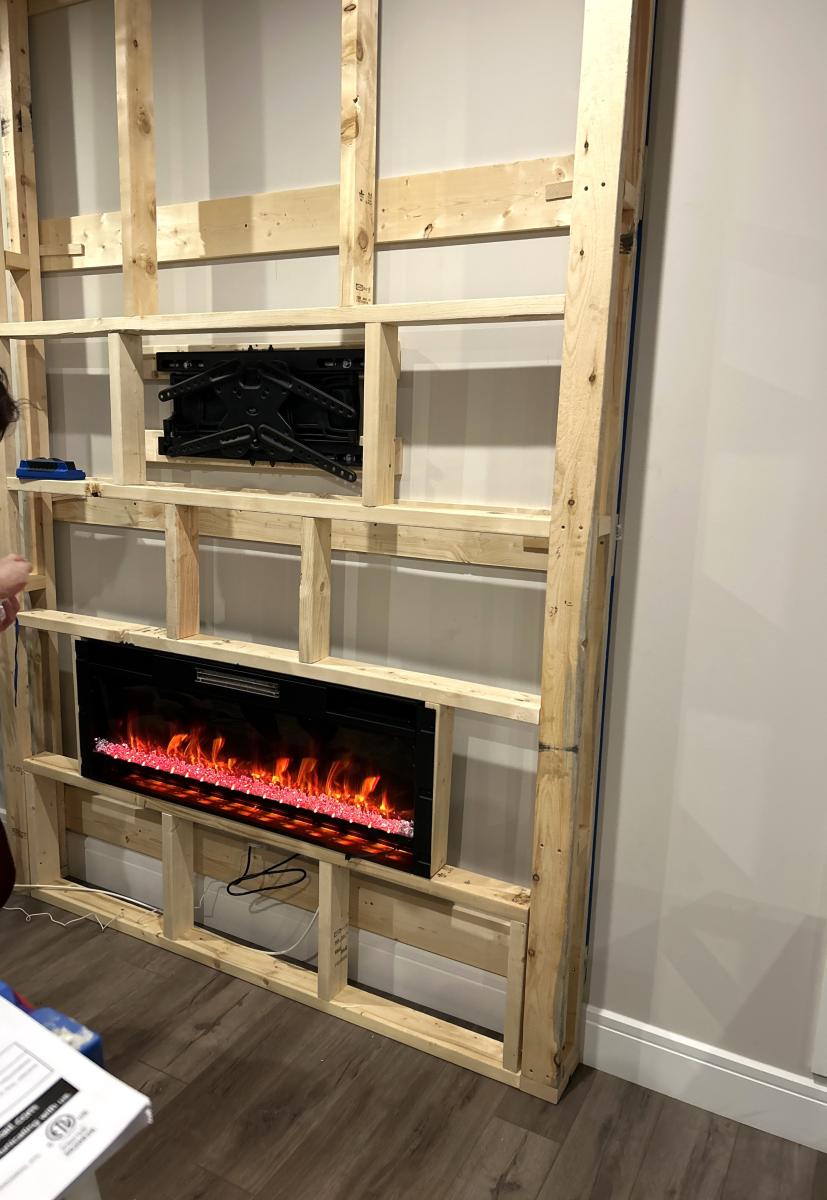
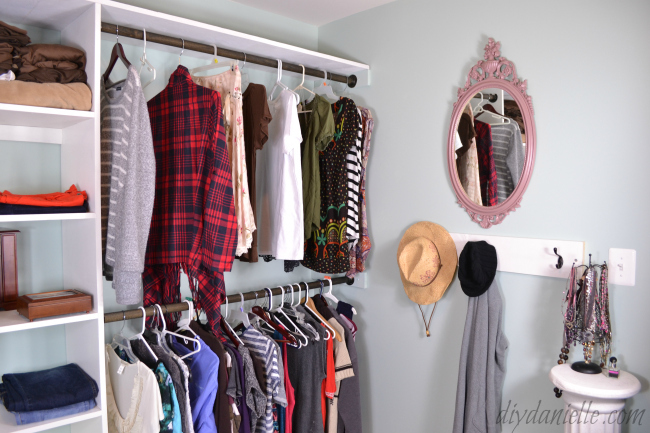
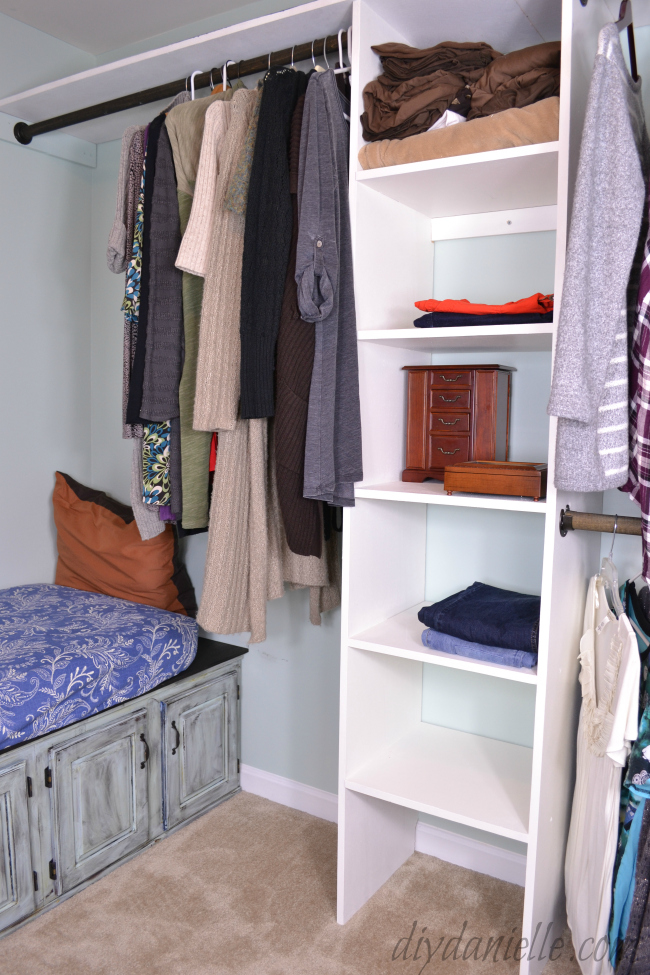
We used the plan about using one sheet of plywood to make a closet organizer (http://www.ana-white.com/2013/03/plans/closet-organizer-one-sheet-plywo…) to make several shelves for our master closet.
We added a seating area with hidden storage, using an upcycled crib mattress for the seat (instead of buying new materials to make a seat cushion).
We added multiple wood dowels for the rods across. There is wood across the top of the whole closet system so we can store things up above.
This project added a lot of extra storage for us and we're so happy with how it came out. The shelves were pretty reasonable to build.
Read more: http://www.diydanielle.com/2017/01/how-to-build-walk-in-closet.html
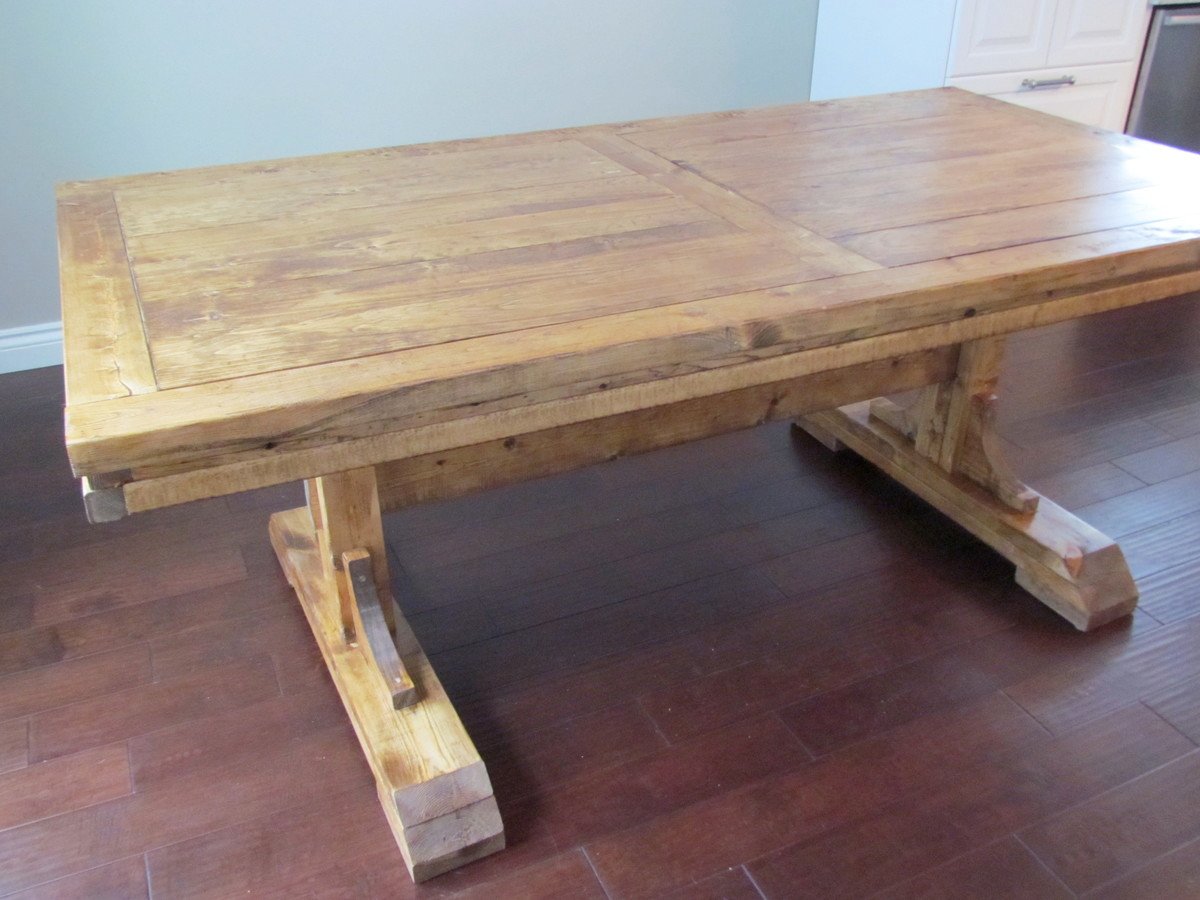
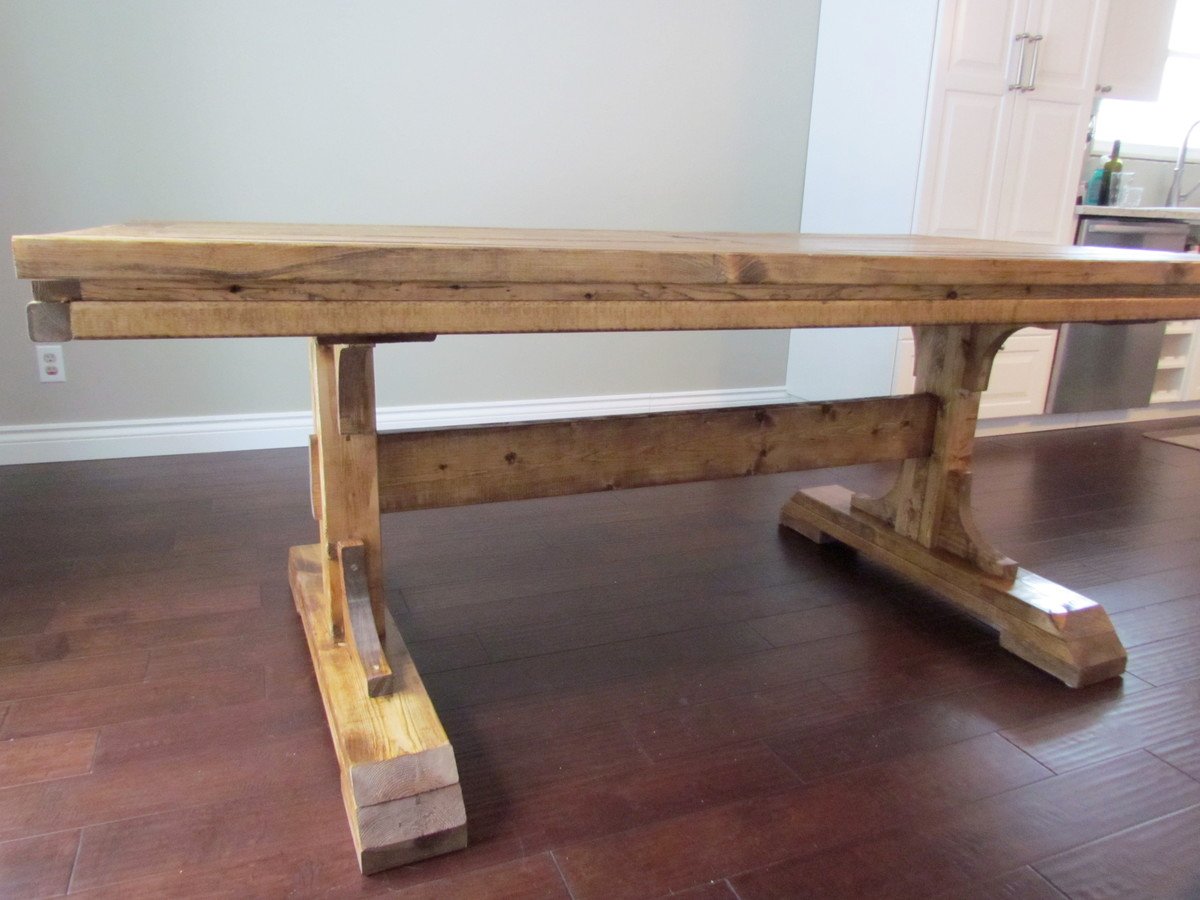
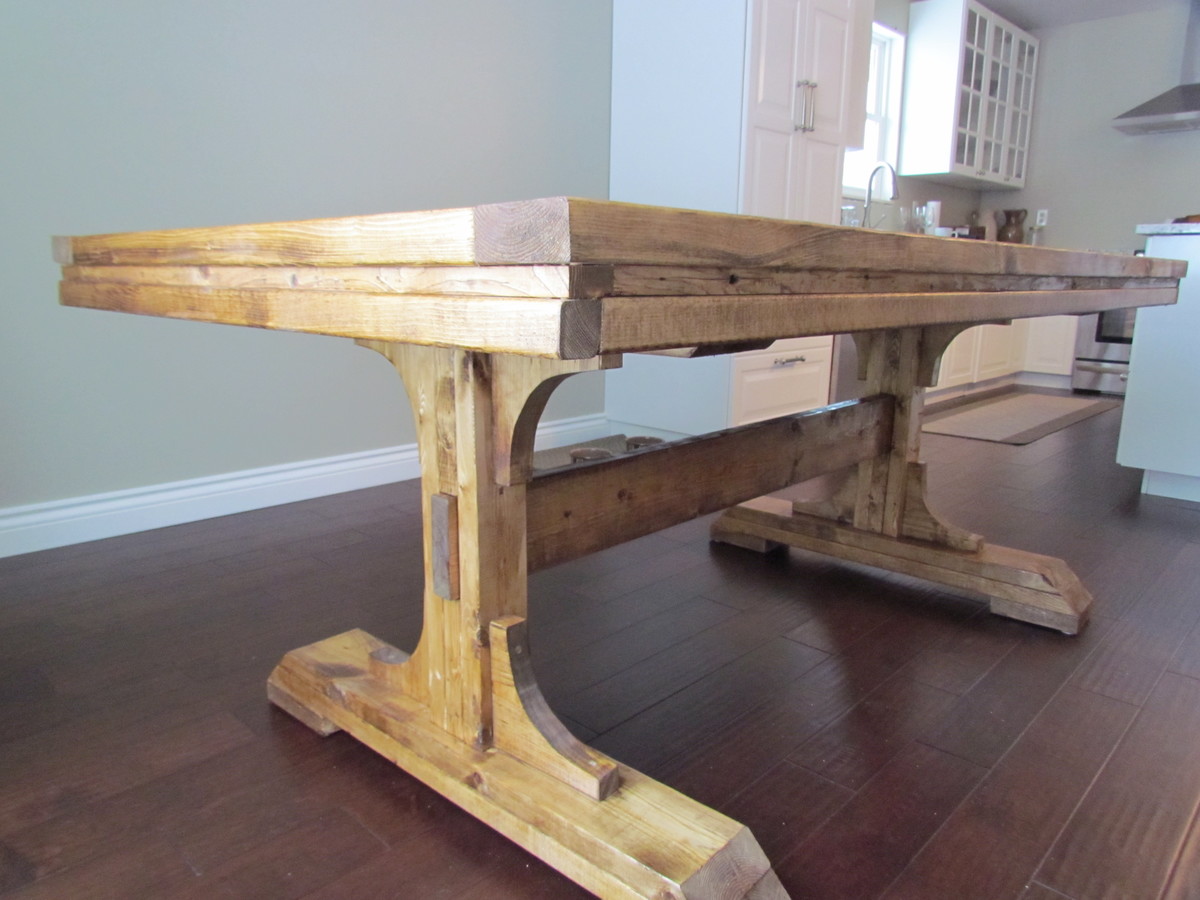
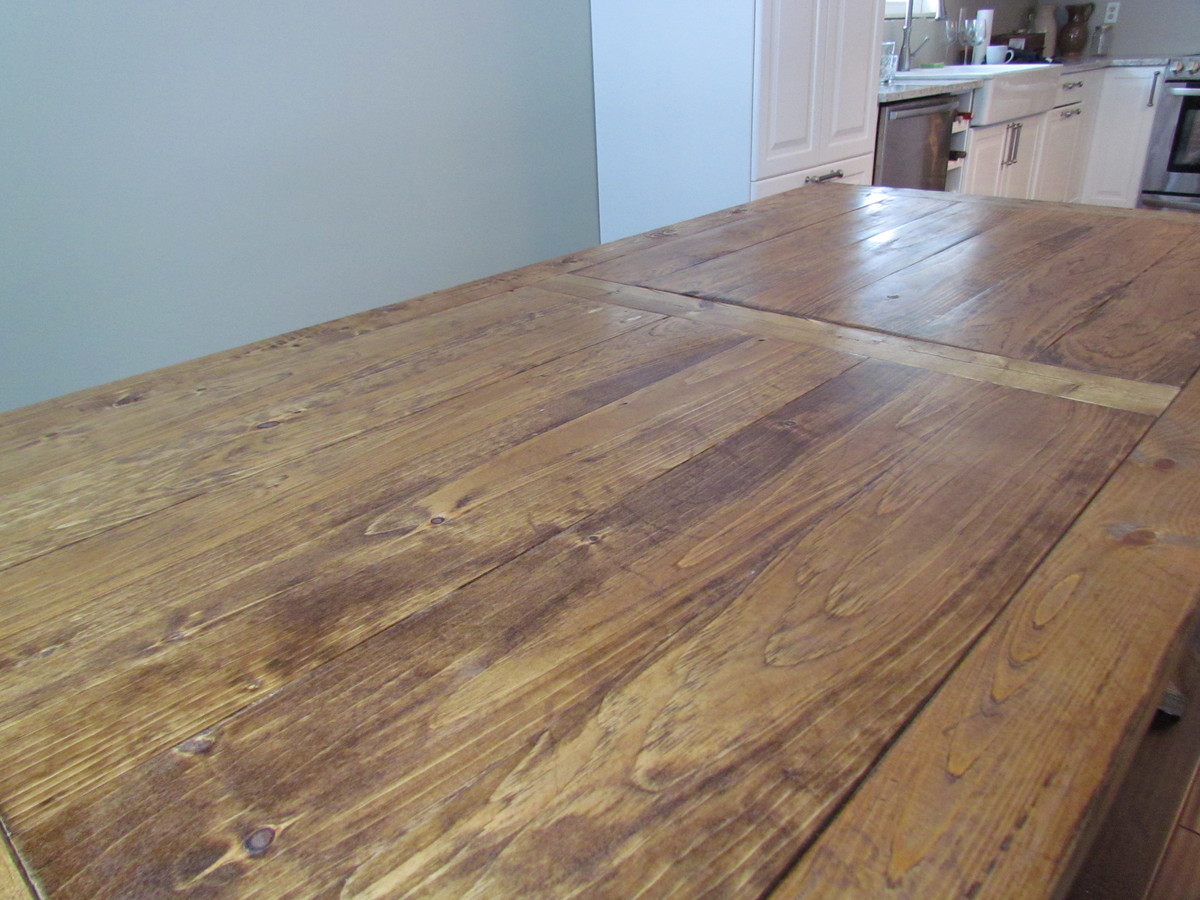
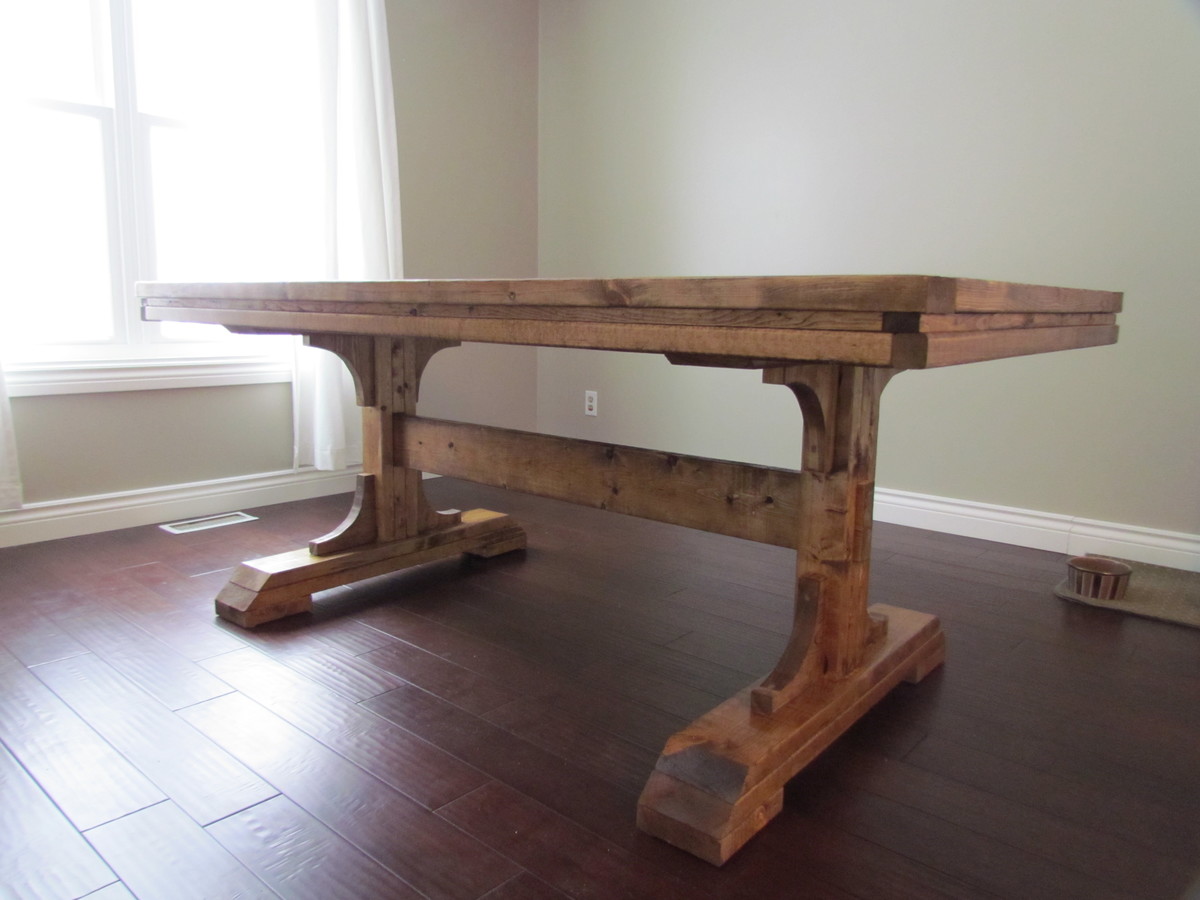
My hubby took the plans from the Triple Pedestal Farmhouse Table and altered it to make it just over six feet. It is perfect and accommodates our smaller dining area space.
Fri, 02/15/2013 - 07:23
hi! could u post/share how he altered this from the larger plan? love it!
Wed, 10/09/2013 - 10:09
I love this. I planned on reducing mine to 6 feet. Do you have the altered plans? Thanks.
Wed, 10/09/2013 - 10:14
Hi. I went to martha.anna blog. This is the comment she posted on the dimensions.
From martha.anna:
I've had many emails and inquiries about the dimensions of this table. So, here's what I've been sharing with everyone...
Our dining room is 11 x 10 and there is a lot of room around it to fit in a hutch and still walk around easily. (Just for size reference.)
The overall length of the table is 6' 4.5". It is such an odd measurement so that the strips of board (1x6) on the tabletop would look in proportion. They are 33" long (the 1x6).
The beam across the bottom is 55.5" from outside edge to outside edge and my husband left 1/2" showing.
The pedestals are 10.5" from the end of the table.
Phew! I hope all of the information helps everyone out there! :)
Sat, 11/16/2013 - 09:27
Hi there what would the revised materials needed list be? Also did u notify the benches? Do u have the dimension on that? My step dad is building this for me it's my job to get plans and supplies. Thank you for your help I appreciate it!!
Mon, 01/13/2014 - 14:20
Oh my. After several months I'm able to get all the material needed to do this table. I did the legs a couple of months ago. Now it's time to complete the rest. Hopefully, I can do it in a day's time - hopefully :).
Fri, 01/12/2018 - 09:04
Ill be making this table whcih is in the same design as the original triple pedestal table but Ill be making it smaller. Are you able to give me the measurements for this modified table? Do I make my top first and then the pedestals? I feel like if I make the same pedestals, then Im forced to make this a 40" wide table, and I only want it about 35-37".
Thanks!
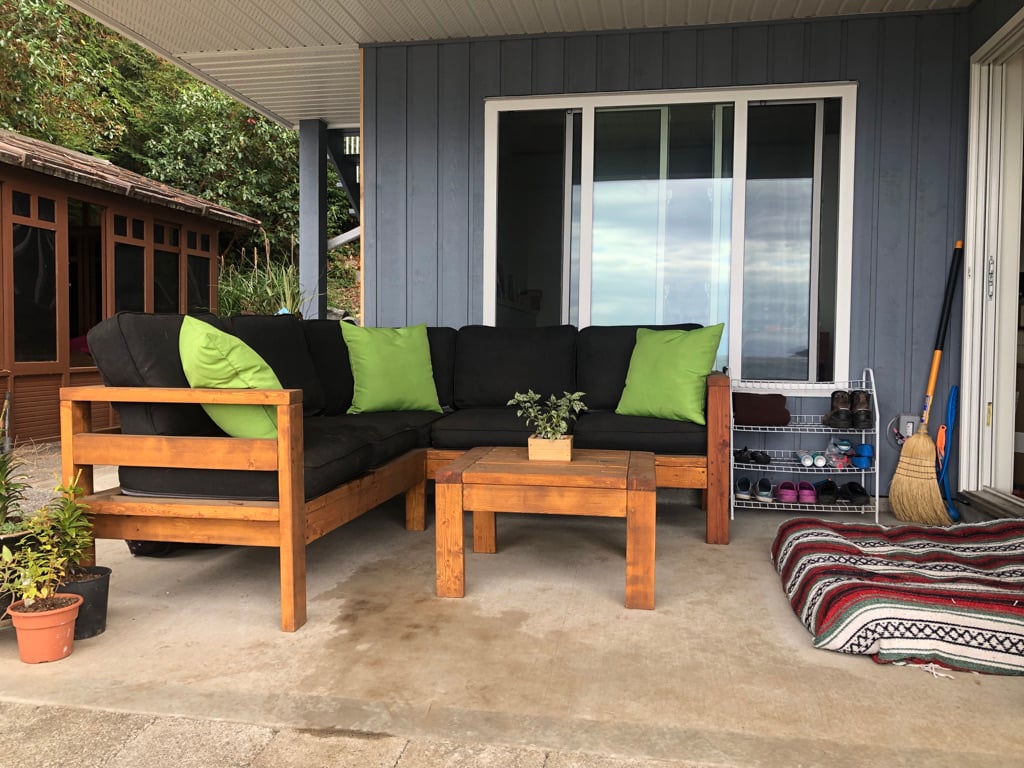
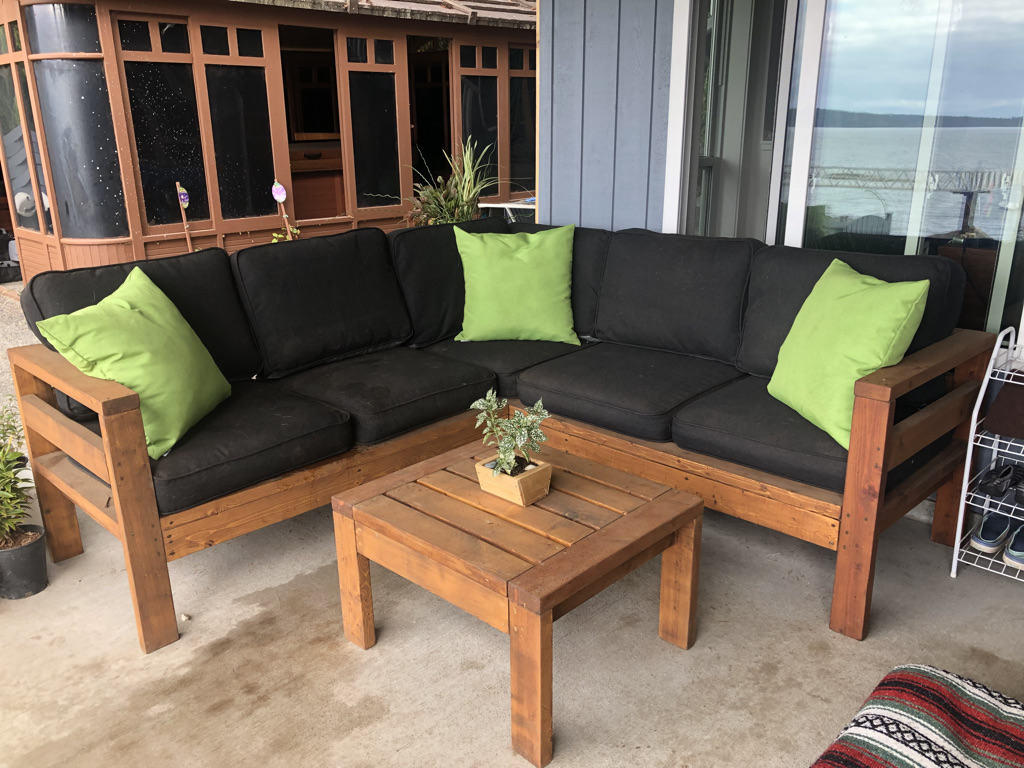
My daughter and I built this out of the old framing that was pulled out of the house (fir) and some leftover wood from a friend's house build a few years back. If the cushions are lifted up you will see the old electrical wire holes! I shortened the set by one seat so it would fit the patio space. The cushions are from Ikea and fit perfectly. I also modified the coffee table so it was the similar proportion to the full sized set. Thanks for the very approachable plans Ana! Excuse the water all over the area in the pics. We have water dogs and they seem to like the sectional too!
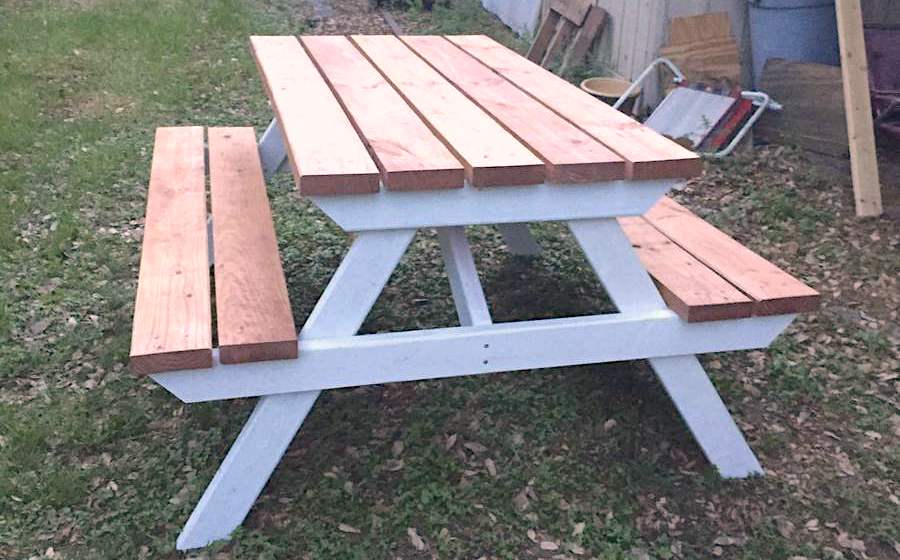
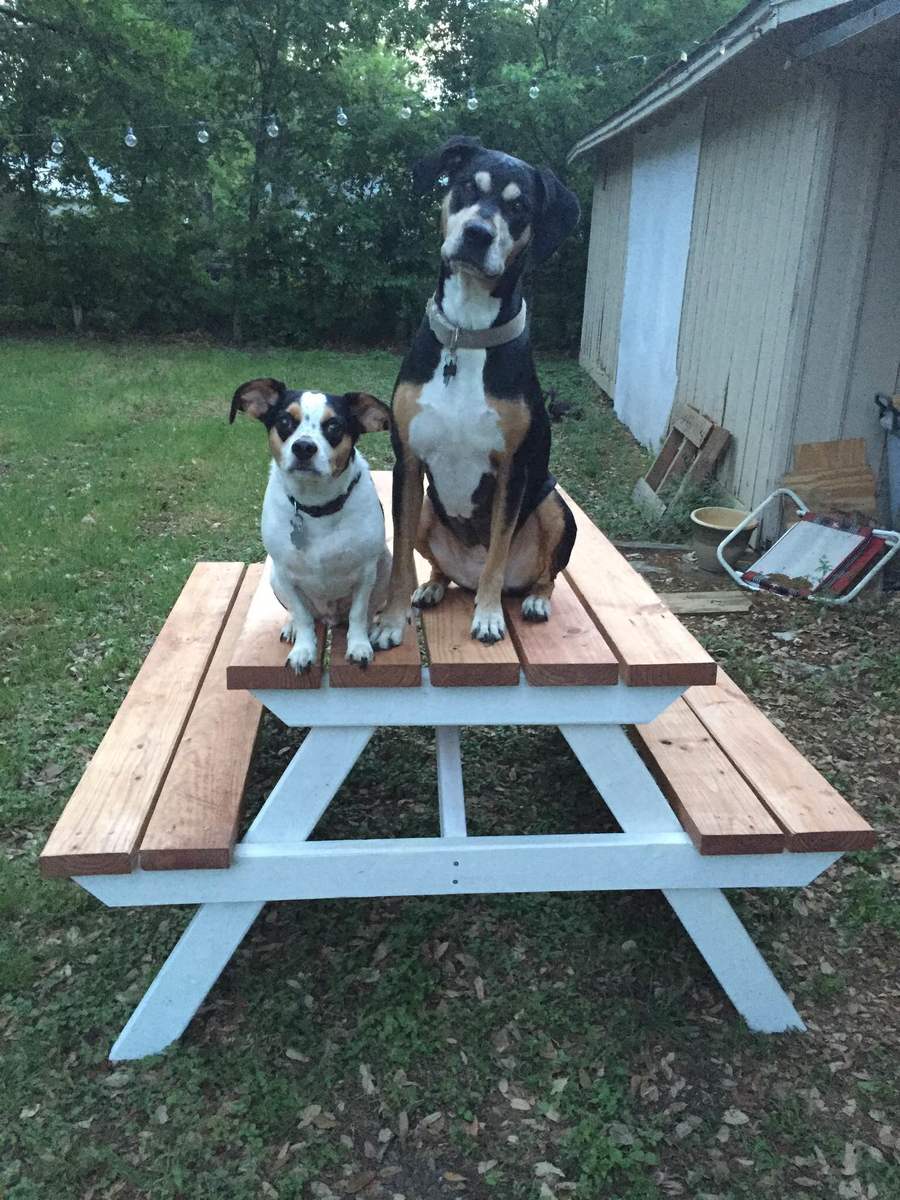
I made this picnic table for my upcoming wedding with the intent of using it as our guestbook. I'm hoping to have people sign, carve, and woodburn their names or a message on the table. I painted the legs and supports white and stained the top and seats with a cherry stain. I still need to put some finish on the whole thing, but overall I'm really happy with how it turned out. And so are my dogs.
Mon, 04/13/2015 - 09:46
I love your idea for a picnic table as a guest book! There are several brags showing benches used as guest books on this site, but no picnic tables. Not wanting to sound like a know-it-all, I would caution you to use paint pens rather than a permanent magic marker if you have guests who aren't comfortable using a woodburning pen (such as an elderly person). Magic marker ink smears when you apply a finish over it. (I read a comment from a mom who made her daughter a guestbook bench. They used permanent magic marker, then applied a poly finish over it, which then ruined all of the signatures.)
Mon, 04/13/2015 - 11:08
Thank you for your suggestion about the paint pens. I hadn't had much time to do research and was planning on just using sharpies. But now I can avoid making that mistake. :)
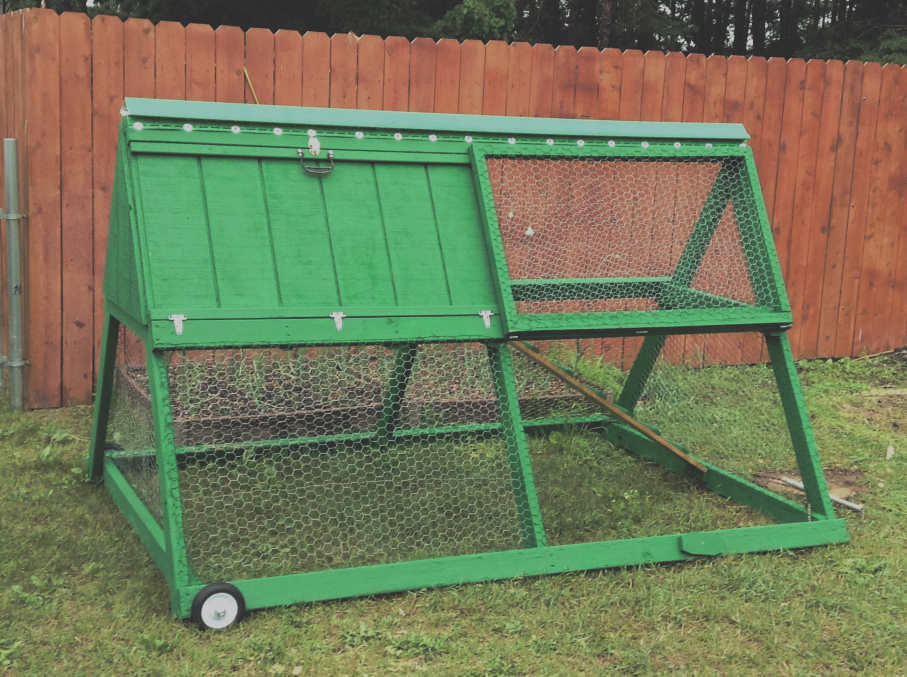
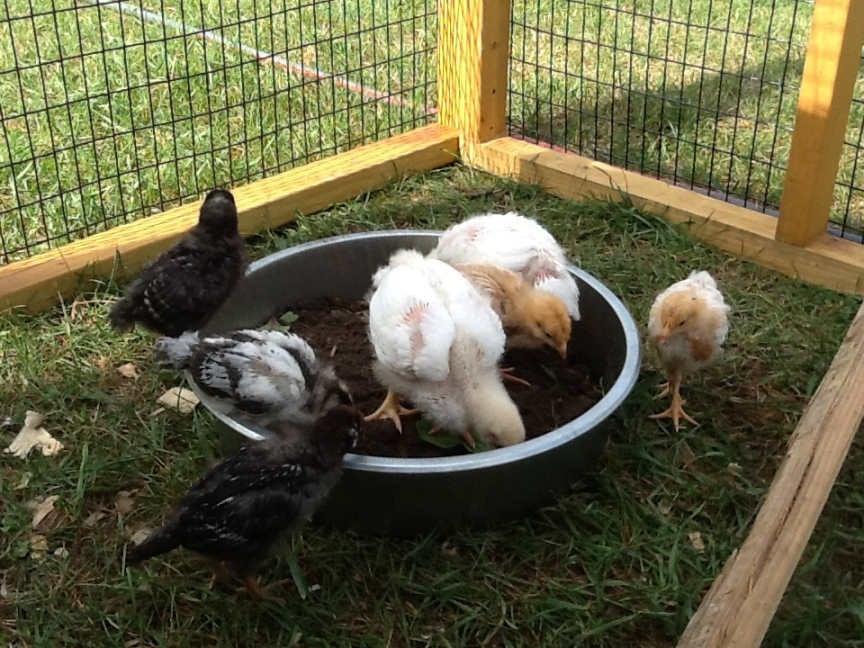
New to raising chickens, but eager to jump right in to it.
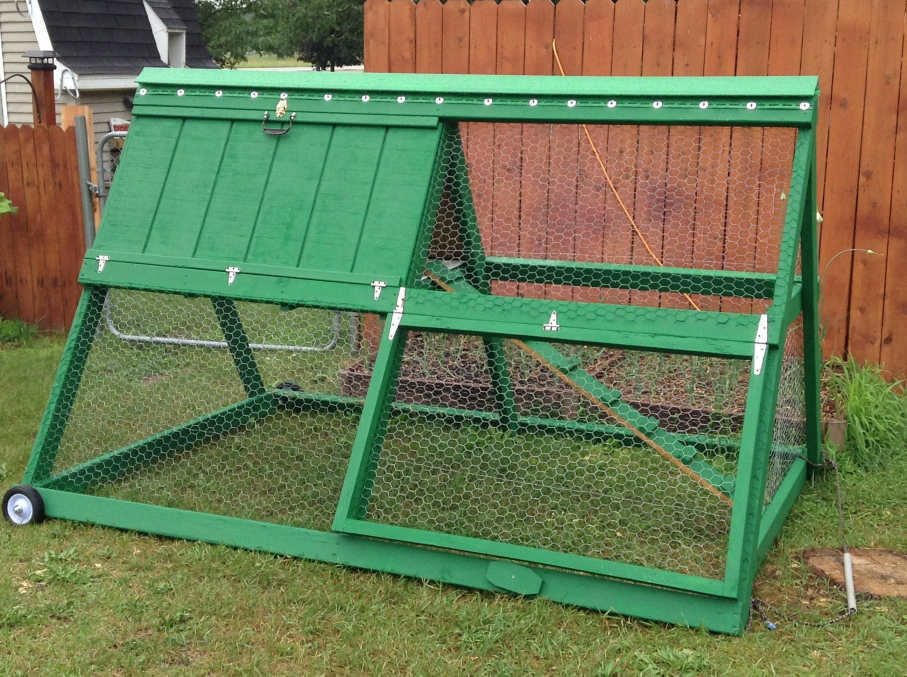
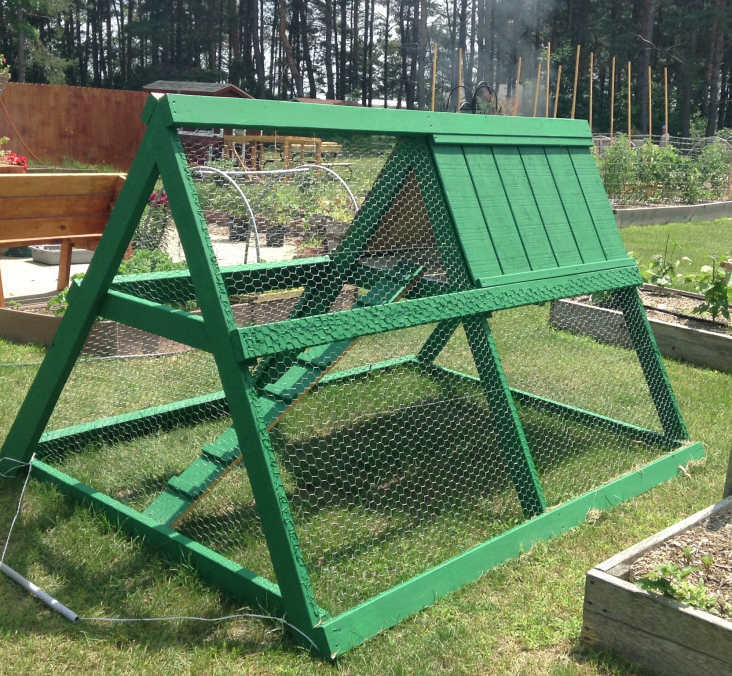
We bought a pre-made coop for the main home for our new chicks and it's very nice, not something I could do myself since I'm not yet at that level, but I saw this chicken tractor and thought it would come in handy for what I have in mind so I made up my mind to build it.
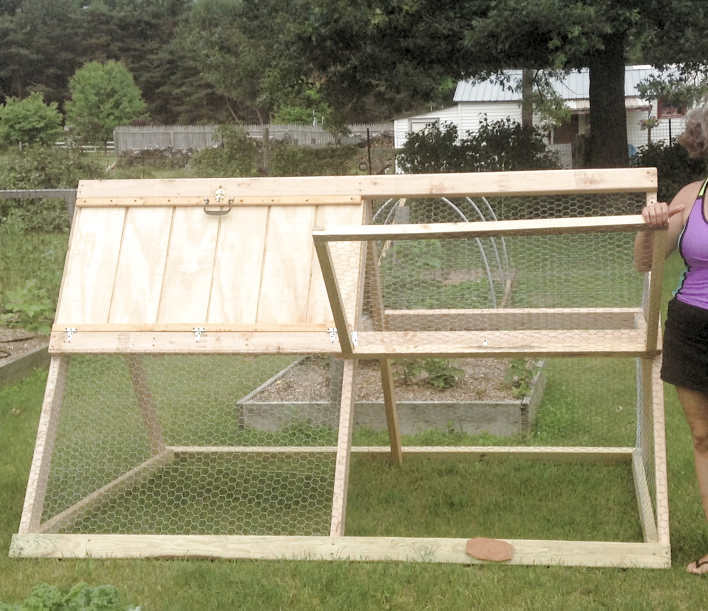
The lumber, chicken wire, staples, and wheels are all store bought new and came to about $75. The materials we had on hand were the screws, hinges, plastic coated metal shelving (used in the nesting area, I thought that would make it easy to clean), paint, and the corner piece of vinyl siding for the roof cap (hubby's brilliant idea, and I painted it green with spray paint for vinyl).
I did not try to build it quickly, I don't really know how much time it took me, but if I had to guess I'd guess total time would amount to about 3 afternoons, by myself.
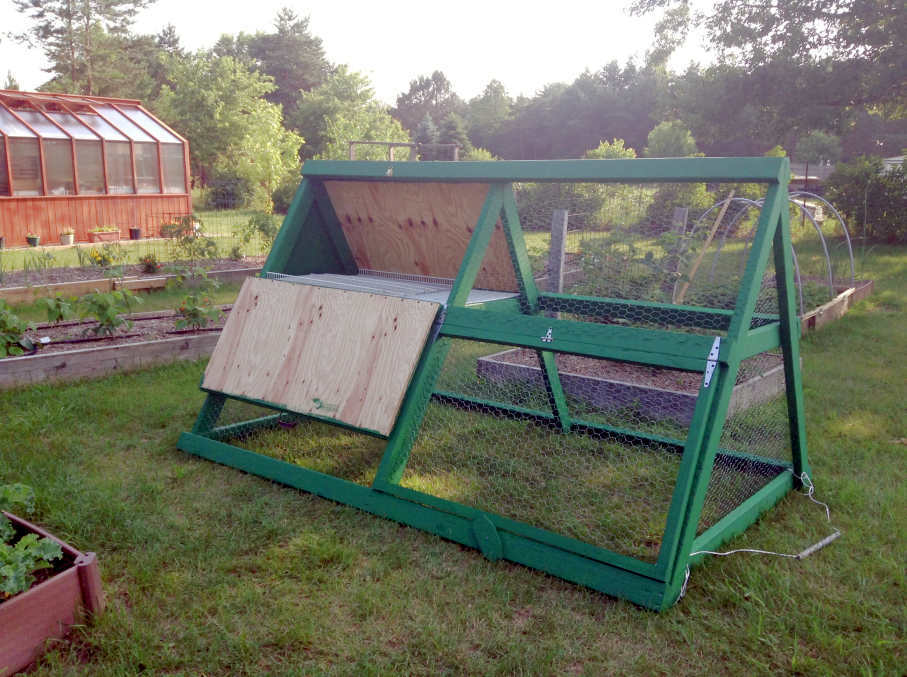
I wanted to leave the top on the one side open with the option to slap on the other boards if/when the need arises. I have the other t1-11 panels that can sit right in those areas because I stapled the chicken wire in a way that would allow it.
I also added a flip up panel as seen in the pictures for access. I didn't want a small door that I would have a hard time getting to things in there. I'm so glad I added this feature, it sure gives plenty of room for me to maintain the food and water dispensers as well as get in there and catch the little chickies :)
I wanted it green to blend into the wooded background in our backyard. I didn't want to take any beauty away from the cedar greenhouse and fencing we added last year, and this tractor would be moved from time to time and I felt this green that we had on hand was perfect to help it blend in rather than stand out.
This thing is heavy! I have a hard time moving it around and usually need my husband to move it so I won't hurt myself. I am considering some options... I don't like the rope I have on it to pull it, any suggestions would be appreciated.
As with the other items I've made with Ana's plans, this was fun and pretty easy to make. I love this site! Soon I will take on my next project, I've bought and gathered the materials, I'm anxious to get started :)
Thank you for looking :)
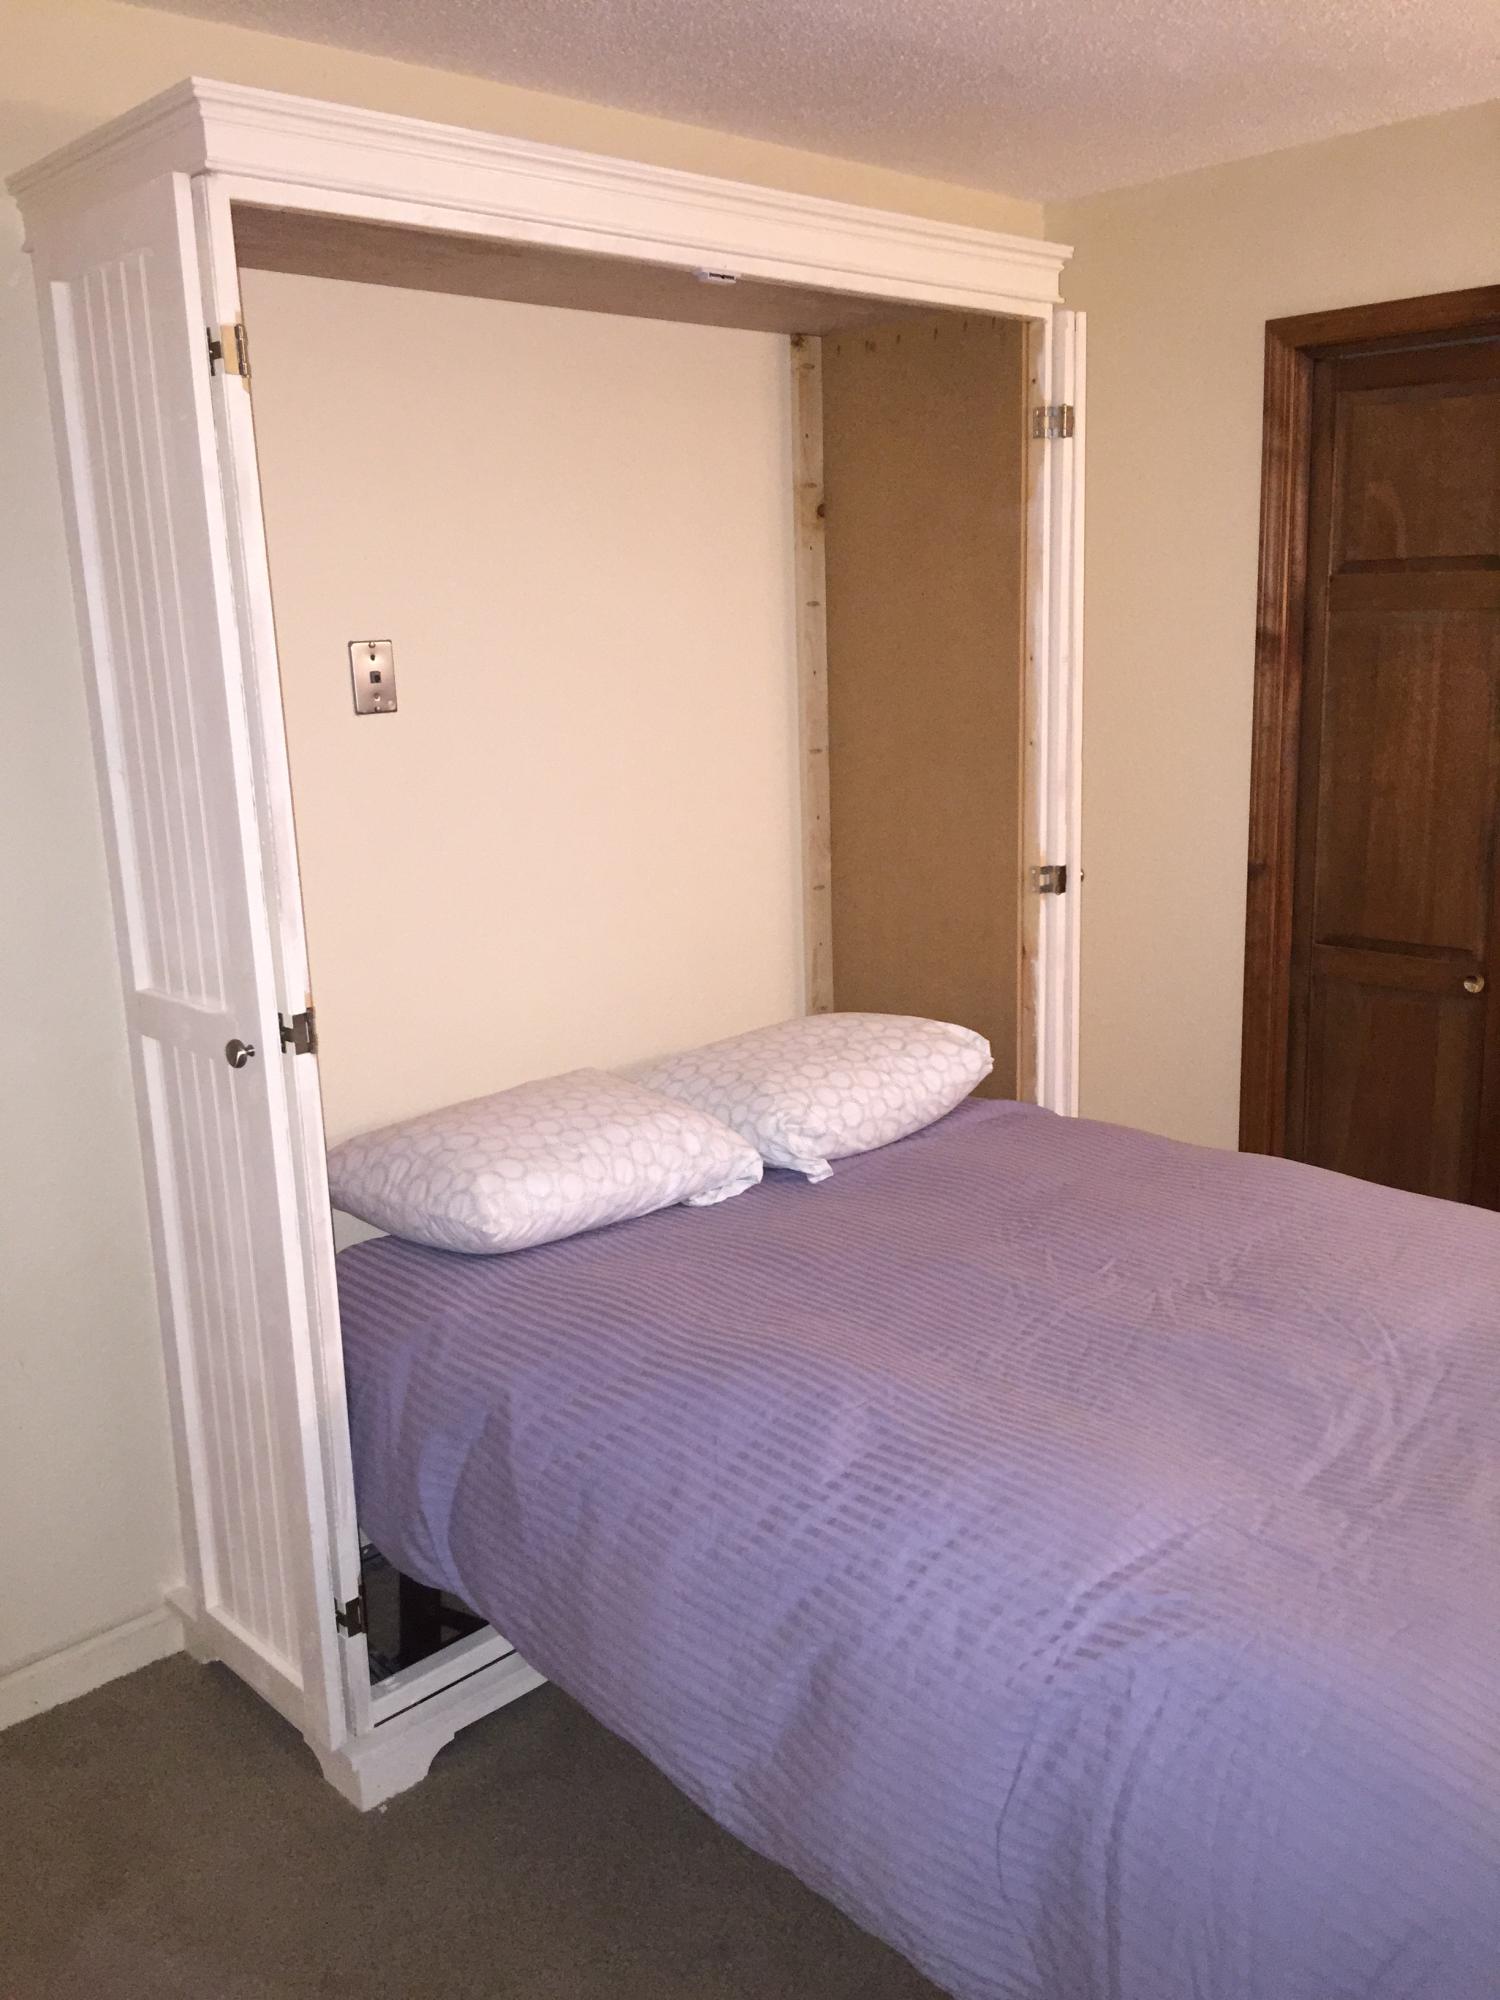
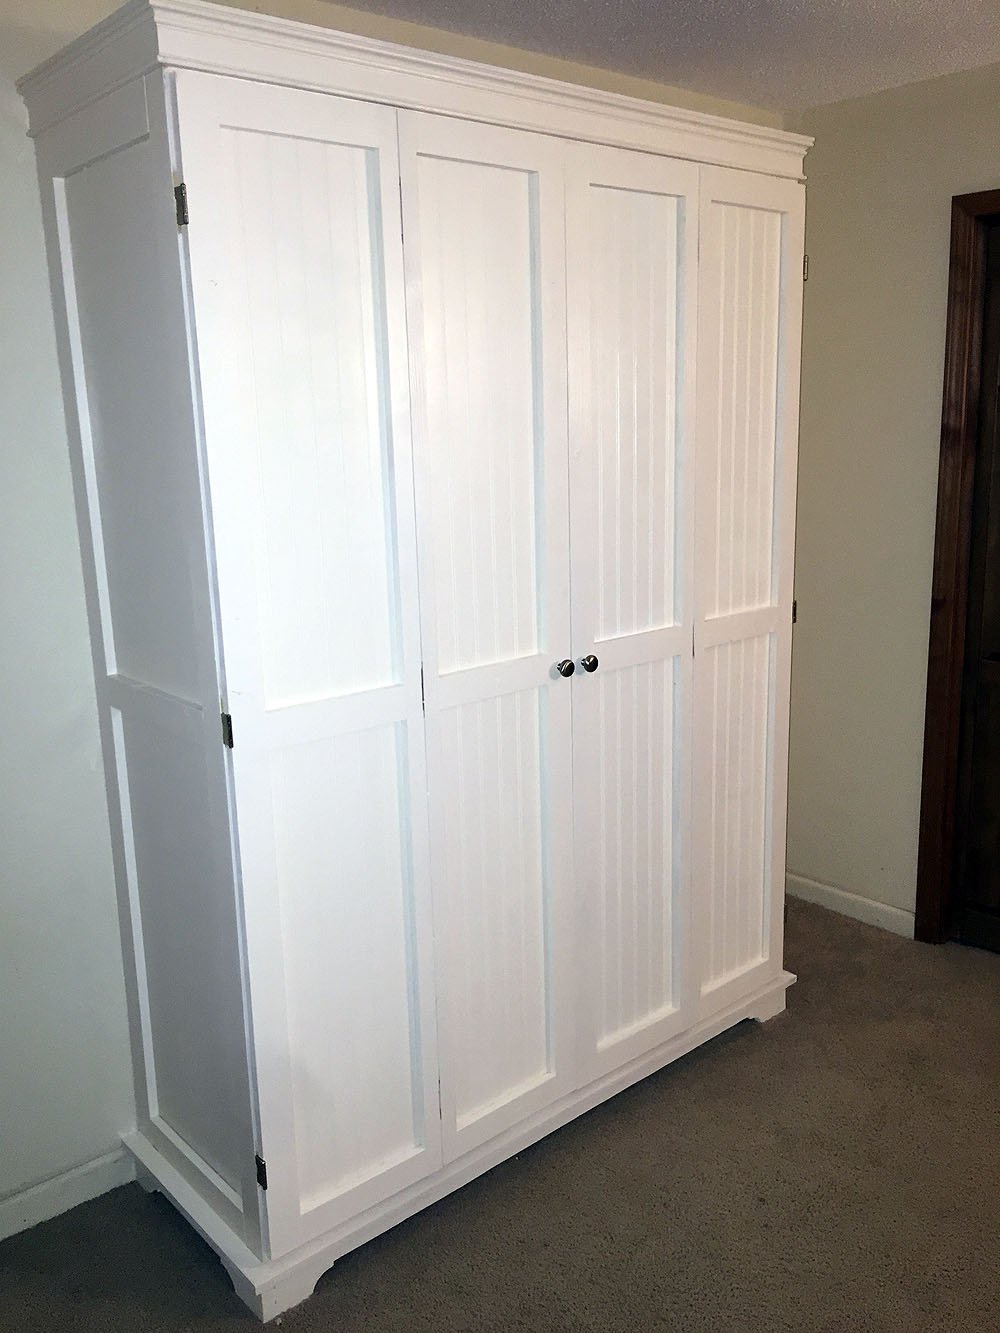
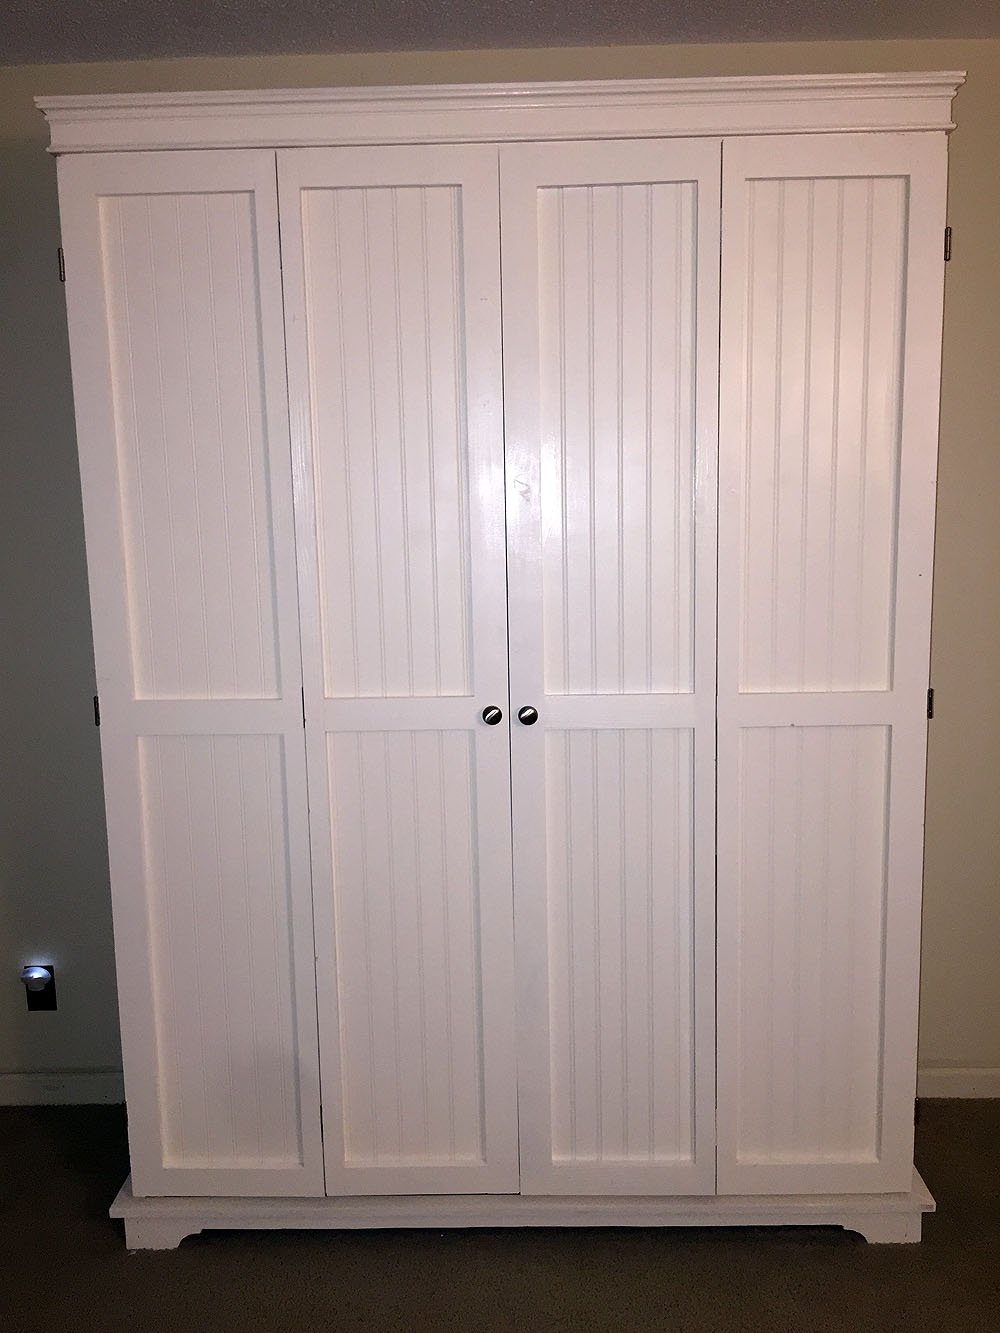
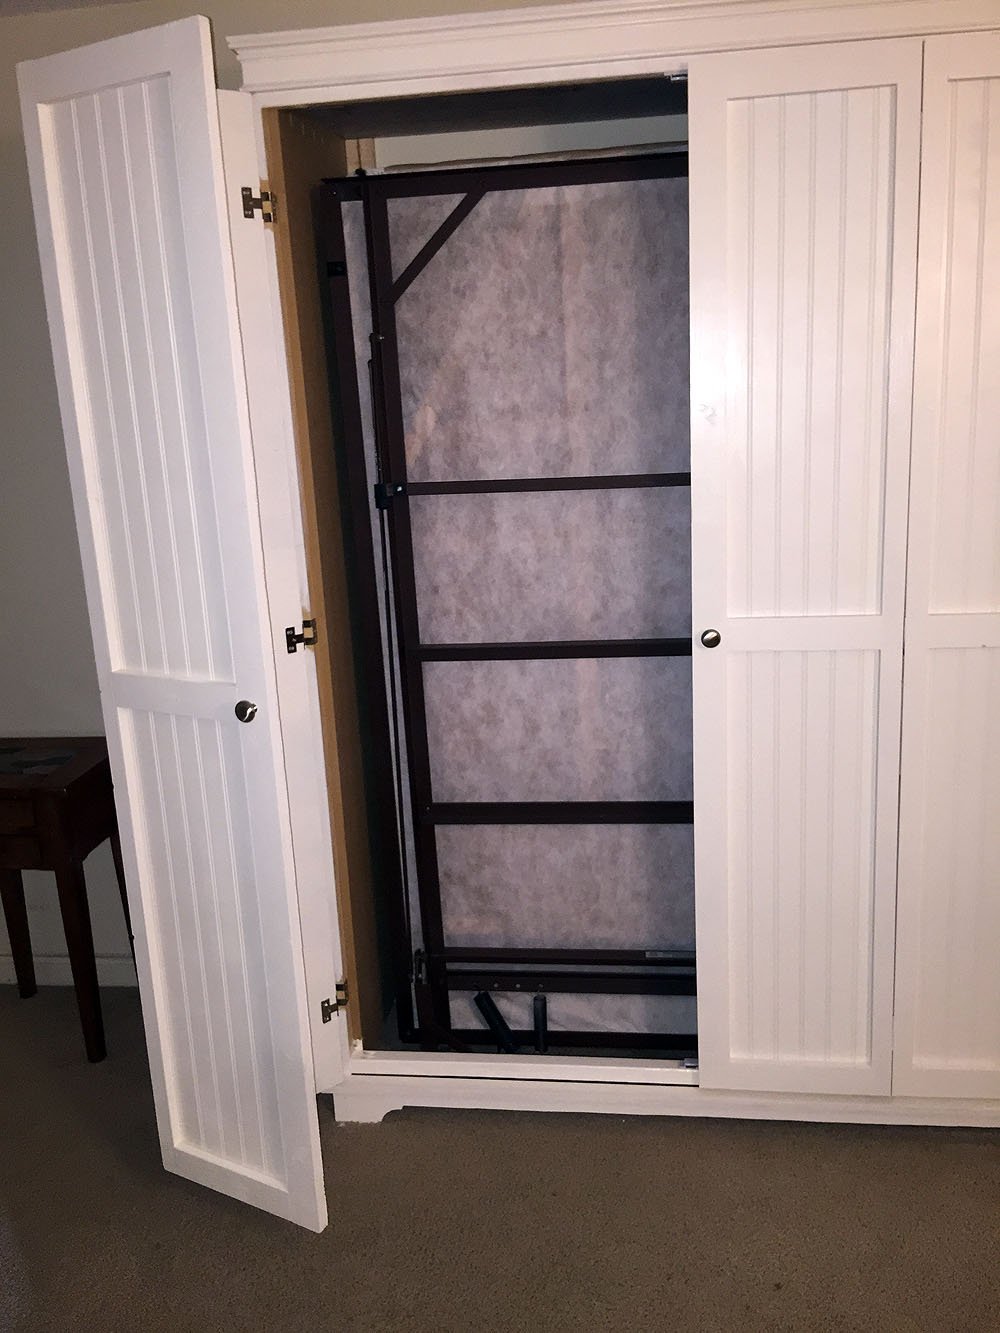
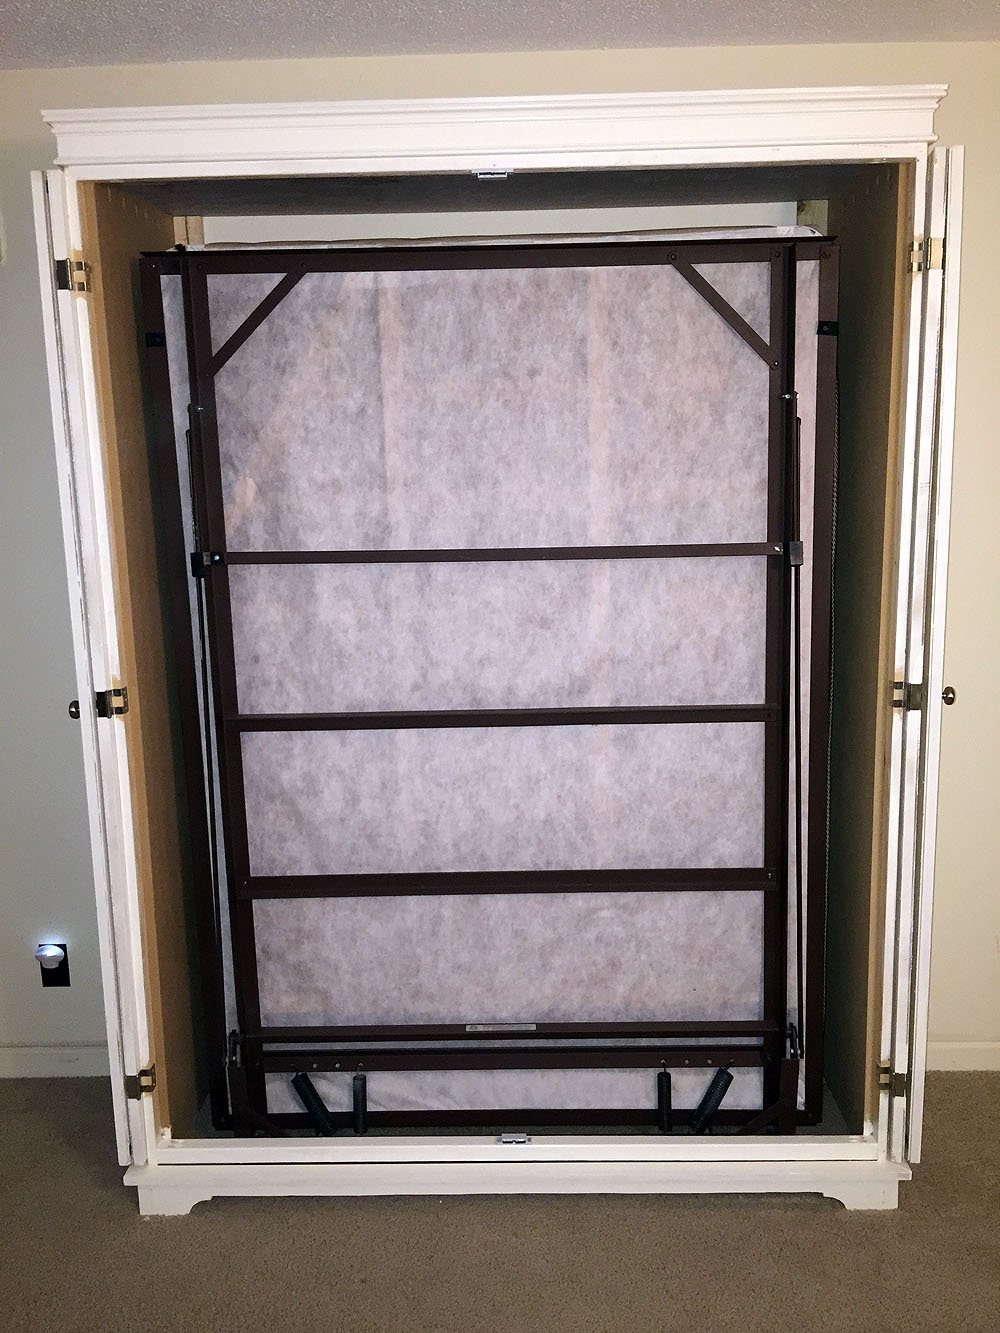
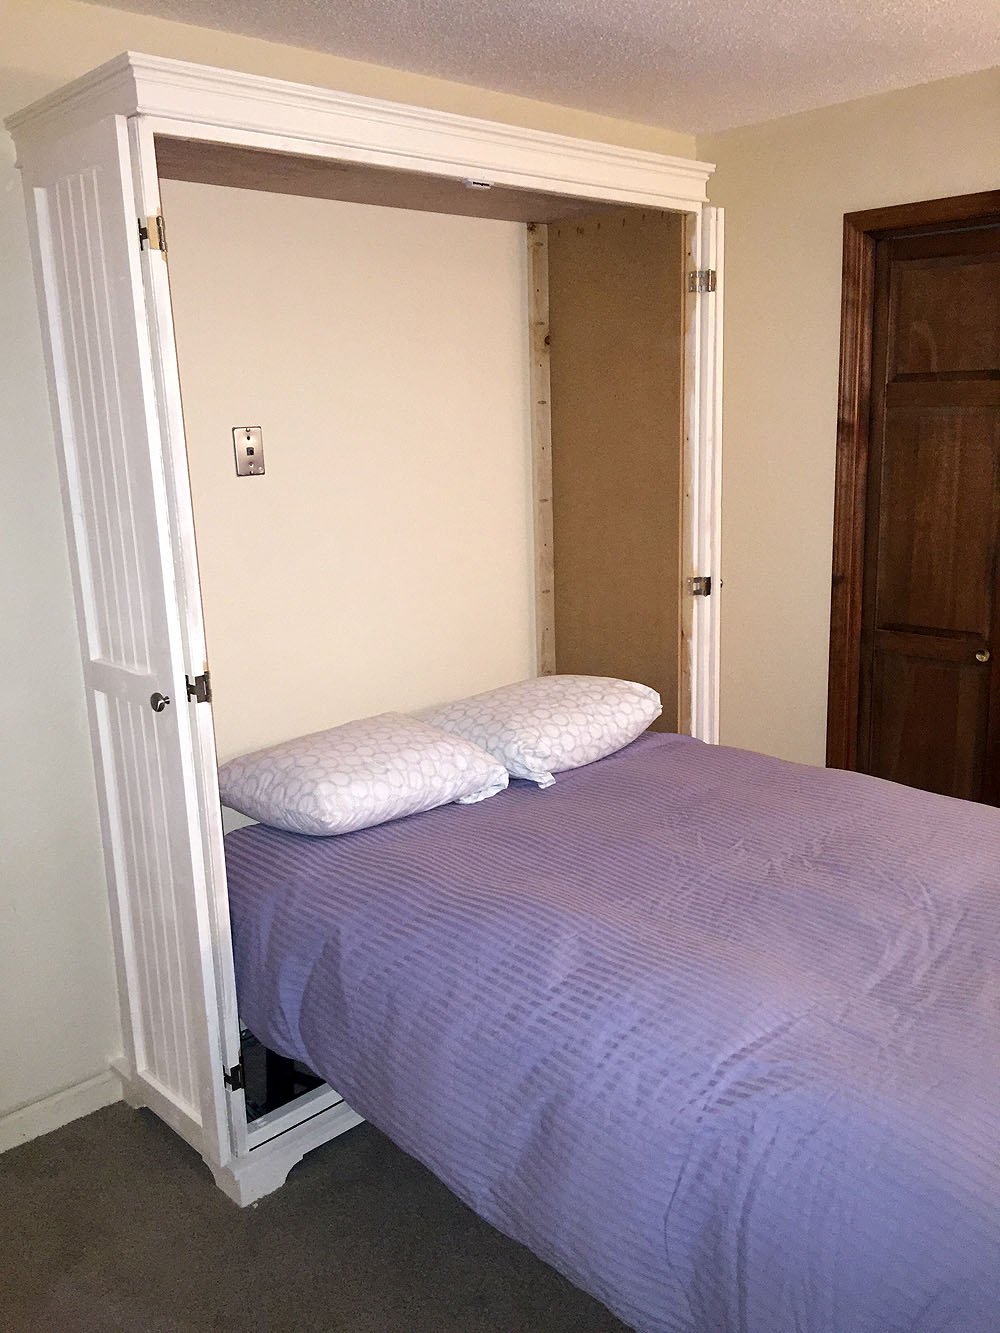
I made this cabinet to house my murphy bed. I used the Toy or TV Armoire plans as a start and adjusted the measurements as needed.
Tue, 06/02/2020 - 16:22
Do you have plans or details about the door materials/ hinges?
Thu, 12/03/2015 - 07:30
This was an actual "original murphy bed" that i found on craigslist for $100
Wed, 02/02/2022 - 02:55
Awesome! What style hinges did you use to make the doors fold back flush with the sides?