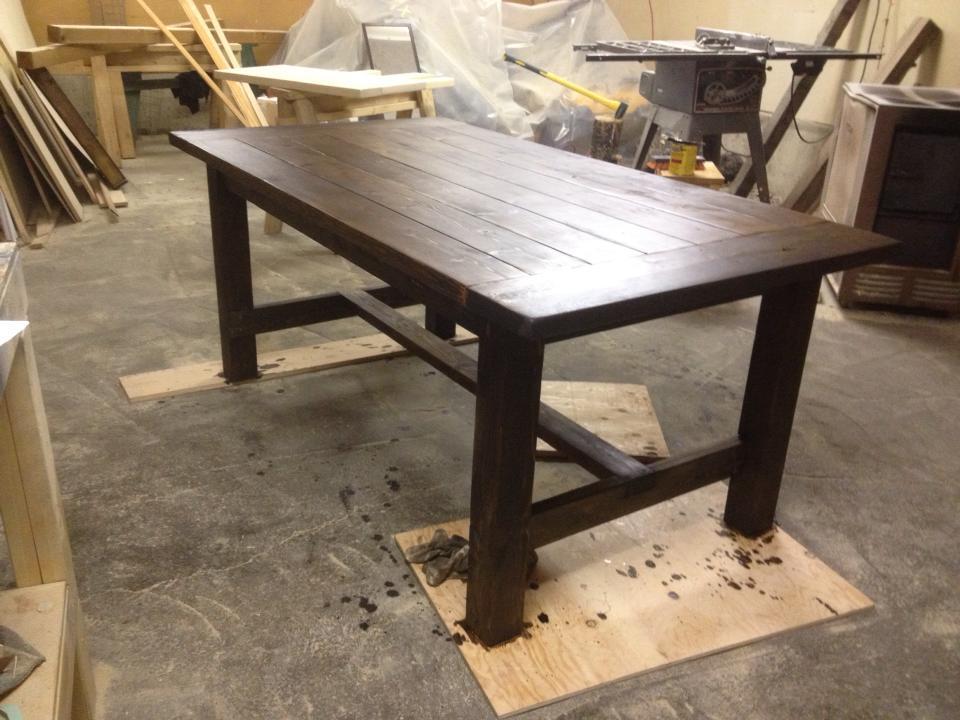
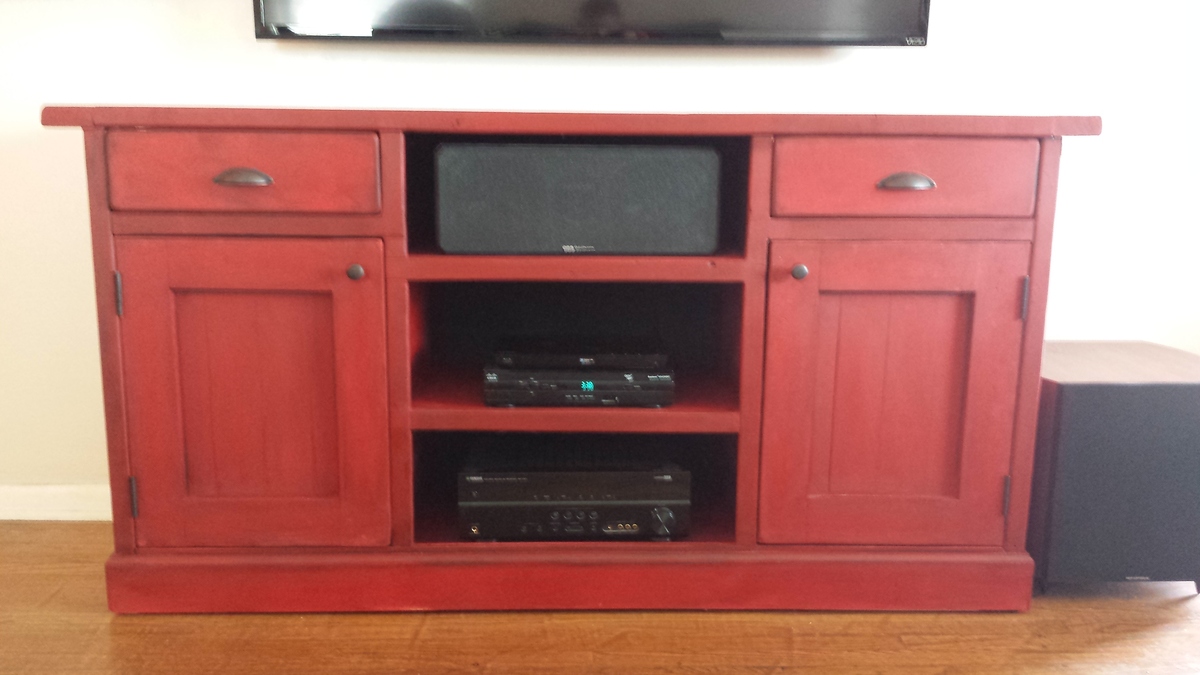
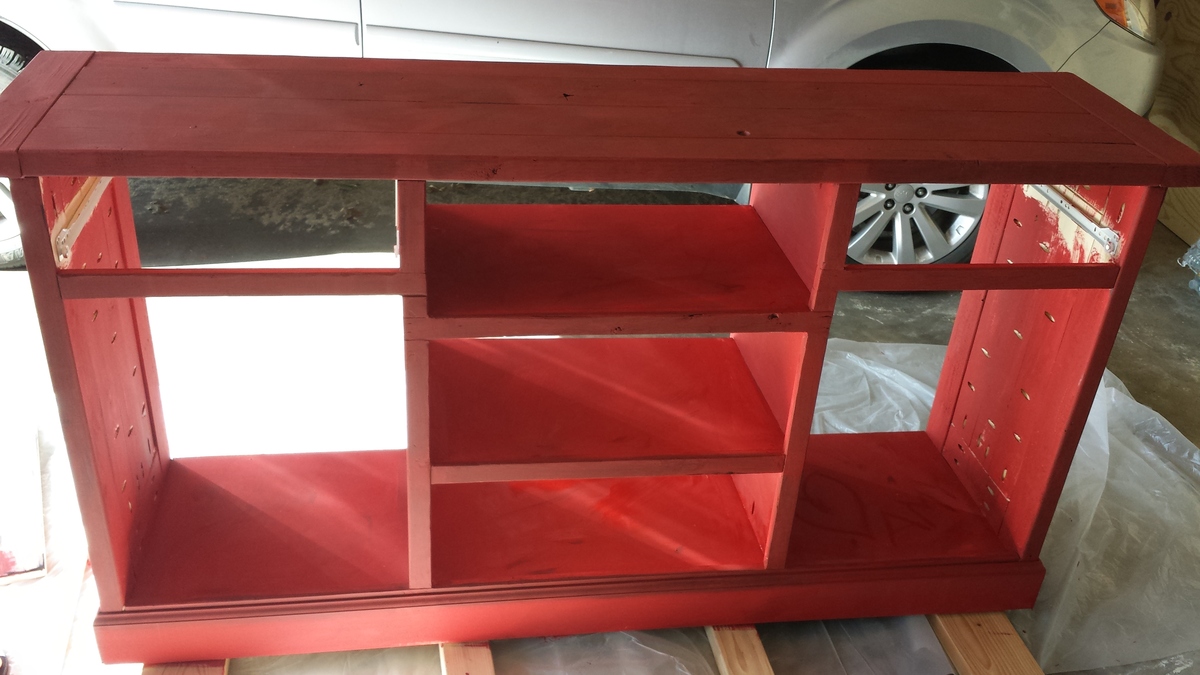
For the paint and stain:
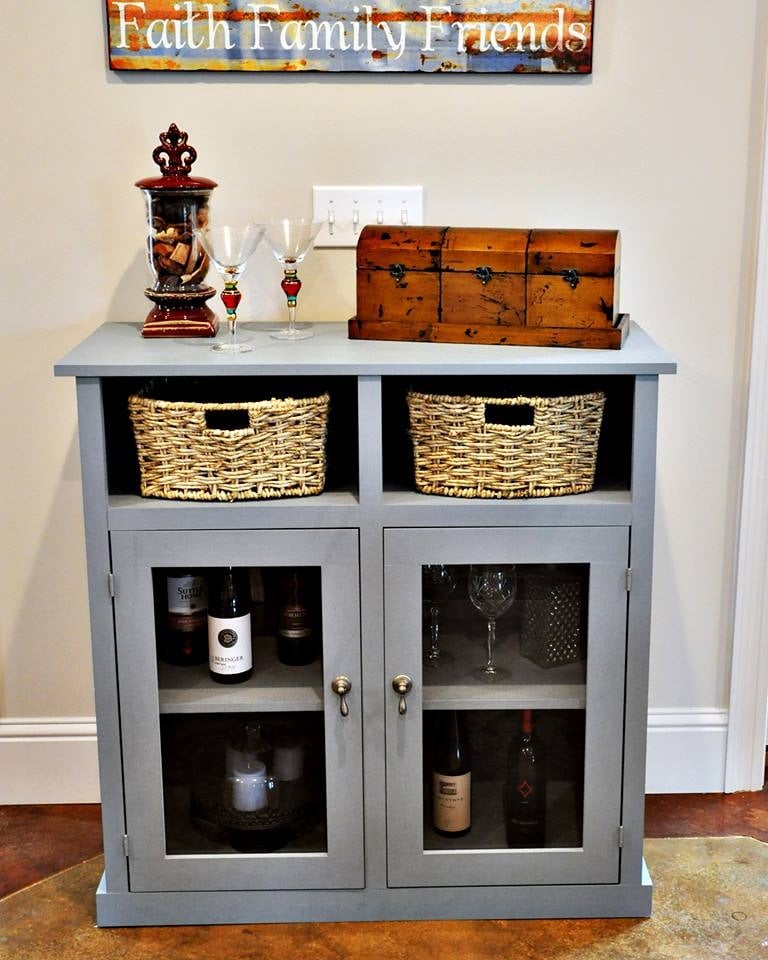
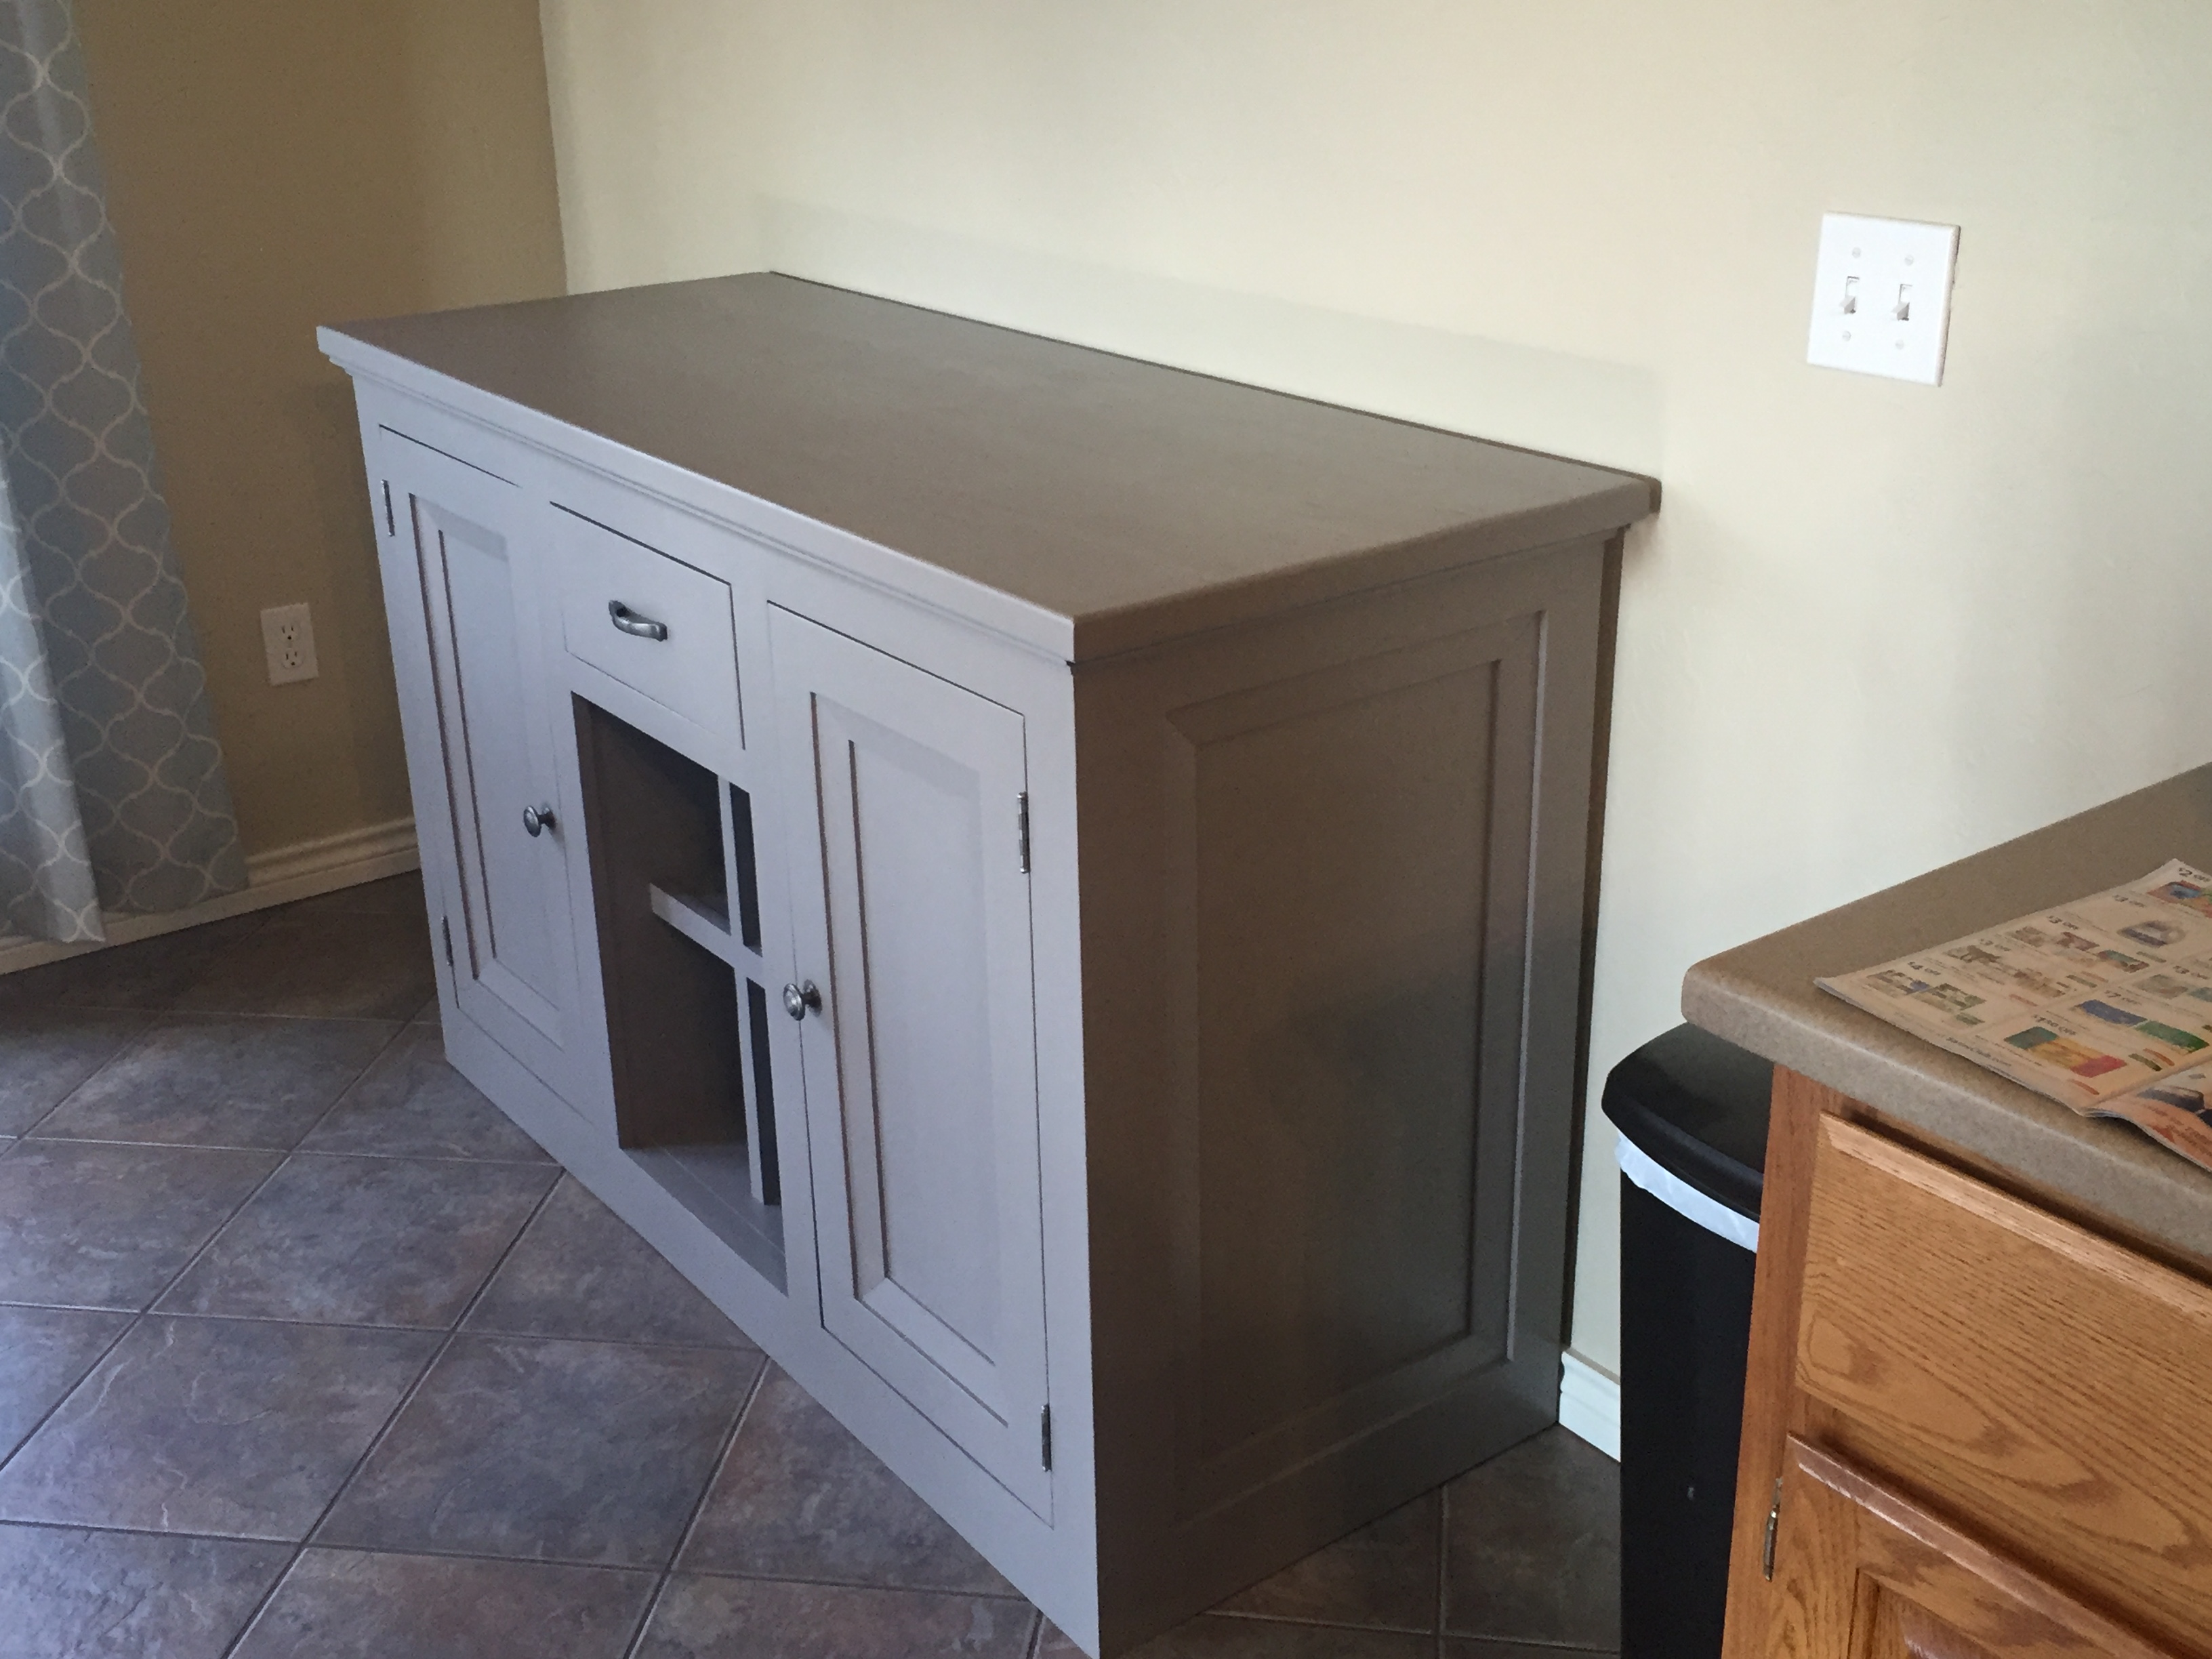
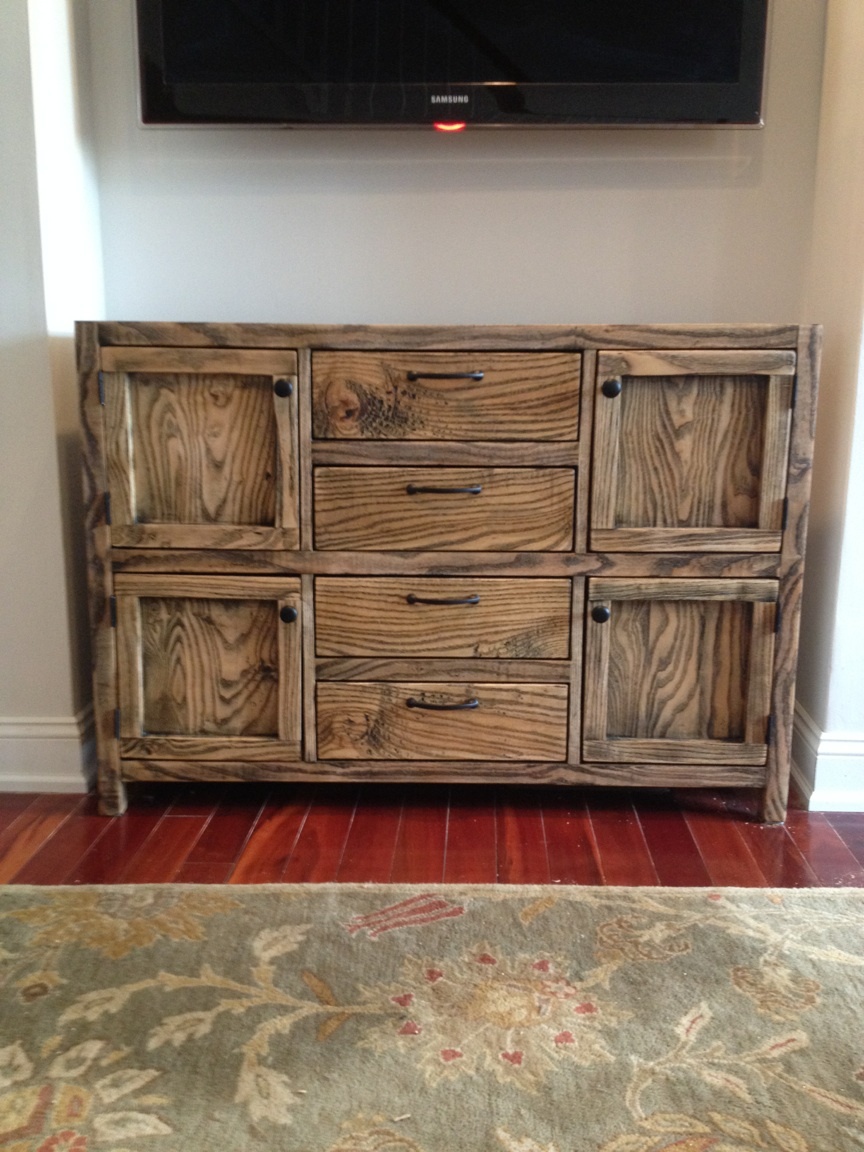
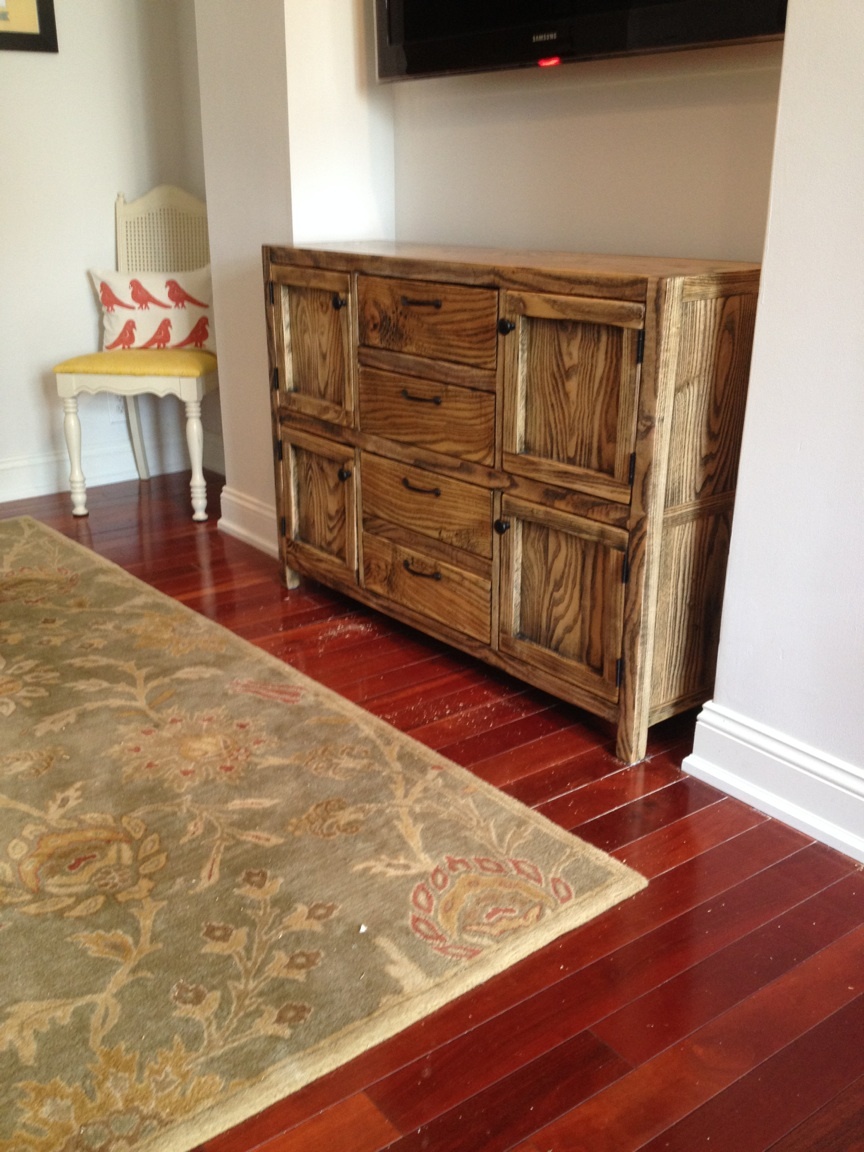
The Wife and I really wanted a rich red color, but didn't want it to be so bright that it stood out funny against the rest of our furniture and settings in the living room. So, I went and picked up some Espresso Water Based Stain from Woodcraft, from the brand "General Finishes" for the base coat and the for the 1/4 board back. As you can see in several of the photos, I didn't cover the entire thing and in some areas I purposefully was SLOPPY (Yes my Wife's name is Amy). Afterwards... for the red coat with the finish.... my wife loves using this Annie Sloan paint that she uses to refinish other projects... Basically follow any tutorials on youtube or on her webage. It can be a hard to find paint, but I think a milk paint and clear wax and a brown wax will do the trick also.
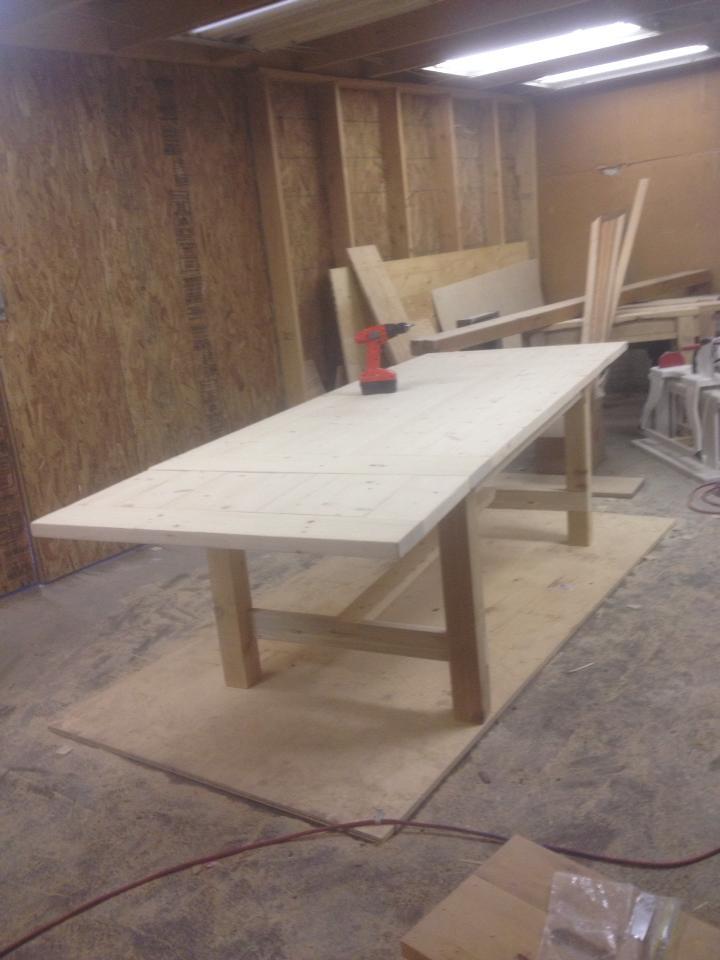
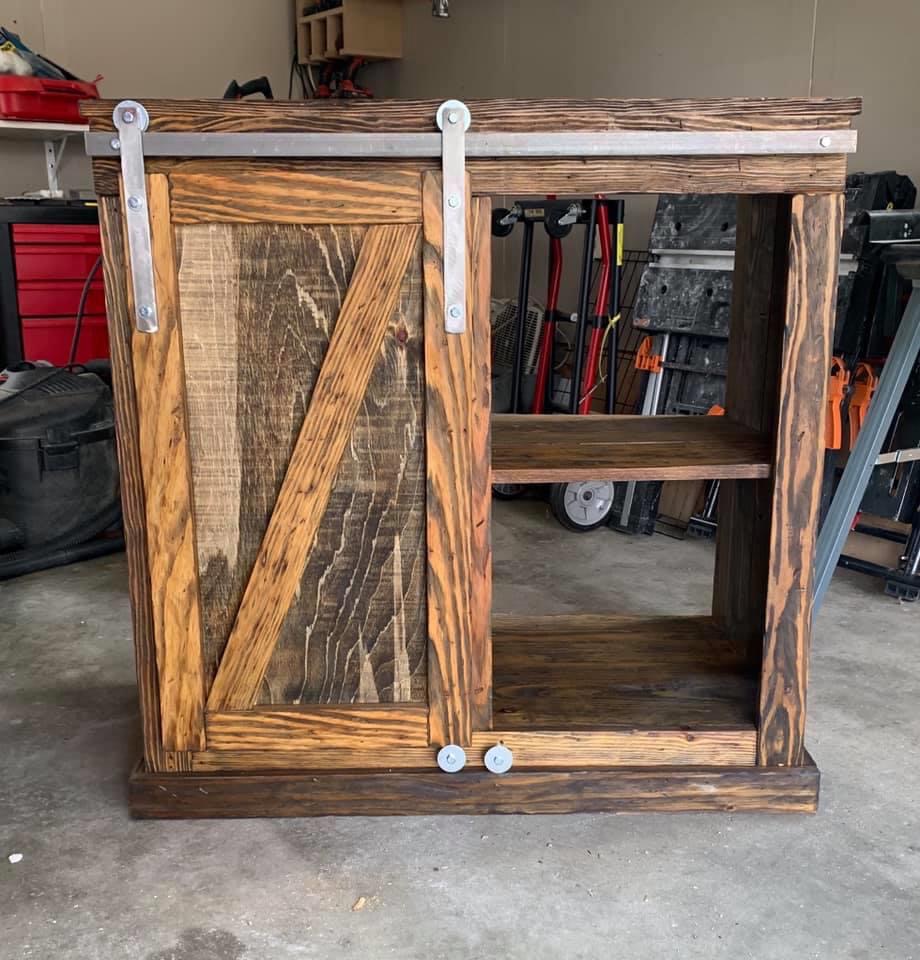
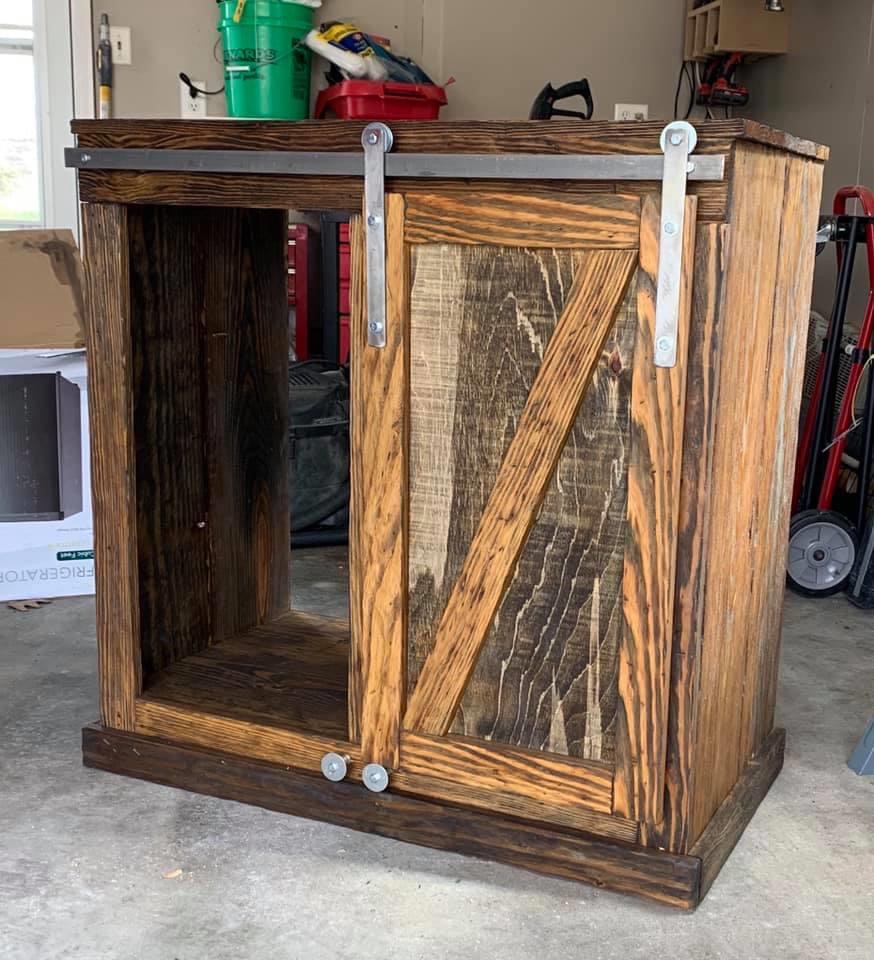
For the build:
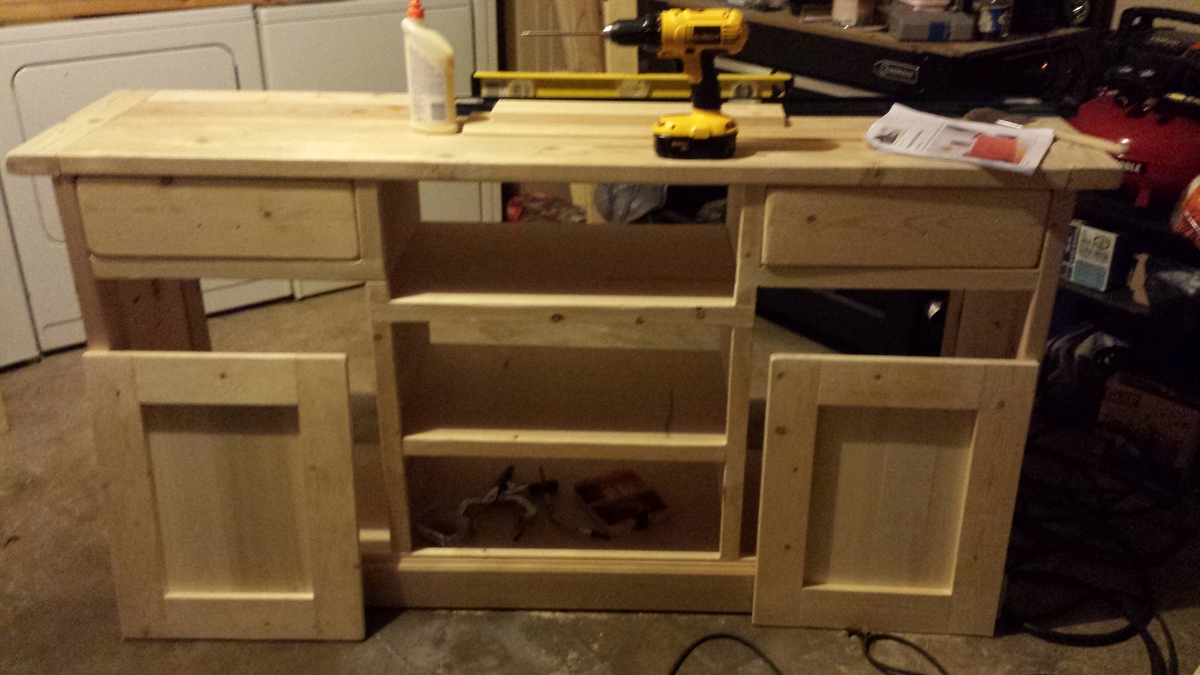
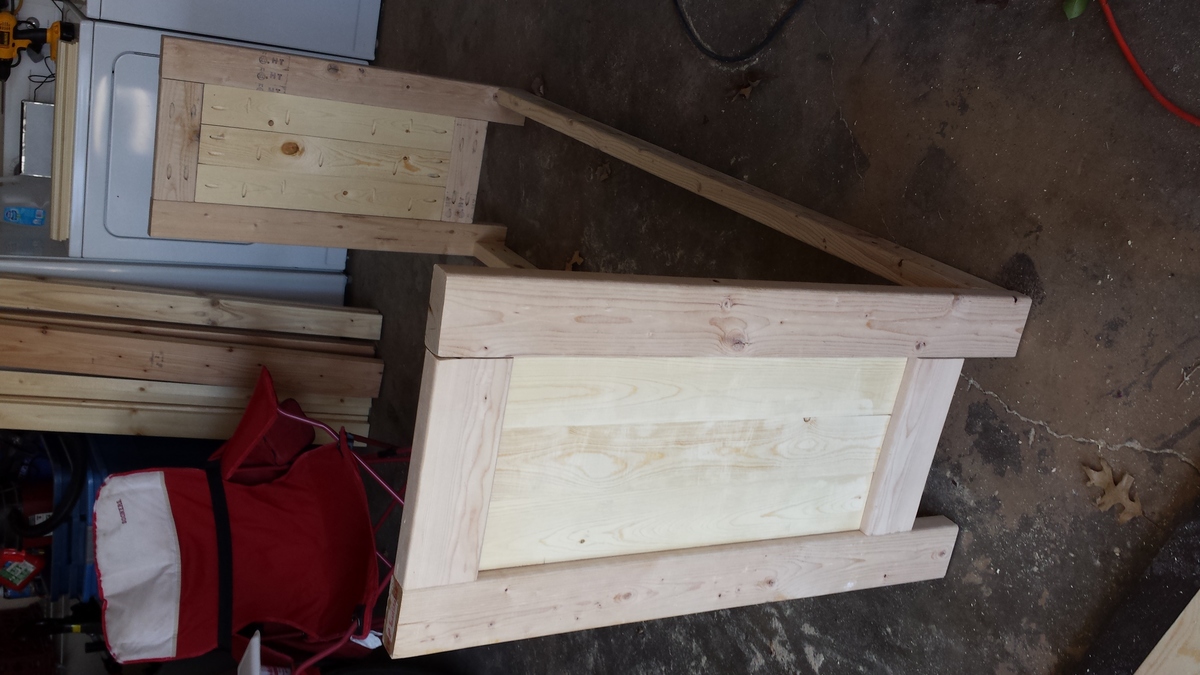
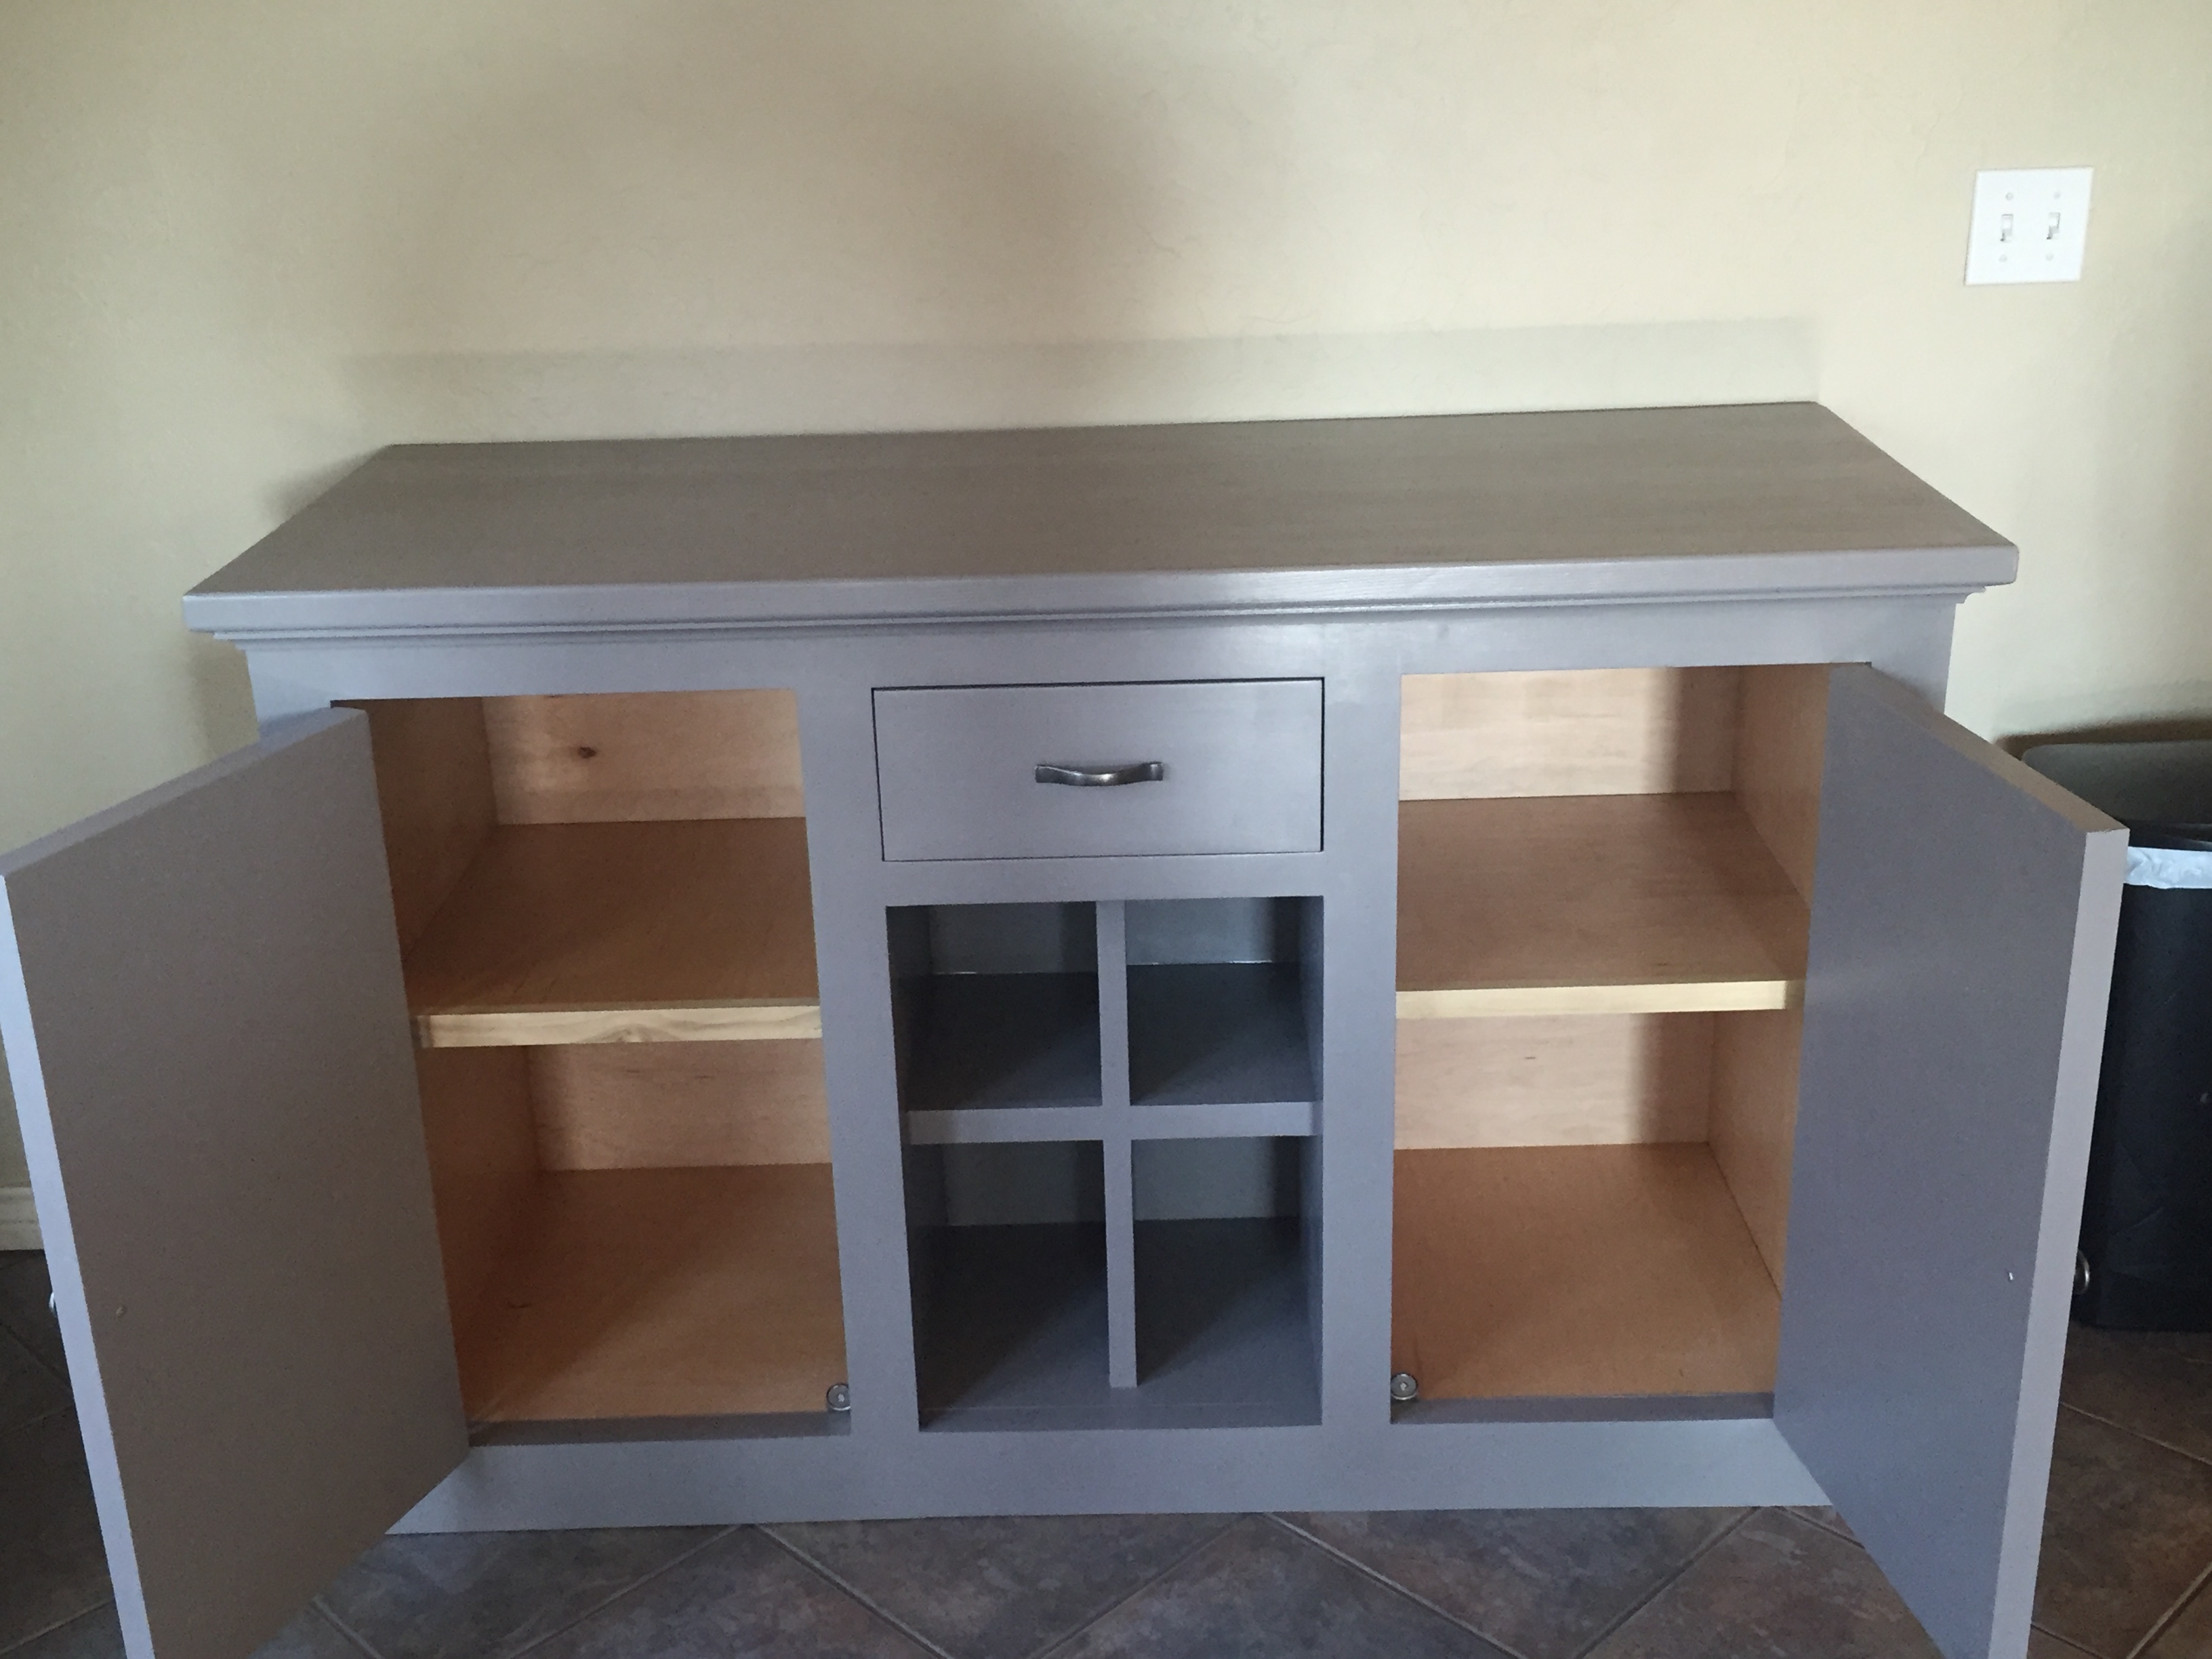
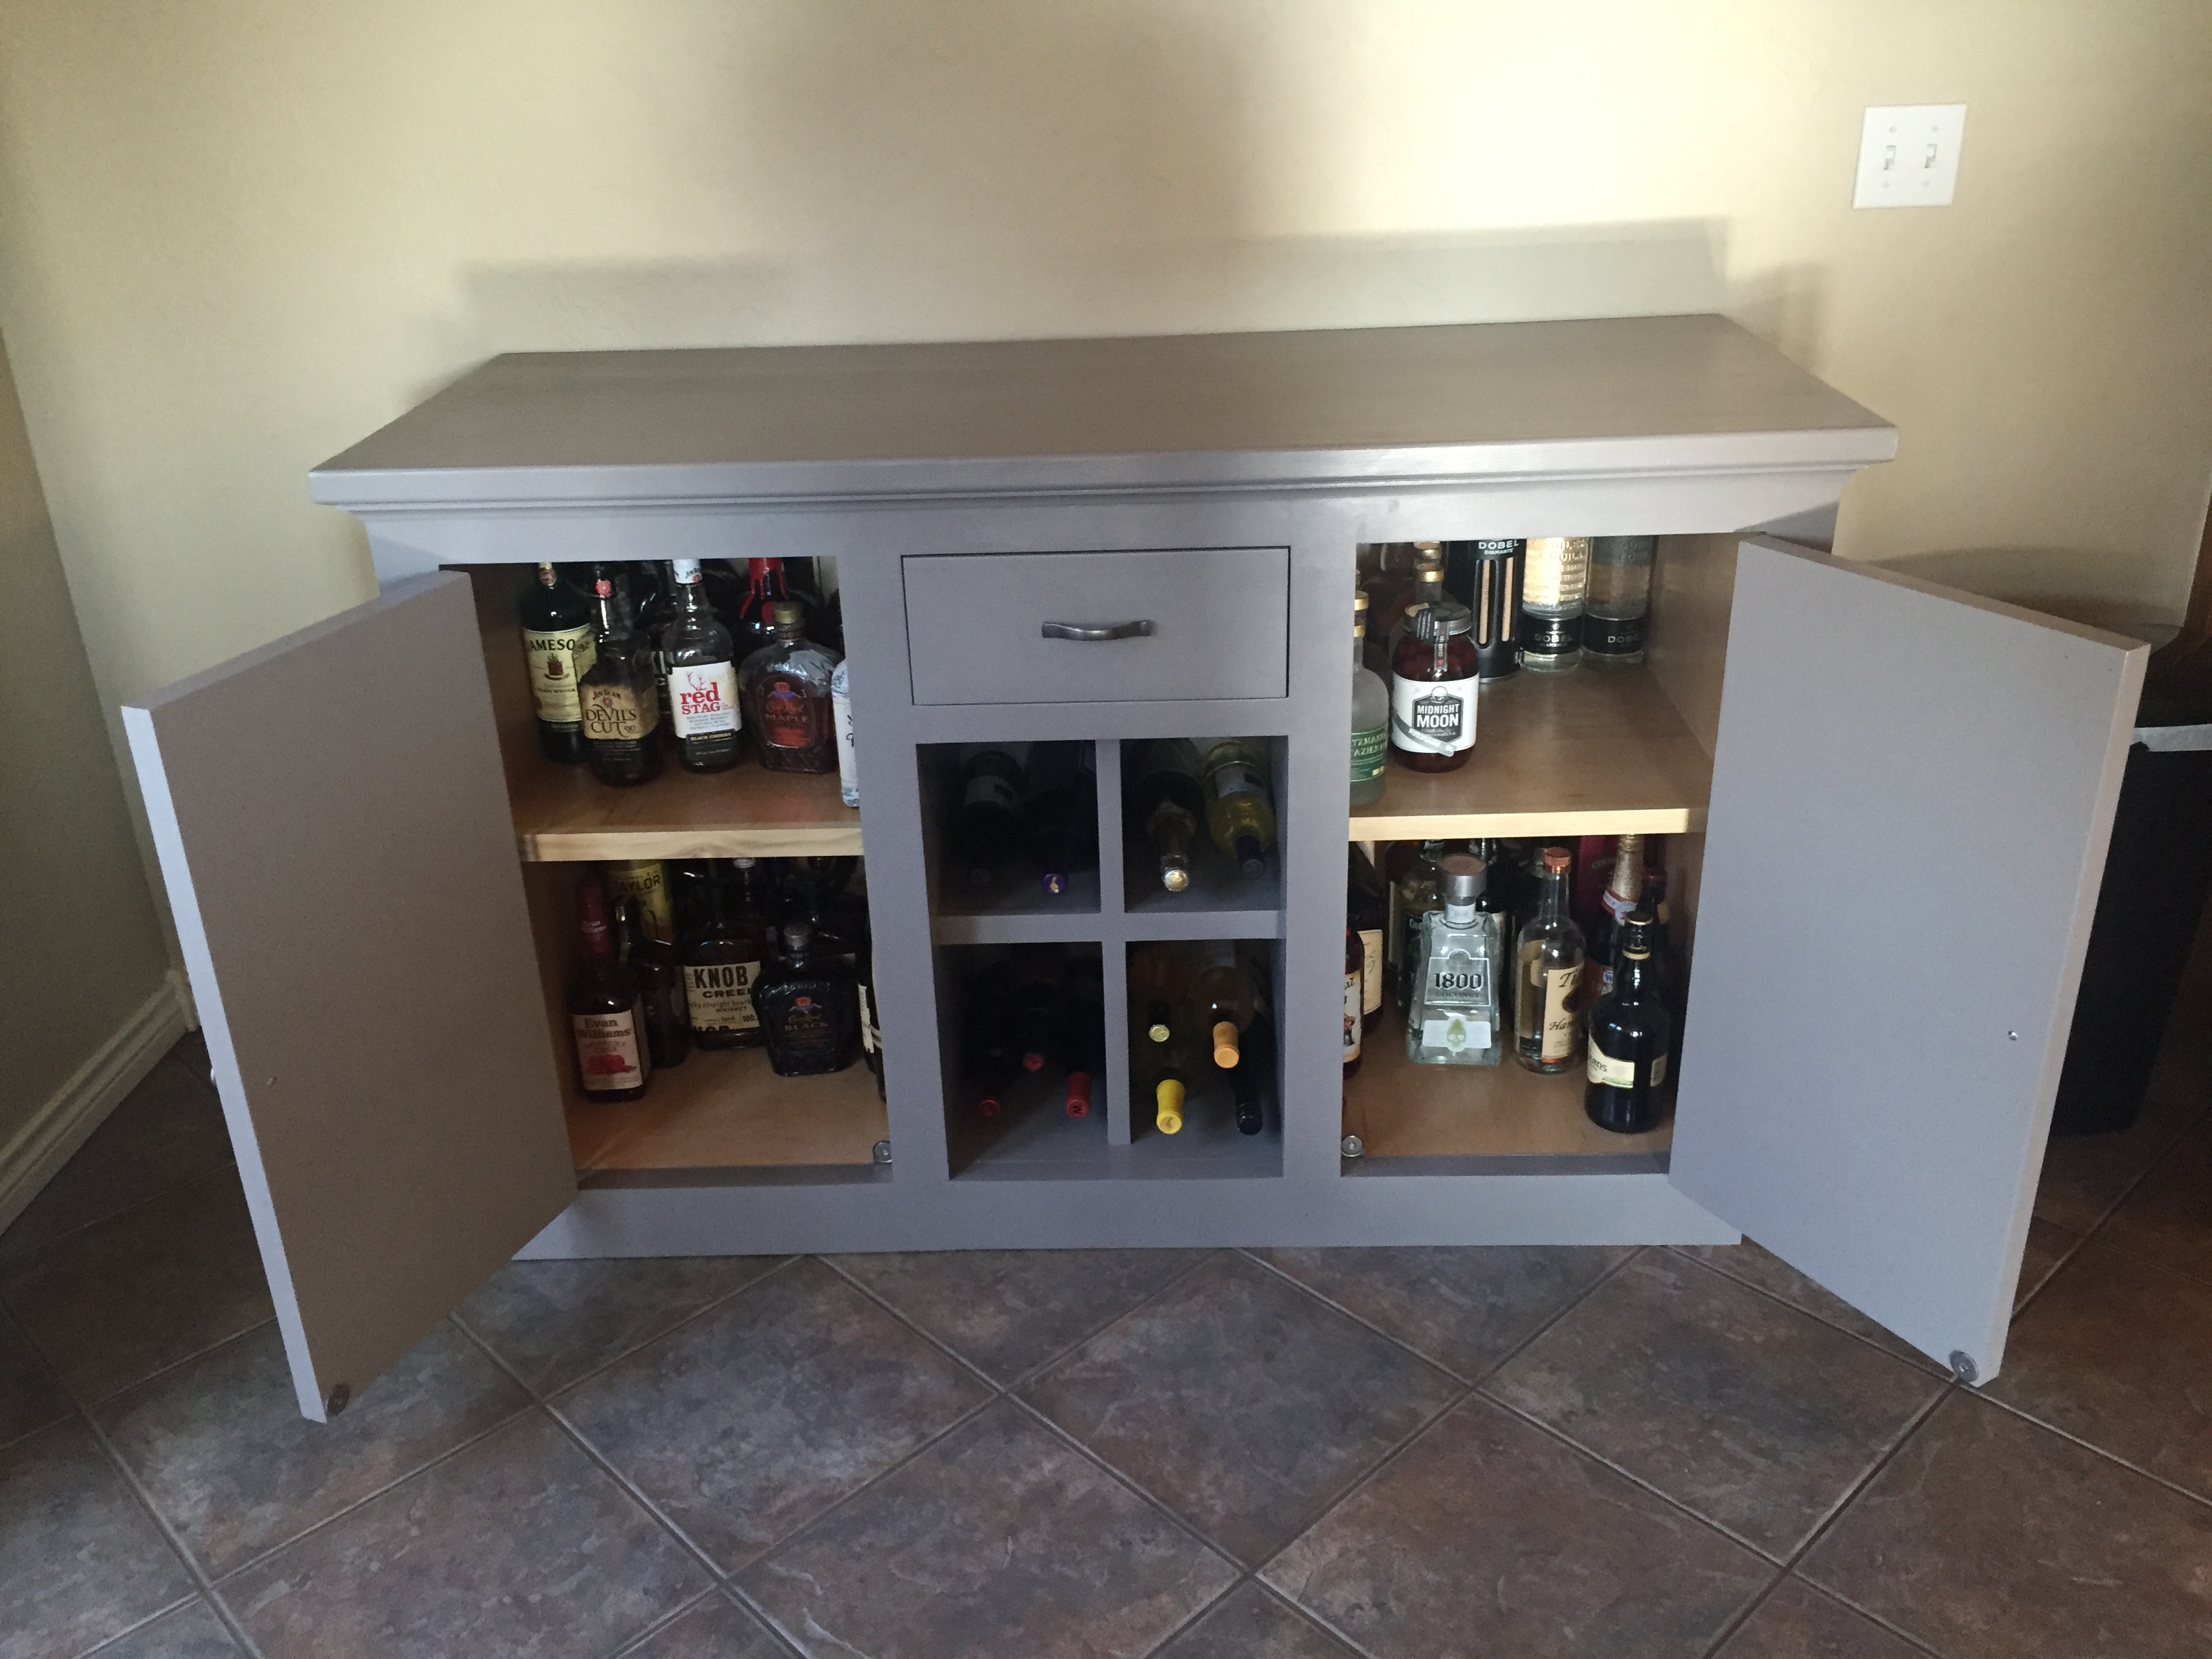
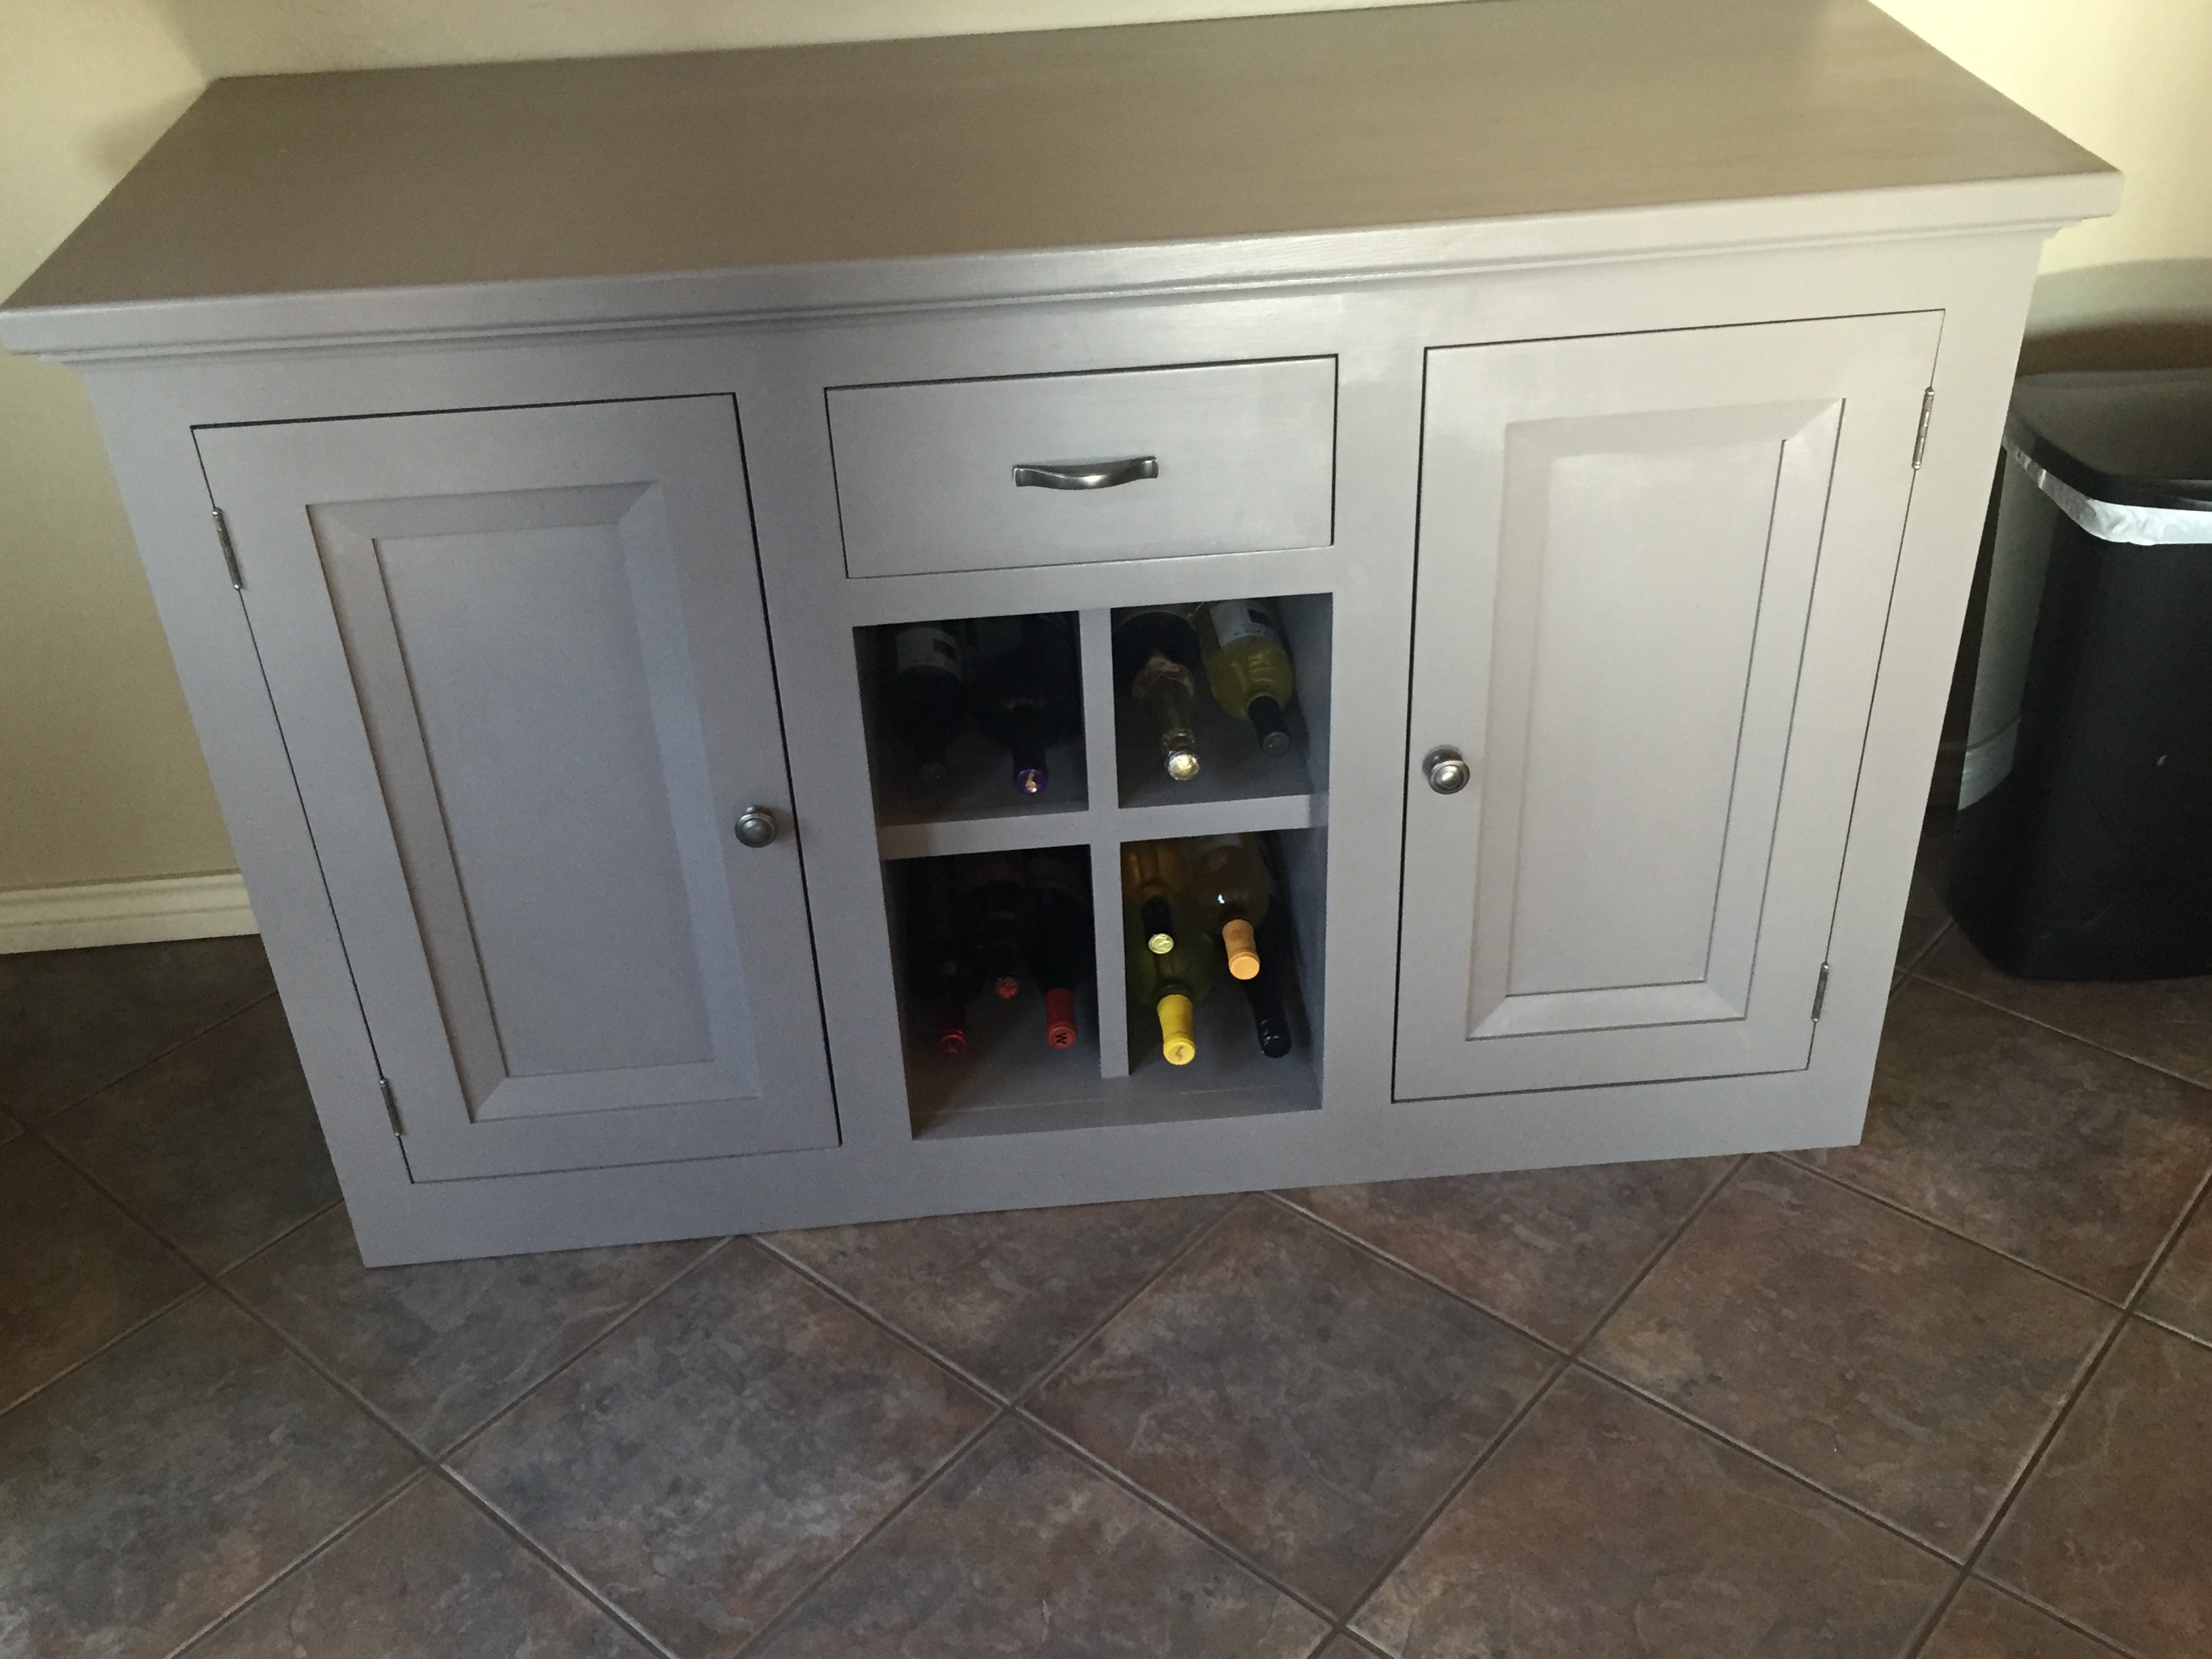
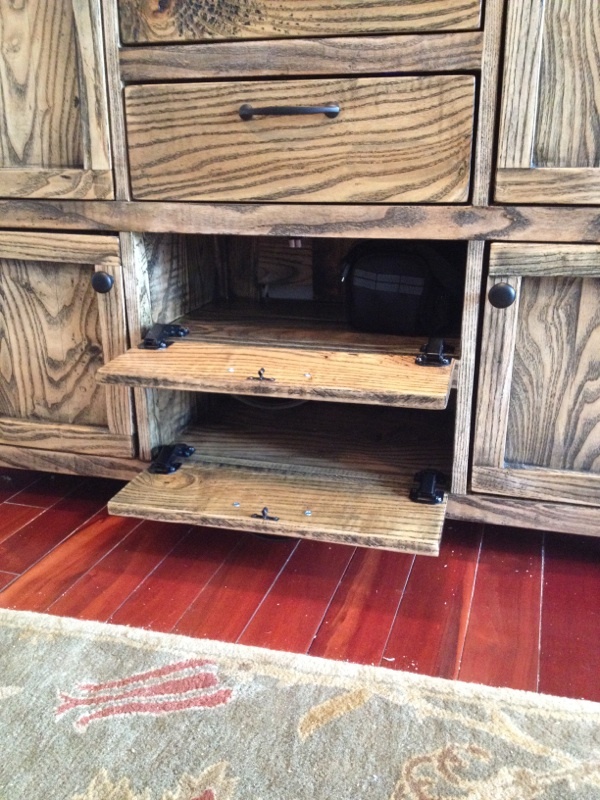
I took the planked wood sideboard plans and pretty much threw out the middle doors and drawers. I have a pretty serious entertainment center in our living room and the center channel speaker is by no means small.. It's so large that at the box stores, I could never find a media console that it would fit. I chose 3 shelves because I wanted it to look fairly even. For reference... the center shelving area is approximately 25 inches wide.
Nothing really special here, if you need some hints or tricks that I used message me and I'll help the best I can. I'm by no means an expert at this, Just take your time and anything you do will come out looking great. Plus. YOU MADE IT!


Comments
Rjcross
Tue, 09/23/2014 - 13:42
How was the epoxy worked out
How was the epoxy worked out in the cracks?
And separation or trouble?