2x4 outdoor cedar couch with ottoman
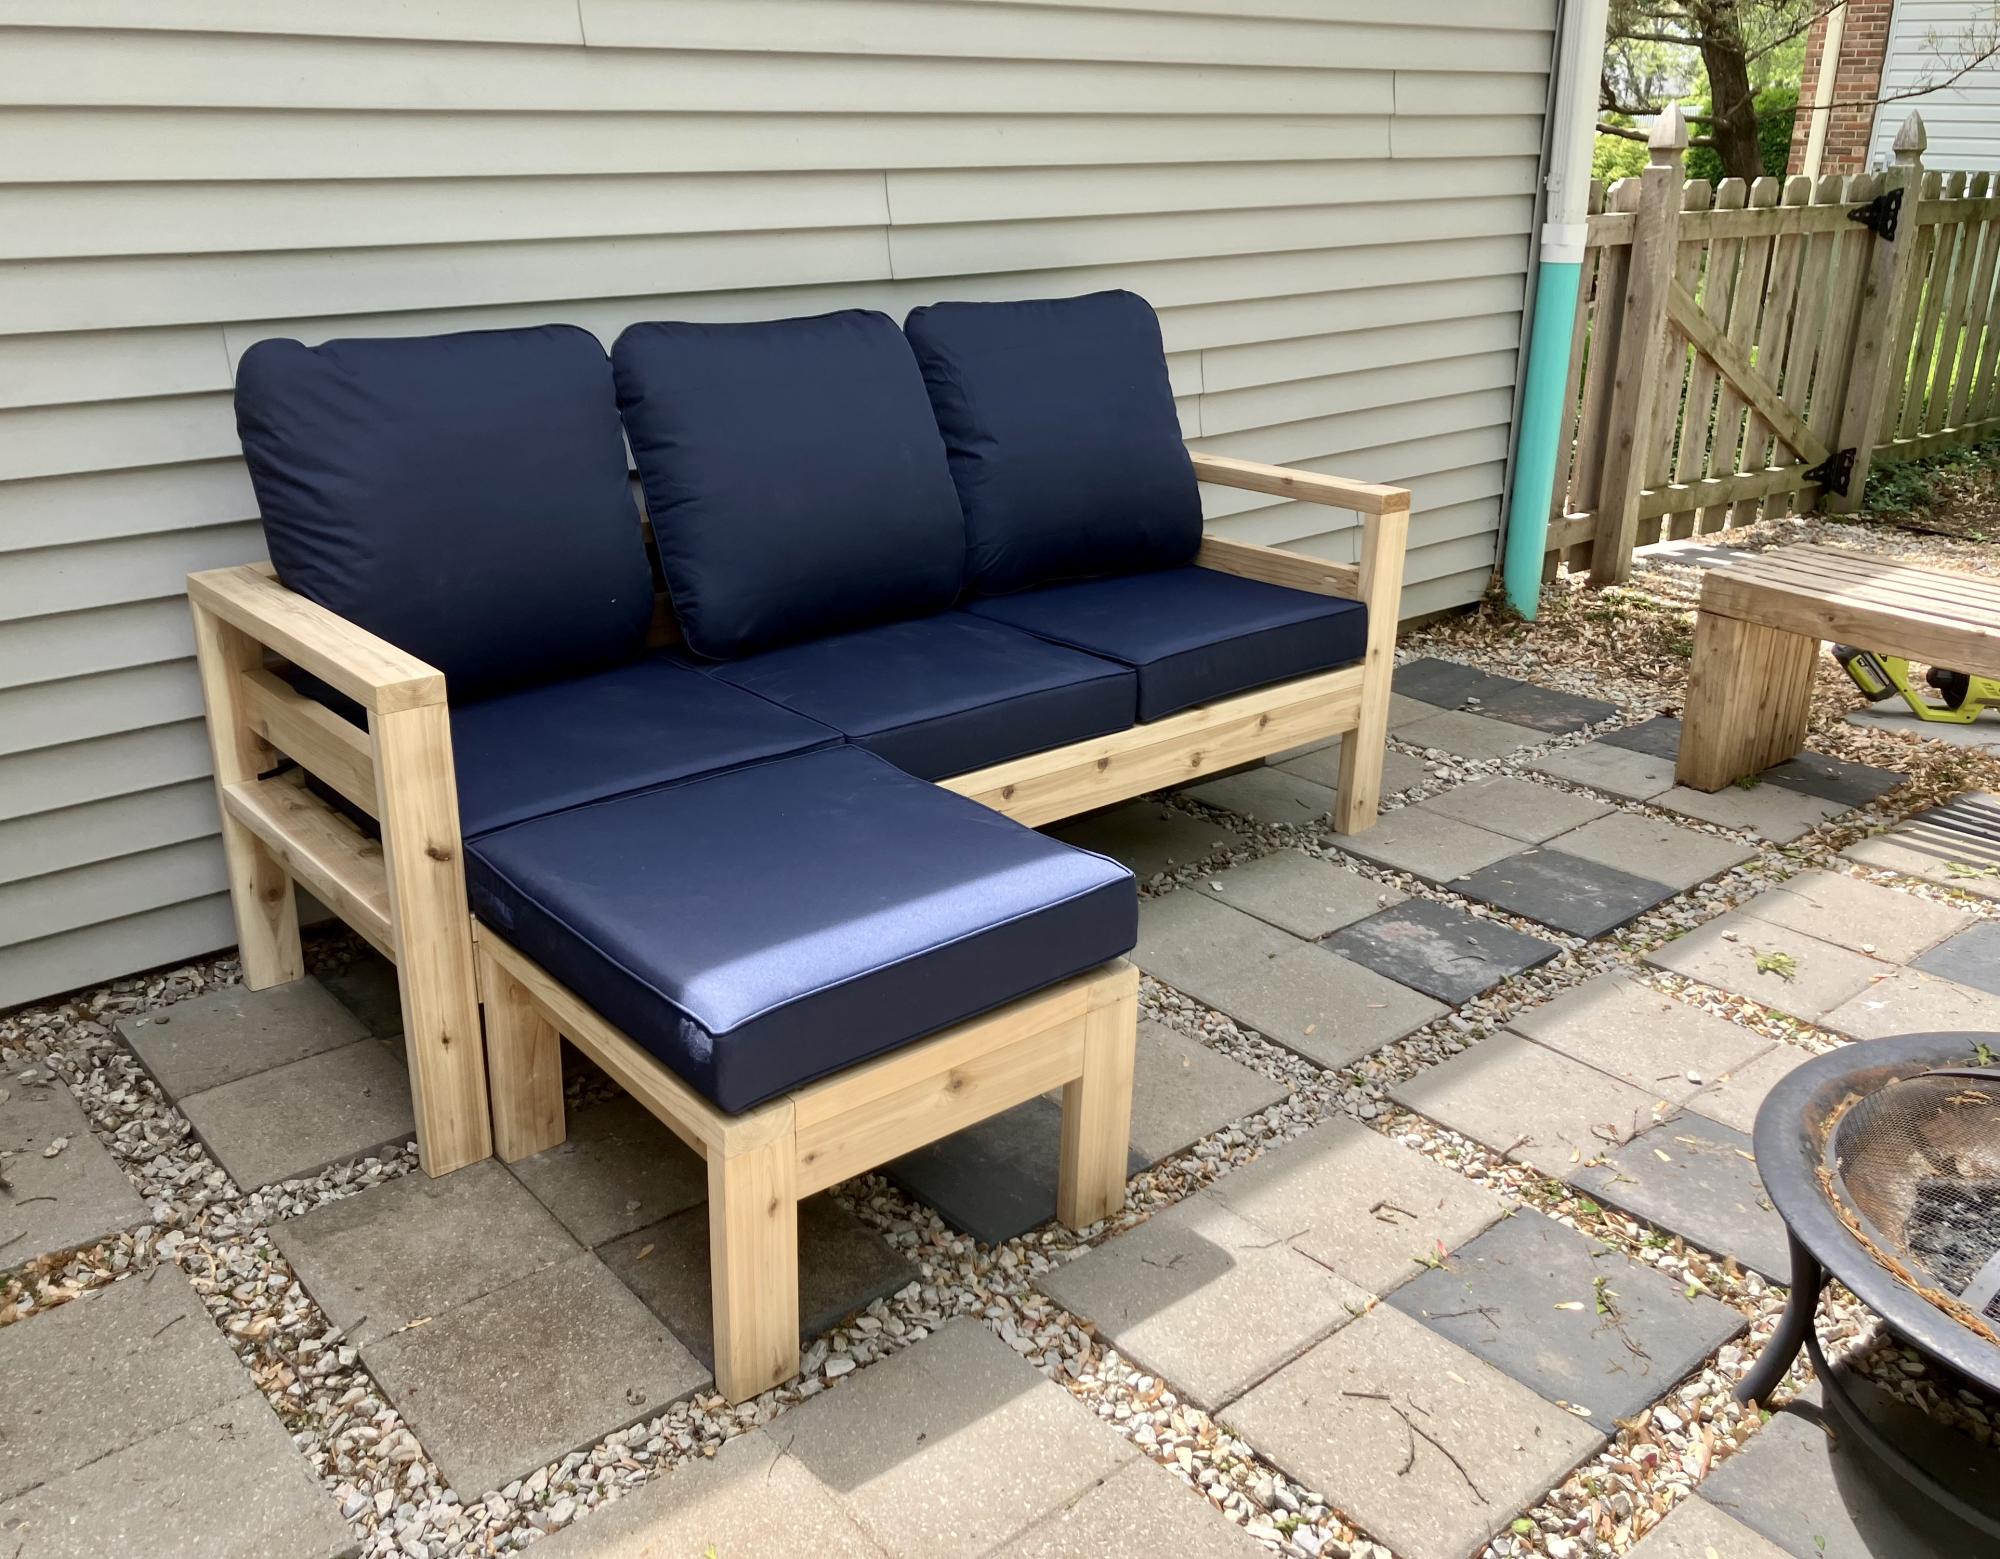
I used pocket holes to hide the screws. I made an ottoman out of the outdoor coffee table plans to my dimensions that can be used as a coffee table when we need it.


I used pocket holes to hide the screws. I made an ottoman out of the outdoor coffee table plans to my dimensions that can be used as a coffee table when we need it.


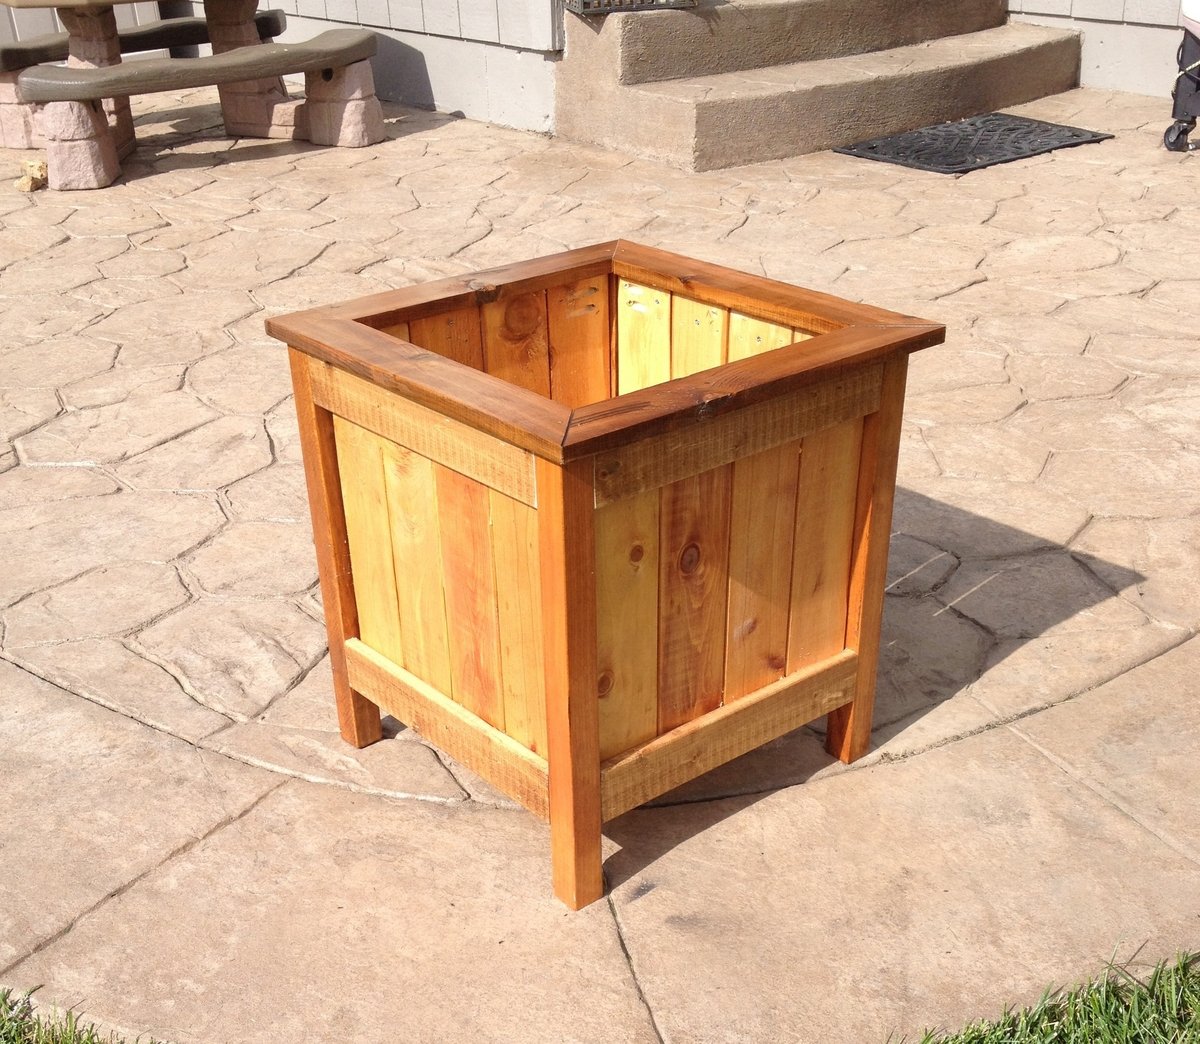
I used the main plan for ideas, but opted to use 3.5 inch pickets instead, which allowed for a smaller planter that wasn't as big. Also chose to miter 1x3s for the top which I think really finishes it off. Sanded everything with a belt sander to 220 grit. Used min wax golden pecan plus three coats of poly inside and out. Finished size was about 17x17. Tile spacers work great to keep the gaps even!
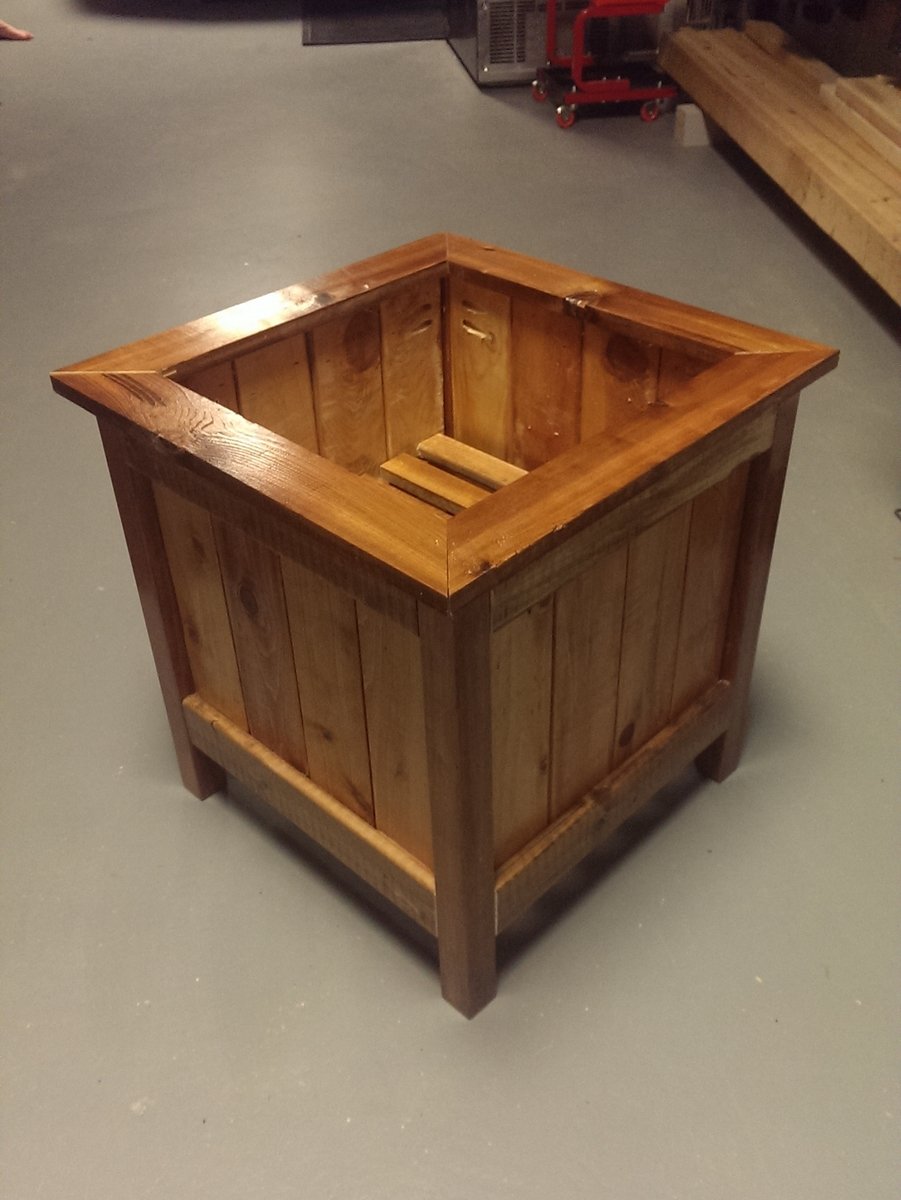
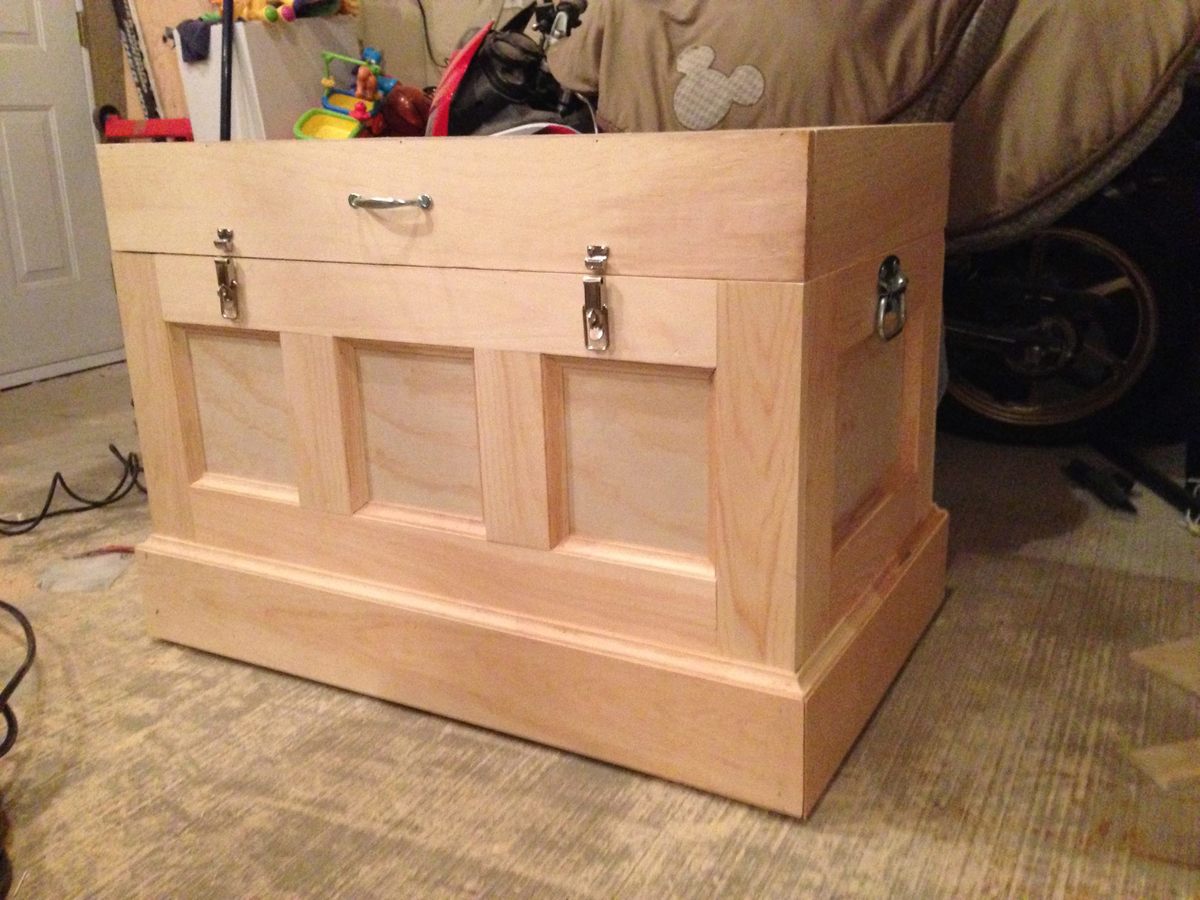
I made this box for my wifes christmas present. She has been riding horses for sometime and is planning on doing some shows. I built this box from Mimi's storage bench design, made it bigger, added a deeper box top and created the rest from looking at pictures online. Its all made of pine plywood and pine boards to keep it light. I added 4 castors to the bottom to make it easily moveable and hid them with the moulding around the bottom. Still has to be sanded and stained before it hits the barn. Its 39W X 24D X 29H. I used a piano hinge and routered the back to set the hing in. Added cove moulding around the bottom and to all the boxes around the front and side. Used a lot of pocket holes and finsh nails. Took me longer than it could have, because I planned everything as I went. I will add more pictures when its finsihed. I would rate it intermediate to advanced depending on your skills with certain tools.
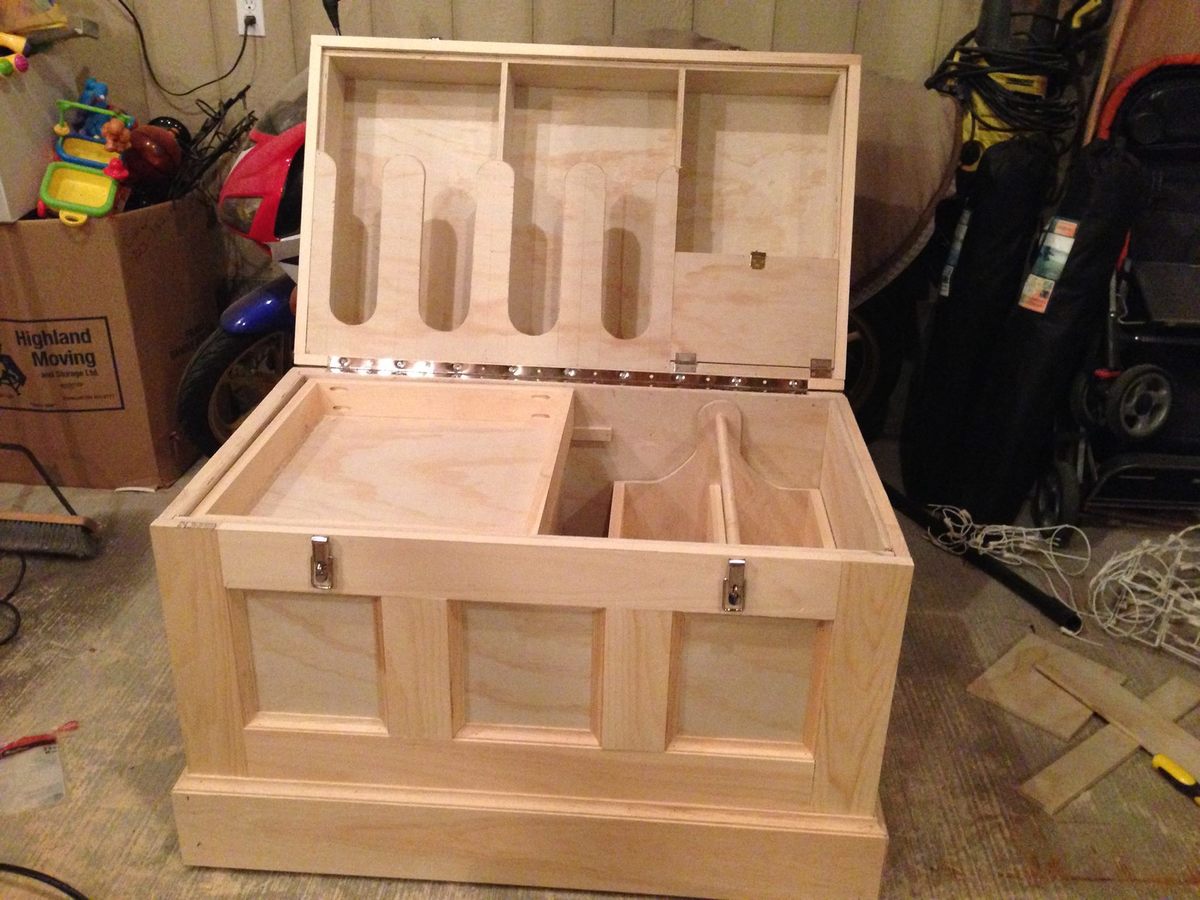
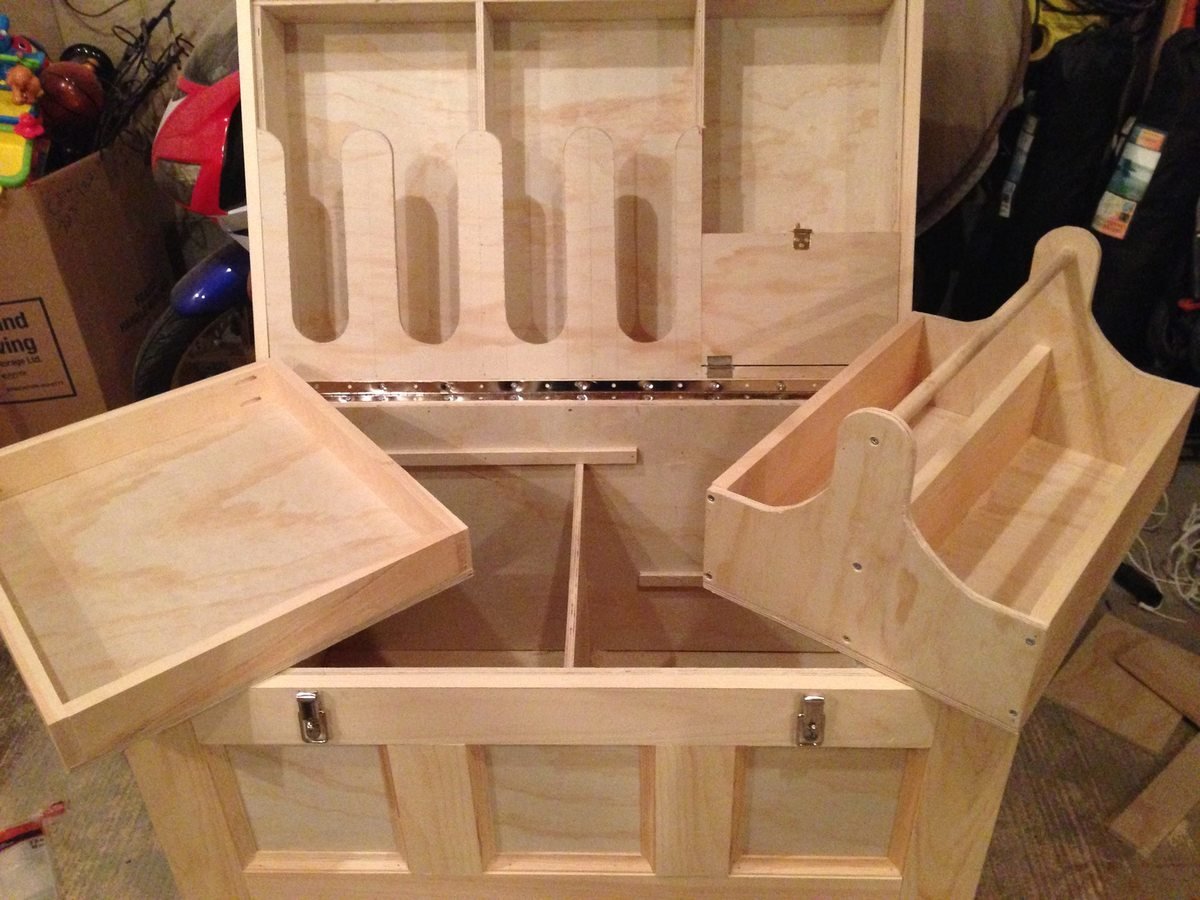
Wed, 12/31/2014 - 09:02
Wow - that's a lot of work and well done. Great job! I'm sure your wife adores it.
This project was born out of desperation for some way to organize our garage. It is not difficult to build, and it went pretty quickly with two of us. It probably didn't take more than four hours tops for each section. I've seen the prices for garage storage components and some of them are staggering! We have removed a tall chrome shelf, and moved a ton of stuff onto these shelves, creating a hundred square feet of floor space! And for only $25! Come on over and check it out on my blog! Val
In reply to Awesome! This is just what I by moosmani
Thu, 10/24/2013 - 20:17
Glad you like them! They've been a real sanity-saver!
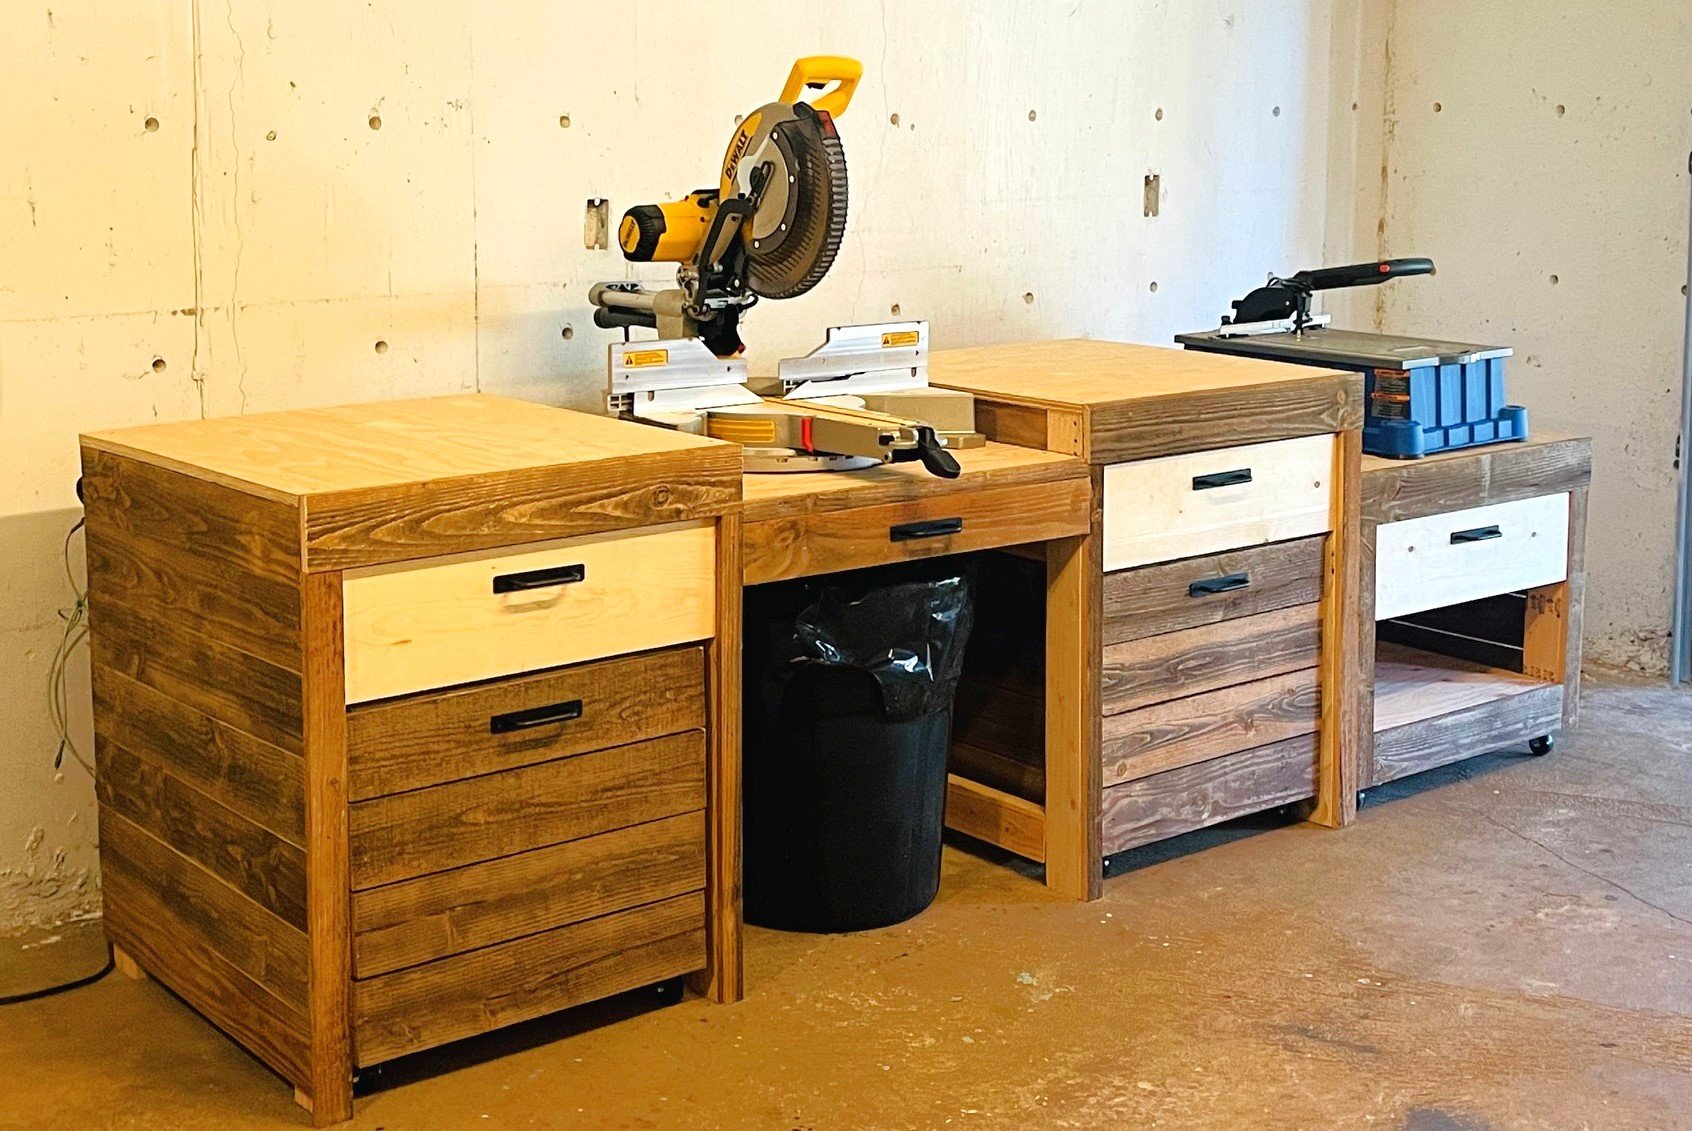
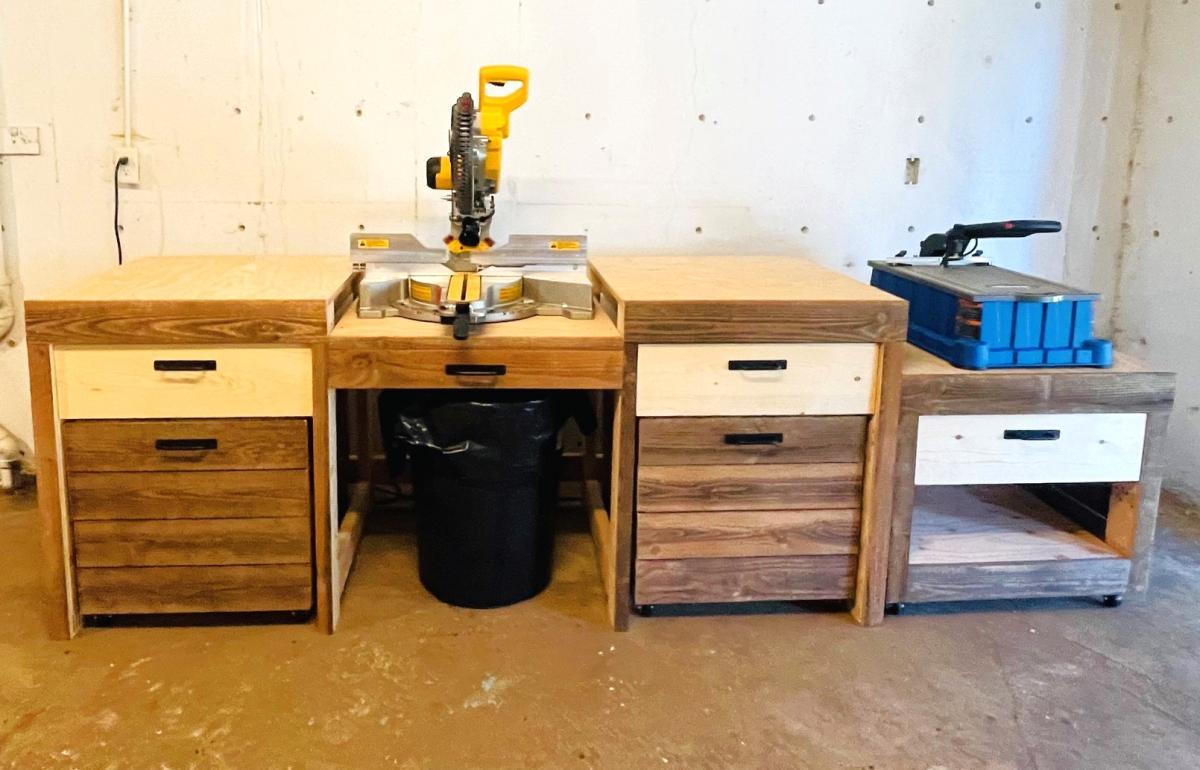
Using Ana's Ultimate Workbench Plan and her easy drawer method I built this. I decided to do storage carts that roll in and out for small scrap lumber storage. The Kreg Foreman got it's own cart, I made it so the deck of the machine was at the same height as the work surface. I added a drawer so all of my kreg bits and screws can be in one place. I had batteries and chargers laying all over my small shop, so I incorporated a battery charging drawer. I'm excited for the projects to come using my new set up!

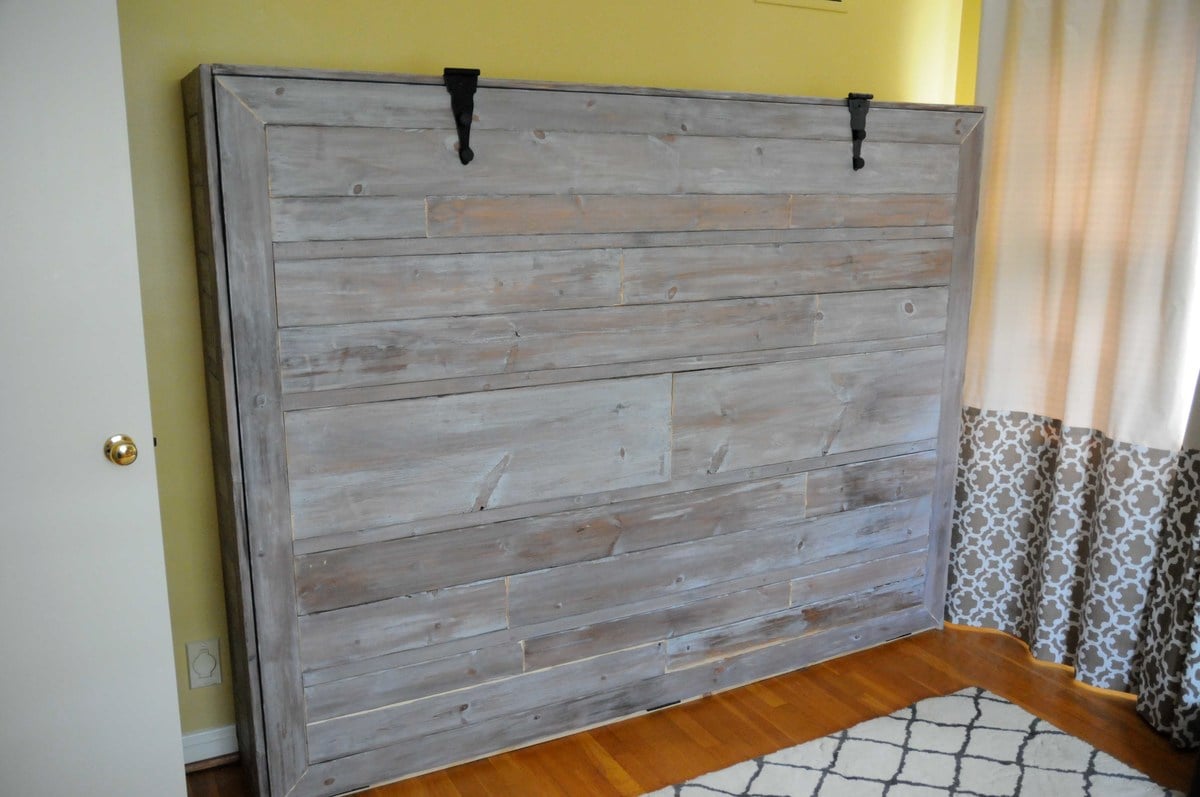
Expecting our second child, my wife and I decided to do away with our guest bedroom and combine it with our office. The only problem was our queen bed took up way too much space and it didn't get enough use to justify the sacrifice. We looked at the wall bed options available for purchase and decided they were way too blah and very expensive. I then found the "A MURPHY BED YOU CAN BUILD, AND AFFORD TO BUILD" post on Ana's website (thanks for the inspiration)!
Using cheap pine boards, plywood, door hinges, vinyl upholstery and stain I constructed the wall bed you see here. It really wasn't that difficult but facing it took the most time. To give the boards a more rustic look I used a utility knife to shave off the edges/corners and stained them with the Minwax American Walnut water based stain and the Minwax White Wash Pickling. When this started we thought we were going to have to settle for something unattractive and less than desirable. Seeing it in our office now, we love our new bed and actually think it makes the room look much better! I didn't keep track of costs, but it couldn't have been more than $150.


Tue, 07/08/2014 - 08:08
Looks great! May I ask what the final outside dimensions were? Curious to see if this would work for me.
Thanks!
Wed, 08/06/2014 - 09:23
I would have to measure it when I get home... at work currently. Looking back, I think the best approach is to take the measurements from the plan, find the difference between standard mattress and queen mattress dimensions (check wikipedia for standard sizes), then add that difference back to the plan. I cut it real close on mine and could use a little more space. It would be nice to make it a bit deeper and with some head room to store comforters and pillows.
Sat, 03/21/2015 - 08:32
To fasten the facing I used wood glue then a Ryobi 18ga nail gun. It's part of their 18v One+ line and works great!
Sun, 12/28/2014 - 12:59
I am dying to get started on this wall bed project. I keep getting this message when trying to open the Plans.
The page you are looking for is temporarily unavailable.
Please try again later.
can someone help me find them.
Sun, 12/28/2014 - 12:59
I am dying to get started on this wall bed project. I keep getting this message when trying to open the Plans.
The page you are looking for is temporarily unavailable.
Please try again later.
can someone help me find them.
Sat, 08/15/2015 - 12:05
did you ever find the plans?
I'm having thee same problems
Tue, 08/09/2016 - 15:24
Hi. I would love to try this. Looking to build in the next month before parents in law come over. Is there any working links to the plans??
Wed, 01/24/2018 - 21:42
WHERE CAN I FIND THE PLANS, MATERIALS LIST AND DIMENSIONS? THE ATTACHED LINK TO YOUR ARTICLE LEADS TO A TWIN SIZE BED. THANK YOU
Thu, 01/25/2018 - 06:30
is there a link to the plans? I can't find them and I really want to make this
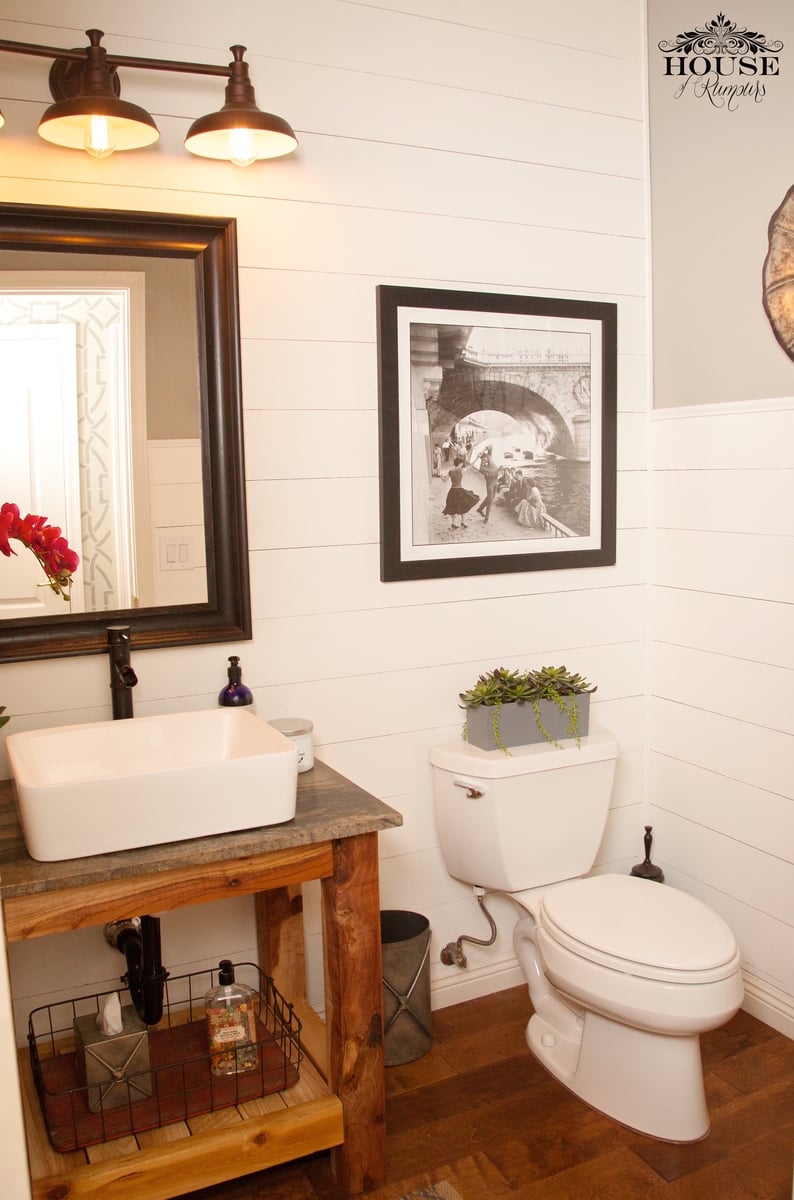
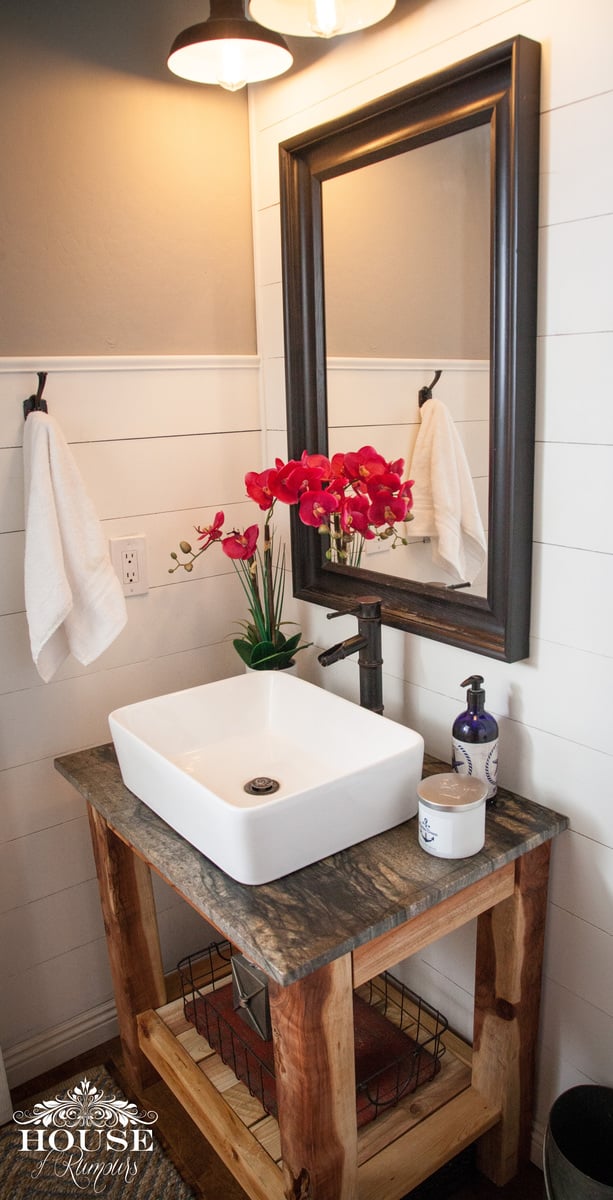
It had come time to renovate our powder room bathroom. We were on a tight budget so we decided to build our own vanity & add a little twist to it! We splurged on the granite countertop, vessel sink and faucet. Thanks to Ana White we built our vanity for less than $10! The plans were easy to follow . . . .we are so proud of our wood vanity! link to our blog: http://www.houseofrumours.com/shiplap-powder-room-diy-vanity/


I used the basic framing plan for the project, but extended roof overhangs, added engineered siding / trim and cedar shake roofing. I put 2x4 bracing on for the platform.


I made this in an afternoon. Loved this project. It is made with 2x4's using a Kregs Jig and mitre saw (plus additional tools like a drill and square). This was my frist time using the Kregs Jig and I am sold!!
The free plans were taken from another website. They are very detailed and there is even a video (I recommend it as he gives a great tip for making sure the back stays equal/level to each other before putting the back on). Even though you can build this by yourself, I did have help for the heavier sides once they were assembled. I plan to build the additional side table soon and finish them both with sanding and staining when the weather seems less iffy for rain.
If you are looking for a good beginner project that doesn't take forever or have complicated steps, this is your project.

This was my first piece of furniture to make all on my own and the Corner Cupboard plans were soooo helpful! I needed more space for plants and had already built shelves in every window of my house, so I decided it was time to make a larger space to house my plants and add supplemental lighting so I could put it anywhere I wanted. This corner was dark and I don't love lamp light, so I thought a pop of color + plants + daylight grow lights would be perfect for the space! I've been taking on more carpentry projects and also wanted something that was a bit more challenging. This plan was perfect! I'm more of a napkin planner myself, so it was nice having the structure provided in Ana's plans and the cut list was super helpful. I had to make some modifications to fit things into my car, but it all came together nicely! This being a plant hutch with grow lights was the plan all along, but I gotta tell ya, when it came to having to drill 3/4" holes in the back of my newly built beautiful hutch, it took me a minute to work up the courage! I really love how it all came together - thanks for sharing your plans, Ana!
Tue, 02/23/2021 - 10:04
Wonderful job, love the finish and multi functionality of the piece!
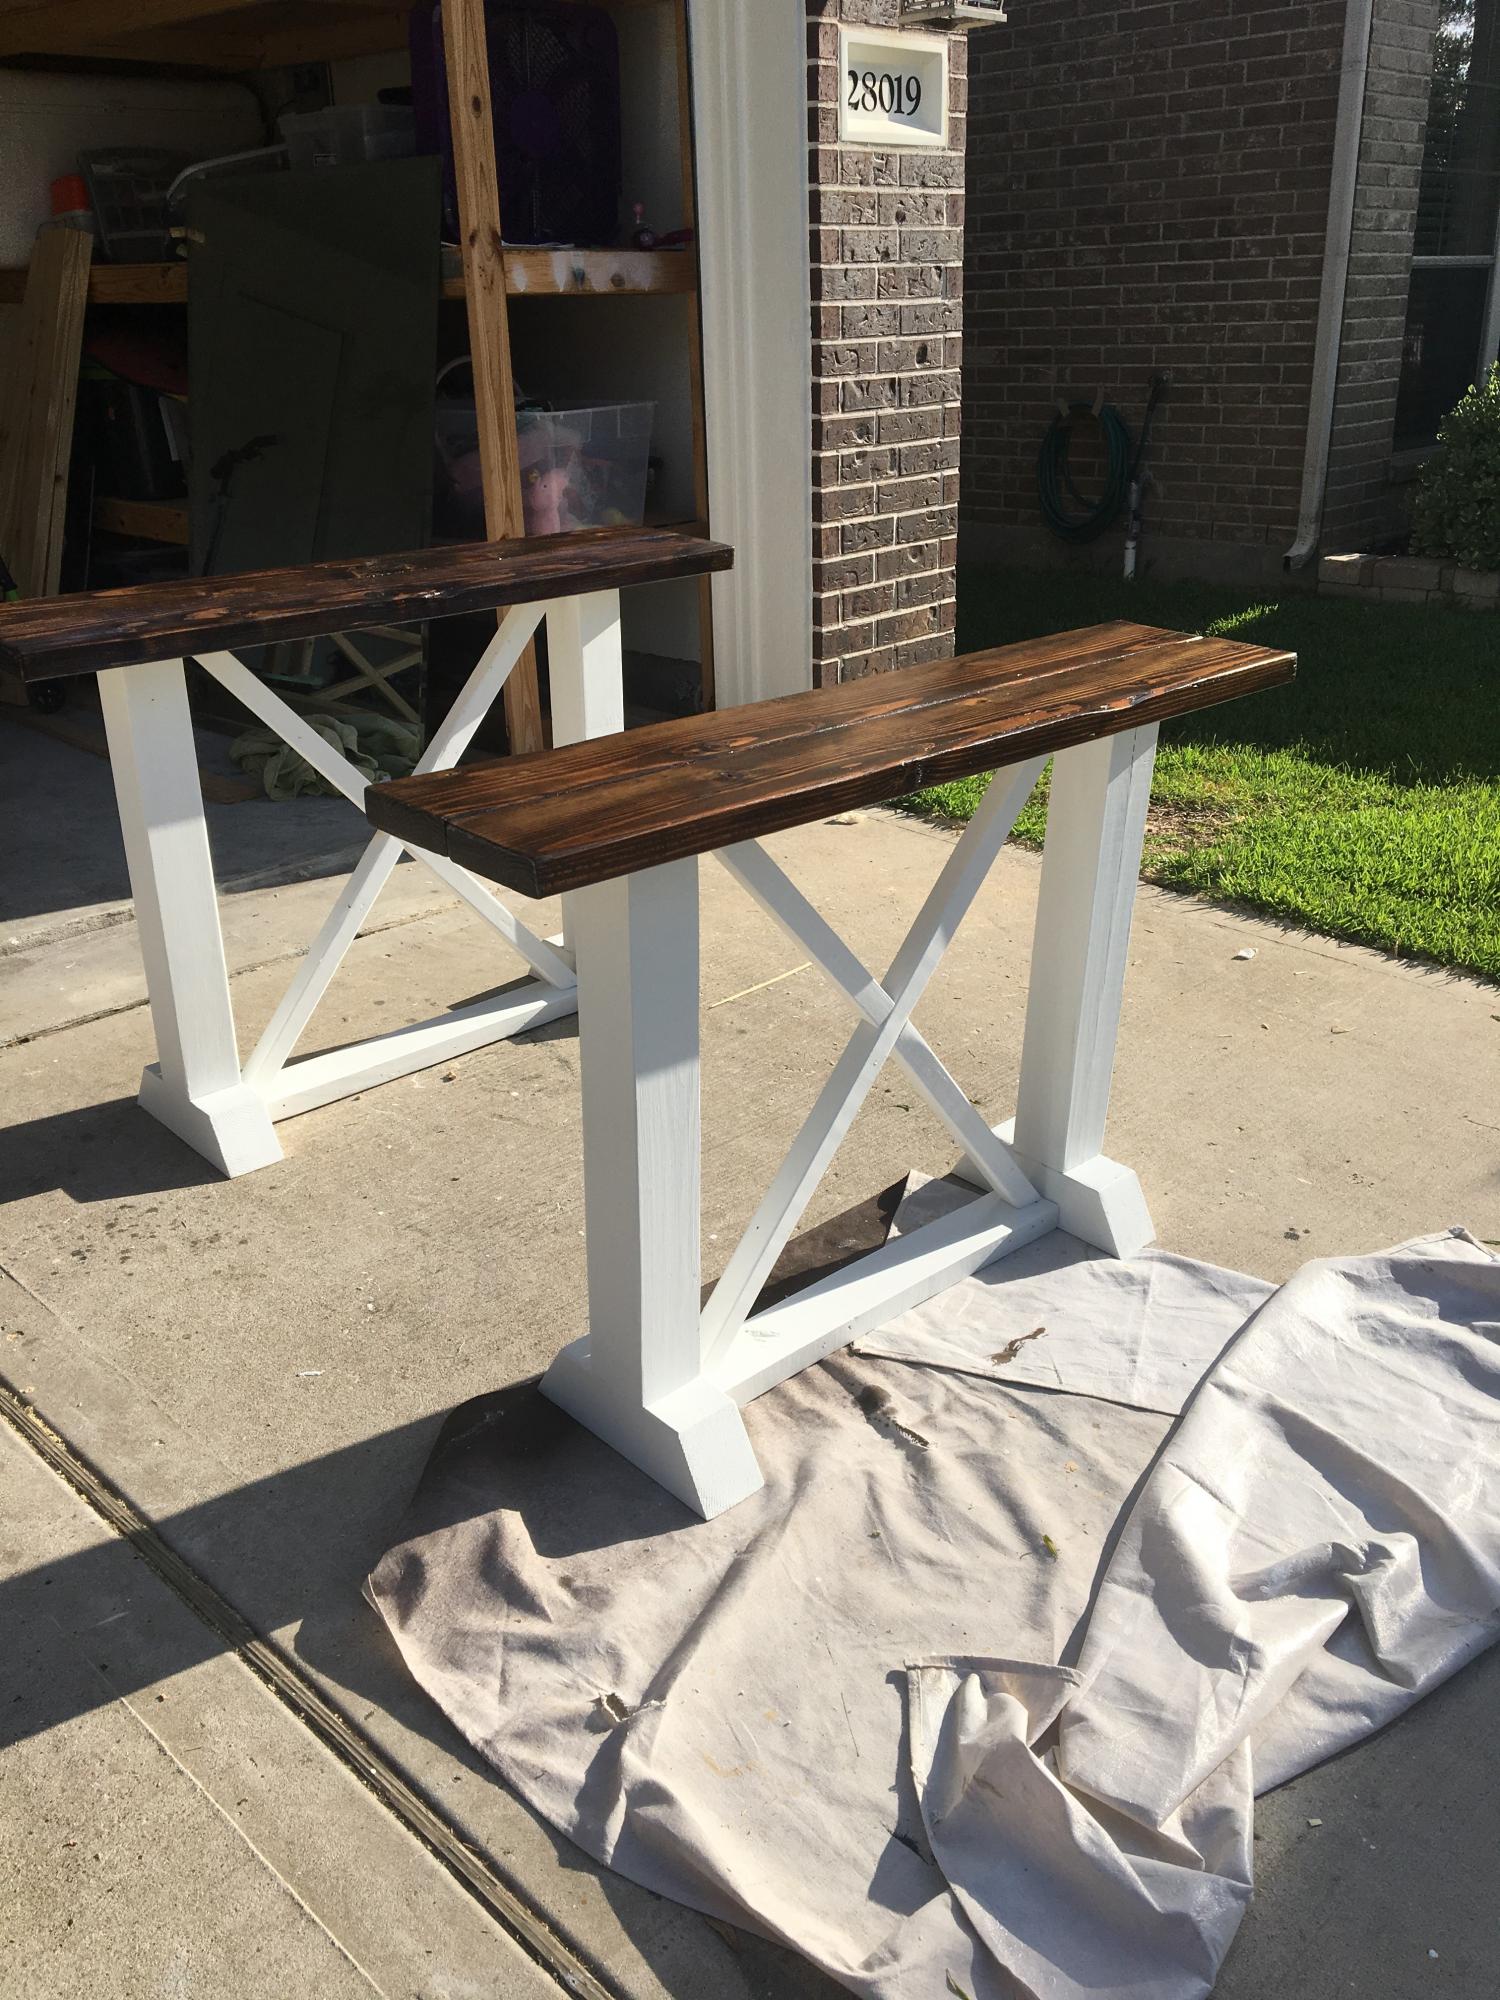
I made this to match Ana's rustic x console, end and coffee table!
Tue, 10/04/2022 - 10:22
Awesome design and I love the 2 tone finish! Thanks for sharing.

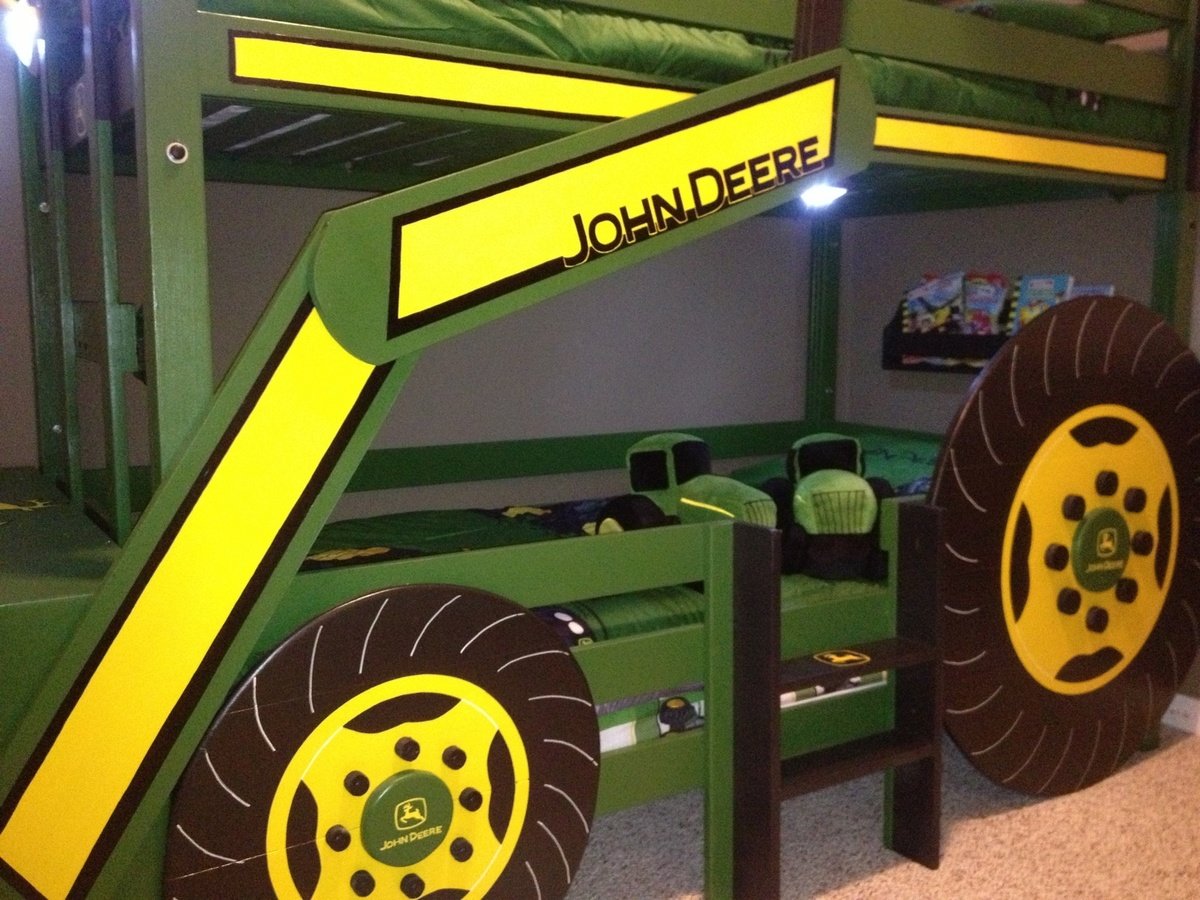
With another baby boy arriving in August, my one and three year olds are moving to a "big boy" room. My oldest decided he wanted a bunk bed and as they both are obsessed with tractors, when I saw the "John Deere Tractor Bunk Bed" plan, I was sold.
We would be needing a twin sized bunk bed though not a toddler. I used the classic bunk bed plans and simply modified them to suit our needs. I moved the ladder to the front, added a rail on the bottom bunk and added a small ladder to the side for my one year old to climb into the bottom bunk.
Once the the frame of the bed was complete, I added the tractor accessories. A couple of storage cubby shelves with fabric baskets for toy tractors which act as stairs up to the ladder and make the tractor bucket at the front. Also, the wheels which are made from joined 1x6s as I find plywood hard to sand and paint to the quality of finish I like. A cab & roof from 1x4s framed together. A side mirror that I decoupaged a picture of another tractor on. I used push lights for the headlights as well as a reading light above each bed (they're on timers so they'll turn themselves off). A steering wheel (play equipment access from toys r us). Also, I built and mounted by the head of both beds a "flat wall book holder" so they would have somewhere to store a few books.
My boys and I are fairly new to building so I spent a lot of time planning and measuring to ensure it would all come together in the end. It paid off because it all went smoothly (even with "help" from my boys). It's not perfect but they're very happy with the result. We also built a John Deere themed "Just my size closet" and even finished with over a month to spare before the new baby arrives! :)
Just want to say a quick thank you to Ana both for the amazing plans and also the inspiration to take on these projects. The time spent with my boys building as well as the resulting treasures are priceless and I would have never realized what we were capable of had I not stumbled upon your website and been so inspired by you and everything you've accomplished. Thank you!



Thu, 10/09/2014 - 14:12
I am new to this and I was wondering were to find the measurements for the twin size bed? I would love to make this for my boys!!
Mon, 10/20/2014 - 13:10
HI! You did an amazing job with this! Is there any way you can post the plans or send them to me? Thanks in advance.
Mon, 11/03/2014 - 07:48
Sorry for the slow response to those requesting plans. For main structure of the bunk bed, I used Ana's "Classic Bunk Bed" plans. For all of the add-ons, I made up my own plans. I'm pretty low tech so unfortunately they're just pencil & paper plans but I'd be happy to scan and email them to you if you're interested. Just message me and I'll send them your way. :)
Fri, 11/21/2014 - 13:26
Can you please email me your plans? AaronTKesler@gmail.com. Thanks!
Thu, 07/09/2015 - 19:48
I was just wondering if you by chance got three bunk bed plans?? If so would you be willing too send them my way??? lilbgirl_11@hotmail.com thanks so much
Thu, 05/26/2016 - 14:54
I know that it has been a while, but did you ever get plans for this bed? If so, will you please forward them to me at kerrilux@gmail.com? Thank you!
In reply to Plans please! by kerrihicken
Sun, 02/12/2017 - 07:36
if you recieved plans for this can you please forward them to me timburke40@gmail.com
Fri, 01/02/2015 - 12:36
If you wouldn't mind sharing with me also I would love a copy. Email ... brenneman826@aol.com This is by far the BEST tractor bed I have seen online! You did an awesome job!!!!! Hopefully I can recreate!!!!
Mon, 01/05/2015 - 08:44
I love this! You did an amazing job! Could you please send the plans to ericaelijah08@yahoo.com
Thank you so much!!
Wed, 01/28/2015 - 14:08
Hi Veronica, Well done fantastic job! Two little men who want to move in together because of a new addition on the way. Their request though is a John Deere Bunk Bed! would be grateful if you could forward on your plans if you have time, Kindest regards.
In reply to Plan Request by Veronica P
Thu, 01/29/2015 - 07:18
Hi, I would love to get a copy of the plans used to make this bunk bed for my grand kids. Have two grandkids and a third one due the middle of February so got to get a bed made quickly for them to have a great bed to sleep in when staying with nana and pa. Plans can be emailed to me at dianaspetsnoopy@yahoo.com 731-415-9666. Thanks Diana
Mon, 02/02/2015 - 07:31
This looks so great. Could I get a copy of your plans? Thanks frank-scott@roadrunner.com
Mon, 02/09/2015 - 21:06
I would love to receive a copy of of the Plans for the John Deere bunk bed. My email is inspiration120708@yahoo.com
Tue, 03/03/2015 - 10:43
Can you please email me the plans. I have a 4yr old that is obsessed with John Deere. We would like to make this for his birthday. efuglsang@auspecialists.com
Thu, 03/05/2015 - 22:31
Just love the whole thing very beautiful & I was wondering if you could send me the plans for the whole set up. My email is lilmiscena@yahoo.com thanks
Mon, 04/06/2015 - 21:04
Hi Veronica, like everyone else i love your plans, could you possibly email them to me? Thanks in advance.
Thu, 05/28/2015 - 10:35
Please send me the plans for the John Deere Bunk Bed. I love it.
Fri, 05/29/2015 - 09:06
Please send me your plans for the John Deere Bunk Bed in the twin size. neeley-hobbs@cherokee.org
Sun, 05/31/2015 - 23:36
Will you please email me the plans for the John Deere tractor bunk bed? Thank you. You did awesome
Tue, 06/09/2015 - 08:06
Hi! Can you please forward me your plans for the john deere tractor bed to linzst3@gmail.com?
Thank you so much and awesome idea!
In reply to Plan Request by Veronica P
Fri, 06/12/2015 - 19:31
Please, please email these plans to me! My son will love this!!!! Email is aprilnave@hotmail.com. Thank you!!!
Thu, 06/18/2015 - 14:04
Thanks for being willing to share your plans. Your tractor bed is amazing. I have 2 boys who would LOVE a bed like this. Could you please send your plans to mdemary22@gmail.com?
Thank you so much
Thu, 07/09/2015 - 19:22
could i plans get your plan emailed to me lilbgirl_11@hotmail.com
Sun, 09/06/2015 - 10:06
Dear Veronica,
Our grandson, 6 years old, will absolutely adore this bed. He loved riding on Grandpa's real JD tractor. Please send me your plans for the attachments. They are just darling and I could not do any better. Thanks for your generosity!
Fri, 01/15/2016 - 10:52
Can you please send me your plans? i am stumped on the arms of the tractor
Wed, 07/13/2016 - 12:12
Veronica P this bunk bed is amazing! Could you email me your low tech paper and pencil plans please? :) kallierae@live.com
Fri, 09/13/2019 - 21:11
Hi Veronica. My 3 year old just loves the tractor bunk bed. I was wondering if you would mind sending me the plans you have. It would be greatly appreciated. My email is Blake.meche@yahoo.com
Thanks in advance
Wed, 10/16/2019 - 17:56
If you're still sharing, we would love a copy of your add-ons plans.
Thanks,
MyMaw and PawPaw
Sun, 08/23/2020 - 11:32
What an awesome build! We would love a copy of your plans if you could please share. Thanks!
thosedarnluedemans@yahoo.com
Thu, 09/05/2024 - 04:37
Do you still have the plans for the pieces you added on?
Mon, 12/15/2014 - 20:19
Would you please email me these plans for your bunk bed? Thanks A lot!!! email to austinholscher@hotmail.com
Thu, 05/26/2016 - 15:00
Hi! I know that it has been a while, but I see a message where Veronica says she emailed you the plans. If you still have them, will you please send them to kerrilux@gmail.com. Thank you!
Tue, 12/16/2014 - 19:22
Is there any way I could have email plans? L.o.outdoors@live.com . Thank you.
Sun, 12/21/2014 - 00:35
Please email the plans for this to davevisentin@hotmail.com
Thank you in advance!
Tue, 12/23/2014 - 07:33
Hi Veronica! I would love an email of the plans to make this bed. My sons thinks it is out of this world!!! Thanks for all you effort and wonderful job.
Sat, 12/27/2014 - 15:12
Would you please consider emailing the plans to me? We have started this for my son today and would love your insight on some measurements. Such a wonderful idea, thank you for sharing! alwardt_farms@yahoo.com
Tue, 01/06/2015 - 08:21
Hello all. I've tried emailing plans to all those who've requested them. I had some trouble attaching the files as they were large so if you didn't receive them, please let me know and I can resend. Thanks
Tue, 01/06/2015 - 11:53
Hi Veronica. I did not receive an email. Woul you have time to try again? If you email me your address I can send you my fax number if that's easier too. Thank you so much! I can not tell you how much I appreciate your dedication to this! alwardt_farms@yahoo.com
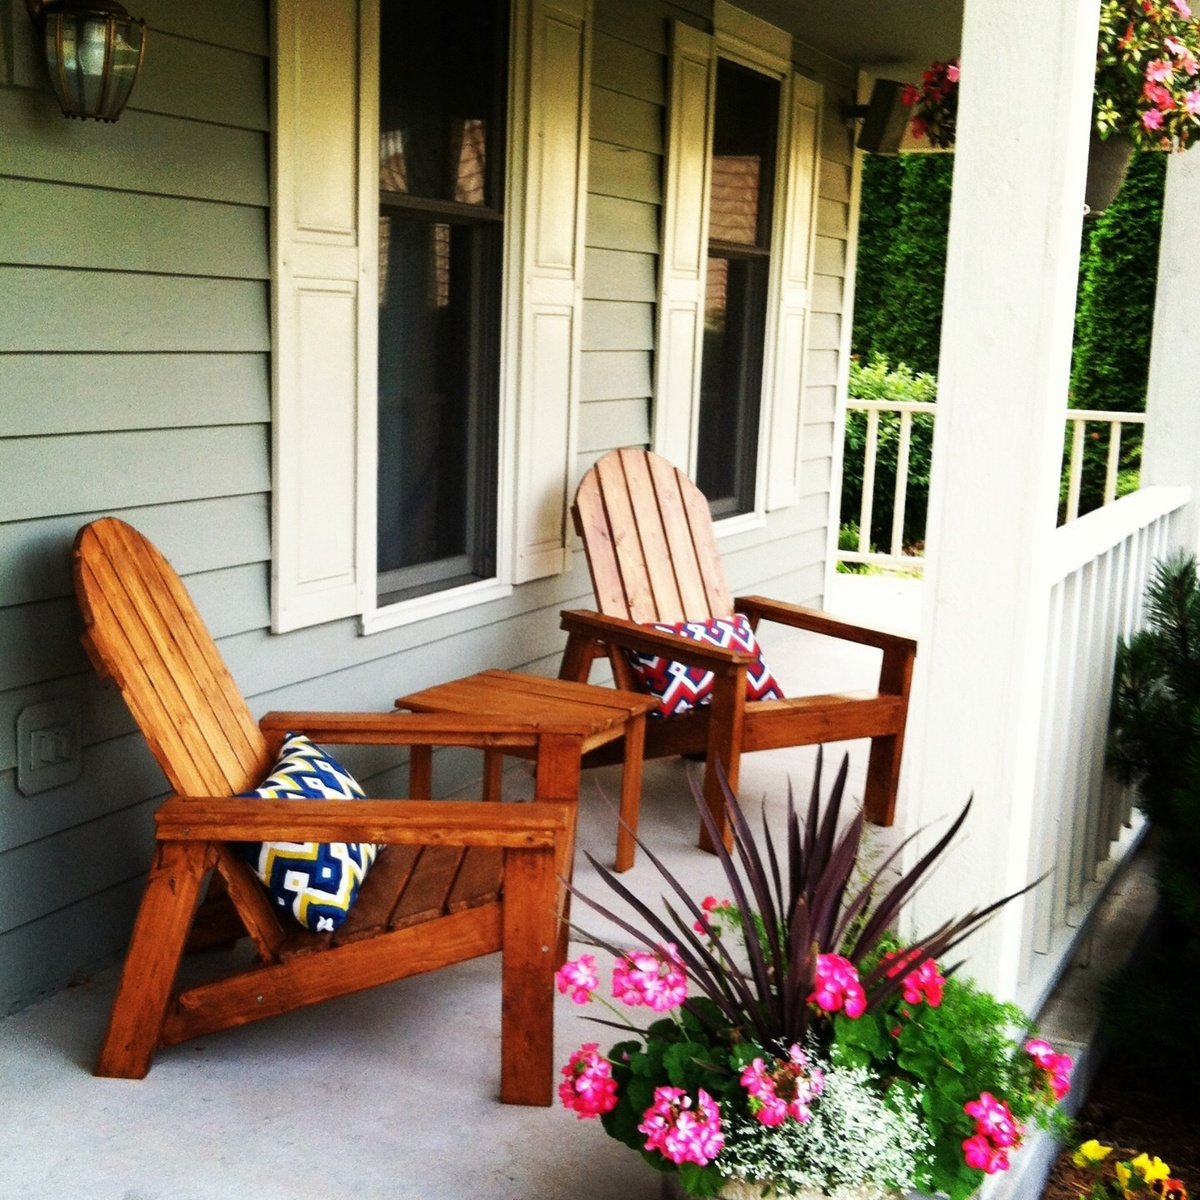
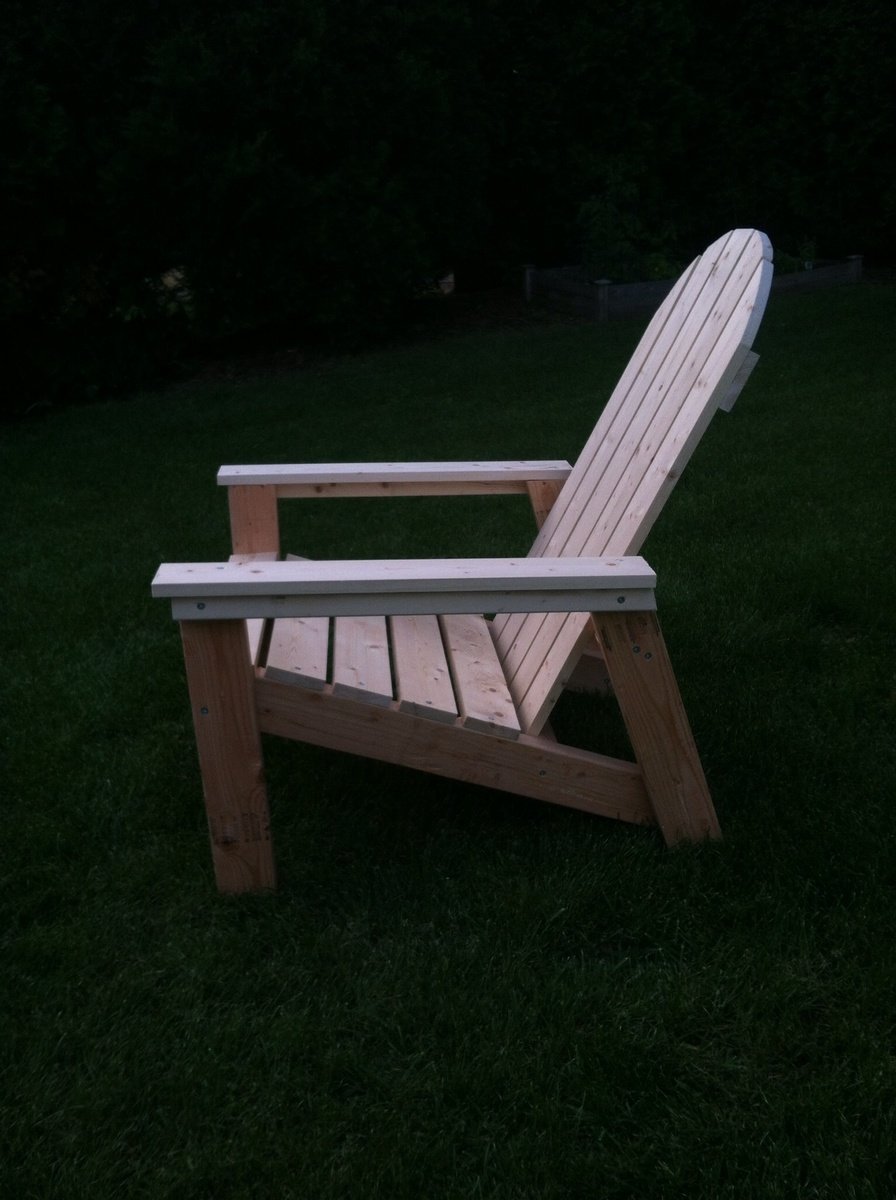
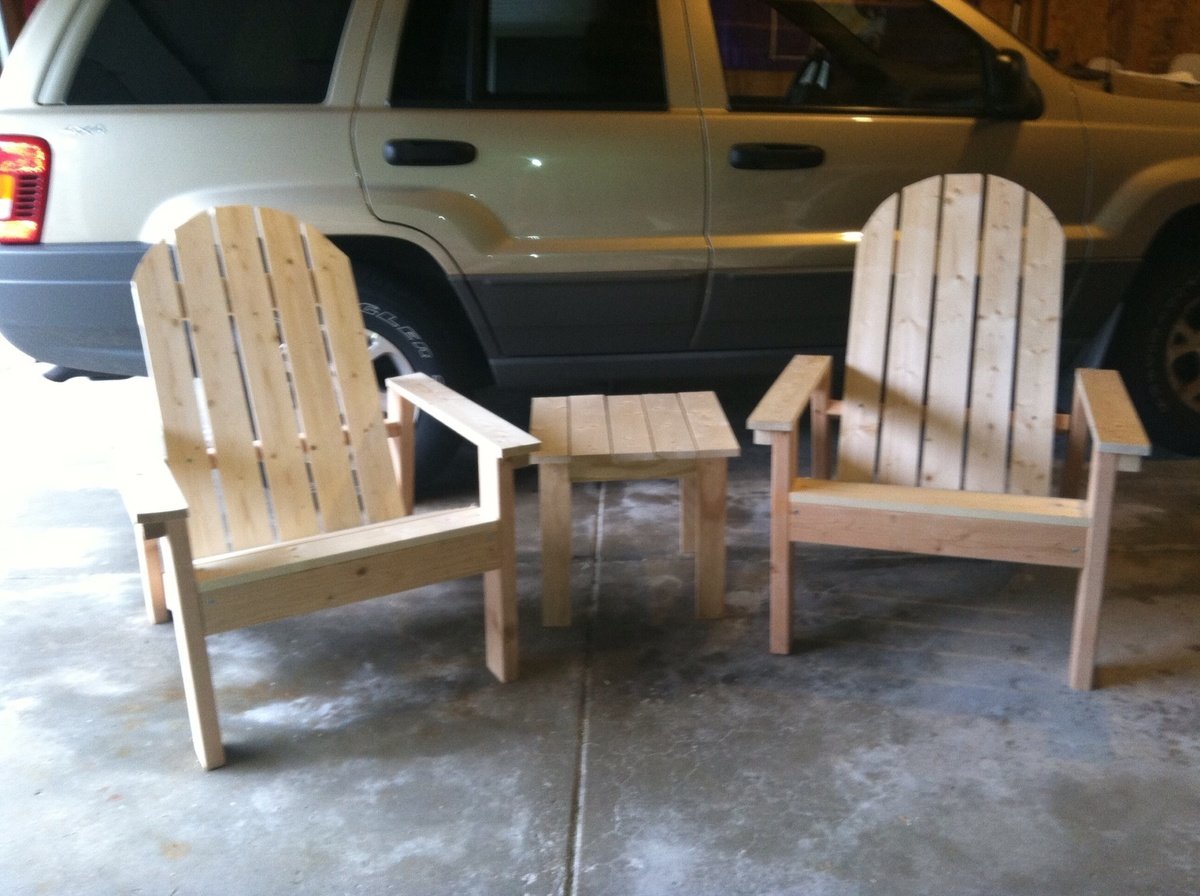
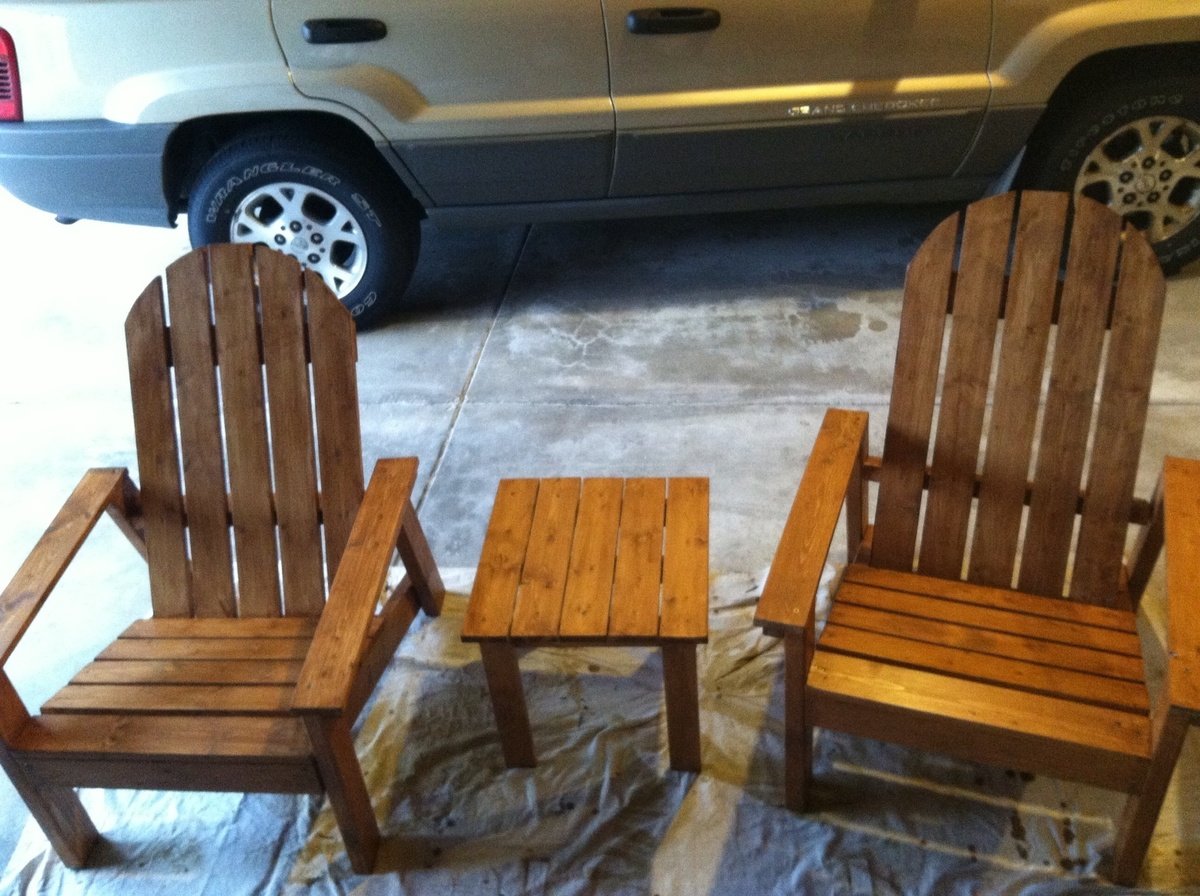
This was my first project! I took my time, learning many lessons as I went and borrowing tools from friends. Although there are some flaws, I am so proud of these chairs. They look awesome on our front porch and are the perfect spot to relax after work and watch the sun set with a glass of wine. After building the first chair which fit my husband (6'3" tall), I decided to slightly change the angle of the second chair such that the depth better suited me (5'4" tall and short legged). Thanks for the inspiration Ana, I can't wait to start my next project!
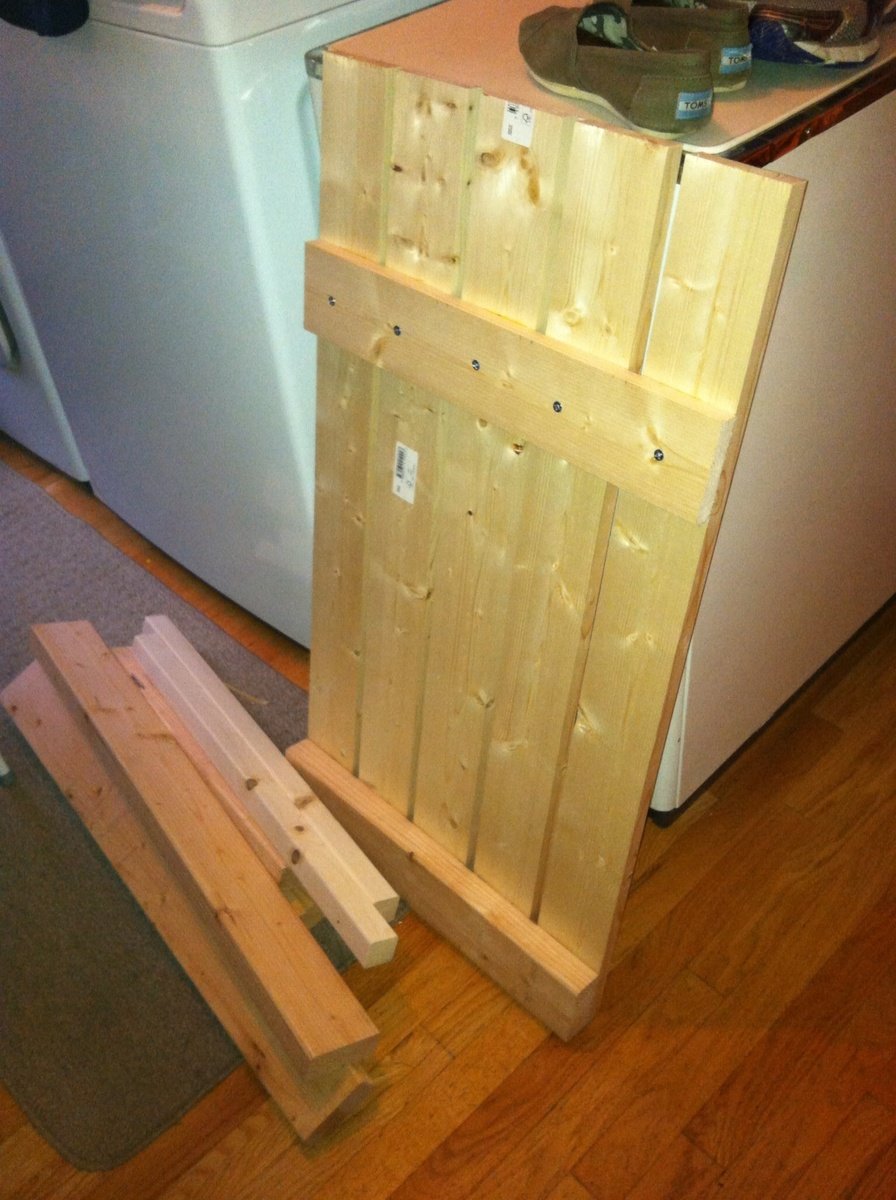
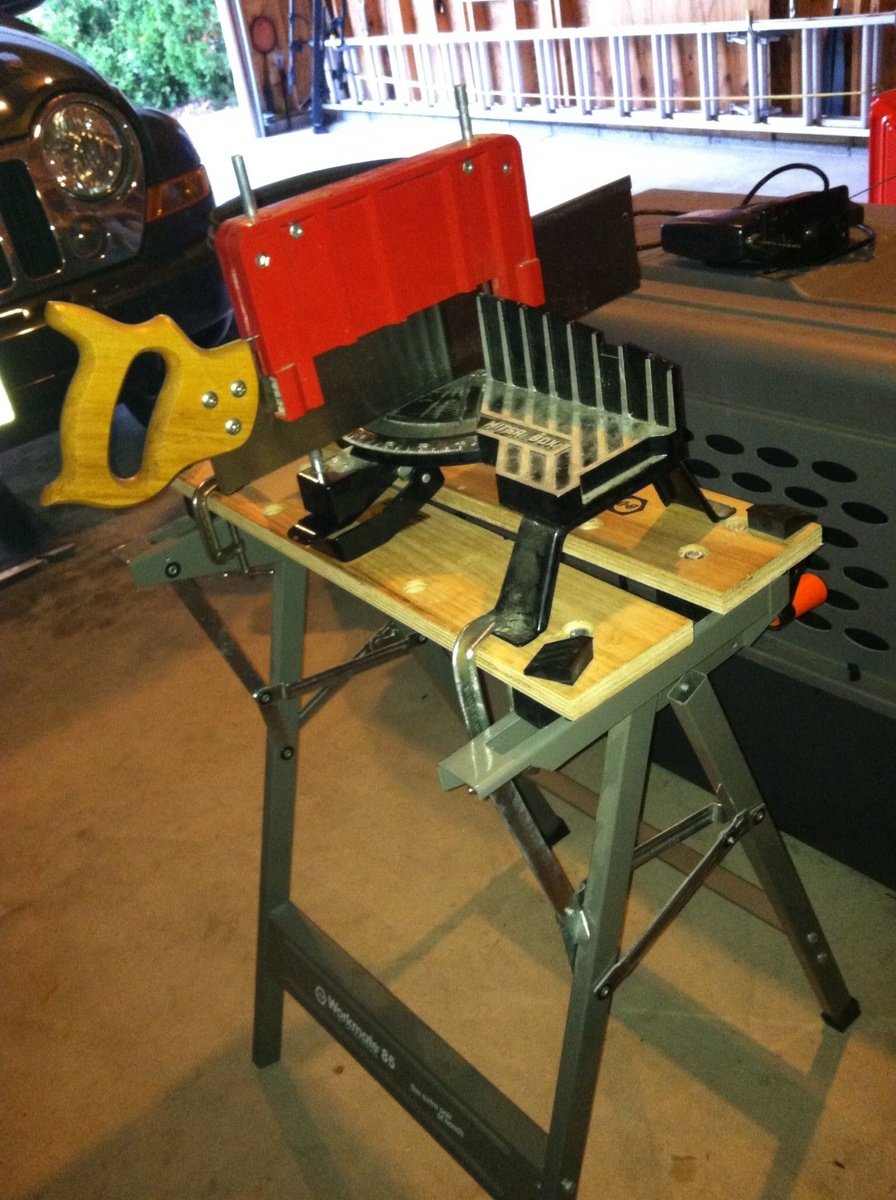
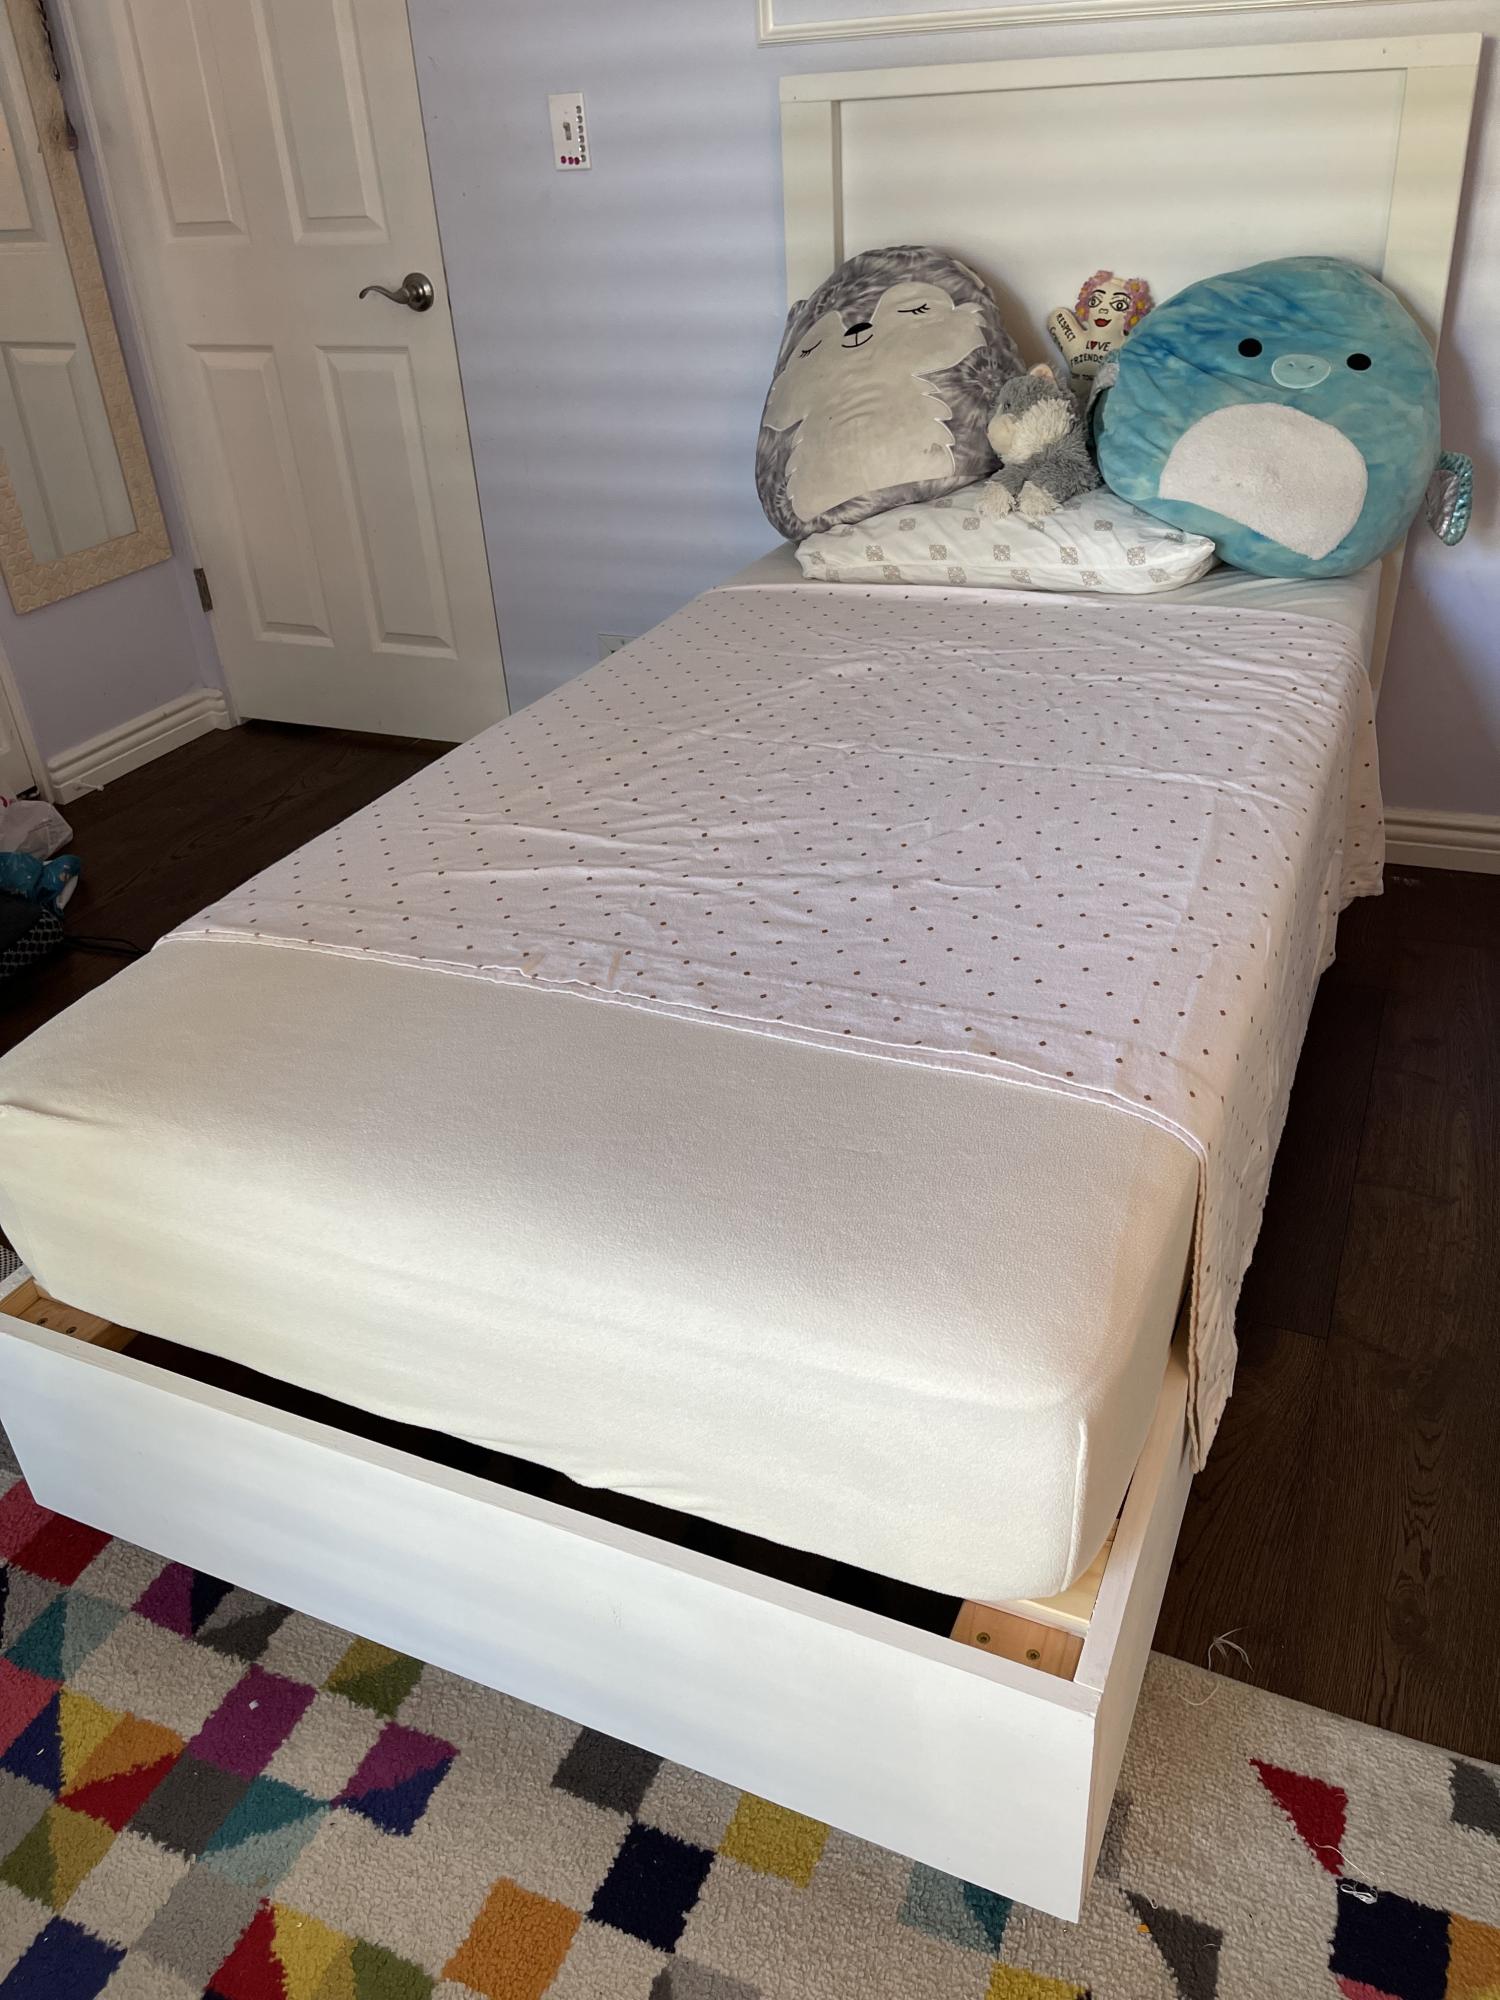
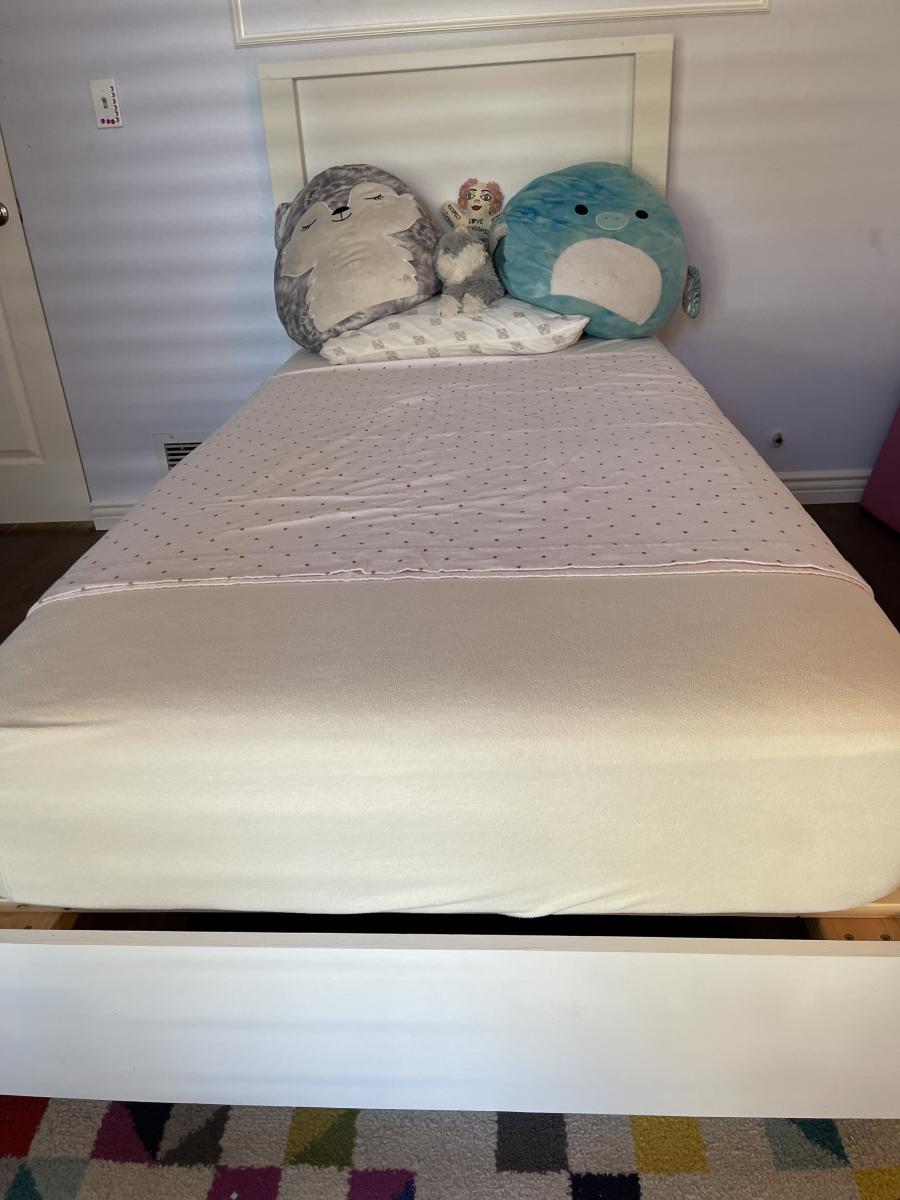
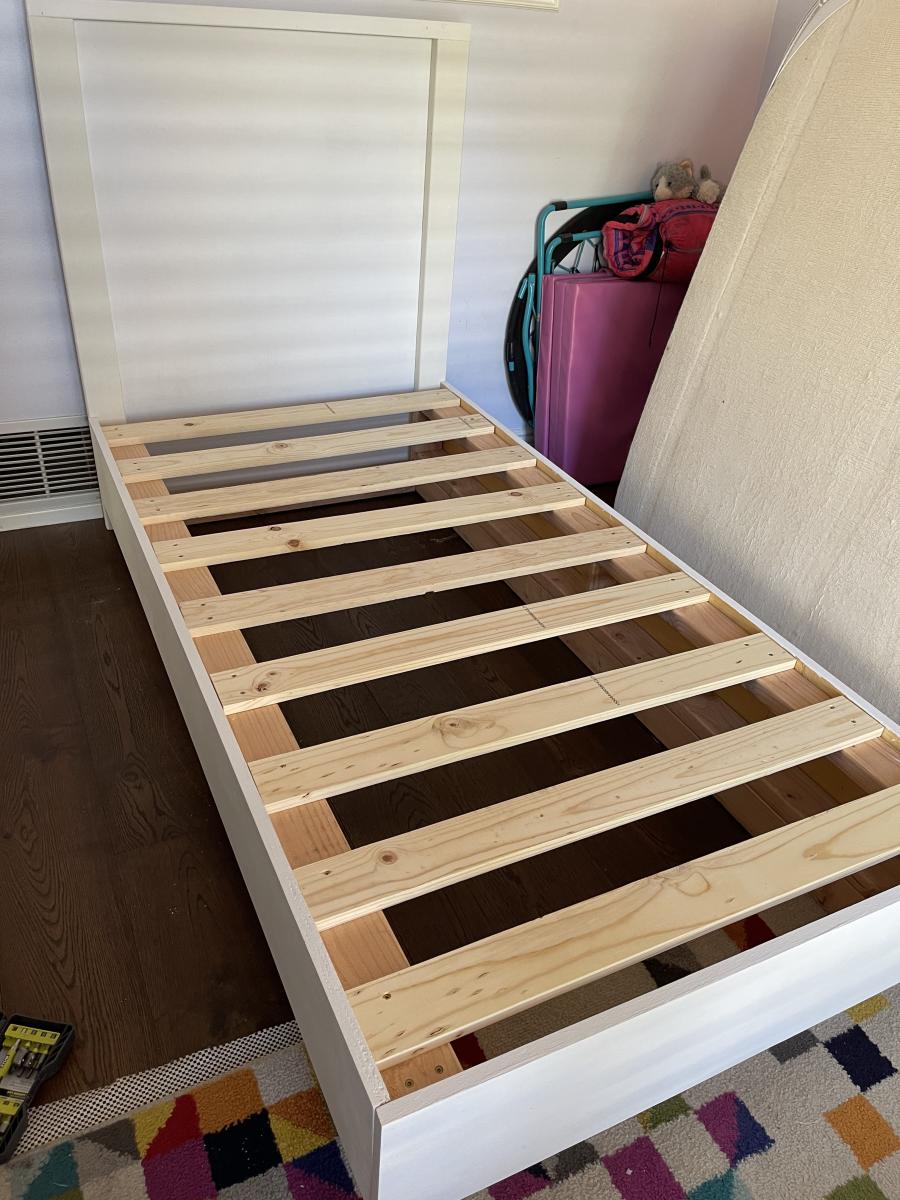
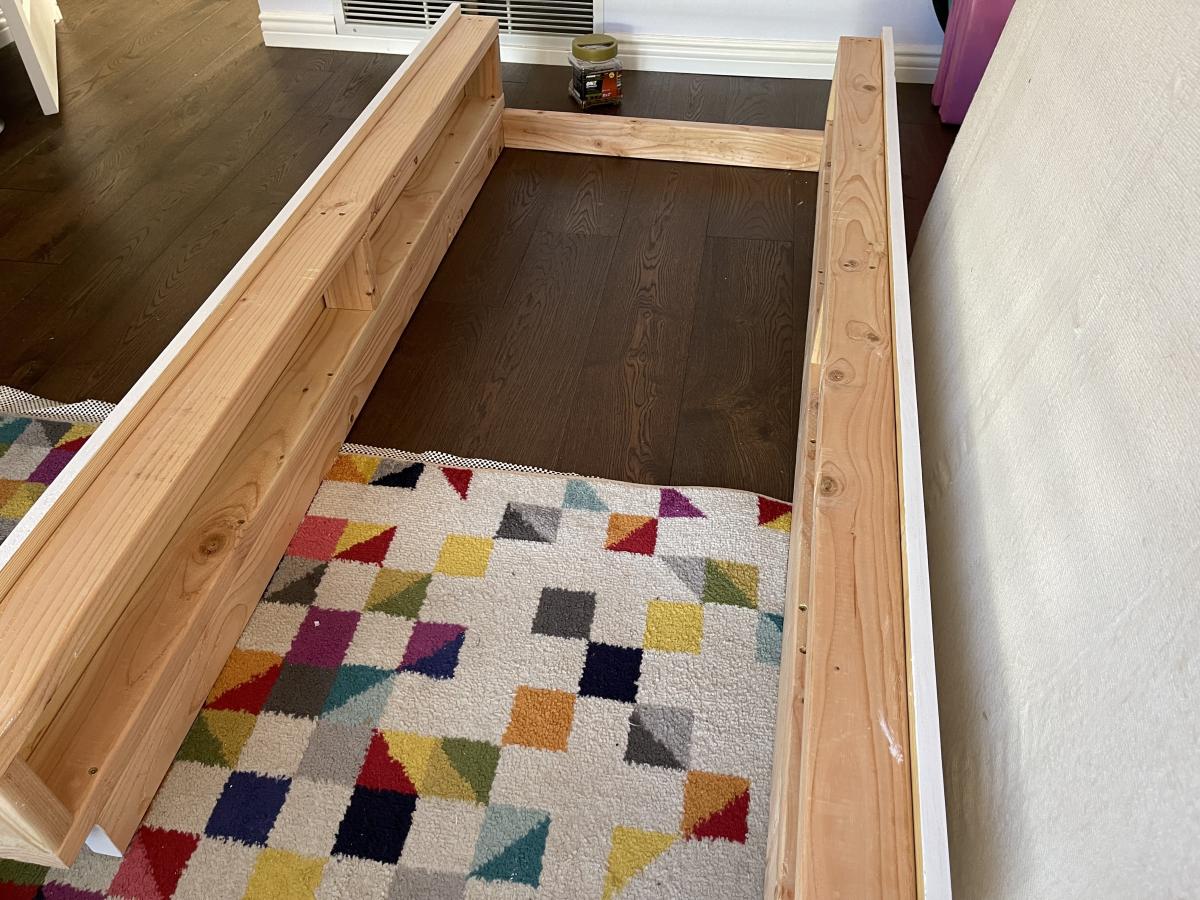
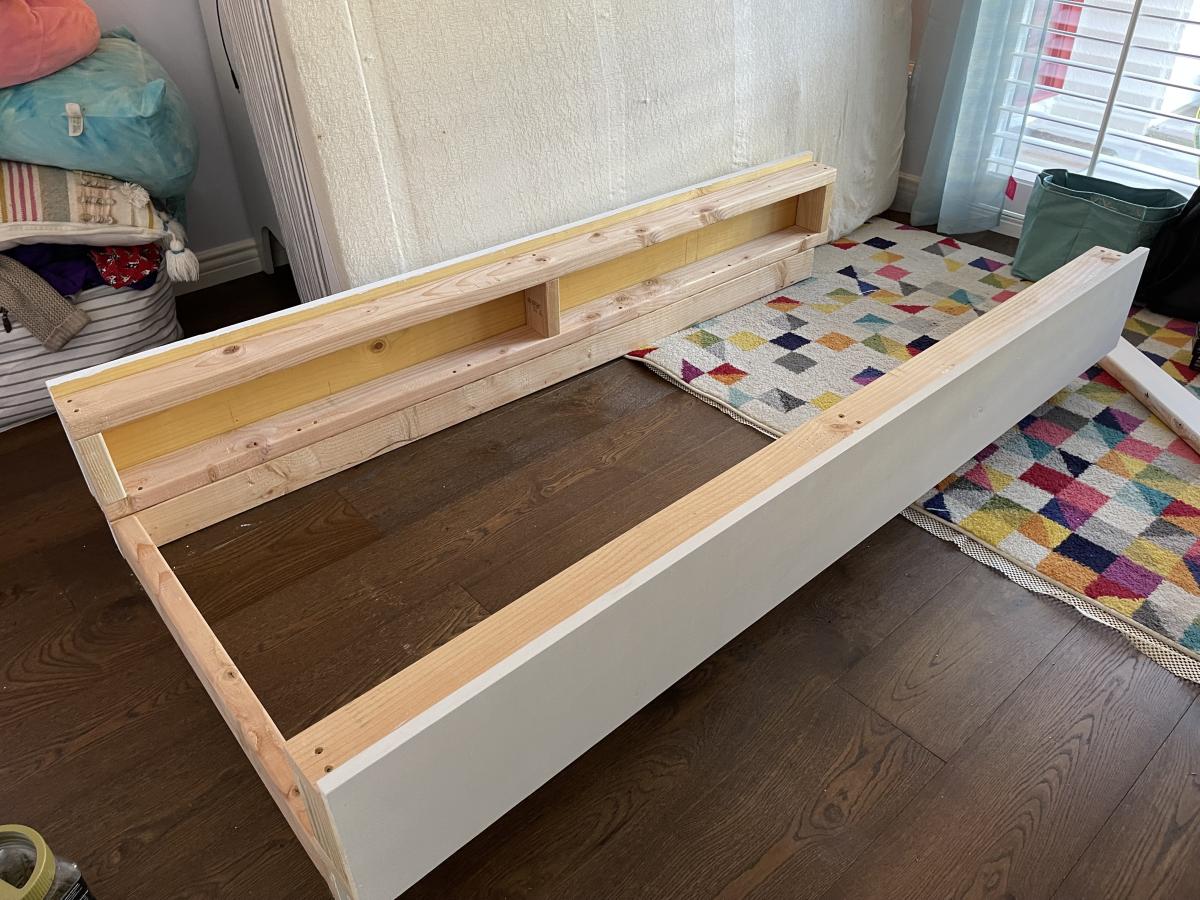
I built a floating bed using Ana's plans. In my case, I built a twin size bed which now my daughter enjoys every night. The bed turned out beautiful and very sturdy.
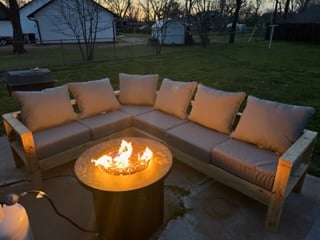
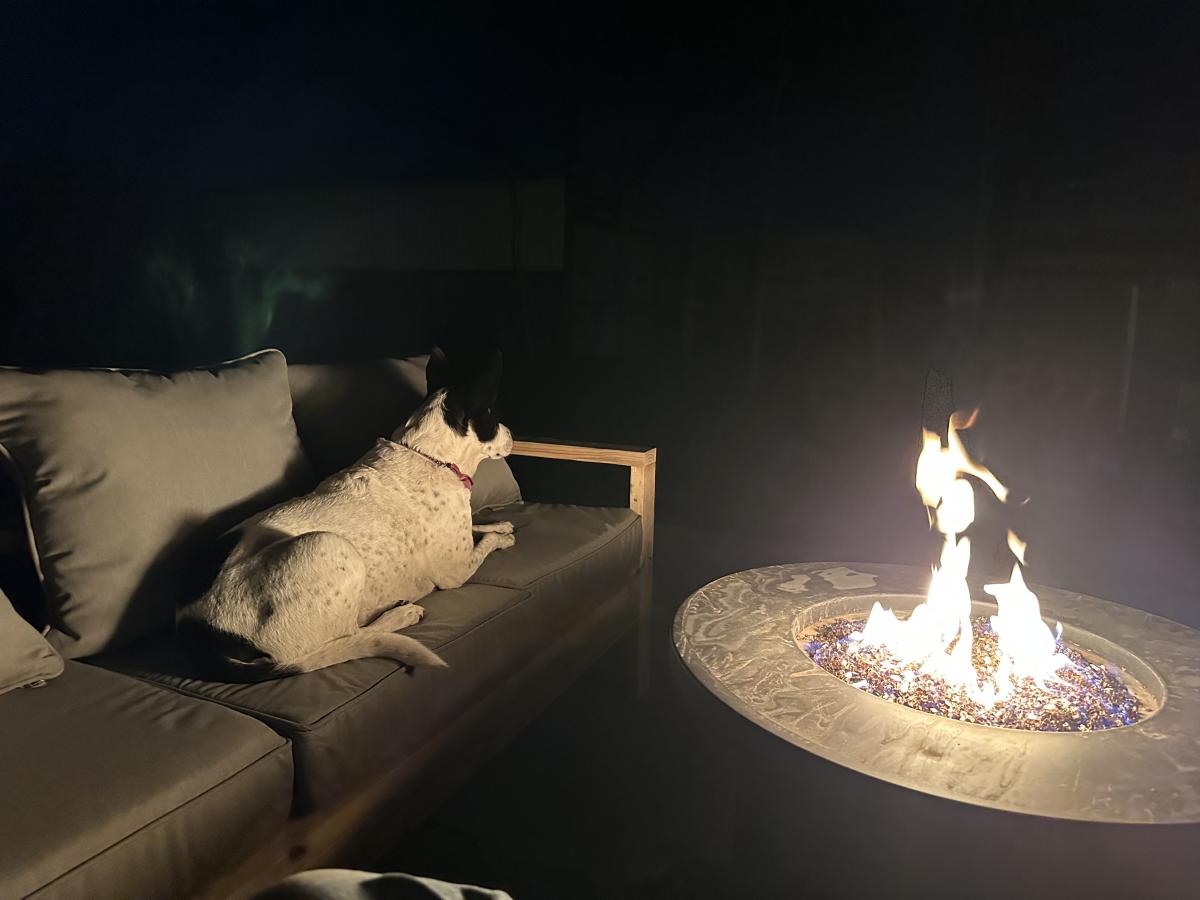
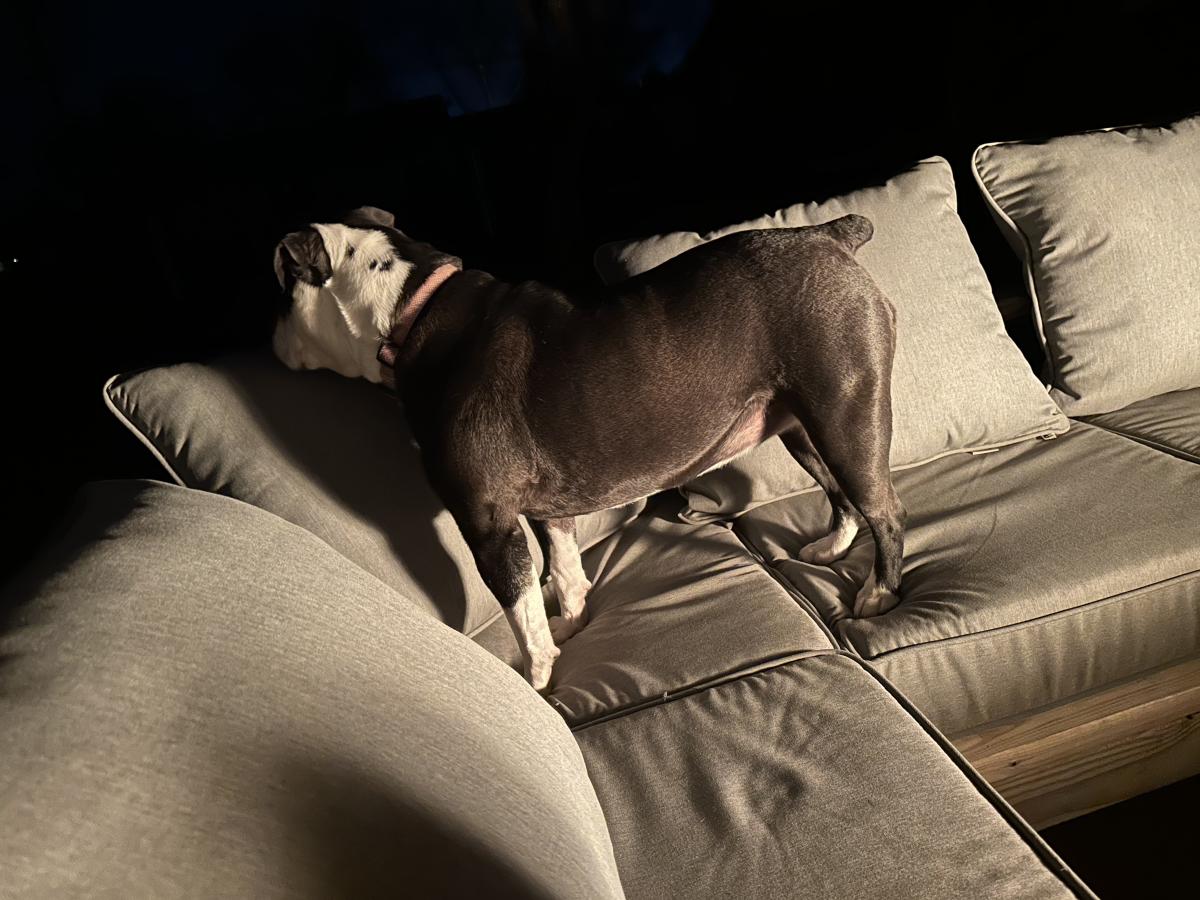
First build ever. Took about 2 days and the most expensive part was the cushions, but Lowe's had a good deal. I did not sanding, painting, or staining. I'm sure I'll do that eventually, or make another sectional later, but I'm in North Texas and loving this set right now.
Tue, 04/18/2023 - 15:35
This looks so great! Thank you for sharing your first ever build, can't wait to see what's next.:)
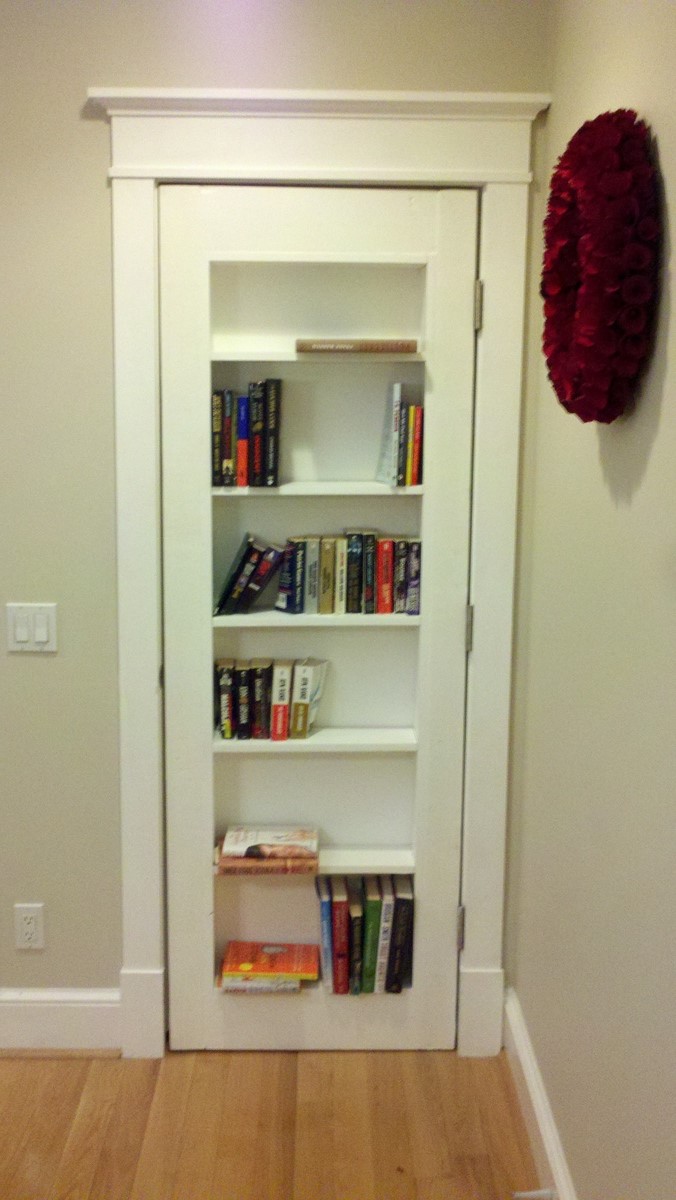
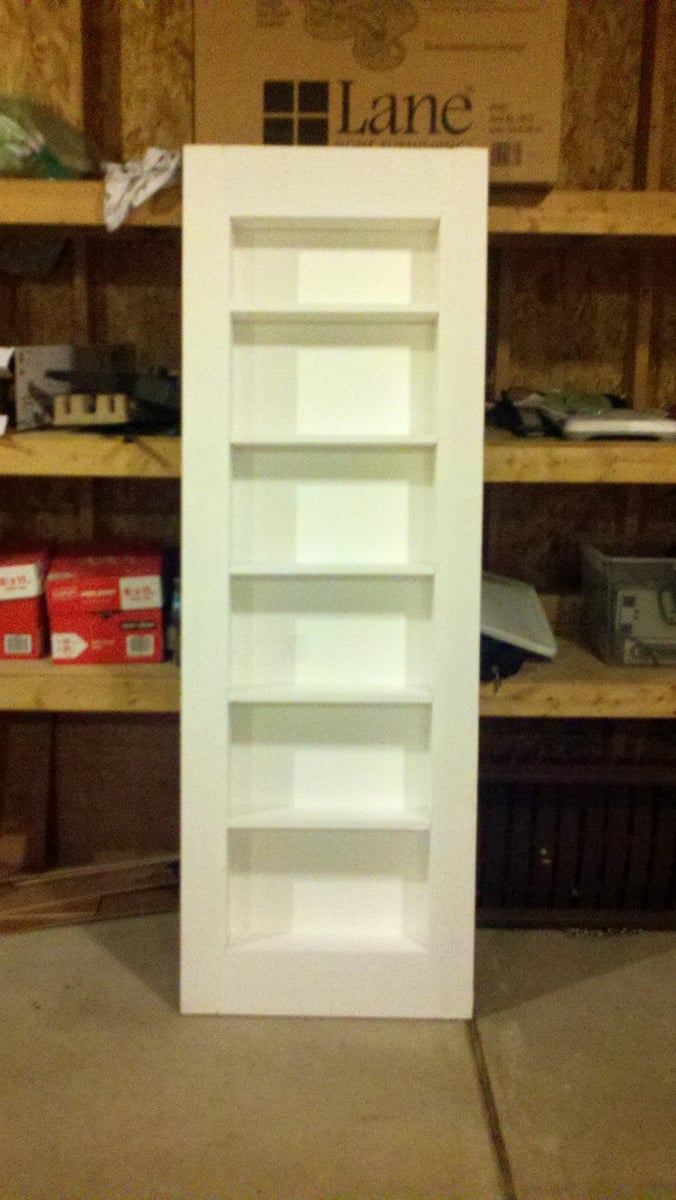
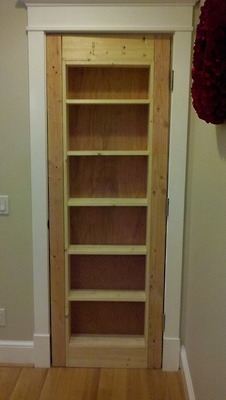
I bought a house in 2011, and I didn’t like the way the door looked in a dining room that leads to the crawl space and a little broom closet. So instead, I built a bookshelf on hinges and painted it white and so with the help of the plans from Inset Bookshelf Doorway plans I was able to create some more bookshelf space within my house for my Fiance, who is an avid reader and Librarian. I apologize for the lack of pictures as I had no idea it would turn out so well. It was actually relatively easy using a circular saw, a kreg jig, wood glue, wood filler, and a spray painter, I thought it turned out well. At first, I measured the doorway, and adjusted the plans to meet my needs taking into account that a 2x4 is actually a 1 3/4 by 3 3/4. This was the hardest thing for me to adjust to is the actual wood size. From there, I started building out the frame. Once that was complete, I added in the shelves with the Kreg Jig to make sure that it was all flush and hidden. Lastly, I added in 1/4 inch sheet wood for the back. Now it was time to prep. I took wood filler and filled in the sides, where the drill holes were, and since I could not get sheet wood long enough for the whole door frame to make sure everything was smooth so I used wood filler and puddy to fill in the space in between. Once everything was dry, I used my Ryobi paint sprayer and may have over-done it on the first pass, since this was my first time using it. After cleaning it up, I applied another coat and I am pretty happy. Finally, I finished it off with a magnetic pin to lock it in place so it appears to be shut and all you have to do is to push to open. Future updates, per the Fiance's request is to use a book with string through the back to unlock it in a gated fashion. I hope you guys enjoy, and I apologize for the lack of overall detail. This was done over a year ago and I have since cleaned out my notes.
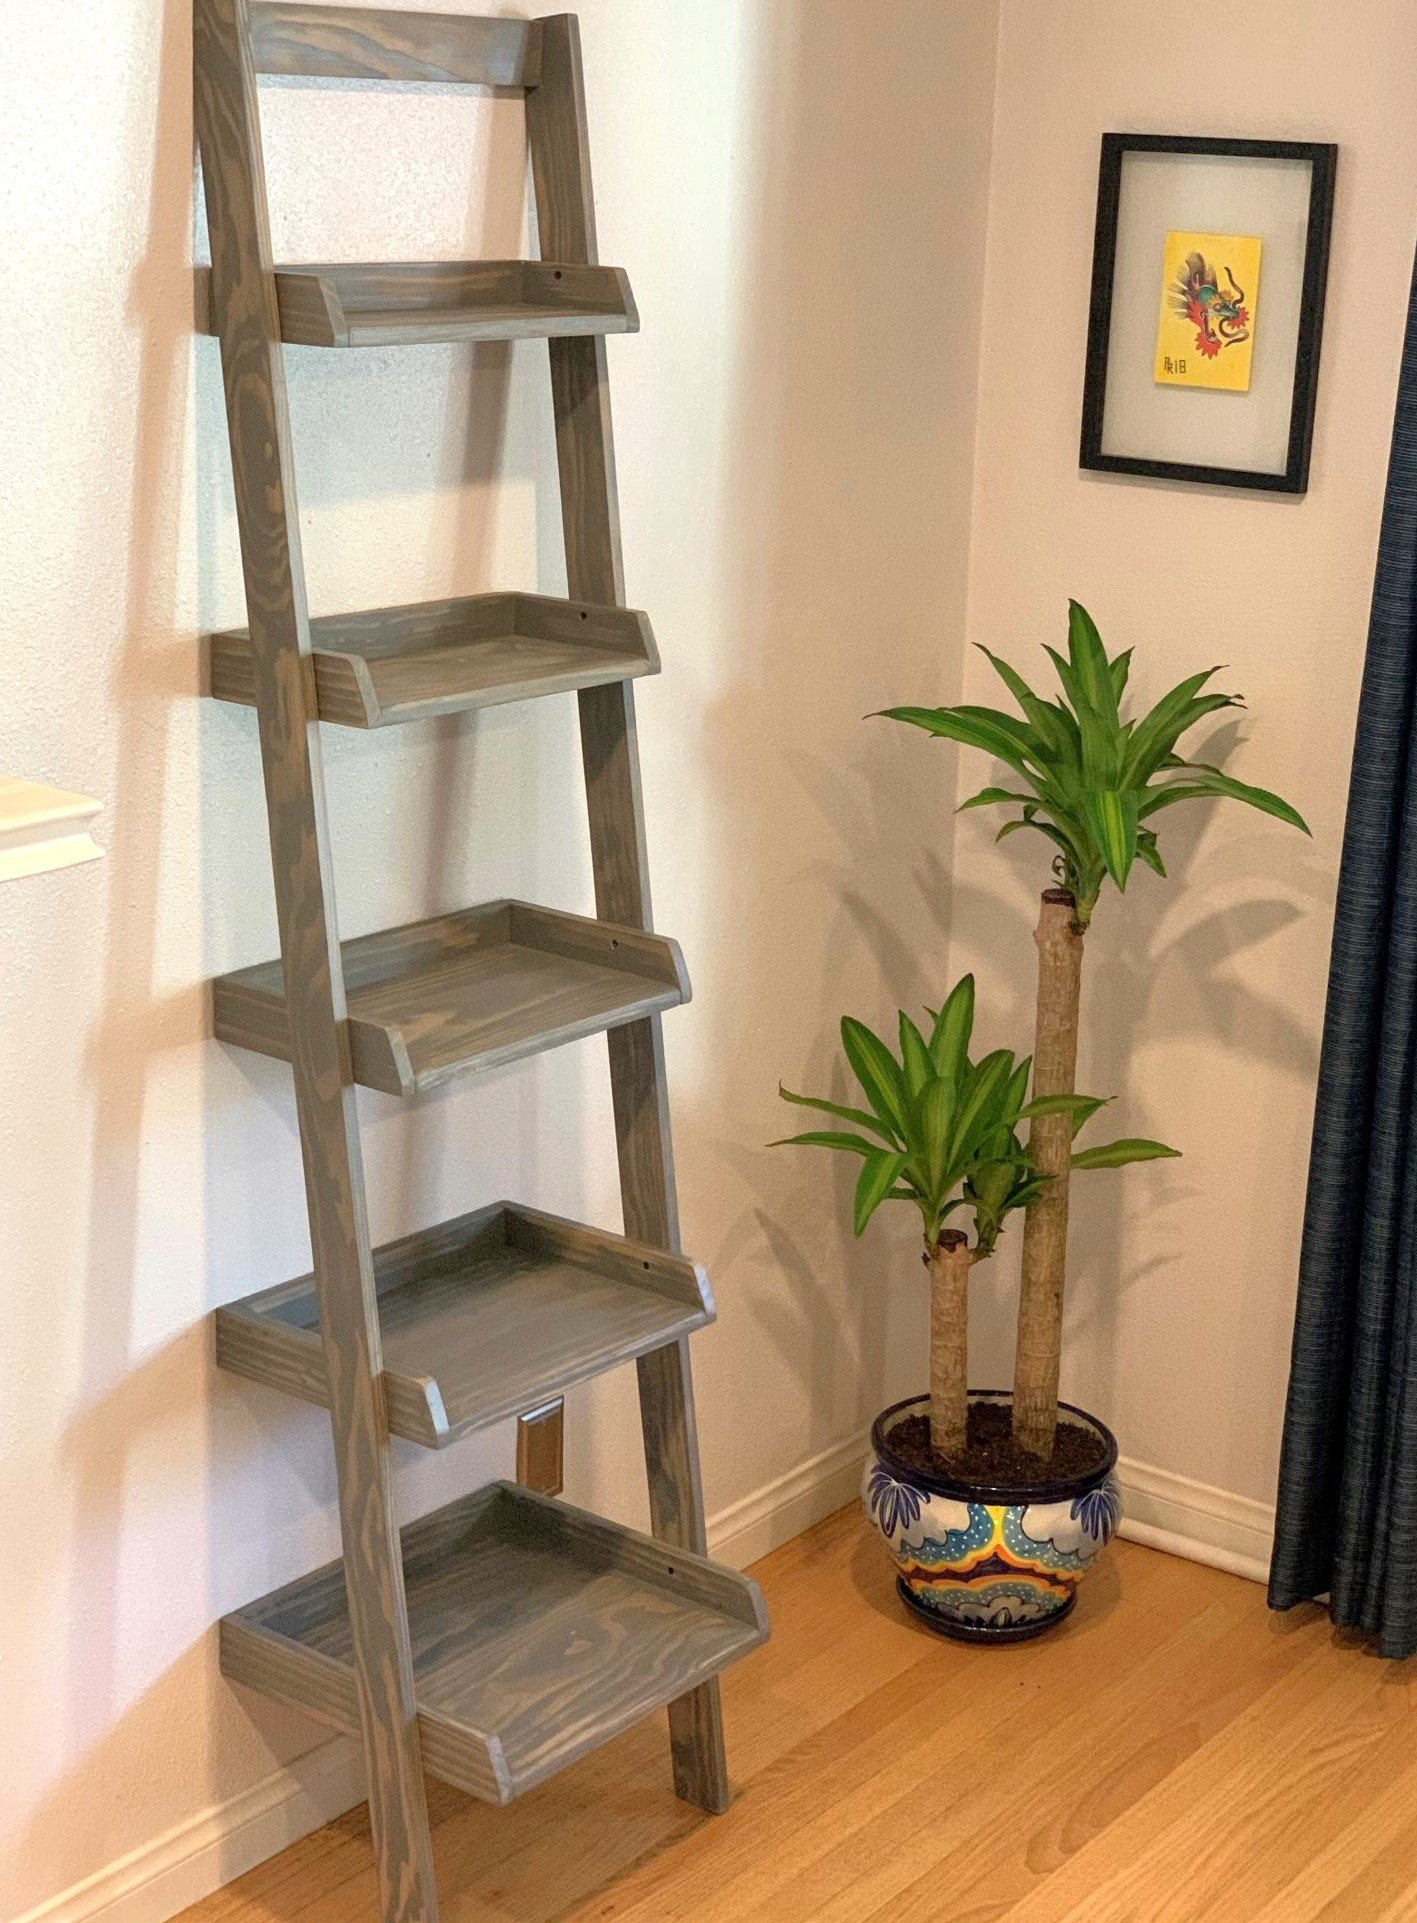
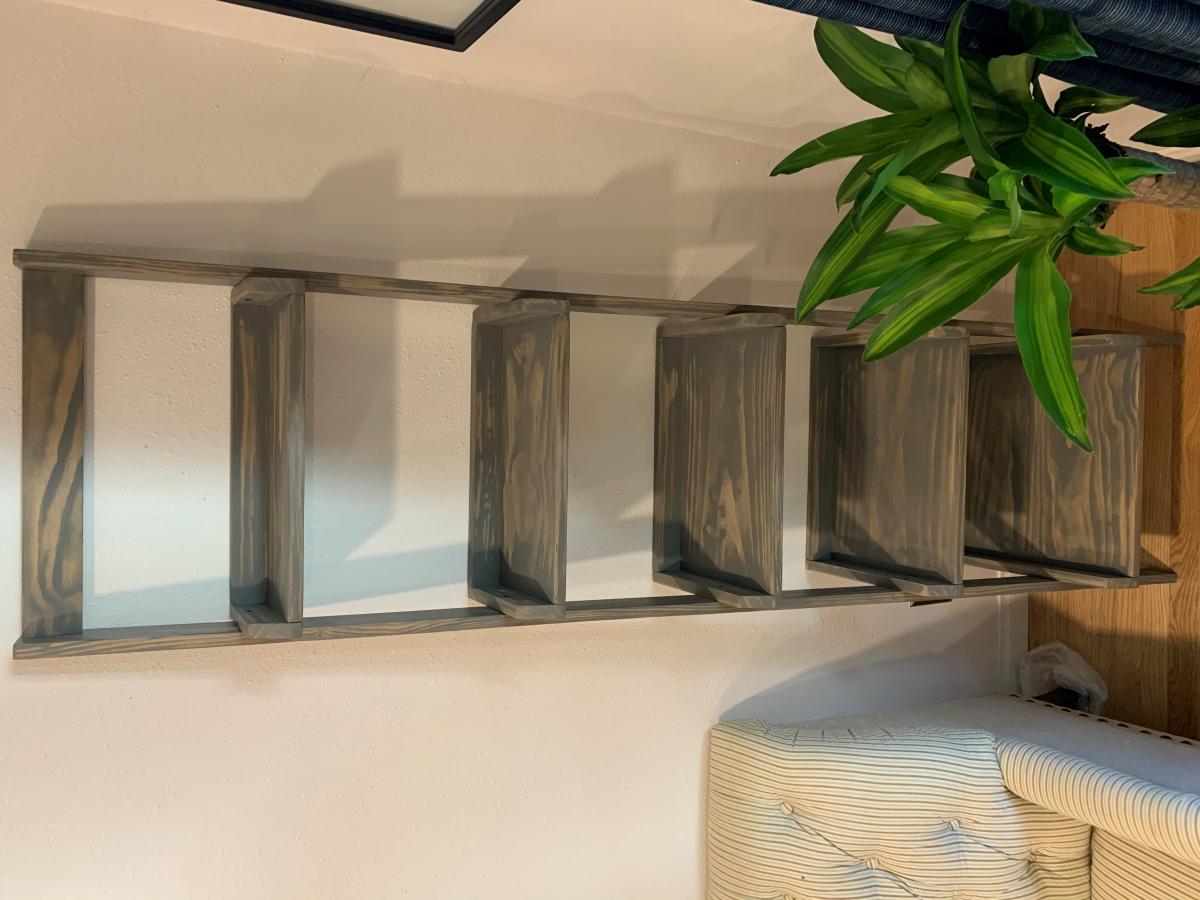
Another one bites the dust. Made this out of Ana instructions for a ladder shelf. Like the way this turned out alot. Ana White knows whats up :)

I needed an expandable and reconfigurable display table and this workbench fit the bill perfectly. I built two tables to start and they came out great! Thanks for the clear plans (although there is one mistake which is the 30” table on 4” casters actually needs 10 2x4s to complete).


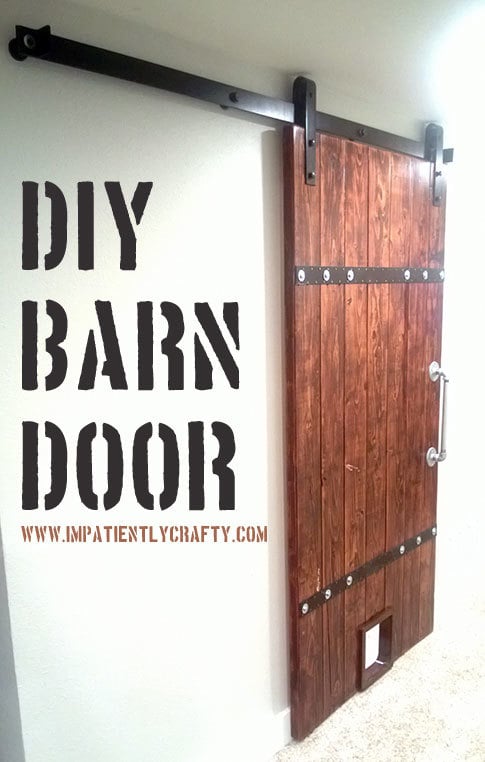
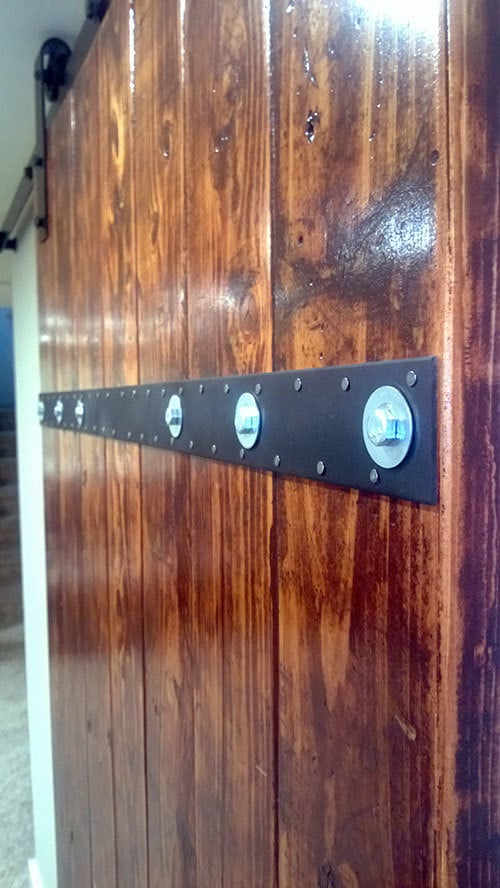
I made his Barn door out of the wood that was left in our garage when we moved in. Using (7) 2x6 boards and adding stain sanding and hardware, it became a super functional industrial rustic (is that a design style LOL) door! (I added a cat door to for our cat ;))
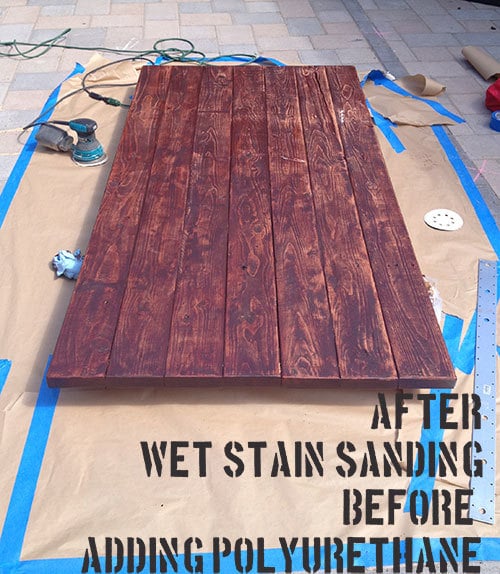
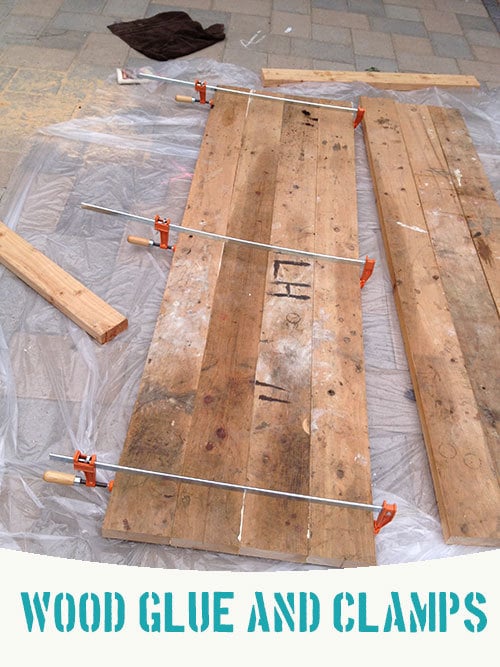
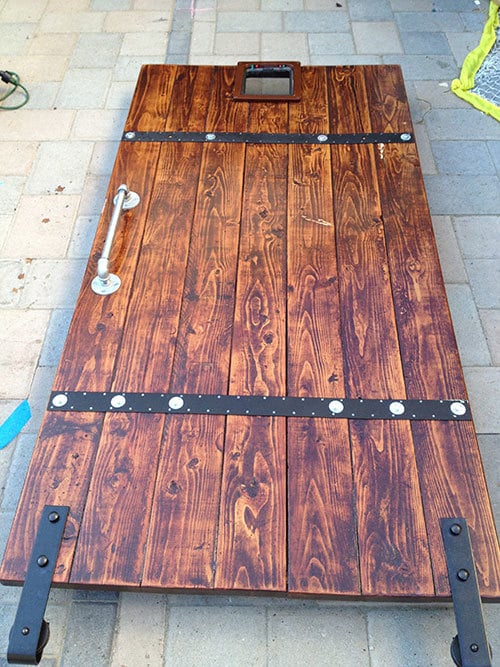
In reply to I love the strapping. This by Pam the Goatherd
Thu, 08/01/2013 - 11:08
Thank you! I was just super happy that I didn't have to cut the strap ties lol. now if our cat would just get used to using the cat door.....
In reply to I love the strapping. This by Pam the Goatherd
Thu, 08/01/2013 - 11:08
Thank you! I was just super happy that I didn't have to cut the strap ties lol. now if our cat would just get used to using the cat door.....

The wife has a hard time bending down so she wanted pedestals for the washer and dryer. The metal ones with a drawer were too tall. I showed her Sausha's and she really loved that design. I basically used the same construction plans idea from Sausha's project and some tips from Ryan's brag post. But, I wanted to beef it up some. I didn't like the L-bracket to attach the top and 4X4 legs. It didn't seem sturdy enough for me. I used my table saw to square the edges on the 4X4 posts and the 2X6 rails. Then I used my Kreg jig and glued and screwed everything together. I liked Ryan's trim ideas, so I used baseboard trim for the bottom and flipped it for the top trim. I made a 1/2" lip so if it were to vibrate, the washer/dryer would not fall. I put the trim on the bottom of the legs and was considering putting on the top but I put some different trim all the way around the bottom of the 2X6 rails. The wife liked that. I also added some carpet on the top to cut down on vibration and to help keep the units in place. I also put some 4X4 pieces of carpet on the bottom to keep the noise down and to help in moving it. I primed and used an gravity sprayer to paint it. Then I put 3 coats of polyacrylic to help in cleaning and to cut down on scratches from the laundry baskets.


Wed, 06/29/2016 - 14:31
I think you could probably drive a truck on top of yours. :) I was a bit concerned about the strength of the construction when I first decided to build it, but I decided that since it would be stationary once I have it in place and the only force would be straight down, it would be fine. Once I got it put together, it was actually sturdier than I thought it was going to be...from a horizontal force perspective. Virtically, that thing could hold 100 washer/dryer pairs...the plywould would give out before the 2x4s and 4x4s would even budge.
Anyway, nice work! I love the Kreg Jig...I need one of those.
Sun, 01/29/2017 - 16:23
Great looking build, thanks for the detailed photos!

Well, I started with one chair and finished with a full set. Not bad for a first timer. Definitely room to improve. Little tip if you're going to make this amazing set... raise the backs as they are too low with thicker cushions. I built a casing to go on top after the fact. Pretty happy with how it all turned out. Thanks Ana for the plans... now onto the next project!


Fri, 04/28/2023 - 08:41
Very nice workmanship. I'm curious as to how comfortable they are with the straight 90* backs? Let me know please at dgm11955@gmail.com. Again nice workmanship.
Fri, 04/28/2023 - 08:41
Very nice workmanship. I'm curious as to how comfortable they are with the straight 90* backs? Let me know please at dgm11955@gmail.com. Again nice workmanship.
Comments
Ana White Admin
Thu, 05/04/2023 - 14:00
Super Cool Sectional!
Looks fantastic, thanks so much for sharing!