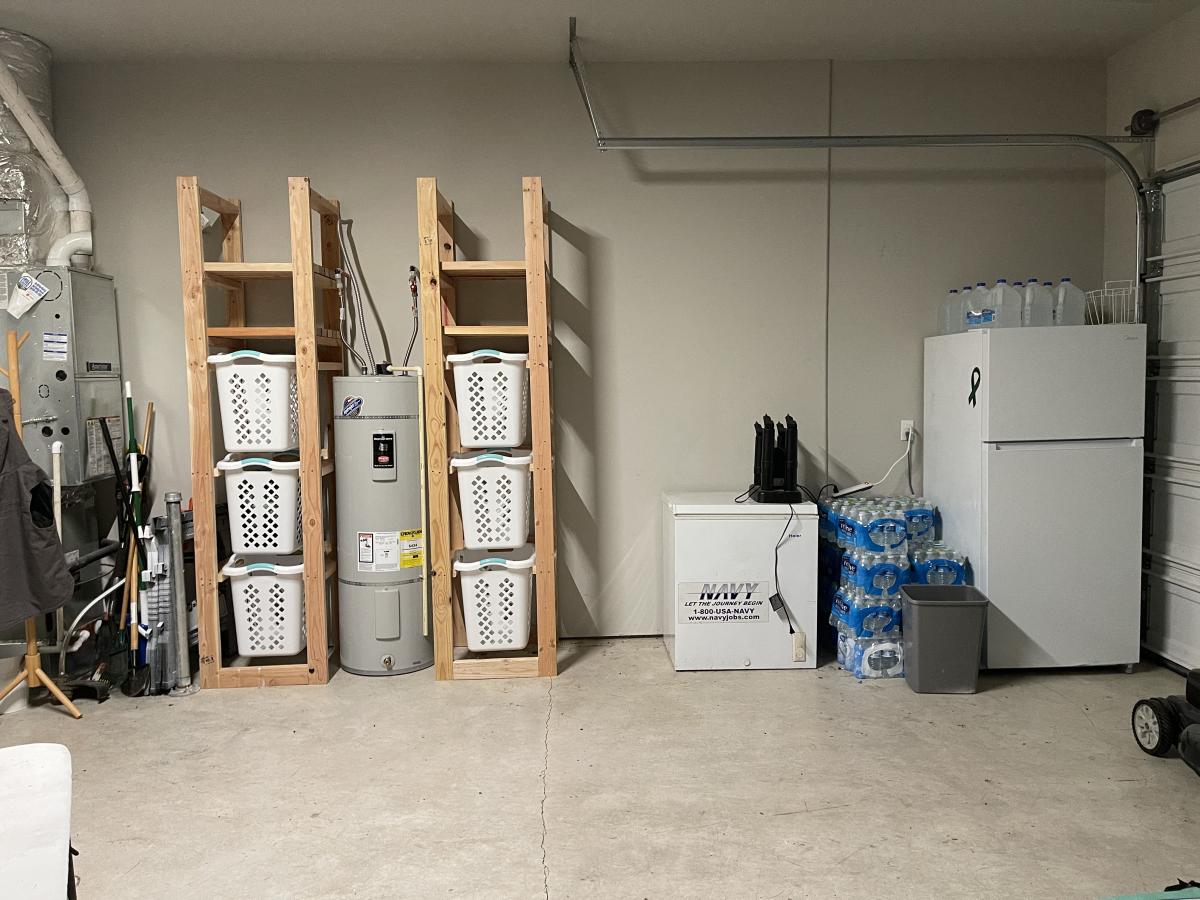
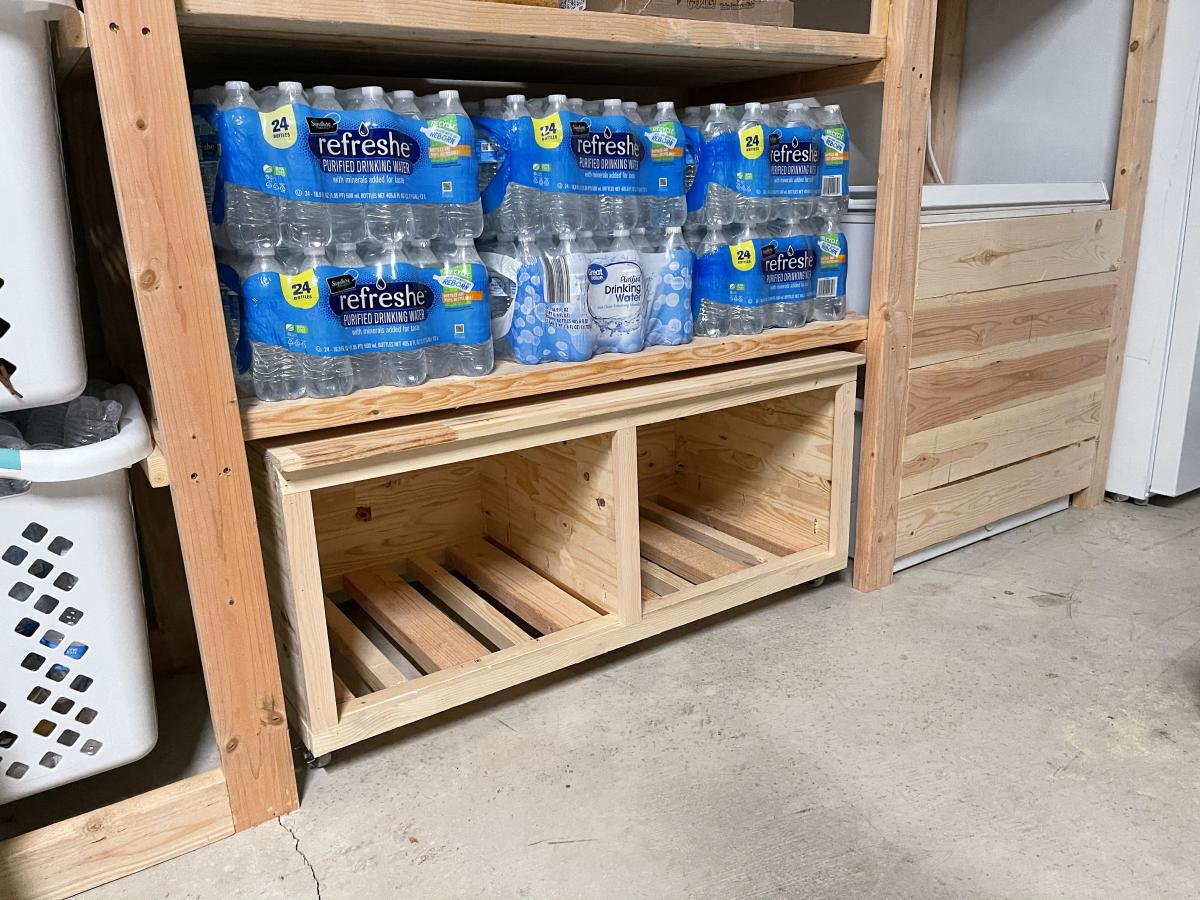
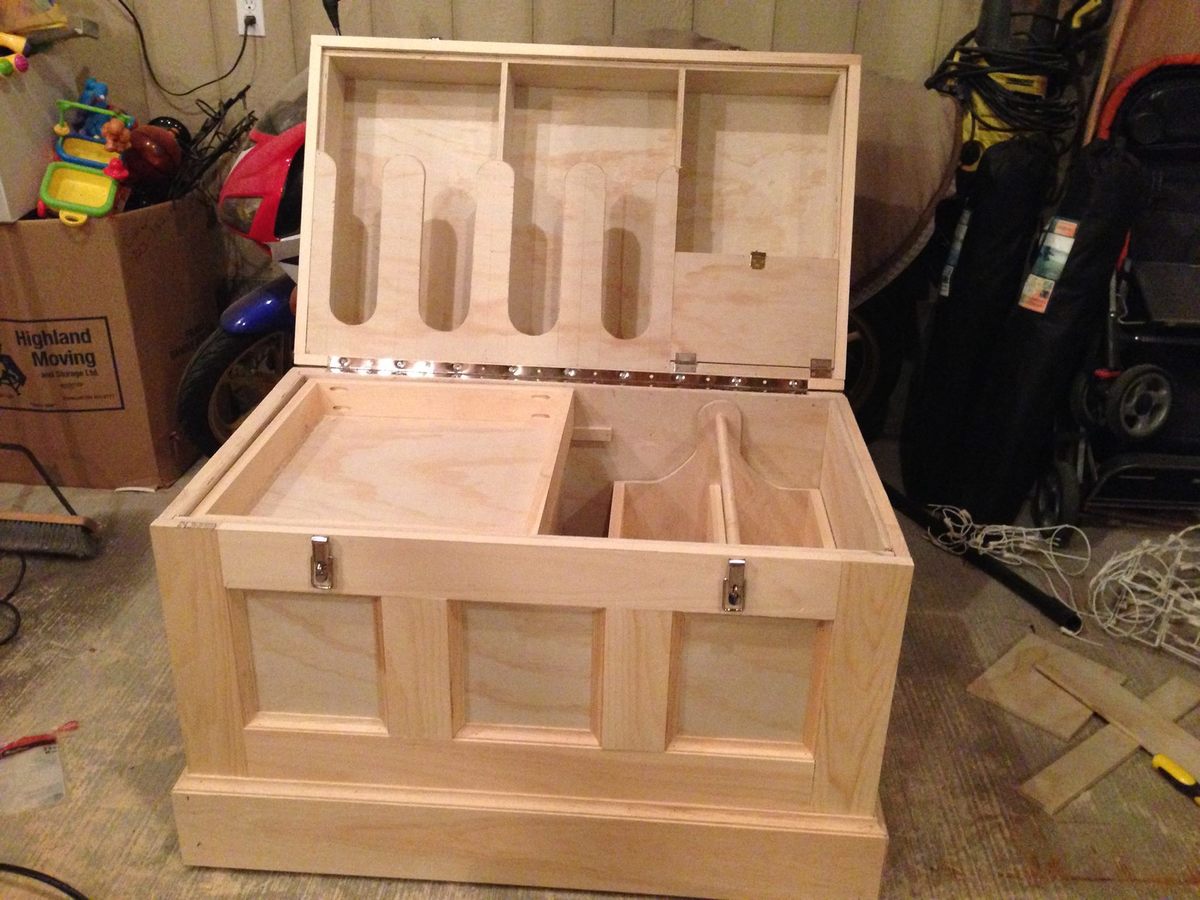
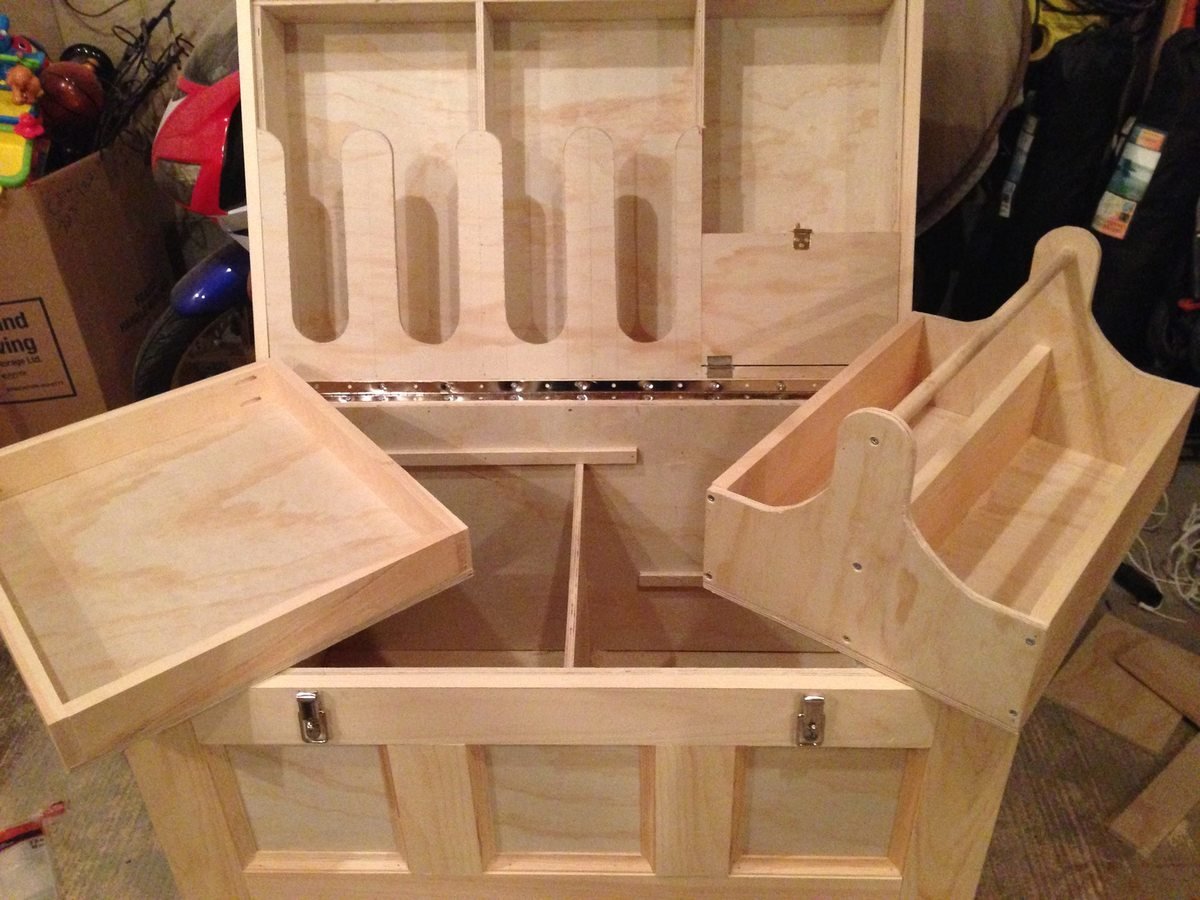
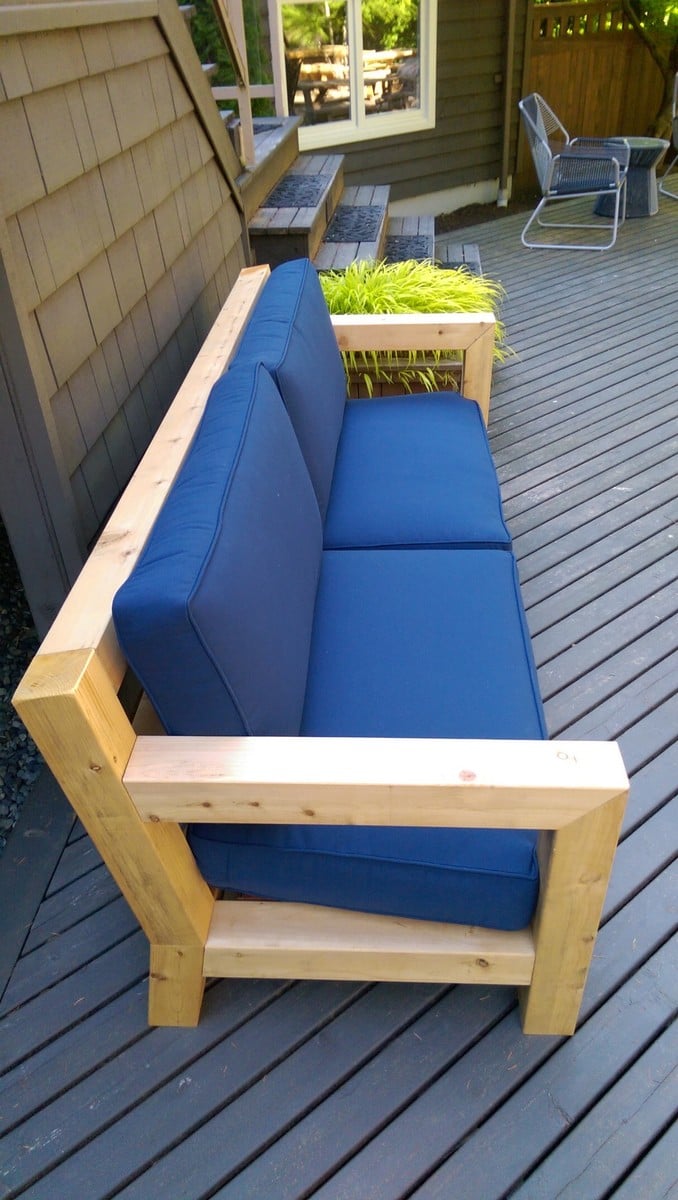
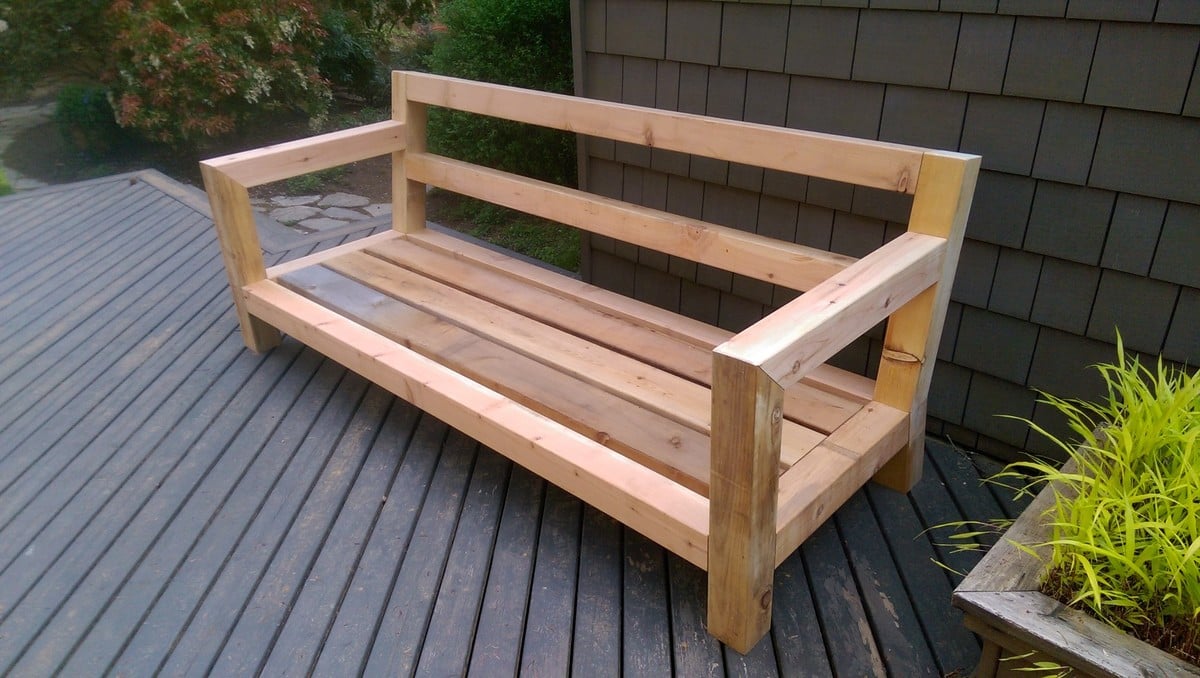
Great plan - added to make it even bigger
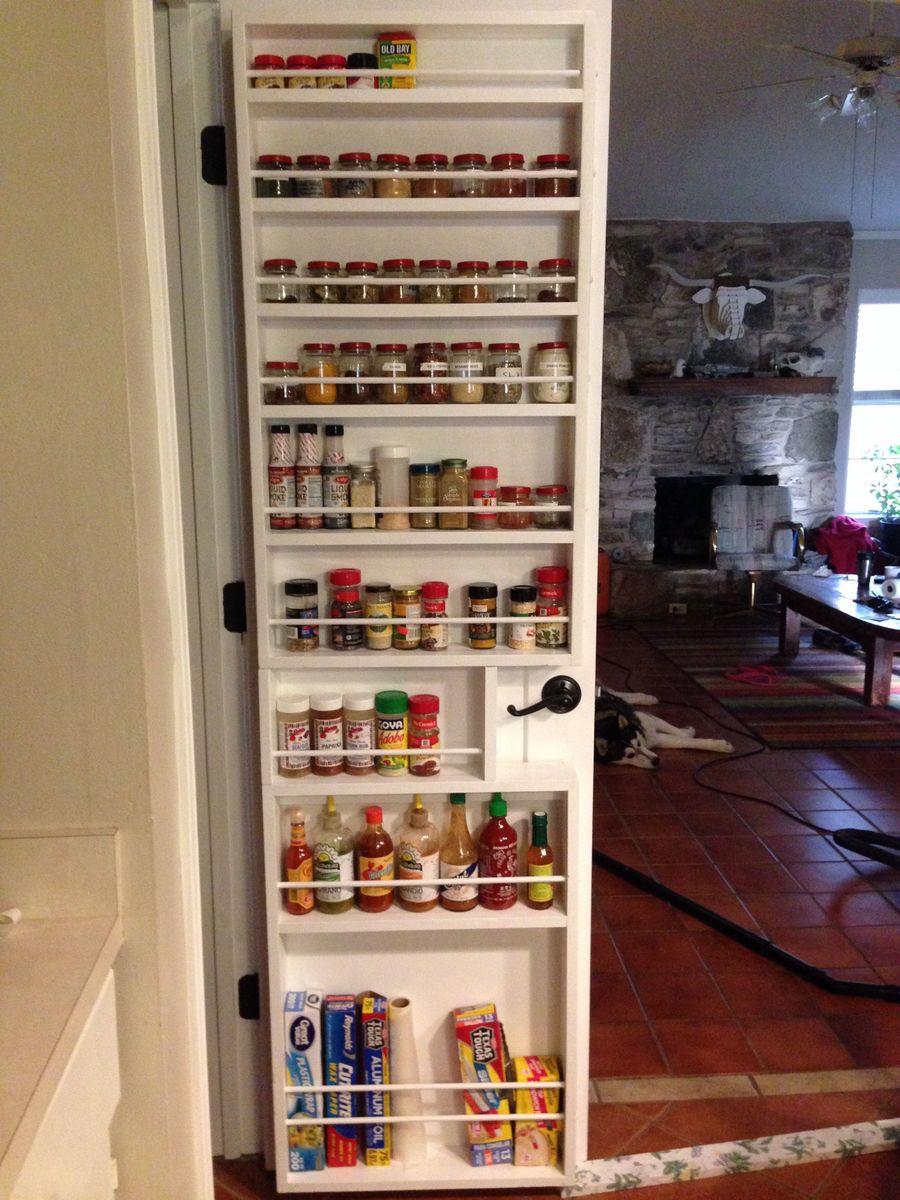
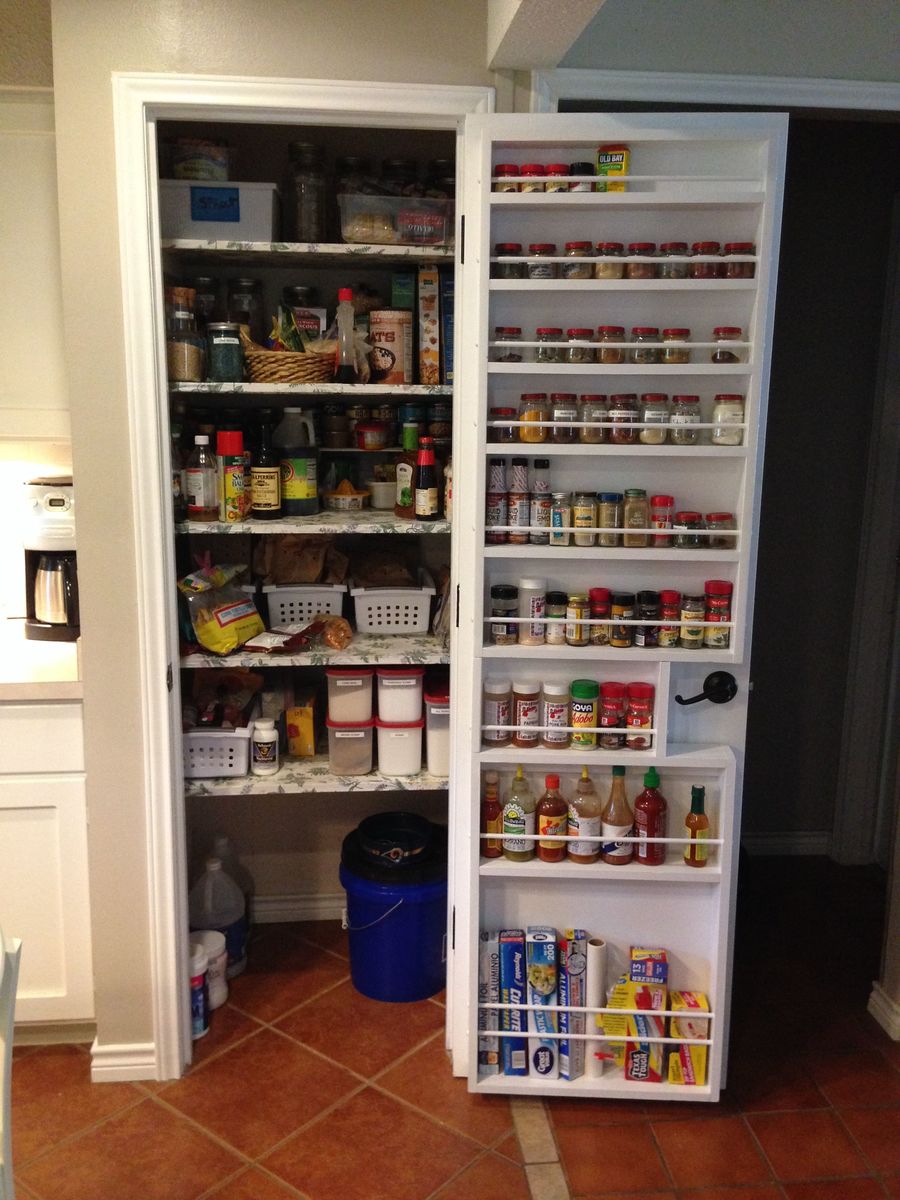
The plan is great, I followed the instructions exactly. Then altered the plan to build a second rack that would fit the bottom of the door, with foil, saran and bag storage at the bottom. Consequently it was heavy and I was very skeptical of the hollow core door anchors, but I installed 3 at the top and 2 at the bottom of both pieces. It's very solid and secure....would probably have worked fine with even less. This door is only 32" wide but has plenty of room for this project. Thank you, looking forward to trying more of your plans.
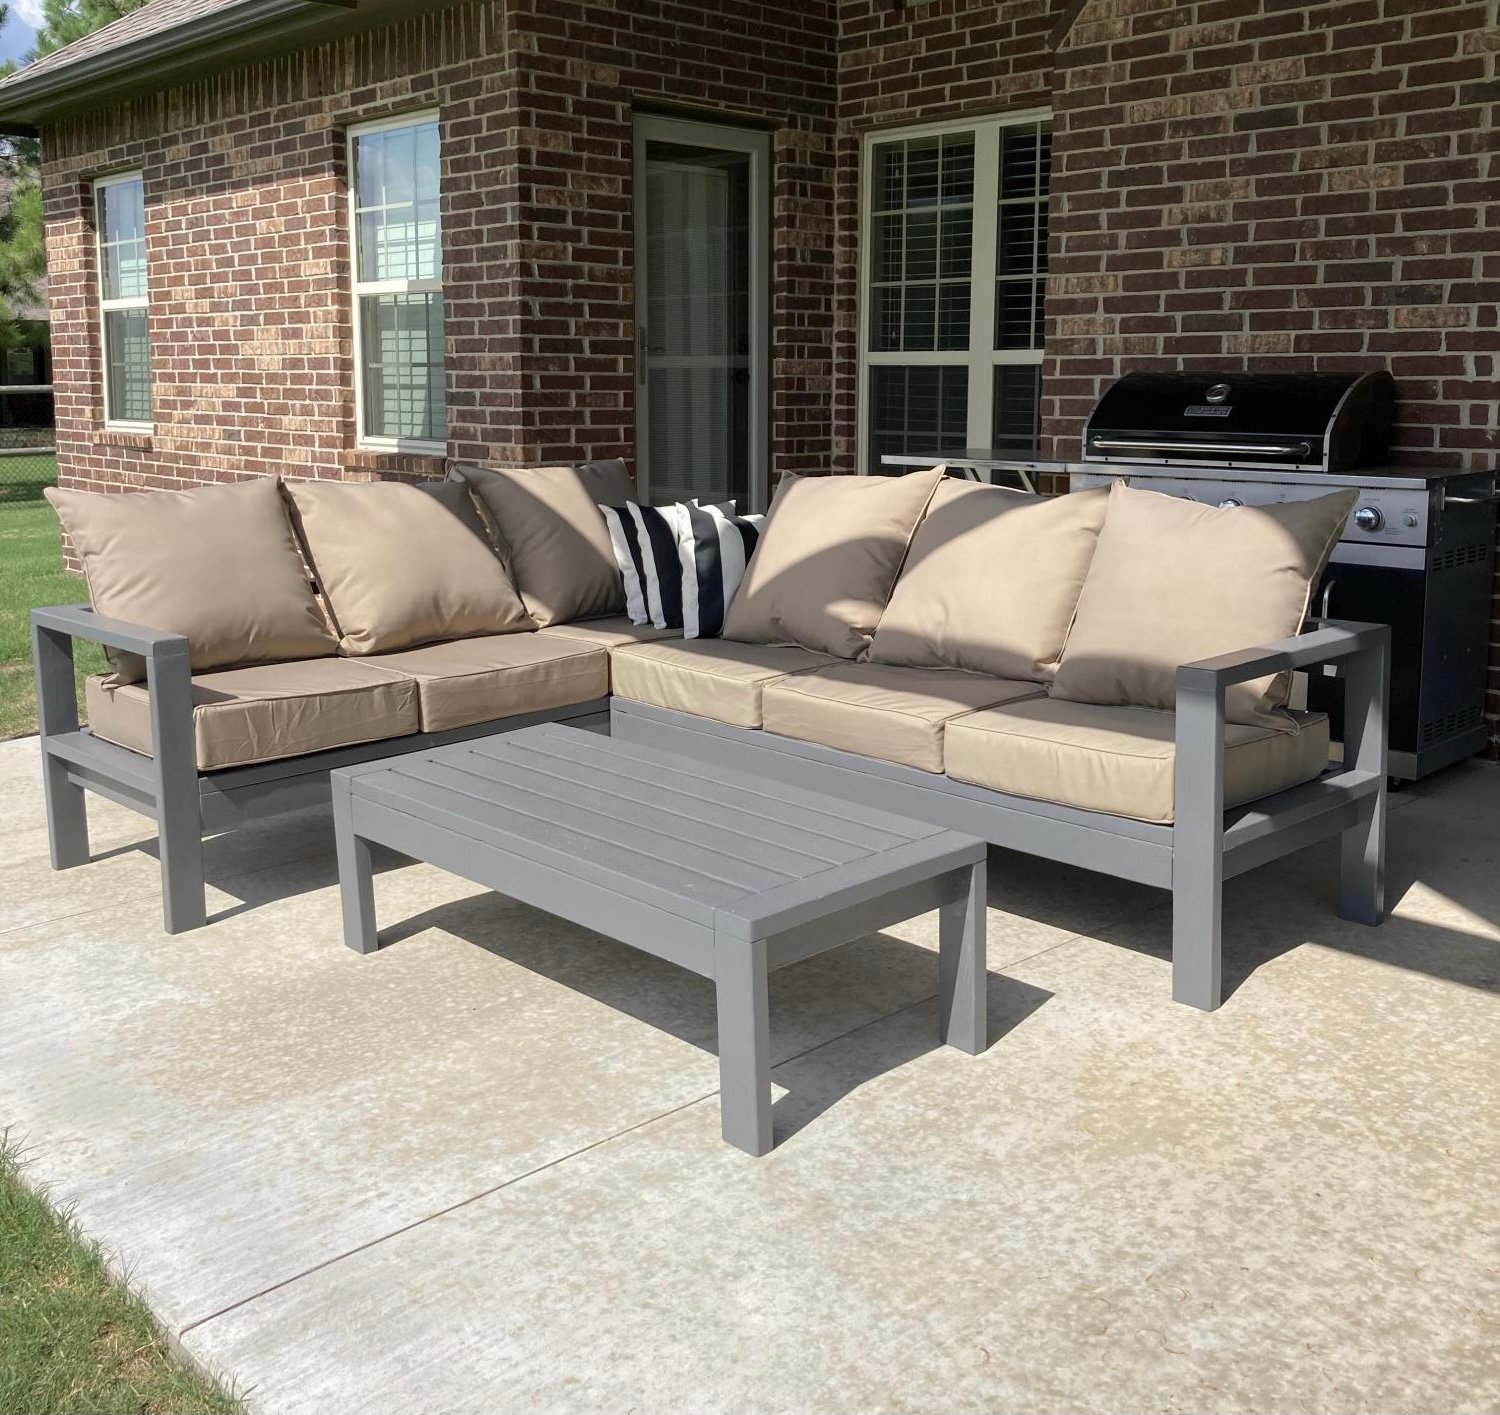
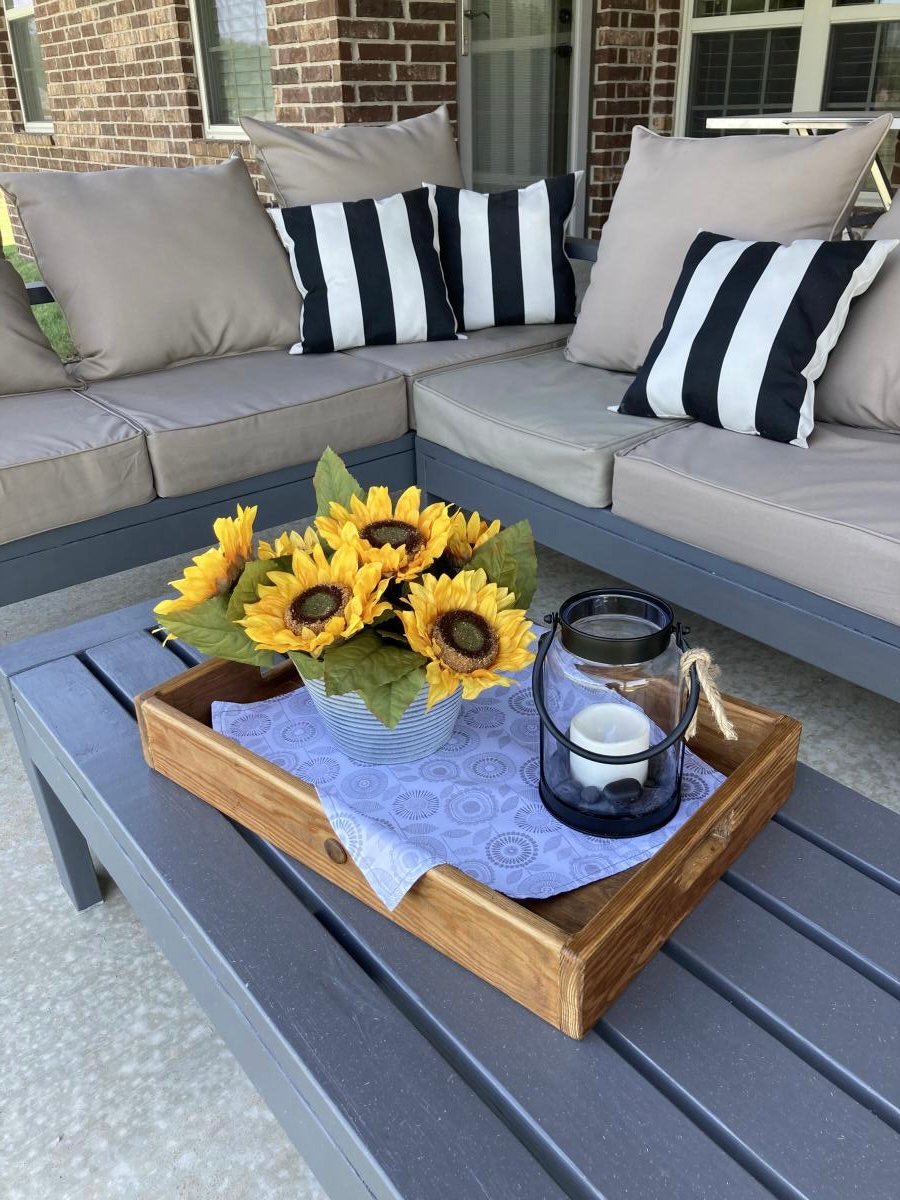
Built from Plan(s)
Estimated Time Investment
Day Project (6-9 Hours)
Finish Used
Primer and latex paint.
Recommended Skill Level
Intermediate


Comments
saariko
Mon, 08/31/2020 - 11:07
Did you change the hinges…
Did you change the hinges due to weight?