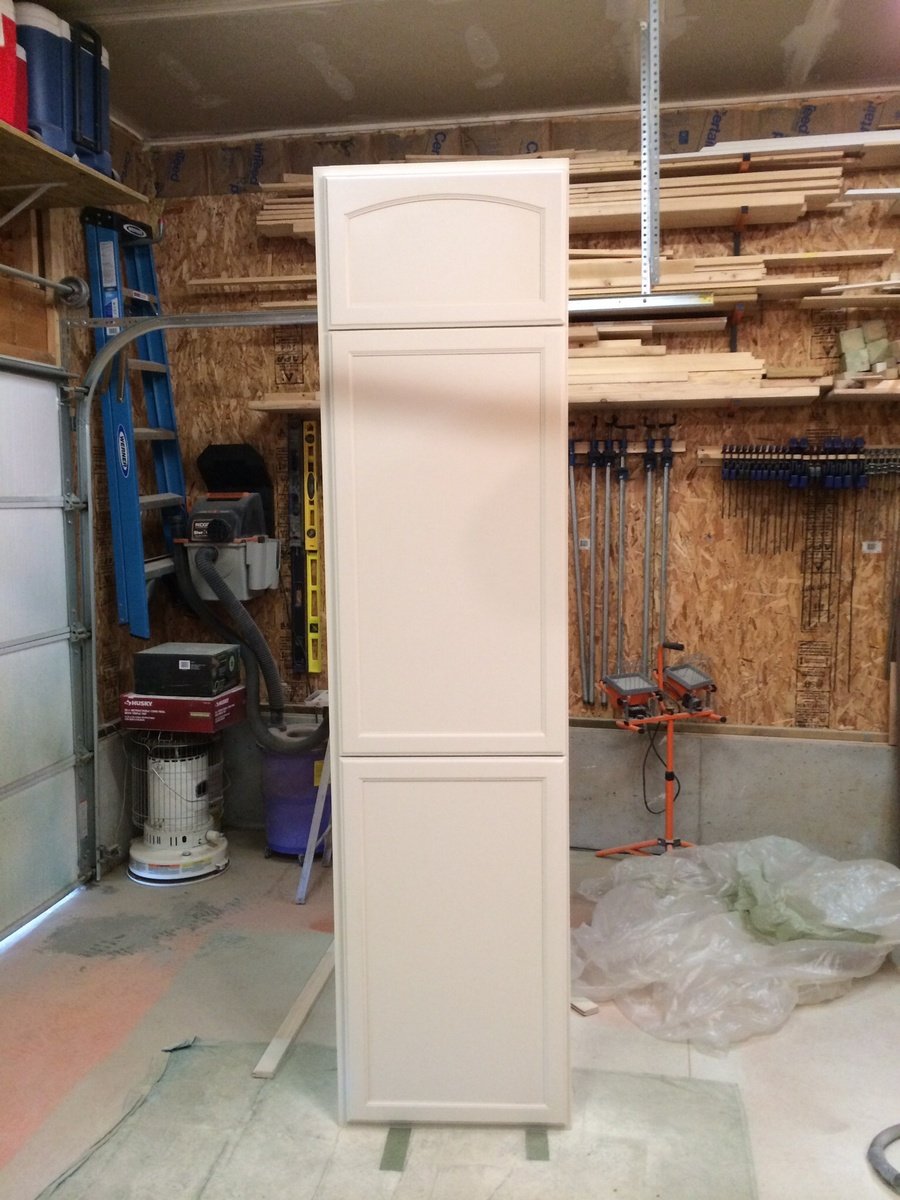
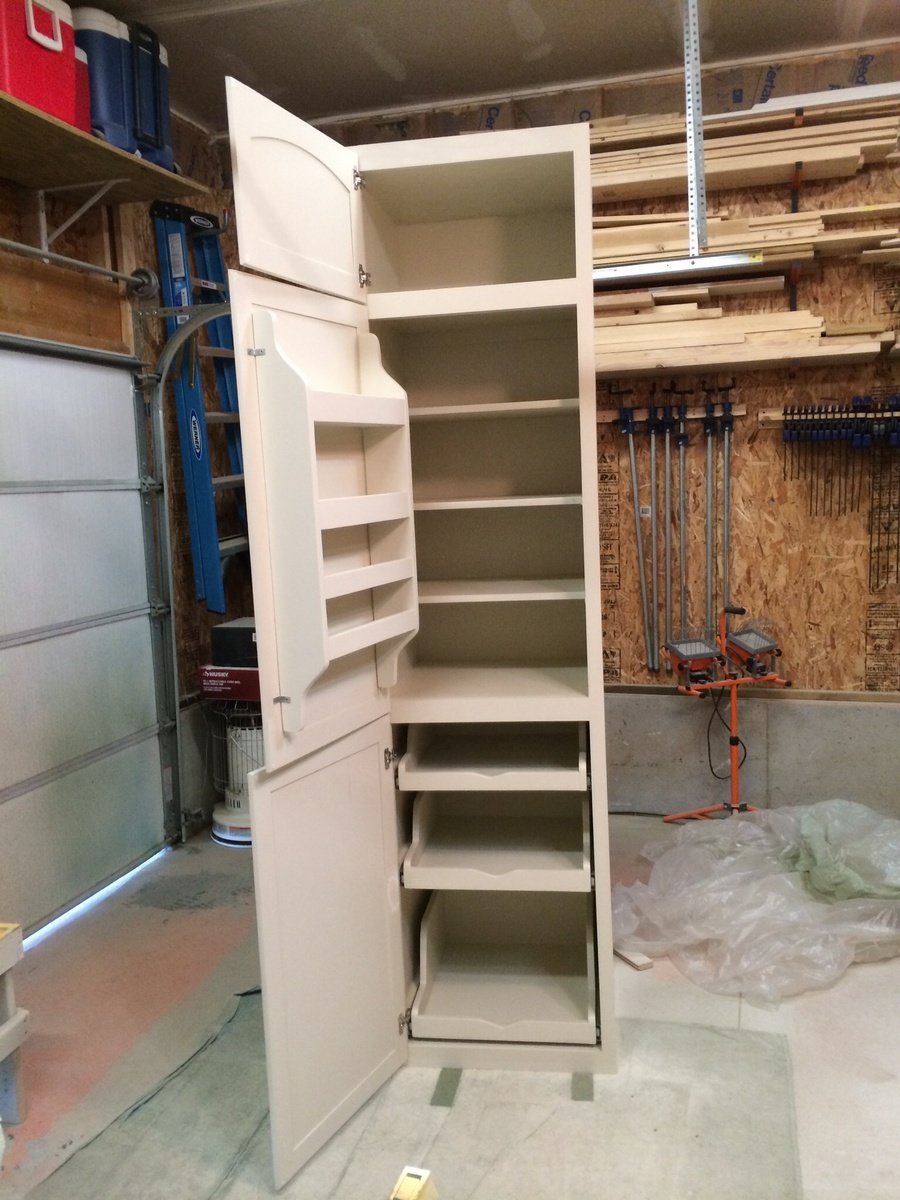
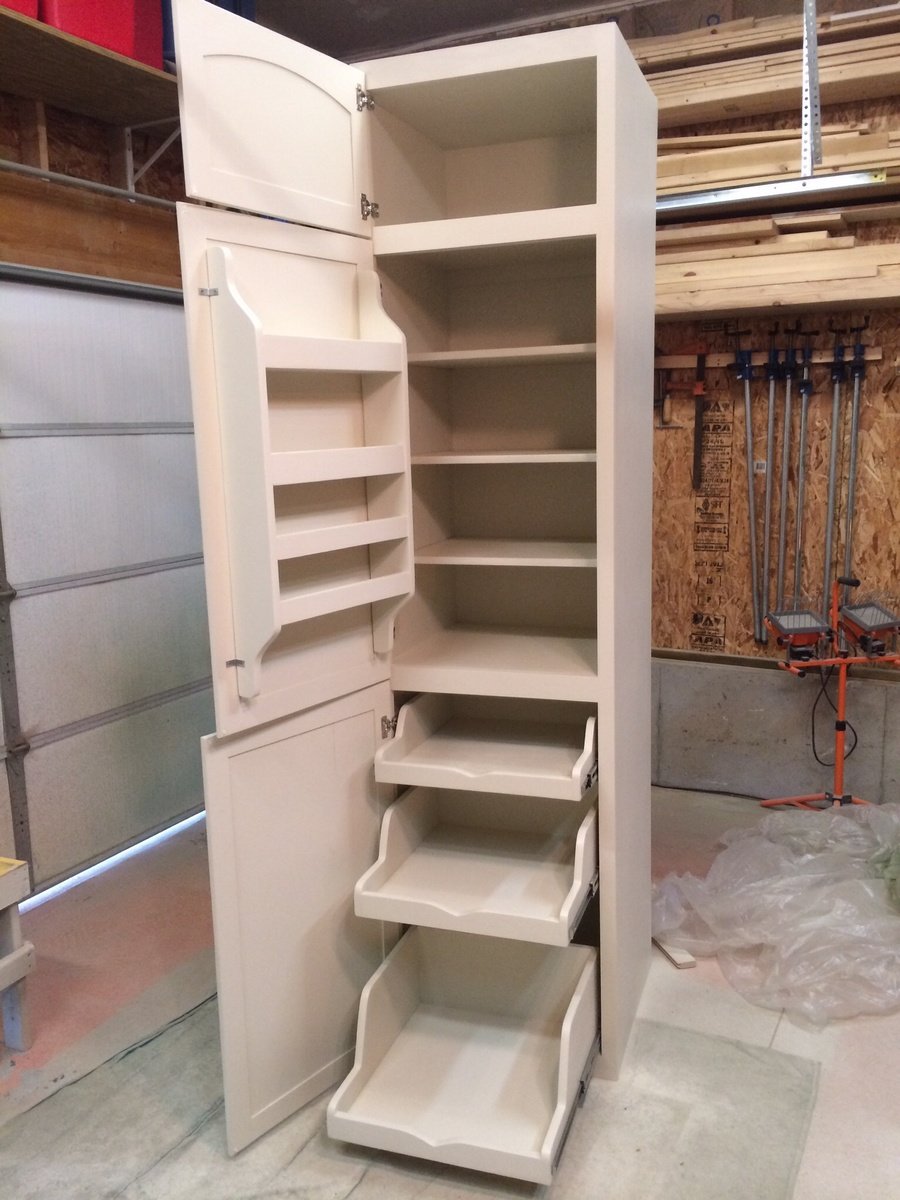
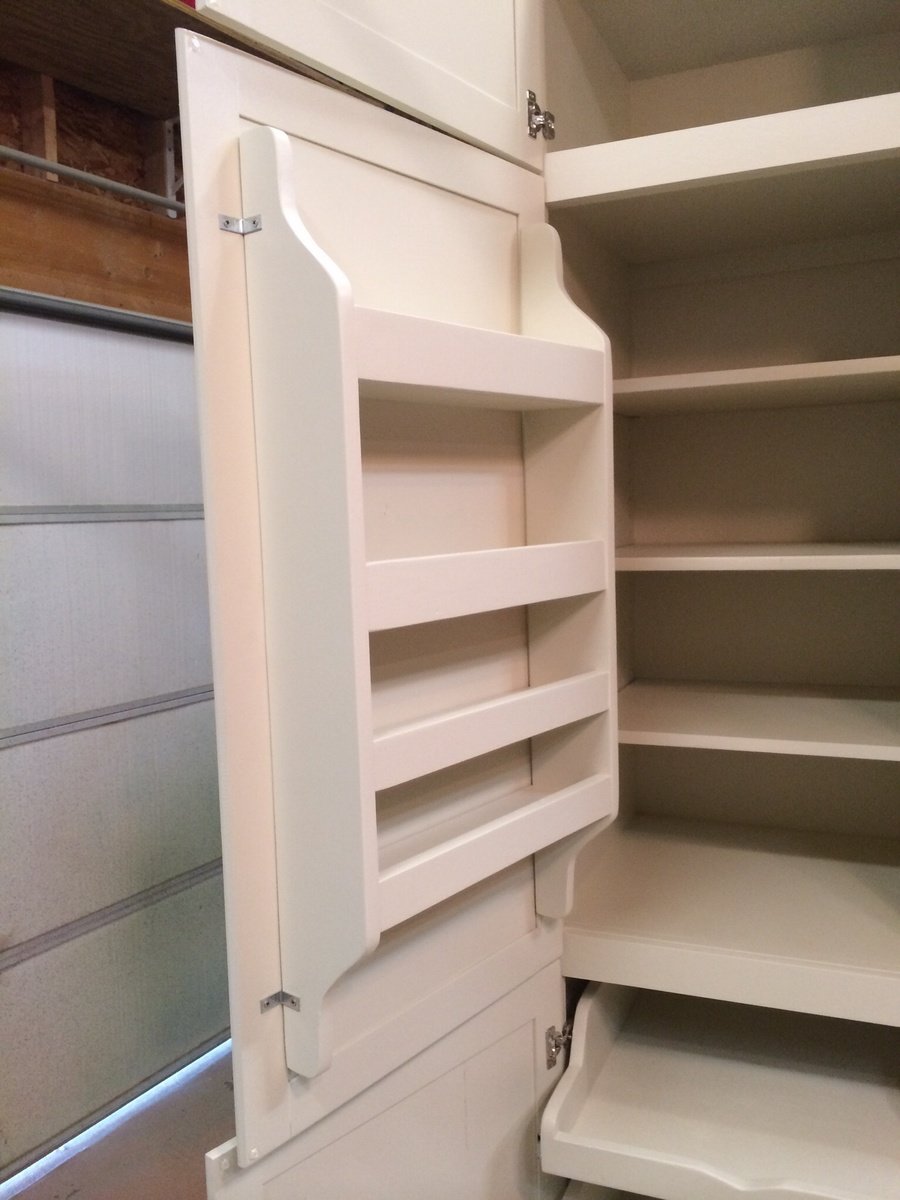
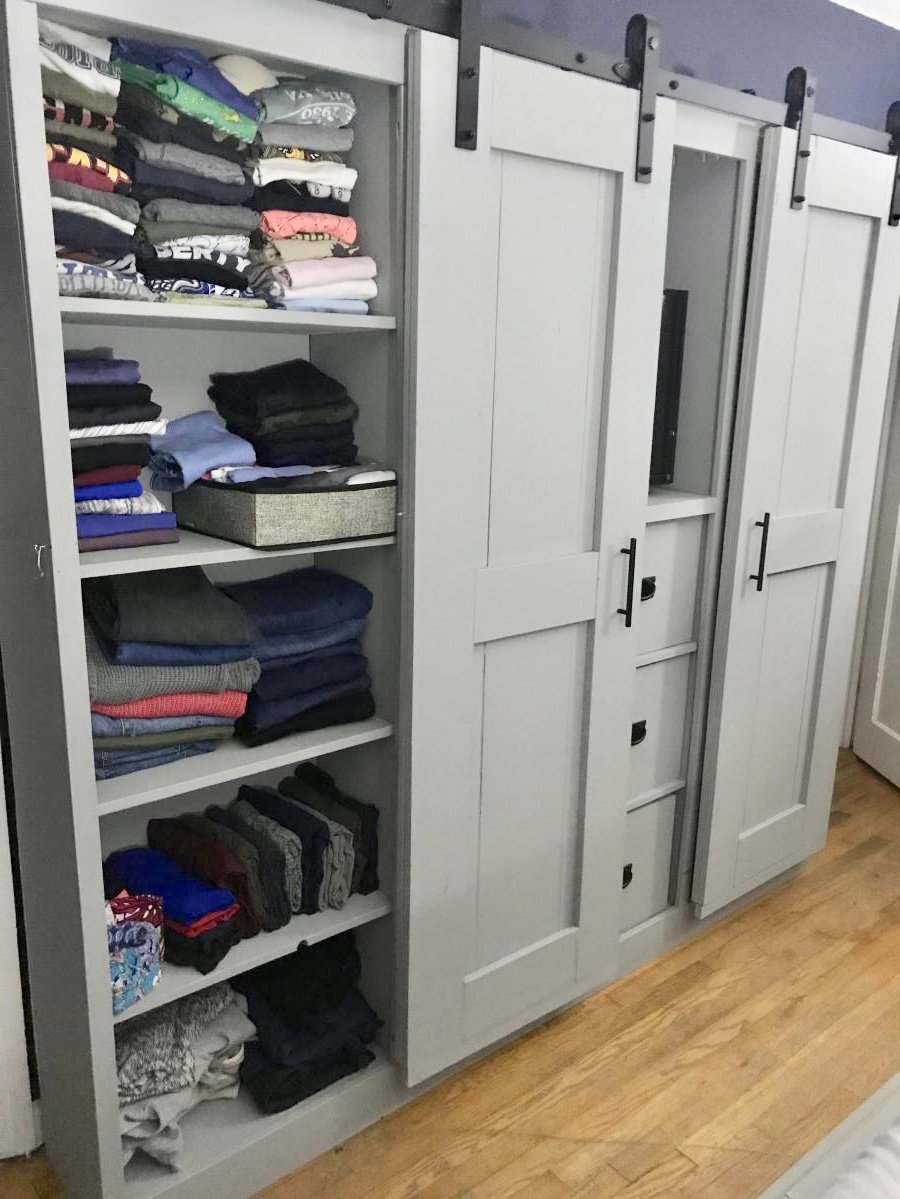
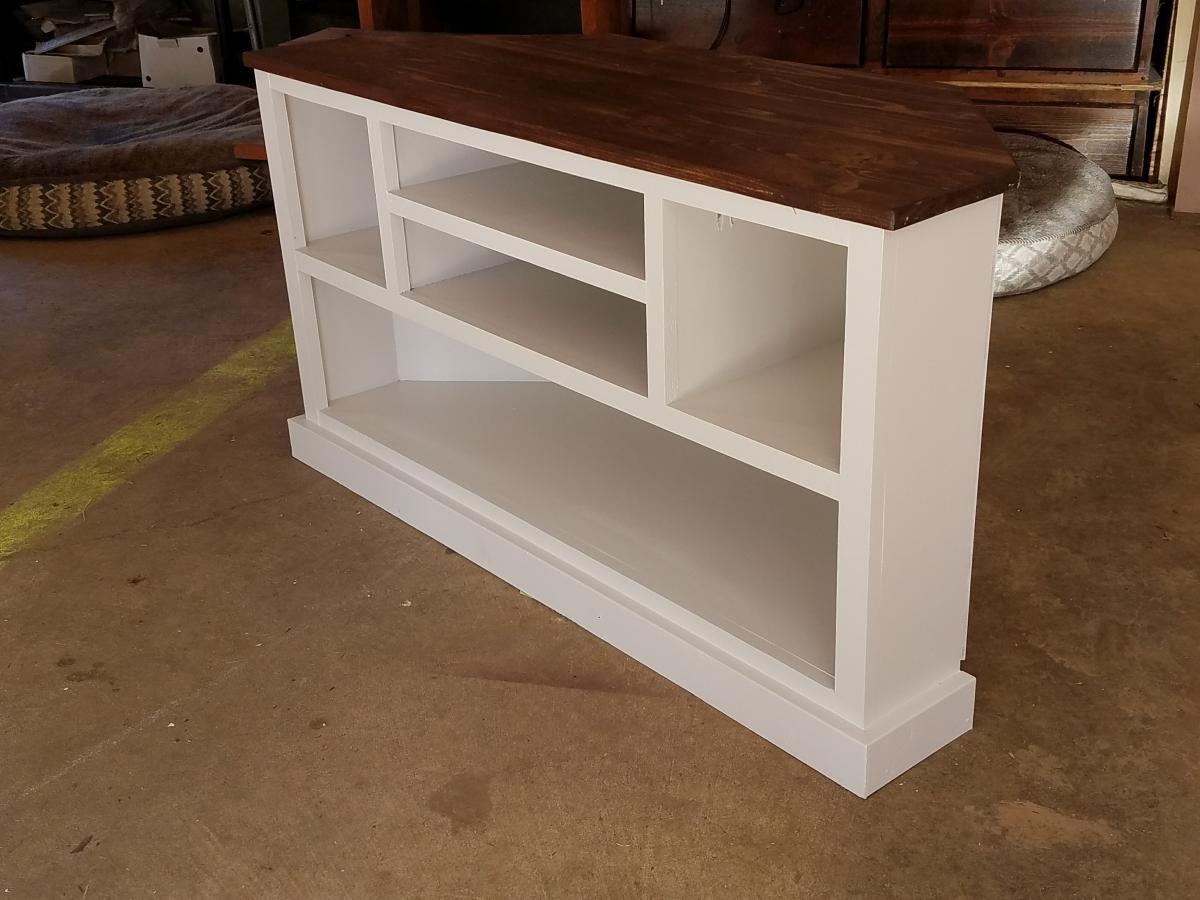
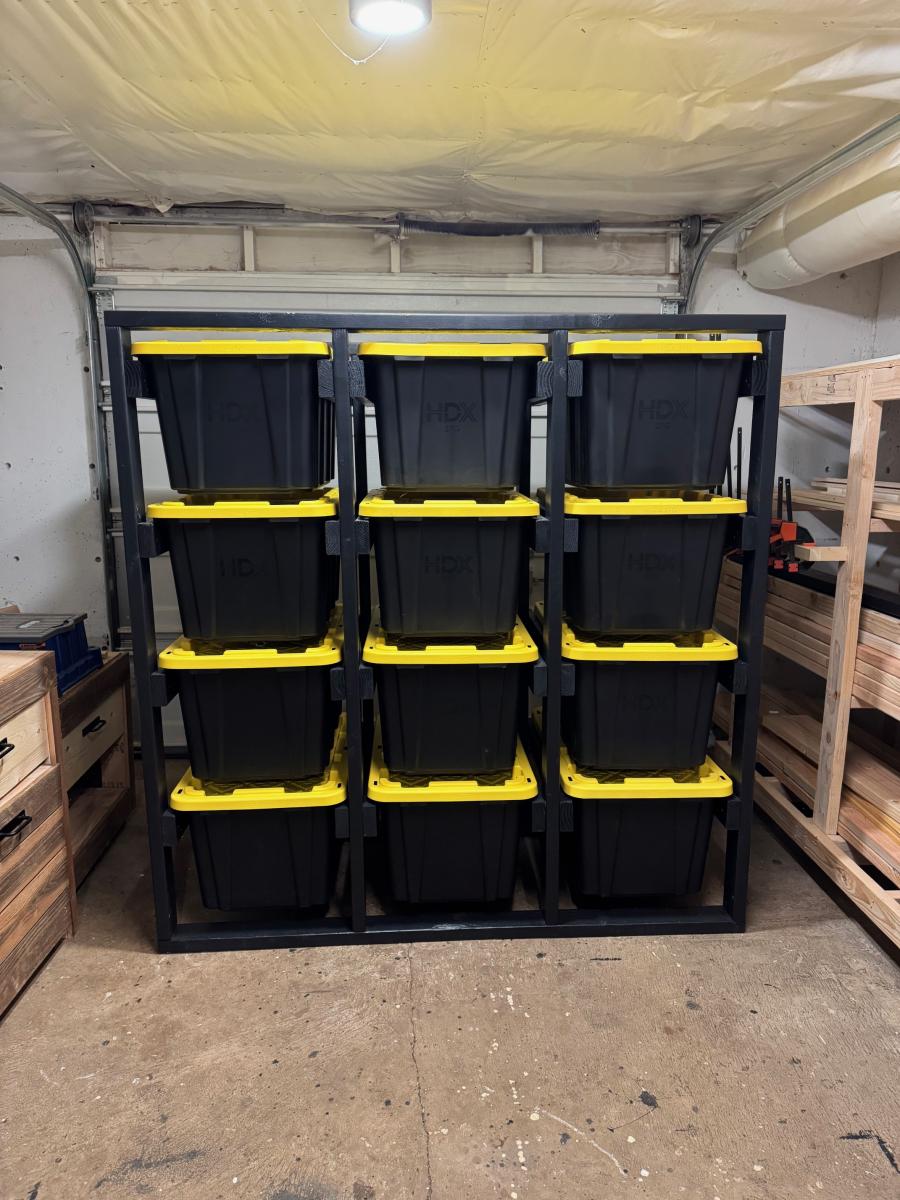
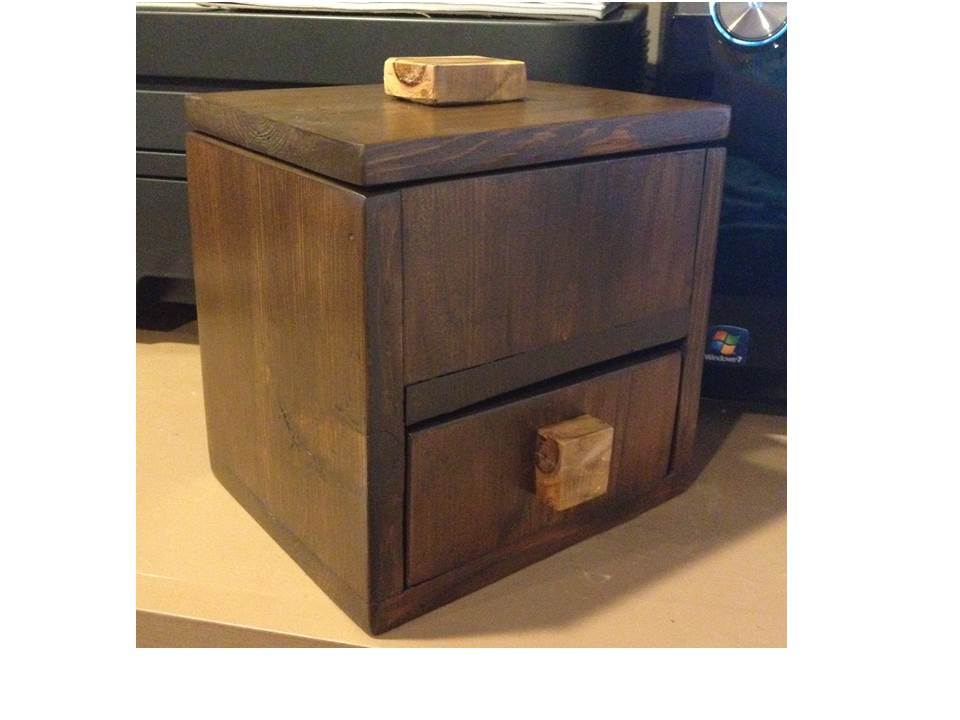
Kitchen Pantry
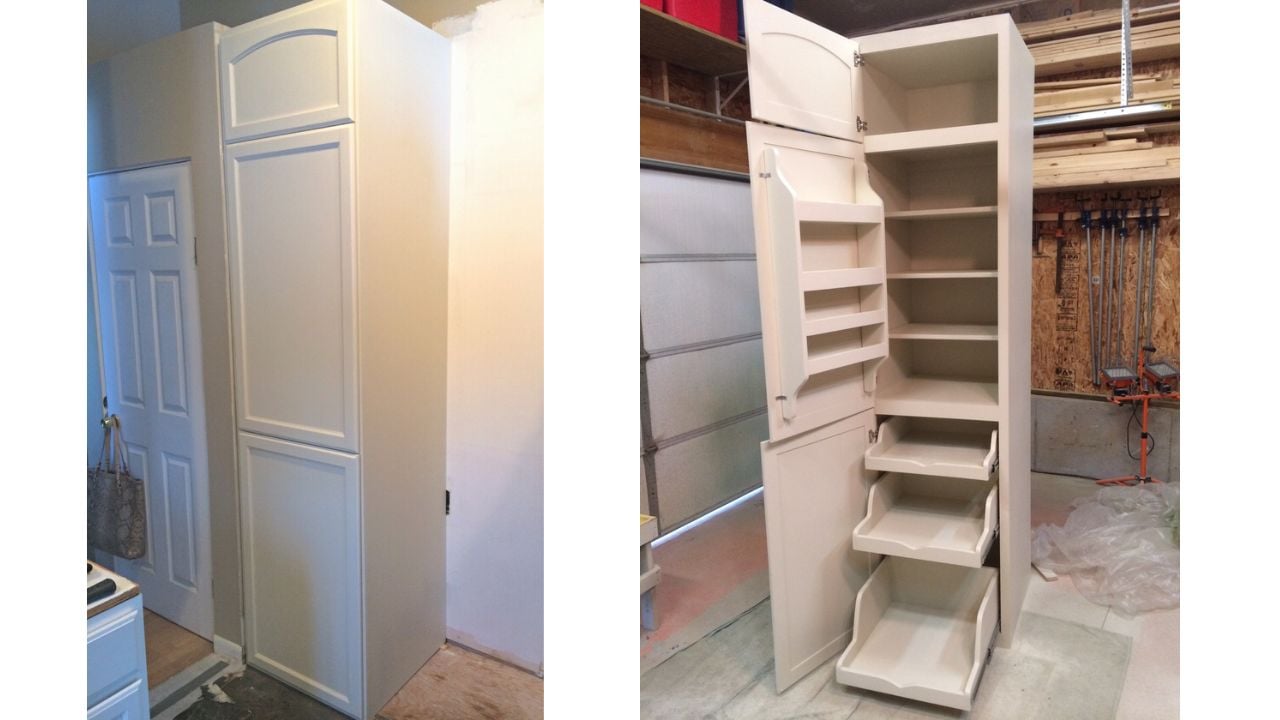
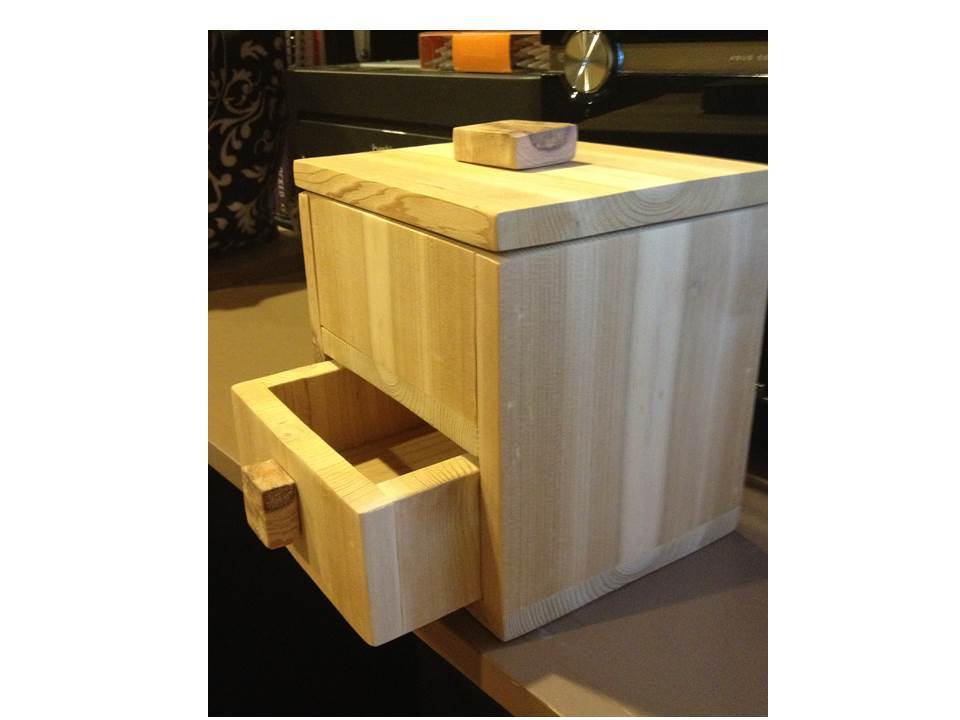
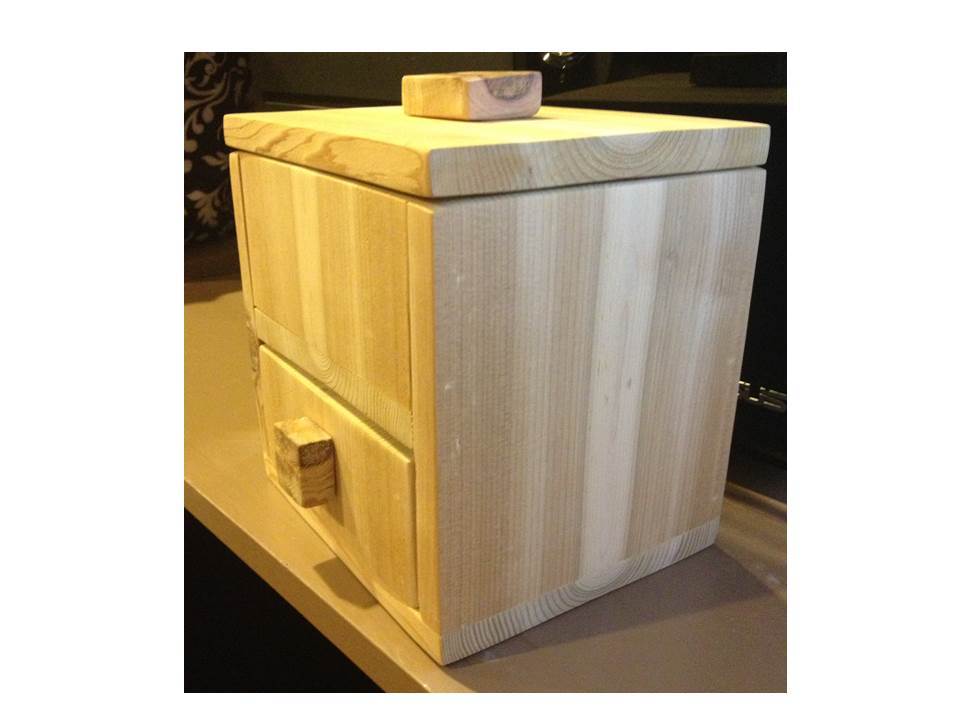
I made this pantry to match some new kitchen cabinets that my friend ordered from lowes. He wanted me to make all of his cabinets but unfortunately I didn't have enough time, it was kind of one of those things hey I'm redoing my kitchen can you make this. This was all built and designed from a picture his wife found on pinterest with just the measurements for the space it needed to fit in.

Estimated Cost
$400
Estimated Time Investment
Week Long Project (20 Hours or More)
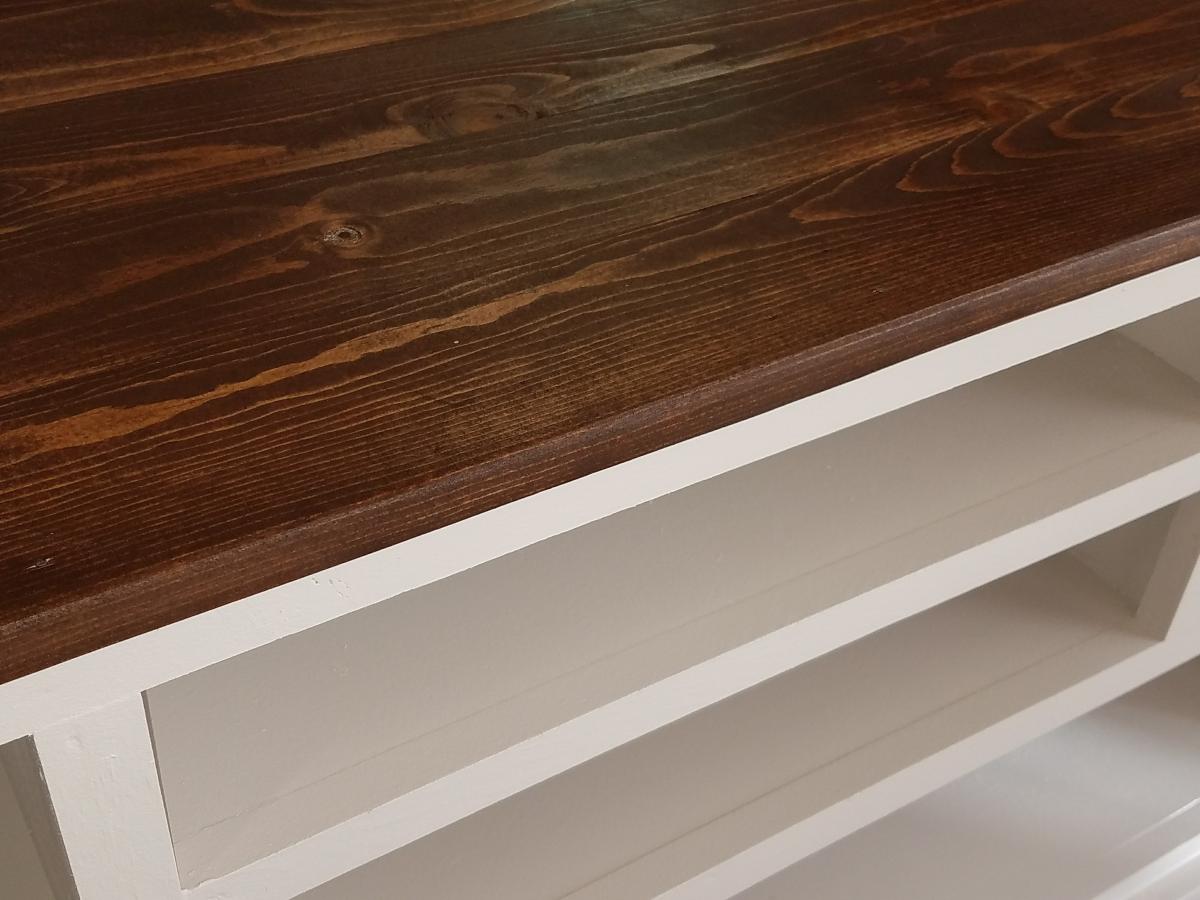
Finish Used
Latex paint and polycrlic
Recommended Skill Level
Intermediate


Comments
ksmith311
Mon, 02/10/2014 - 10:25
Great job! We're planning a
Great job! We're planning a pantry build in the near future and yours is just lovely! I love the pull out drawers!
ksmith311
Mon, 02/10/2014 - 10:25
Great job! We're planning a
Great job! We're planning a pantry build in the near future and yours is just lovely! I love the pull out drawers!
alpinecwt
Tue, 02/11/2014 - 09:18
Plans
You should definitely get with Ana to make plans for this pantry!! Looks superb,job well done.
ninjaaa9
Sat, 05/09/2015 - 13:34
how do i make this!!!! plans
how do i make this!!!! plans please!
OurHome
Fri, 06/17/2016 - 18:39
This is exactly what I've been looking for!
HI -
My husband and I have been trying to find a DIY Pantry for our kitchen. We've looked everywhere and finally came across this! We love it and would like to try and build it. Do you have the plans available to share? I look forward to hearing back from you.
FrankMarkK@yahoo.com
Sun, 08/02/2020 - 05:16
Were you able to get plans?
Were you able to get plans?
clyons166
Mon, 04/27/2020 - 13:44
Kitchen Pantry
Beautiful! Are there plans for this?
ThayneWashburn
Fri, 08/14/2020 - 08:27
I would love plans for this…
I would love plans for this too!!!
suziewelker
Fri, 11/27/2020 - 21:33
Kitchen pantry
I tried the link for crafted perfection in attempt to get the plans for this. It led me back to this website. Is there ANY chance of getting the plans for this pantry PLEASE?
Babygirl43@
Thu, 12/24/2020 - 07:18
Where can I get the plans…
Where can I get the plans for this pantry -- Please advise.. Love your work..
cbarnold
Wed, 03/31/2021 - 01:48
Love this!! Plans Please!!
Love this!! Plans Please!!
patsworks
Fri, 08/06/2021 - 14:55
Please send me the plans for…
Please send me the plans for the kitchen pantry!!
watkinswd
Wed, 09/01/2021 - 13:59
Kitchen Pantry Plans
Okay, Ana, where are the Plans? You're killing me with this teaser! I'm not smart enough make something this great without serious plans like you usually produce. Help this old guy, please.
Michael38
Sun, 11/14/2021 - 17:24
kitchen pantry
Are there plans for this piece?
Michael38
Wed, 11/17/2021 - 13:42
kitchen pantry
I would also love to get your plans for this!!!
bkmom
Wed, 03/23/2022 - 12:03
I would love to get these…
I would love to get these plans. We are in a new house and I need extra storage and this is perfect.
farrellp
Thu, 08/11/2022 - 18:08
Plans please!
Hi Ana! Do you have plans? My daughter is moving and could always use more kitchen cabinets. She loves kitchen gadget everything!
LAzz
Sun, 08/25/2024 - 10:50
Kitchen pantry plans
How can I get plans?
Sangoken
Sat, 12/14/2024 - 08:19
Plans please
Are there plans available?