Reclaimed modified providence bench
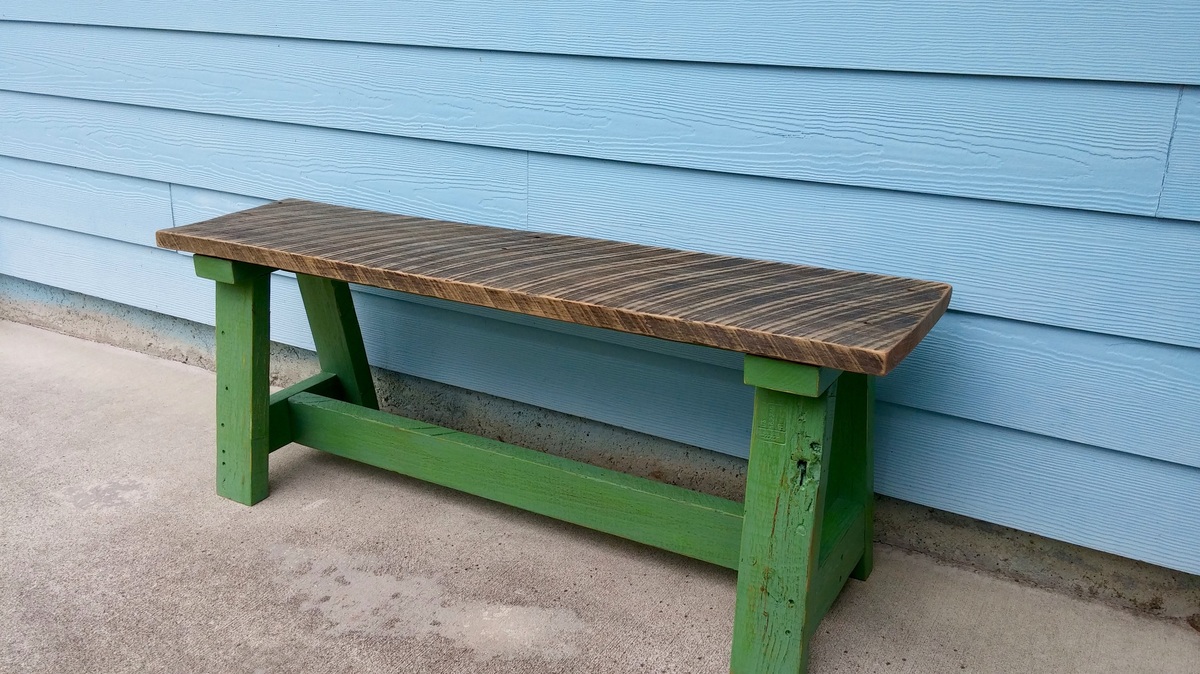
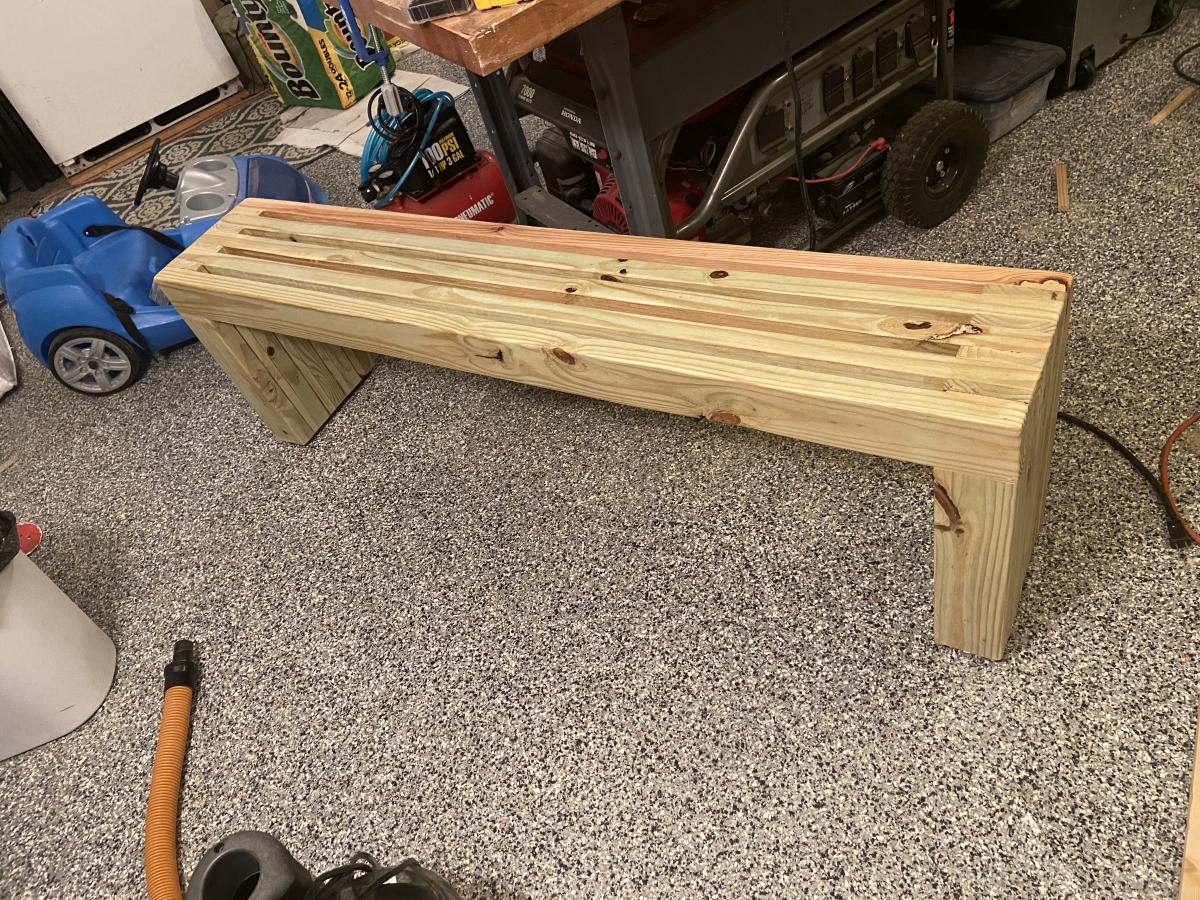
I have been holding a really cool farm pallet in the garage for 3 weeks. I finally decided to use one of the slats with the 2x4 supports to make this bench. Only 7.97 for a box of screws!

I have been holding a really cool farm pallet in the garage for 3 weeks. I finally decided to use one of the slats with the 2x4 supports to make this bench. Only 7.97 for a box of screws!
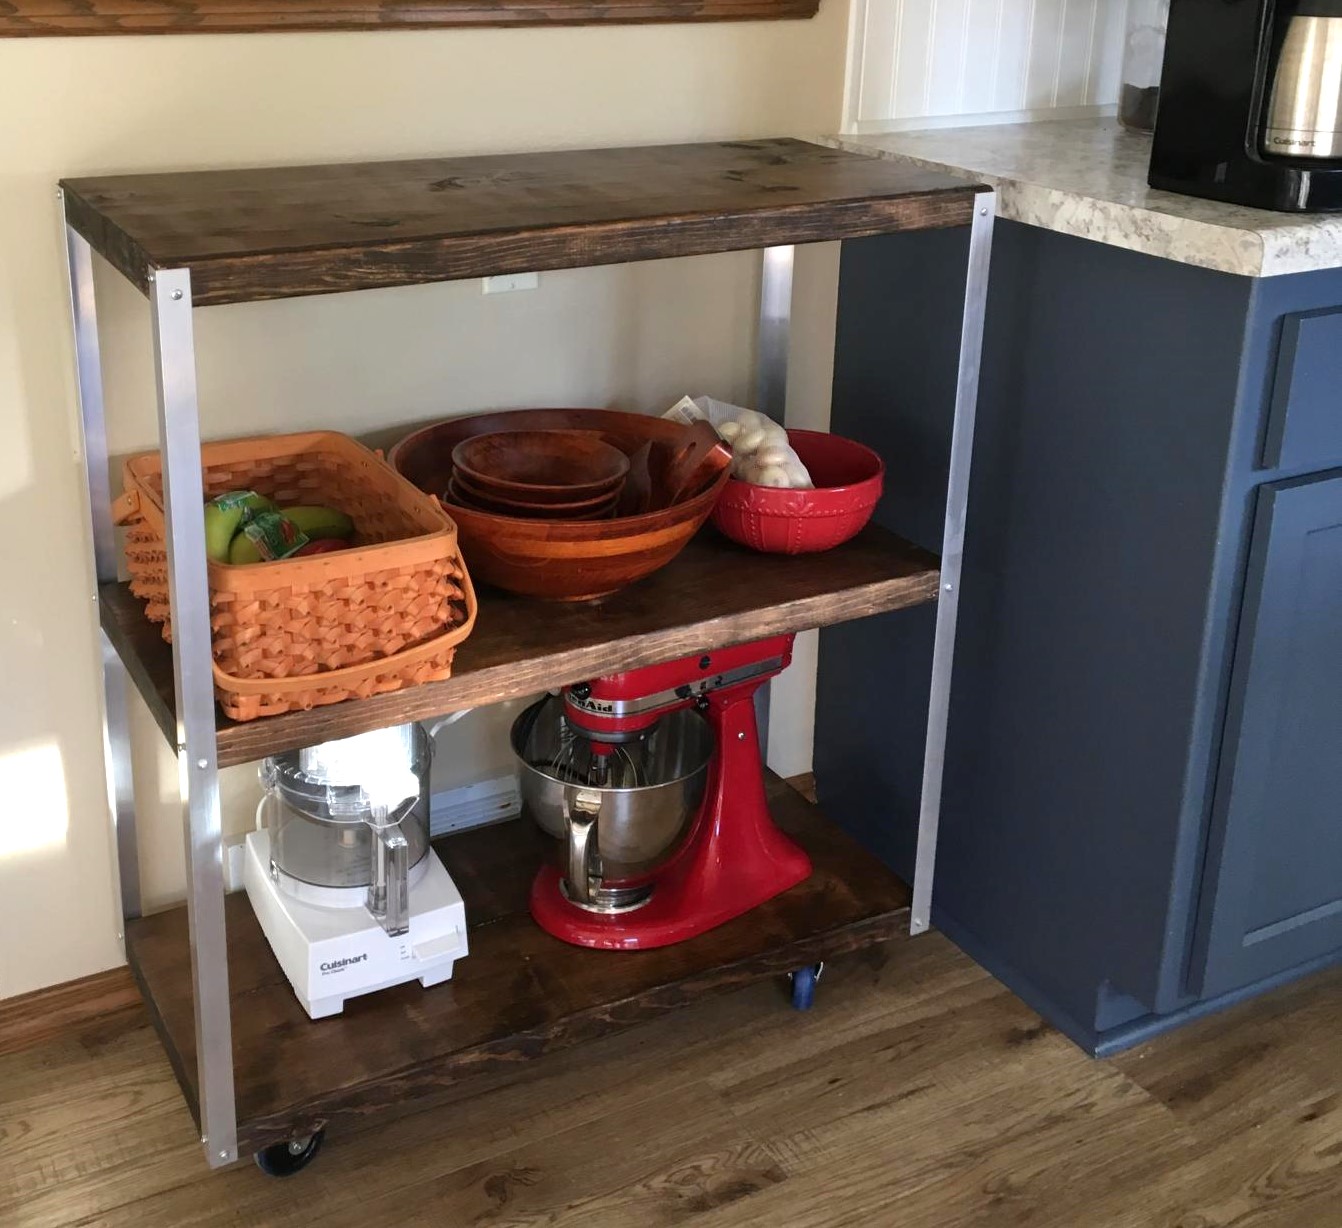
The main difference is my cart is the width of the shelves. My wife wanted something wider than a 2x12 so I combined (2) 2x8's with pocket hole screws. This is my first real build and I was surprised at how strong the shelves are with just pocket hole screws! I also made the cart counter height as she will be using it in the kitchen.
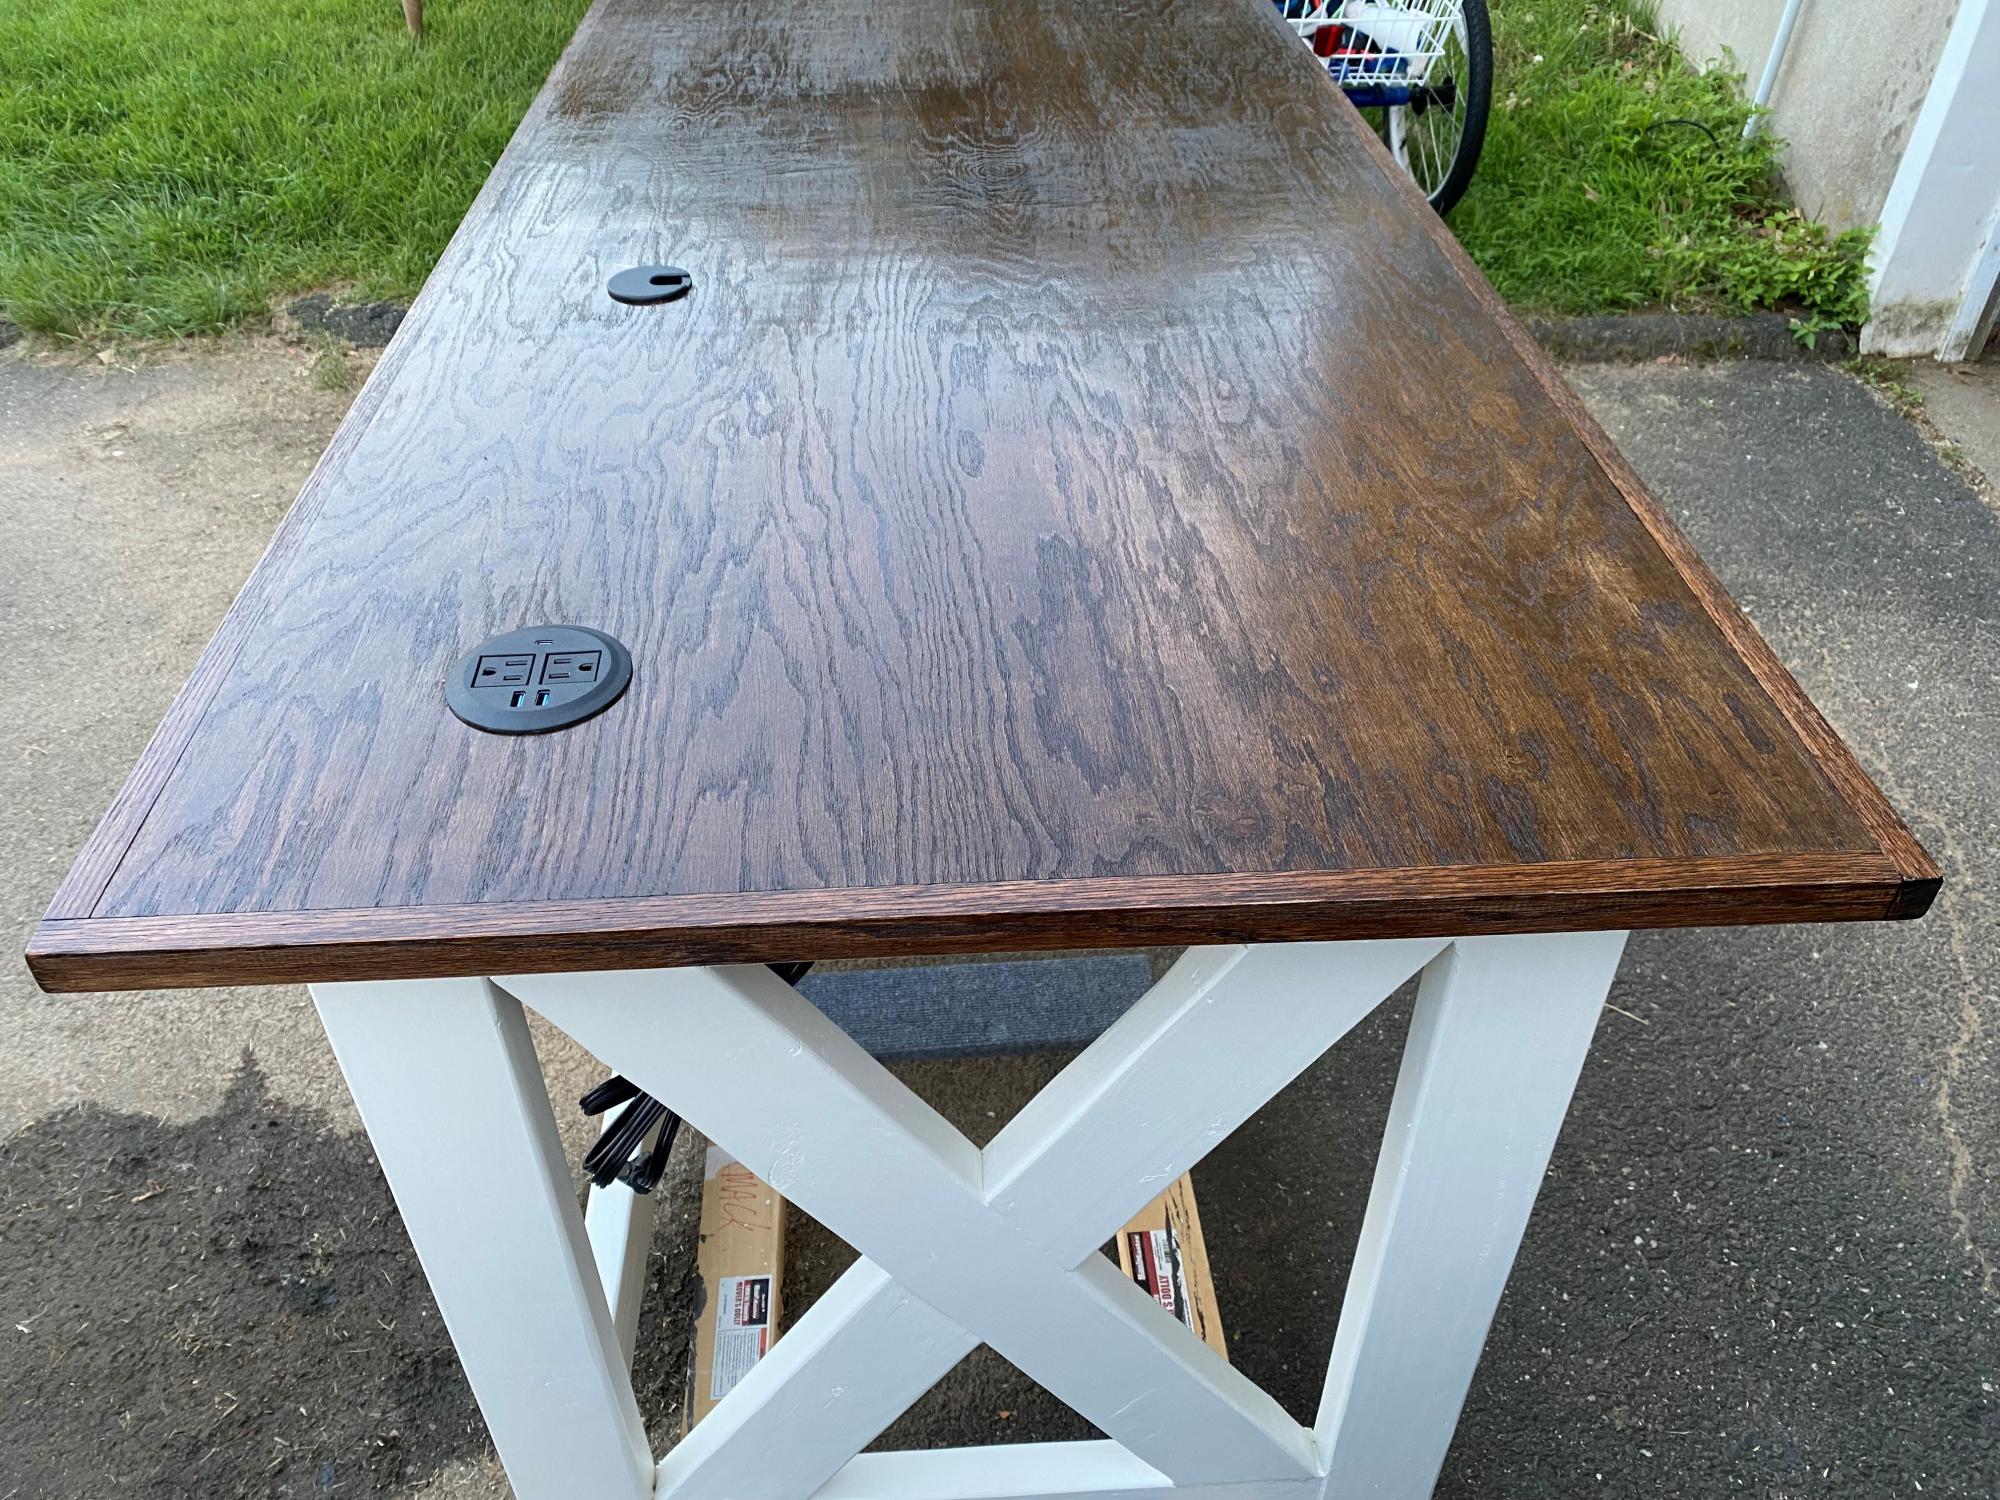
My wife needed a desk to work at home from and nothing on the retail market interested us, so I offered to build one. I followed the plans for a Farmhouse Desk, but with a change for the top. I chose a pre-sanded 3/4" red oak top and trim to cover the plywood edges. We didn't want the lips or edges that may show up using the planned 1x6" planks. The desktop measures 31.5 x 71.5" which is large, but allows for a lot of work to be accomplished. I added a grommet hole for the wires and a 3 1/8" hole for a desktop outlet with 2 USB's, 1 USB-C and two regular outlets. I also added a 9-input power strip / surge protector on the underside of the desk that the desktop outlet plugs in to. So only the power strip plugs into the wall and everything is surge protected.
It took me 4 weeks and about 25 hours, as I made it around my work schedule and family life.
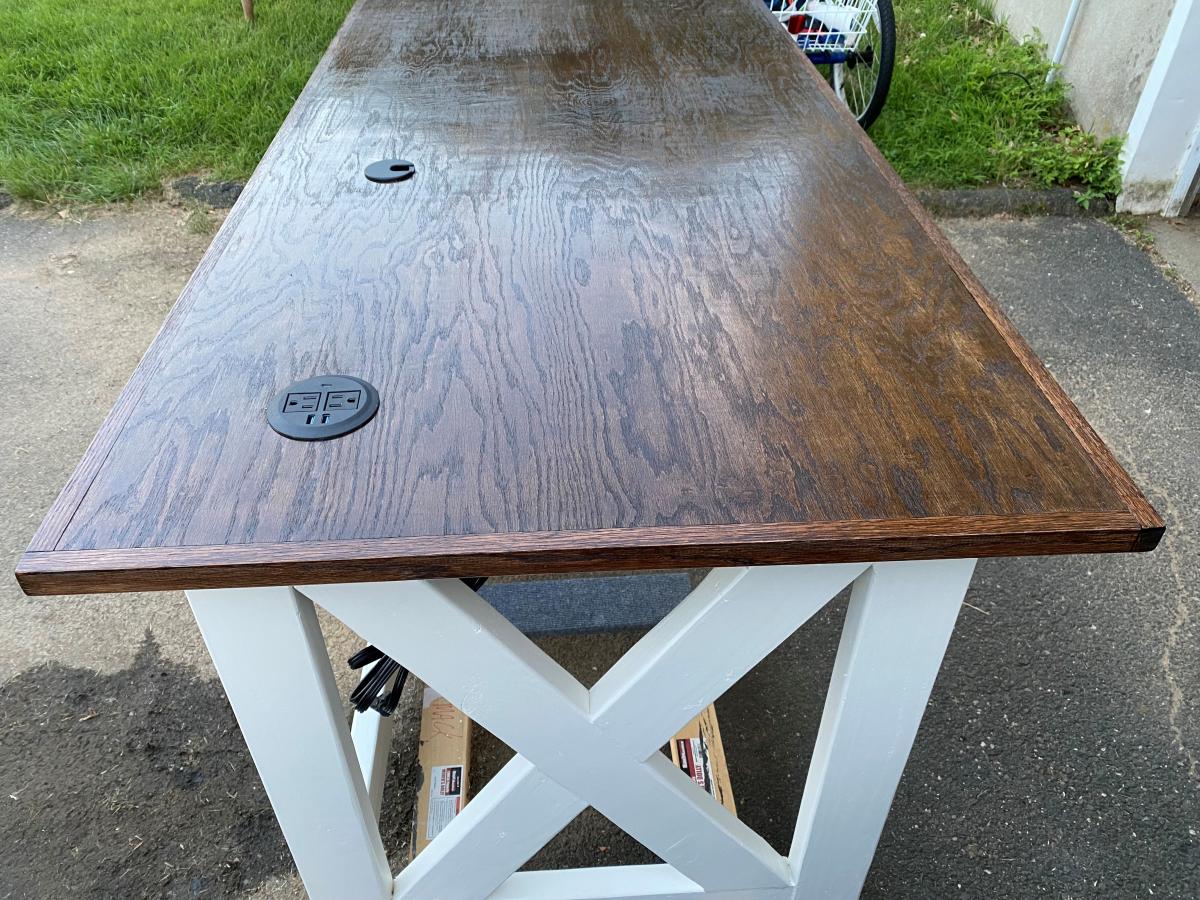
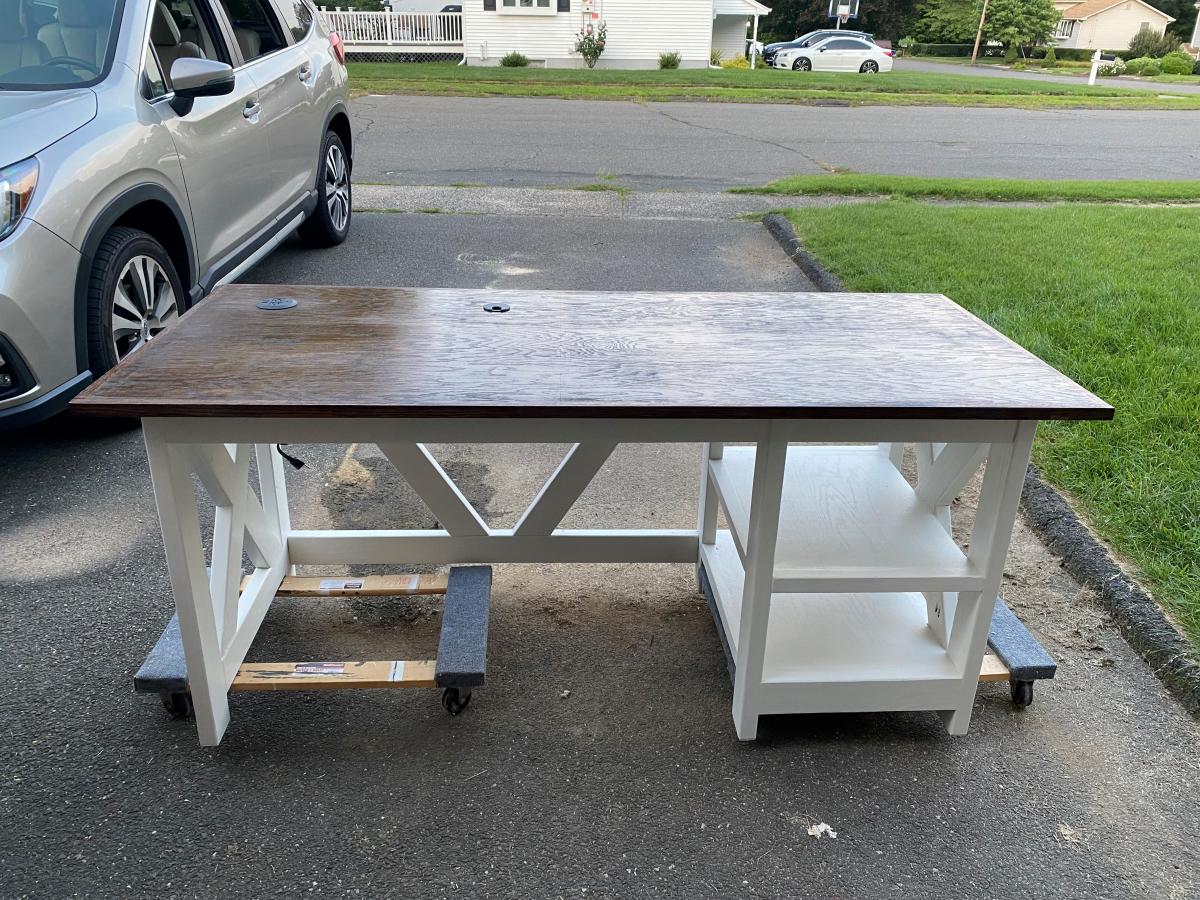
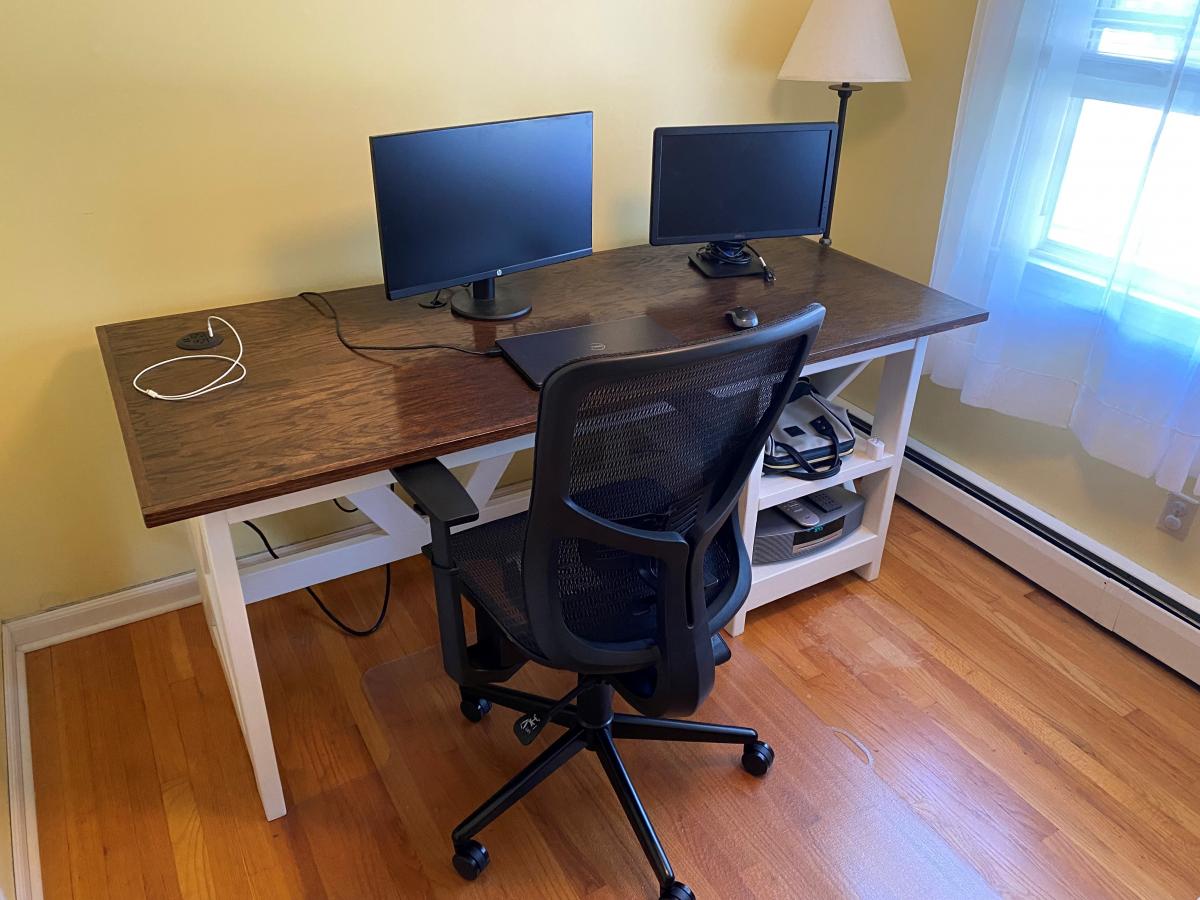
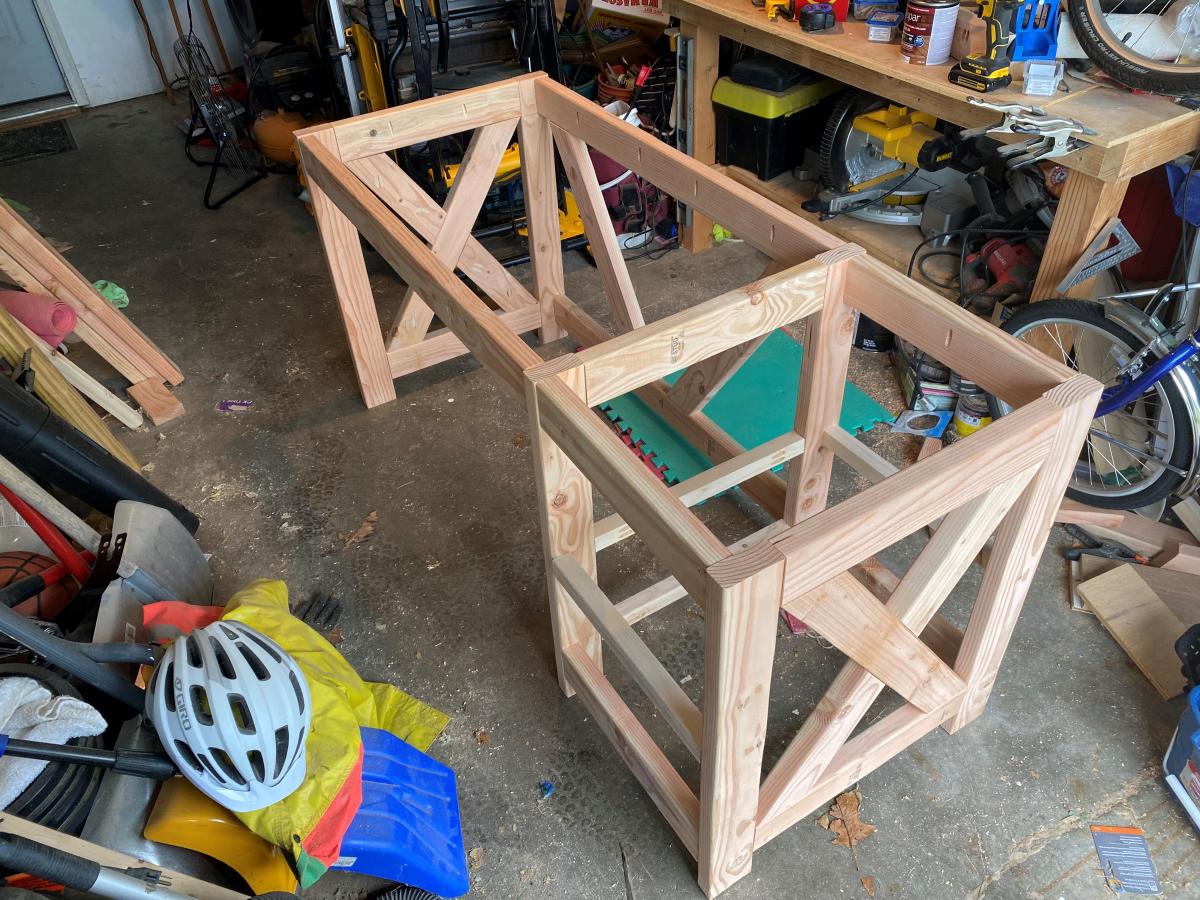
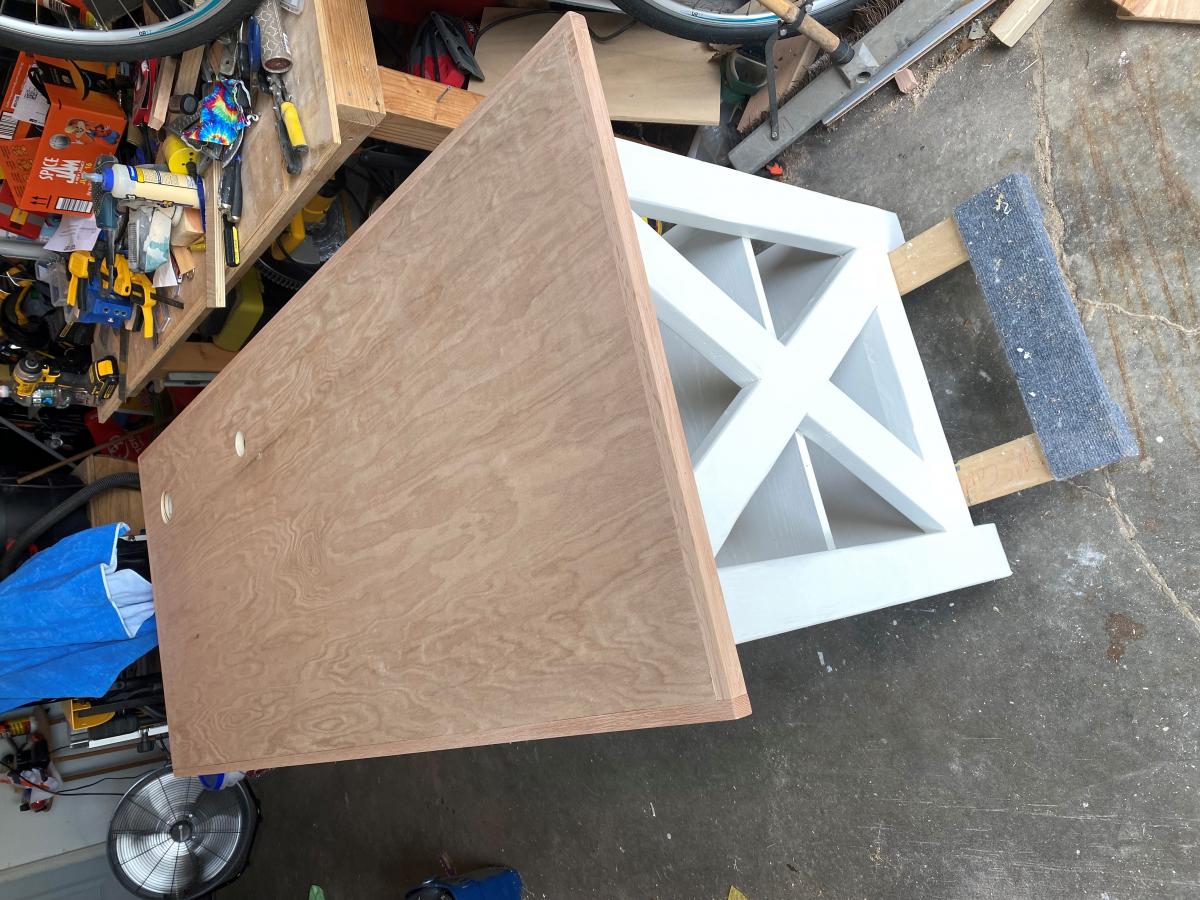
Rustic table plans with slight modification of the width and the legs were mounted differently for a little added flair. So many finishes to choose from....
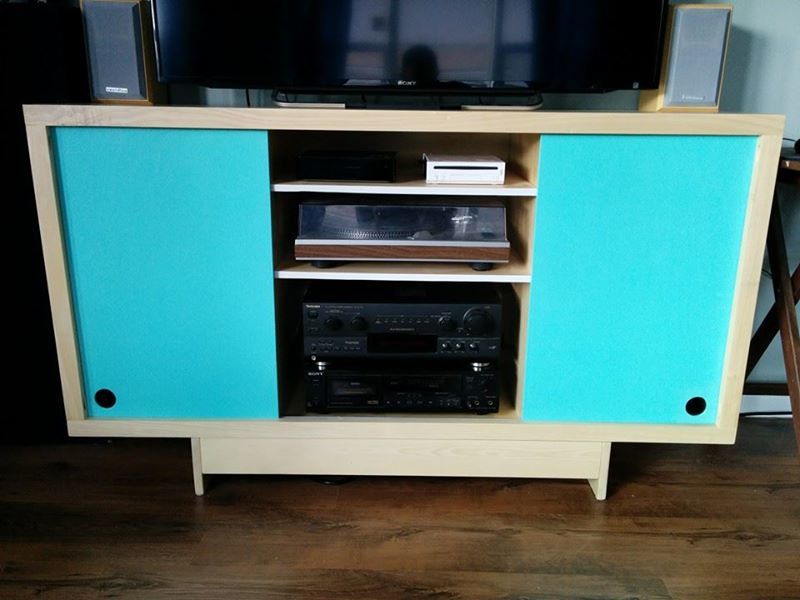
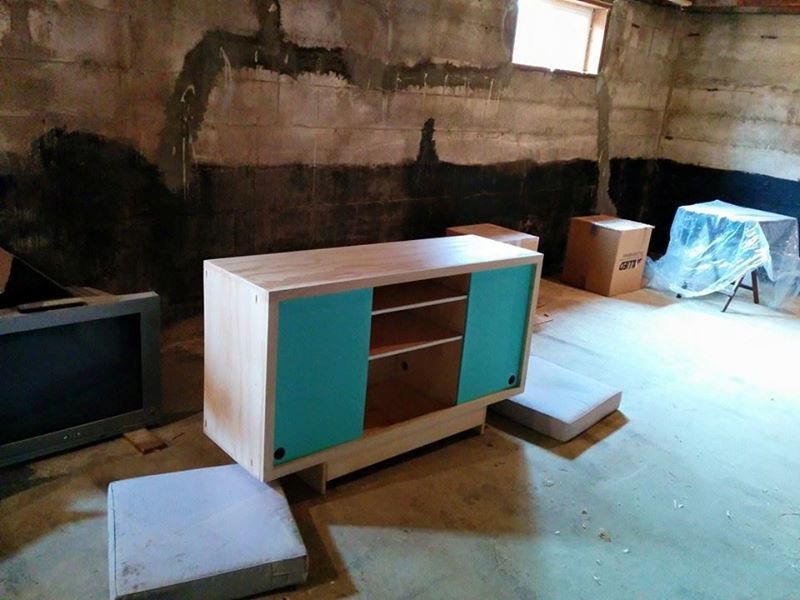
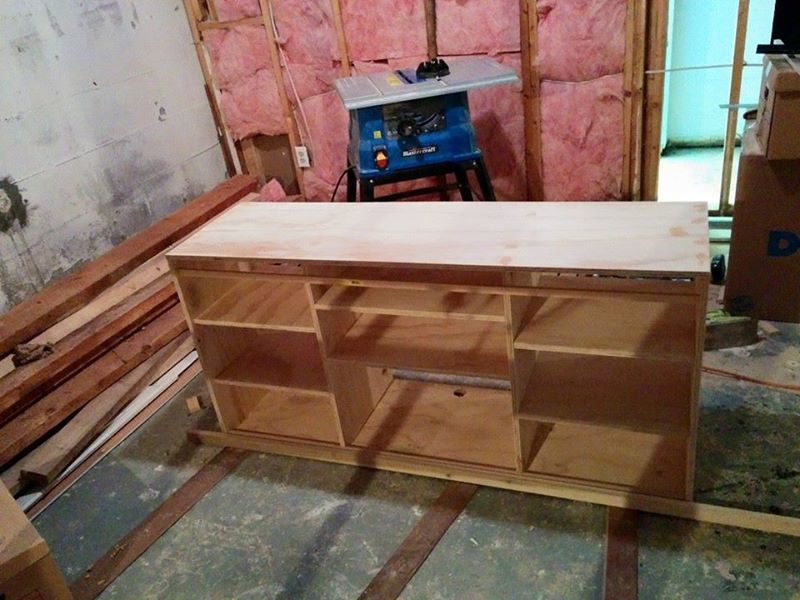
I followed the Emersen Console plans, but with a few changes. The biggest in that I went with sliding doors because I didn't want the doors to open into the living room. This meant having the doors run between the face trim and a guide I tacked into the inside. I also adjusted all of the measurements to fit what I was planning on stuffing into it. I drilled a 3 inch hole in the bottom for all of the cords to run to the power bar and left a gap between the shelves and the back. I kept the wood light to contrast with my floor and painted the doors blue for a mid-century modern-ish feel.
Thu, 07/23/2015 - 08:30
Hi , I've been looking a console with sliding doors , how did you install the guide? did you do it with a router?do the doors run in one same guide or there are 2 guides and one door runs behind the other? Thanks !
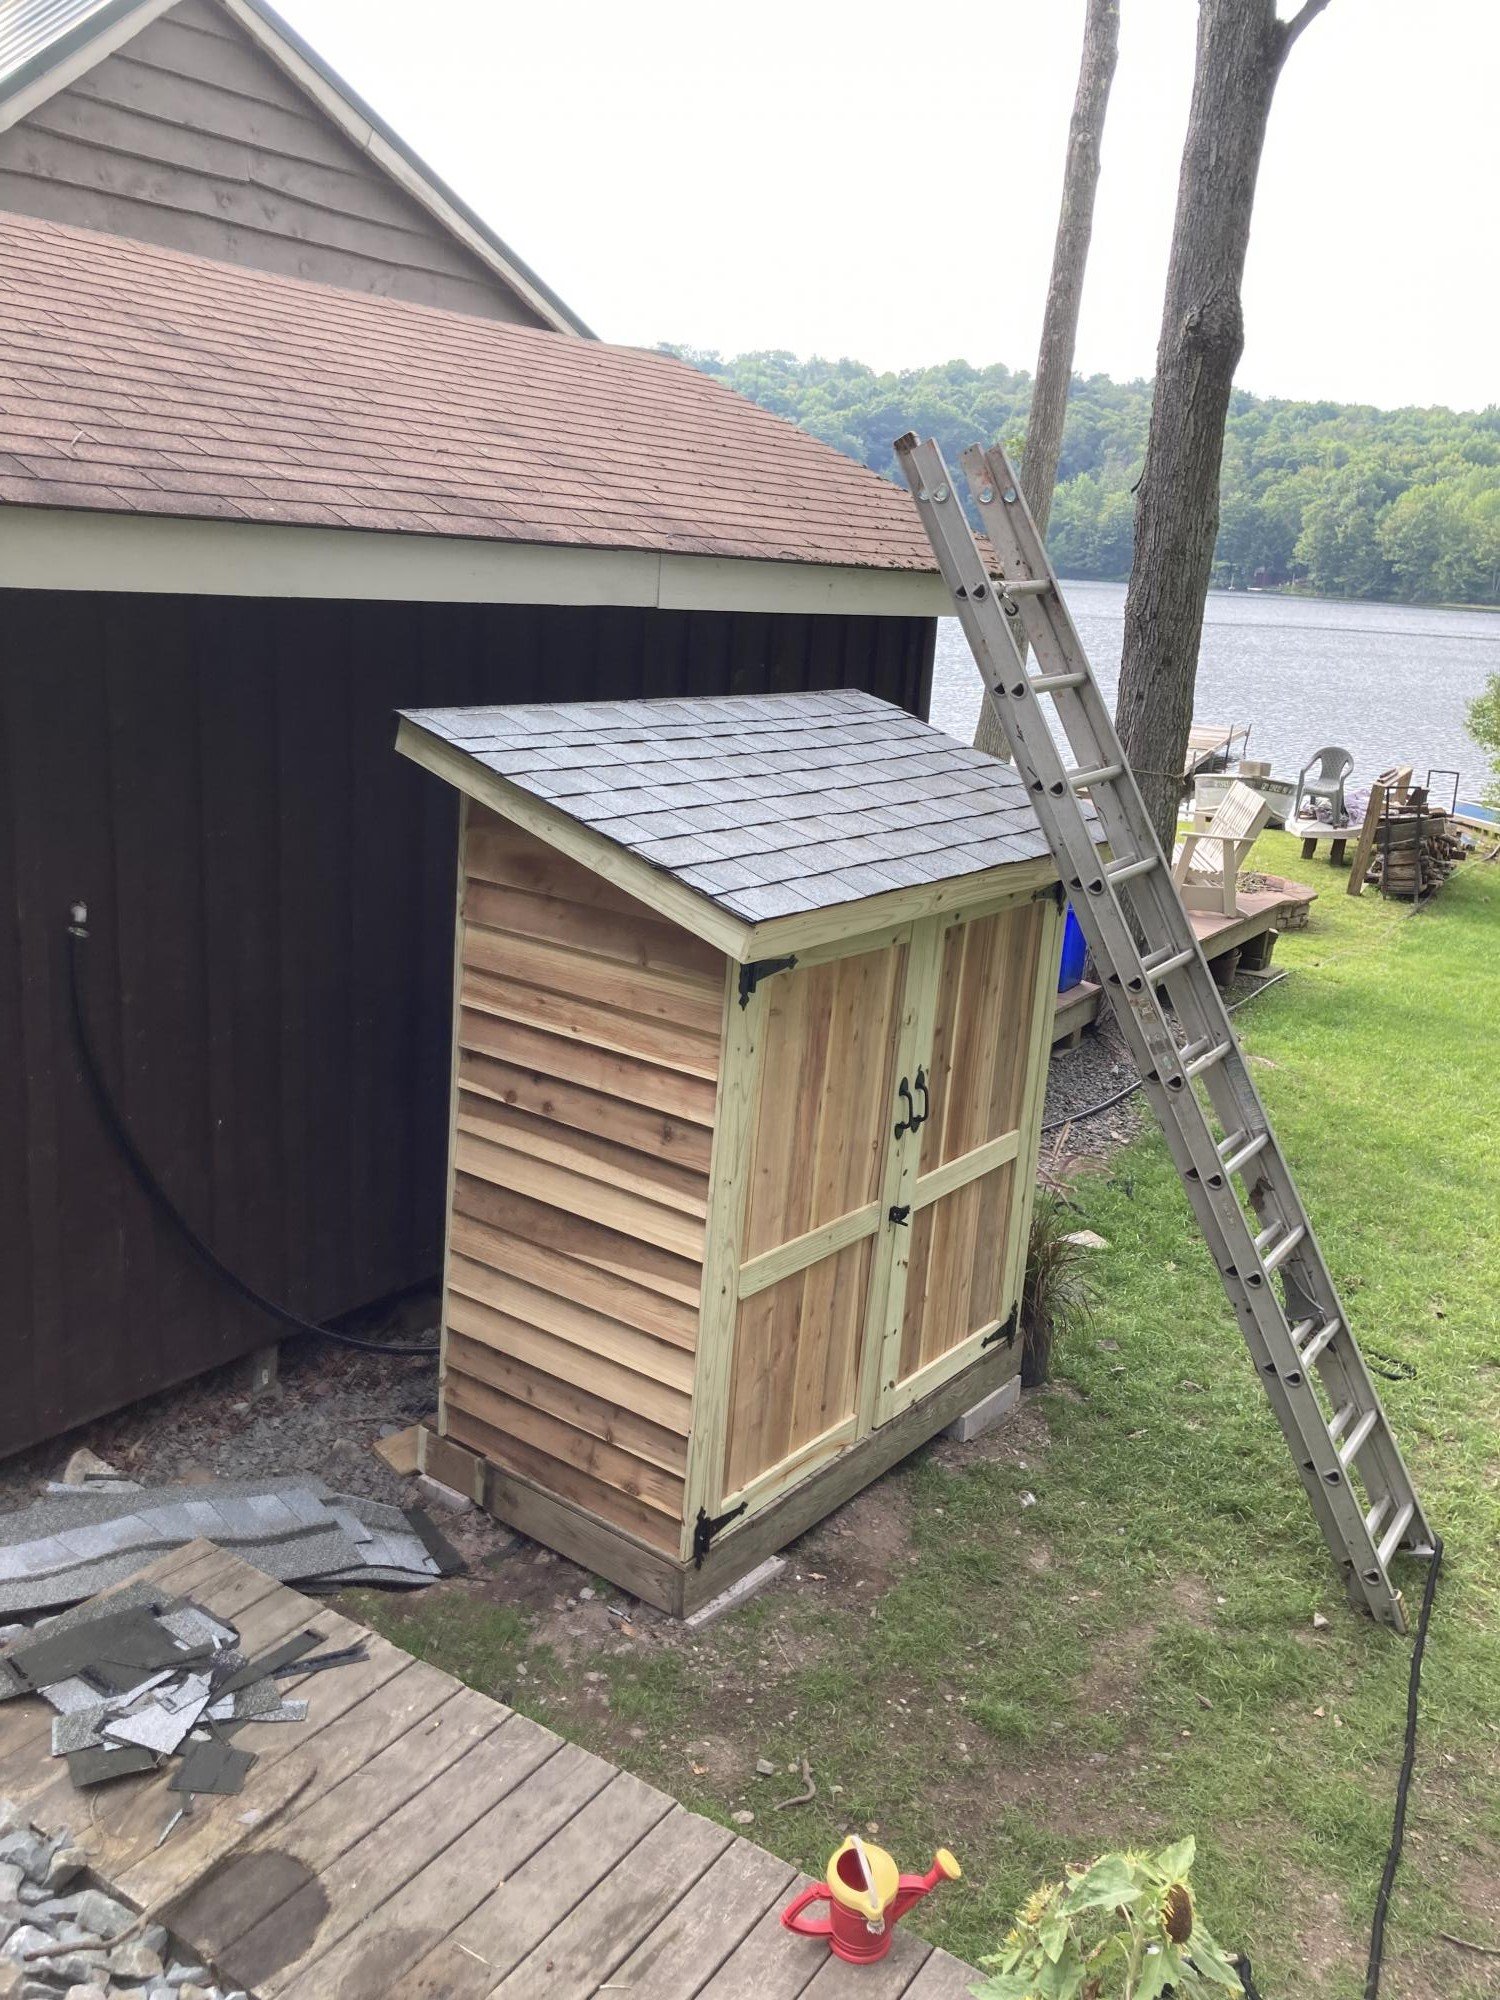
First shot at using plans from Ana, and thought it was great! Can’t wait to try another!
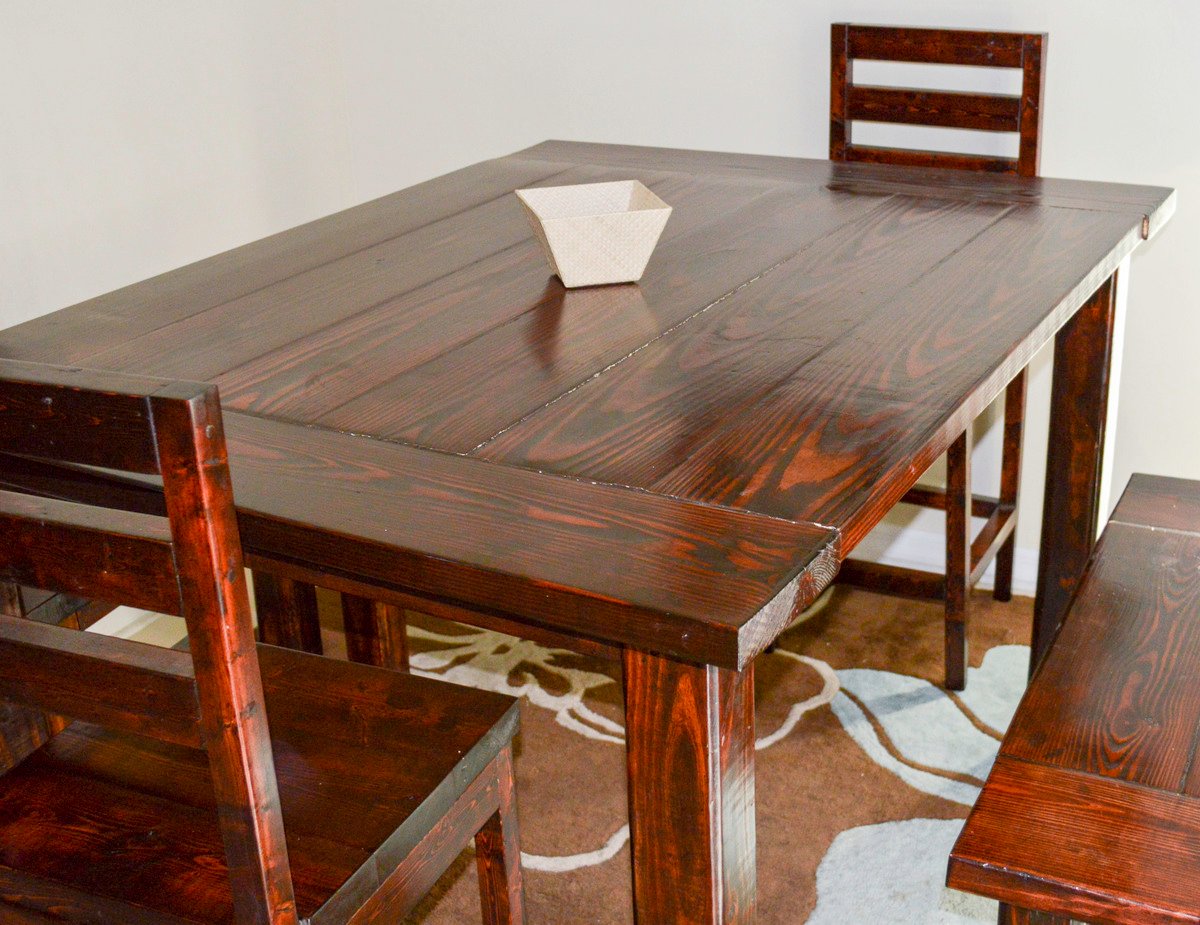
This was my first DIY building project. I wanted a counter-height table, so I searched websites looking for plans and eventually I found ana-white.com. I altered the plans a little and I added a farmhouse style table top. I used 2x8s for the table top which makes the table very heavy.
Tue, 03/17/2015 - 09:53
The benches are solid and we haven't had any issues with them being wobbly or unstable. The height hasn't really been an issue for my kids either (they got used to it very quickly). I did build two stools with backs in case one of the kids had a problem, but they prefer to sit on the benches.
Second time building this table. Made it smaller, cutting support pieces to 45 rather than 60. Also tried 1X10 for the top.
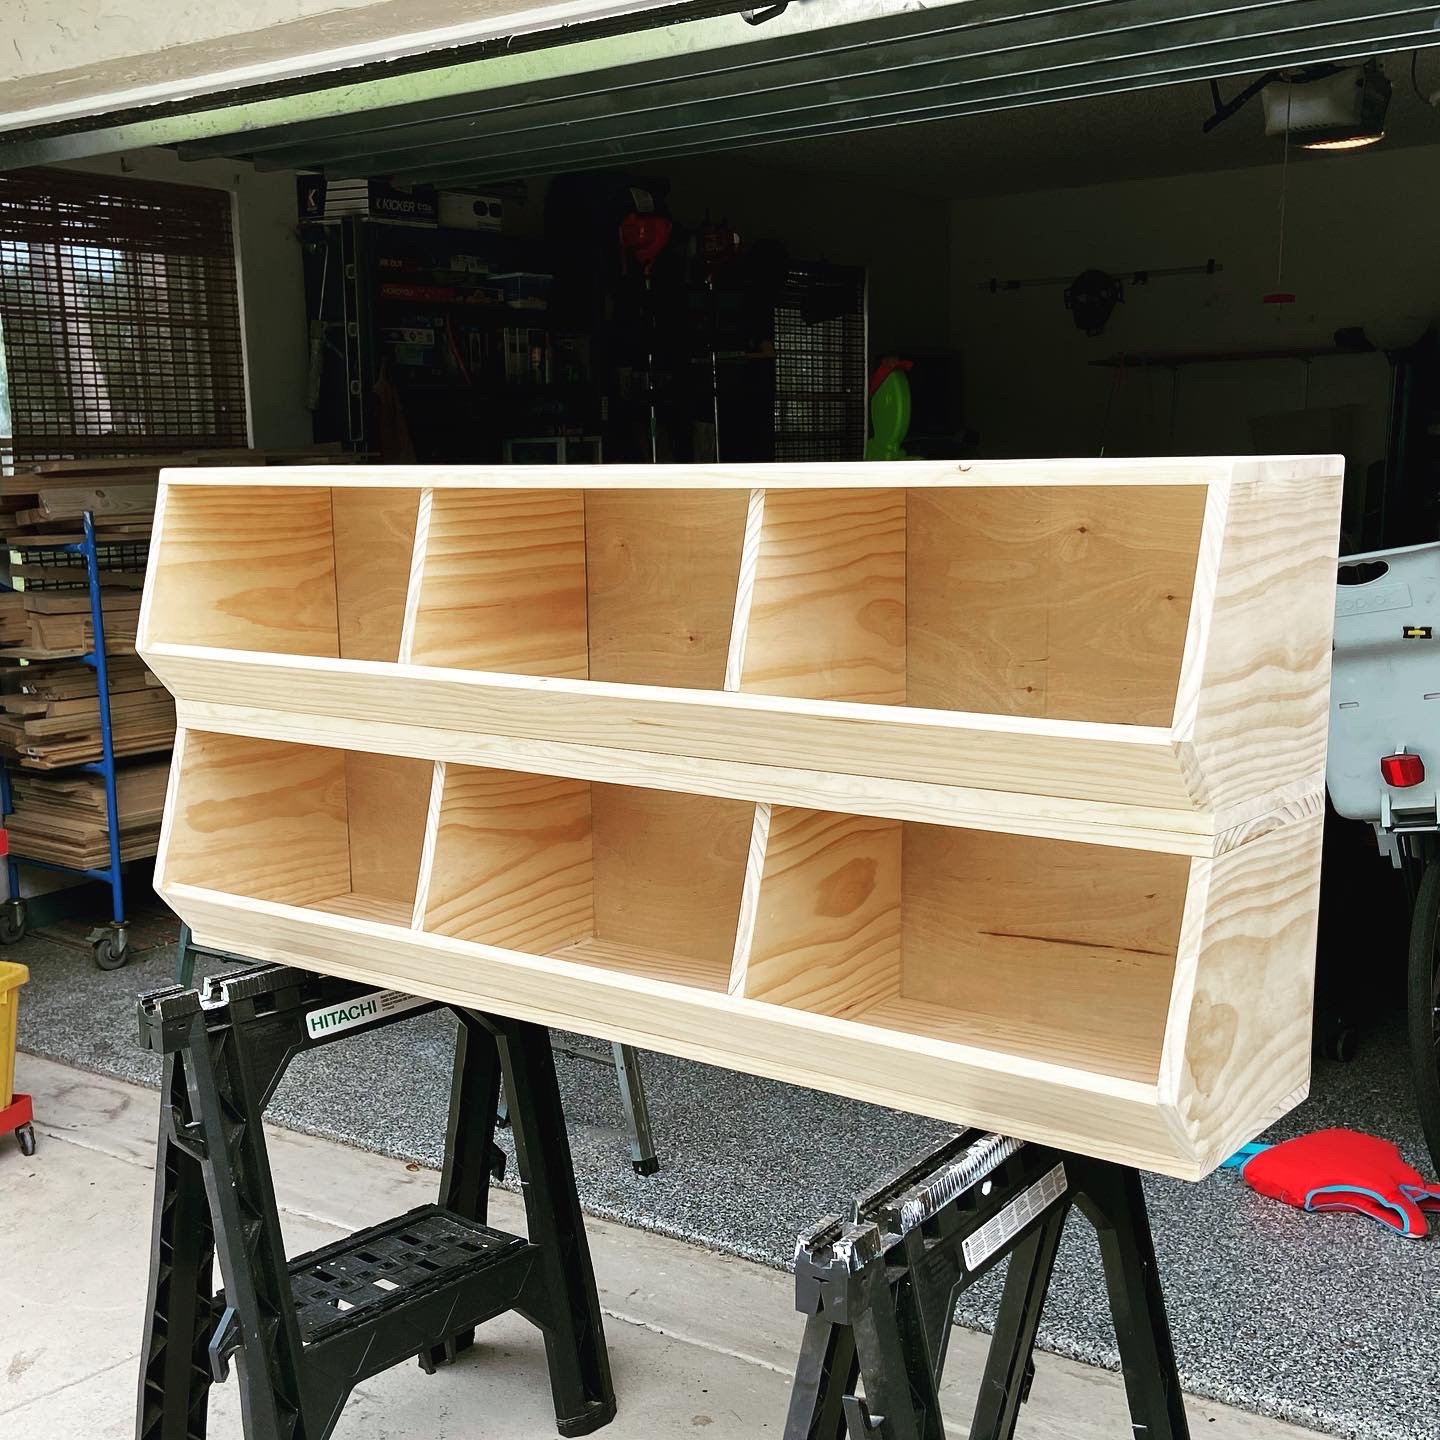
I have built all these recently with the help of your plans! Thank you!!

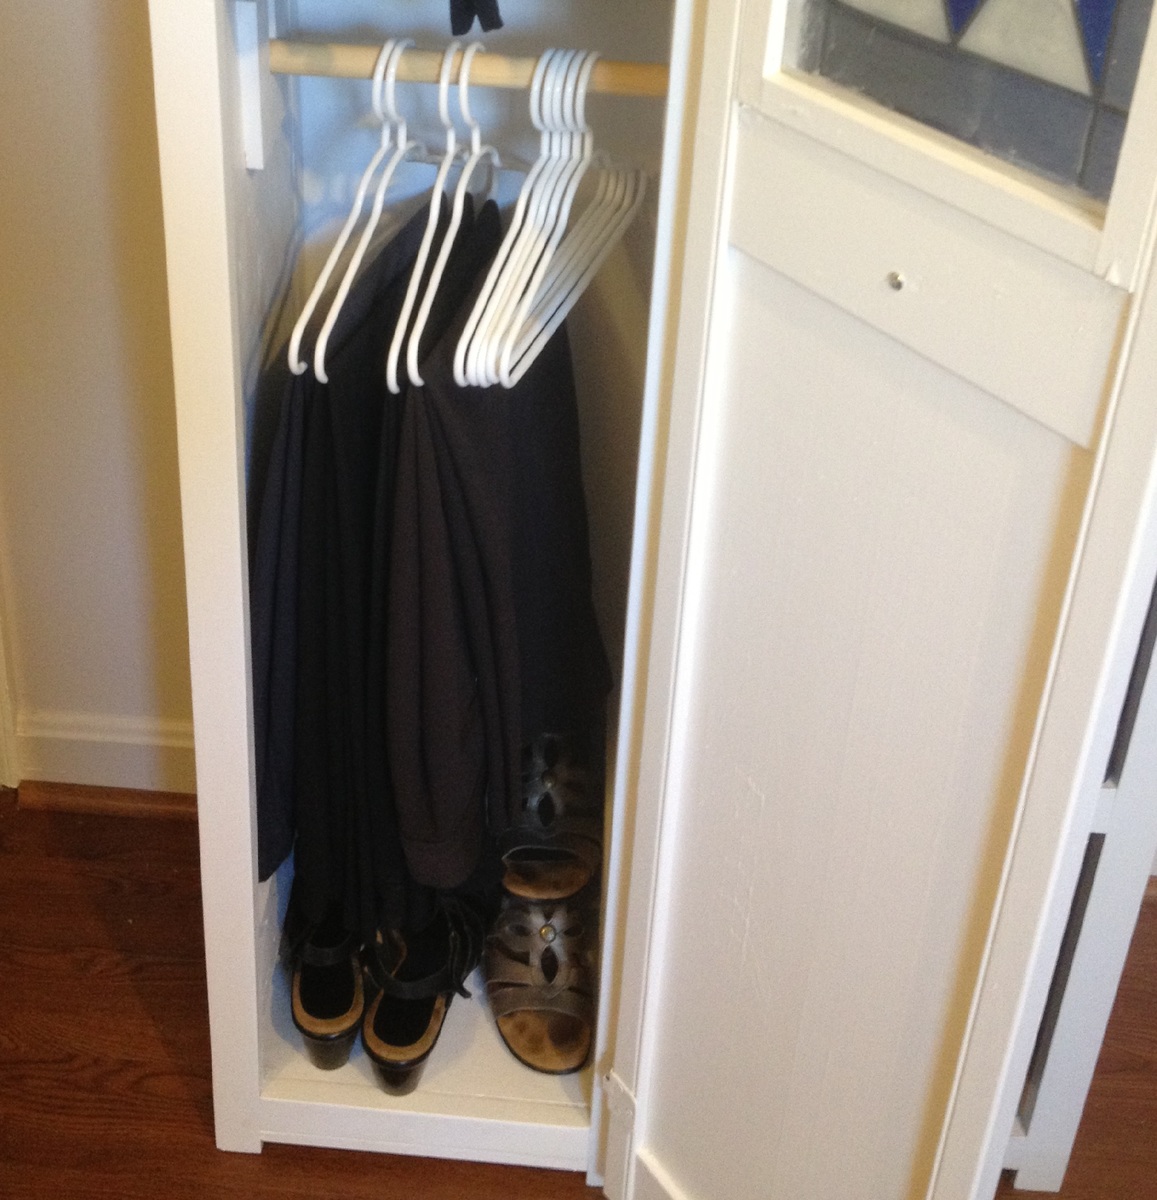
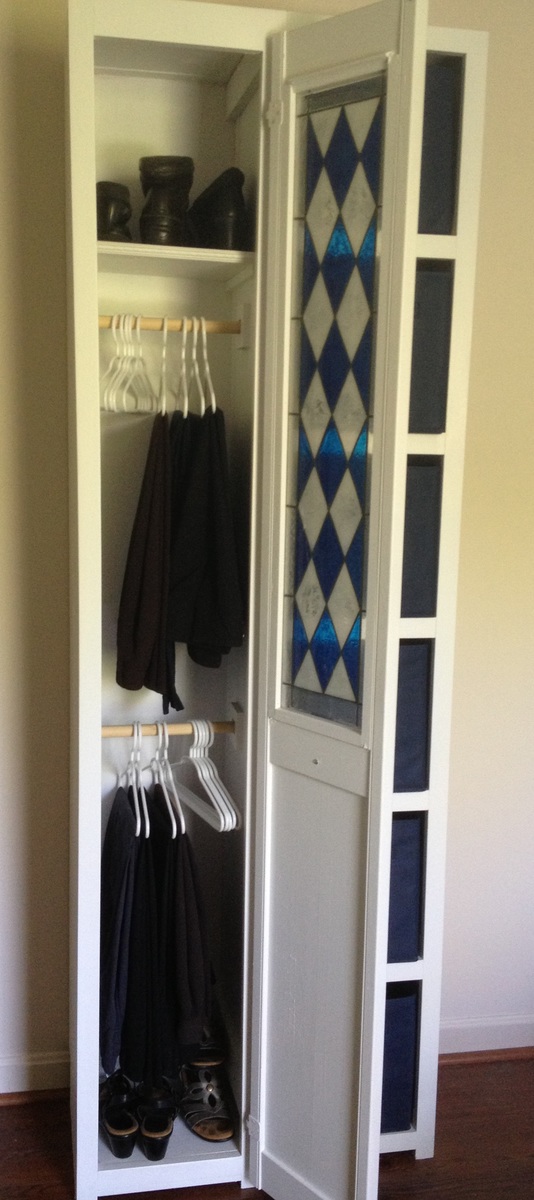
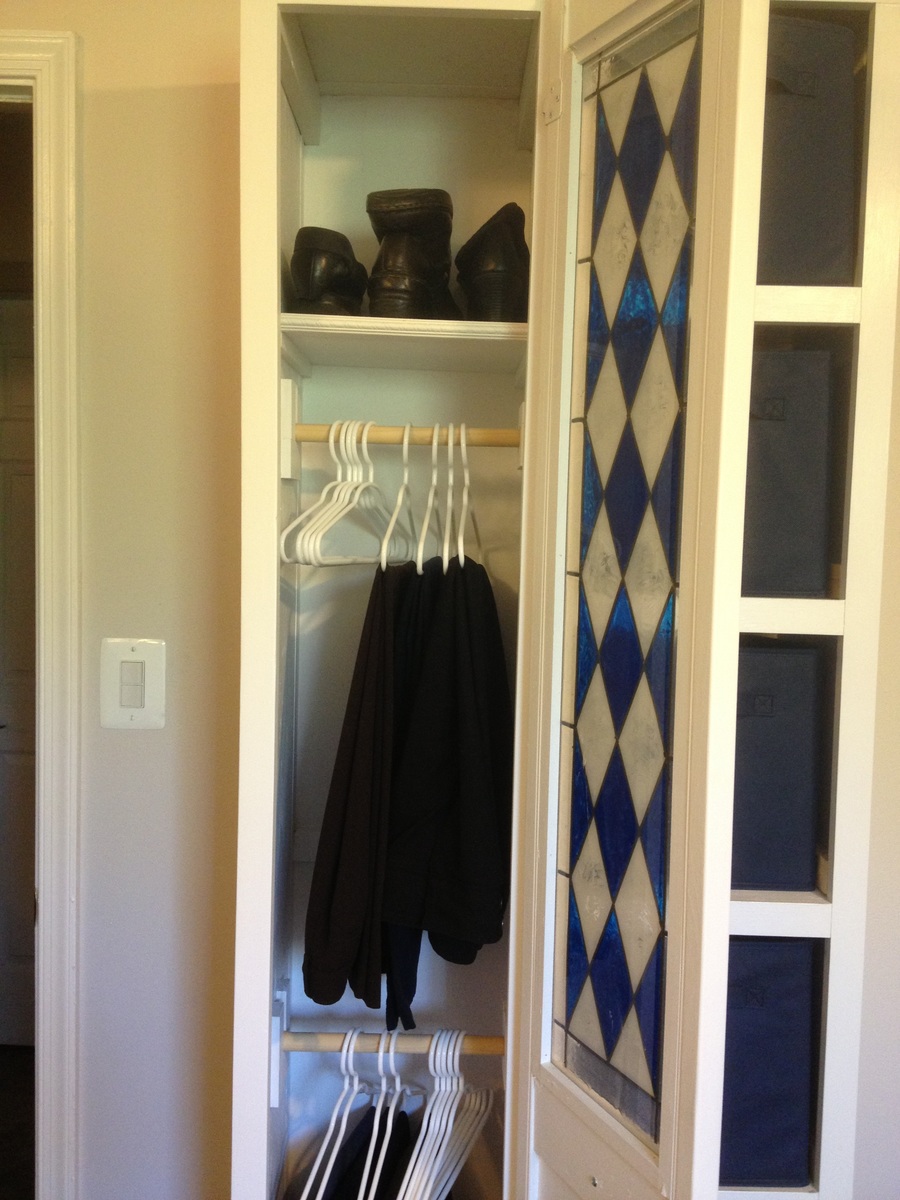
This closet tower is from the Craft Room Storage Tower plan, and made mostly with left overs from other projects. I wanted a shallow tower storage just deep enough to hang pants and slacks in, and to use a 12" wide door I already had in my garage. At Target I found some kid-size hangers that were just the right size - about 12" wide. Trouser hangers are about this same width, but they weren't available in-store so I went with what they had. The only things I bought for this project are the knob, hinges, some 1x2's, and the hangers. The sides are from a lengthwise half-sheet of C/D plywood, ripped down to 12" strips on the table saw, with 1x2 edge joined at the back to create a "toe kick" to clear the baseboard. The front is trimmed out in 1x2 with a scrap of 1x3 to trim the top. The removable closet poles are from a flagpole, and the ends are held in place with some 1/2" craft boards. The back is 1/4" plywood. The longest part of this project was the sanding, because the plywood wasn't the pretty kind - used lots of wood filler on the knots and as a grain filler, then sanded it a lot. This project took about 9 hrs total, (sanding took the longest), construction with the Kreg jig and nailgun was very quick, and then paint and adding the door and poles. The removable shelf was added as an afterthought and is a scrap of plywood, with some S4S to hold it up, and a 12" scrap of moulding across the front of the shelf. It is 82" tall, 13 1/2" wide, and 14 1/4" deep. It's a perfect pair with the 6-cube tower that I built from Ana's cube tower plans a couple of years ago.
Fri, 08/30/2013 - 17:56
This is such a clever build! :) Thank you for sharing in detail how you put this together. =D I love how tall this is and how little floor space it takes up, which is especially a big issue for smaller home dwellers like myself. =D
Sat, 08/31/2013 - 06:23
Yvonne, thanks so much for the nice comment! I just love tower storage, you get so much for such a small 'footprint' in the room. We've replaced our bulky dressers with towers, which makes the room look much more spacious. If you build some, I'd love to see pictures!
There are 2 other items not mentioned above, that I added during this build: I added the 1x3 at the top of the insides, to help keep the joined side boards tighter together at the top (at the time I was thinking the joint might try to pull apart if it got humid). The second thing (you can hardly see this in the photo) is a 12" piece of 1x2 attached across the back, spaced between the 2 closet poles. This was added to help keep the side pieces the same distance apart when attaching the back, and provided an additional place across to nail it. I thought it would help make it more rigid. This piece is used every day, and so far it has held up great. :)
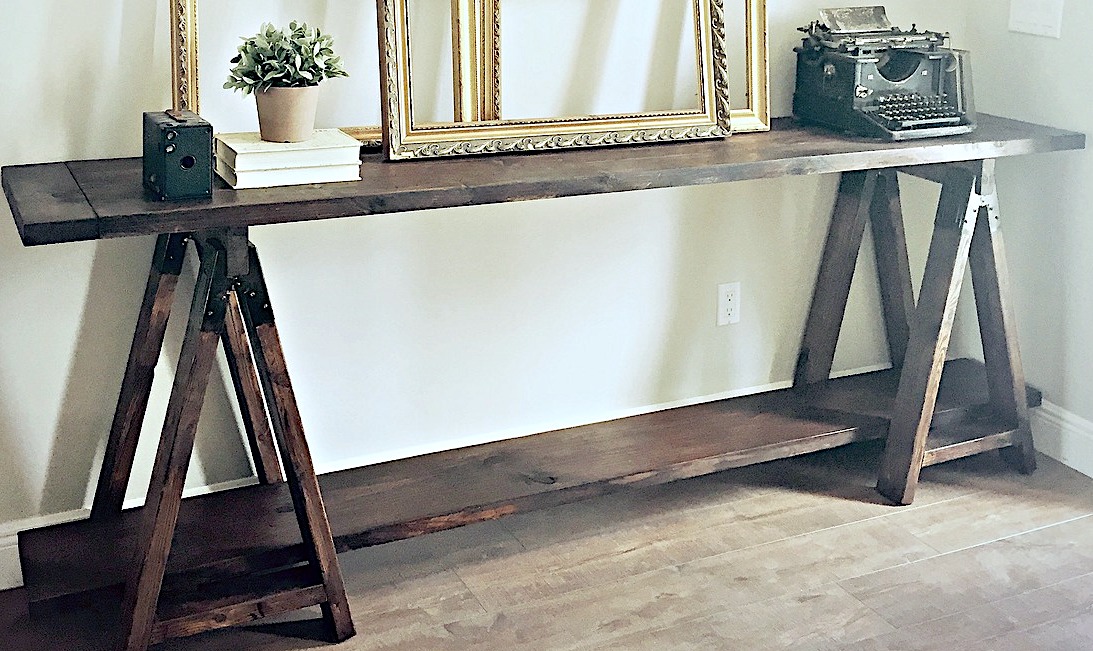
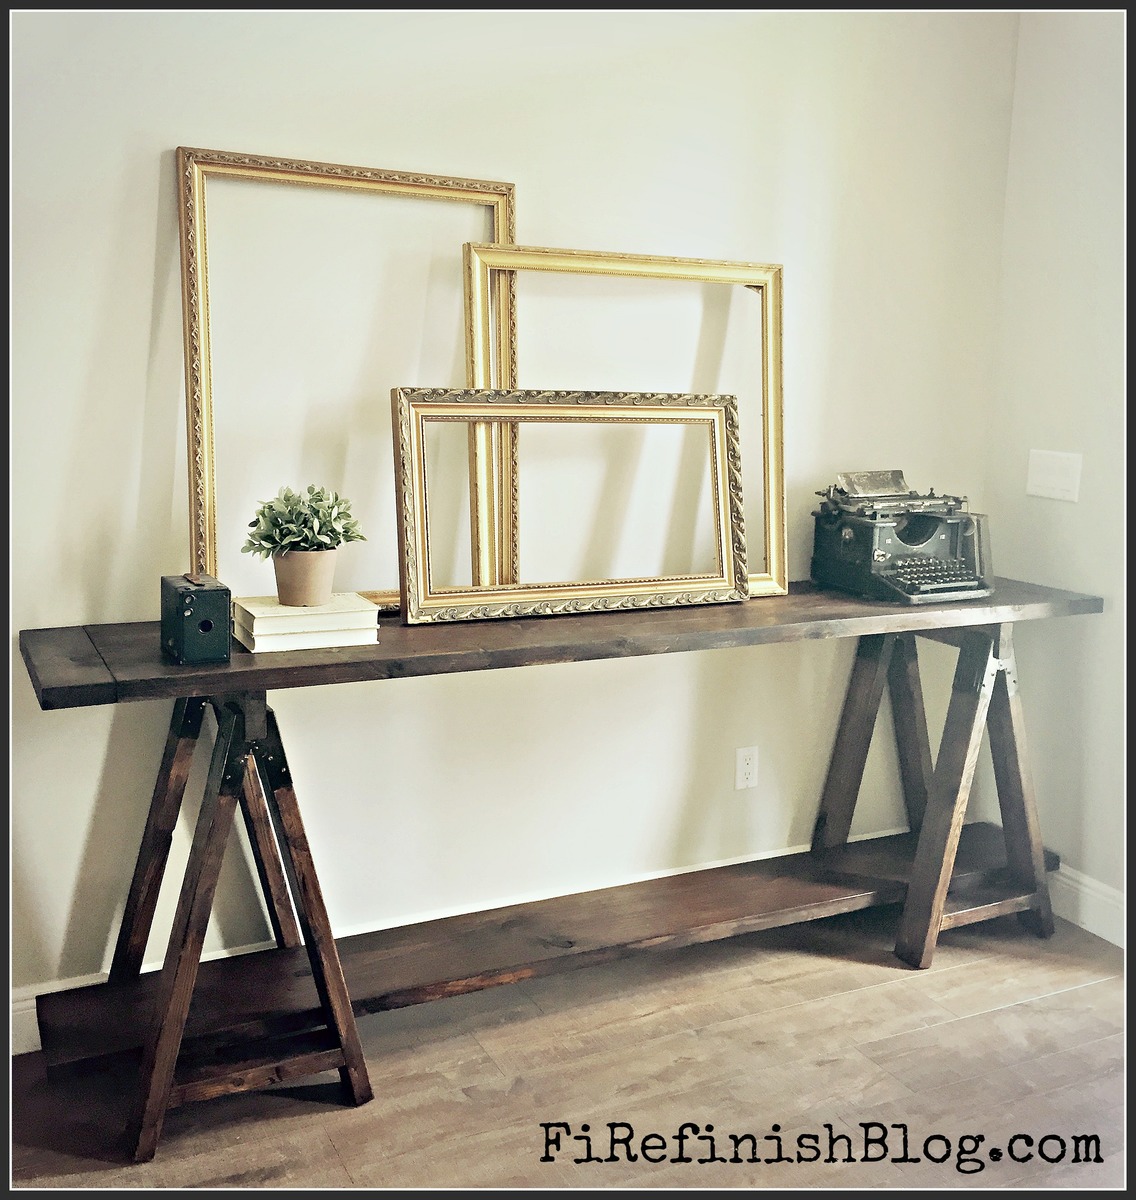
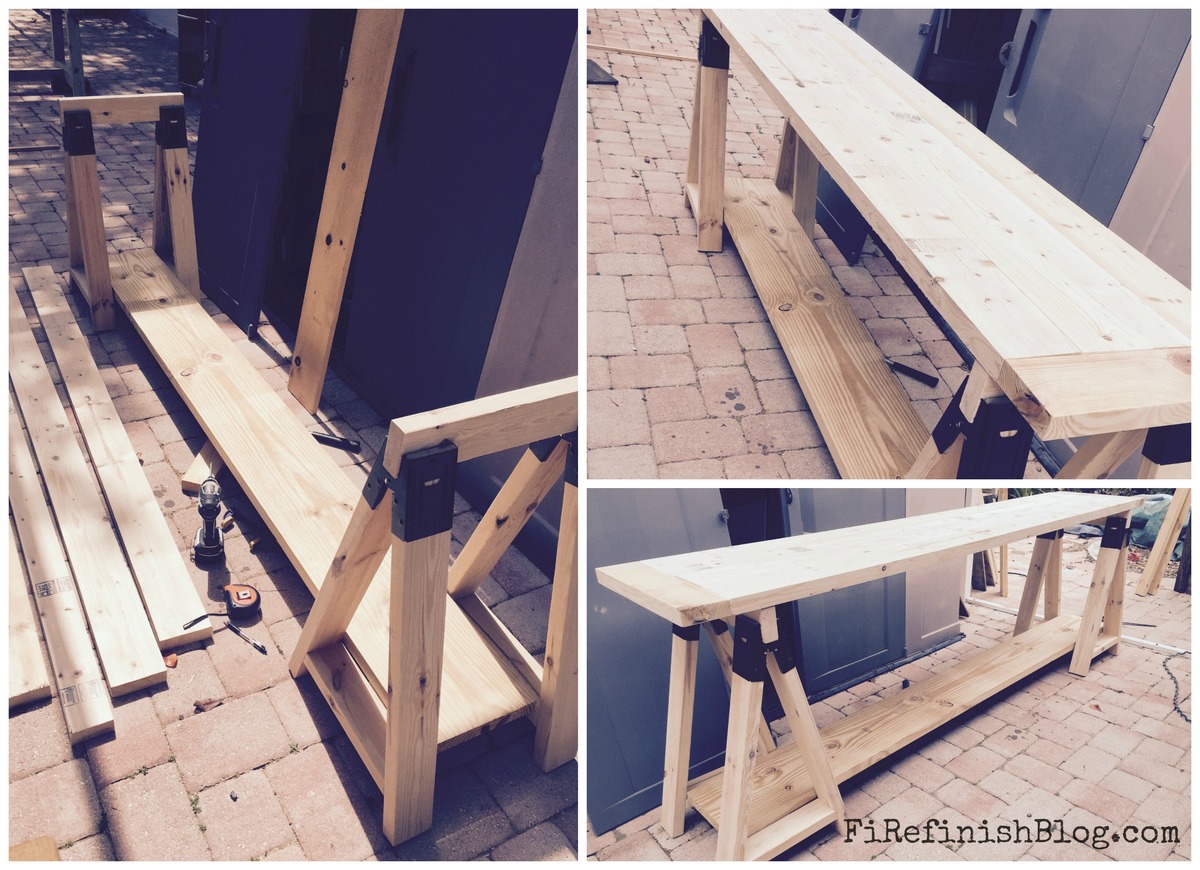
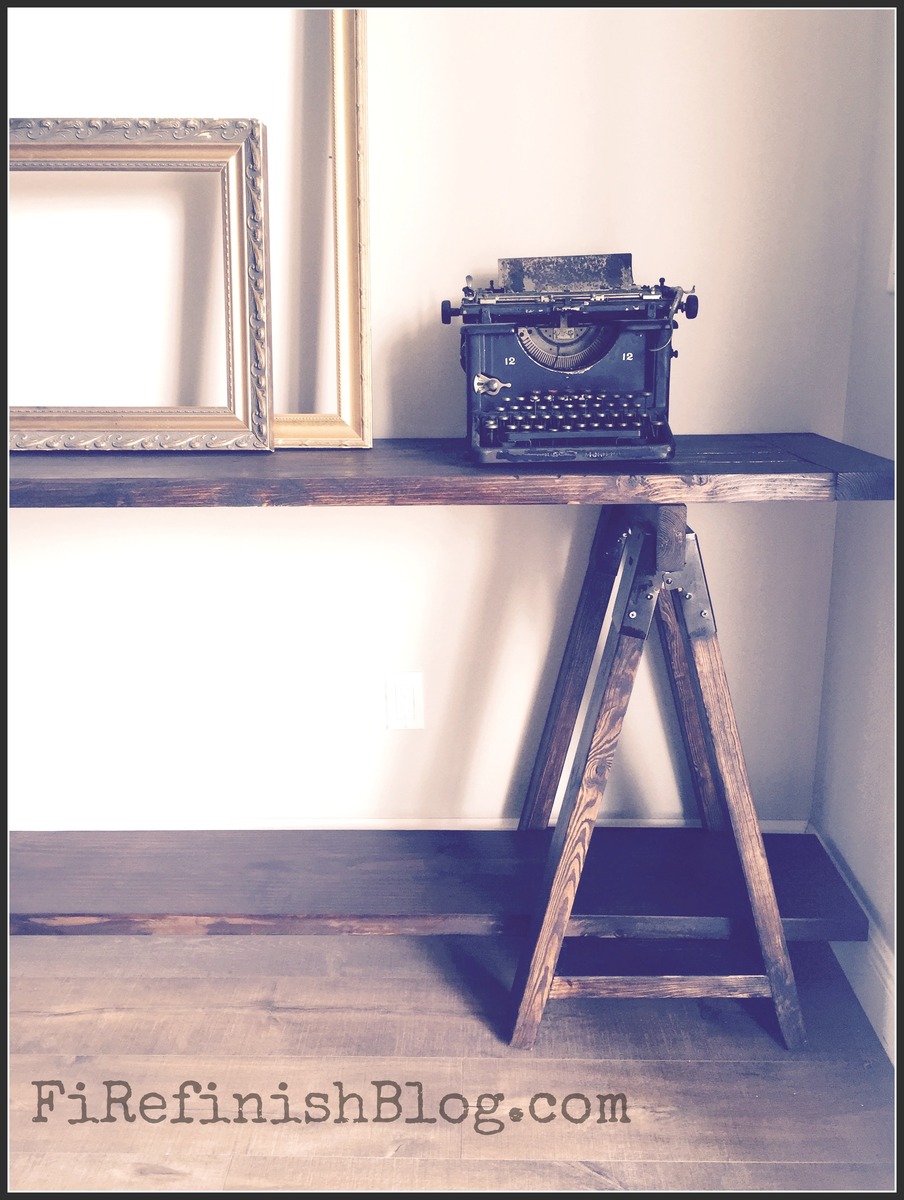
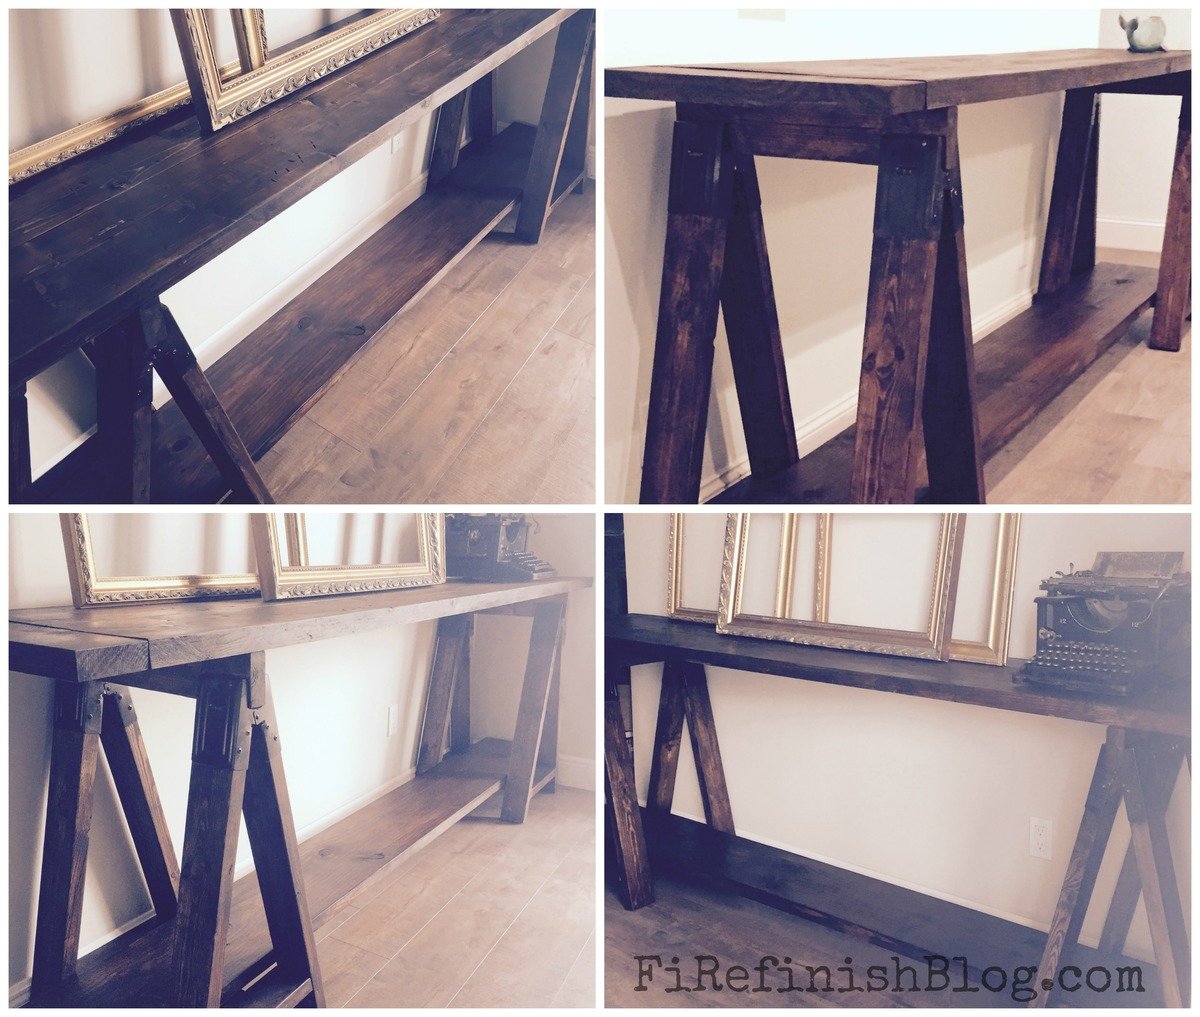
I saw a similar table on Shanty2chic.com and created my own version :)
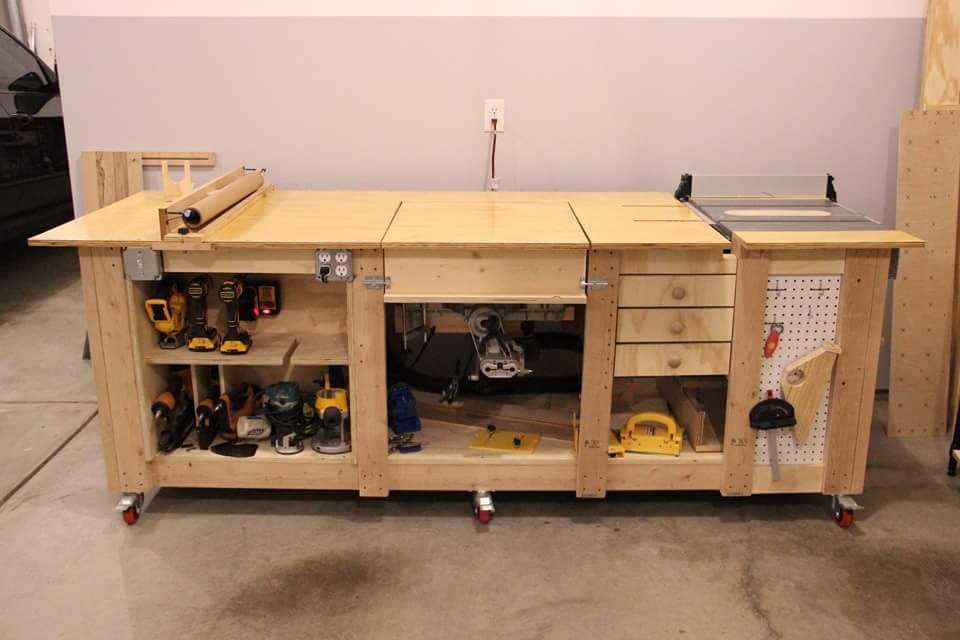
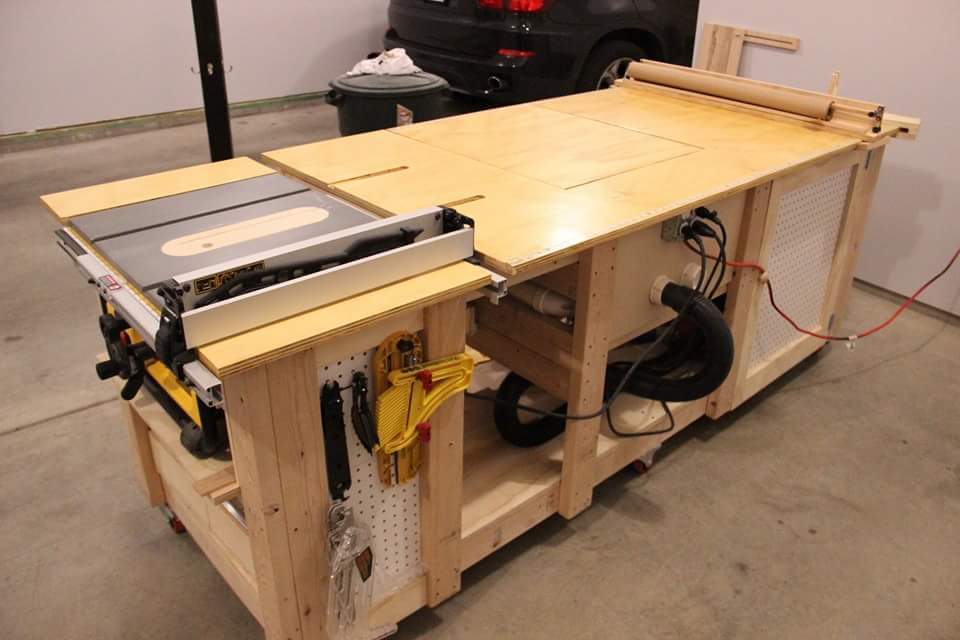
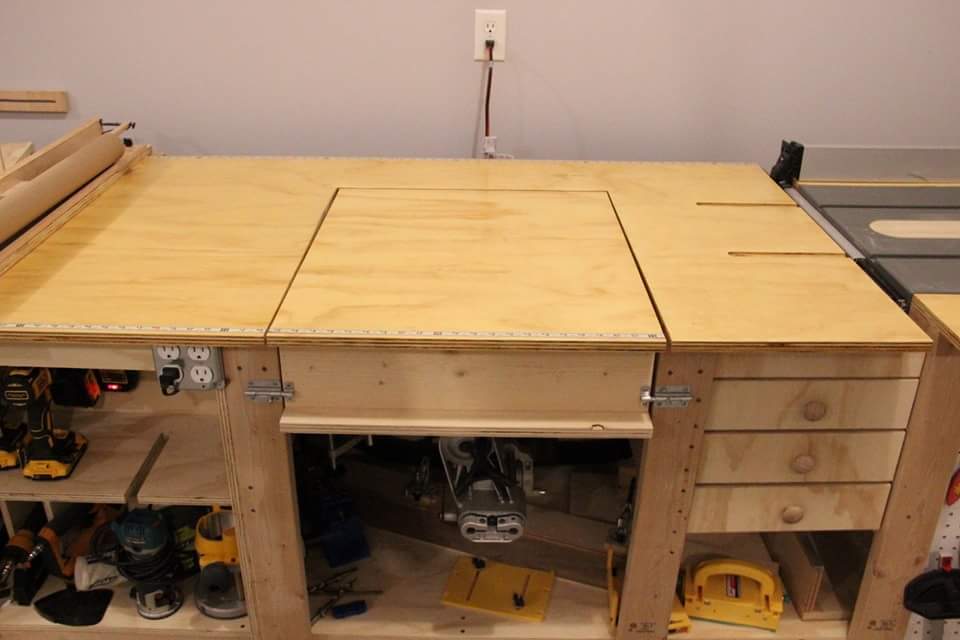
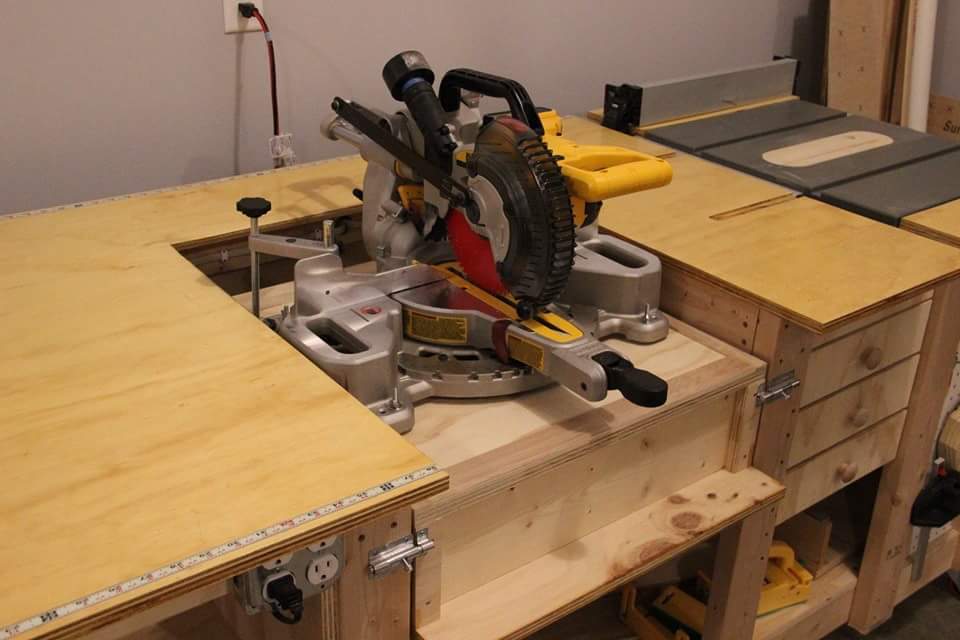
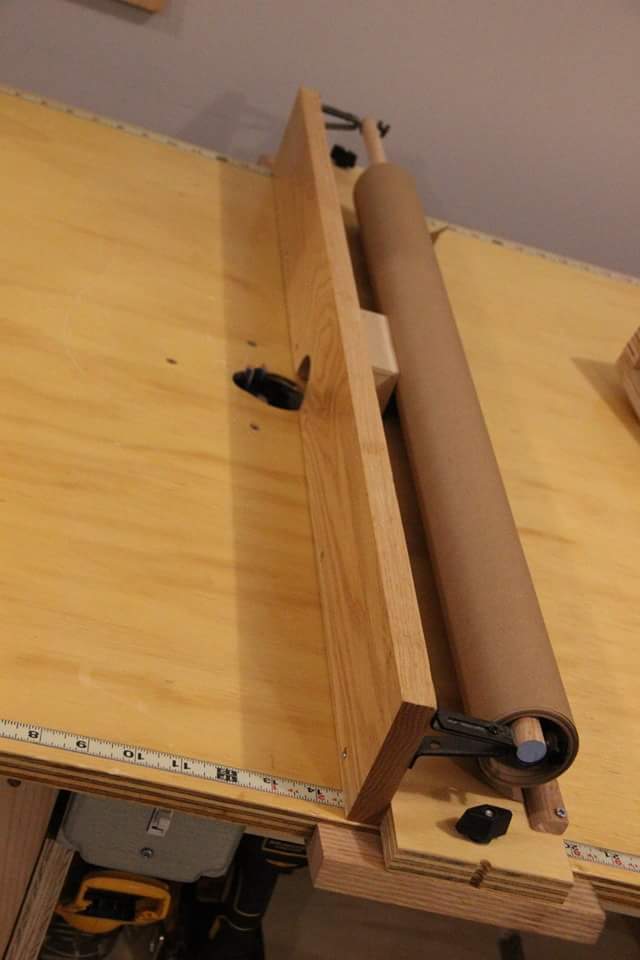
Tablesaw, router, fliptop mitersaw, and dust collection workbench.

Sat, 08/01/2020 - 08:27
That's a nice build. I would love to know if you do have plans for this workbench?
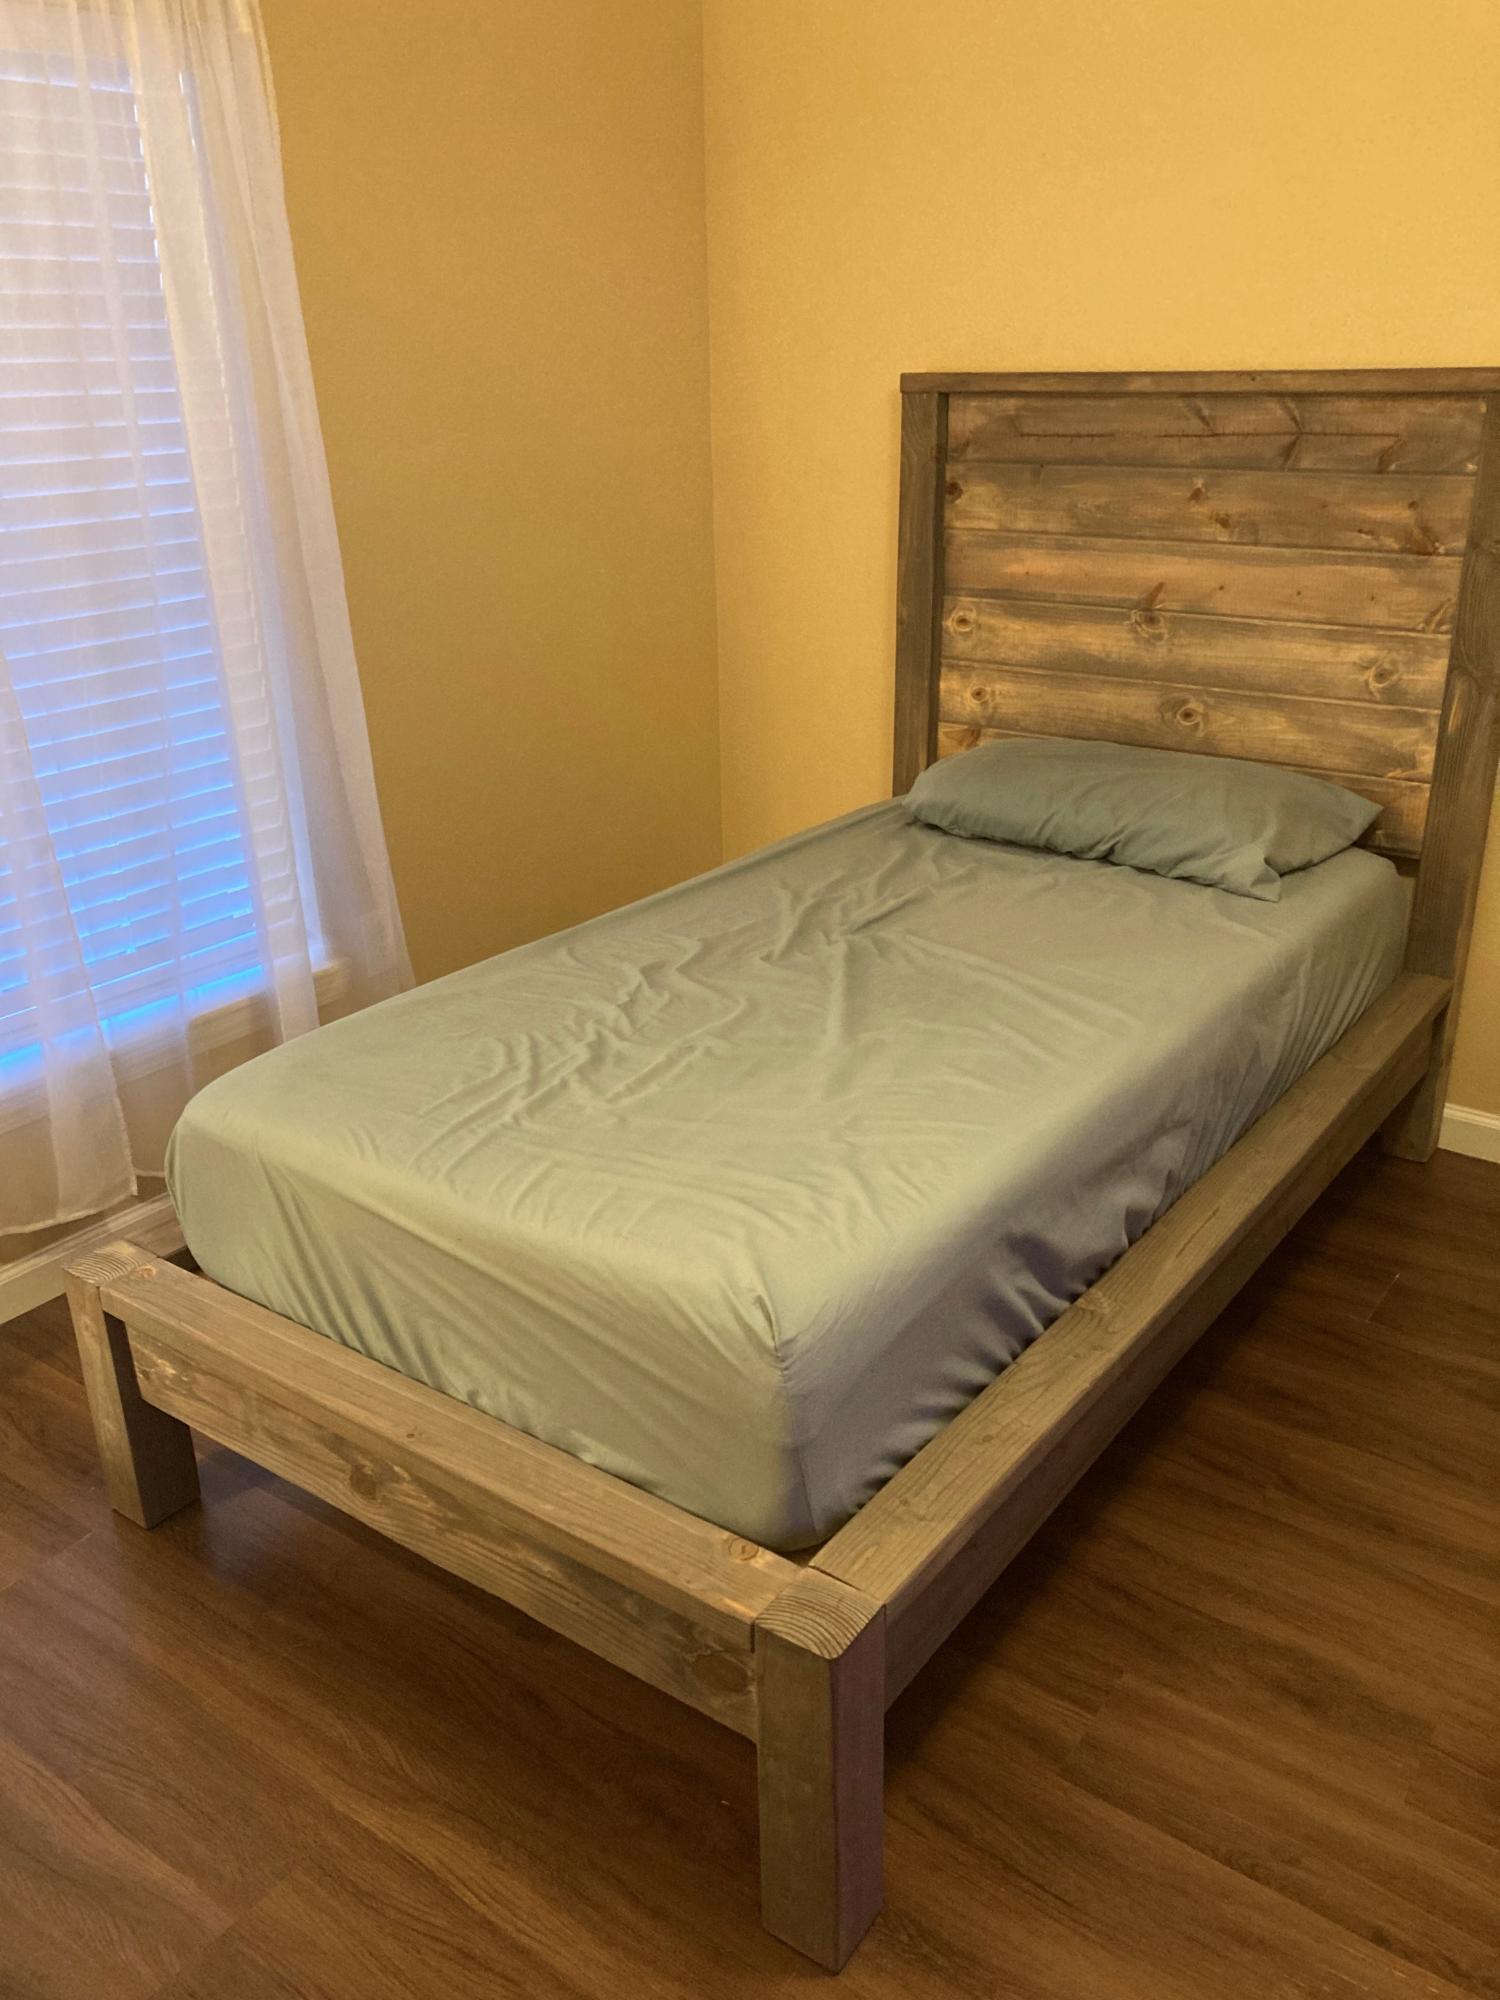
I built this bed for my (adult) son. The instructions were easy to follow. I left off the 2 x 2" cleats on the headboard to make it easier to attach the tongue and groove headboard pieces with pocket hole screws (I did lay two 2 x 2's underneath the tongue & groove pieces for spacing as I attached the boards). Since I made this as a platform bed I added a 6th tongue & groove headboard piece and the optional center cleat underneath. I used the suggested Varathane Weathered Wood Accelerator for the finish; mine came out much more grey than the bed pictured with the plans and my son liked the finish (I did too). Finding non-pressure treated 4x4's and semi-straight 2x4's was the hardest part. I used pine wood and bought all the lumber for about $175 (purchased at peak COVID lumber prices). This bed is definitely solid and I'm looking forward to making the matching nightstand! Thank you Ana for the bed plans!
Sun, 09/05/2021 - 11:13
Wonderful job, it looks amazing, can't wait to see it with the matching night stands!
I had been looking for pretty wooden planters for the front porch and couldn't find anything affordable when I came across Ana's plans for a planter box. So I just made it a square and made it a bit taller.
I used finishing nails and glue to put the whole thing together. If you make the sides 17 1/4" then the bottom is wide enough for three pieces side by side. I added four pieces the same as the strips that were made to the bottom so that they stuck out into the center of the planter. Then I laid the bottom pieces on top of those. I left them loose so they could be replaced if needed after a few summers of water and dirt. You could also put a liner in. The width is just enough to give space for water to drain out.
Out of 5 pickets I could have made the side strips a bit longer and put a strip across the bottom. But I had a couple other projects in mind for the scraps so I didn't.
With the left over scraps I made the small flower box for a table on my deck. I glued and nailed that together too. So for less than the price of one planter box I made two and the small flower box. If I hadn't cut one piece wrong the first time I could have made a second small flower box.
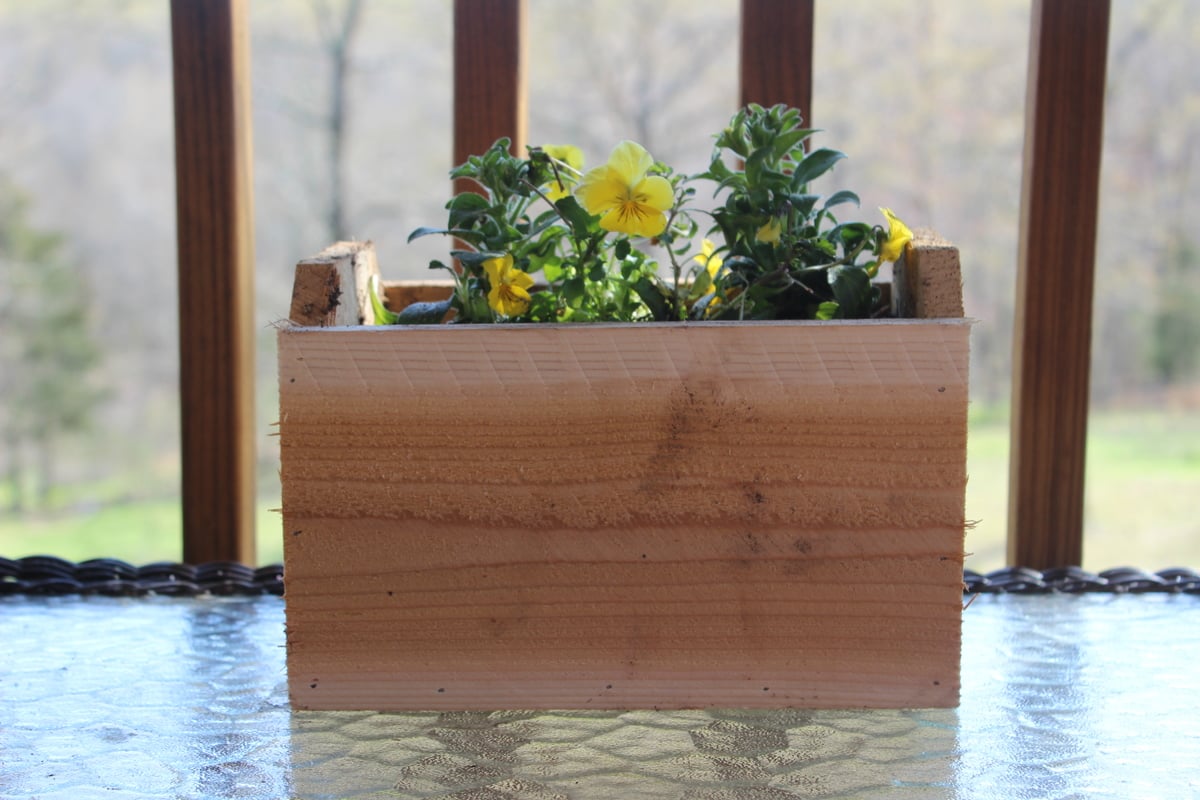
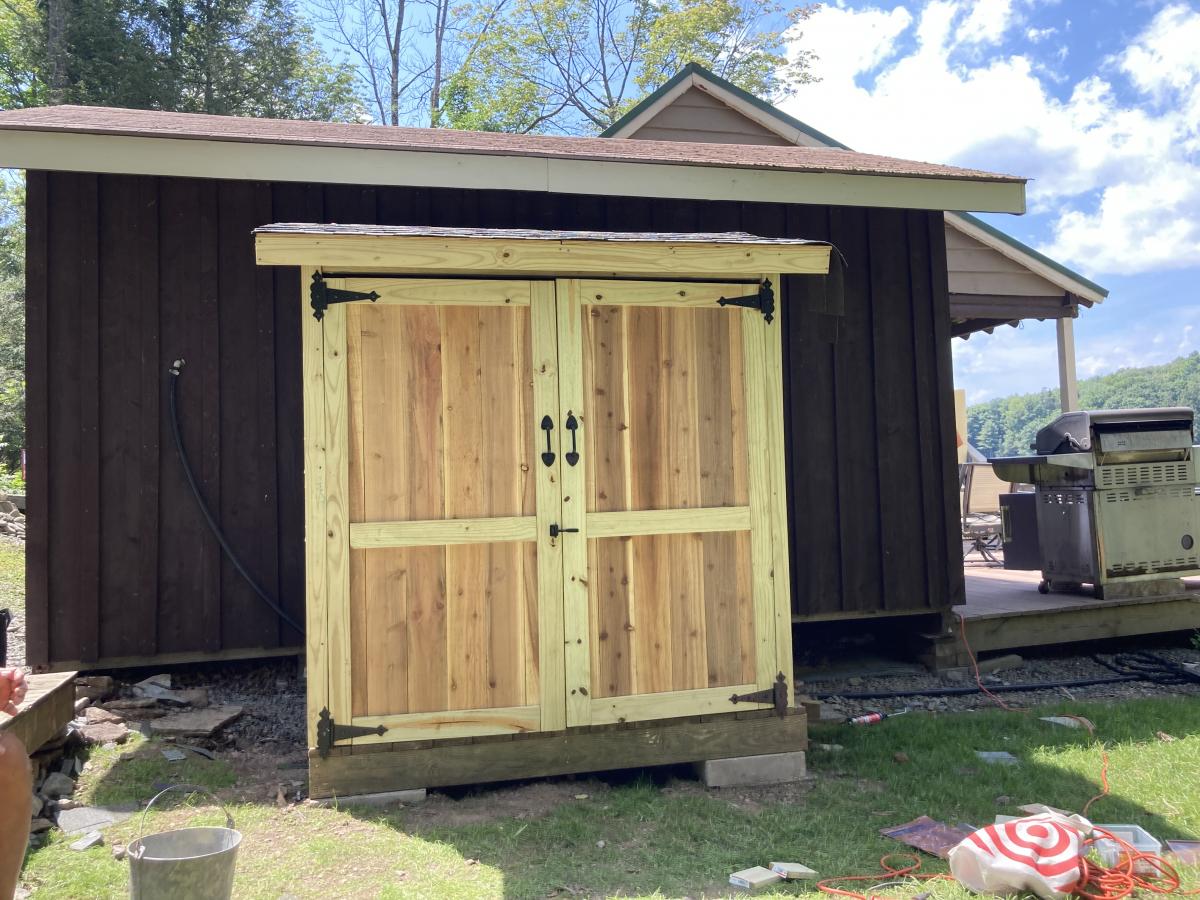
Here is a simple outdoor project built with the Kreg Jig and cedar from the home store!
Video Link: https://www.youtube.com/watch?v=FZjvj3mSeJ4
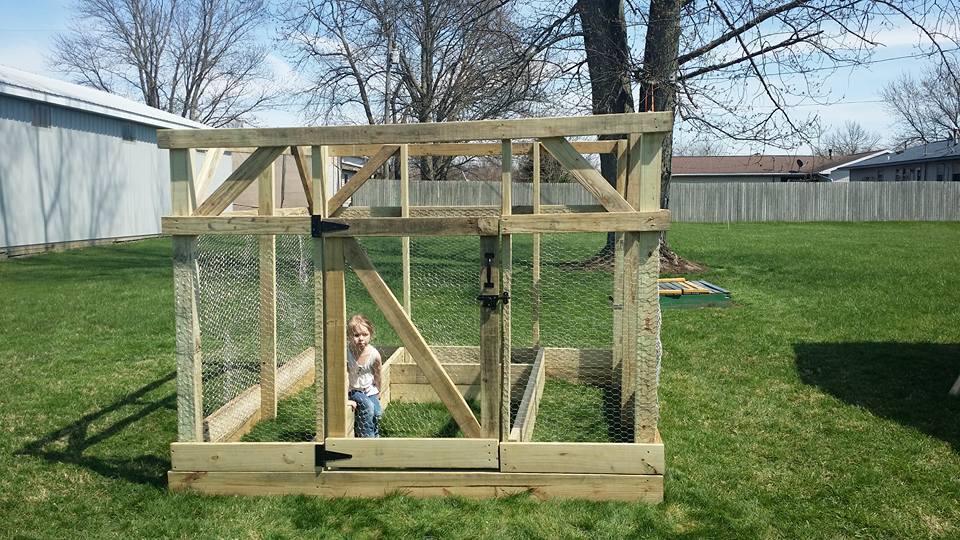
This was a great weekend project with help from my two nephews. My 4 year old daughter had been asking to grow a garden and has really enjoyed watering and watching everything grow!! She makes sure to check on everything daily!! Fun project!!
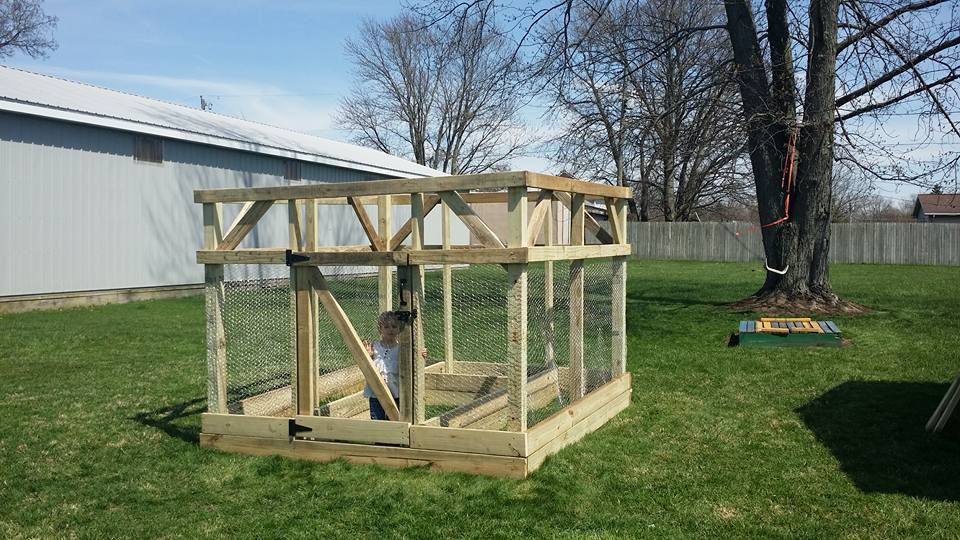
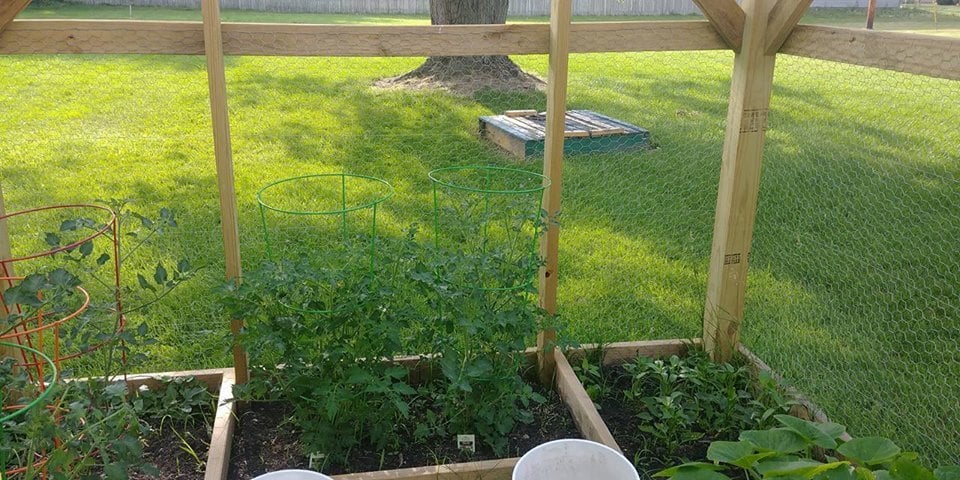
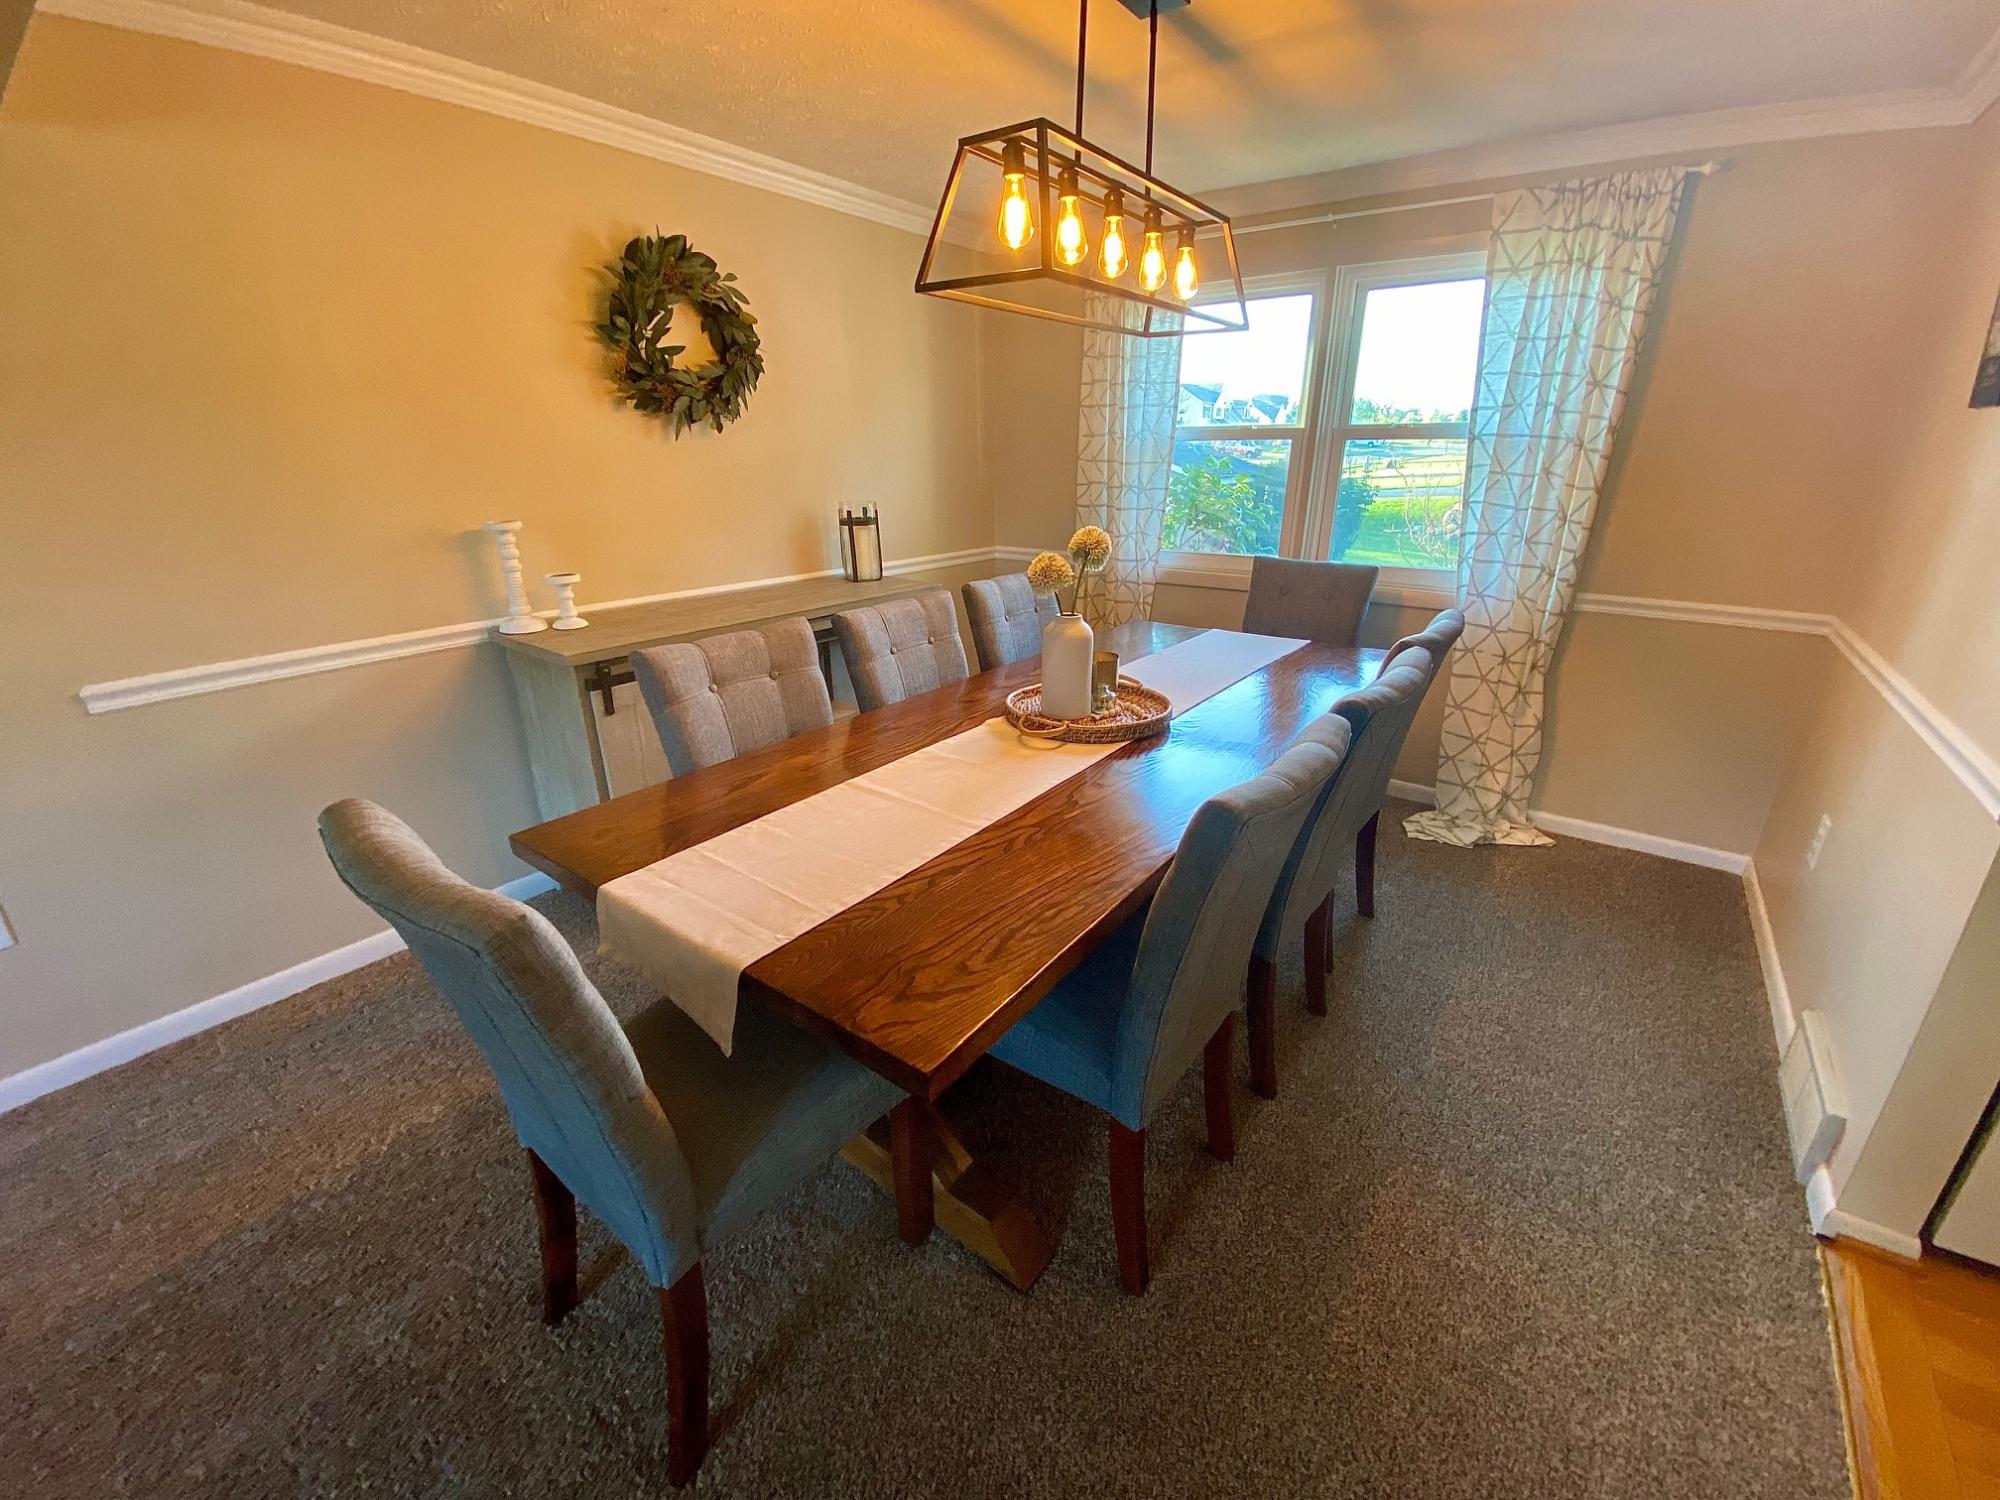
First AW project - very easy to follow with the plans, comments, and some basic problem solving. We like others did substitute some 4x4s for her stacked 2x4s.
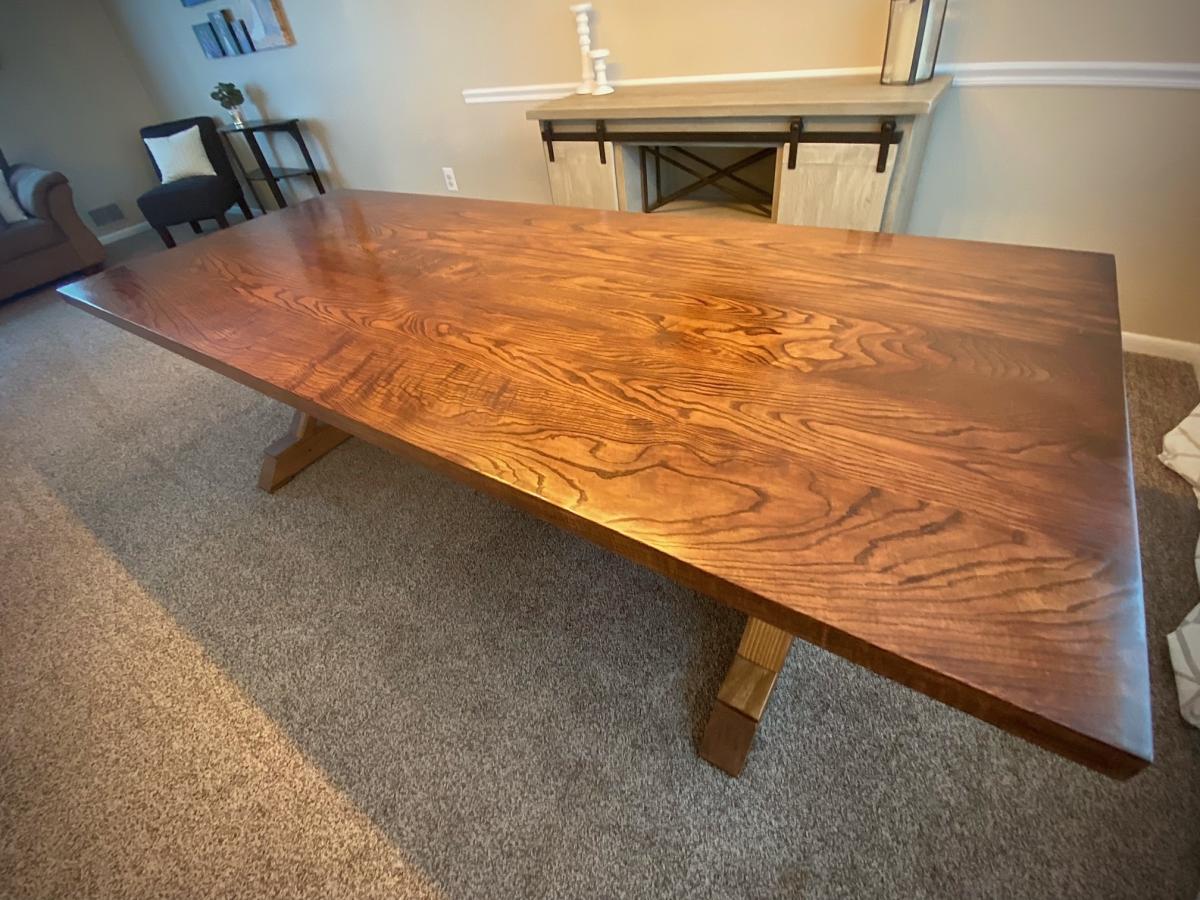
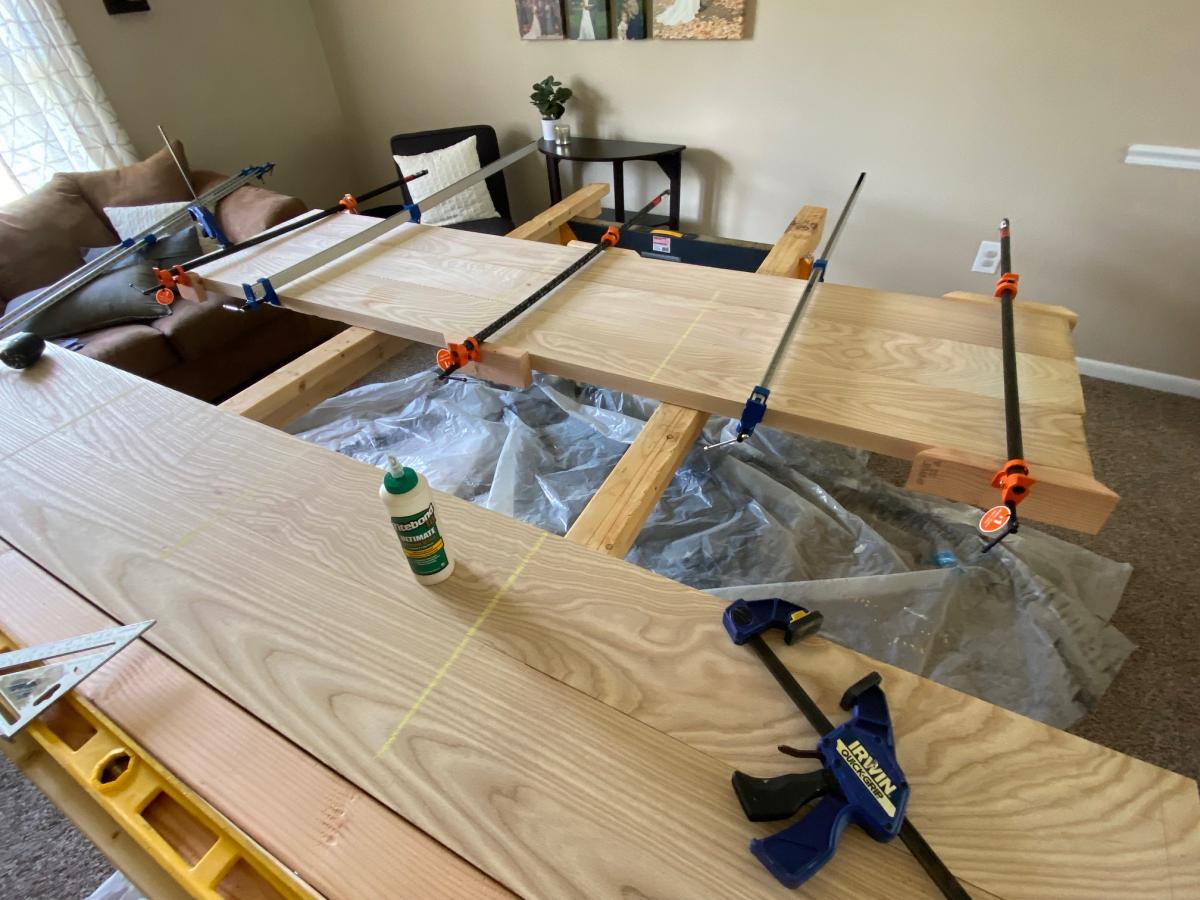
We used 2x8 Ash boards for the top, rough milled down at a local hardwood depot. ($600...Ouch). The lumber was glued up with Titebond iii and clamped with pipe clamps. Then used a combination of electric planer and belt sander to make sure it was completely flat and even after the glue up. Finish sanding was done with a 6" orbital, and the ends were cut flush with a circ saw.
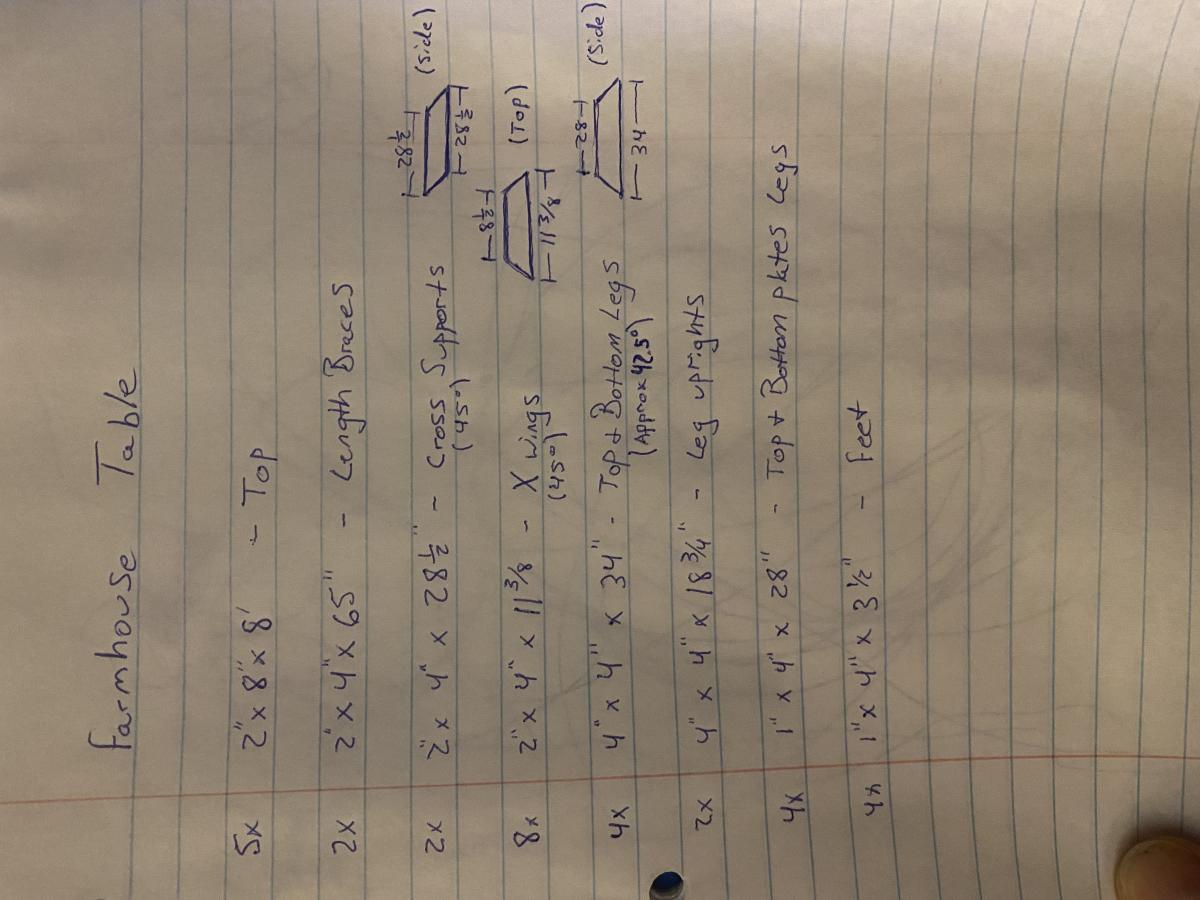
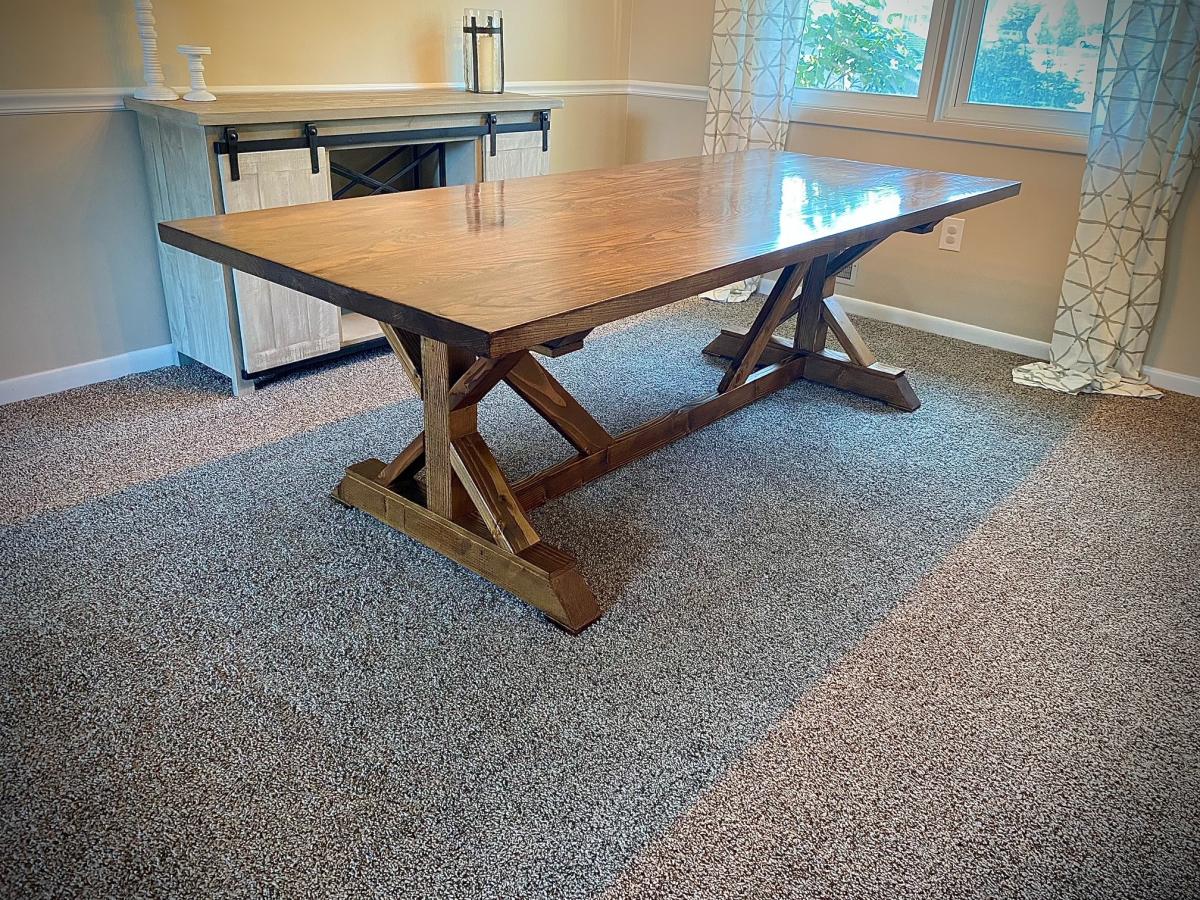
The base of the table was the easiest (and cheapest). It is made of kiln dried Doug Fir from the blue big box store. A photo of the cut list we used is attached. Used a chop saw for everything. This video helped visualize everything even though ours were not exactly the same. We used similar screw selection as this video as well:
https://www.youtube.com/watch?v=qg_hwoekV80
We used a kreg bit to predrill/counter sink our screws. Then purchased Douglas fir wood plugs from this etsy user. Didnt feel like cutting our own. This user has a lot of other species as well.
https://www.etsy.com/listing/991000659/douglas-fir-clear-tapered-wood-p…
A lot of people had questions about how to connect the top to the base. We routed a groove on the top of the base on each side and connected the two with Z clips. We used this method:
https://www.youtube.com/watch?v=J7Z69COtzzw
And these clips:
https://www.amazon.com/Table-Fasteners-Connectors-Screws-Brackets14/dp/…
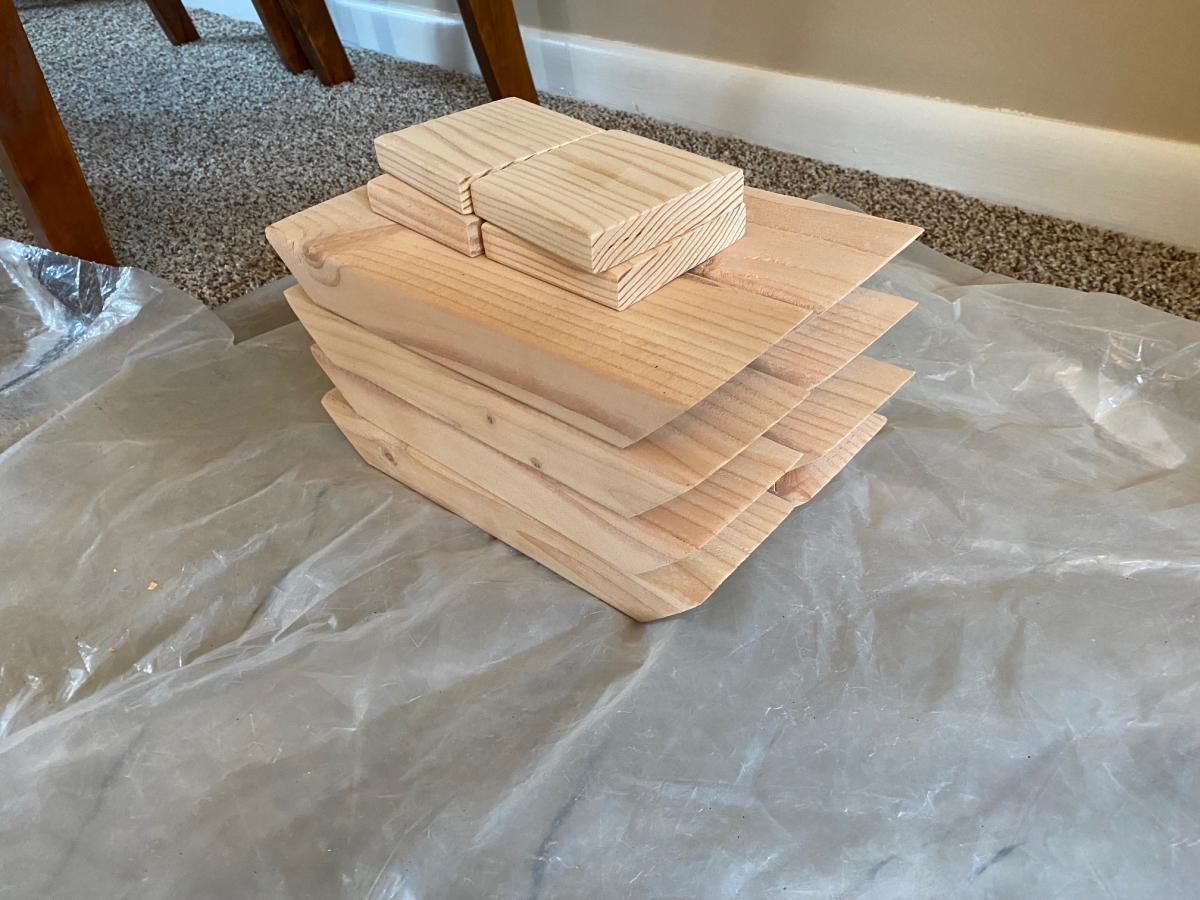
Finishing was the most stressful part. Our first staining attempt was very blotchy despite being sanded very well and using a preconditioner. Since we spent so much money on the top and wanted this to be a perfect heirloom piece, we ended up re-planing and sanding the whole top (Kill me). We then used this method to precondition the wood by The Wood Whisperer - which worked great:
The table final coat was finished using these methods by PMK Woodworking. 3:2:1 ratio of
Mineral Spirits: Oil Based Poly: Boiled Linseed Oil:
https://www.youtube.com/watch?v=MxP5YuTHyic
https://www.youtube.com/watch?v=J_6g4oGEJ5s
Overall very happy. Took way longer and cost way more than expected. But hopefully will be our forever table that our kids will fight over one day. If you wanted to do this cheap and have it look rustic with imperfections, that would also be great and very doable.
Thanks to Ana, all the links above, and all your comments!
Good luck
I modified these plans just a bit. I added 10 inches to make it 48 inches across. I also used a 1x3 on the top face frame instead of a 1x2. The plan calls for just a 1x12 on the top but I wanted it to be wider so I used my Kreg Jig to add two 1x2's to make the top 15 inches deep. I planned on staining the whole thing but made a few errors and had to paint the bottom as it is more forgiving. I loved how Brooke used the coffee staining technique but didn't like the way it was turning out so I just went with distressing the edges and staining the top like she did on her coffee table with the stain I had on hand. It took only a few hours to make the bench and about 3 days to finish it as I worked in the evenings after work.
Sun, 08/11/2013 - 18:53
I love how the white paint and dark wood look. I like the extra width, and the light distressing looks great.
This plan worked great to add a finishing touch to the front of our rustic barn themed bar project. Love it!
Comments
Jody Knowles
Mon, 03/09/2015 - 23:11
Great job, that turned out
Great job, that turned out really nice !