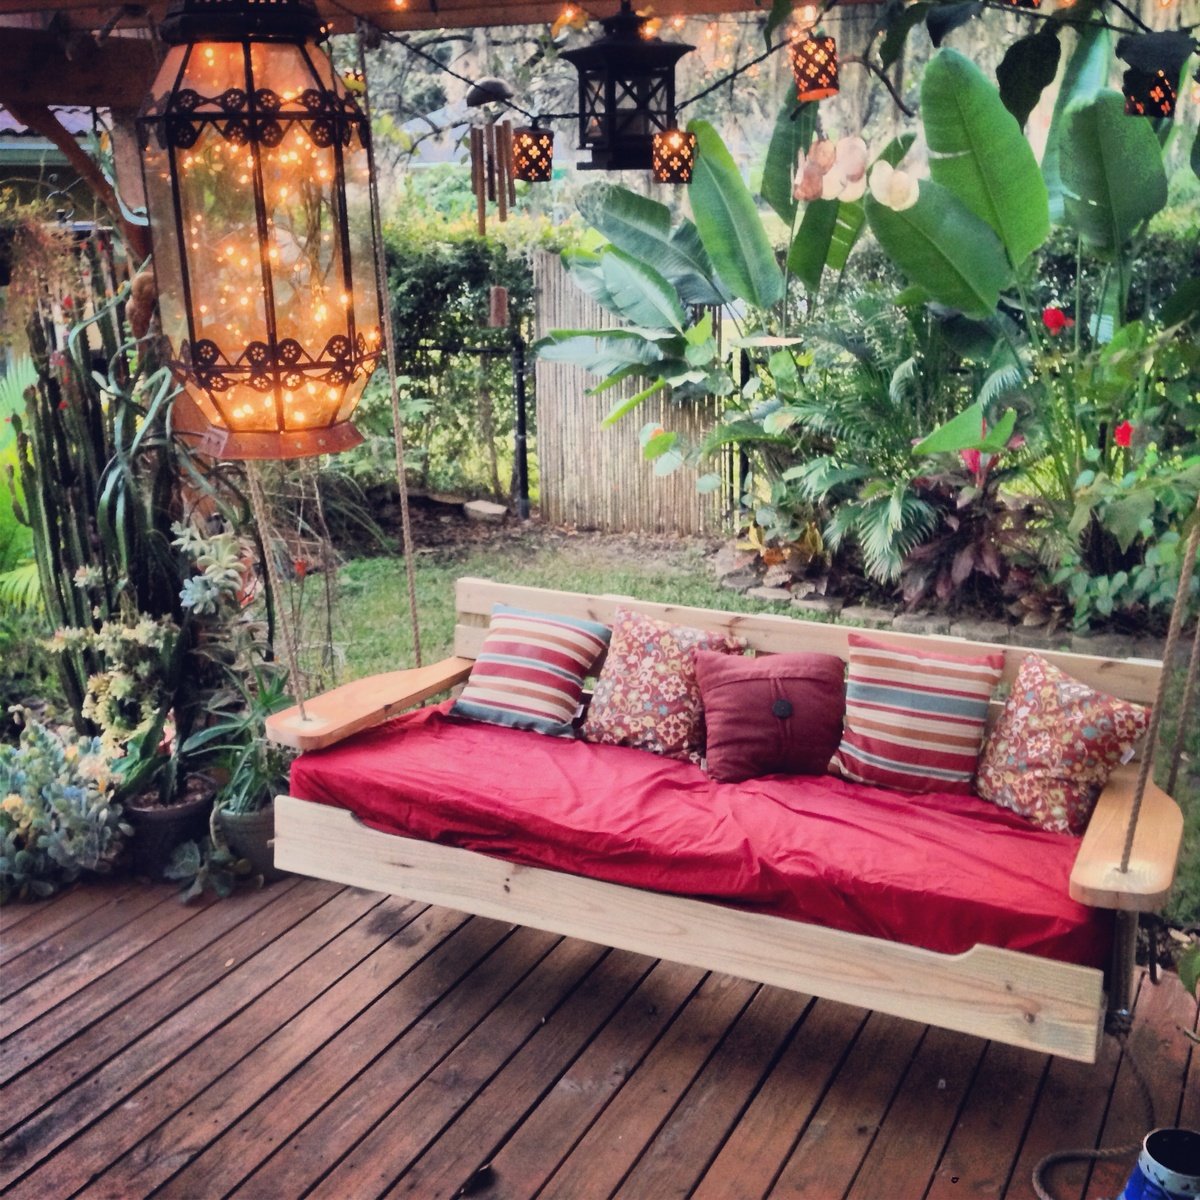
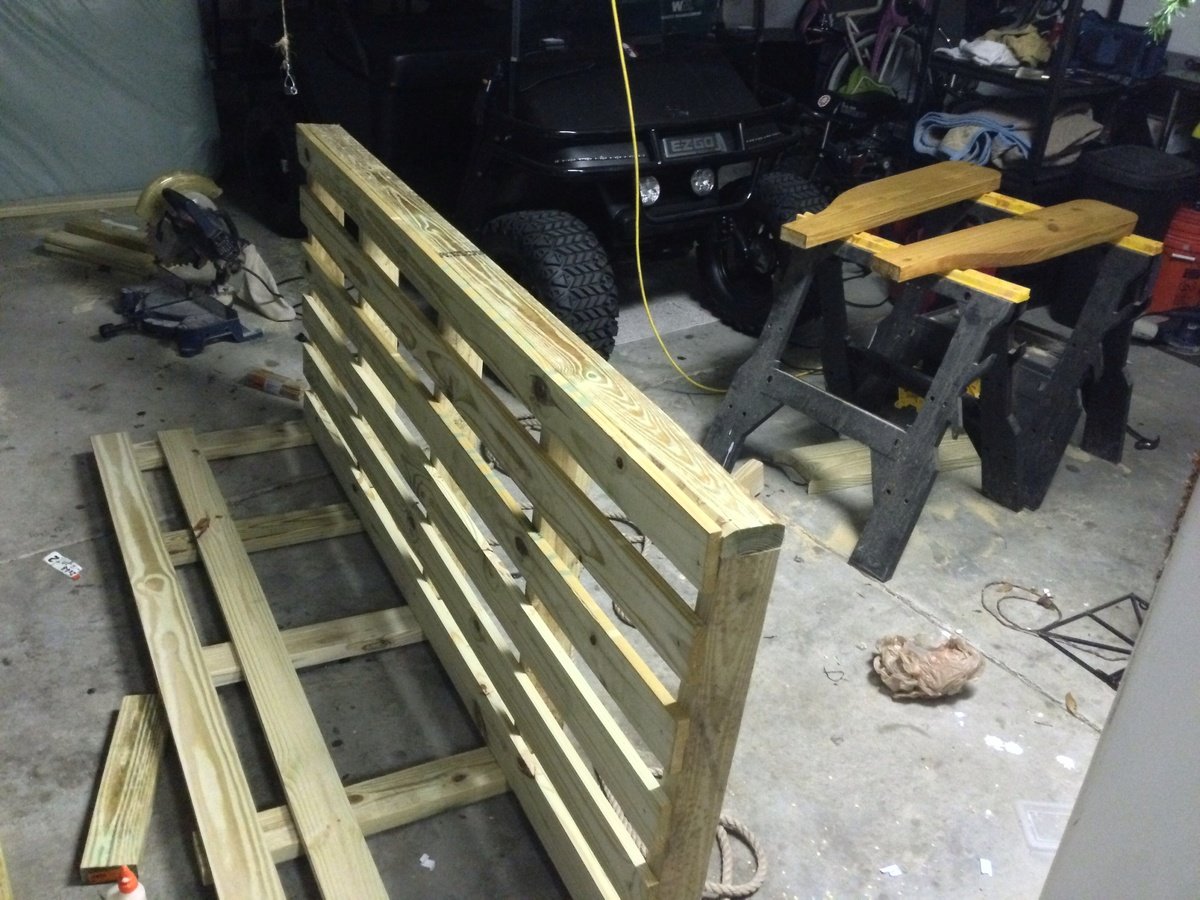
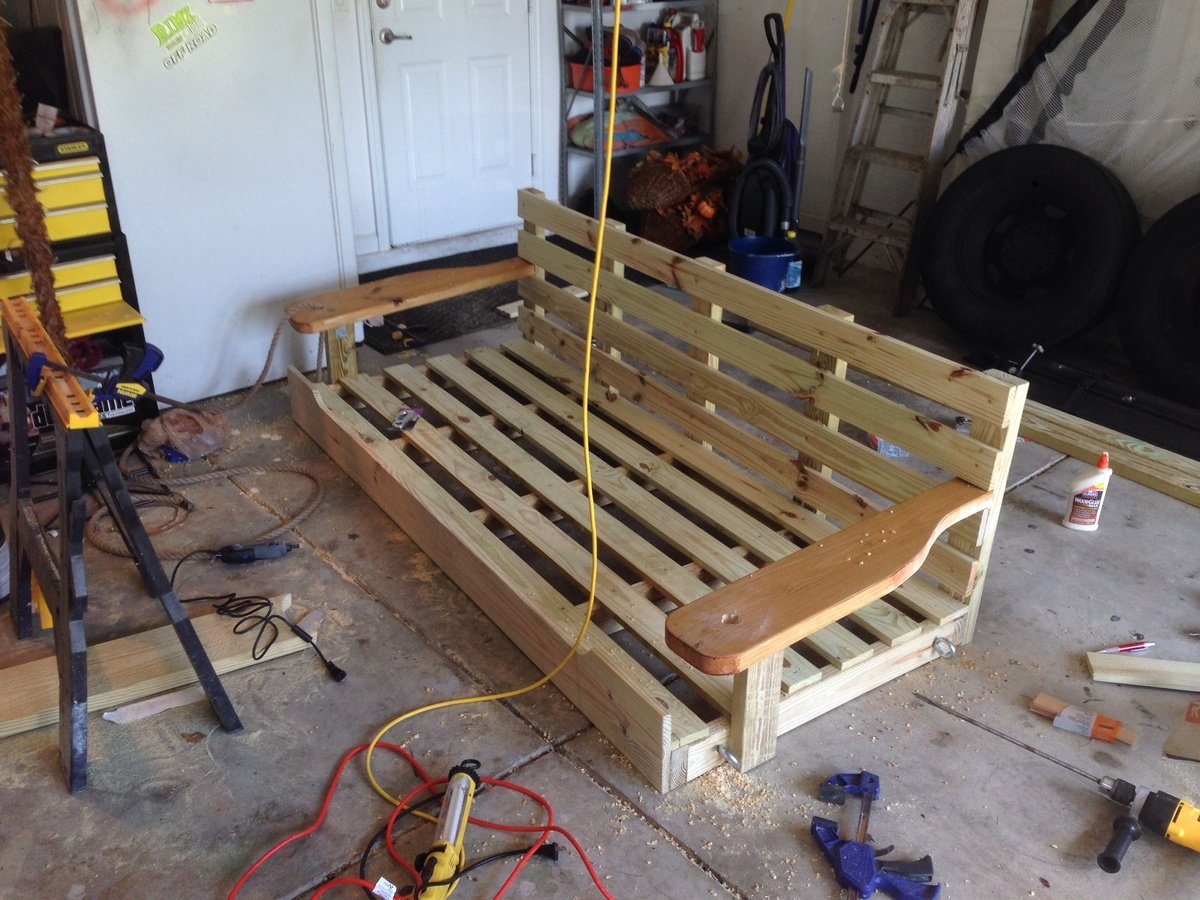
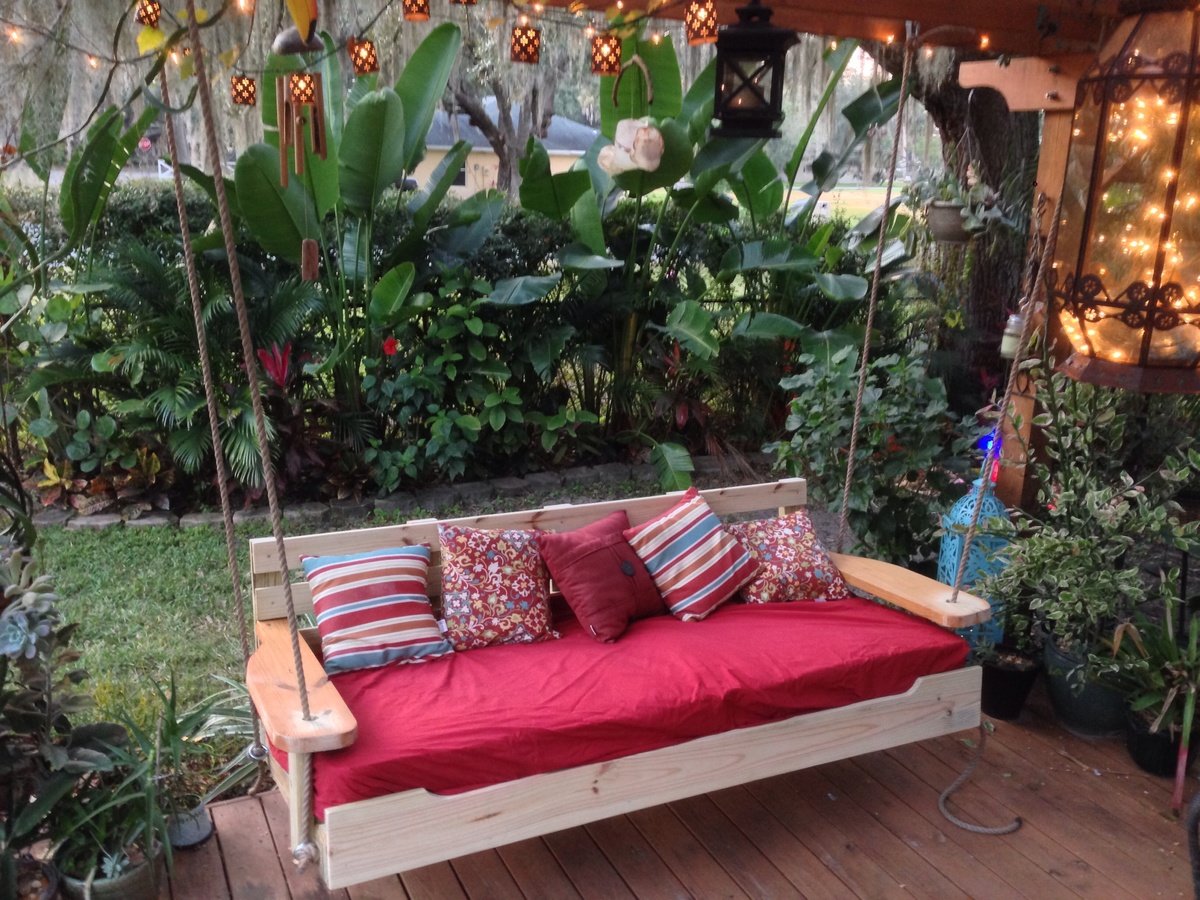
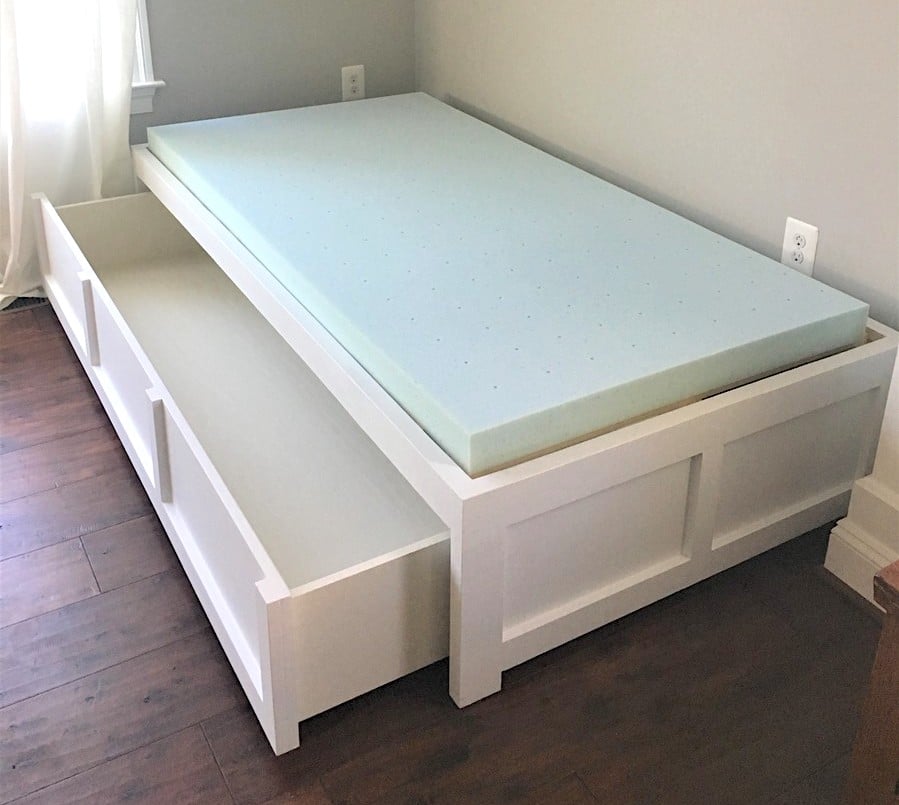
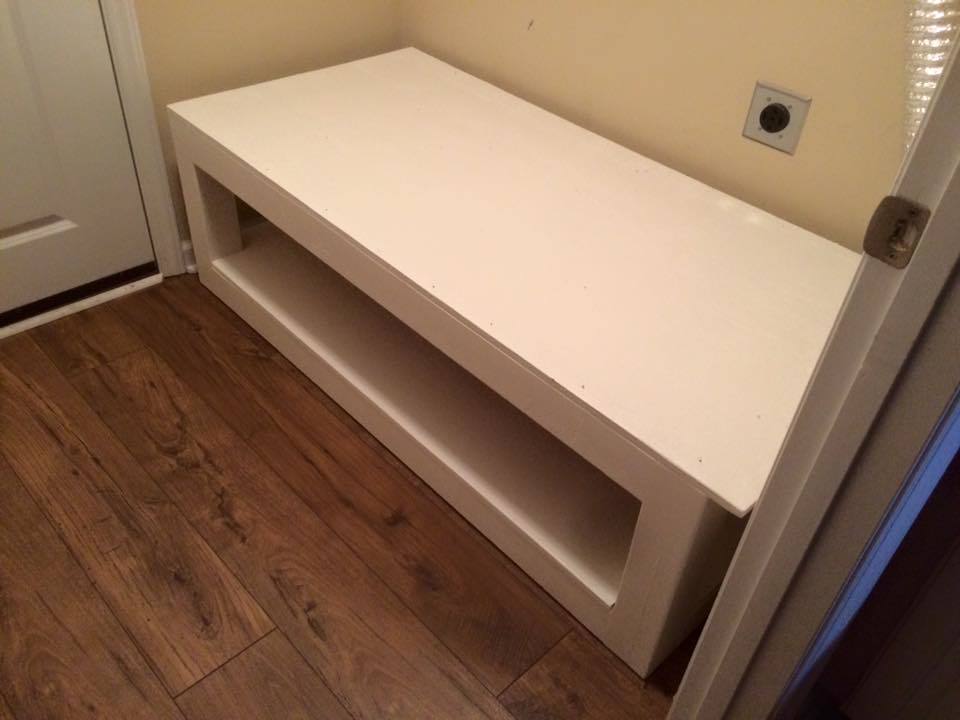
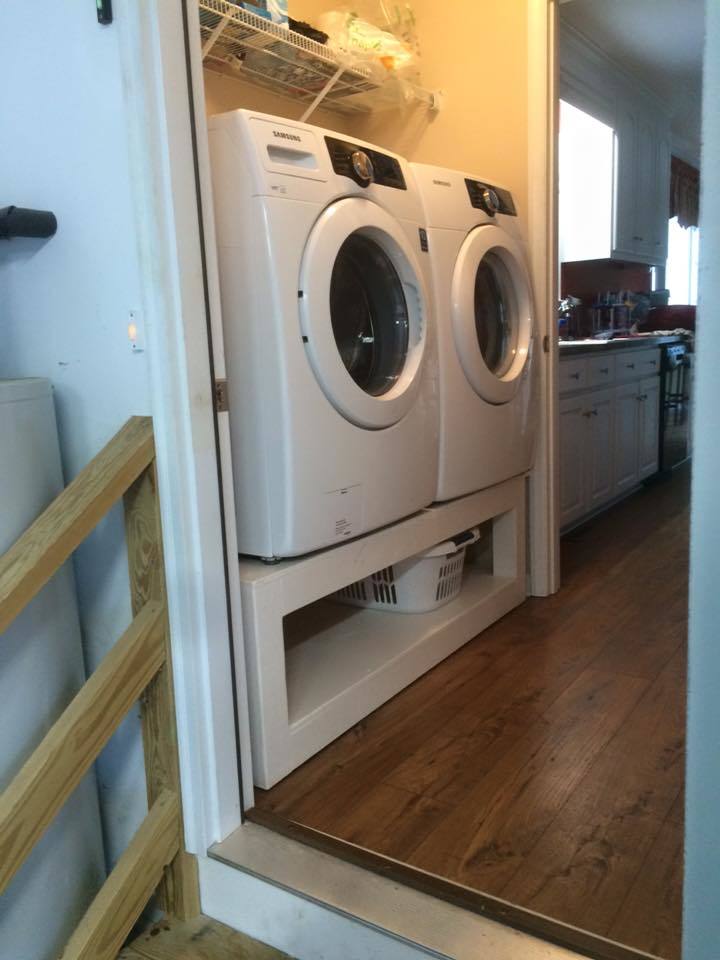
washer and dryer pedestal
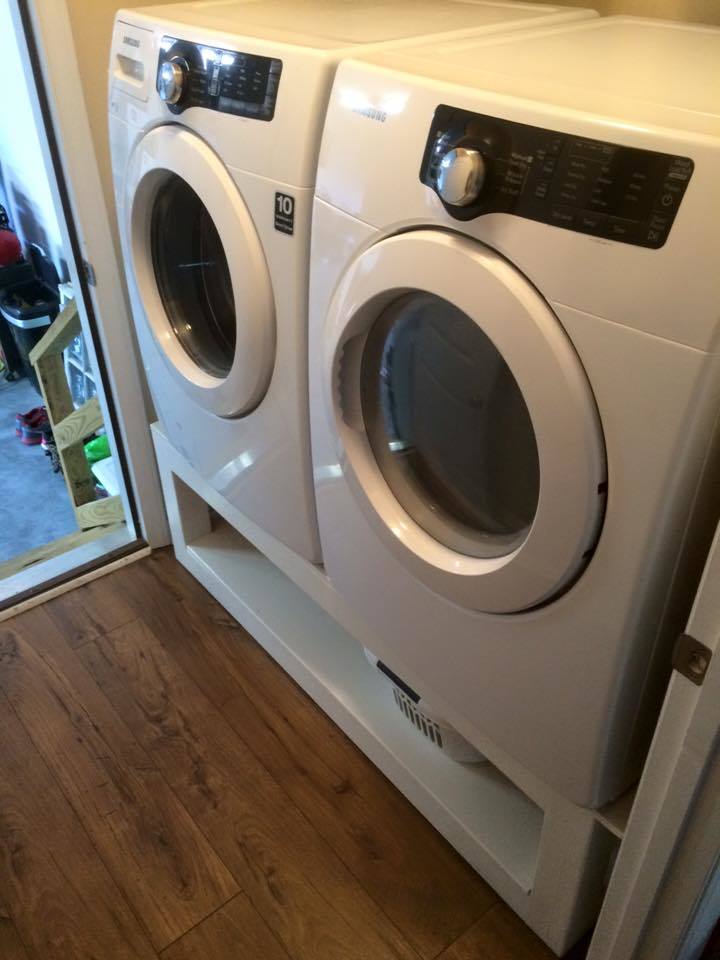
my wife tagged me on facebook right before Xmas with the plans and picture of this, so i dusted off my tools and built her one as a present. its not only great for her but it makes the laundry easier for me as well. I had to mofidy the base of mine because my dryer vent comes up through the floor in the corner.

Built from Plan(s)
Estimated Cost
$100
Estimated Time Investment
Day Project (6-9 Hours)
Finish Used
Valspar white latex
Recommended Skill Level
Beginner