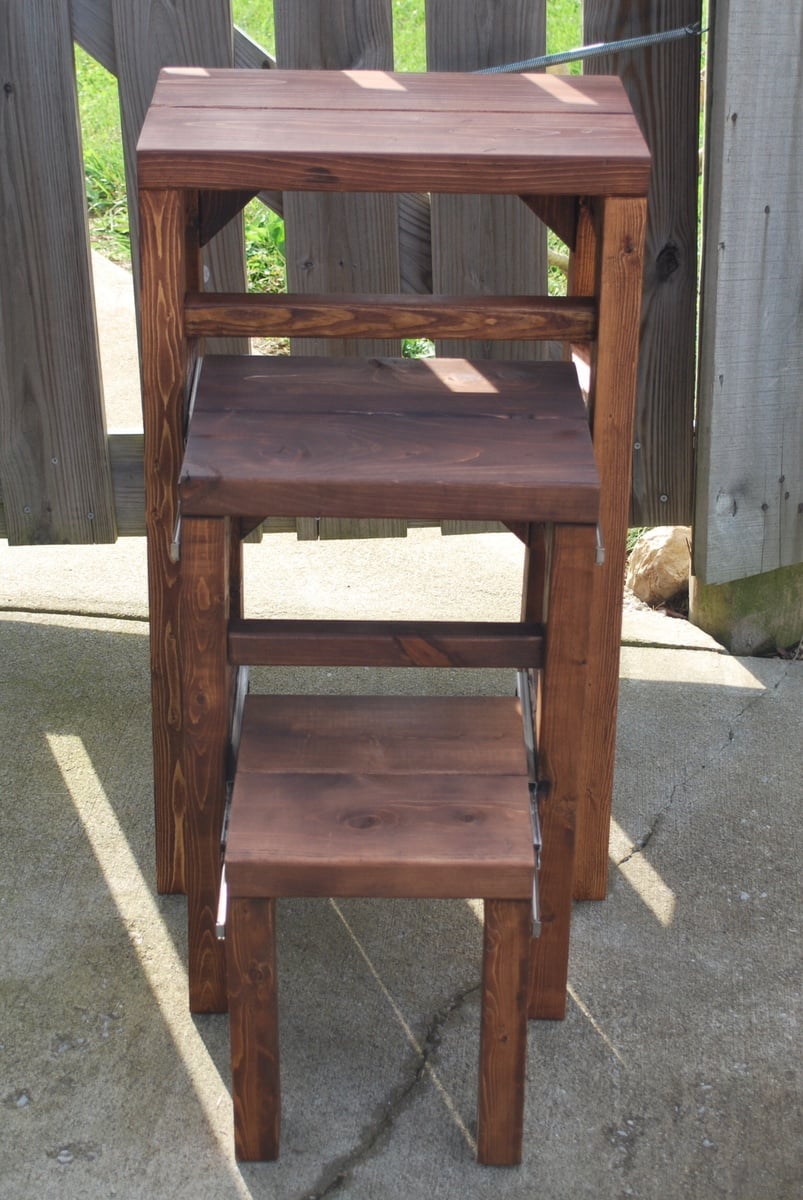
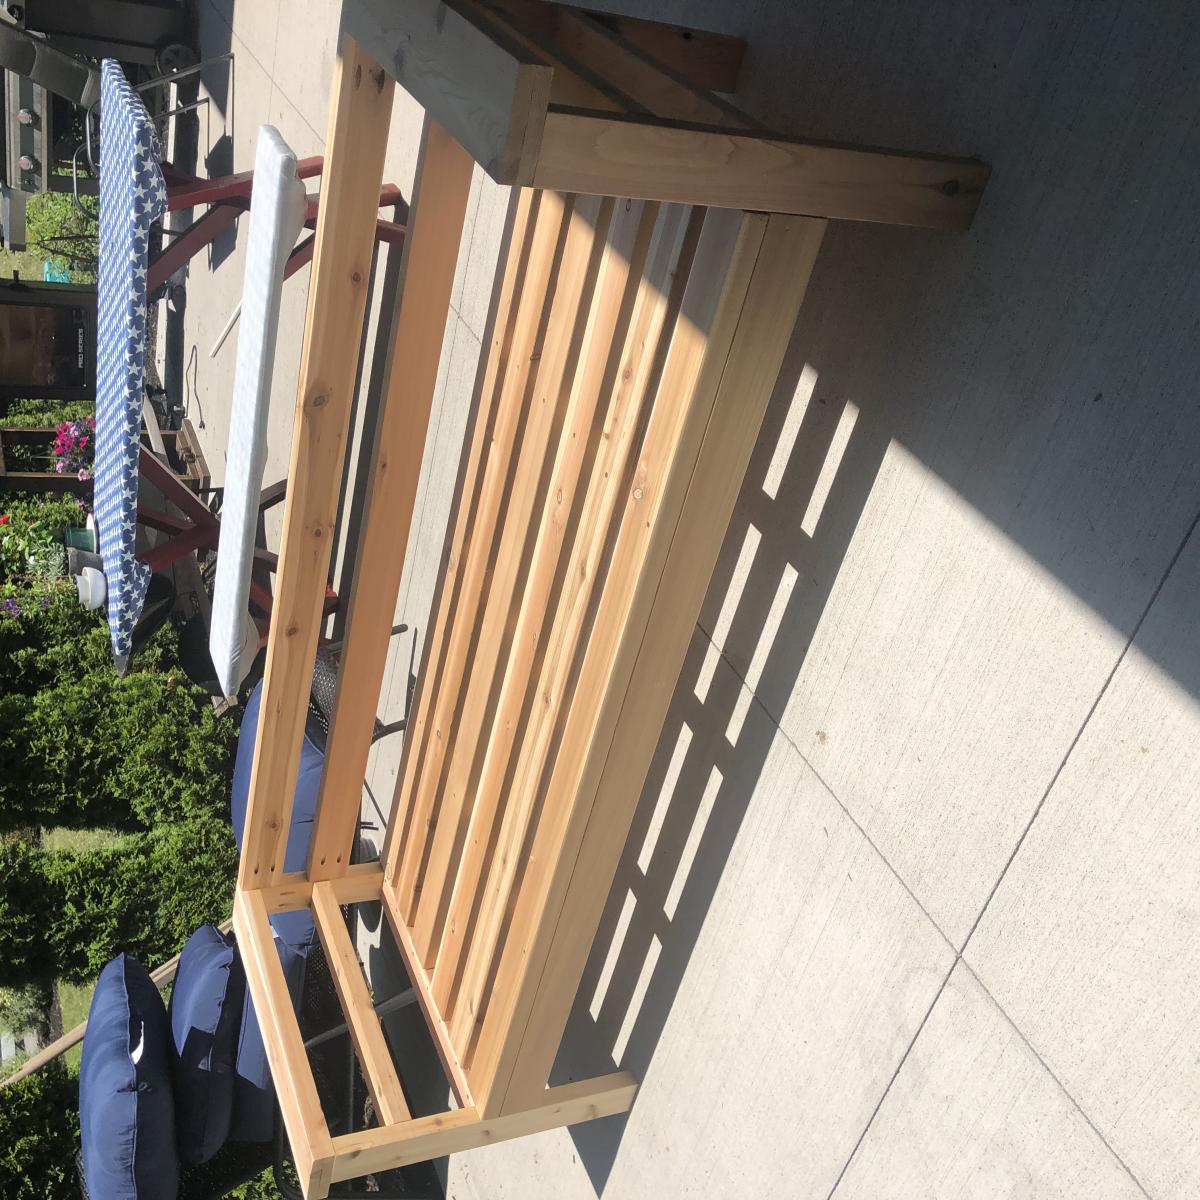
Swing set
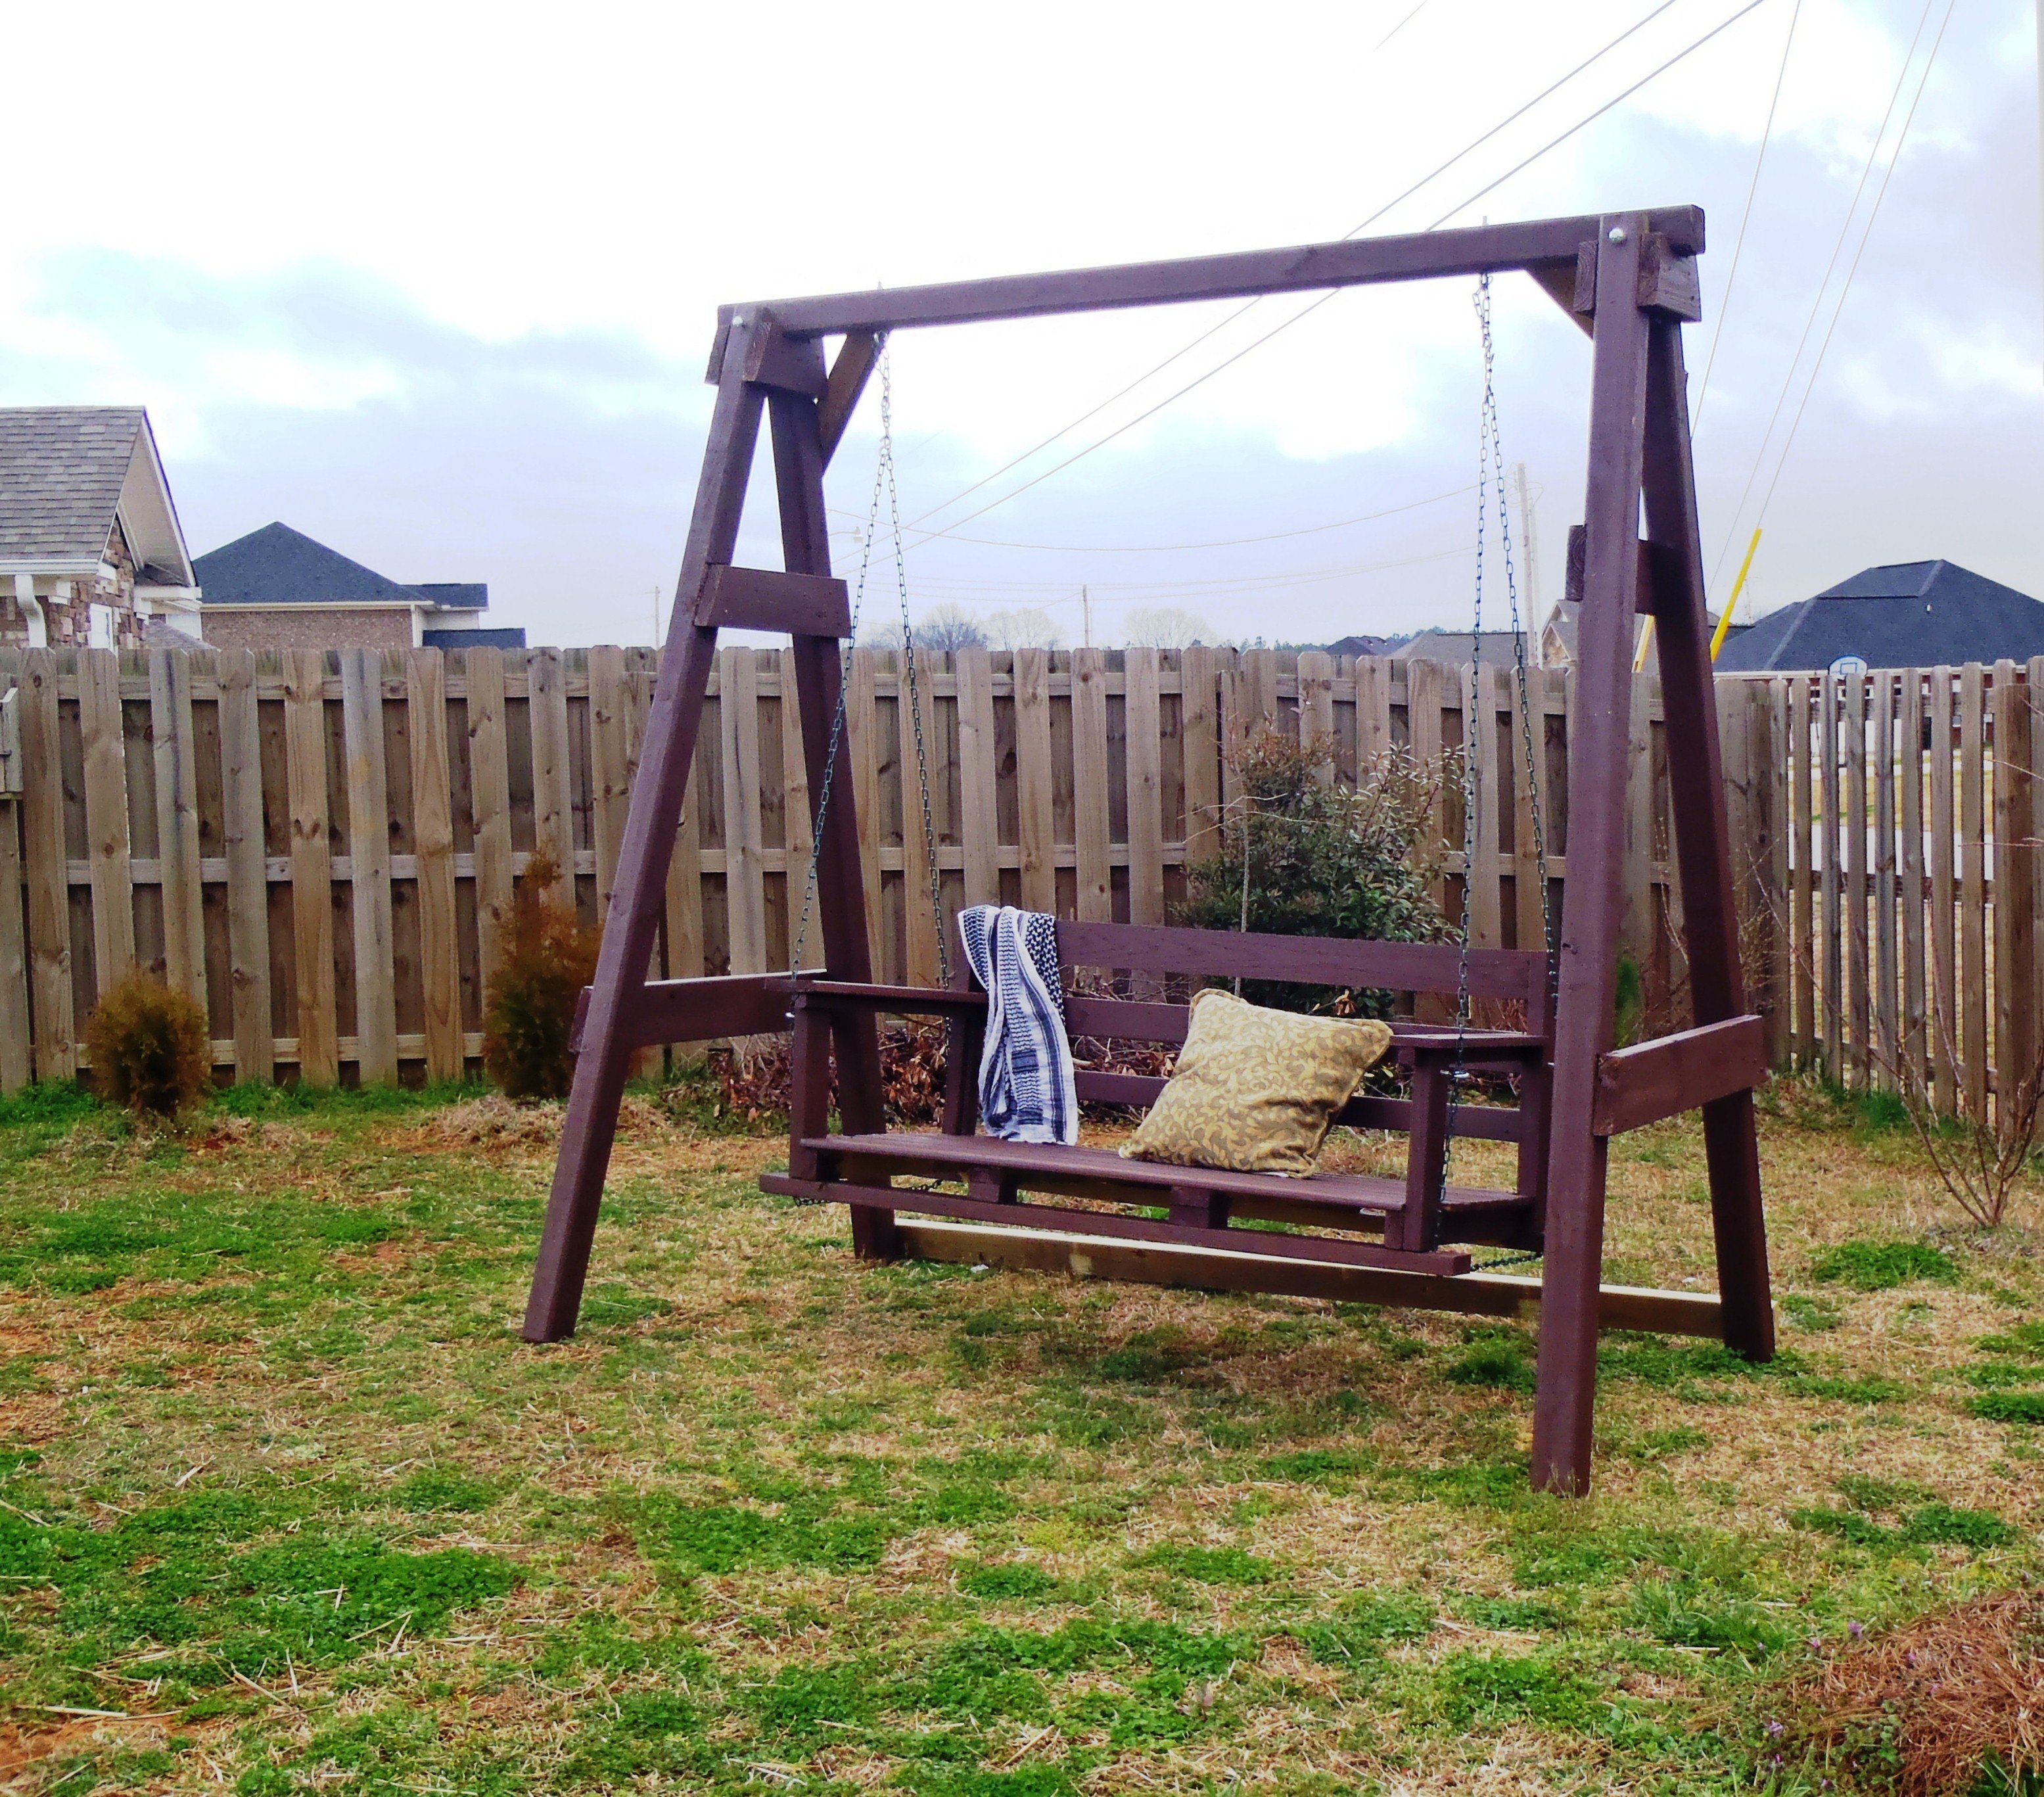
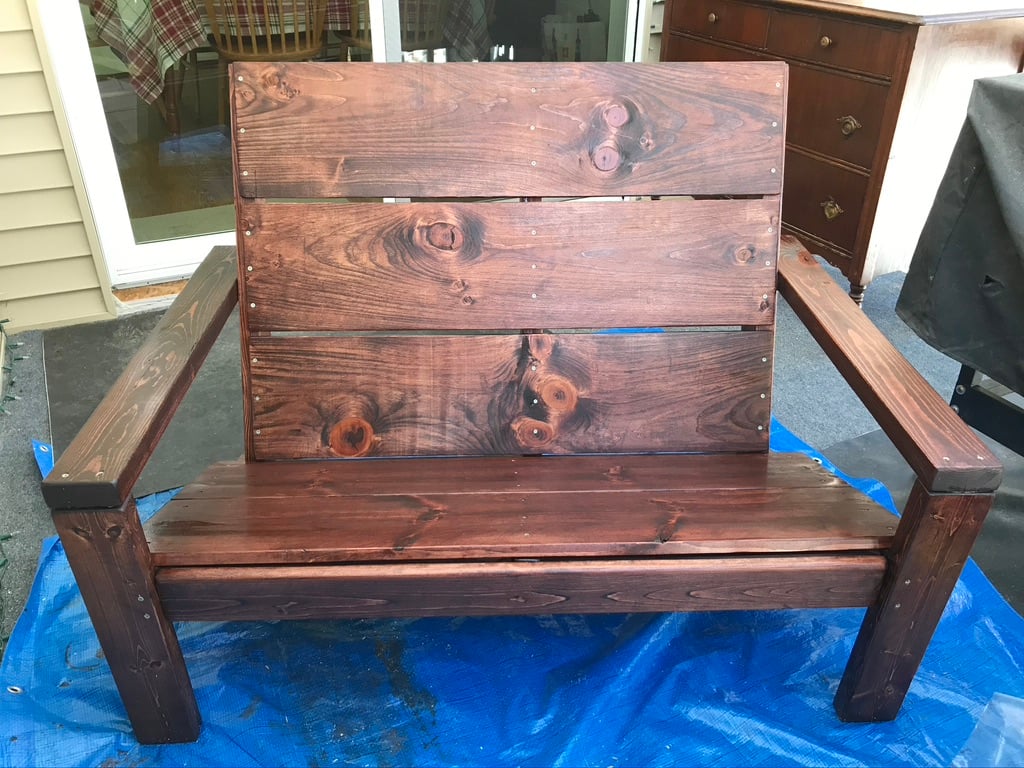
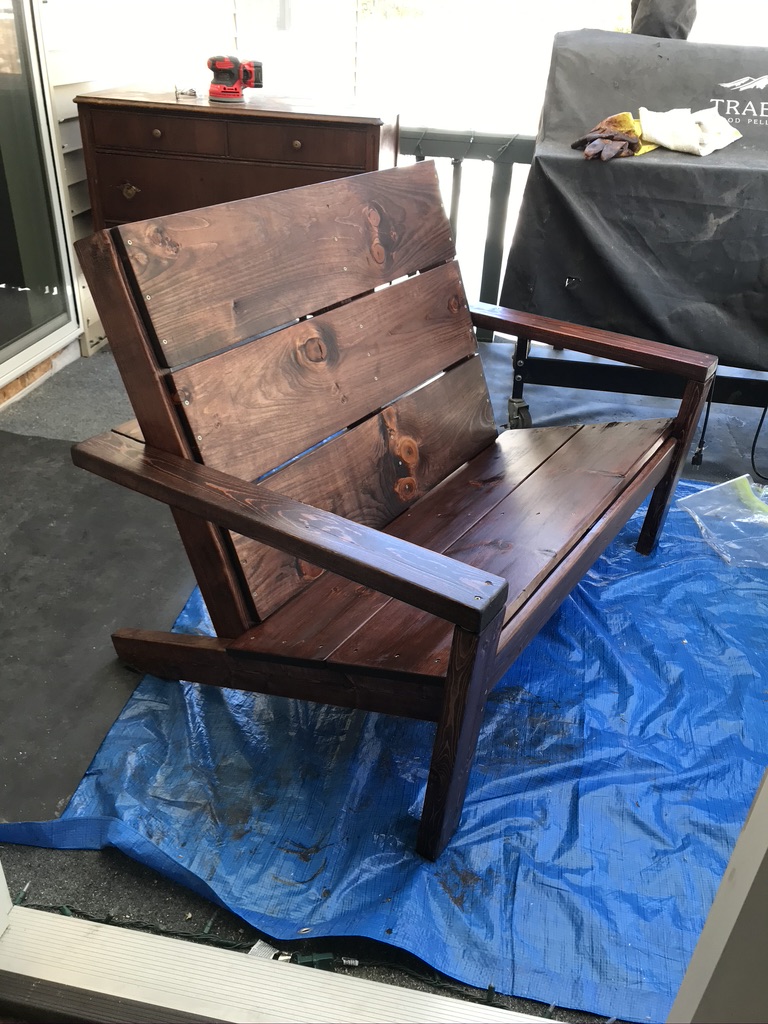
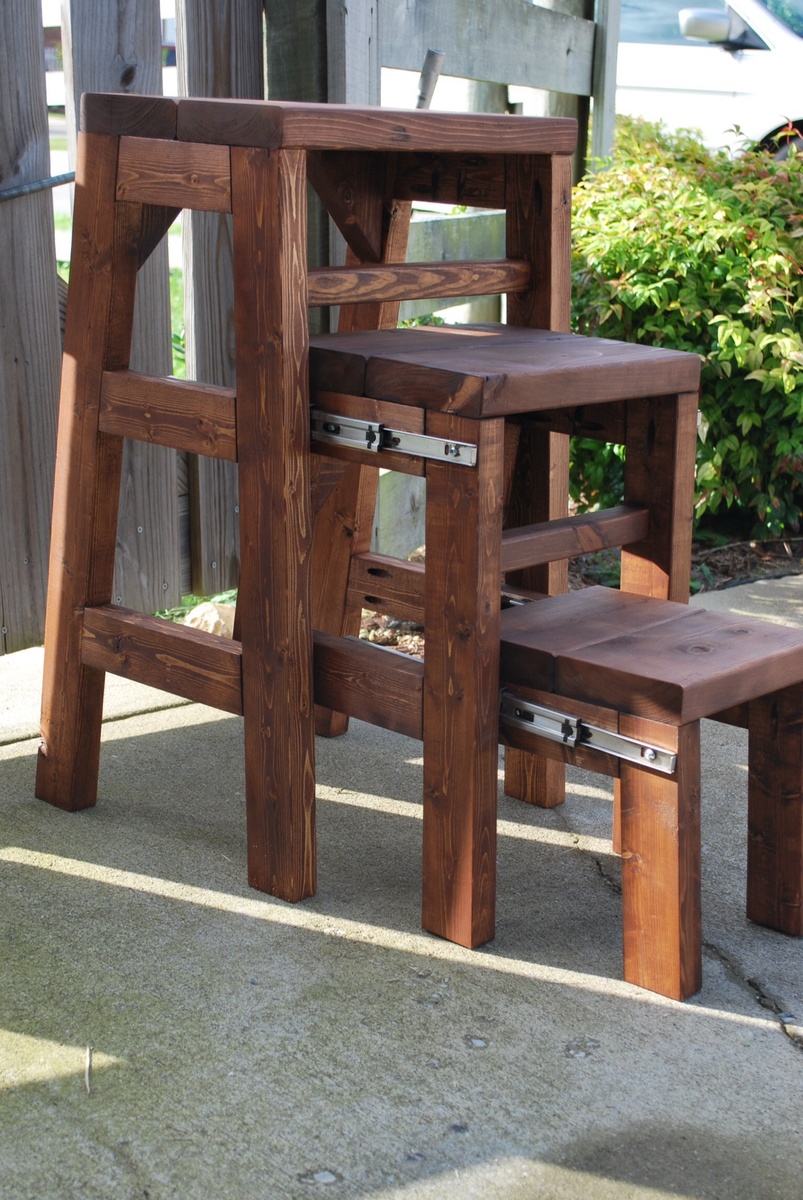
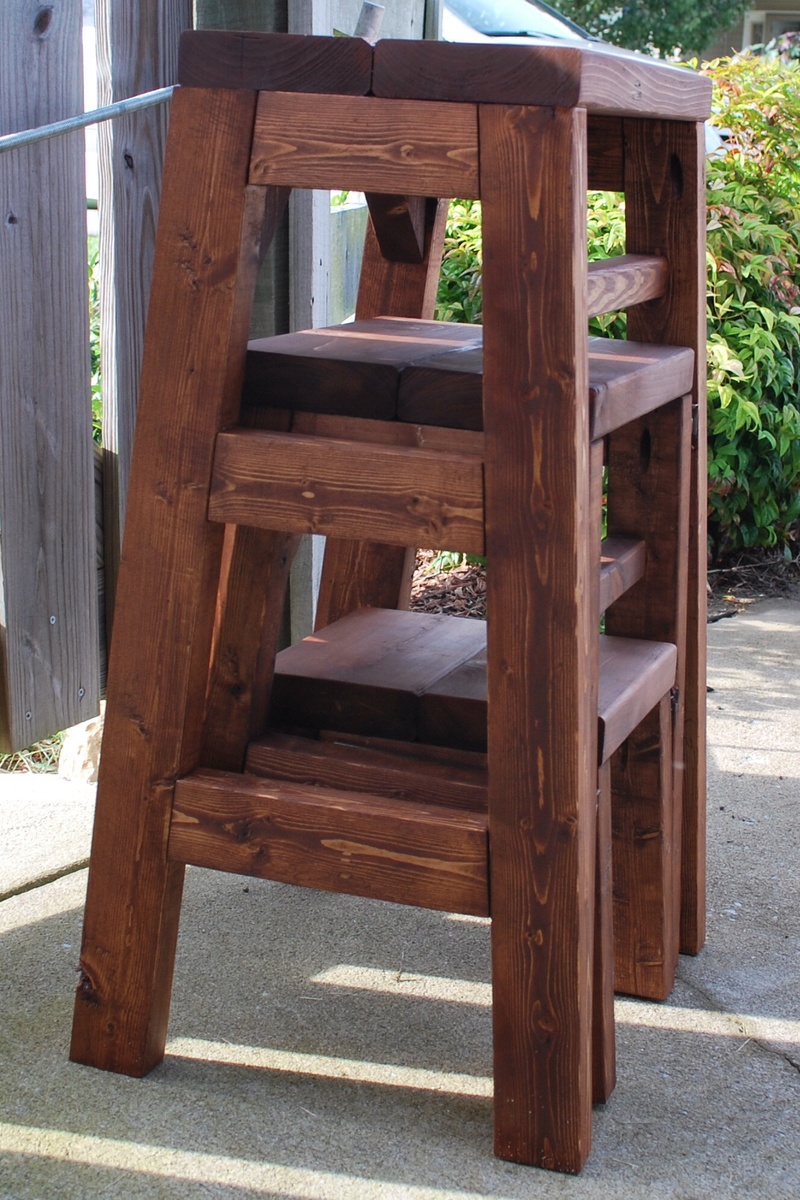
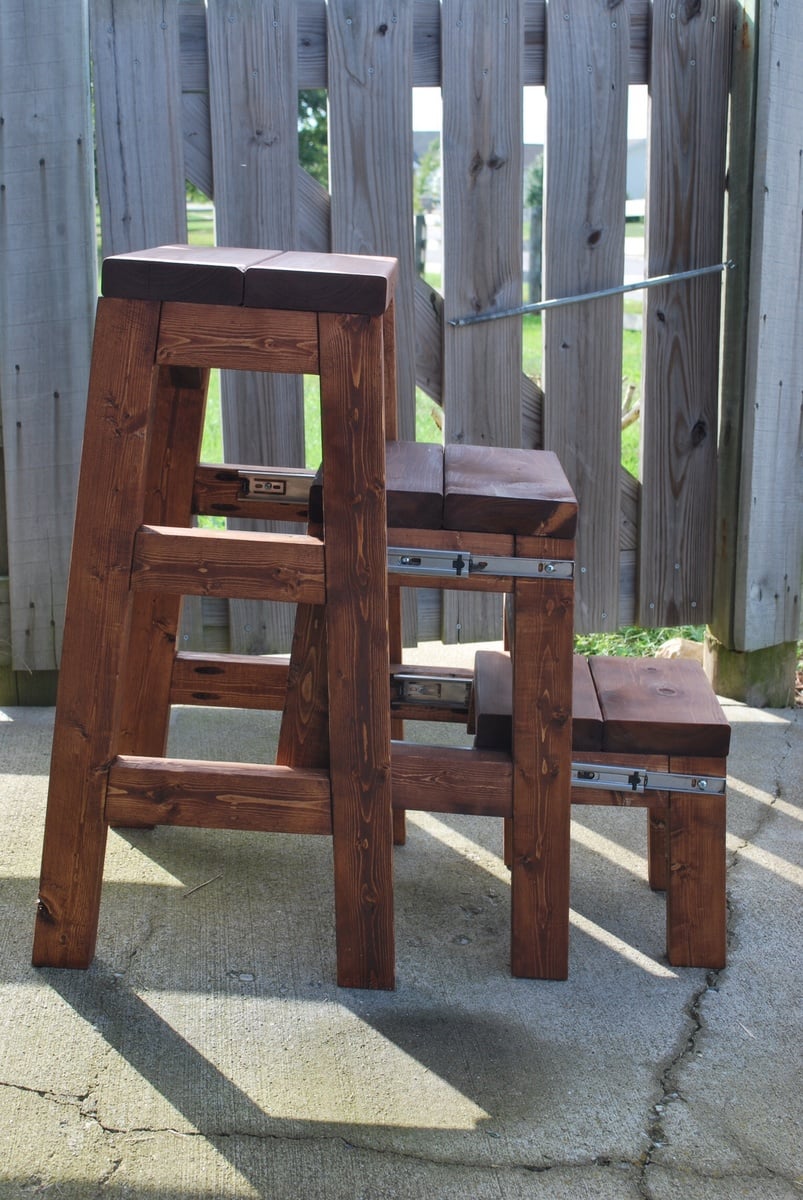
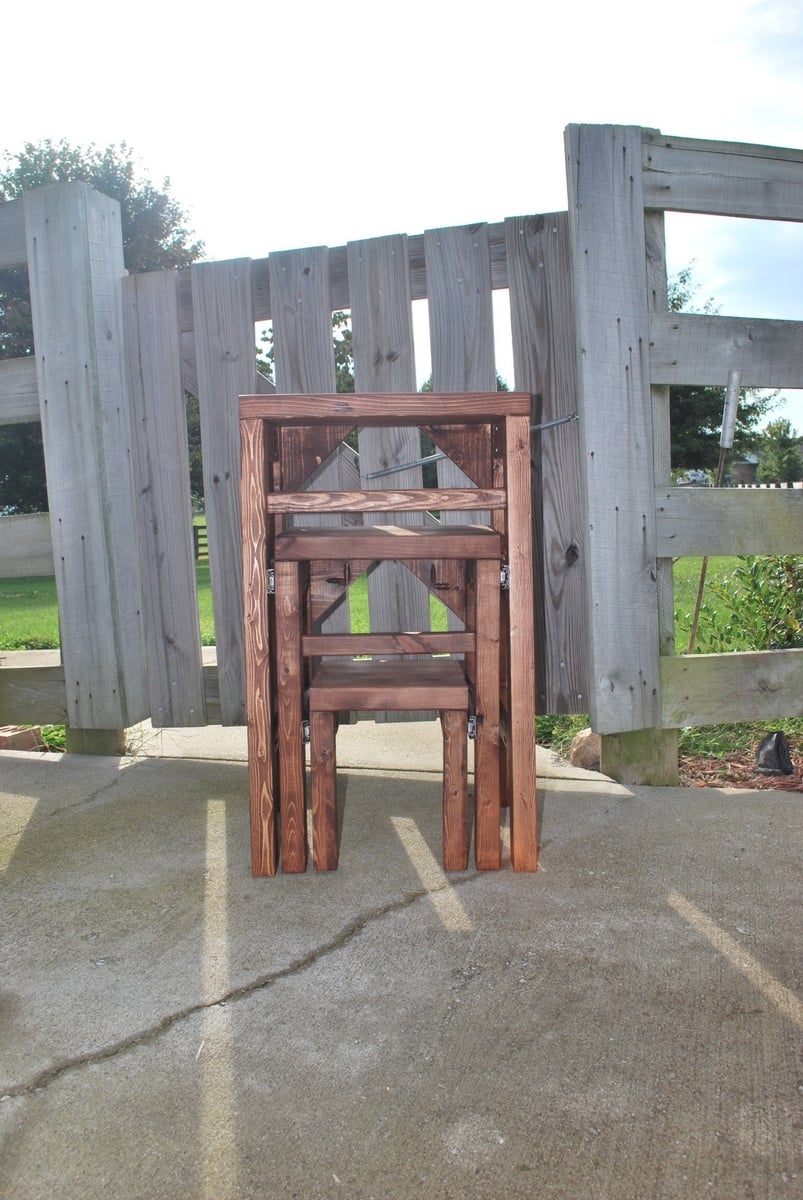
I've finished my swing but my porch don't have enough clearance so I built A frame stand for it.
Built from Plan(s)
Estimated Time Investment
Day Project (6-9 Hours)
Finish Used
mahogany latex based exterior primer and paint in one
Recommended Skill Level
Intermediate


Comments
beachmama79
Fri, 03/02/2012 - 07:09
I love this swing!
You did such a great job on your swing! I hope I can build up to making one someday.
In reply to I love this swing! by beachmama79
lazyLiz
Thu, 05/10/2012 - 14:02
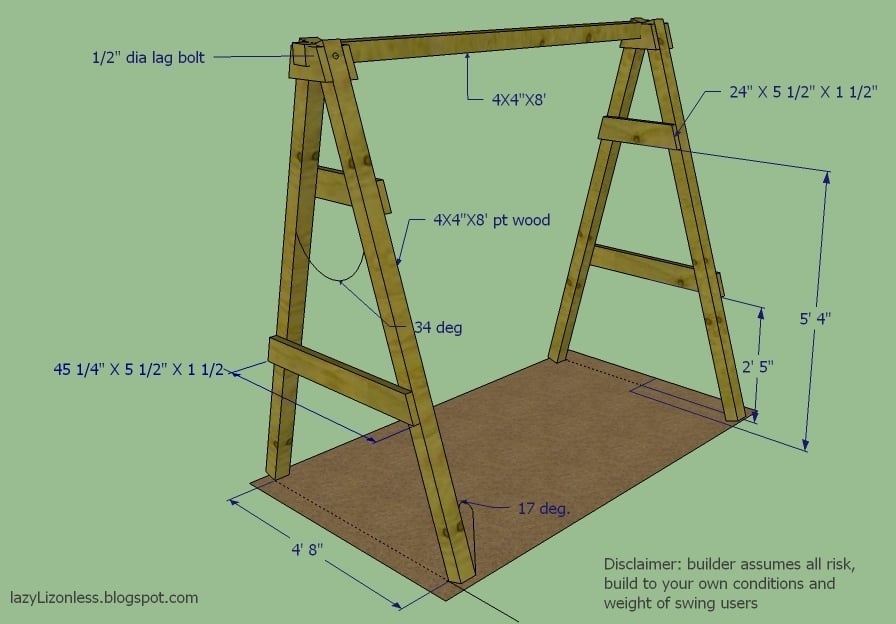
Thanks and you will. I just
Thanks and you will. I just added the dimensions in case
Ashley Doucakis
Fri, 04/19/2013 - 15:37
Desert Dweller
I love the idea of adding the A-frame considering that where i live there are no real trees to hang it on and building a porch where one doesn't already exist is a pain in the butt! Lol. How wide do you think we could go before it starts compromising the frames integrity? And how much weight can it hold?