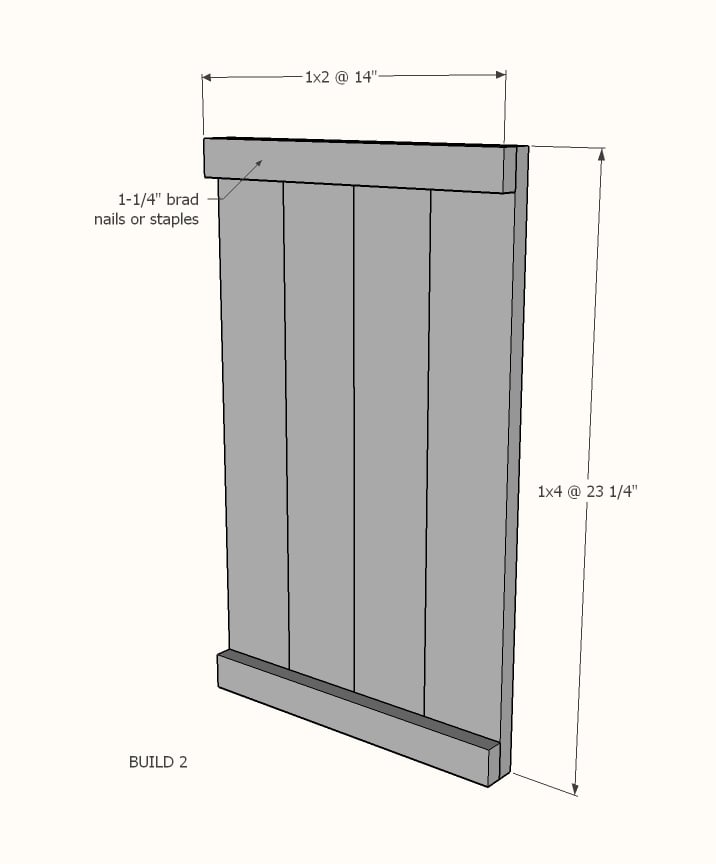
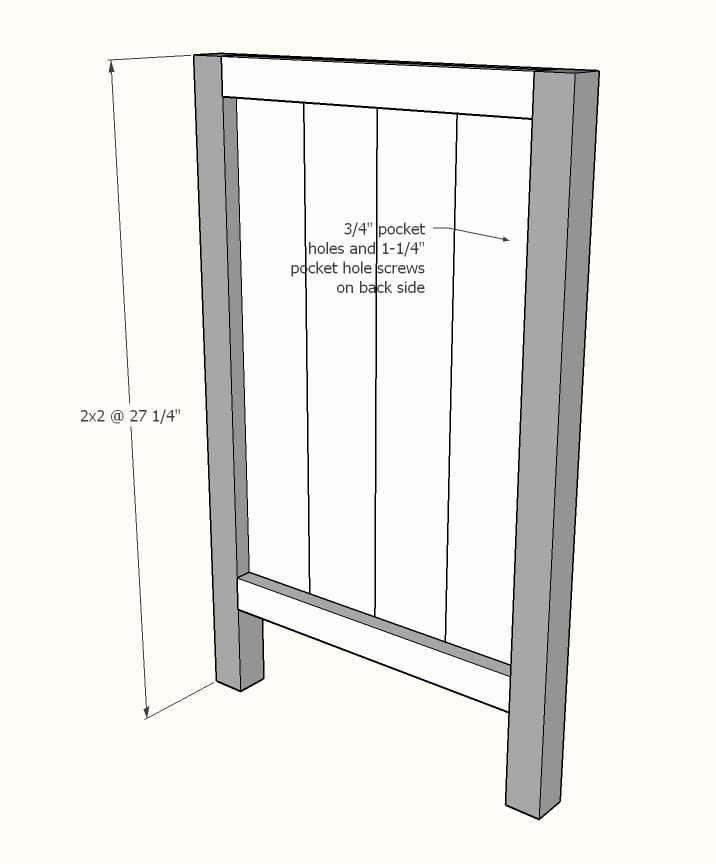
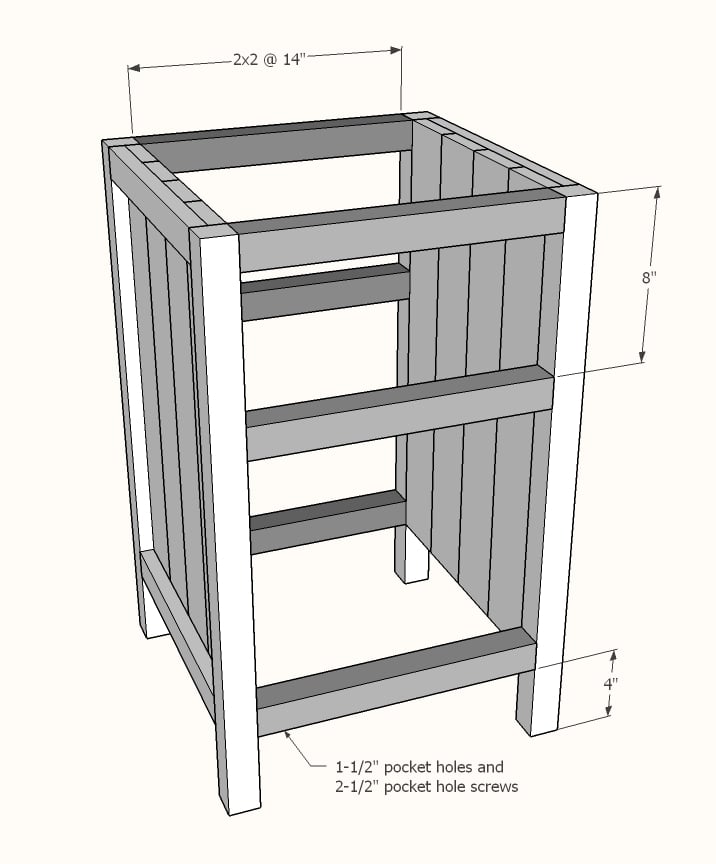
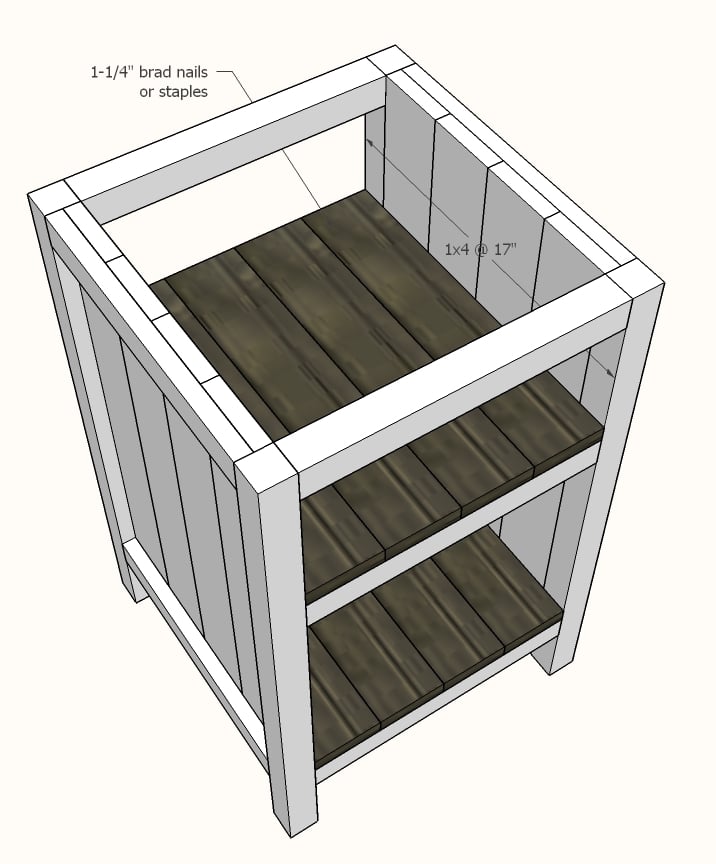
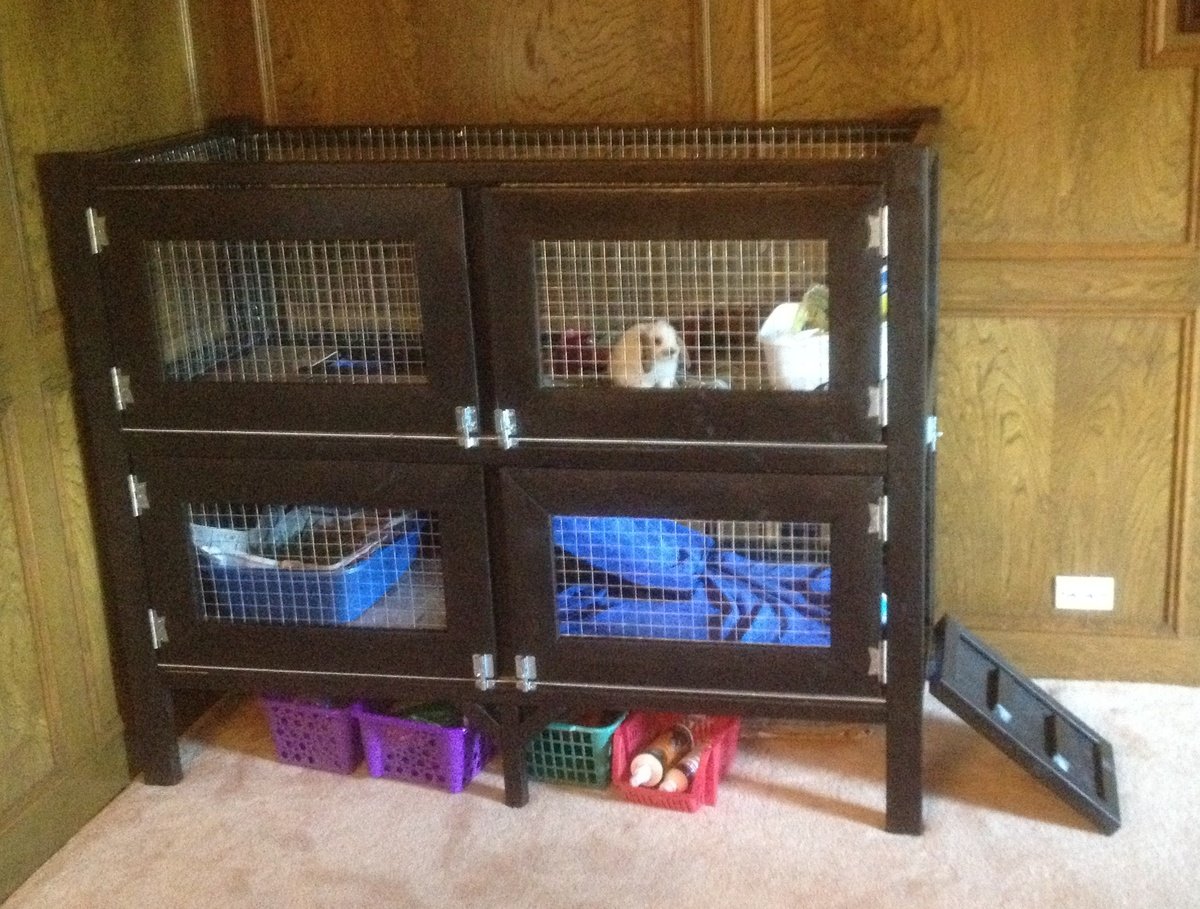
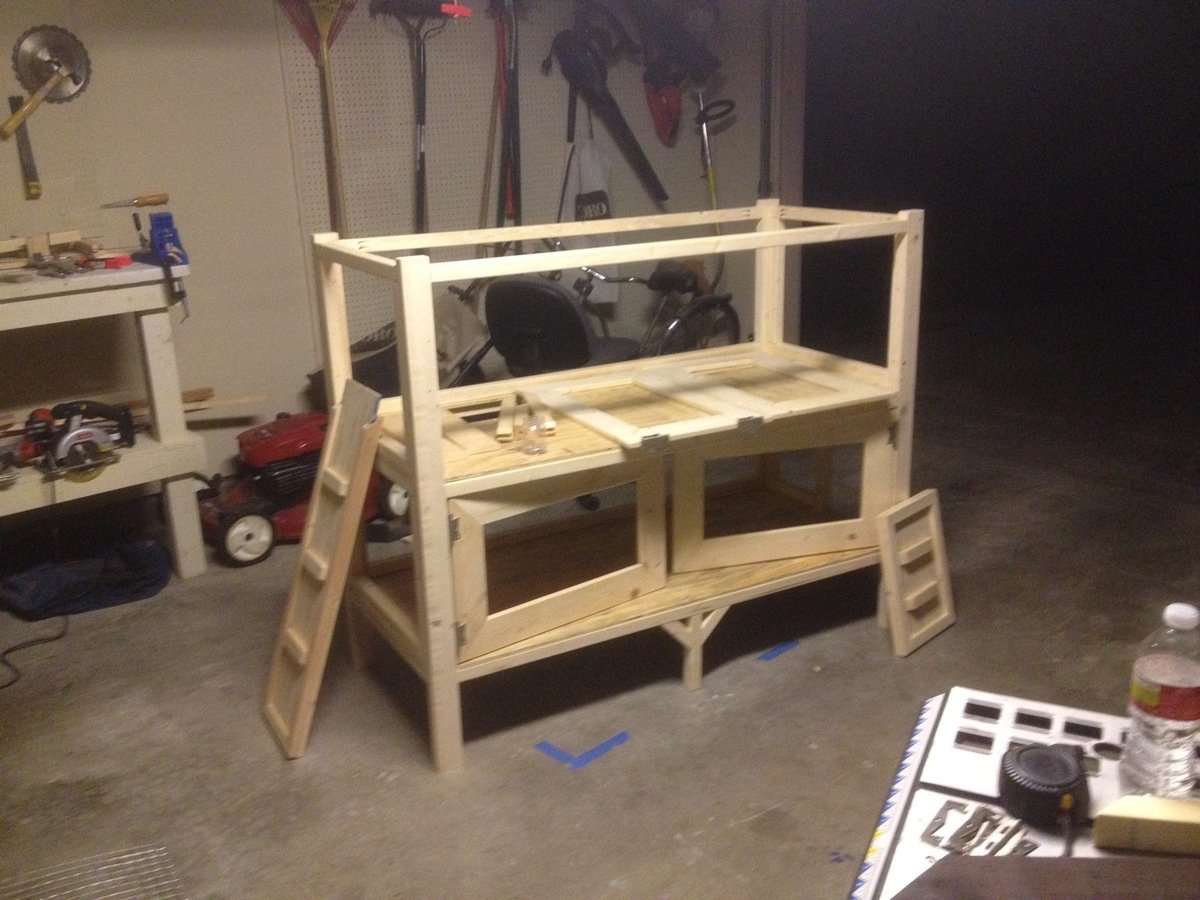
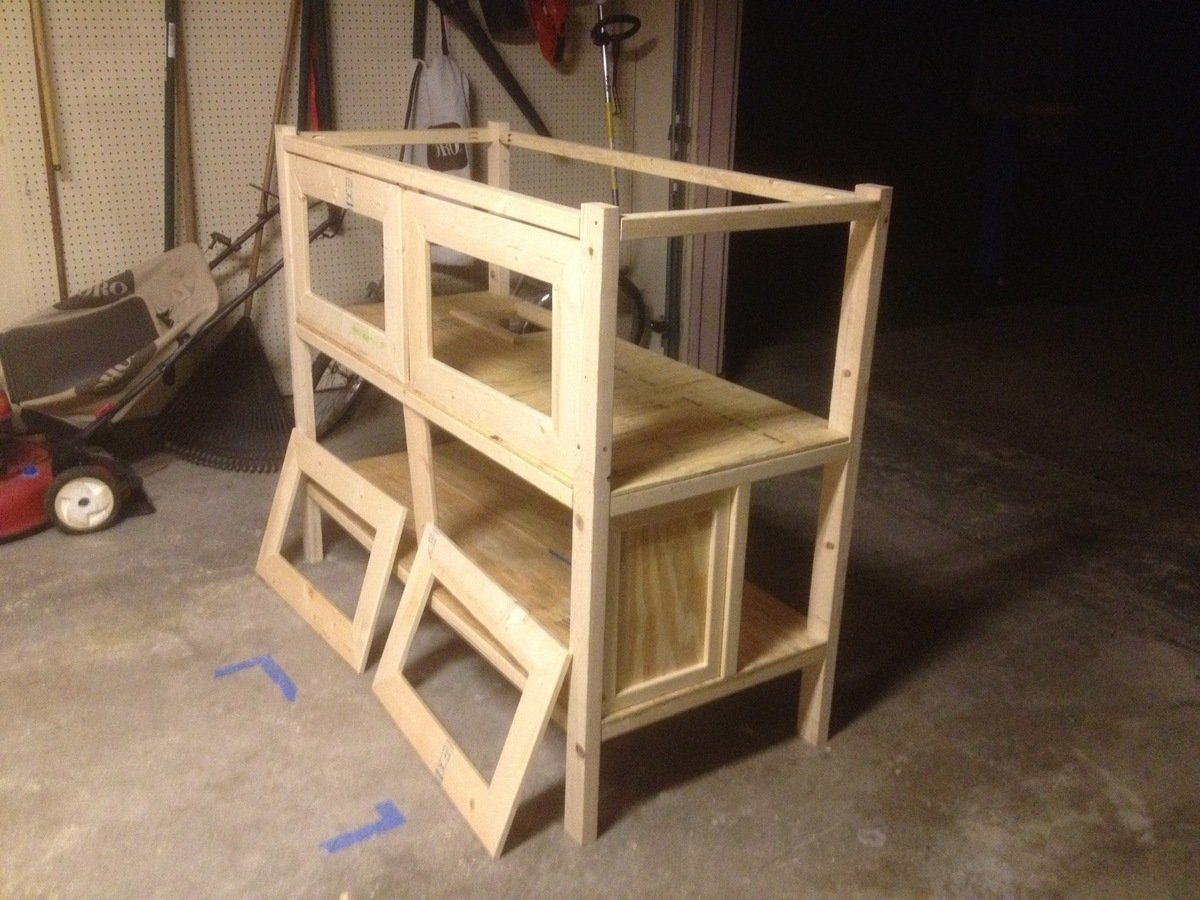
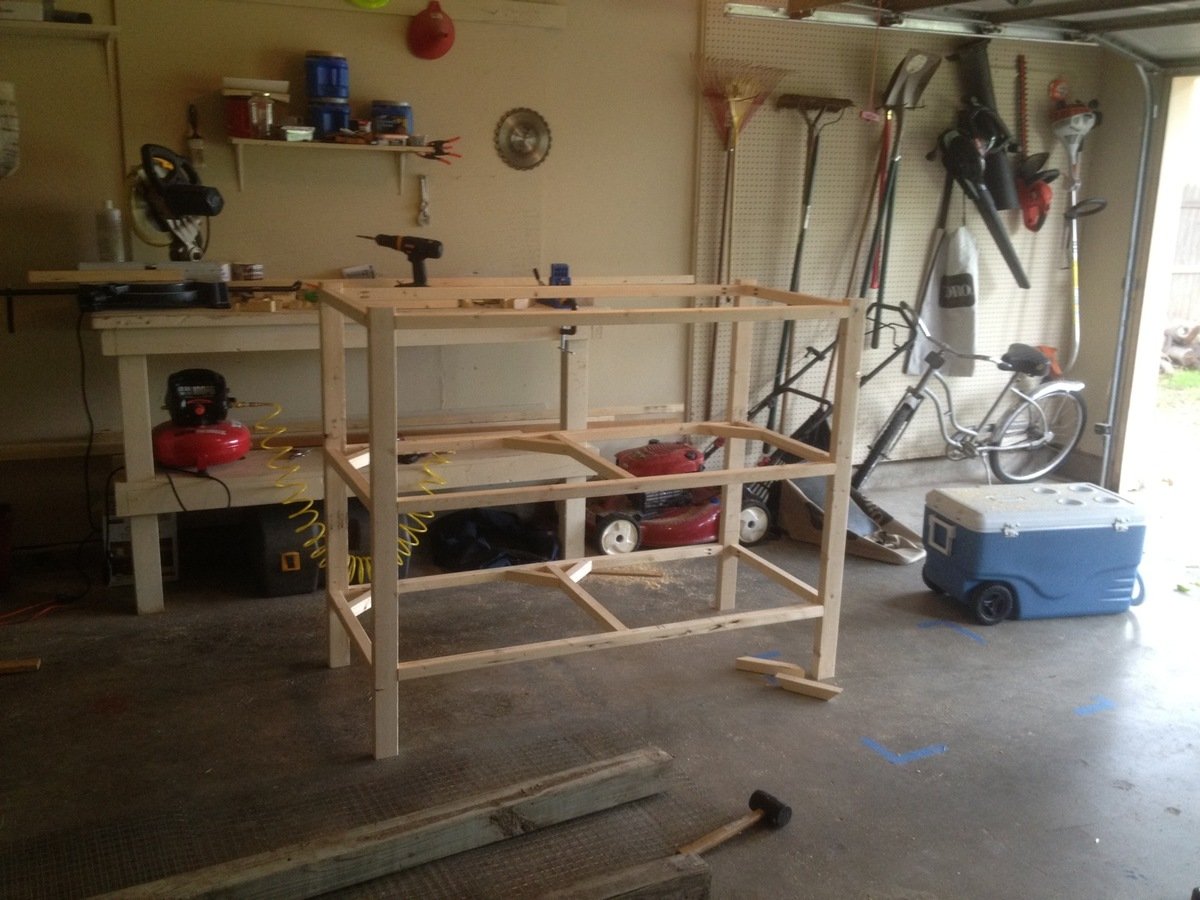
For my first woodworking project, I foolishly decided to build a rabbit hutch without plans for my daughters new Easter Bunny. So I literally scratched some ideas on my wood working bench and started going to work. I did some construction over a decade ago, but never attempted to build any furniture before, so I'm pretty happy with how this came out.
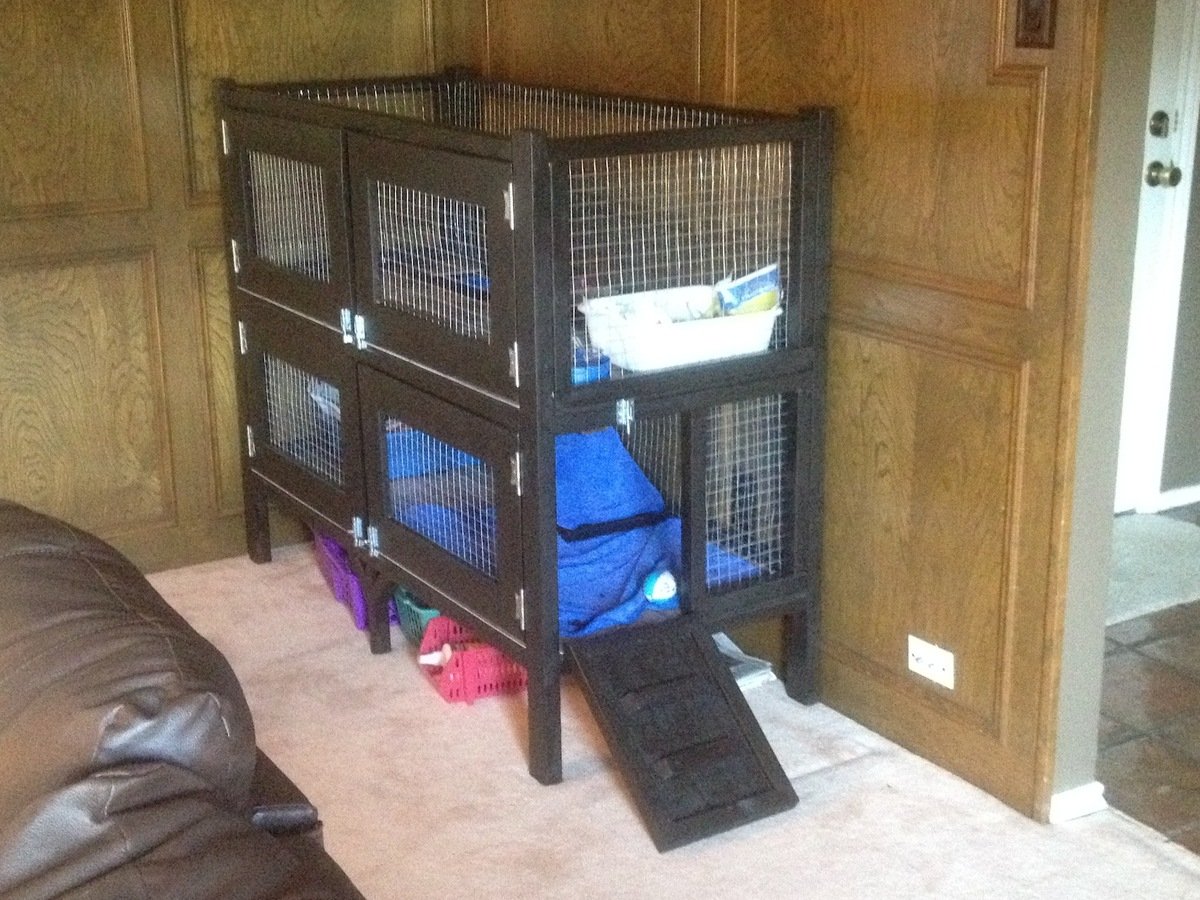
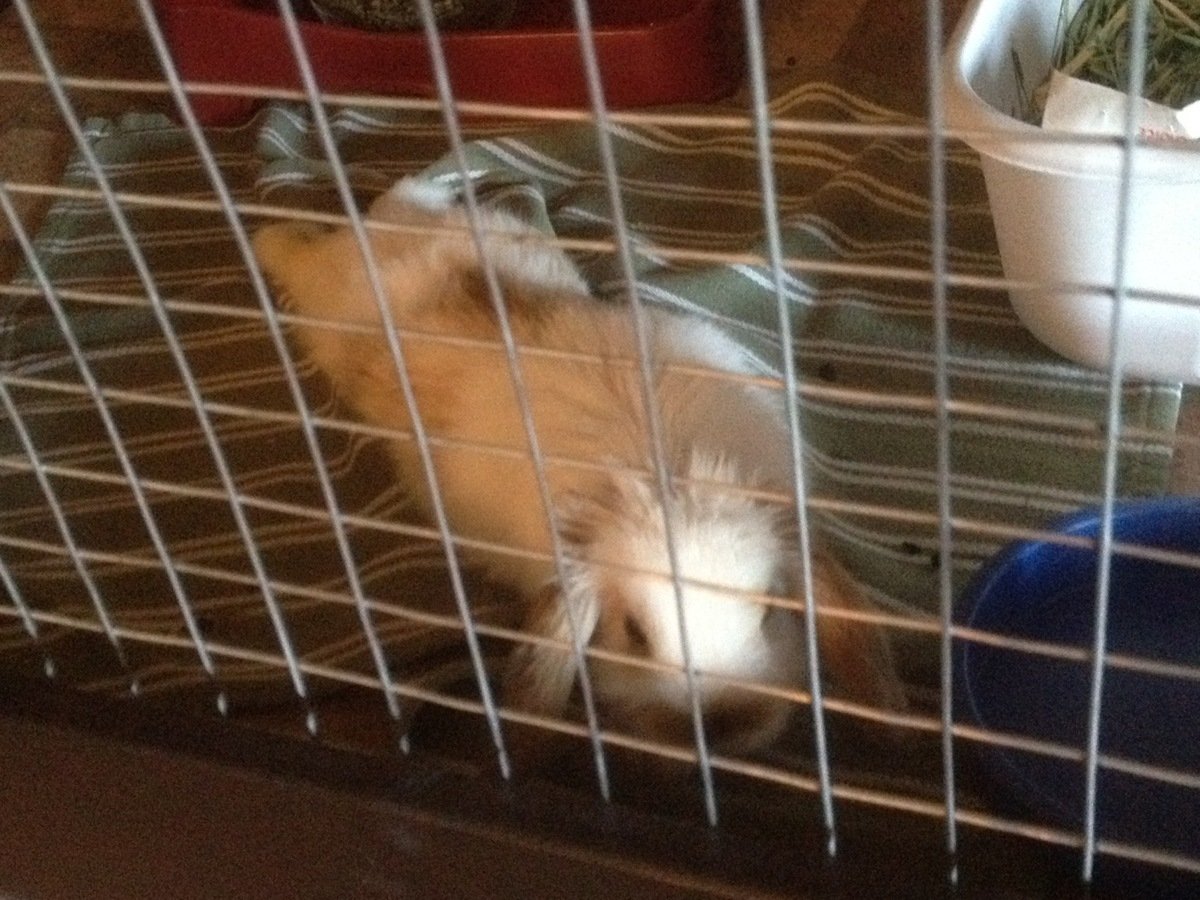
I spent a few days researching various rabbit cages and for our place we needed something that was ascetically pleasing and functional as it was going in our living room. I got some ideas from the web and decided the best thing for us would be to have an entry ramp, 2 sets of barn doors for each level (for easy cleaning) and an open roof. We went with linoleum floors since she's already litter trained. The floors could easily be modified to add 1/2" wire mesh if we decide to change things down the line. Also, we chose an espresso finish with silver hardware to accent the wire mesh
I pretty much crashed and burned on the staining as I've never done that before, but it ended up looking ok after all. I did a light sanding, but will probably invest in a planer and jointer to get my wood in better shape before assembling in the future. Also, I'll probably lightly dab some stain on ends of wood before final assembly as it made it difficulty trying to hide the white pine with the dark stain.
Other cages I saw ran around $200-$350.00 so i don't feel so bad about the cost. It's really the time that it took learning and making mistakes. I'm sure if I had plans I could of cut my time in 1/2.
Total Cost came out to around $150.00 but probably would of been cheaper if I had some plans to go by. I probably wasted a few 2x2s and accidentally mis-cut a scrap piece of 1/4"plywood which added another $16.00 to the bottom line.
Here's a breakdown of my total cost.
Hardware - $30.00
Includes 5 latches, 4 sets of hinges (8 total) and a 3' piano hinge
Stain - $8.00
Linoleum Tile @ ¢.69 sq ft - $16
Brushes, Stain Rags - $5.00
Screws - $6.00
Wire Mesh Roll $30.00
Needed 2 rolls at $15.00 each. I used 1" Wire Mesh measuring 2'x15'
Total Wood $50.00-$60
I used 2x3's for the legs - 2 @ 8' - $2.00 each ($4.00)
probably 15-20 2x2's - $1.52 each - can't remember how many I used to be honest ($30.00)
and a few 1x6's for the Doors - $2.00 each ($6.00)
Sheet of 1/4 plywood - $12.00