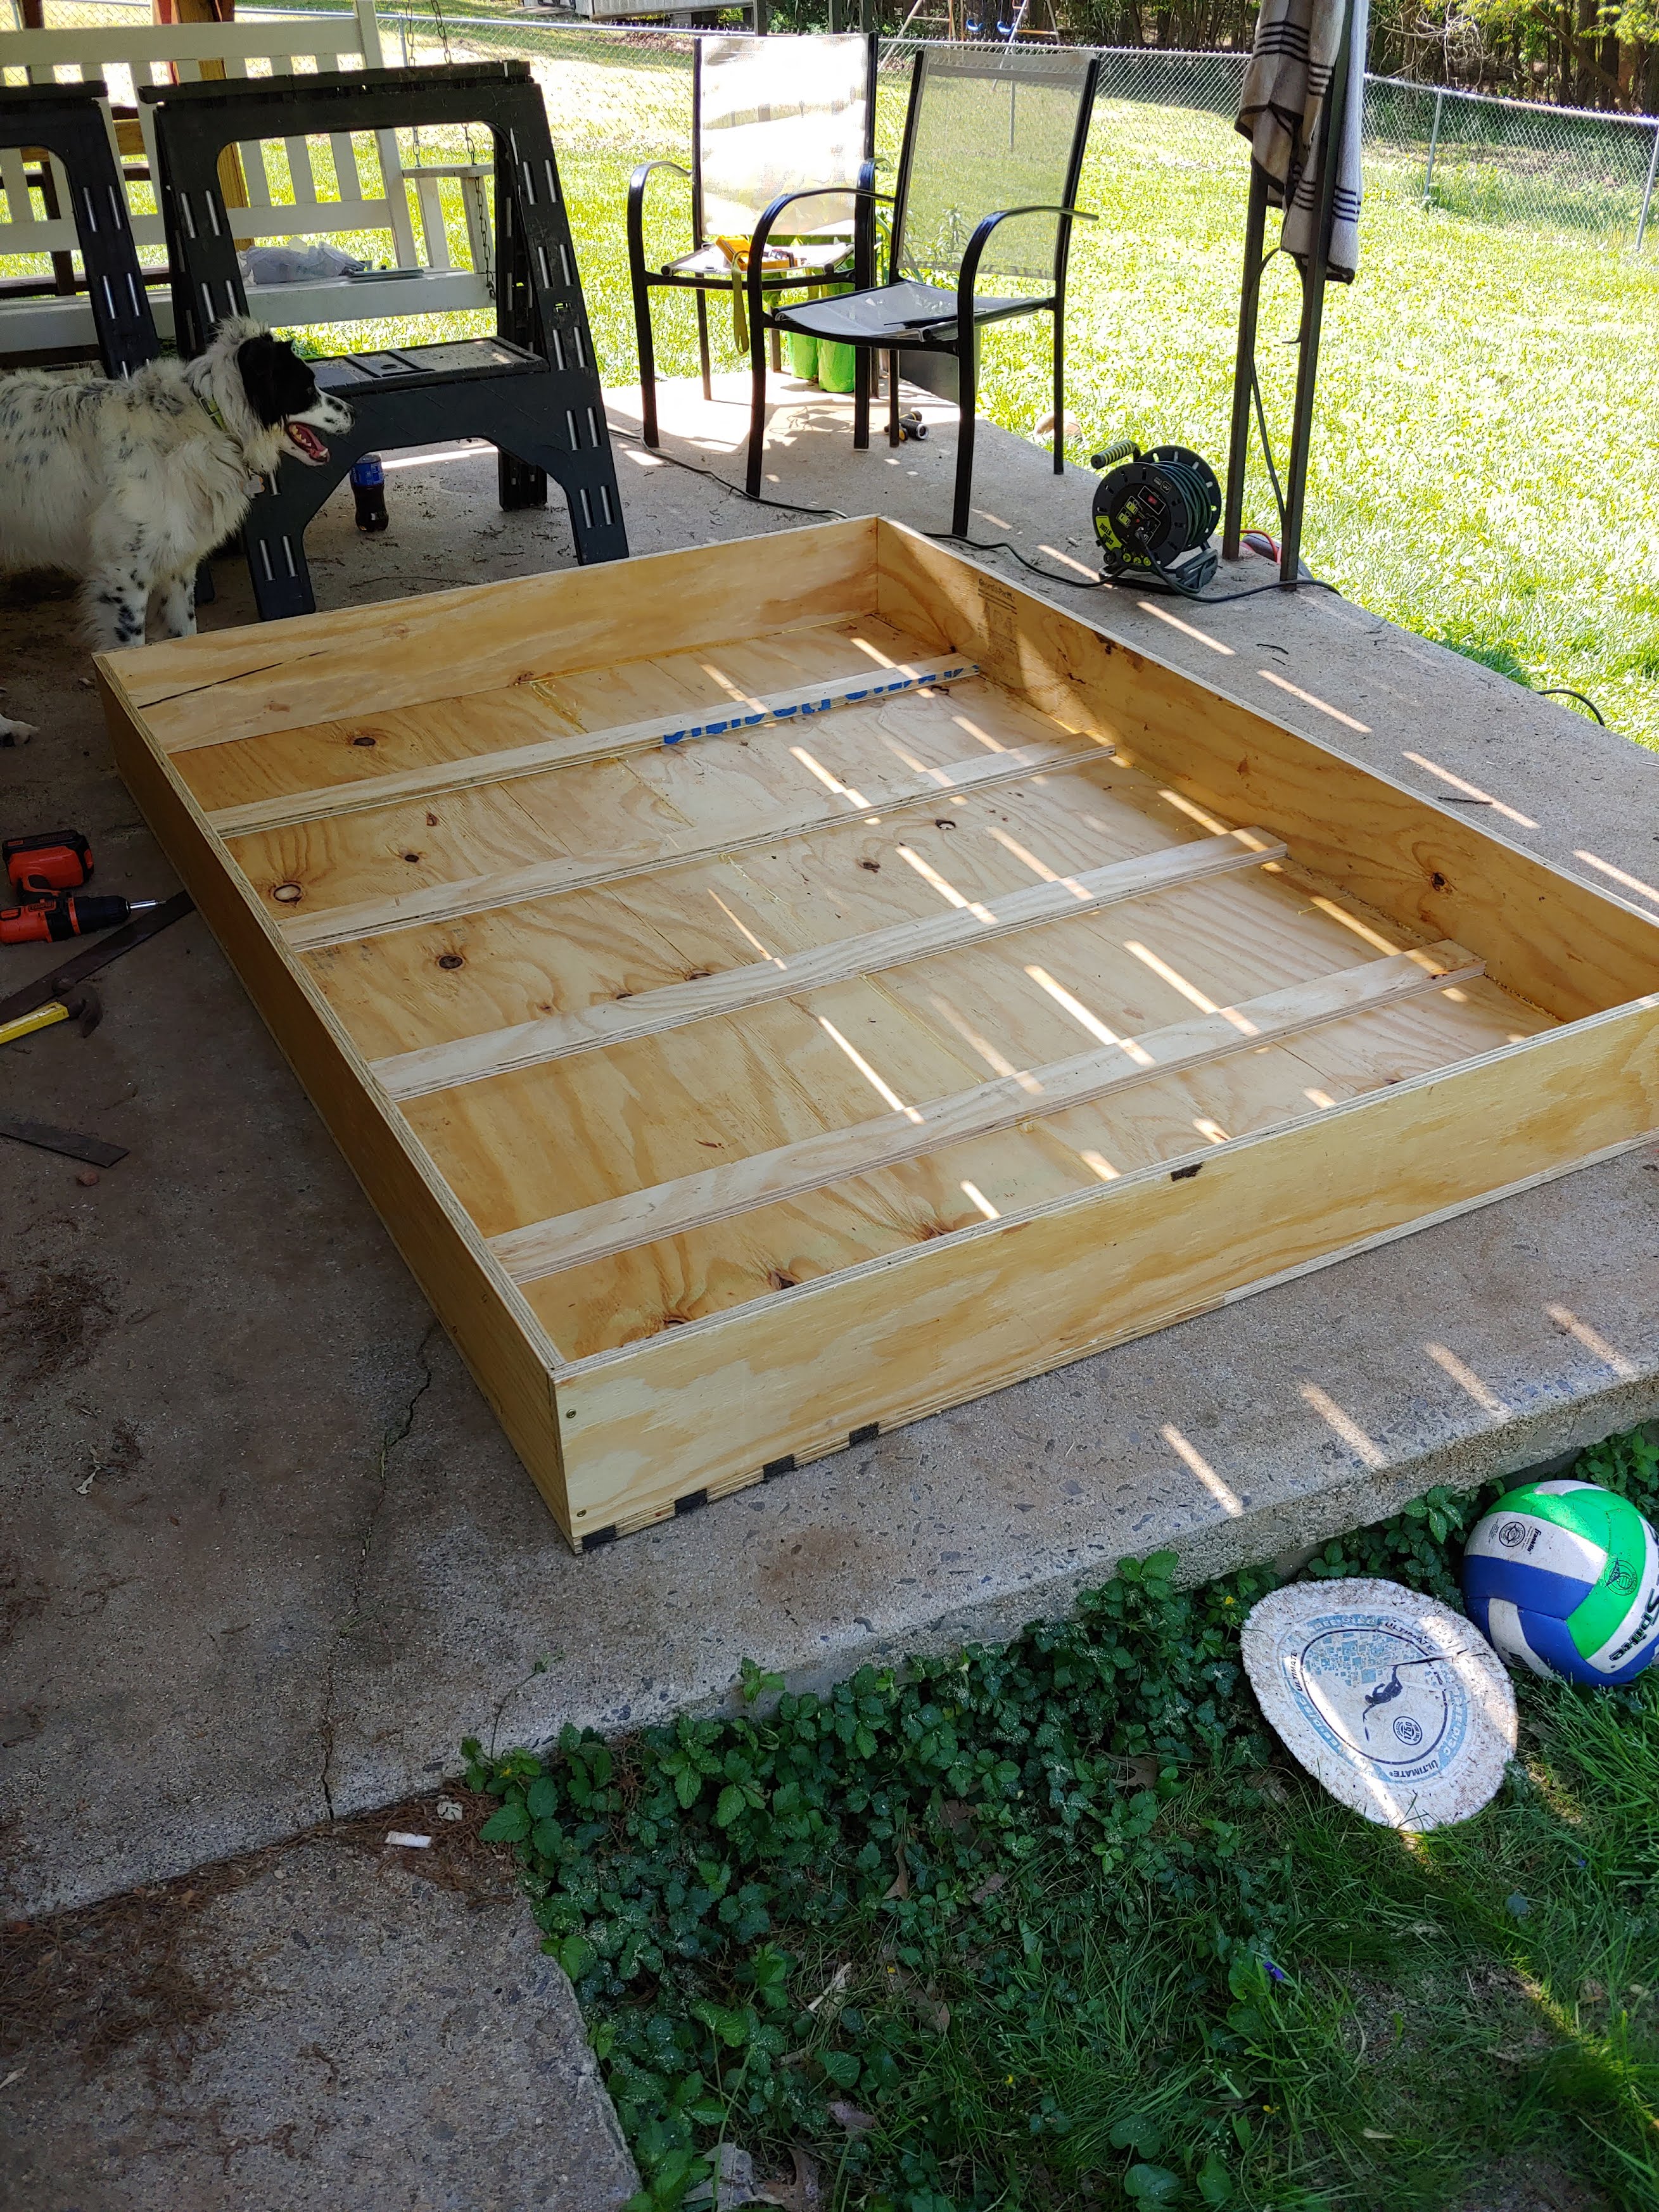
So I've always wanted to build a Murphy bed. And by always I mean since I first came across plans here that made it look so simple. It ended up taking me a while to do because my job has me working 6 days a week so I was only able to work on it for short chunks of time.
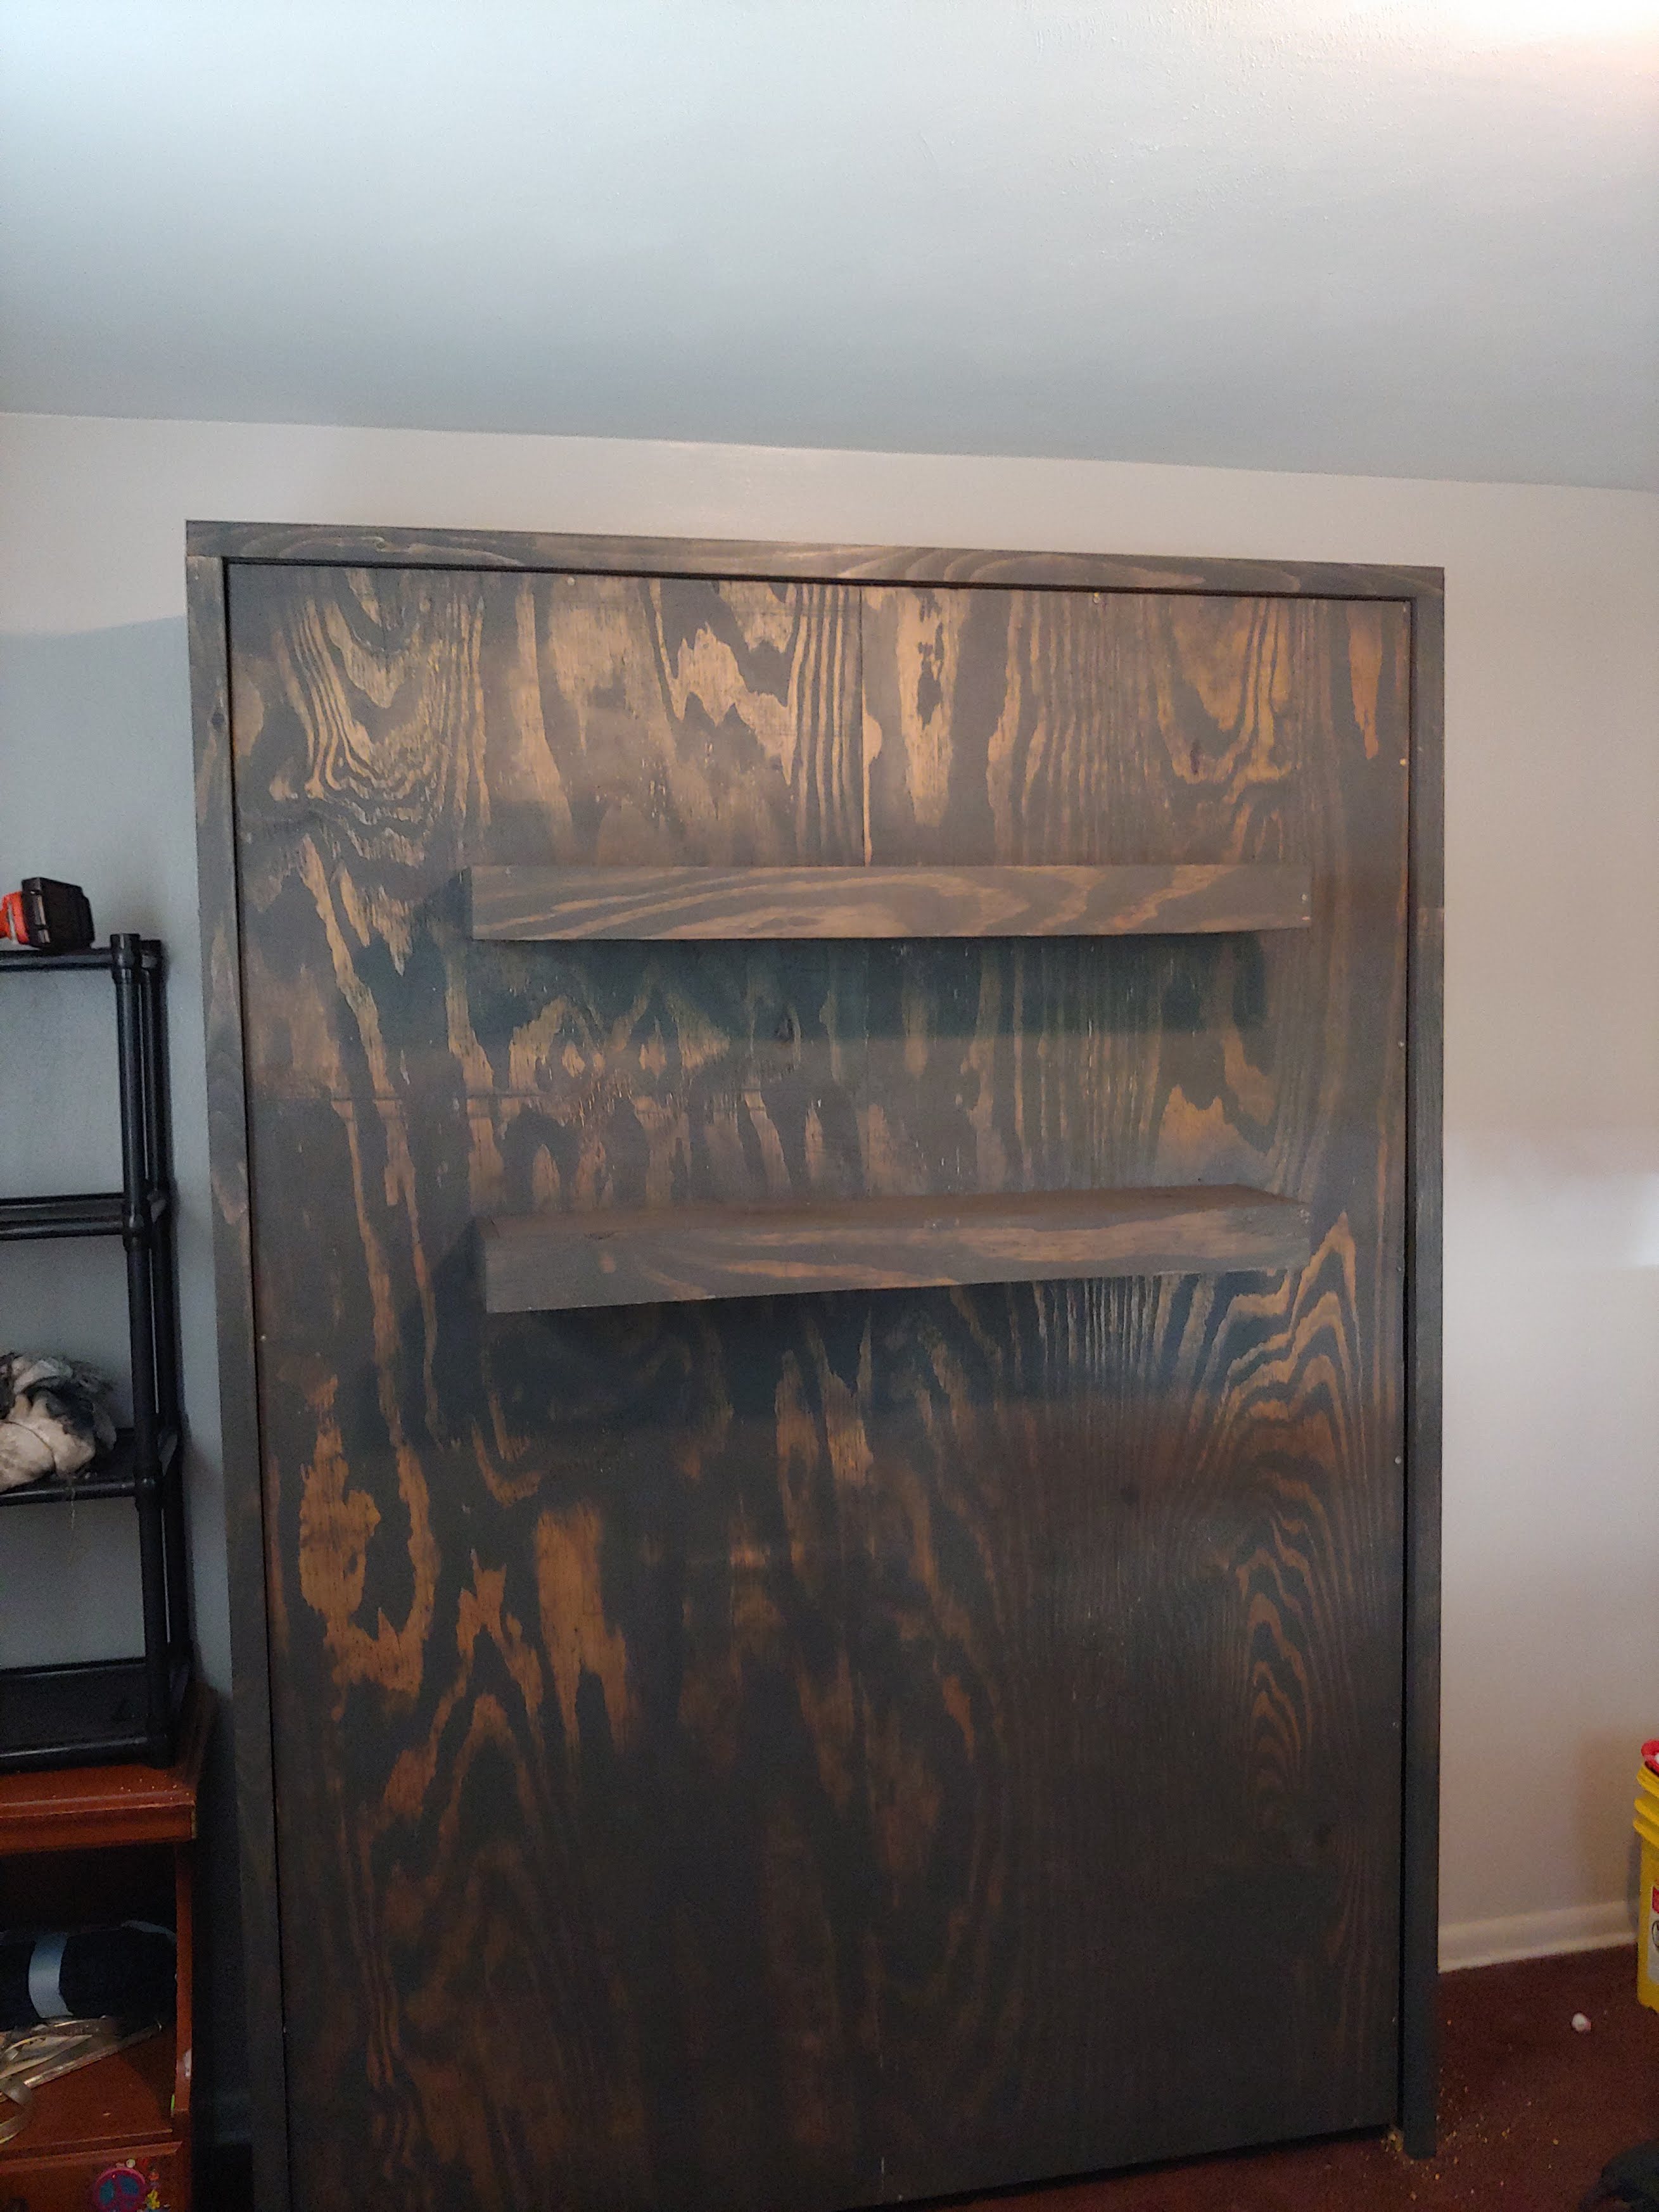
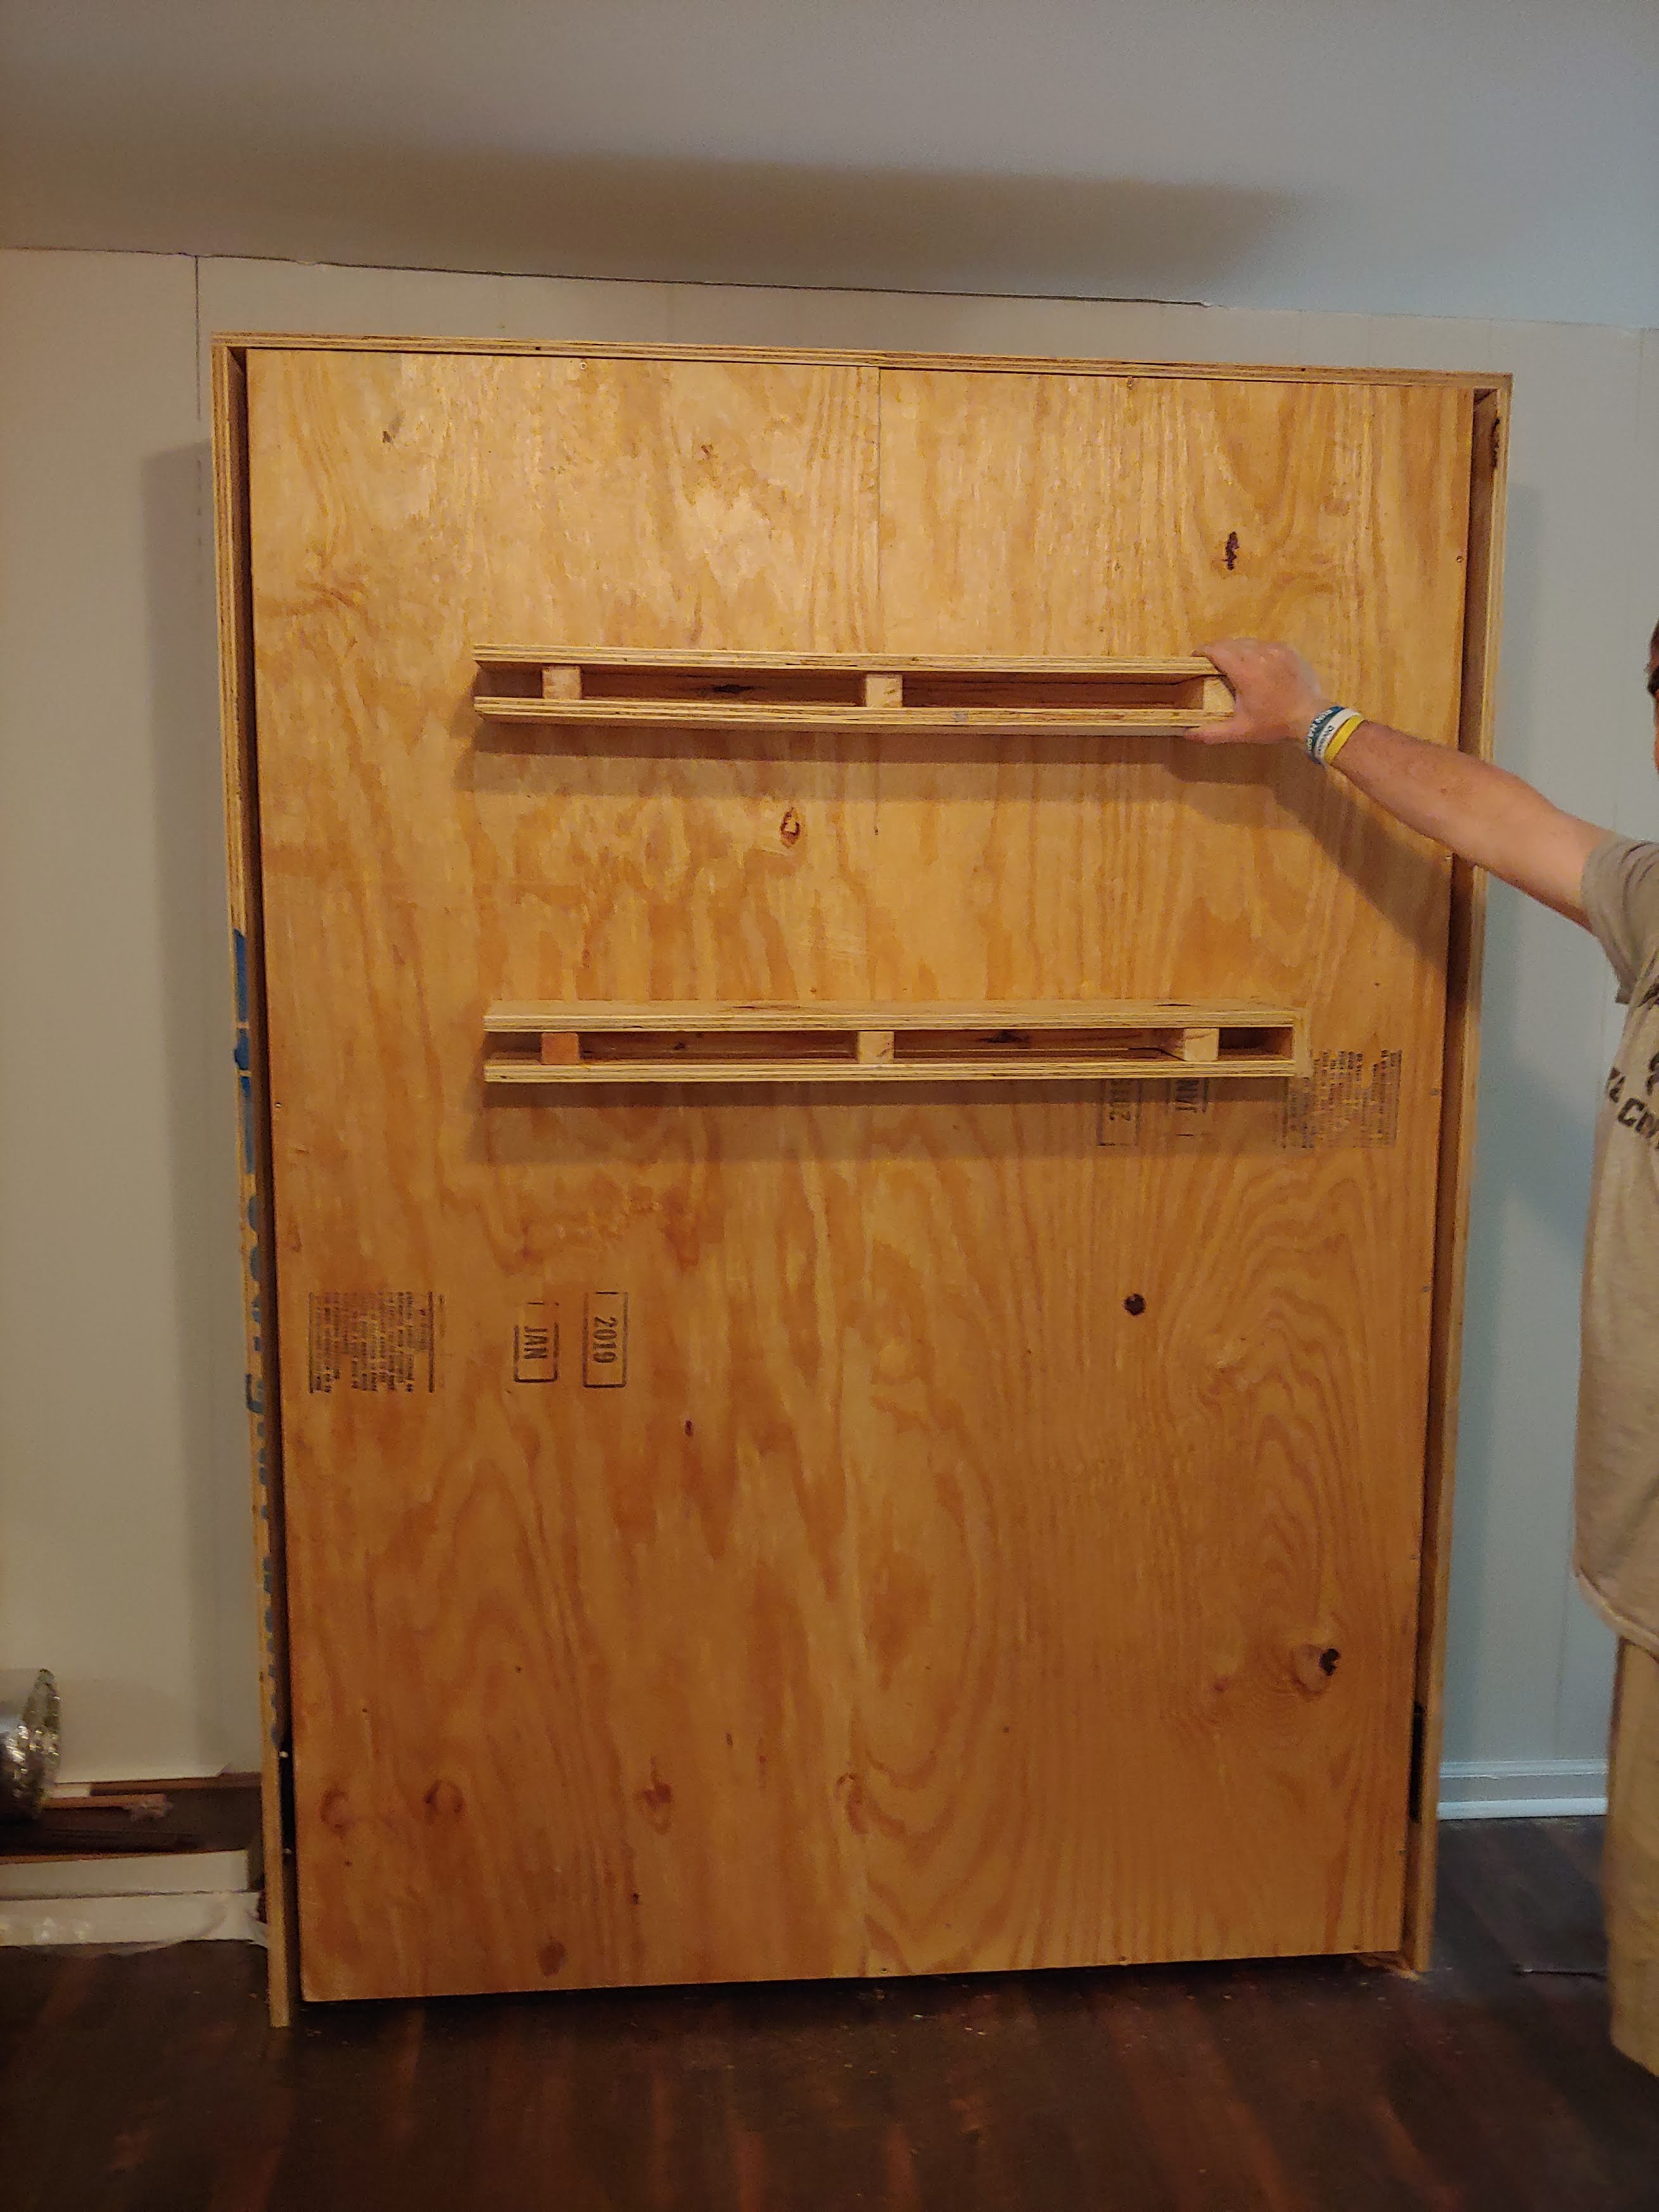
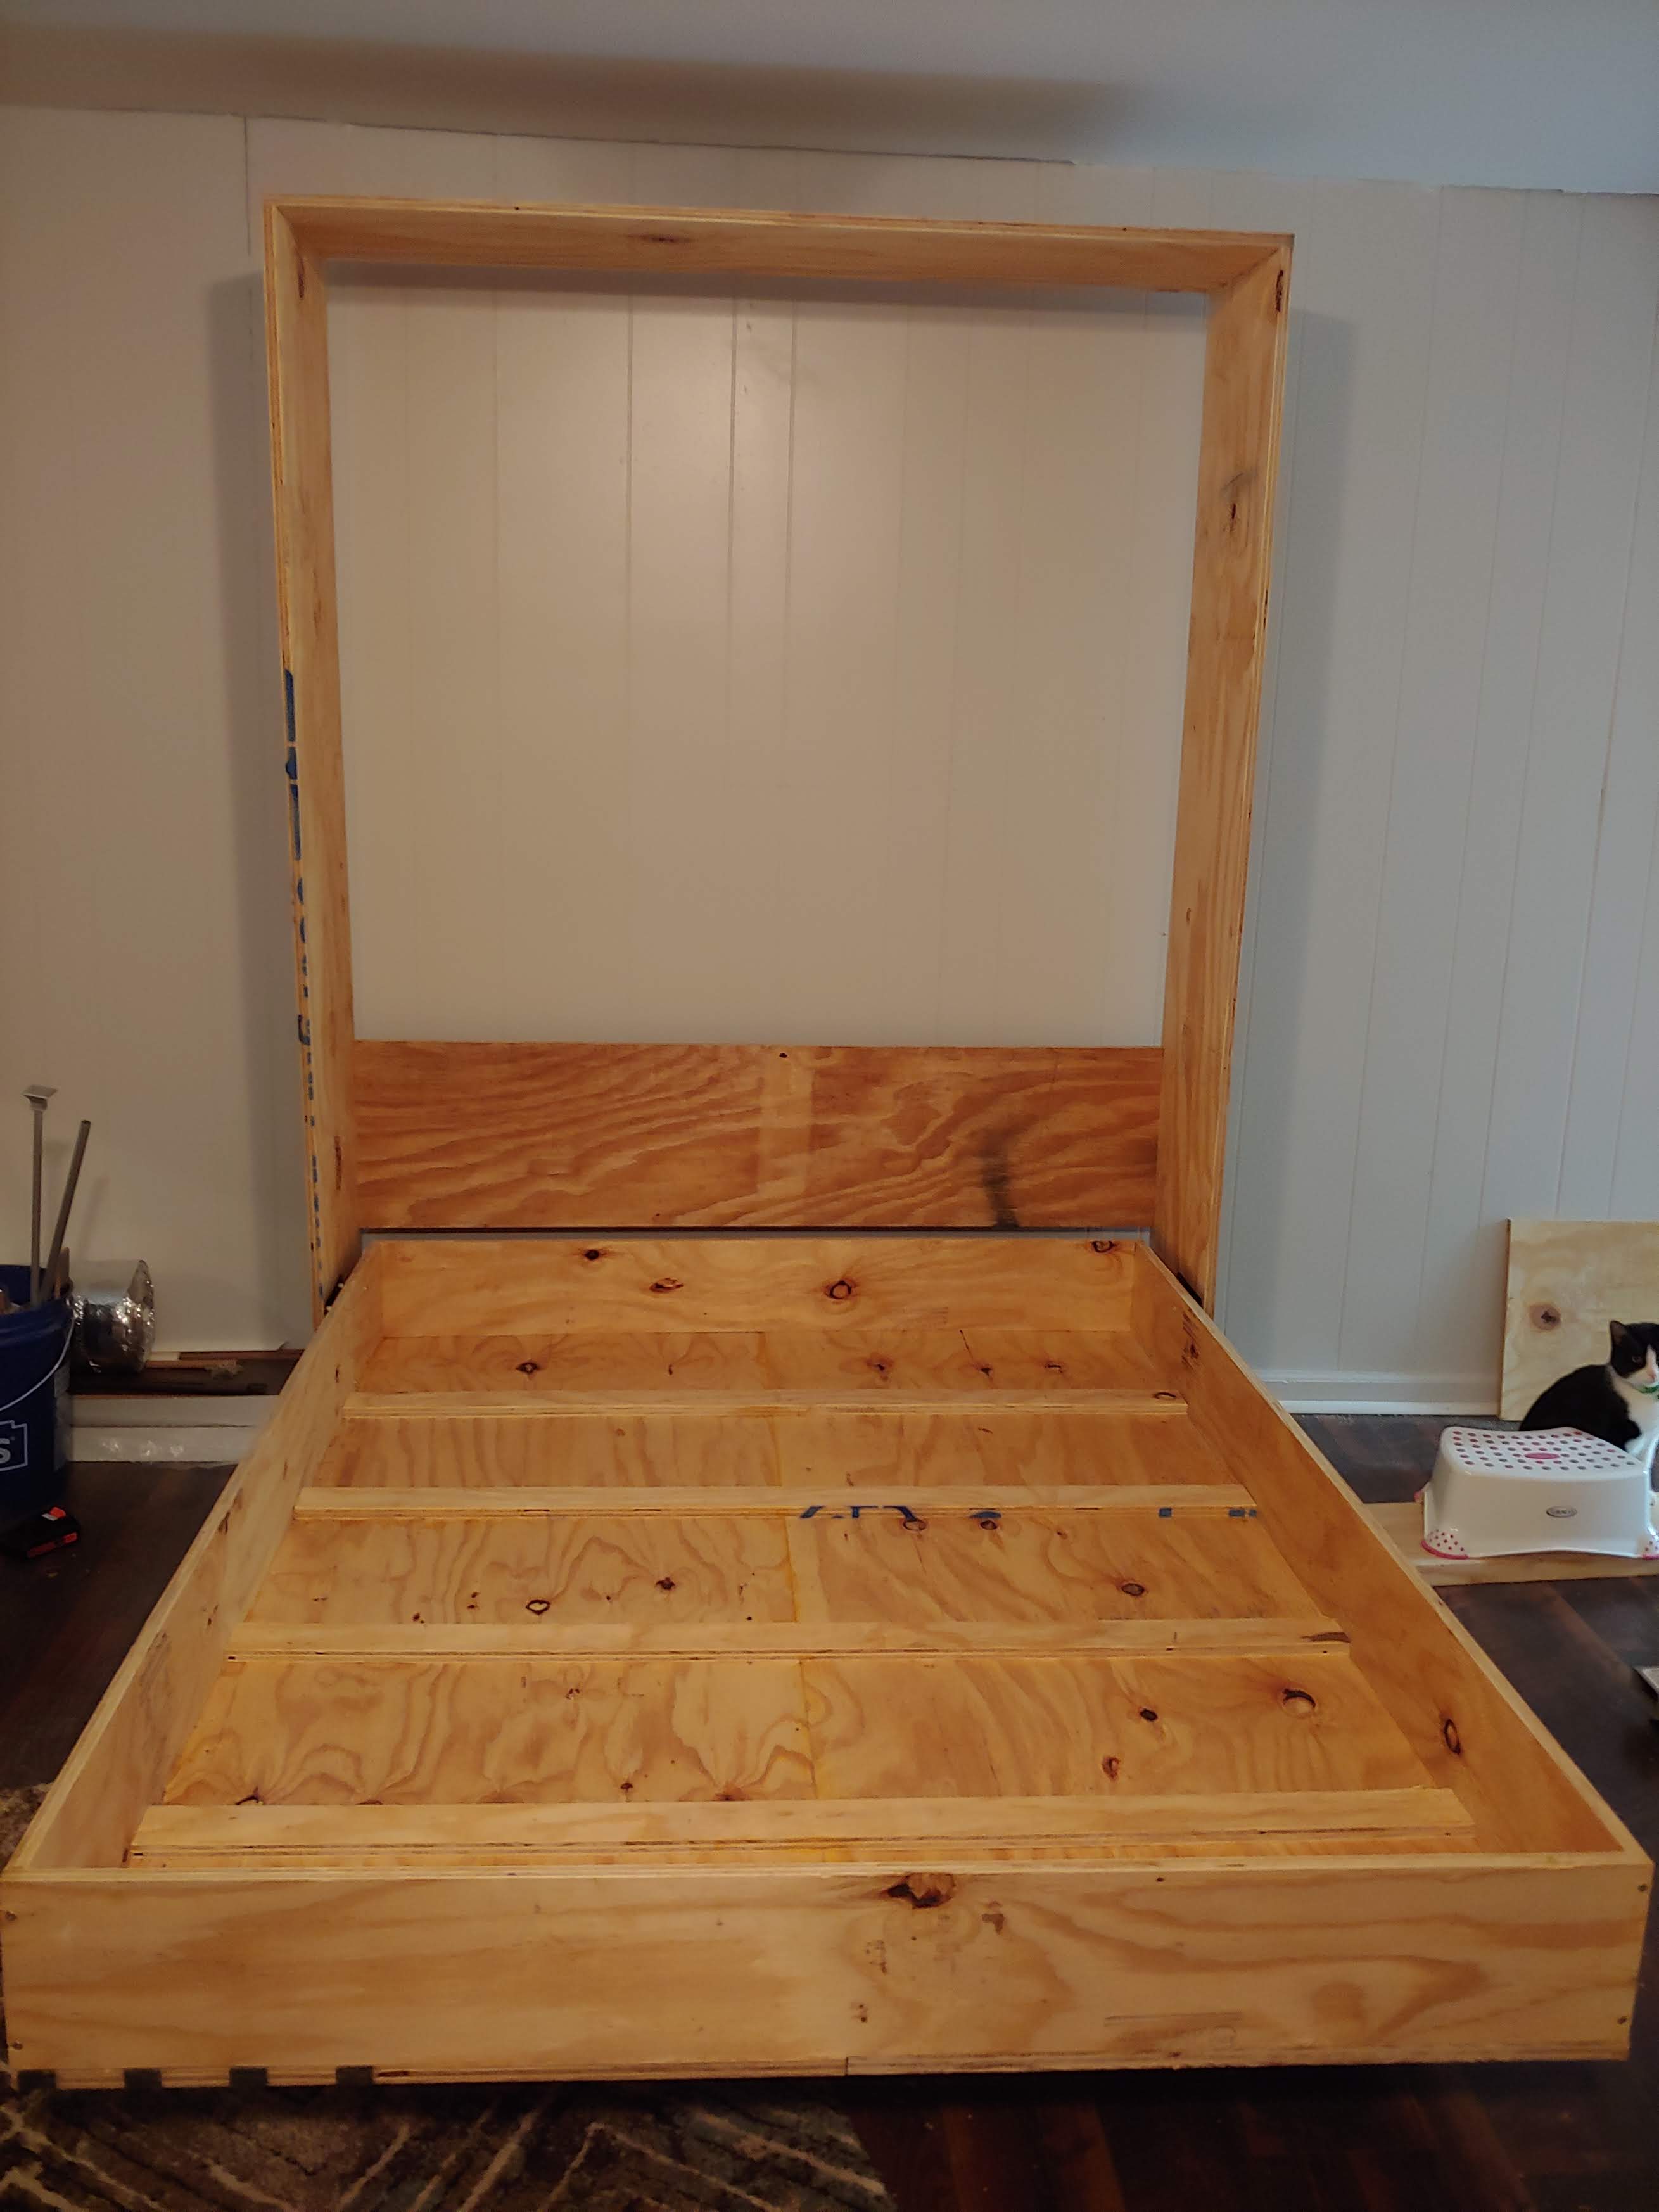
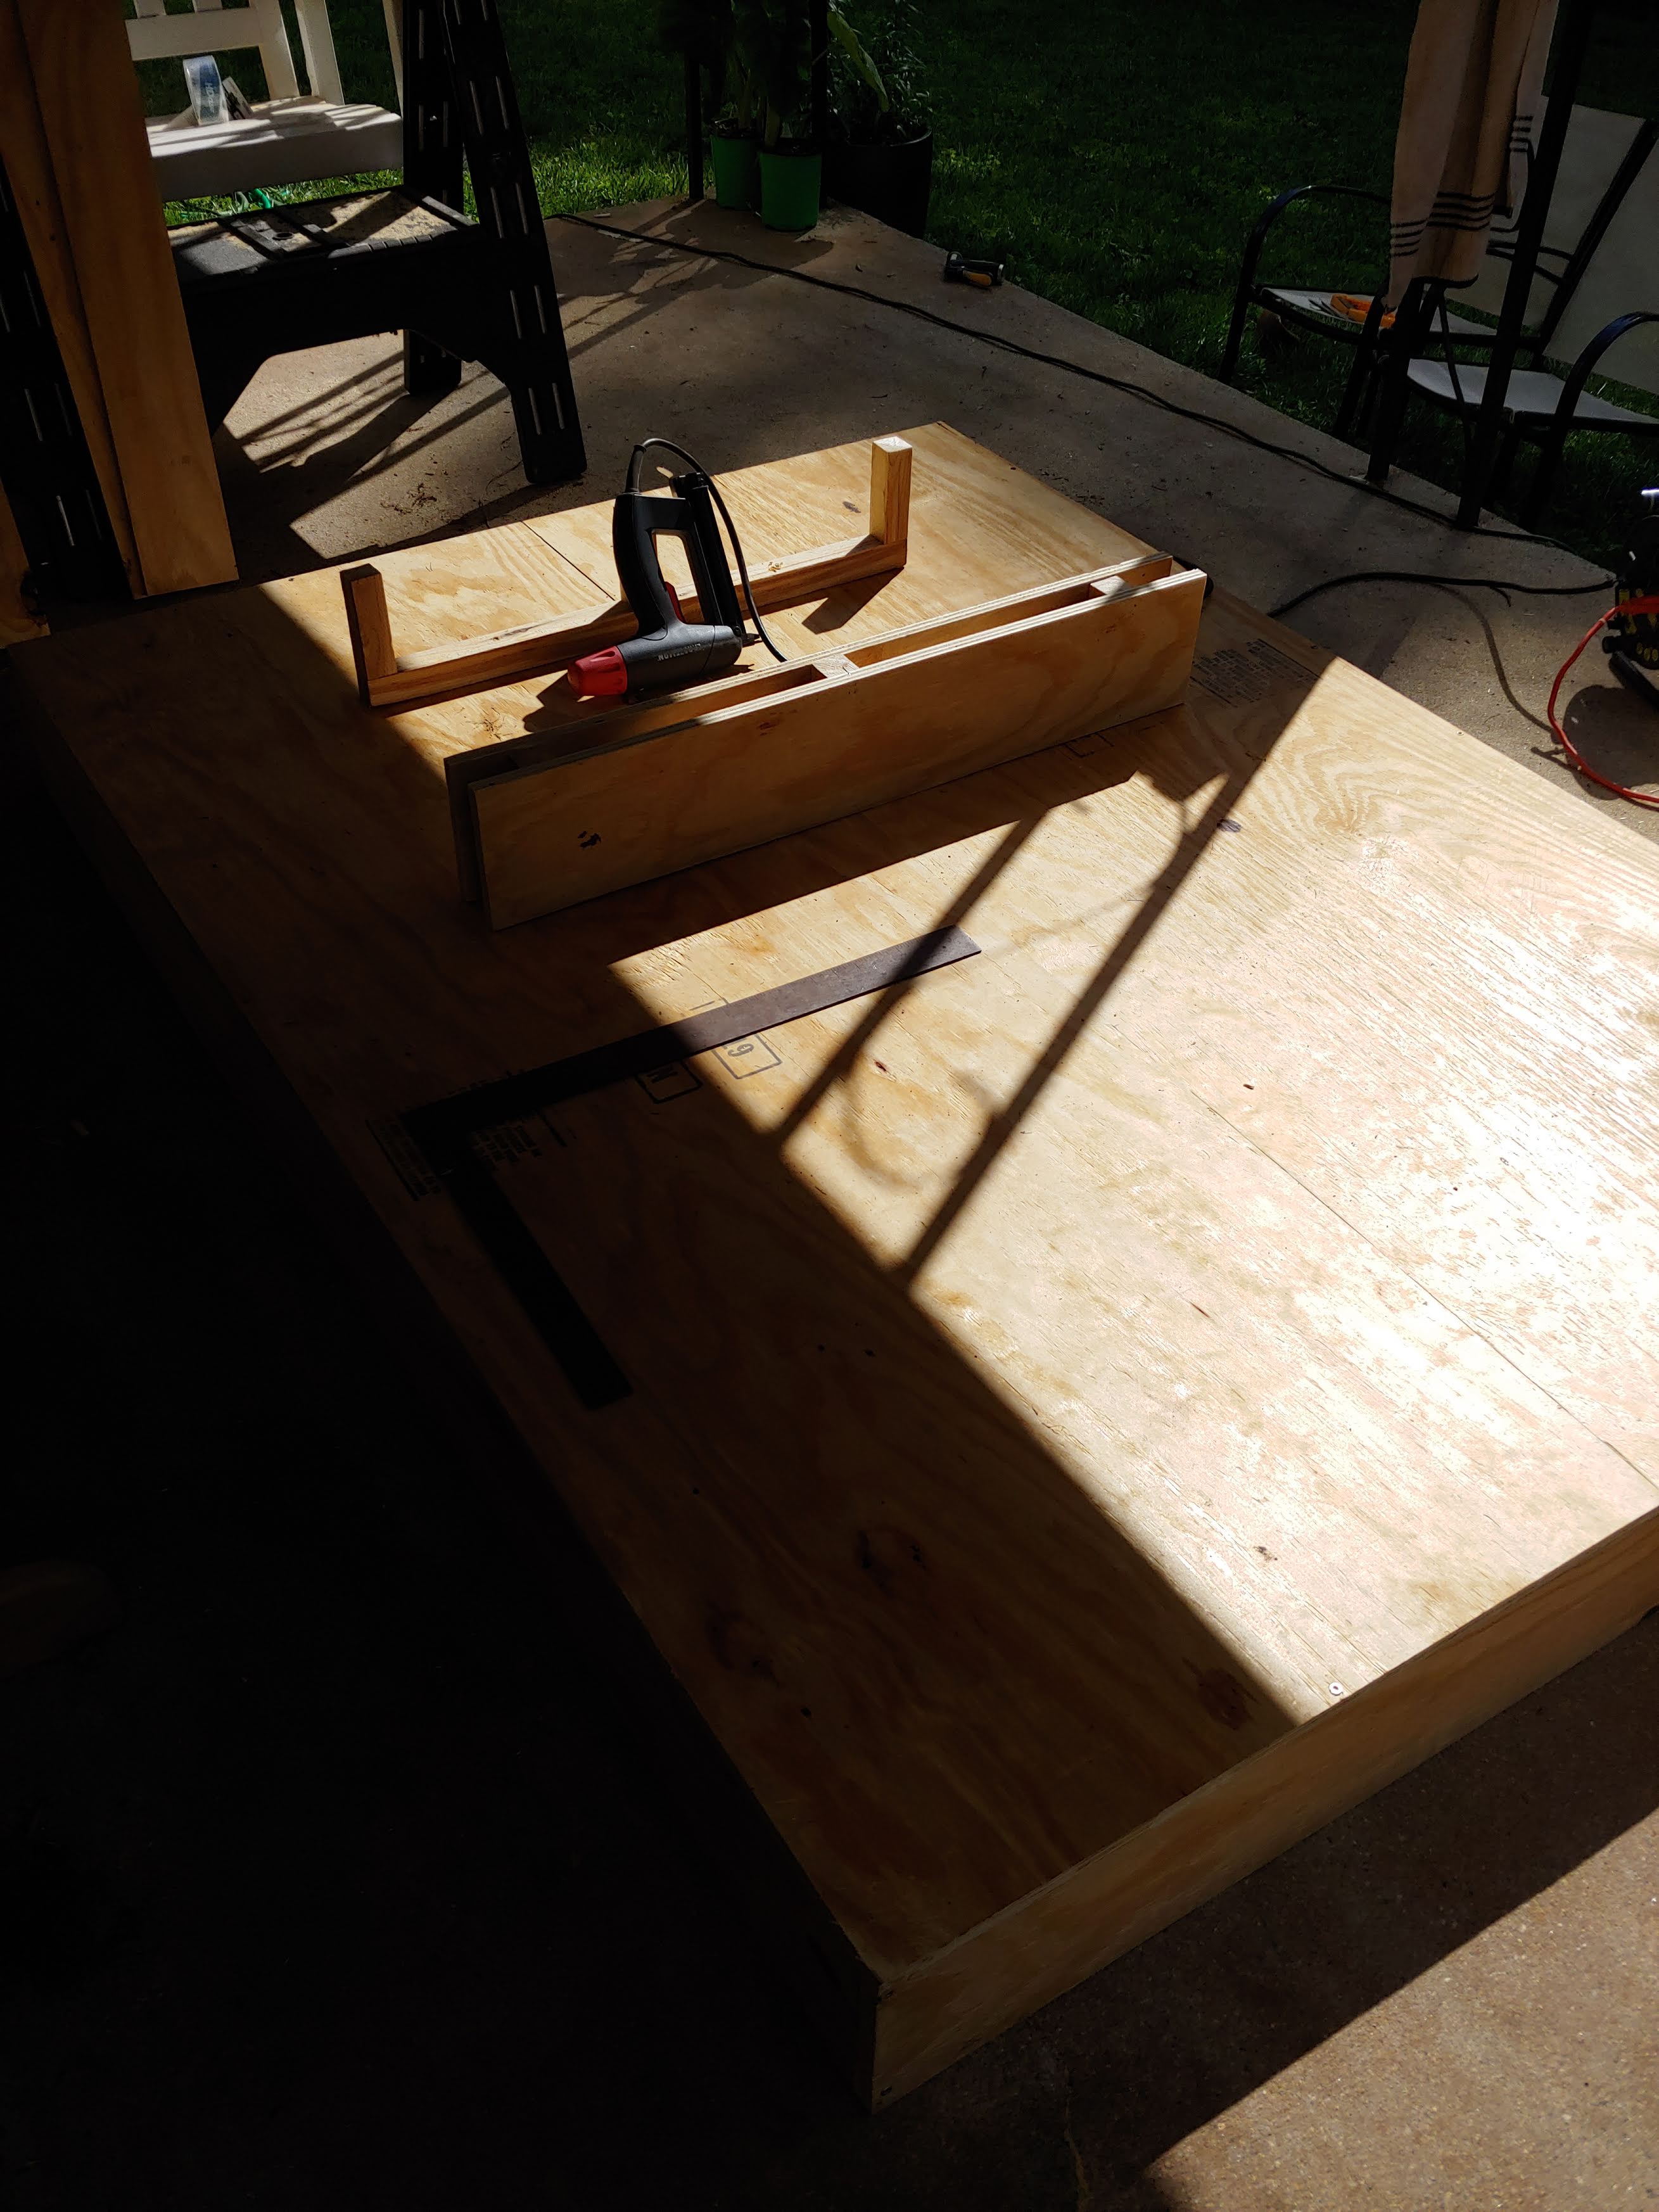
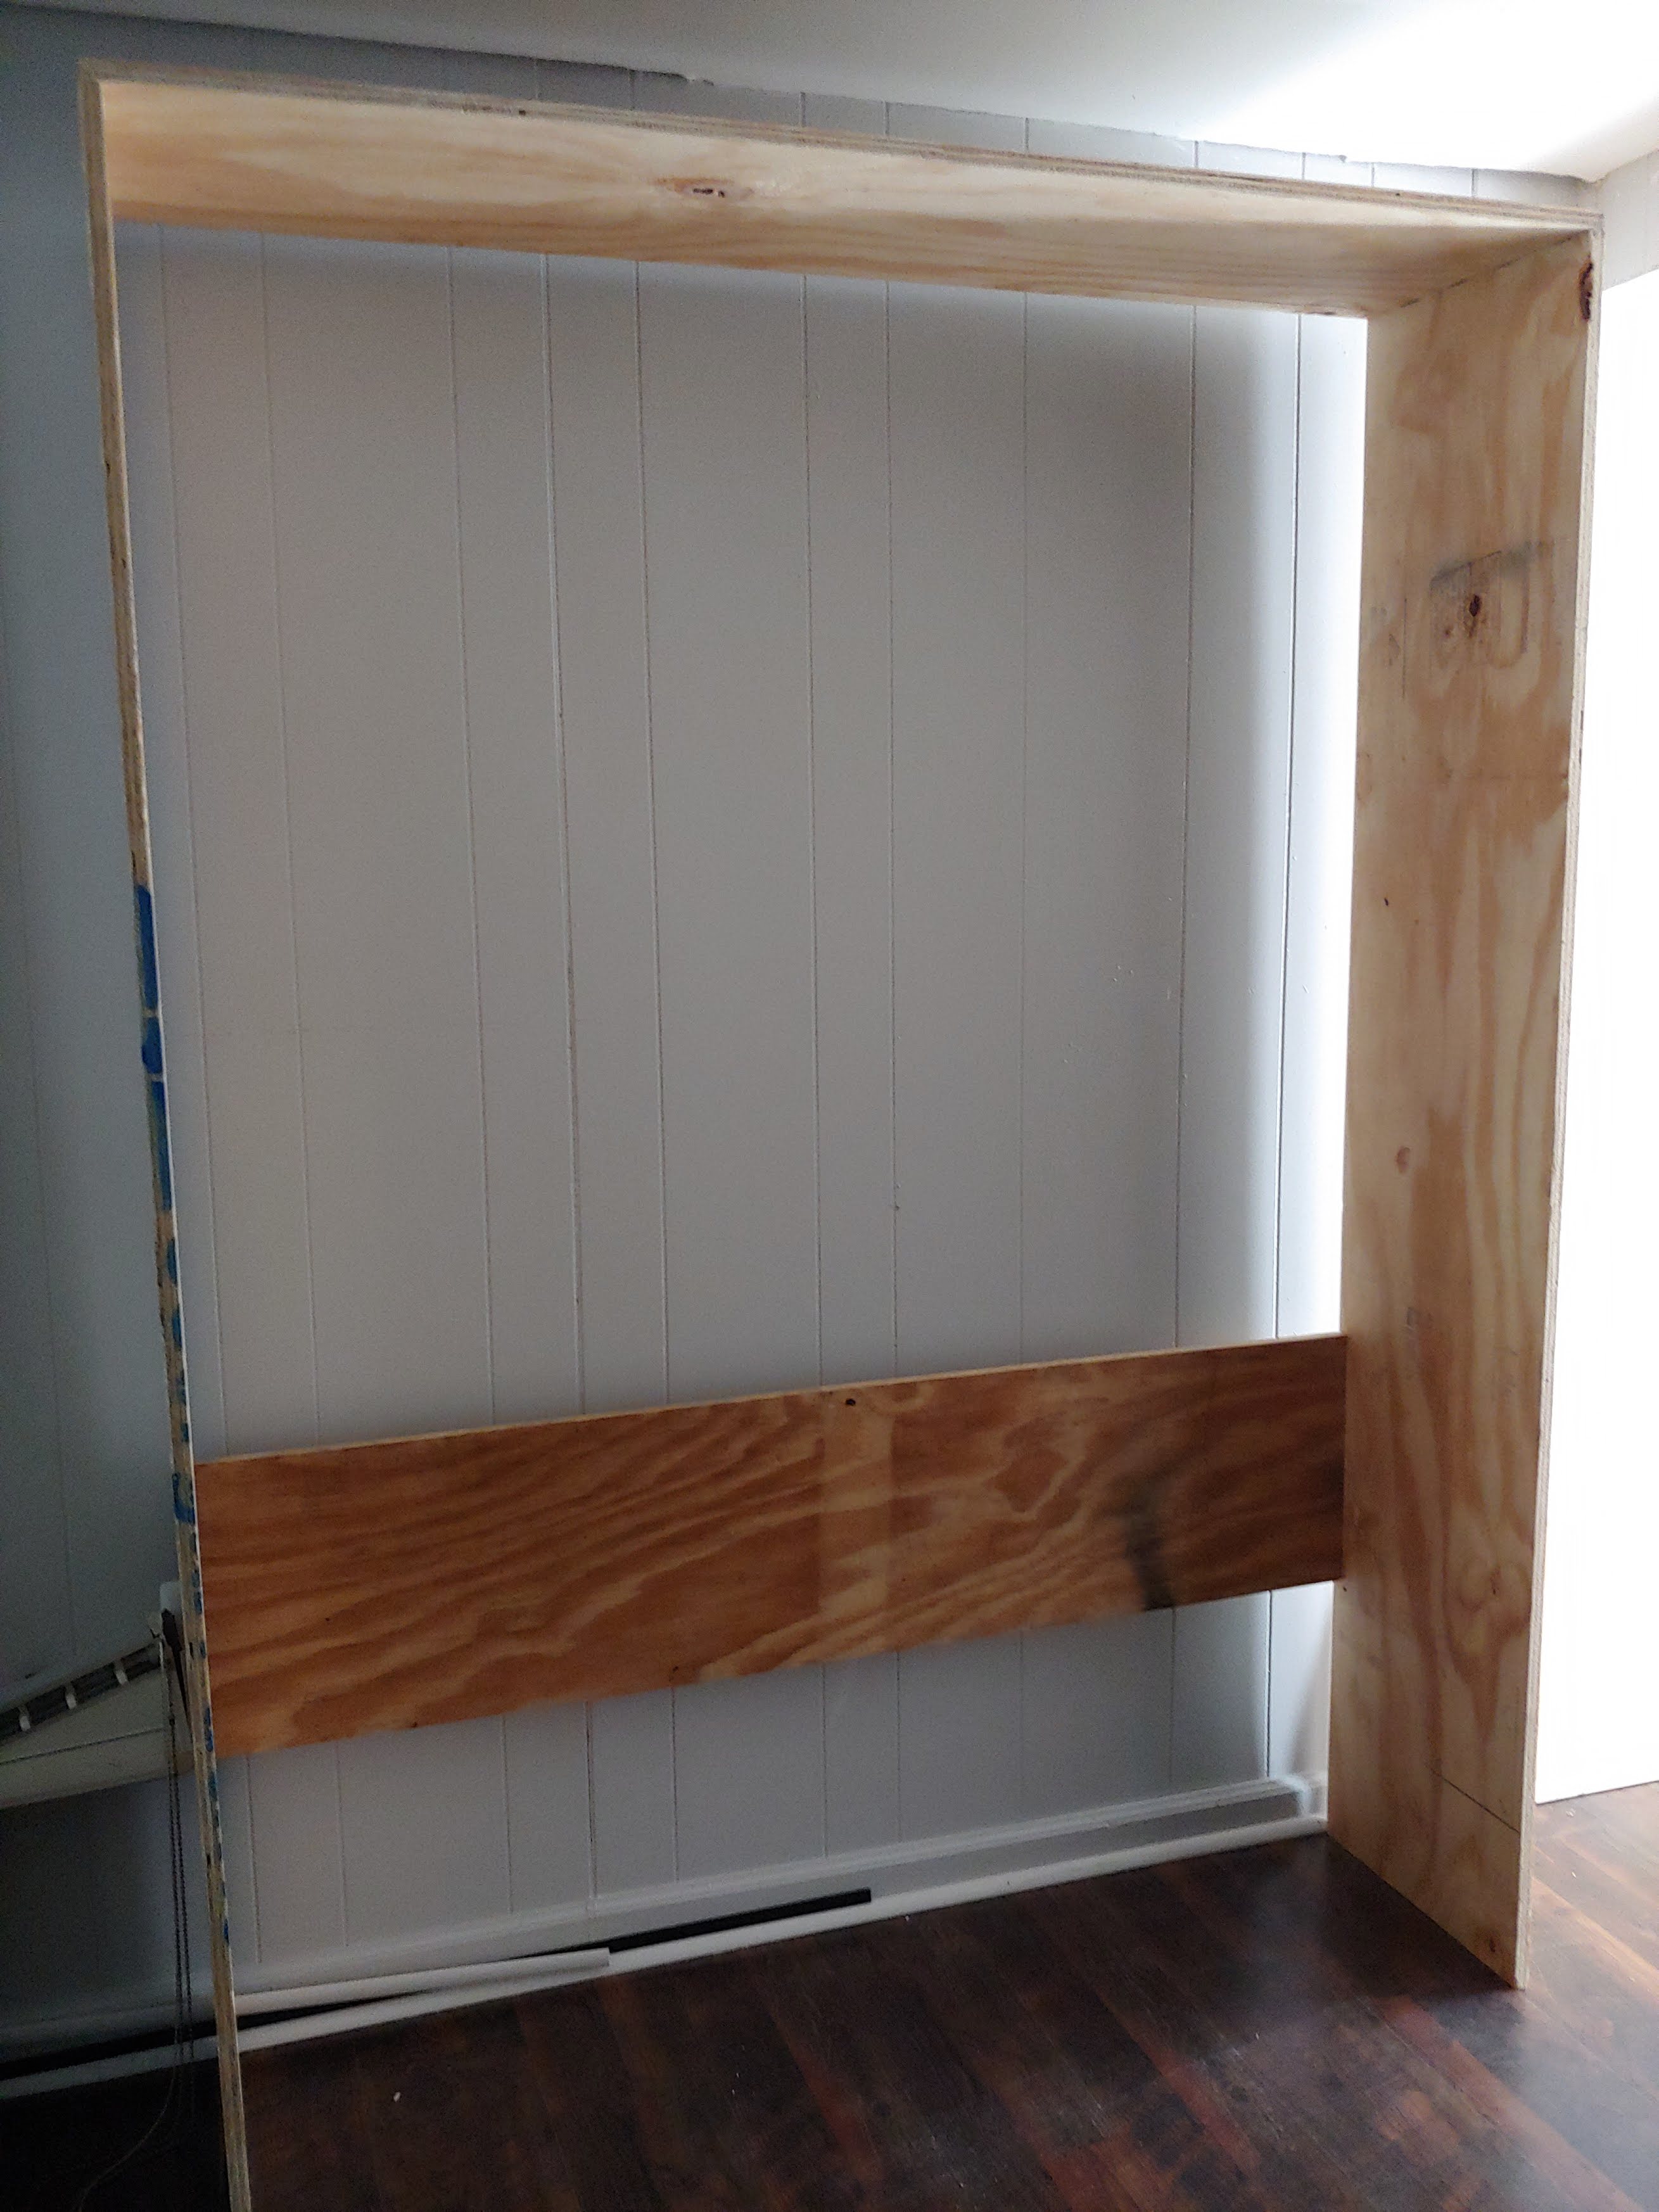
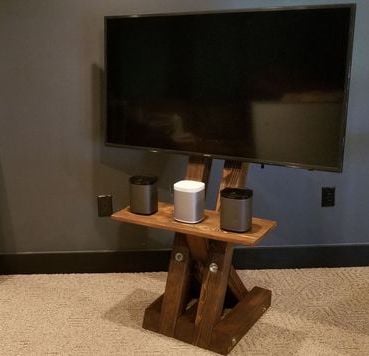
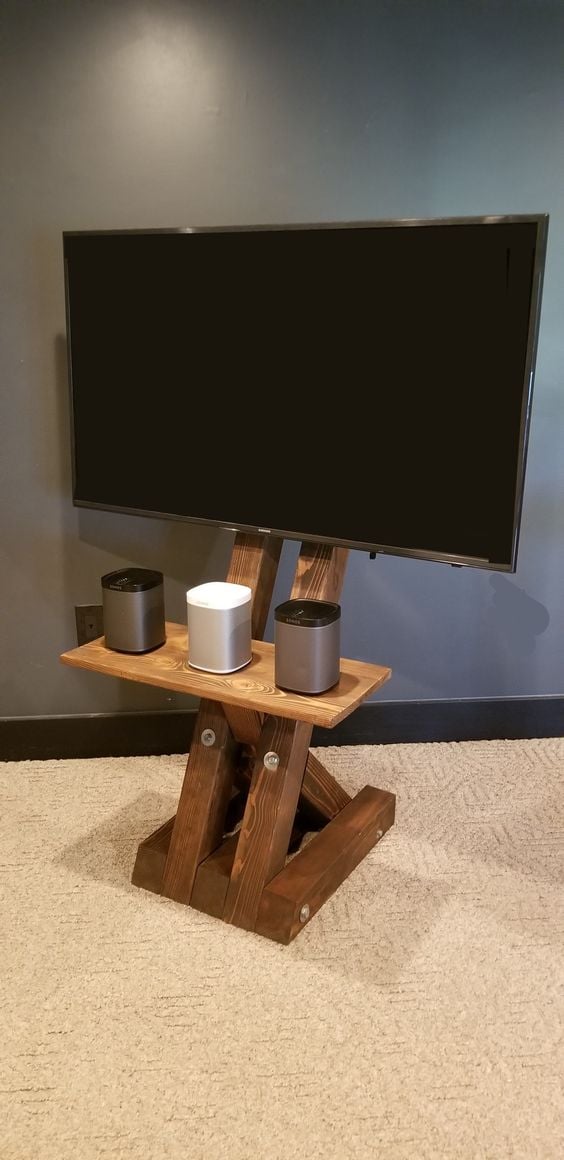
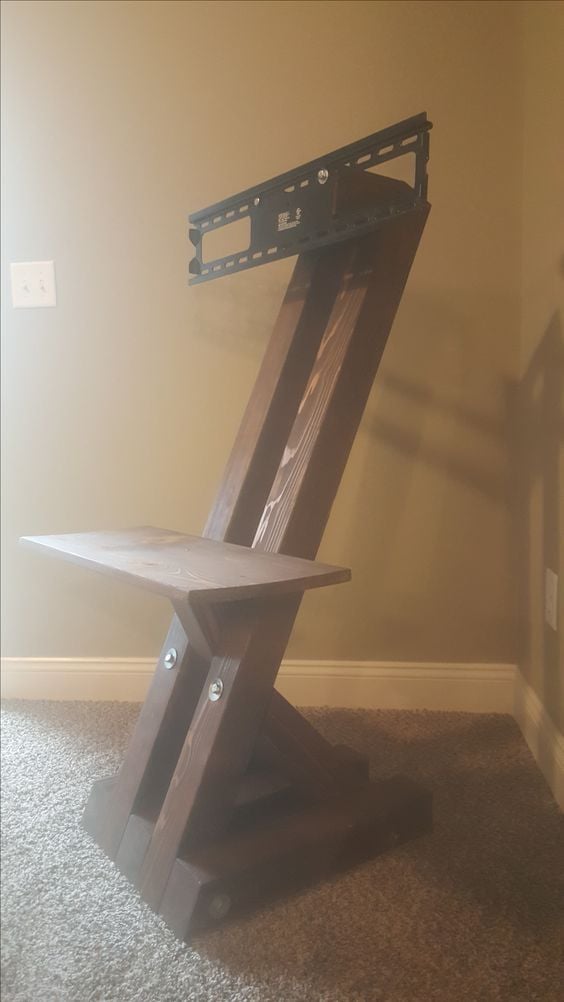
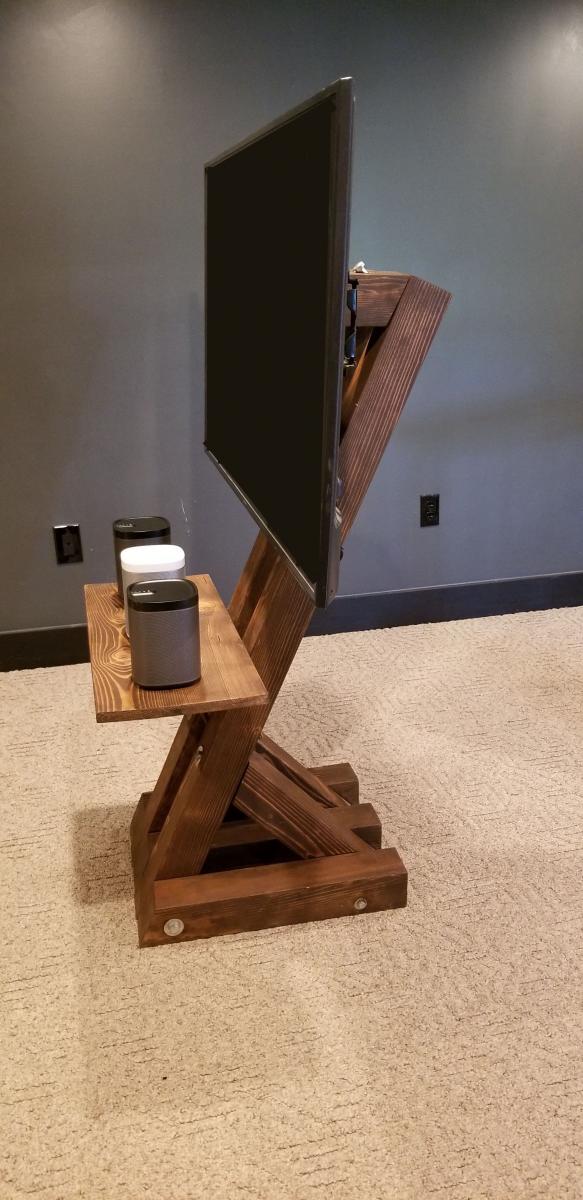
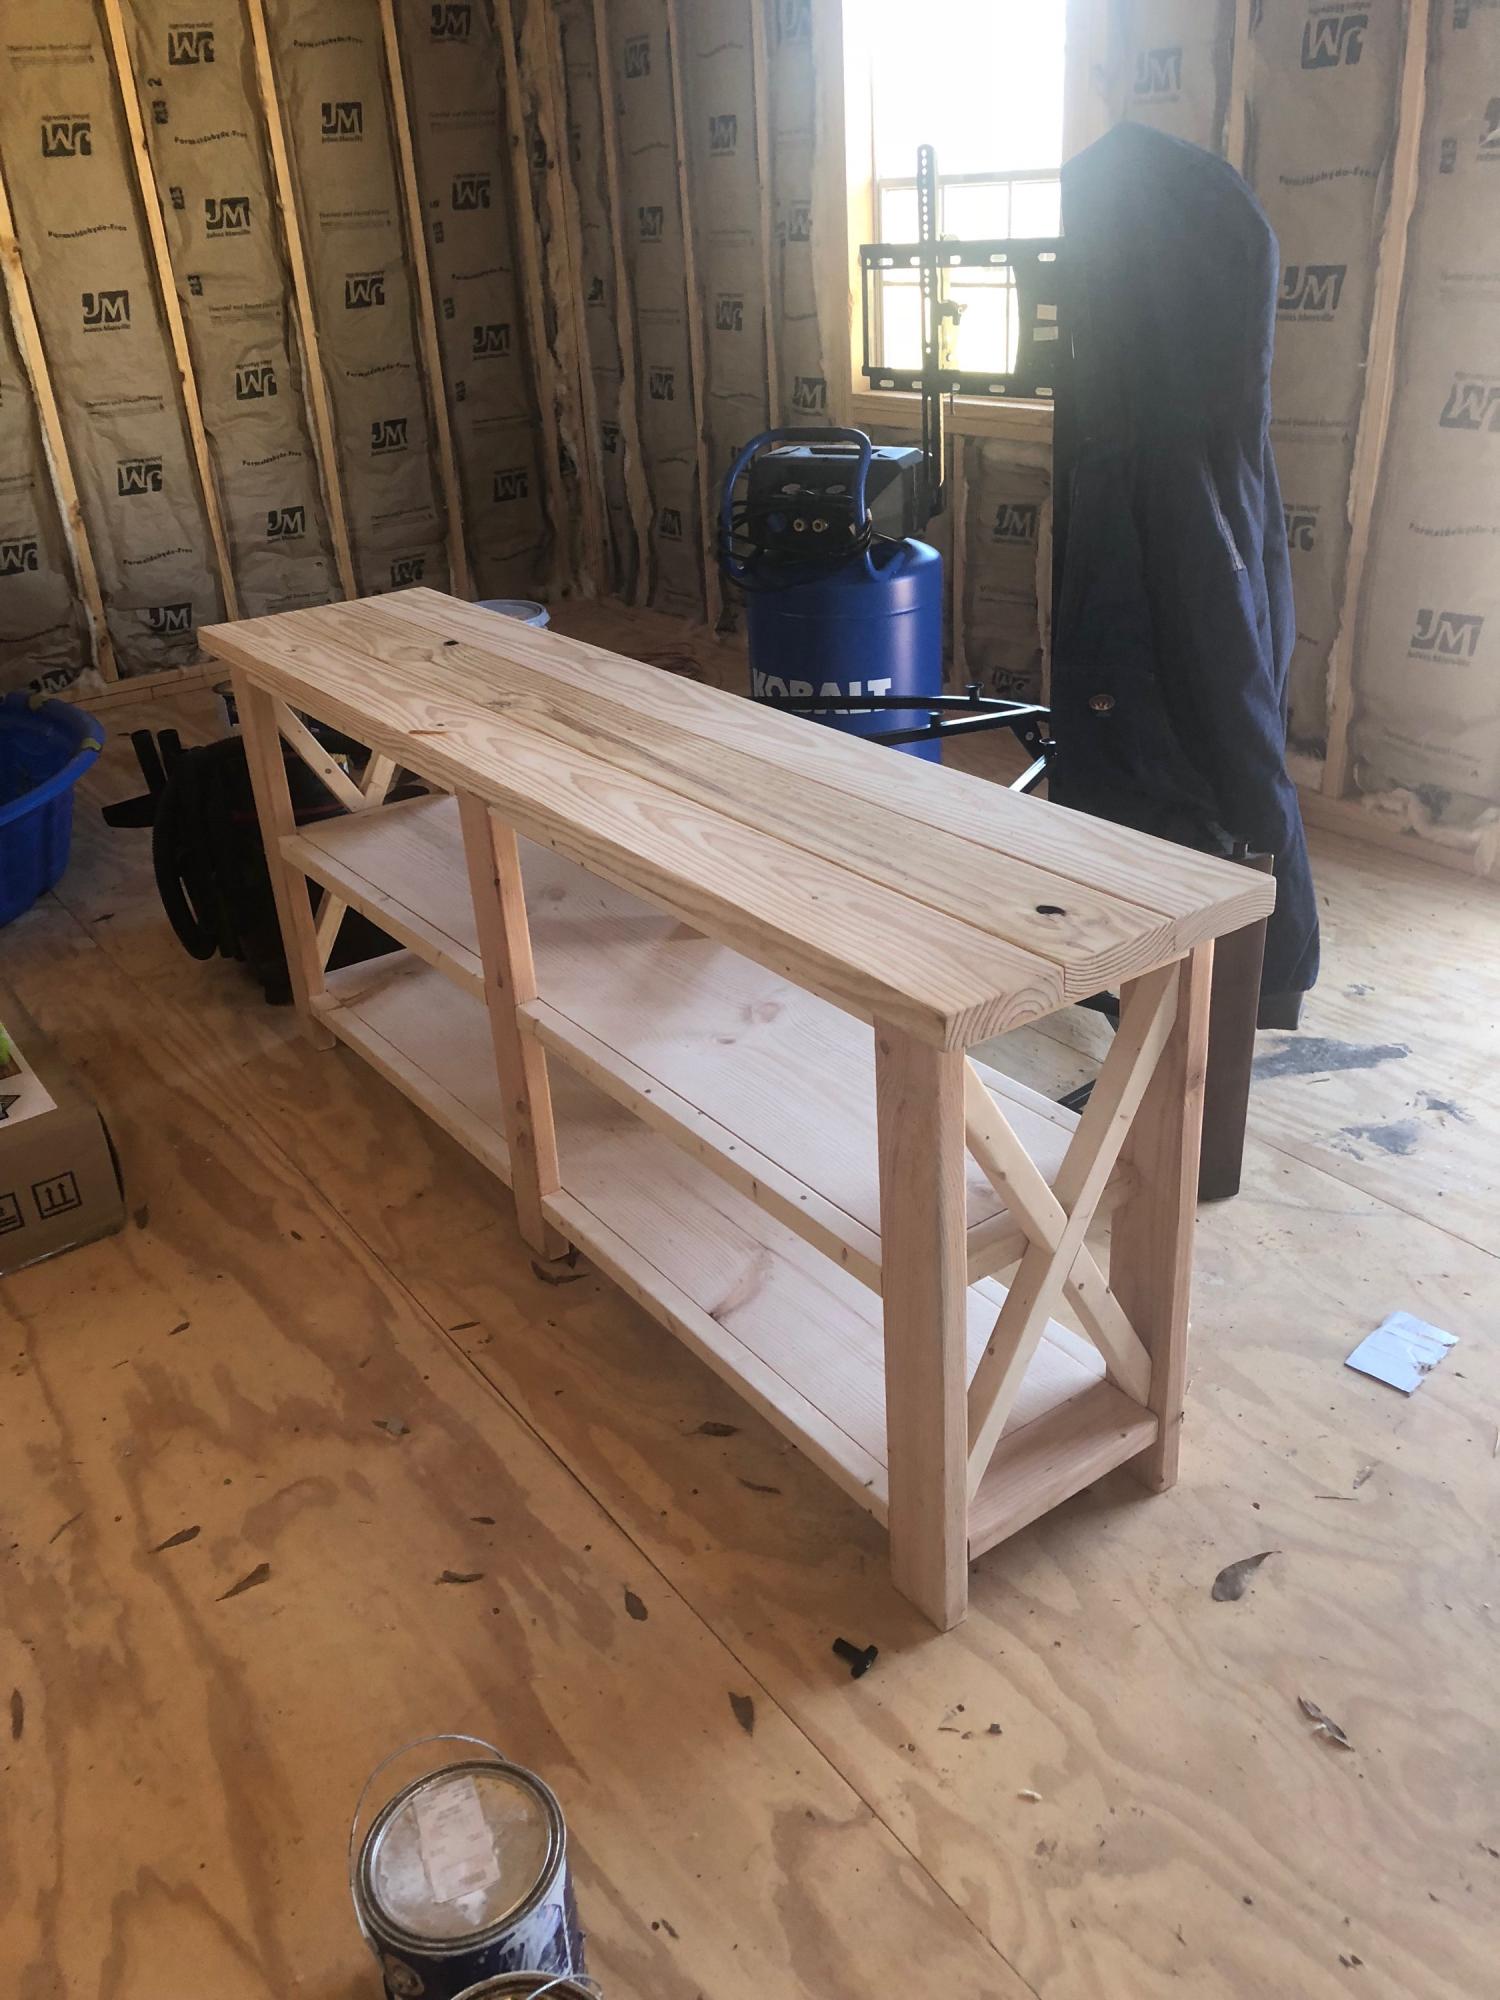
I ended up utilizing a few different plans and mashed them together to build a full size murphy bed. The shelves are the support legs when the bed is down. The "hinge" mechanism are heavy duty 360 degree seat swivels.
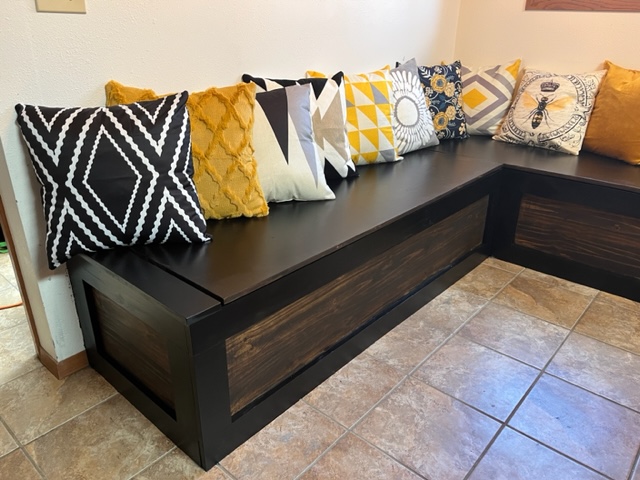
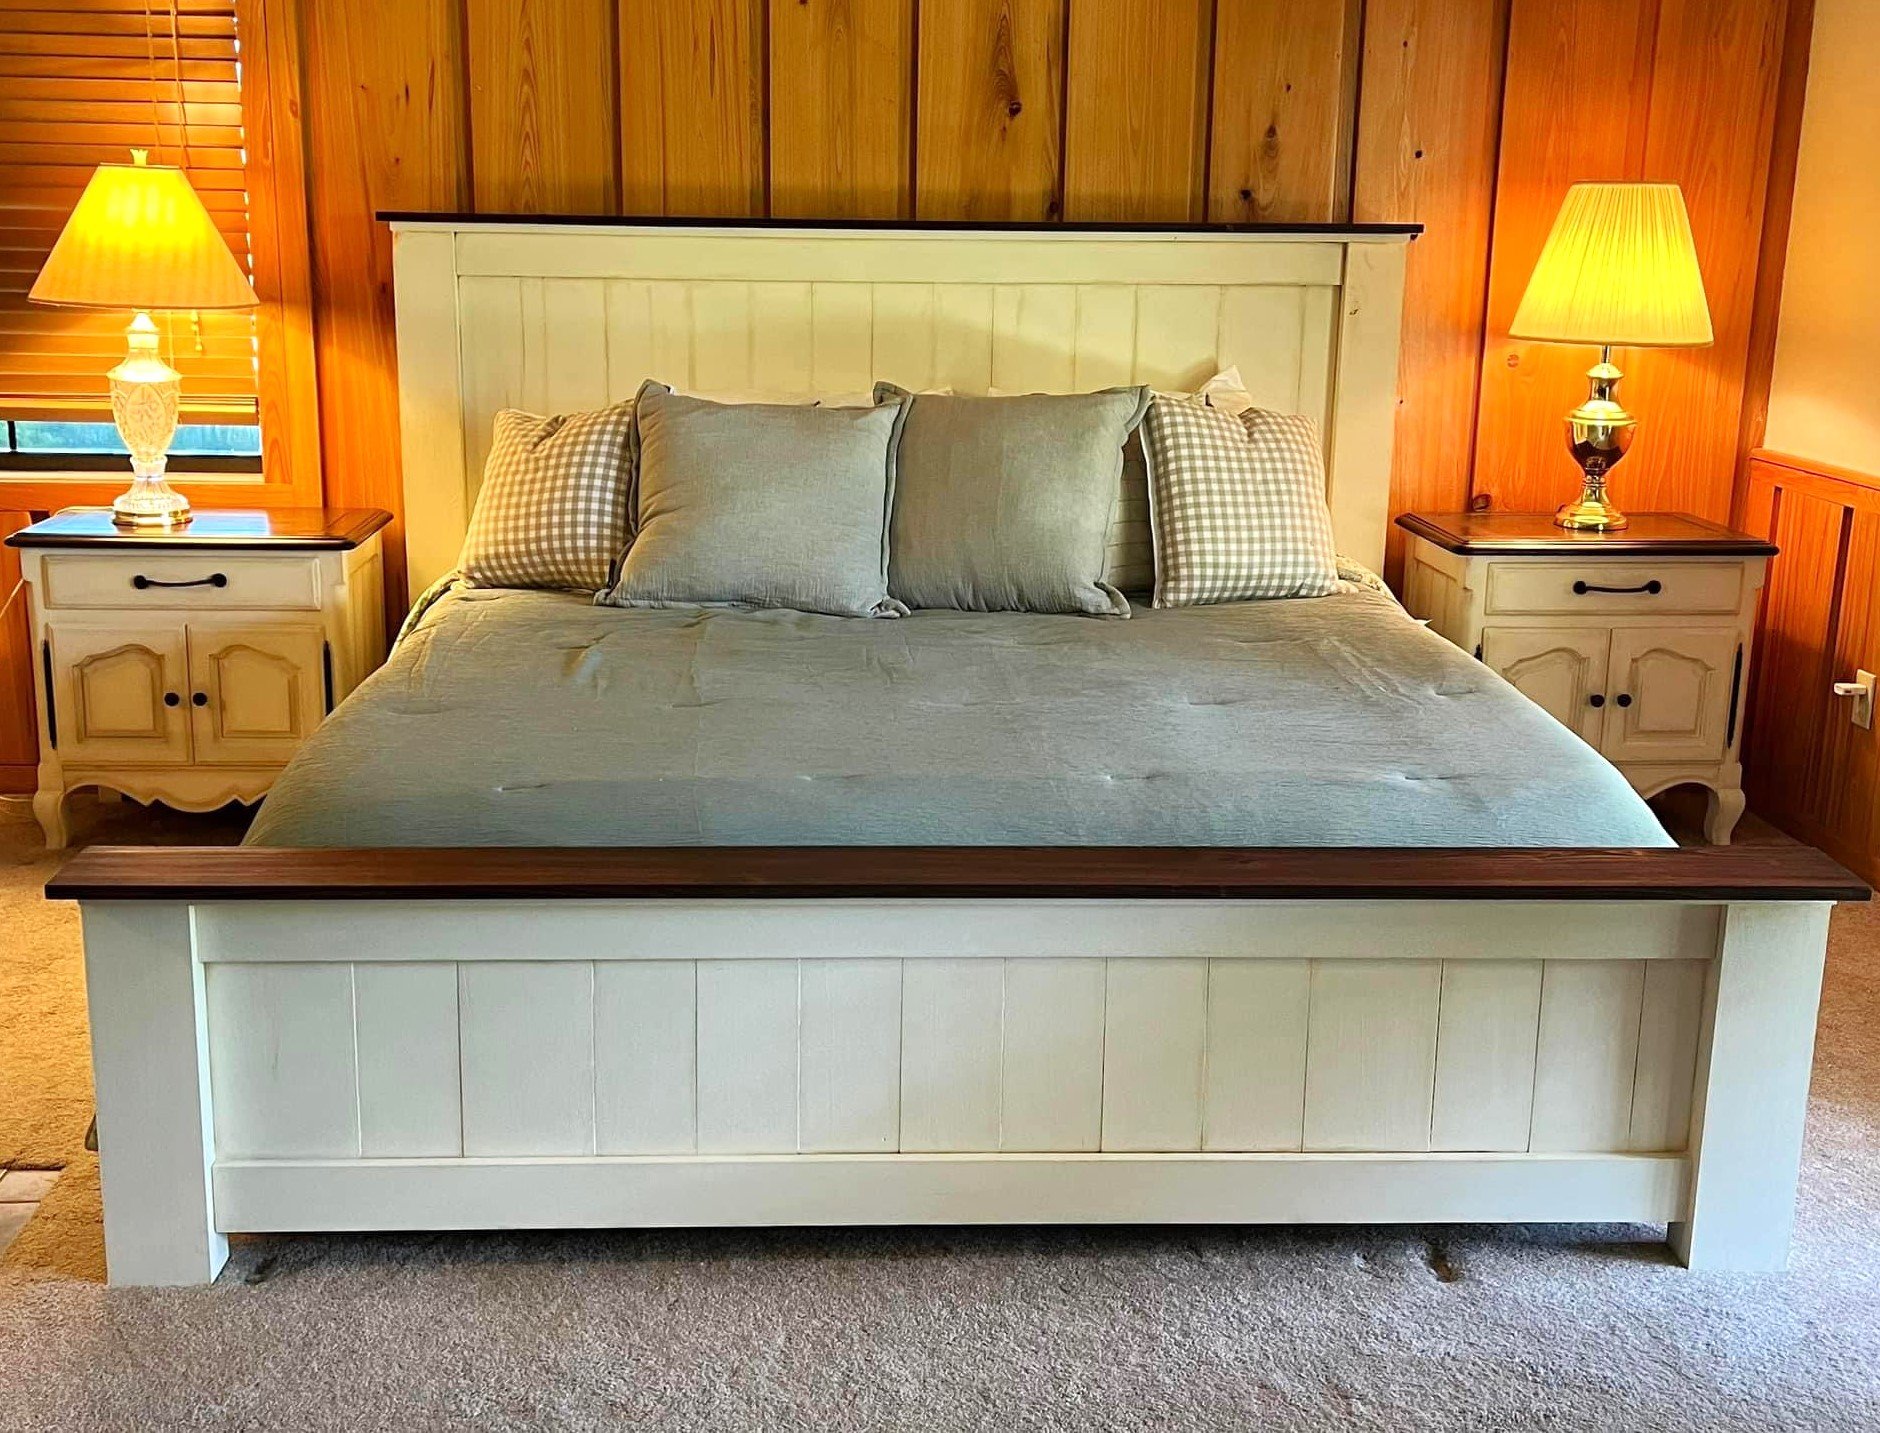
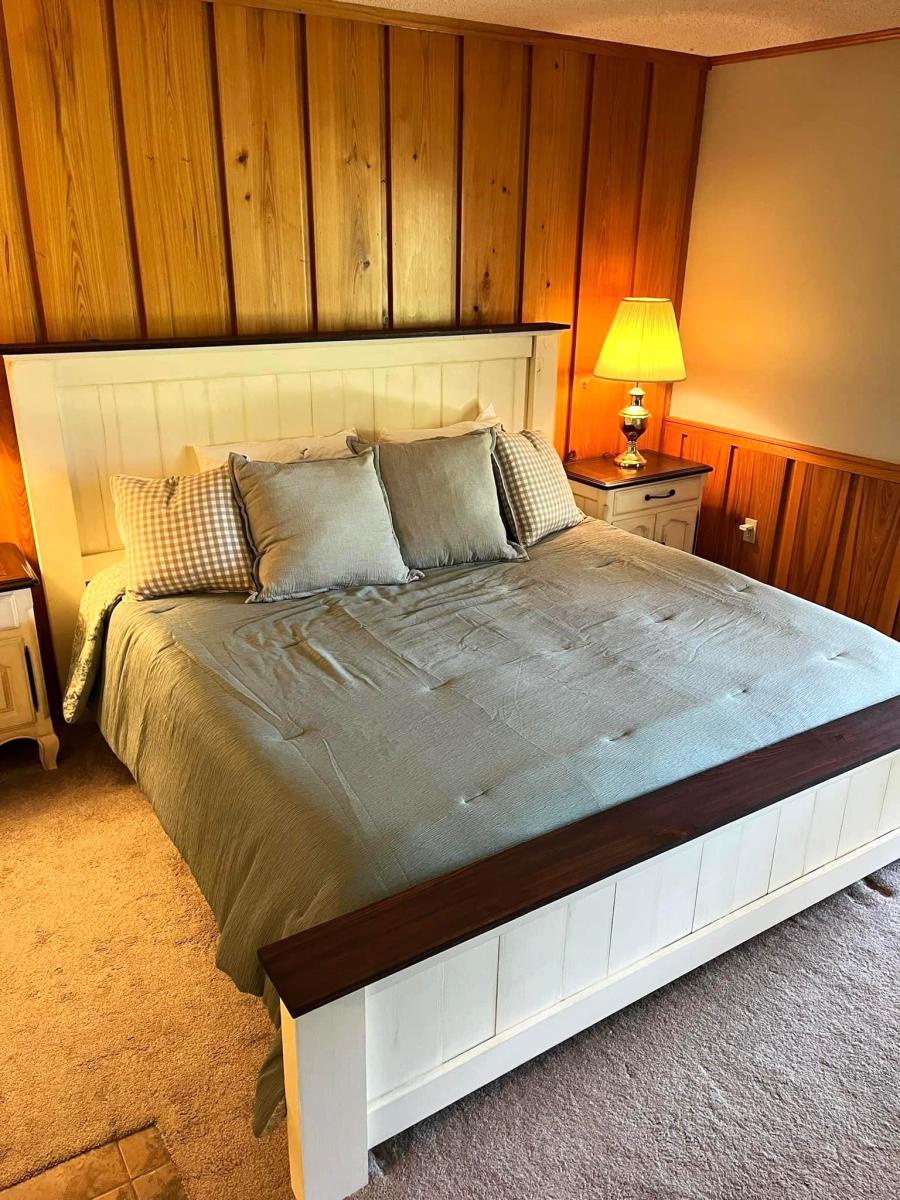
All-in-all it turned out WAY better than I expected with only some minor issues throughout the construction process.
Next up is a twin xl Murphy bed with a murphy desk attachment that will serve as a craft table when up.