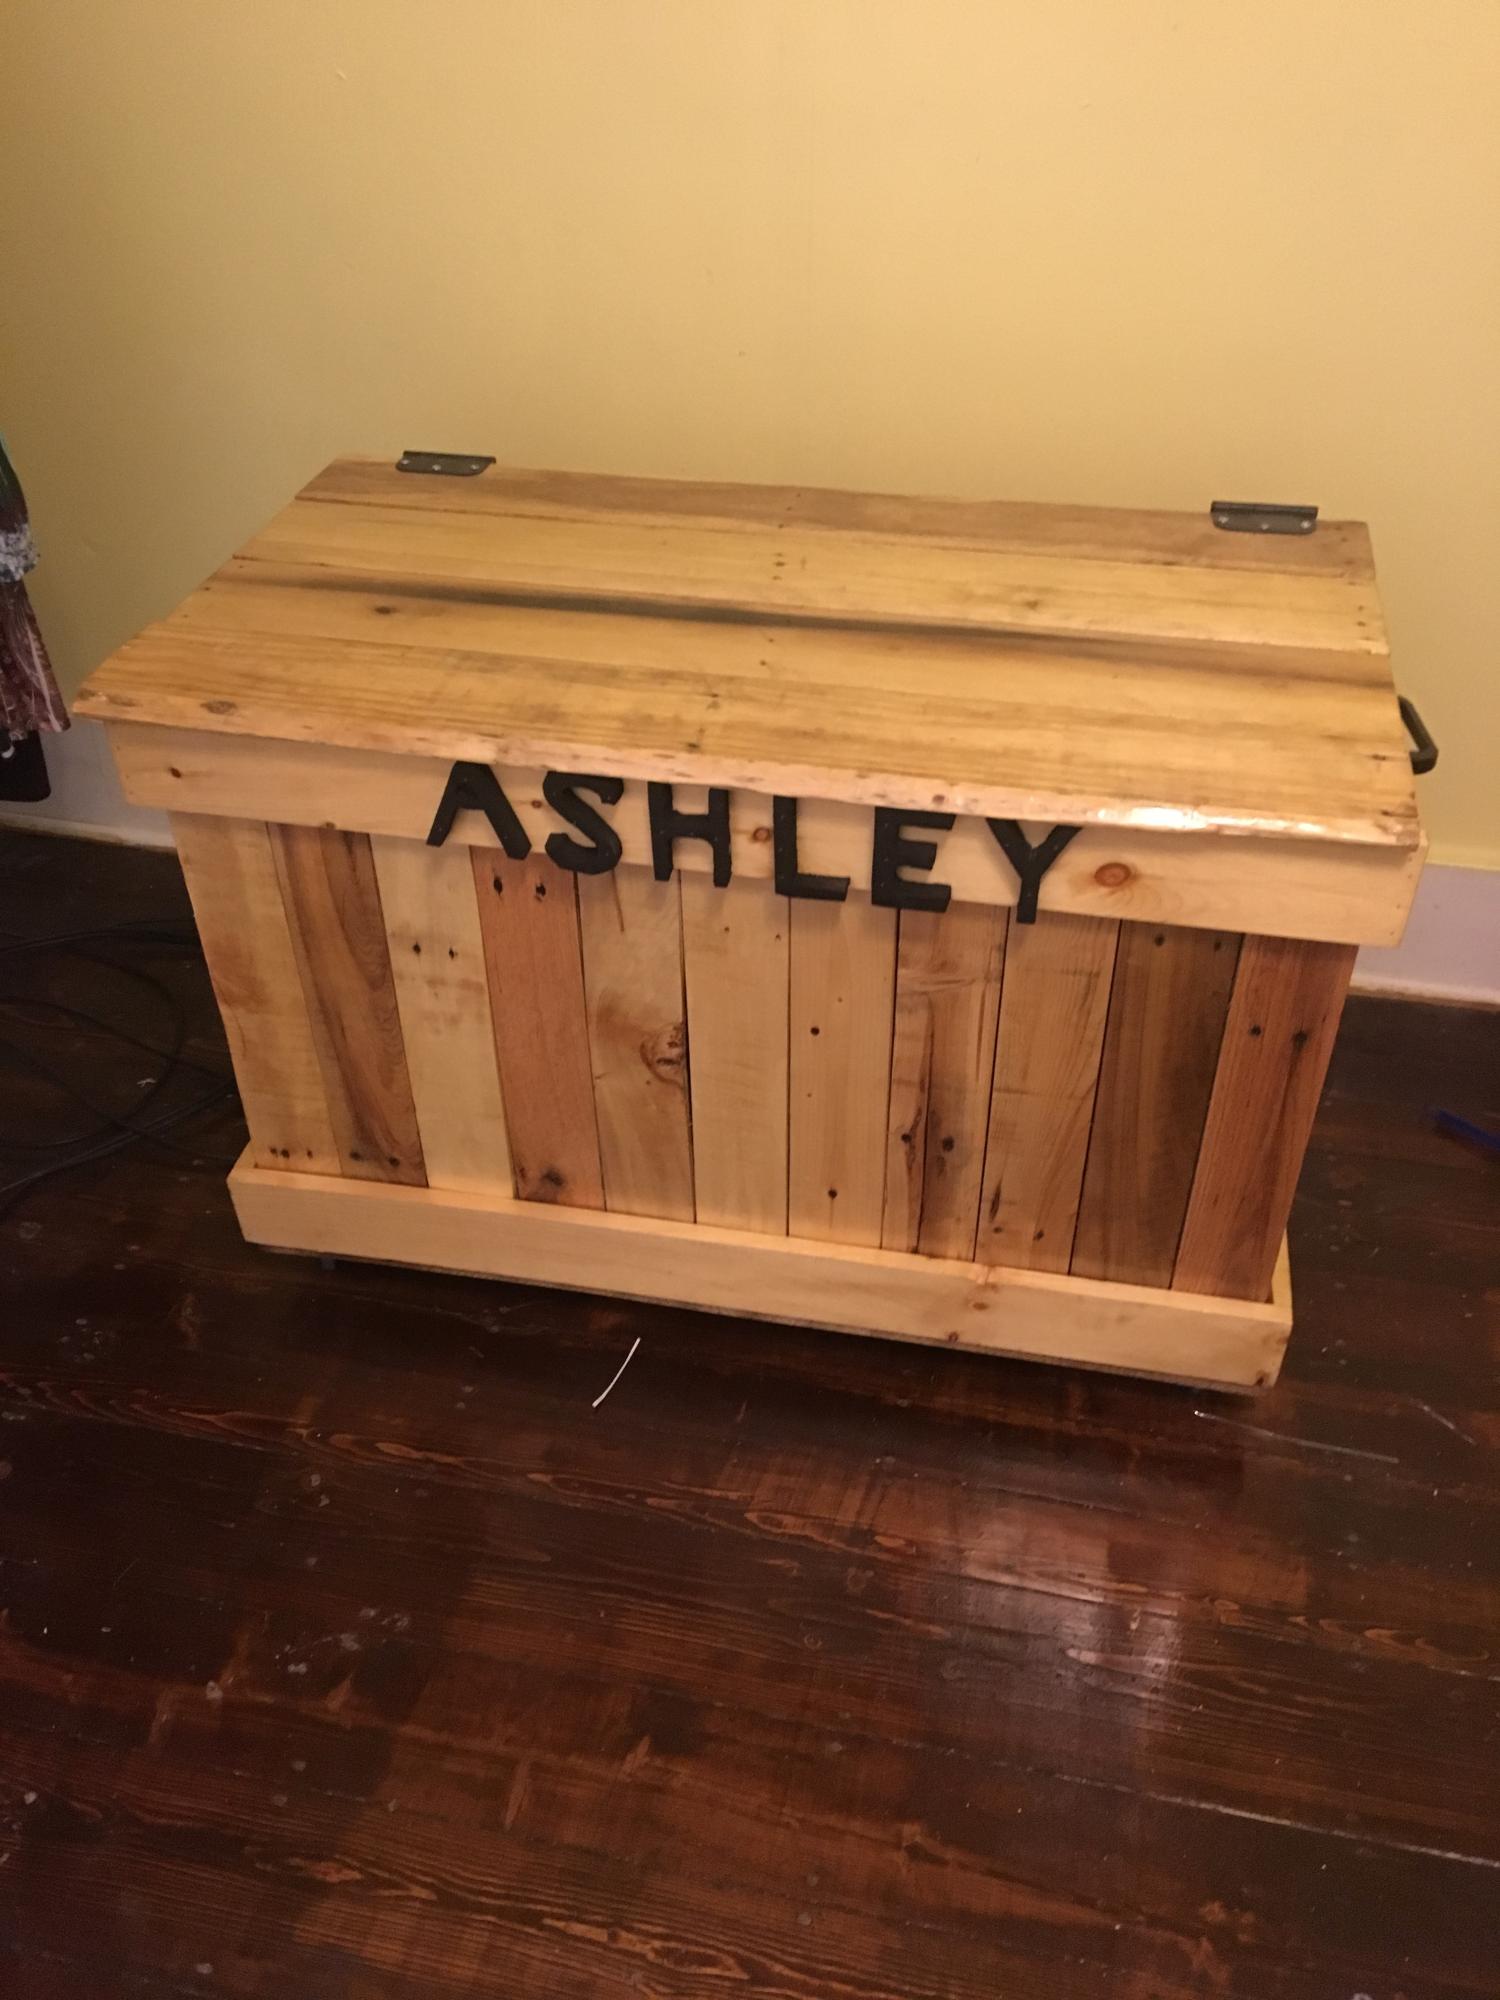
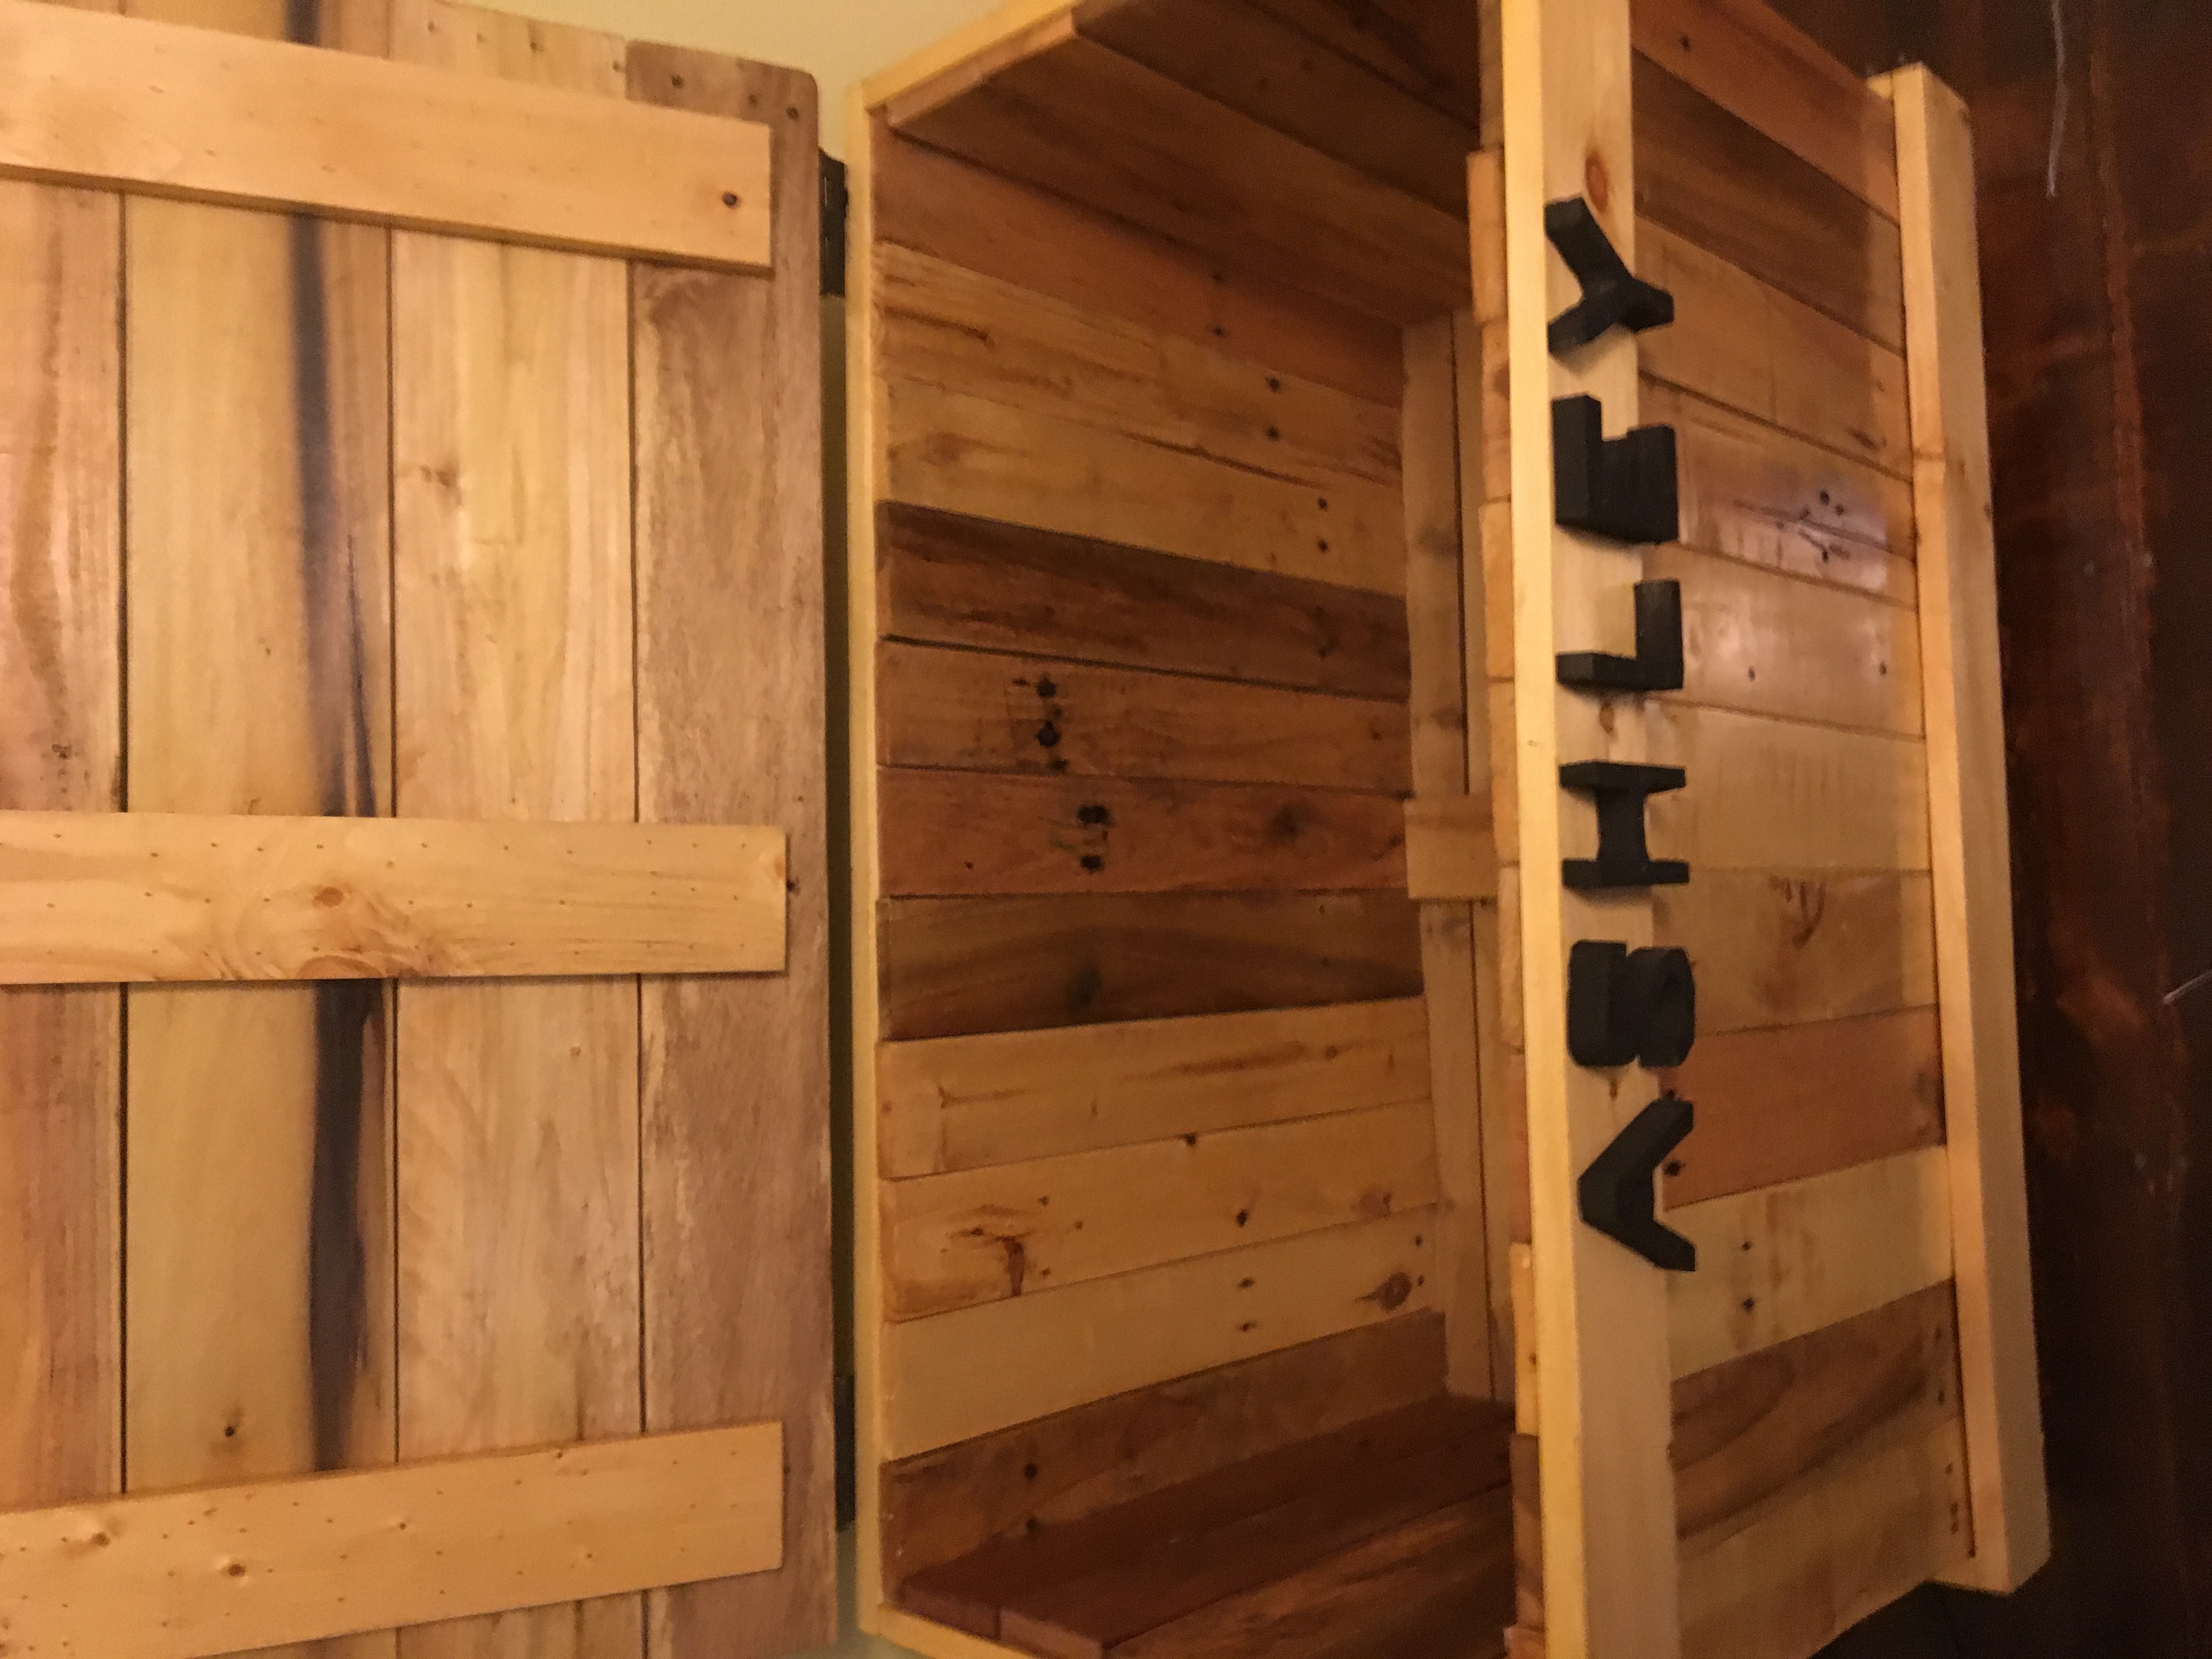
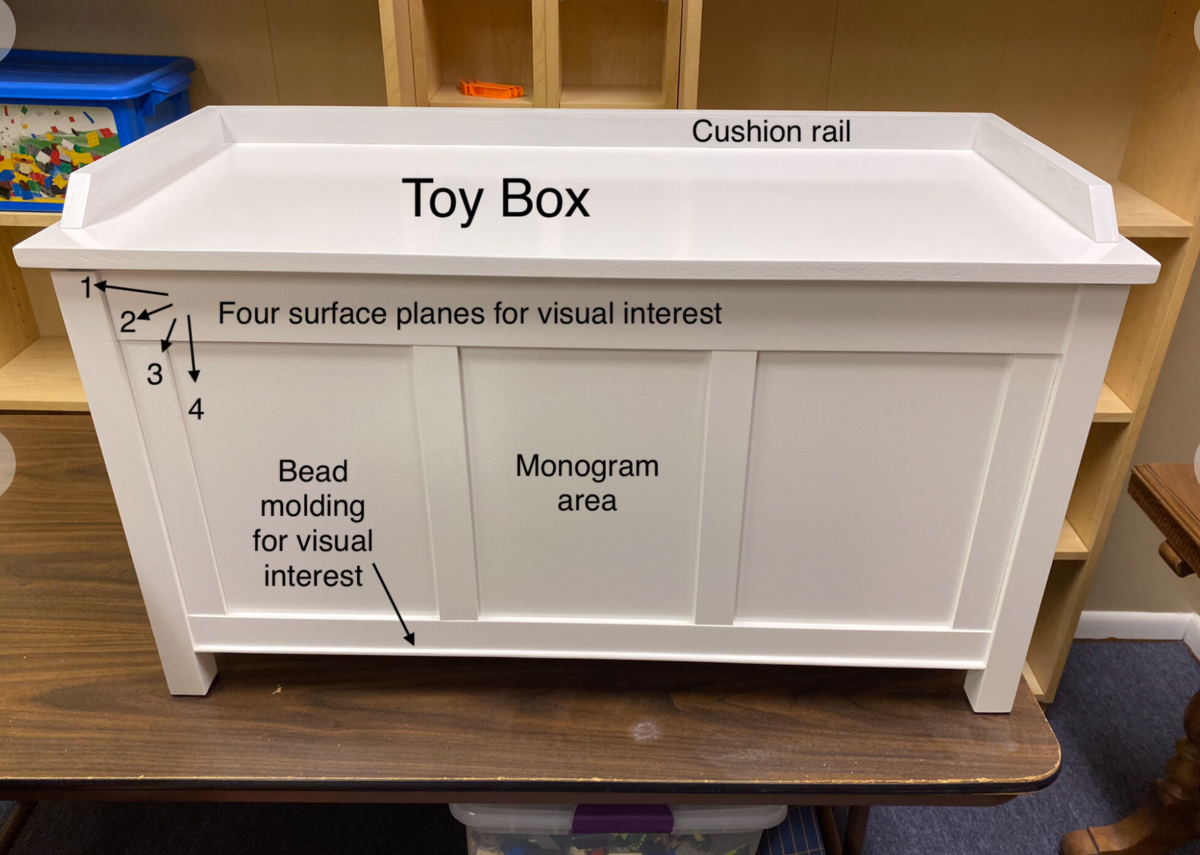
Family Heirloom Toy Box
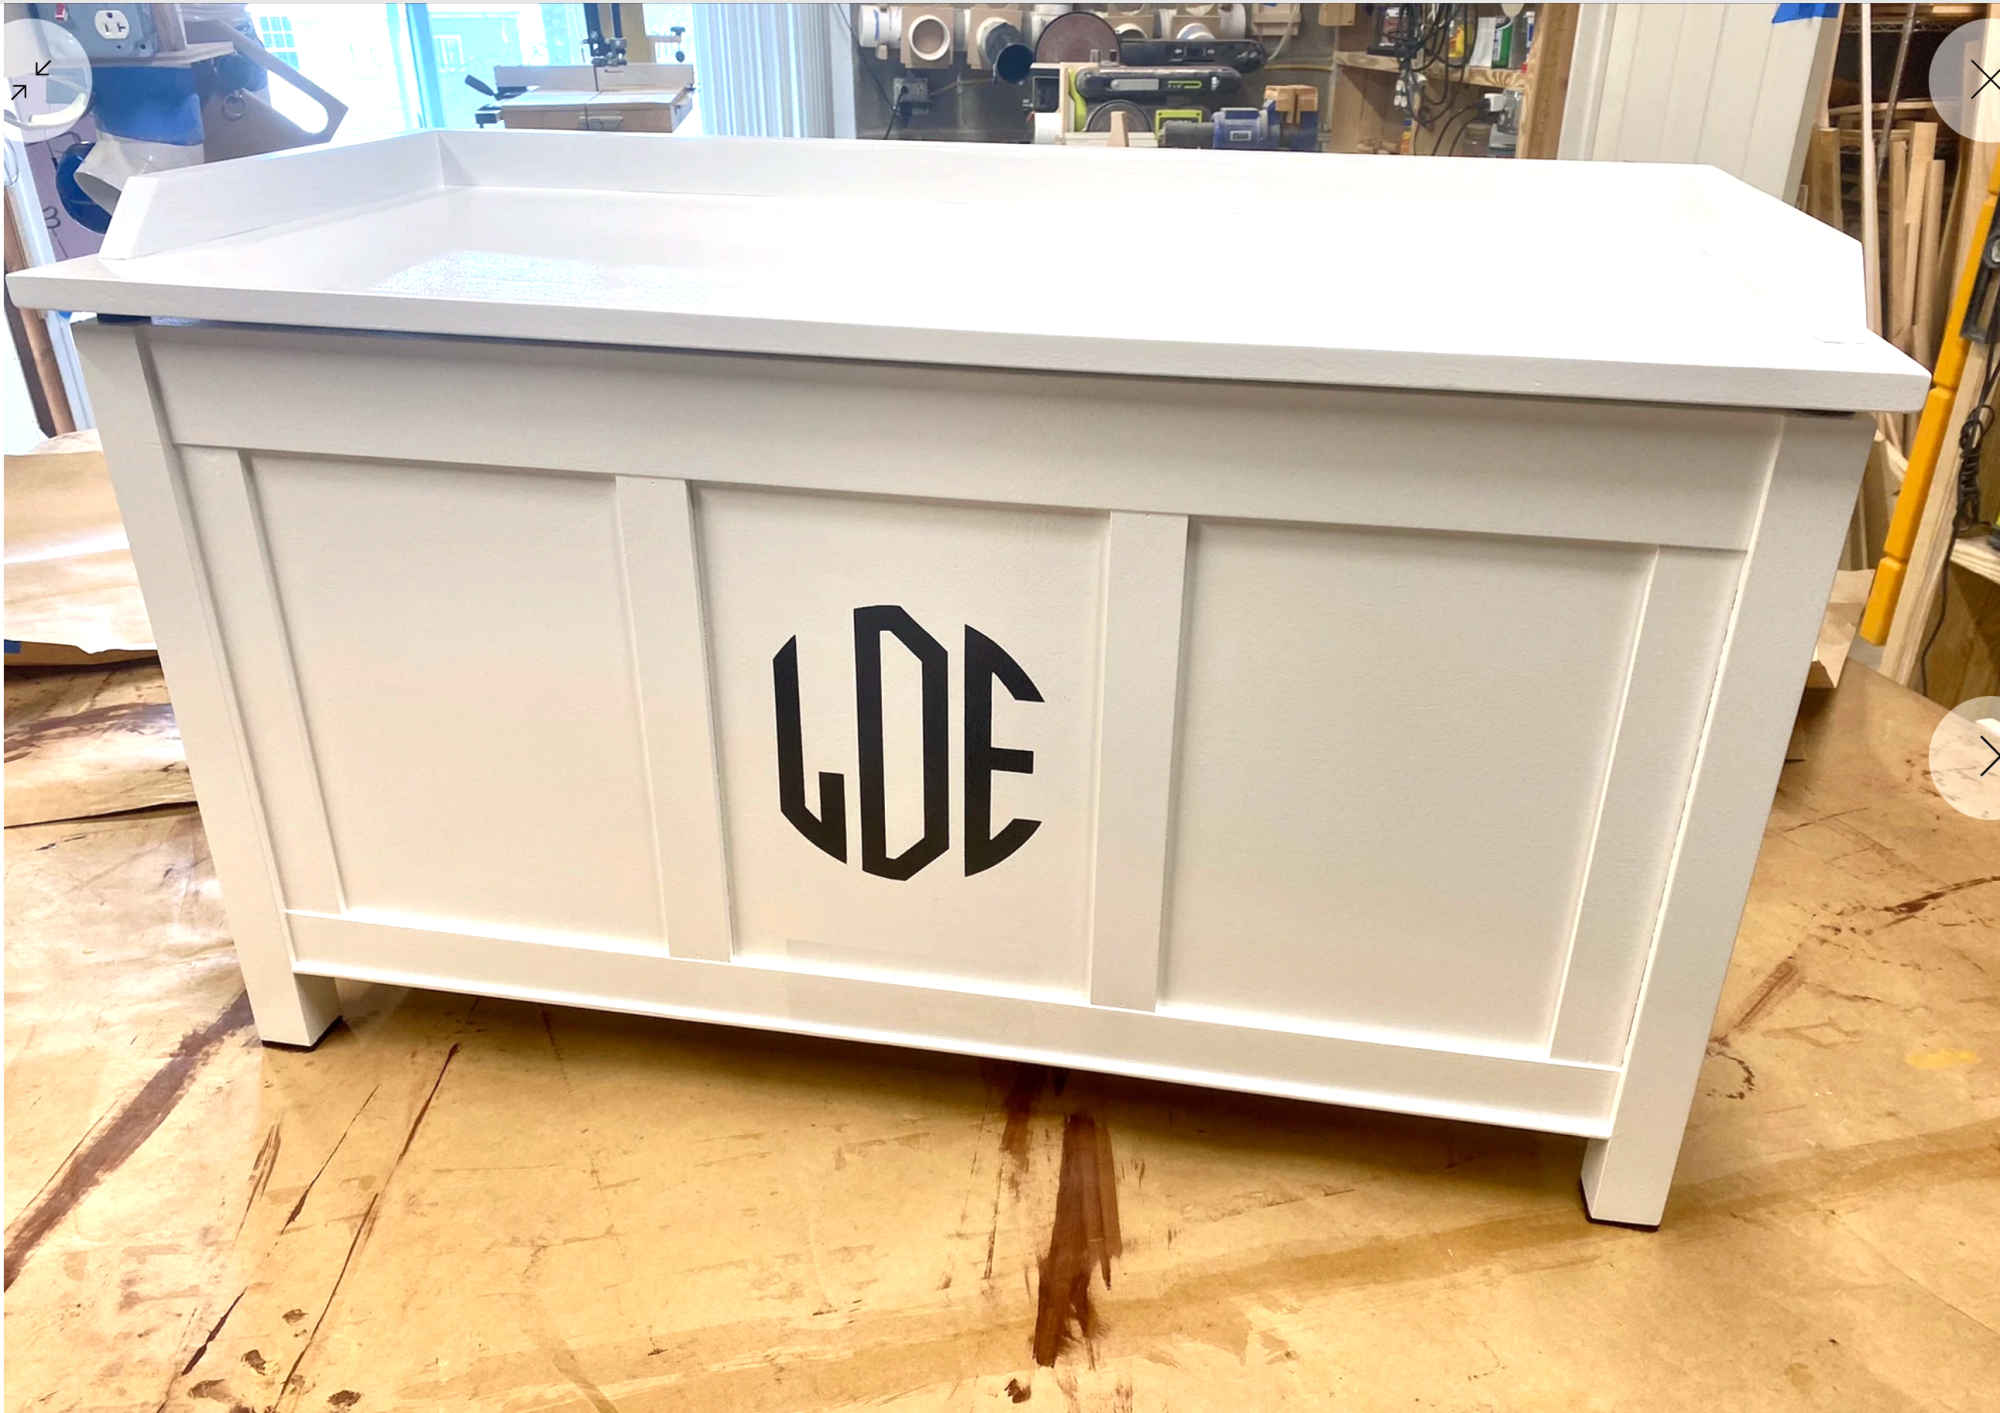
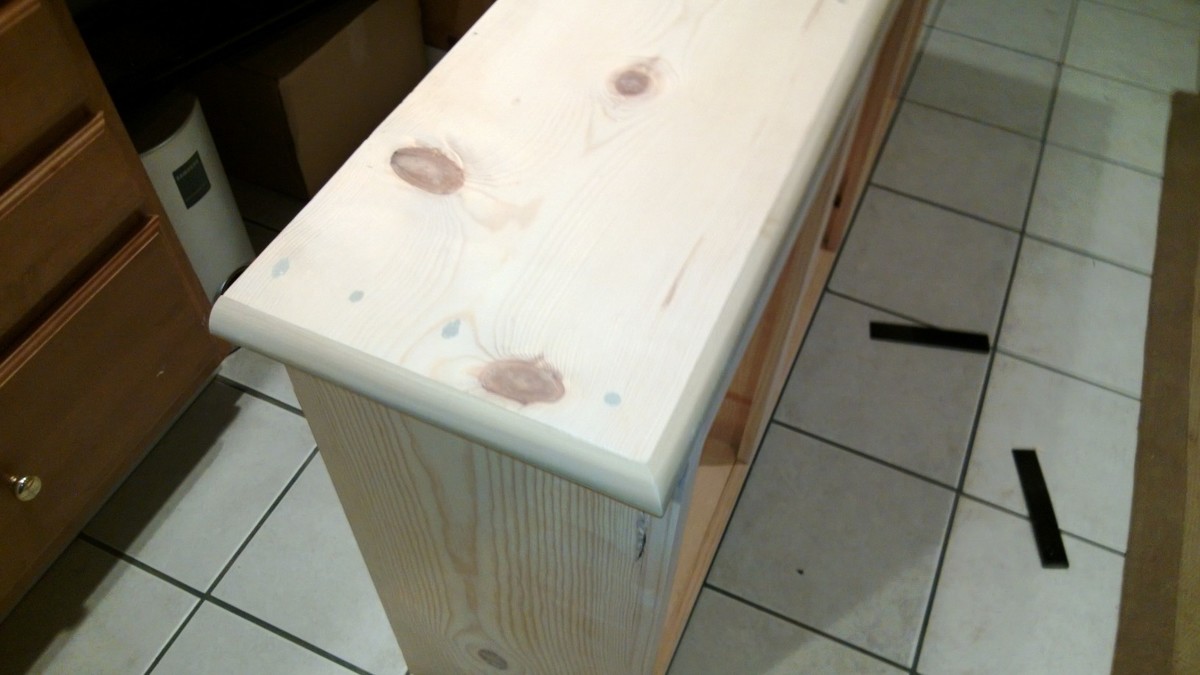
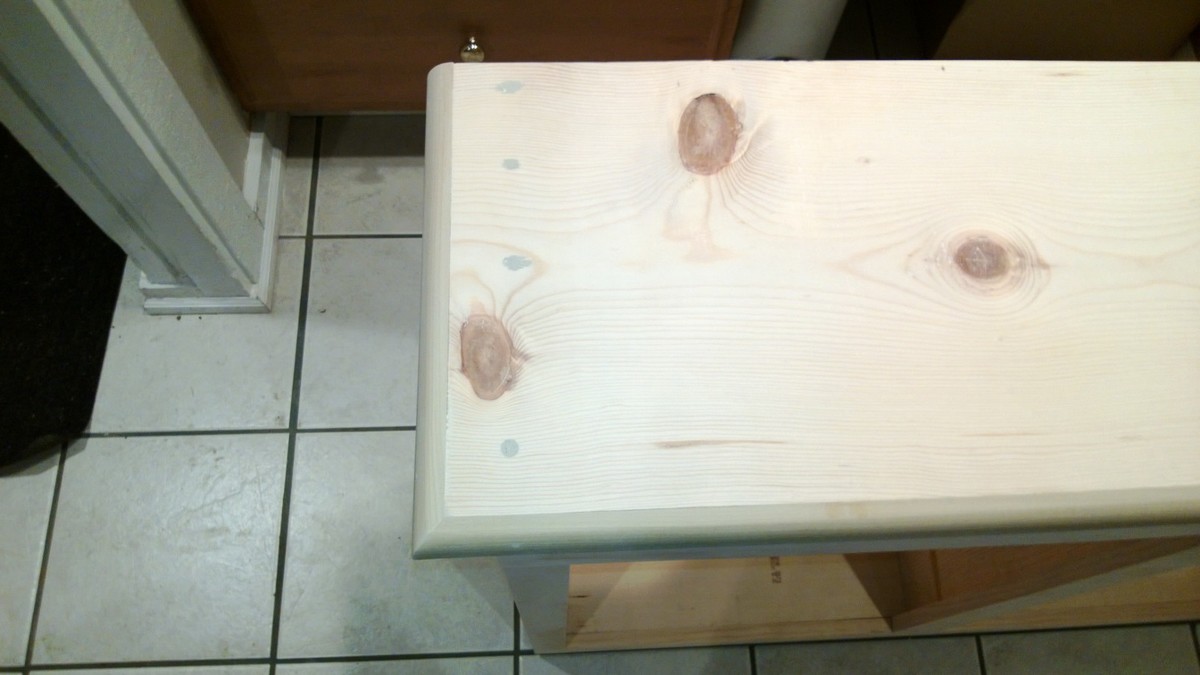
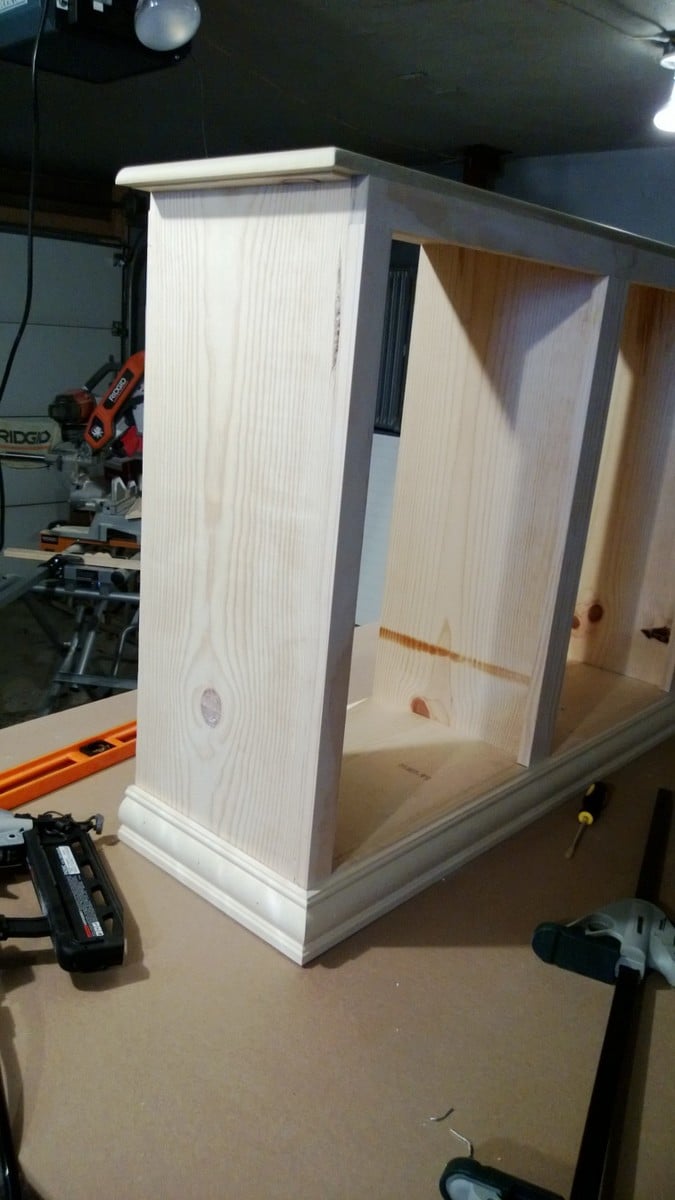
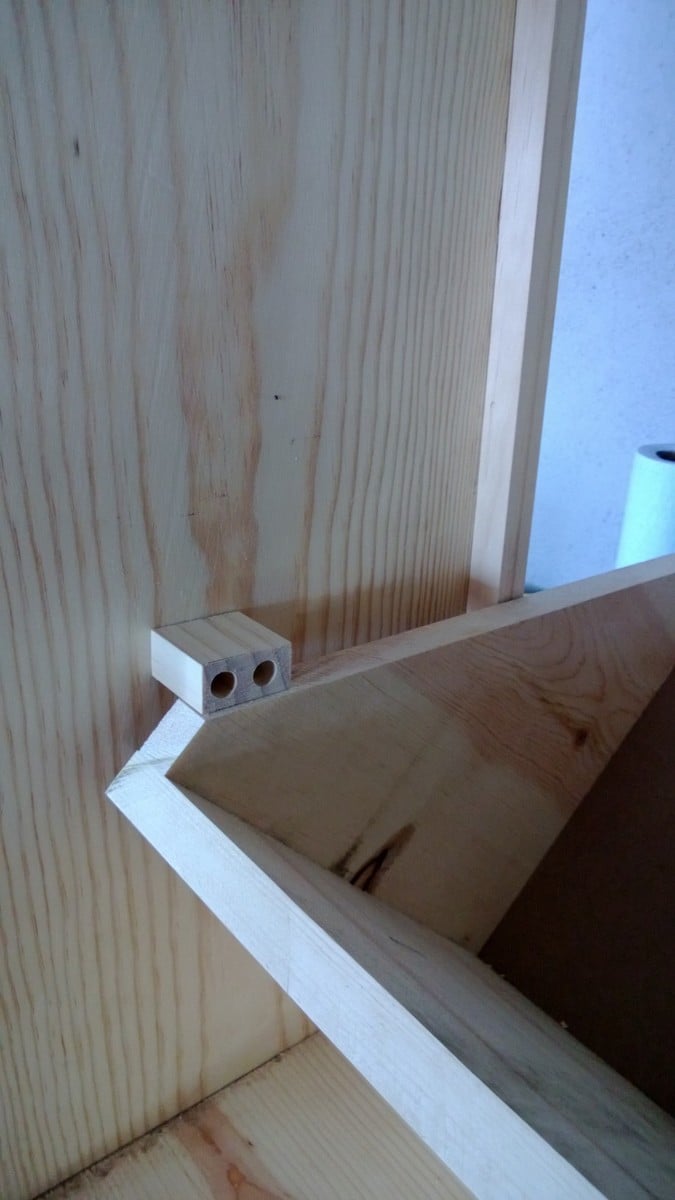
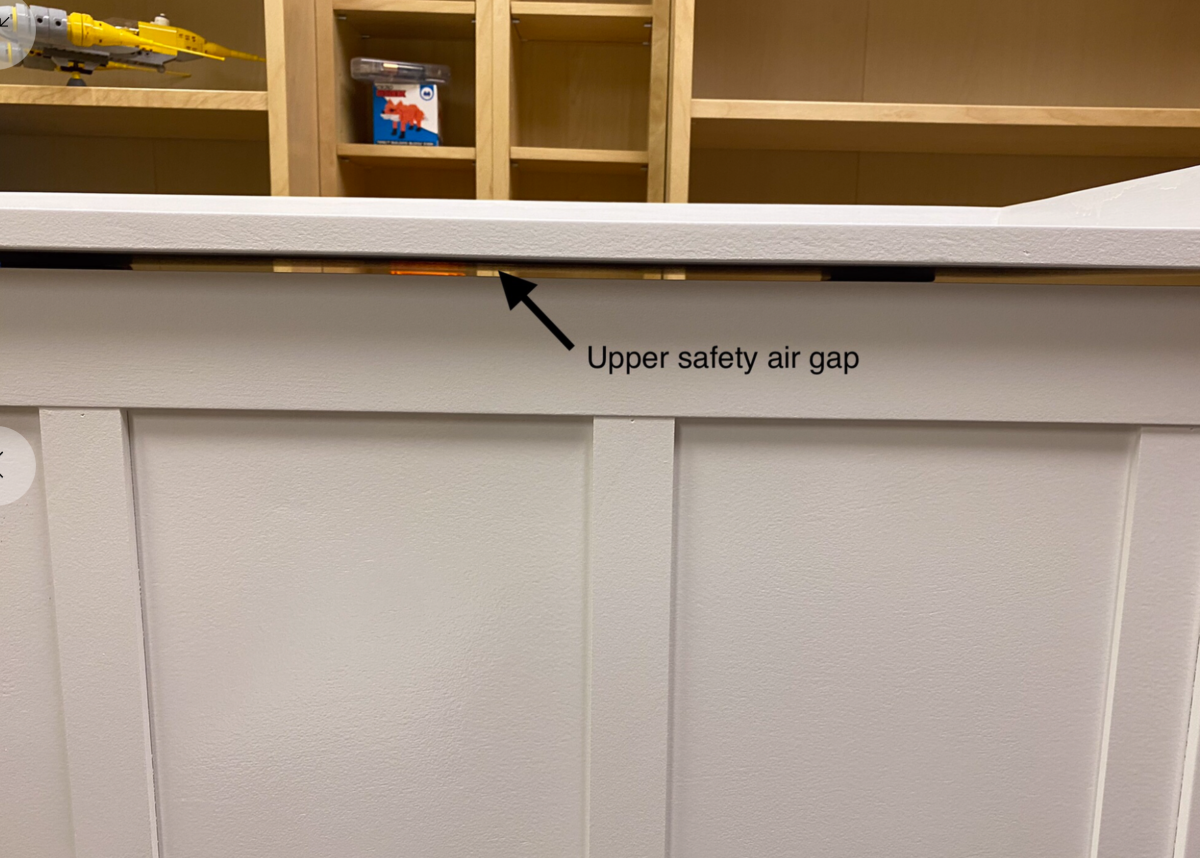
Dear Ana, thank you so much for your excellent plan! I have now made four of these toy boxes over the last eight years for my four granddaughters. Initially, I was tempted to modify your plan and make it out of thicker material such as three-quarter inch plywood instead of half inch plywood, but I decided in the end to stick with your plan and I’m very glad that I did. It is still just as strong and yet it is much lighter in weight this way and easy to move around, which happens quite a bit with toy boxes over time. I’m pretty sure these will be treated as heirlooms in my extended family for many years to come. - Chris Kairys, Franklin Park, Pennsylvania. RetiredWoodworker.com.
Built from Plan(s)
Seasonal And Holiday