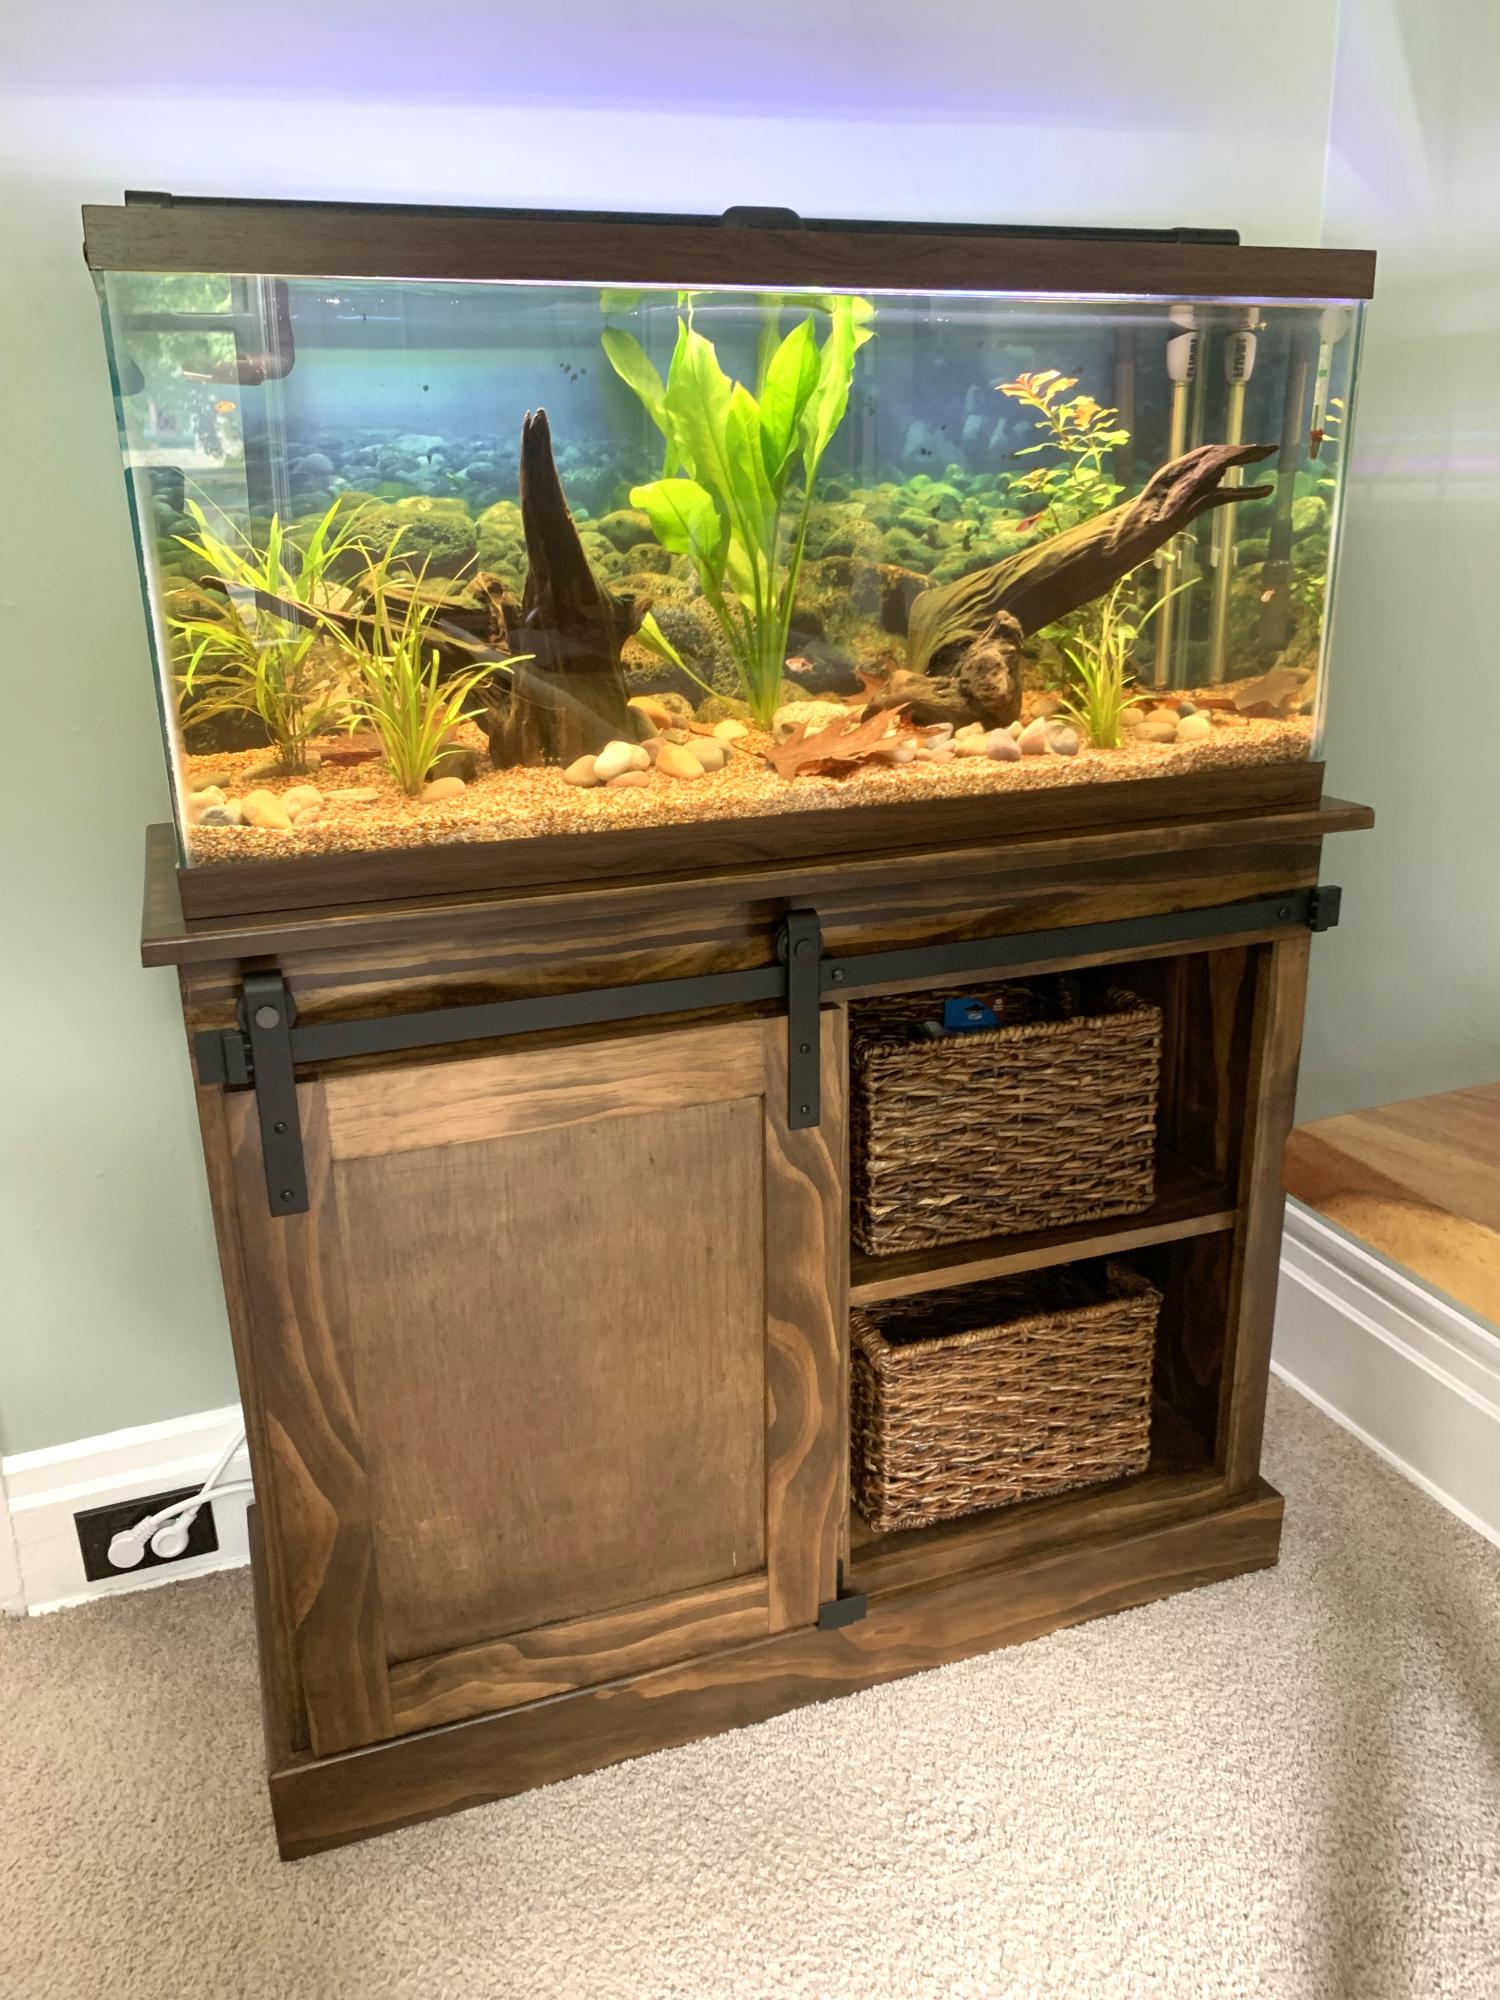
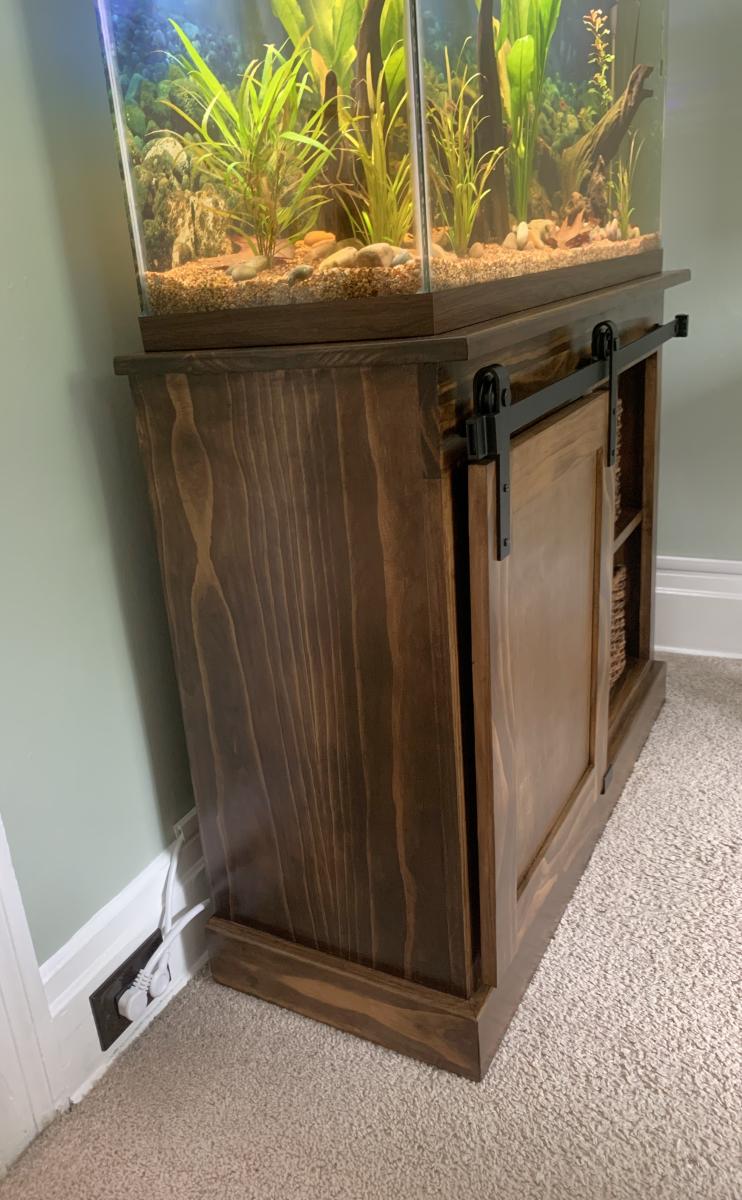
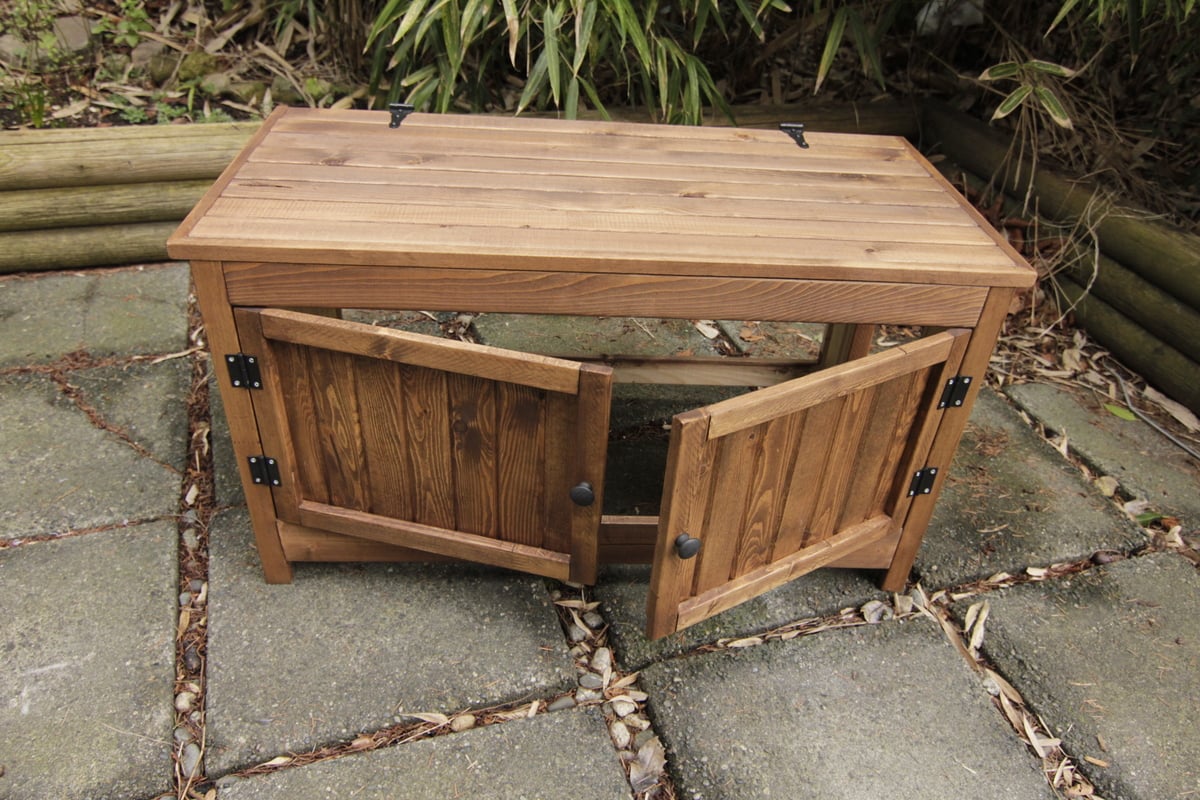
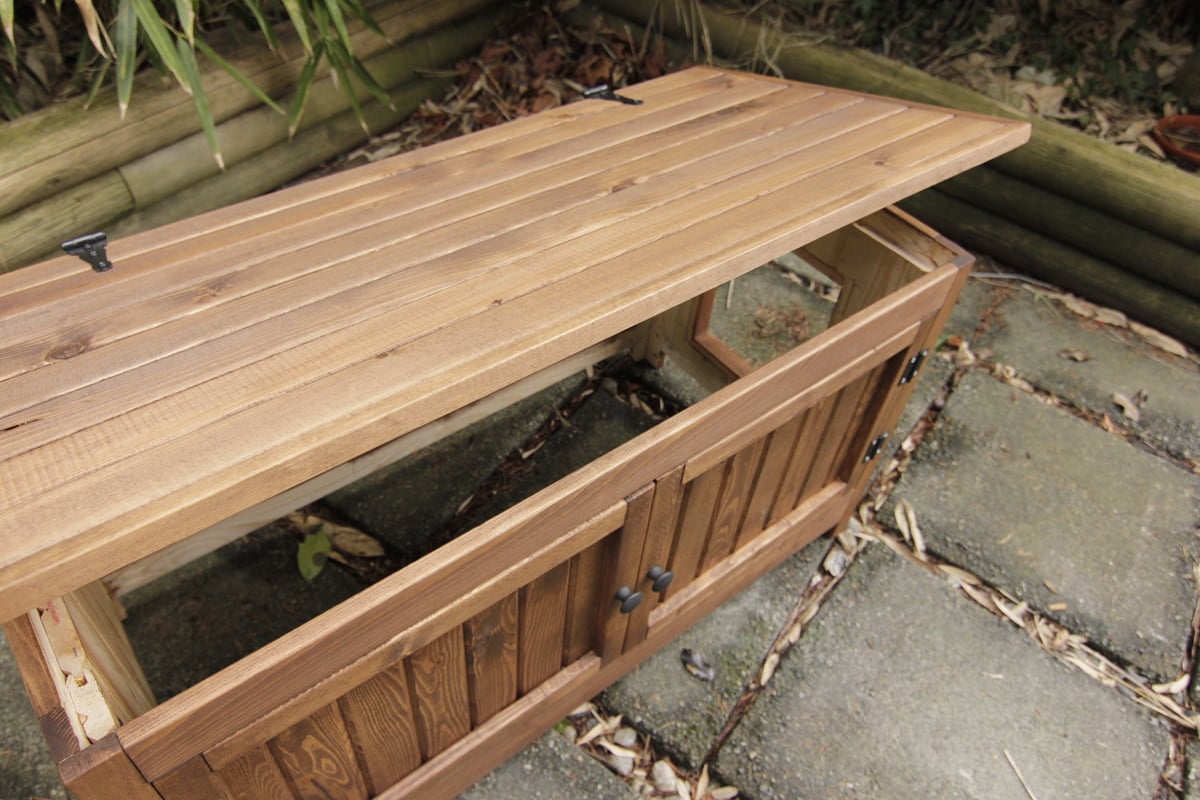
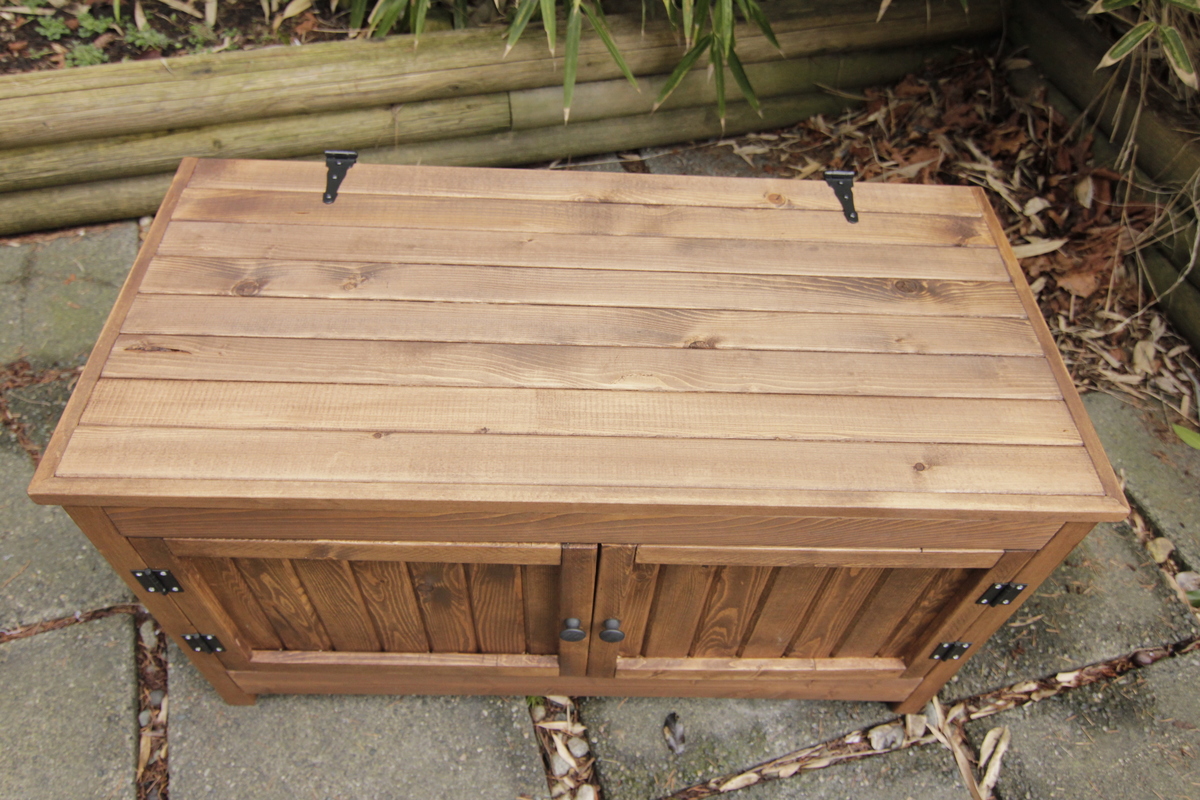
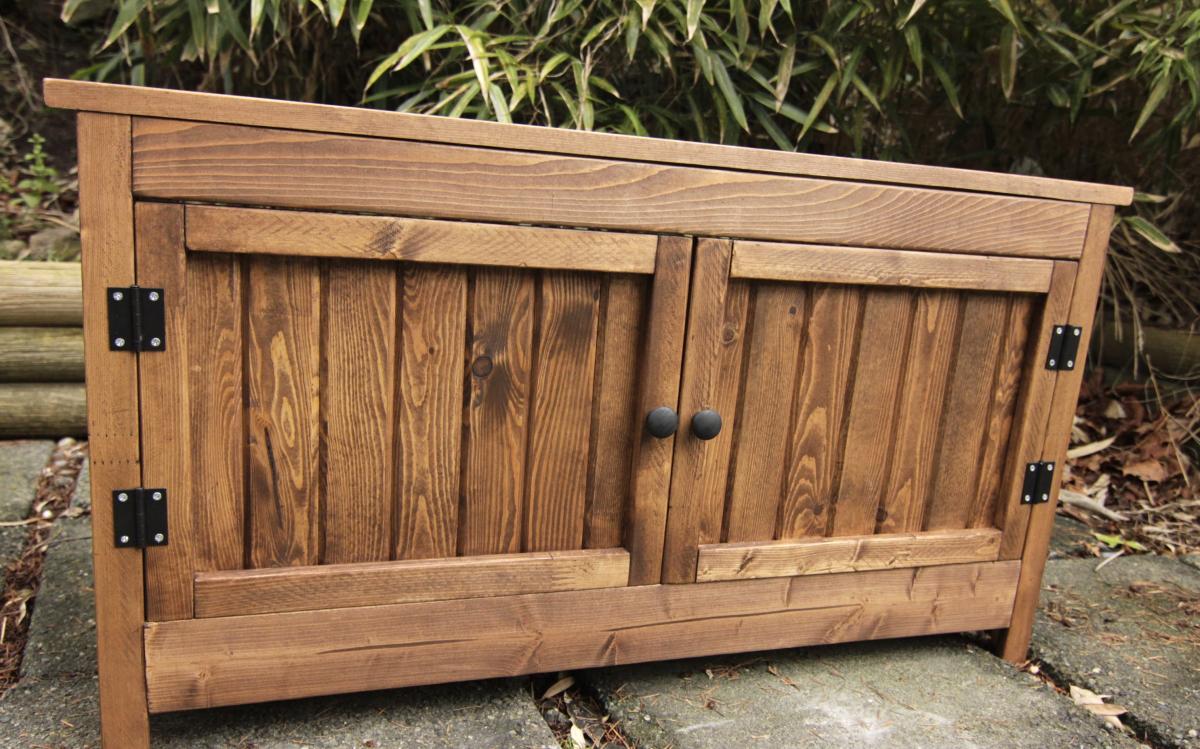
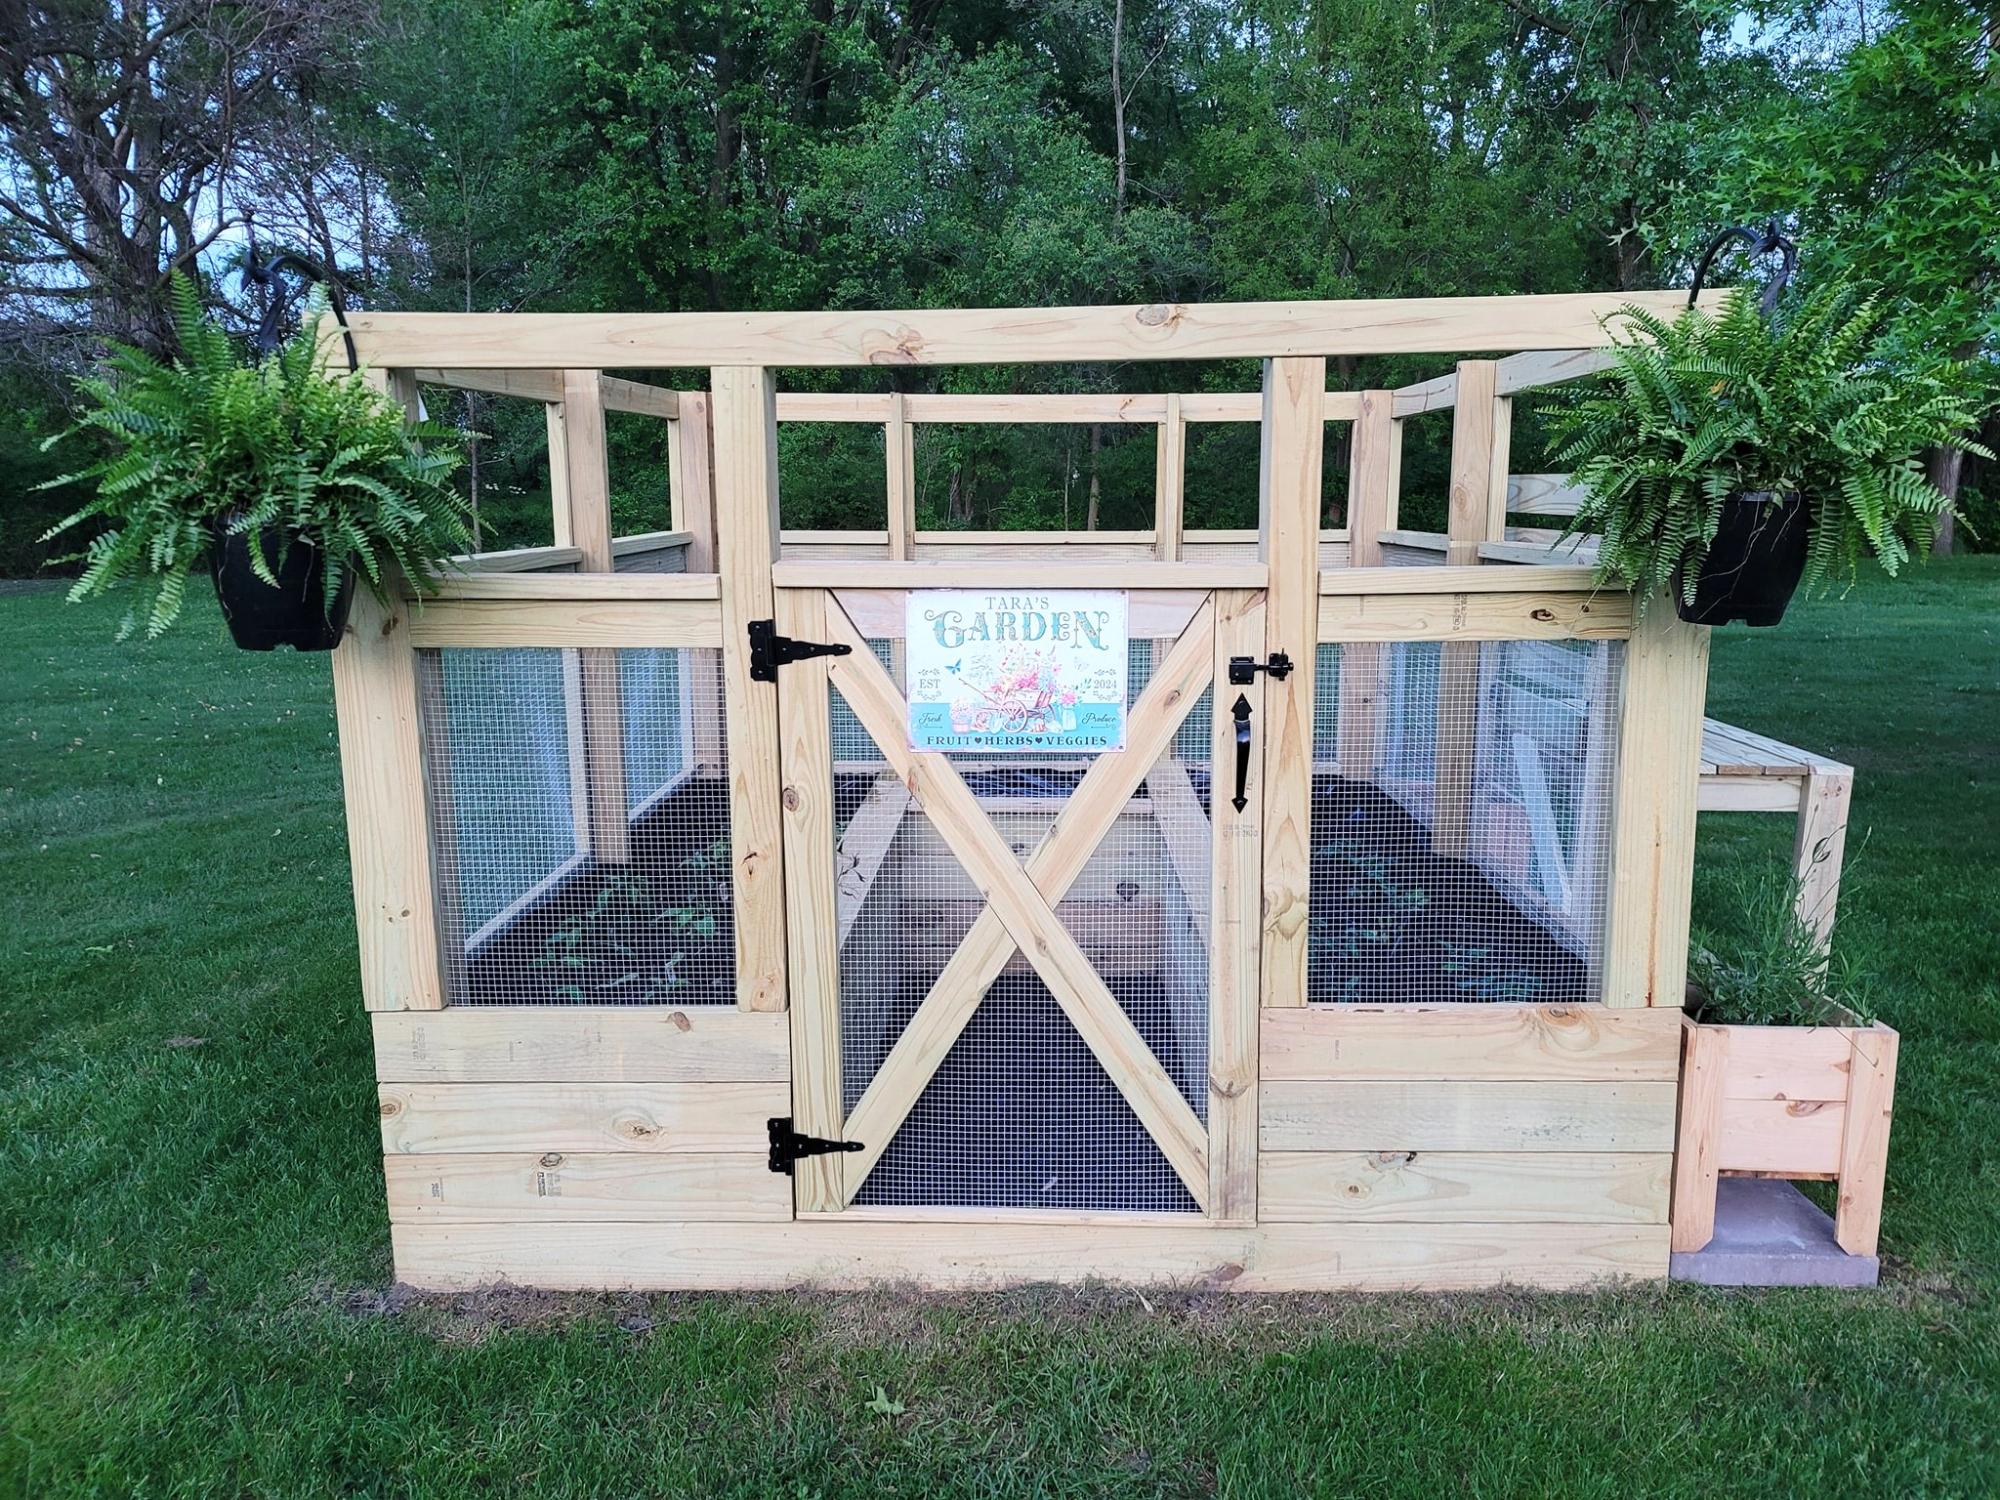
Washer & Dryer Pedestal
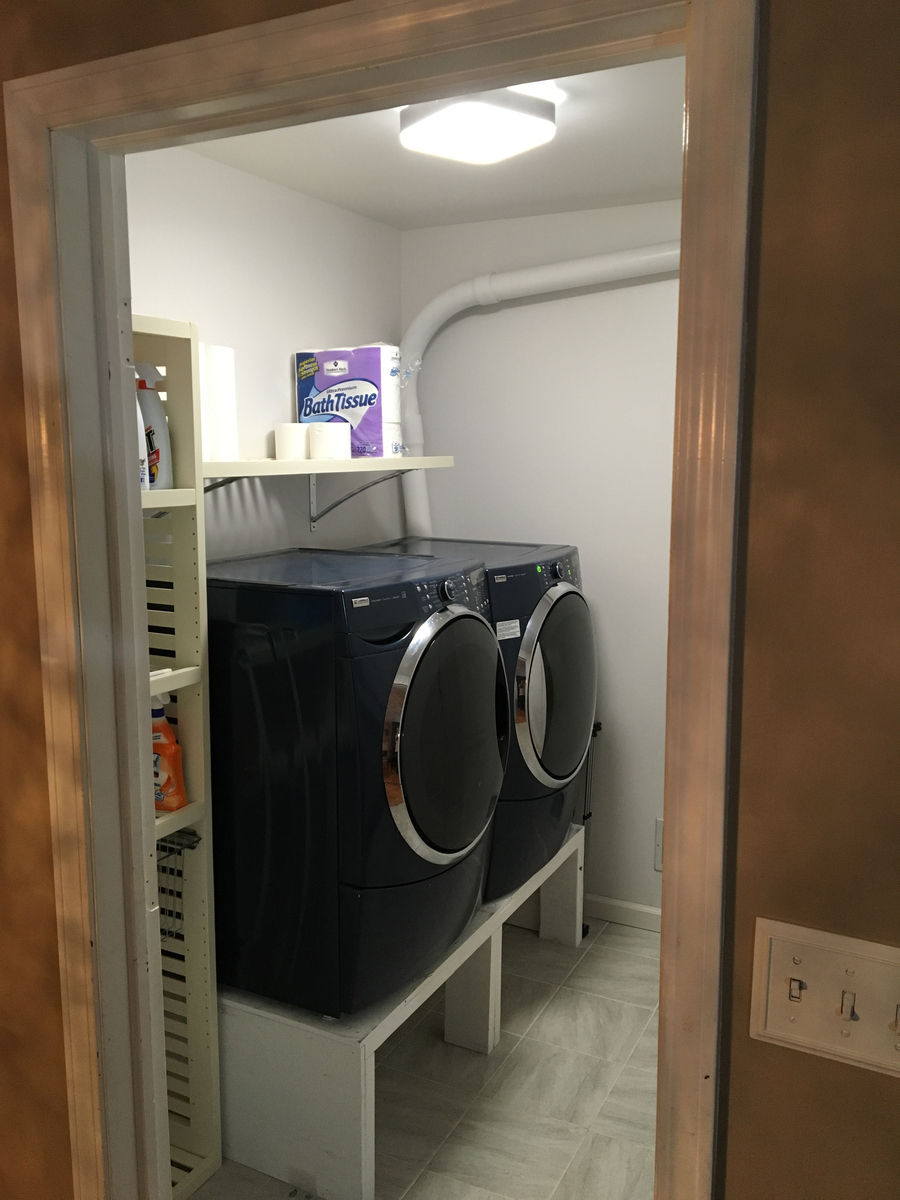
Thank you dmccoy!! Washer & Dryer Pedestal / Platform with Drawer
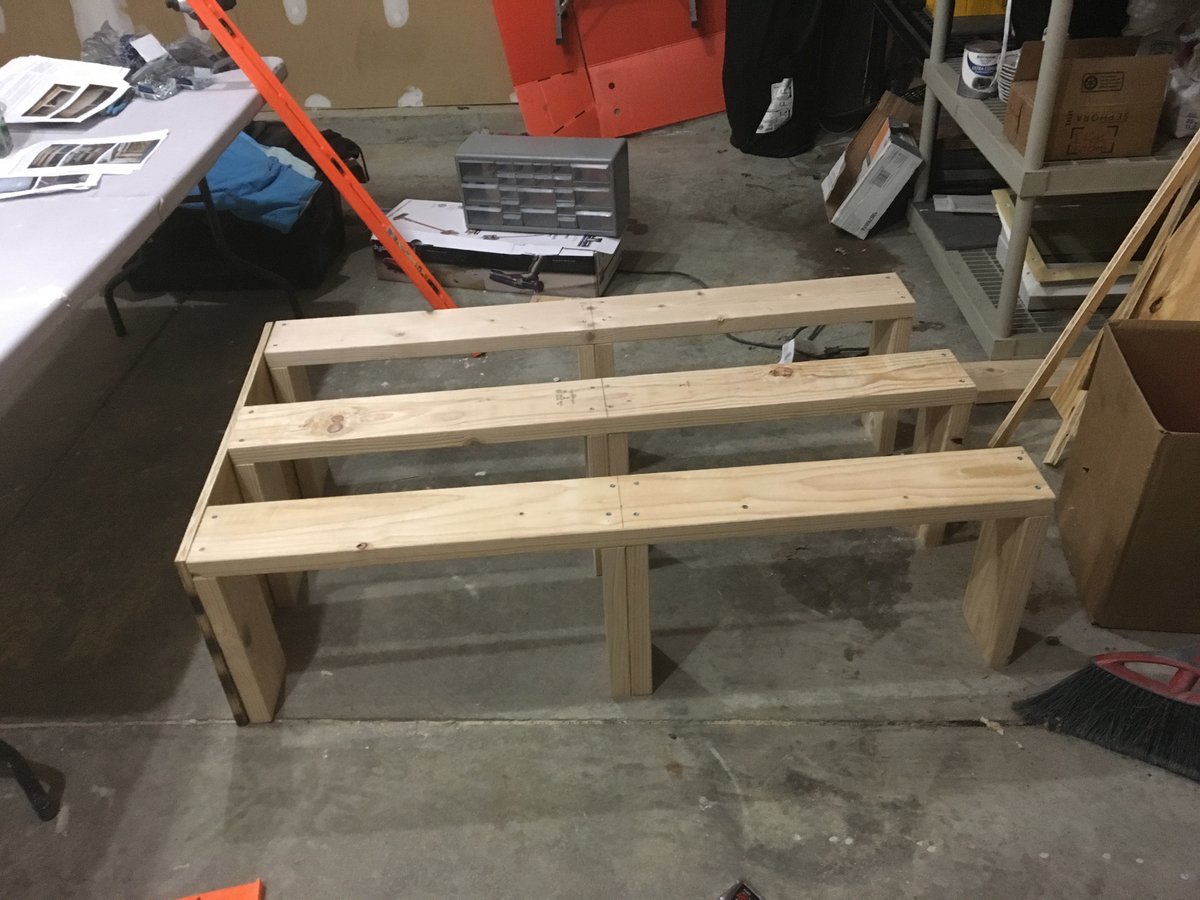
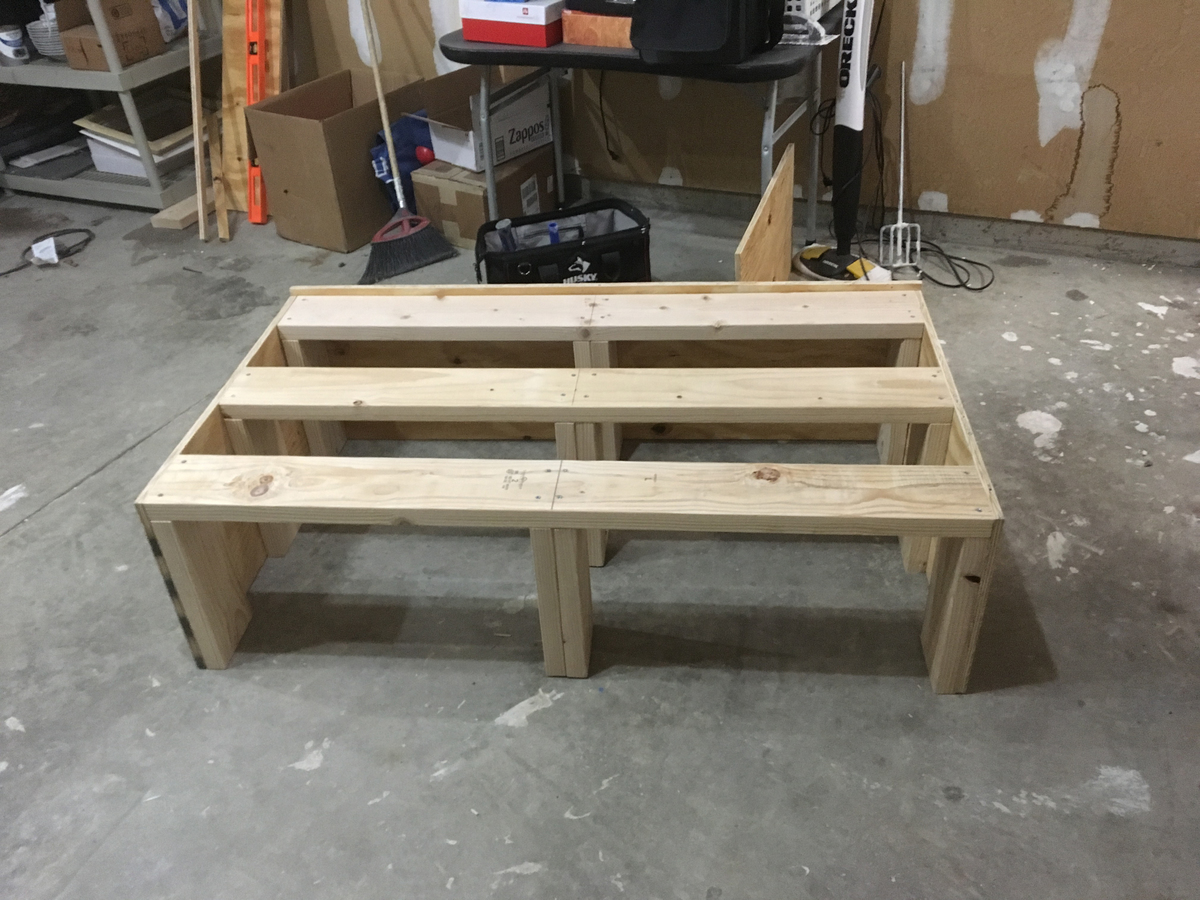
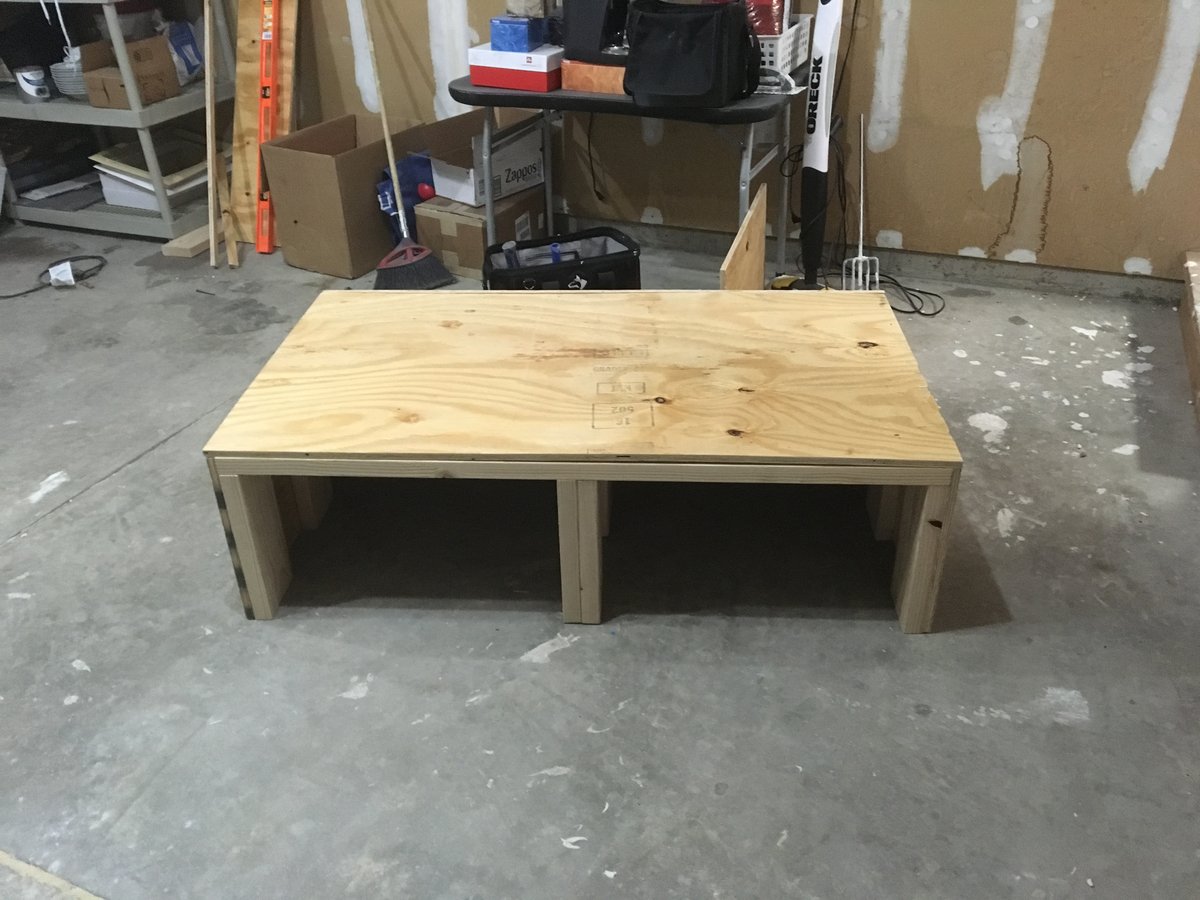
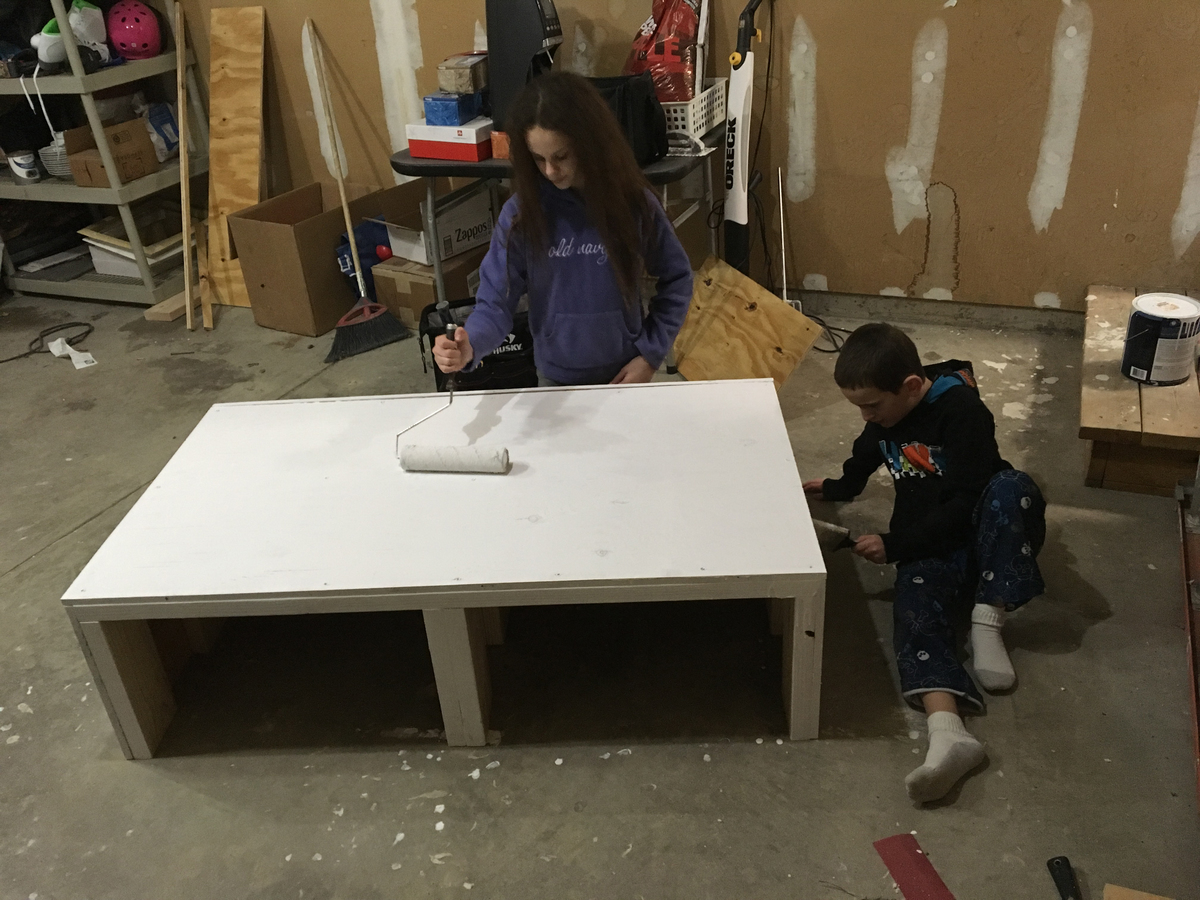
Followed your plan and these came out sturdy and solid.
I adjusted it to 55 inches to fit my smaller space and decided to not build the drawers.
So simple to put together and saved over $400
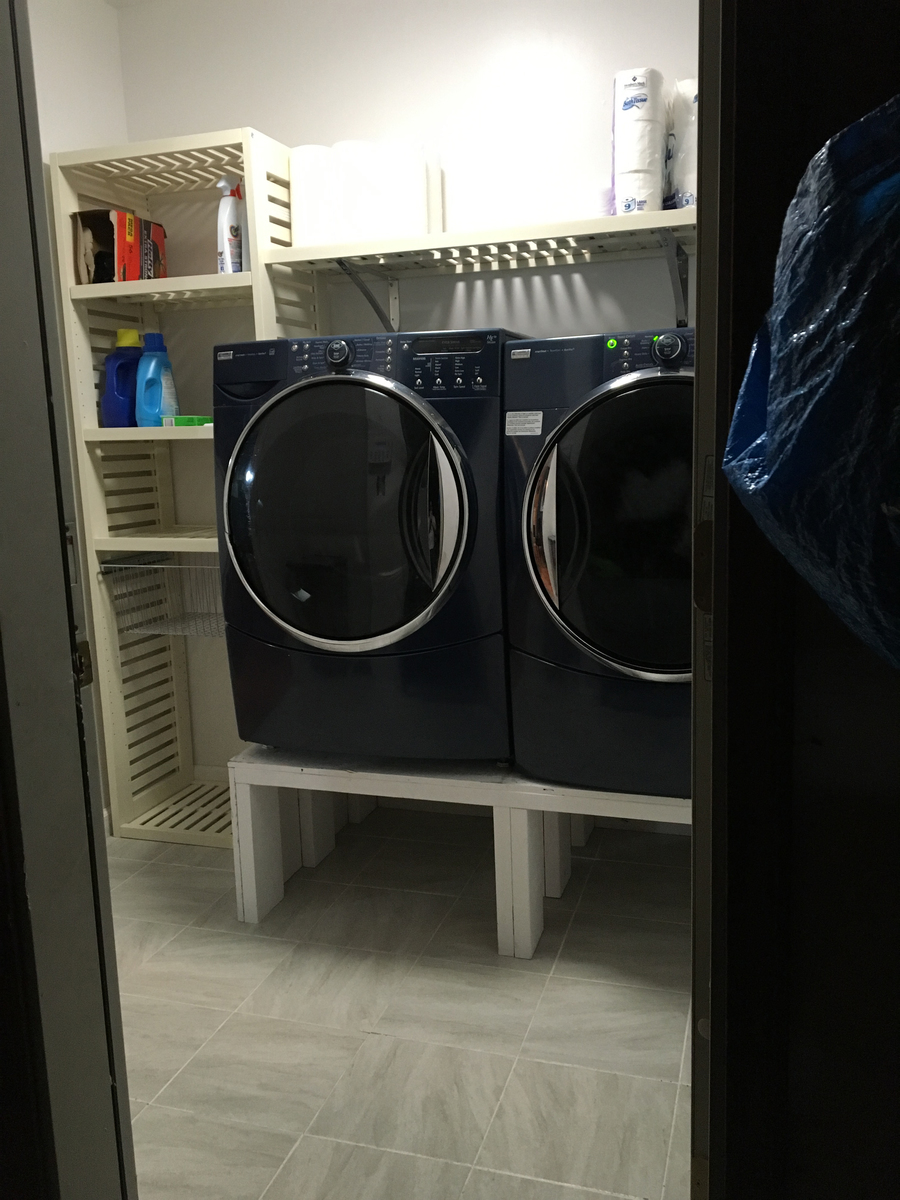
Built from Plan(s)
Estimated Cost
About $100
2X6 wood, plywood, screws
I had extra paint in the garage
2X6 wood, plywood, screws
I had extra paint in the garage
Estimated Time Investment
Afternoon Project (3-6 Hours)
Recommended Skill Level
Beginner