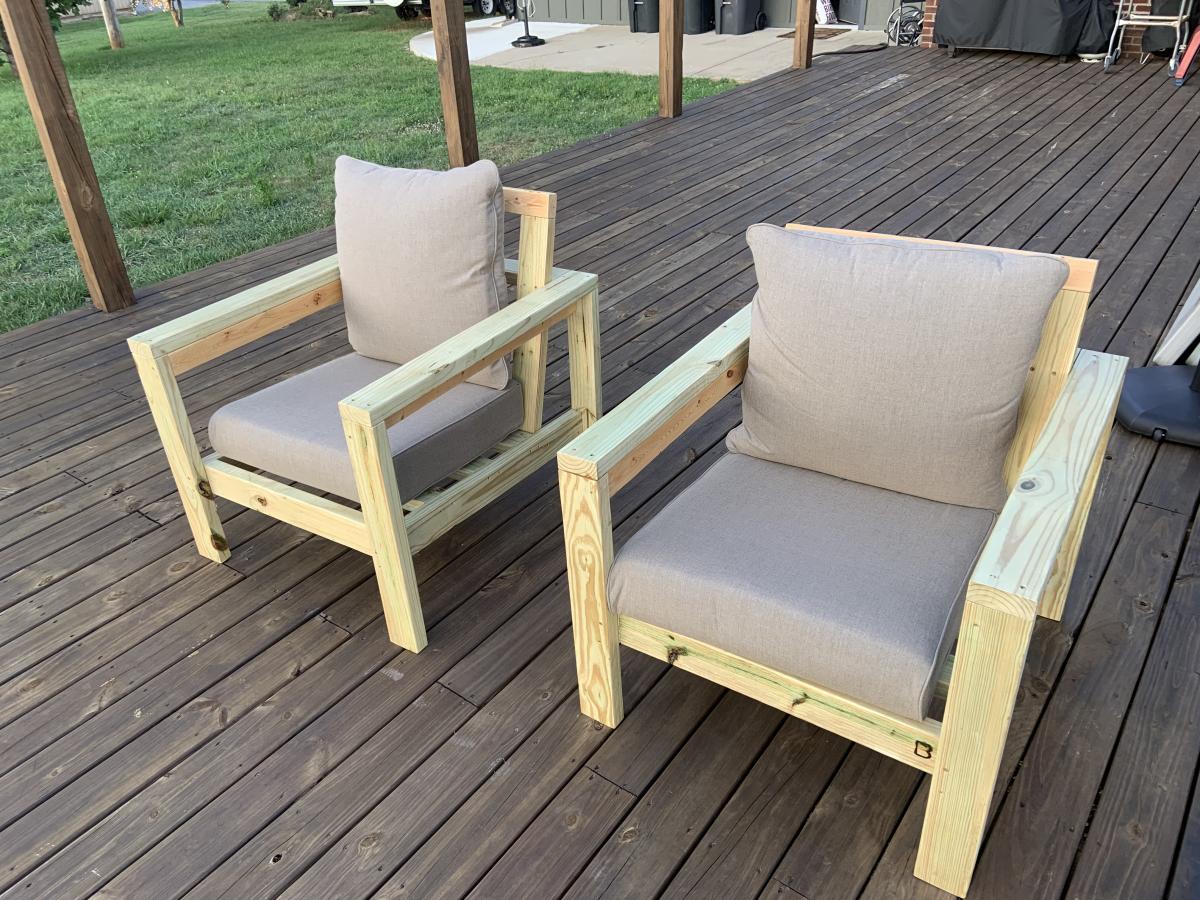
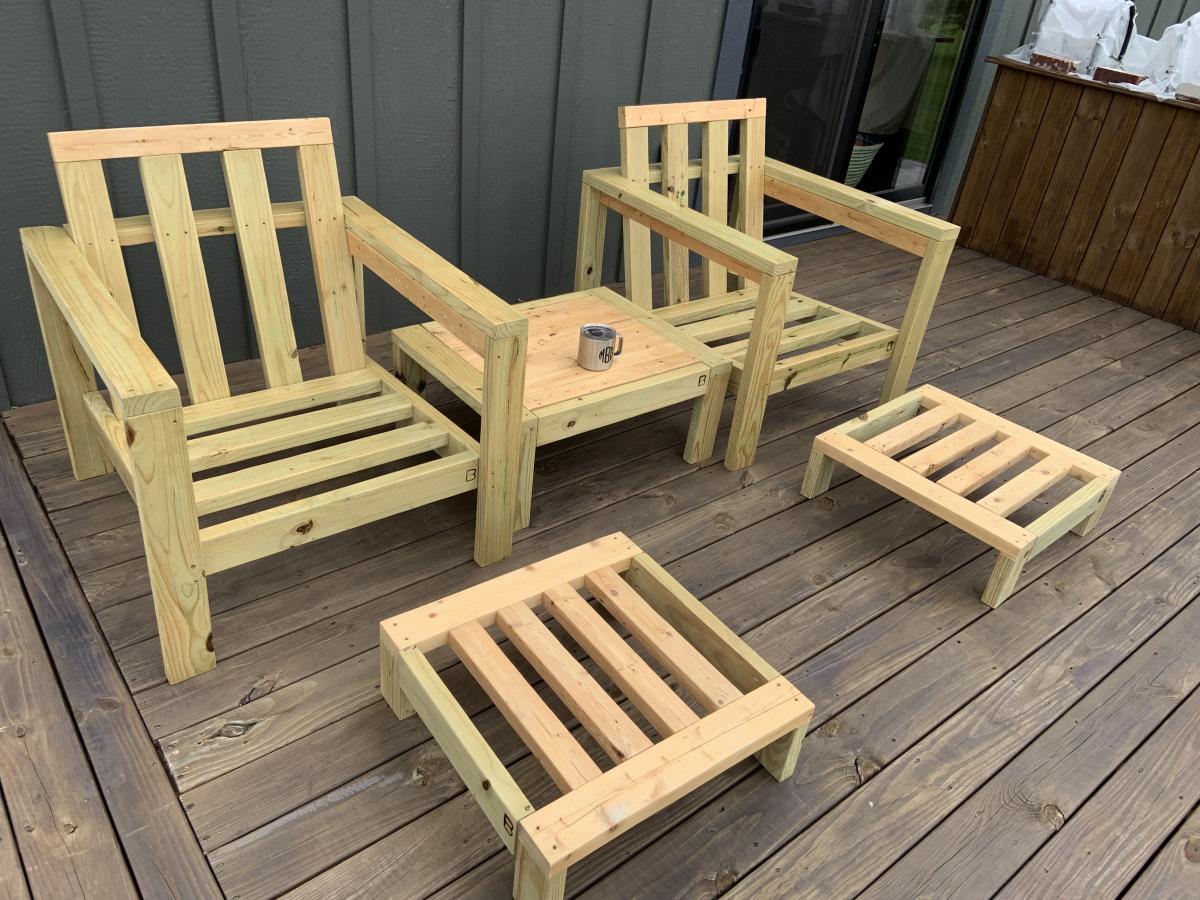
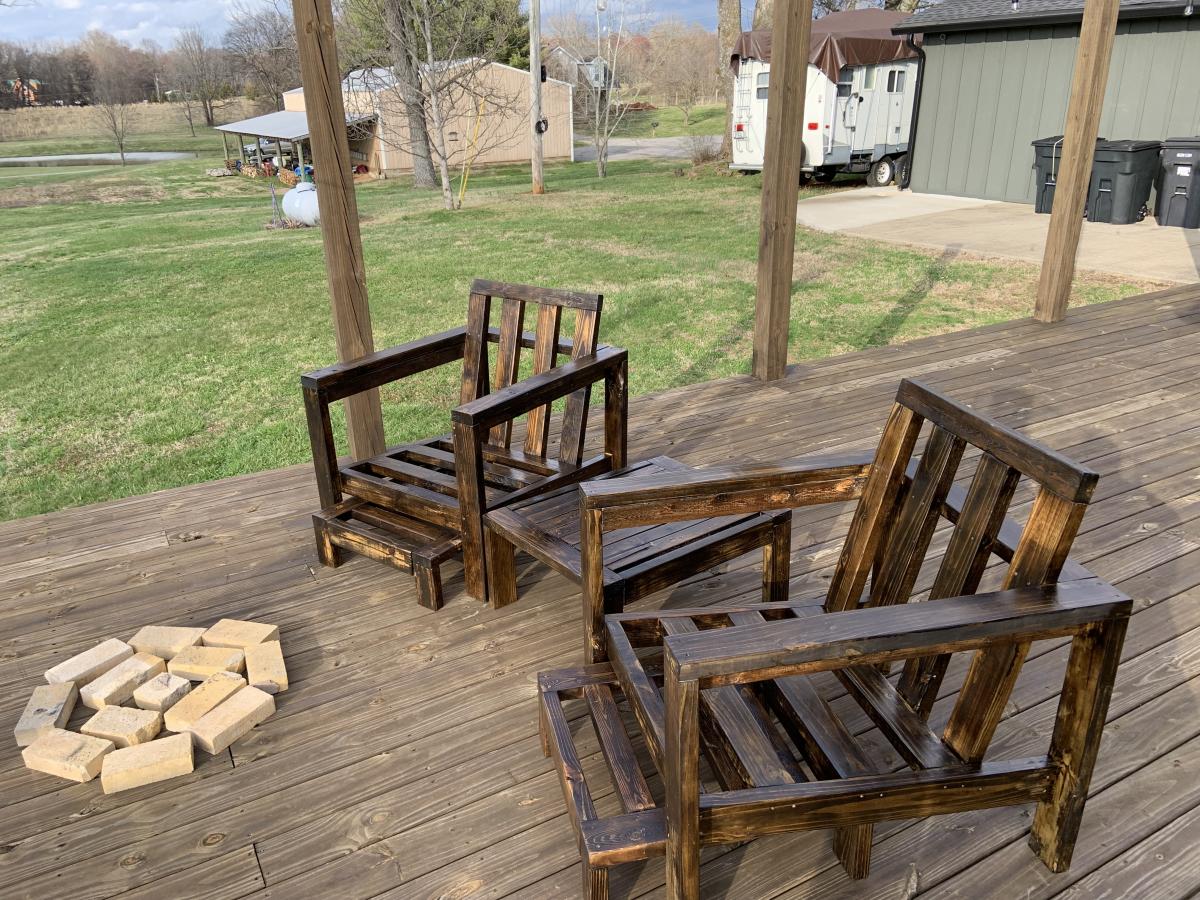
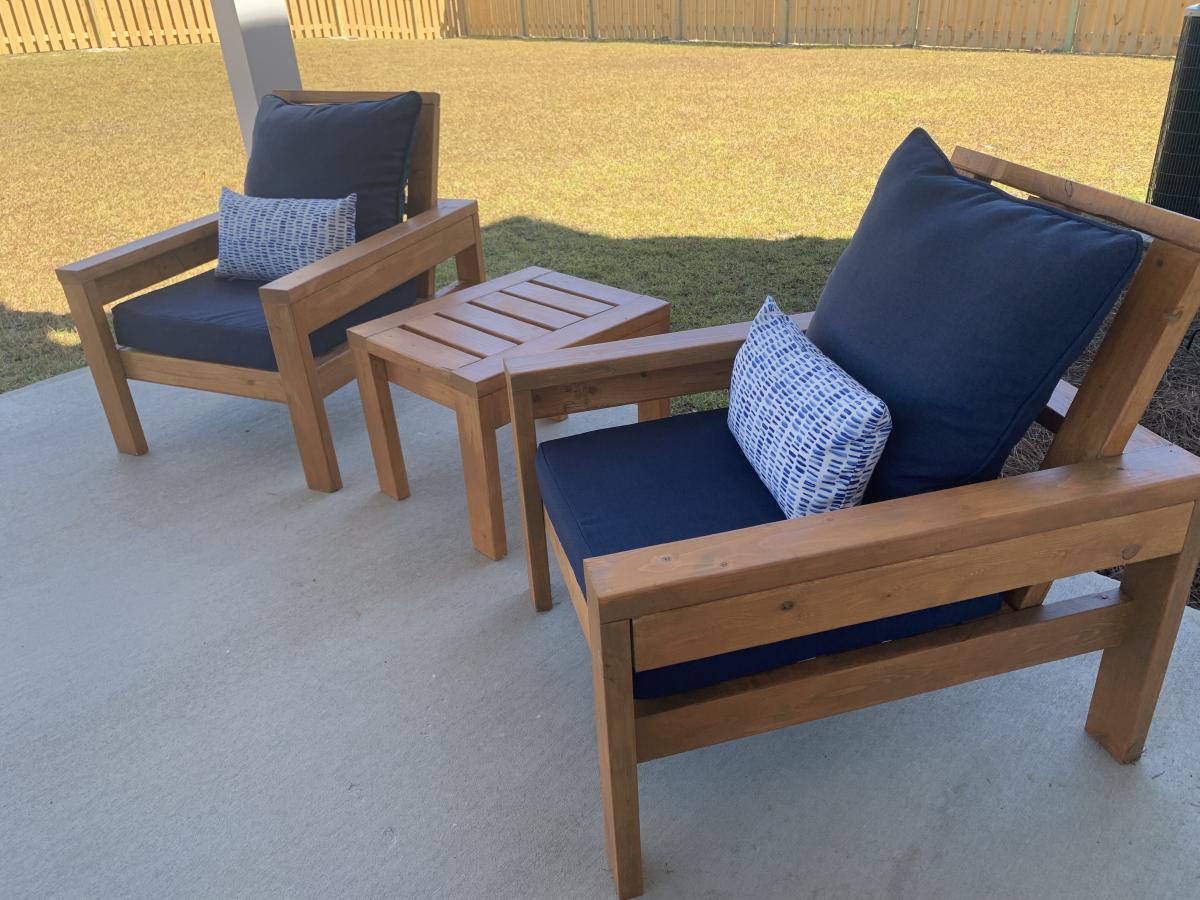
Deck Chairs

I made a couple of additions/modifications
I also made a couple of side tables and foot stools for the chairs. A total of four chairs, two tables and two foot stools for the deck set.


Built from Plan(s)
I made a couple of additions/modifications
I also made a couple of side tables and foot stools for the chairs. A total of four chairs, two tables and two foot stools for the deck set.
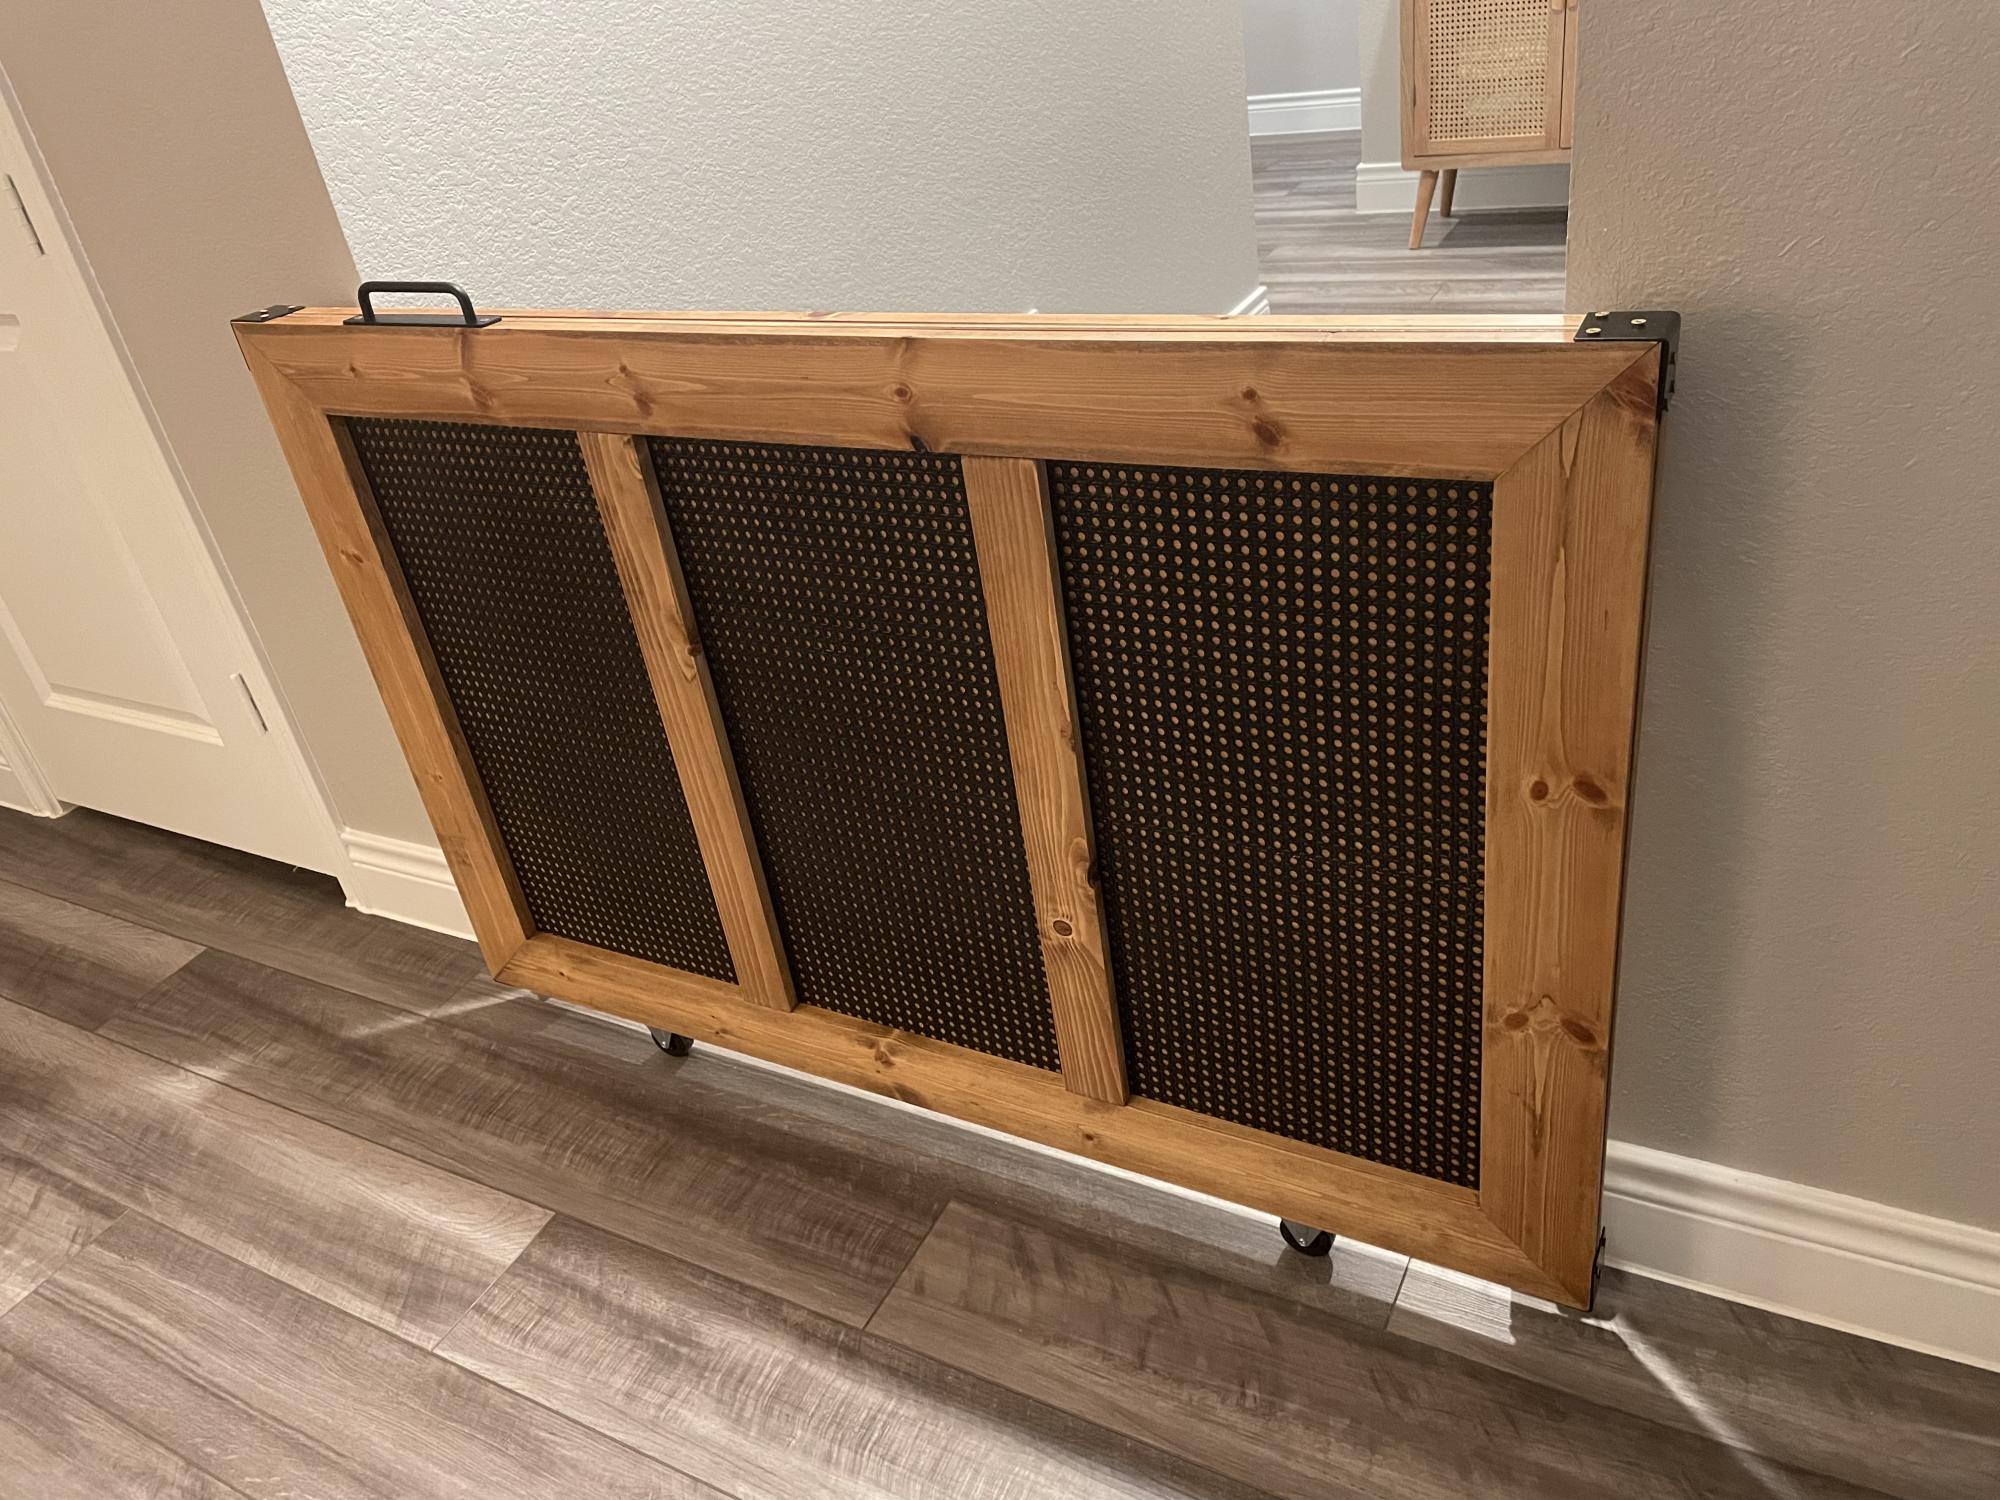
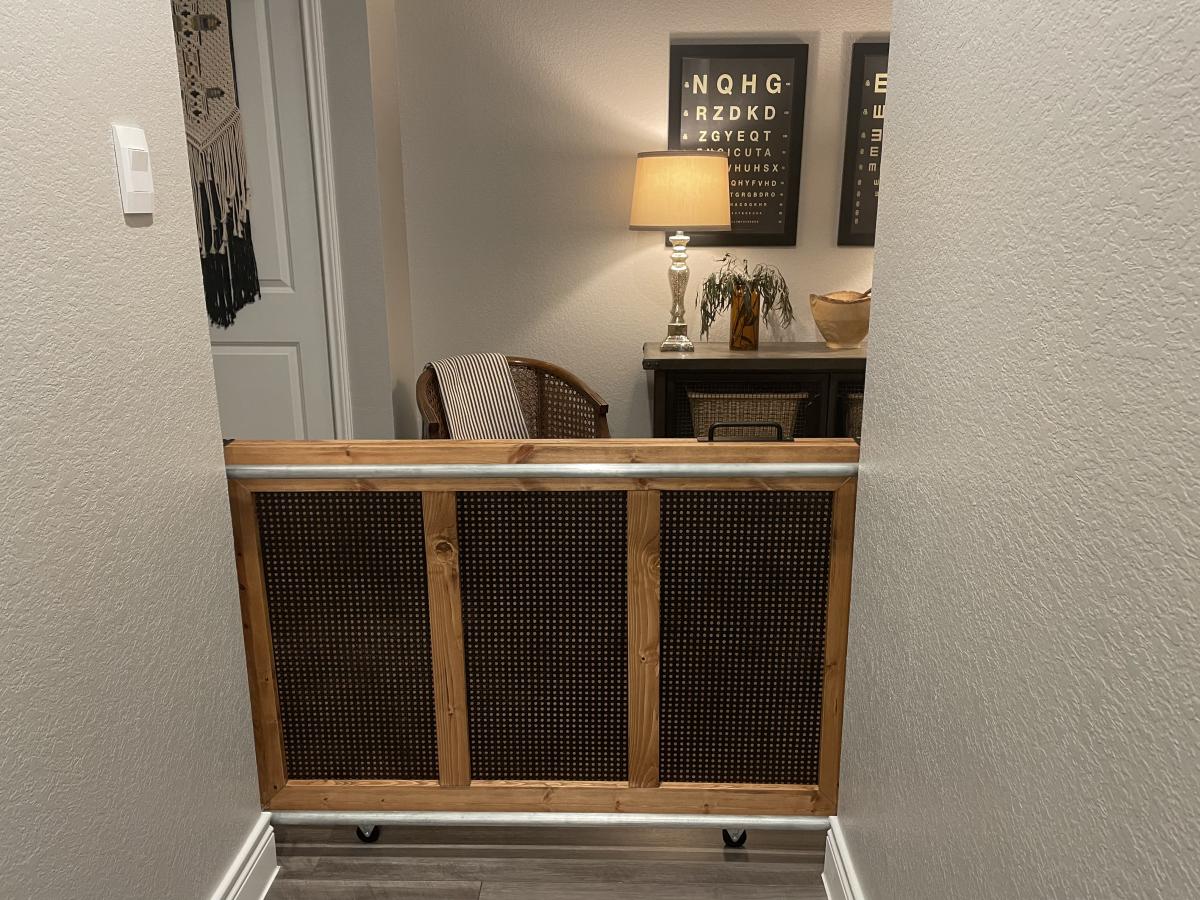
We desperately needed a gate to keep our pets from accessing the rooms, with carpet, in our new home. We originally thought about building a full barn door but, the security system was in the way and it wouldn’t have allowed the light to pass through to our dark entryway anyway. We definitely wanted to steer away from the “barn door looking” gate we did at our last home and wanted to try something more timeless with the sprayed, black caning. We have a very eclectic style. Very vintage industrial, MCM, with pops of RH glam and a touch of BOHO. Sounds confusing but, I needed this gate to take the pressure off of trends we didn’t quite fit in and be easy to use for my teenager. The gate leads to her bed/bath and the guest rooms. The mechanism is not my design but, it’s brilliant, especially for the industrial element to our home. Took me close to 4 days from start to finish. Lost my Kreg jig in our move and was so thankful to a stranger-neighbor that willingly let me borrow his on the curiosity of what exactly I was building. NGL, it felt pretty good when he said how impressed he was with the build. 💞
Tue, 02/28/2023 - 07:16
This looks superb, thank you so much for sharing your super cool gate!
Wed, 09/18/2024 - 09:37
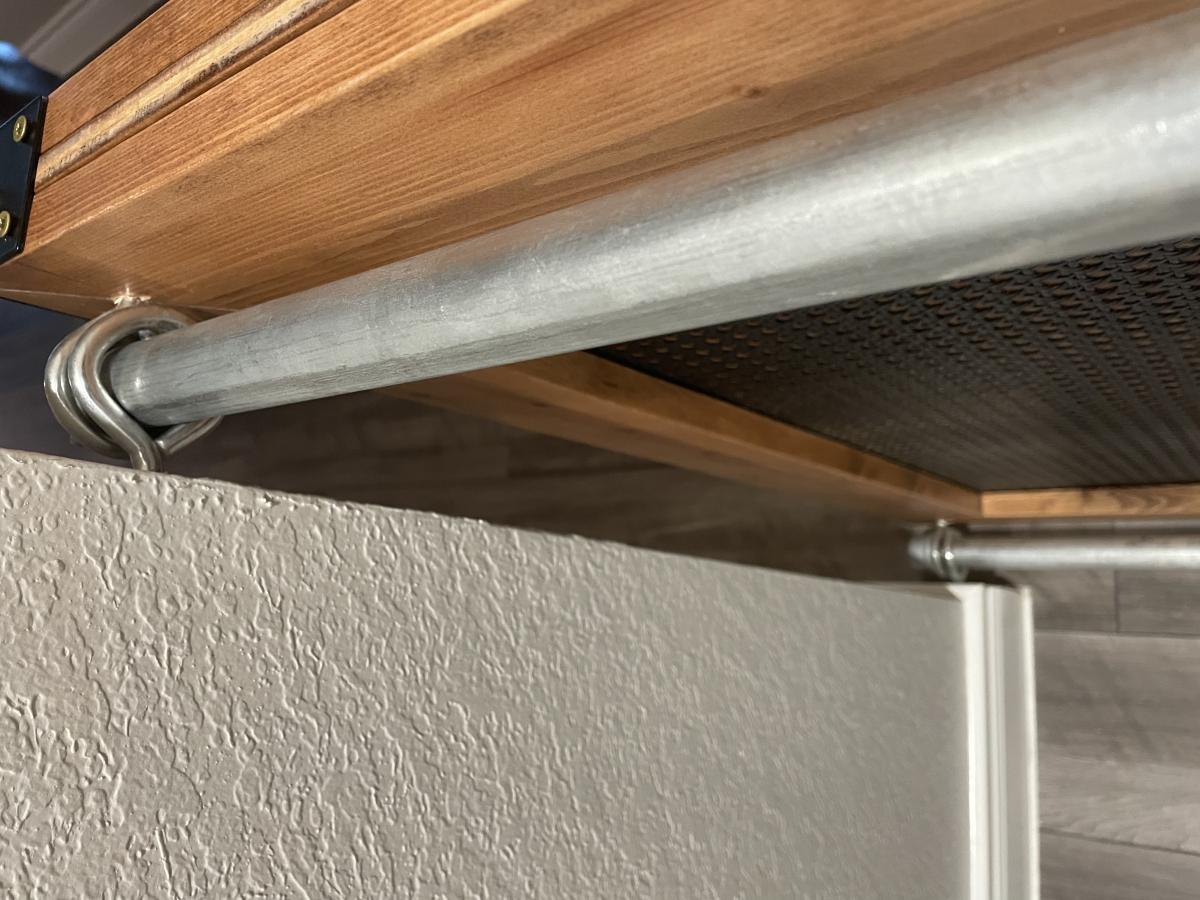
Hi! Can you show or tell me more about the mechanism? What does it look like on the other side? How has it held up?
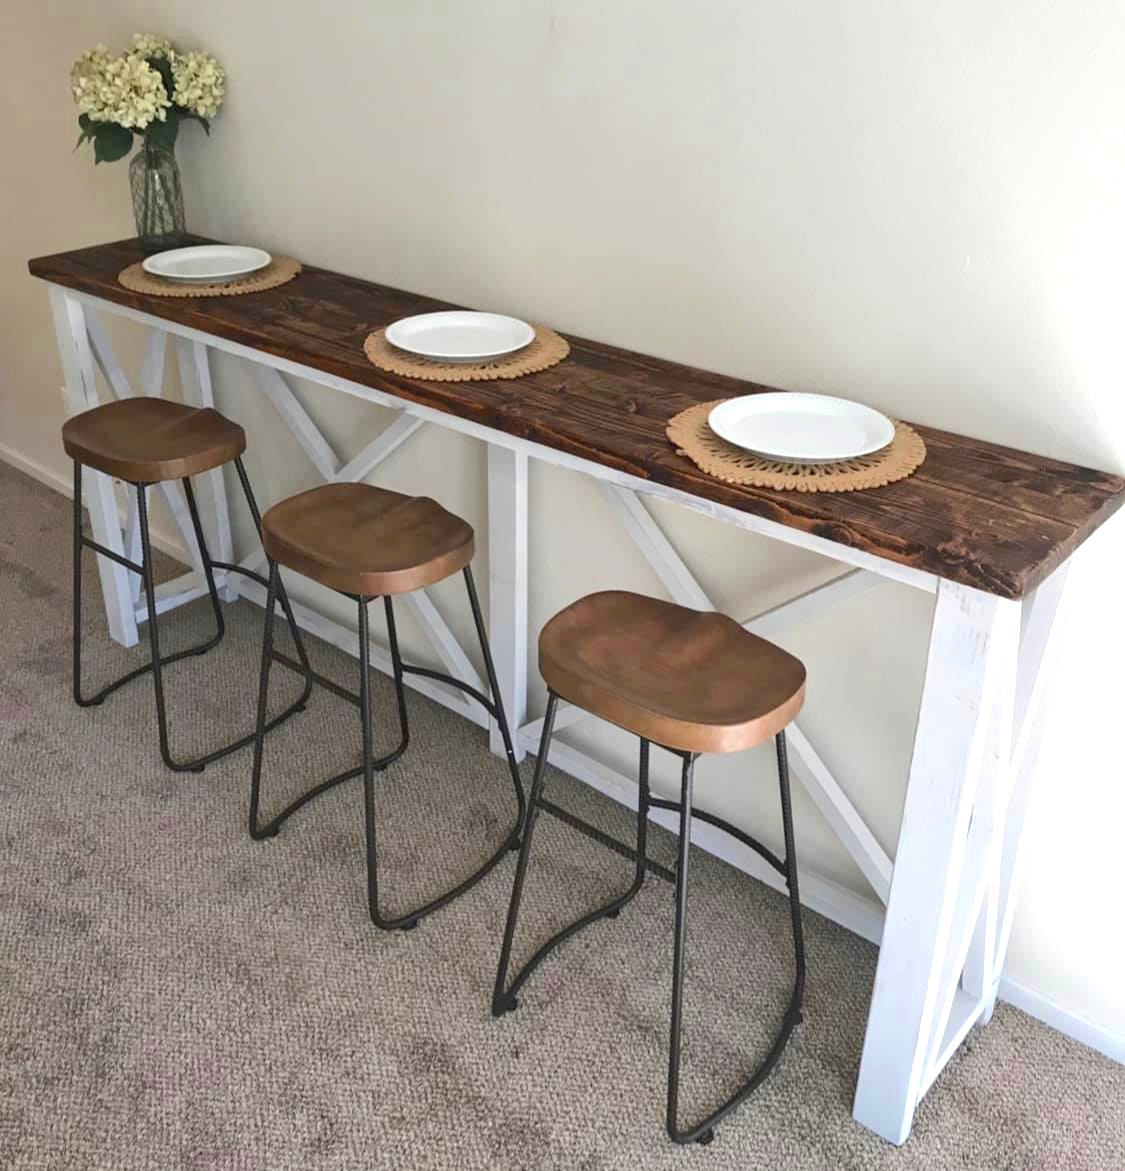
Hand made breakfast bar check us out on Facebook marney Marie
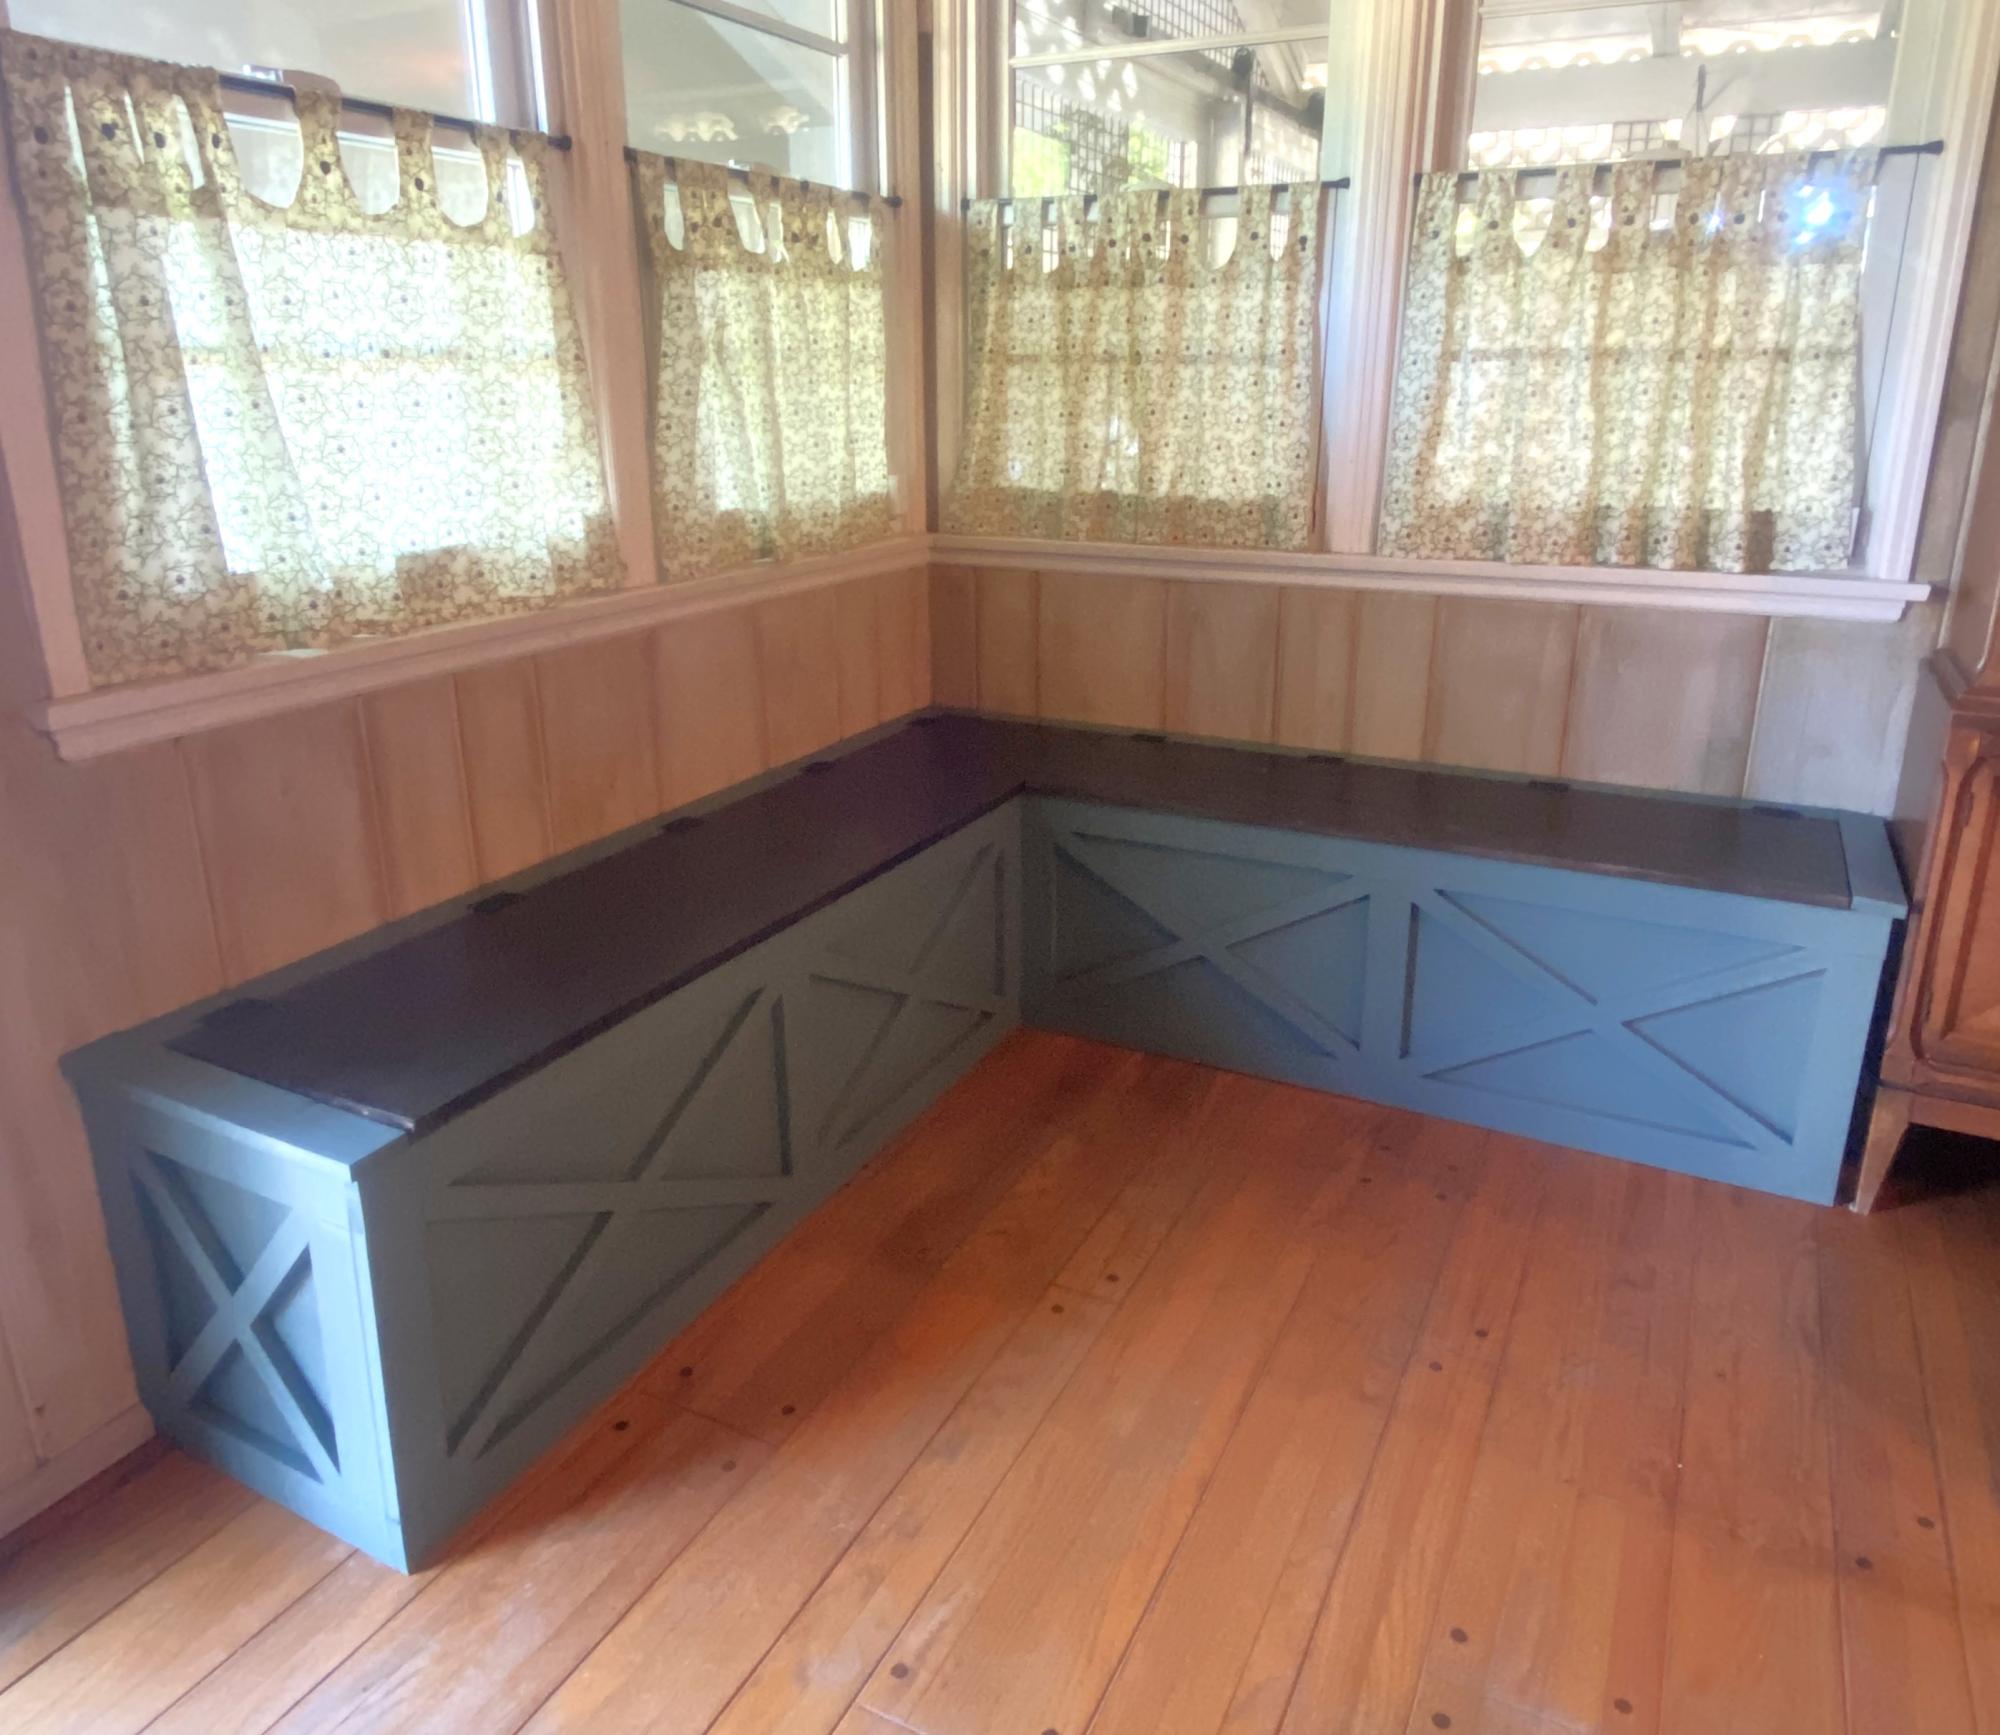
I needed some extra storage space and have always wanted a storage bench in this corner of my dining room. It took me a week to build from start to finish. I’ve never done any woodworking before, so this plan was good for me, as it was easy to follow with the color coding. The only thing that was “off plan” were the X’s on the face of the bench. I had some leftover 1x1 trim, from a handyman project a few years back, that I was happy to use up. It fit perfectly and I had just enough for all X’s. My biggest challenge with this project were the lids. They have a very minor bow, so one of the corners isn’t flush. But, it’s not enough to bother me or need to re-do the lid. All-in-all, I’m super happy with this banquette and may have caught the woodworking bug!

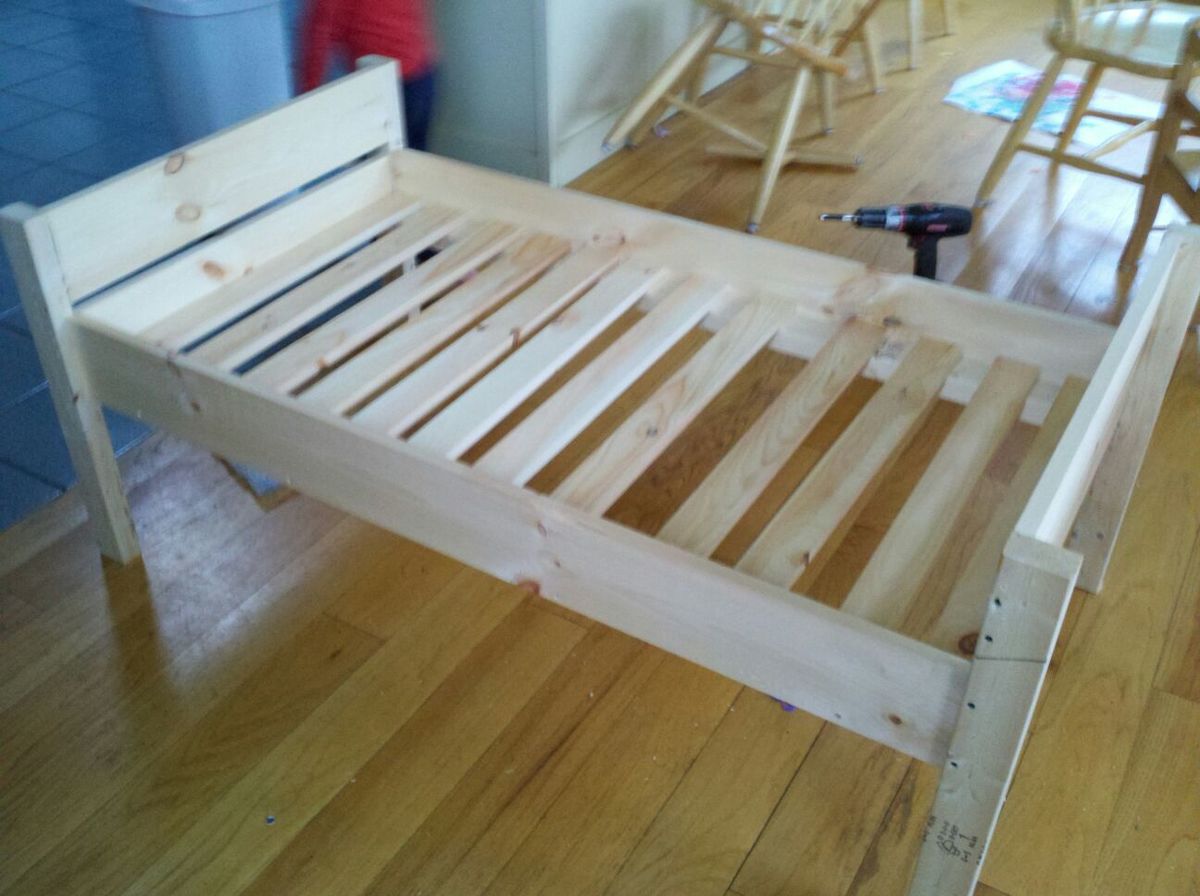
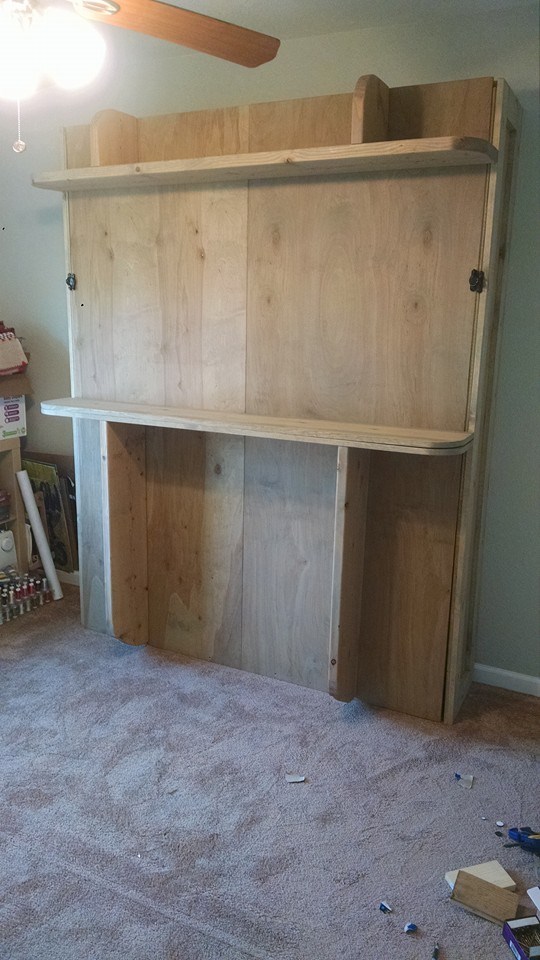
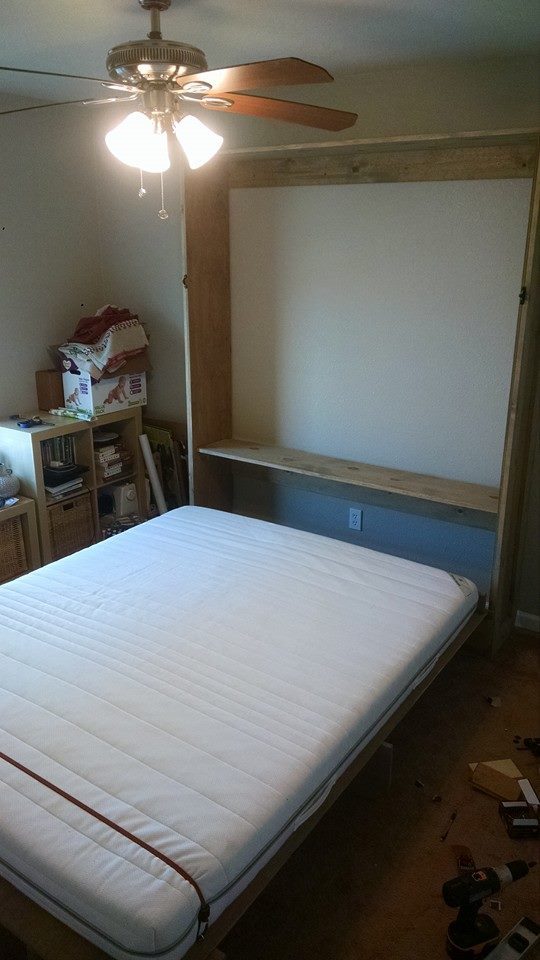
I've thought for a while about building a bed for our dogs, but wasn't sure where to start. We had an extra crib mattress so I set out to find a toddler bed that would work. I decided the Lydia Toddler Bed plan would work best. It doesn't look anything like it, but it was a great starting point.
First, I got rid of the canopy and the decorative side pannels. I also raised the bed 12 inches. (The hope is to add a rug on the floor underneath as sort of a "bottom bunk") The lumber store didn't have 2x2s so I used 2x3s for the legs. I also only used two 1x6s at the head and foot of the bed. They are seperated by 1" because when I got home, I realized they were actually 1x5 (RUDE).
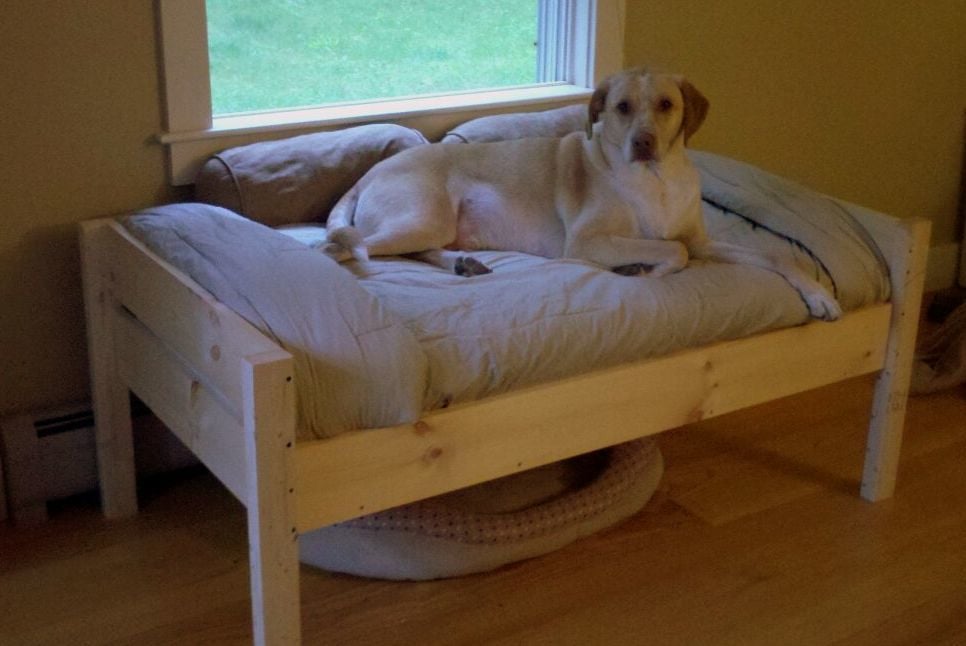
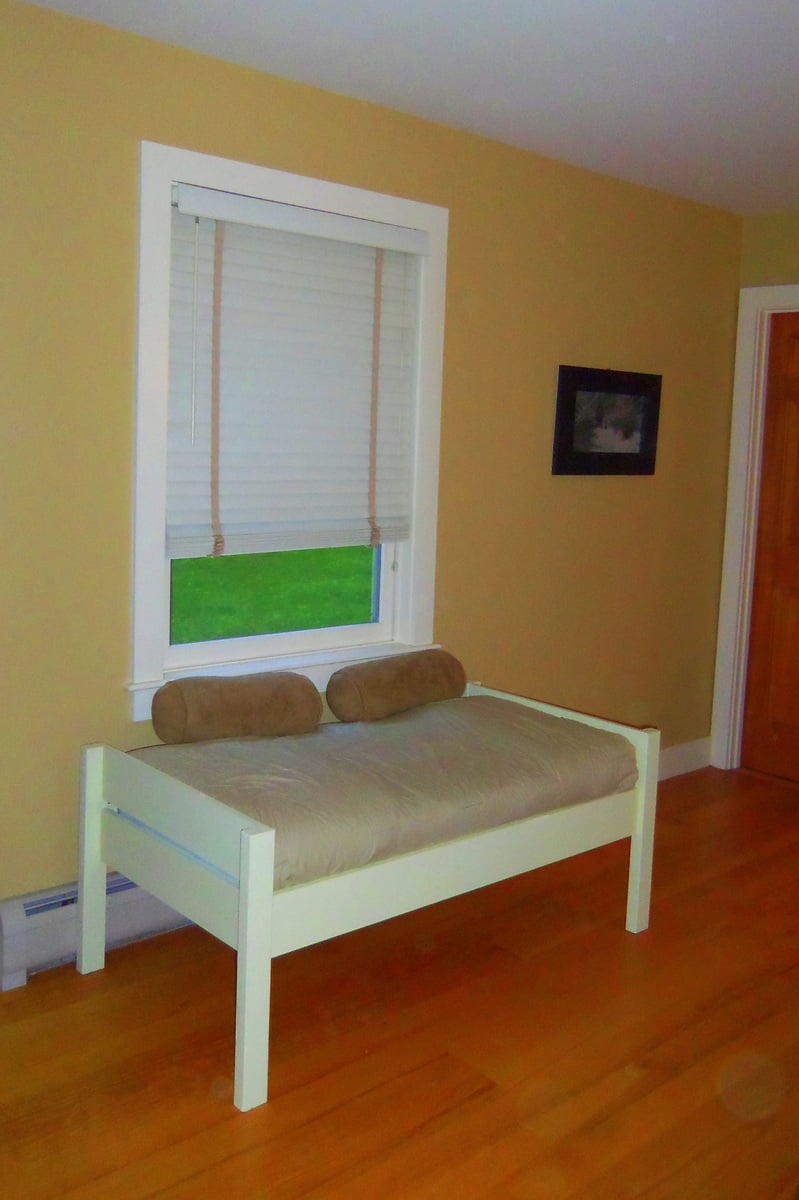
All in all, it turned out exactly as I had hoped and the dogs love it! GOODBYE stinky dogbeds!
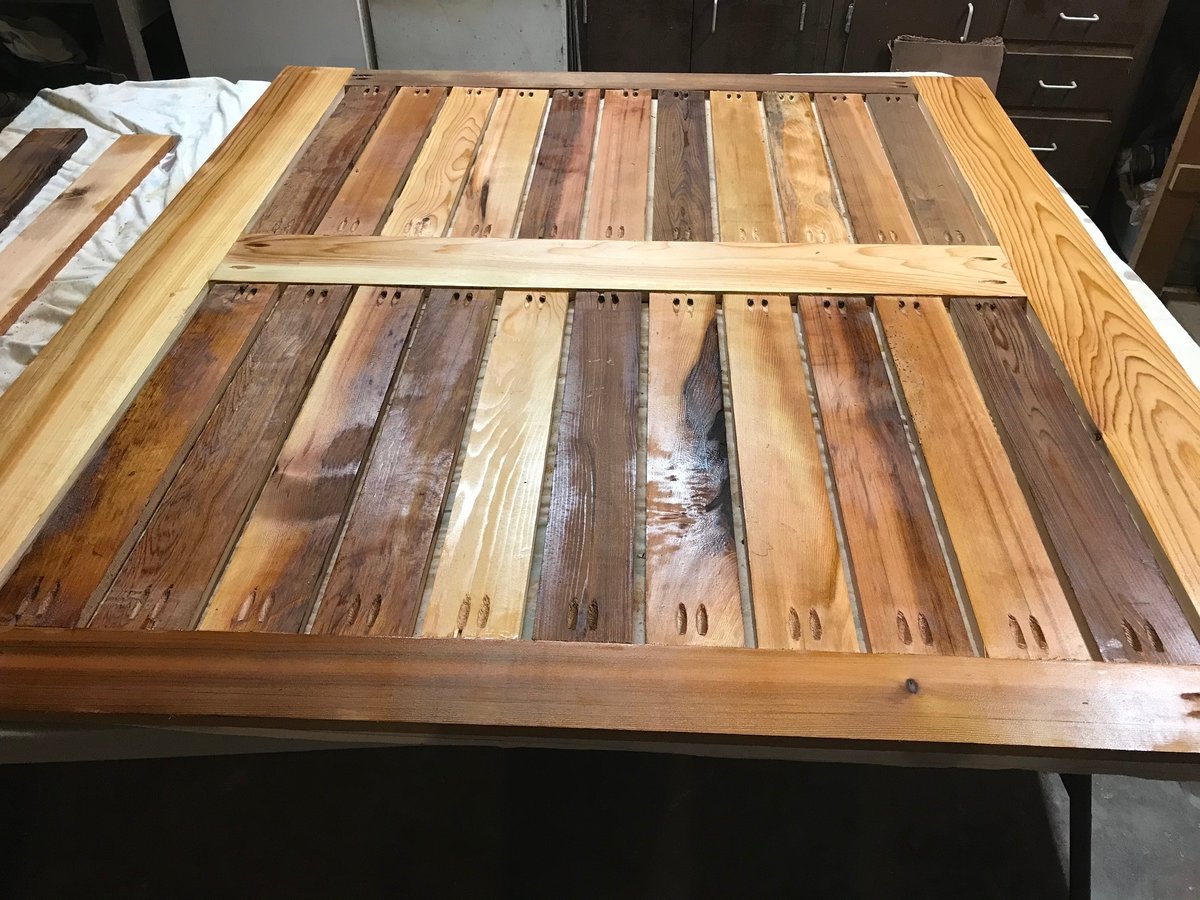
**Photo 1: Just finished building--the slats weren't screwed down yet.
**Photo 2: Deacon is testing out his new digs! See the stinky dogbed underneath?YUK!
**Photo 3: Dog Bed Completed! Mac & Deacon love it!
Thu, 10/16/2014 - 18:49
Thanks for sharing the great plans. We built this end in a few hours and she loves it!
I followed the plan directions to a "T" and it worked out so well! This projects gives me joy everytime I walk up my front steps. Thanks!
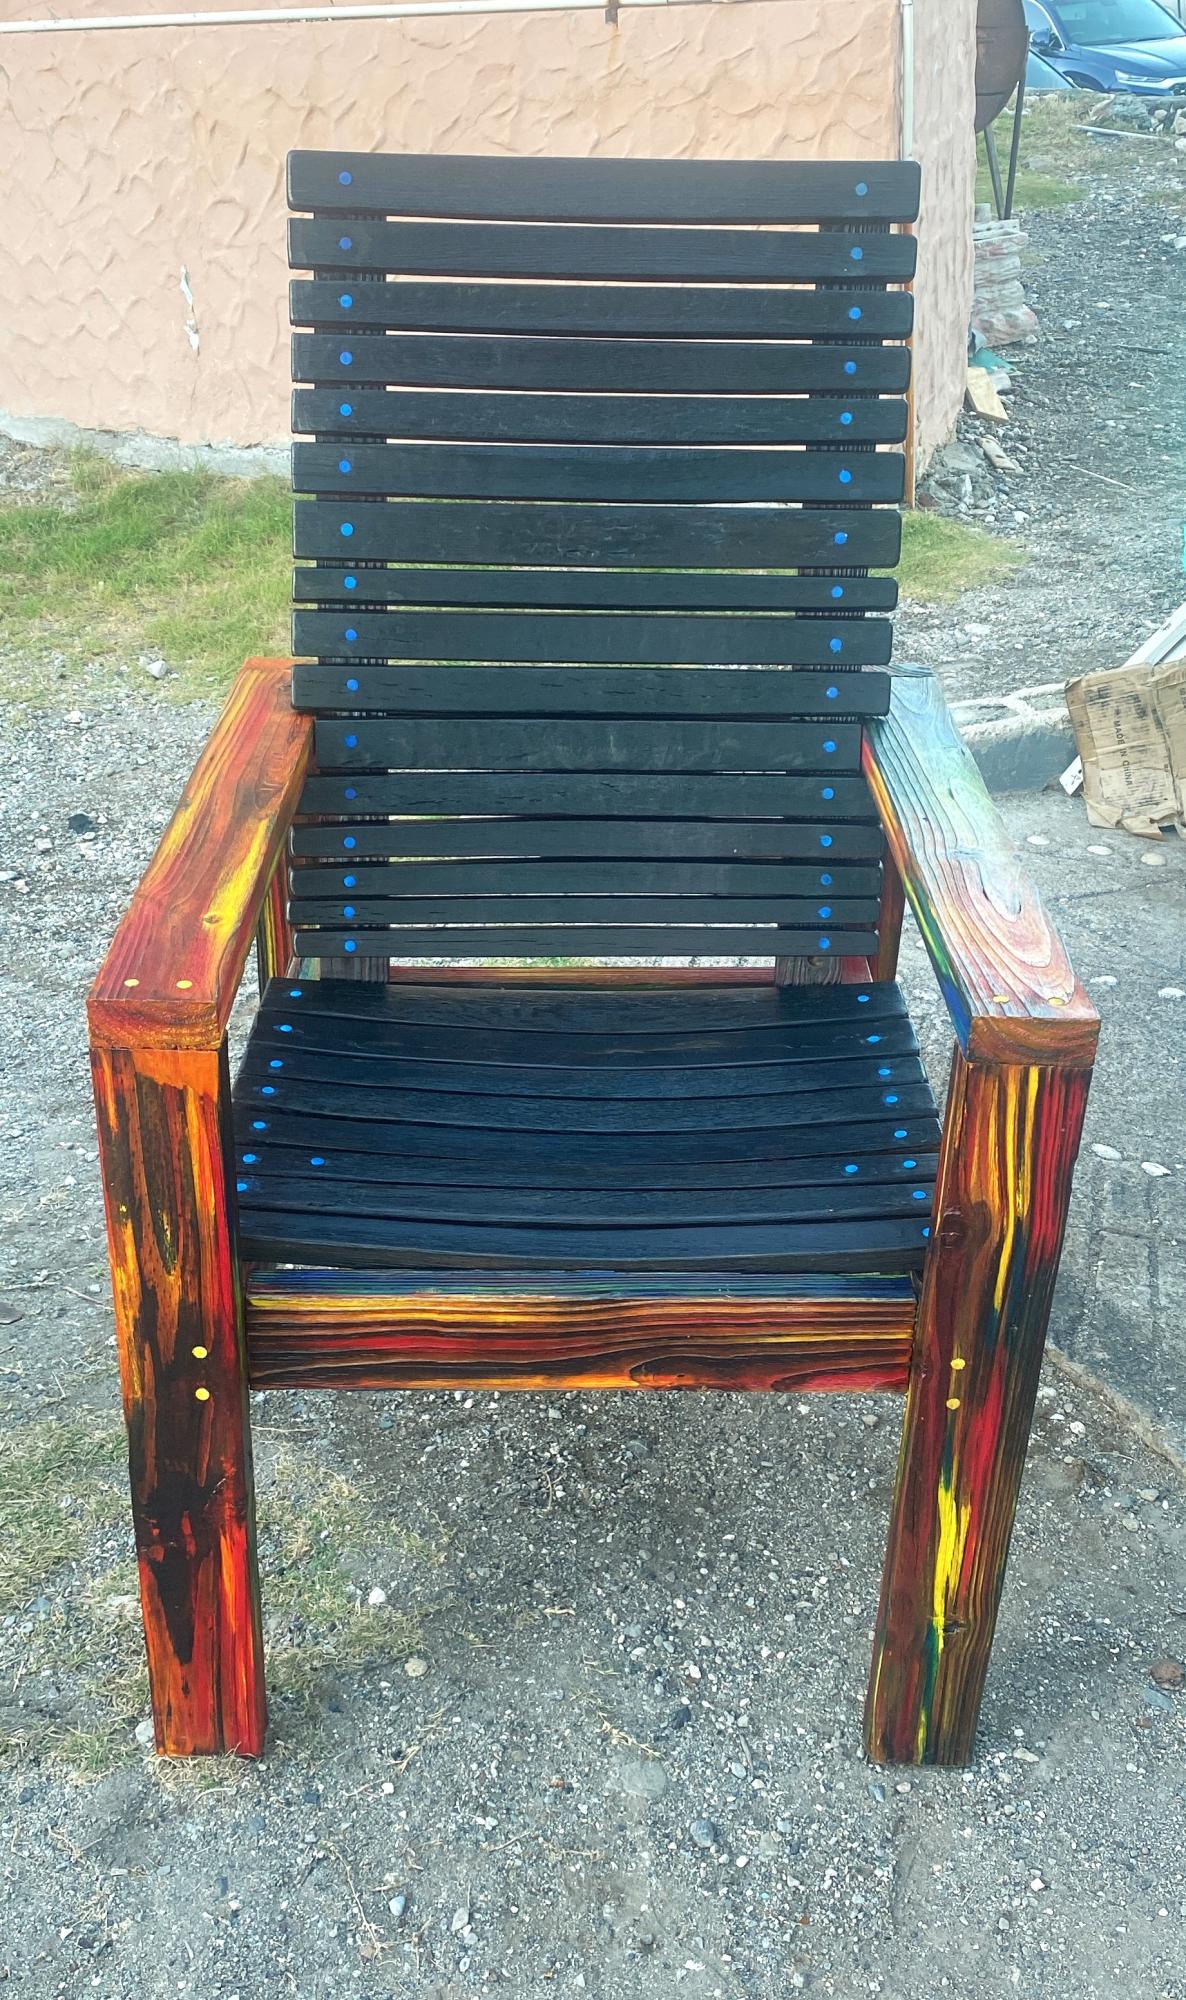
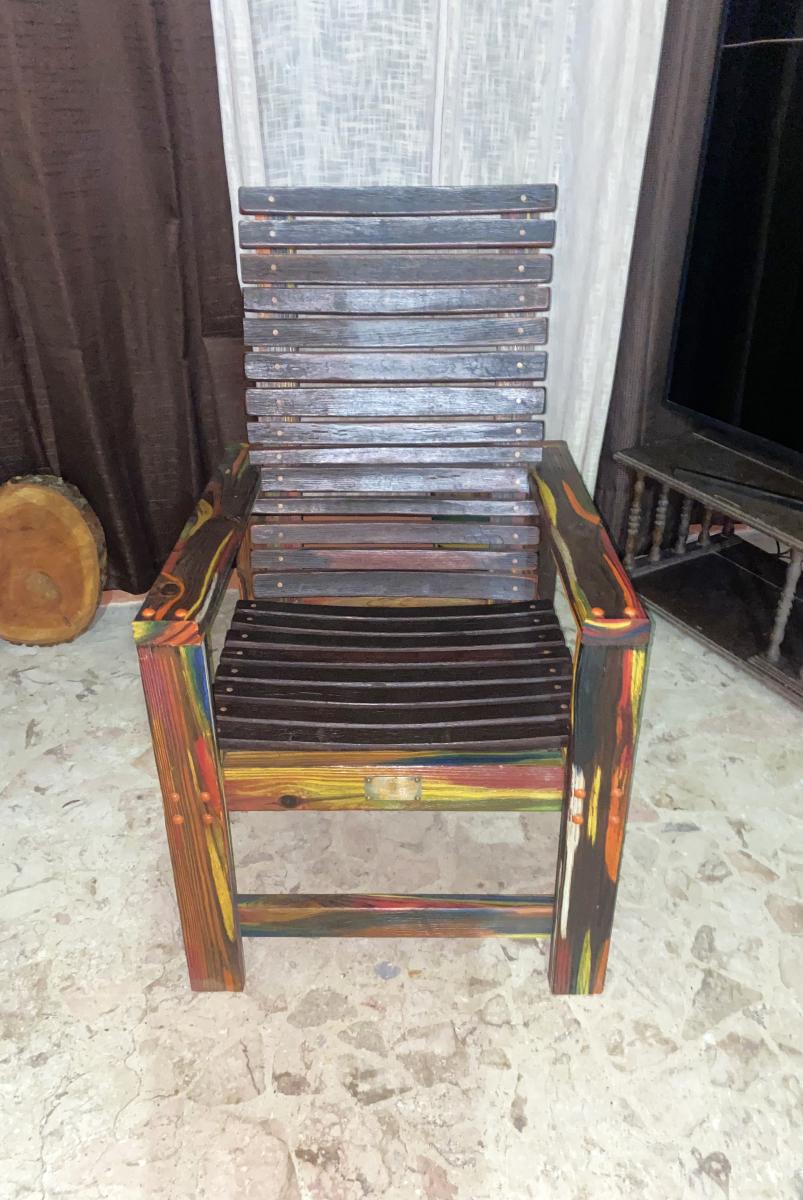
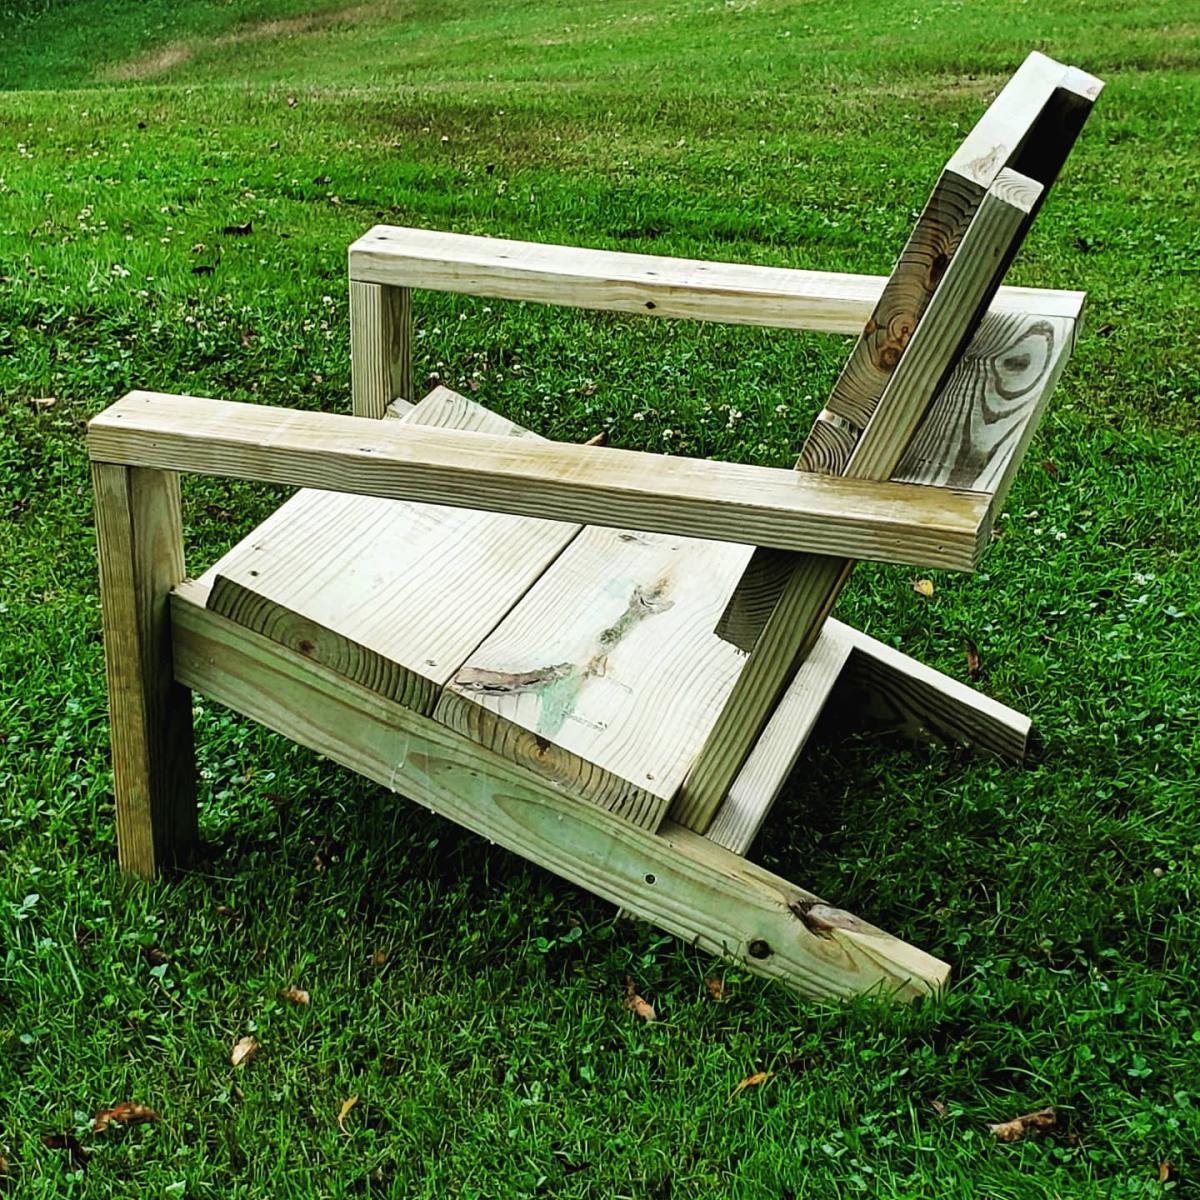
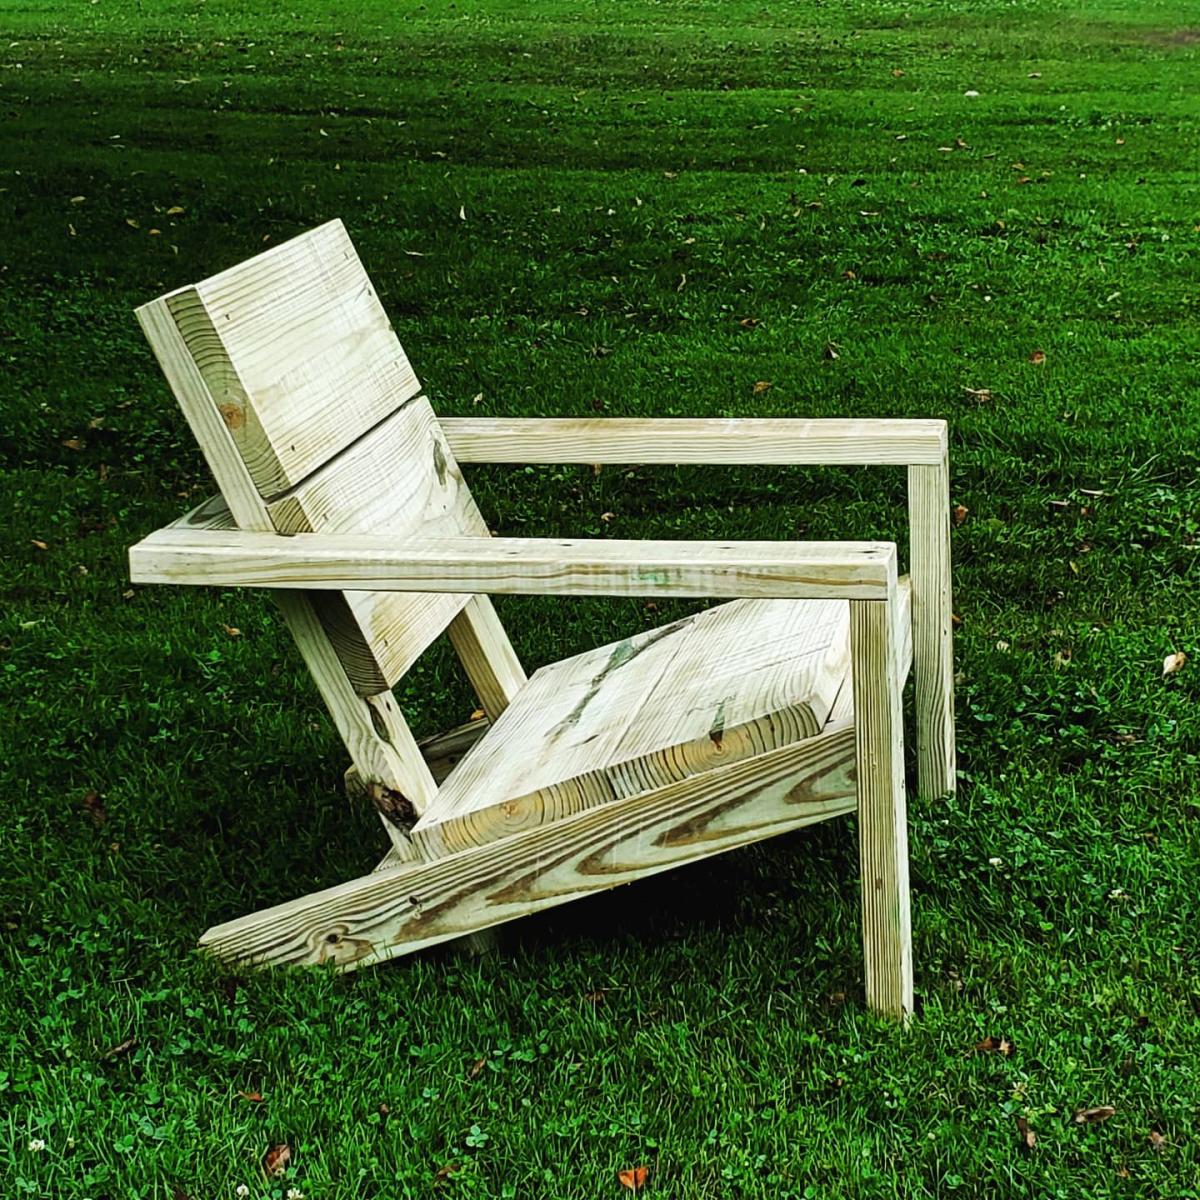
A modified version of one of Ana’s chairs. I widened it by a few inches and used the staves from a retired whiskey barrel for the seat and back. I then added a Sho Sugi Ban effect to the frame and then stained it using Unicorn Spit.
mcglashanpatrick

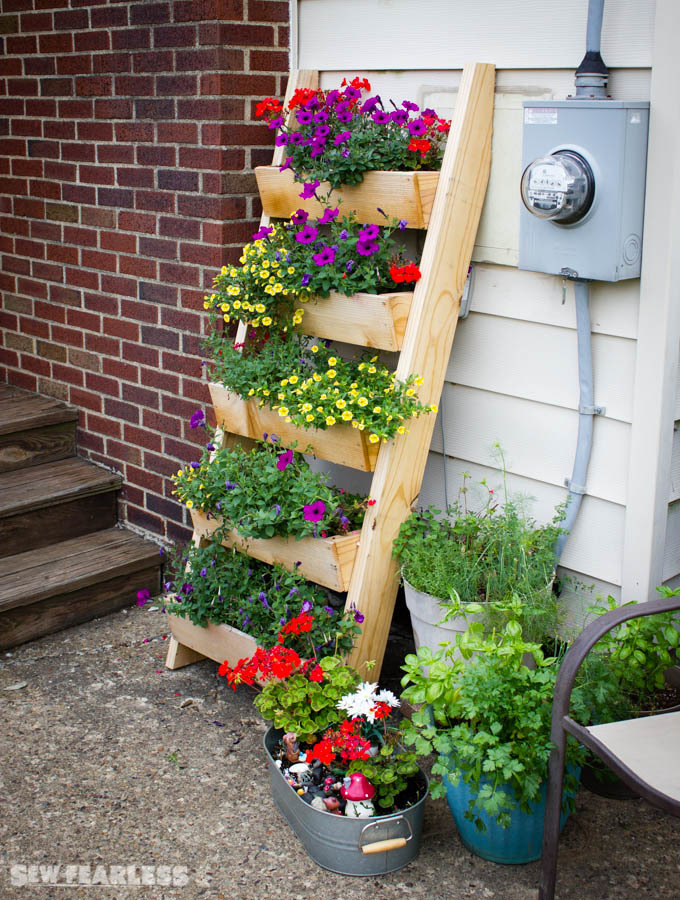
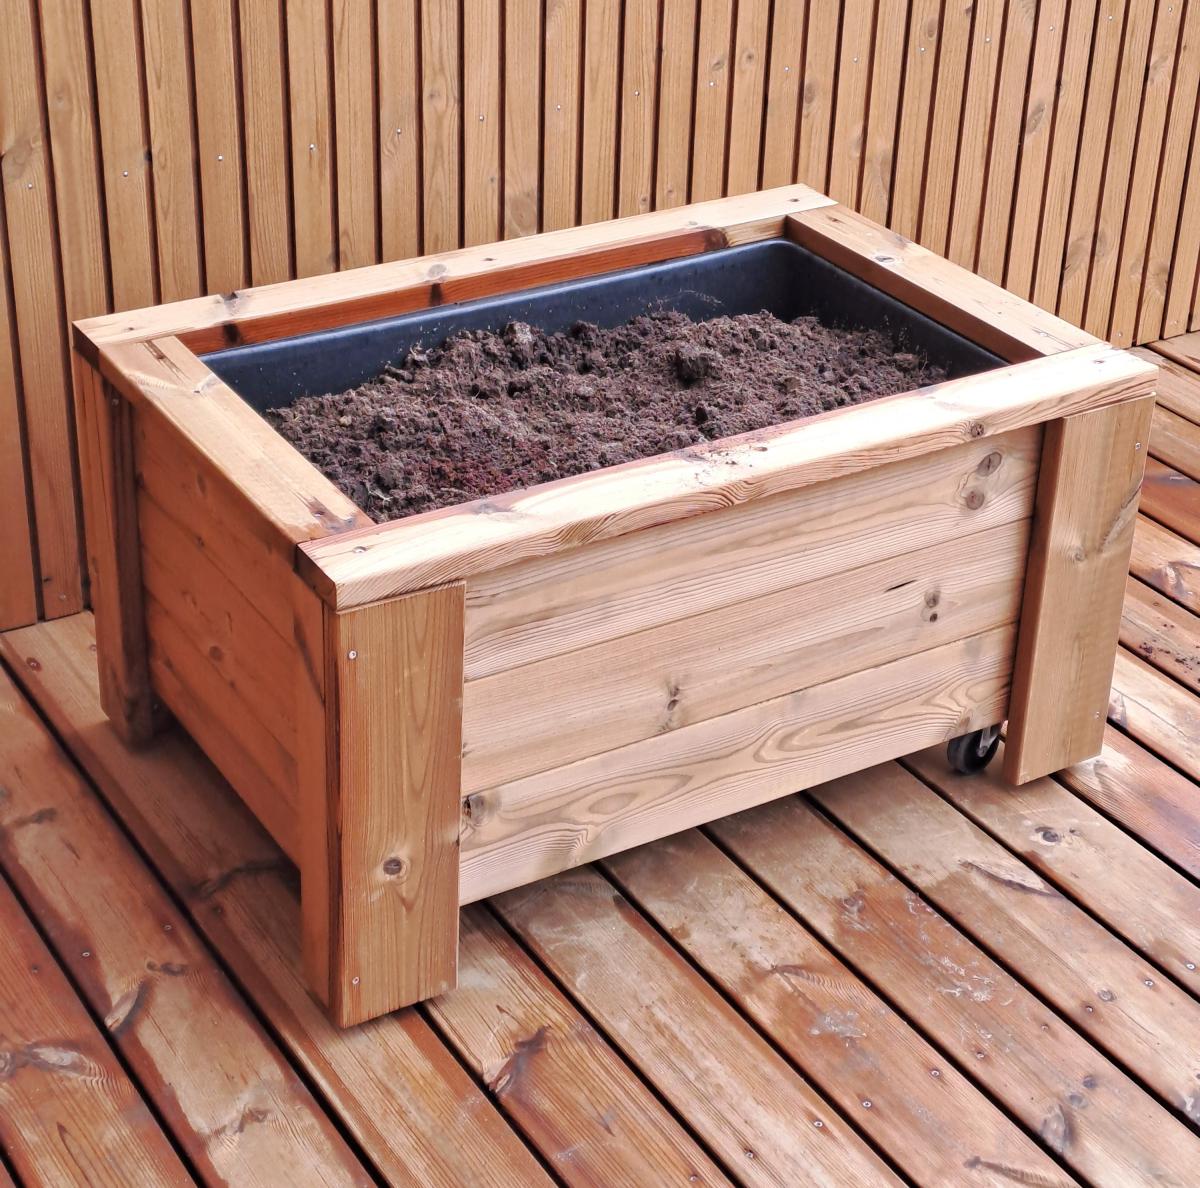
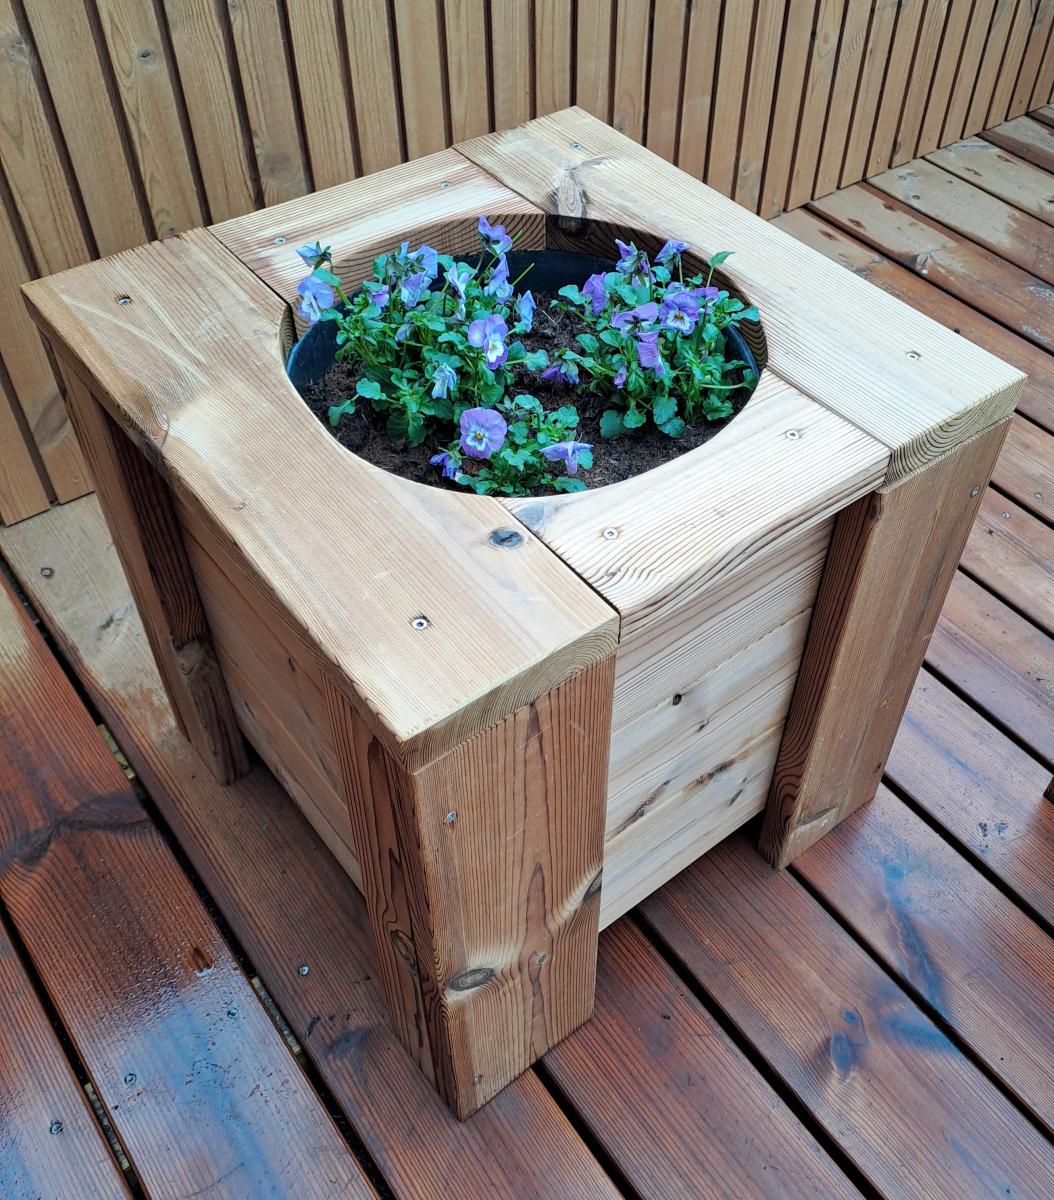
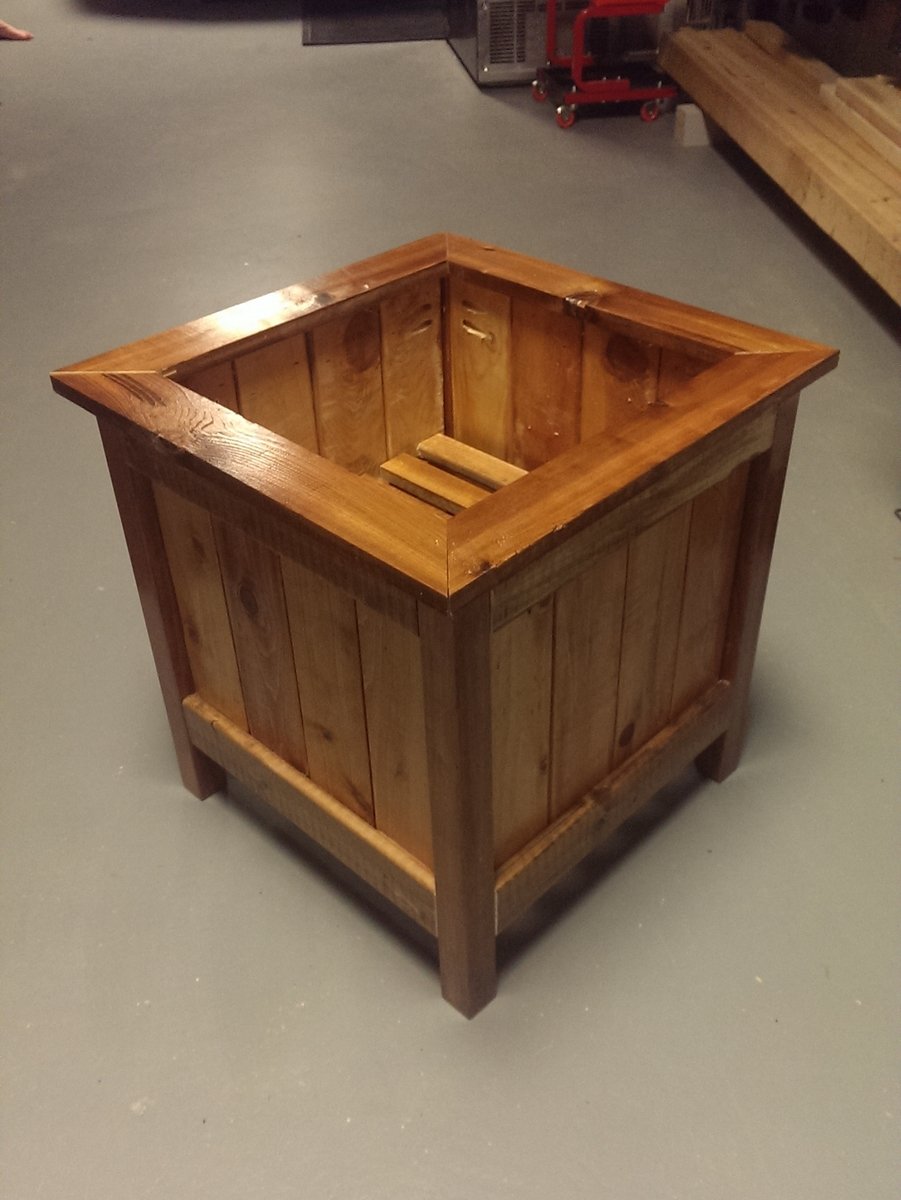
I build these planter boxes, from wooden remains from terrace building, inspired from Ana White planter boxes.
Søg
This is a idea I saw on Ana's site. Just love the simplicity of her builds and her followers visions and builds. Decided we need raised garden beds and a barrier to keep our friends at bay. Thanks once again Ana and all the fans and followers for sharing and inspiring thousands of people to take part and enjoy the fun and creativity of wood working. Nothing more rewarding than using your hands and mind to create something beautiful and useful that often will last generations.
John Nicholson
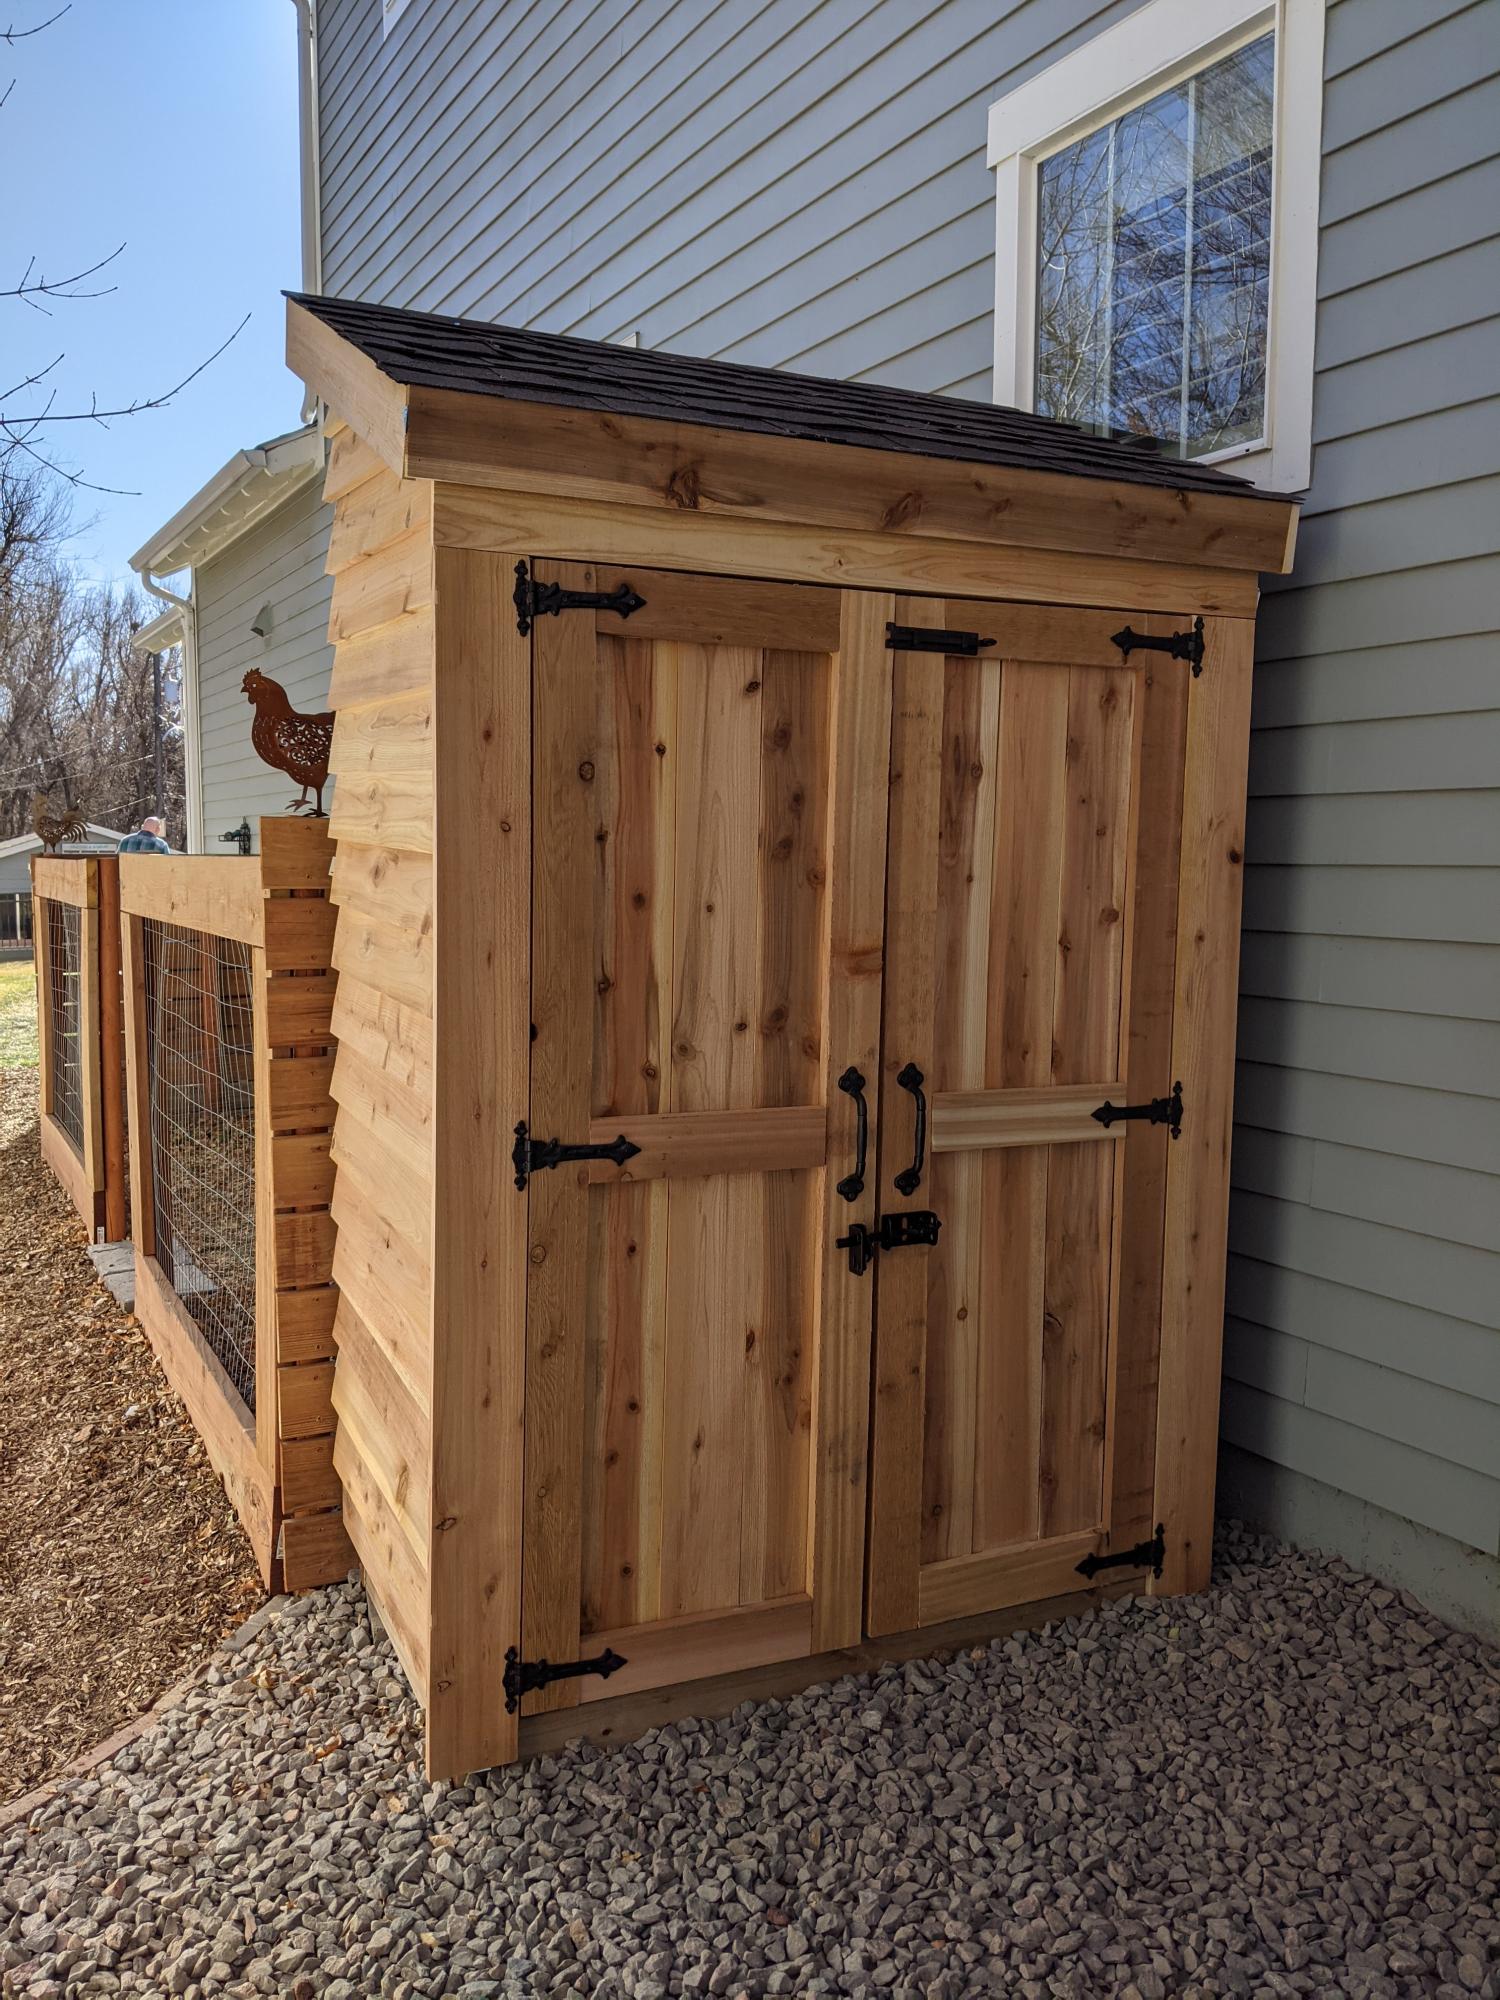
Our take on the small garden shed. Ours is 4 1/2 by 7 feet. We used cedar fence pickets and 2x4 construction. Left over shingles from when our house was built. We are definitely not roofers or framers, also chasing around a 3 year old didn't make things easier. Turned out beautiful for what we want it for. Just rustic enough. Great intermediate project.
Mon, 11/30/2020 - 11:14
You did a great job, the 3 year olds add just the perfect amount of challenge to really appreciate a completed project!:)
Just finished up my Murphy Bed project. Hope you like.
Mon, 03/09/2020 - 20:30
Amazing. I’ve seen these and have been looking for plans. May just have to dive in and interpret from pictures. You did a really great job, nice work.
Wed, 12/22/2021 - 14:06
The plans are for a different bed than the one in the picture.
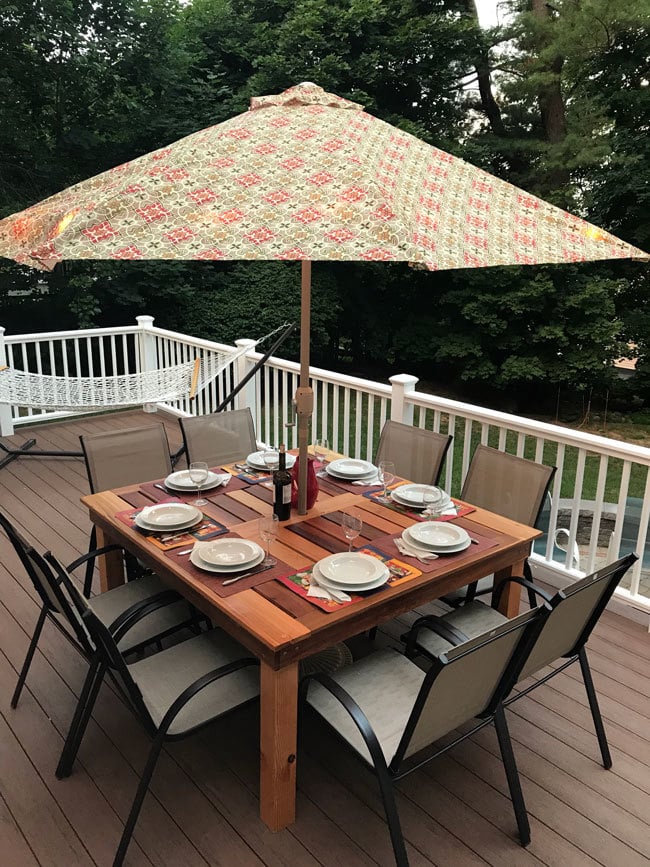
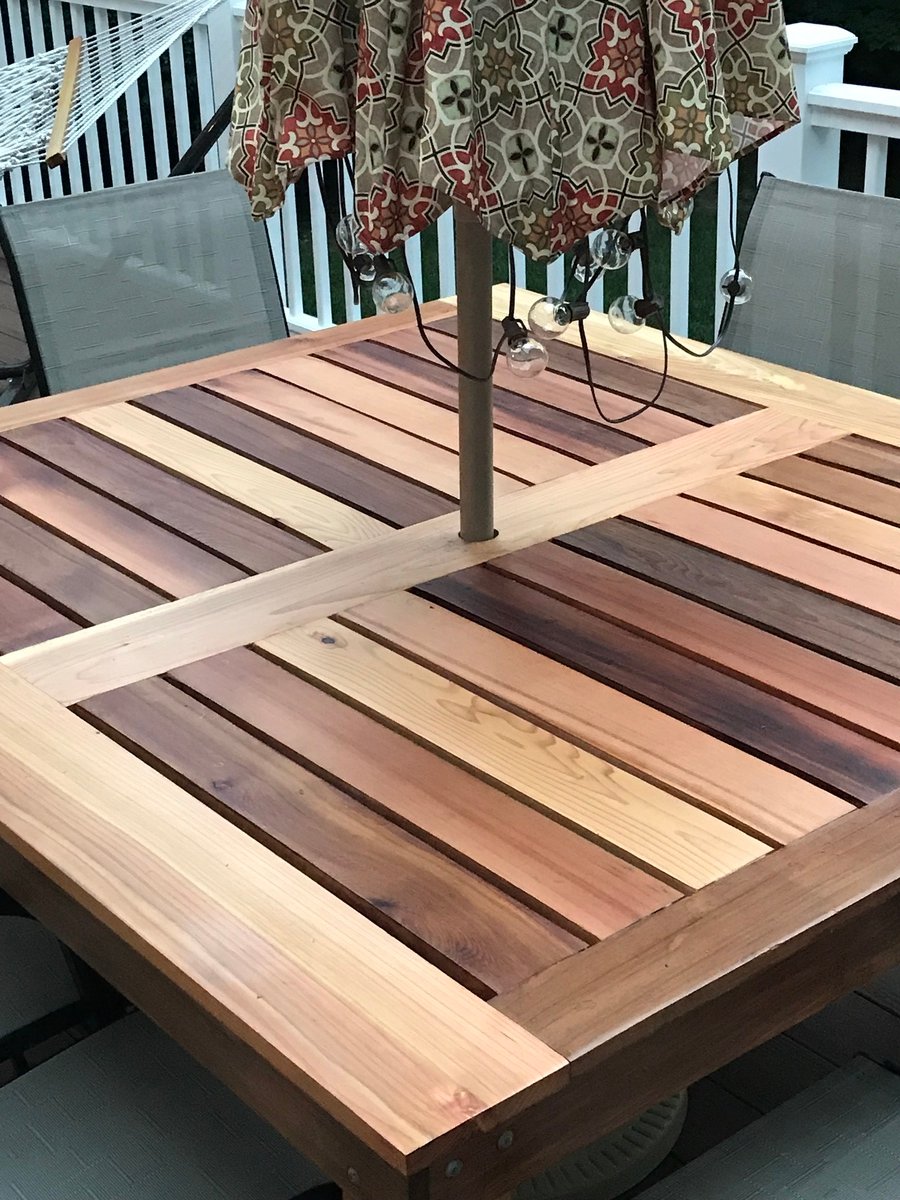
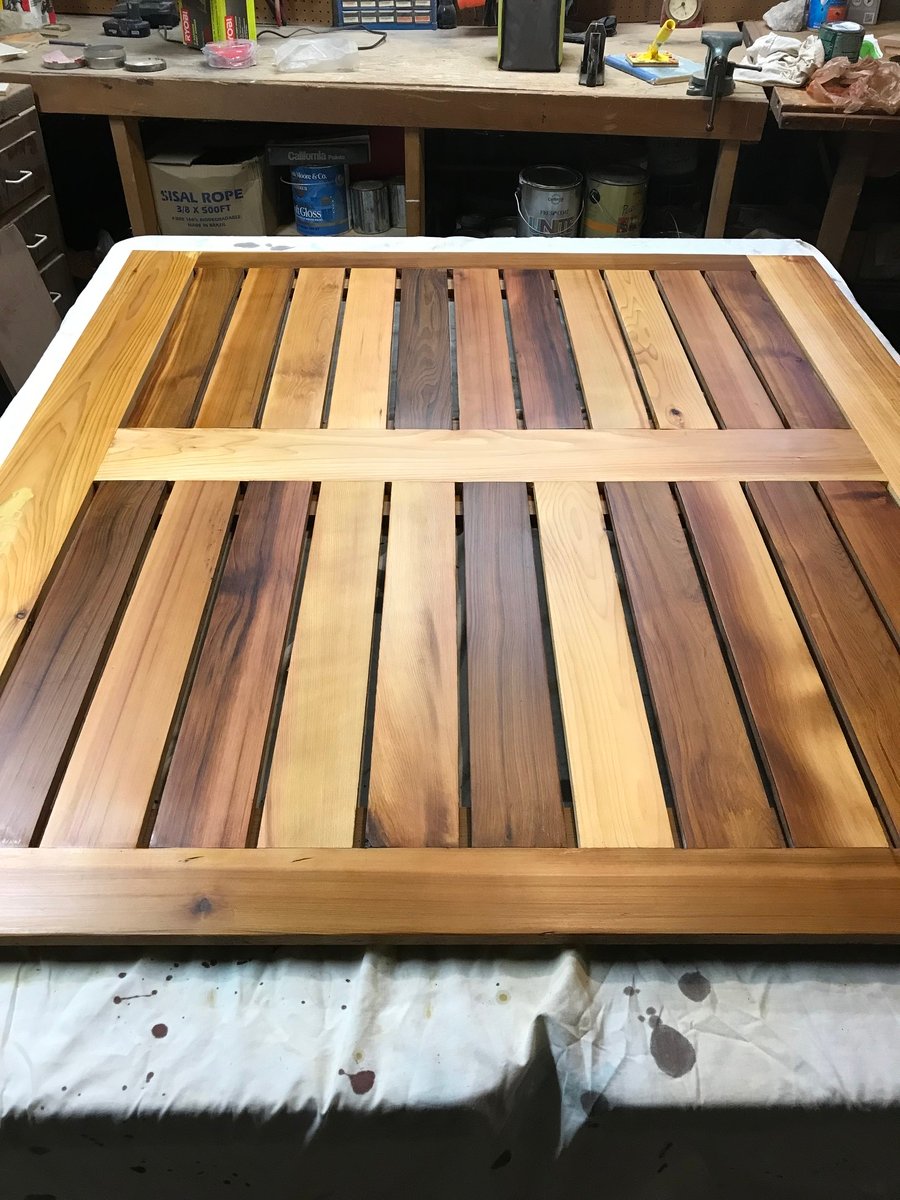
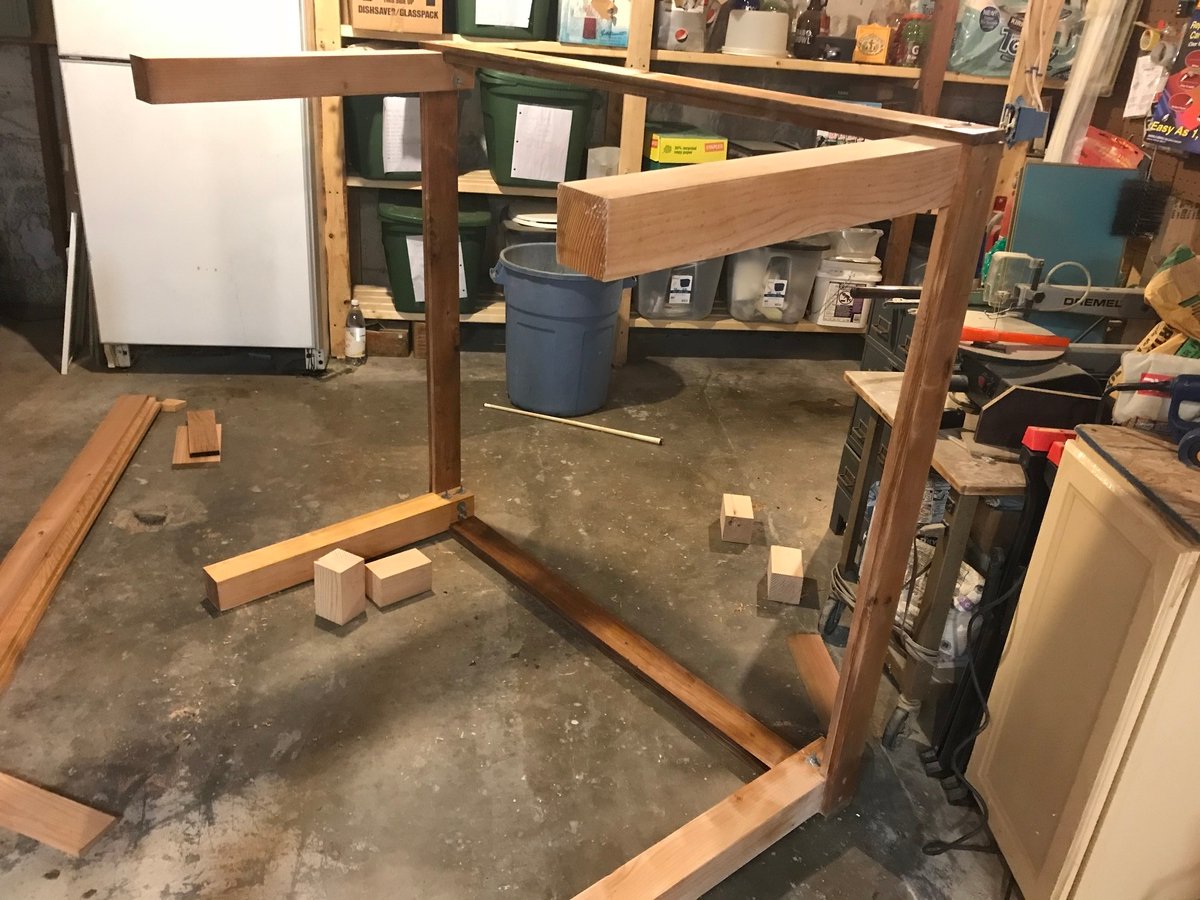
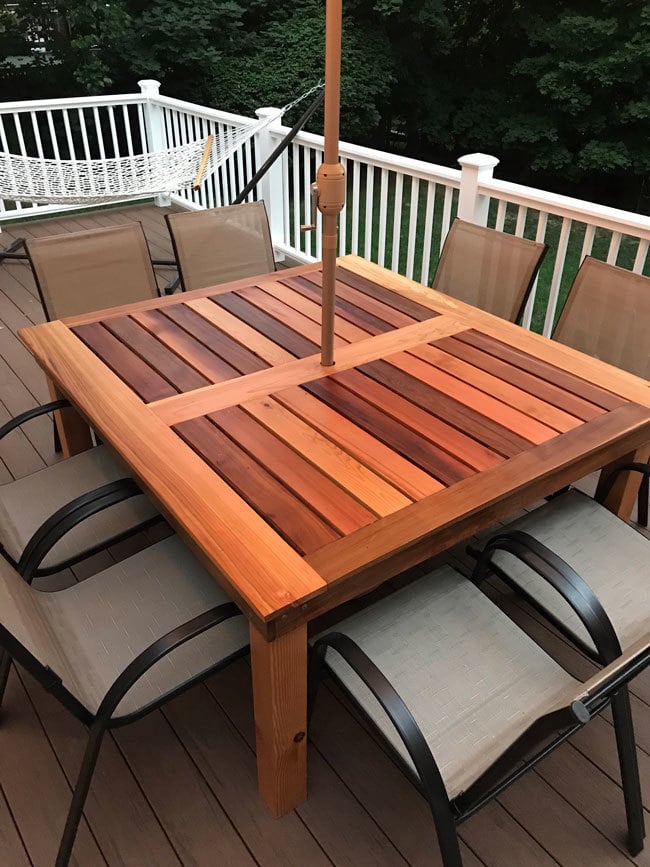
Modifications to the simple outdoor table plan thanks to Finn’s dad.
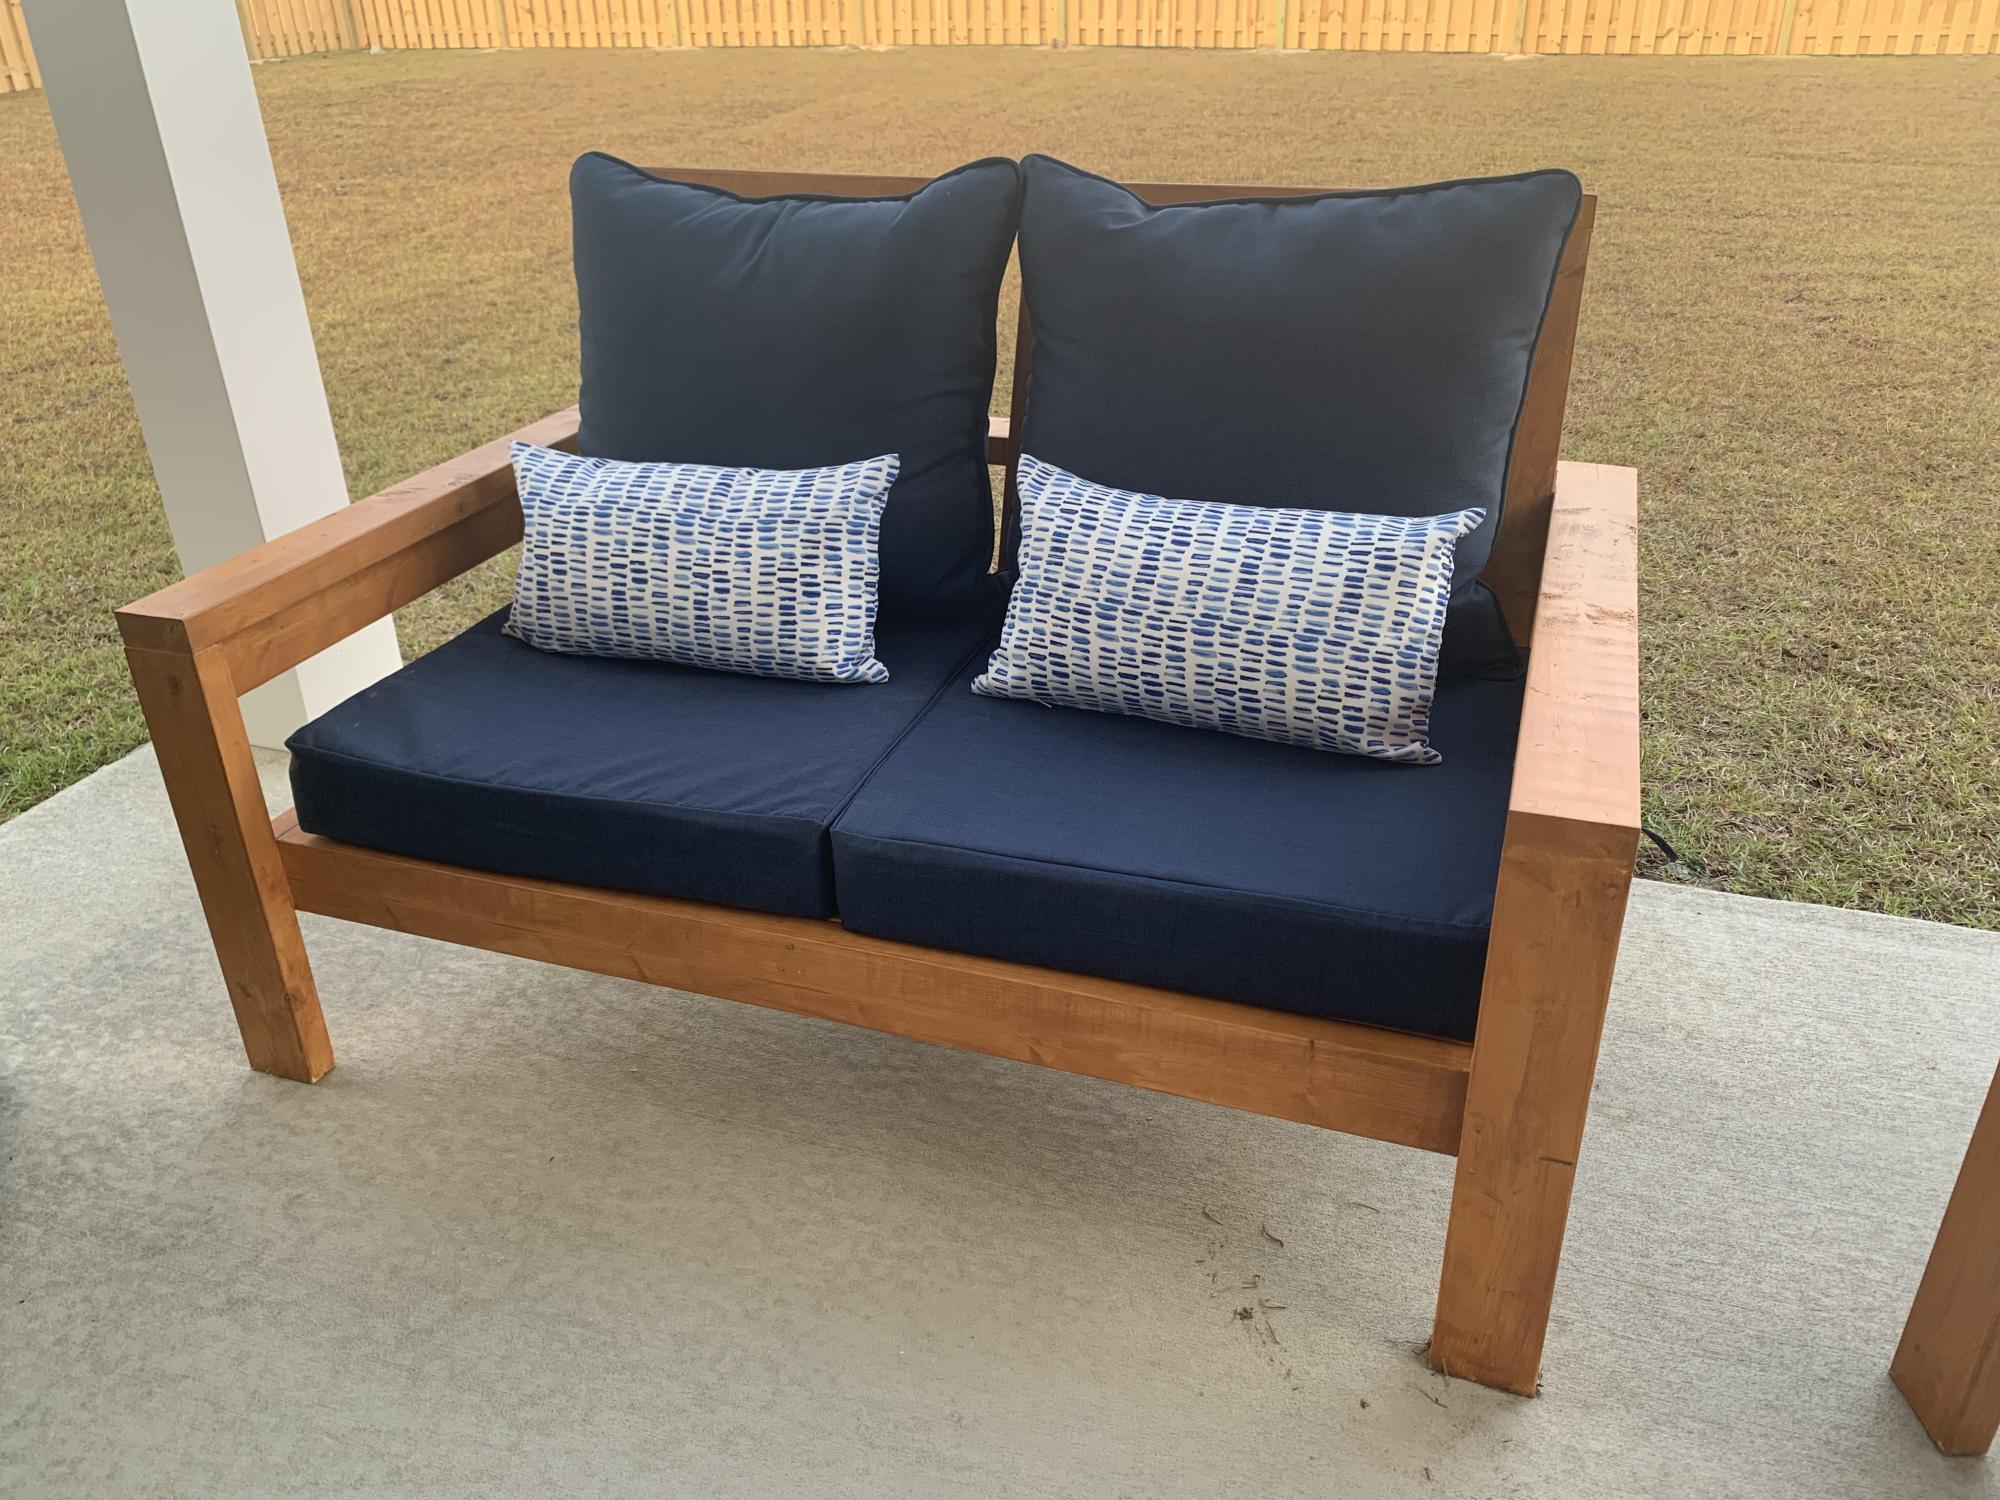
Super easy and fun project! We altered the original plans to build a loveseat and had zero issues. We did add some extra support below.
I did not find 25”x25” cushions within our price range so I settled for 25”x22.5” and they work but ultimately 25x25 works best.
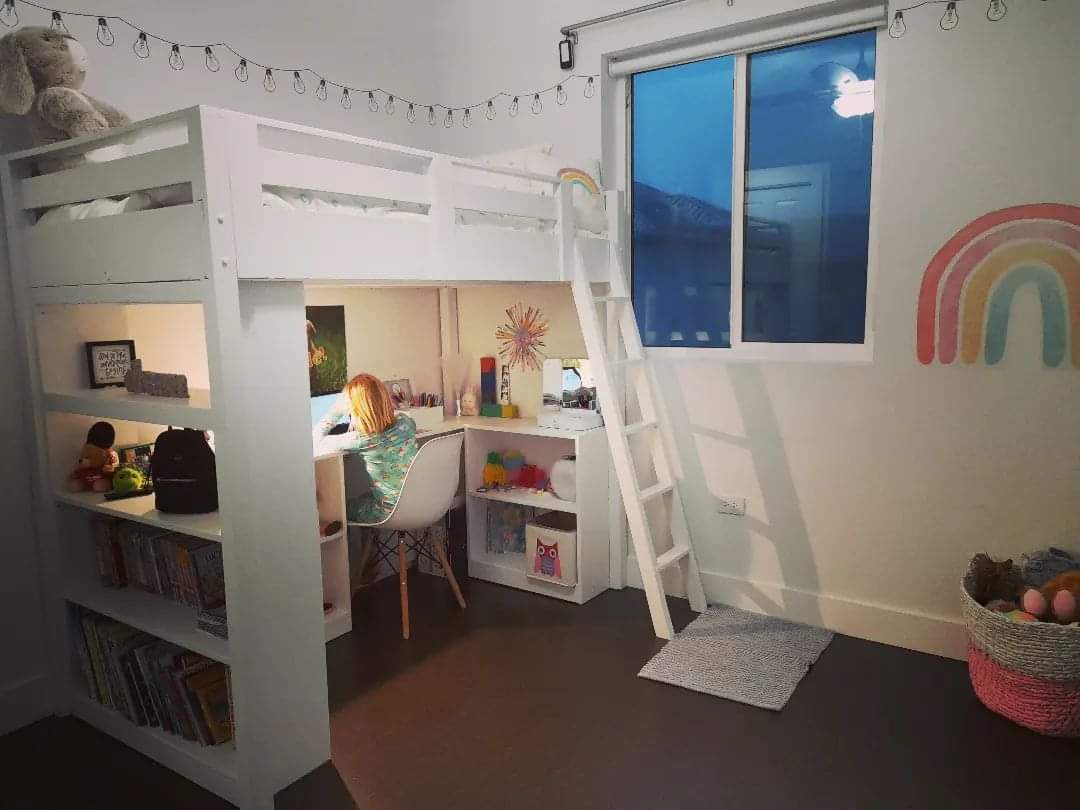
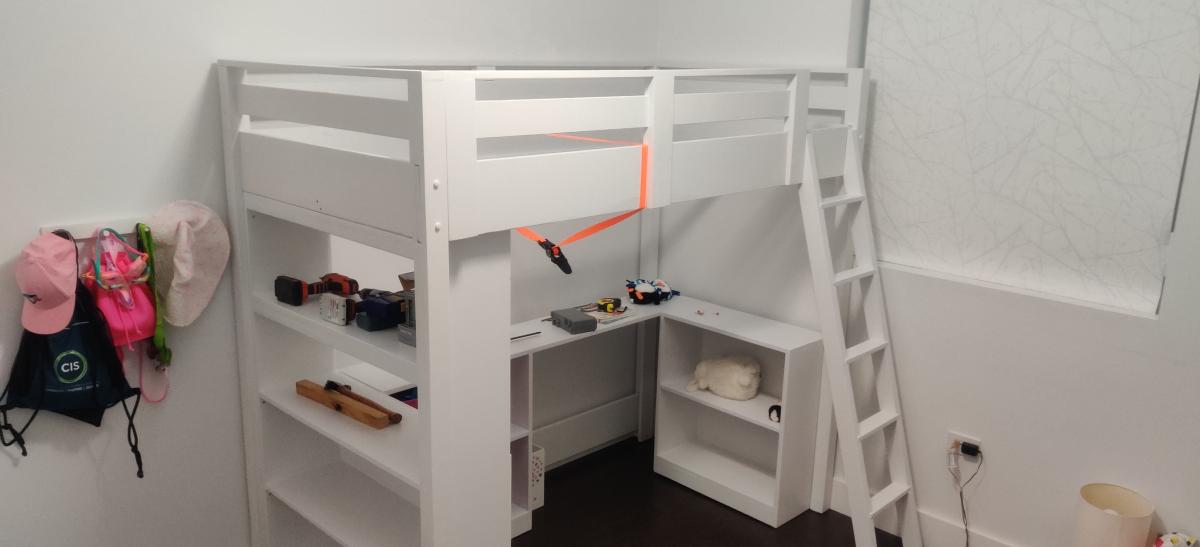
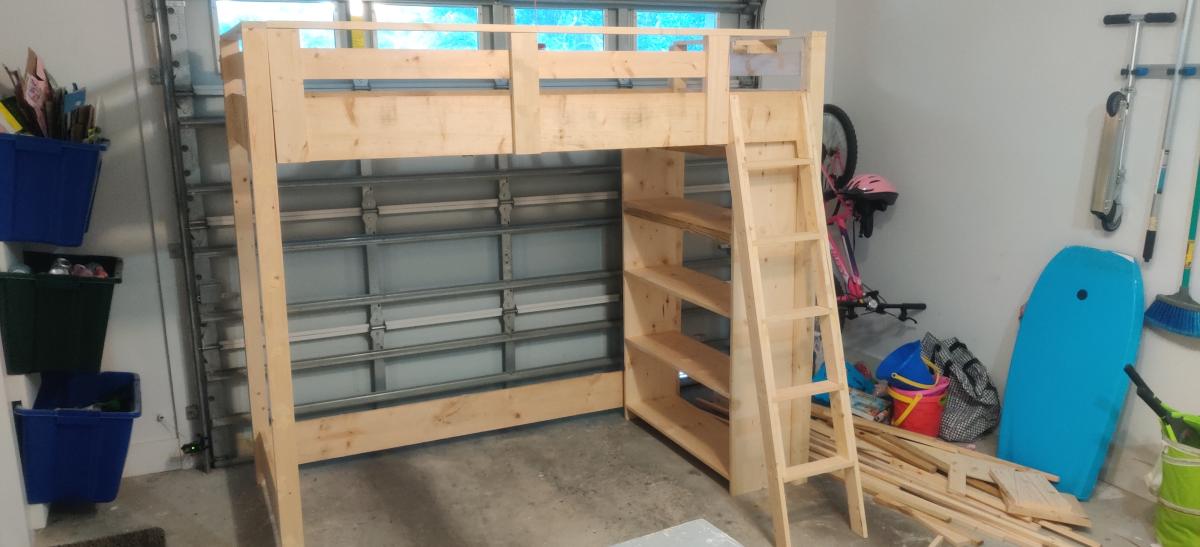
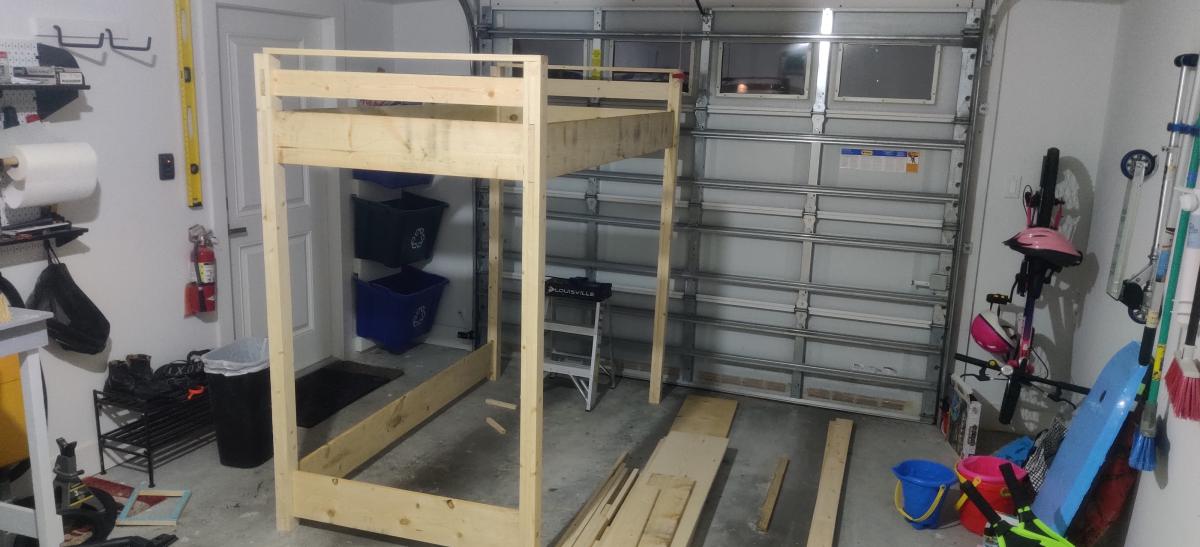
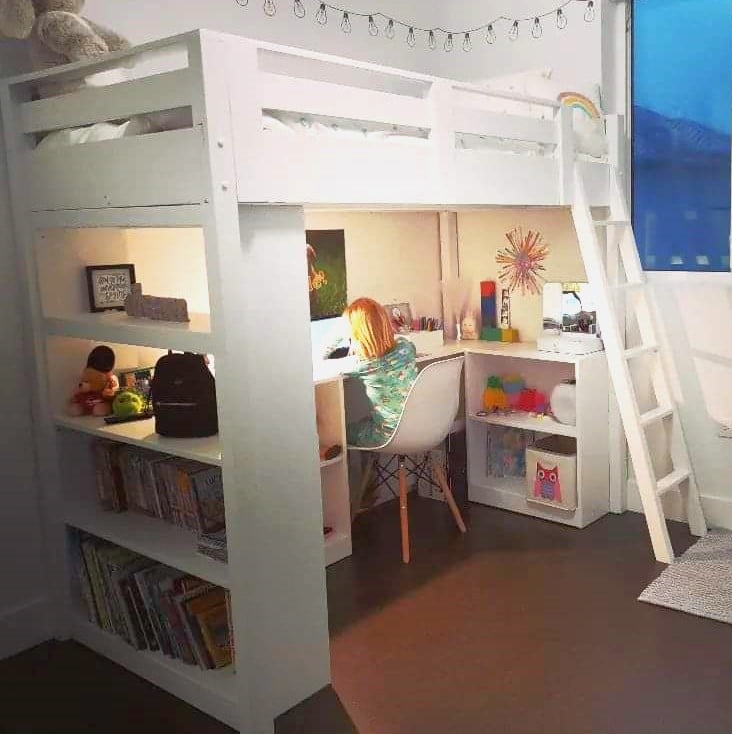
I built this for my daughter and more or less followed the plan without changes. I wasn't able to get hold of 1x3 so had to rip 1x4s which was a little time consuming. In hindsight I would probably increase the depth of the desk as it's a little shallow but not a huge problem.
I primed with two coats of BIN Primer as there were a lot if knots in the wood and I heard this is the best to cover then. It was a lot more expensive but hopefully worth it. Finished with latex semigloss.
Fri, 12/30/2022 - 10:19
You did a fantastic job, it looks amazing in the space! Thanks for sharing.
Sun, 03/30/2025 - 17:51
Sorry, trying to ask about plans for this bed. Not sure if my comment is submitting.
Sun, 03/30/2025 - 17:51
Sorry, trying to ask about plans for this bed. Not sure if my comment is submitting.
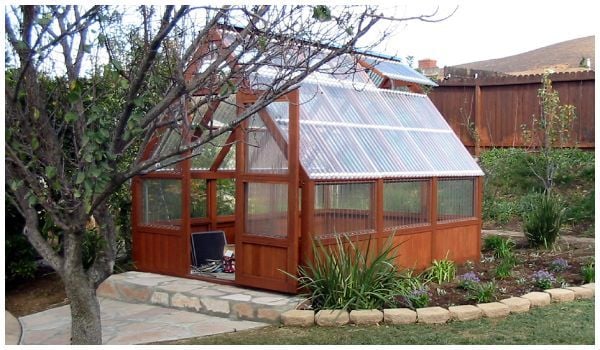
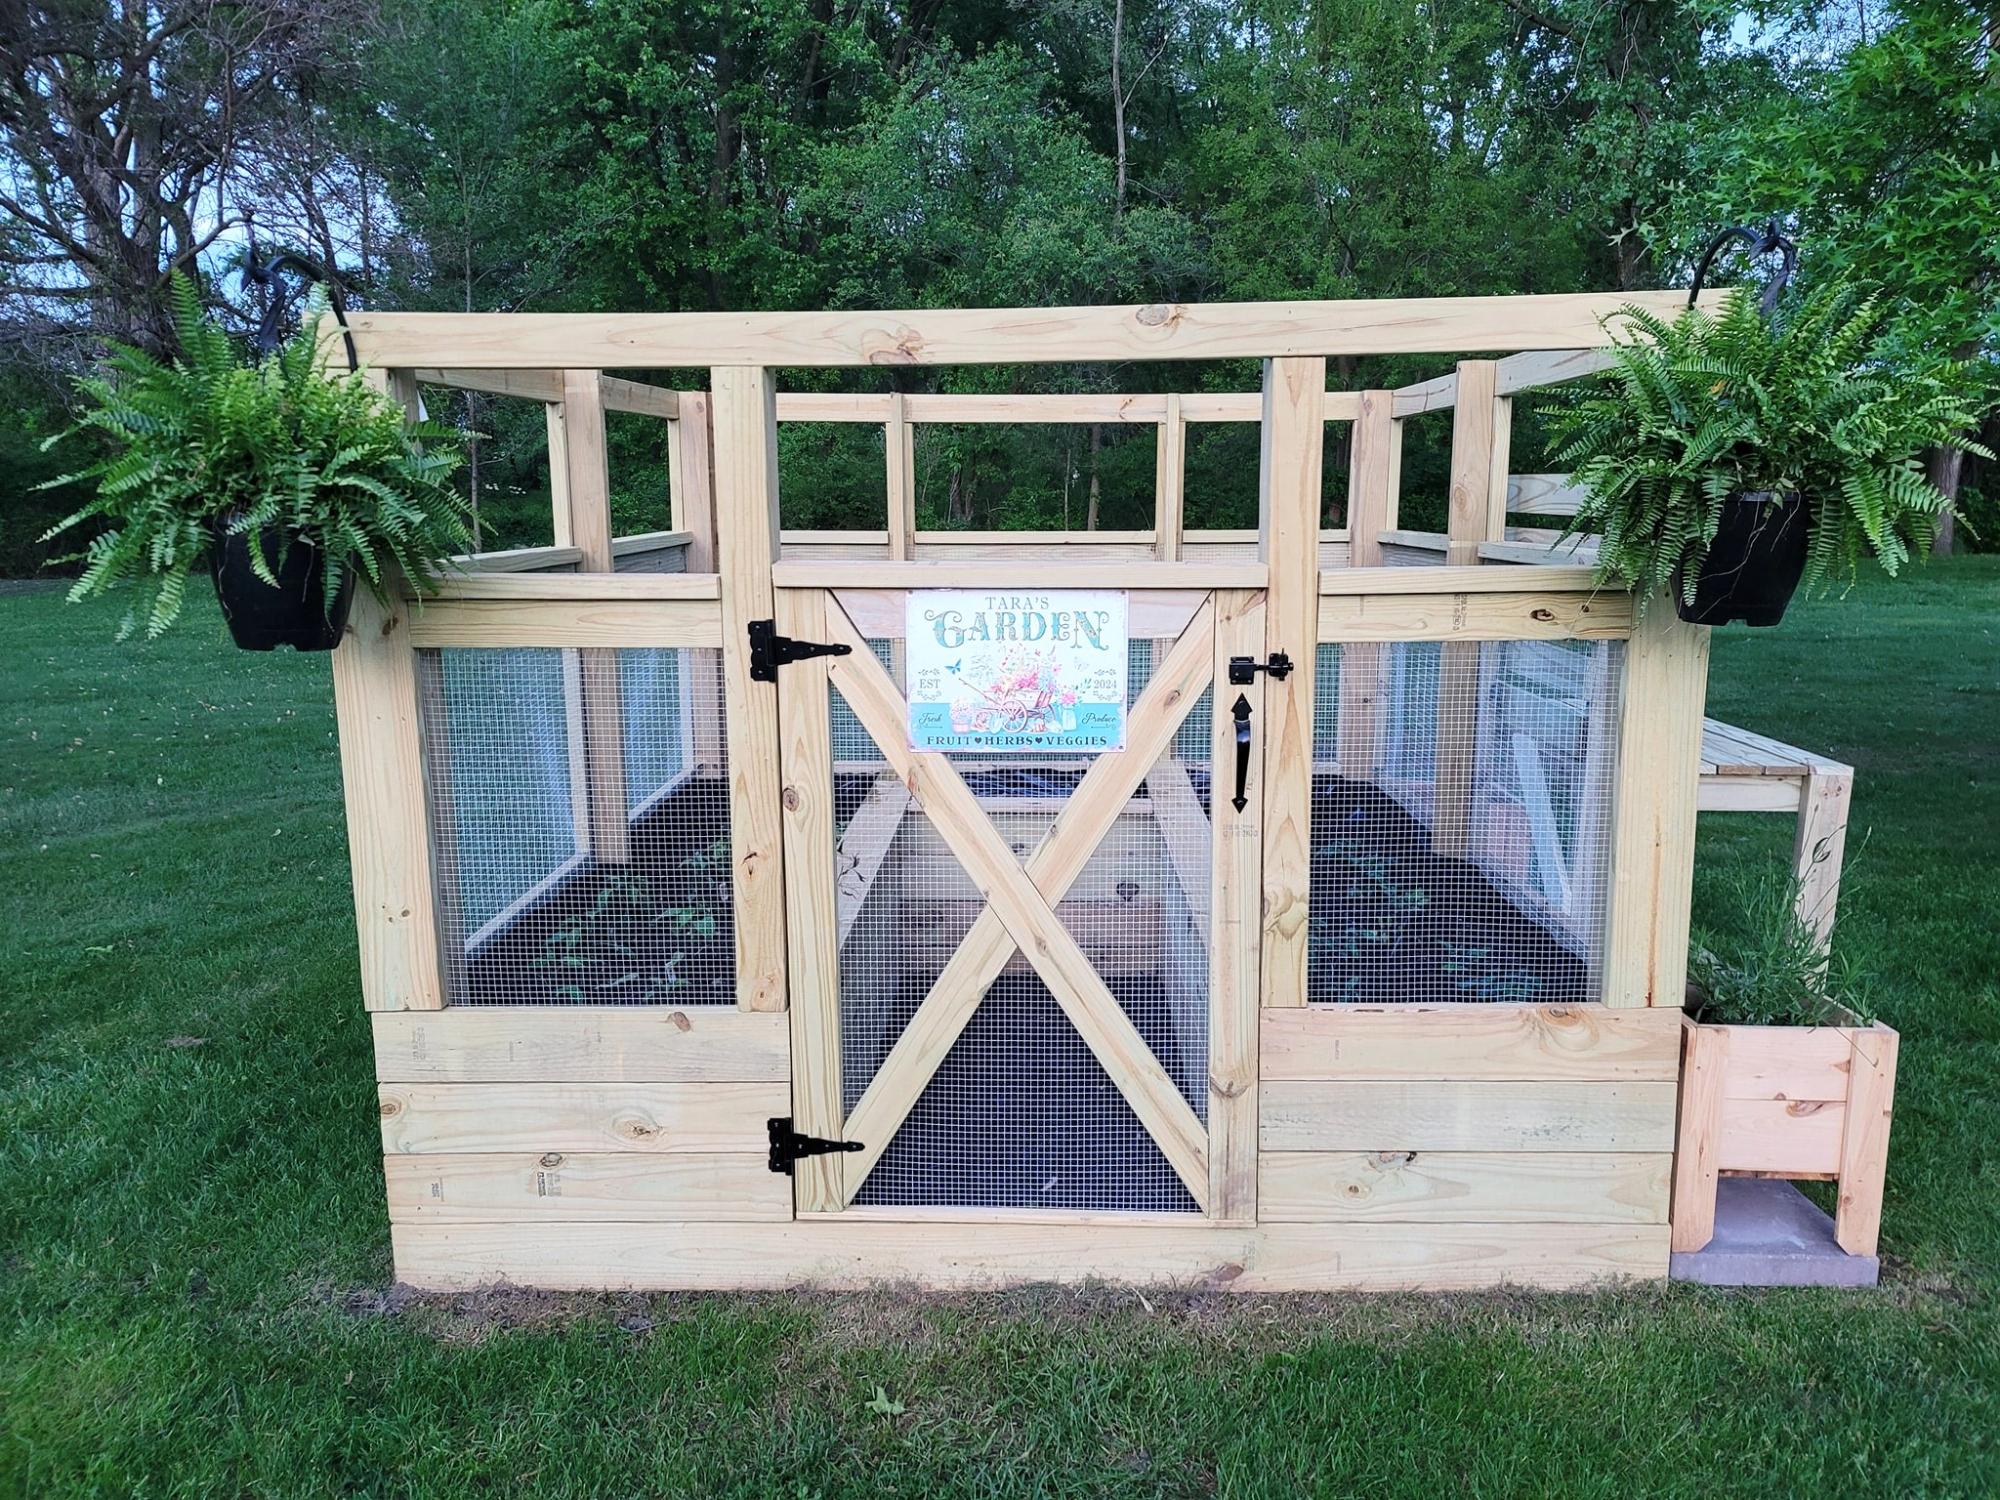
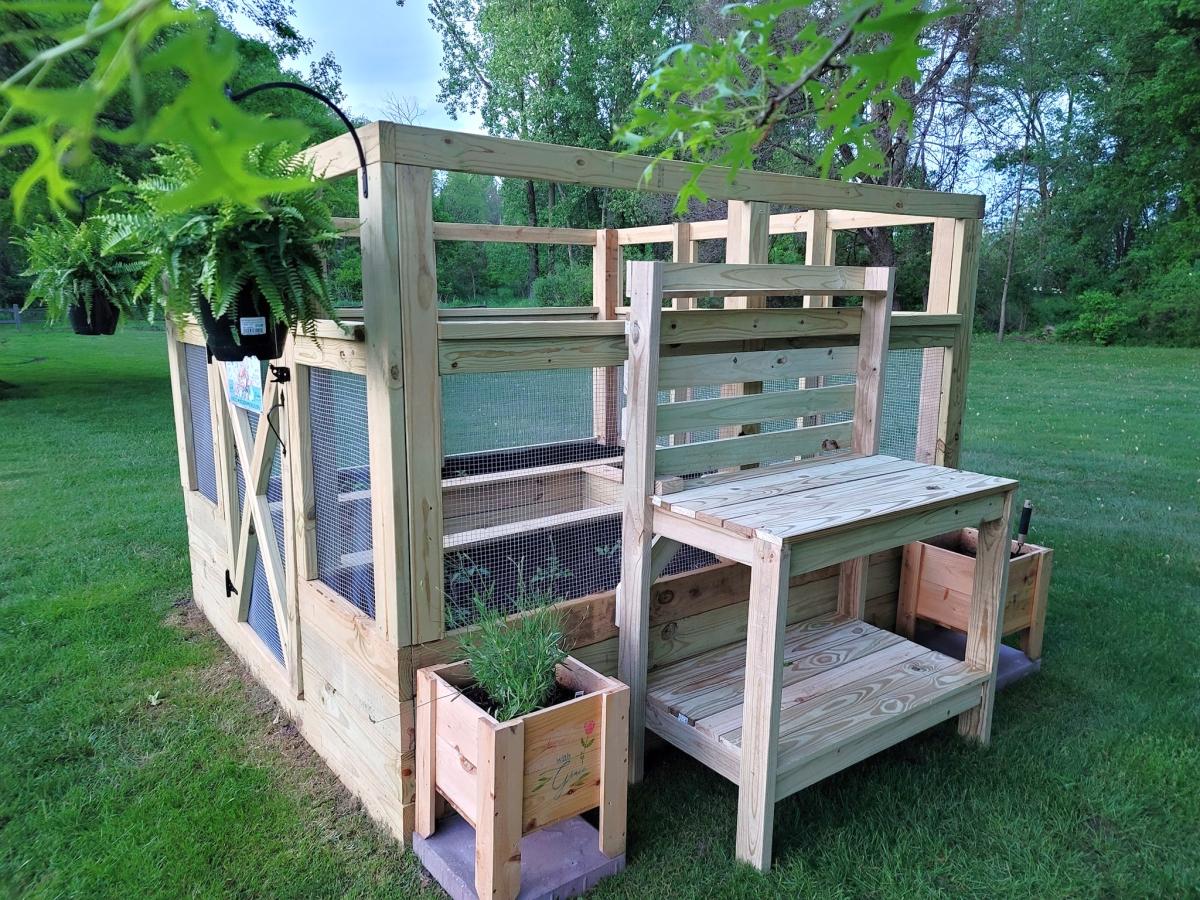
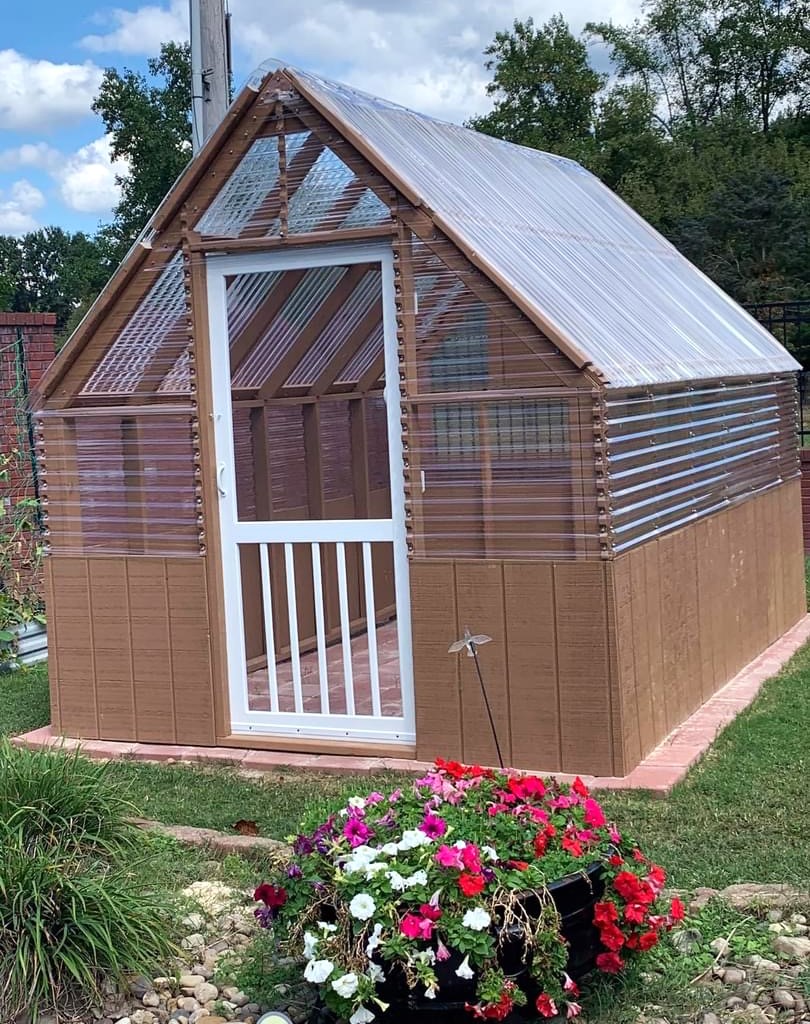
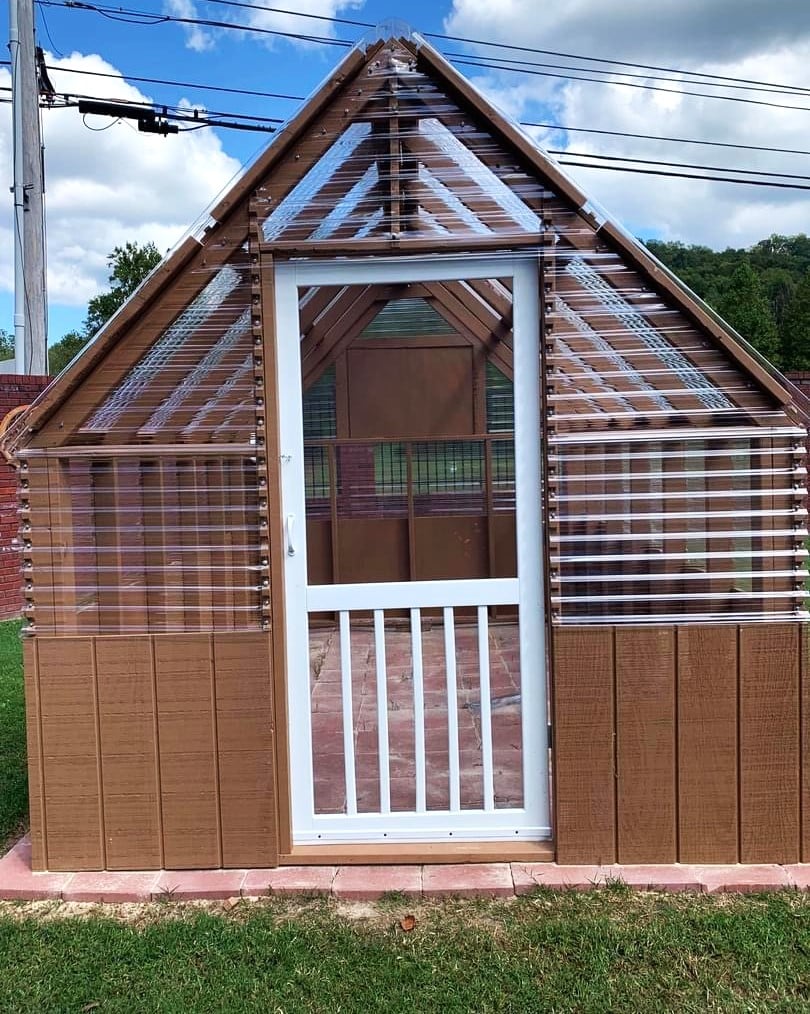
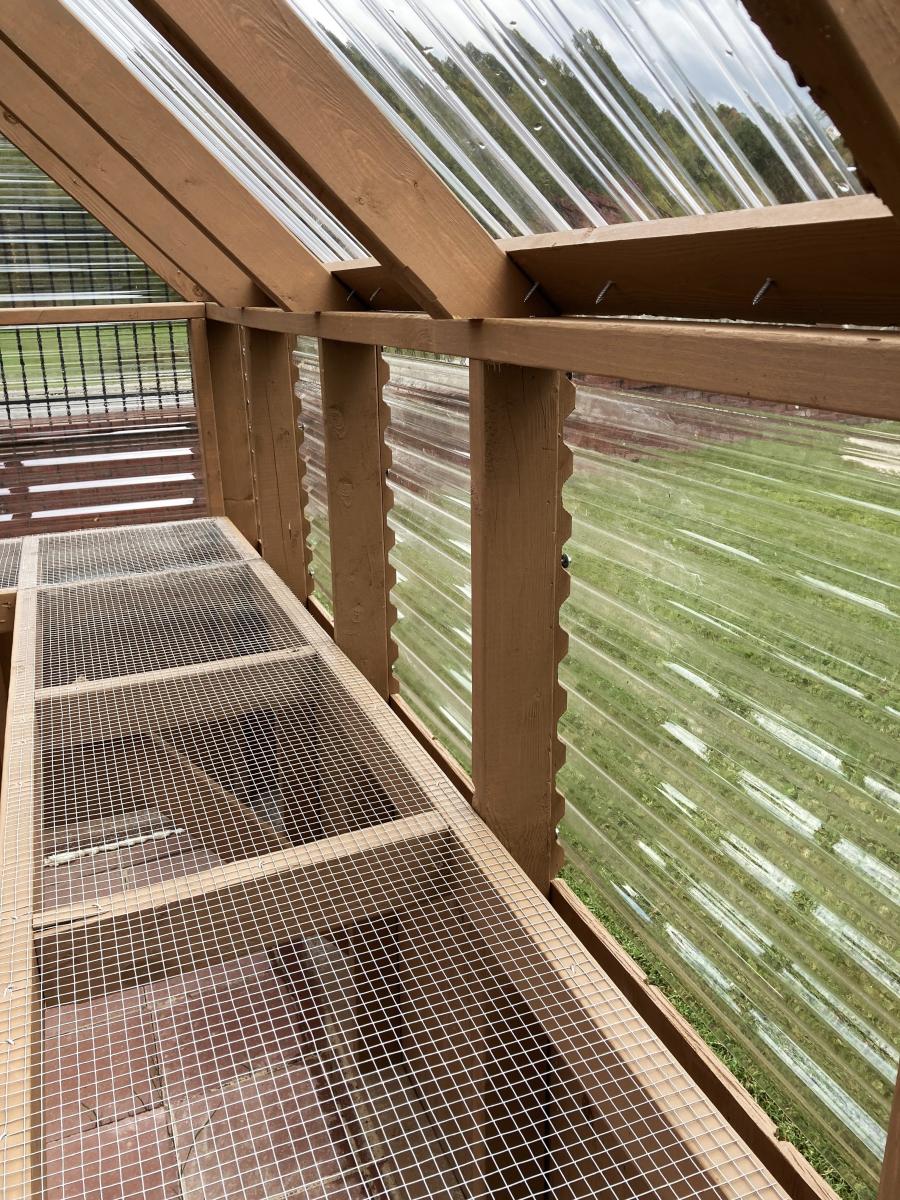
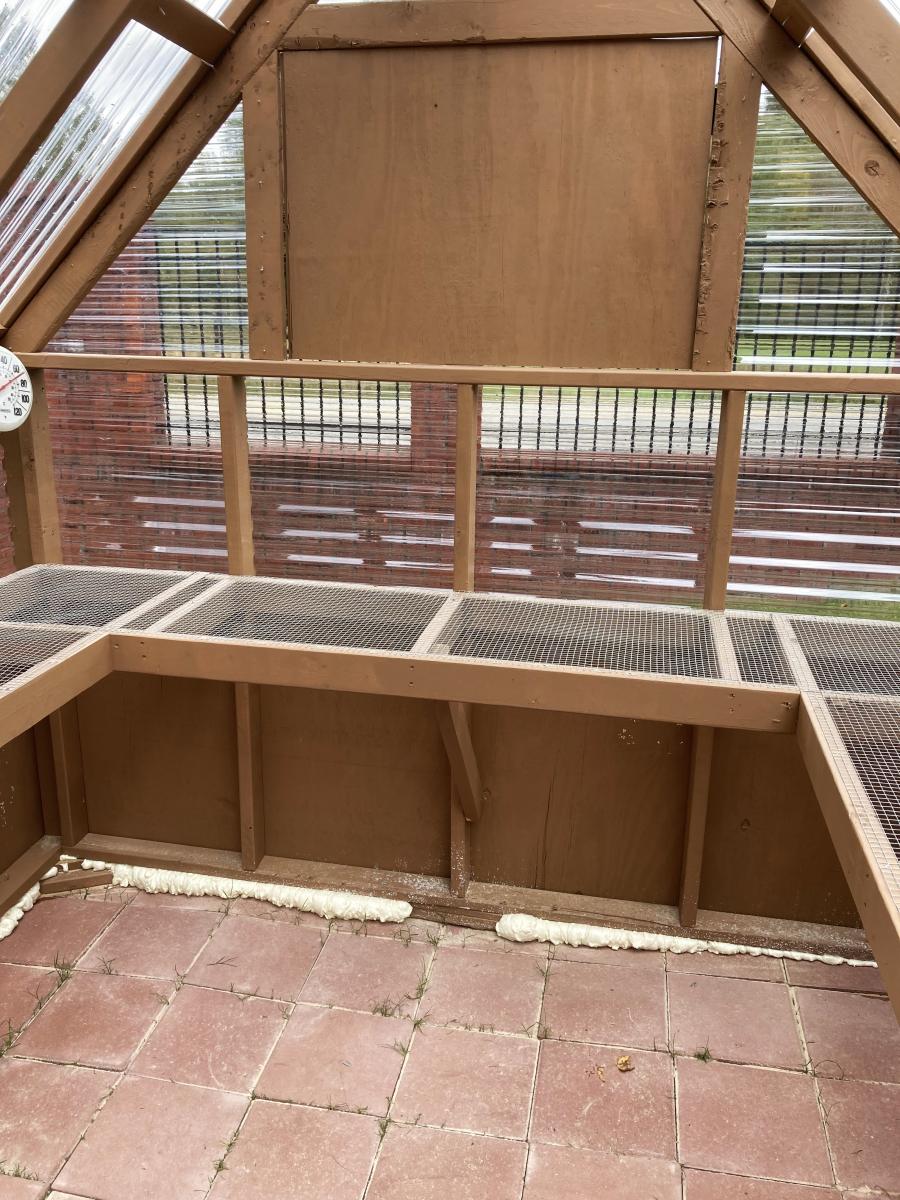
I saw the barn shaped greenhouse plan but preferred a regular roof pitch. I did however incorporate the corrugated polycarbionate as a covering. I find it odd that you guys installed the polycarbonate horizonitally instead of vertically.
Anyway thanks for the info on polycarbonate.
Tue, 09/01/2020 - 17:47
Love this! I really prefer the roofline on your greenhouse. Did you modify Ana's design, or did you get plans from another site? Would love to replicate your design if possible-very elegant.

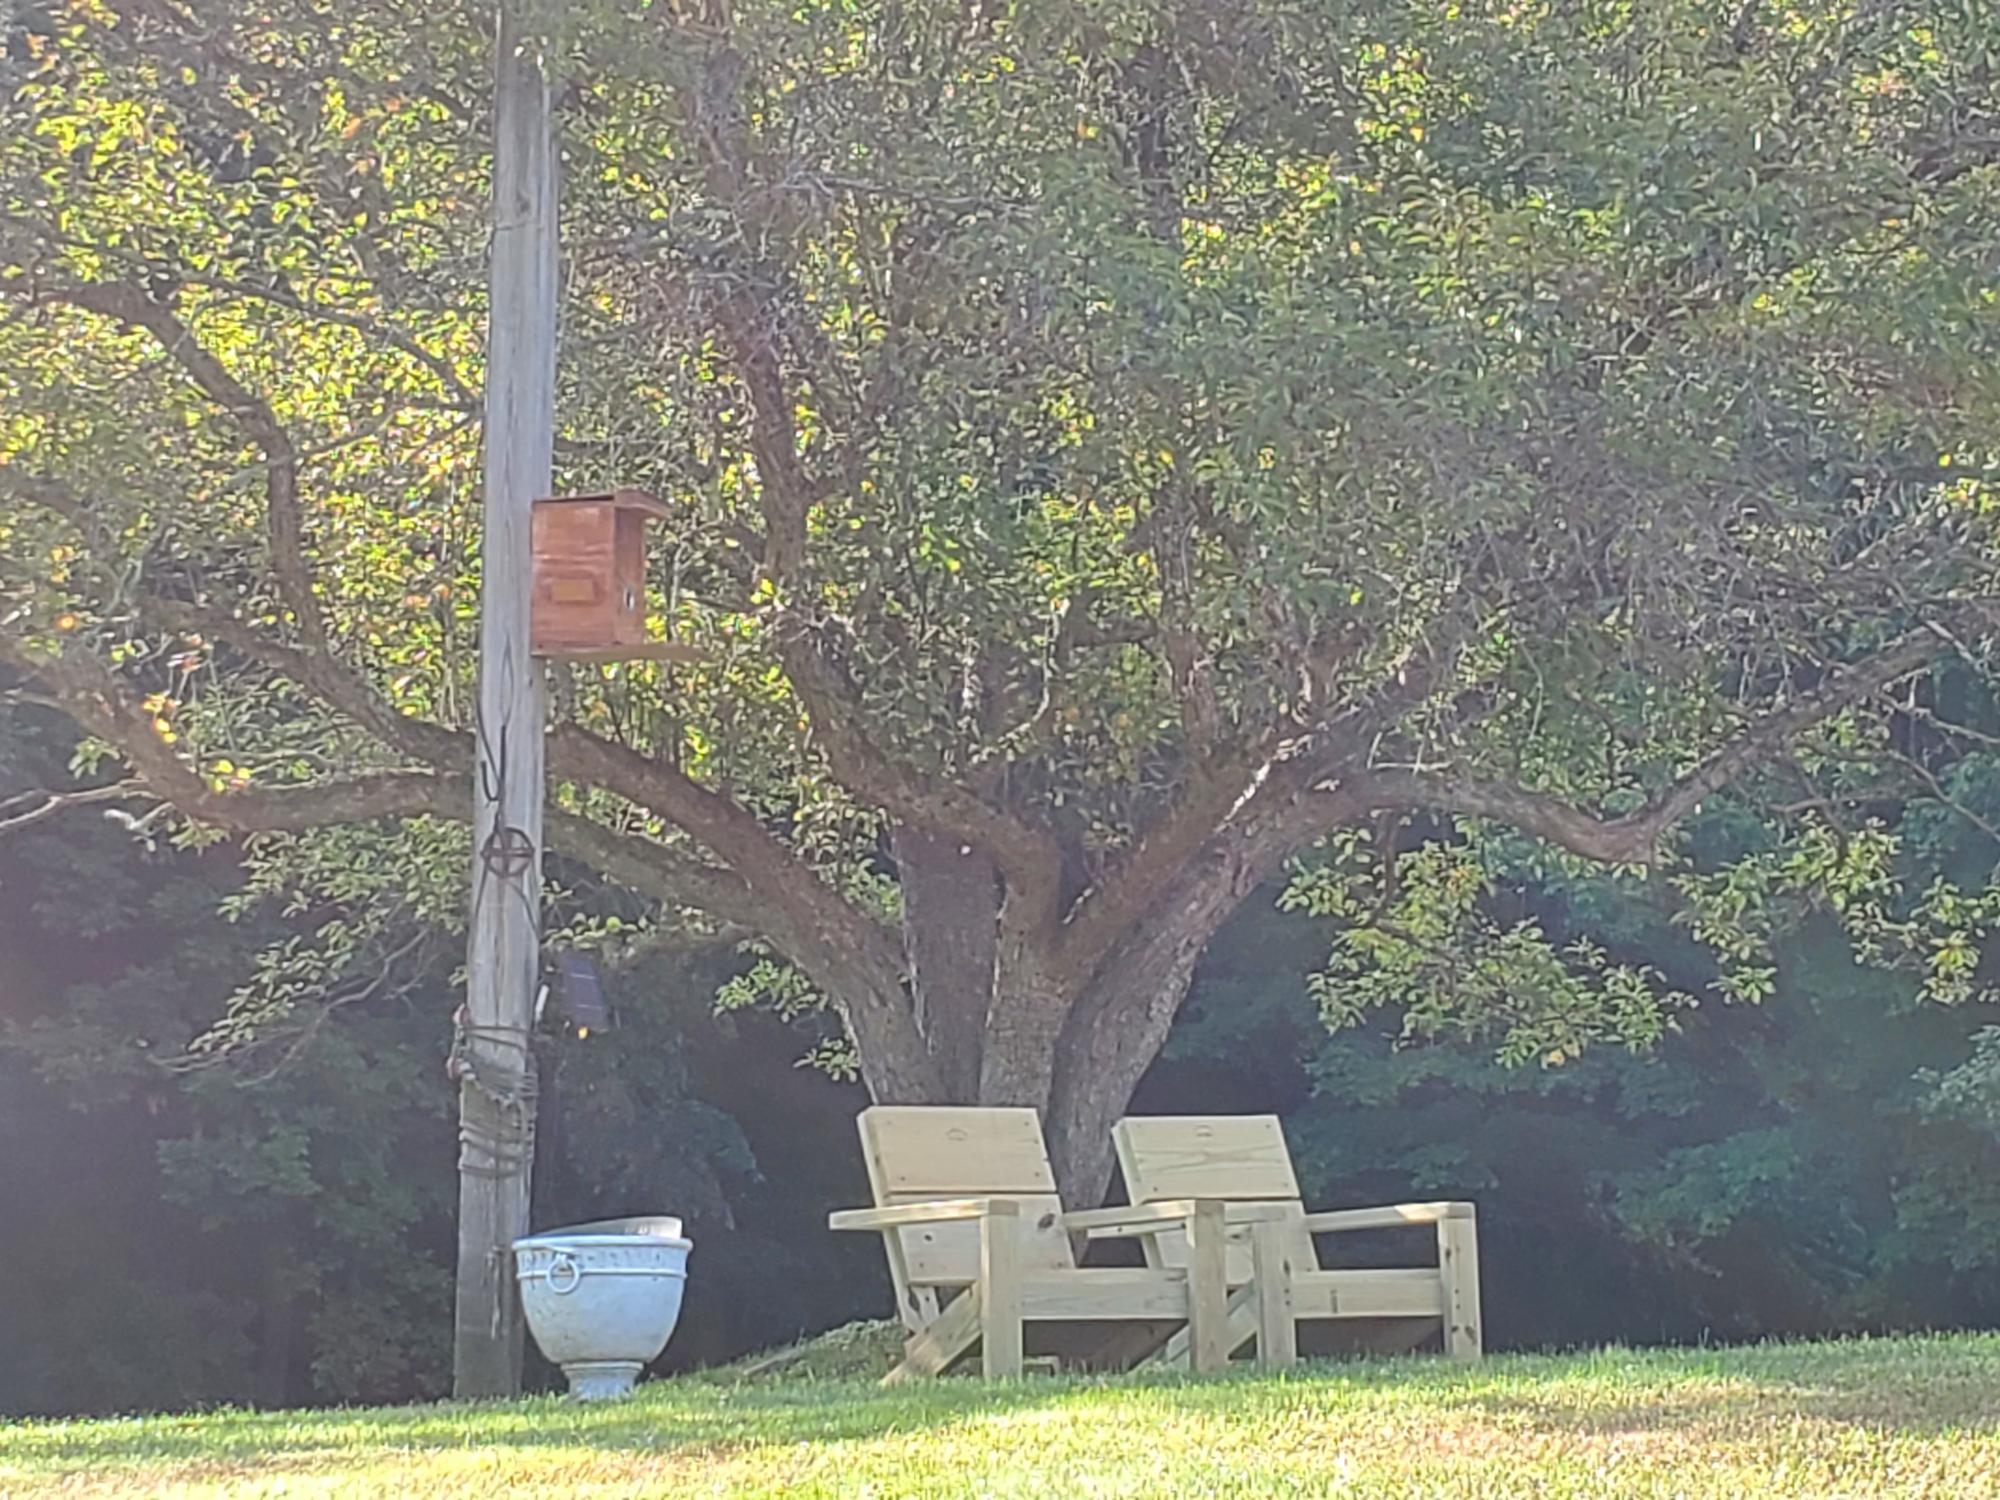
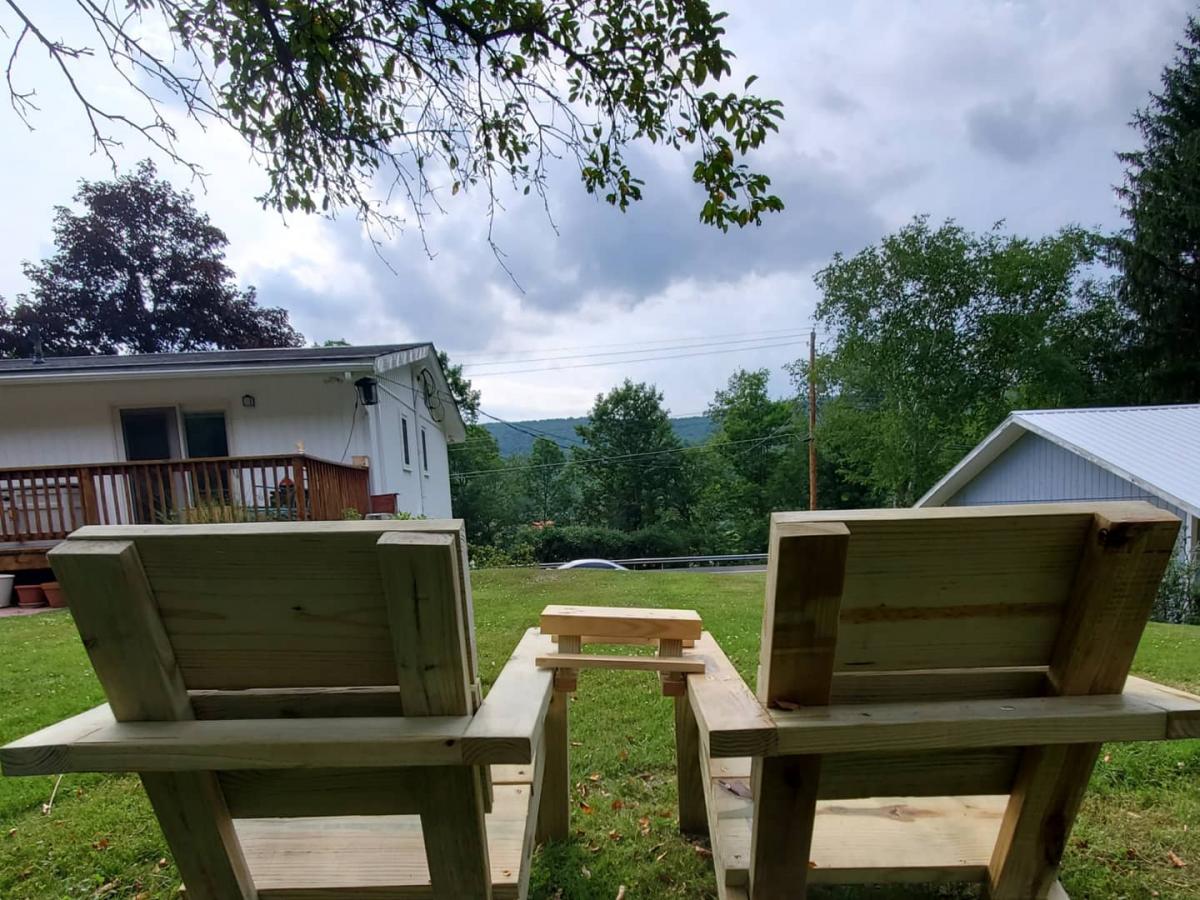
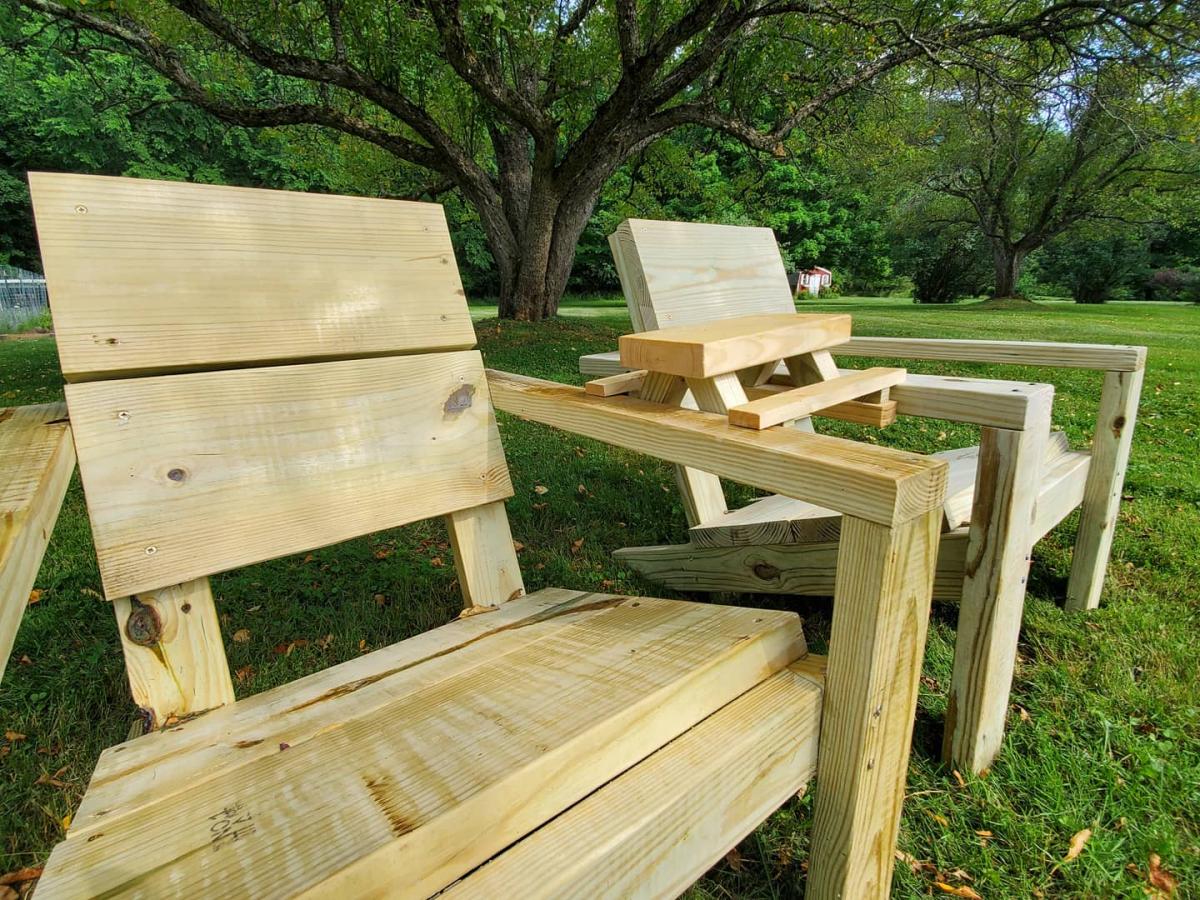
Ana sent us the plans for this bench and it worked out great!

Mon, 06/03/2019 - 11:34
This looks awesome! Thank you so much for sharing, great job! I love the table in the middle
Thu, 09/16/2021 - 06:32
How can I get plans for this? I love the idea and want to build these for my fire station.
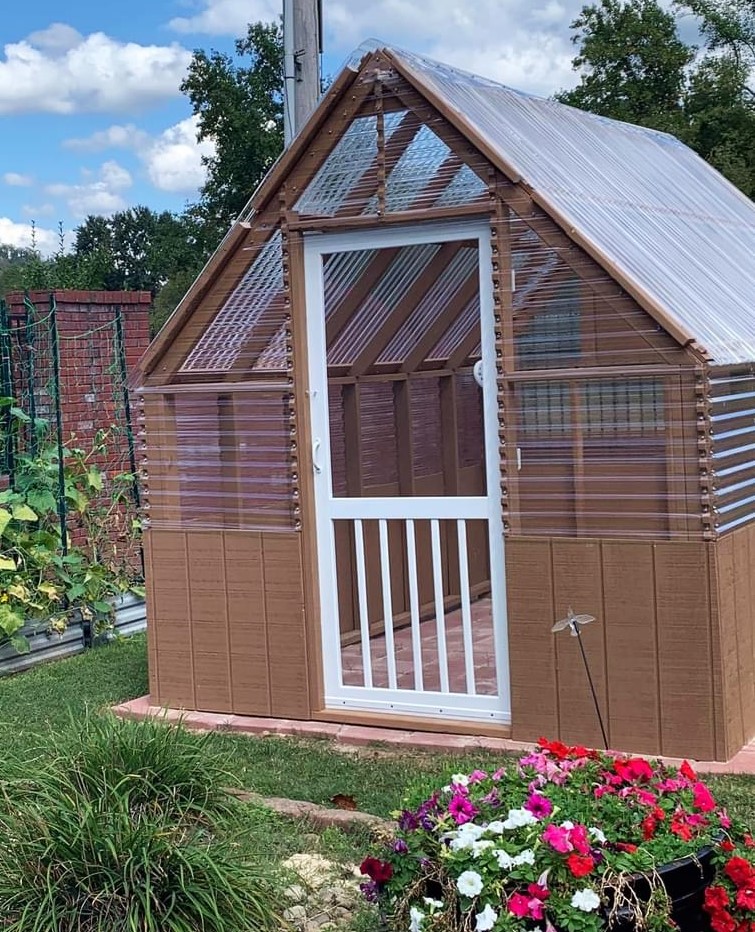
I love my new Ana White designed greenhouse! It was amazingly easy to build and the material shopping list ensured there was very little waste or materials leftover after the build. I can’t wait to get started using it.
Bill Crabtree
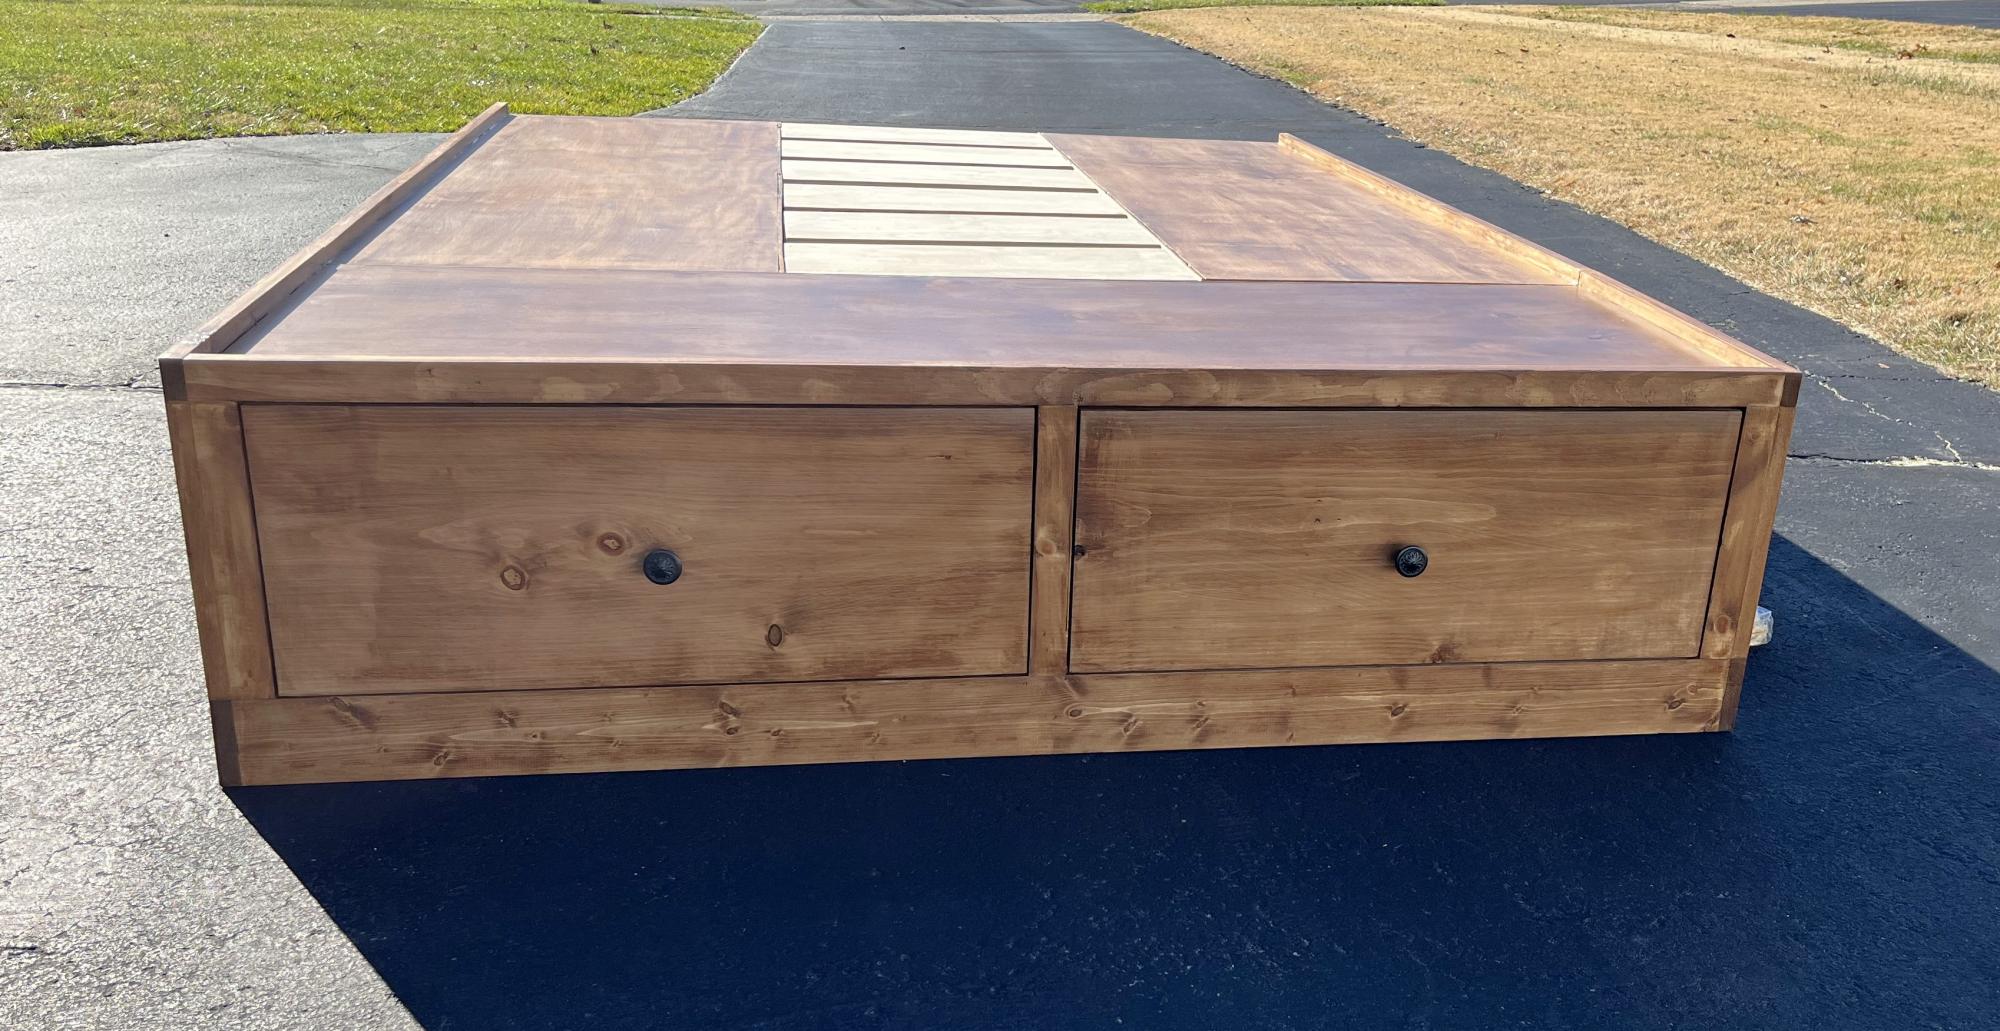
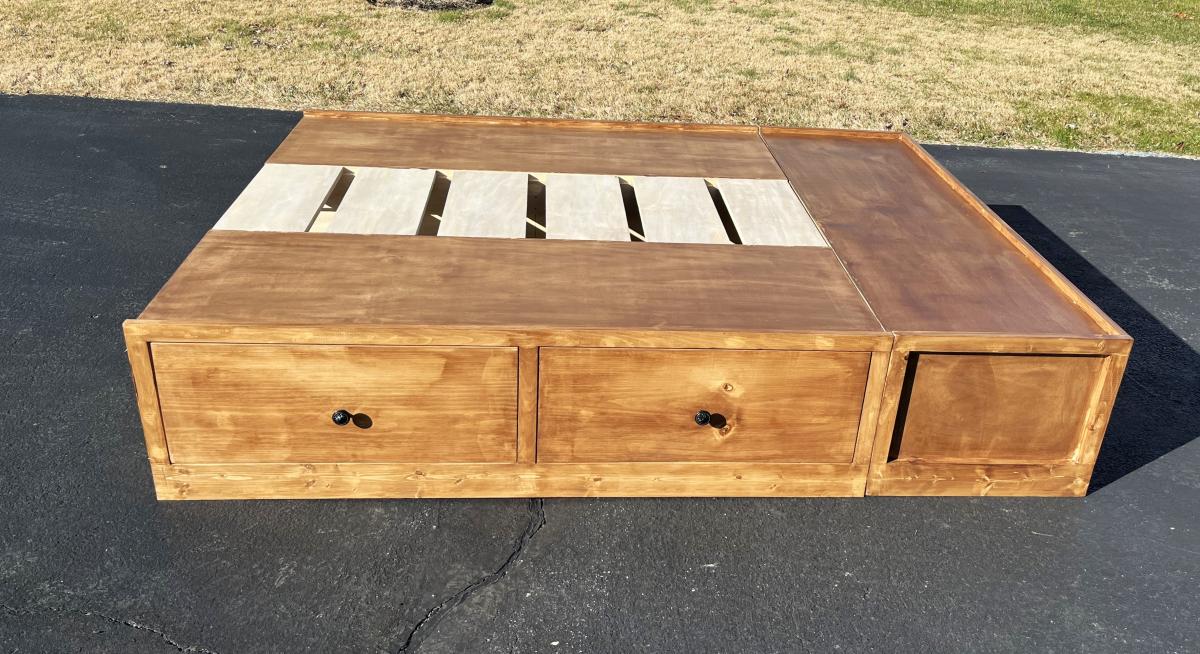
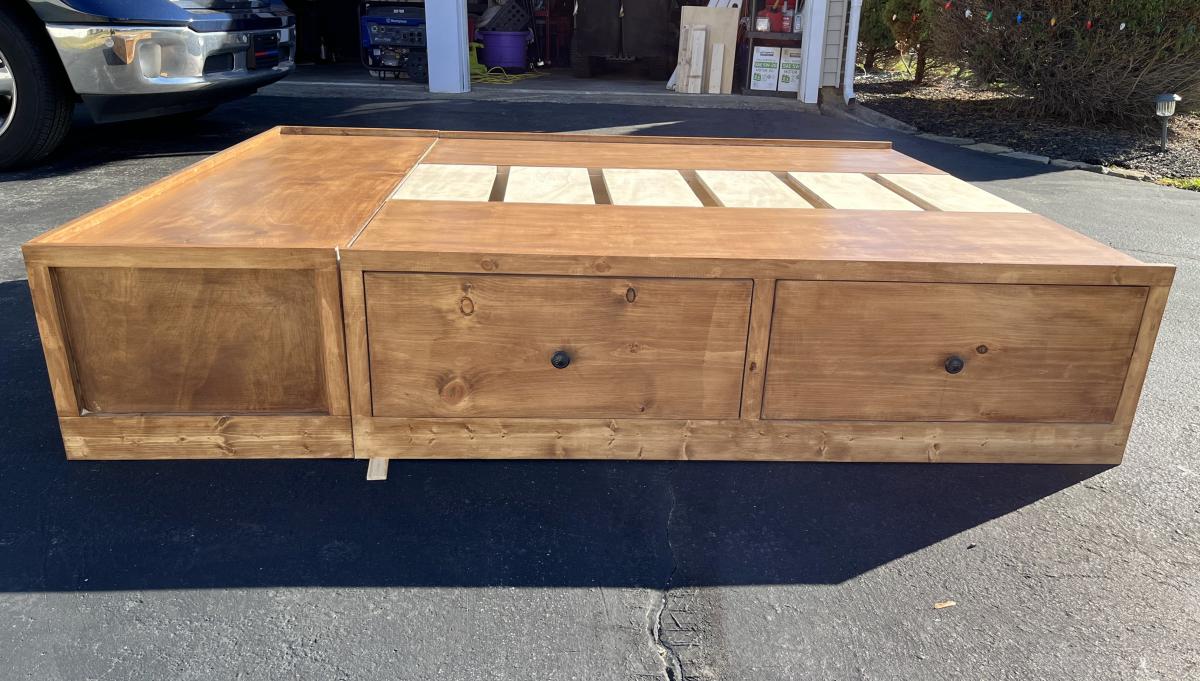
Queen bed frame with drawers.
Alex's Dad
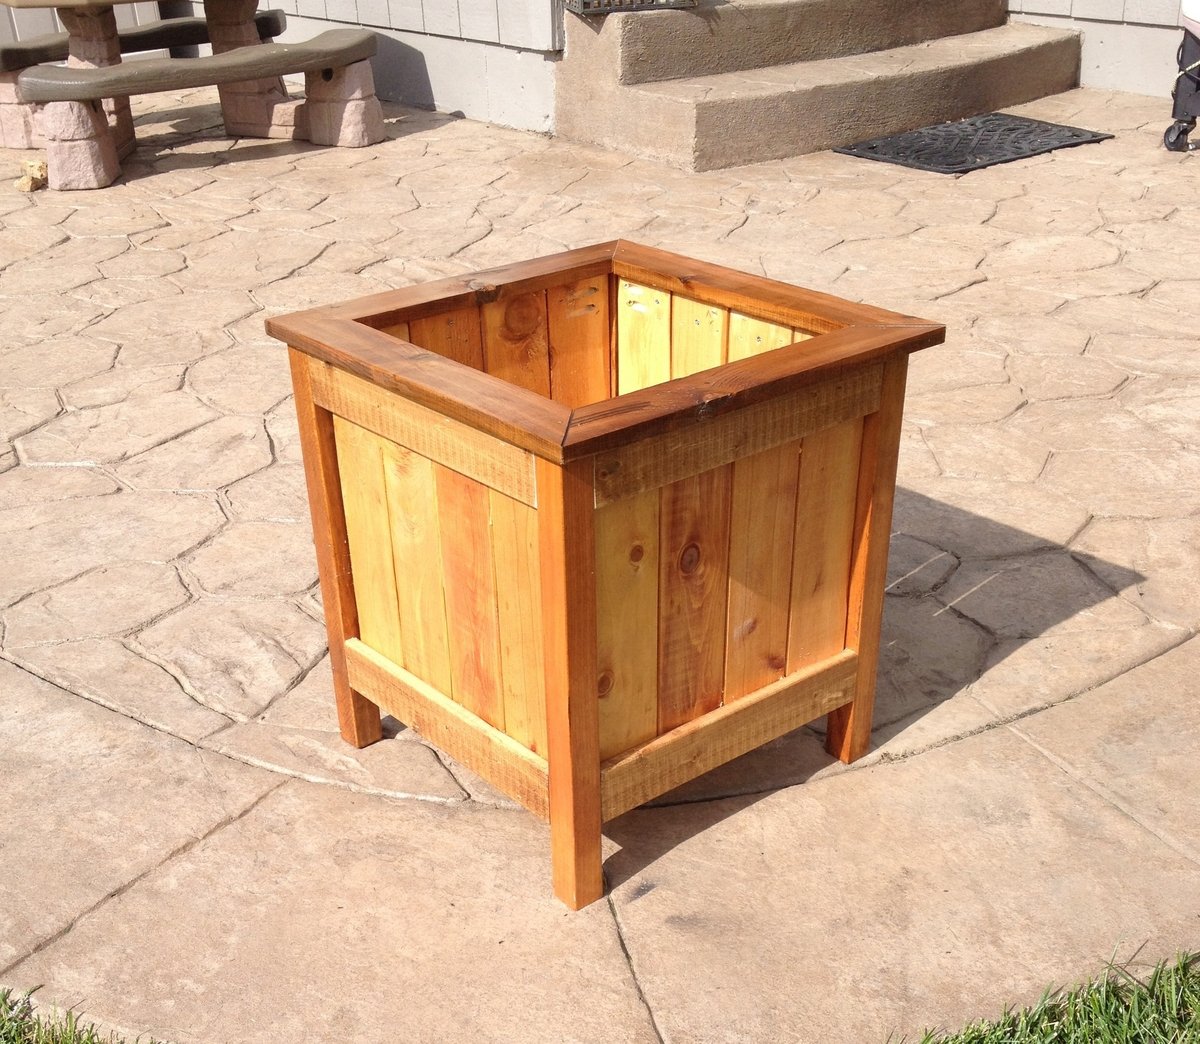
I used the main plan for ideas, but opted to use 3.5 inch pickets instead, which allowed for a smaller planter that wasn't as big. Also chose to miter 1x3s for the top which I think really finishes it off. Sanded everything with a belt sander to 220 grit. Used min wax golden pecan plus three coats of poly inside and out. Finished size was about 17x17. Tile spacers work great to keep the gaps even!
slight change using 2x6 pieces for the seat and back... Otherwise followed the plans to a T and love the outcome

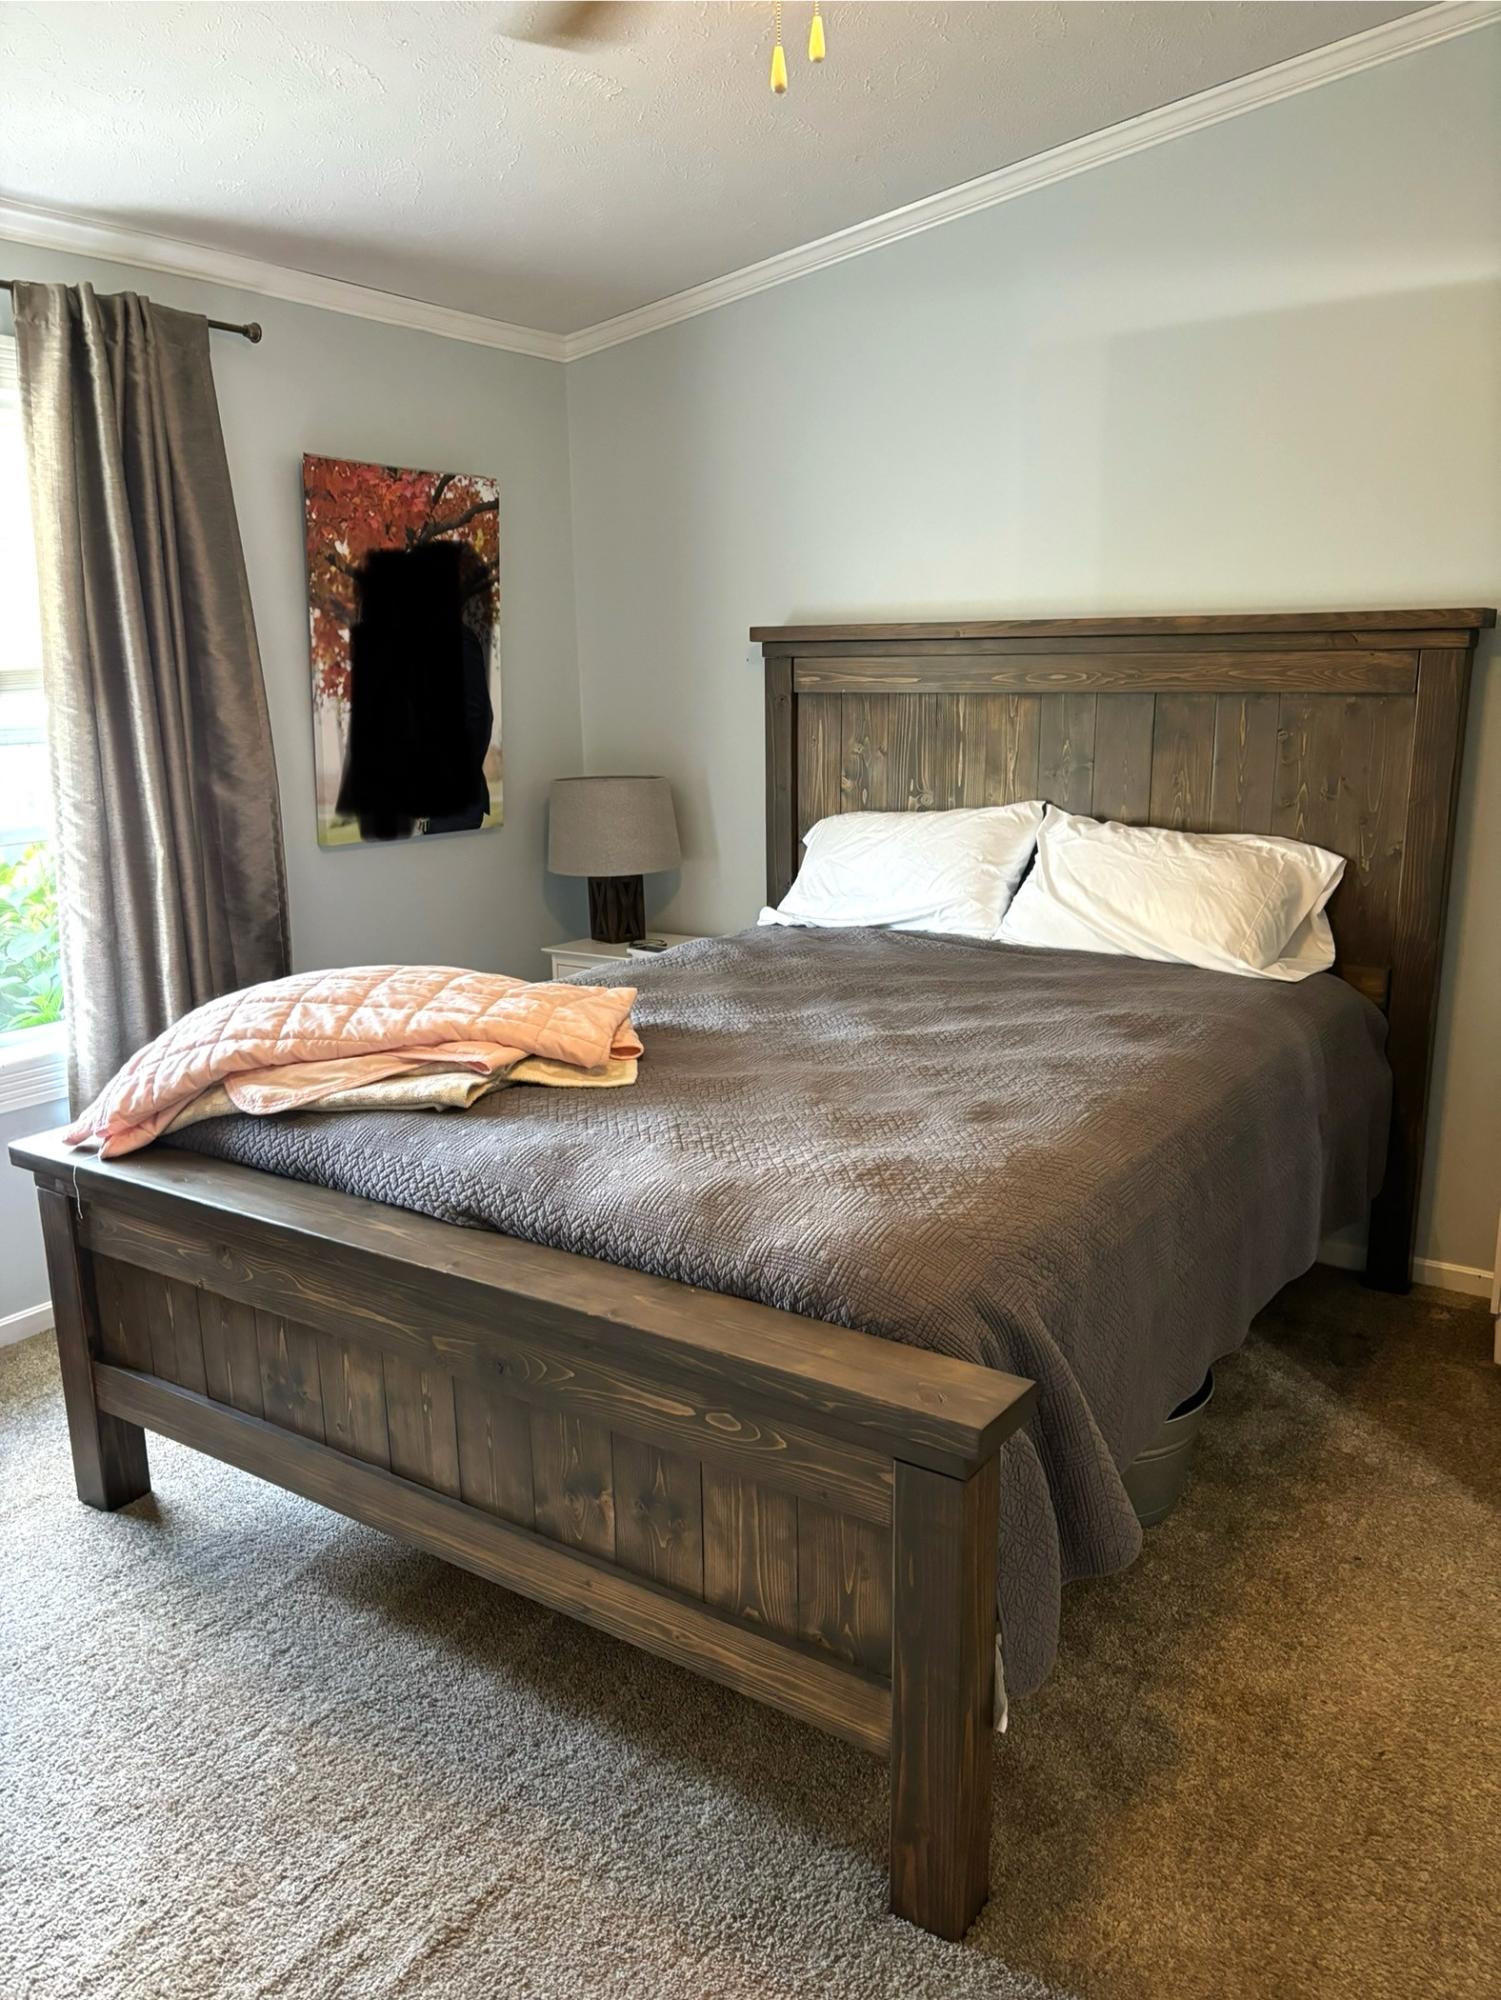
I made this in the evening over the course of a week. It’s exactly what I was wanting. The instructions are easy to follow. It is heavy and very sturdy. I added bed rail hardware from Amazon to make it easier to take it apart if we ever move and I added a couple inches to the legs so that we had a little more storage underneath. I stained it with briarsmoke from Varathane and topped with Varathane triple thick water based poly. We’ve used this finish a few times including a desk and our dining room table and it seems to hold up pretty well for us.
Shelby


Comments
Ana White Admin
Fri, 07/22/2022 - 10:56
These look great!
Love your mods, thanks for sharing!