Community Brag Posts

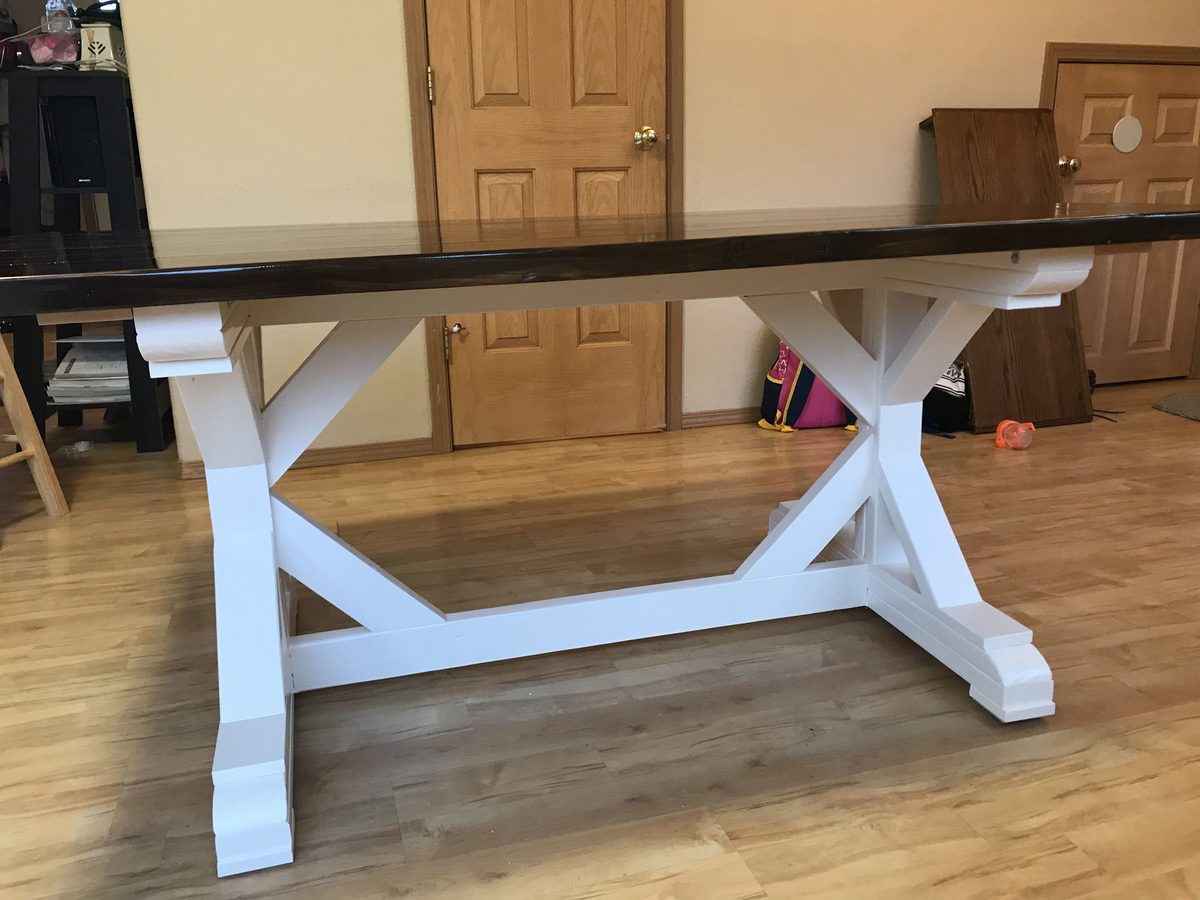
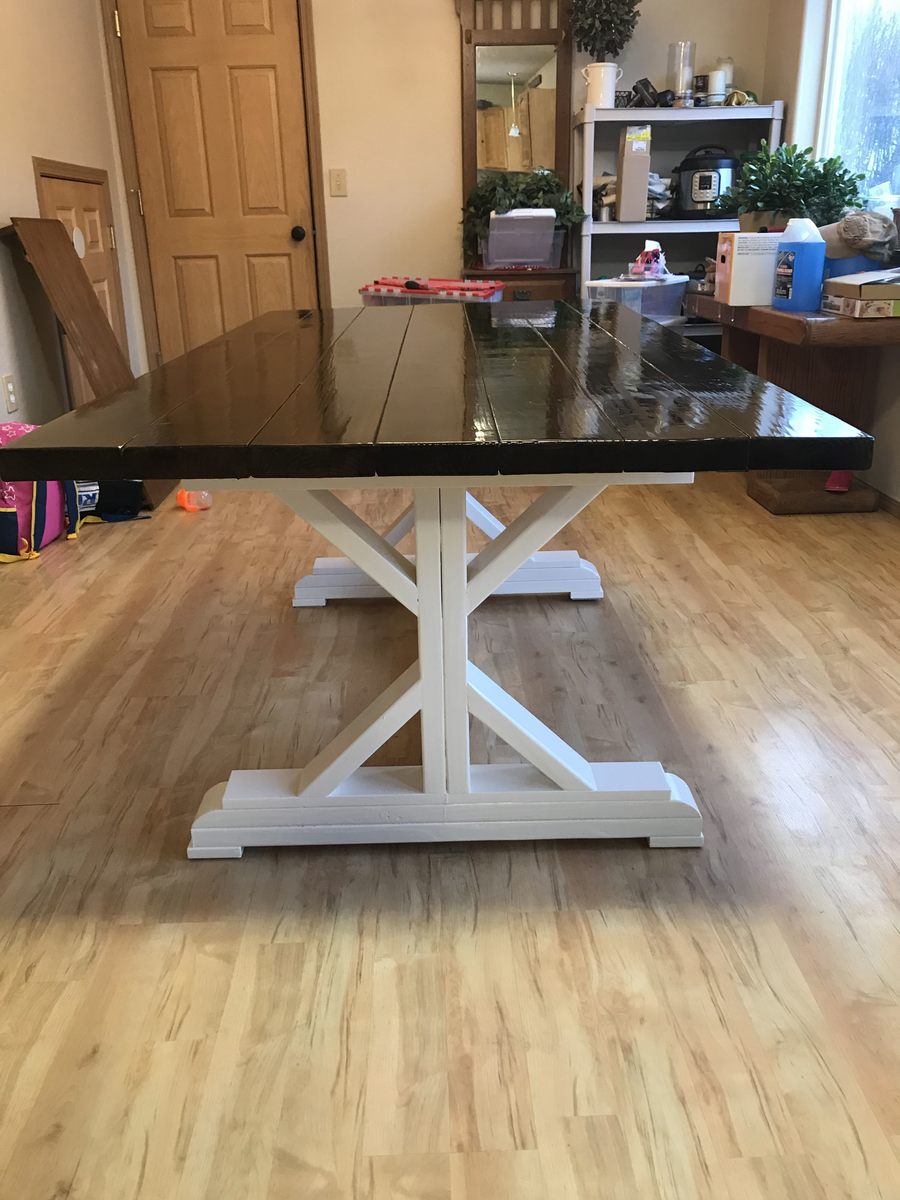
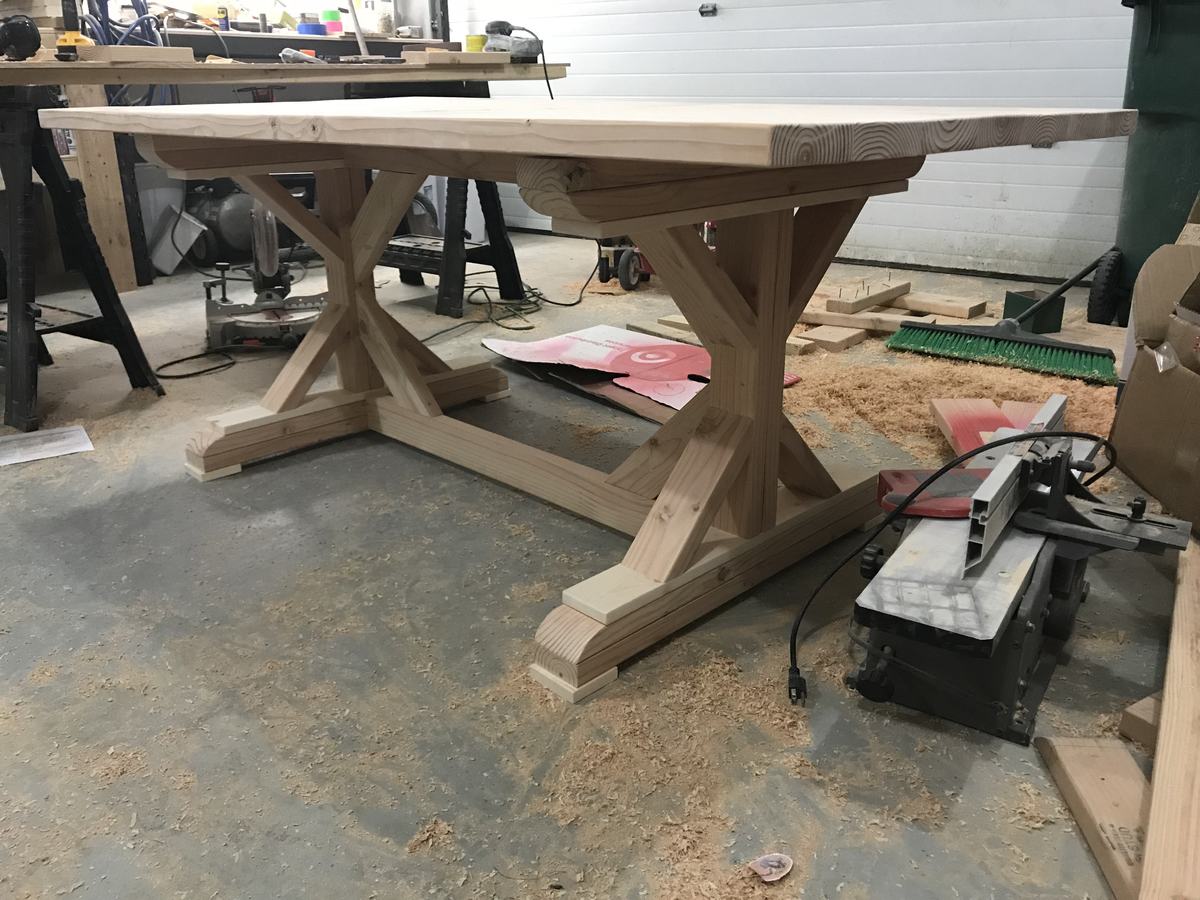
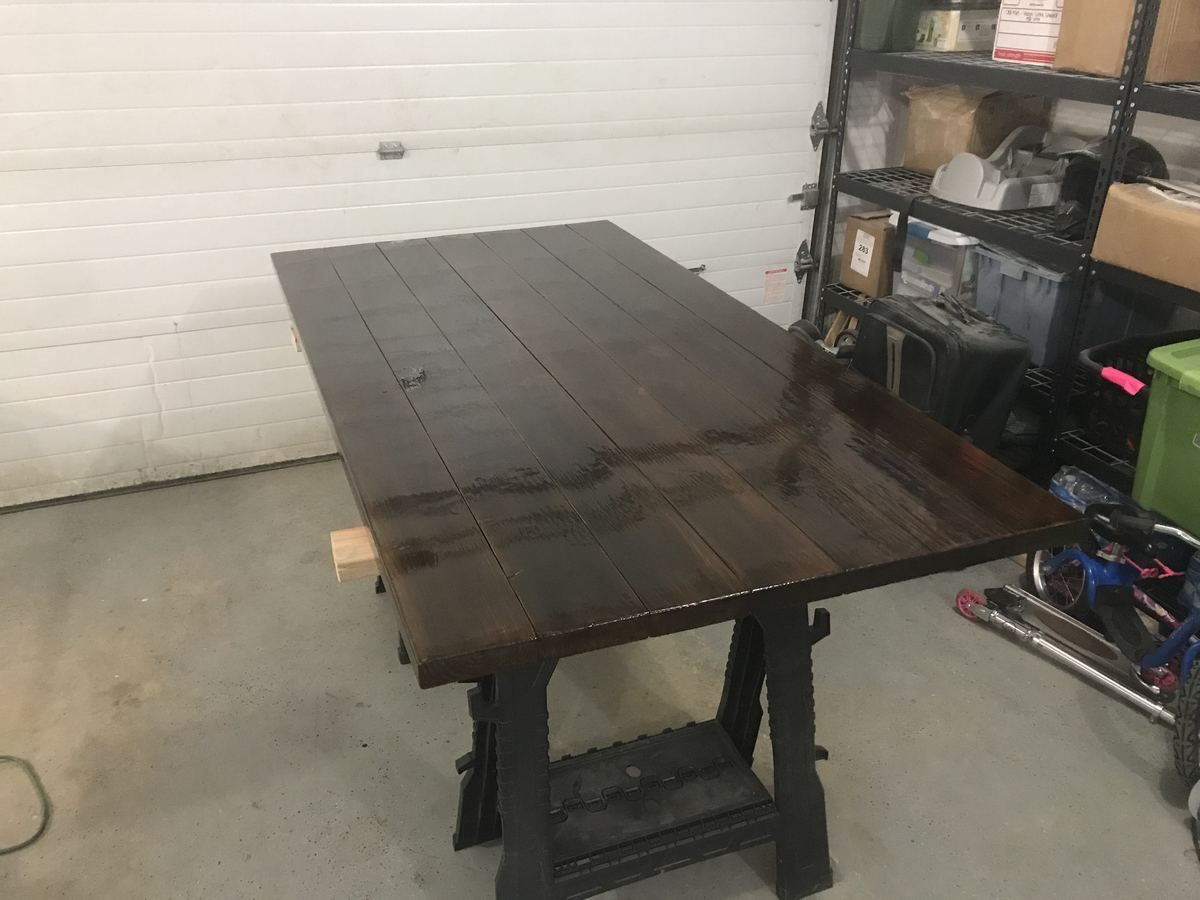
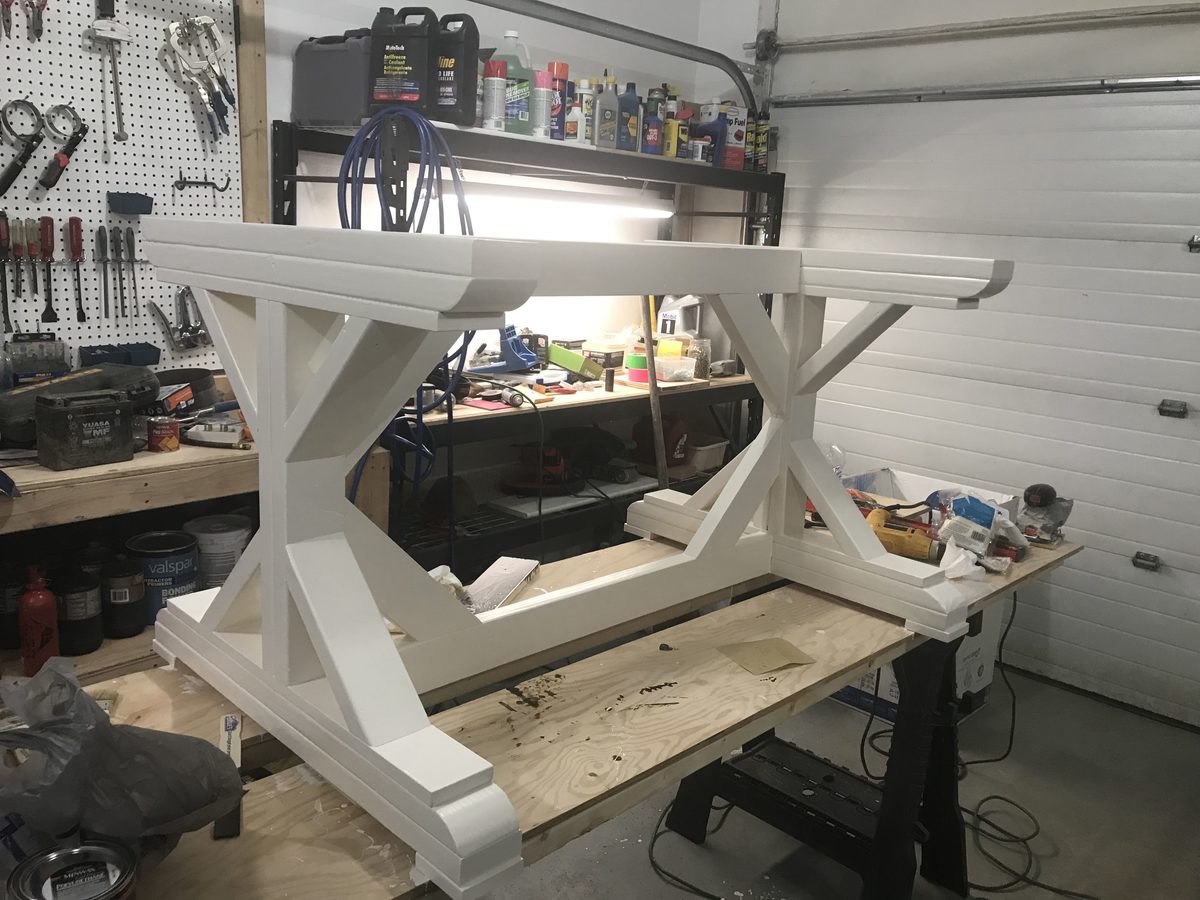
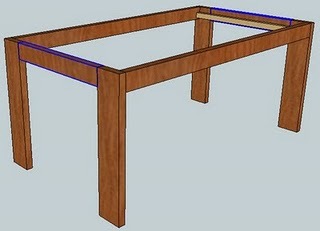
Farmhouse X-trestle table

Submitted by ronhl on Fri, 01/05/2018 - 11:16

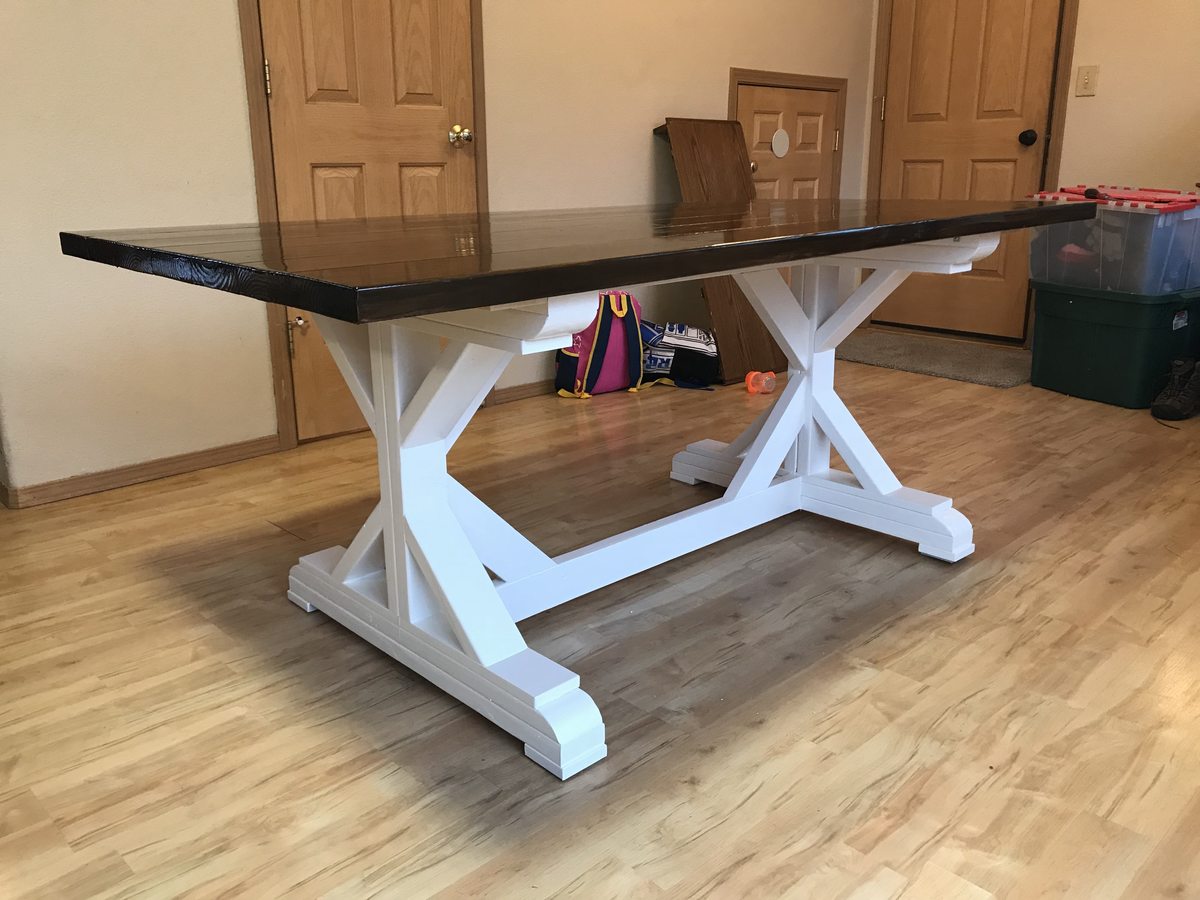
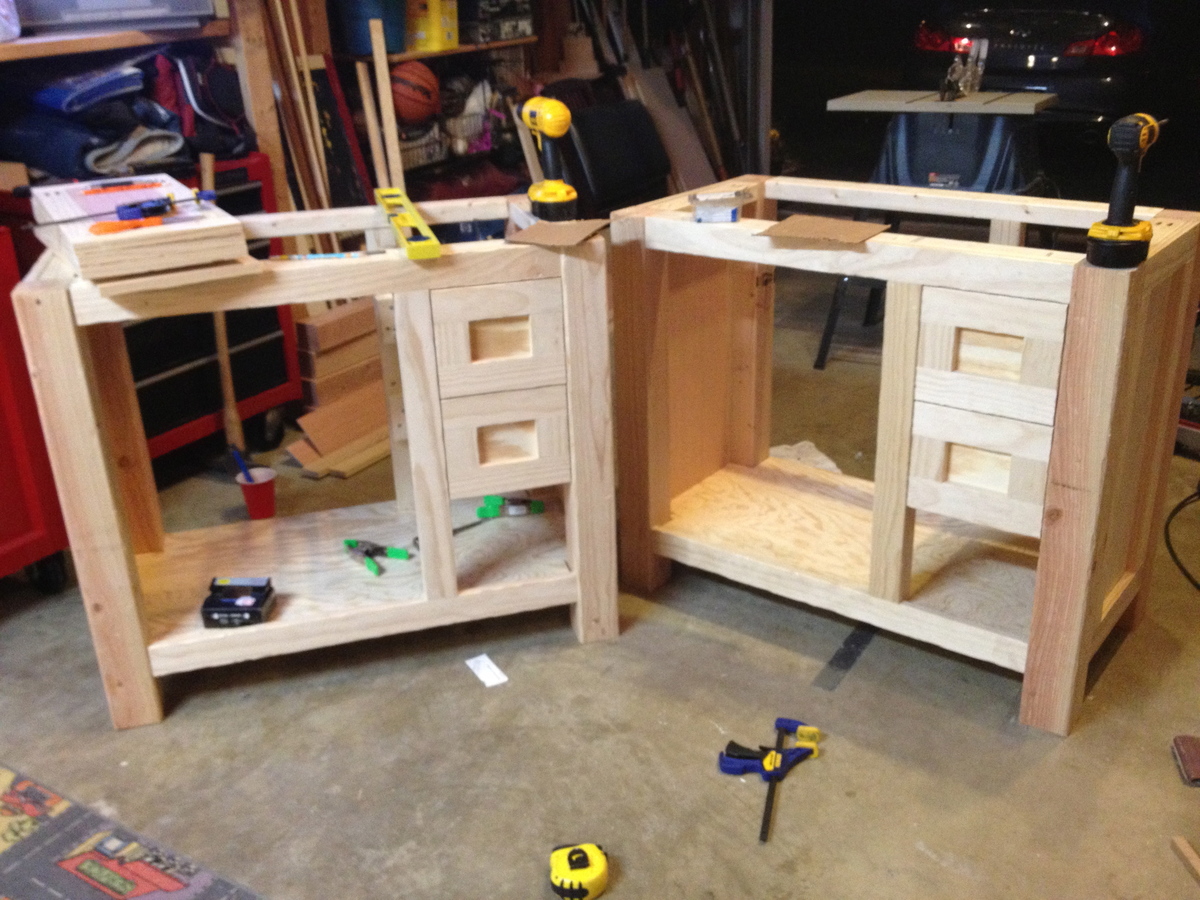
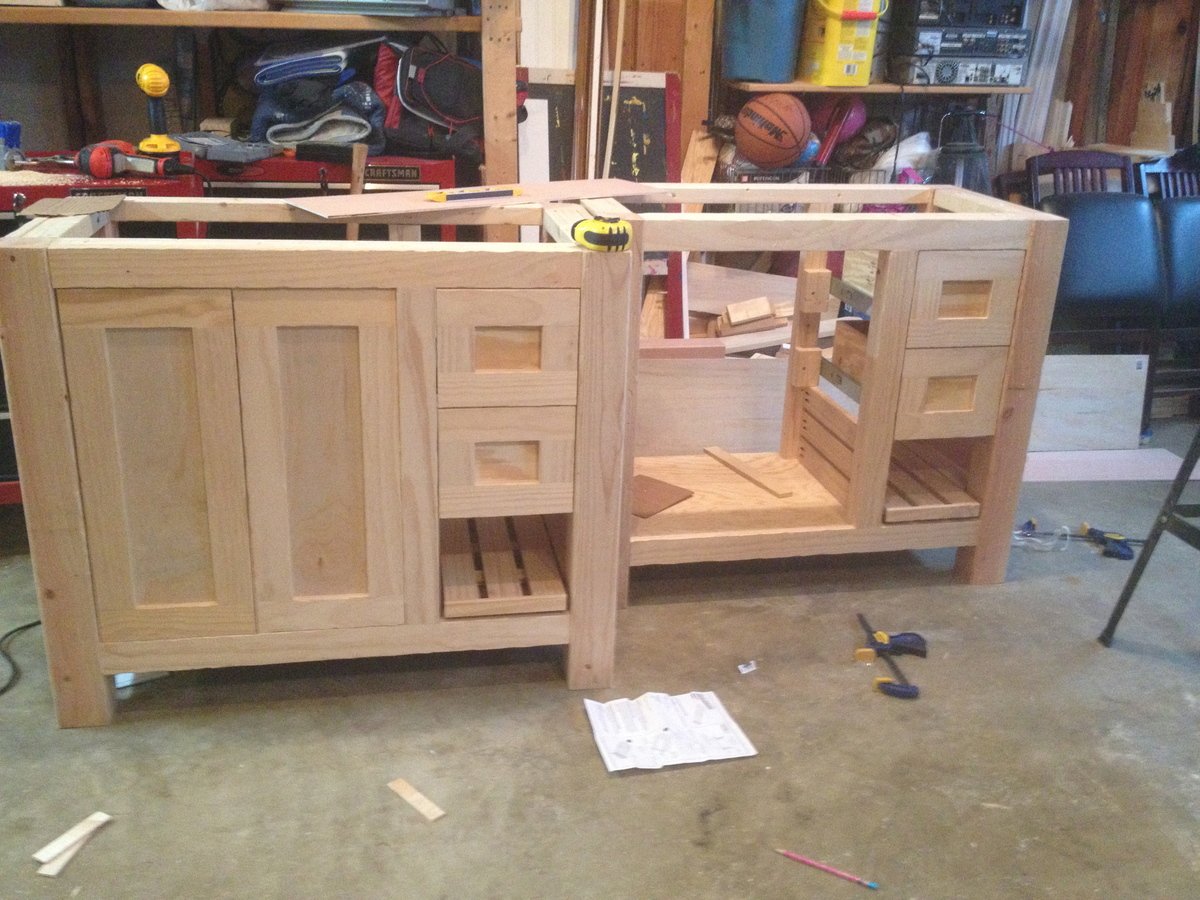
This was a fun project, my first attempt at something like this. It took me several weeks of only working on it with whatever spare time I could find. Hopefully, it will serve my families home dining needs for years to come!

Estimated Time Investment
Week Long Project (20 Hours or More)
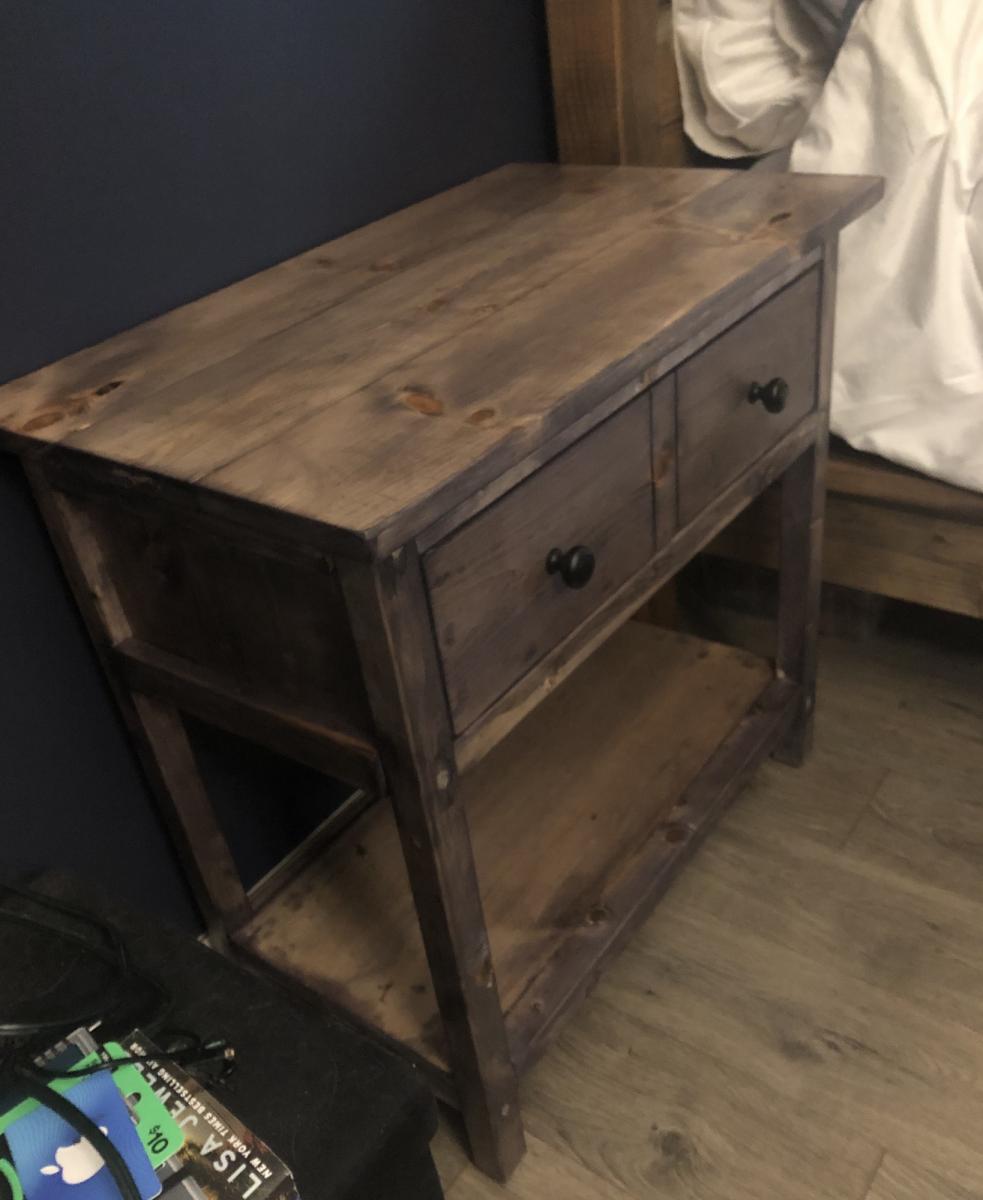
Finish Used
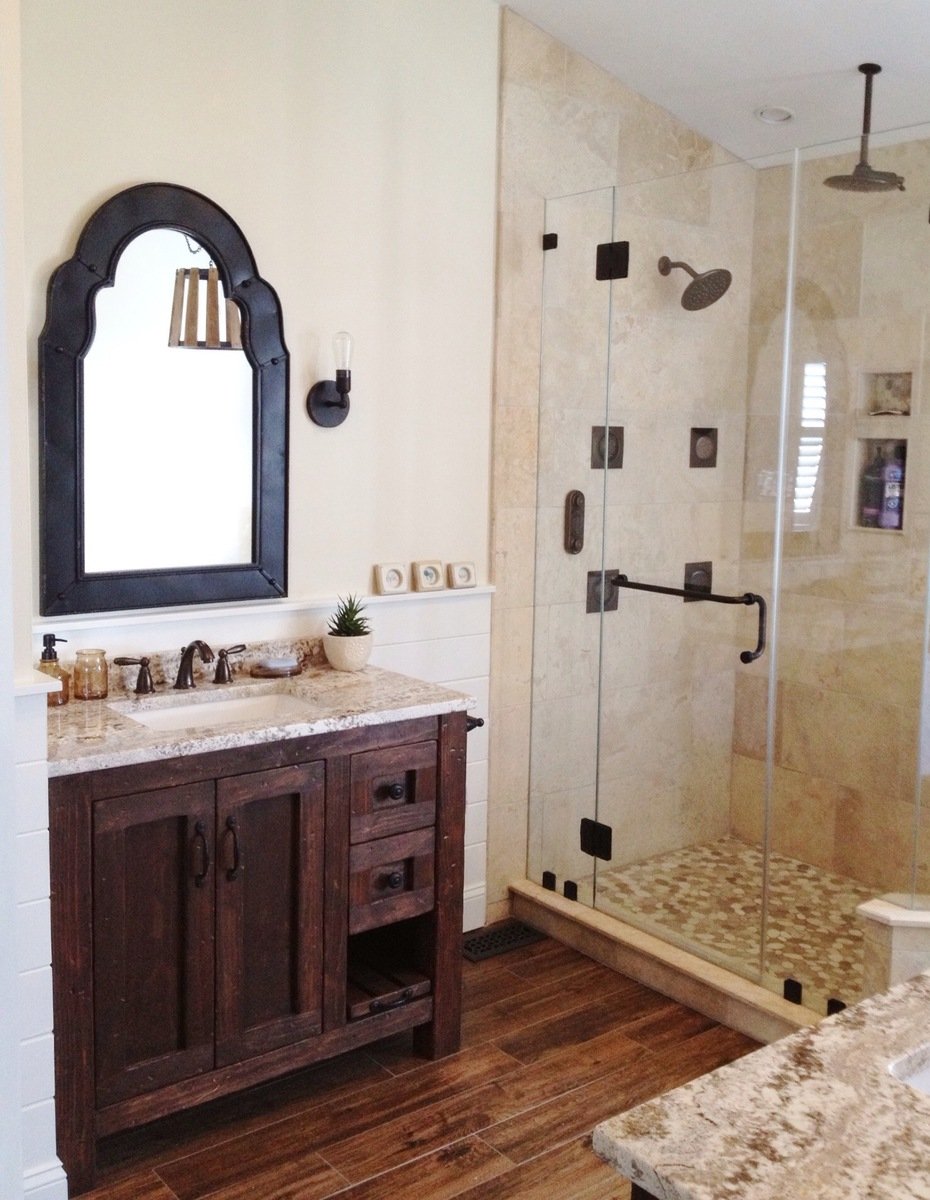
Water based Poly-color dark oak stain, with clear oil based clear on top of it. Base is painted with an enamel cabinet paint.
Recommended Skill Level
Intermediate

Comments

Lift Top Coffee Table

Submitted by JJones0925 on Fri, 03/16/2018 - 20:48

Instead of attaching the top to the coffee table base as done in the plans, the top is attached using a set of coffee table lift top hinges. 

Built from Plan(s)
Estimated Time Investment
Weekend Project (10-20 Hours)
Recommended Skill Level
Beginner

Comments

Barbecue/BBQ Quick Built-in

This was just a standard BBQ with an attached folding table. I used a combo of Ana's plans to add a little character and style to the BBQ and it made a huge difference in not only the BBQ, but also the backyard. 

Estimated Time Investment
Weekend Project (10-20 Hours)
Finish Used
Golden Oak
Recommended Skill Level
Beginner

Comments

mdwstgrl

Mon, 05/23/2016 - 12:29

Hello:  Very interested in which plans you used to build the BBQ Built In. Thank you.

Board and Batten

Submitted by kelli224 on Sat, 08/06/2011 - 10:51

Board and batten makes such a huge difference in any room for very little money and I knew this is just what we needed for our very small but very tall half bathroom. We did have to modify our boards at the bottom and cut them at an angle to meet our baseboards but it is still perfect. Such an easy way to dramatically change a room.

Estimated Cost
$60
Estimated Time Investment
Afternoon Project (3-6 Hours)
Finish Used
Just a semi-gloss white to match the rest of our trim and doors in the house. The walls are Sherwin Williams Plum Dandy
Recommended Skill Level
Starter Project

Comments

Ana White

Sat, 08/06/2011 - 13:41

What a beautiful transformation! I went to your blog and loved how you've put aside a little money each month to improve your home. Beautiful photos too!

kelli224

Sat, 08/06/2011 - 13:57

Thank you, Ana! We wouldn't be able to stay on that budget if it wasn't for you and all of your ideas! You've really changed how things are done at our house. We no longer "have to buy it right now"...but take our time to see if we can do it on our own and make it ours. That is a very powerful thing!

debandtom25

Fri, 08/12/2011 - 04:41

My husband and I just had to build a few walls to cover in a new furnace and duct work. Neither of us wanted to deal with the mud, tape, and sanding that would surely follow. So I suggested that we do a paneling like yours. I used furring strips vs. typical pine or moulding. It looks great!

kboarderchick85

Thu, 08/18/2011 - 13:47

I loved the bathroom so I checked out your blog, We have a mudroom followed by a small bathroom and then a small laundry room. I love your mud room area and the stripes, we are totally going to use your ideas to spruce our place up!

Modern Adirondack Chair

Submitted by Anonymous (not verified) on Sat, 08/13/2022 - 20:12

I made this with 1x6 since Home Depot didn’t have any 1x10 treated wood. All the wood I used is treated. I also used the exterior screws and put on a gray poly mixed stain for a little extra protection. I of course messed up the angles twice on the feet, but they just look like I gave them extra decoration now lol. Everybody loves this chair!

Comments

Country Rustic Shelf

Submitted by PINAR on Sat, 08/13/2011 - 10:05

I replaced the 20 years old fence door, and reused it for my new shelf :)

Built from Plan(s)
Estimated Cost
FREE :)
Estimated Time Investment
An Hour or Two (0-2 Hours)
Finish Used
Acrylic
Recommended Skill Level
Starter Project

Closet shelving for sloped ceiling.

Submitted by kellystern on Mon, 01/09/2023 - 16:22

I used Ana’s Shelf Help Configurator to build these shelves for a deeply sloped ceiling. None of those well known Closet Organizer Companies could come up with a decent plan for this closet and they charge a small fortune.

Comments

Outdoor end tables

I made these two Ana White outdoor end tables for my patio. Next up will be the matching coffee table

Built from Plan(s)

Comments

My wife built a bed.

Submitted by AKMan279 on Sun, 06/02/2019 - 20:45

We looked for a simple plan for a bed and found this one on Ana’s site.  Easy to build in a weekend.

Estimated Cost
$140 with all lumber and stain.
Estimated Time Investment
Weekend Project (10-20 Hours)
Finish Used
Poly stain
Recommended Skill Level
Beginner

Comments

Tilt Out Trash Bin

Submitted by loniwolfe on Tue, 01/10/2012 - 13:34

Our large lap dog finally discovered he could easily get whatever he wanted out of the trash, so I built the tilt out bin to help keep him out of trouble. lol. I made it cabinet height so we could move the microwave off the counter, and added a drawer to the extra space to keep garbage bags and such in.

Estimated Cost
$60
Estimated Time Investment
Afternoon Project (3-6 Hours)
Finish Used
minwax spray primer and white spray paint (I hate painting, lol)
Recommended Skill Level
Beginner

Comments

guest (not verified)

Sat, 01/14/2012 - 07:27

Looks clean and simple. I like it!

Modern Farmhouse bed and bedside tables

Worked on the bed over the summer at the same time I redid the floors.  I built the side tables one at a time in case I needed to change anything for the second one.  All in all these were fairly easy to build.  Thanks Ana!

Estimated Cost
Roughly $300 maybe?
Estimated Time Investment
Weekend Project (10-20 Hours)
Finish Used
Varathane weathered wood
Recommended Skill Level
Beginner

Bathroom Vanities

Submitted by kdins31 on Sat, 01/04/2014 - 13:09

Rather than burning a few thousand on vanities for my bathroom remodel I decided to build them instead. The bottom shelf on the right slides out for a footstool so the kids can reach the sink.

Estimated Cost
Wood was cheap, the granite and sink were not, though I was able to save by getting remnant slab from granite shop.
Estimated Time Investment
Weekend Project (10-20 Hours)
Recommended Skill Level
Intermediate

Comments

Joni

Sun, 01/05/2014 - 20:55

These are so beautiful -- they really look like high-end rustic pieces. The slide-out footstool is genius. The distressing is fantastic. I really love your pebble art as well.
Would you mind sharing the stain color?

Porch Planters

Submitted by Anonymous (not verified) on Mon, 07/24/2023 - 13:40

This build was a lot of fun! Thanks ANA!

David Marks

Comments

Laundry Basket Dresser

Submitted by KaraBoo on Mon, 05/07/2012 - 10:18

I modified the tall and lengthwise laundry basket dresser a bit to make this shorter version. I also combined it into a single dresser instead of it being two separate dressers side by side. I put the dresser on casters so that I can roll it around my laundry room. I can tuck it away in the closet area or roll it out and use it as a folding counter.

Estimated Cost
$100
Estimated Time Investment
Afternoon Project (3-6 Hours)
Finish Used
Behr Ultra, Enchanted Evening
Recommended Skill Level
Beginner

Comments

spiceylg

Mon, 05/07/2012 - 12:41

Love that it was combined into one and on casters. Very smart. Cool color, too!

Jenna Meagher (not verified)

Sun, 05/13/2012 - 09:02

I would love to do this modified version! Can you share your dimensions?

KaraBoo

Sun, 05/13/2012 - 19:35

Jenna, I used 3/4" MDF and these are the dimensions:

1 Back piece - 37 1/4" x 37 1/4"
2 pieces for top & bottom - 37 1/4" x 25"
3 pieces for sides and middle - 35 3/4" x 25"

I used the same dimensions for the 1x2's as are in the original project and pretty much assembled it following the steps as she has written. Just remember to add 1x2's on both sides of the center divider and you're good to go! Hope that helps and if you have any questions, I'll be happy to try to help. :)

Aimee Comte (not verified)

Tue, 08/07/2012 - 09:41

Do you know what kind of laundry basket you used & where you got them? Based on the pictures they look like the sterilite 2 bushel ultra however the dimensions look too big. Did you have to modify the plans to make them wider?

Thanks!

Ladder shelf

Submitted by lazyLiz on Thu, 05/10/2012 - 13:43

Since I used hardwood (red oak) I have to modify the plan and eliminate the sides of the shelves. Modifications and measurement is on the additional photo. Thanks again Ana, you're the best!

Built from Plan(s)
Estimated Cost
$30-$50
Estimated Time Investment
Afternoon Project (3-6 Hours)
Finish Used
minwax red oak and poly
Recommended Skill Level
Beginner

Comments

Workbench with Drawers and Carts on Casters

Submitted by vendo on Tue, 03/19/2024 - 07:38

Using Ana's Ultimate Workbench Plan and her easy drawer method I built this. I decided to do storage carts that roll in and out for small scrap lumber storage. The Kreg Foreman got it's own cart, I made it so the deck of the machine was at the same height as the work surface. I added a drawer so all of my kreg bits and screws can be in one place. I had batteries and chargers laying all over my small shop, so I incorporated a battery charging drawer. I'm excited for the projects to come using my new set up!

Rustic Queen Sized Wall Bed

Submitted by ldo2626 on Wed, 06/25/2014 - 09:09

Expecting our second child, my wife and I decided to do away with our guest bedroom and combine it with our office. The only problem was our queen bed took up way too much space and it didn't get enough use to justify the sacrifice. We looked at the wall bed options available for purchase and decided they were way too blah and very expensive. I then found the "A MURPHY BED YOU CAN BUILD, AND AFFORD TO BUILD" post on Ana's website (thanks for the inspiration)! 

 Using cheap pine boards, plywood, door hinges, vinyl upholstery and stain I constructed the wall bed you see here. It really wasn't that difficult but facing it took the most time. To give the boards a more rustic look I used a utility knife to shave off the edges/corners and stained them with the Minwax American Walnut water based stain and the Minwax White Wash Pickling. When this started we thought we were going to have to settle for something unattractive and less than desirable. Seeing it in our office now, we love our new bed and actually think it makes the room look much better!  I didn't keep track of costs, but it couldn't have been more than $150.


Estimated Cost
I didn't keep track of costs, but it couldn't have been more than $150.
Estimated Time Investment
Weekend Project (10-20 Hours)
Finish Used
Minwax American Walnut water based stain and Minwax White Wash Pickling
Recommended Skill Level
Beginner

Comments

jwm816

Tue, 07/08/2014 - 08:08

Looks great! May I ask what the final outside dimensions were? Curious to see if this would work for me.

Thanks!

ldo2626

Wed, 08/06/2014 - 09:23

I would have to measure it when I get home... at work currently. Looking back, I think the best approach is to take the measurements from the plan, find the difference between standard mattress and queen mattress dimensions (check wikipedia for standard sizes), then add that difference back to the plan. I cut it real close on mine and could use a little more space. It would be nice to make it a bit deeper and with some head room to store comforters and pillows.

lopixy

Sun, 11/30/2014 - 18:10

I love this!  Could you give more details about how you did the facing?  Are the pine boards just nailed onto the plywood? 

chefrgk

Sun, 12/28/2014 - 12:59

I am dying to get started on this wall bed project. I keep getting this message when trying to open the Plans.

The page you are looking for is temporarily unavailable.
Please try again later.
can someone help me find them.

chefrgk

Sun, 12/28/2014 - 12:59

I am dying to get started on this wall bed project. I keep getting this message when trying to open the Plans.

The page you are looking for is temporarily unavailable.
Please try again later.
can someone help me find them.

nicolanala

Tue, 08/09/2016 - 15:24

Hi. I would love to try this. Looking to build in the next month before parents in law come over. Is there any working links to the plans??

josheli

Thu, 01/25/2018 - 13:06

click on the bed picture above and it will take you to the plans


Email Me
Free Plans

Get new plans sent right to your inbox for free!

    We won't send you spam. Unsubscribe at any time.

    Back