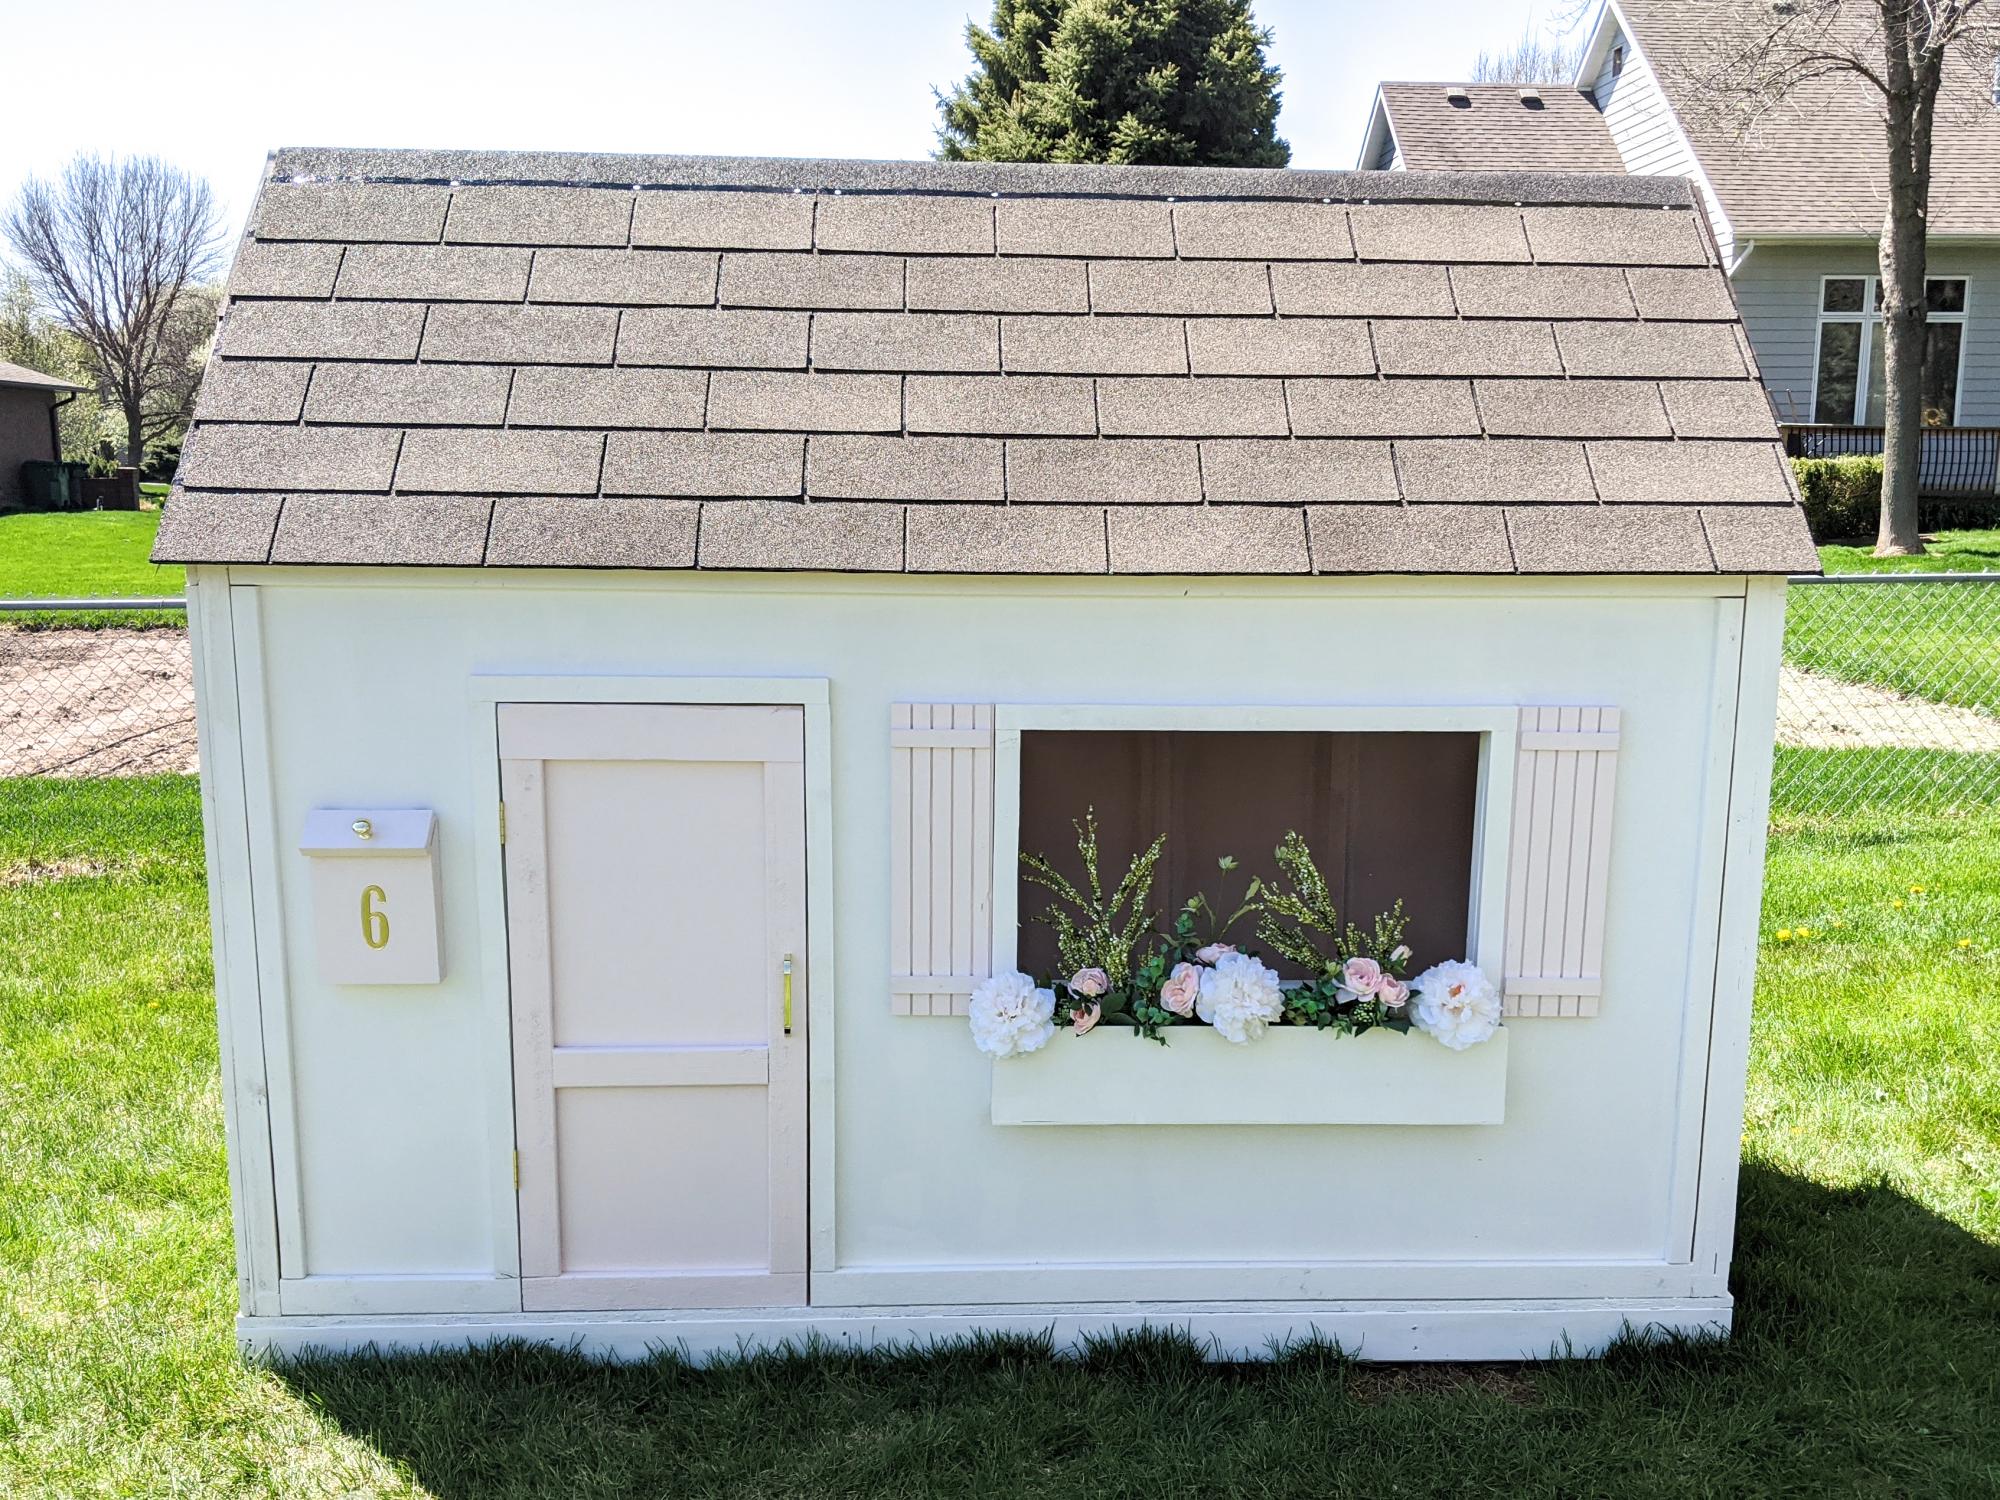
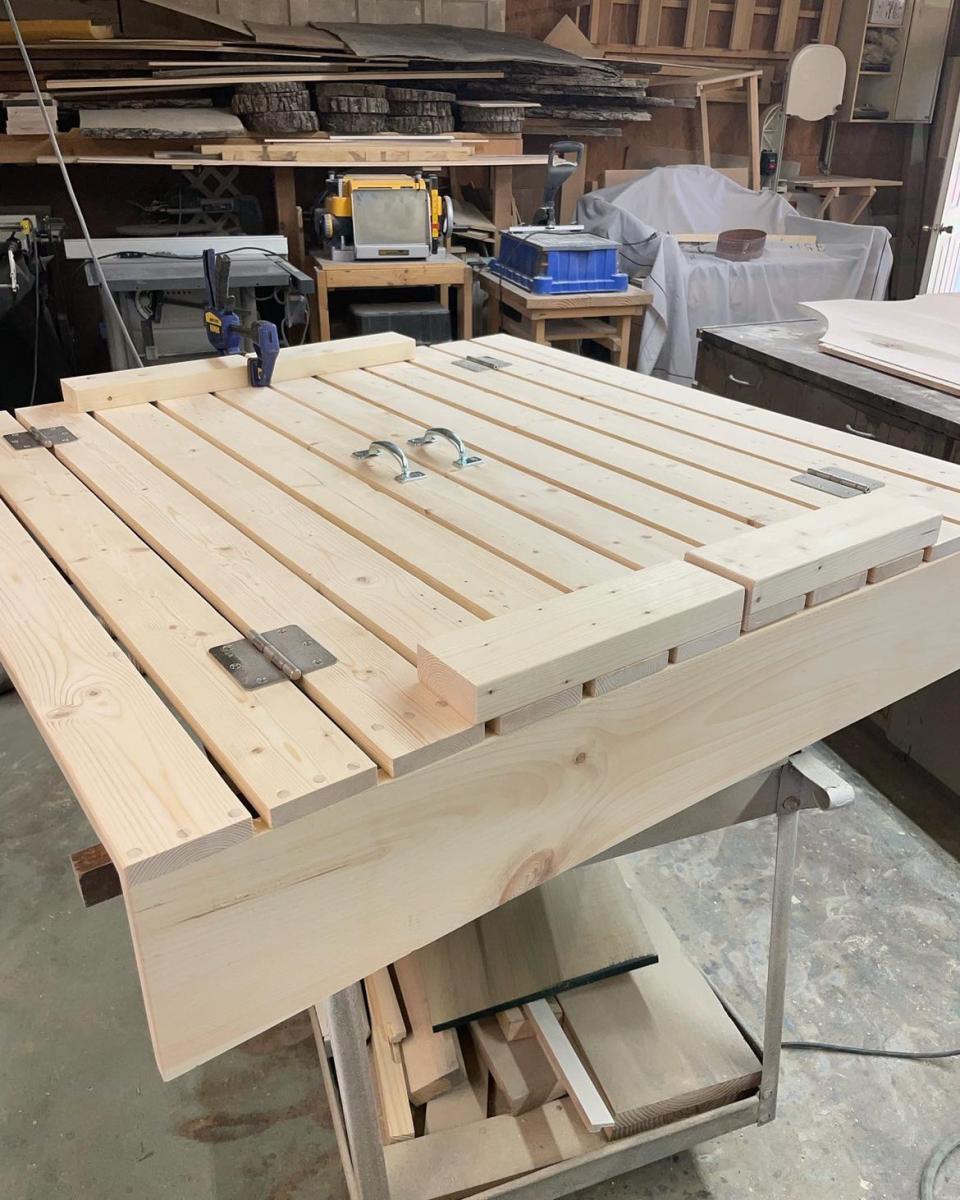
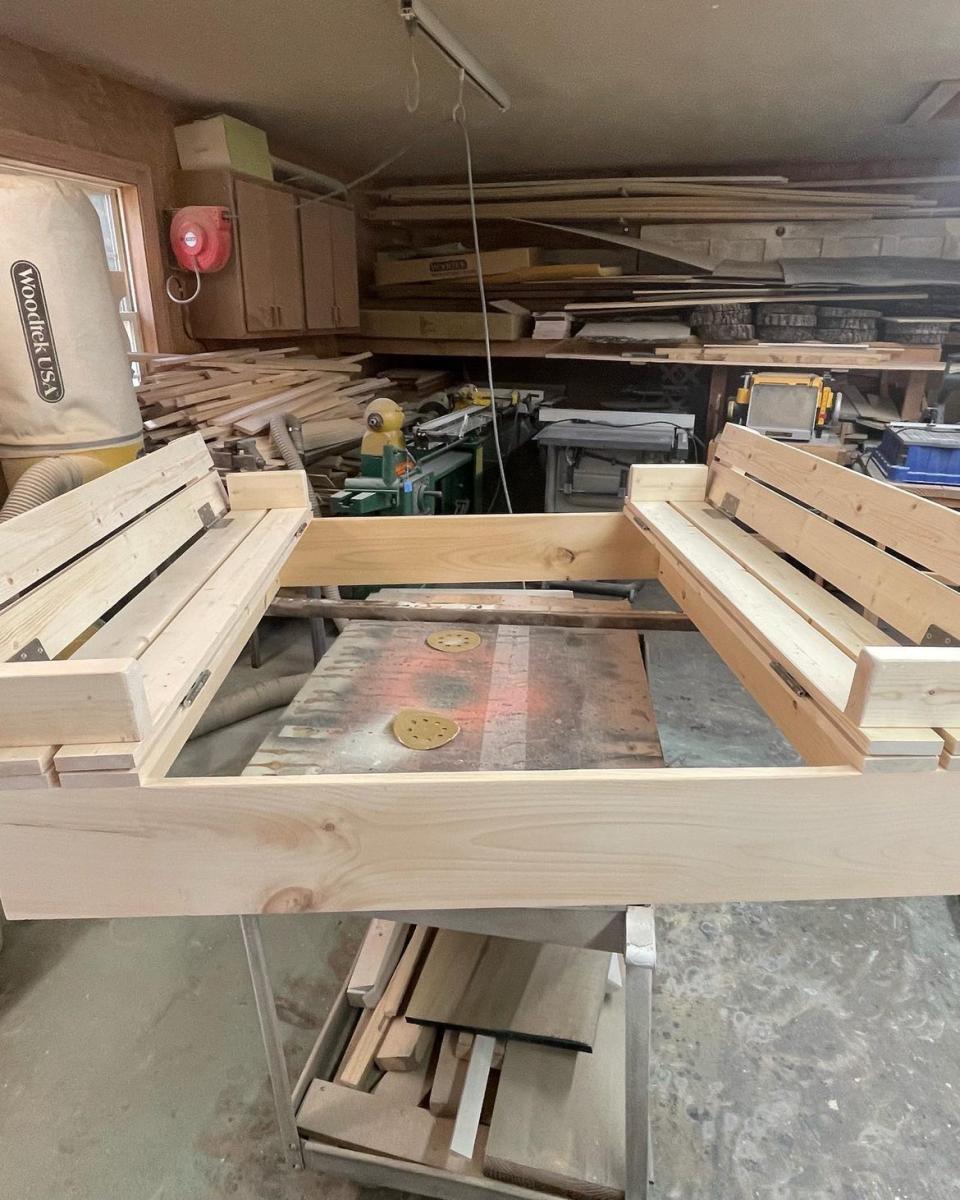
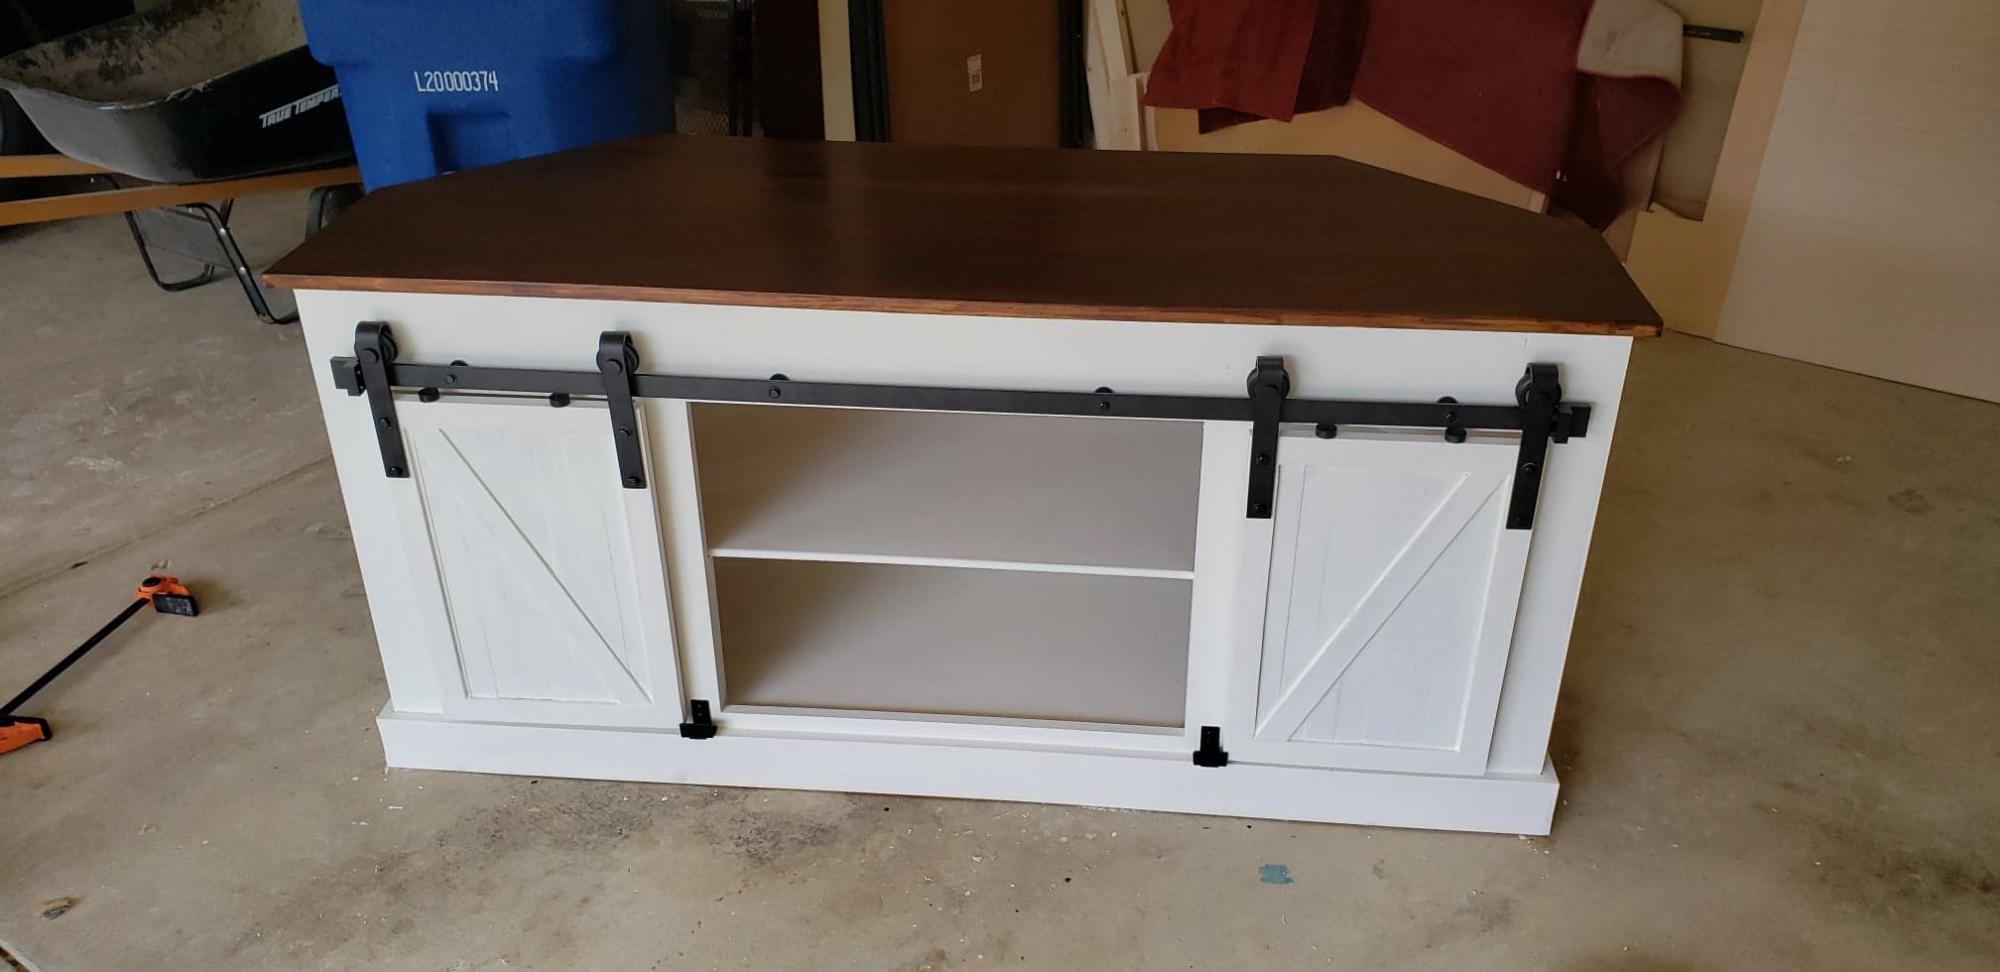
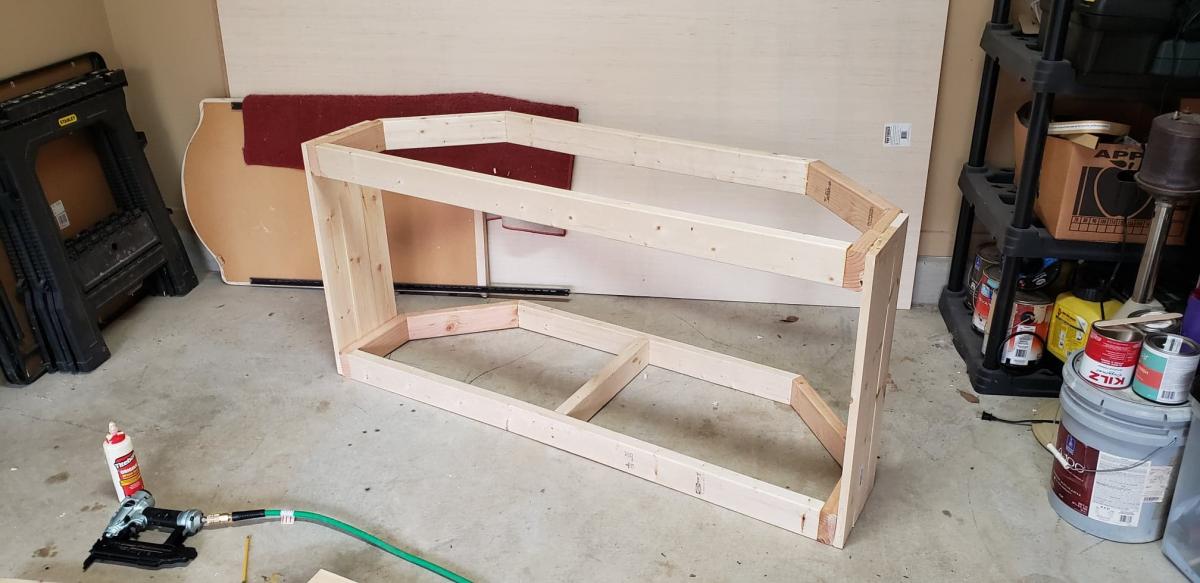
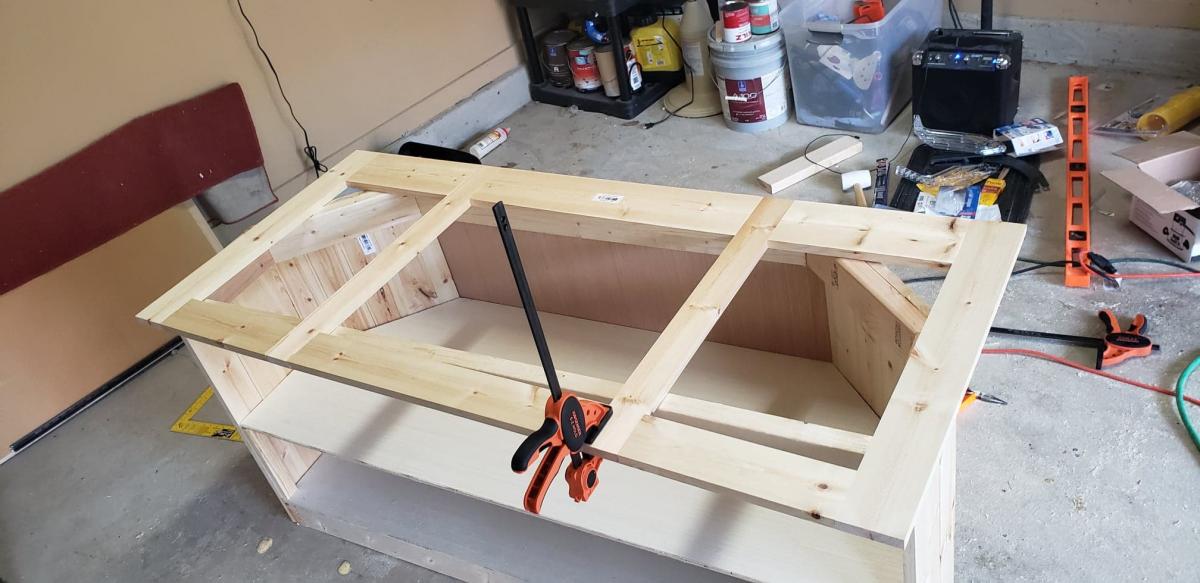
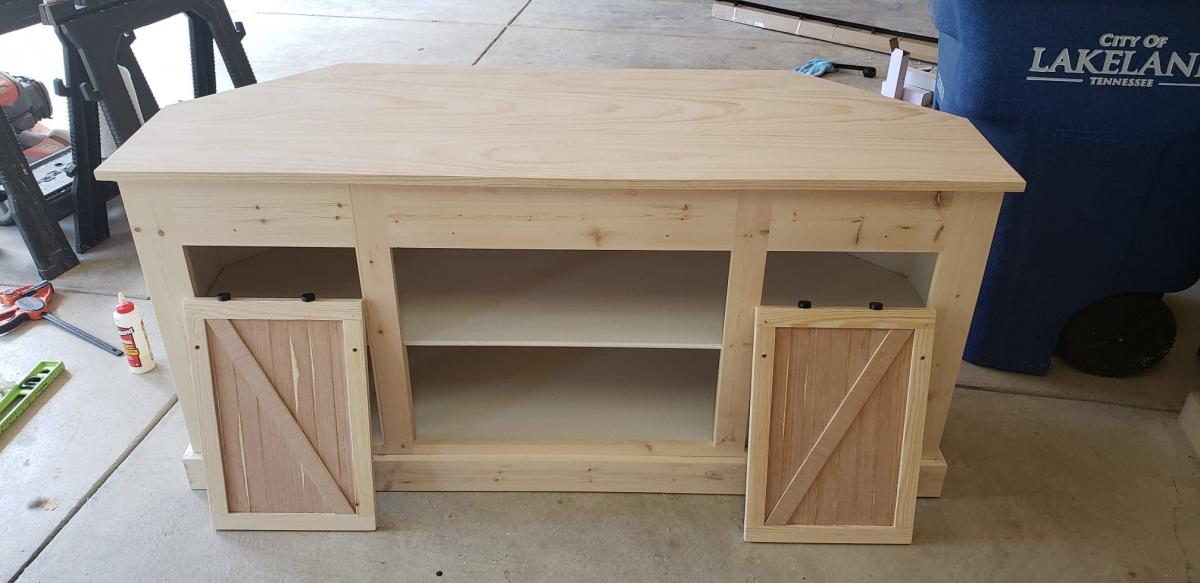
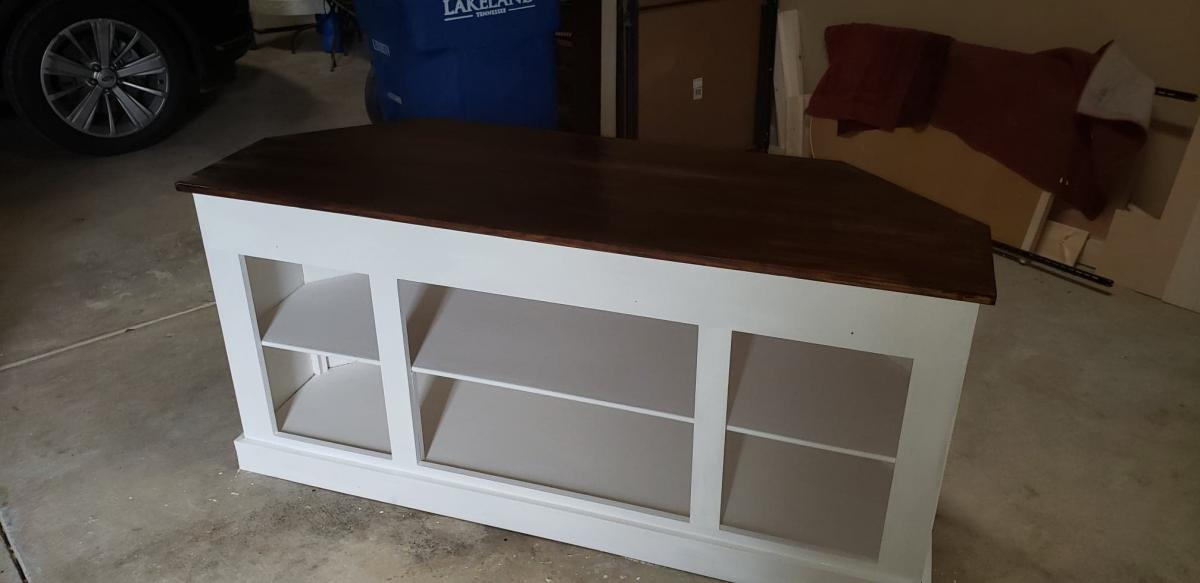
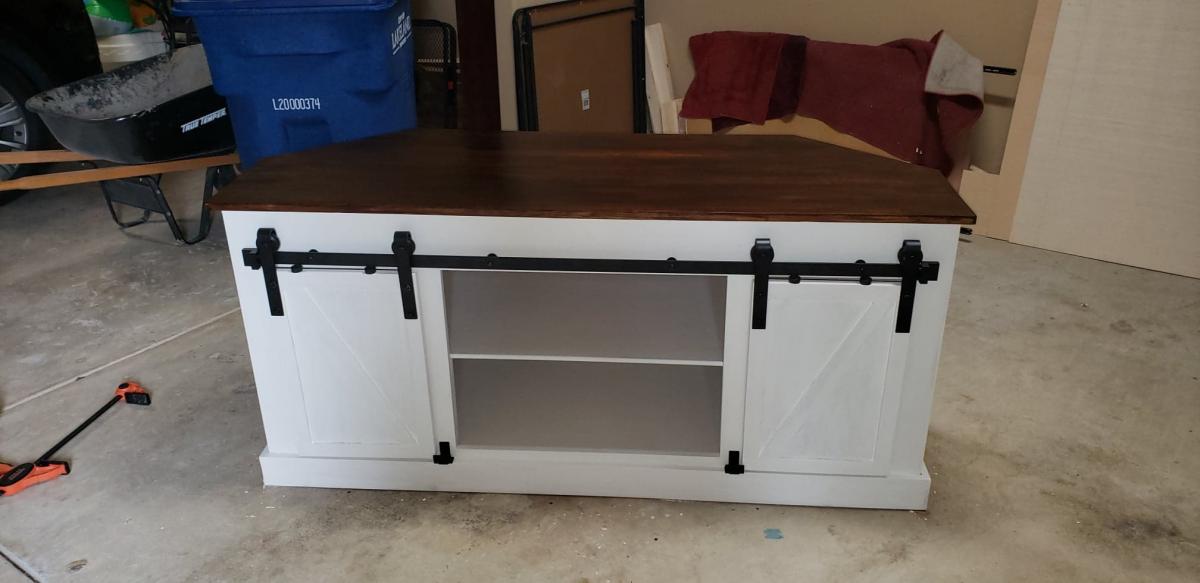
Modern 2x4 and Fence Picket Outdoor Chair

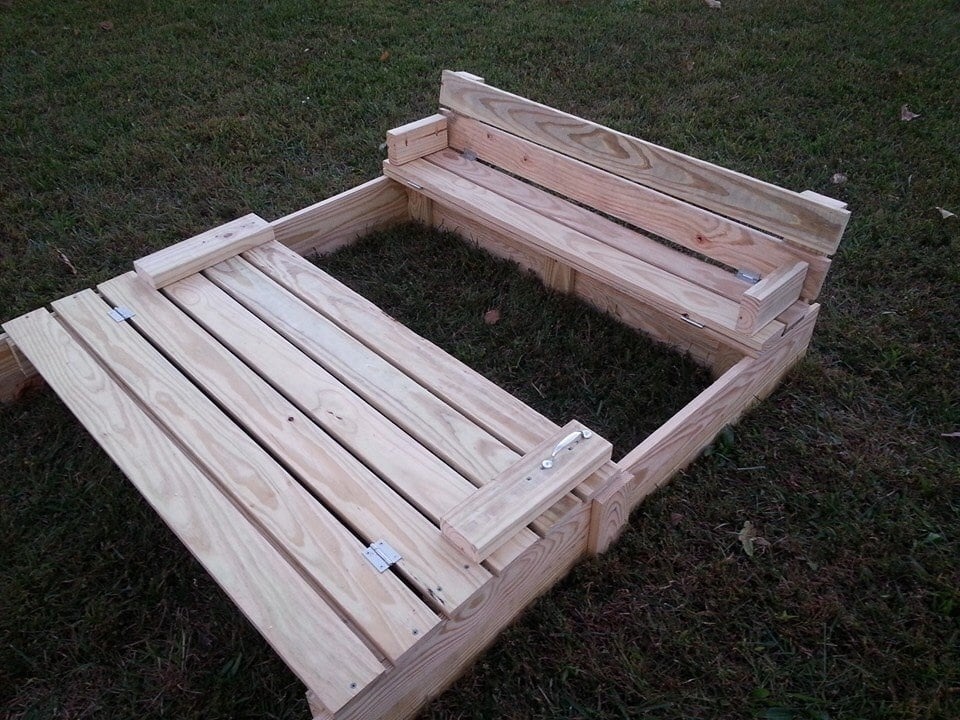
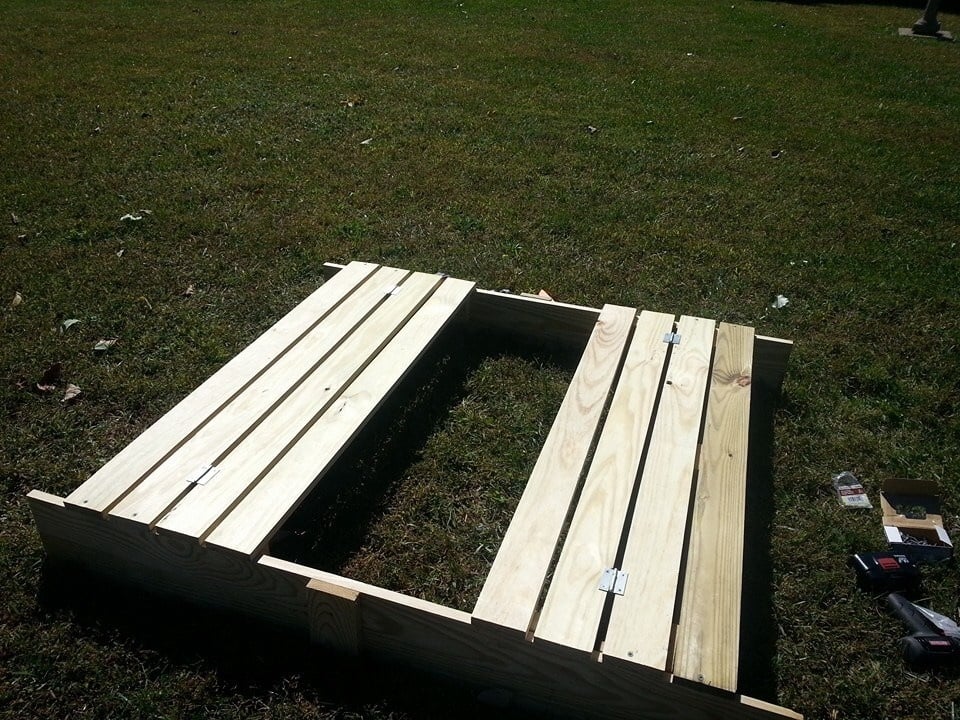
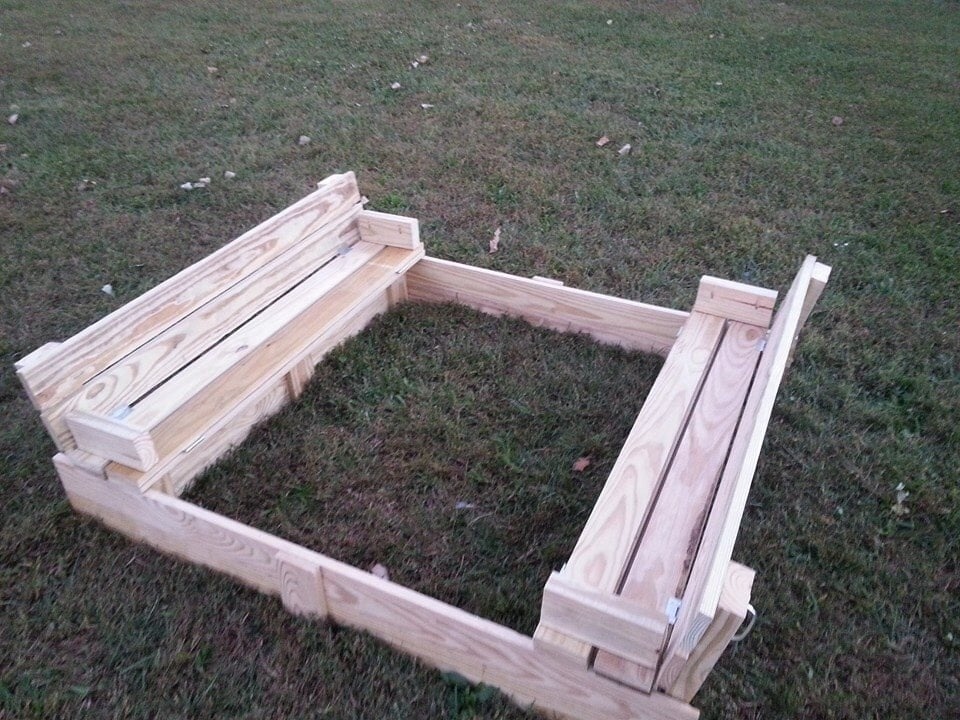
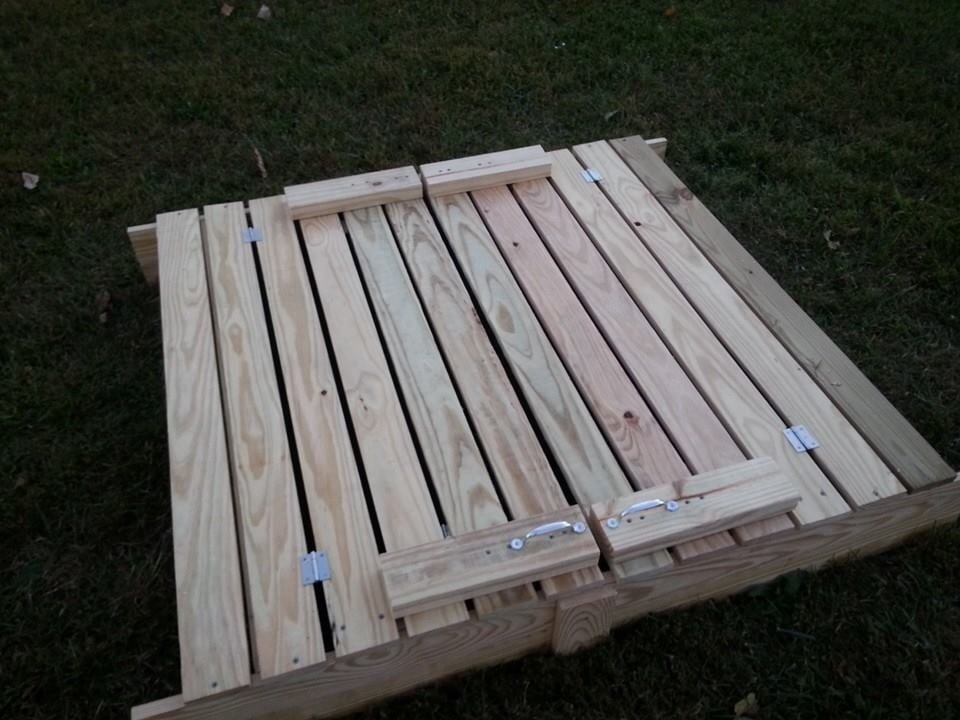
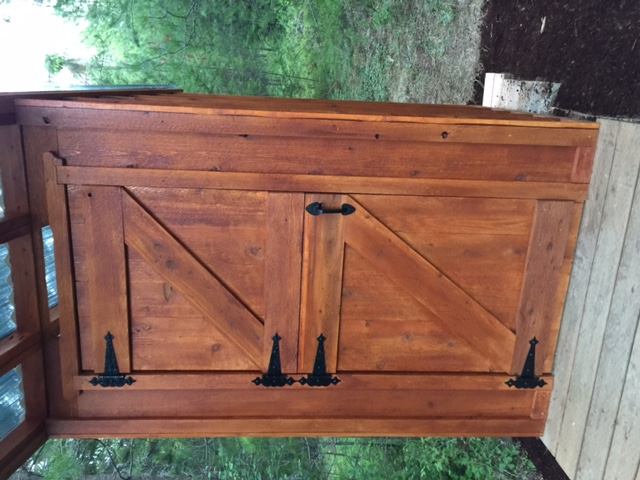
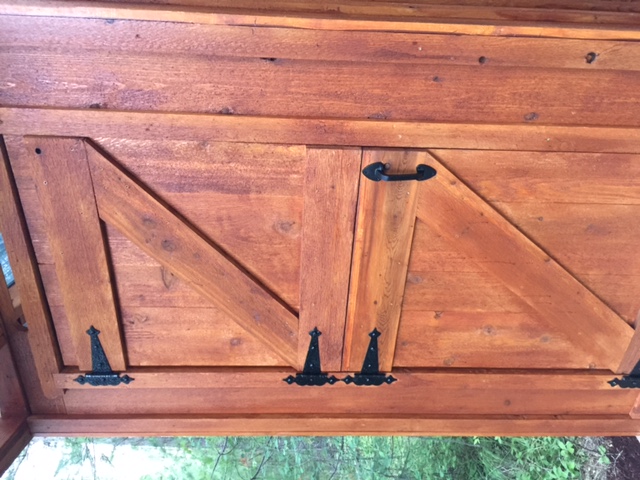
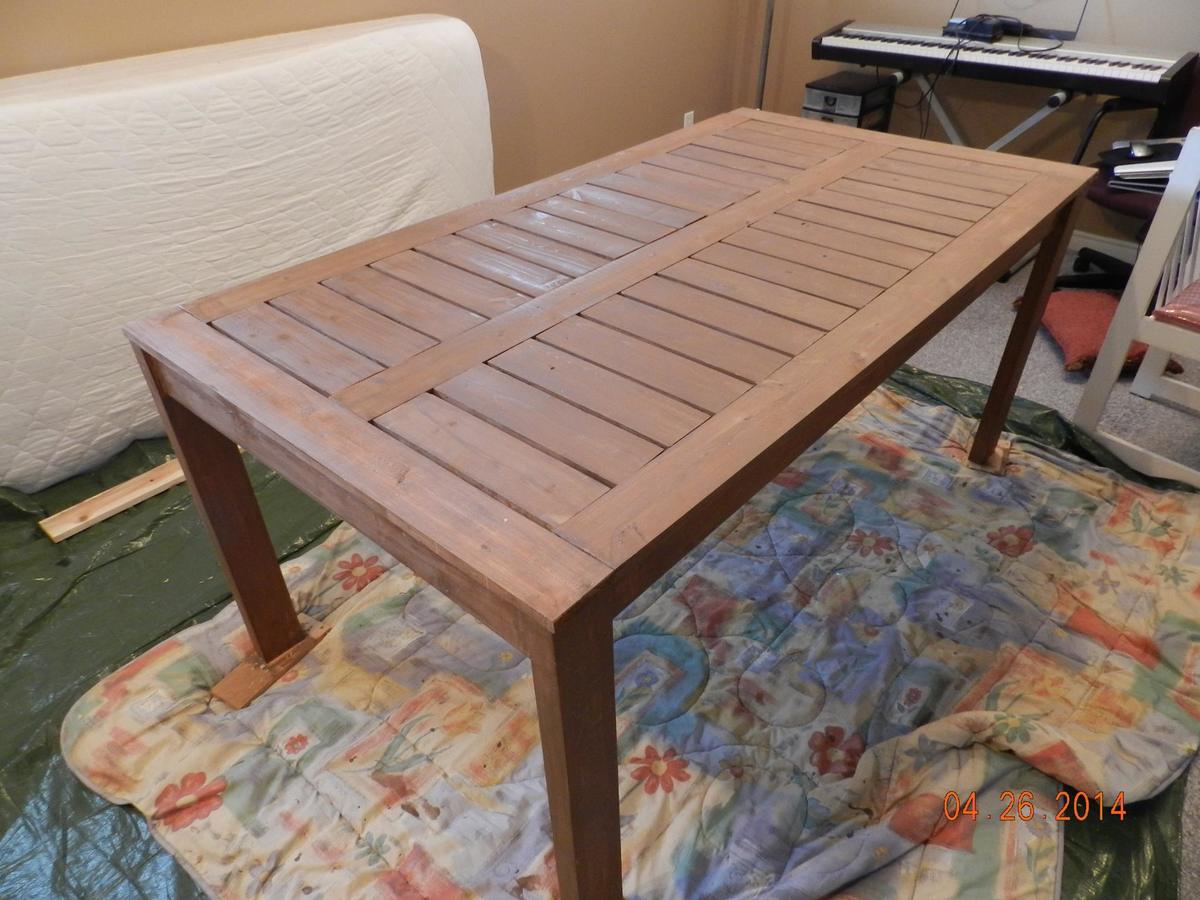
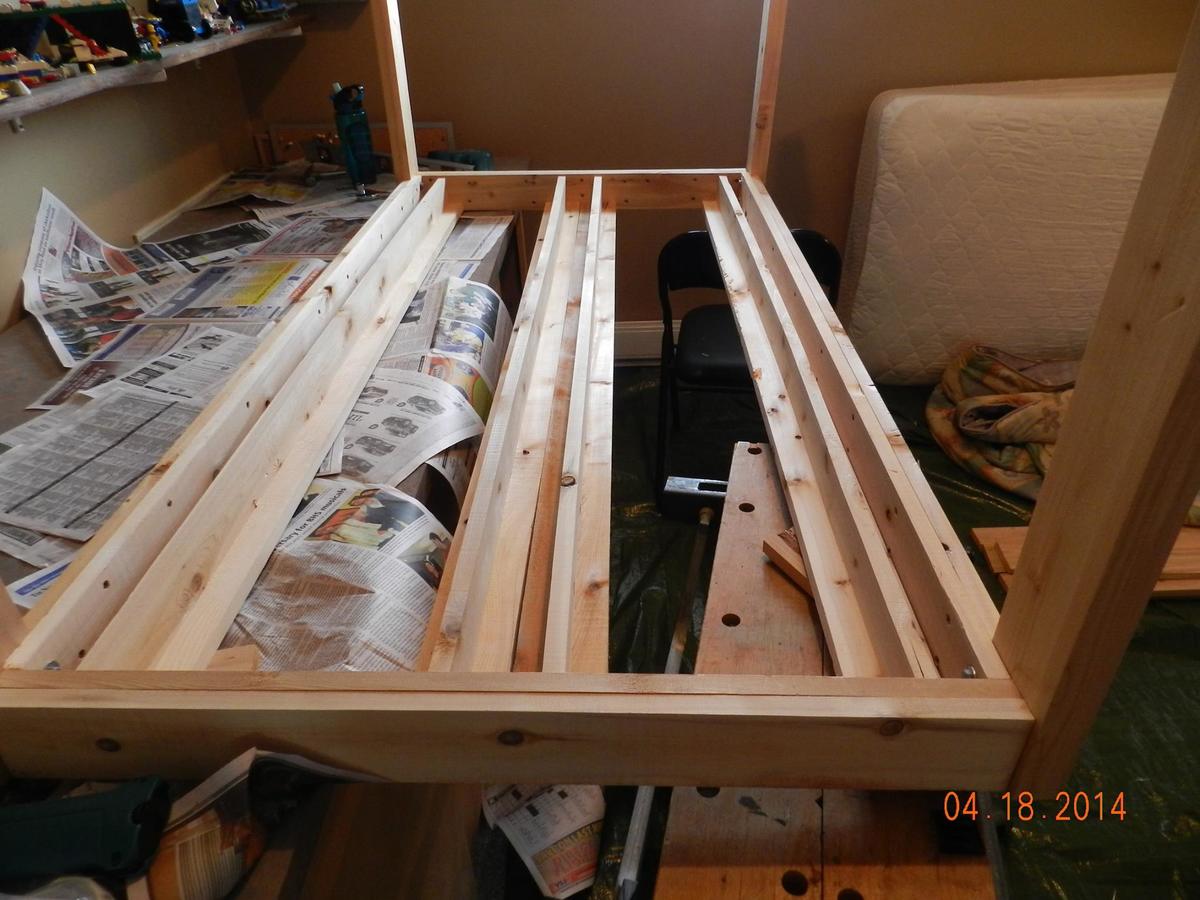
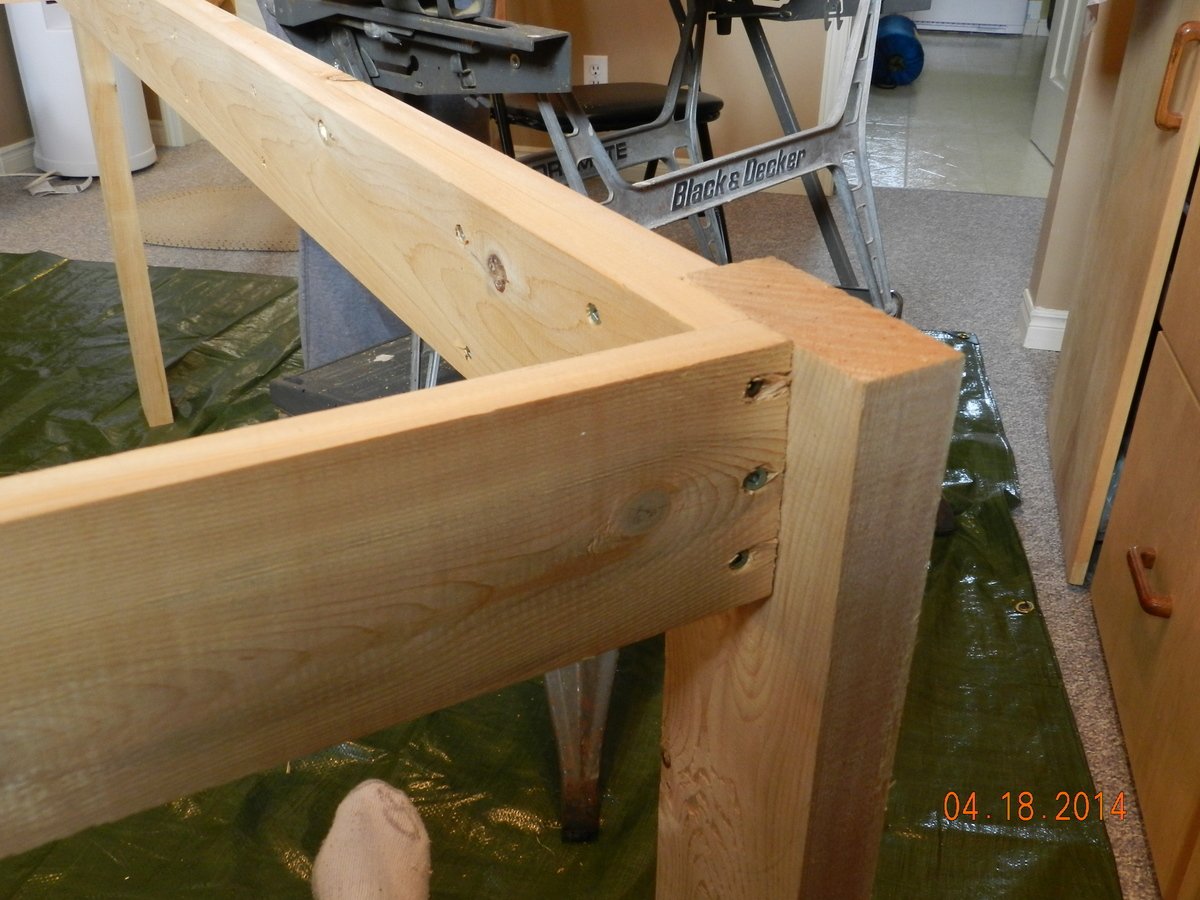
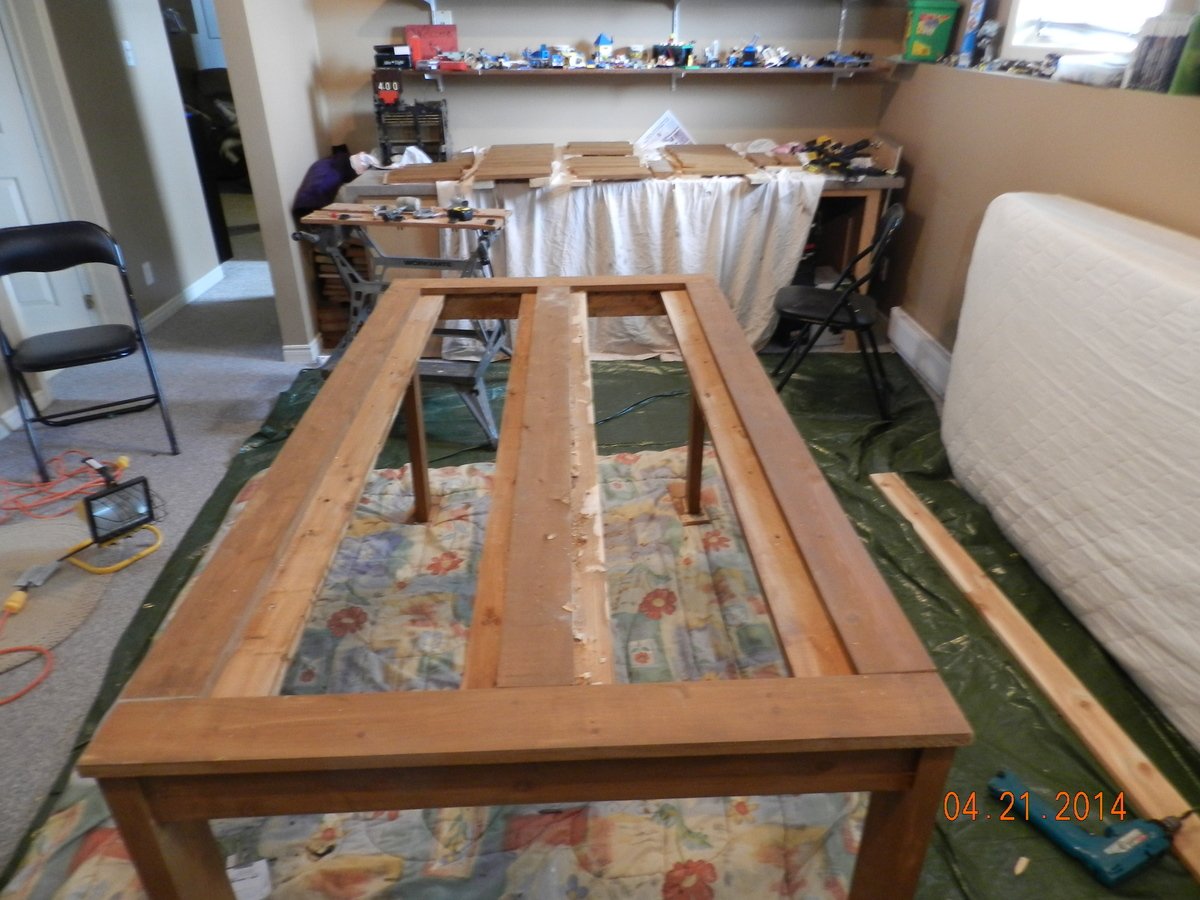
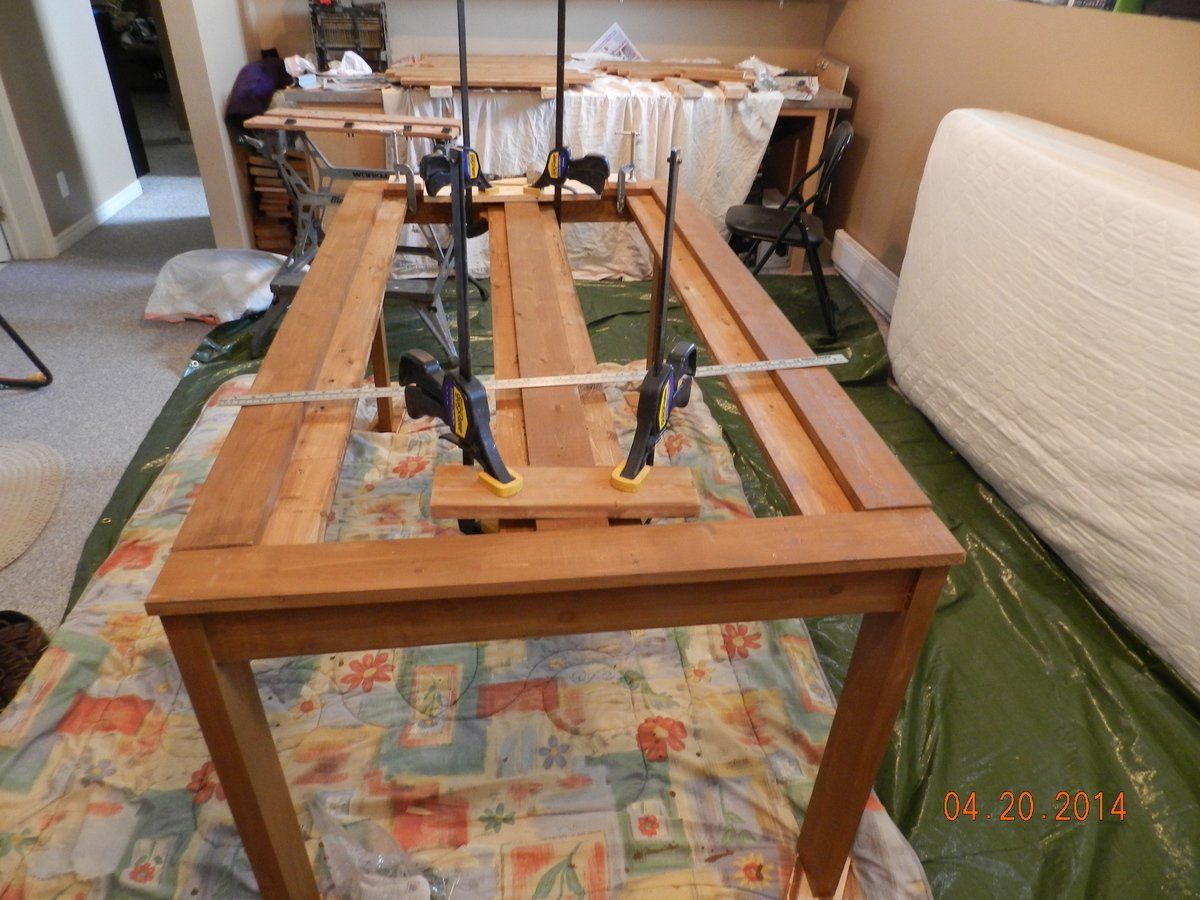
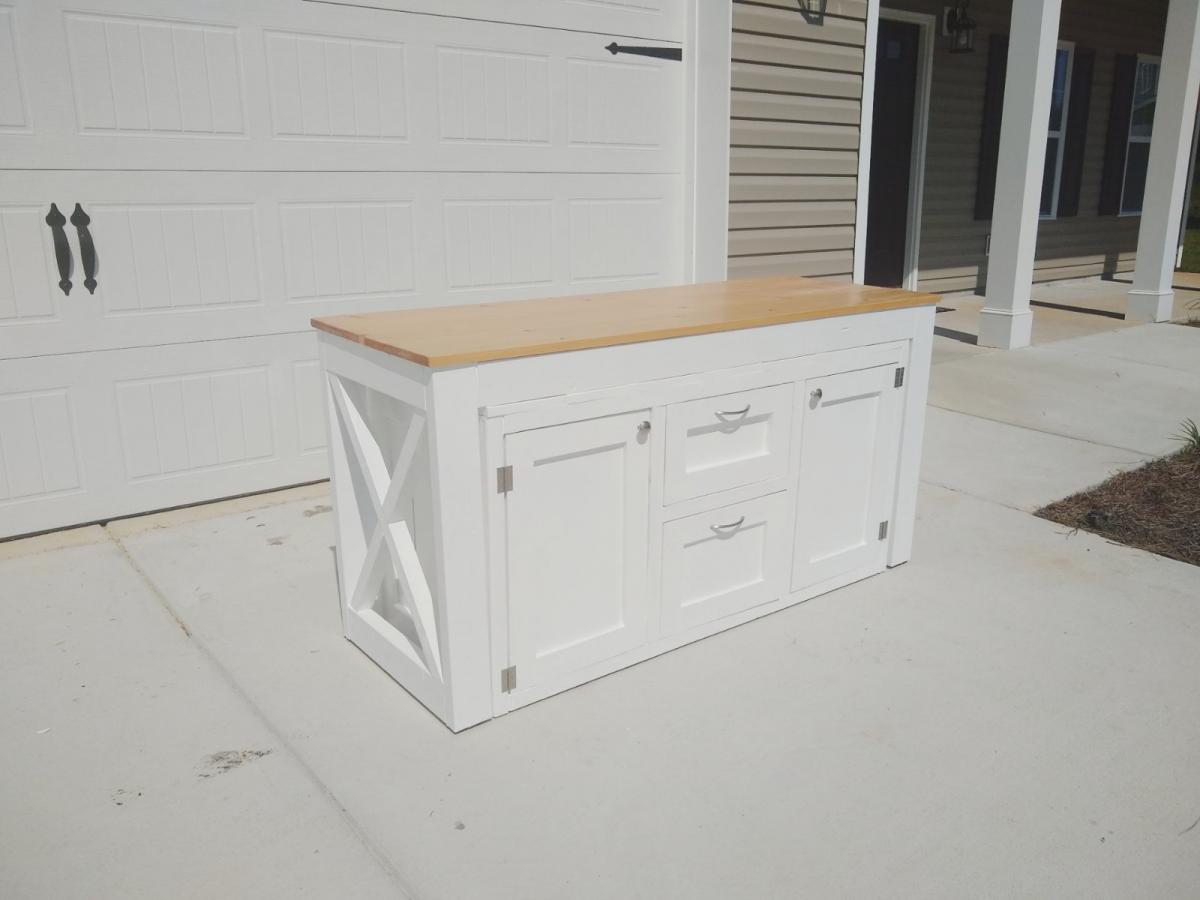
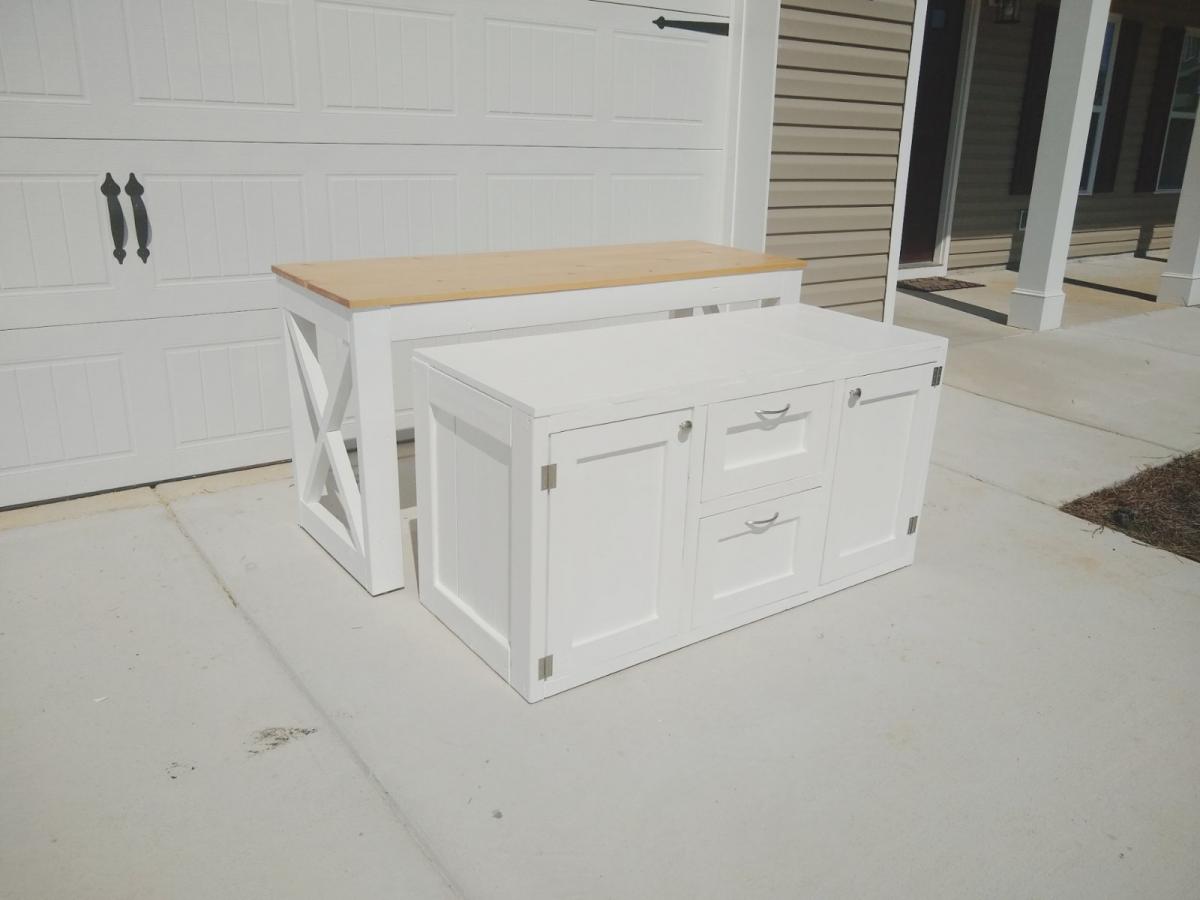
Hard to believe common 2x4’s and cedar fence pickets can produce such a beautiful outcome. Planning to knock out 1 chair a week over the next month to have them ready in time for summer! Thanks for the easy plans Ana.

Built from Plan(s)
Seasonal And Holiday