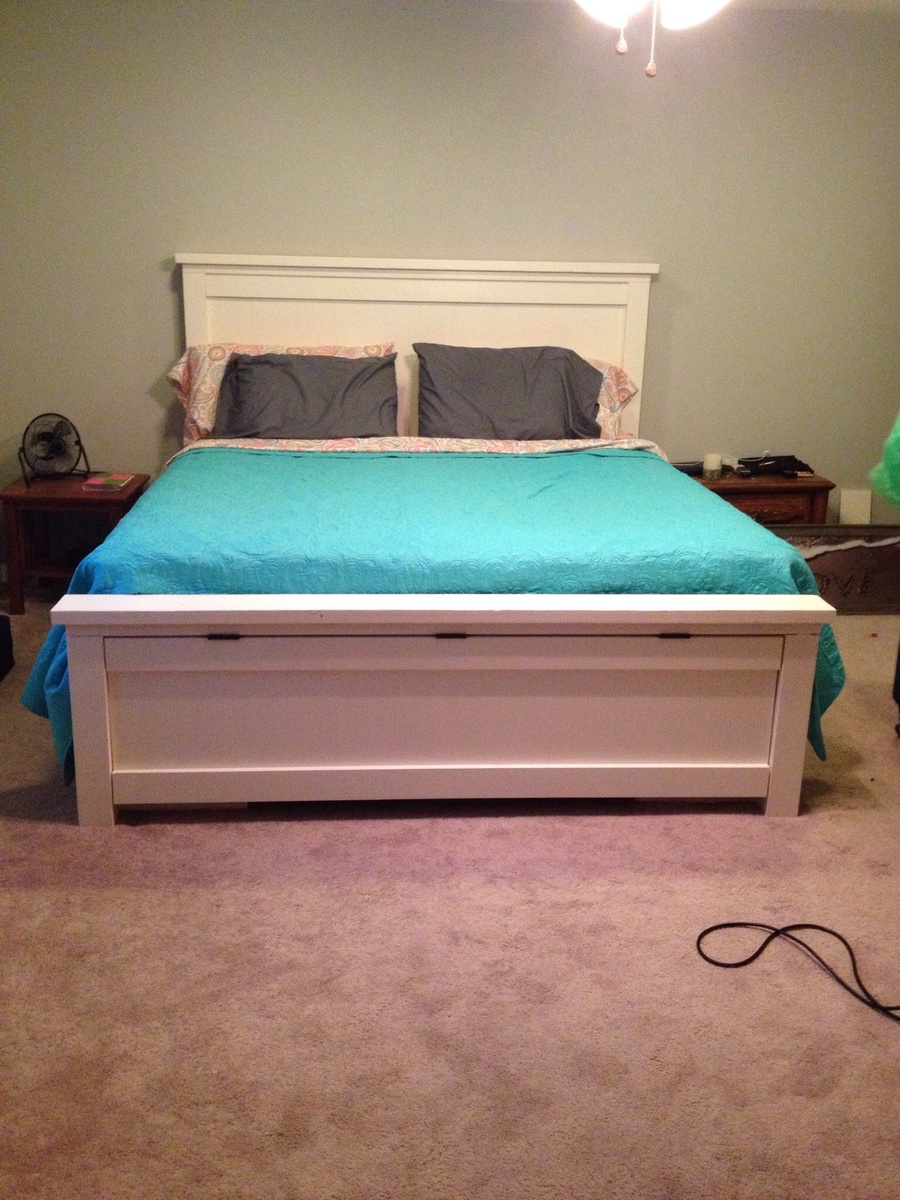
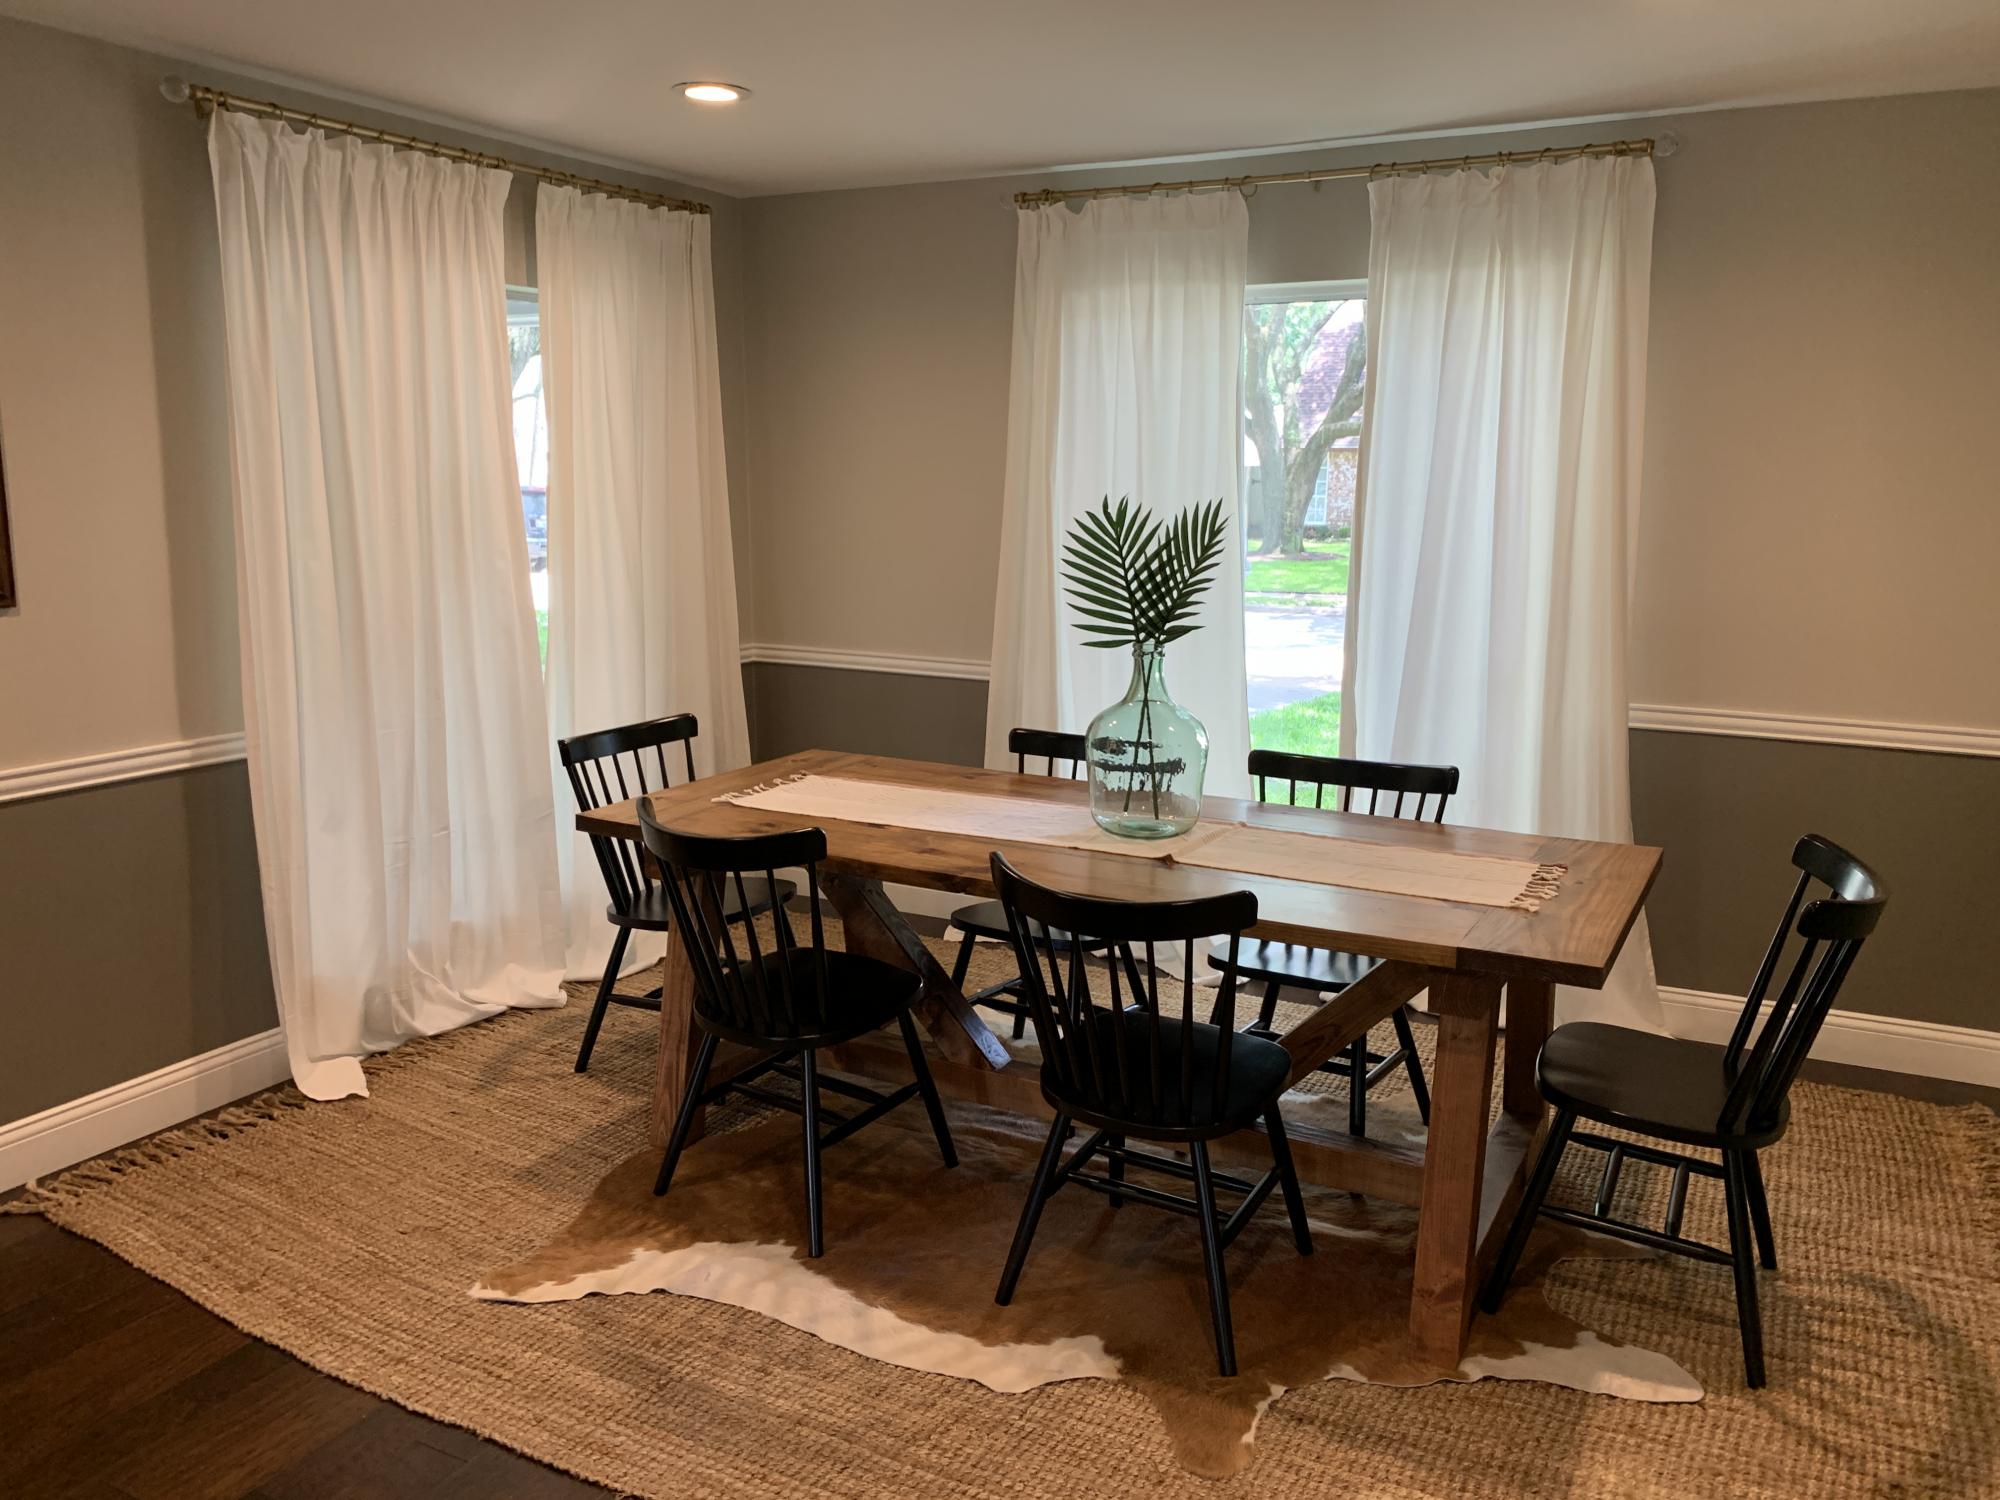
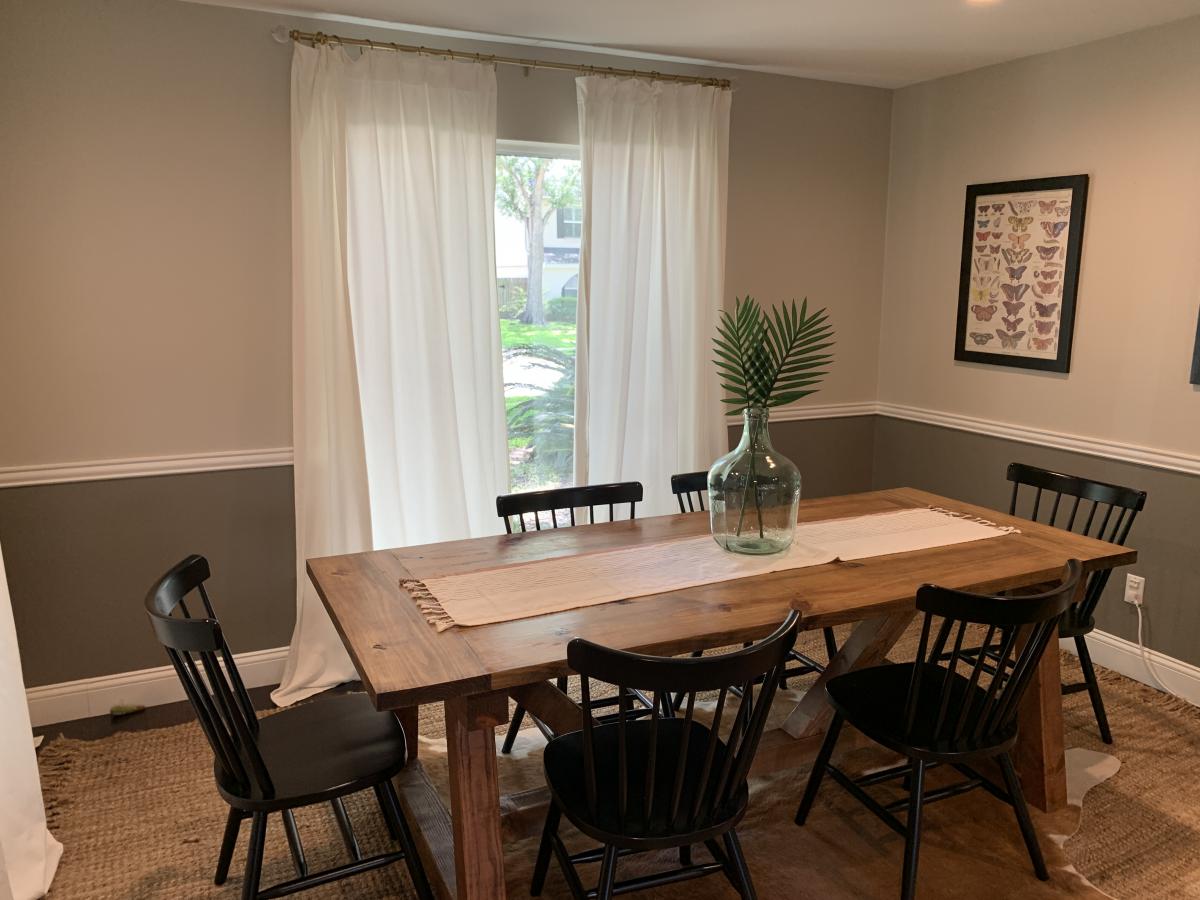
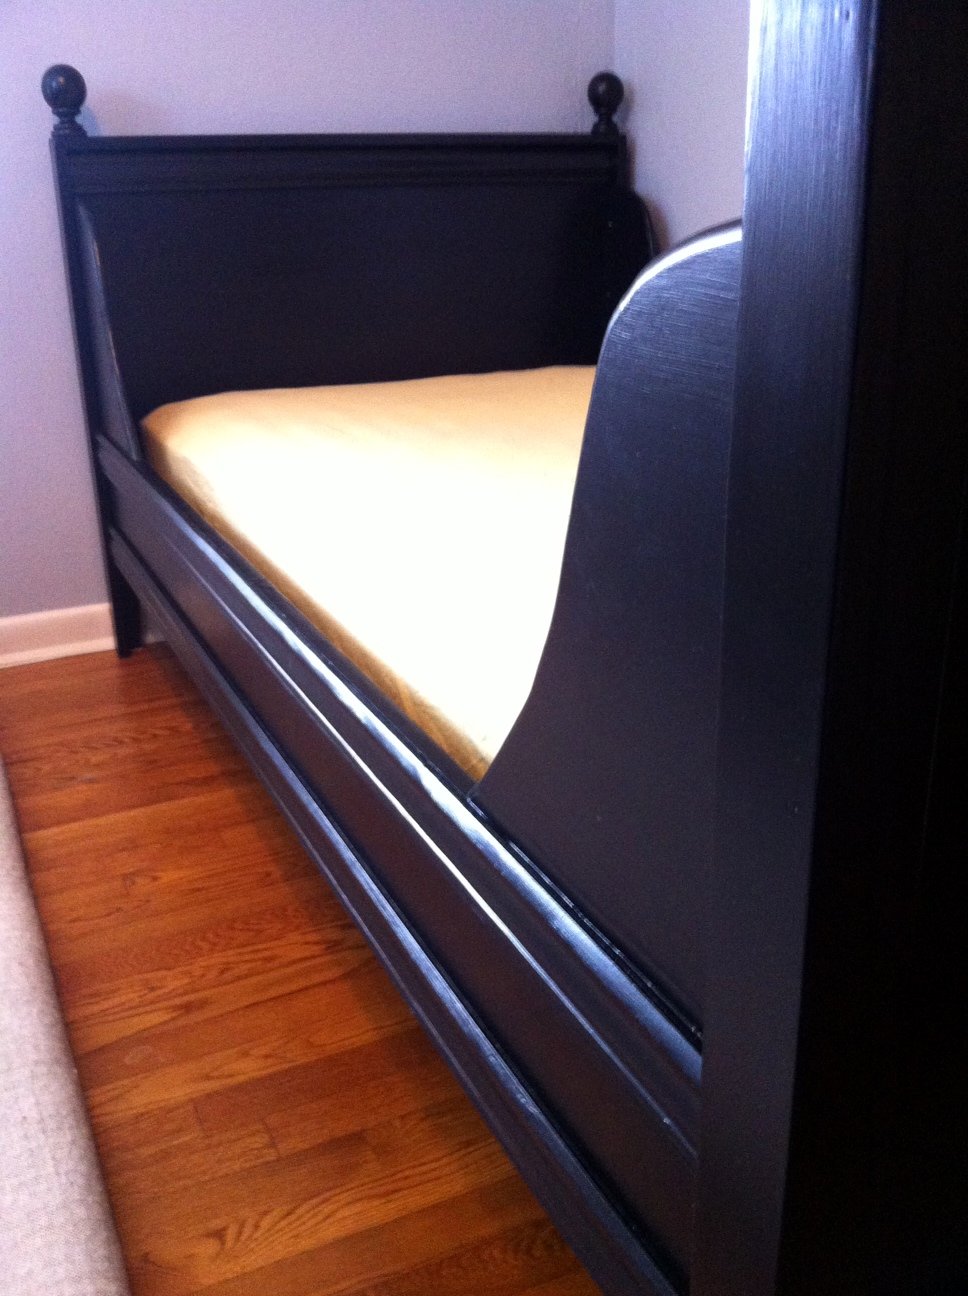
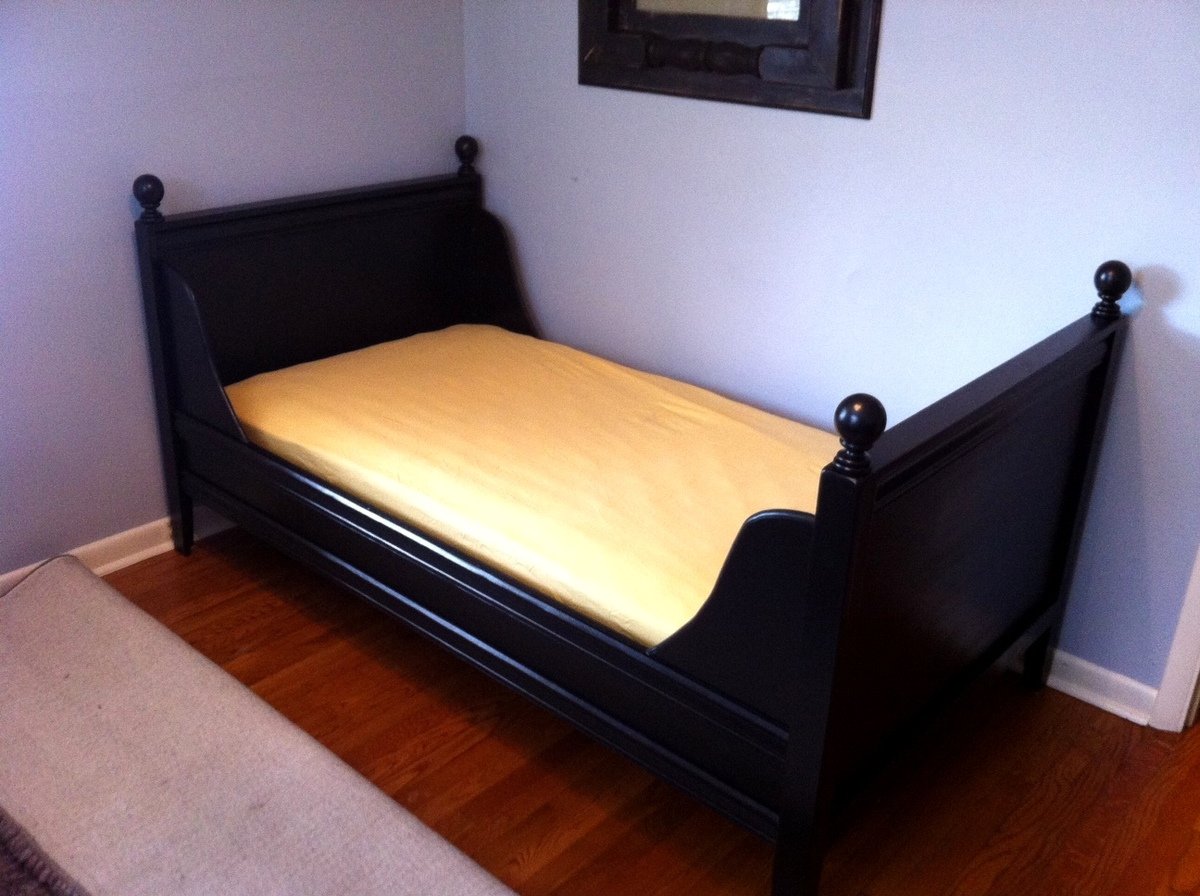
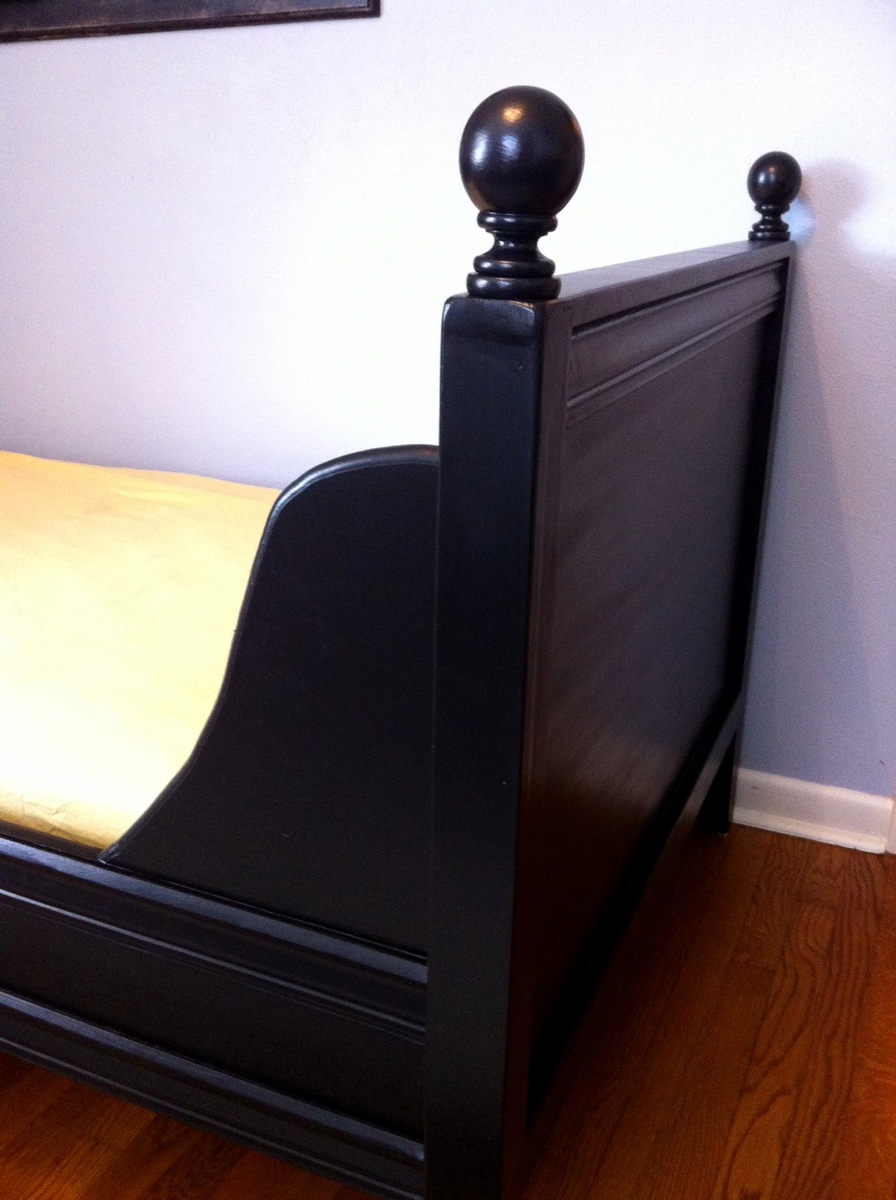
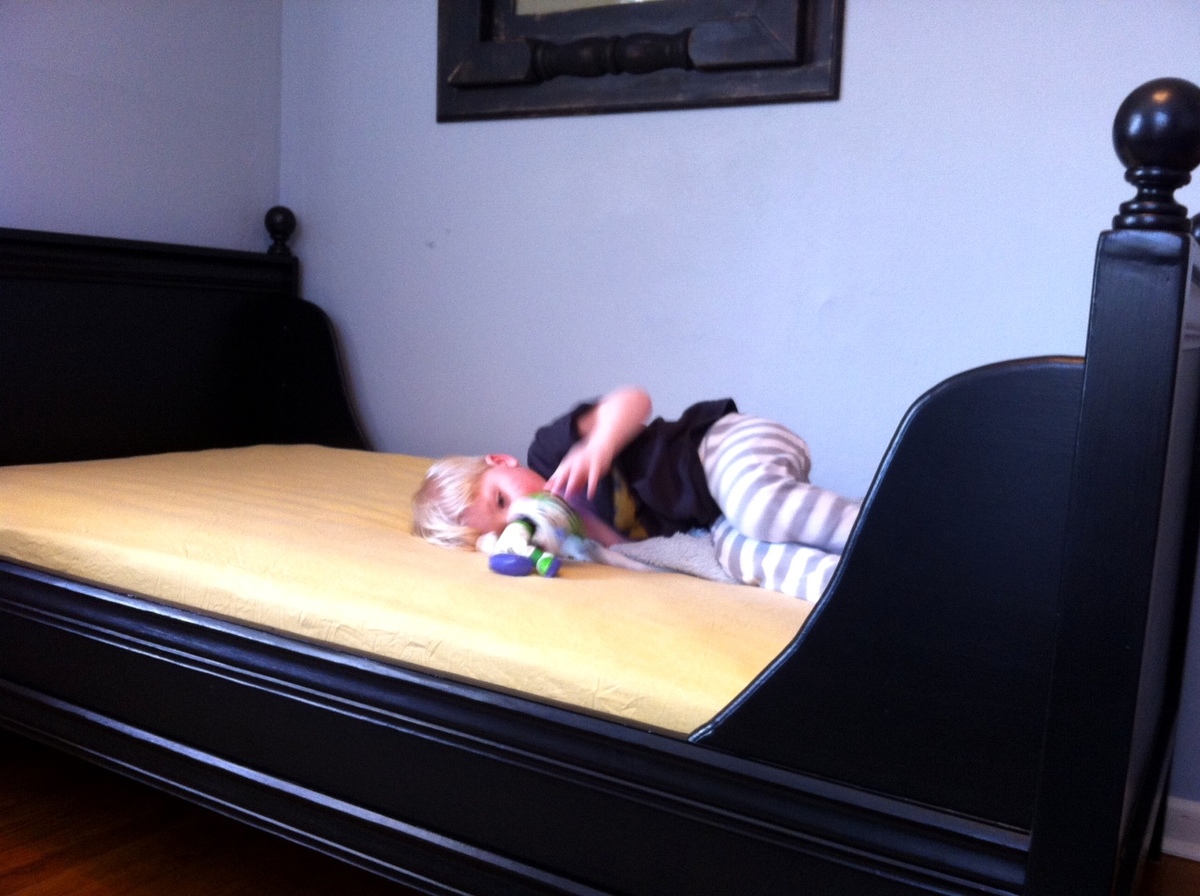
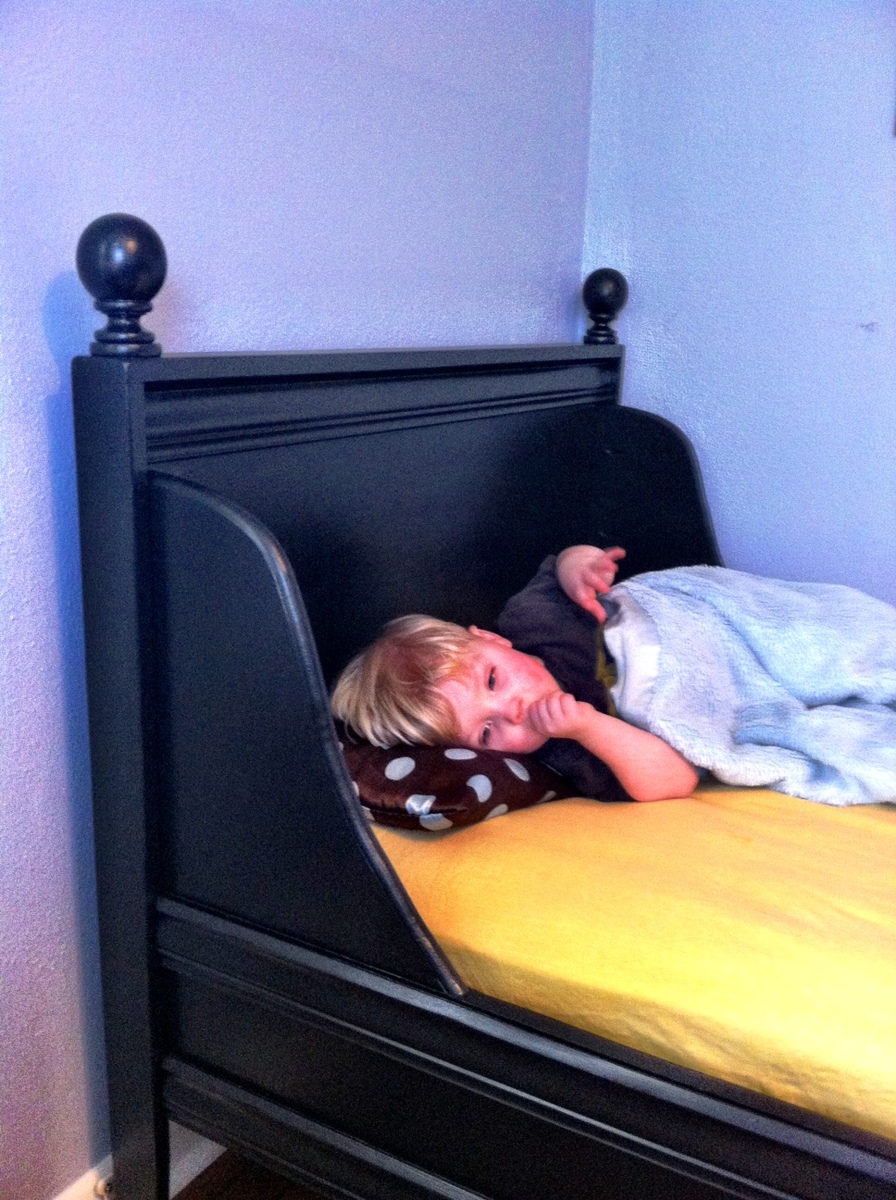
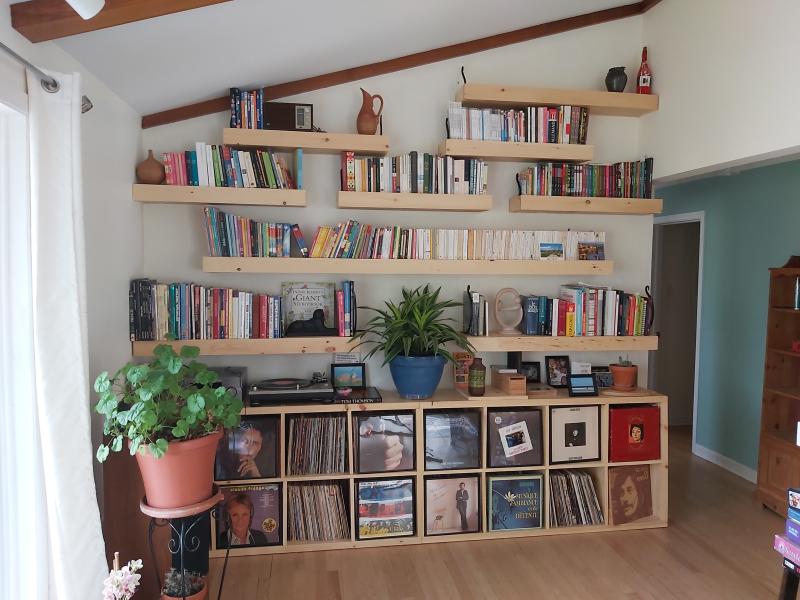
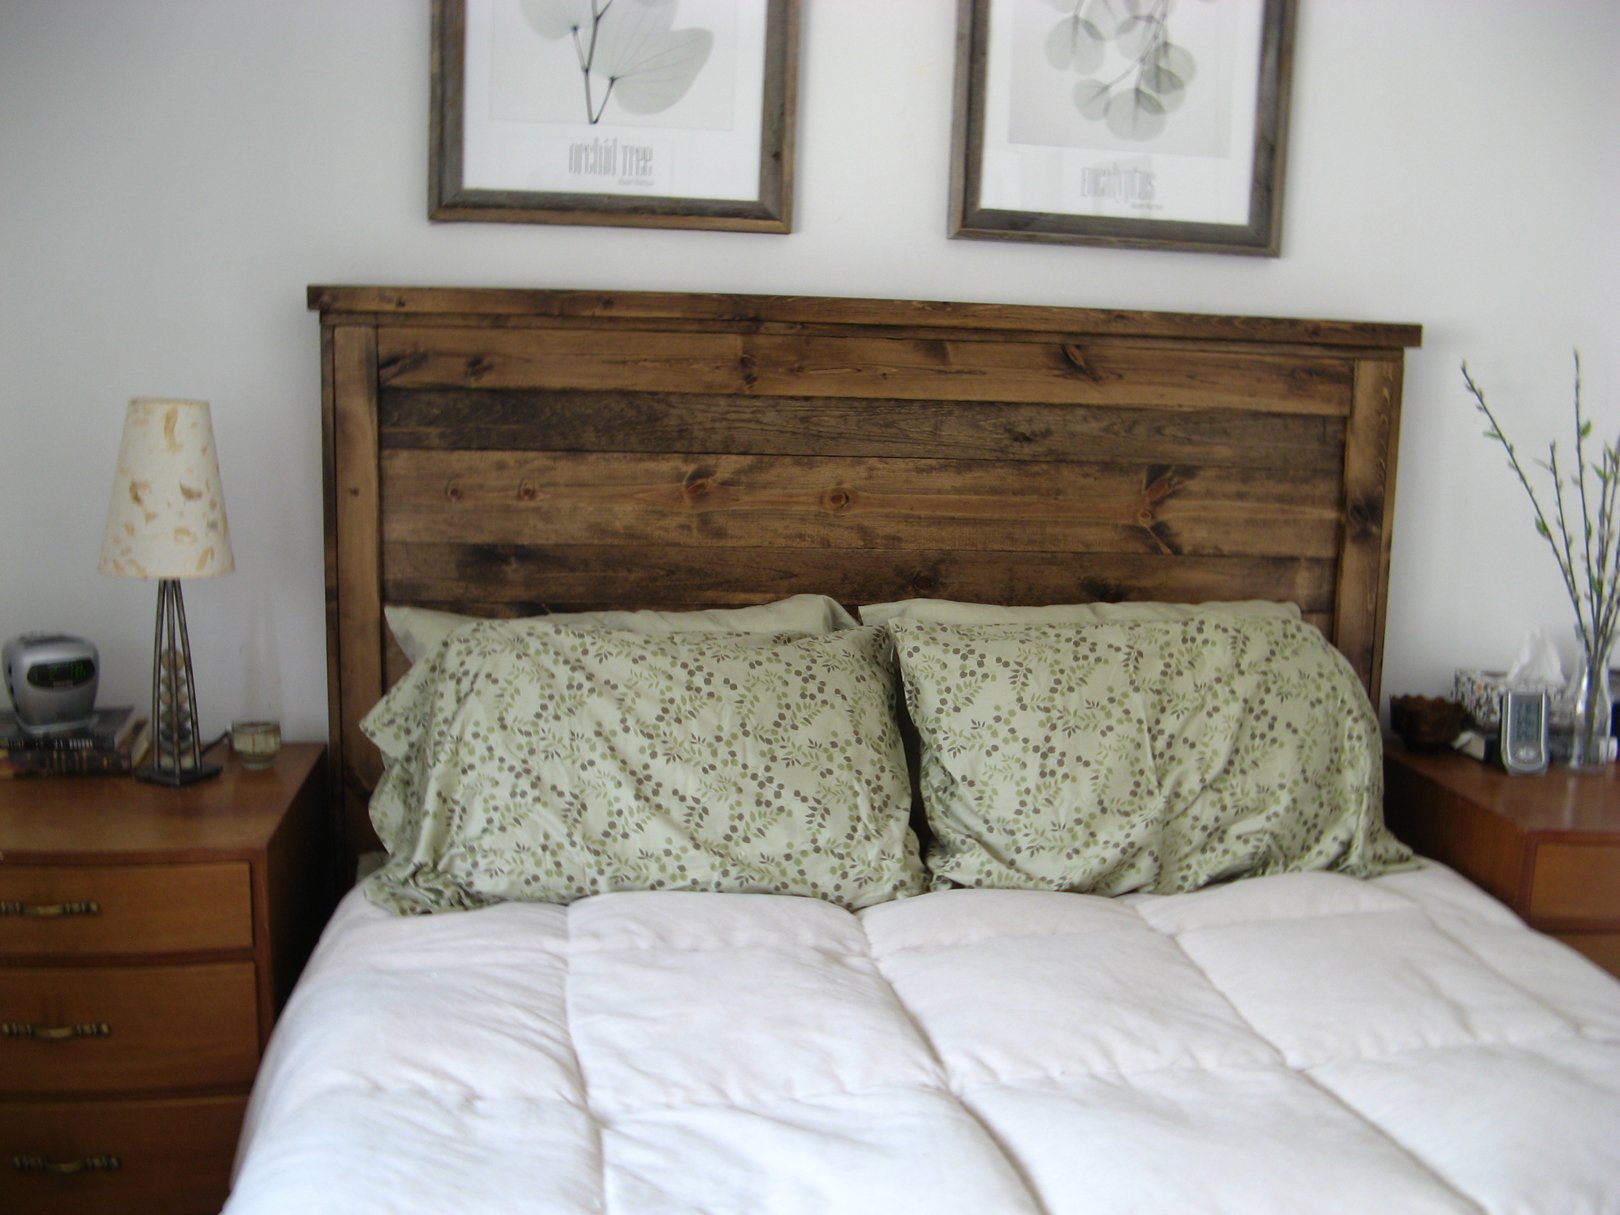
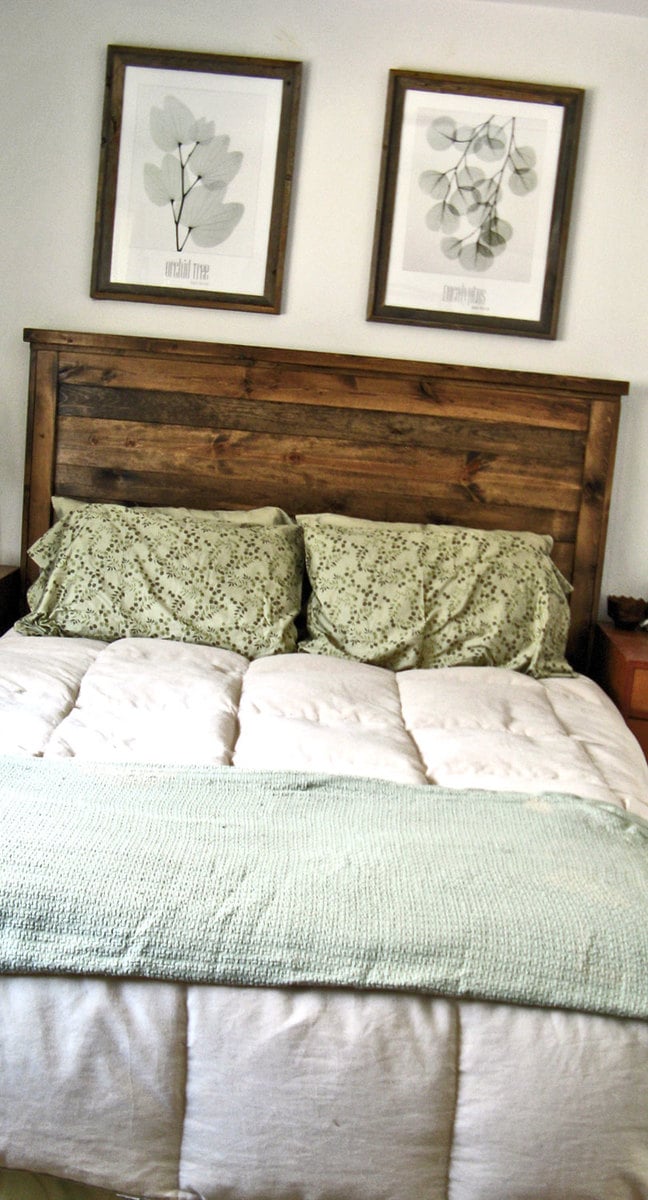
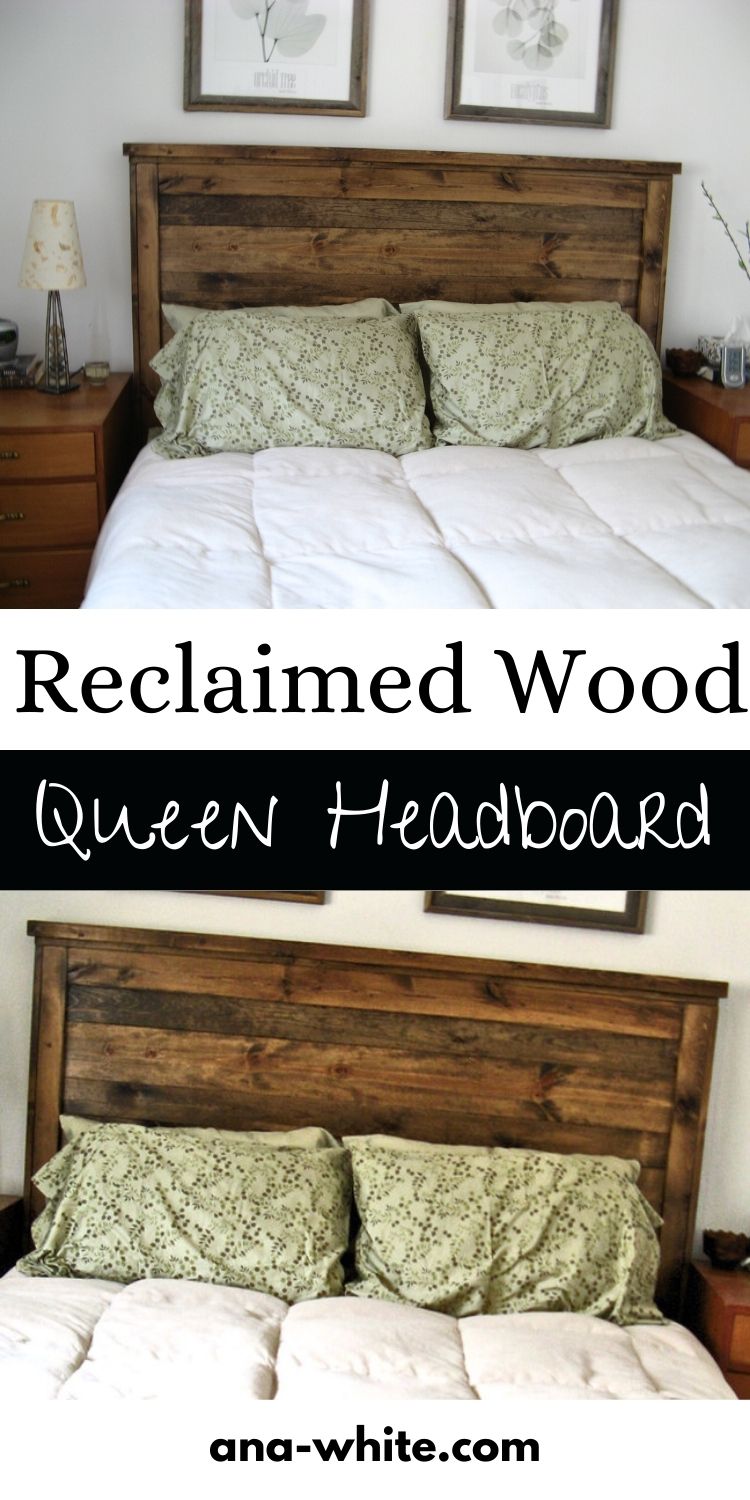
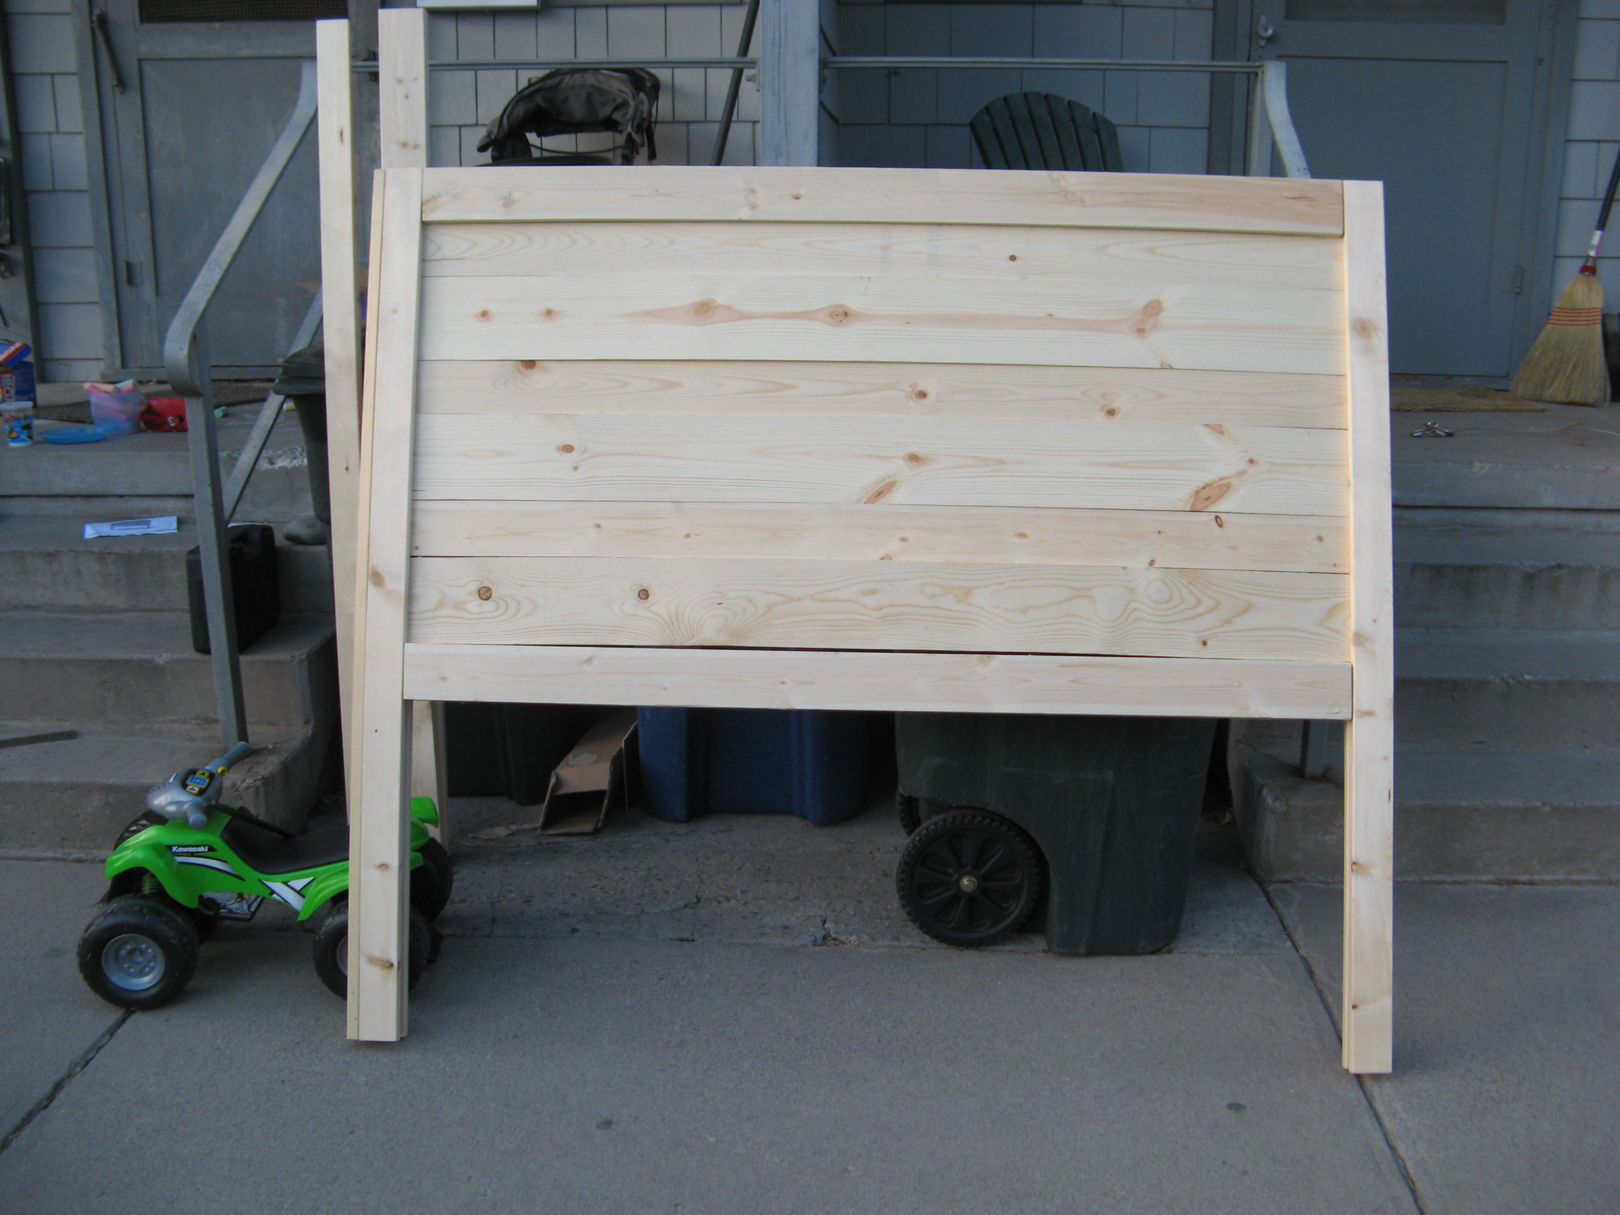
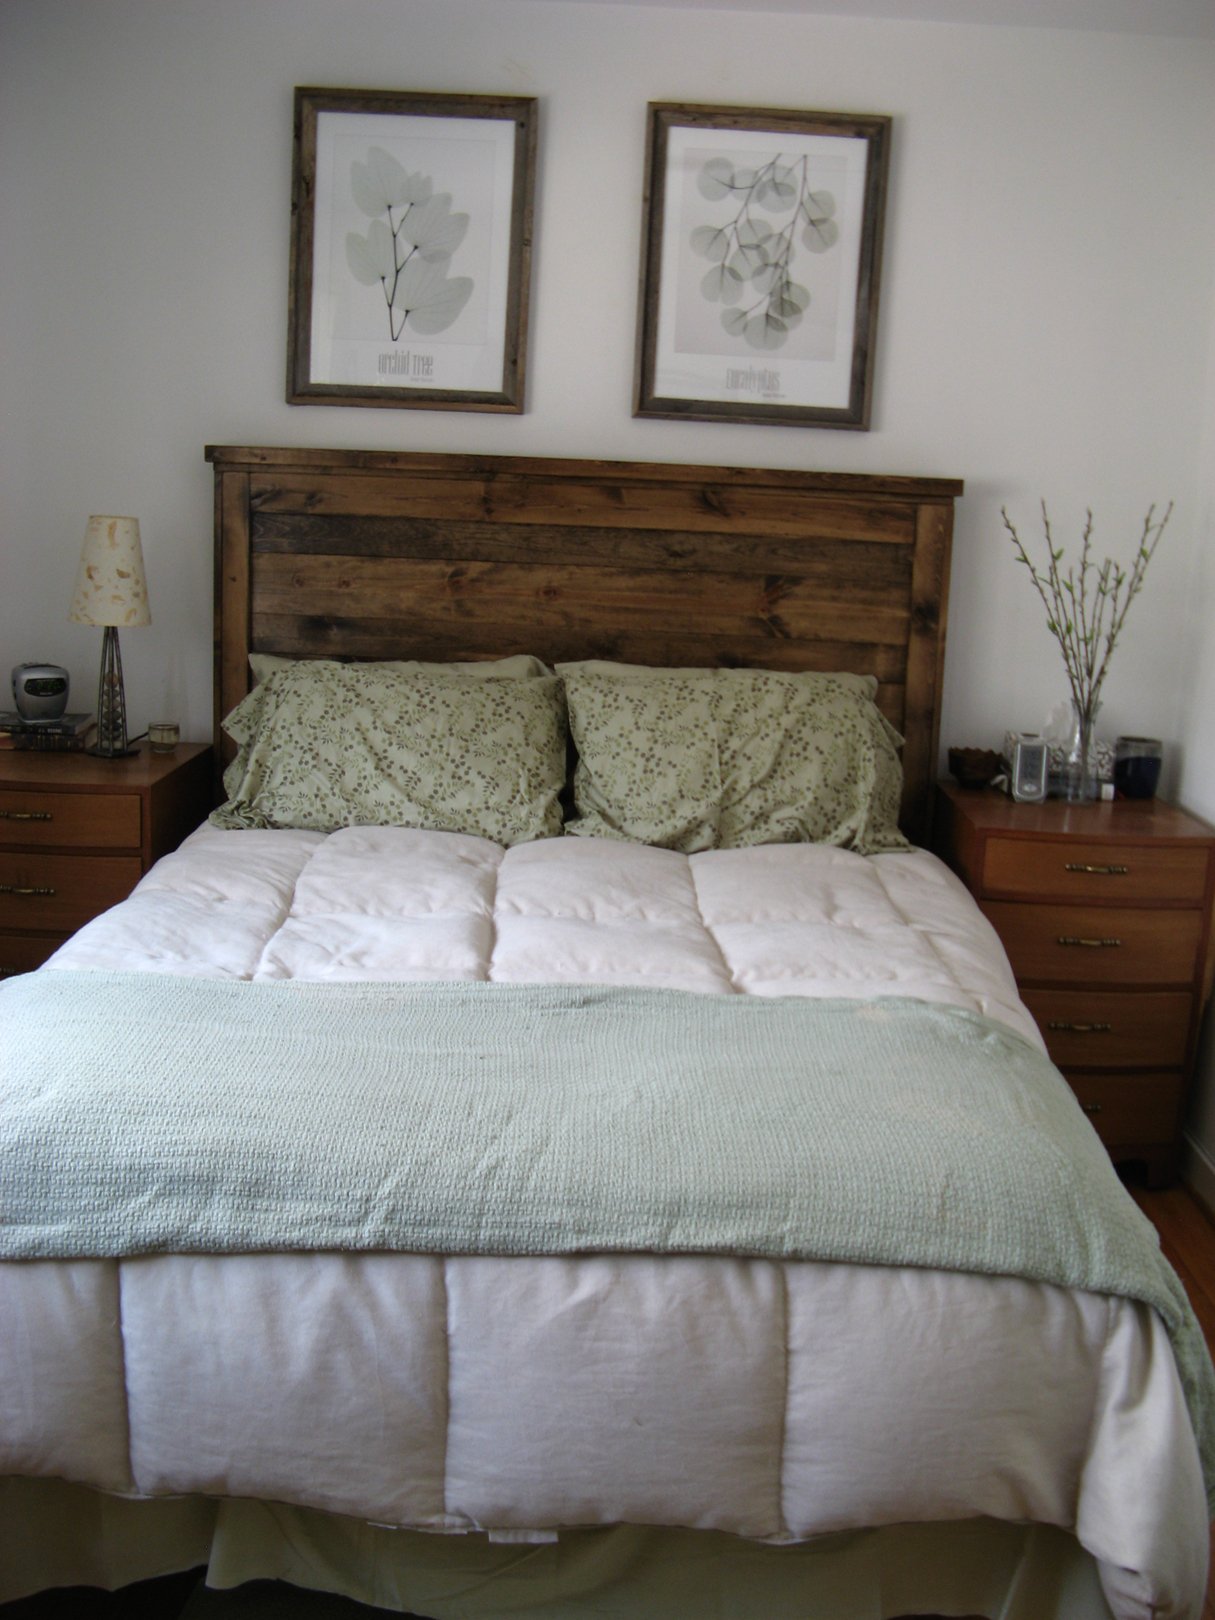
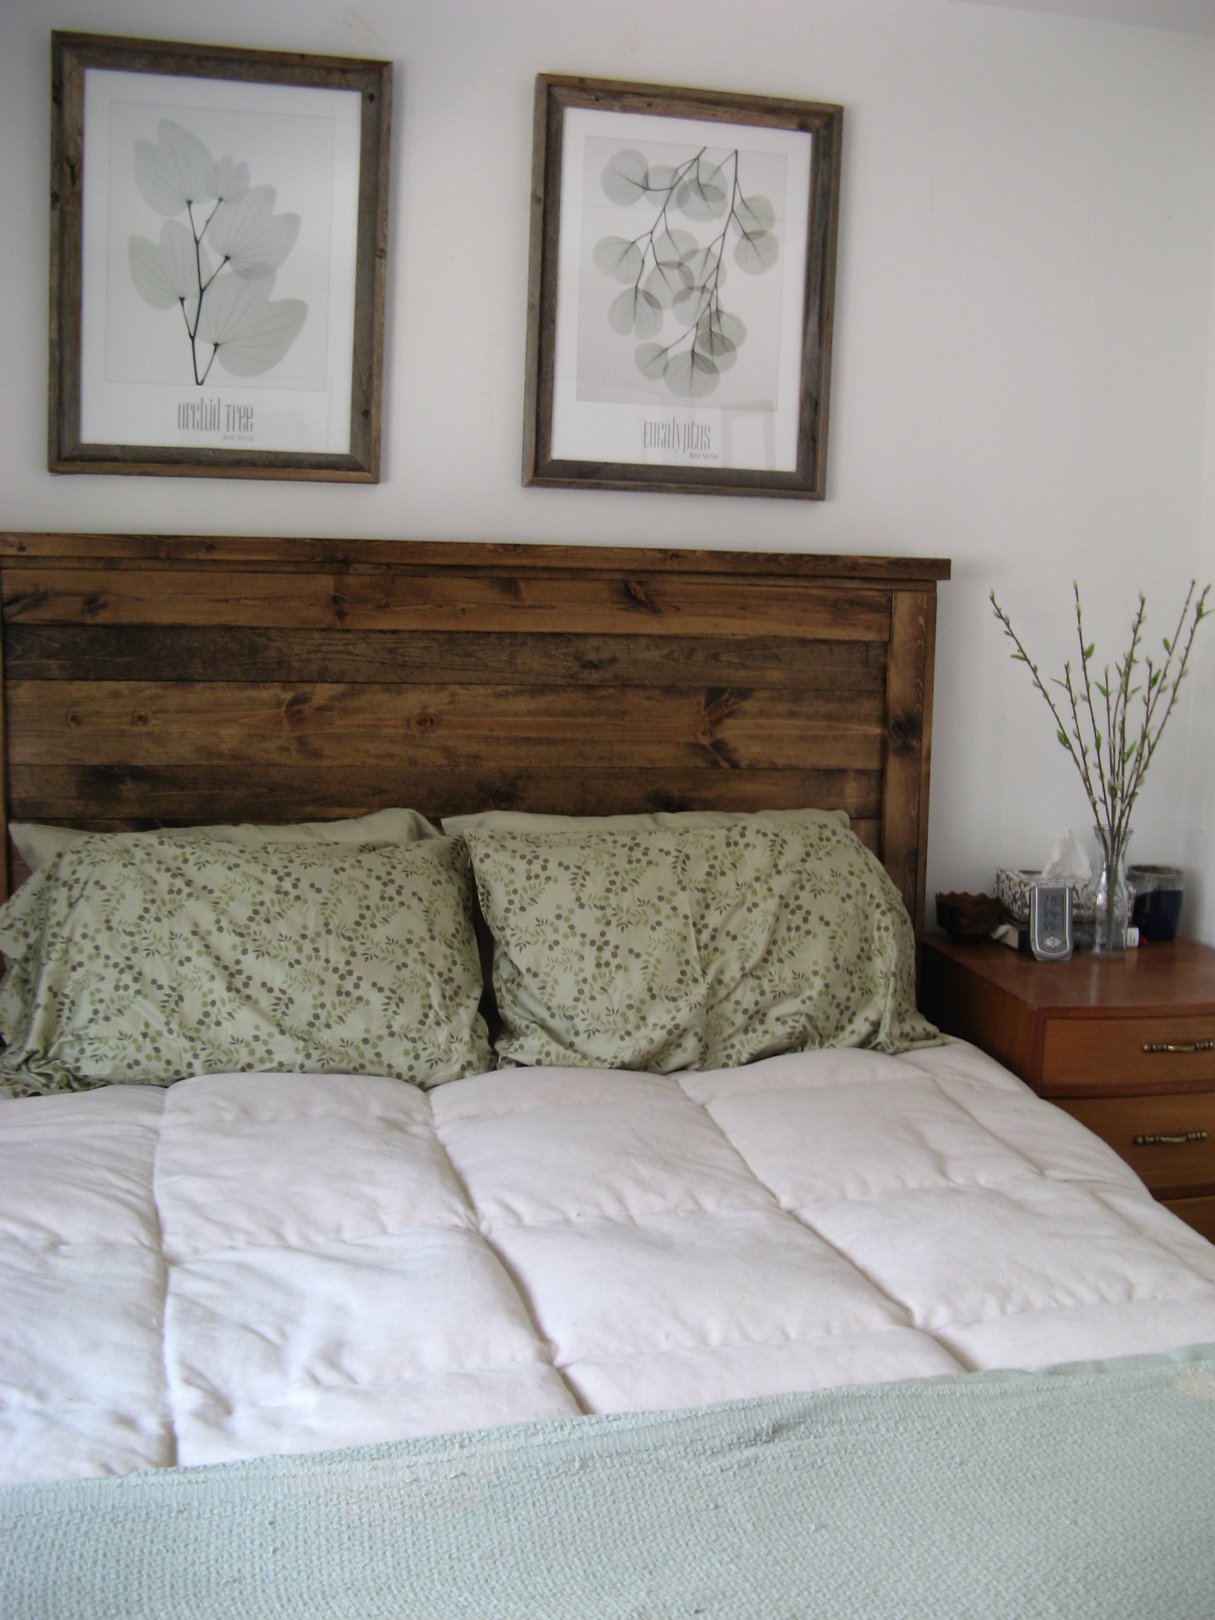
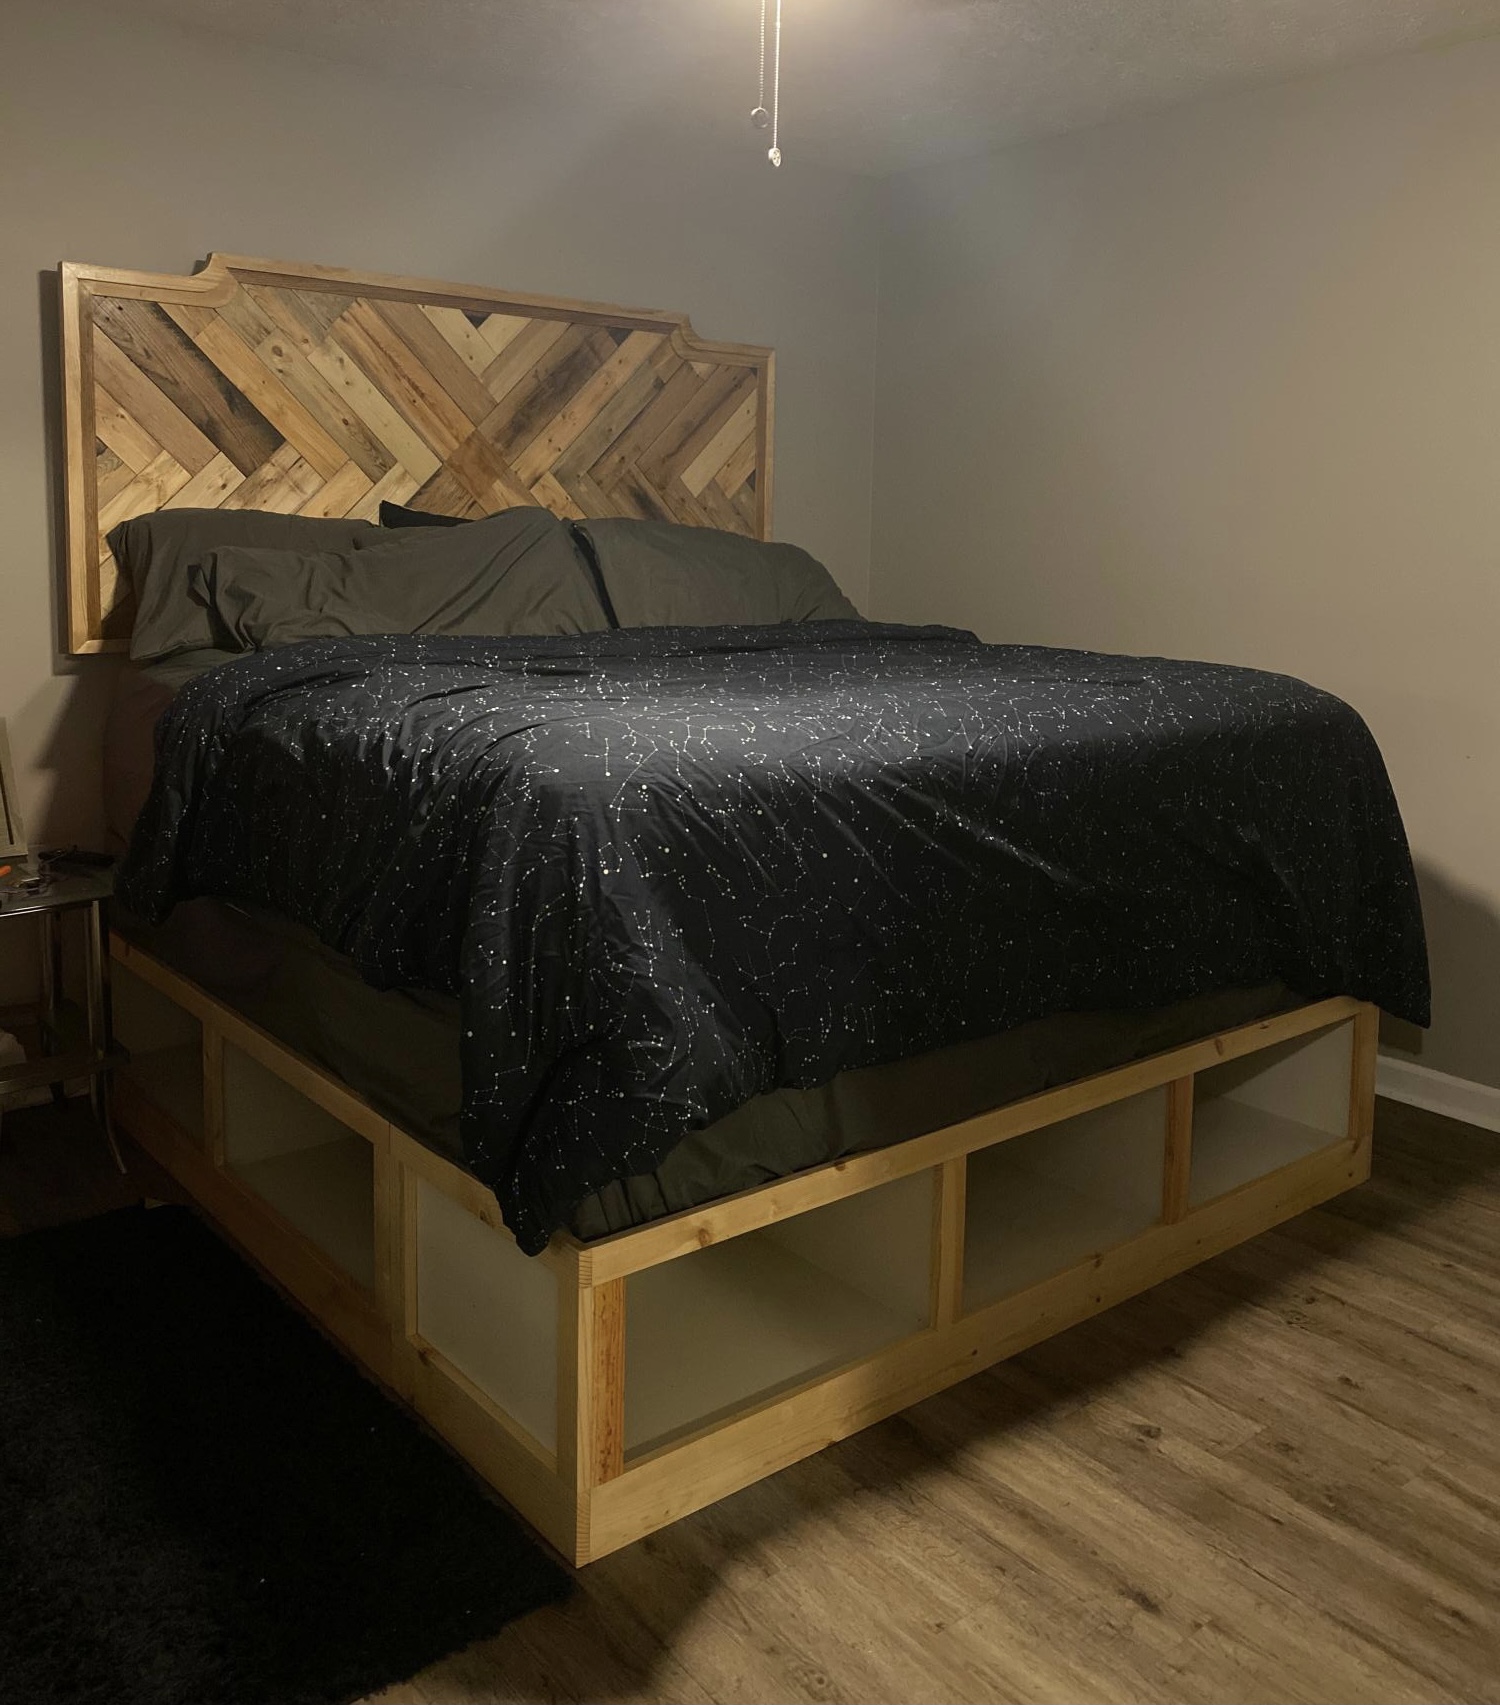
Our Farmhouse bed :)
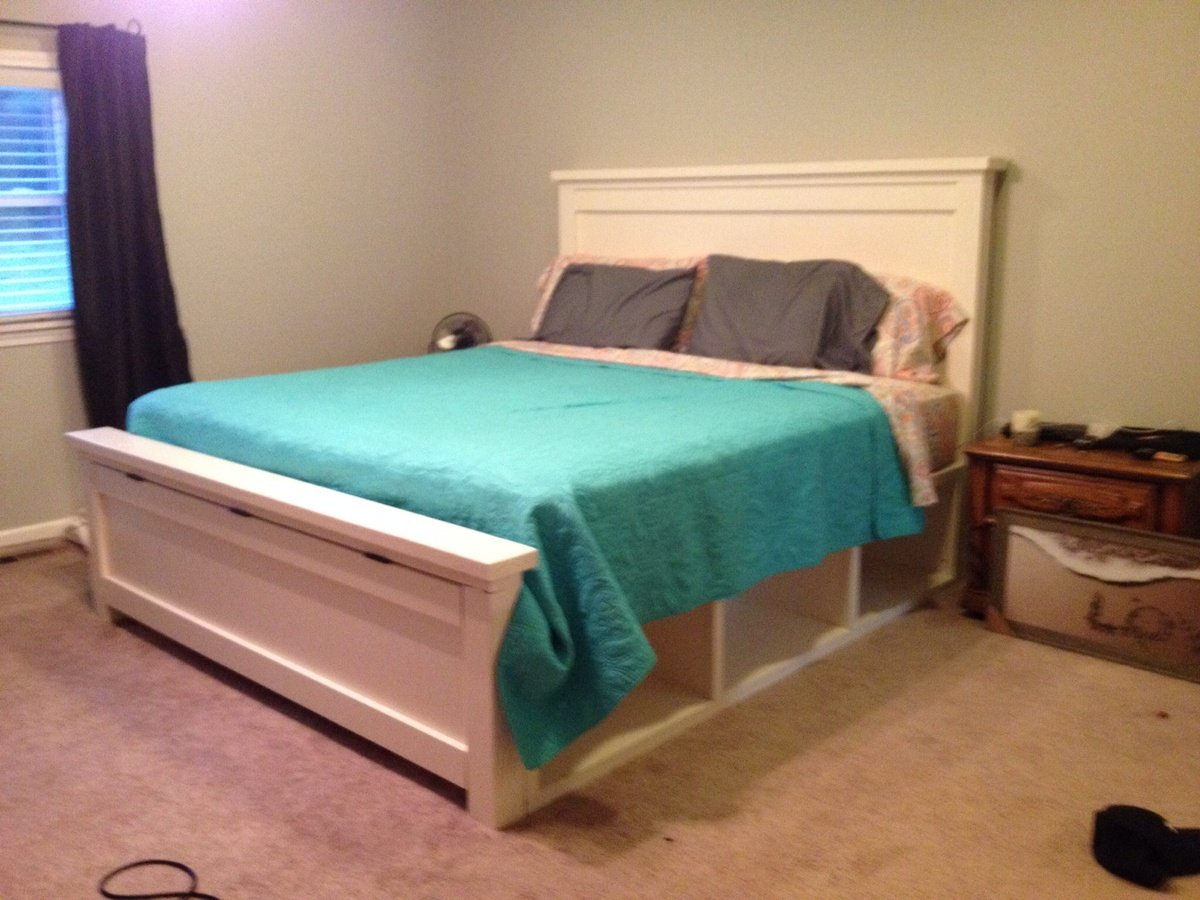
My wife and I wanted to upgrade to a king size bed and we stumbled upon this website and are so glad we did. My dad and I built this over the course of a month, working a couple hours at a time as time permitted. It was a fun build and the plans are easy to follow. I encourage anyone building these beds to find the exact measurement of your mattresses and modify the plans accordingly.

Built from Plan(s)
Estimated Cost
$300
Estimated Time Investment
Week Long Project (20 Hours or More)
Finish Used
Valspar antique white in semi-gloss 4 coats
Recommended Skill Level
Intermediate


Comments
wthalin
Mon, 02/20/2017 - 13:43
I plan to make a bed very
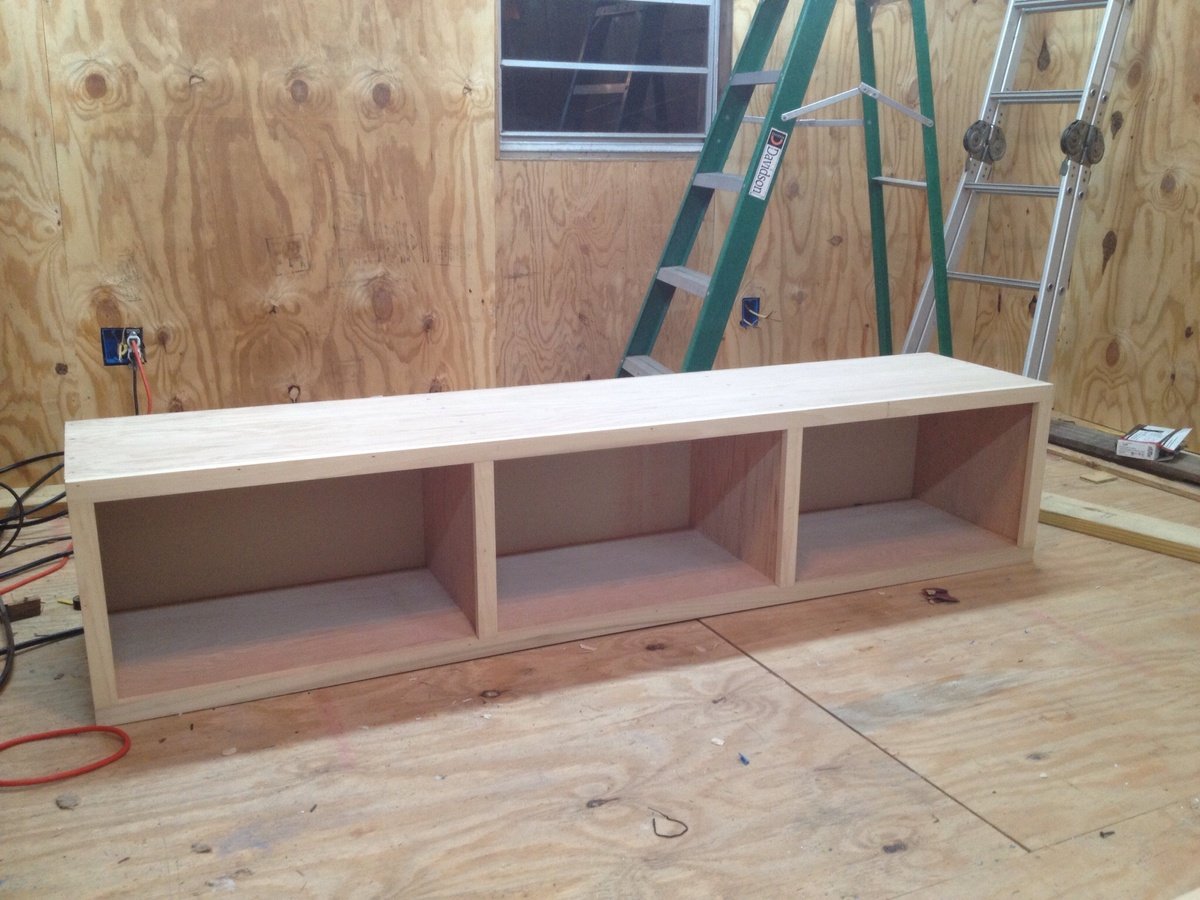
I plan to make a bed very similar to what you did. I like the idea that it has a headboard and footboard with storage on the sides. How did you end up fastening the head and footboards to the body of the bed?
JanieMR
Mon, 02/20/2017 - 21:06
FarmHouse Bed
Bought your book and I love it, pouring through it every nite. Planning to make the full size farmhouse bed. Got lots of tools in the Garage and taking inventory of what's in there and what I'll need, (none have been used in a few years). So glad my husband left all the tools behind when he left.
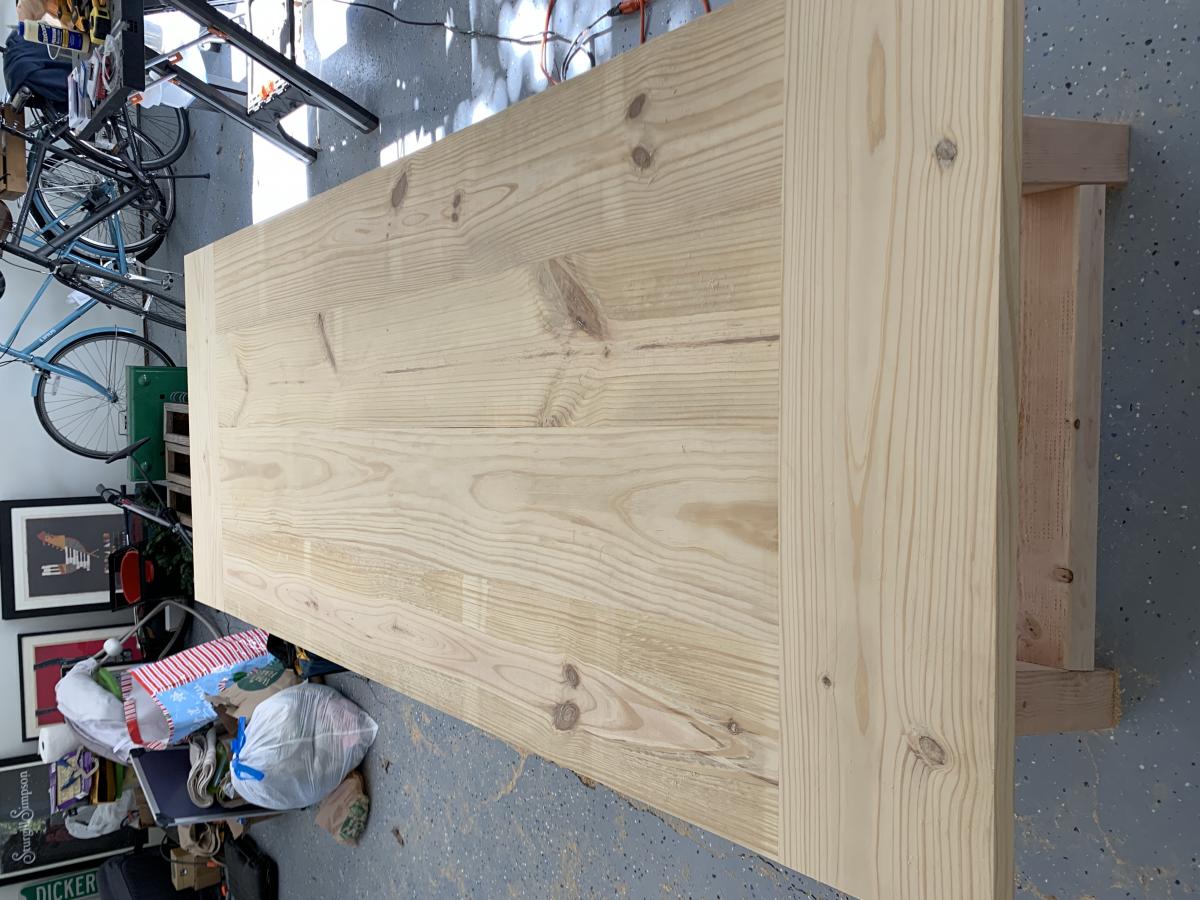
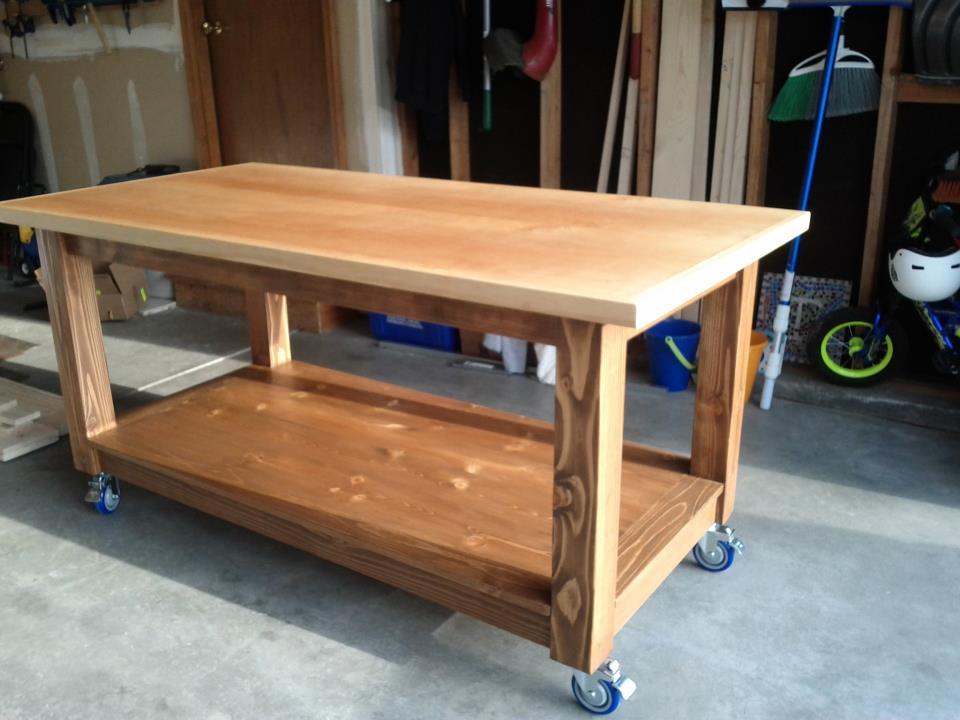
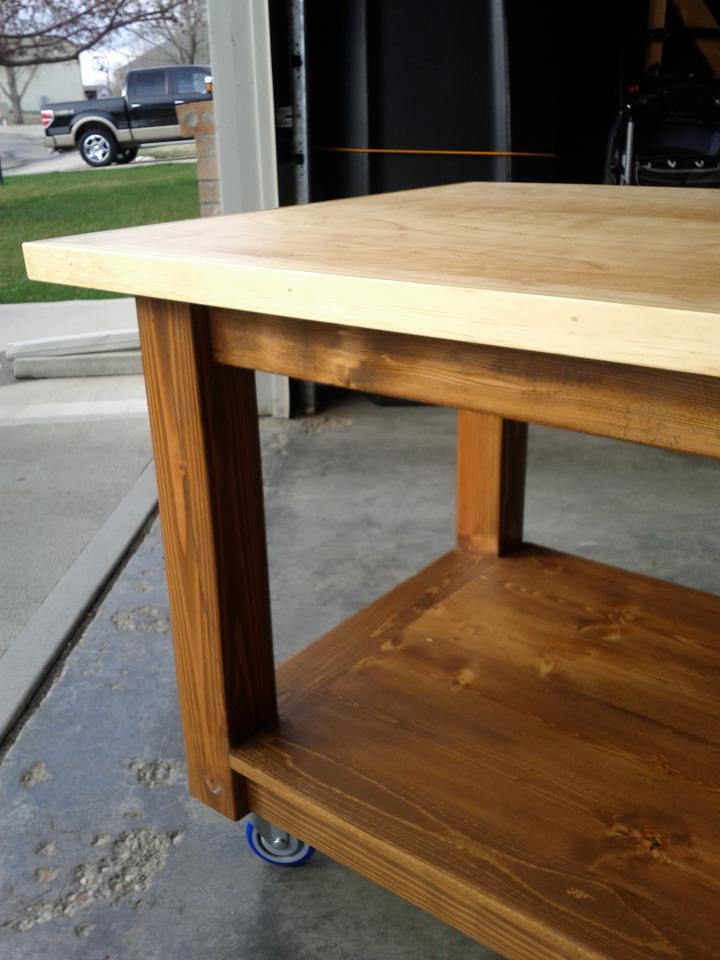
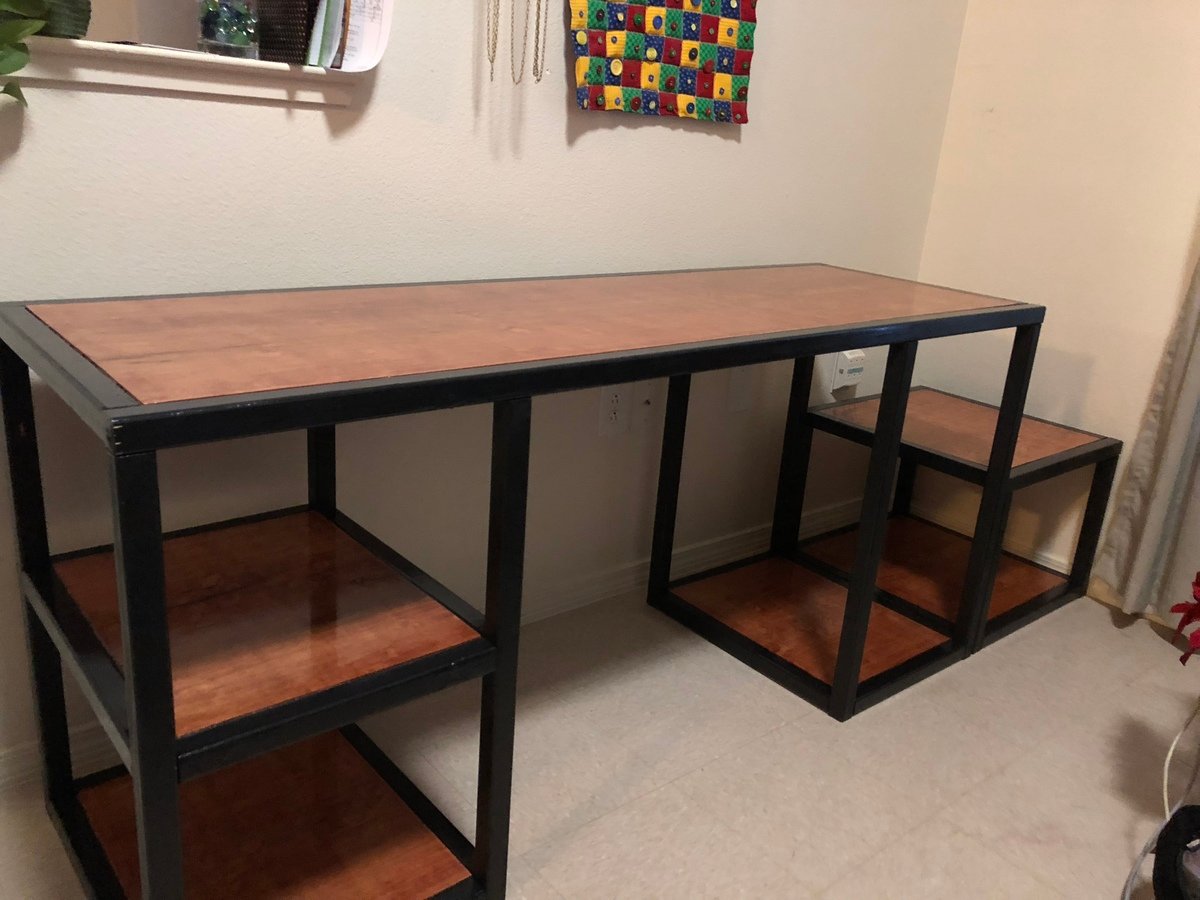
I've already built the worktable and saw horses.
JanieMR
Mon, 02/20/2017 - 21:07
FarmHouse Bed
Bought your book and I love it, pouring through it every nite. Planning to make the full size farmhouse bed. Got lots of tools in the Garage and taking inventory of what's in there and what I'll need, (none have been used in a few years). So glad my husband left all the tools behind when he left.
I've already built the worktable and saw horses.