Ten Dollar Ledges
After a floating shelf fail, I threw this one together with scraps. Time investment below includes waiting for paint to dry and hanging it up.
I use the plans as inspiration to build a scooter from scraps I had lying around. I spent about $5 on the can of stain.
Love the simple modern look of this desk. The plans were so easy and this was a quick build. Modified the measurements as well as the top. I used a project panel for the desk top.
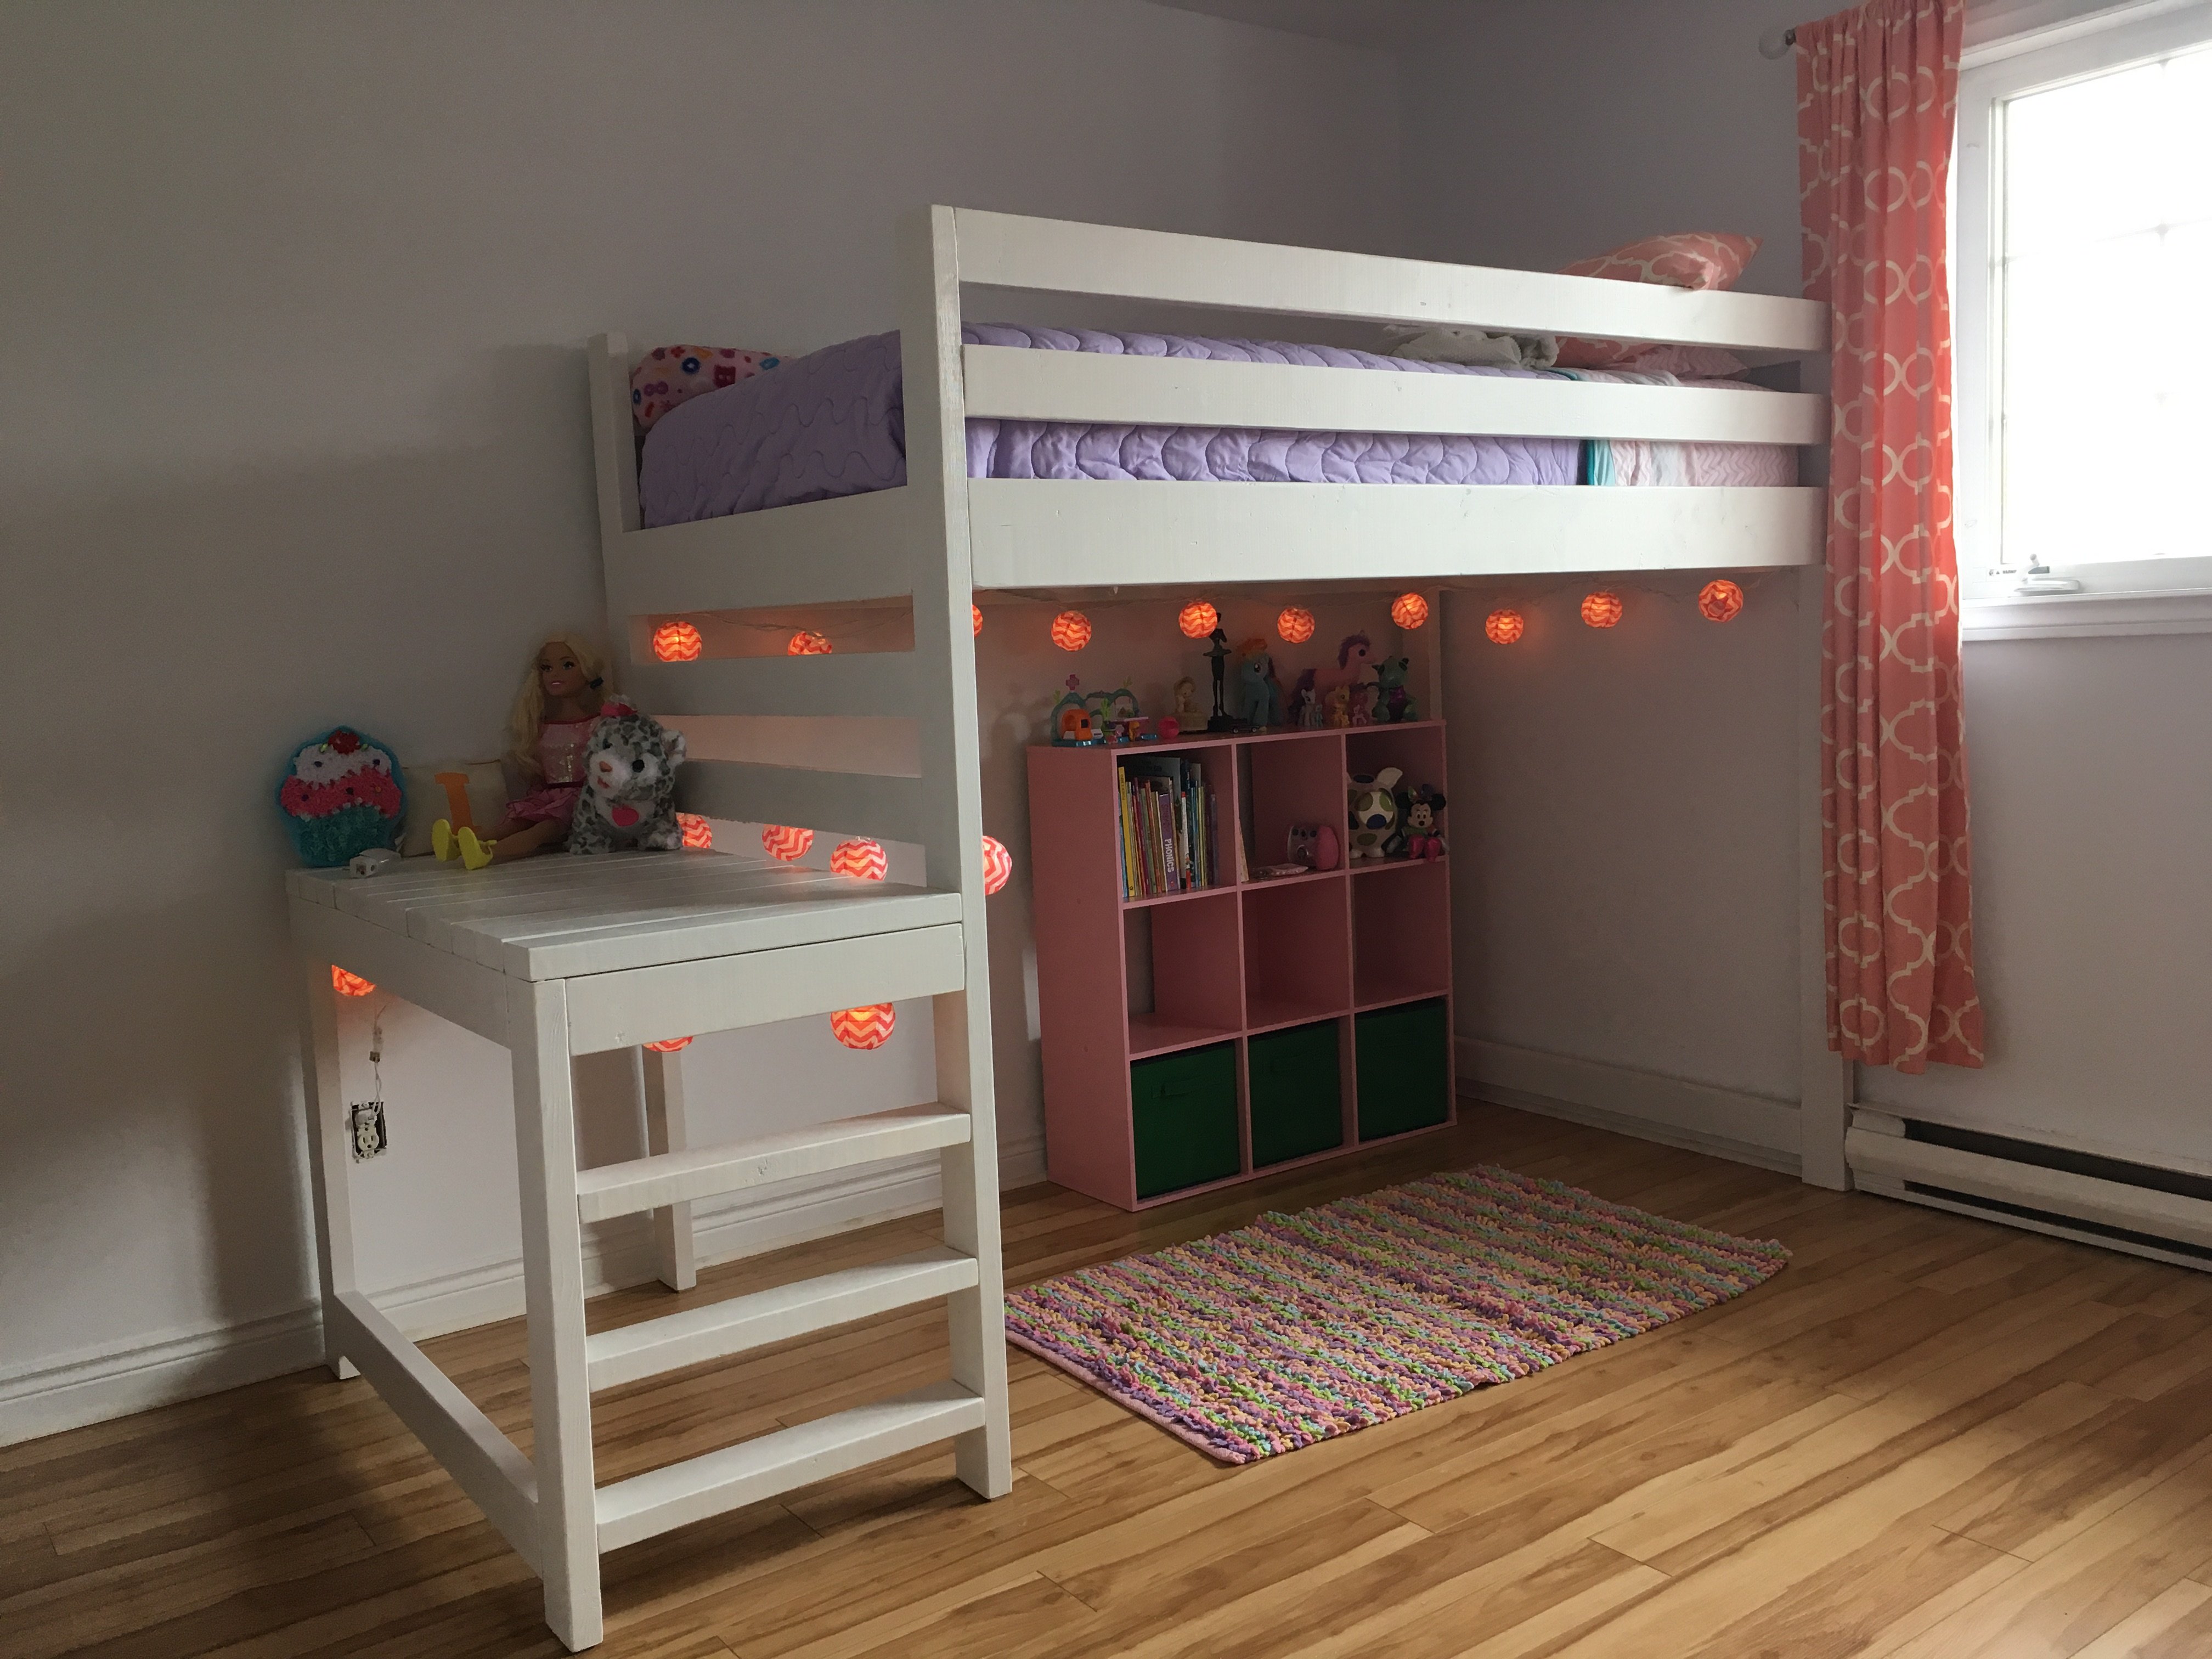
I fell in love with the loft bed but thought the stairs stuck out too far for my daughter's room so I revampd the plan just a bit to add three 'stairs' in the platform rather than the standard stairs in the plan.
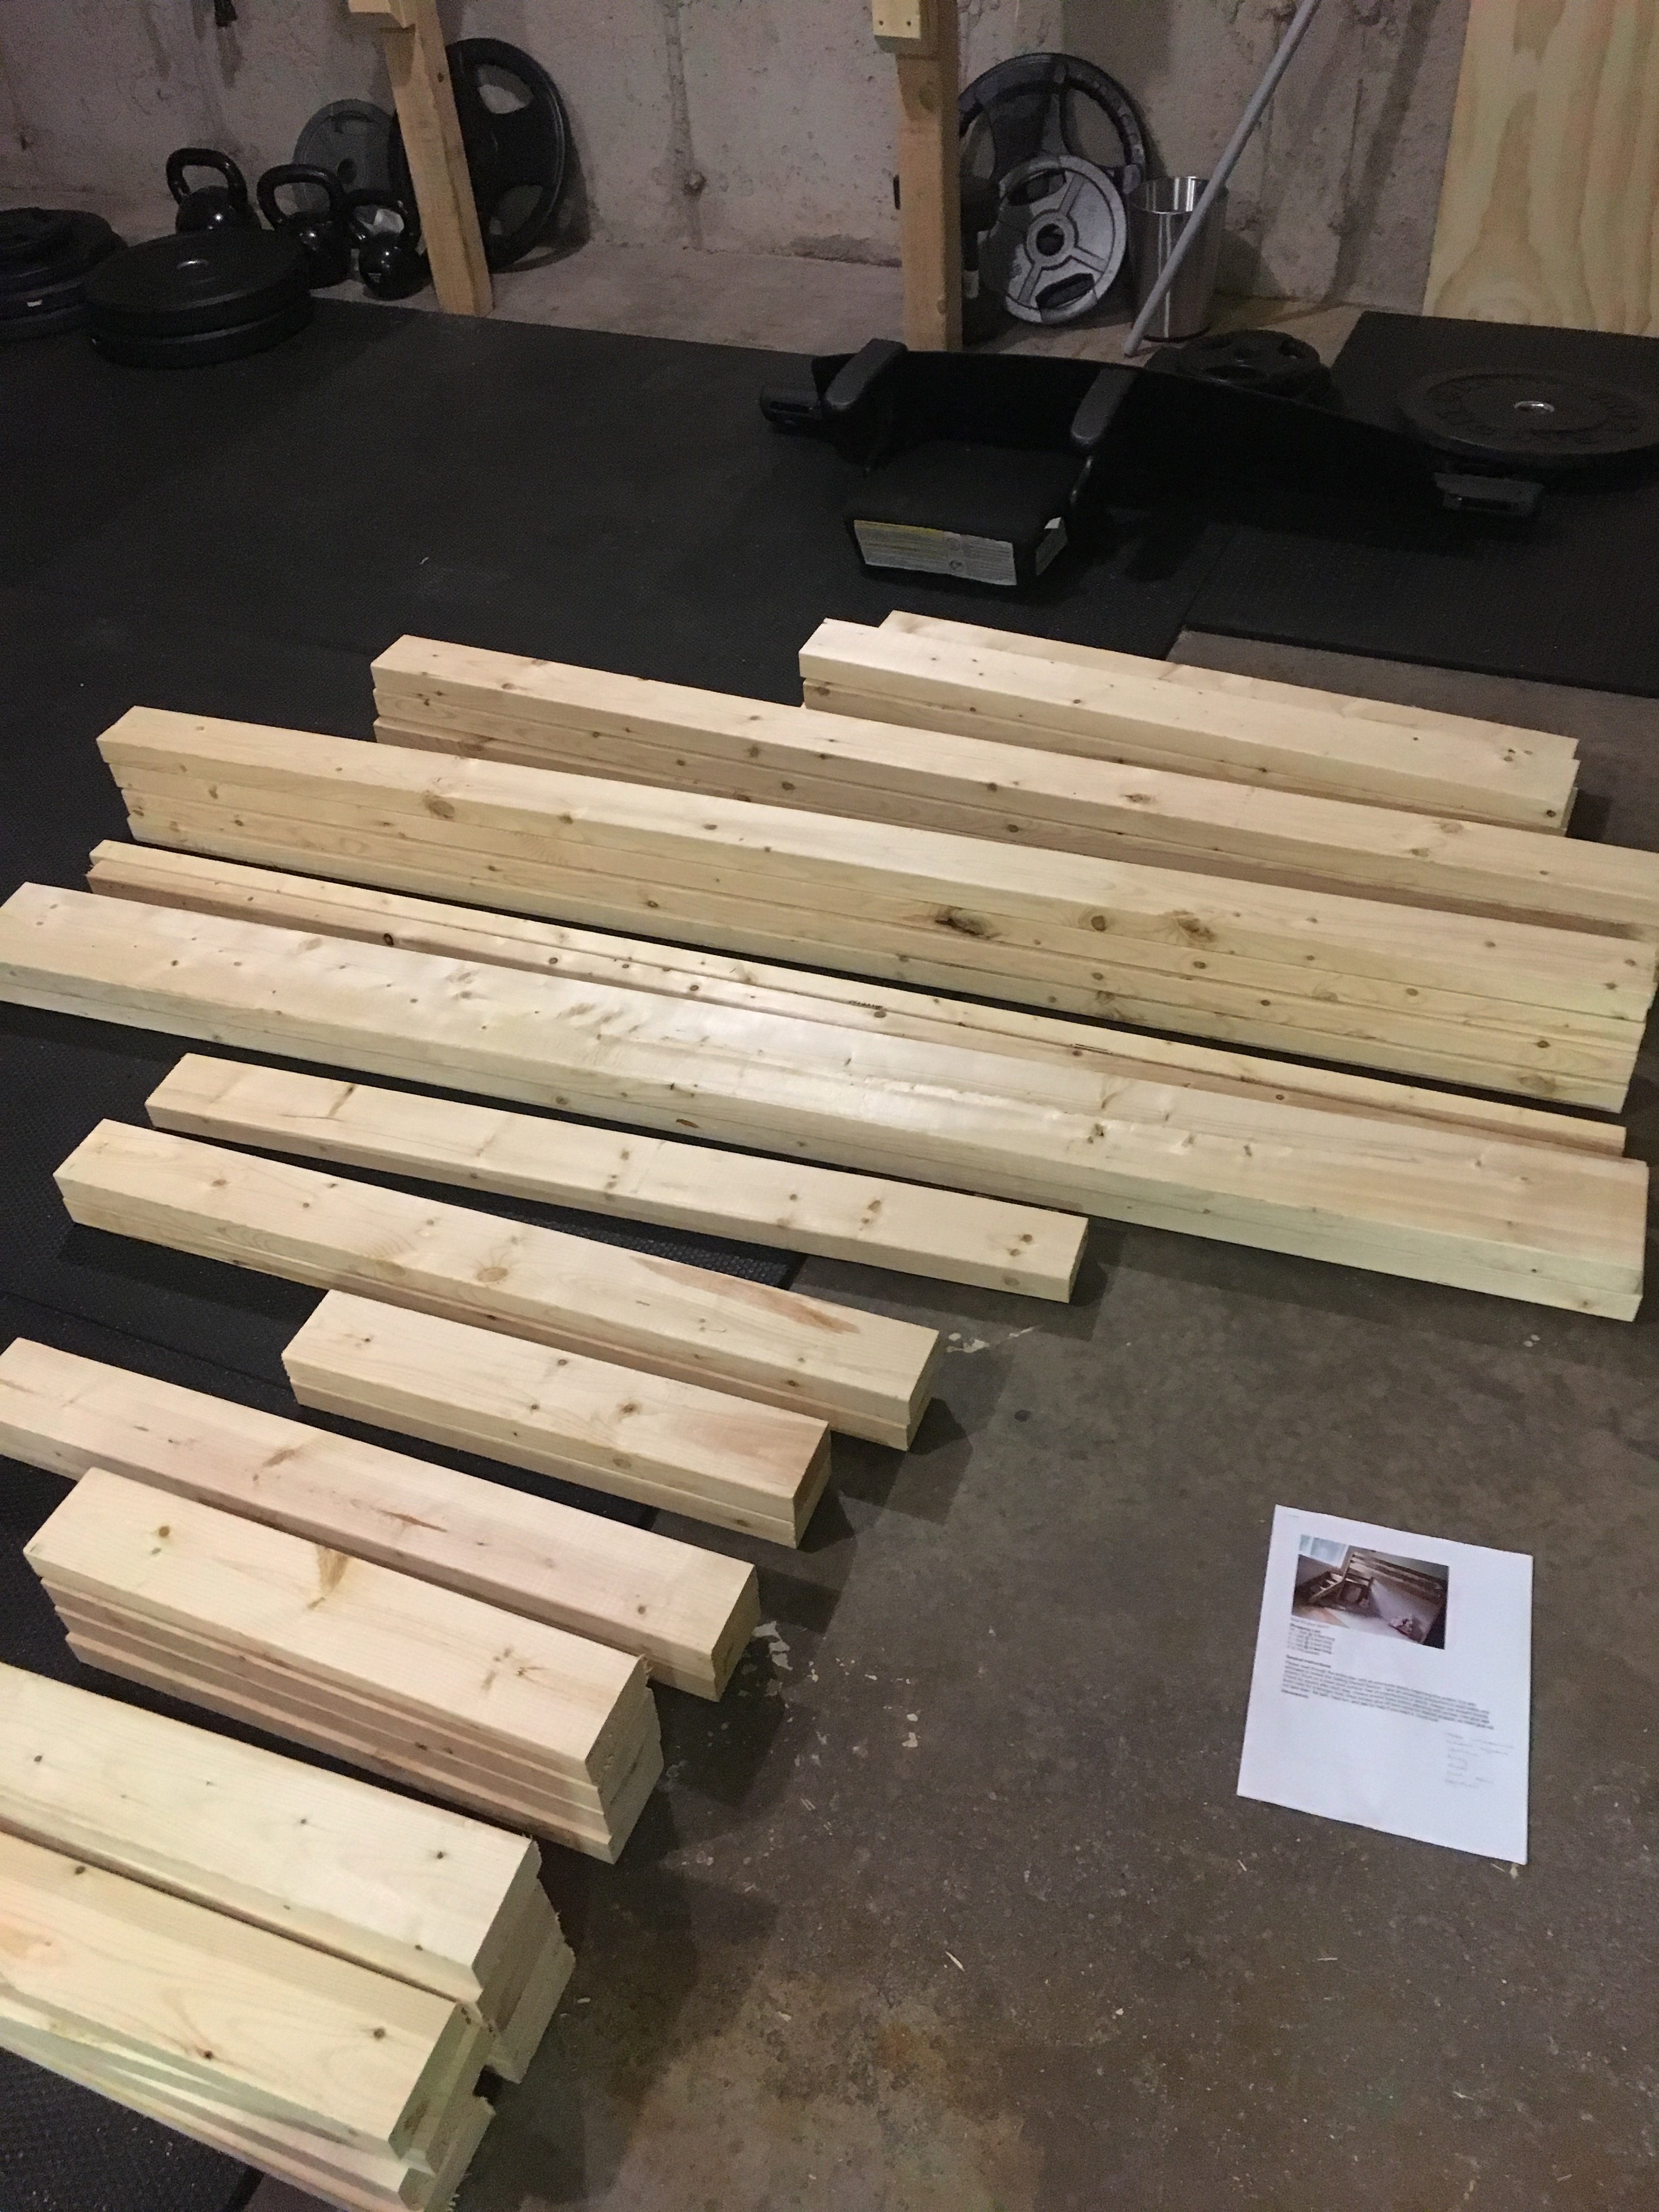
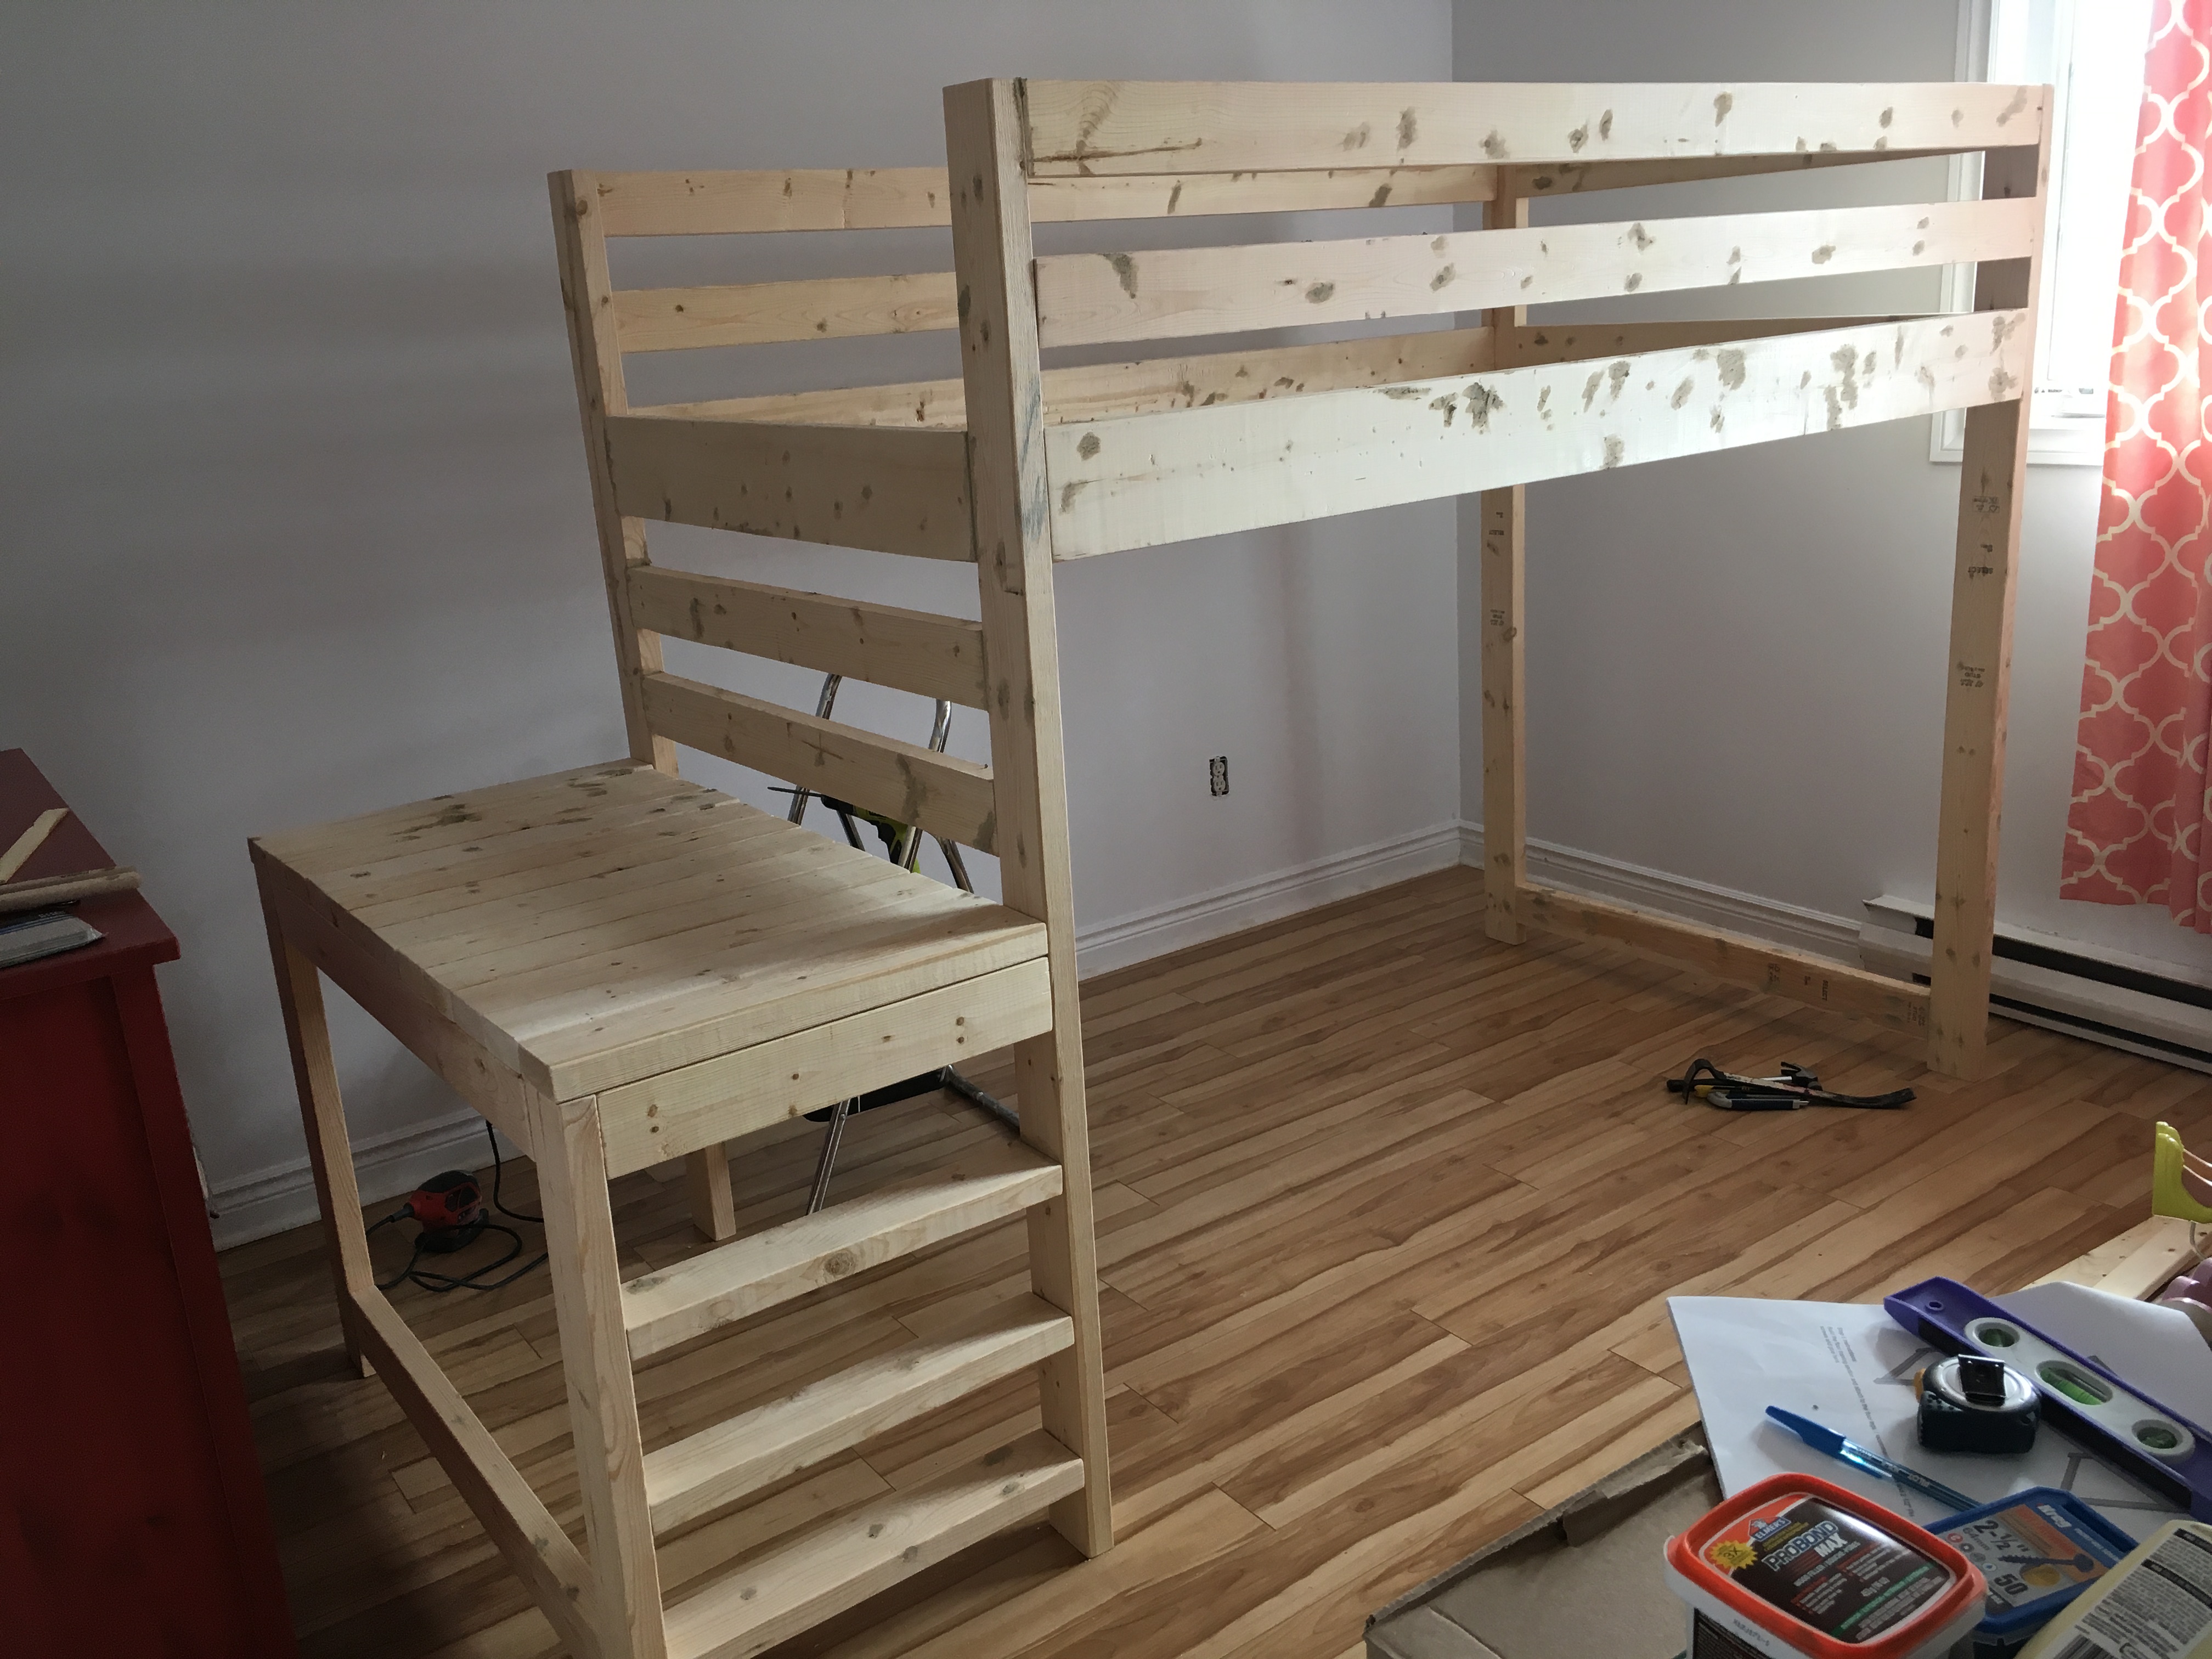
I got started on the project on a Friday night, got my cuts made, my pocket holes drilled and pieces sanded for an early start Saturday morning, everything went together like a dream - though it would have gone MUCH faster if I had had a second set of hands; I had to balance all of the long peices on other peices to try and get them attached and it took much longer than it had too!
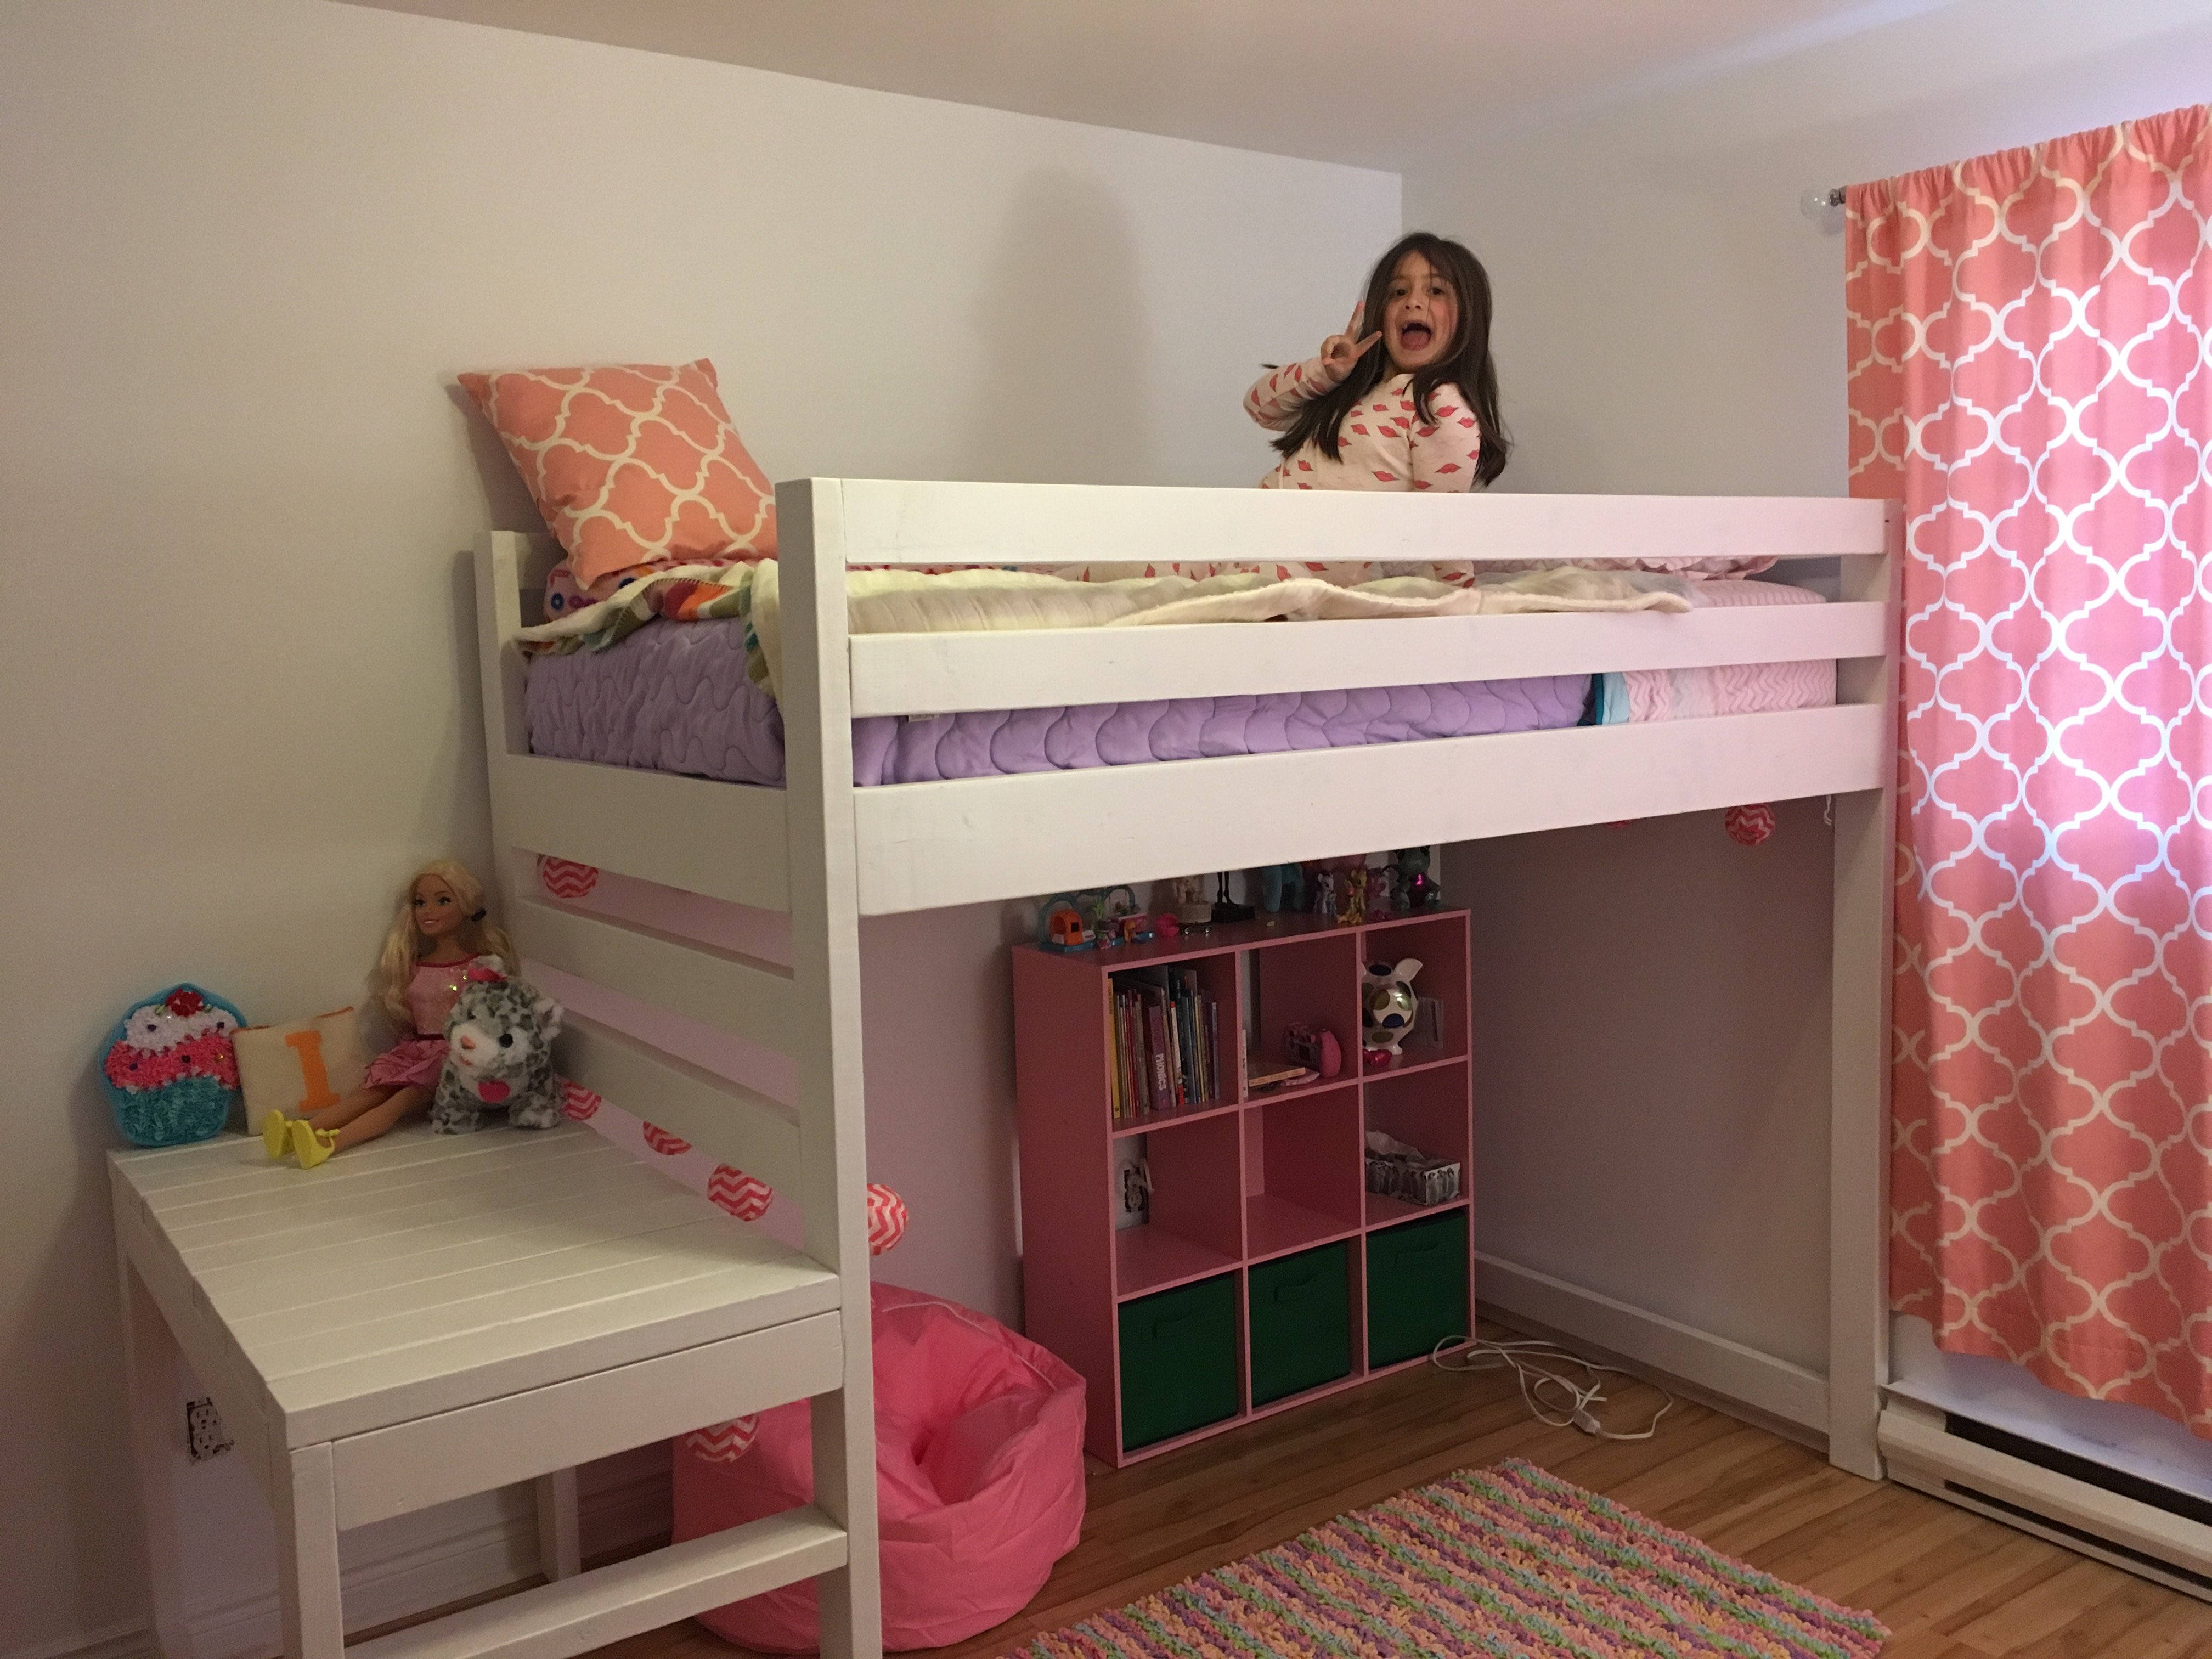
It was all together, the holes filled and first coat of primer on by Saturday afternoon - I used Zinsser primer so the knot's did not bleed through. Sunday morning I was painting and it was in place and decorated by Sunday night!
Great, easy to follow plans (as always) Ana - thank you, I have one VERY happy daughter!
After building the playhouse loft bed recently, I whipped up the fancy doll crib for my daughter. My mother made a beautiful pillow and quilt to match the one of my daughter's bed.
This was a Mothers Day gift for my mom. She absolutely loves it! She lives in a retirement complex and neighbors are complimenting her on it all the time! I did decide to go with all cedar instead of using any pine, so that did increase the cost. I also altered the plan like others and added a trim piece on the top. I think that makes the planter! Thanks Ana for the wonderful plans!
Inspired by Finn's Dad's table, we decided to copy it since we wanted to build a table that would seat 8 comfortably. The most difficult part of this project was finding clear cedar for the top. It had to be ordered through our local lumber yard and we were not able to match boards. We built the frame out of treated pine and the 4 x 4 legs from average greade cedar found at Lowe's. We finished it with four coats of polyurethane.
Weekend swing project
Tue, 05/07/2019 - 10:42
We don't currently have this plan available, although I'd be happy to draw it with the author's permission.
I have linked a few plans above that could be used to create this plan. Just make sure you bury the arbor uprights underground on concrete pier posts or similar (like building a fence)
My growing family was in need of a bigger table so this table and bench were made as a birthday present for my wife. We like the farmhouse look and these plans are a great template to follow. I made quite a few modifications to get my desired look. I wanted a more durable wood than pine for the table top so I used hard maple and eliminated the breadboard ends. The maple essentially tripled the cost of the project, but I think its worth it in the end. I decided not to do the bottom runner so seating could be placed on the ends. The table is also only 72" to fit better in my dining area. All of the joints were assembled using pocket screws and glue. I also added several cross supports on the underside. Overall I'm happy with how it turned out.
I followed the plans for the Cubby Bookshelf, but added a 4th shelf to it. It is stained with a Rustoleum "Sunbleached" stain (I think it's called "Driftwood" now), with Minwax whitewash on top of that.
We needed a unique bar for our home, and loved the sliding bar doors on this one! It fits our house, and we get so many compliments!
My daughter got a bunny from her teacher (shaking fist in frustration) and I thought it would be a good opportunity to teach her some skills. I was inspired by the toy bunny hutch. When she finished she said, " I can make anything now" so mission accomplished!
This is a modified butcher block kitchen island built from ana white's plan. Instead of using doug fir (2x4) material for the top, I used hard maple to build an edge grain butcher block top that if knife friendly and food safe. I also altered the dimensions to fit my space.
Sat, 05/10/2014 - 11:05
Yet another beautiful kitchen island. Love the finish and butcher block top on this one! Thanks for sharing!
I built this using Ana's plans for her outdoor play kitchen. I live in North Carolina and took it to my grandchildren in Ohio. They love it! I used an inexpensive beverage dispenser installed into a trashcan and connected a small aquarium pump to recirculate the water from the sink to the water tank. I'm super pleased with how it turned out!
Nancye Butterworth
Ana, First time I have every attempted any kind of woodwork/building furniture other than building Ikea stuff. The plans were very easy to follow and now I want a chop saw for xmas. I roped my daughter in to help me and we completed the project in 2 days. Husband was totally blow away by our achievement. I love it and feel accomplished. Away to work on the table and further benches/seating over the next few weeks. Pauline
Used the Banquette bench plans with mudroom locker plans, to make a beautiful reading nook and mudroom storage for the kids backpacks. Plenty of storage for everyday life. - Clay Roffer
Built this laundry basket storage/folding cart - after watching Ana White videos I put swivel casters on it so I can roll it where I want it in our laundry room. This was my first time building anything! Thanks Ana for giving me the confidence to do it!! - Stephanie Minton on Facebook Community
I turned my legs the other direction and plan to put a board across the top. Or I may disassemble and drop the legs to the top board sits flush with the metal. Either way, great idea. Plan to use them for my small crops, lettuce, spinach, radish etc. - Susan Kidd Hutson on Facebook
Made this for a friend who does cuttings of her plants for others. I used the Simple 2x4 potting bench plan and modified it to hold an inset 7 gal. Commander tote box with snapping lid with two 2x4 @ 22" braces to support the tote on each side attached to the front and back aprons. She wanted something that would hold a medium size bag of potting soil with a lid to keep snakes and other critters out since she lives in the country. There are plenty of hooks to hang tools and other items.
Keep in mind I am a novice at best and this took me a total of 12 hours over 2 days to construct and stain and line. Filling will be a separate project all together!
I opted to remove the top row of lumber all around to have something to attach bird netting to to keep the critters out and make it easier to reach in, also a cost consideration. The posts are still the recommended 3 ft I also changed to 12ft X1in boards instead of 12ft x2in also in the interest of cost.
Tue, 03/17/2015 - 18:33
Gorgeous! You're going to have some very happy plants!
I modified the plan to allow for wider shelves on the legs. I also made the width of the desk 22” instead of 24” to accommodate the size of the repurposed coffee table I used for the desktop.
Mon, 01/09/2023 - 18:49
Love everything about this table from the repurposed top to the color choice! Thanks for sharing.