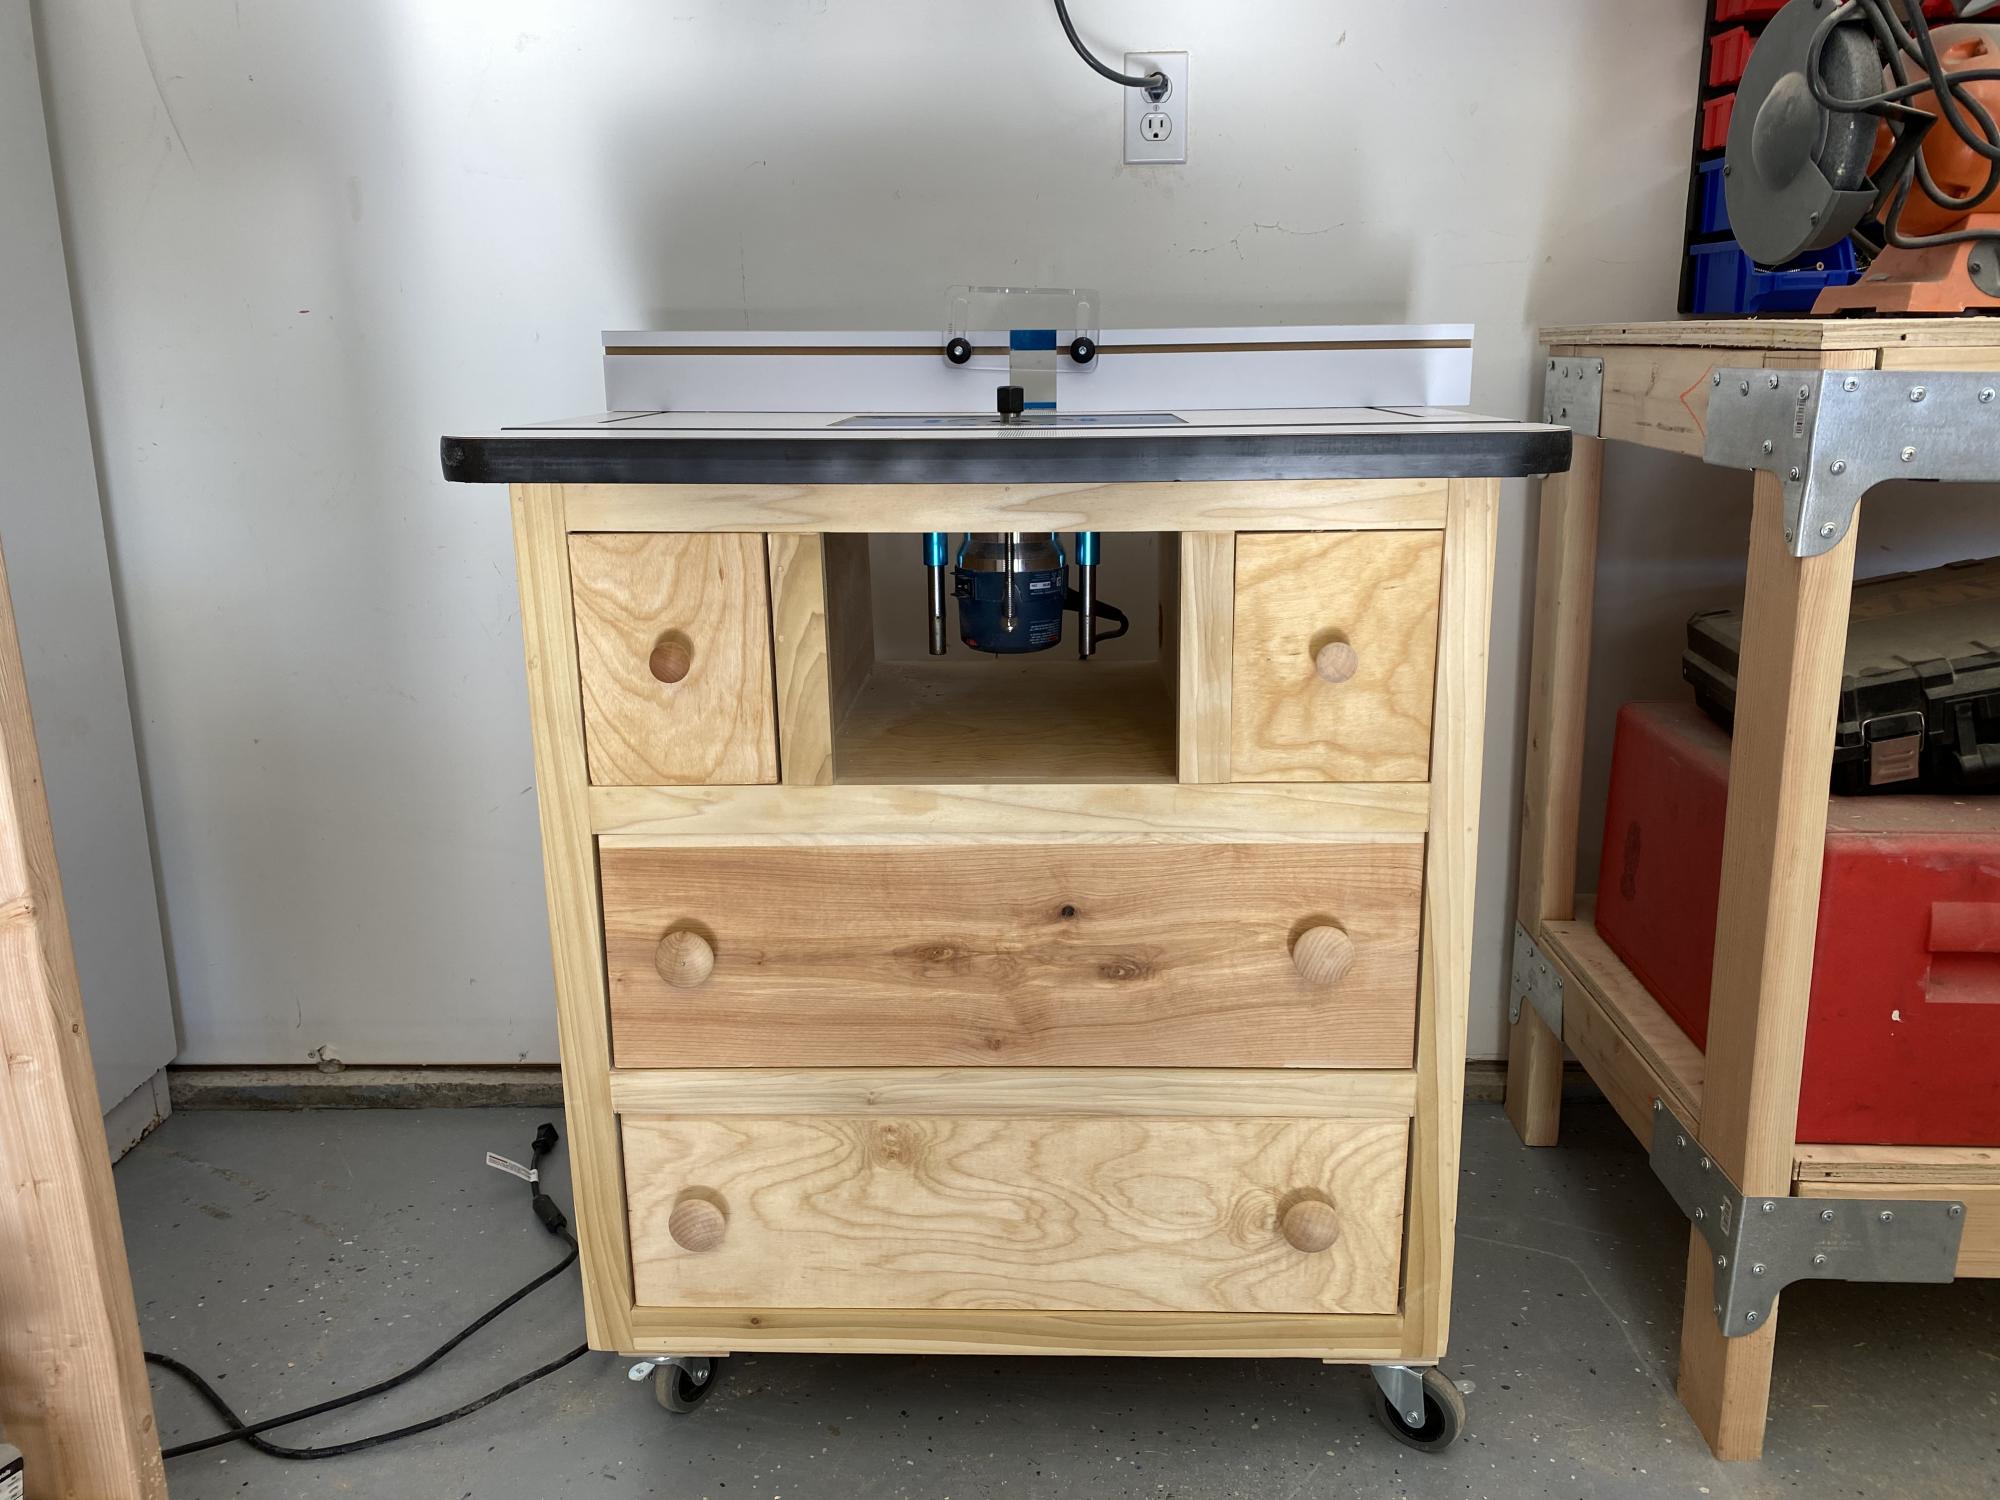
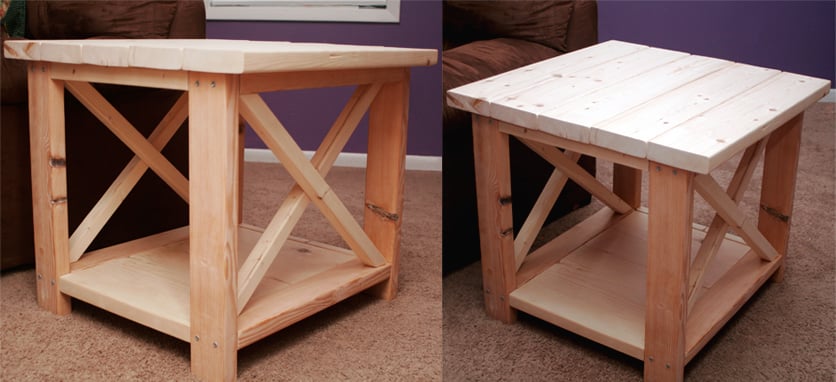
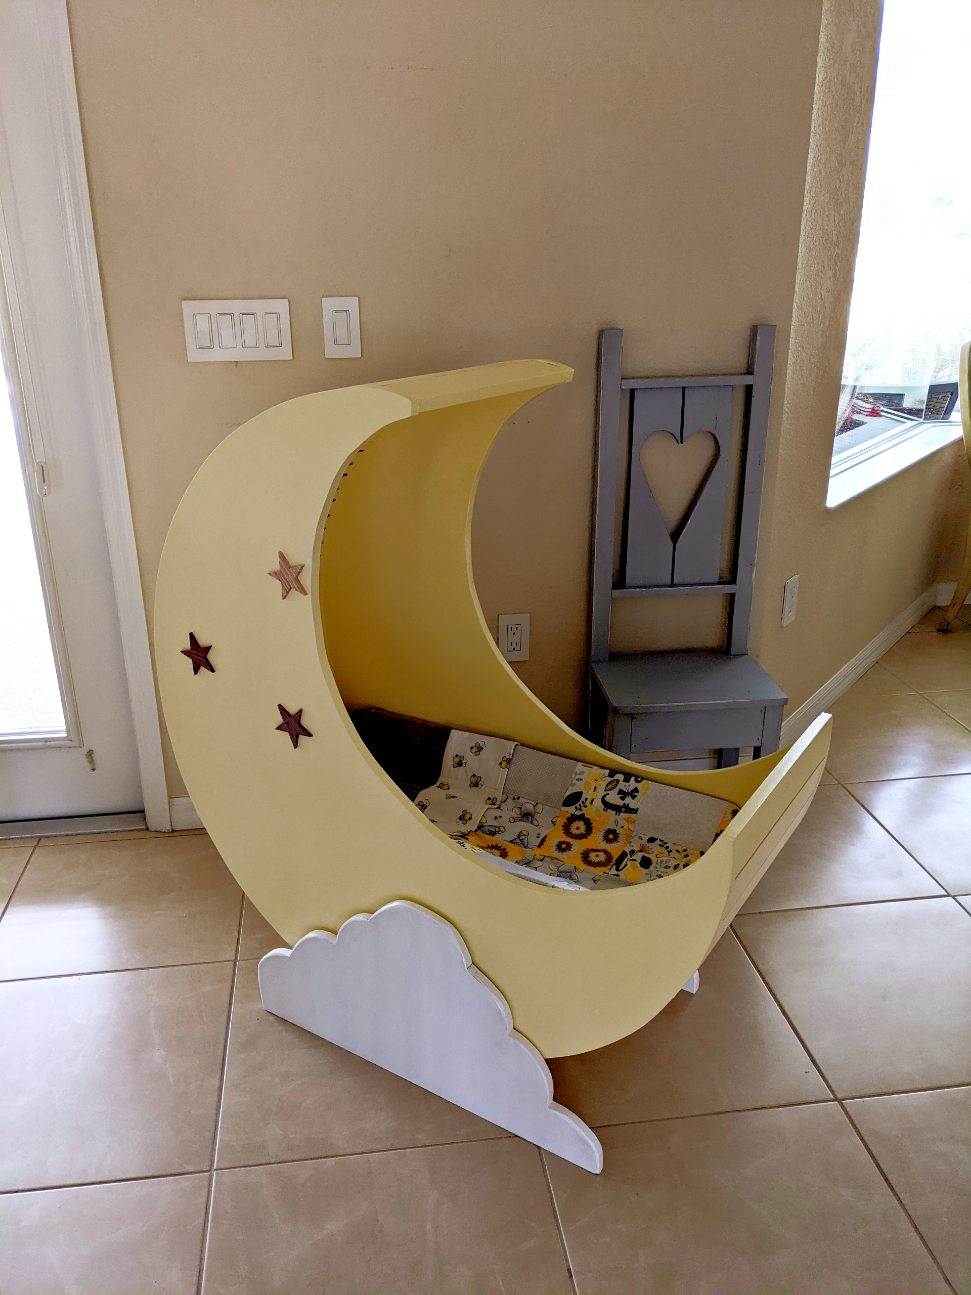
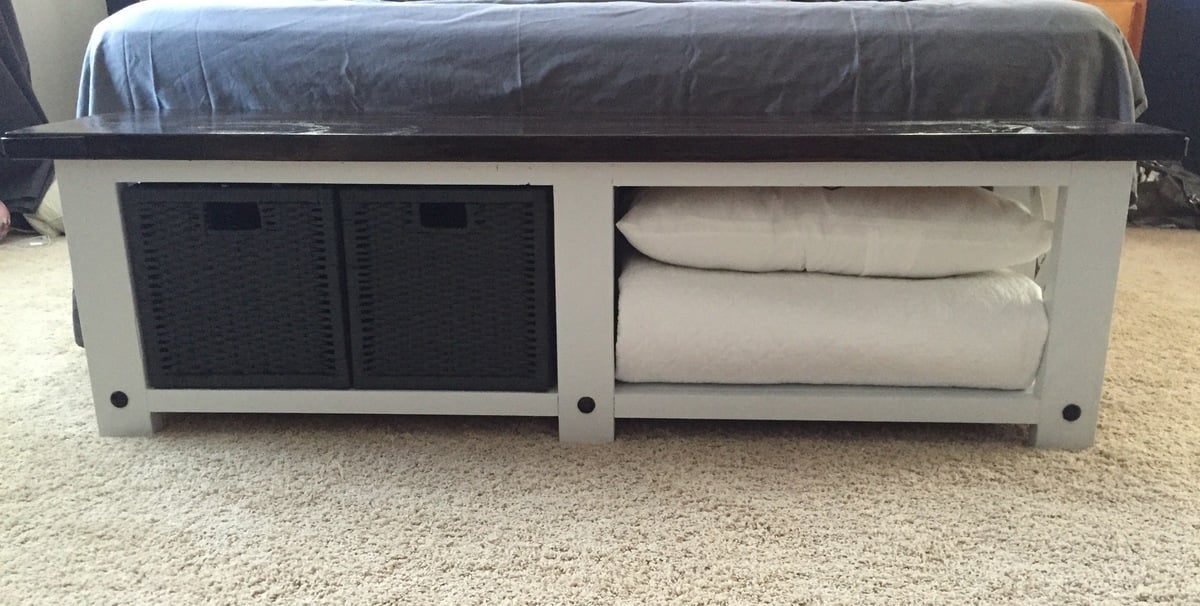
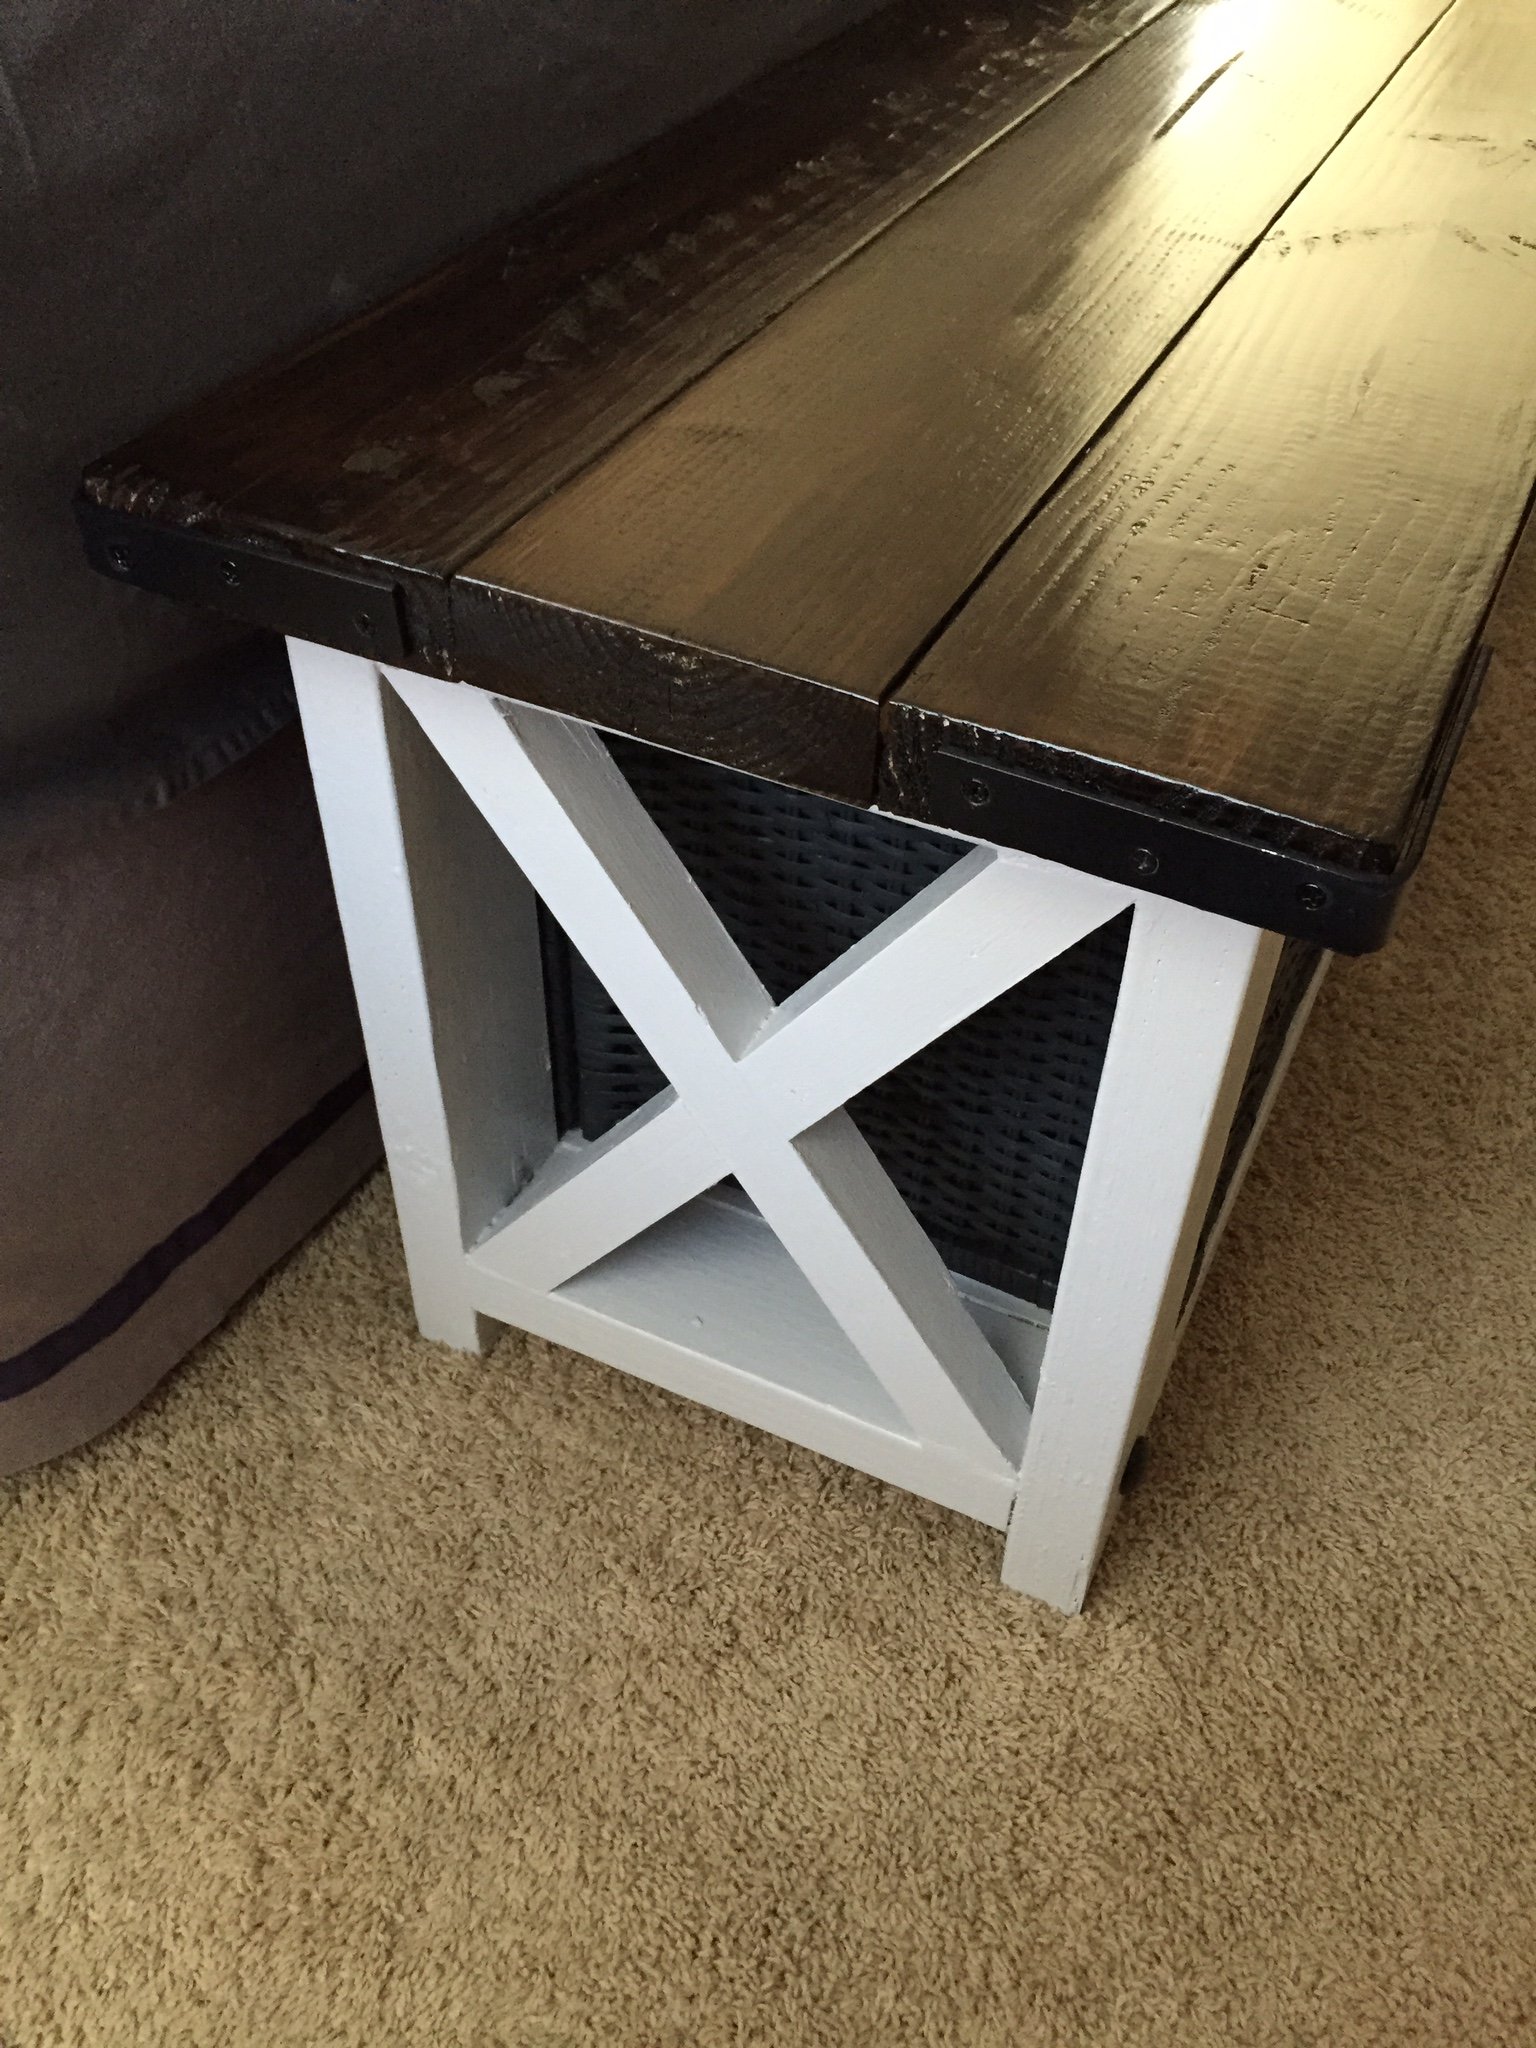
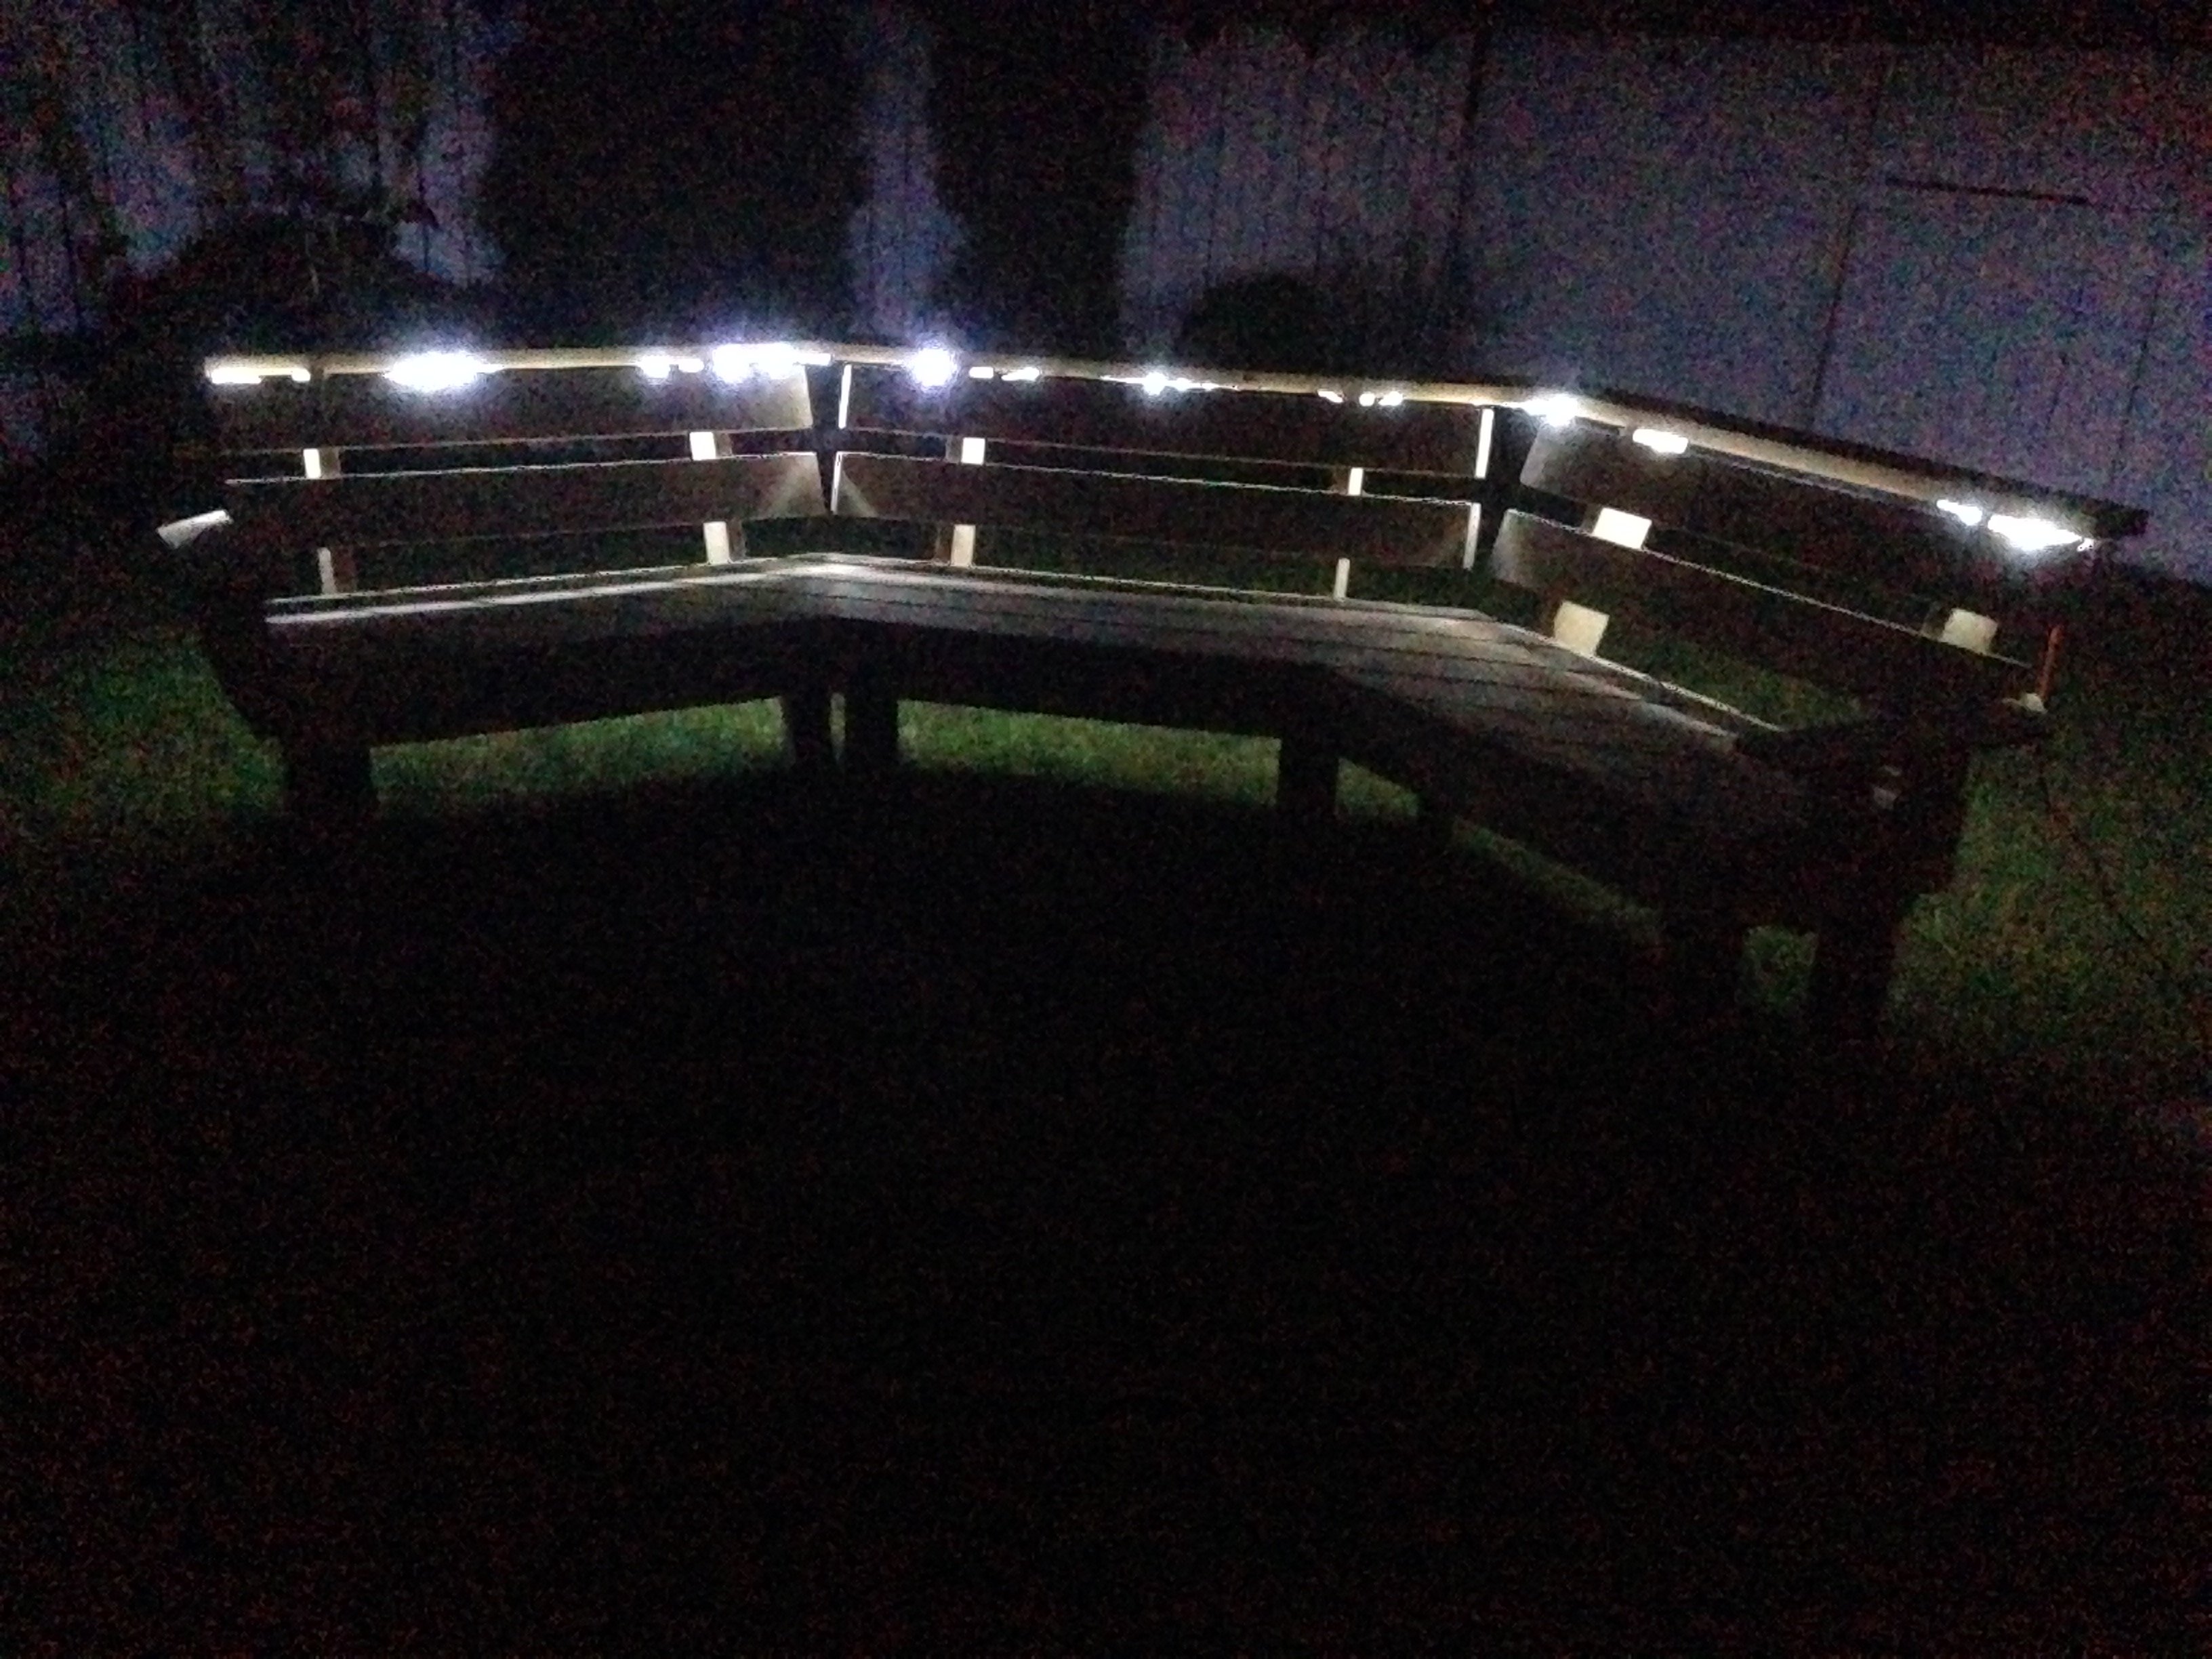
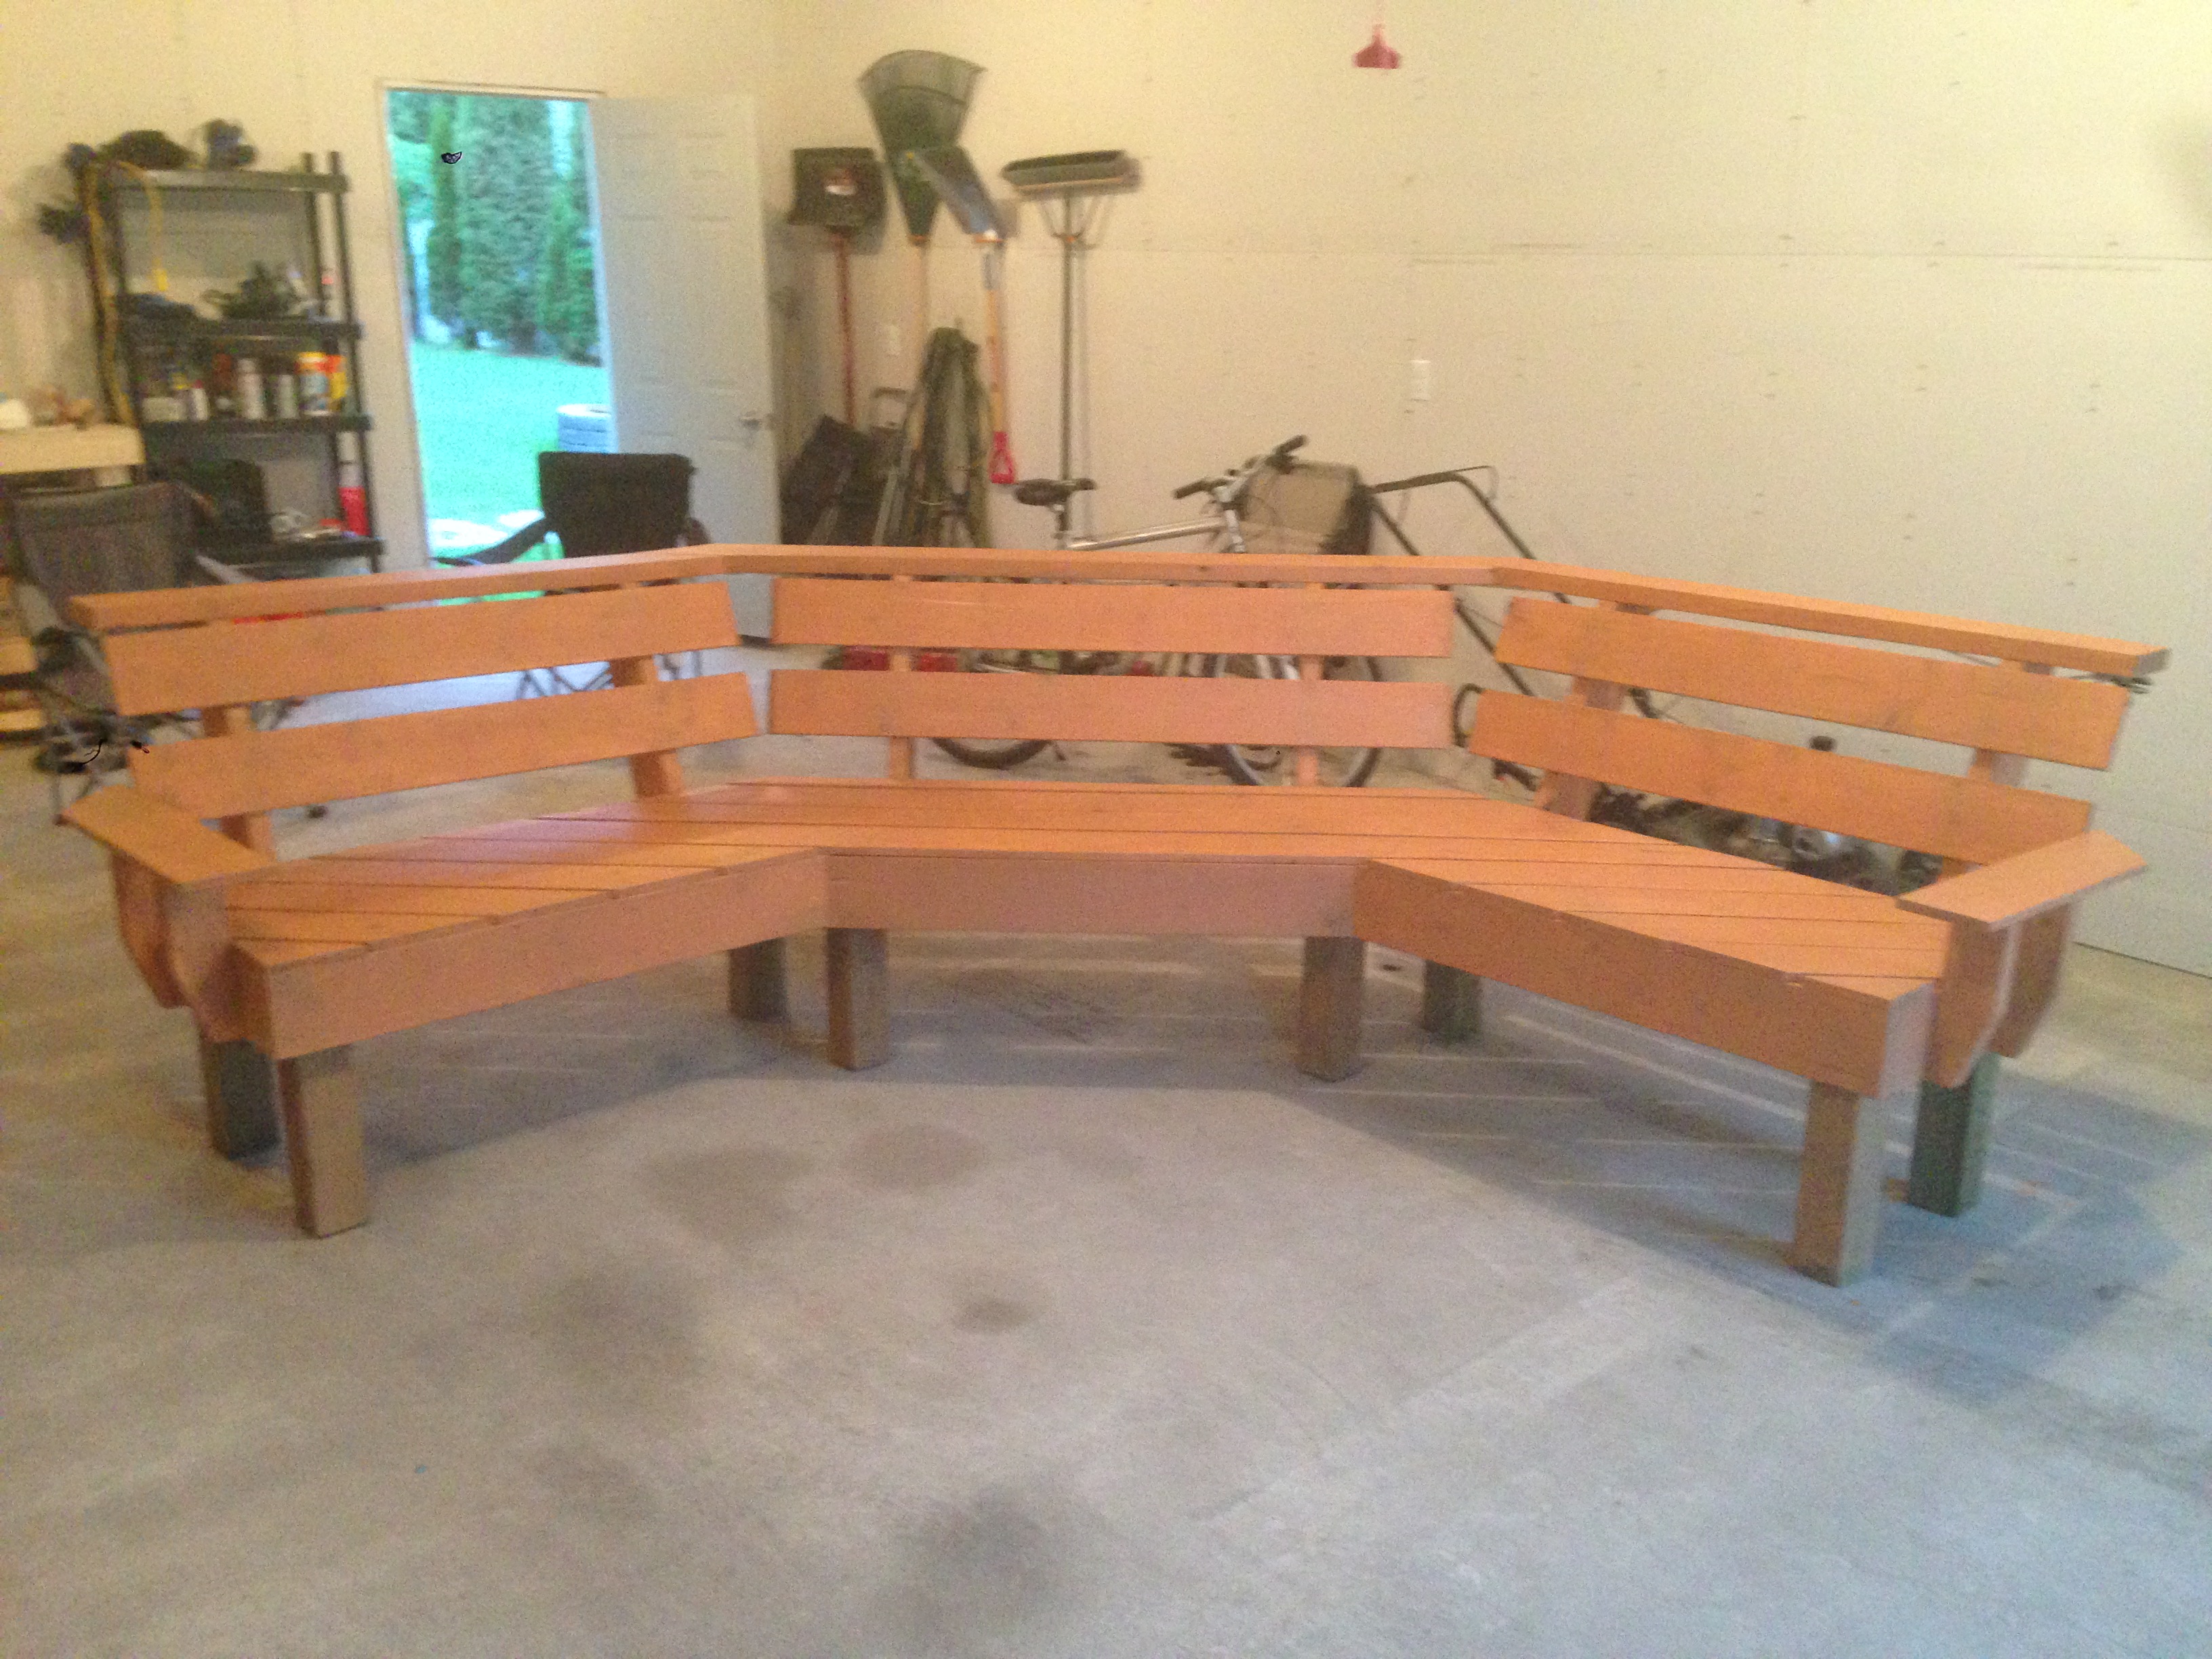
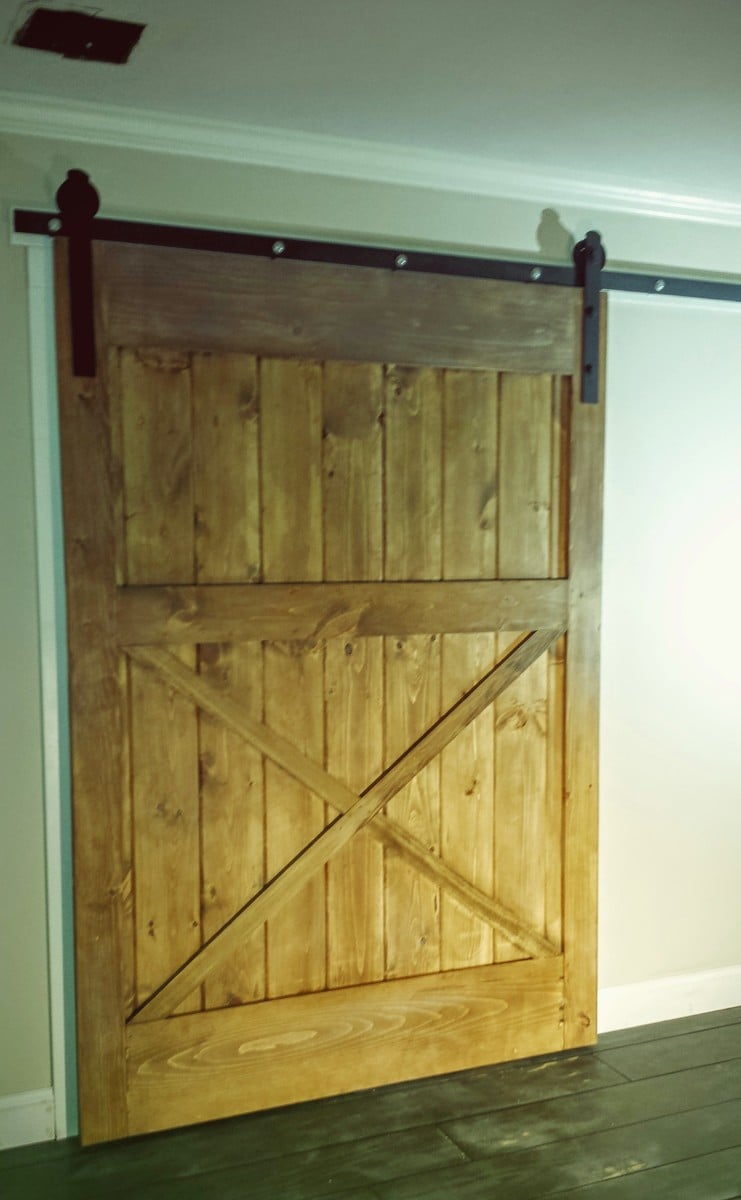
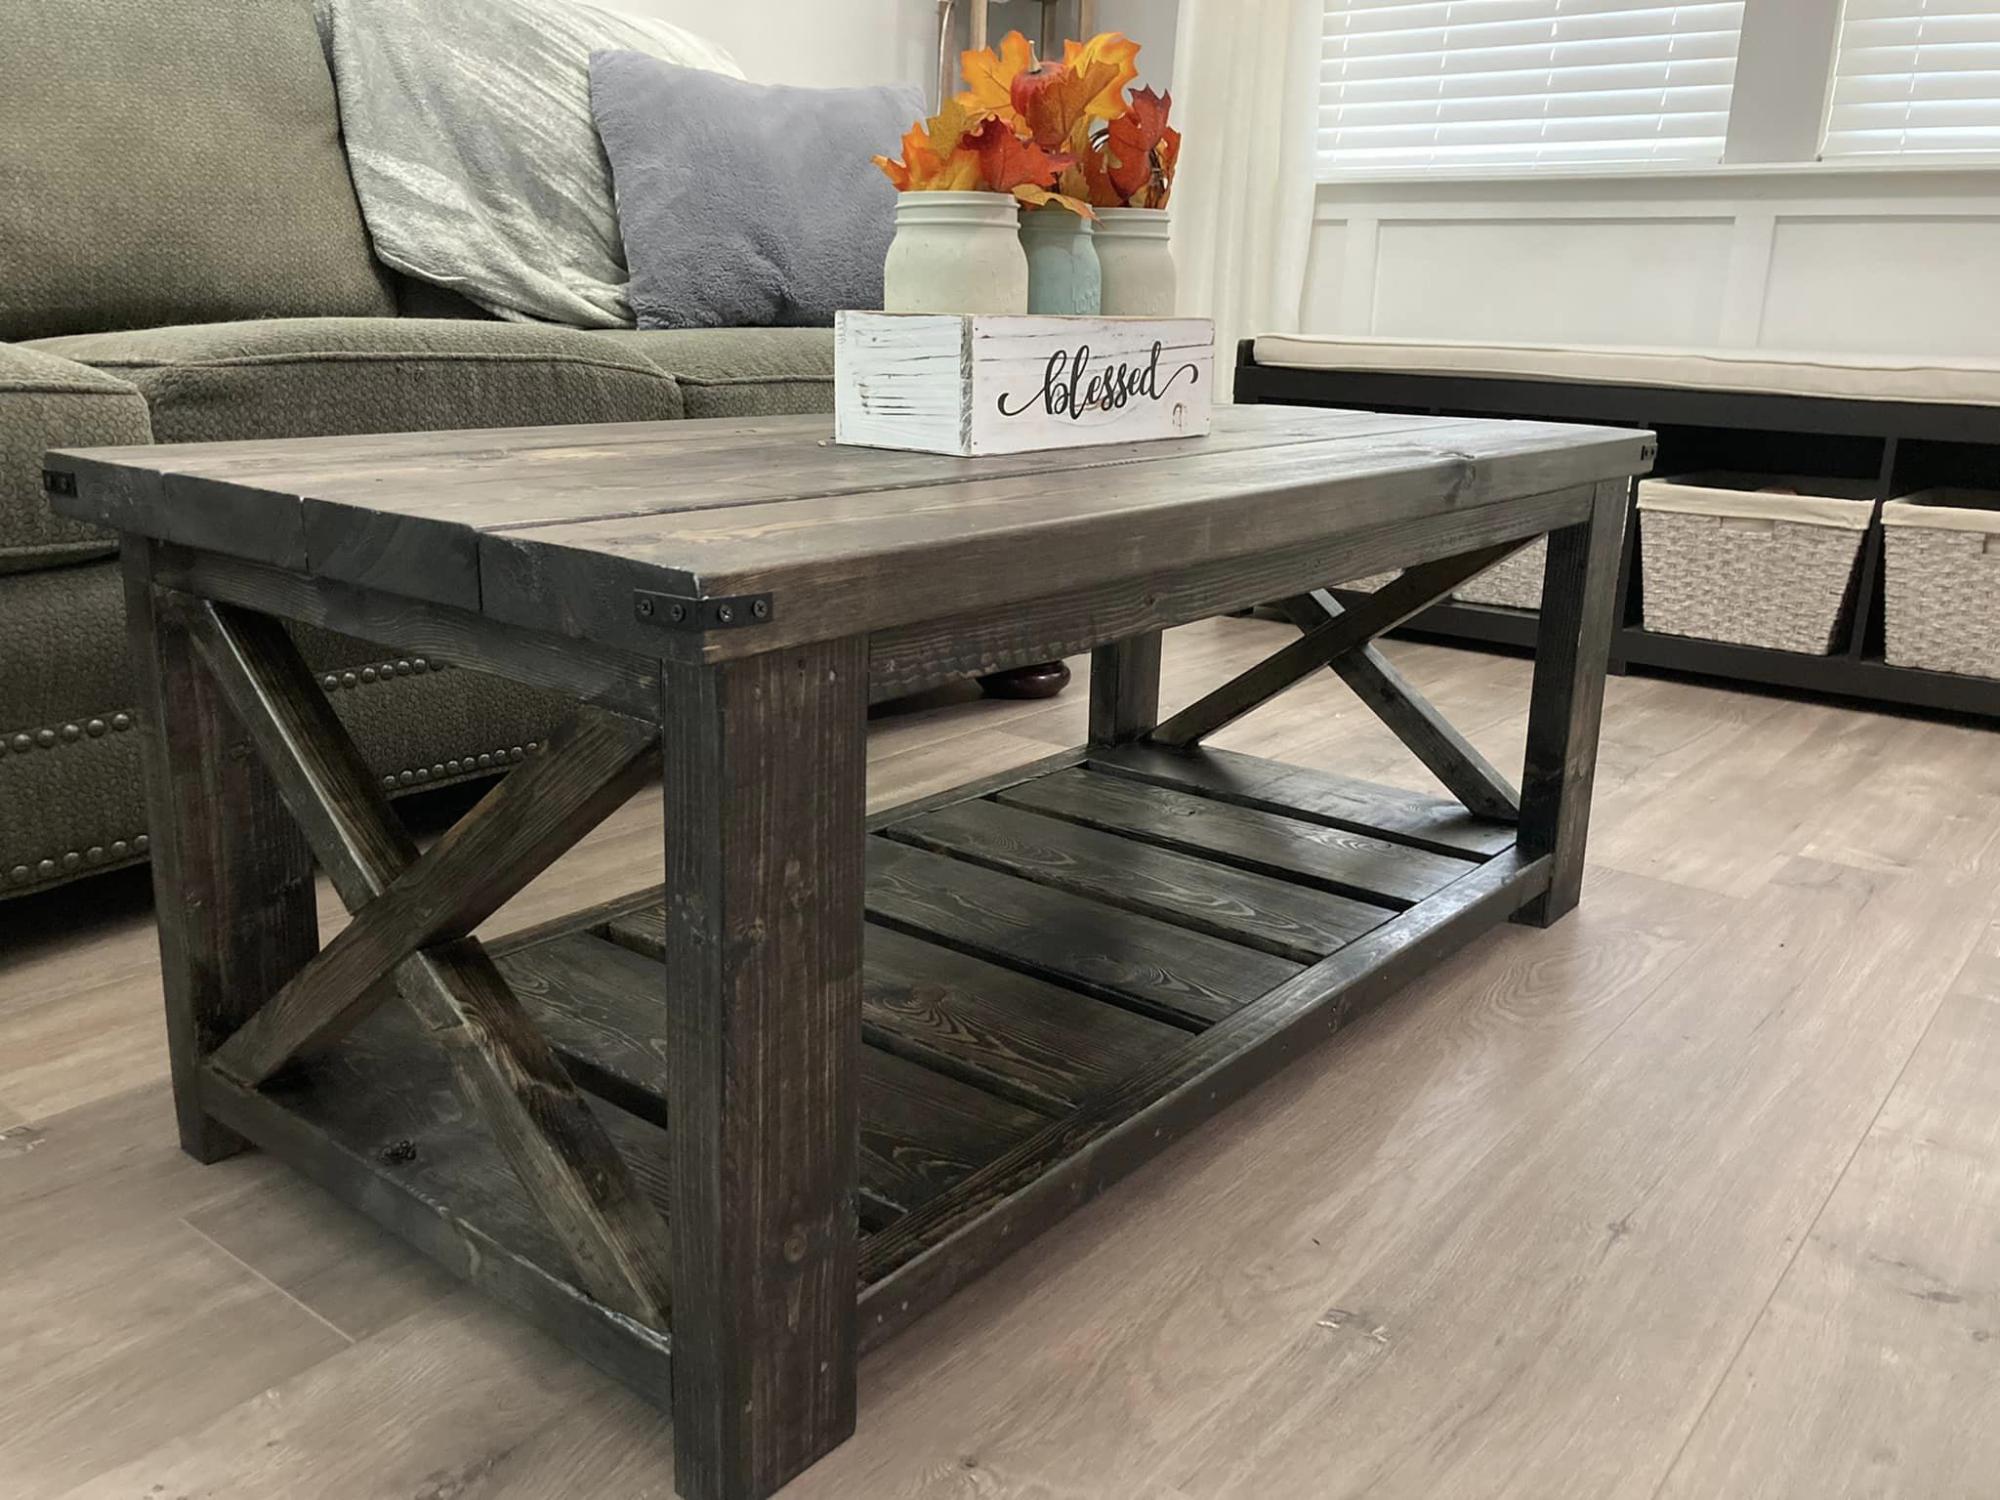
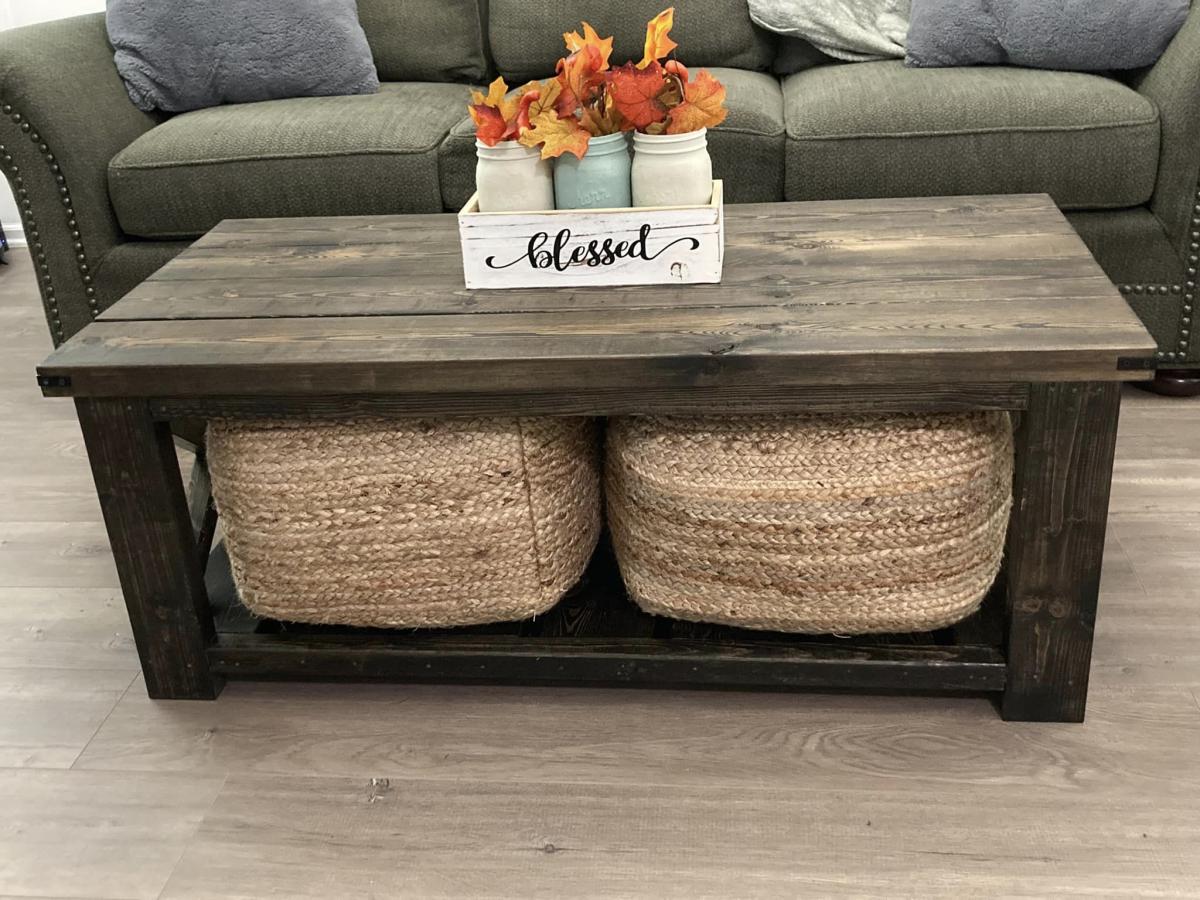
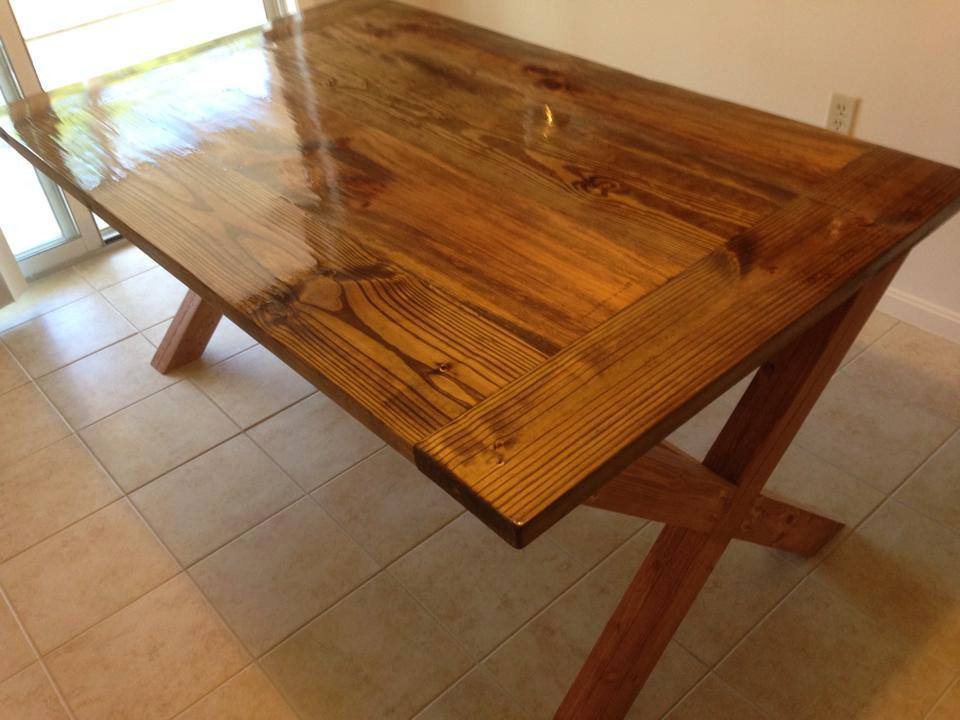
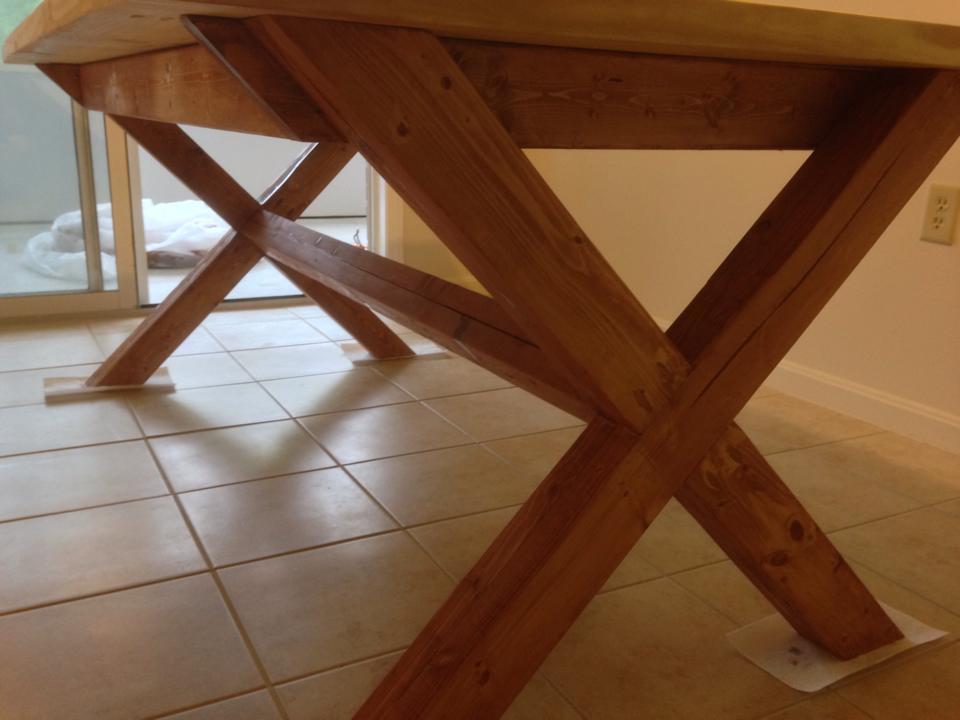
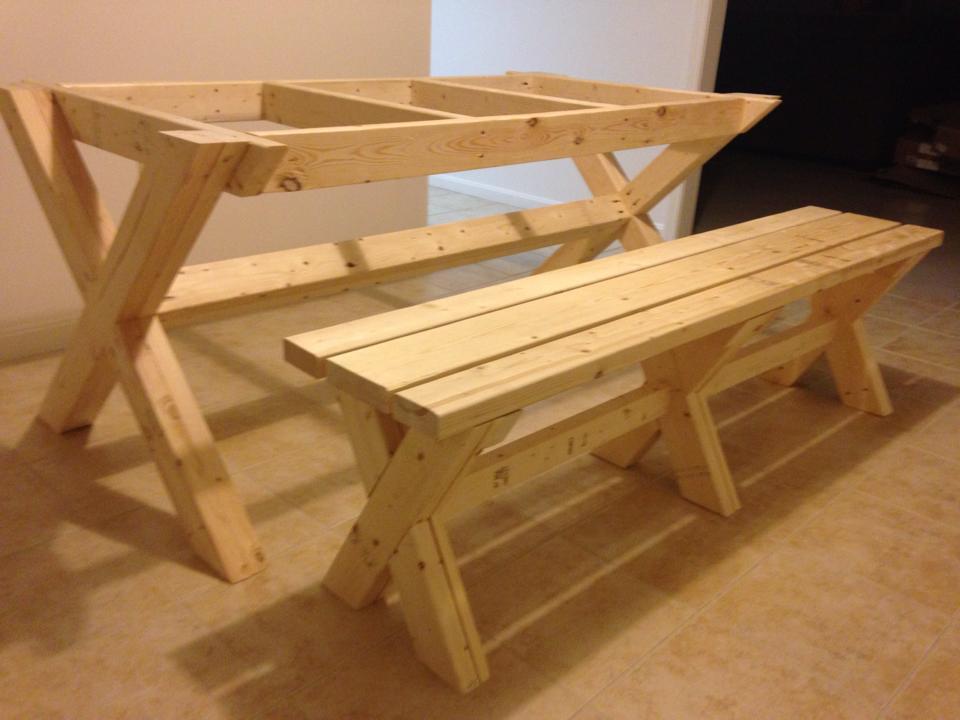
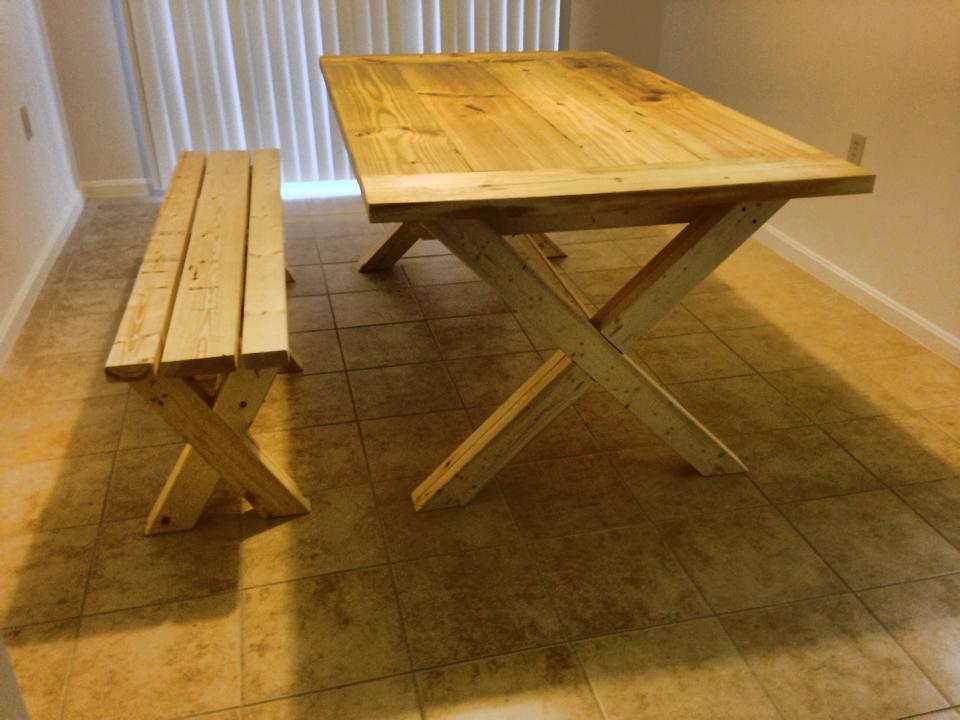
Community Brag Posts

Twin Platform Bed with Hairpin Legs

Submitted by Anonymous (not verified) on Mon, 10/04/2021 - 17:40

I used untreated 2” x 6” boards, mitered the corners and stained with Minwax Early American.
The 14” golden hairpin legs are from Amazon however, after I built the bed, I realized the mattress on the trundle was getting caught on the angles of the legs so I’ve ordered straight legs as replacements. It should take care of the issue. Lesson learned! 🤣 Overall, I built it myself, it’s very sturdy and she loves it! Thanks Anna for the plans!!!

Comments

Rustic Burned table

Submitted by Malka on Wed, 09/13/2017 - 00:59

Used the plans for the Rustic X coffee table as a starting point. Left out the X's as they don't appeal to me. Took a butane torch and burned the base and tabletop before staining, and stained the table in alternating stains to give it a really unique appearance. Stains used were Rustoleum Summer Oak, and Minwax Early American, finished with Minwax Semigloss Poly.

Built from Plan(s)
Estimated Cost
$85
Estimated Time Investment
Weekend Project (10-20 Hours)
Finish Used
Rustoleum Summer Oak, Minwax Early American, Minwax Fastdry Poly
Recommended Skill Level
Intermediate

Bike Storage

Submitted by vendo on Wed, 10/13/2021 - 10:10

I live in a smaller rental with limited garage space, so I needed a place for my kids bikes. This is what I came up with. It required minimal screw holes in the treated fence posts and I attached a rail system(rubbermaid fasttrak) for the bikes to hang from. I used Ana's easy shelves plan for the upright supports and then just added some corrugated roofing and cedar fence pickets (which I had on hand) to finish off the top.

Dining Room Buffet Cabinet

Submitted by kdins31 on Sat, 08/13/2011 - 11:26

I scoured the web unsuccessfully for months trying to find a cabinet big enough to store everything we needed to store. I wanted something huge and bright and simple, and so I decided to just build away. It's 8'4" long, 18" deep and 36" tall. Topped with a slab of Giallo Napoleon granite and painted a nice plain white. Took me only a few nights to build and paint, thanks to my power nailer and power paint sprayer. Thanks to a great deal on a remnant granite slab, this was just about $400 total start to finish. I winged the entire plan and didn't really use any plans in particular, though I have gathered many great ideas and tips from this site.

Built from Plan(s)
Estimated Cost
$450-500
Estimated Time Investment
Weekend Project (10-20 Hours)
Finish Used
Satin white, nothing special!
Recommended Skill Level
Intermediate

Comments

shanestric

Sat, 08/13/2011 - 14:51

Wow - looks great! You would think it was done by a pro! You should be very proud of your finished product.

Kitchen Helper

Submitted by 67GTOenvy on Fri, 08/19/2011 - 10:12

The kitchen helper tower was a fast and easy build, the modification of 16 hinges to allow the tower to fold flat was actually the most time consuming part of the build. I added clear skateboard grip tape to the platform floor. I found the hinges and griptape on ebay and most of the wood was scrap leftover from other projects.

Built from Plan(s)
Estimated Cost
$45
Estimated Time Investment
Weekend Project (10-20 Hours)
Finish Used
"Classic Red" spray paint & spray laquer for the tower frame, I stamped flowers & bugs on the platform under the griptape & clear laquered the bare sides & underside.
Recommended Skill Level
Starter Project

Comments

Guest (not verified)

Mon, 02/27/2012 - 08:52

First off, your website is awesome and I love how you give such great directions. However, on everything I pull up all this information is on it. On this one it is not, can you help me? I really want to build this for my daughter.

Thanks so much.

Stacey

Amy Patterson

Mon, 11/30/2015 - 16:48

How did you build it so it can be folded up?.  Would you explain it or post a picture?

Laundry Room Cabinets

We are getting ready to list our house and the laundry room was the last room in the house that hadn't been renovated. I used the momplex cabinets as an inspiration and made a 6 cubby cabinet, small cabinet with drawer and door, laundry pedestal, and sink cabinet. The cabinets are made of MDF and face with pine and pine doors. The countertop is made of 2x6's.

Estimated Cost
$300
Estimated Time Investment
Weekend Project (10-20 Hours)
Finish Used
I sprayed the cabinets using a graco truespray with a high gloss white paint
The countertop was stained with Minwax Jacobean
Recommended Skill Level
Intermediate

Comments

Mud Room Closet Organizer

Submitted by mmadden20 on Tue, 10/01/2019 - 18:41

Combined the Extra Wide Shoe Bench and the Braden Entryway Hutch plans and added some customization to make the perfect mud room closet organizer! I modified the measurements to fit the width of the inside of the closet. Each kid has a ‘locker’ with hooks, a storage cubbie above and hidden storage below. The bottom of each locker has a removable lid that hides winter boots or off season gear behind the shoe shelf. So nice to have out of sight storage for items we only need for part of the year! 

Estimated Cost
$350
Estimated Time Investment
Weekend Project (10-20 Hours)
Finish Used
Paint (Dover White) and stain (Minwax Dark Walnut)
Recommended Skill Level
Intermediate

Comments

L-Shape Outdoor Bench

Submitted by ShannonG on Mon, 07/24/2023 - 13:21

Modified to make an L shaped bench . Absolutely love it! Thank you!

Built from Plan(s)

Comments

Hailey Storage Daybed

Submitted by kelli224 on Wed, 04/04/2012 - 12:09

This is our second bed from Ana and definitely our favorite. This bed is one nice, sturdy piece of furniture. It went together easily and everything was right on. We did make a couple changes. Instead of putting two legs on the end of the bench in back, we put three - one where the center divider is and one on the dividers on each side of the center. We changed it so you wouldn't be able to see the bench legs from under the bed. It worked perfectly! Also, we added a 1x4 top trim to the back and arms instead of just stopping with the 1x3. Thank you so much for saving us hundreds of dollars!

Estimated Cost
$300
Estimated Time Investment
Weekend Project (10-20 Hours)
Finish Used
Benjamin Moore Advance Snowfall White in Satin
Recommended Skill Level
Beginner

Comments

Modified Square

Submitted by Anonymous (not verified) on Thu, 04/14/2016 - 21:46

We modified this table to make it larger for our growing family. It measures 42" (10 inches larger than the original plan). We added 10 inches to the length of the 2X6's and added 5 2X2's to increase the width of the width of the table. We love the interest it added to the table. 3 coasts of minwax cherry and three coats of minwax helmsman poly.

Estimated Cost
$80
Estimated Time Investment
Day Project (6-9 Hours)
Finish Used
Mixwax Cherry Stain
Minwax Helmsman Polyurethane
Recommended Skill Level
Beginner

Sewing & Craft Table

Using Ana's plan for a simple sewing table, I modified it to meet the needs of my daughter.

I only used 1 wing instead of two and made a brace that folds away under the leaf. On second thought I added a safety leg and foot to keep the table from tipping when the sewing machine is on top of the leaf.

I trimmed out everything but the leaf with 1 x 2 pine.

The top (with leaf raised) is 31 x 46 inches of work space. 

Built from Plan(s)
Estimated Cost
$130
Estimated Time Investment
Weekend Project (10-20 Hours)
Finish Used
White satin paint ( 1 1/2 quarts) applied with a roller and a sprayer
Water based polyurethane on the top only, applied with a brush.
Recommended Skill Level
Intermediate

Comments

Deck Gate

Submitted by mweir on Tue, 06/26/2012 - 19:37

With grandchildren and pets we decided to put a gate on the deck.

The gate is made from 2 X 4's and 2 x 2's. I used brass hinges to prevent rust and smooth operation

Estimated Cost
$15.00
Estimated Time Investment
An Hour or Two (0-2 Hours)
Finish Used
we will finish the gate when the deck is stained
Recommended Skill Level
Beginner

3rd and 4th Projects - Modern Farmhouse Table w/Benches

I worked on the benches and table for three weekends. All are finished in Ebony by Rustoleum. I used the non-Kreg plans for the benches and the updated Kreg jig plans for the table. I spent a lot of time at Home Depot selecting straight, flat boards for the table top. I literally dug through all of their 1 x 6's and laid them out on the floor in the store to find a good fit. I finished the benches with three coats of Minwax semi-gloss, and I finished the table with three coats of Minwax gloss. I prefer the higher gloss so I may put a coat of gloss on each bench so they all match. I also put some heavy duty furniture felt on all of the legs so they slide easily across the wood floor without scratching! I've been using a sad hand-me-down table and folding chairs for the past couple of years. I couldn't be more pleased with how this turned out.

I live in Alaska and the lumber for the benches cost about $35. The lumber for the table cost $65. I spent about another $100 on wood conditioner, stain, polyurethane, screws, sand paper and a brush. So all total, I have about $200 invested.

Estimated Time Investment
Week Long Project (20 Hours or More)
Finish Used
Rustoleum Ebony
Minwax semi-gloss (benches) and gloss (table)
Recommended Skill Level
Beginner

Kids Storage Bench

Submitted by ValBryant on Thu, 08/16/2012 - 09:10

After building a few things from plans I decided to come up with something on my own, and from scraps I made this bench for my son.

Built from Plan(s)
Estimated Cost
Scraps
Estimated Time Investment
An Hour or Two (0-2 Hours)
Finish Used
Dark Walnut
Recommended Skill Level
Starter Project

My version of the small chicken coop

Submitted by Anonymous (not verified) on Wed, 09/07/2016 - 12:58

Plans for this coop were fantastic. It was a lot of work, but really fun to build.  As hard as I tried to keep the cost down, it cost probably close to $300 in materials, but it is well worth it compared to the quality of similar priced premade coops.  I did not want the garden bed, so I enclosed the run fully with hardware cloth. I also added a 2" lip around the cutout in the floor so they wouldn't push all of the bedding down the hole. 

Estimated Cost
~$300
Estimated Time Investment
Weekend Project (10-20 Hours)
Recommended Skill Level
Intermediate

Comments

Lady Goats

Wed, 09/07/2016 - 13:17

I just got your email and had to run over to check it out. Looks great!! That was a great idea to add the lip to the opening (am I weird for not using bedding in the coop? We just have the painted floor that we scoop out every day). 

The red roof and the flower box are making me swoon <3

Hanging Organizer

Submitted by Coopernest on Mon, 09/12/2016 - 07:57

After following Ana for a couple years, I finally got to build something. This was made after watching the you tube video, I used old redwood fencing that was salvaged from a friend headed to the dump. I decided I wanted mine wider so I adjusted the measurements. It went together great, I hung it up before the metal was attached and found it looked funny being so wide. With the pocket hole construction, it was super easy to undo, trim and redo. Then the metal was added and walah! Done! Lovin it. I also made a TP storage hanger to fill the extra space. I will now be making them for 3 friends who have asked for them.

Estimated Cost
$15 is about what I spent for the metal bar and hooks and screws. The wood was reclaimed.
Estimated Time Investment
An Hour or Two (0-2 Hours)
Finish Used
sanded to allows the chippy paint to come off, but not all the way. I like the weathered look and sealed with 2 coats of Valspar clear matte sealer spray.
Recommended Skill Level
Starter Project
Back