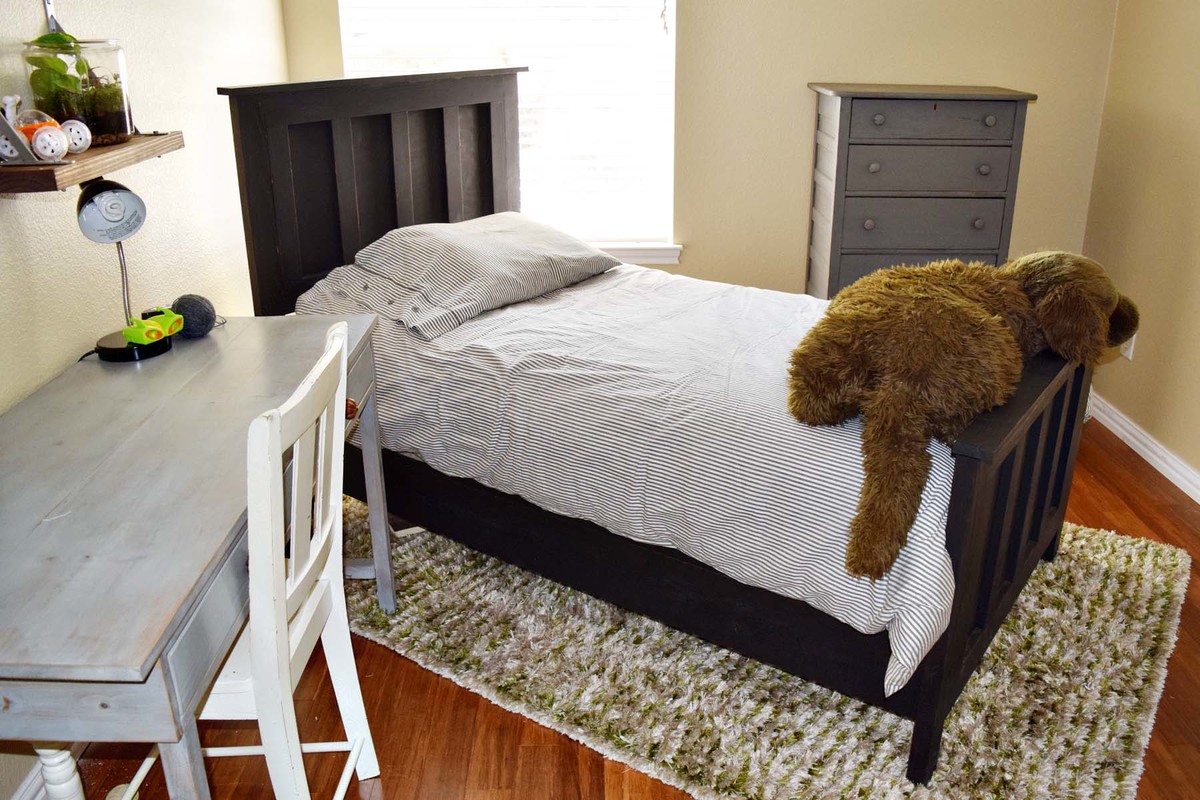
Full size Daybed (Hailey hybrid)
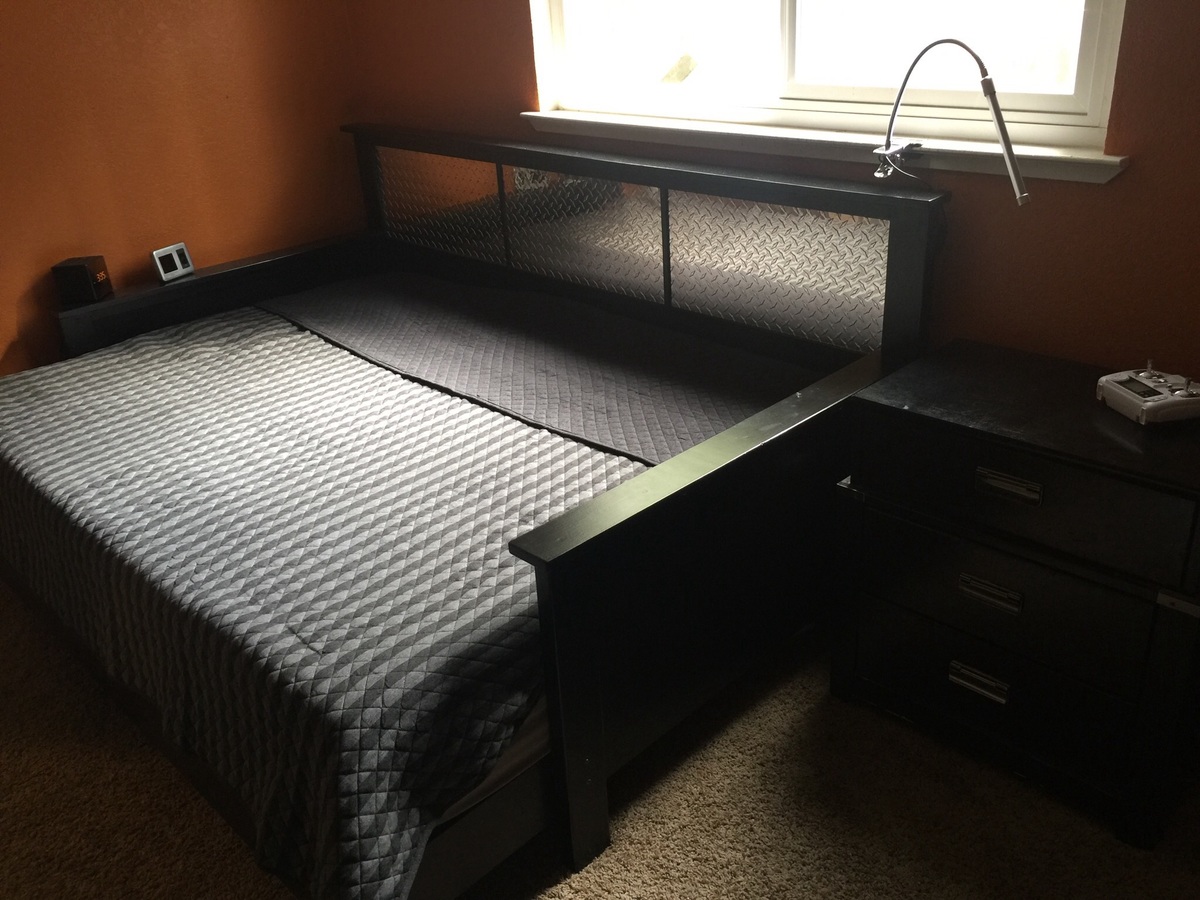
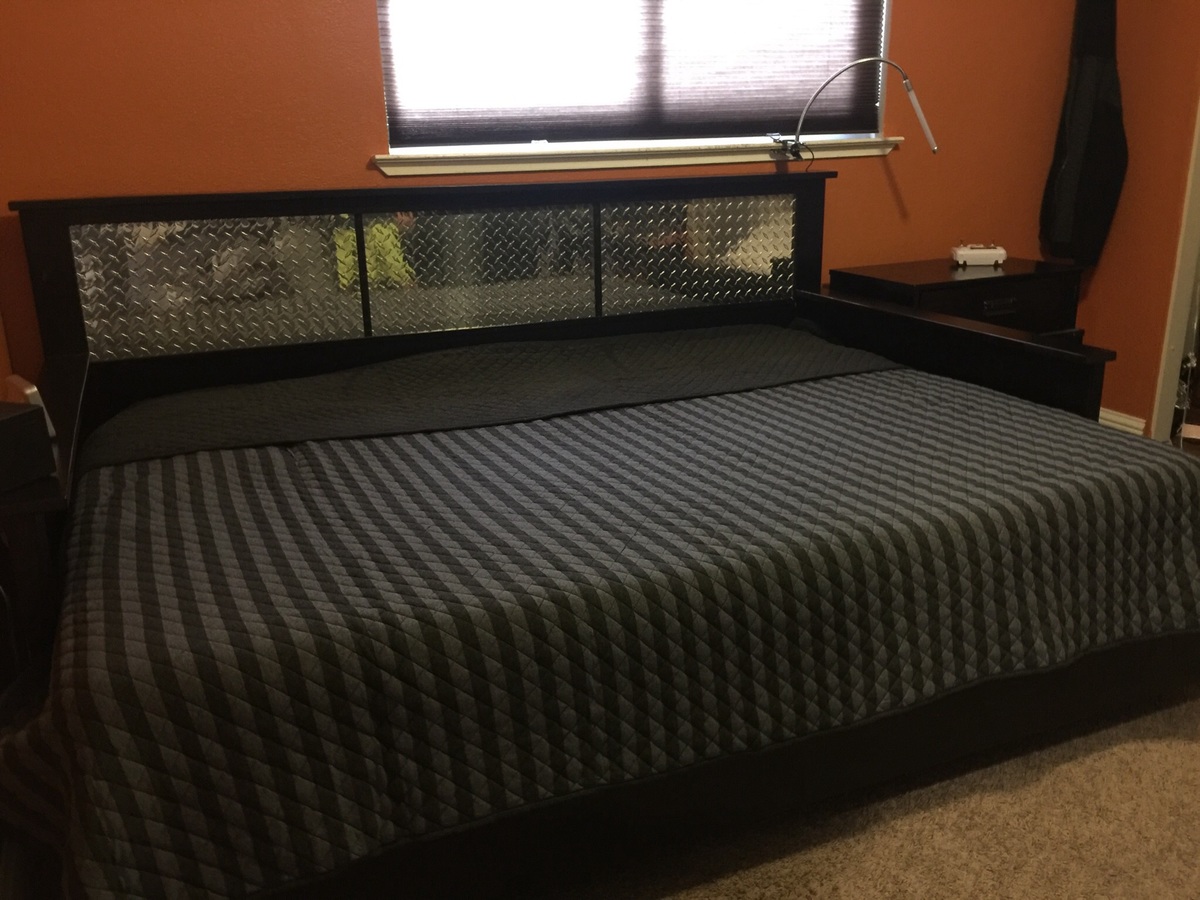
This is a hybrid between the Hailey daybed and the Hailey platform bed. My son is in love with this bed! Used aluminum diamond plate for the headboard.
Built from Plan(s)
Estimated Cost
$175
Estimated Time Investment
Week Long Project (20 Hours or More)
Finish Used
Rustoleum primer, black paint (3 coats) and clear finish. Aluminum diamond plate headboard. Lots of sanding. Used sponge roller for smooth finish. Cut diamond plate into three sections because I found a 2'x4' piece on Amazon for $22. One that spanned the length of the headboard (73") was $100!
Recommended Skill Level
Intermediate