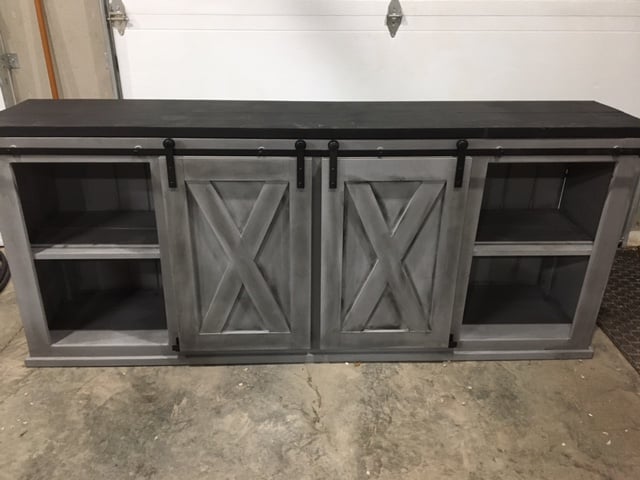
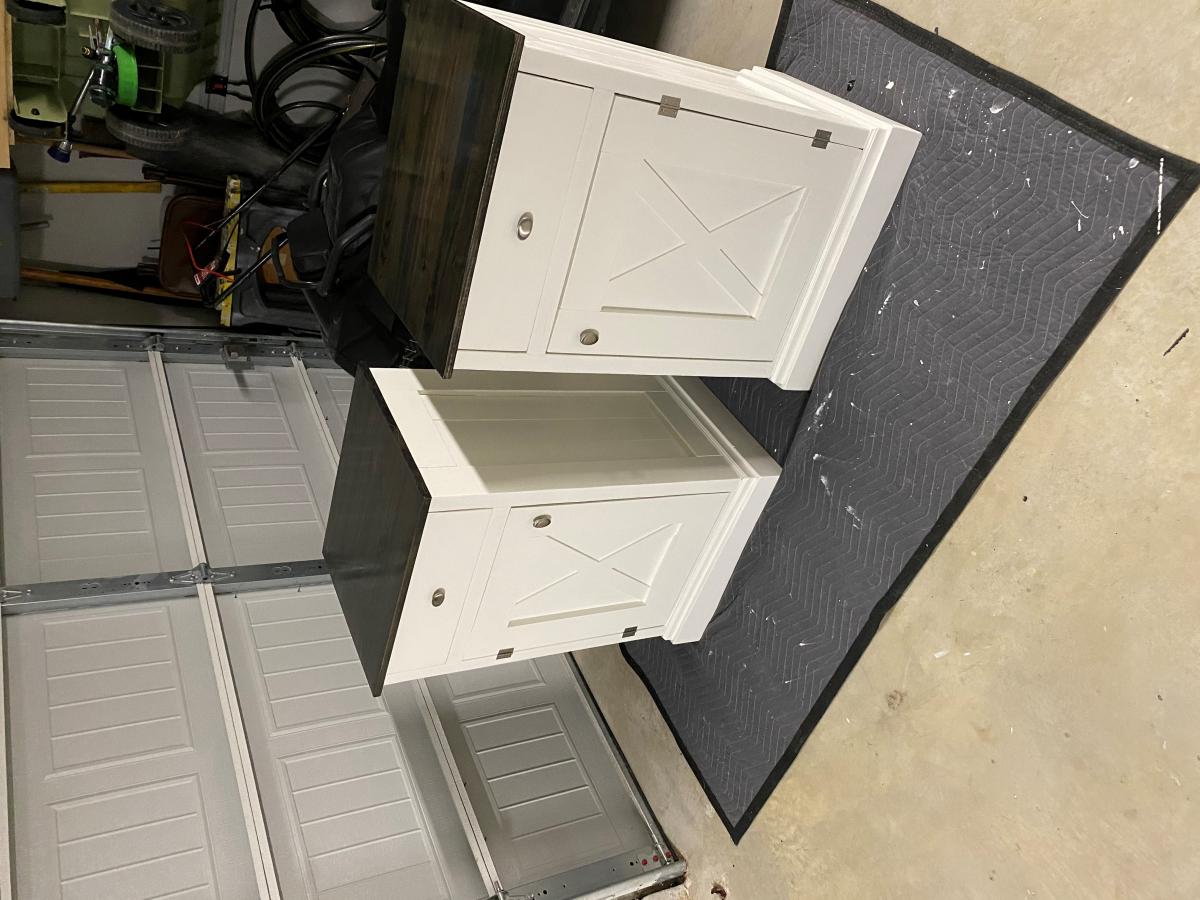
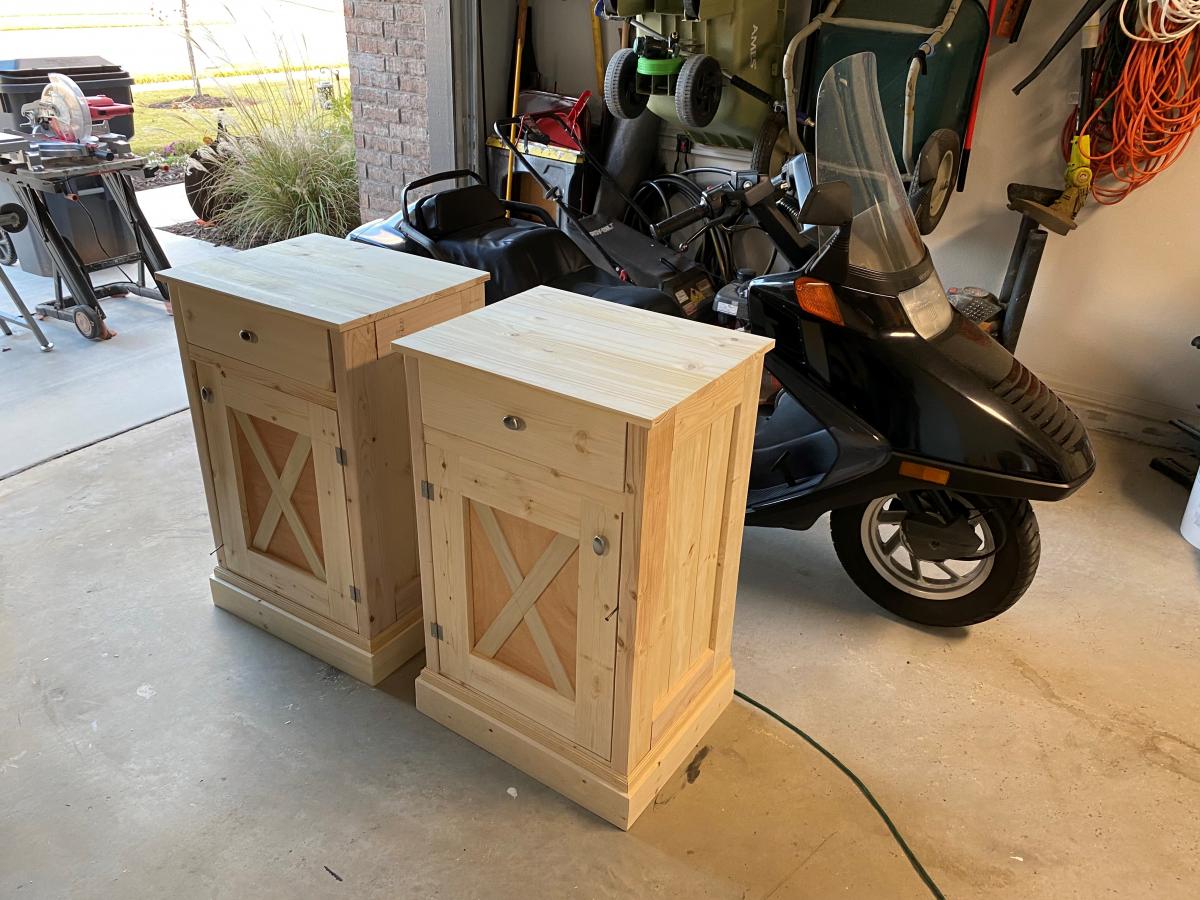
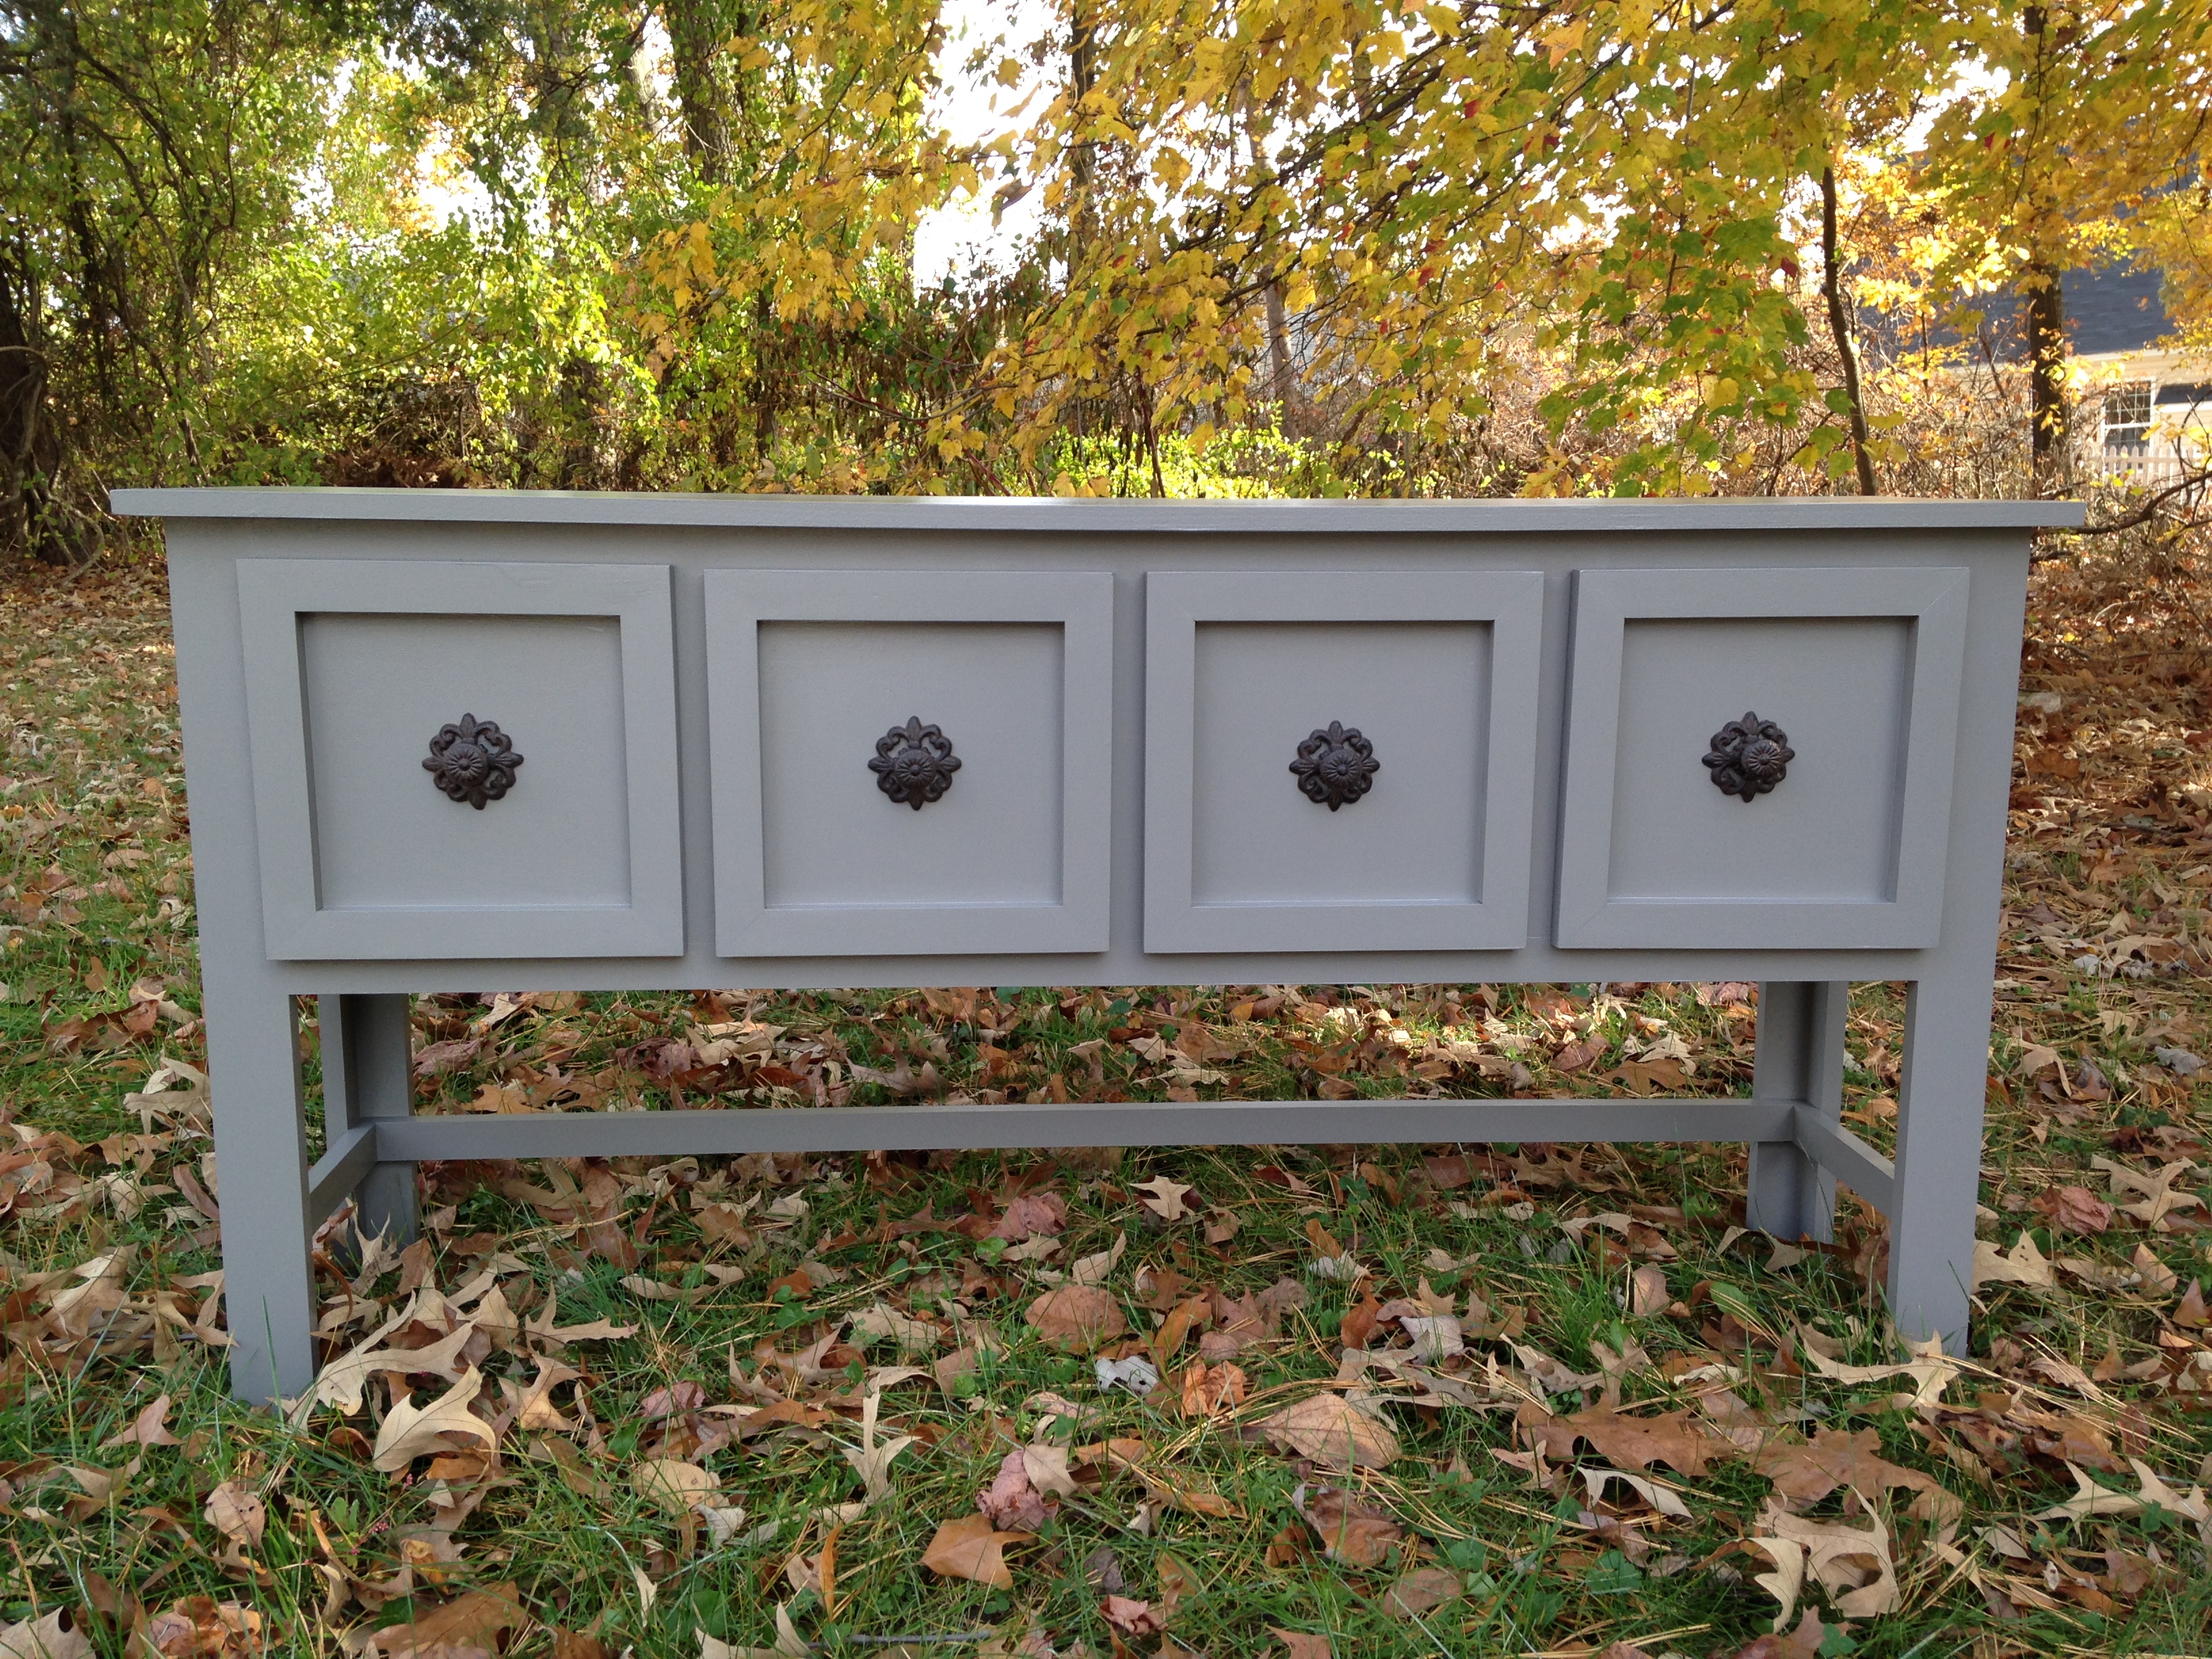
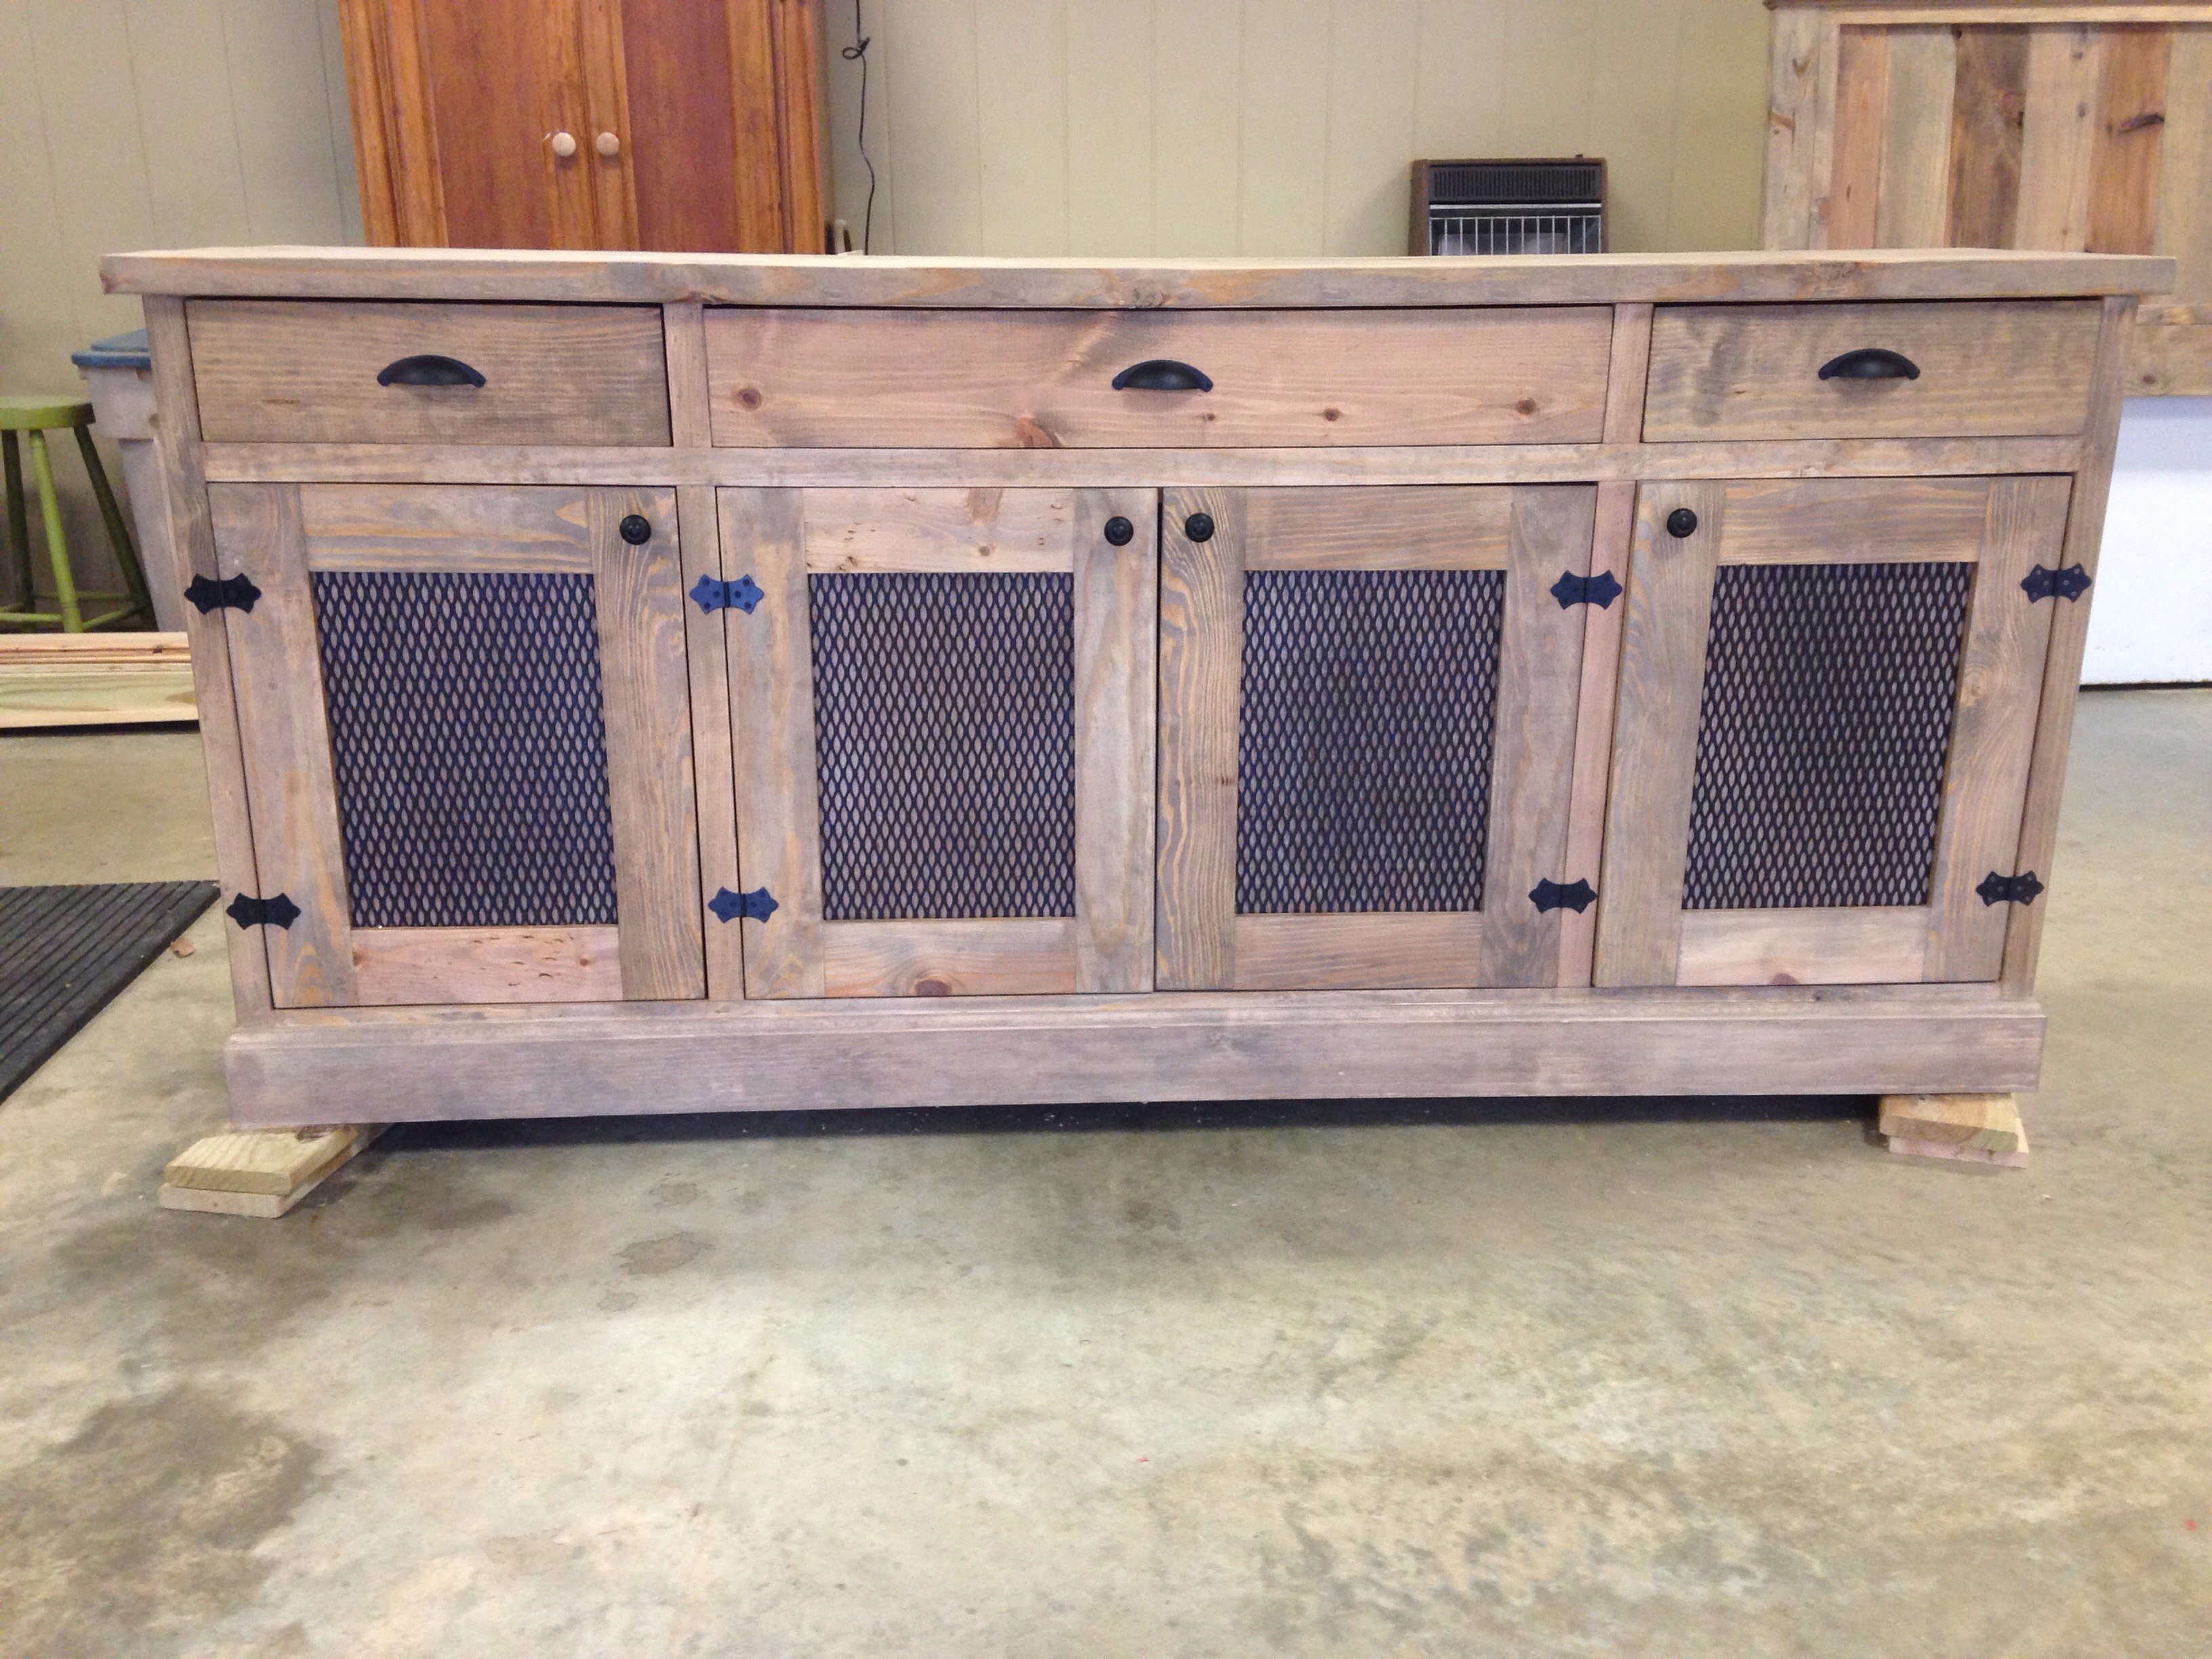
Grandy Barn Door Console
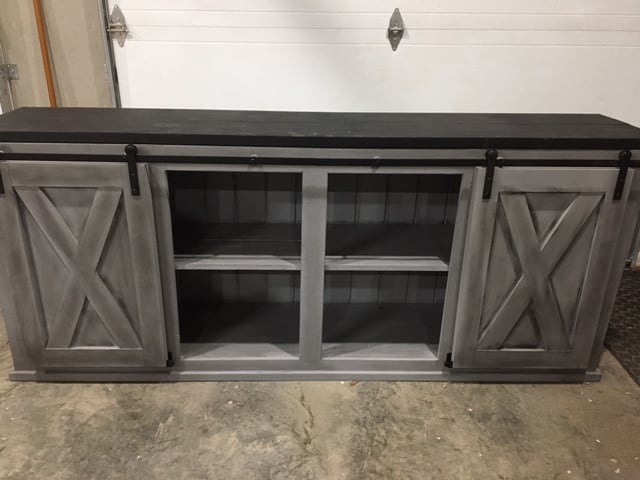
Used the plans from the site to build this console for my daughters new home.
Finished with mineral paints and wax. Hardware bought from Amazon.
Built from Plan(s)
Used the plans from the site to build this console for my daughters new home.
Finished with mineral paints and wax. Hardware bought from Amazon.
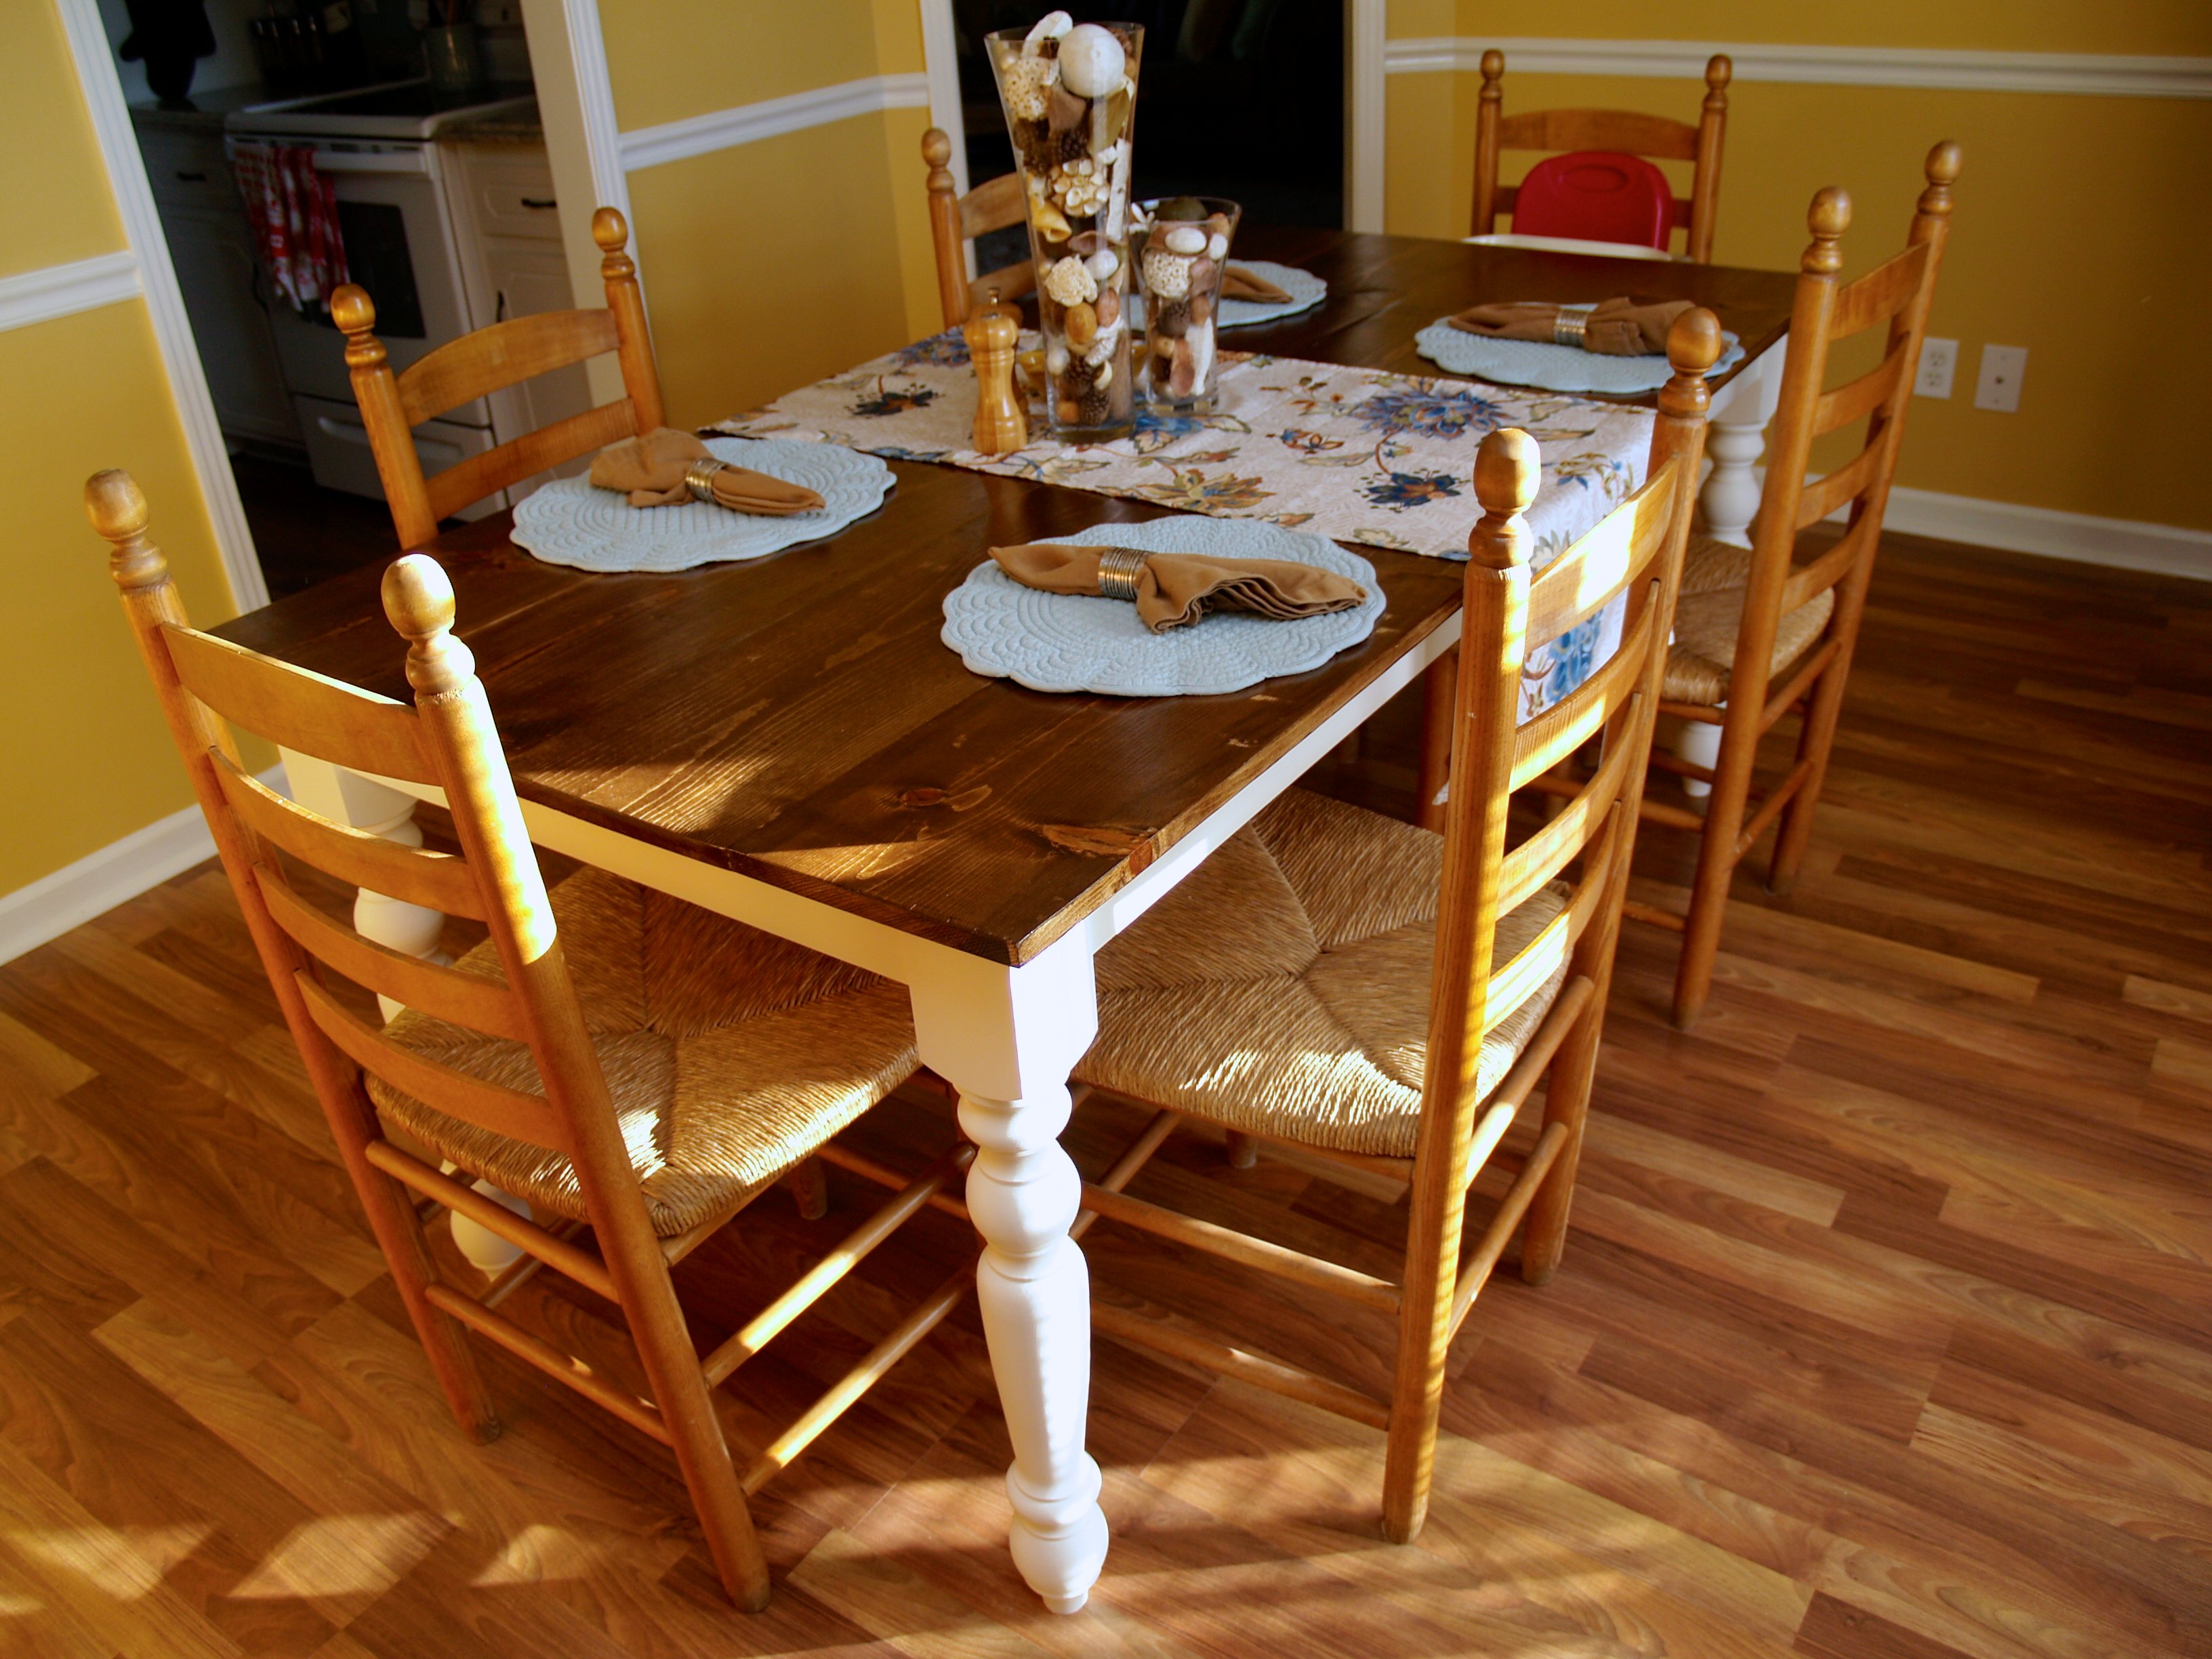
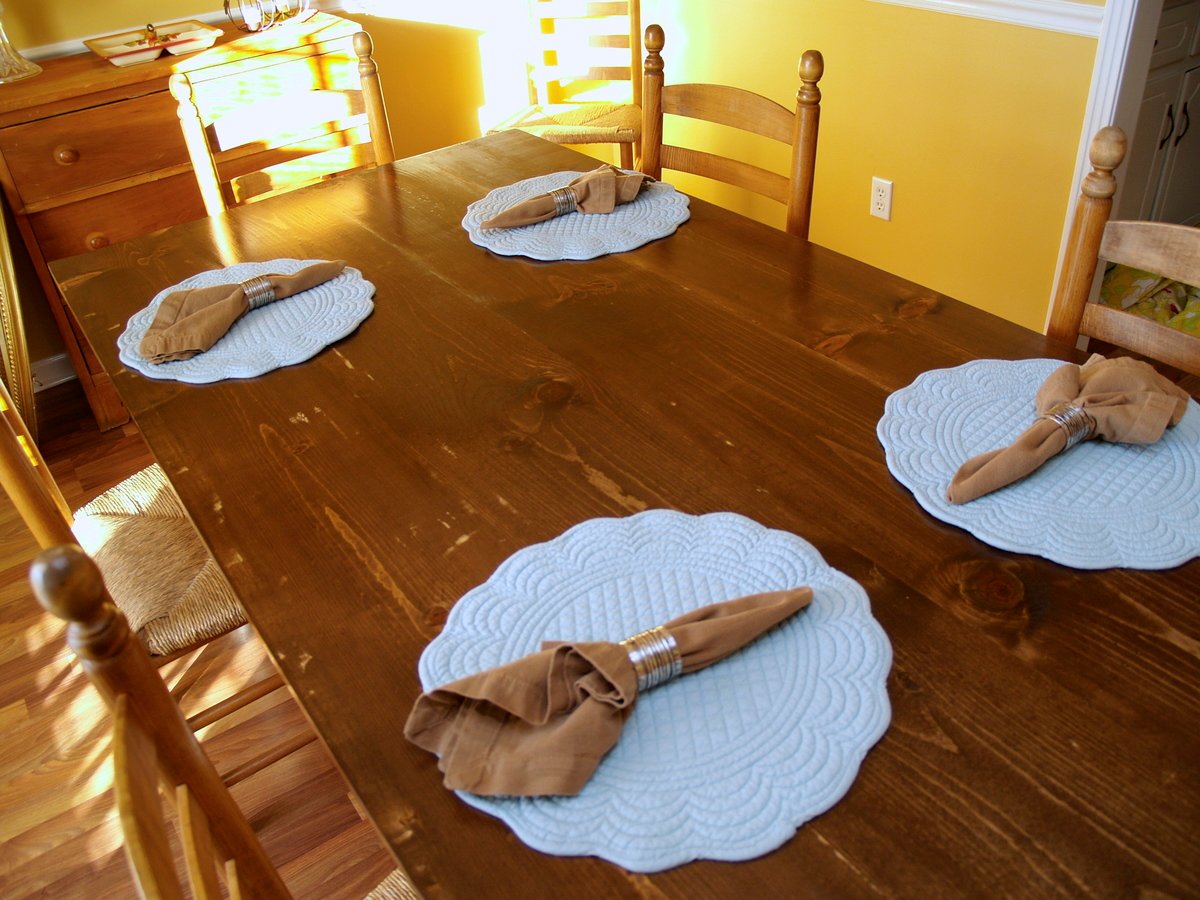
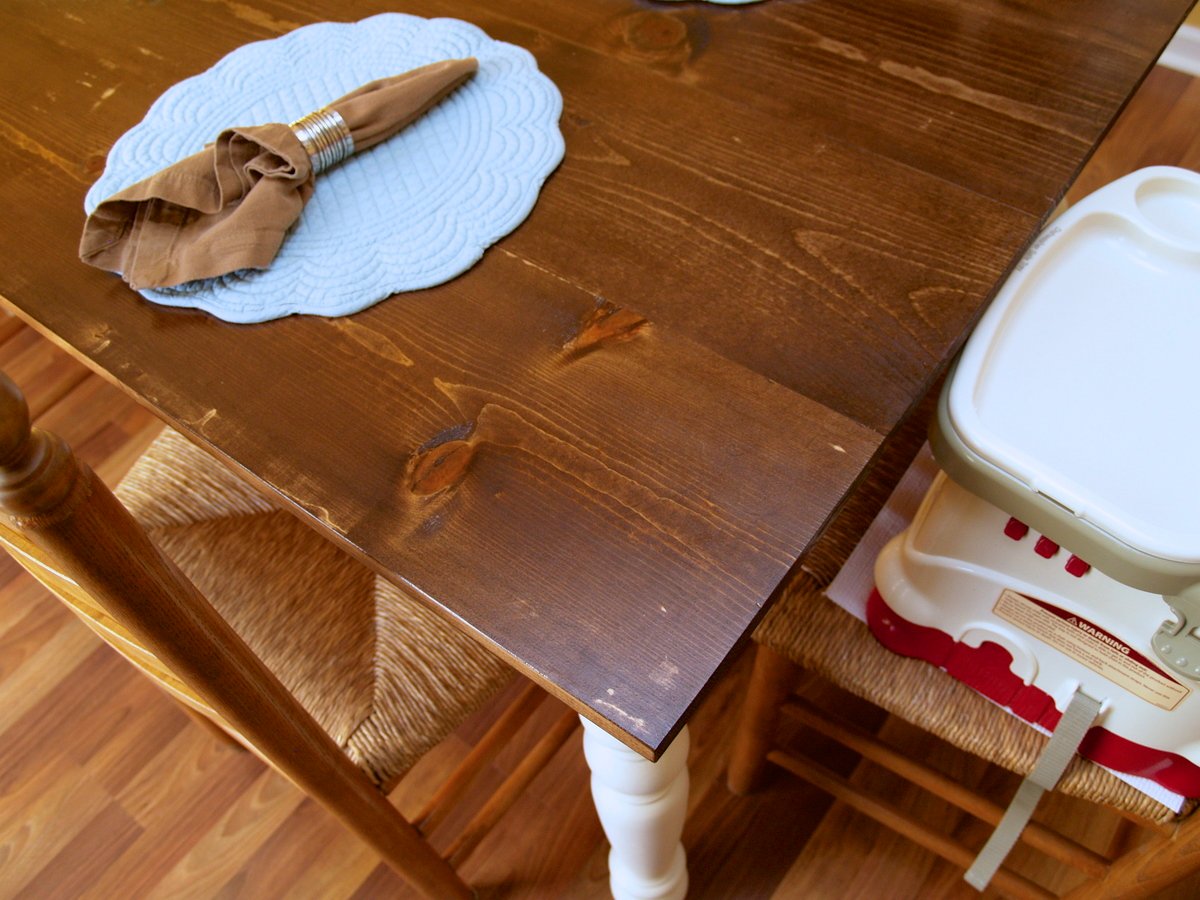
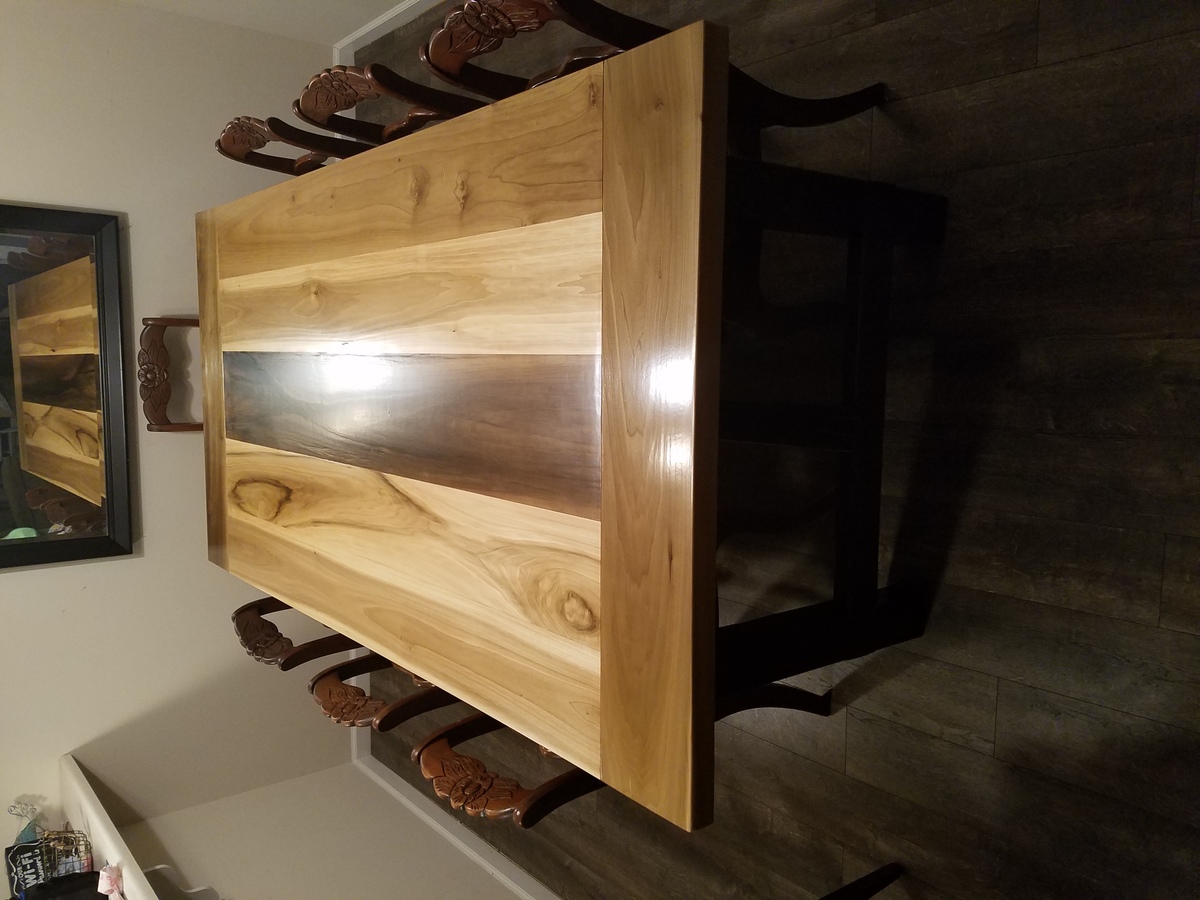
My husband and I decided to tackle this as our second woodworking project together. We have been wanting a larger dining table that would comfortably seat 6 people and easily squeeze in 8 if needed. We decided to build Ana's turned leg farmhouse table, adjusting the dimensions and choosing slightly different legs. These variations better suited our dining room space.
We purchased the "Modified English Country Dining Table Legs" in soft maple and 3 1/2" diameter from Osbourne Wood Products, which totaled $136. The rest of the lumber was made up of pine boards from Lowe's, which totaled around $40-$50. When assembling the 1 x 10 boards to make the top, we used a biscuit joiner to help our slightly bowed boards stay flat. Once the table was fully assembled, we painted the base in Lowe's Antique White (satin finish) and stained the top using Minwax's Special Walnut, then applied at least two coats of Minwax's polyurethane in satin finish.
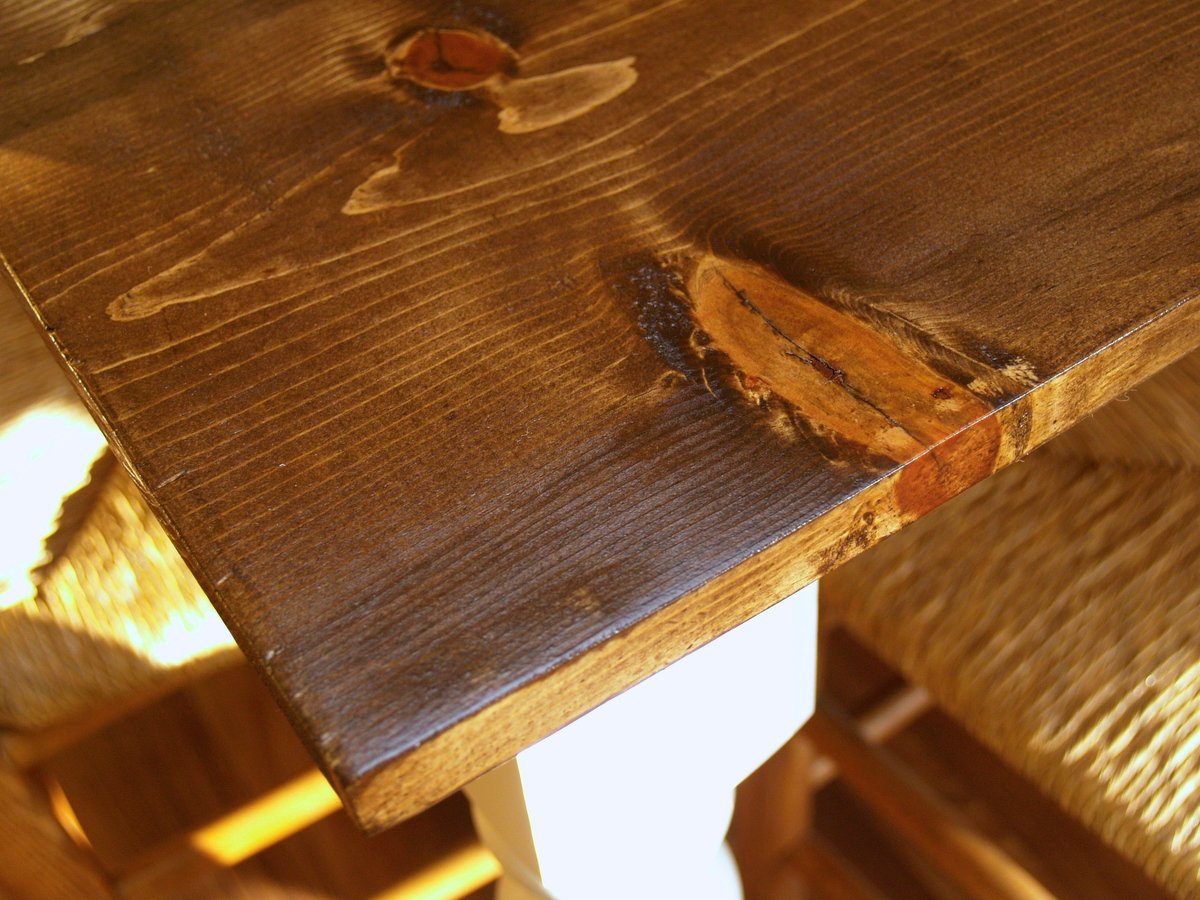
We made a couple of mistakes along the way which actually worked out for the best, giving the table some rustic character. Being relatively new to woodworking, we neglected to thoroughly wipe the 1 x 10 boards of all wood glue before the glue dried, making it difficult to remove later with sanding. Some wood glue remained, which showed up later once boards were stained. We ended up liking how this turned out to give it some charm and more of that 'handmade' look.


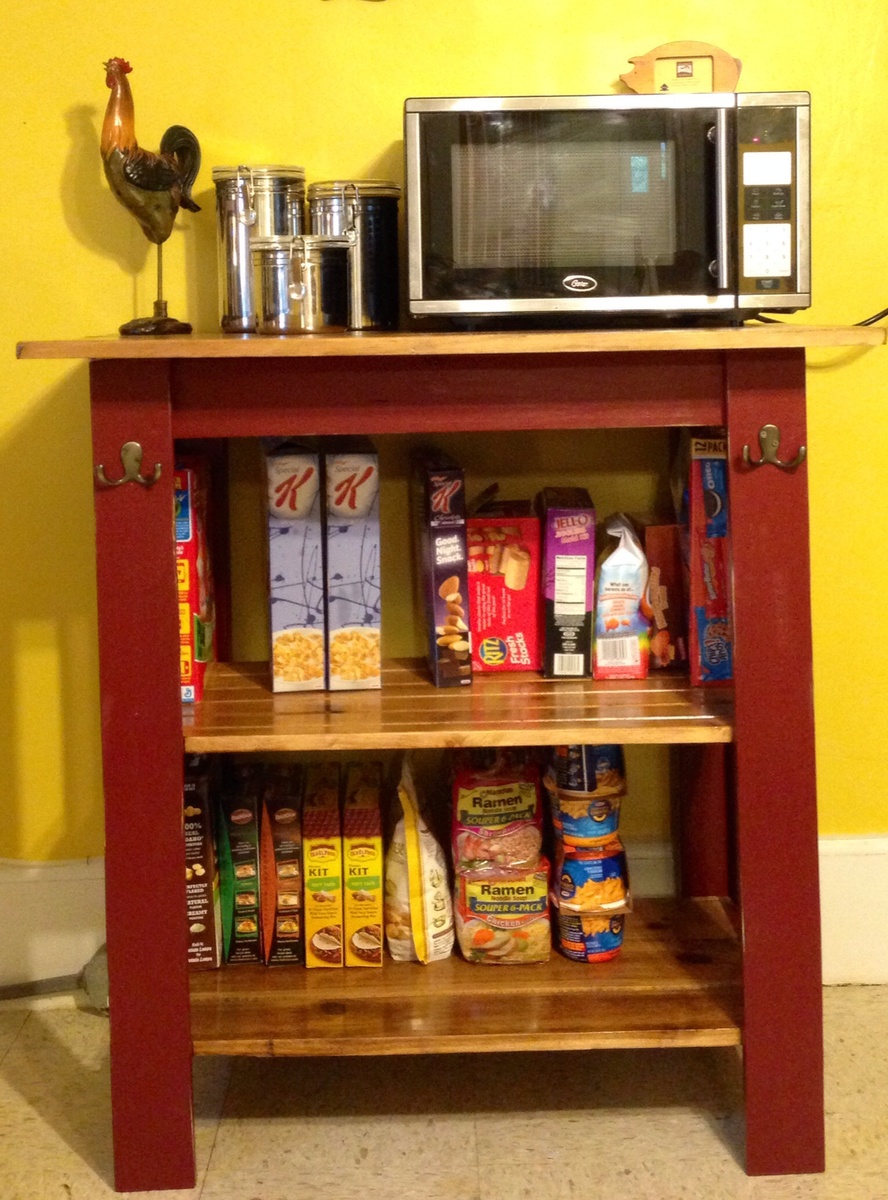
Added a shelf and made the console a microwave cart for my mom.

Fri, 11/14/2014 - 13:56
That's really nice! I love how it contrasts with your walls! And all from scrap even better...

For a few years, we used a normal wooden wall hanger (a normal wood wall hanger means a piece of pinewood plank screwed on the wall, which had 7 double hooks on it), we decided to find some new ideas. We found a nice idea, a pine beam that looks like it’s part of the structure, passing through the wall, on which a lot of wooden hooks are fitted.

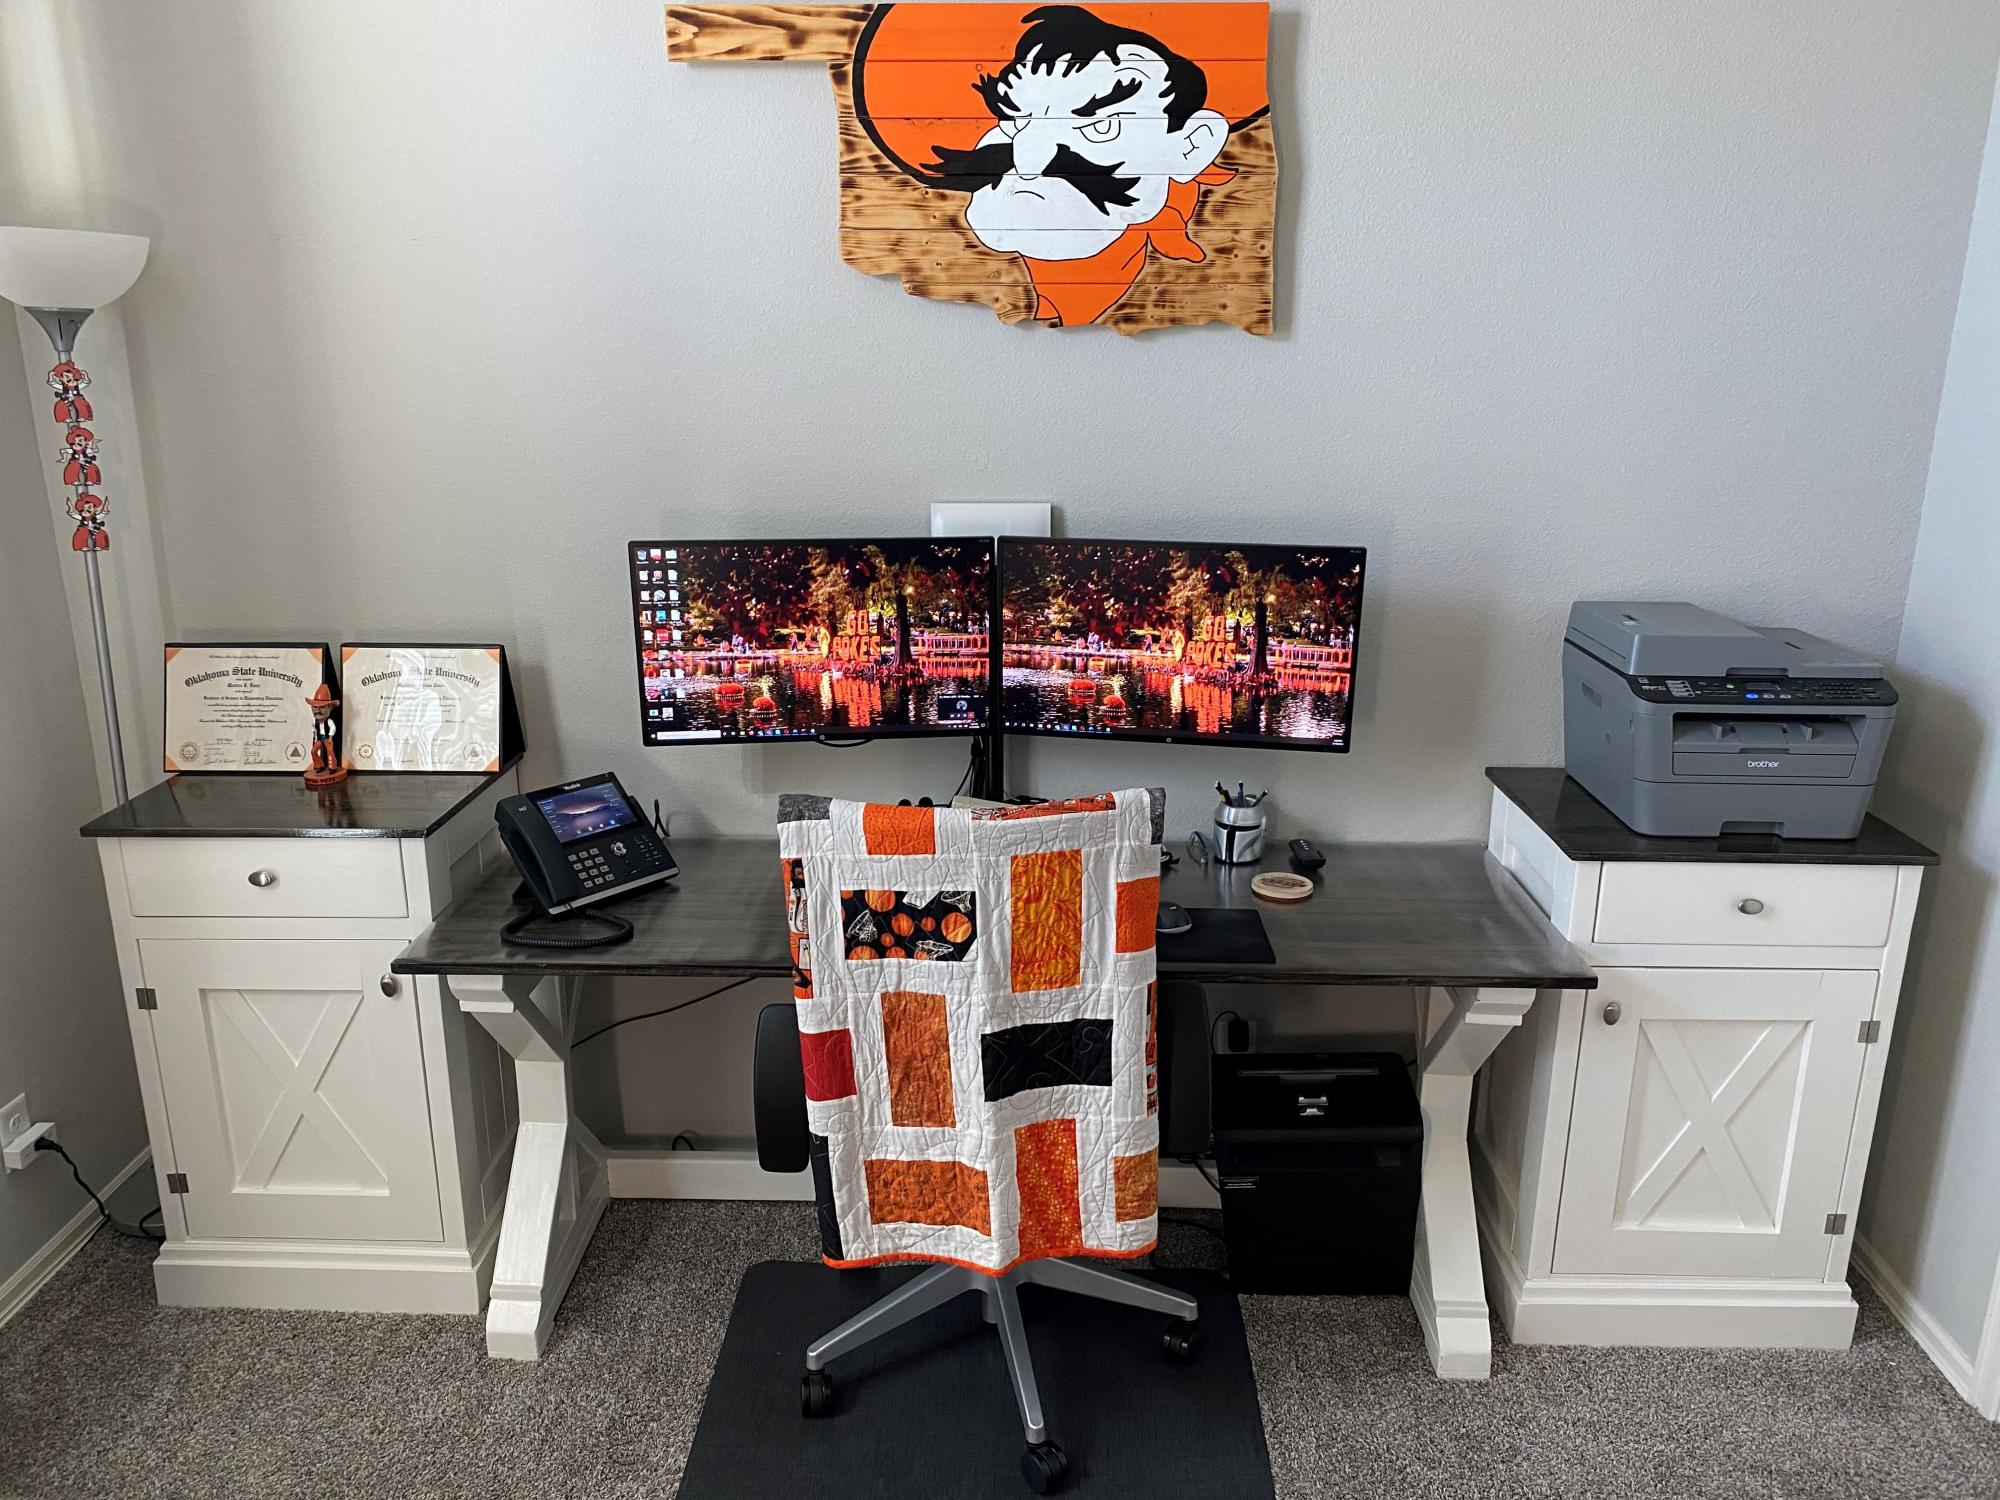
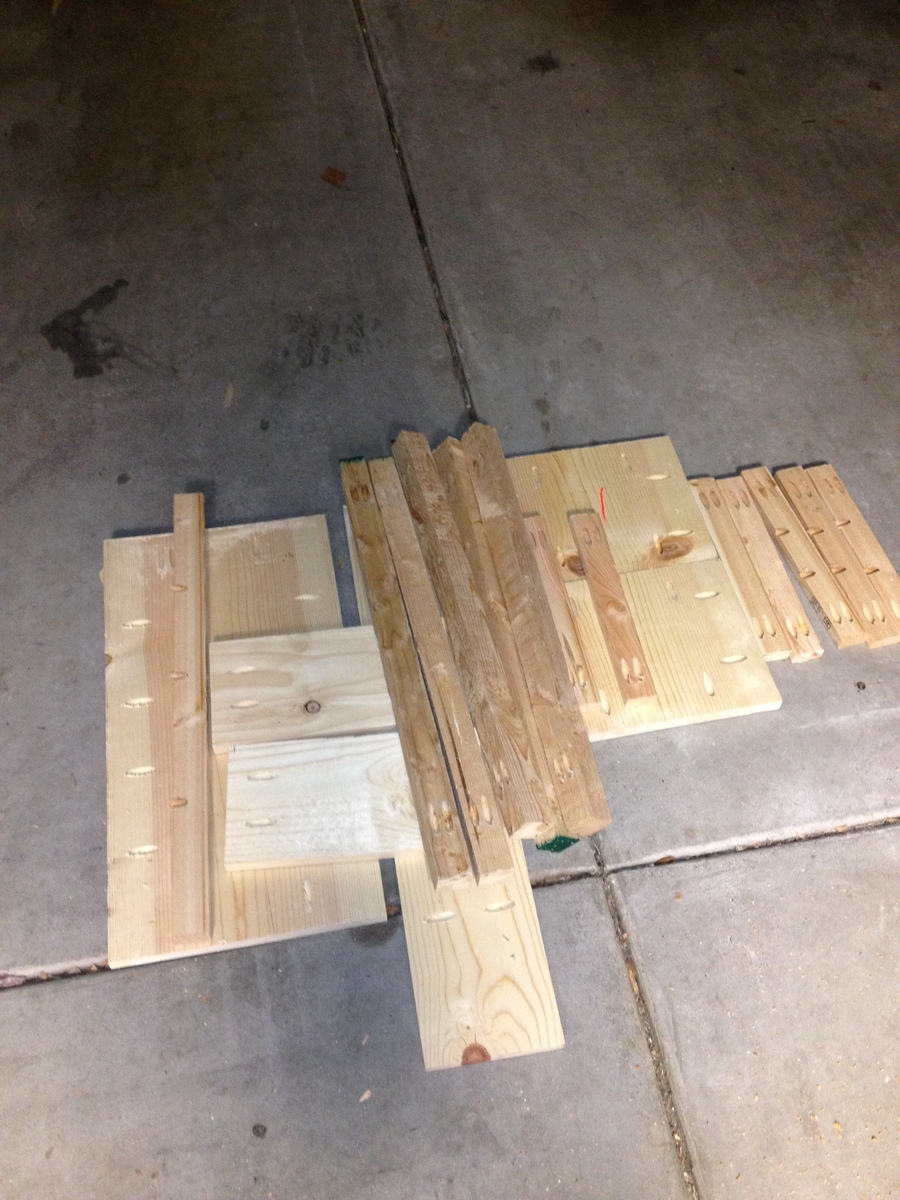
I used the Planked Wood Sideboard plans, but I only did the sides. I mirrored the top of the desk using a project panel.
This was my first DIY furniture project!
The materials cost less than $50! Of course, I did buy some fun new
power tools!
Thanks to http://ana-white.com for the great plans!
I learned quite a lot from this. The nightstand will go in our guest room but the next project will be Master-Bedroom-Worthy! I’ll try to share what I learned with you here so you can avoid my mistakes.
I cut all my pieces first. I used super cheap wood because I wasn’t sure how good I’d be at this. Needless to say, they weren’t all exactly straight so my “squaring up” didn’t work out quite as well as I’d hoped.
Lesson: buy straight boards
Then I went crazy with the Kreg jig and drilled all my pocket holes. I tried to use pocket holes for all the connections.
Lesson: just follow the directions
Another thing I'll do differently next time -- I'll sand and finish all the parts at this point before assembling the piece.
I can't wait to try my next project! Thanks Ana!!!

So happy with the way my Balin Console Table turned out. I altered Ana’s plan just a bit by adding 1x2’s to the sides at the top and bottom to recess the side panels and I added drawer slides for easy opening as well as trimming out the front of the drawers to recess the drawer fronts. Thank you Ana for great plans!
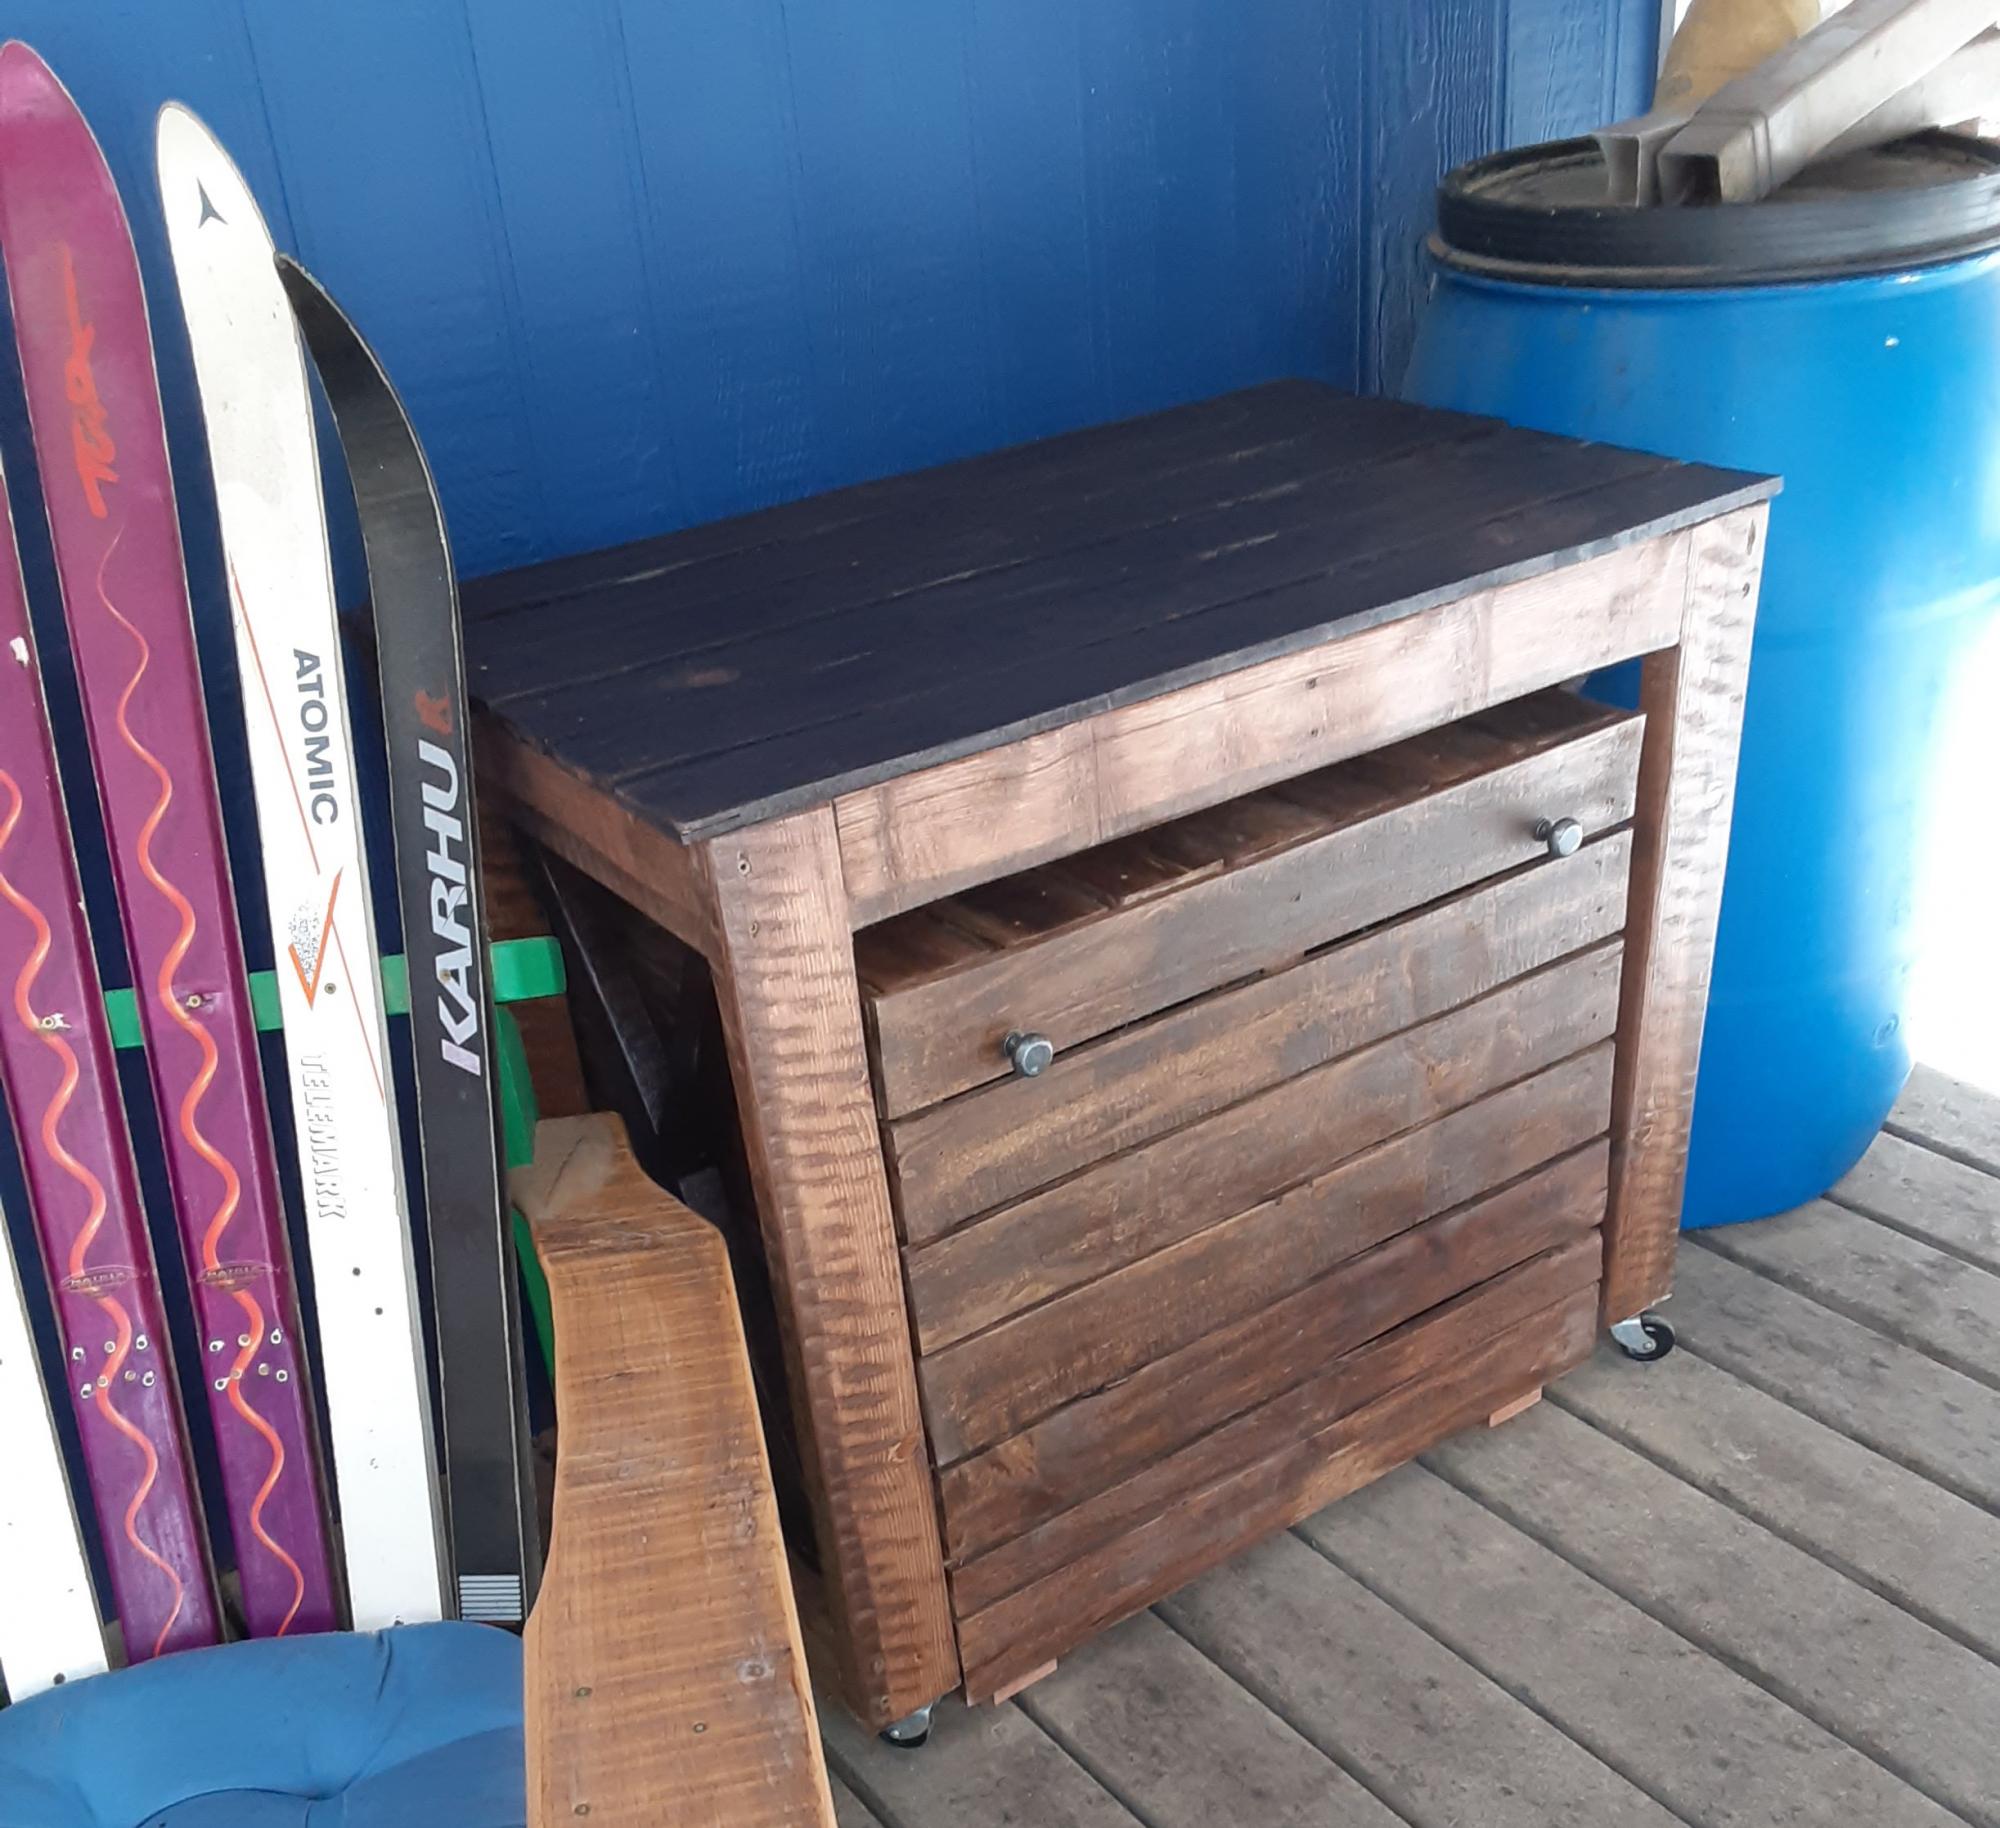
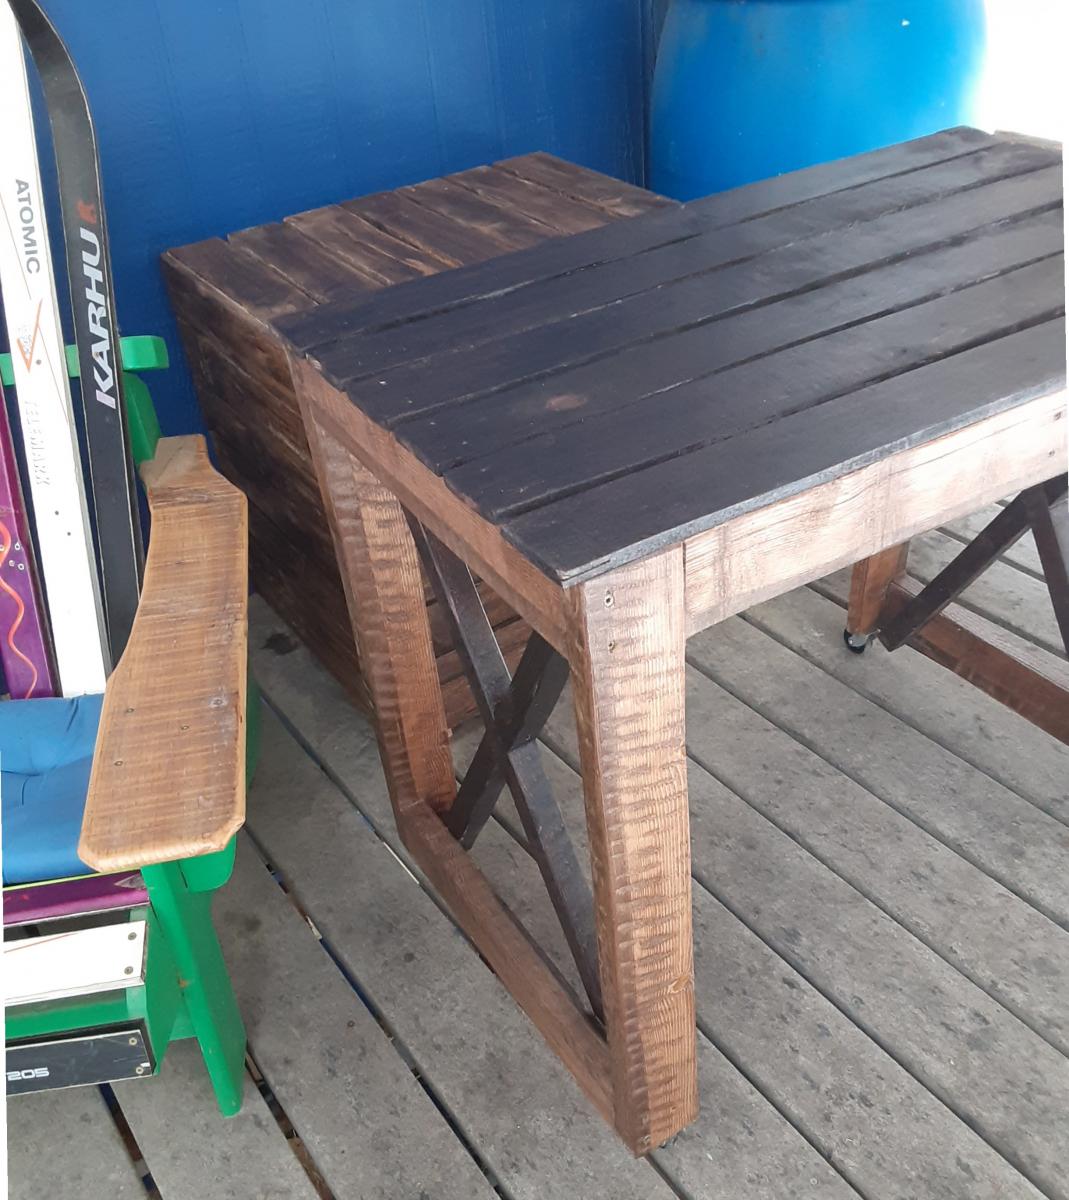
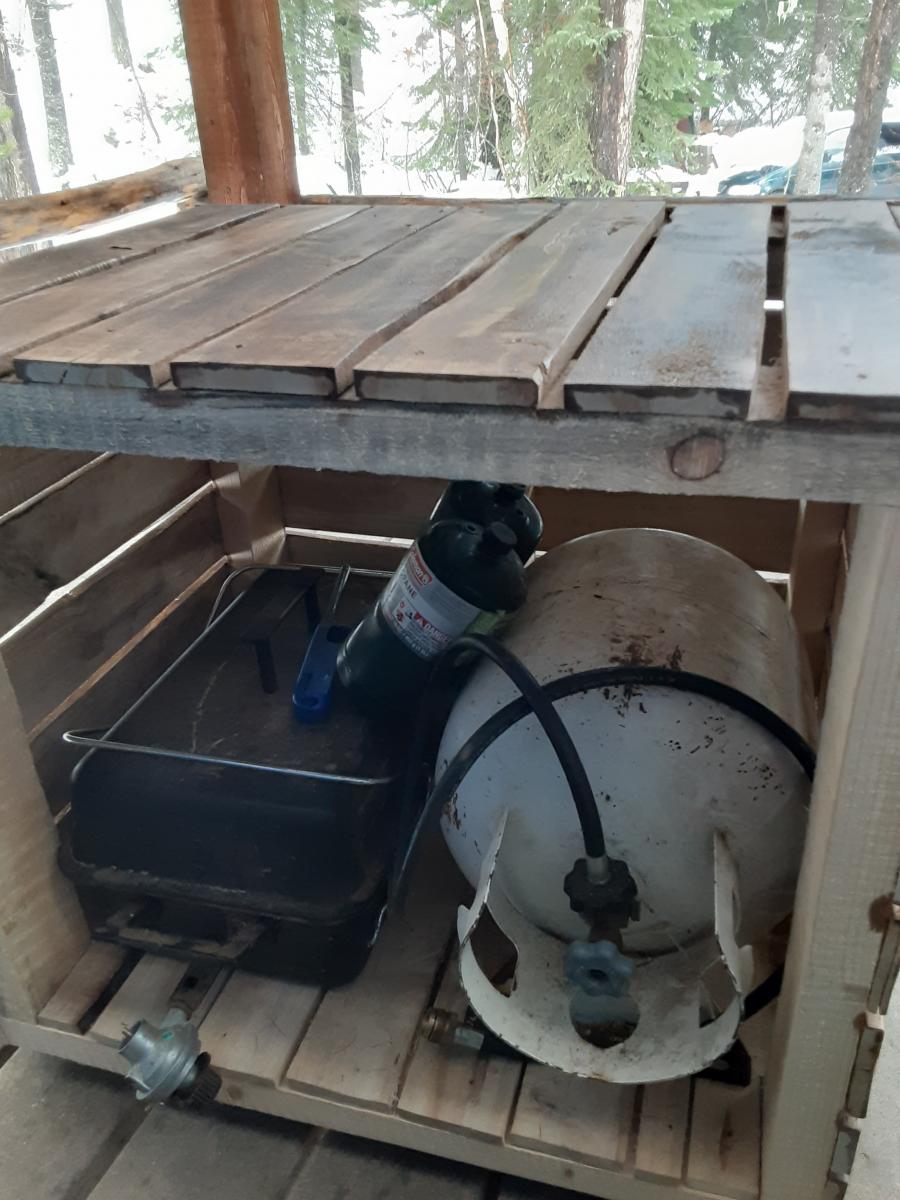
I was tired of seeing my propane bottle on the porch and this project was a perfect blending of camouflaged storage with lots of potential countertop workspace. My grill station is smaller and shorter than the original plans to better fit our family size and the porch space we have available. My husband has a bandsaw mill. When he was milling boards this fall, I asked for some 1/2" thick planks just for this project. I also had the knobs and wheels leftover from past salvaging work. I have been trying my best to use up "stock on hand" during this pandemic. Though I spent some time sanding the rough cut lumber, it still absorbed lots of stain. I wanted two tones of color, so that's good, but I still had to mix two stains together to have enough for the lighter parts.
Now we are looking forward to some cold weather BBQ meals!
Sun, 11/22/2020 - 13:05
Fire up the barbie! Thanks for sharing, it looks perfect:)
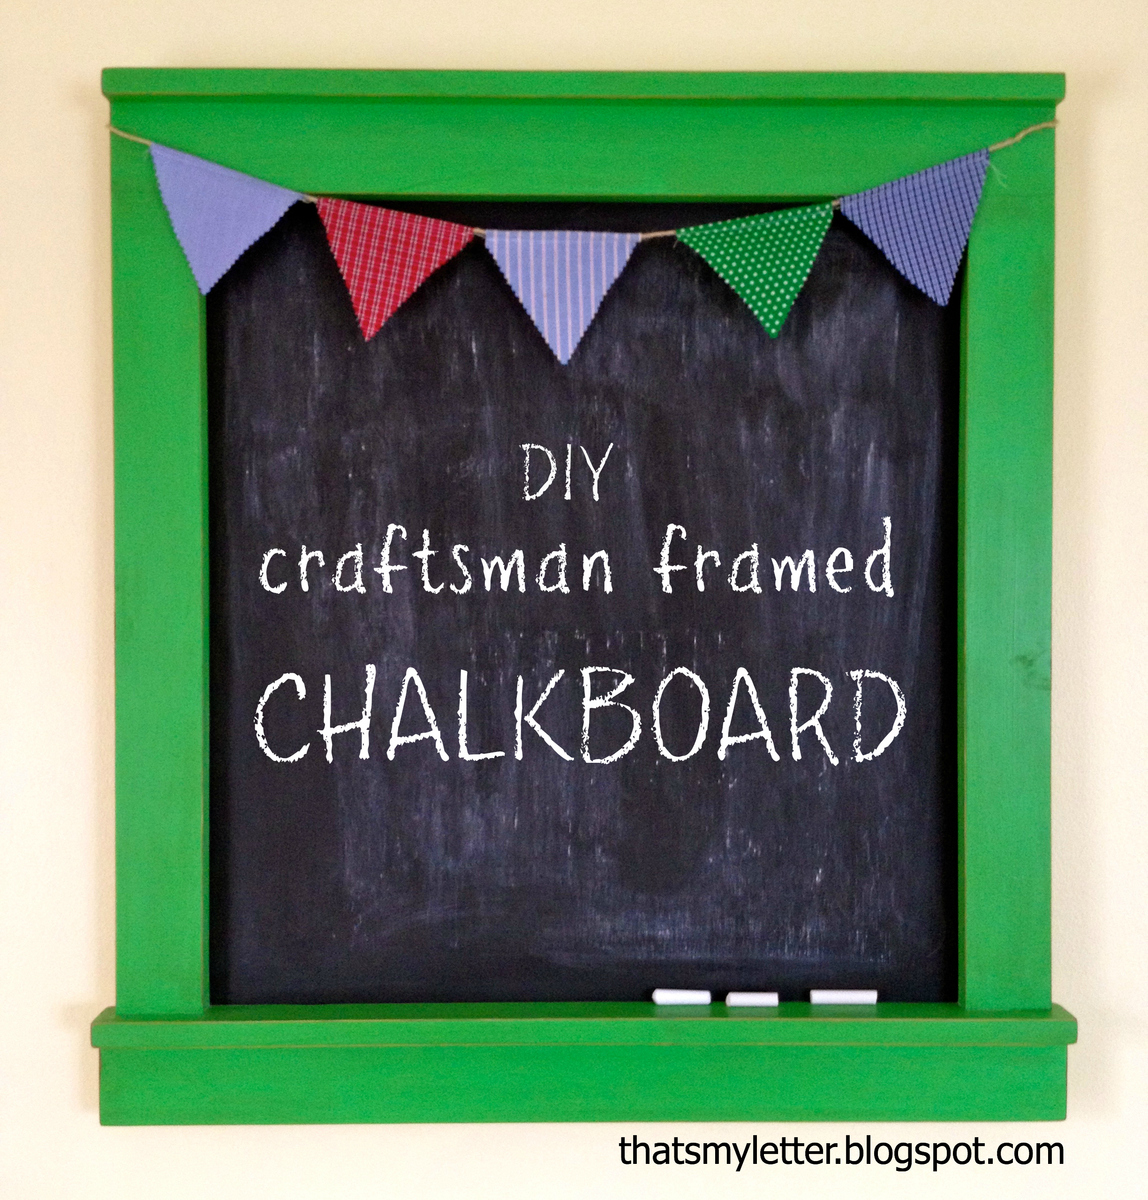
I used scrap 1x2 and 1x3s, added a piece of chalkboard painted plywood to make a fun wall decor for my kids. I resized Ana's plans to fit my scraps, all dimensions are listed in my post link.


Mon, 01/21/2013 - 15:09
I saw the brag post and was motivated to make my own chalkboard today. I was in a need of a message center and thought chalkboard would be a perfect addition. I was at home and had no scraps of wood and no chalkboard paint! Normally, that would be a problem!
Luckily, I had an old wood crate, paint, and non-sanded grout! Voila...enough to make a chalkboard message center! Thanks for the motivation!
Here is a link to the finished product!
http://re-storedesign.com/2013/01/21/wood-crate-message-center-diy-chal…
Next time I am in my shop I am going to make a craftsman style chalkboard for my studio!
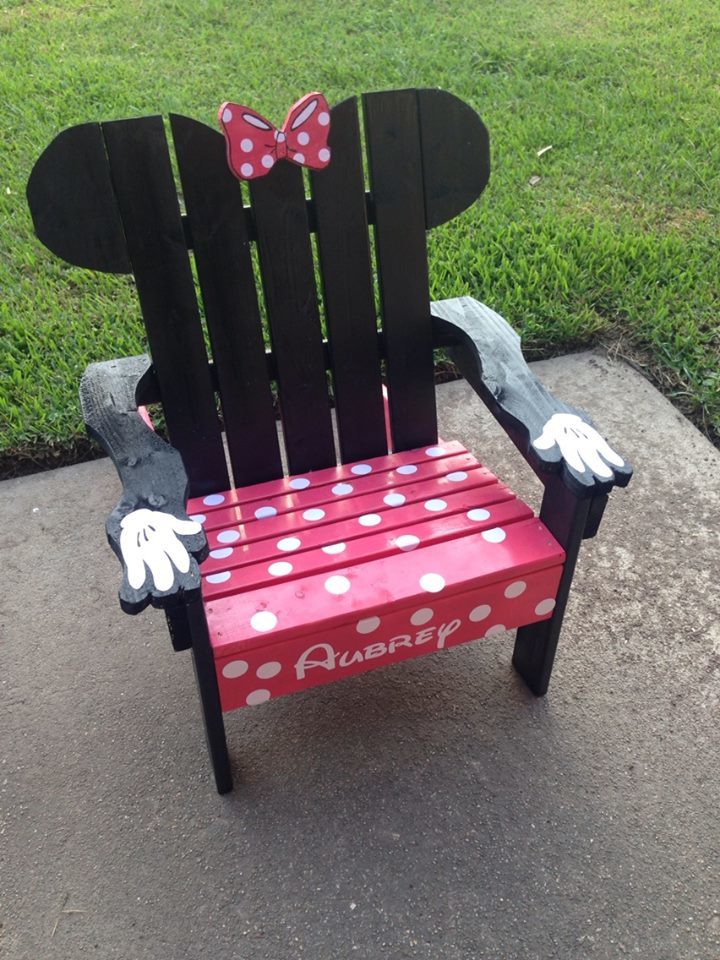
My daughter is into everything Minnie Mouse right now so I figured, why not!
Tue, 04/28/2015 - 12:04
Is there any way to get the plans for the minnie mouse chair? Would love to make this. I can open the plans for the basic adirondack chair, but not the minnie mouse one.
Thanks!

Sun, 07/24/2016 - 18:30
I am not able to download the minnie mouse chair
plans, can someone please assist?

Built the top out of reclaimed wood reclaimed from buildings in/around Chicago. Stained top and insides shelves with minwax hickory gel stain. Outside painted in chalky finish Dutch boy antiquainted lace. Custom made rail and hangers for sliding apparatus.


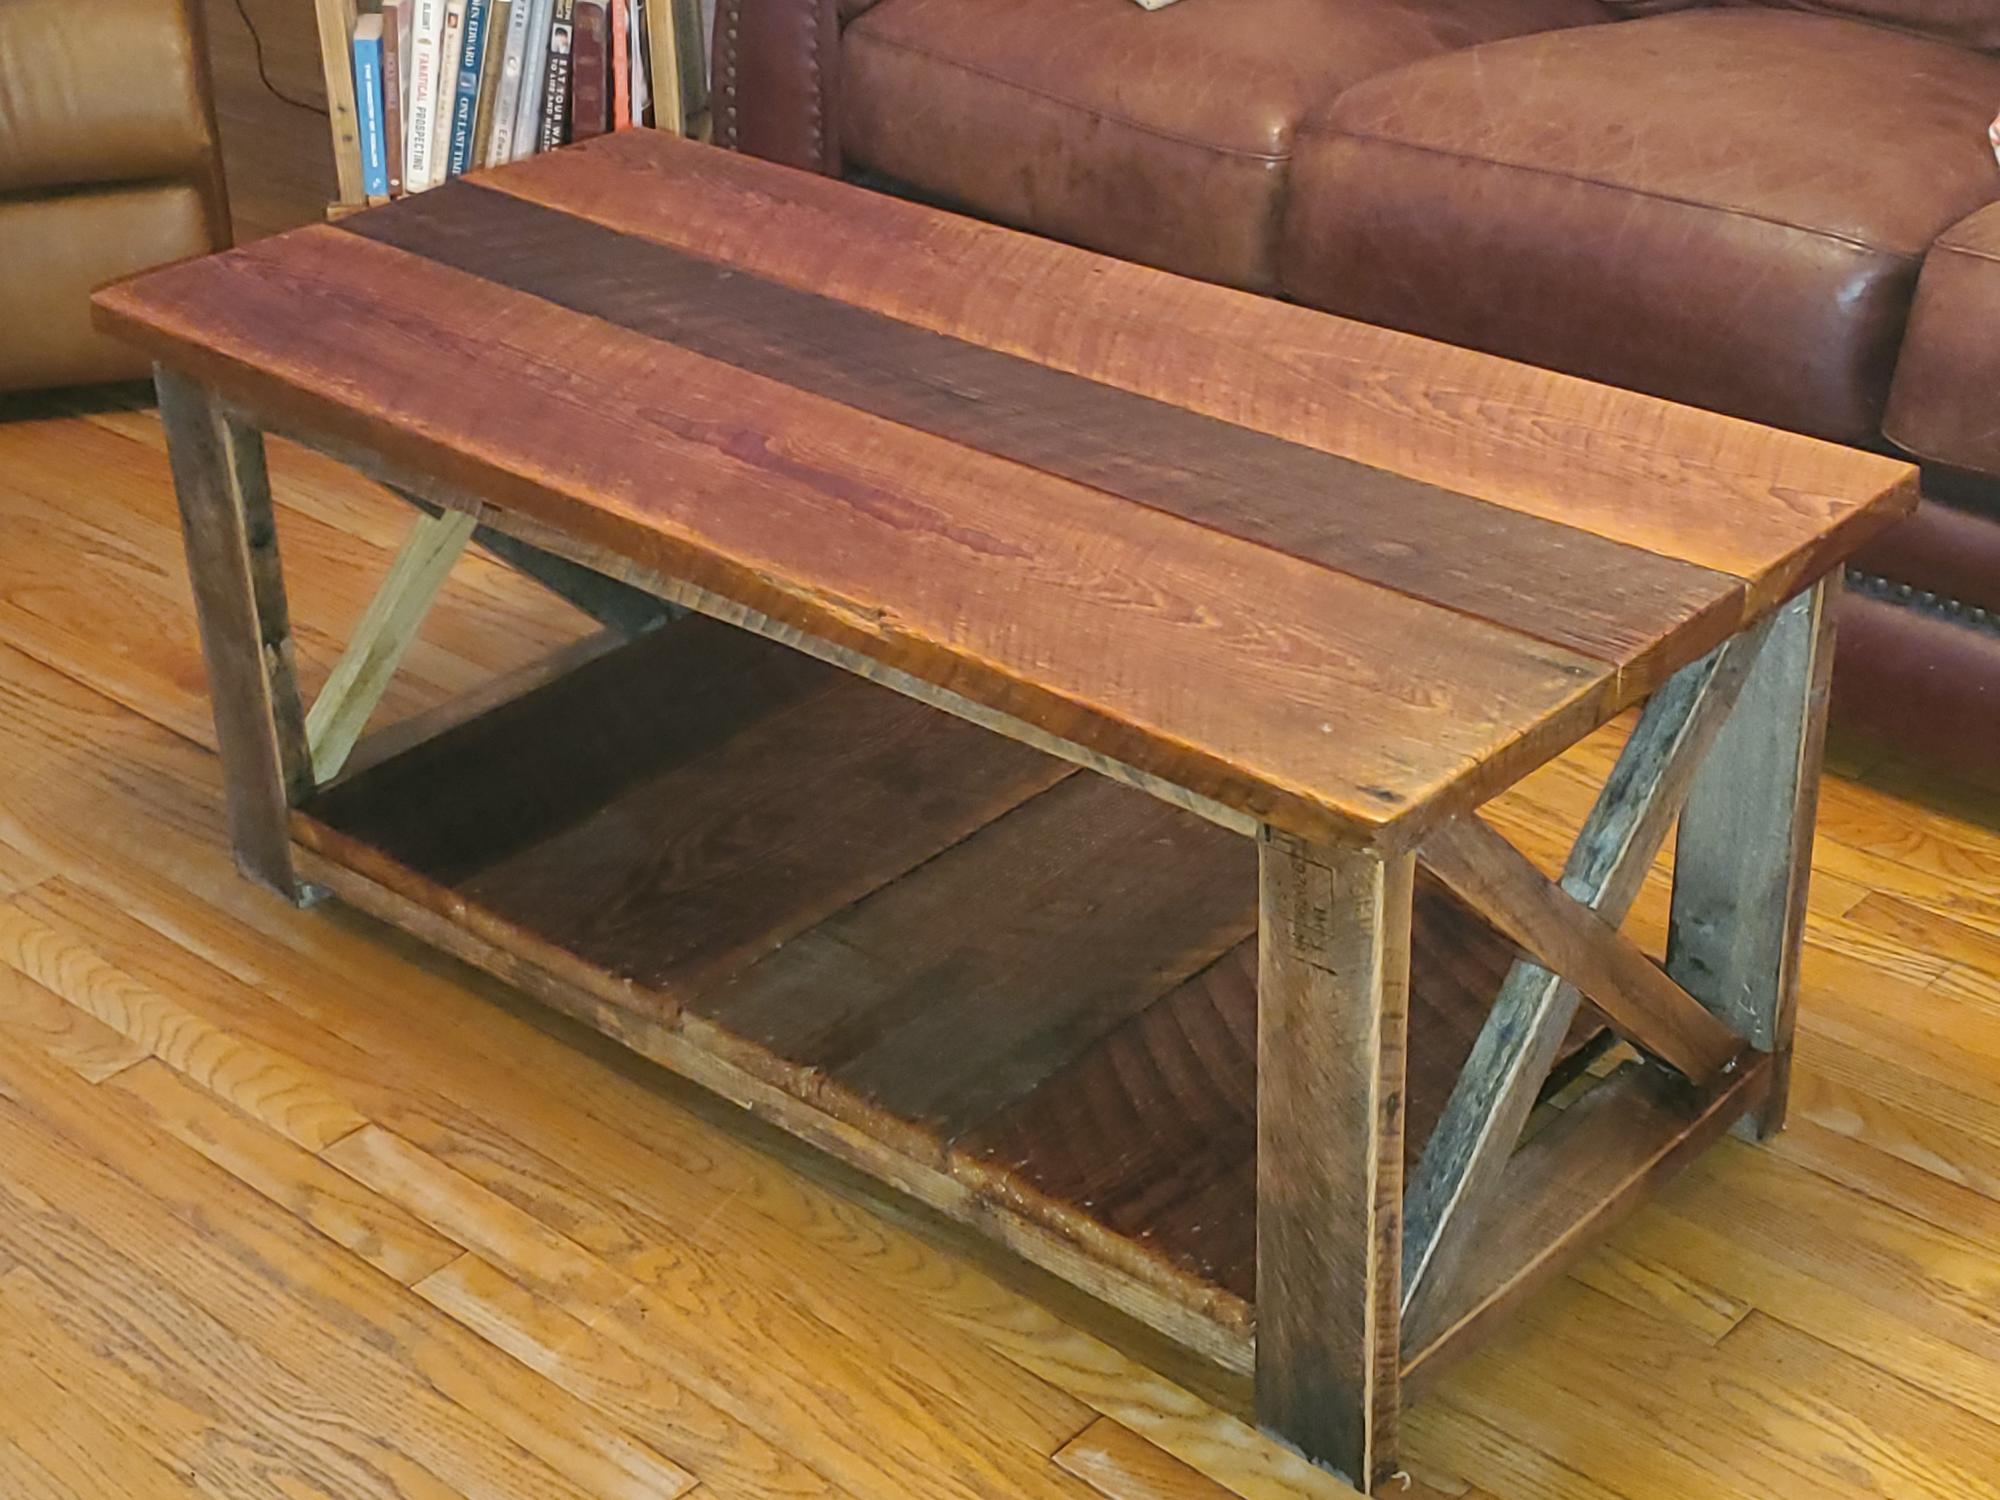
I made the farmhouse coffee table using 4/4 300 year old pine that was on a local home for 150 years. The frame, I used recycled pallet boards. Very simple to build, everyone love this table.
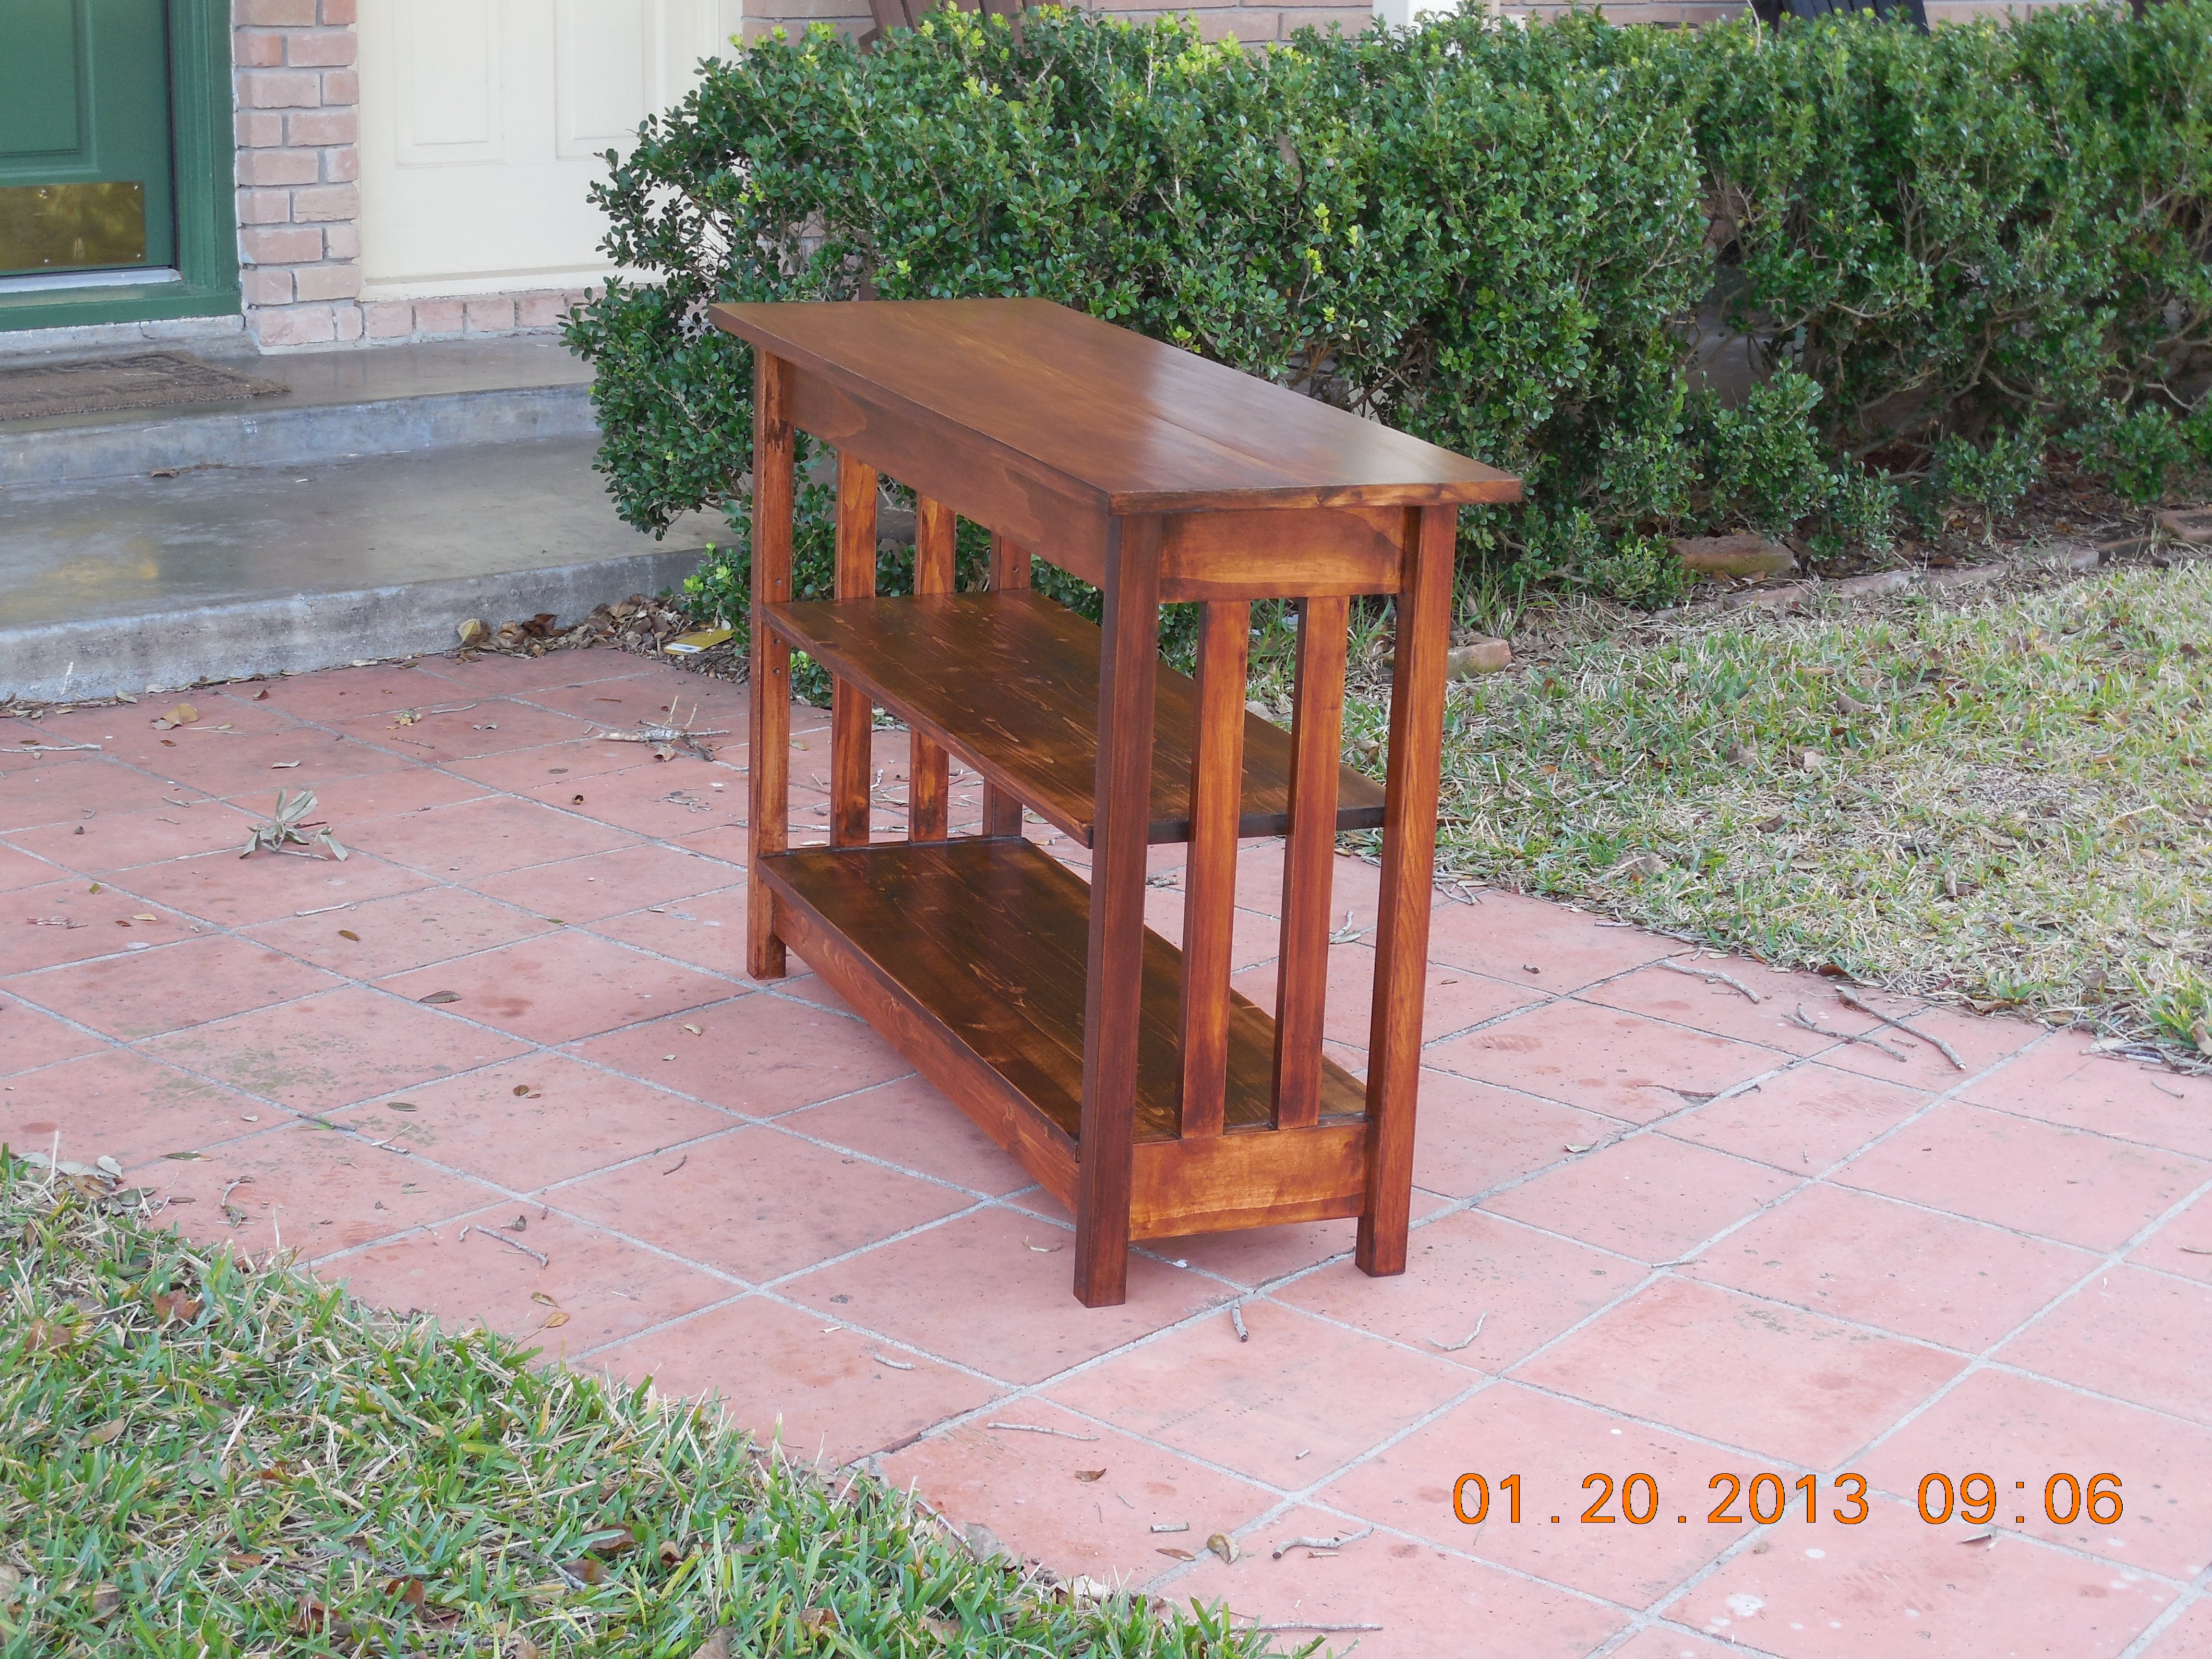
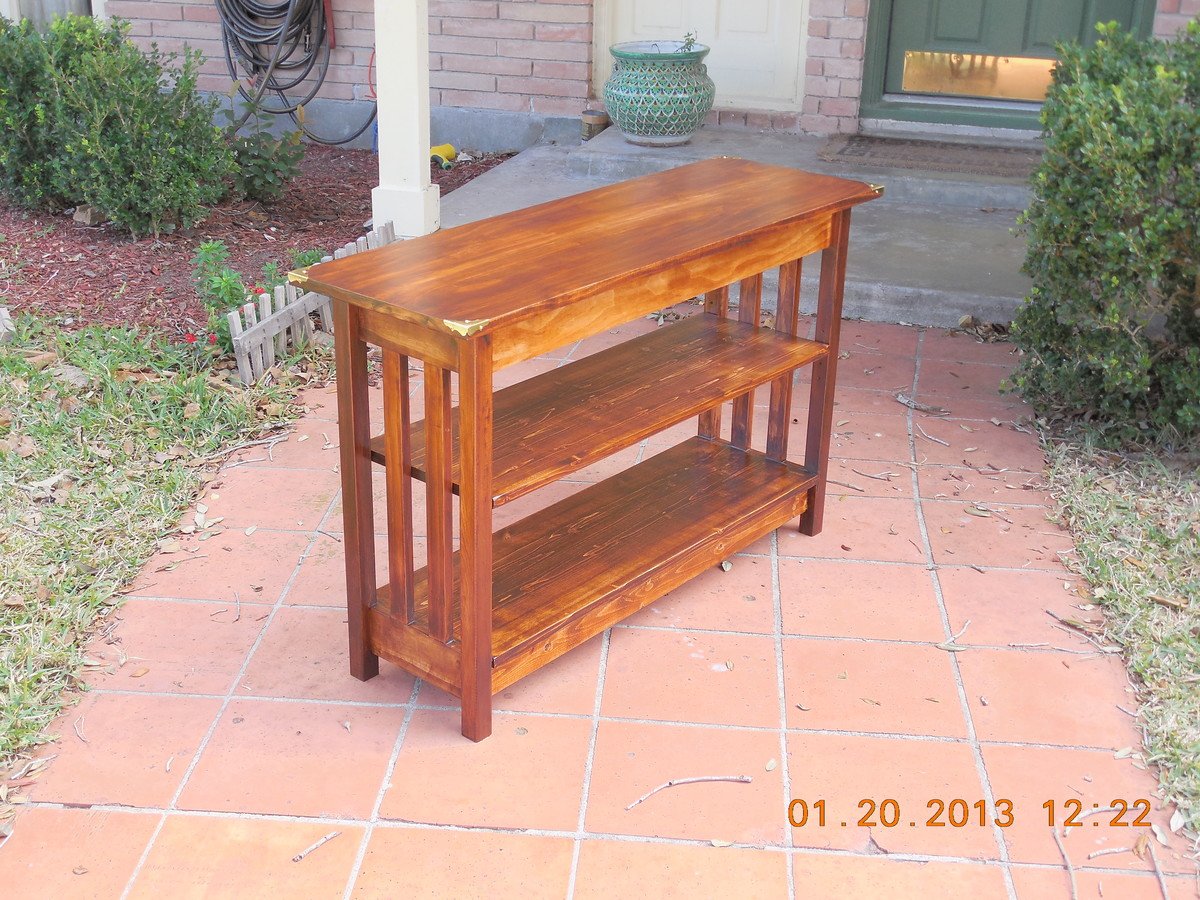
A good friend of mine came to me a week ago and said she needed a console table to fit under her apartment window. She then whipped out the LL Bean catalog and on page 34 was the Mission style Underwindow Bookshelf and that is what she wanted. I told her I would give it a try and a few days later you see the final result in the photos.
It came out larger than the LL Bean catalog version as mine is 44" long, 28" high and 14" wide. You can see the catalog offer at this link: http://www.llbean.com/llb/shop/13930?feat=504183-GN3&page=mission-under…
The center shelf is adjustable up and down about 4" and I added brass corner protectors.
I think it came out looking pretty good. Especially when you consider it cost at least $100 less than the catalog and it is not a kit.
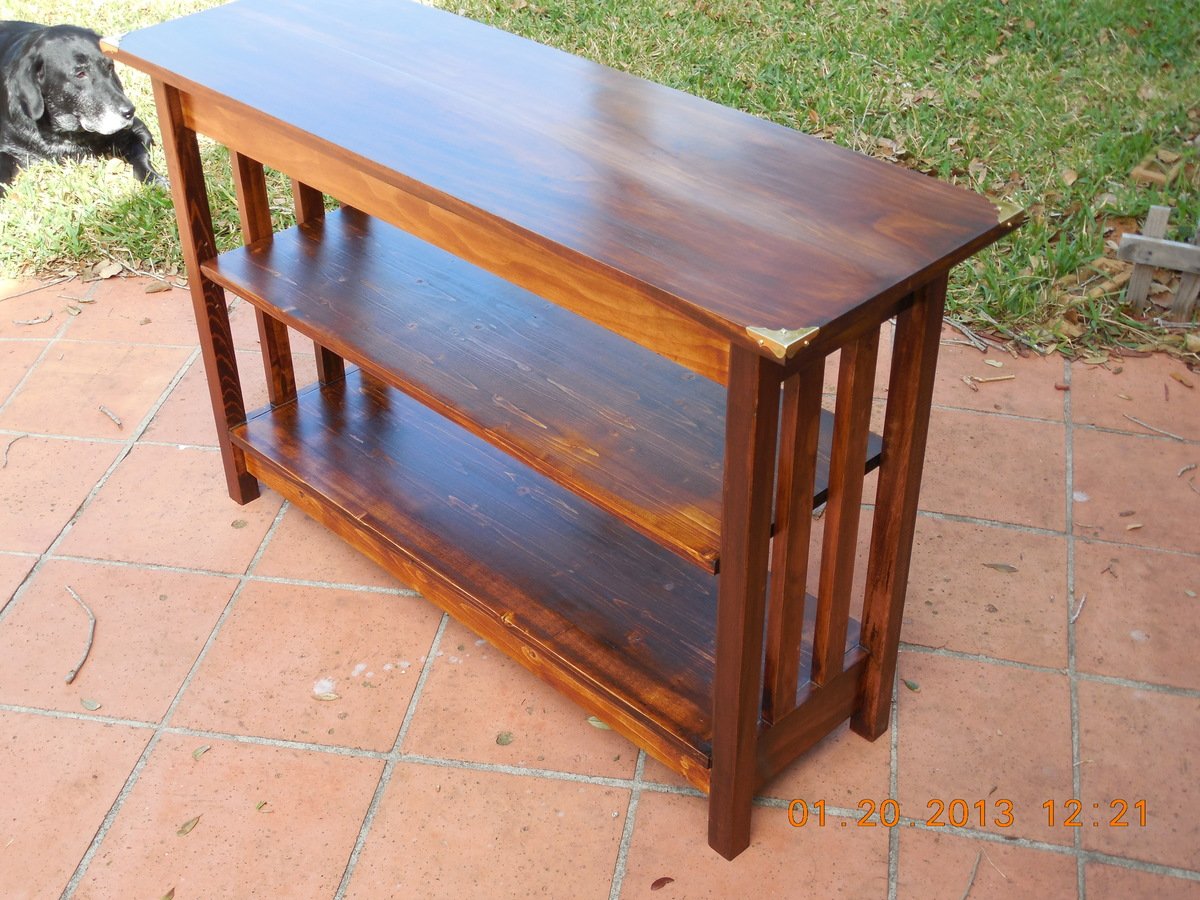

This was my very first woodworking project. It came out great! My wife did the distressed corners. Amazing how easy it was. Pardon the puppy posing for his dad.
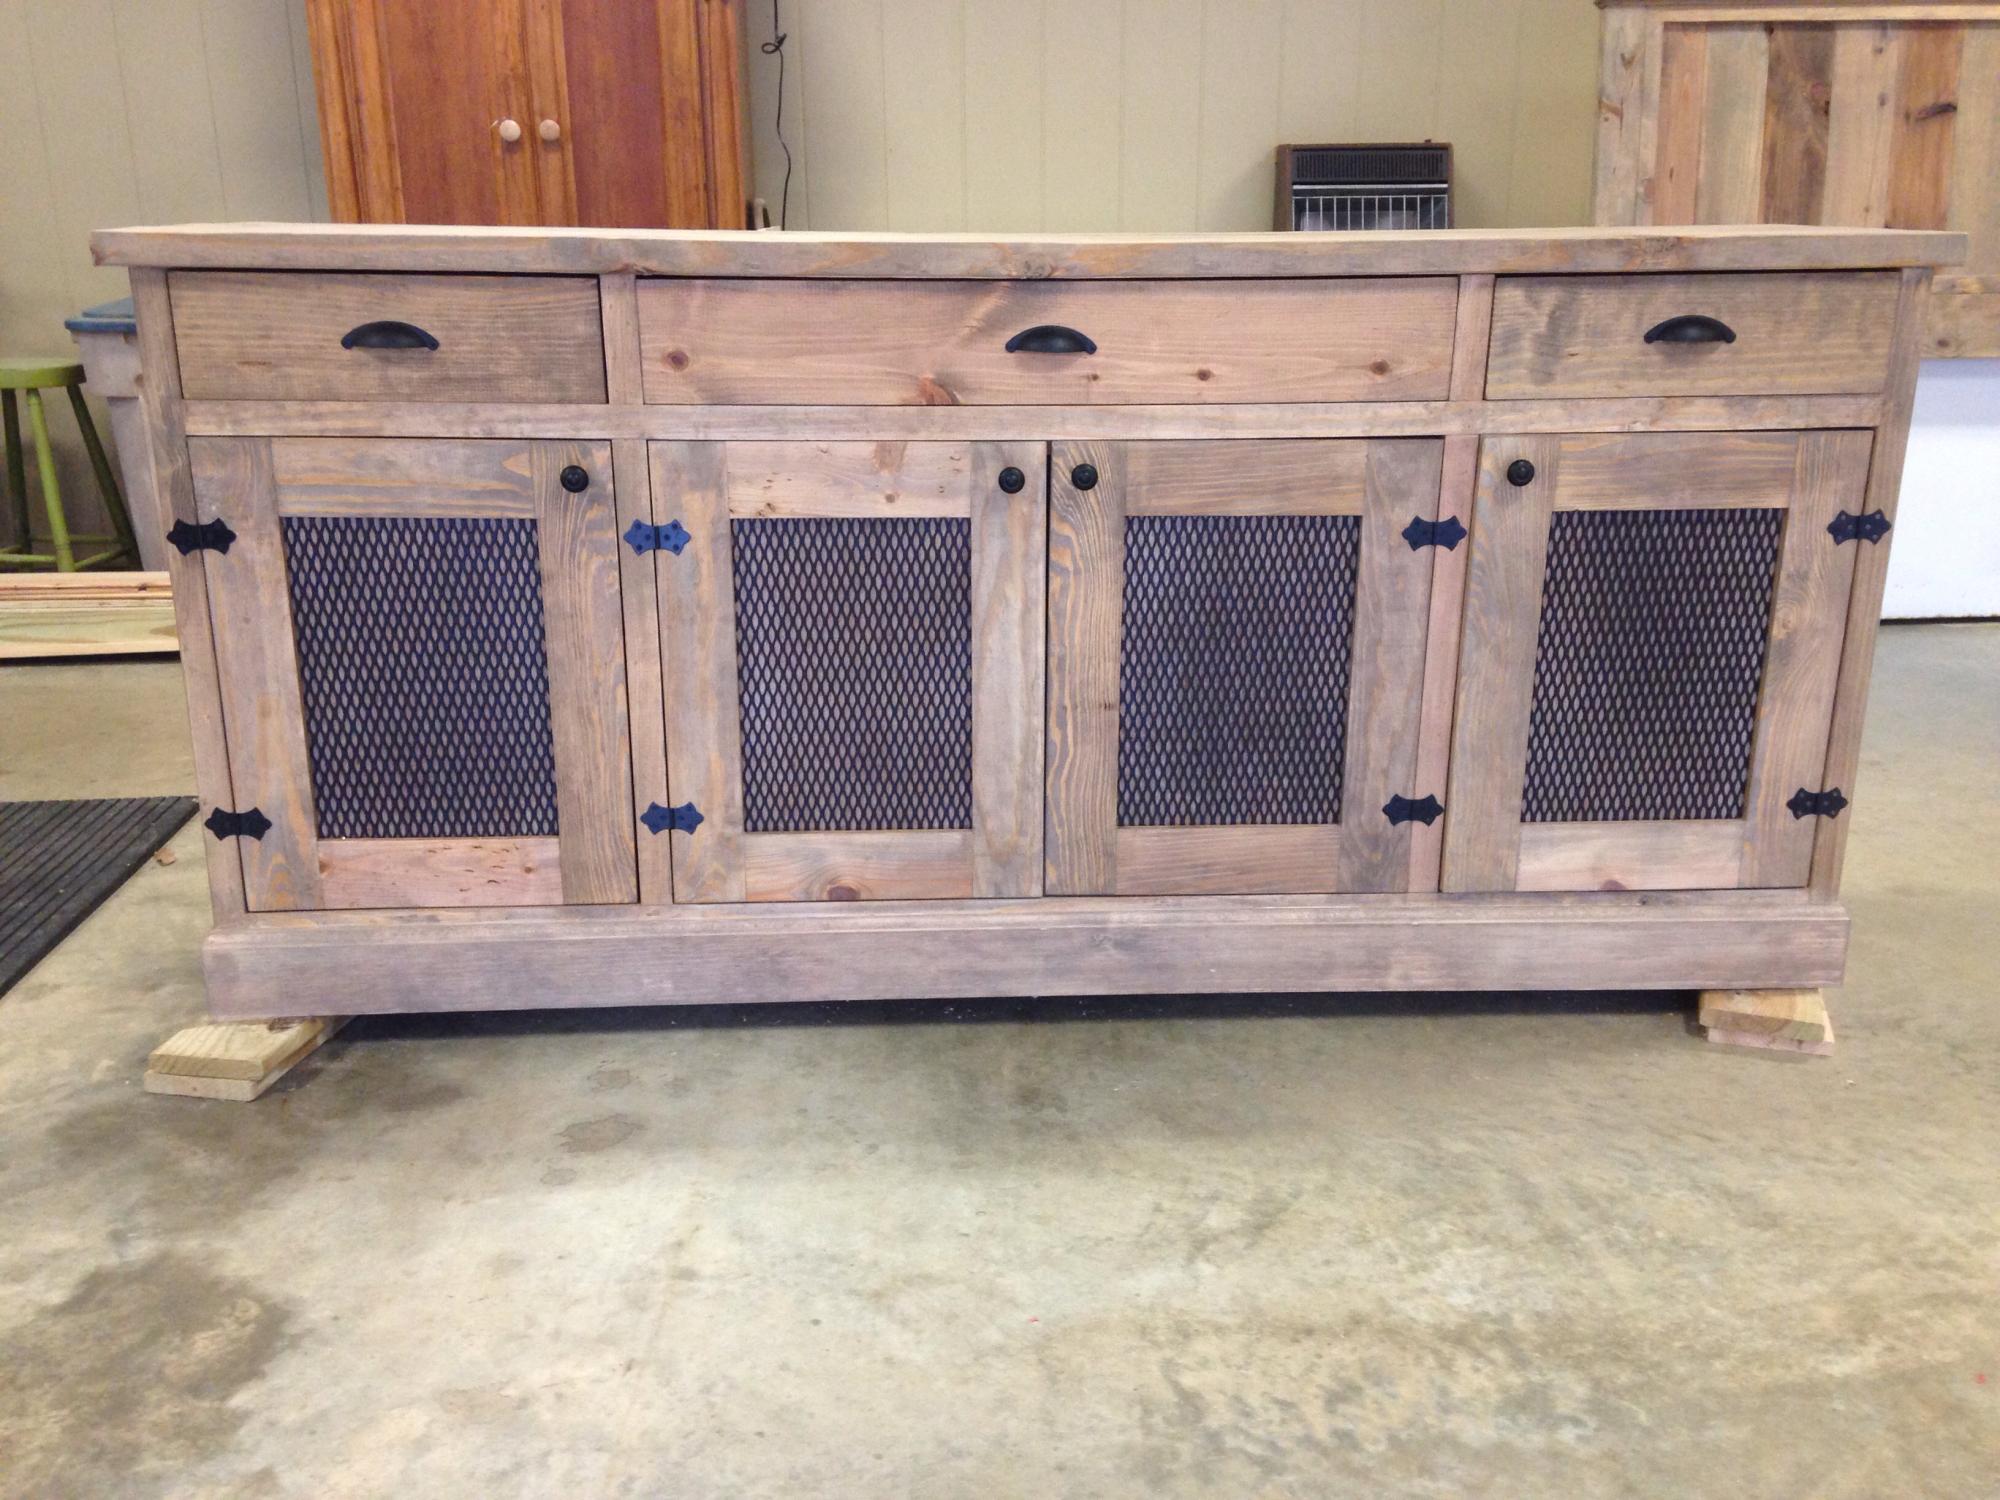
I really loved this plan of Ana's so I decided to build it for myself. I love the stain color on the one Mid Atlantic Rustic built and they were so kind to tell me the color and it turned out perfect! I will say if I ever built another I will make some adjustments with the doors and drawers and have them sitting on the outside of the facing. Those things were the devil for me!! I have only been building on my own for 6 months, so it was tricky for me. THE PIECE IS HUGE!!! I also added 2 2x4 supports under the bottom,
Happy Building
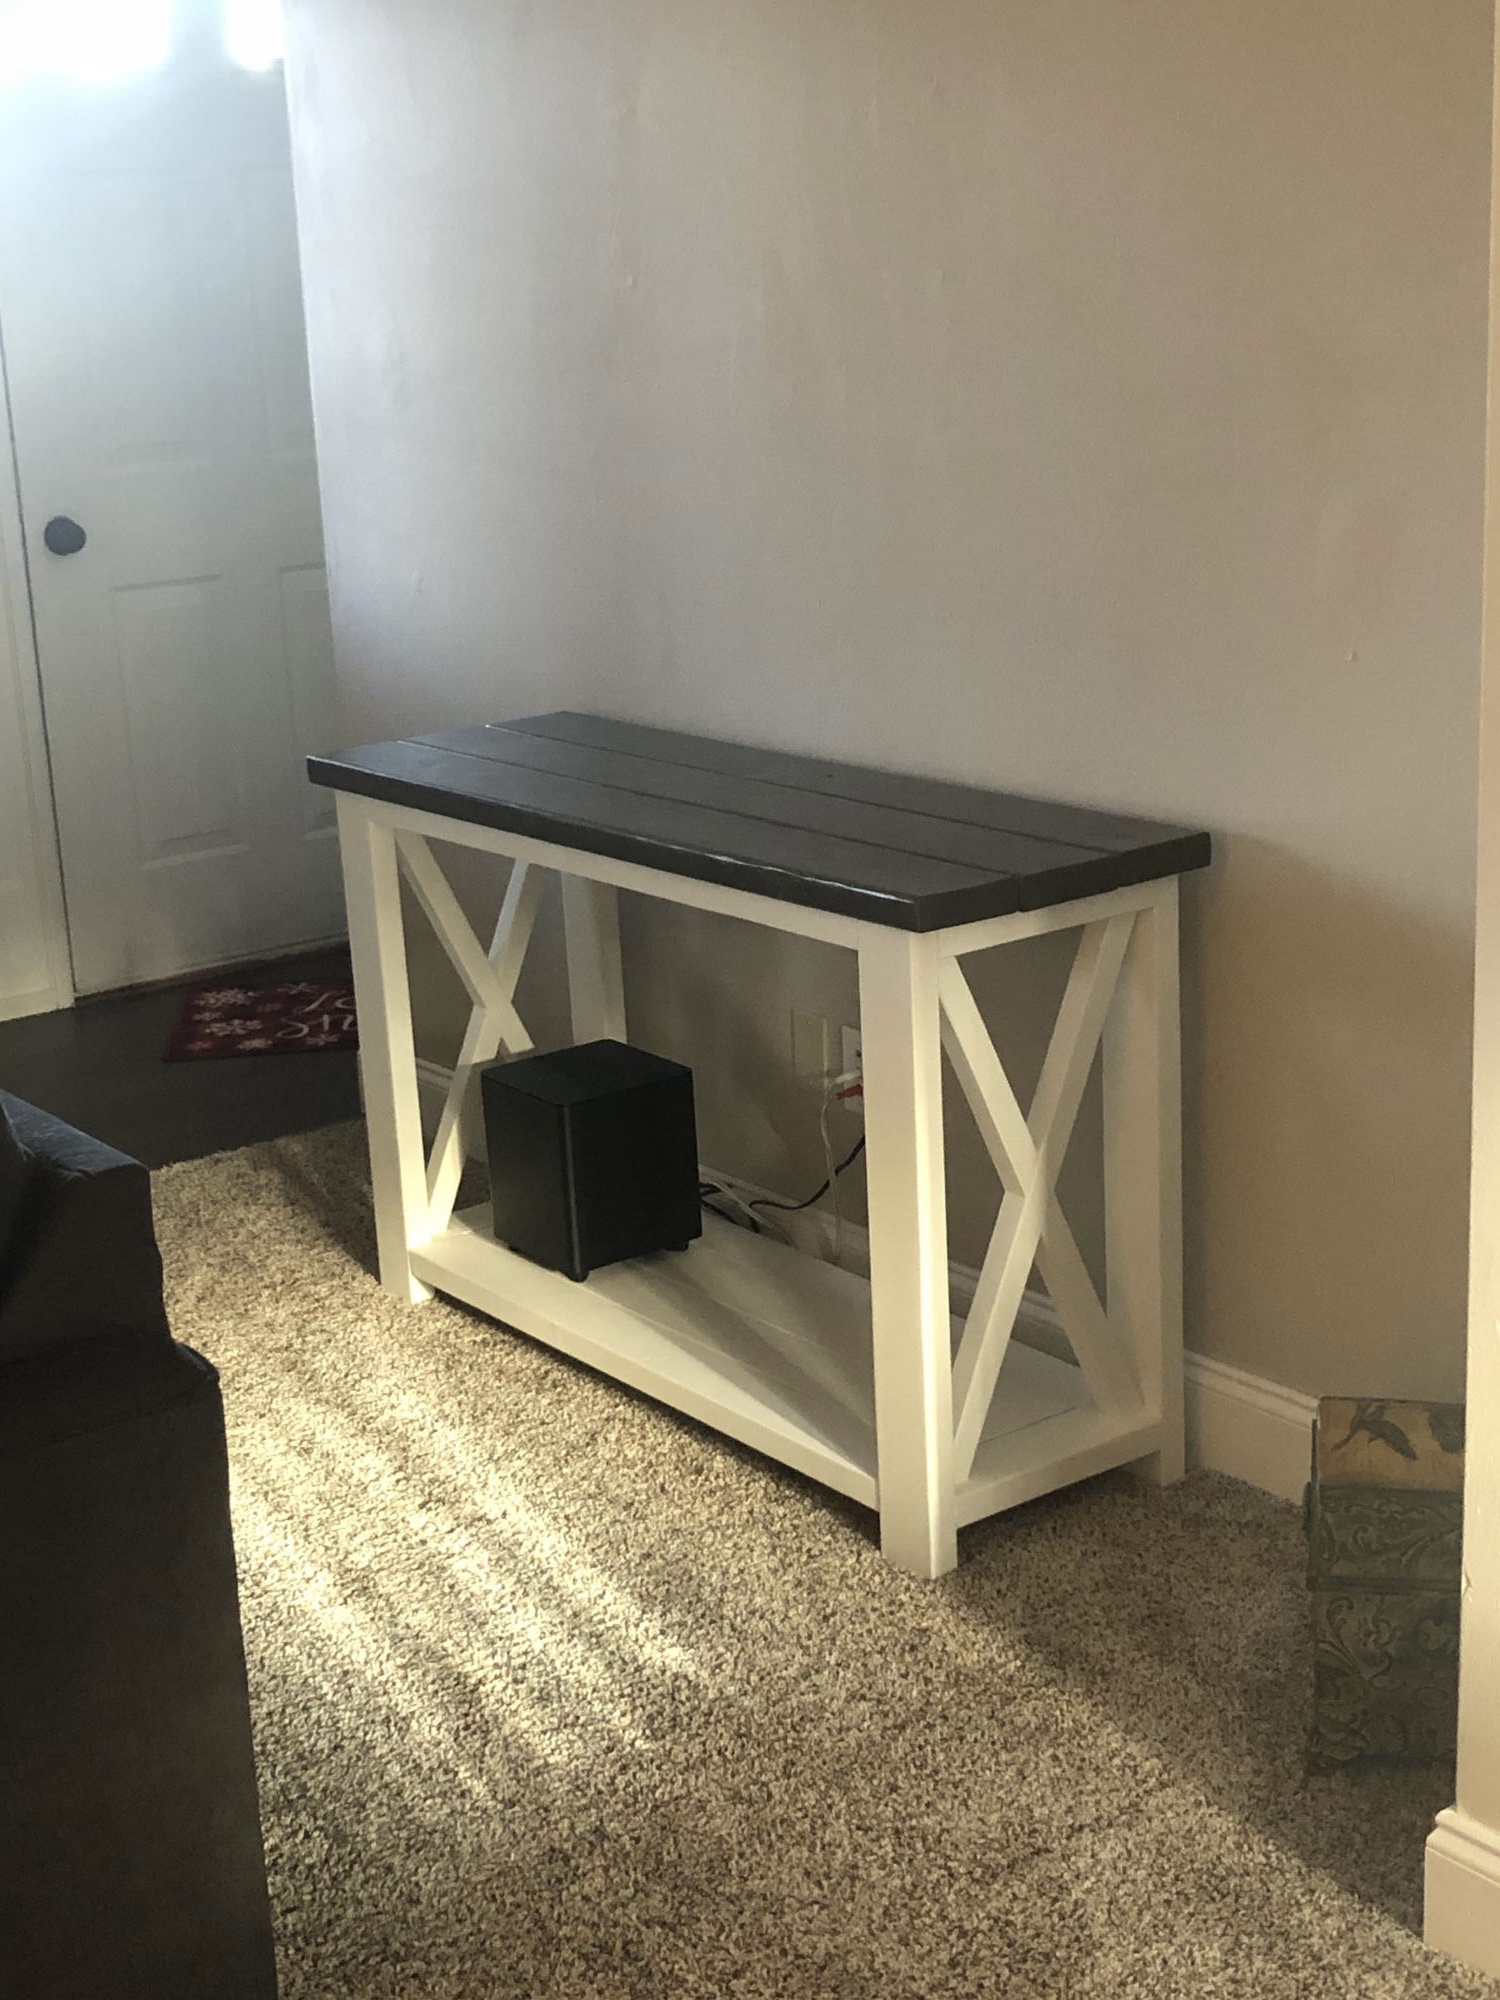
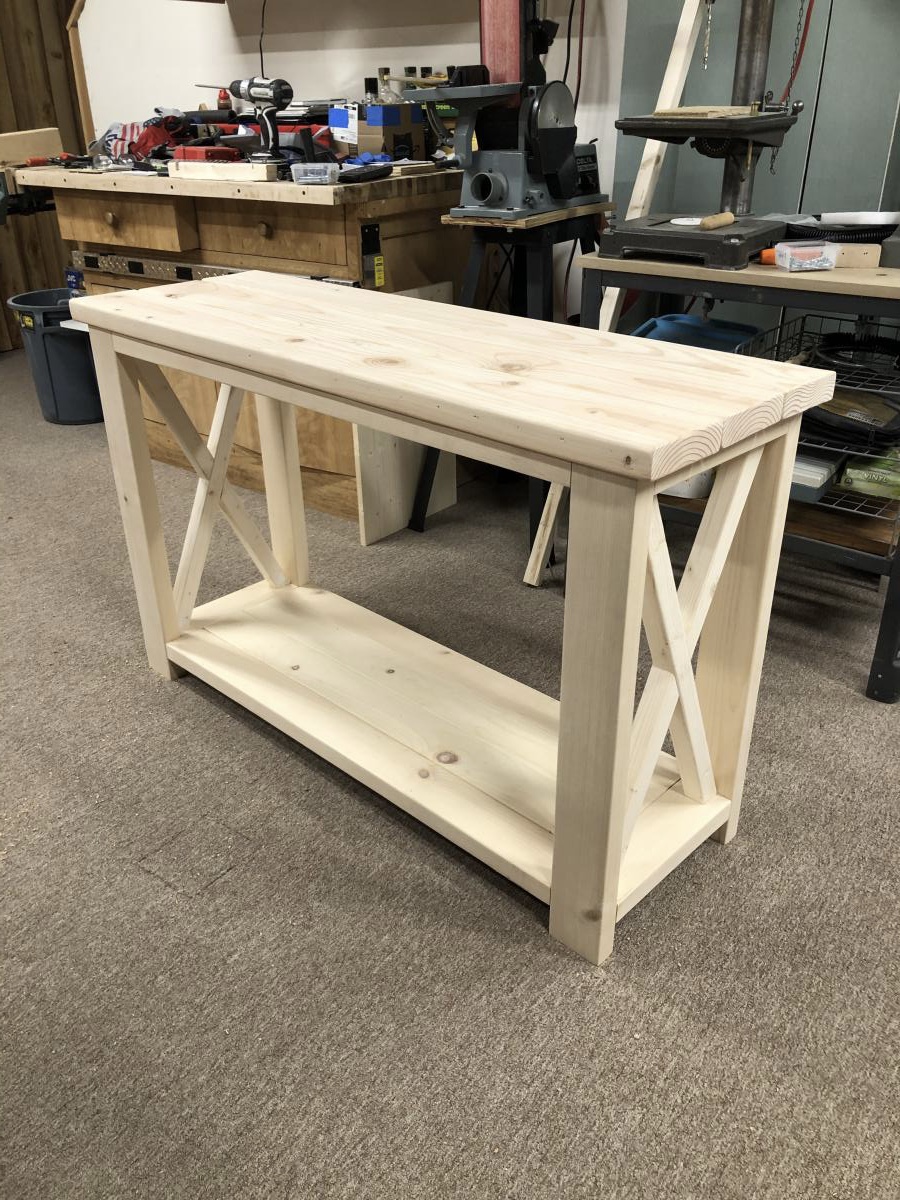
I built this console table modeled from other diy plans on the Ana White website. The construction took 1 afternoon, but the project start to finish was 3 days to allow time for finishing. The overall dimensions are 49”W x 16 1/2” D x 30” H.
Mon, 12/07/2020 - 09:47
Yes the finishing seems to always take the longest! It looks fabulous, thanks for sharing:)
This was my first project that I've built and I feel really great about how it turned out!


Thu, 01/24/2013 - 14:25
Great job! Your bookshelf looks solid and the color is crisp against the darker wall. Love the frames too!

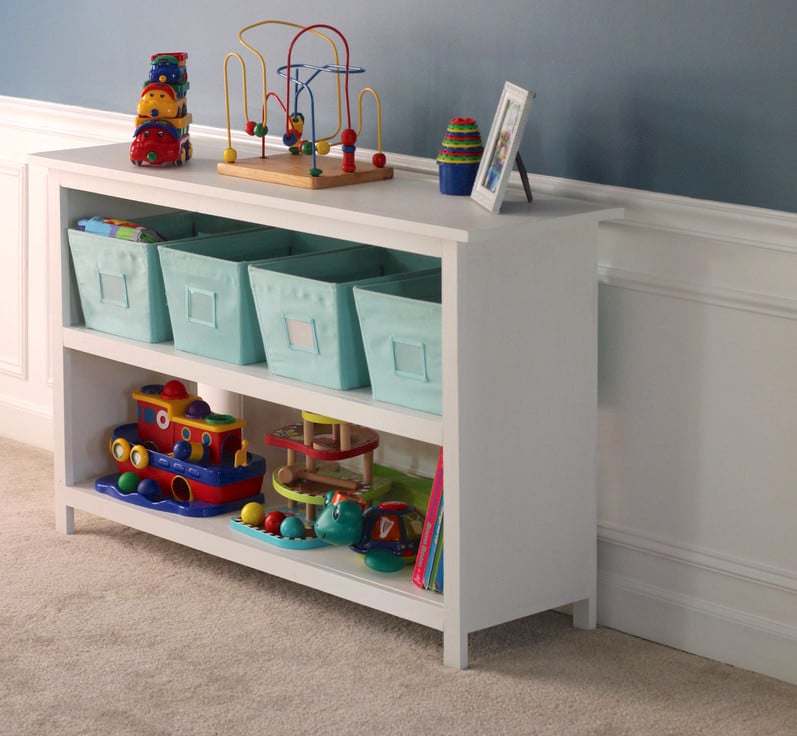
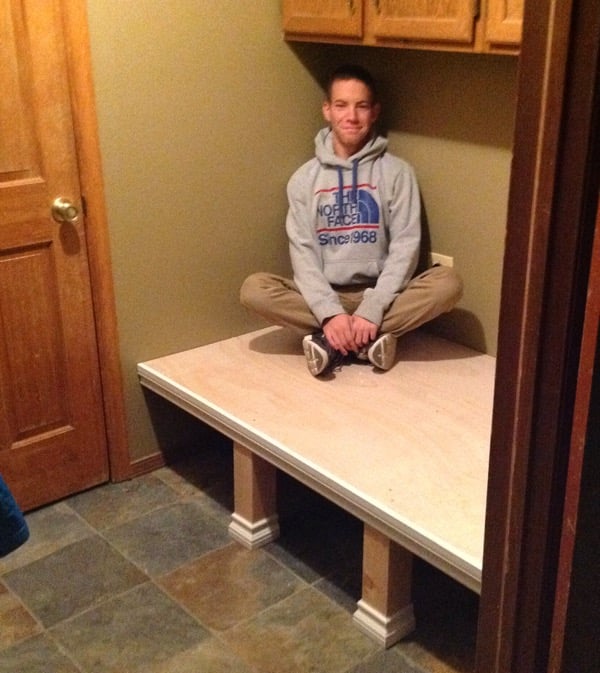
Basically eliminated the bottom shelf to gain more space and built this as a "built-in". Fortunatley for us this room is the right size and we just screwed it into the wall studs.

Thu, 11/20/2014 - 09:18
Thanks for the money saving tip on the plywood!
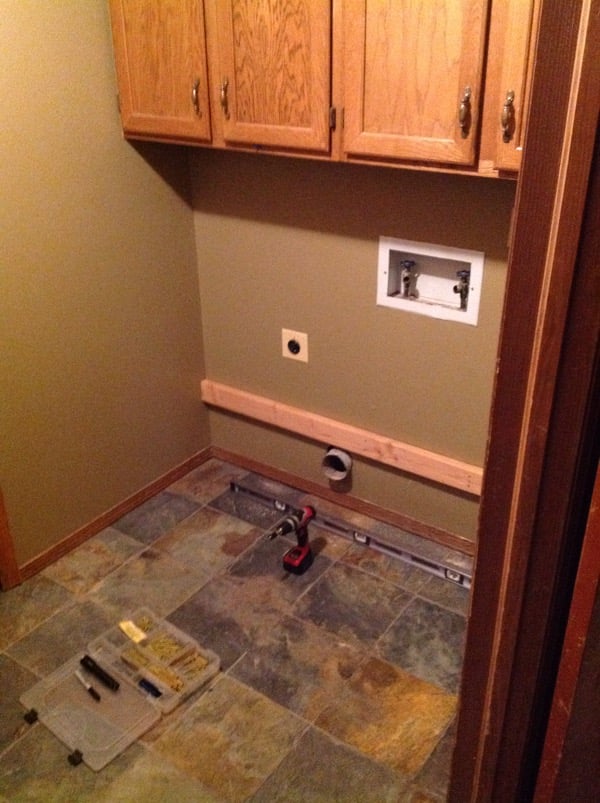
I have upper cabinets in my laundry room too and was wondering how to get a storage pedestal in there. This is a great use of space. Looks great too. Thanks!
Fri, 11/21/2014 - 09:20
That's a great use of materials that may be discarded! Nice job!

Tue, 03/24/2015 - 10:34
Did you also fasten ledger boards to the side walls for side support? Or is the rear ledger board and front legs enough to support the front corners?
In reply to Side supports? by Dimarc67
Wed, 03/25/2015 - 12:11
Also, any gotchas to keep in mind when trying to avoid drilling into the plumbing in the back wall?

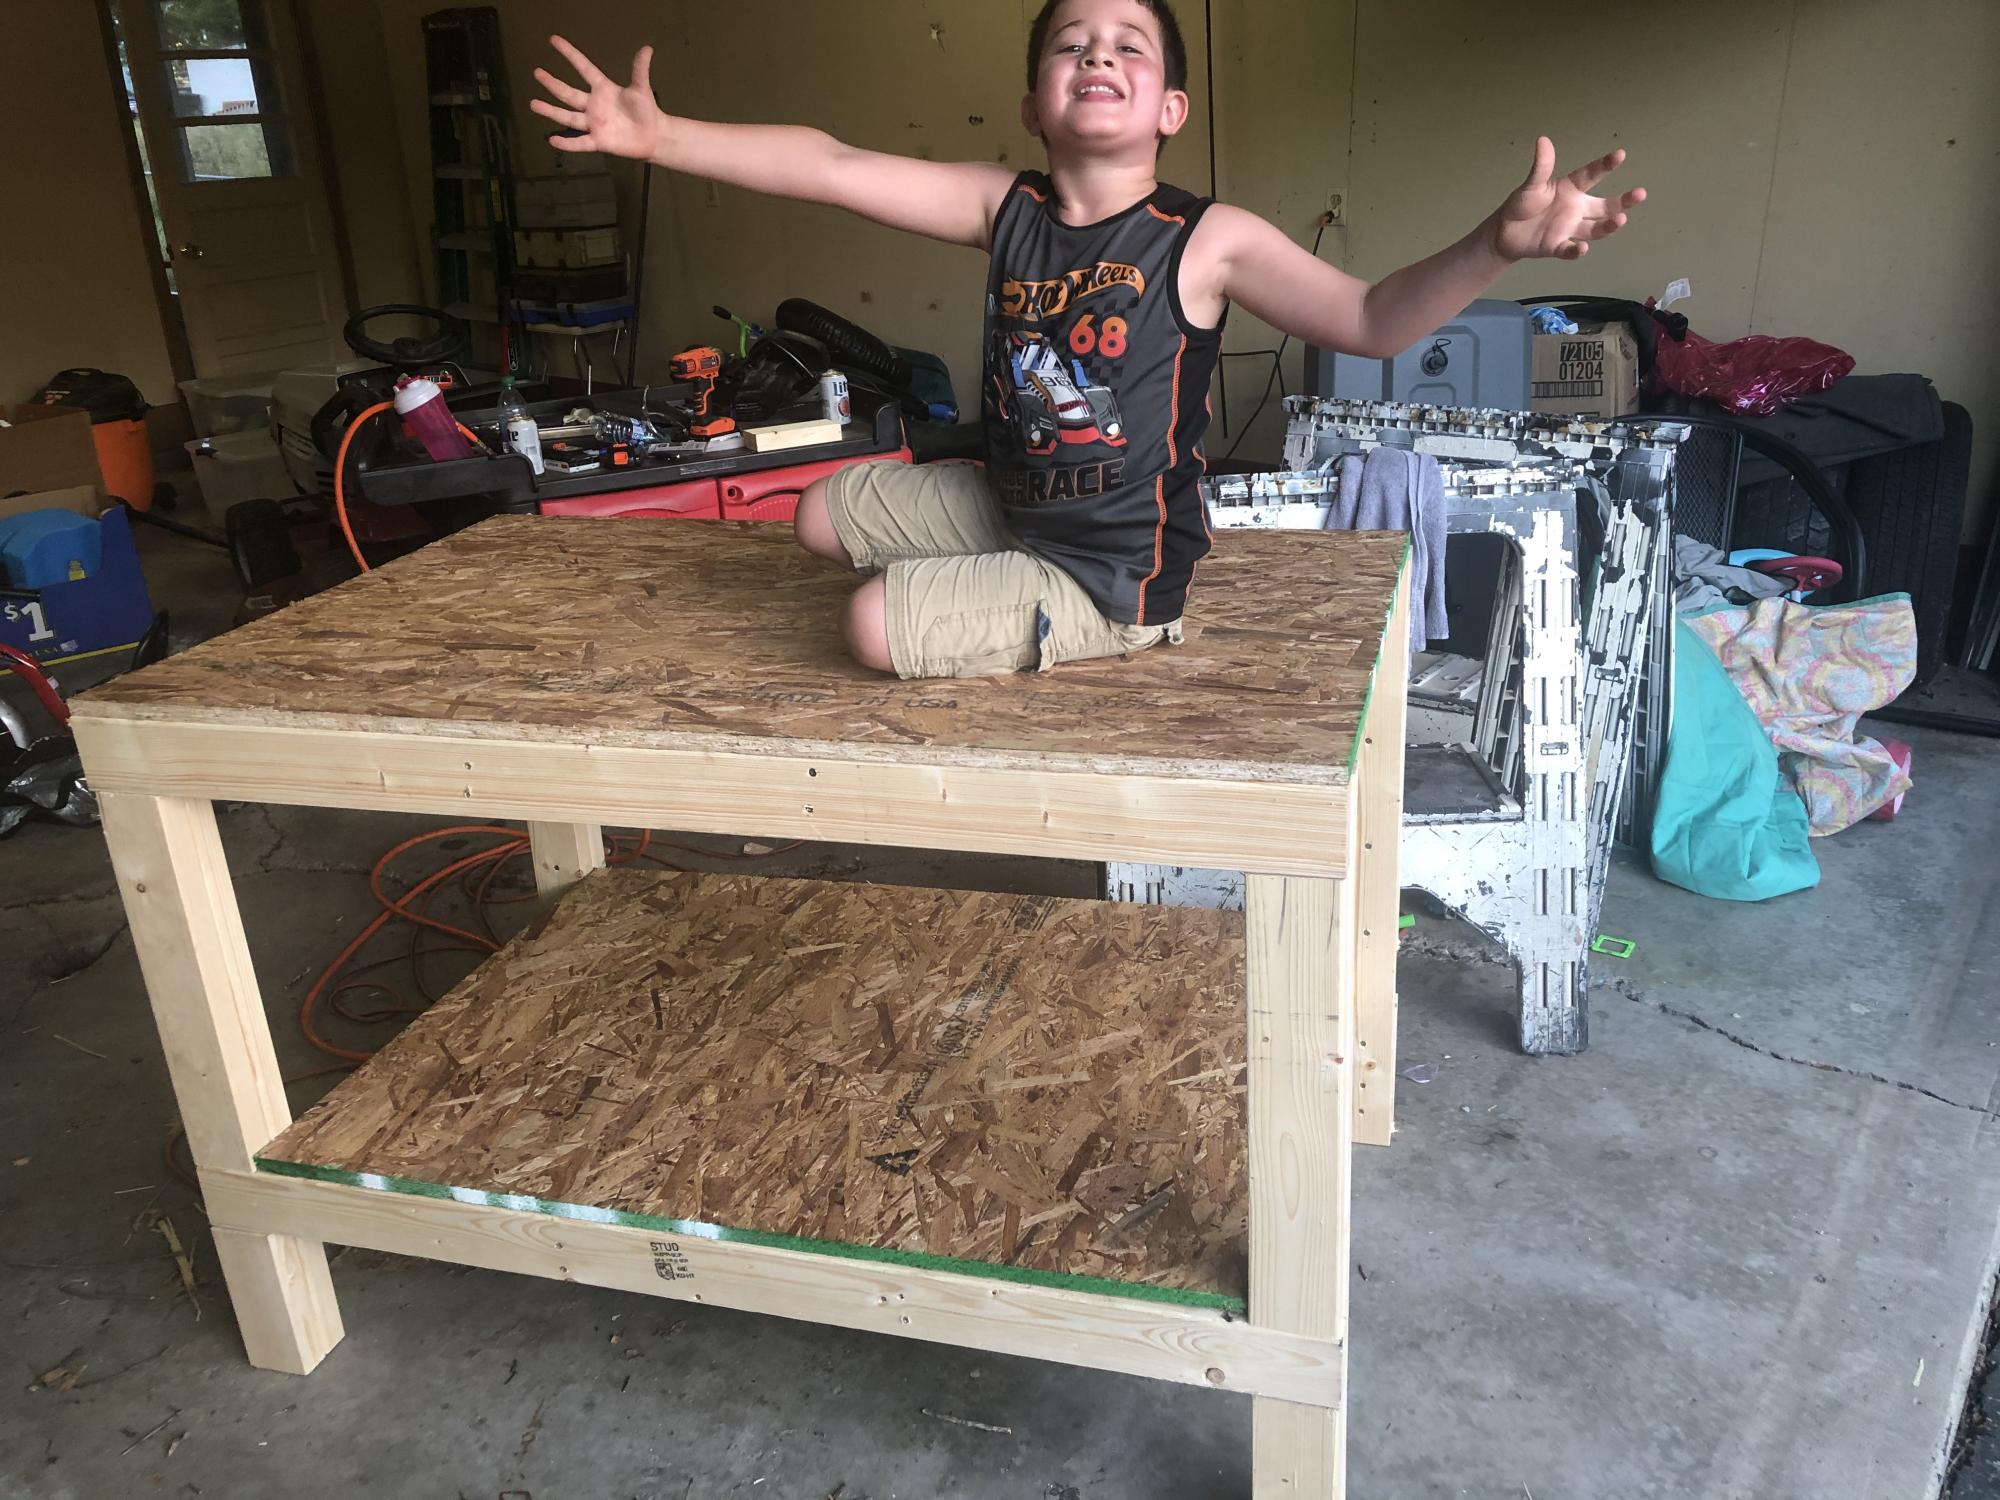
My first woodworking project.
The top is poplar and I had the local lumbar yard cut them to uniform thickness, planed and jointed. That made a nice close connection when it came time to glue and screw.
Also since it was not dimensional lumbar the boards are cut to actual size so mine is a few inches wider than the original plans.
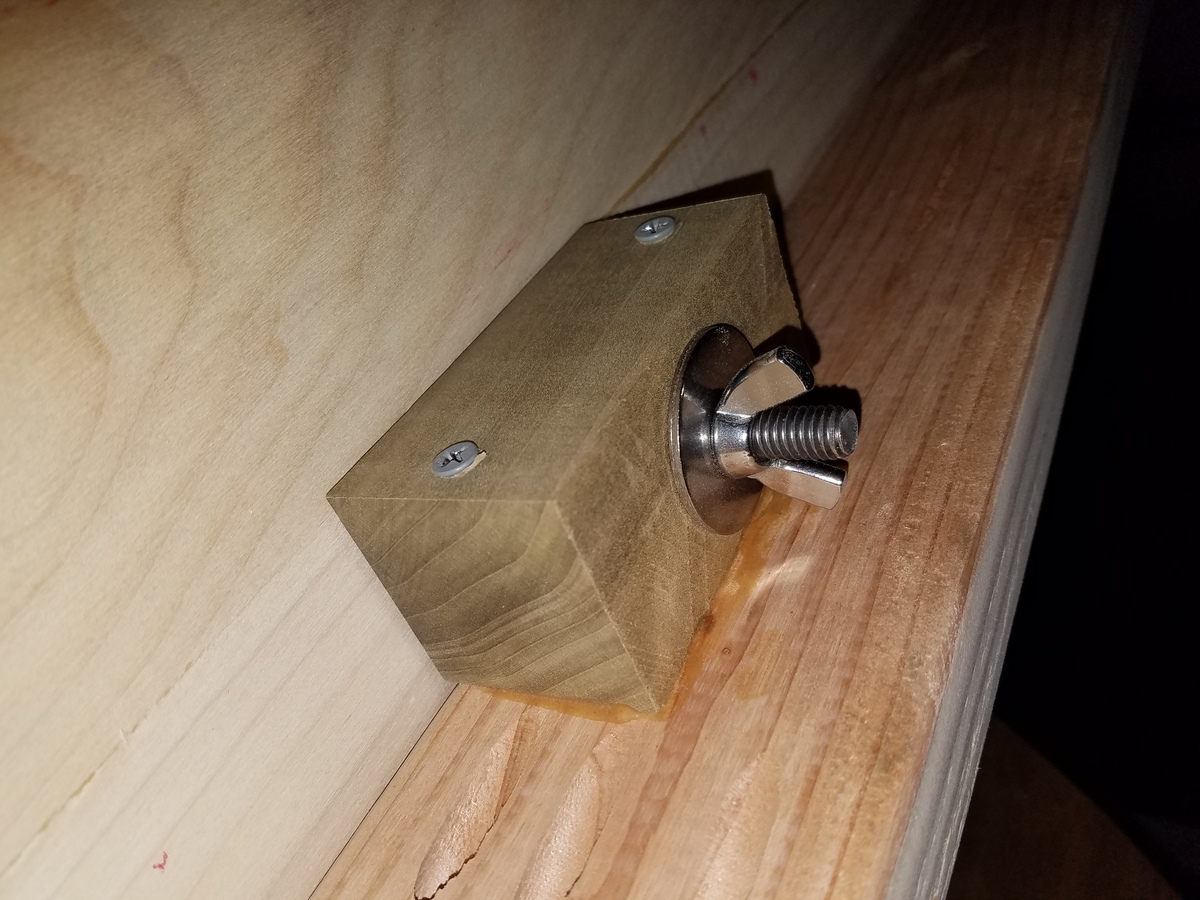
I needed to modify the plans in order to make the top removable so I fashioned 4 blocks and attached them to the insides of the apron, and used a spade bit to drill out a 7/8" hole. Then attached 3/8" hanger bolts to the top and attached to the base with wingnuts and washers. Worked like a charm!
I wanted to keep all the interesting variance in the top so it's just natural with Minwax Satin Poly.
This was a great “gateway” build! This is easy to do and gave me the space to dig deeper into my newfound woodworking hobby! It’s not perfect but I love it!


