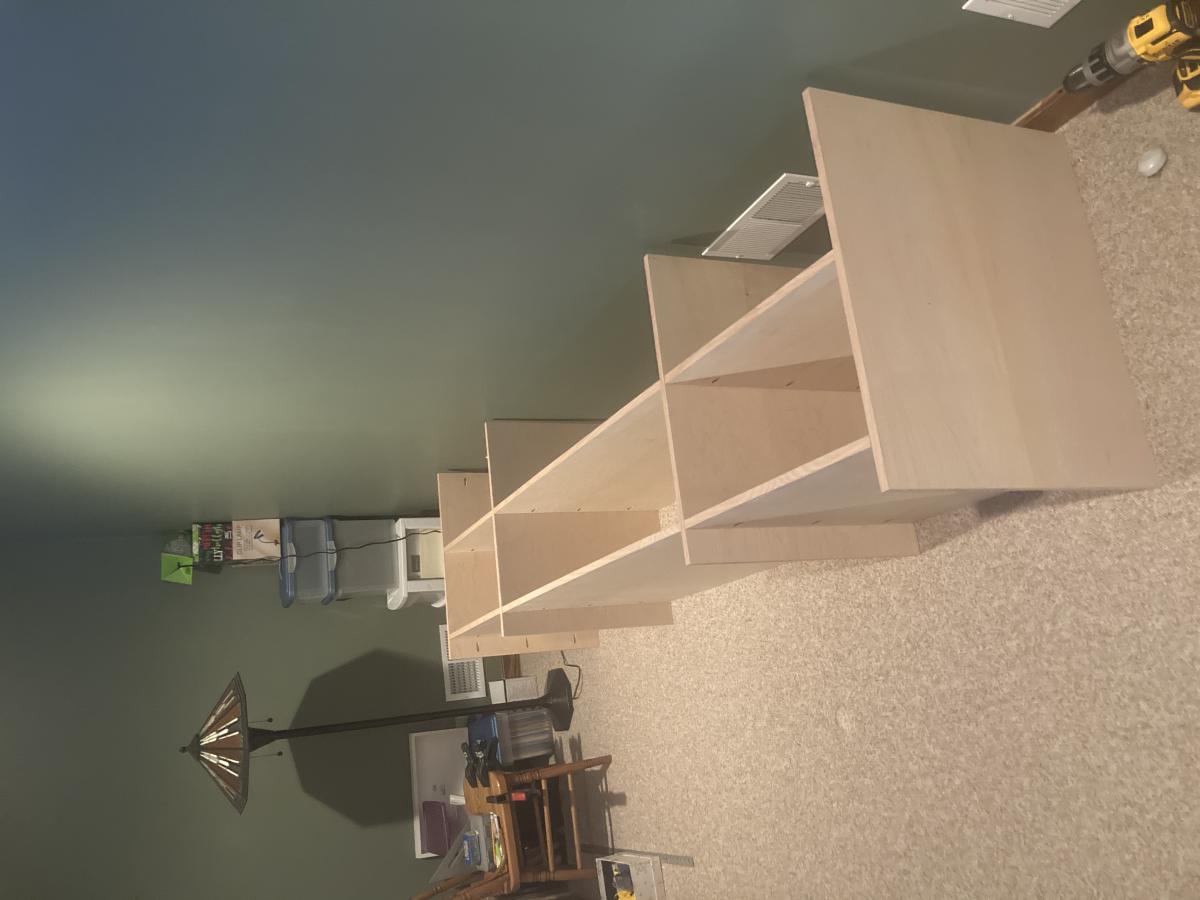
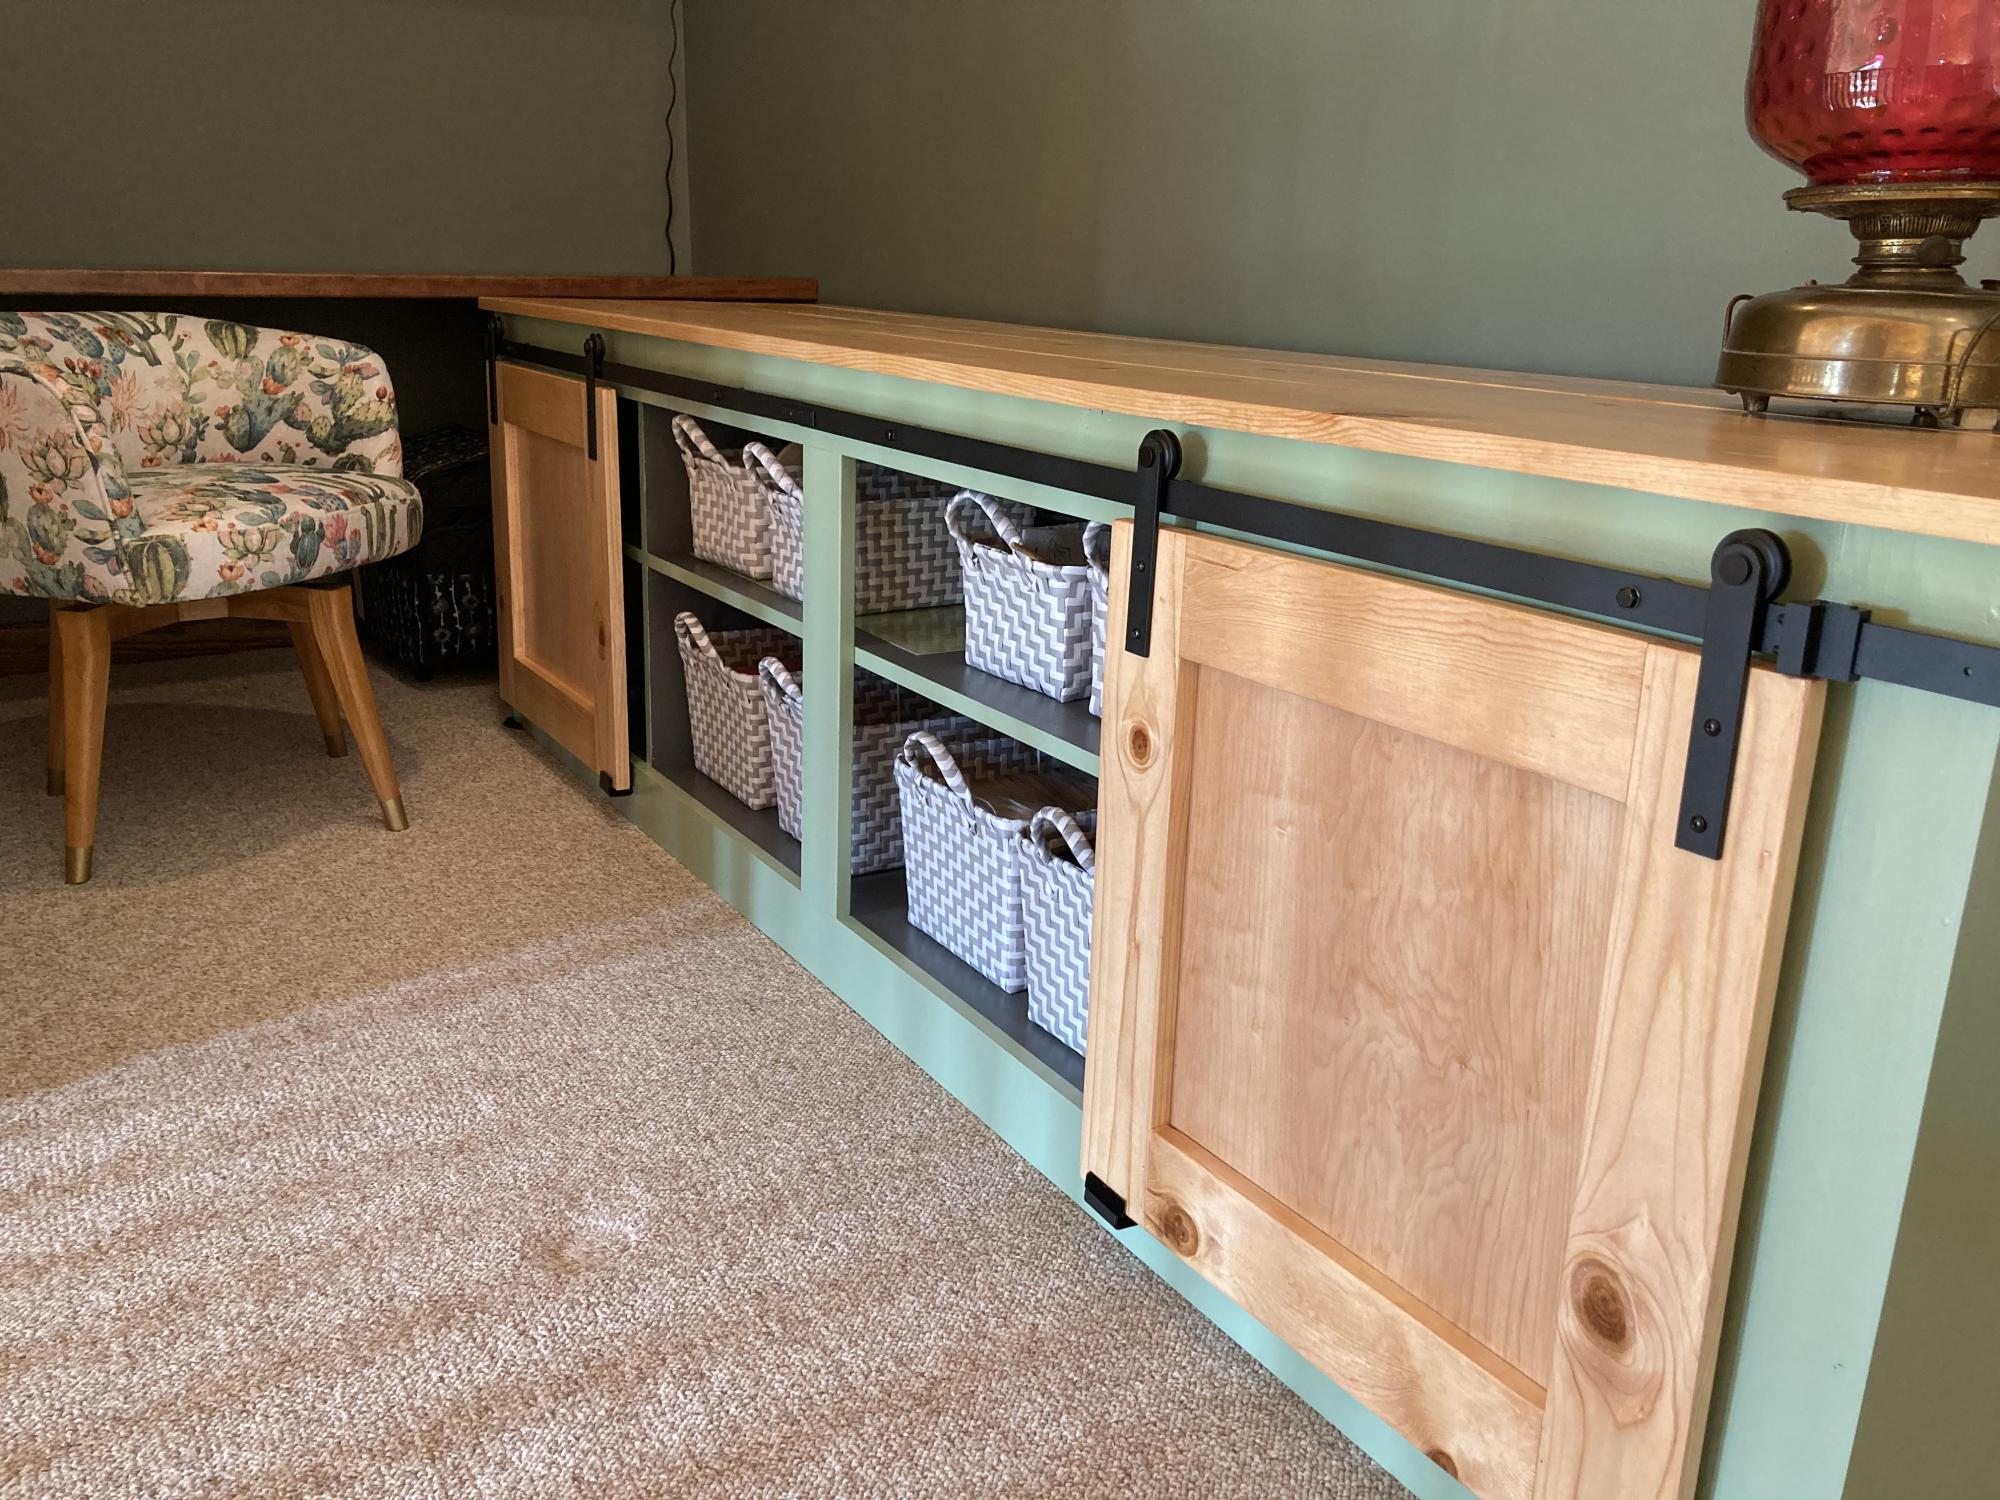
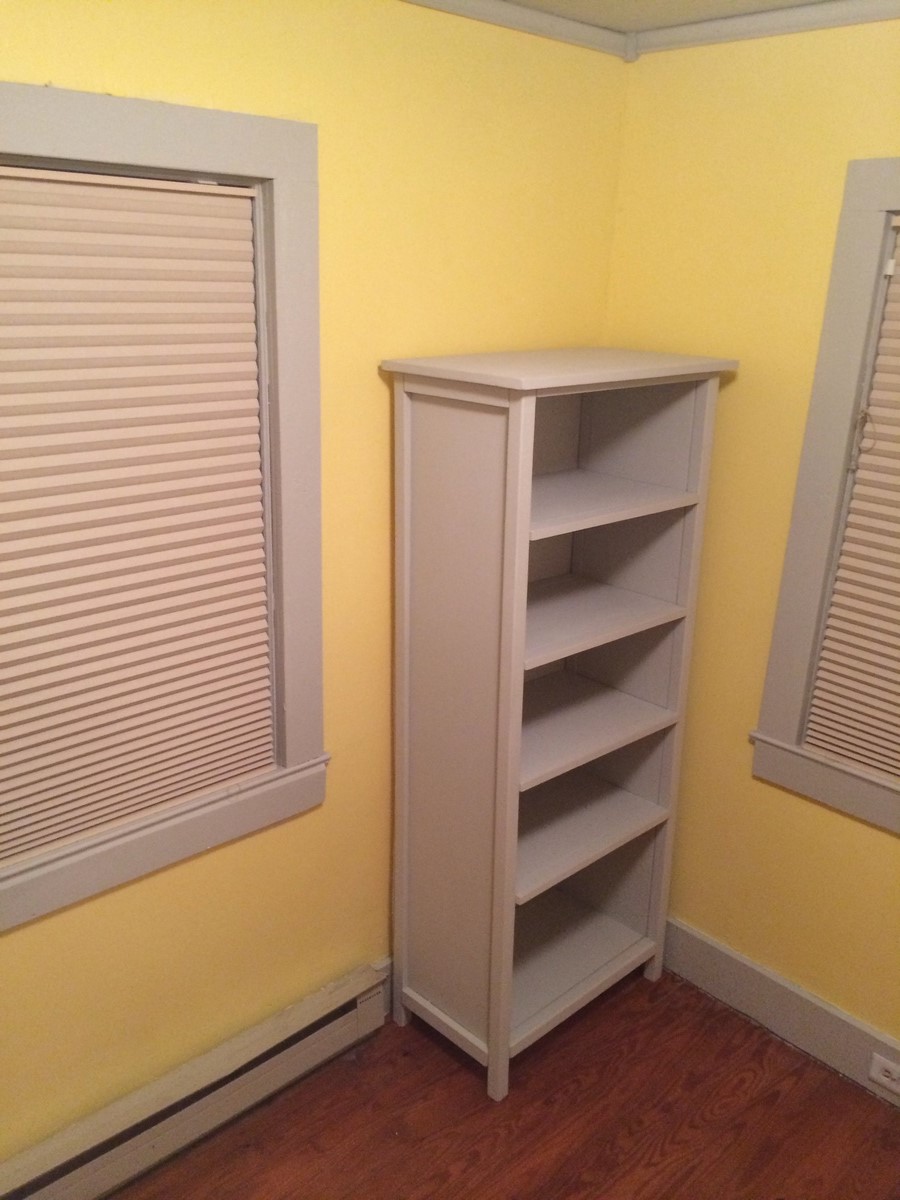
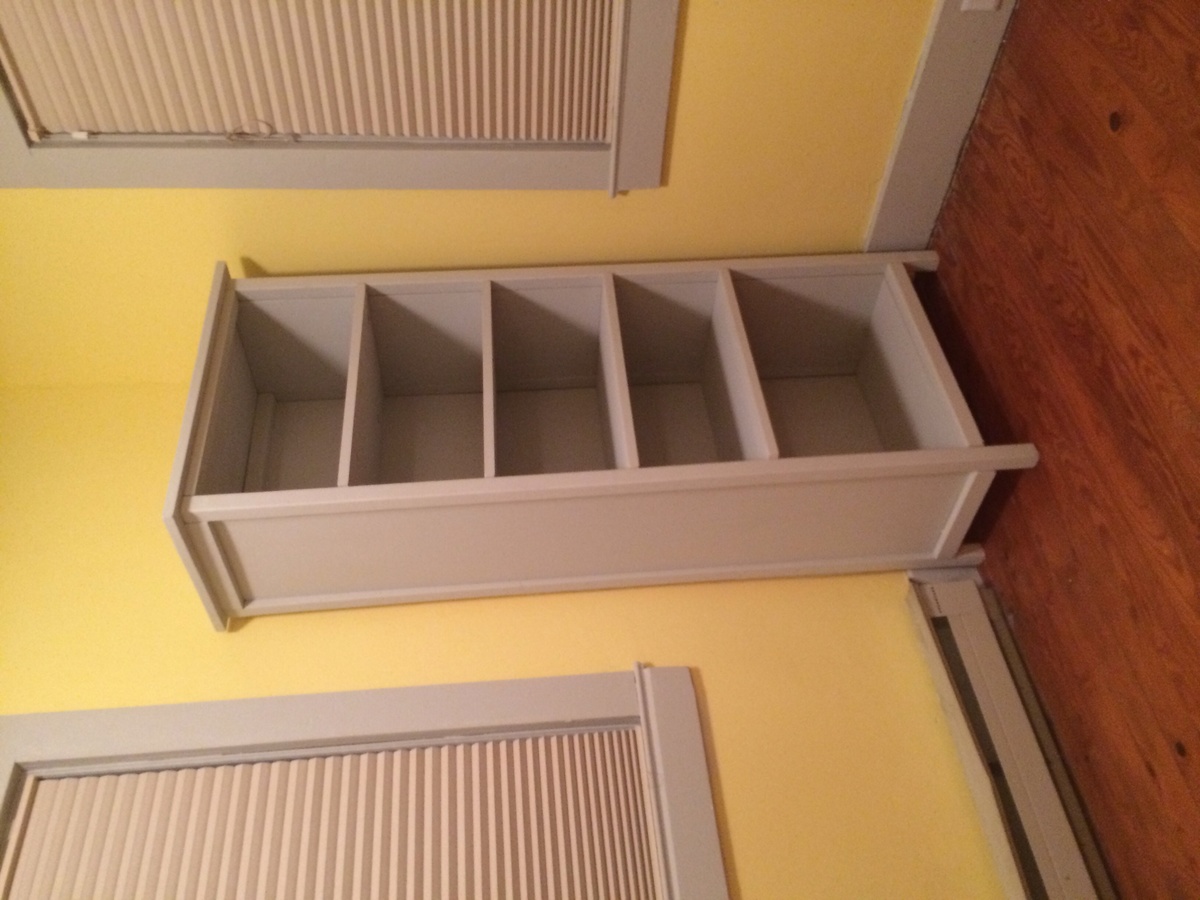
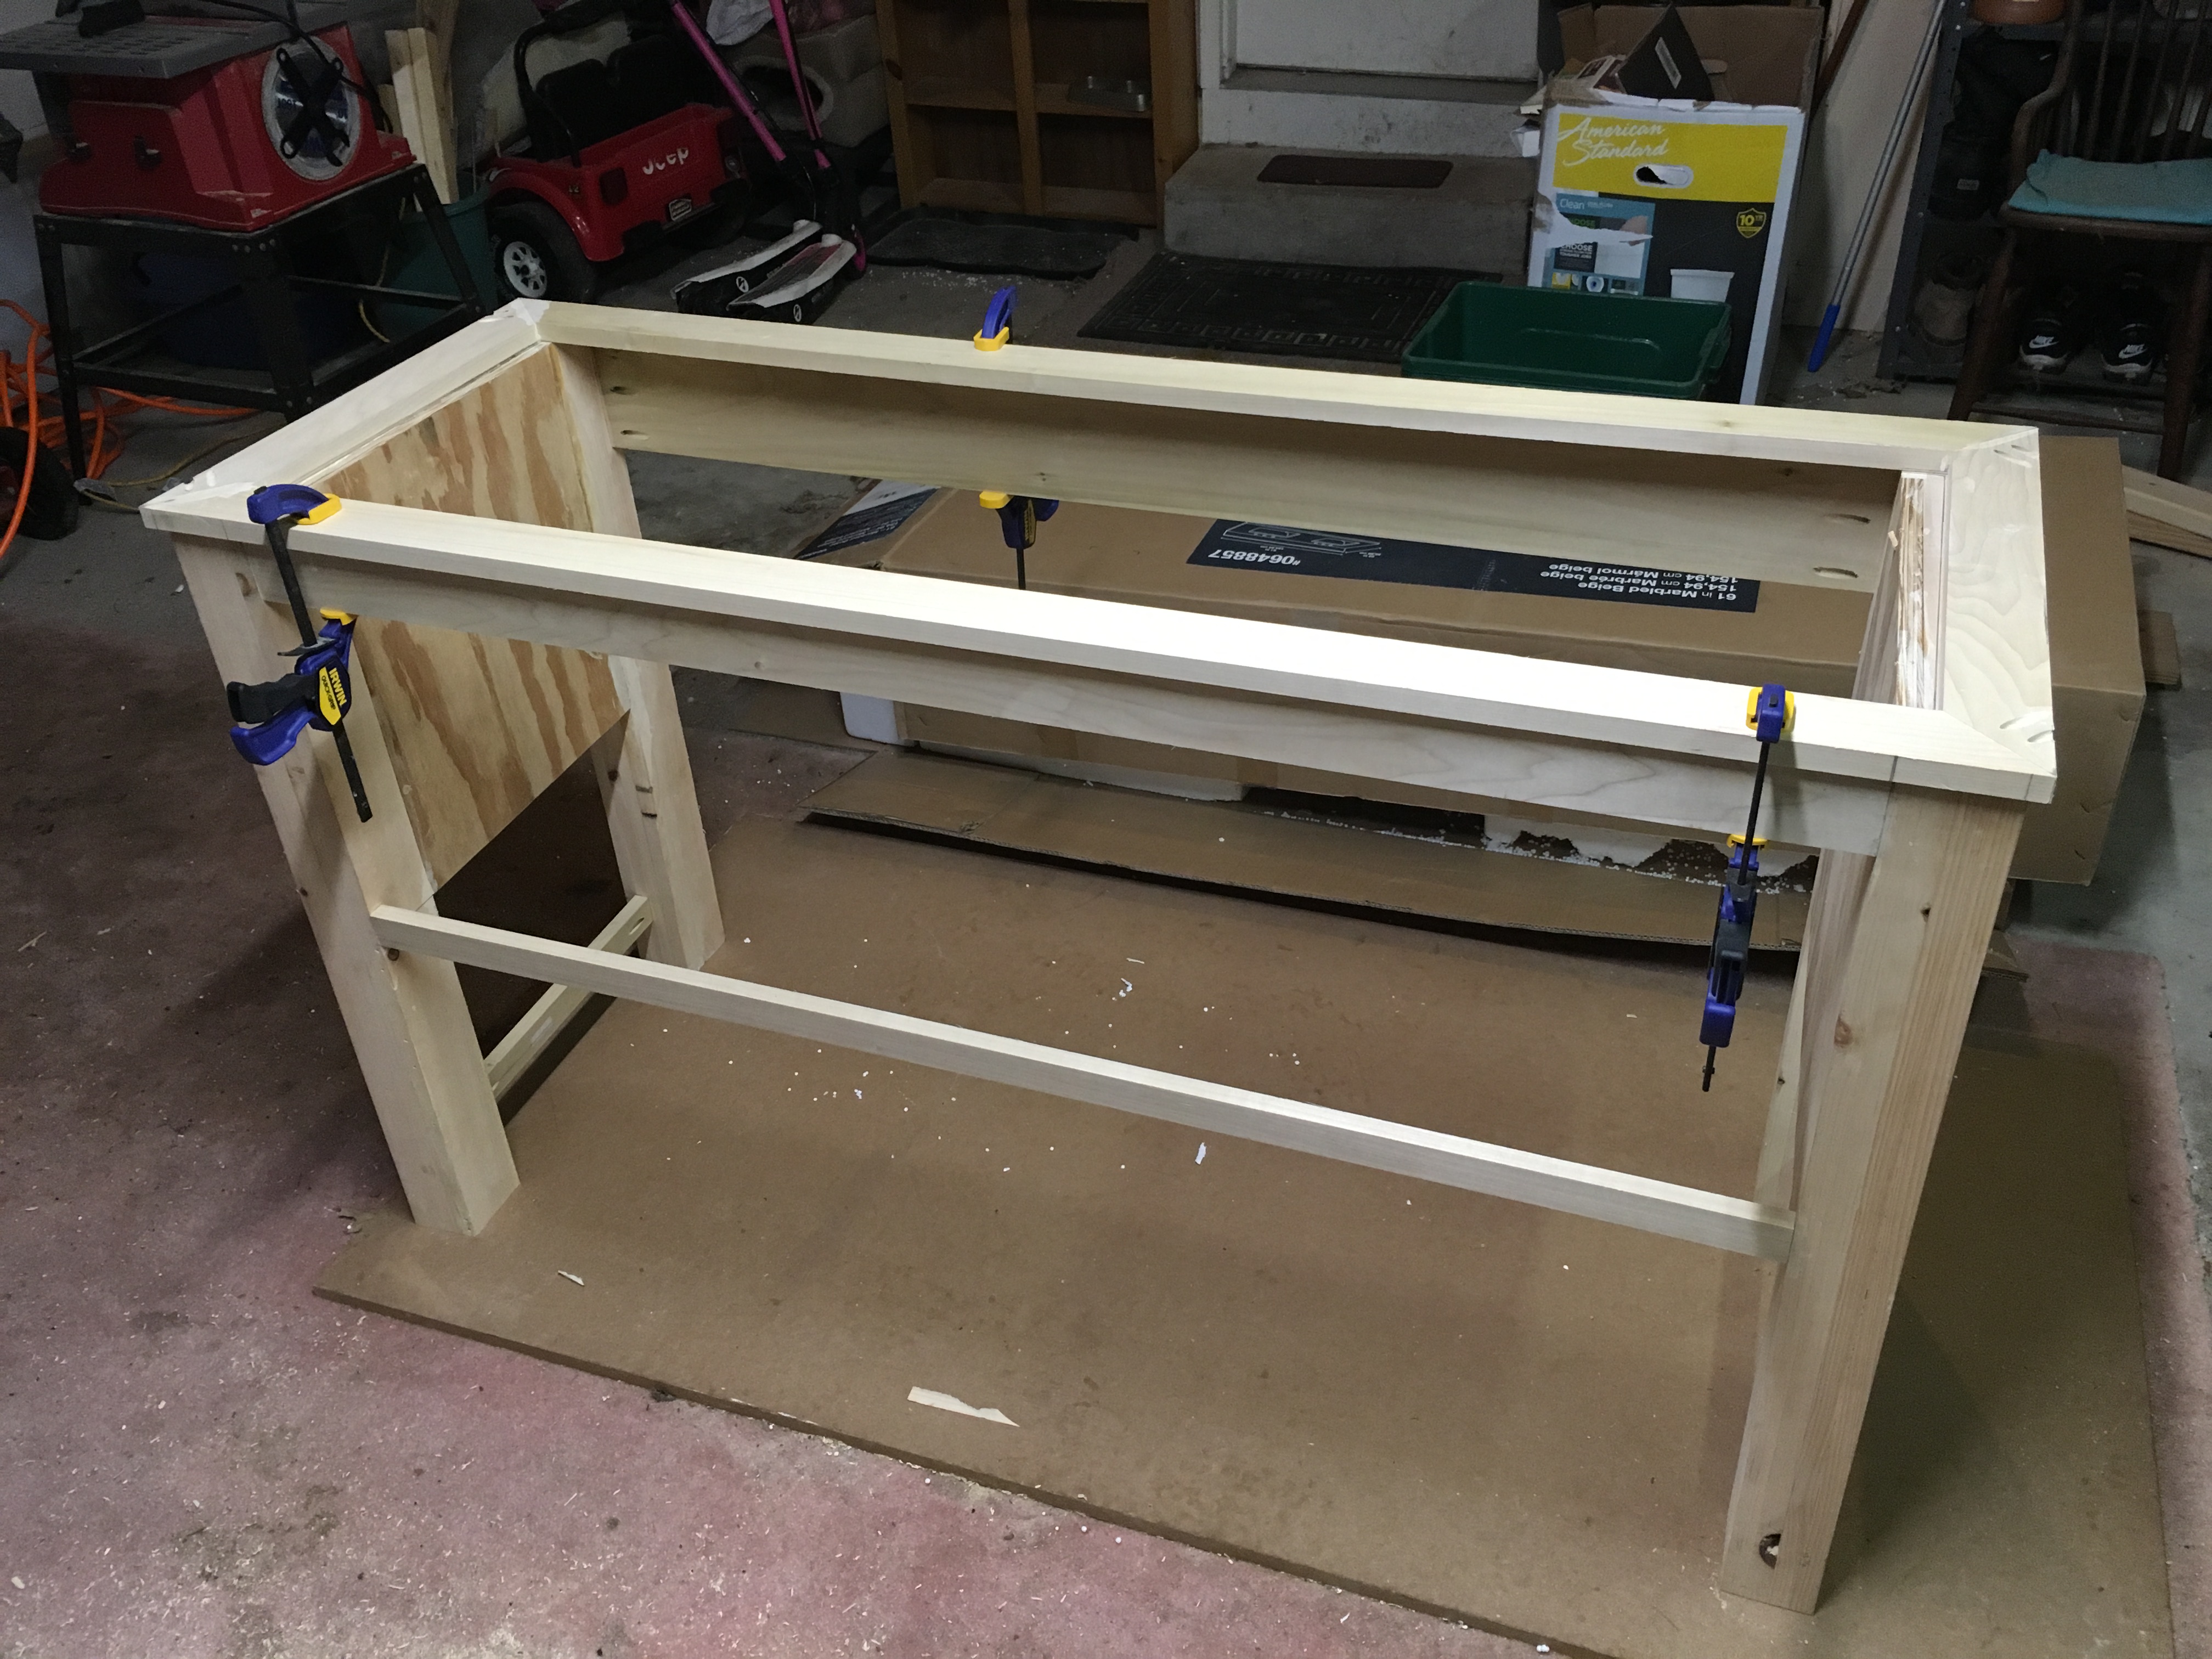
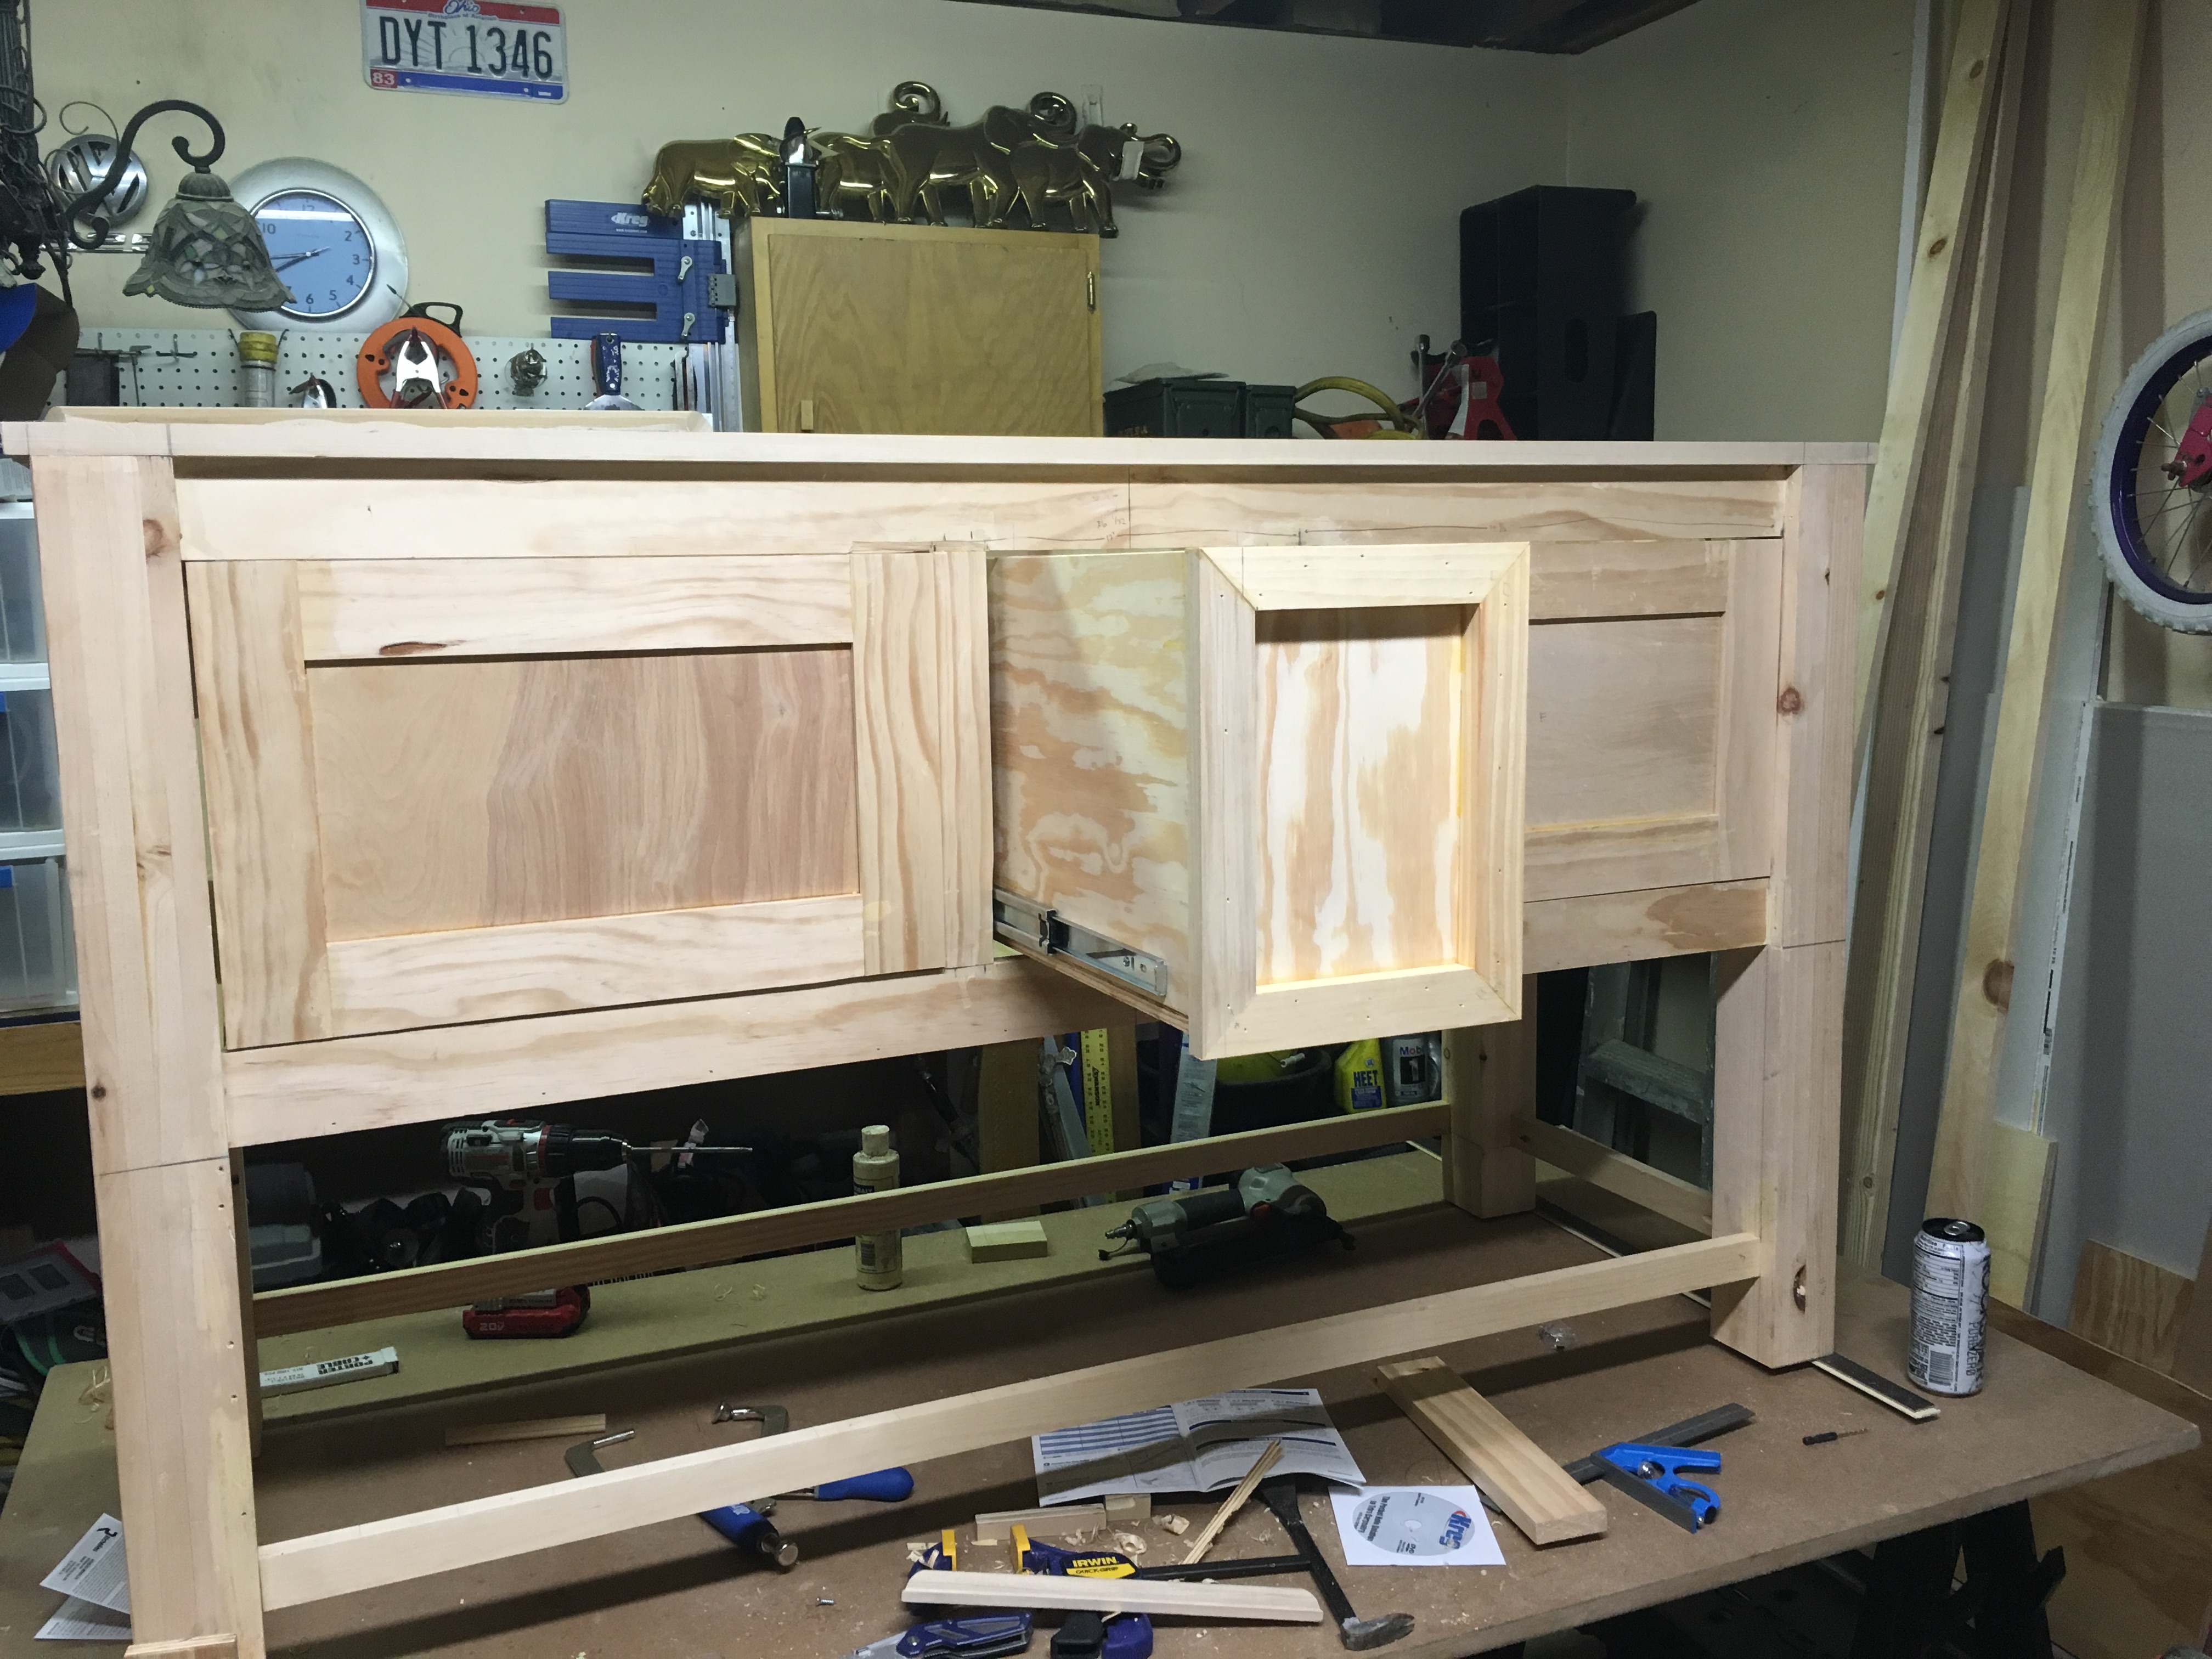
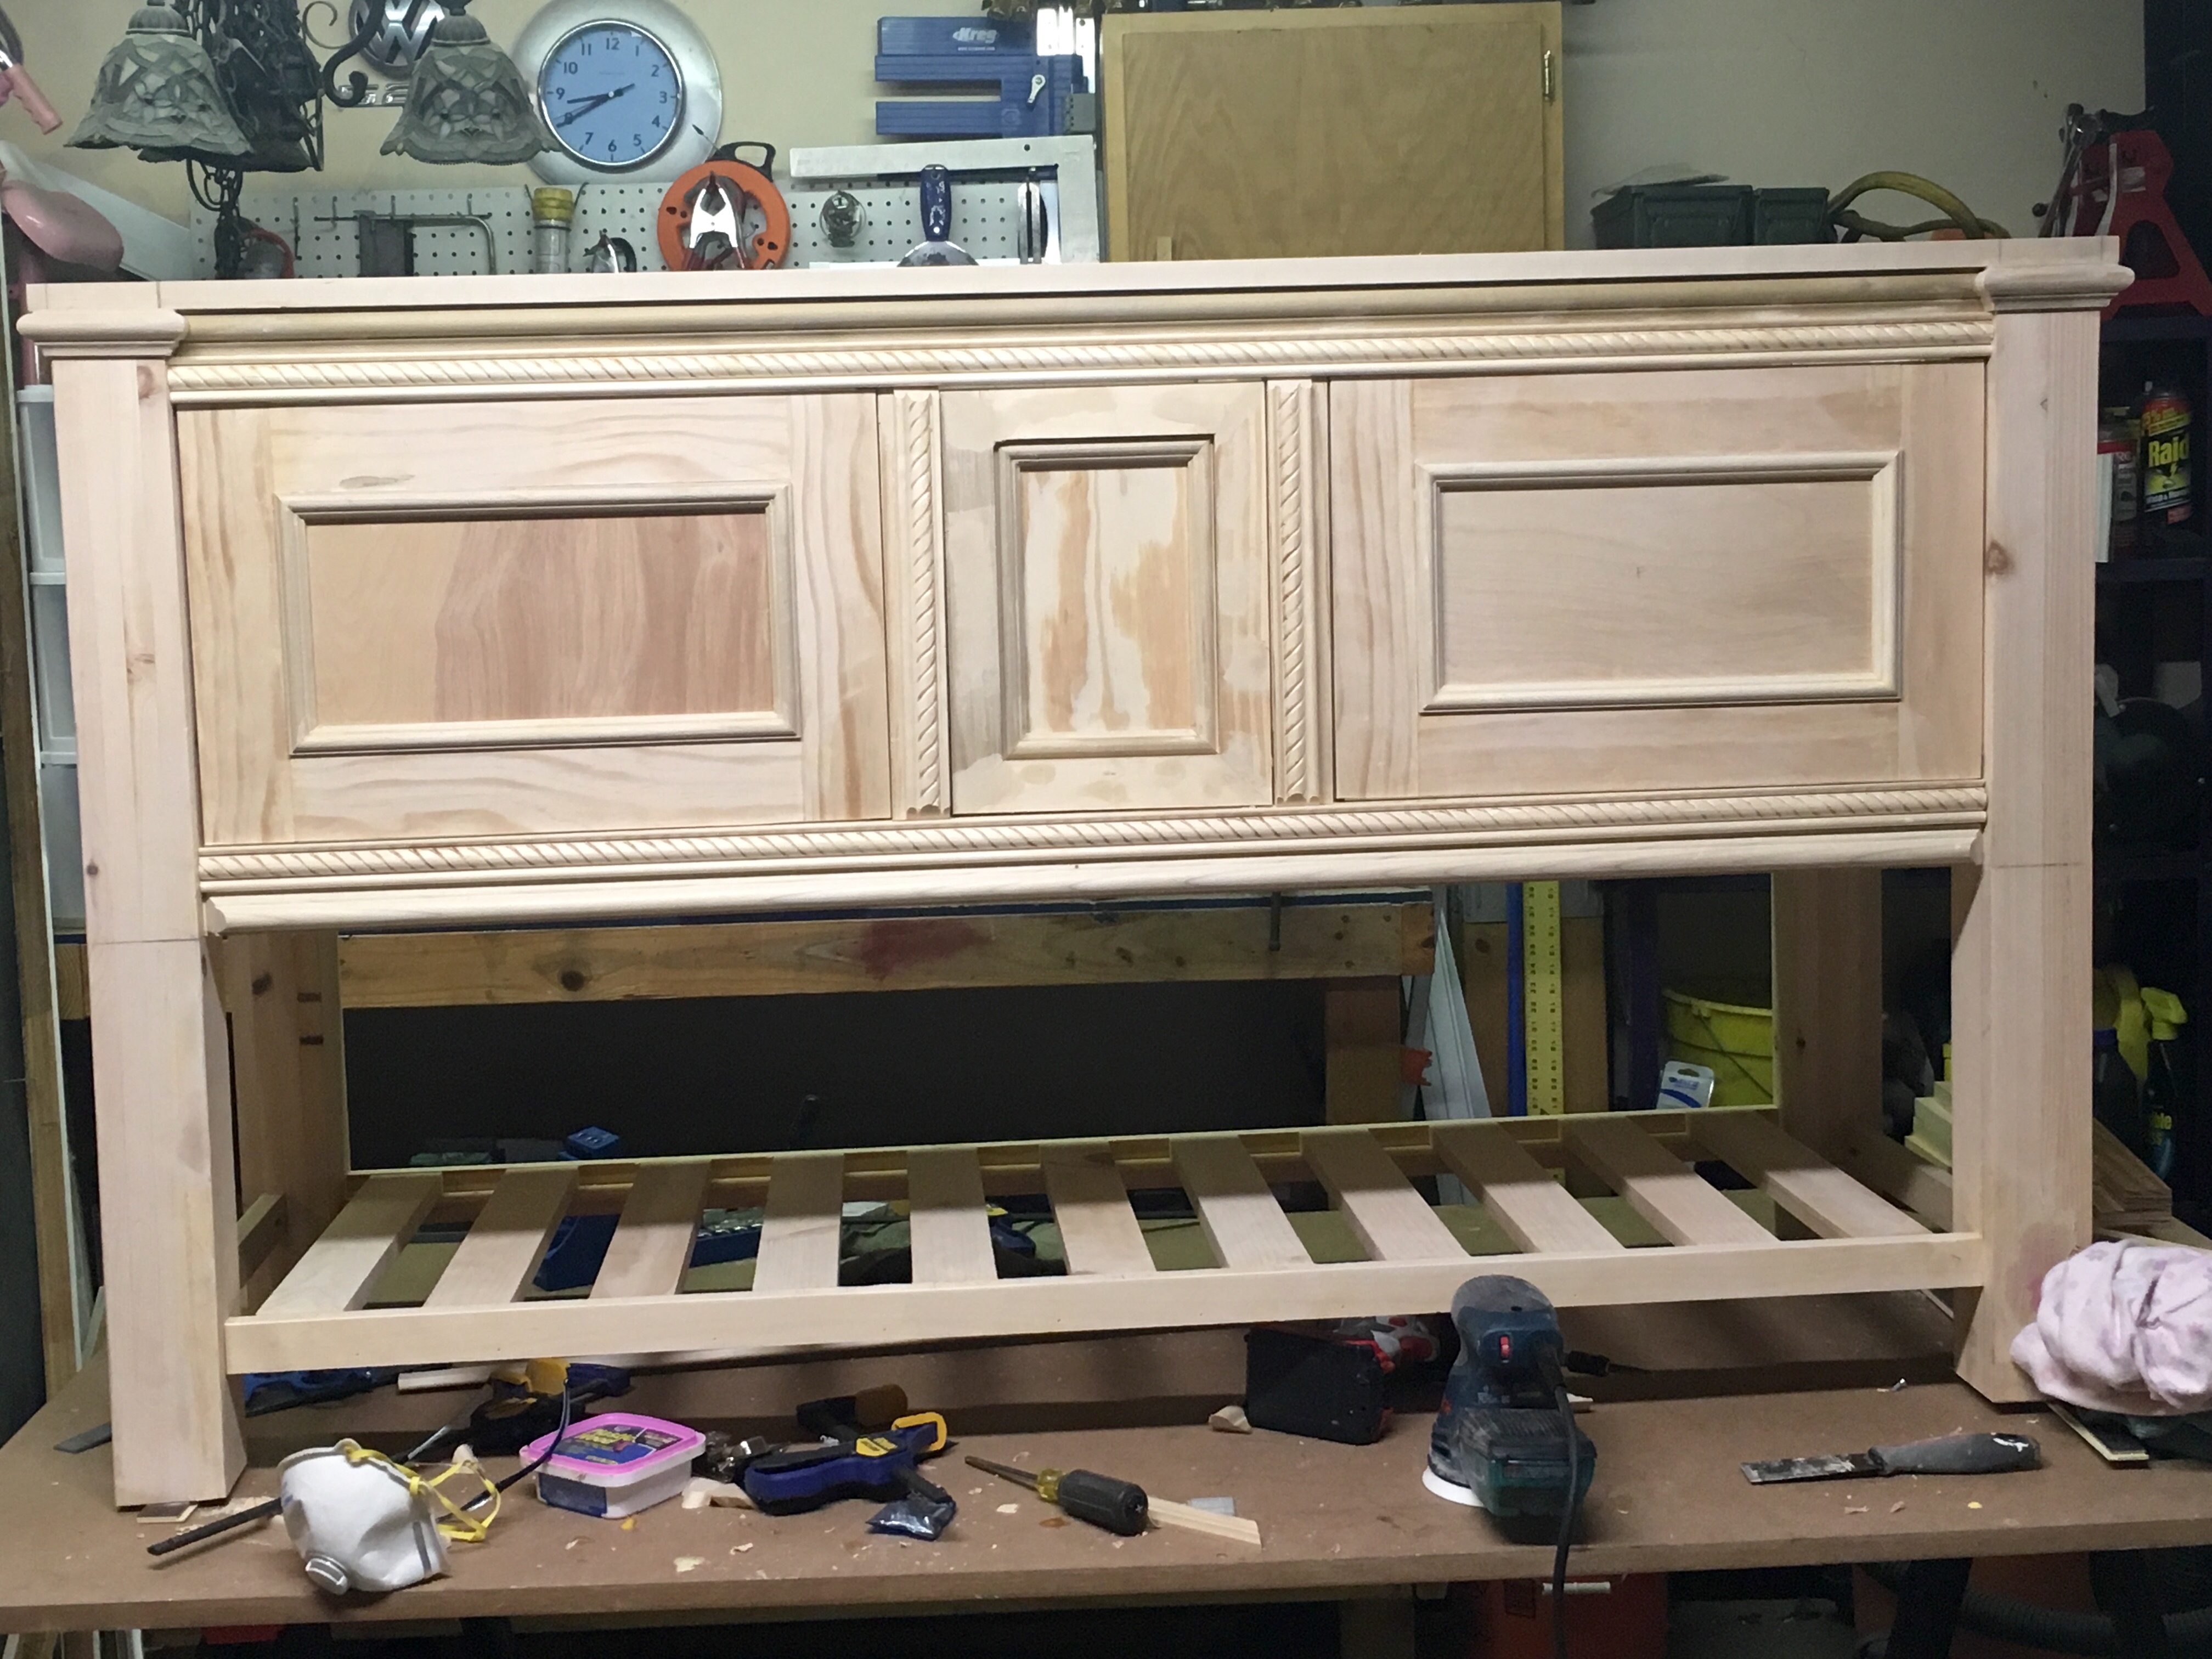
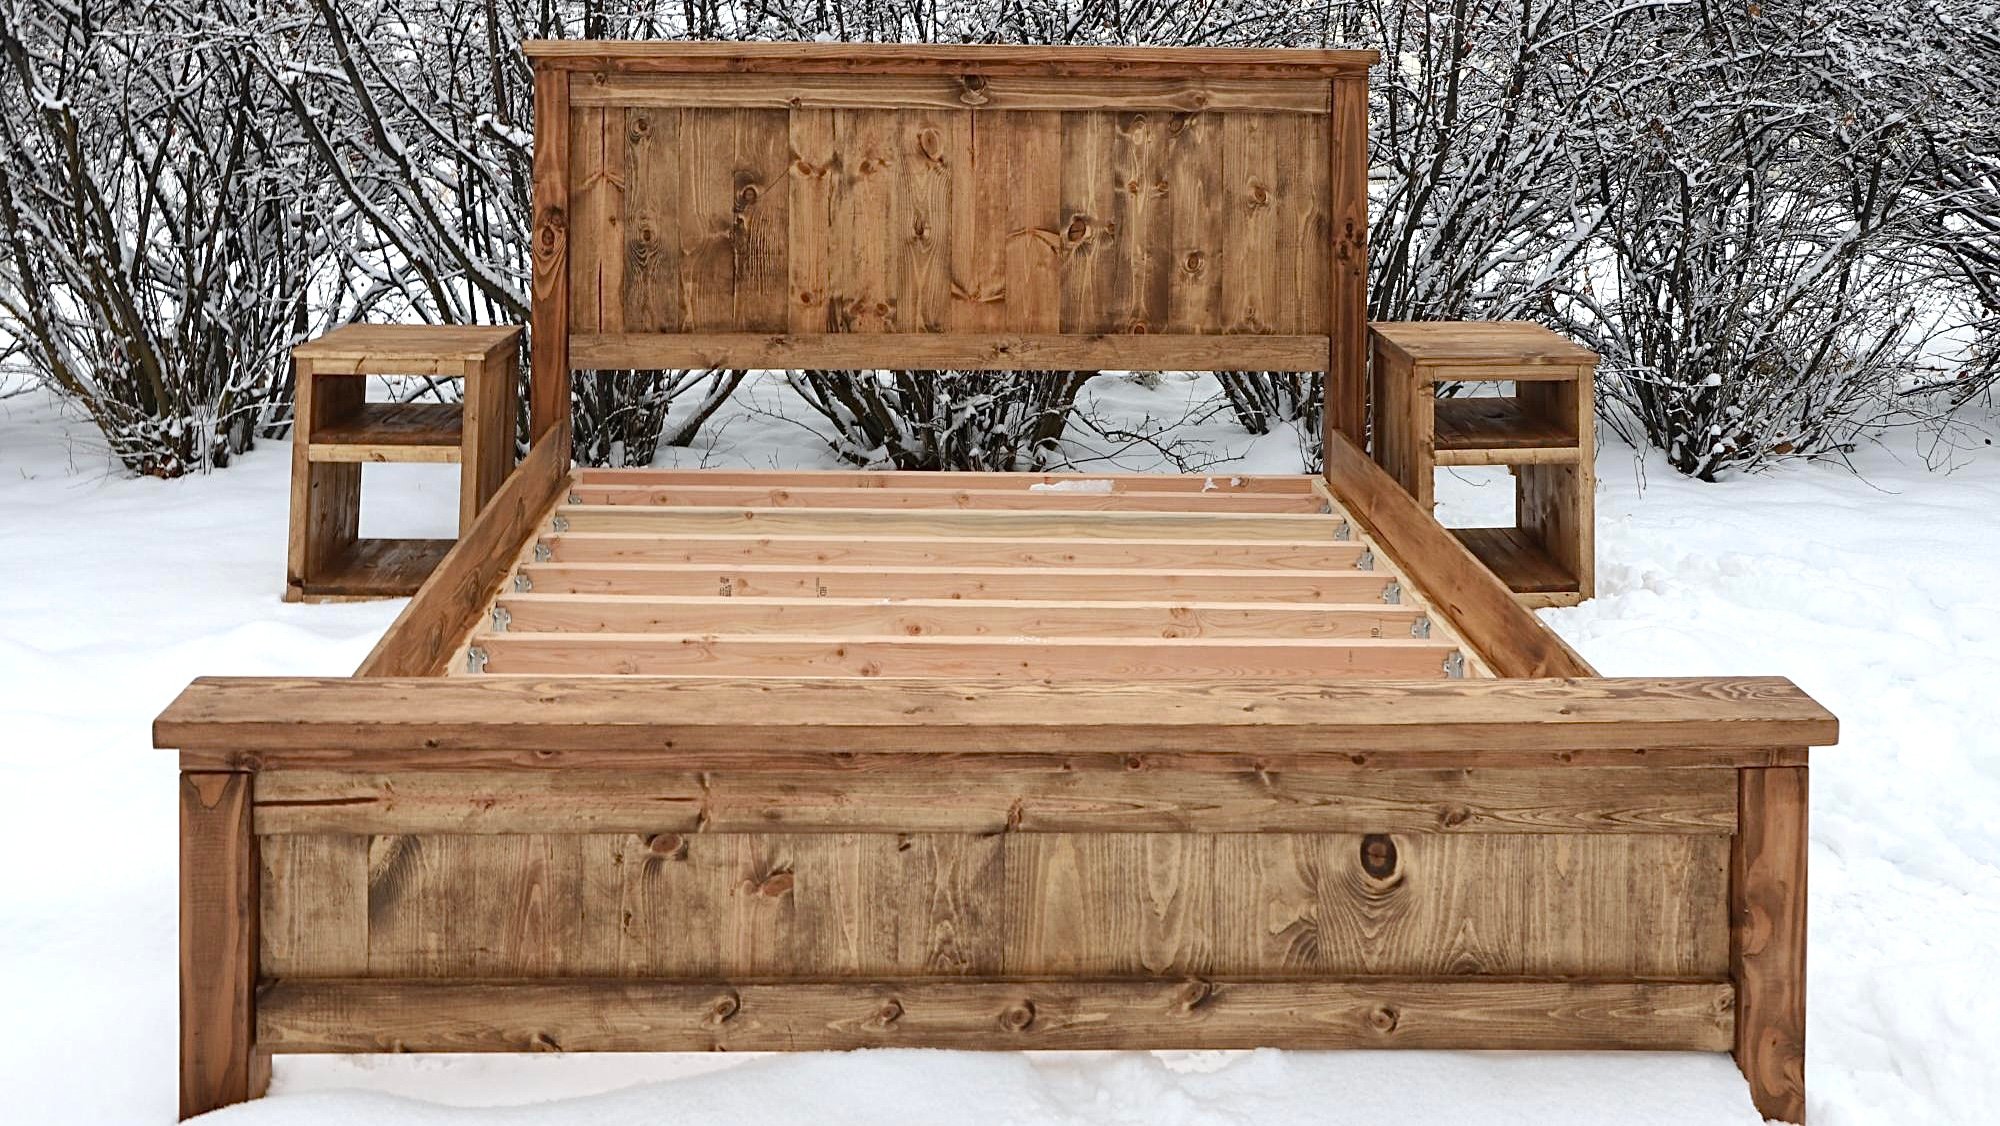
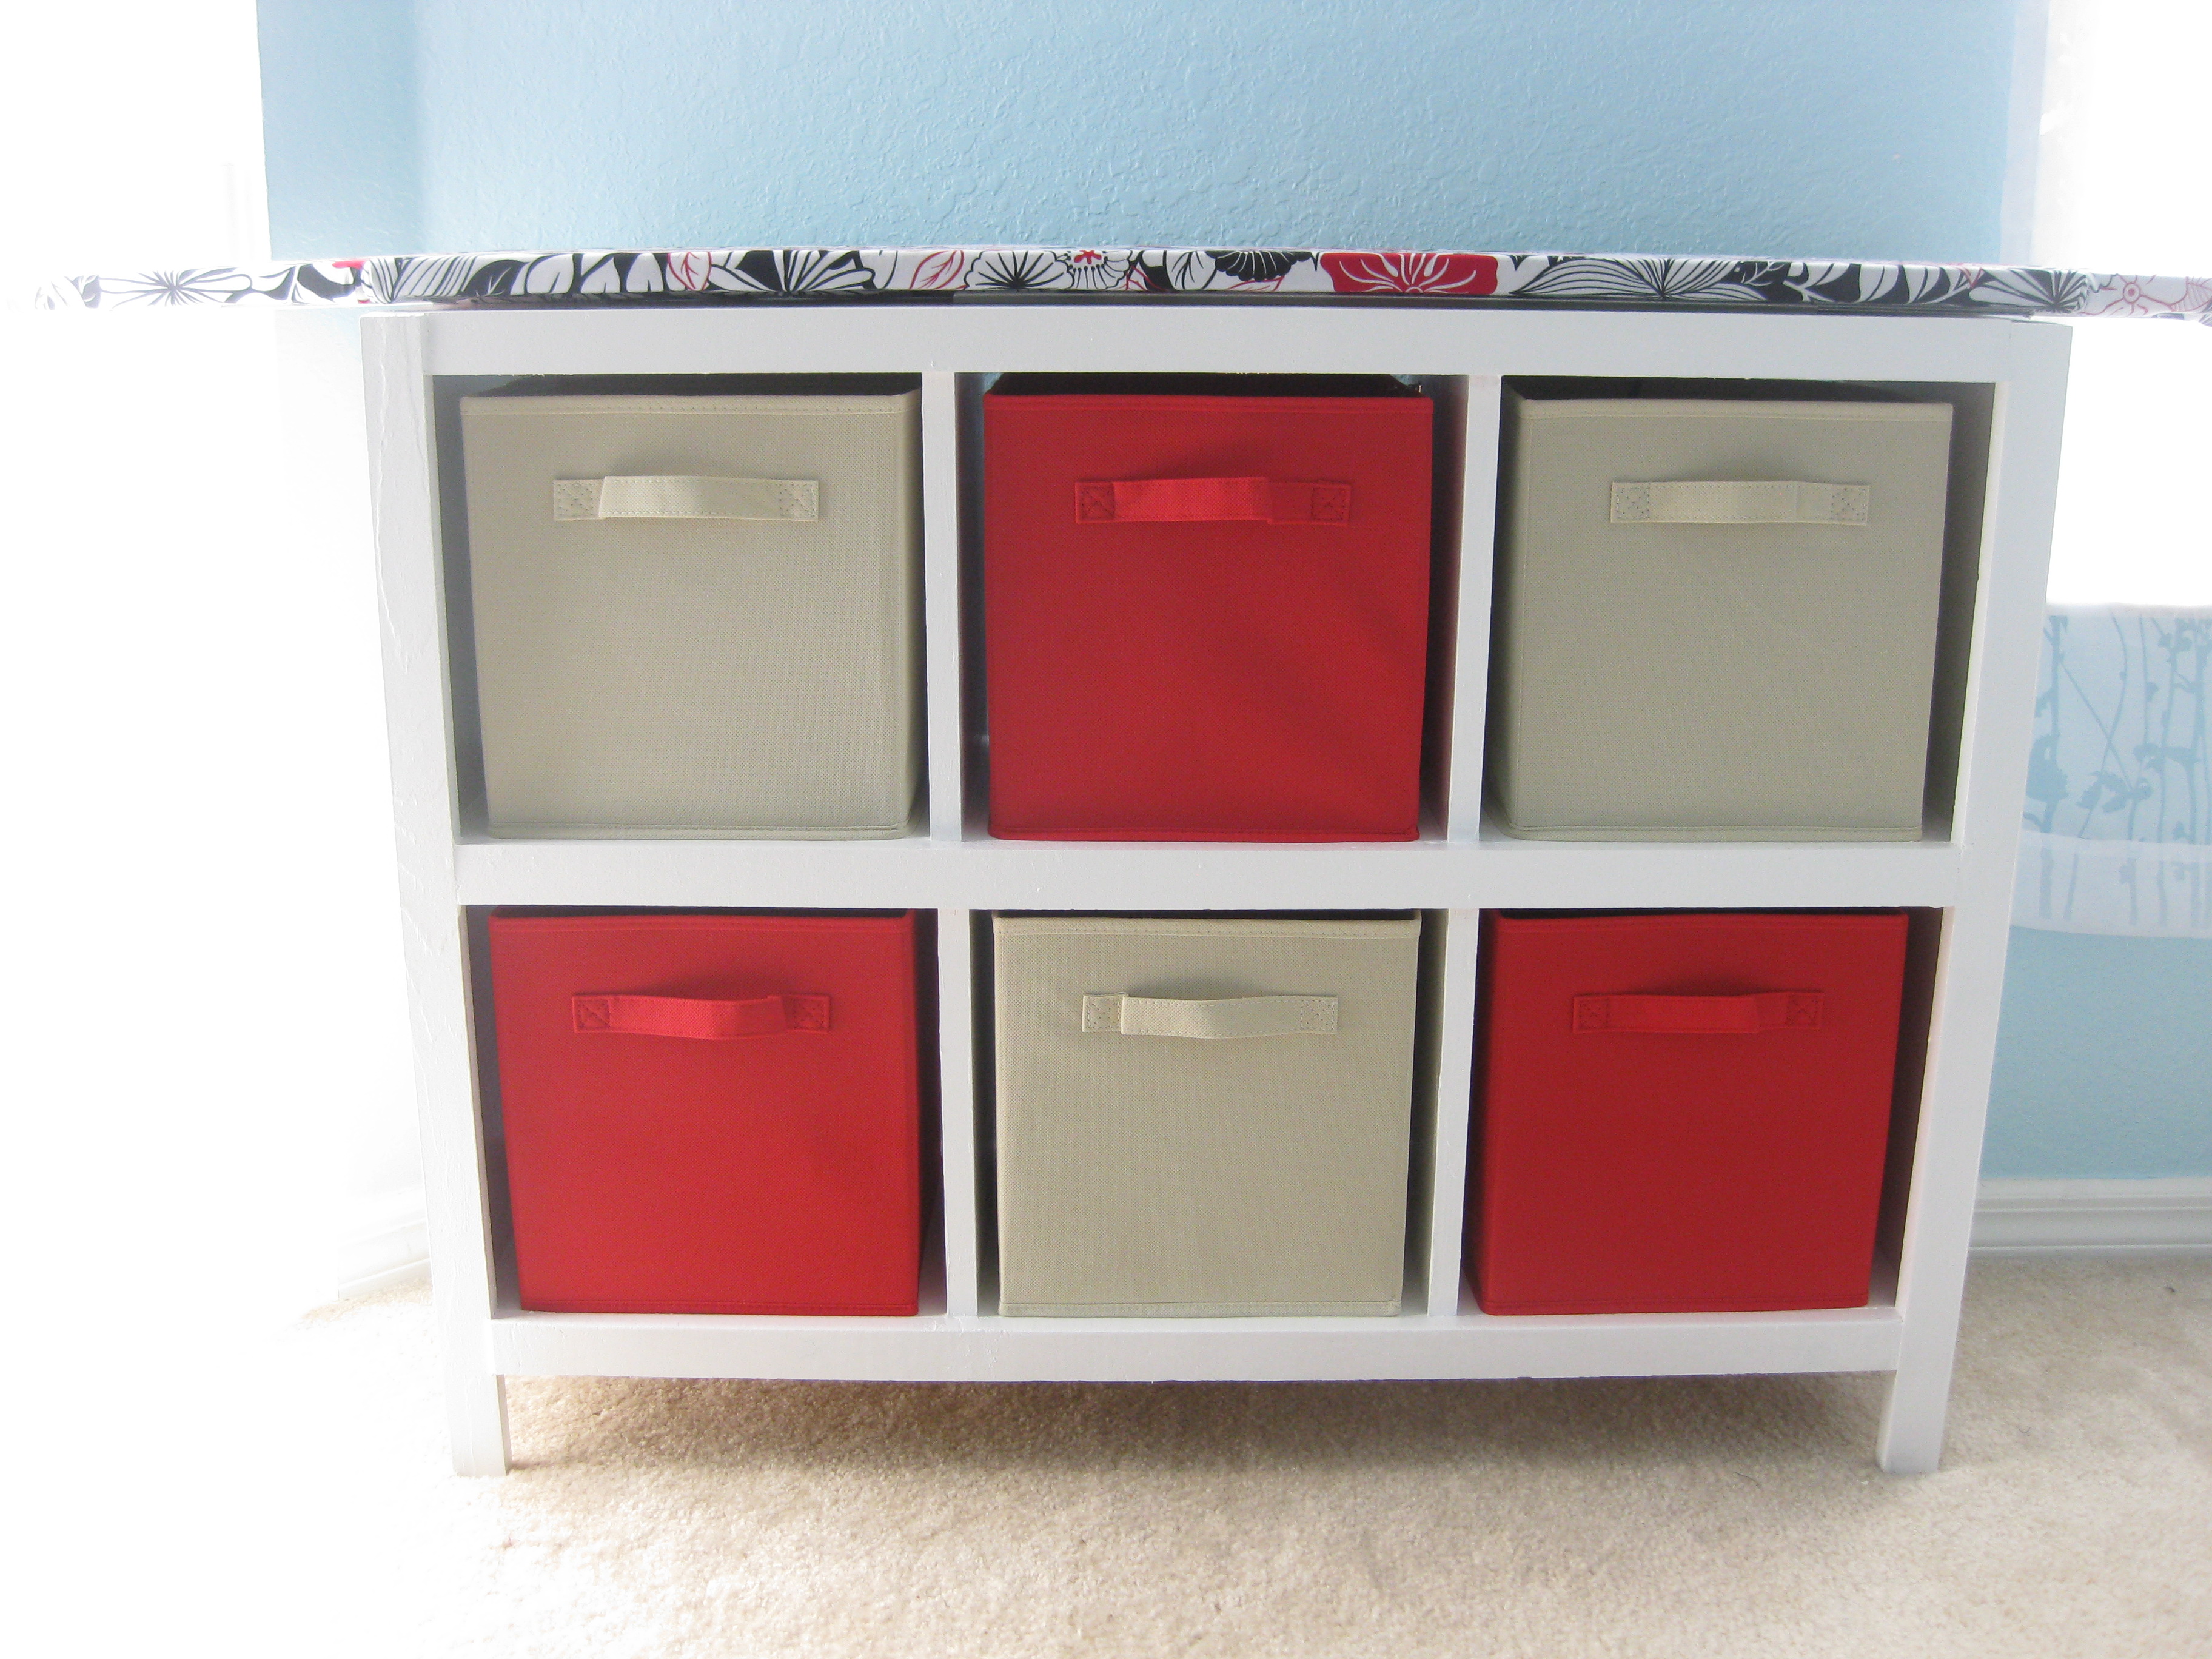
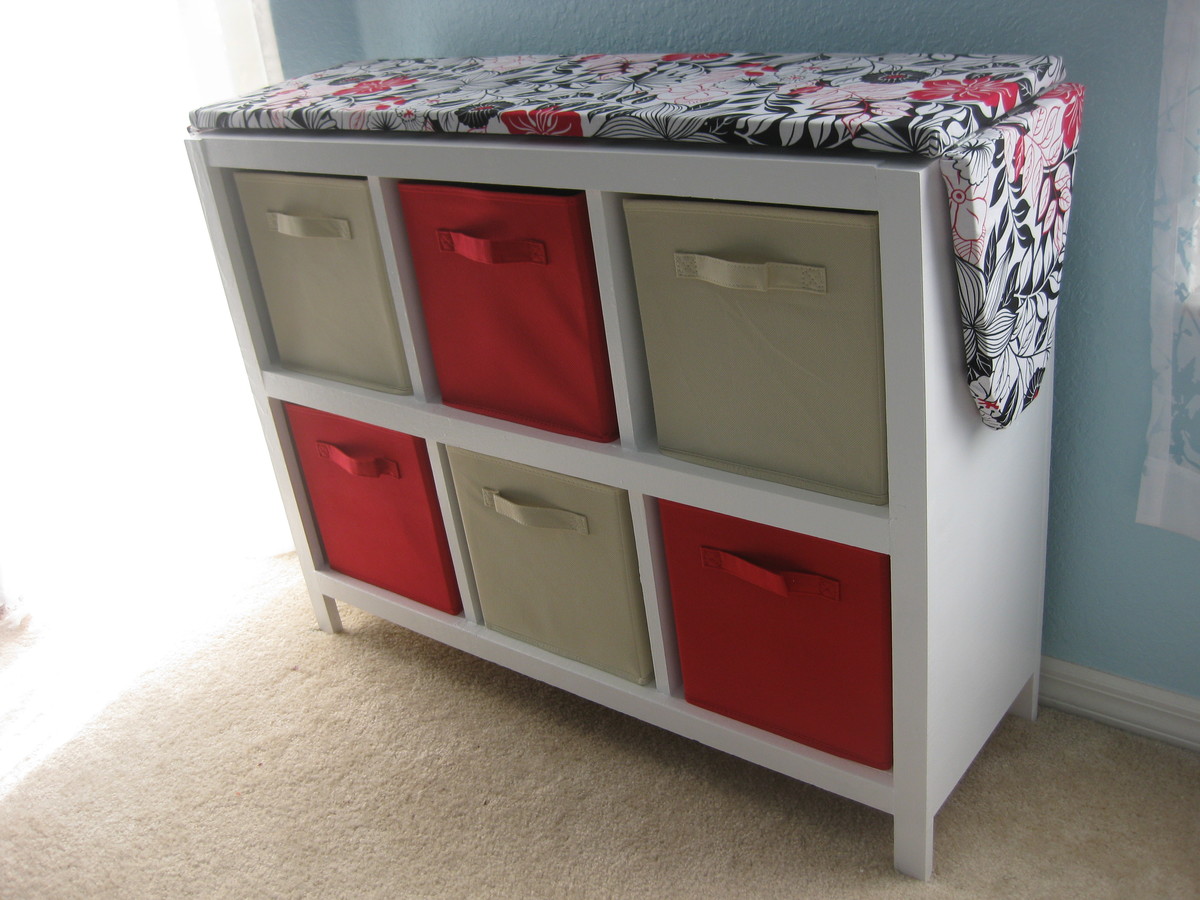
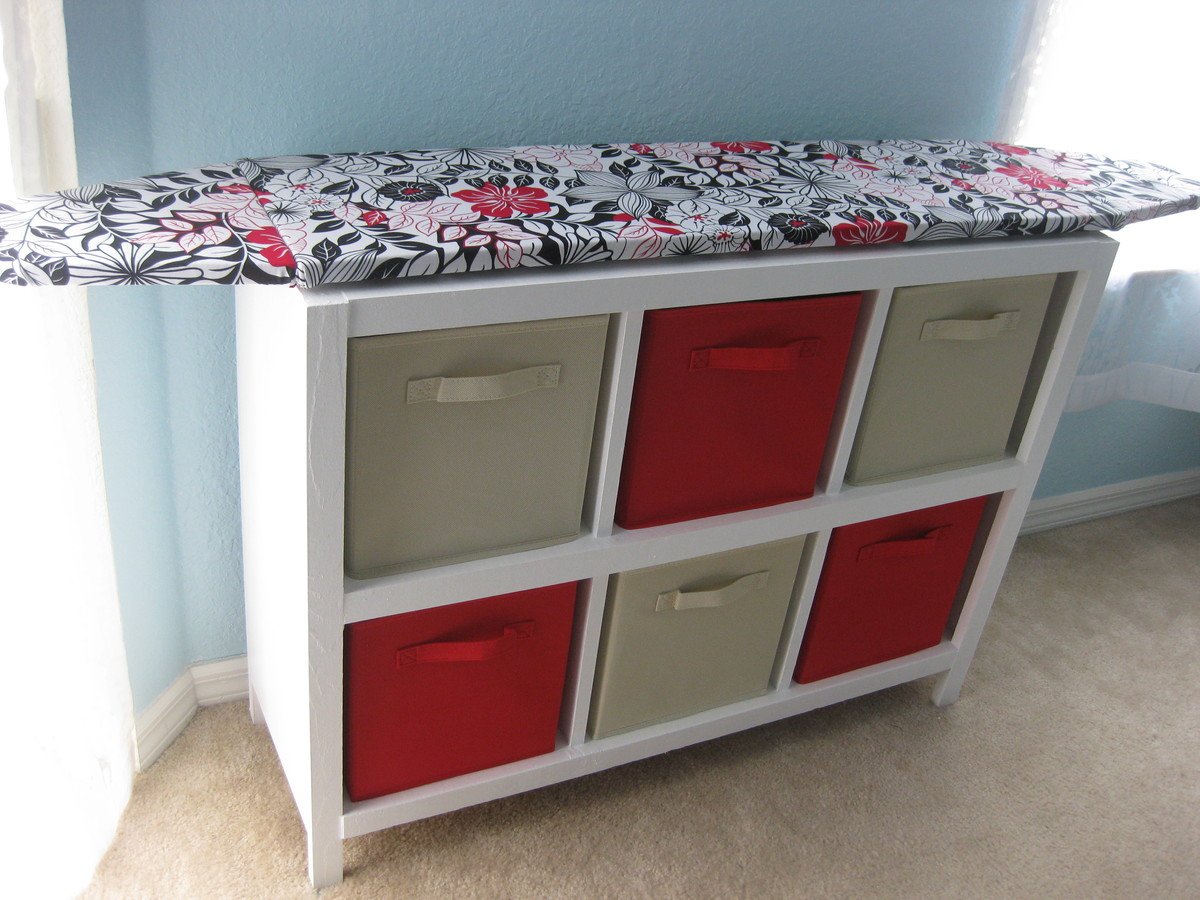
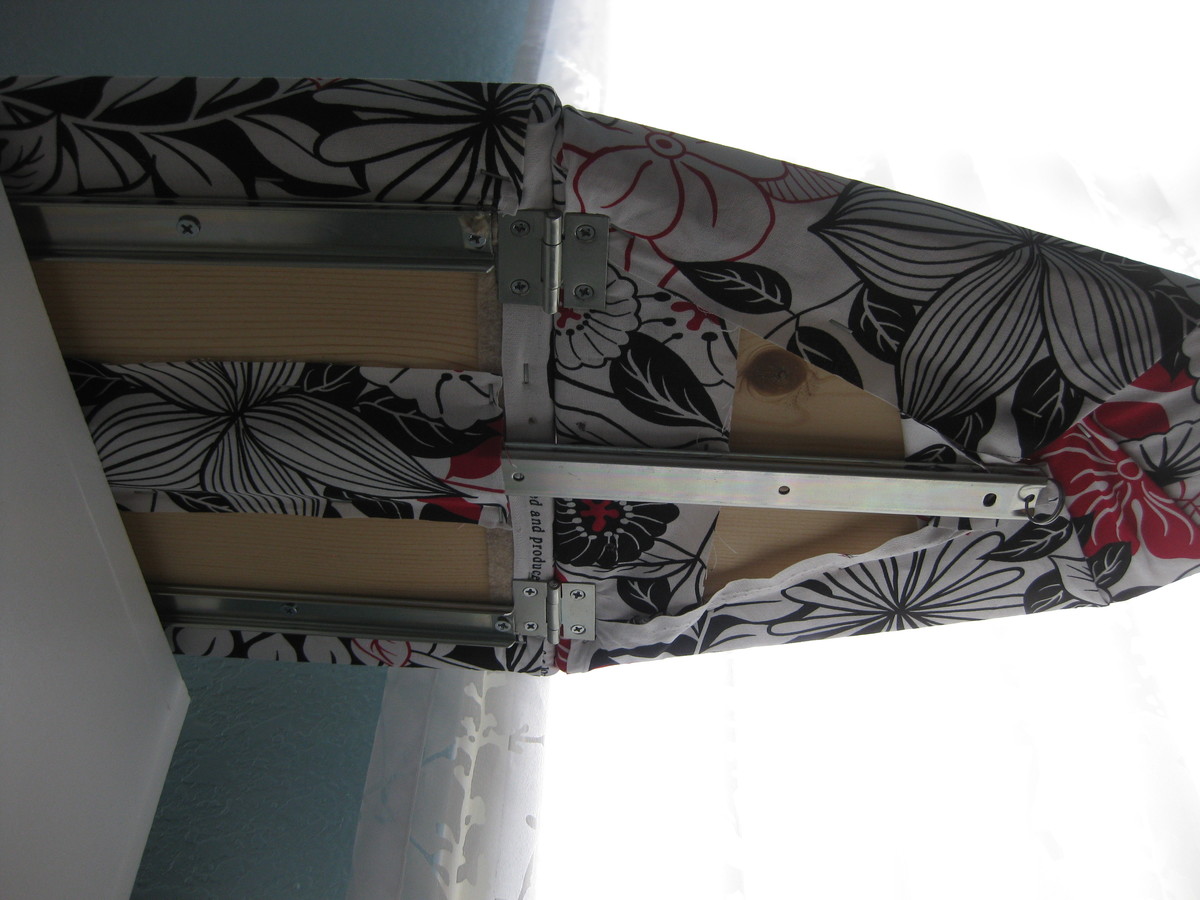
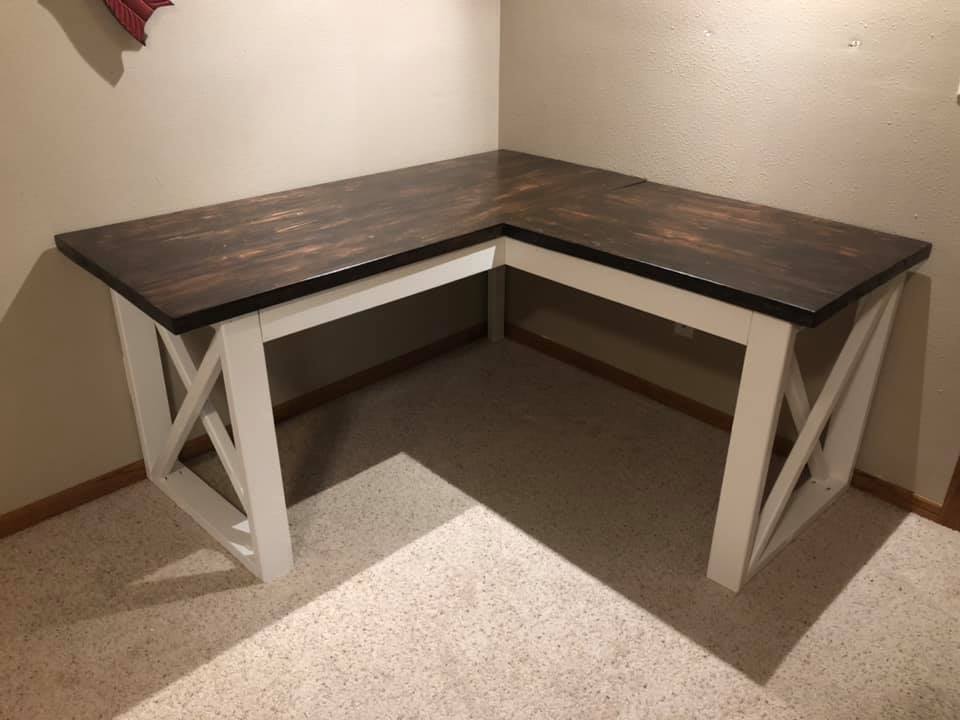
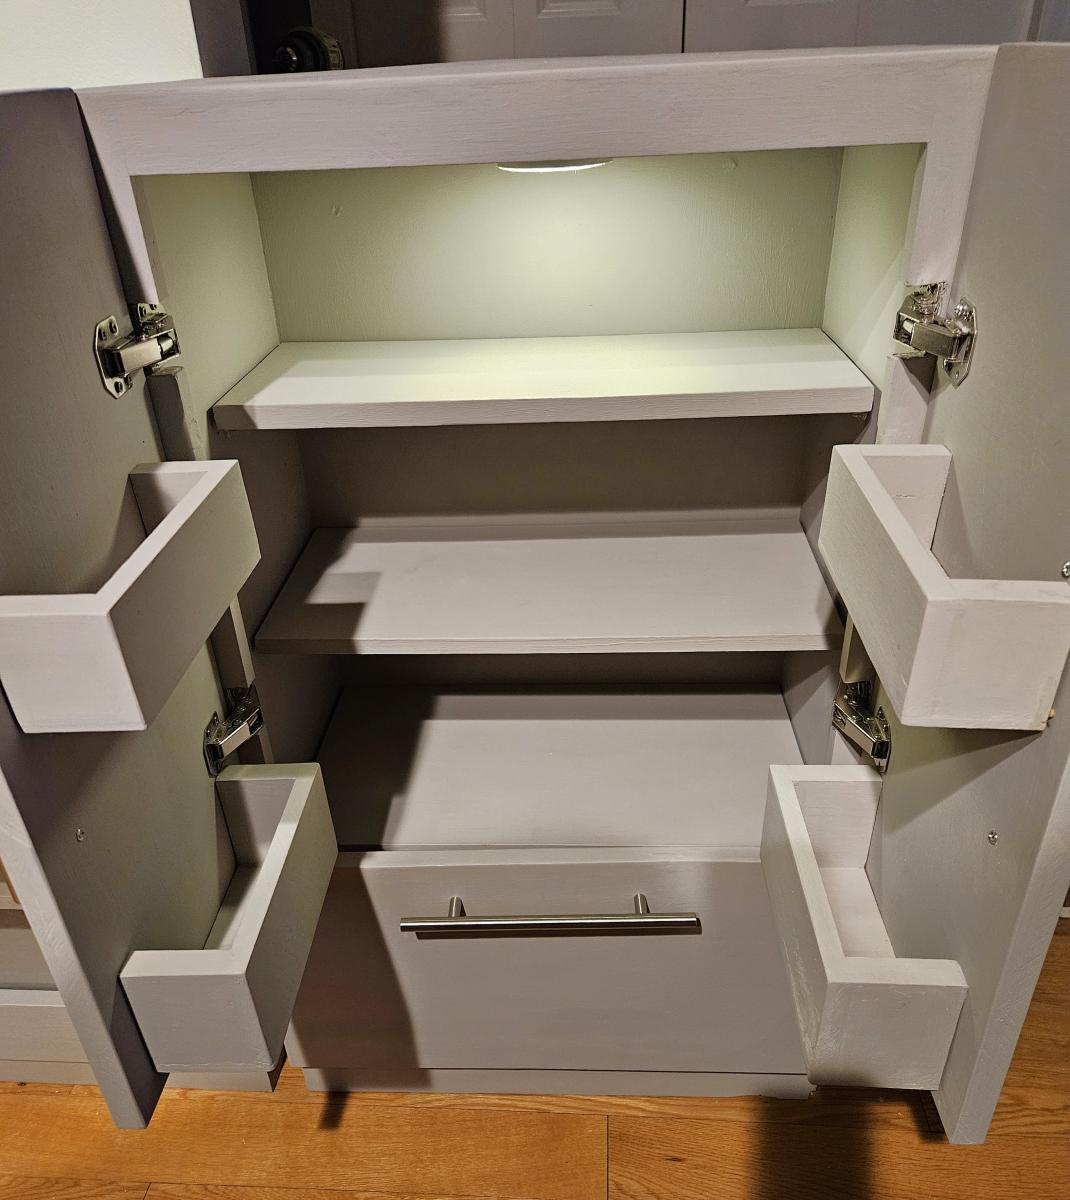
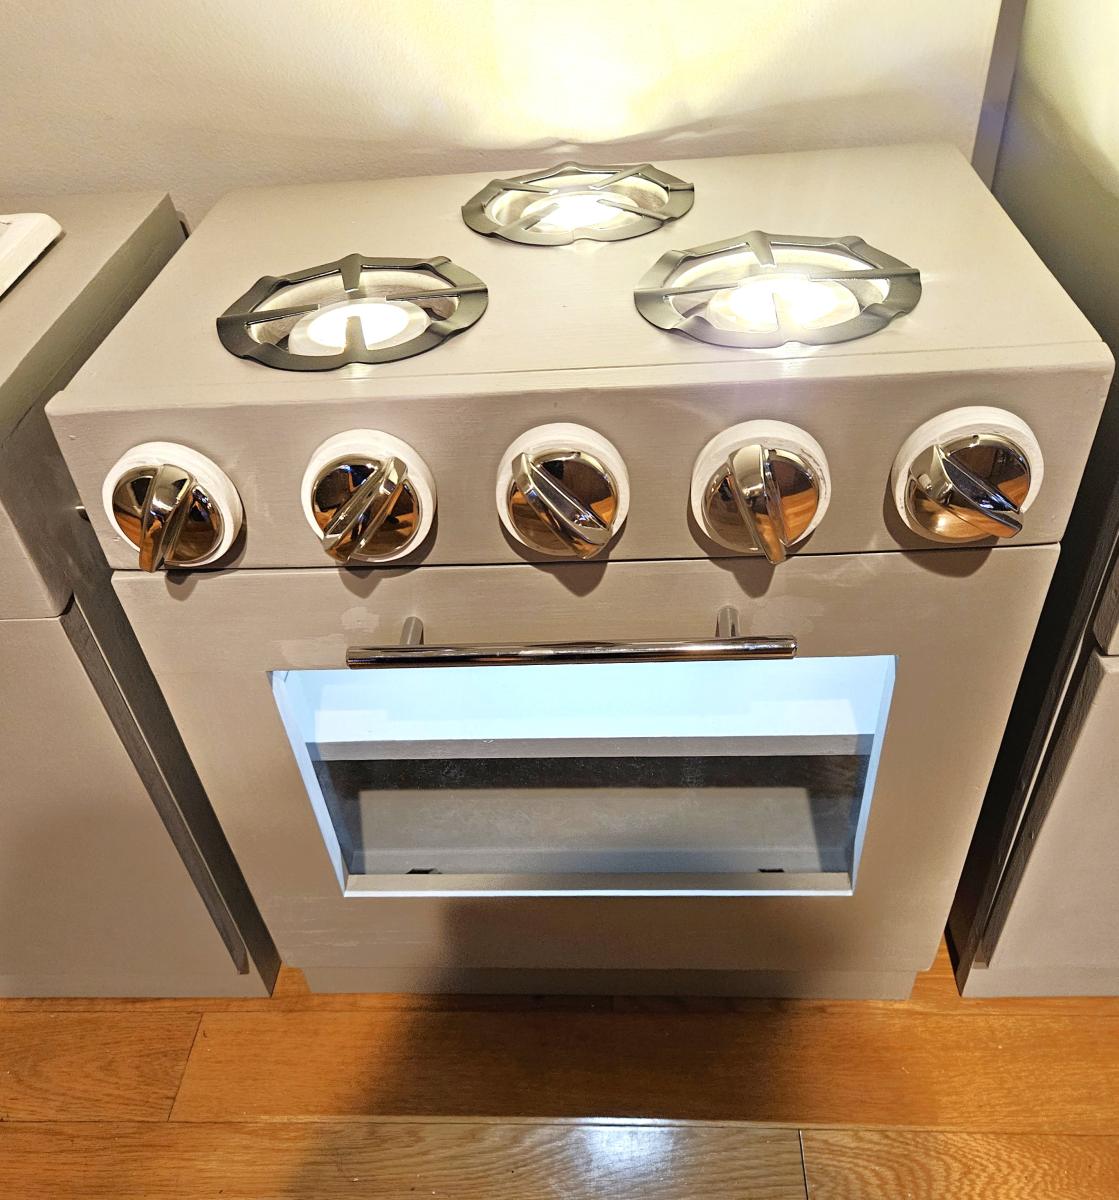
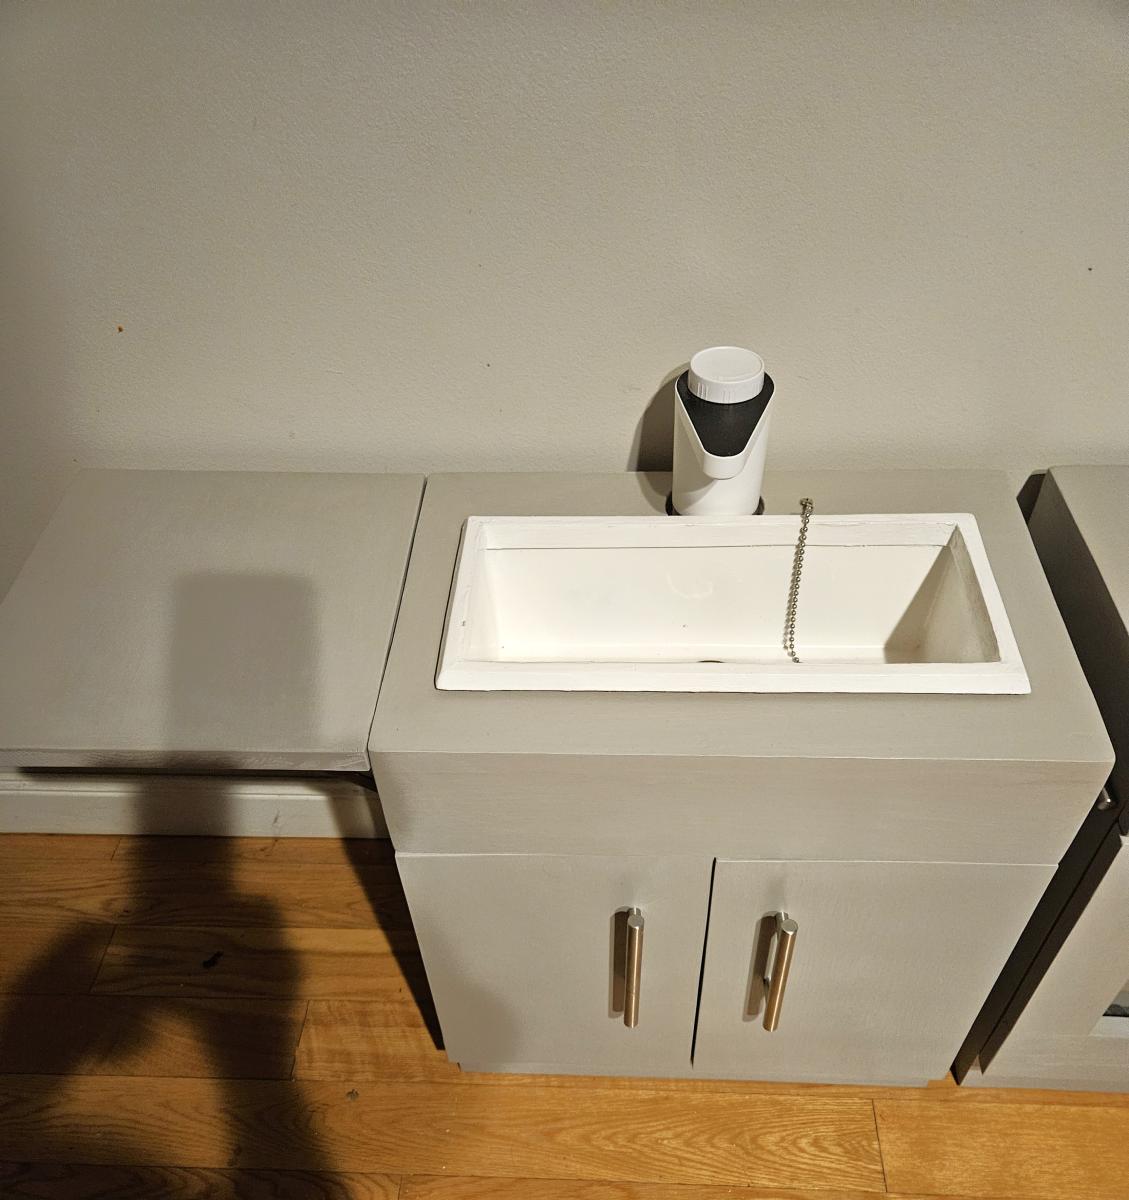
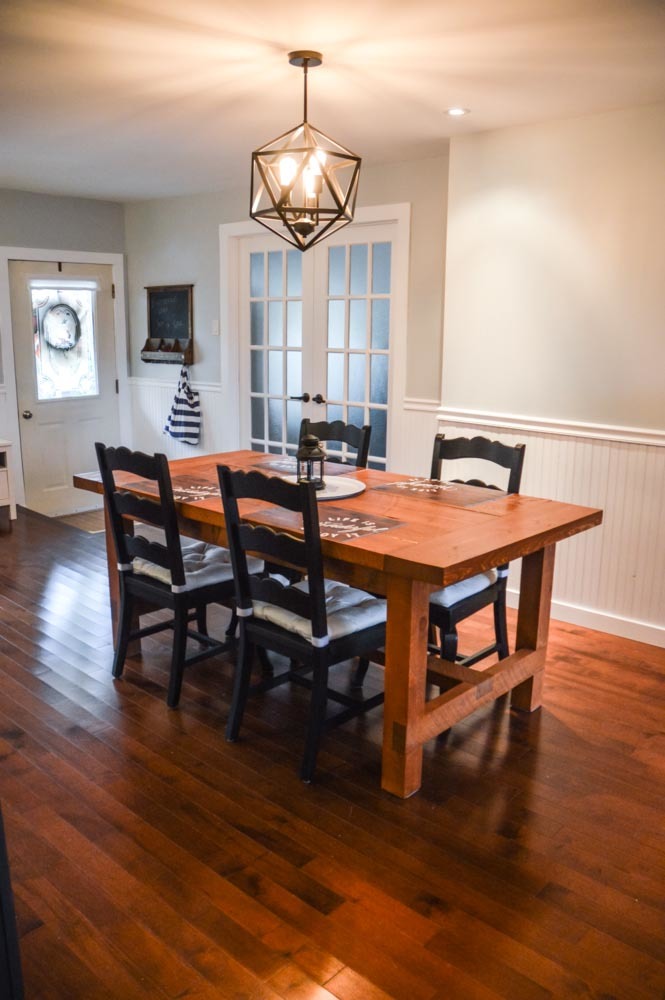
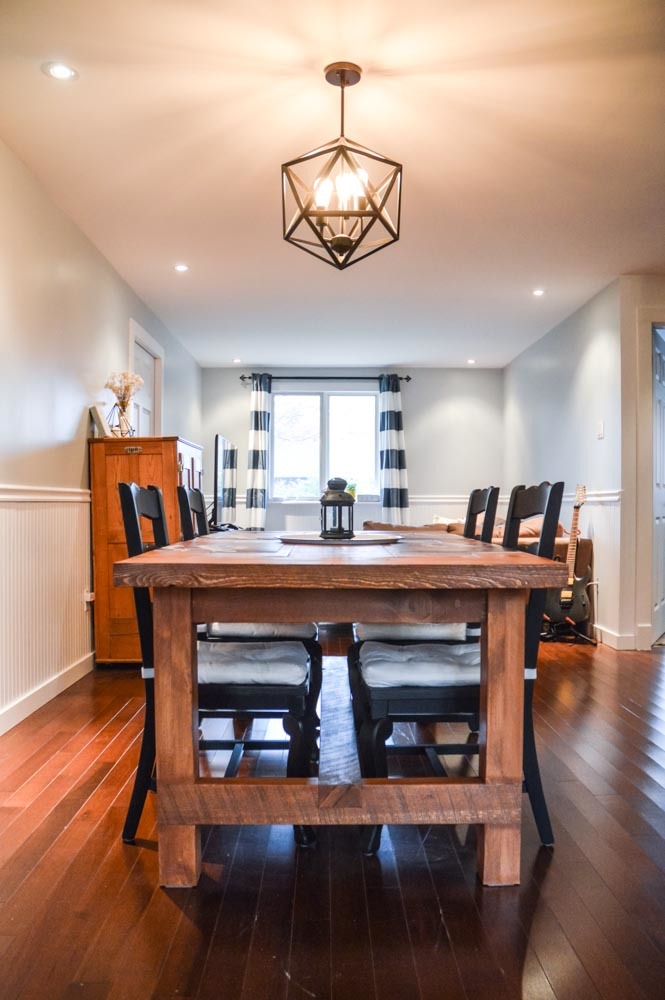
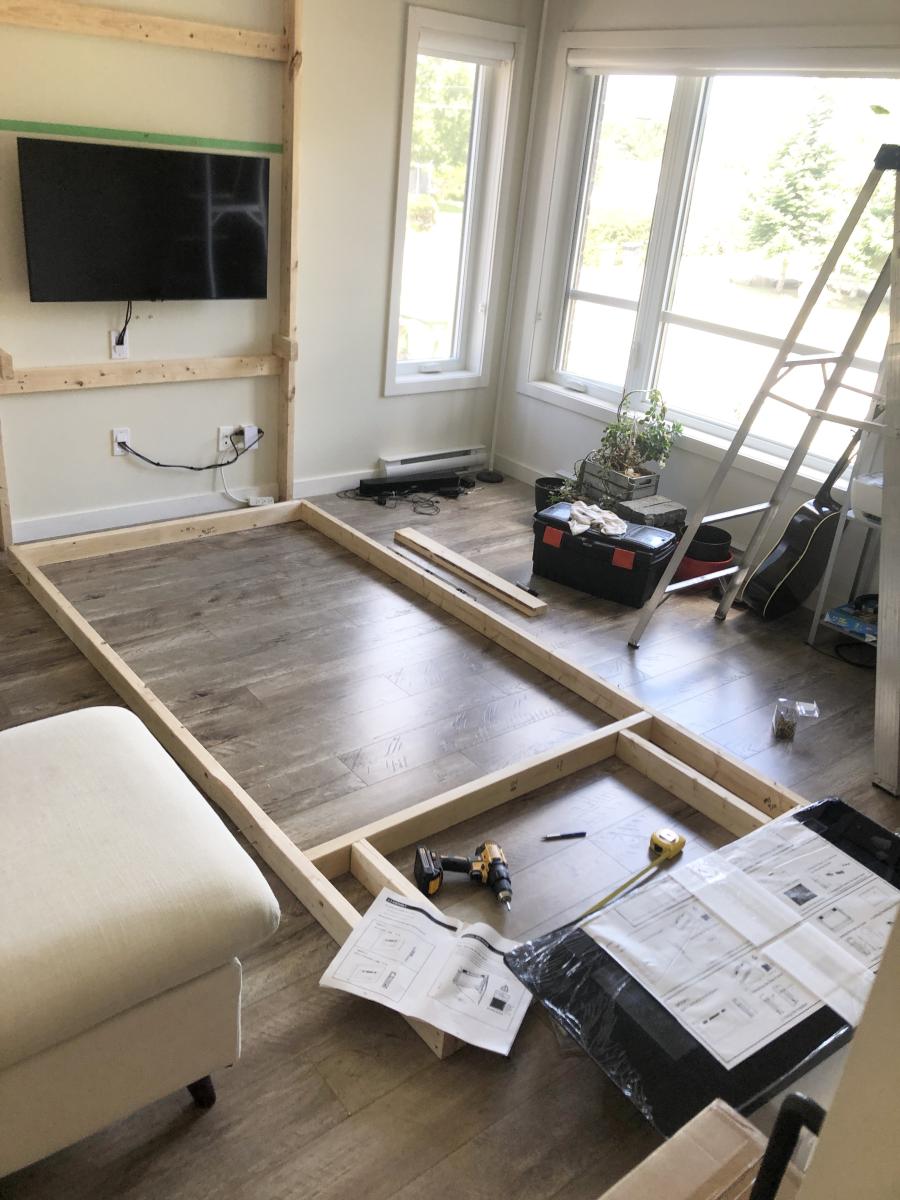
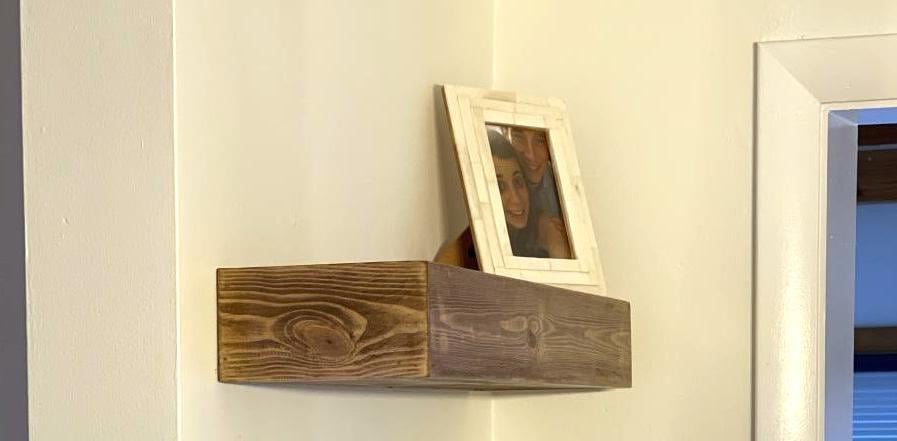
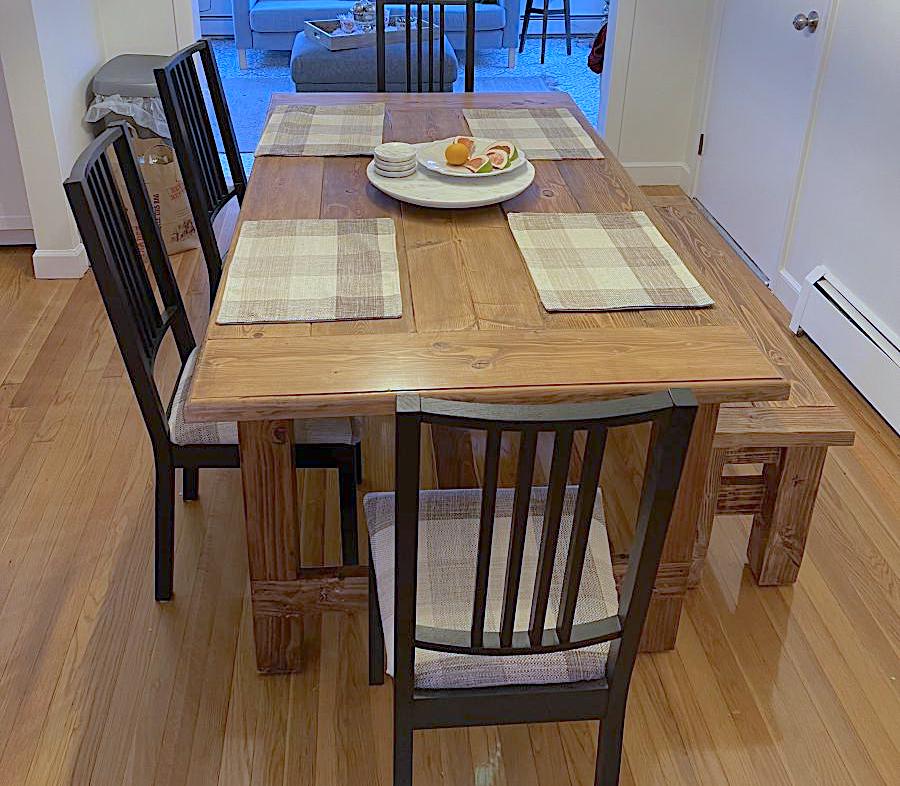
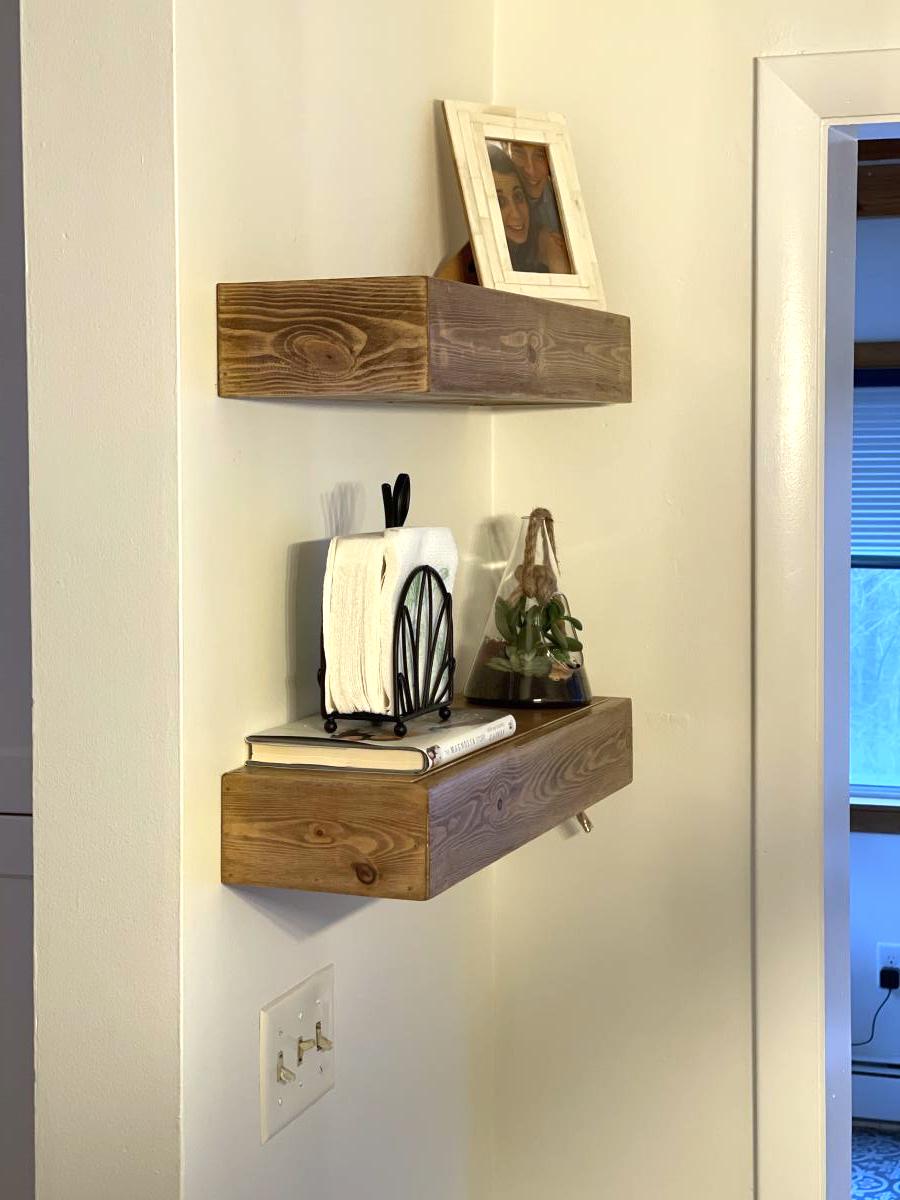
Community Brag Posts

Playhouse

Submitted by Dawnybb on Thu, 11/22/2012 - 09:32

This was so much fun to do! Very easy and I added some personal touches. I made the lower level an enclosed sandbox area with a chalk board on the back wall. On the outside of the back wall, I added a "ball wall" that my kids love. I enclosed the bottom sandbox with plastic "chicken wire" to keep the cats out. :)

Estimated Cost
$500
Estimated Time Investment
Weekend Project (10-20 Hours)
Finish Used
Paint
Recommended Skill Level
Intermediate

Comments

Dawnybb

Thu, 11/22/2012 - 15:34

Thanks! Glad you like it!

The paint was from Dunn Edwards: Roof was "Louisiana Mud", playhouse walls were "Drifting" and then the white was a snow white from Lowe's.

The slide and accessories were also from Lowe's.

m7hennen

Tue, 04/15/2014 - 09:35

I LOVE this! This is exactly what I'd like to build. Do you have plans you can share with us? I think I'd also like to add a couple of swings on one of the sides too. Thanks so much!

In reply to by m7hennen

Dawnybb

Sun, 04/27/2014 - 08:39

I know I messed with the dimensions a bit but I don't remember exactly. I made the playhouse larger (deeper and taller than original plans) . I also cut the roof line on the deck side for more room. I put aluminum over the wood on the roof and then painted. The Ball Wall was made out of plastic gutter pieces that I painted and we used practice rubber golf balls to throw into them. I hope that helps! We sold that house, so I can't go out and measure it :)

eegad1973

Thu, 05/28/2020 - 15:32

You may not get this as this is an old post. Did you dig post holes? I have older kids and I am thinking about building a plan like this but at a 6ft height. Wondered how much it moves around when there are a bunch of kids on there. The house I will build is also 6 ft heigh.

Seasonal And Holiday

Vintage Bar Stools

Submitted by danicarby on Fri, 09/26/2014 - 10:45

I did a little search to find a barstool and when I saw these plans on Ana White I fell in love.  They were an easy build and didn't cost a lot.  I made my stools shorter and altered the overall footprint.  I like to plug all visible pocket holes which is easy to do and looks great.

Built from Plan(s)
Estimated Cost
$20 for 2 stools (using cheap furring strips)
Estimated Time Investment
Weekend Project (10-20 Hours)
Finish Used
Sherwin Williams Latex Paint (white), sand with 220 grit to smooth and distress and 2 coats of Minwax Polycryclic Water-Based Clear Satin Top Coat
Recommended Skill Level
Beginner

Daybed with Storage Drawers on Caster Wheels

Submitted by Nate on Tue, 08/13/2019 - 10:38

This was one of the first projects I've ever built, so I would put it at a beginner level. It's a great, sturdy bed, very simple. The drawers are huge, which is surprising, since you don't realize how much space you gain when you add the drawers until you see how much they store. Thought I'd fill in details that worked for me that I had to figure out. As the plan says, the drawers are on caster wheels and slide directly on the floor, so make sure you have an area rug down if it's going to be on bare wood (especially pine, like this one is on). As another reviewer said, use 2" caster wheels, 12 total. This gives it the right height on a wood floor. You can get those in bulk at a home improvement store. I would recommend a slat system and not just a piece of plywood for under the mattress, as I was warned bacteria and mold can grow when the mattress is not given a way to vent. You can see in the picture, I had a bunch of 2x4 scraps and simply made a slat system out of that. I pocket holed the slats into the front of the bed, so no screws would be showing. I only finished the sides that would ever show, so the entire back of the drawers and bed itself are unfinished. I like the look of the drawers without handles, and they are just as easy to pull out without them. The drawers can get off track easily when being pulled in and out, so be careful when you use them. Otherwise, no problems with the drawers. I used wood glue and cheap drywall screws to attach the drawer bottoms (plywood) to the drawers. If you want to put anything of any serious weight in these drawers, really consider supporting the middle of the drawers on the bottom with some 1x2s or 1x3s, as it is a bit weak in the middle of the drawers. One more thing: I noticed standard dimensions vary slightly between finishing wood (1x12s, 1x2s, etc) and structural wood (2x4 studs), so keep that into account. Things were not flush because the finish wood was scaled larger than the structural wood. This bed is all about the storage underneath, which is great.

Estimated Time Investment
Weekend Project (10-20 Hours)
Finish Used
I used an oil-based primer, let it dry (it takes days to dry), then added latex-based paint on top. The drawers have one coat of polyurethane.
Recommended Skill Level
Beginner

Comments

Shoe Dresser

I had this space in my mudroom that was a perfect spot to make a custom shoe dresser. I adjusted the plans I found on this website to custom make storage for shoes. Now this weird little space is functional.

Built from Plan(s)
Estimated Cost
80
Estimated Time Investment
Day Project (6-9 Hours)
Finish Used
Rustoleum chalk paint Serenity Blue, classic grey and special walnut Minwax
Recommended Skill Level
Intermediate

Comments

My take on the Parson Chair

I bought some cool Parson Chairs to use with my grandparent's 1950s style porcelain top table. Unfortunately, the chairs were way too big to fit between the legs of the table. My friend said she was surprised I didn't build my own chairs in the first place... that's when I remembered seeing a Parson Chair plan on Ana White! I liked the overall design of the chair in the plan, but I wanted to make some changes to make it my own. I made the chair narrower to fit between the legs of my table, changed the angle of the rear legs from 15 degrees to 10 degrees, increased the rear legs from 2x2s to 2x3s and made the back taller. This was my FIRST sewing project and I'm really pleased with the way it turned out!

Built from Plan(s)
Estimated Cost
approximately $150-$175 for two chairs
Estimated Time Investment
Week Long Project (20 Hours or More)
Finish Used
Legs are painted with an eggshell black Martha Stewart paint.
Recommended Skill Level
Intermediate

Comments

mikejillnelson

Wed, 01/02/2013 - 06:25

These look beautiful! Would you mind giving me your opinion on their comfort to sit in? Also, do you mind sharing where and what kind of foam padding you used for the seat? Thank you - and great job!

Knot Perfect

Wed, 01/02/2013 - 18:32

Thank you! They are actually really comfortable to sit in and no one believes I made them! I'm 5' 4", so I should mentioned that I shortened the leg to 14.5" and also shortened the measurement for the depth of the seat to 14". I got a high density foam chair pad from joann.com, but they are also available in the JoAnn store. I cut the chair pad to fit my seat with an electric kitchen knife then wrapped the chair pad with 1/2" batting (got that in the JoAnn store). Hope that helps. Let me know if you have any other questions. Thank you again for your compliments!

amstan103

Wed, 06/26/2013 - 15:44

How much narrower and how much taller did you make the chair? I LOVE your design much more than the original. The narrower frame and taller back make it look much classier in my opinion. Please get back to me when you can. Thank you!!

In reply to by amstan103

Knot Perfect

Tue, 11/26/2013 - 18:03

Sorry I didn't see your question earlier... thank you for the compliments on my redesign :) I posted a new pic with the dimensions for the back and seat. Thank you again and let me know if you have any other questions.

Camp Loft Bed With Stairs Bunk Style

Used the Camp Loft Bed with Stairs Plans but double the bed rails. I just loved that the stairs and platform make it a little safer getting in and out.

Estimated Time Investment
Weekend Project (10-20 Hours)
Finish Used
Just Ultra White.

Comments

Lumber Scrap wood portable Cart

Submitted by Kingspiper on Fri, 03/31/2017 - 13:03

Cut-off lumber cart on heavy duty 3 inch locking swivel casters.  Used 3/4 copper pipe and 3/4 plywood with a couple of pine wood scraps.  Keeps things neat and clean. :)

Estimated Cost
125.00
Estimated Time Investment
Weekend Project (10-20 Hours)
Finish Used
Dark walnut stain and plain walnut oil
Recommended Skill Level
Beginner

Comments

Kitty Outhouse

My first Ana White project. Built Ana’s awesome small cedar shed as an outhouse for our many cats. The have access to it from inside the house. Great way to keep litter boxes and the mess out of the house. It is stand alone, and attached to the house, in front of a bedroom window. There are two ‘entrances’ as well as two, one-way, escape hatches, if a cat in the outhouse is interrupted by another cat (I.e. a male cat comes in and the female feels trapped) they can exit to the outside (one way so no critters can come inside!). Ana has easy to build plans, great site! I plan on making the square table just posted today for my newly refurbished deck. Keep in mind, my estimated costs and time reflect a LOT of additional features on the inside. The shed itself, very easy, simple, inexpensive. Very little waste with Ana’s projects as well.

Built from Plan(s)
Estimated Cost
$500
Estimated Time Investment
Week Long Project (20 Hours or More)
Finish Used
No finish, at least not yet.
Recommended Skill Level
Intermediate

Comments

Weatherly Sectional

Submitted by Anonymous (not verified) on Mon, 05/22/2017 - 20:08

Ana's plans are so easy to follow. This sectional was a breeze to build.

Built from Plan(s)
Estimated Cost
$120 lumber and materials $400 cushions
Estimated Time Investment
Weekend Project (10-20 Hours)
Finish Used
Glidden outdoor paint.
Recommended Skill Level
Intermediate
Seasonal And Holiday

Double Pedestal Farmhouse Table (8 feet)

Built from the Triple Pedestal Farmhouse Table plans. Had to size down the plans a little bit to fit into my dining room. Created three pedestal legs but only ended up using two on the final table. Took about 16 hours from start to finish. All of the wood is pine except for the top, which is Poplar. Made a couple of mistakes along the way but am very happy with the way everything turned out. Feel free to ask questions and I will do my best to answer them. Happy Building!

Built from Plan(s)
Estimated Cost
$175
Estimated Time Investment
Weekend Project (10-20 Hours)
Finish Used
English Chestnut. Stained once and waited 7 minutes to wipe off. Two coats of Clear Satin Polyurethane.
Recommended Skill Level
Intermediate

Comments

Open bench and hutch

Submitted by Beginner52 on Mon, 10/04/2021 - 05:21

Thanks Anna for the inspiration. My bench is 12 feet long.

Comments

Chicken coop and run

Submitted by Anonymous (not verified) on Tue, 10/05/2021 - 11:01

I followed the Shed Coop Plans to make this chicken coop and designed my own run. Because I wanted to view the chickens coming in and out of the coop, I moved the chicken door to the front and built a little covered area to shelter the coop door so I did not have to have the entire run extend over the front. I also made the access to the layer boxes be accessible from the front rather than the top so that my kids could more easily access the egg boxes. I thought these were great plans to follow and easy to adapt to fit what I wanted in a coop. I also ended up adding a lean-to storage on the back with an inside access so I could easily refill their feed.

Built from Plan(s)

Comments

Seasonal And Holiday

Corner Desk for Craft Room Sewing - DIY

Submitted by Anonymous (not verified) on Mon, 10/23/2017 - 11:02


We made this sewing/craft table by combining plans from the modular office. It was a big job but SO worth it! We love your plans and use them all the time!

Submitted by Candace Ann Williams

Comments

melkaye

Wed, 02/19/2020 - 13:49

Could you tell me how much extra did you add on to the one side? And how did you fit your sewing machine in there? 

Planter

Submitted by Kravgirl on Sat, 11/11/2017 - 16:48

Added an X on the sides and a mitered 3 inch top frame.  Added some color to make it fun and tropical for the lanai.

Built from Plan(s)
Estimated Time Investment
Weekend Project (10-20 Hours)
Finish Used
Used home made chalk paint for the color and then used three coats of polyurethane on the chalk paint to seal it.
Recommended Skill Level
Beginner

Ice cream cart

Submitted by Markb25 on Mon, 11/22/2021 - 23:52

A friend wanted a tatty old chest freezer turning into a traditional looking ice cream cart for her business. The freezer itself was way to heavy and not really fit for purpose but, after a week of tinkering about with a couple of design changes here and there to accommodate the weight, I don't think I've done too bad a job.

The internal frame is Nordic fir, half lapped at the joints and secured in place with 38mm oak dowels, the cladding is 6mm birch ply finished with paint from the French chic Al fresco range, the writing proved a little challenging on the the eyes and my hands aren't as steady as they used to be but she's happy.

Comments

Children's Table and Chairs

Submitted by jjunge08 on Mon, 01/01/2018 - 10:43

I made this table and chairs for my 1 year old nephew.  He is still a little small for it but the table and chairs are both very sturdy.  The table top is a one piece, 24 x 36 ,edge glued pine board.  I used the one piece table top as an alternative to screwing the 3 boards together.  I followed the plans for the table for the most part.  As for the chairs,  I followed the plan to build the seat base.  For the legs of the chairs I took advise from carongirls' table and chair brag post and used 2x2's. I used 1x3's to stiffen the chair legs.  I also lengthened the table legs and chair legs by 2 inches.  


Estimated Cost
Table and Chairs - $50-70

Estimated Time Investment
Weekend Project (10-20 Hours)
Finish Used
White and Gray Paint
Recommended Skill Level
Beginner

First Project

Submitted by Mightyd40 on Tue, 07/30/2013 - 07:08

After a couple years out of bodybuilding because of a bad injury, I decided I really needed a new hobby. I've always been impressed with woodwork but it just seemed out of my reach. I wanted a porch swing and saw these plans and though, "even if I mess up it'll only cost me a couple hundred dollars". I bought the kreg jig kit and some lumber and thankfully have all the other tools I need. This only took me a few hours to build and it was so easy and a really good time. I watched a few you tube videos with both ana and Jeff devlin from Kreg Tools and it really prepared me. The job was fun and I plan on going back to the lumber store this week just to build more stuff I probably don't need lol.

Built from Plan(s)
Estimated Cost
$250 for lumber/ kreg jig and a few other reusable initial purchases
Estimated Time Investment
An Hour or Two (0-2 Hours)
Finish Used
Minwax Bombay Mahogany stain and Poly mix
Recommended Skill Level
Starter Project

Pet Stairs

Submitted by alli2410 on Tue, 03/13/2018 - 06:26

I needed sturdy stairs for my 2 60lb dogs.  My bed is 33 inches from floor to top of mattress.  So, this is my very first project completed by myself!  Custom size pet stairs 24inx24inx24

Estimated Cost
$40-50
Estimated Time Investment
Afternoon Project (3-6 Hours)
Finish Used
Minwax polyshades Espresso gloss (3 coats)
Recommended Skill Level
Starter Project

Comments