Community Brag Posts

The Fred-enstein Bed

Submitted by bookette on Wed, 05/30/2012 - 14:30

For my son's 7th birthday, I promised him a new lofted bed. I poured over different designs, drooled over all of the different things I could make, worried about whether or not I could actually do it. Nothing in the market fit my requirements or my budget... I was determined to make this for my son.

Over the long weekend, this bed was constructed... a little "Loft Bed", a little "Claire", a little "Cabin" and a little inspired innovation and ta-da: The Fred-enstien Bed :)

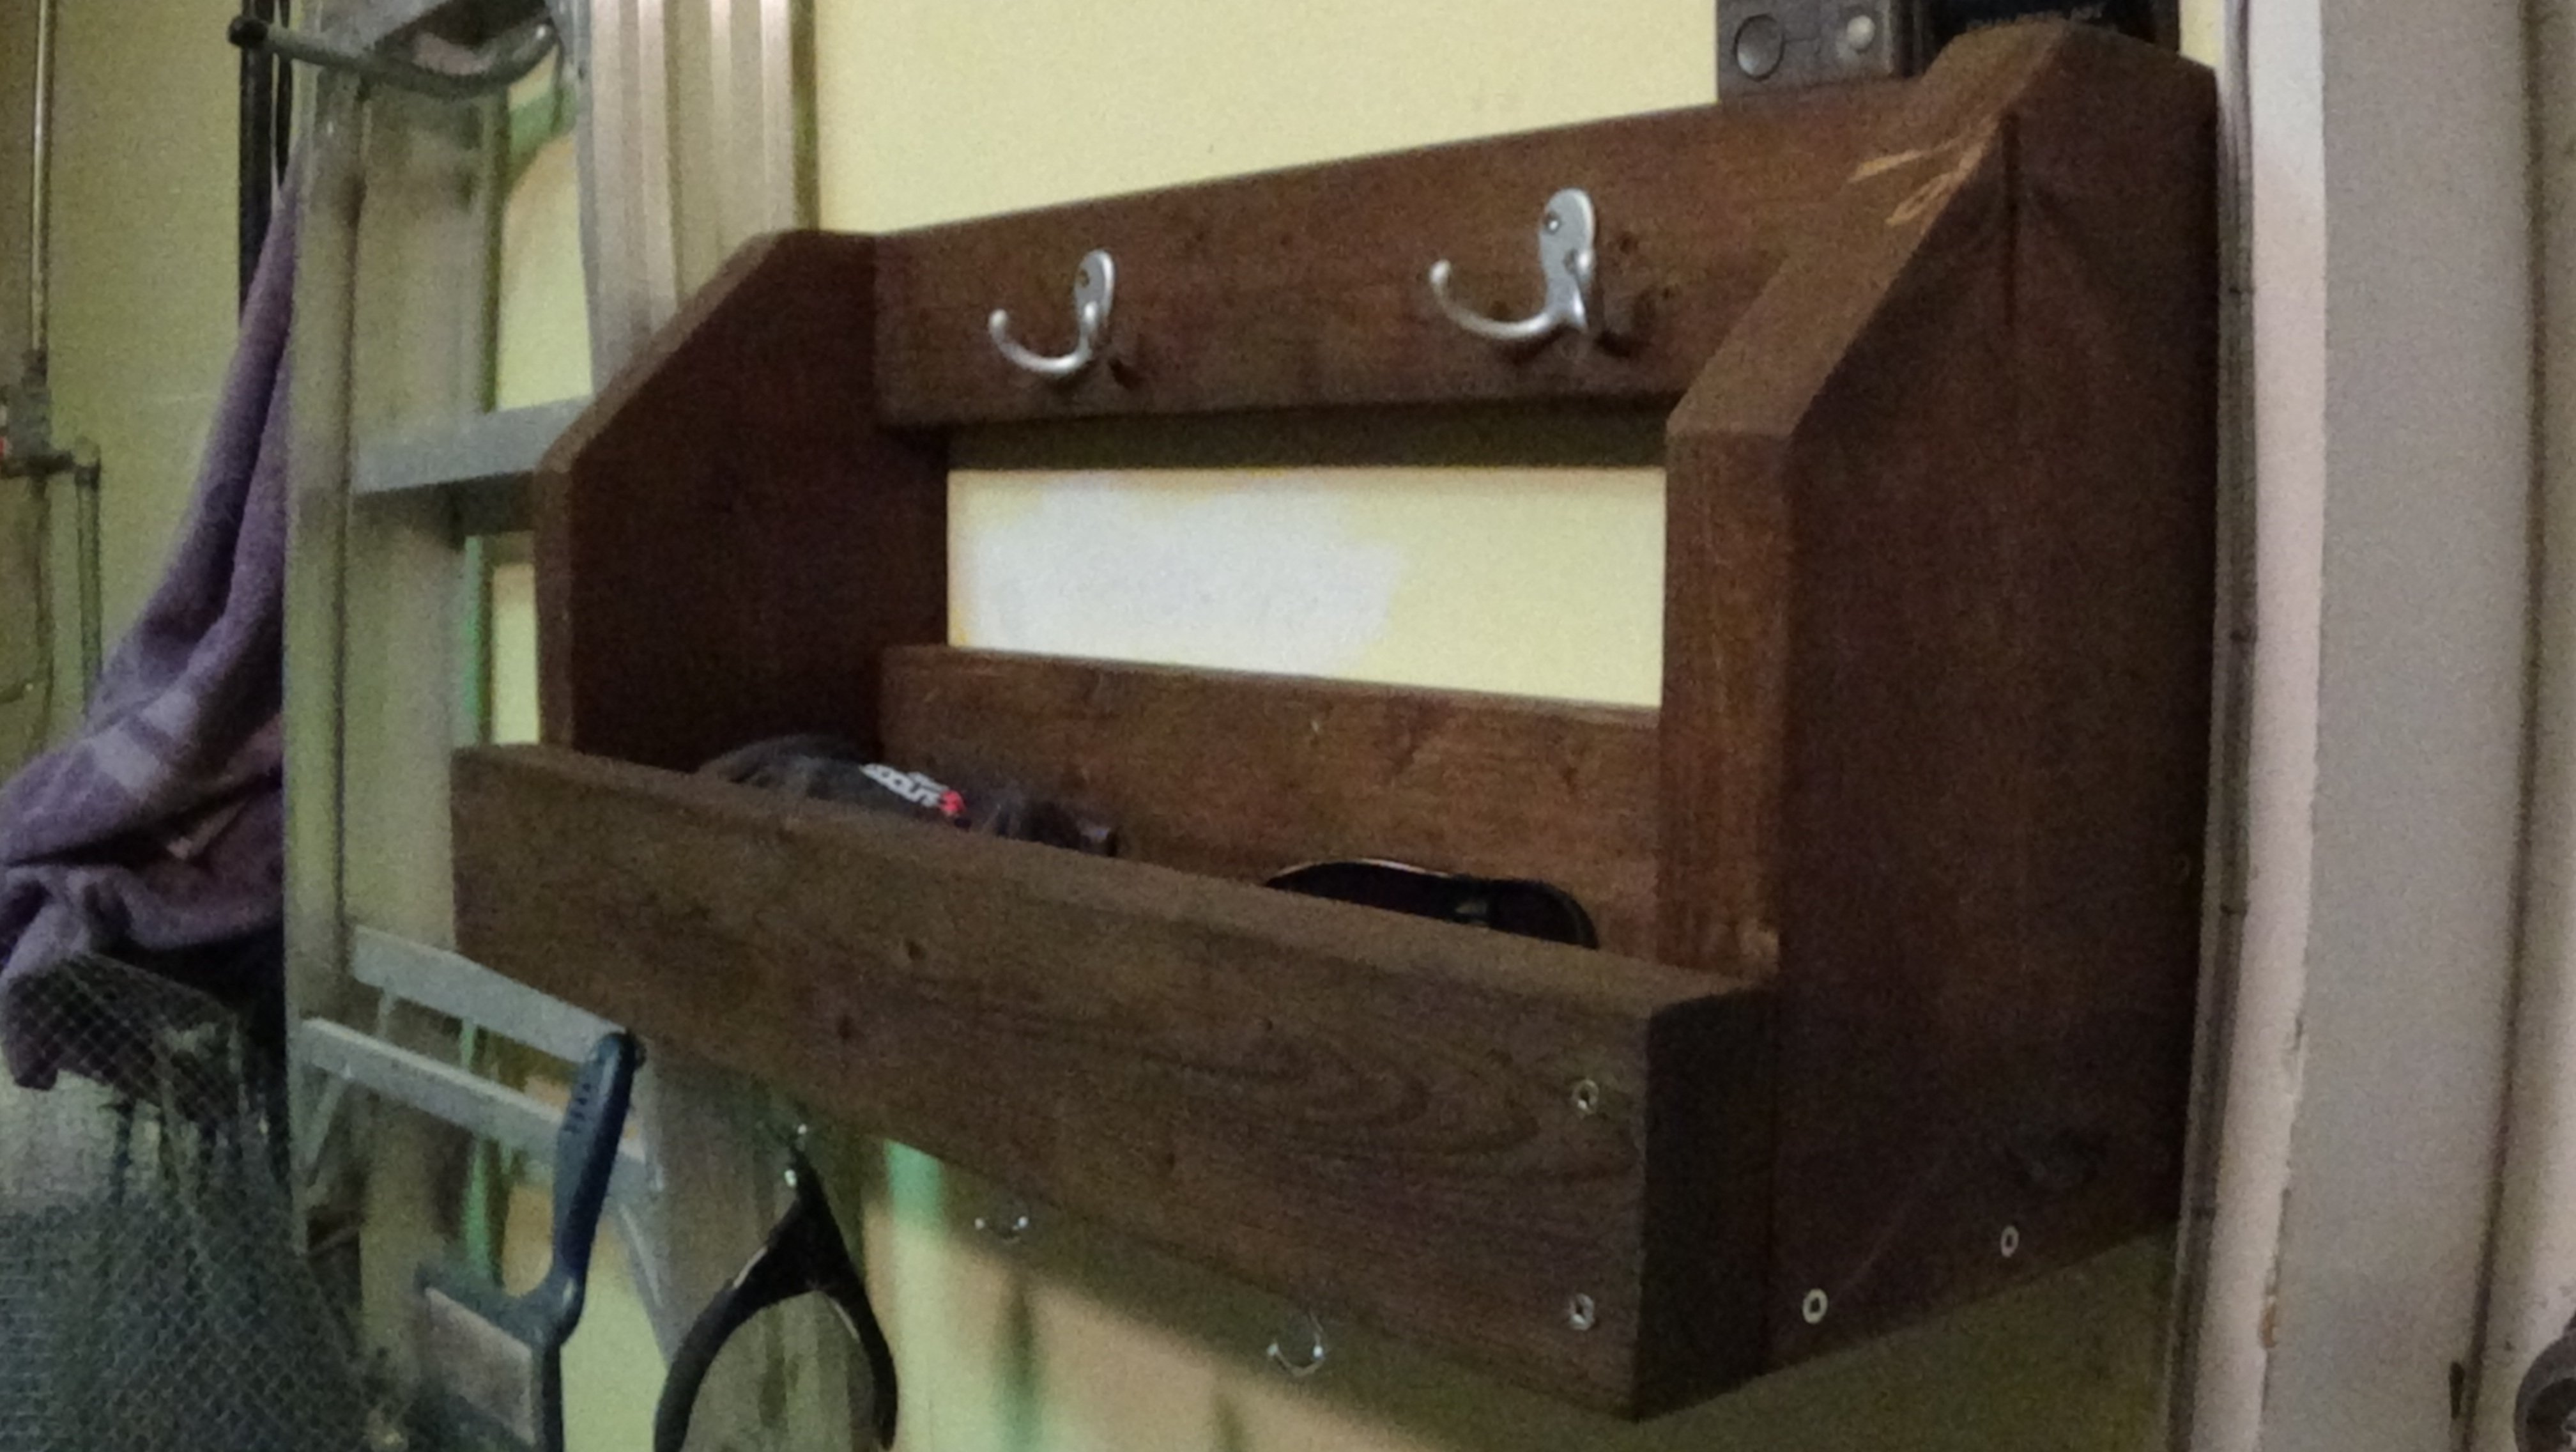
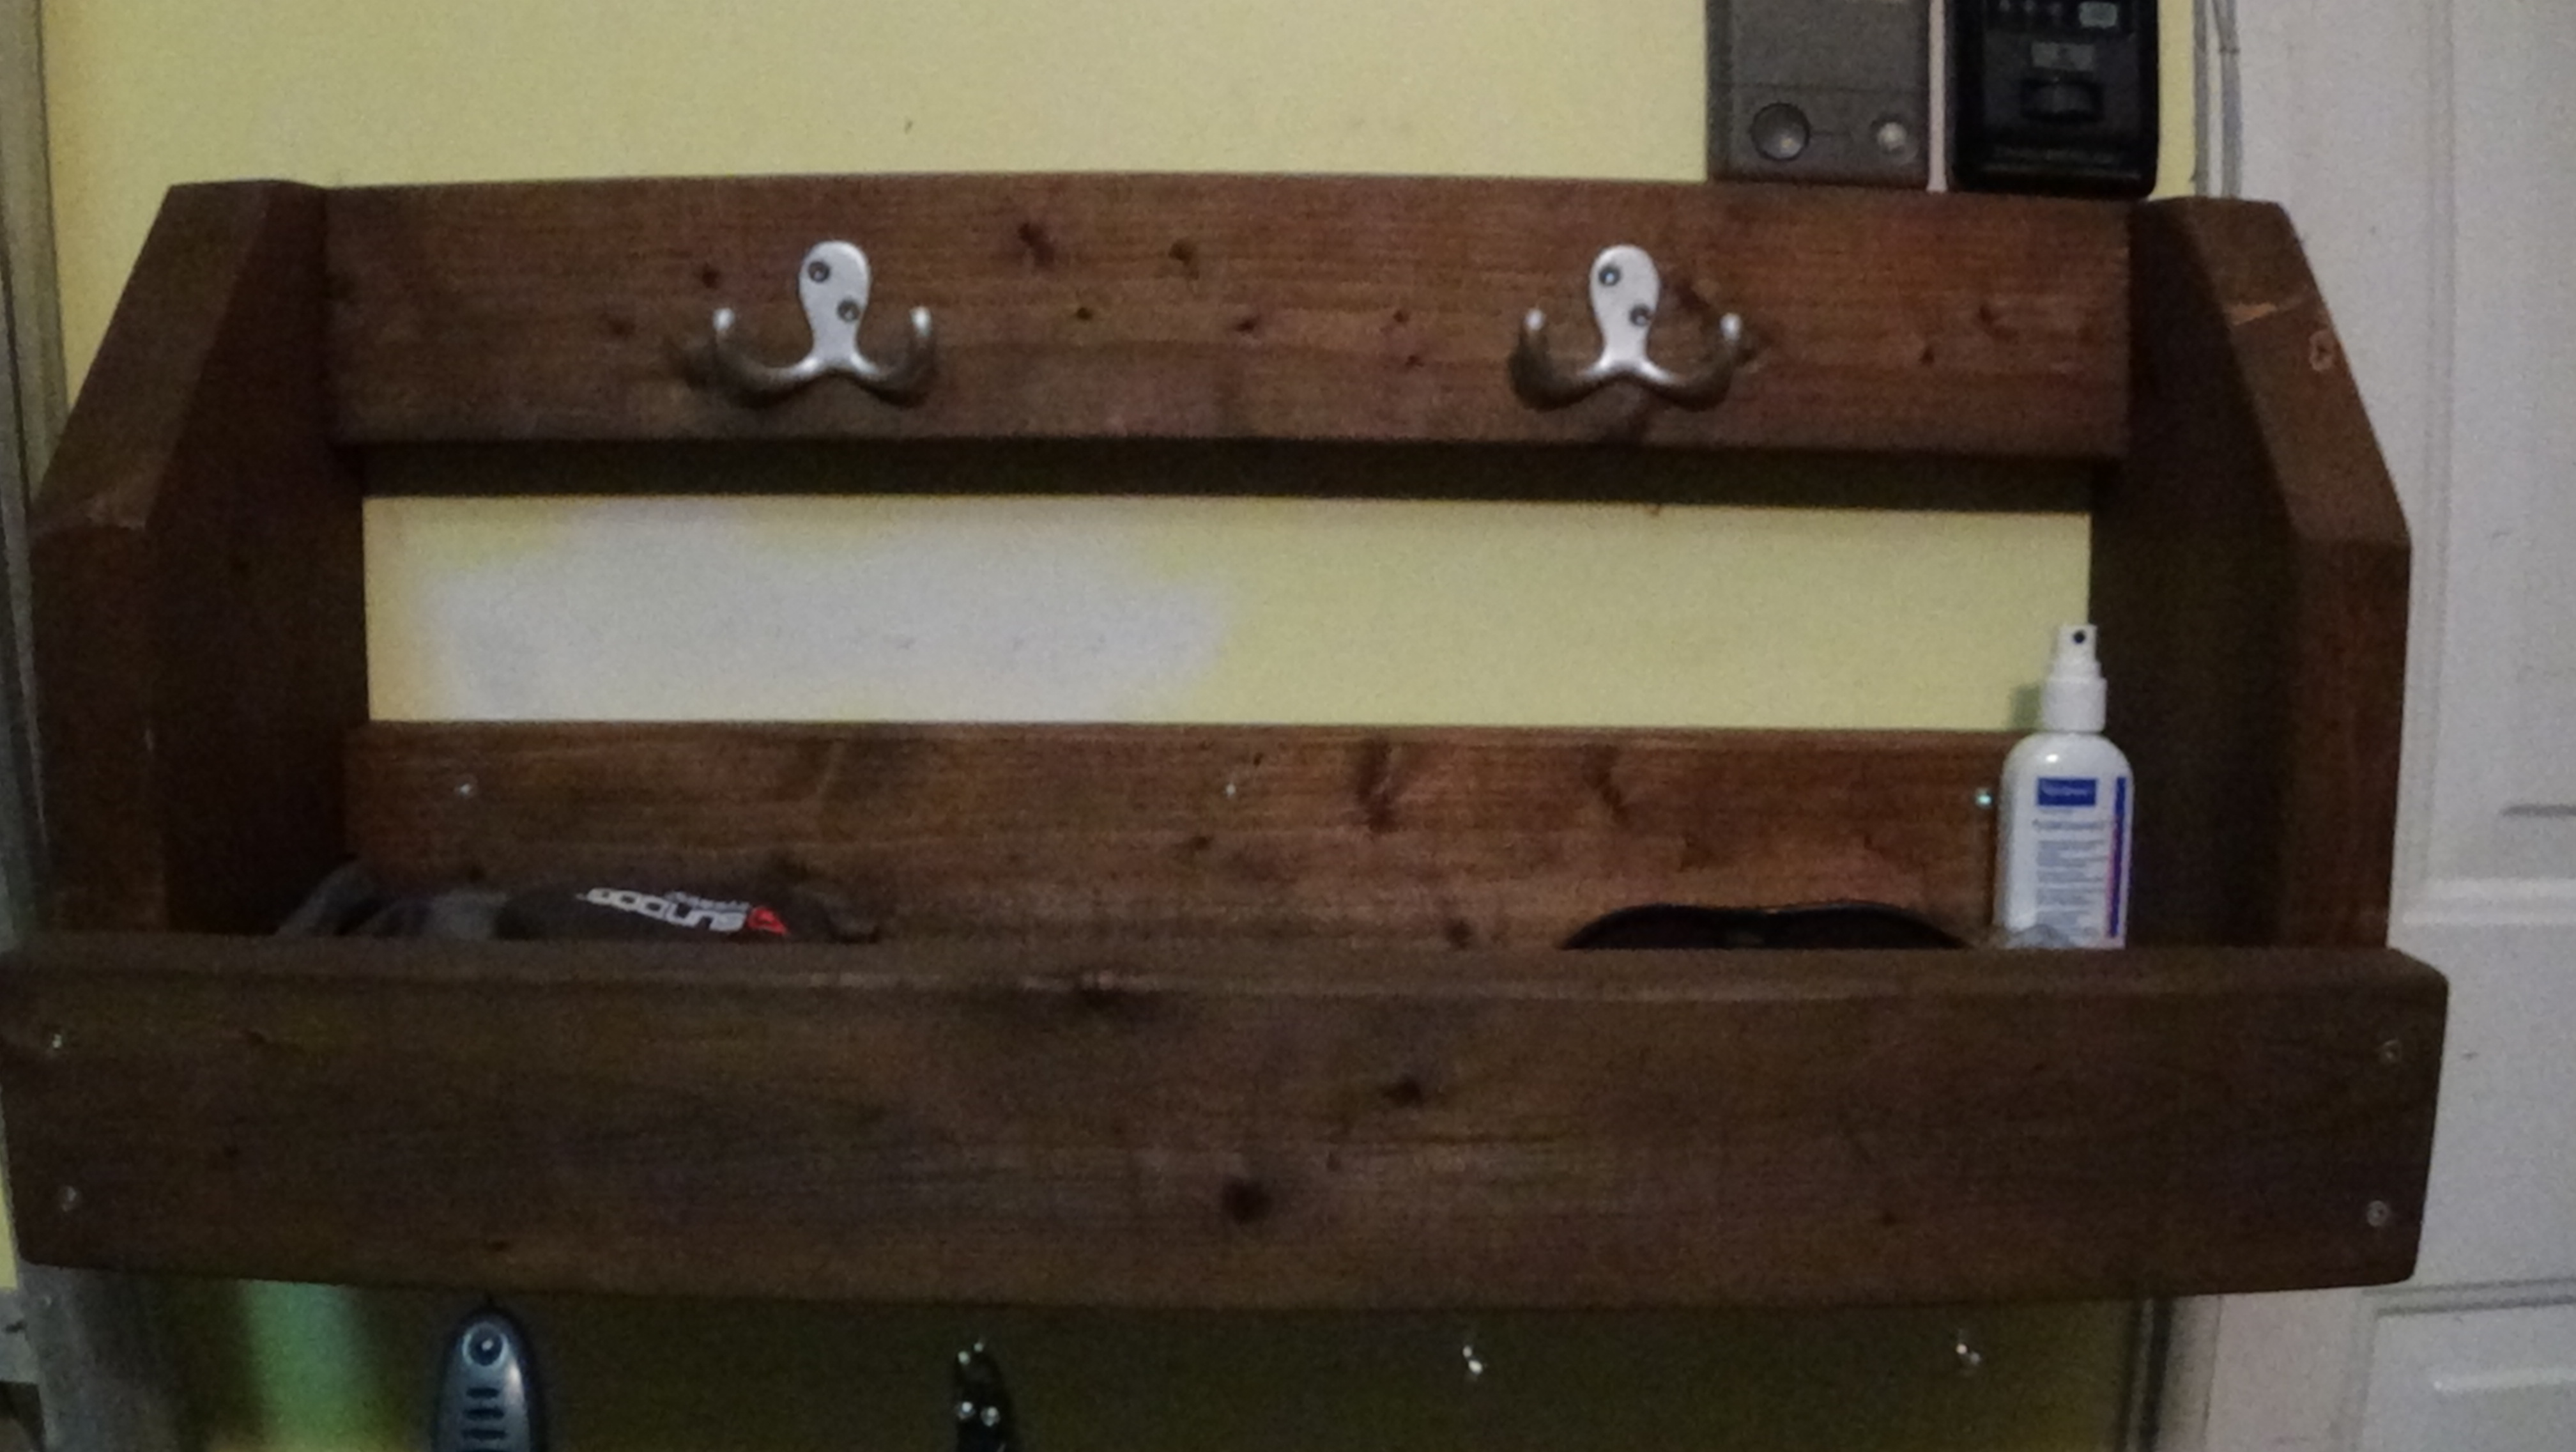
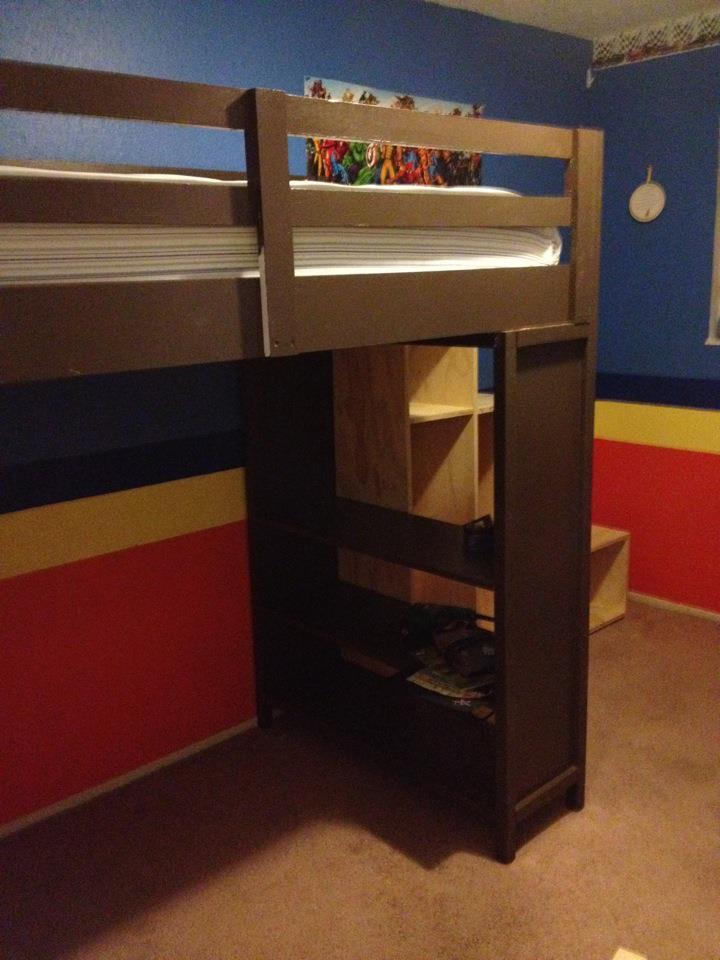
Claire guardrails and bookshelf supports
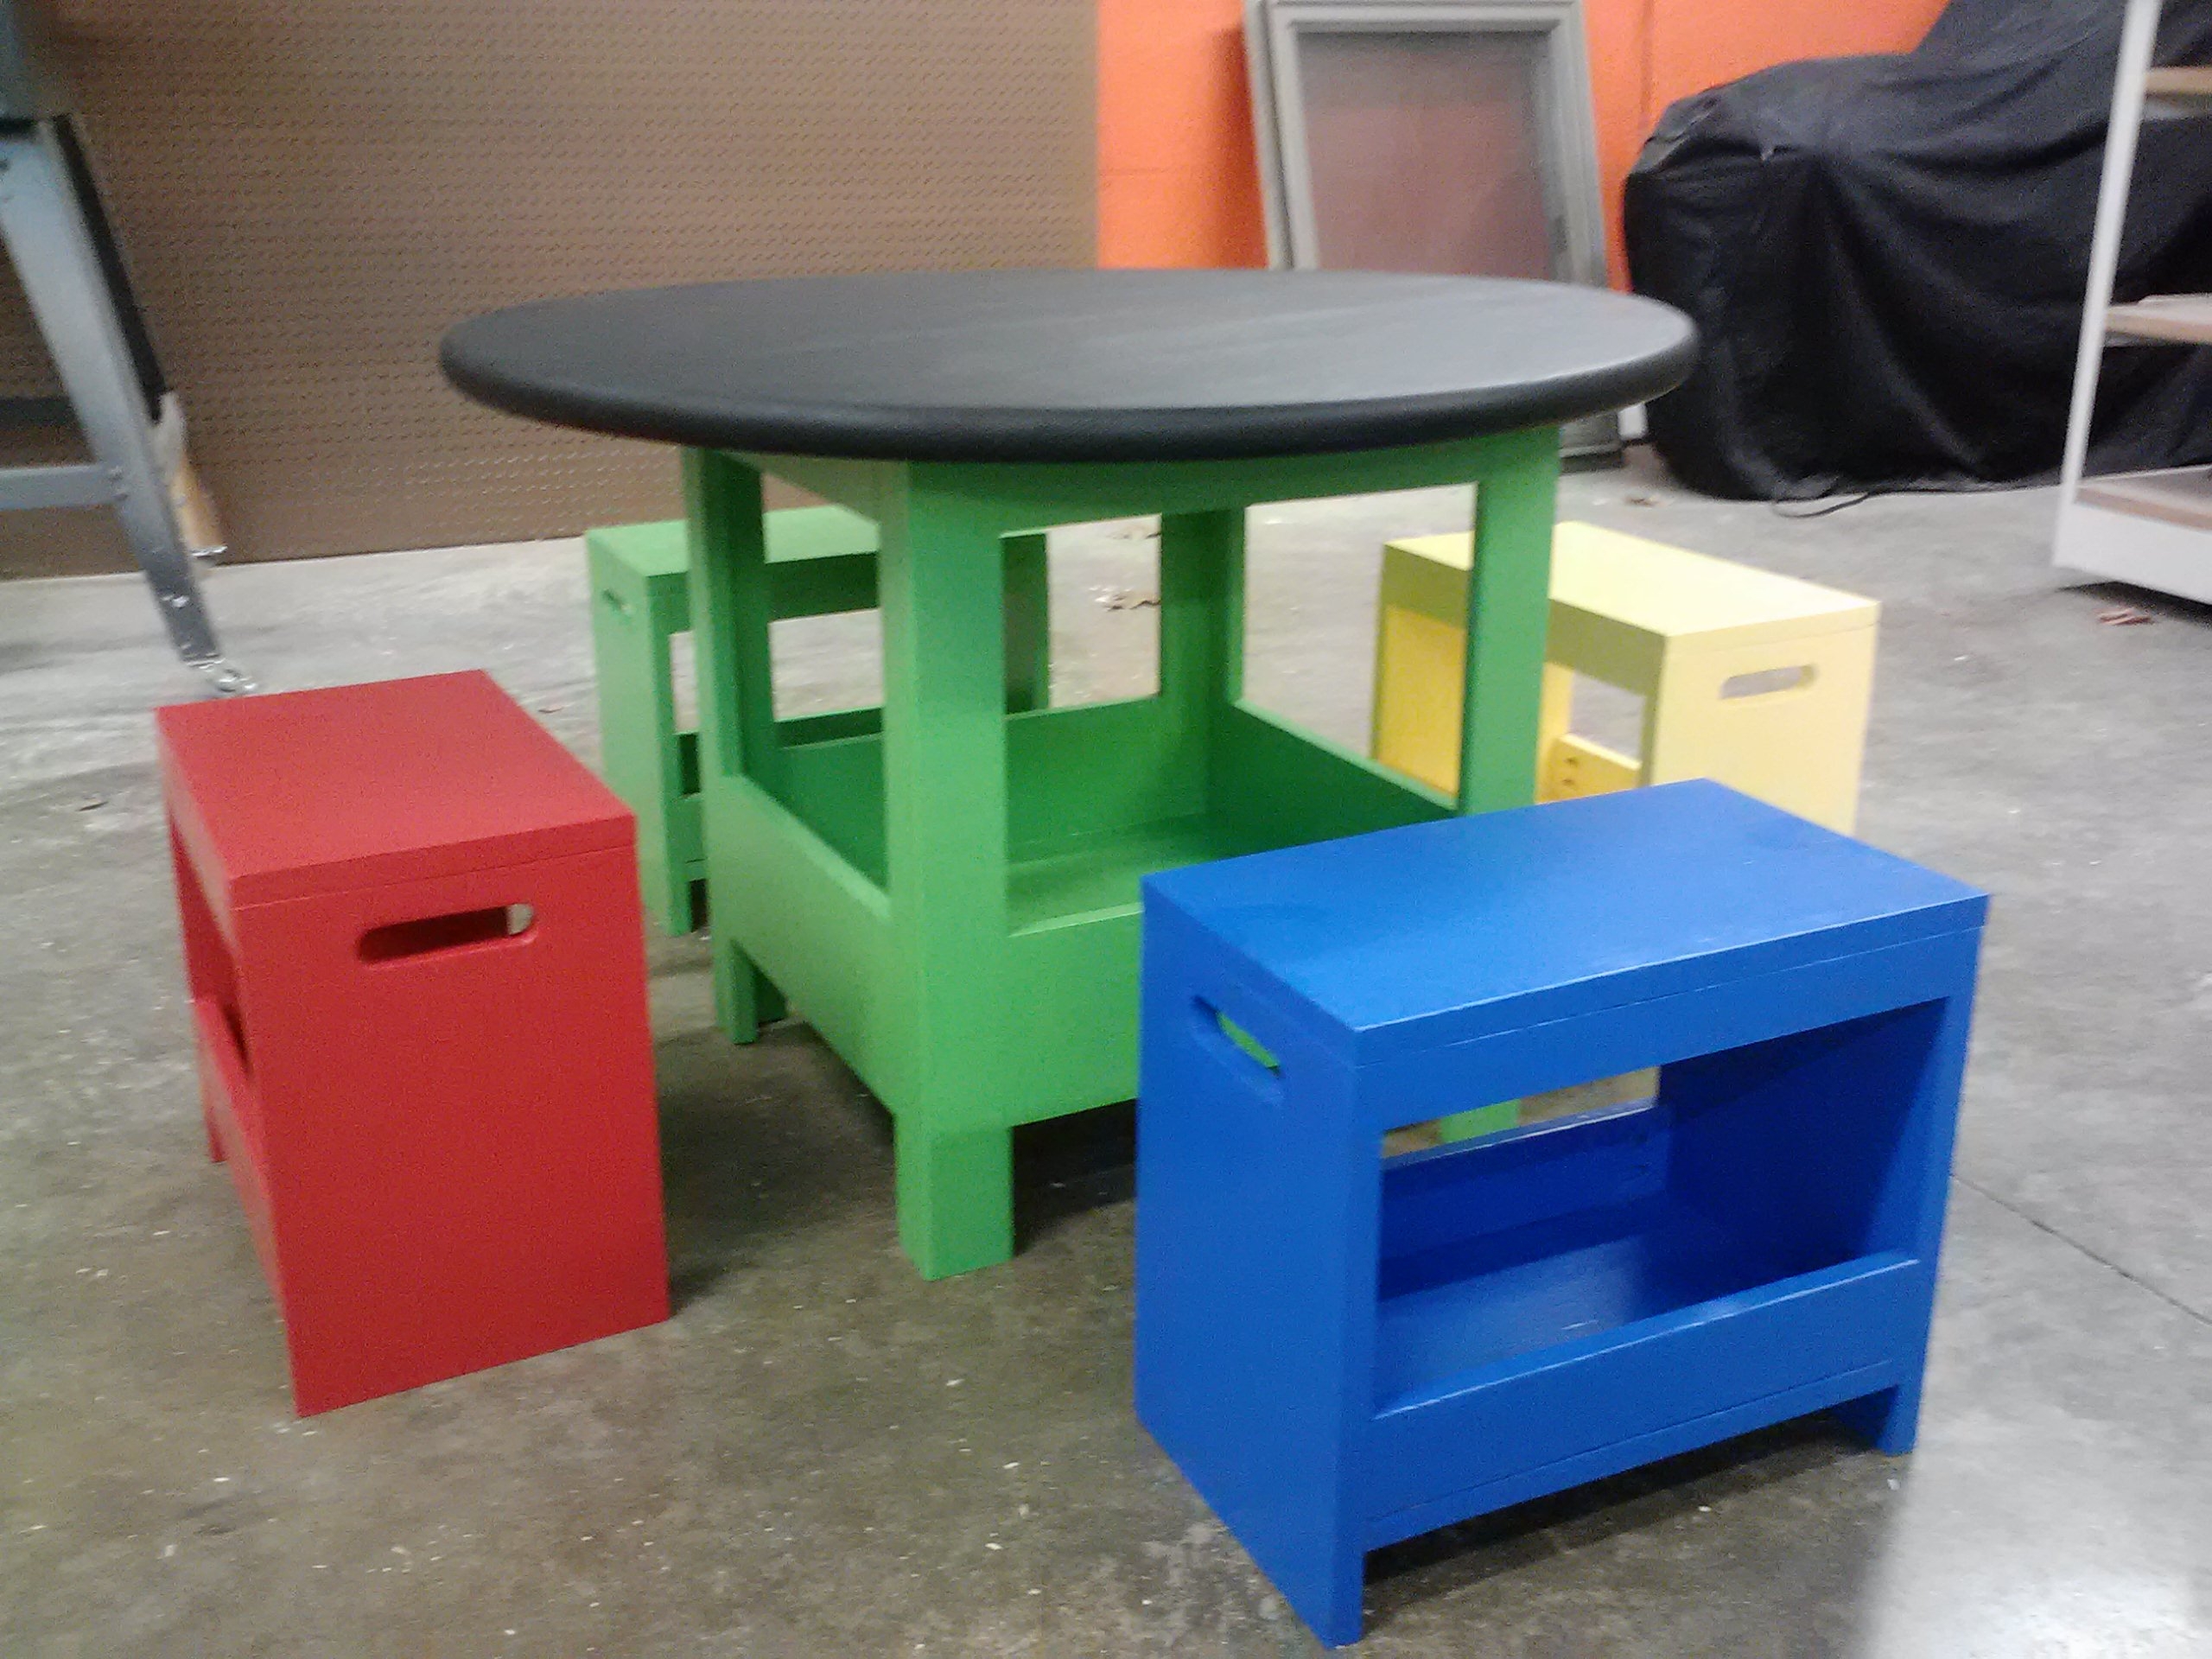
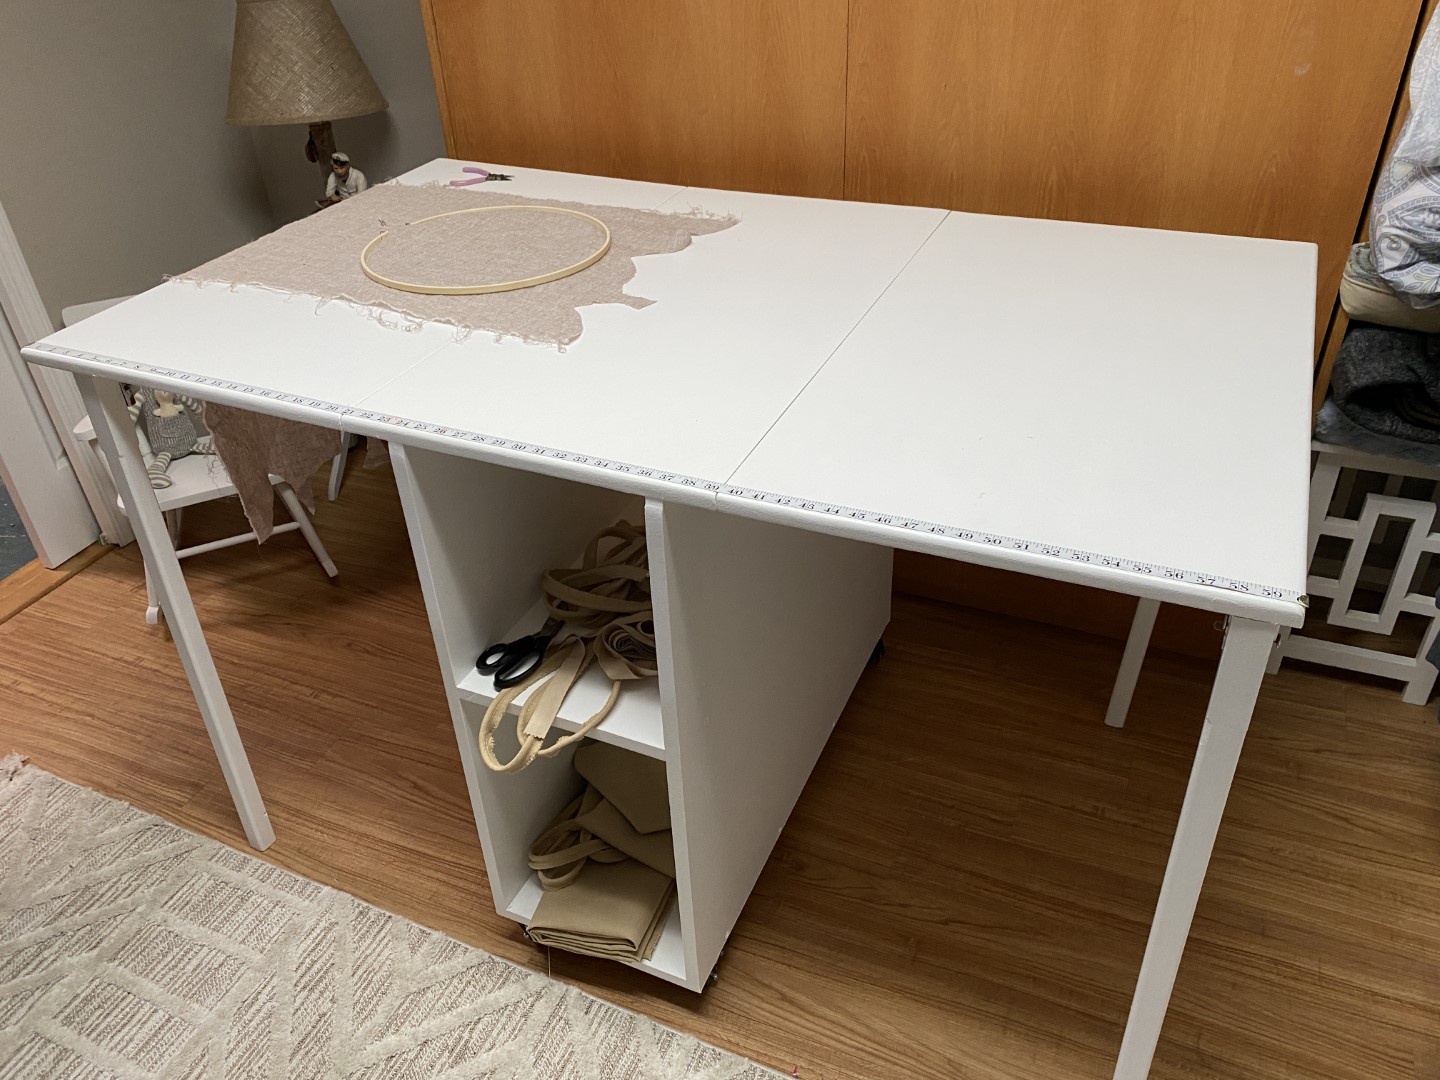
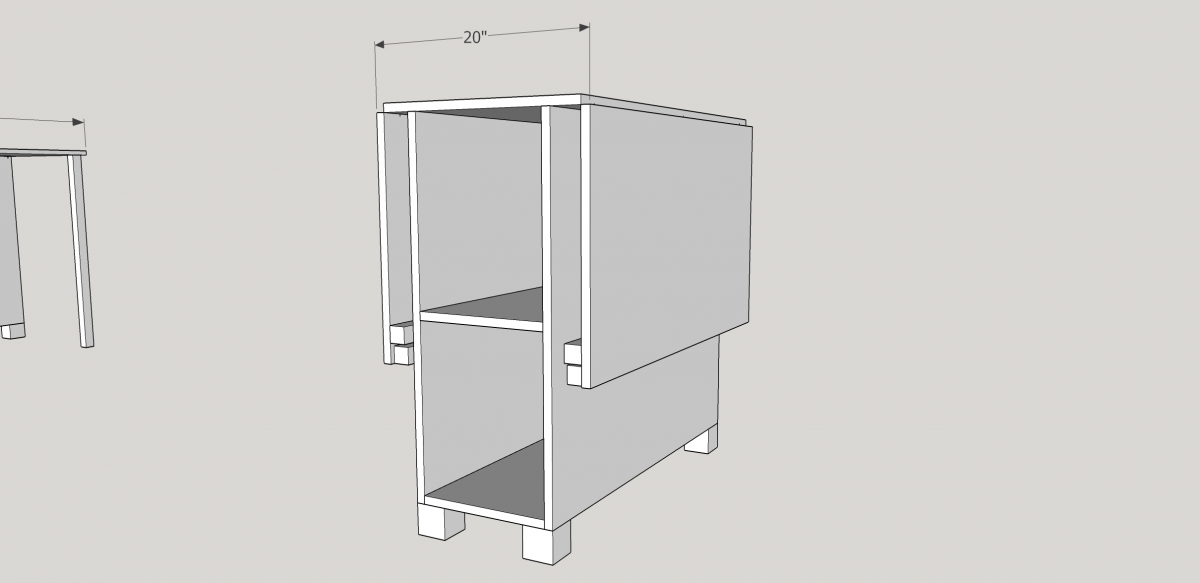
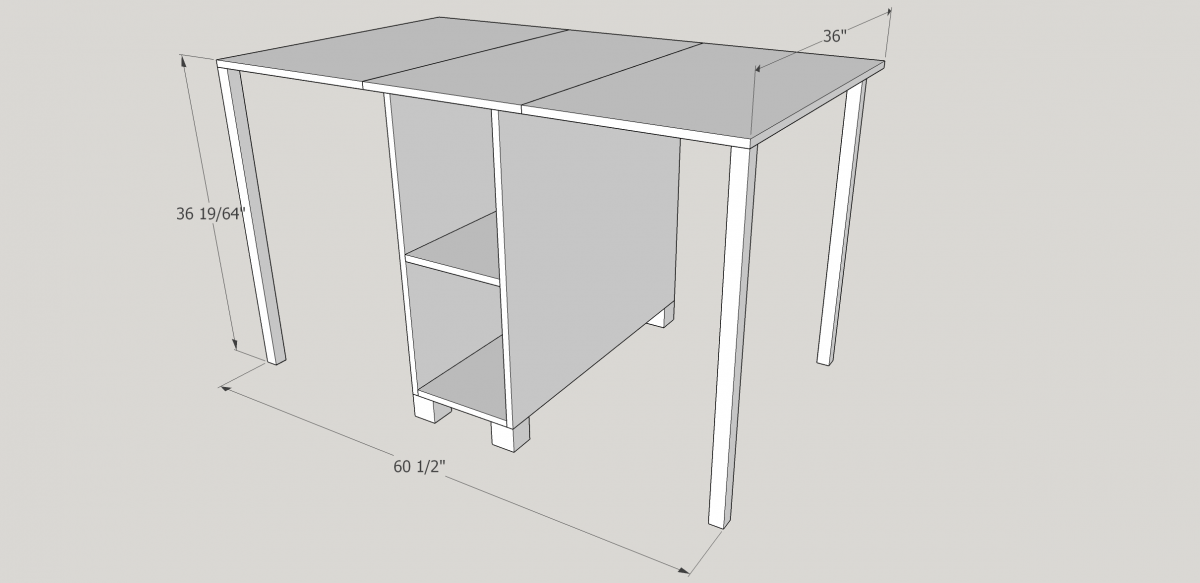
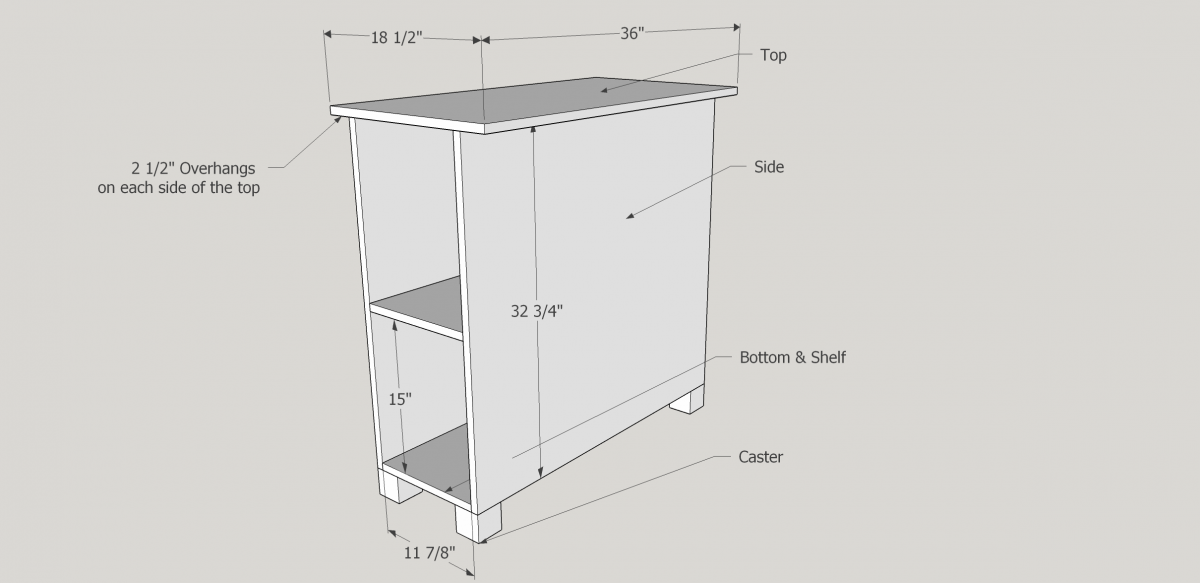
Modified Claire Desk (work in progress)
Cabin Headboard
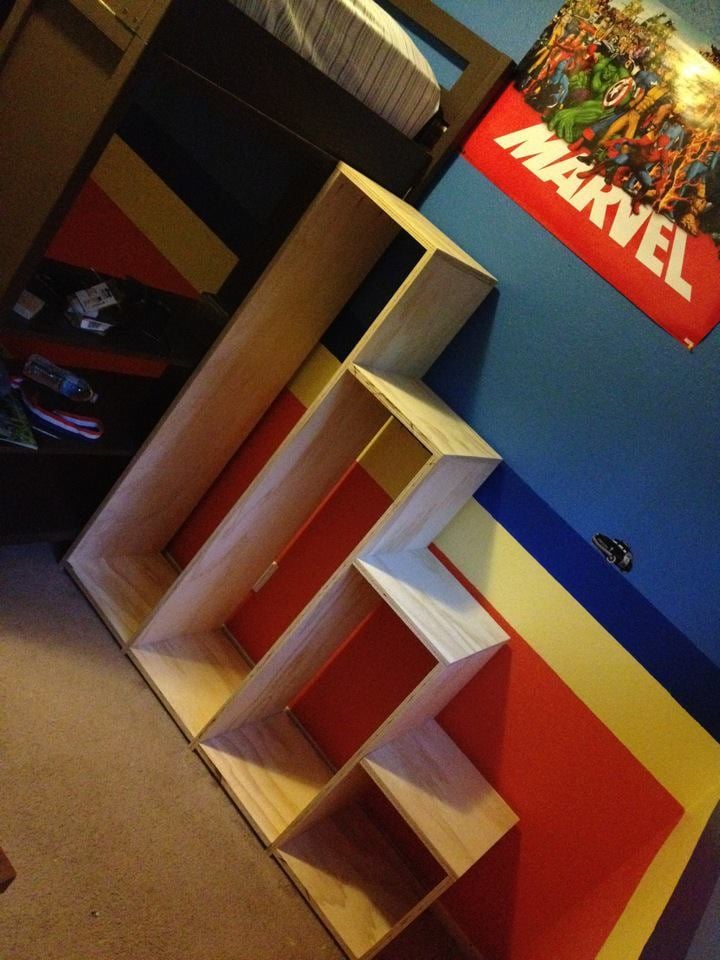
Custom built storage shelf stairs (he didn't want a ladder)

Next weekend will be touching up the paint and installing the remaining bookshelves

Estimated Cost
$500 (includes shelf/stairs)
Estimated Time Investment
Week Long Project (20 Hours or More)
Finish Used
Valspar Semi-Gloss Swiss Chocolate
Recommended Skill Level
Beginner

chicken coop

Submitted by namaste7 on Mon, 05/11/2020 - 22:10

Modified to make the coop bigger and the planter smaller. Added 1" foam insulation on the inside and changed the design to use the "deep litter" method. This means the coop bottom goes all the way to the bottom of the support beam rather than using a removable tray. Added a steel roof with a ridge vent at the top. The chicken run under the coop is lined with buried hardware cloth so no animals can dig under the coop. All hinges are mortised and doors flush mounted. The coop is wired for power for a heat lamp. The planter is lined with a metal tray. The coop can be separated into two pieces so you can move it or rotate the top 180 deg if needed (so you can get to the eggs from the left or right side). Great plans, thanks Ana!

Estimated Time Investment
Week Long Project (20 Hours or More)
Finish Used
cedar deck stain. Olympic. brand
Recommended Skill Level
Advanced

Comments

Seasonal And Holiday

Organizer

Submitted by Taa-daa on Thu, 09/29/2016 - 21:41

It's a little twist on Ana's Coat organizer. Turned out really useful and did not cost me anything since I ussed scrap wood. I wish I would build have built one for coats as well.

Estimated Cost
0
Estimated Time Investment
An Hour or Two (0-2 Hours)
Finish Used
Walnut stain plus clear coat
Recommended Skill Level
Beginner

Kid's storage table and benches

Submitted by spiceylg on Wed, 10/24/2012 - 10:08

We built three of these for a women and children's shelter. We had friends help us with various aspects of the project. The colors are definitely more vibrant in person. Table tops are painted with chalkboard paint. Because we built three, it took three weeks with some down time here and there. Haven't sat down and figured cost but I know other bragposts have included them if you are curious.

Built from Plan(s)
Estimated Time Investment
Week Long Project (20 Hours or More)
Finish Used
Gray primer, Olympic 2 in 1 paint (still needed primer!) and Valspar Chalkboard paint for table top. All topped off with three coats of Polyurethane.
Recommended Skill Level
Beginner

Comments

Guest ma crazy (not verified)

Wed, 10/24/2012 - 20:49

This is beauitful I love the colors! The children are going to love them too! Keep doing God's work!

yurra-bazain

Mon, 02/25/2013 - 20:57

It is amazing that you built these for a women and children's shelter. You are truly using your talents for good. :) Thank you for the inspiration.

MrsPowers

Fri, 06/28/2013 - 22:27

Hi! I absolutely love the colors you used (and the chalkboard paint is pretty awesome as well). I did have a question. I saw your question about the type of material to keep costs down. The 1 in material in my town is way more expensive than 3/4 in quality Purebond plywood. Do you think the plywood would hold up? This would be much more cost effective and leave some change to do a couple of extra small projects. Thank you in advance for your help!

spiceylg

Tue, 07/23/2013 - 05:12

MrsPowers, I am just now seeing your comment, my apologies! I don't see why the plywood wouldn't hold up, but unfortunately, I am not the one to ask. I am still quite the novice! I had asked about material for the top because I originally didn't want to buy the pre-made round tops. However, time got away from us, so we ended up just biting the bullet and buying them after all. If you are on Facebook, you will probably get a question answered quicker there. Ana's wall name on Facebook is Knockoff Wood. Best wishes on your future projects and sorry I couldn't be of more help!

Cutting Table for Sewing room

Submitted by tjbr100 on Mon, 09/07/2020 - 22:06

Jennifer wanted a cutting table for her sewing room and so I took Ana-White's Sewing Table plans and made them taller into a cutting table. We aimed for 36" (Standard Counter-Top Height), but ended up at 36 19/64" due to the casters not being exactly two inches. Jennifer's a little short so I was really worried about the extra 19/64" (but don't tell her I said that :)

We decided to use MDF instead of plywood to avoid the risk of snags on finer fabrics.

Instead of simple hinges for the legs, I chose locking hinges available from Lee Valley https://www.leevalley.com/en-ca/shop/hardware/table-hardware/legs/leg-b… ($38 for all four).

We purchased 2" Casters from Amazon.ca https://www.amazon.ca/gp/product/B07G84R9Q9/ref=ppx_yo_dt_b_asin_title_… ($22.99 for all four).

The base was cut from one sheet of 3/4" MDF

We used 2 1/2" screws and glue to build the base. We pre-drilled and counter sunk the screws, ensuring squarness all around.

We attached the casters with the screws provided.

Then we cut the leaves from some scrap 3/4" MDF and attached them with some old door hinges we had.

Once the leaves were attached, we attached the locking hinges for the legs.

We cut and planed the legs a little, and then routered the corners to give them a bit of a nicer look.

Once assembly was finished we applied a coat of primer and two coats of white, satin, interior paint.

The whole thing came out really well and is a nice addition to the sewing room. Once again, I found the plans on this site to be really helpful and easy to understand. Thank you!

Estimated Cost
$150
Estimated Time Investment
Weekend Project (10-20 Hours)
Finish Used
Interior Primer and White, satin, interior paint.
Recommended Skill Level
Intermediate

Modified kitchen island off Michaela's kitchen island

Submitted by Jessjeeper on Mon, 12/31/2012 - 22:51

My husband and I built this counter height with specs of 351/2" high x 25" wide x 48" long. We are using it in our kitchen as a prep island.

Estimated Time Investment
Weekend Project (10-20 Hours)
Finish Used
We made our own stain with vinegar and steel wool for the top and shelf, painted the body with Valspar Mermaid's Song. Poly over the stain to protect it from water and heat.
Recommended Skill Level
Beginner

Comments

Jake

Tue, 01/01/2013 - 05:09

I think you guys did a wonderful job on the kitchen island. I like the fat legs and the 1x4 aprons. Did you consider adding a drawer since you have deep aprons? Is the top a butcher block or did you construct the top yourself? If you did build the top is it suitable for use as a cutting board?

Market for my boys

Submitted by Quartney on Fri, 01/04/2013 - 13:30

My oldest son really wanted a toy cash register, and he loves pretending he has a Bait & Tackle shop. I built the market base where the front side is for "Will's Stop 'n' Shop" and it can be turned around and used for "Wyatt's Bait and Tackle". The countertop holds the cash register and shopping basket perfectly. They are great Shopkeepers!

Estimated Cost
$45
Estimated Time Investment
Day Project (6-9 Hours)
Finish Used
Painted with various cans of spray paint and sample paint that I had in the garage. Vinyl lettering for the "signs".
Recommended Skill Level
Intermediate

A twist on Modular Family Entryway Mudroom System - Pullout Rolling Bench Cart

This is a twist on the Modular Family Entryway Mudroom System - Pullout Rolling Bench Cart . There have been many posts on the net for a mudroom locker set such as the one I have. In our case we had a mudroom with a closet, not much room to move when sliding the doors open, and as well we have kids that need a place to sit in order to put boots/shoes etc on. I took advantage of my husband's work assignment out of the country to rip back the closet,to 20 inches deep and open it up and added a bench for seating, baskets above for out of season/rarely used stuff, and used rolling cubbies below, but in my case I wanted storage bins instead. My thinking was so that I could make it look clean pretty quickly by just chucking every thing in to the bin... These are tall enough for our boots. In the bottom of the bins I put a piece of outdoor carpeting, then a plastic grid, and over that another layer of outdoor carpeting so if the footwear is wet it will drain and dry-no biggie to vacume or sweep out. Best deal: I can simply roll them out of the way when I want to sweep underneath! I measured cubby space to basket size above, and made the bins below after doing the bench and middle supports, to ensure a good fit. The bench top is an old piece of pine board I sanded, stained and used 4 coats of marine varnish so it would take lots of wear and tear.

Estimated Time Investment
Week Long Project (20 Hours or More)
Finish Used
minwax walnut stain, and marine varnish benchtop
behr marshmallow paint
Recommended Skill Level
Intermediate

Comments

Basement Storage Shelves

Submitted by dmozer74 on Tue, 01/06/2015 - 08:46

Using Ana's plan for the garage shelves I was able to shorten them up and turn my basement storage area into a well-organized storage area.  This was my first real wood working project ever. The detailed plans from Ana's site made this a very doable and easy project.

Estimated Cost
For all the wood, glue and self-tapping screws the project cost right at $170 to build both shelves.
Estimated Time Investment
Afternoon Project (3-6 Hours)
Finish Used
Unfinished.
Recommended Skill Level
Beginner

Tip out garbage/storage cabinet

This little space by the back door has always made the kitchen look messy. We put the garbage can there, and other random stuff we didn't have a place for. I got the idea to build Ana's Tilt Out Trashbin cabinet, but I also wanted a place we could put things like pet treats, etc. to get them out of sight. I made the upper horizontal space to house cans of dog and cat food, and bring the cabinet up to the same height as the countertop. The right hand side has adjustable shelves with bins for things like onions and potatoes. Left side is the tilt out trashbin. Top is butcher block stained black to match my countertops.

Estimated Cost
$120
Estimated Time Investment
Week Long Project (20 Hours or More)
Finish Used
Latex paint, food safe stain and poly varnish.
Recommended Skill Level
Beginner

Comments

My first build!

This locker cabinet was my first build and I learned a ton. For example:

1. Use the Kreg face clamps while drilling into the Kreg Jr.
2. Buy straight wood.
3. Buy wood that is not warped.
4. Do not try to buy wood with grouchy kids in tow.

Are you seeing a theme? Yep, your project will only be as square and perfect as the wood you buy.

I modified the locker plan to include apothecary-style drawers for our cell phones, sunglasses and chapstick. I also drilled through the back of one of the drawers to turn it into a charging station for our cell phones.

The locker has been super useful so far and is such a great way to keep my kids' backpacks and lunchboxes organized. The baskets are designated for my purse, stuff I need to return to stores, the dog's leashes, and library books. It's so nice to have all this stuff near the front door and never wonder where any of it is!

Estimated Cost
$100
Estimated Time Investment
Weekend Project (10-20 Hours)
Finish Used
Ralph Lauren "Aged Mint" in flat. Distressed and coated with Minwax Polycrylic in satin.
Recommended Skill Level
Beginner

Coffee Mug Tree

Submitted by LampAtFeet on Wed, 10/13/2021 - 15:11

Very simple project, but extremely useful! Decided to not put a knob on the top, spray painted it black matte and distressed the edges. The hooks are from Walmart. Great project to use up some scrap wood! Makes great gift!

Comments

Rustic Farm Table and Benches

Submitted by verymom on Mon, 05/23/2011 - 17:13

We shortened the table and lengthened the benches - you can see all our details and changes in the blog link.

Estimated Cost
120
Estimated Time Investment
Afternoon Project (3-6 Hours)
Finish Used
Paint & Minwax stain (finish took way longer than building!)
Recommended Skill Level
Intermediate

Reclined Back Outdoor Sofa and Chair DIY

Submitted by Anonymous (not verified) on Sat, 04/09/2022 - 07:12

OK, I think this build may be my biggest project yet! It is definitely the heaviest. With the strong winds we can get here in Florida we needed substantial outdoor furniture.
I did make some modifications along the way measurement-wise so the sofa would fit my front porch better. All in all, this took 2 full days. I built the sofa first, stained it the next day and then decided (due to trying to get stain in all the nooks and crannies) to stain the chair pieces first before putting it together.
I am so happy with the results and so far, almost a year later, this furniture looks great and hasn't moved an inch in any of the thunderstorms we've had! Thank you Ana!!

Comments

Teeter Totter

This is one of the cheapest projects for my kids I have ever completed!! And the most rewarding. I think everyone of my neighbors has been on the teeter totter...including adults :) My kids just love it and I am thinking of making a few for my nephews for Christmas. I was able to find all the wood I needed in my scrap pile. I had the PVC pipe and bolt already also so all I had to make a trip to the store for was the foam for the seats. My son helped me build this in an hour. I liked the unfinished look so I just sprayed it with a little Thompson Water Seal. Thank you Ana White!!

Built from Plan(s)
Estimated Cost
$0 Lumber (scrap wood) $5 Foam padding
Estimated Time Investment
An Hour or Two (0-2 Hours)
Finish Used
Thompson Water Seal
Recommended Skill Level
Starter Project

Comments

Seasonal And Holiday

Comfortable Easy-Build Chair

Submitted by Sue Hill on Fri, 08/12/2022 - 14:43

This was a great project! If a 70 year old woman can build it, so can you. I had an old bench that used 2x4's and those plastic ends. I took it apart and salvaged most of the boards after sanding them down. So my cost was zero dollars to build this, but I'm sure it wouldn't last as long as using new wood.
I found the instructions easy to follow. I used 2 1/2" exterior star screws, and finished the wood with solid exterior stain in a sage green. The wood wasn't in great shape, so a transparent stain would not be a good choice for me.
I bought a $16 chair cushion and I'm tempted to make another chair!

Comments

Modern Patio Chairs/Love Sear

Submitted by Anonymous (not verified) on Sun, 09/25/2022 - 15:57

Super easy and fun project! We altered the original plans to build a loveseat and had zero issues. We did add some extra support below.
I did not find 25”x25” cushions within our price range so I settled for 25”x22.5” and they work but ultimately 25x25 works best.

American Girl Dollhouse with Farmhouse Bed, Bunk Bed, and Furniture

Submitted by Anonymous (not verified) on Tue, 01/08/2019 - 08:46

I've been building Ana White American Girl doll furniture for my two daughters for the last three years, culminating with my biggest build of all - a modified version of Ana's dollhouse.

My wife kept telling me it would end up being huge, and she was right.  The great news is that it doubles as storage when the girls aren't playing!  2 Bedrooms, kitchen, living room, bathroom, and upstairs bonus room for dance and gymnastics.  78" tall x 76" wide, mounted to the wall studs for safety.   Lots of joy in our home on Christmas day.  Thanks Ana!

Estimated Cost
$300
Estimated Time Investment
Week Long Project (20 Hours or More)
Recommended Skill Level
Intermediate

Comments