Community Brag Posts

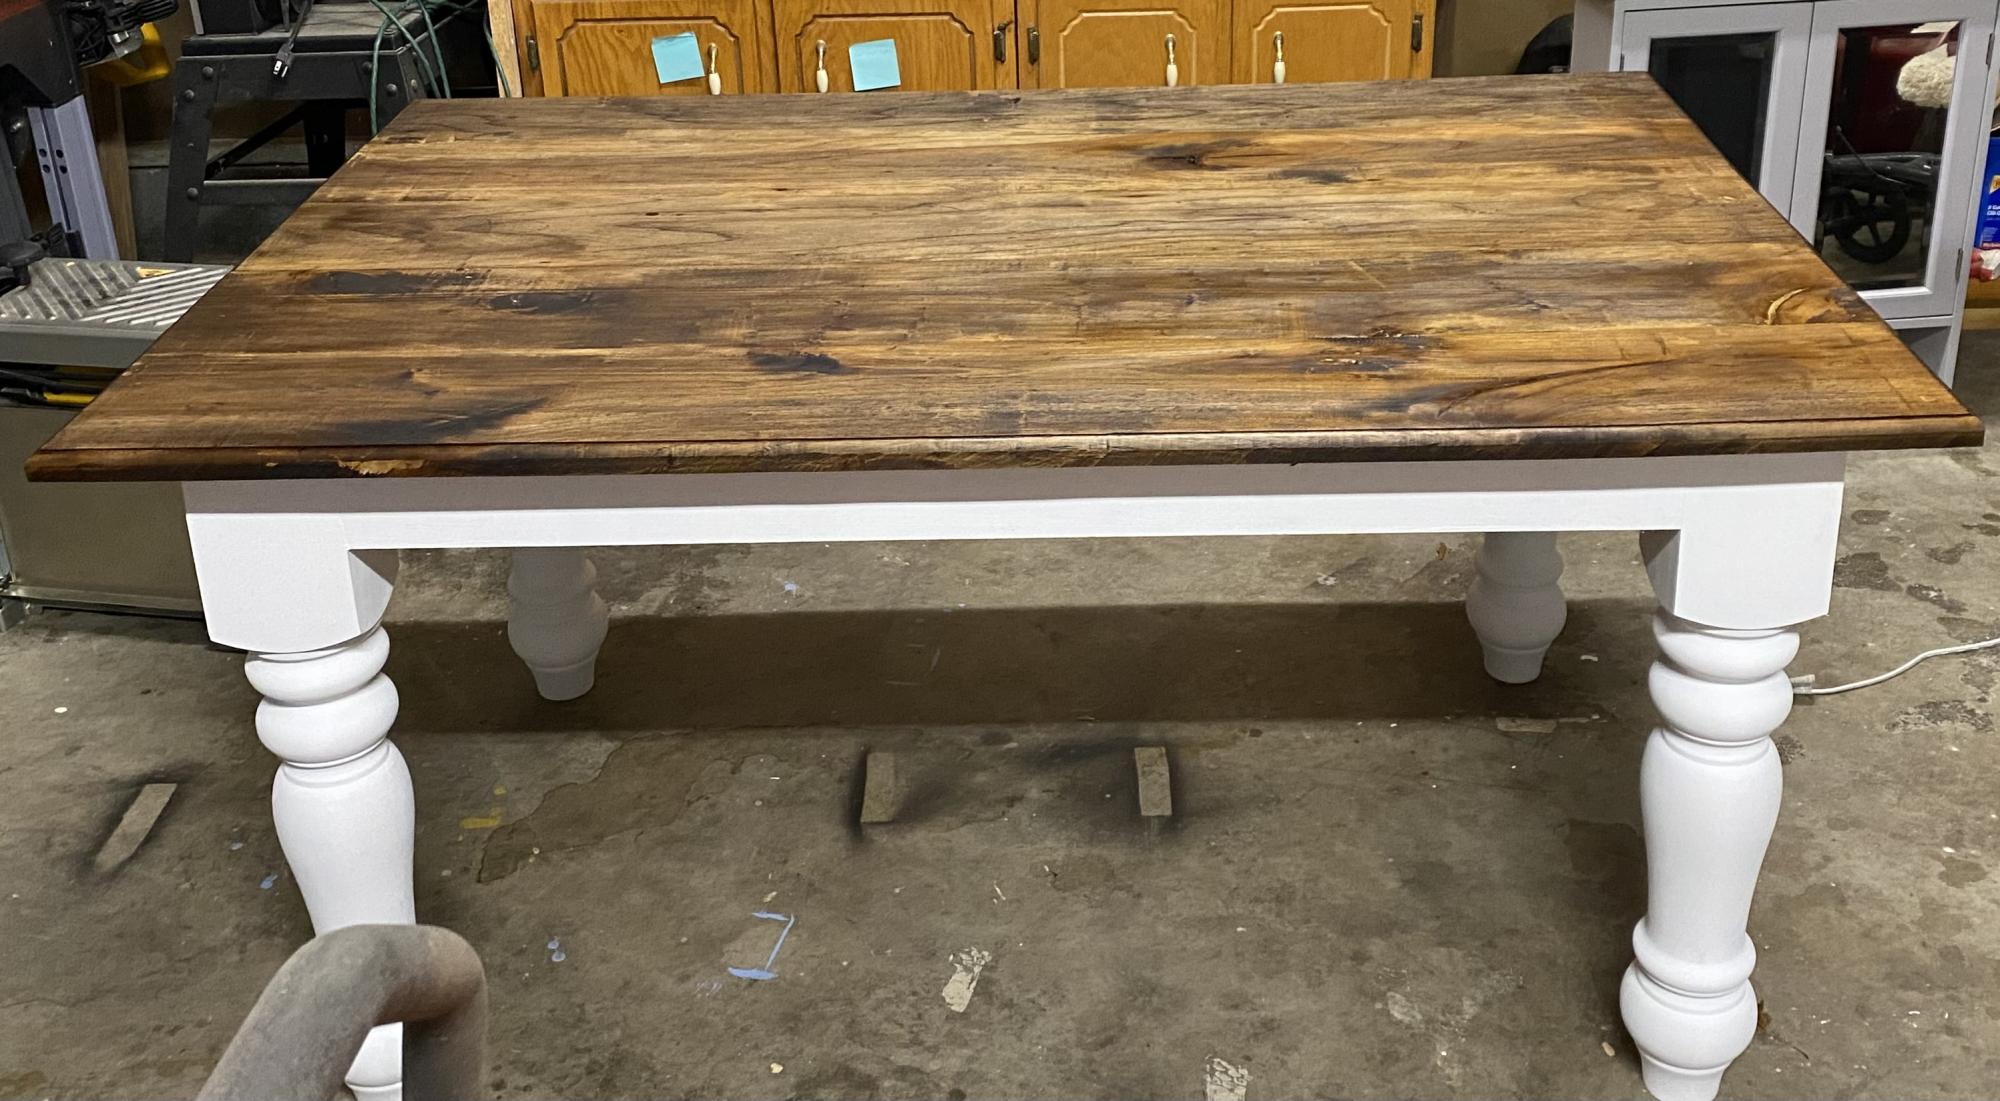
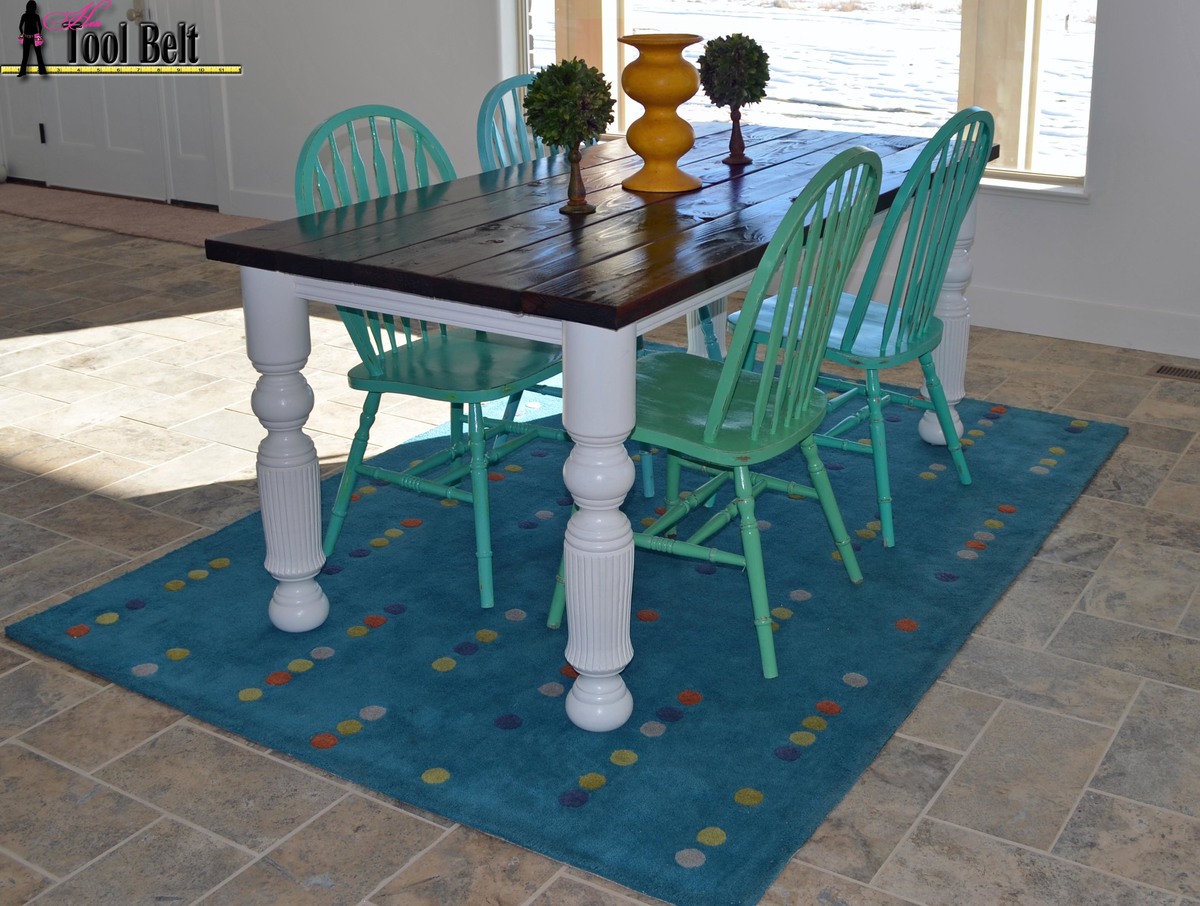
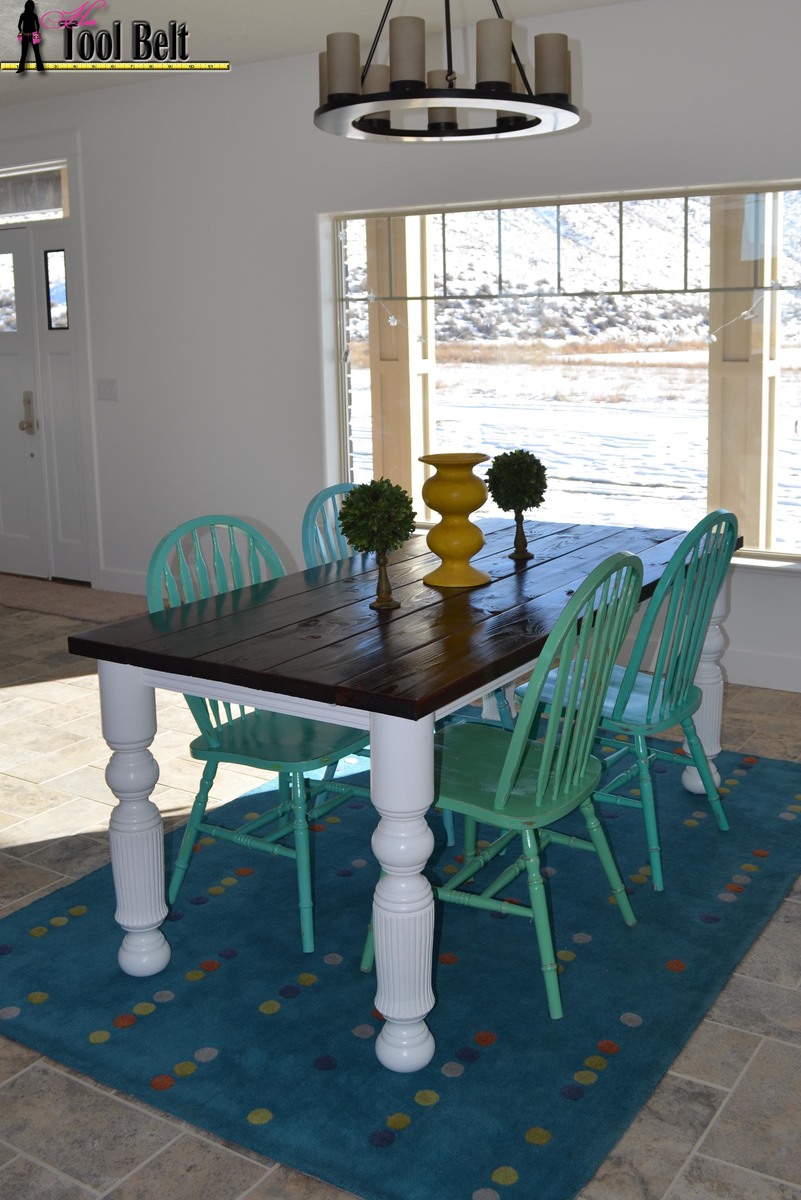
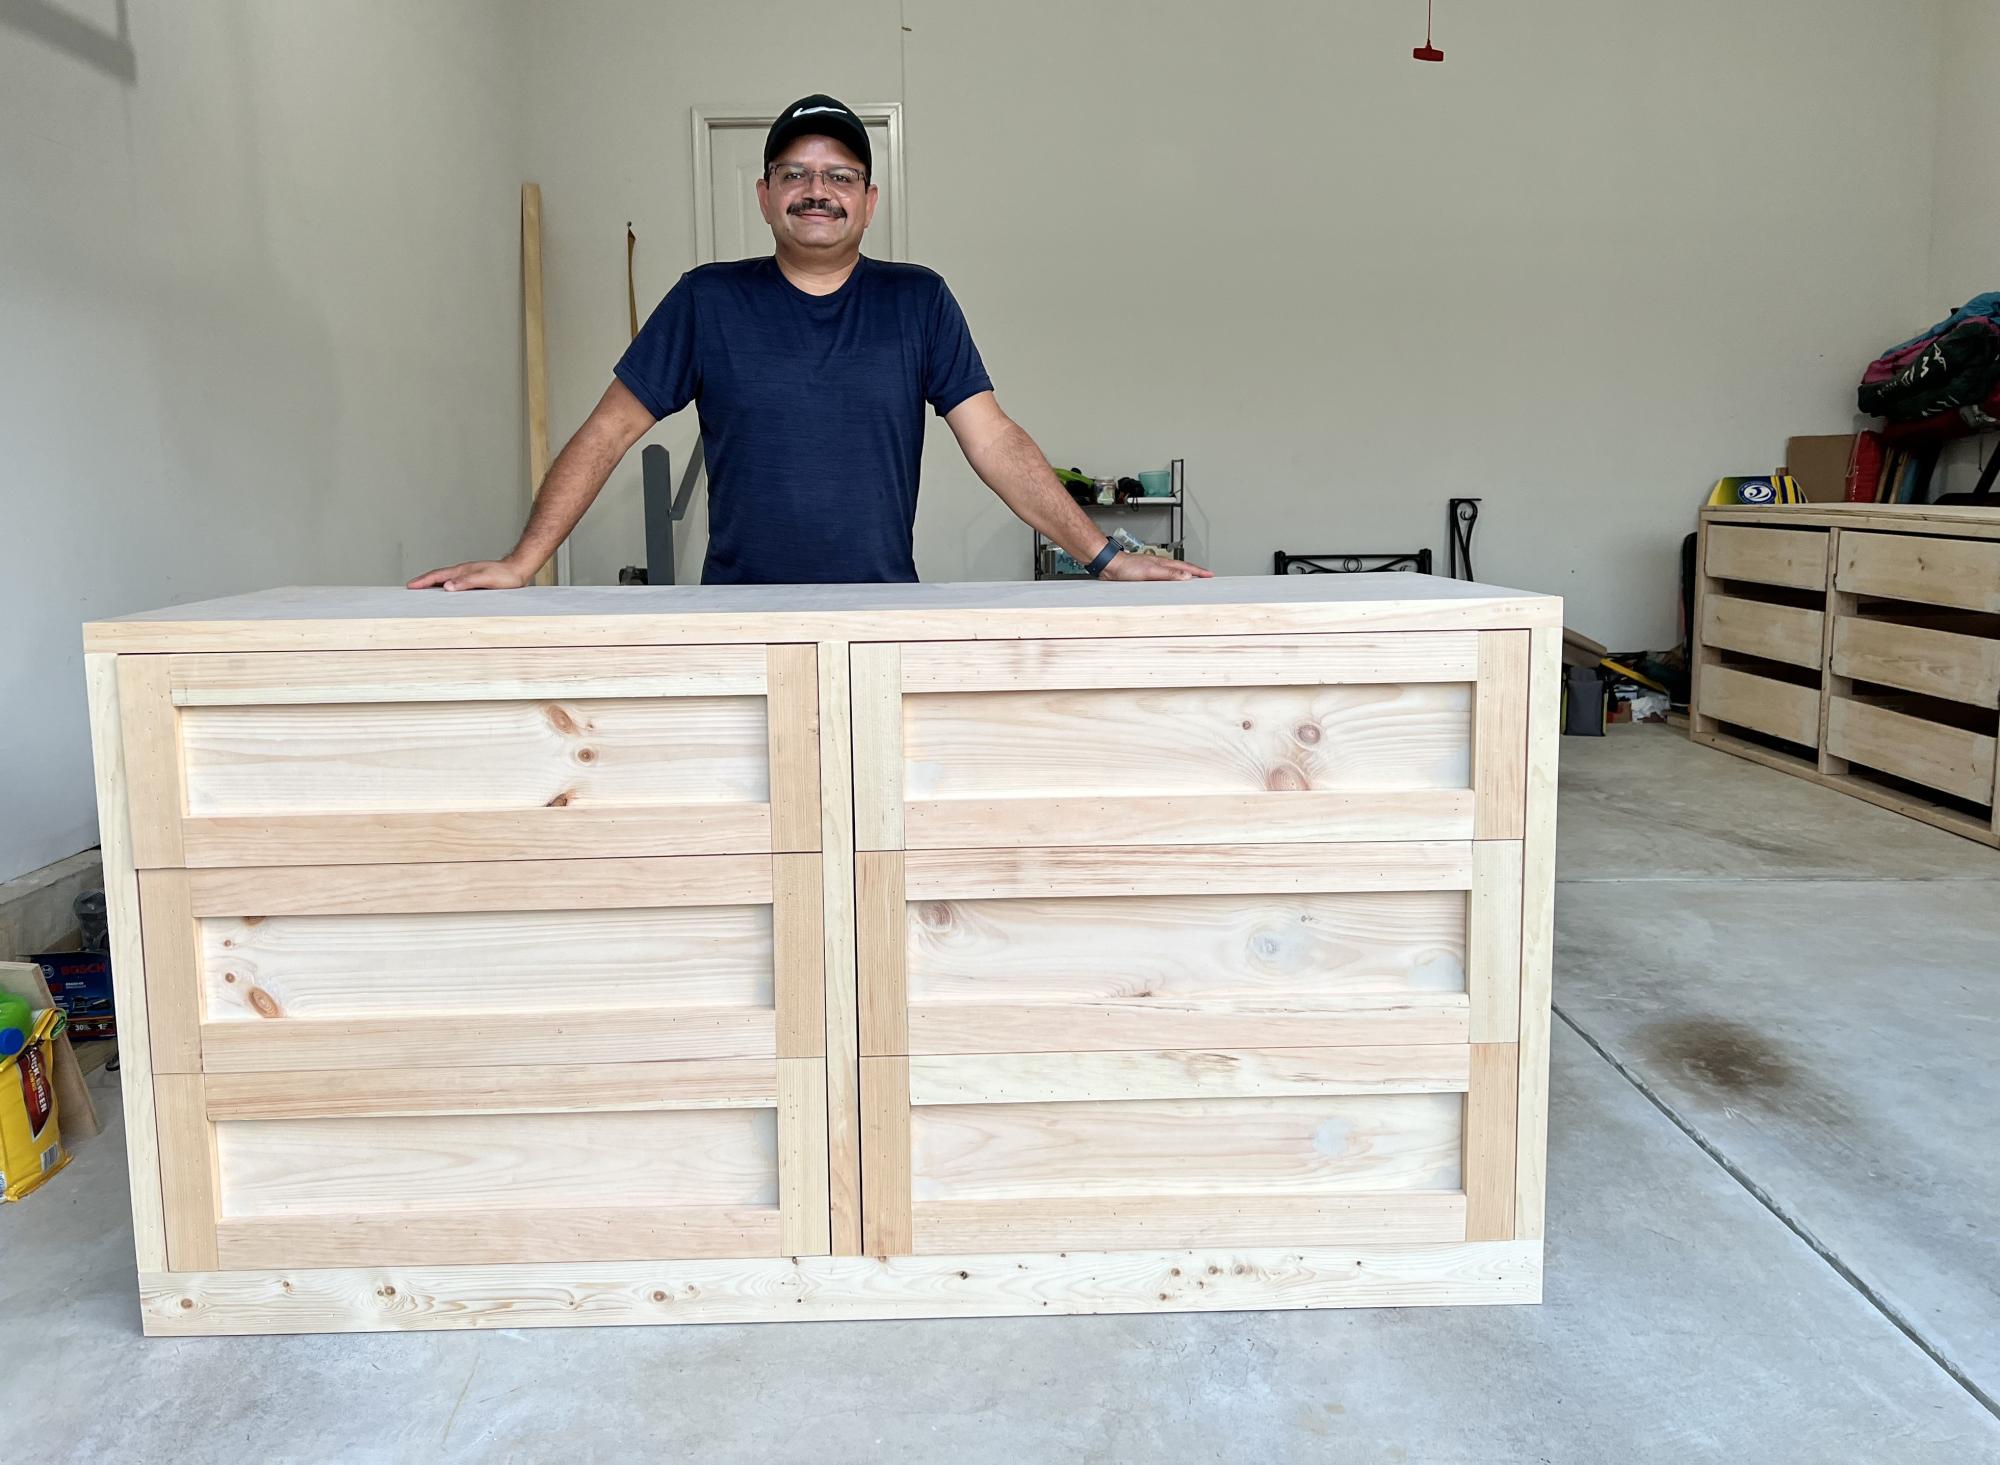
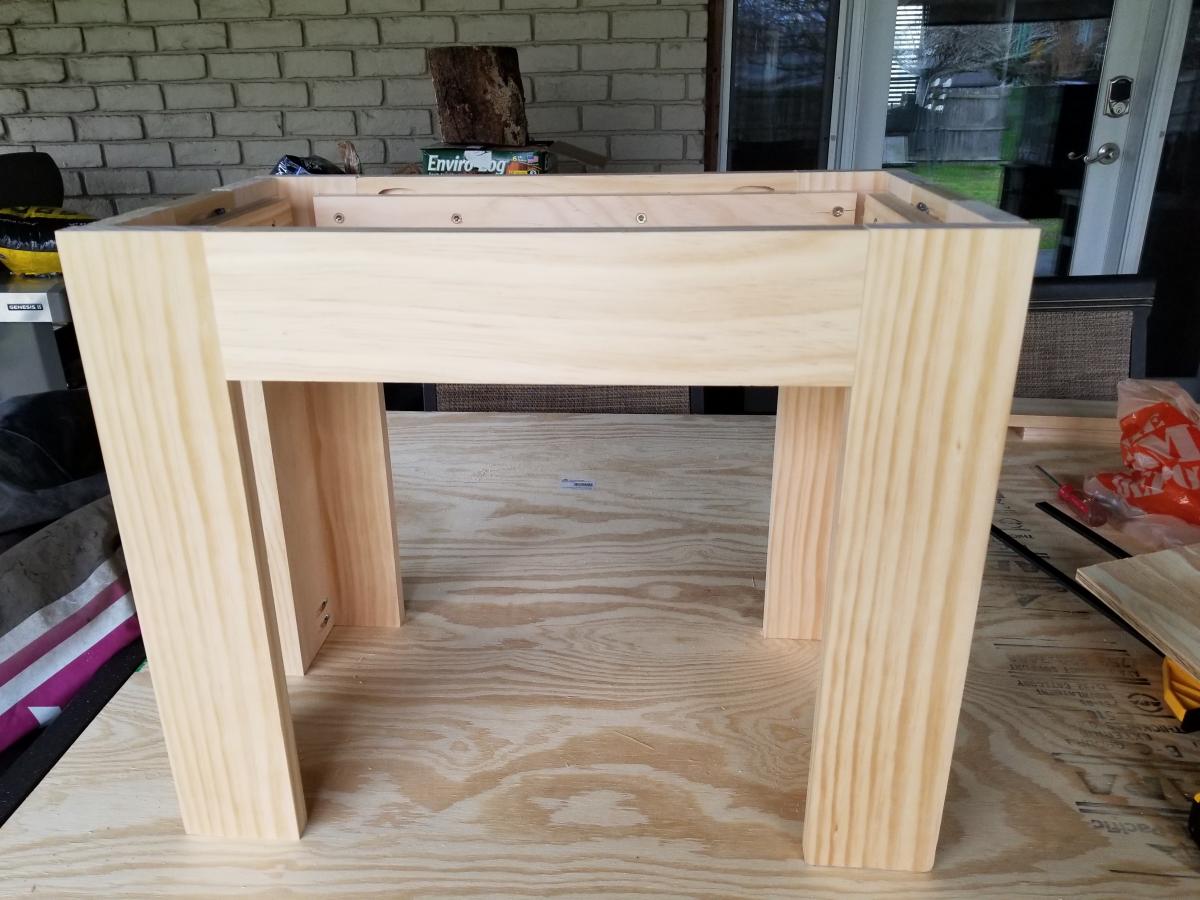
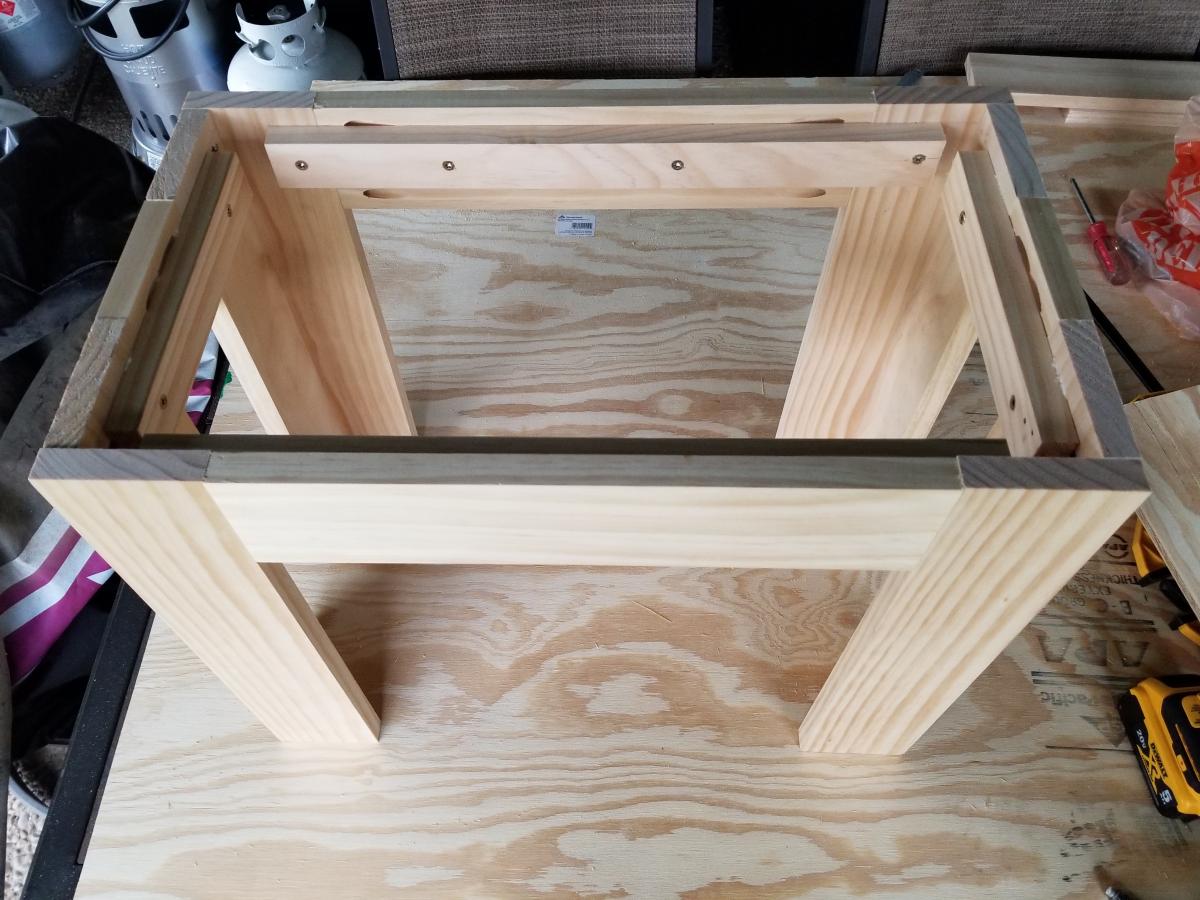
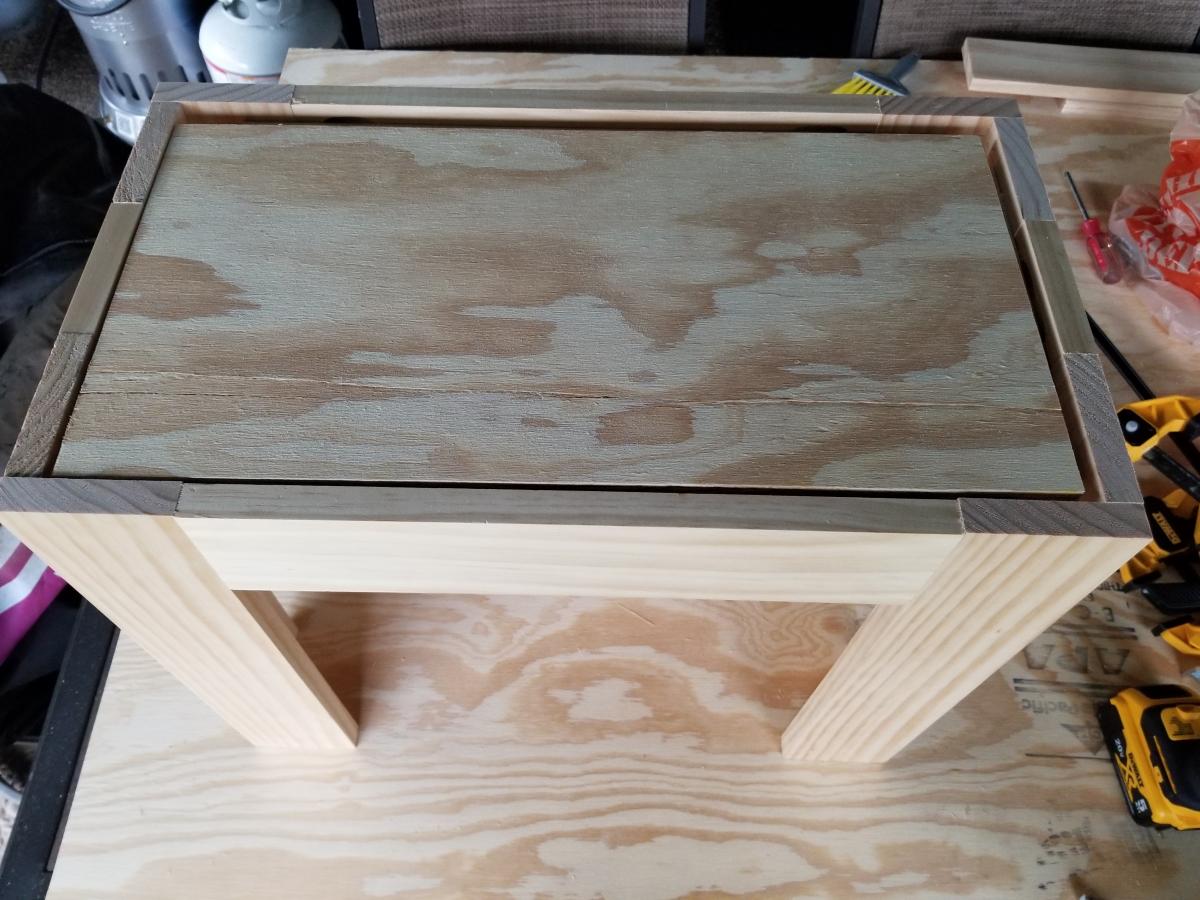
Husky Farmhouse Table and Bench

Submitted by frmoody on Fri, 06/03/2022 - 09:23

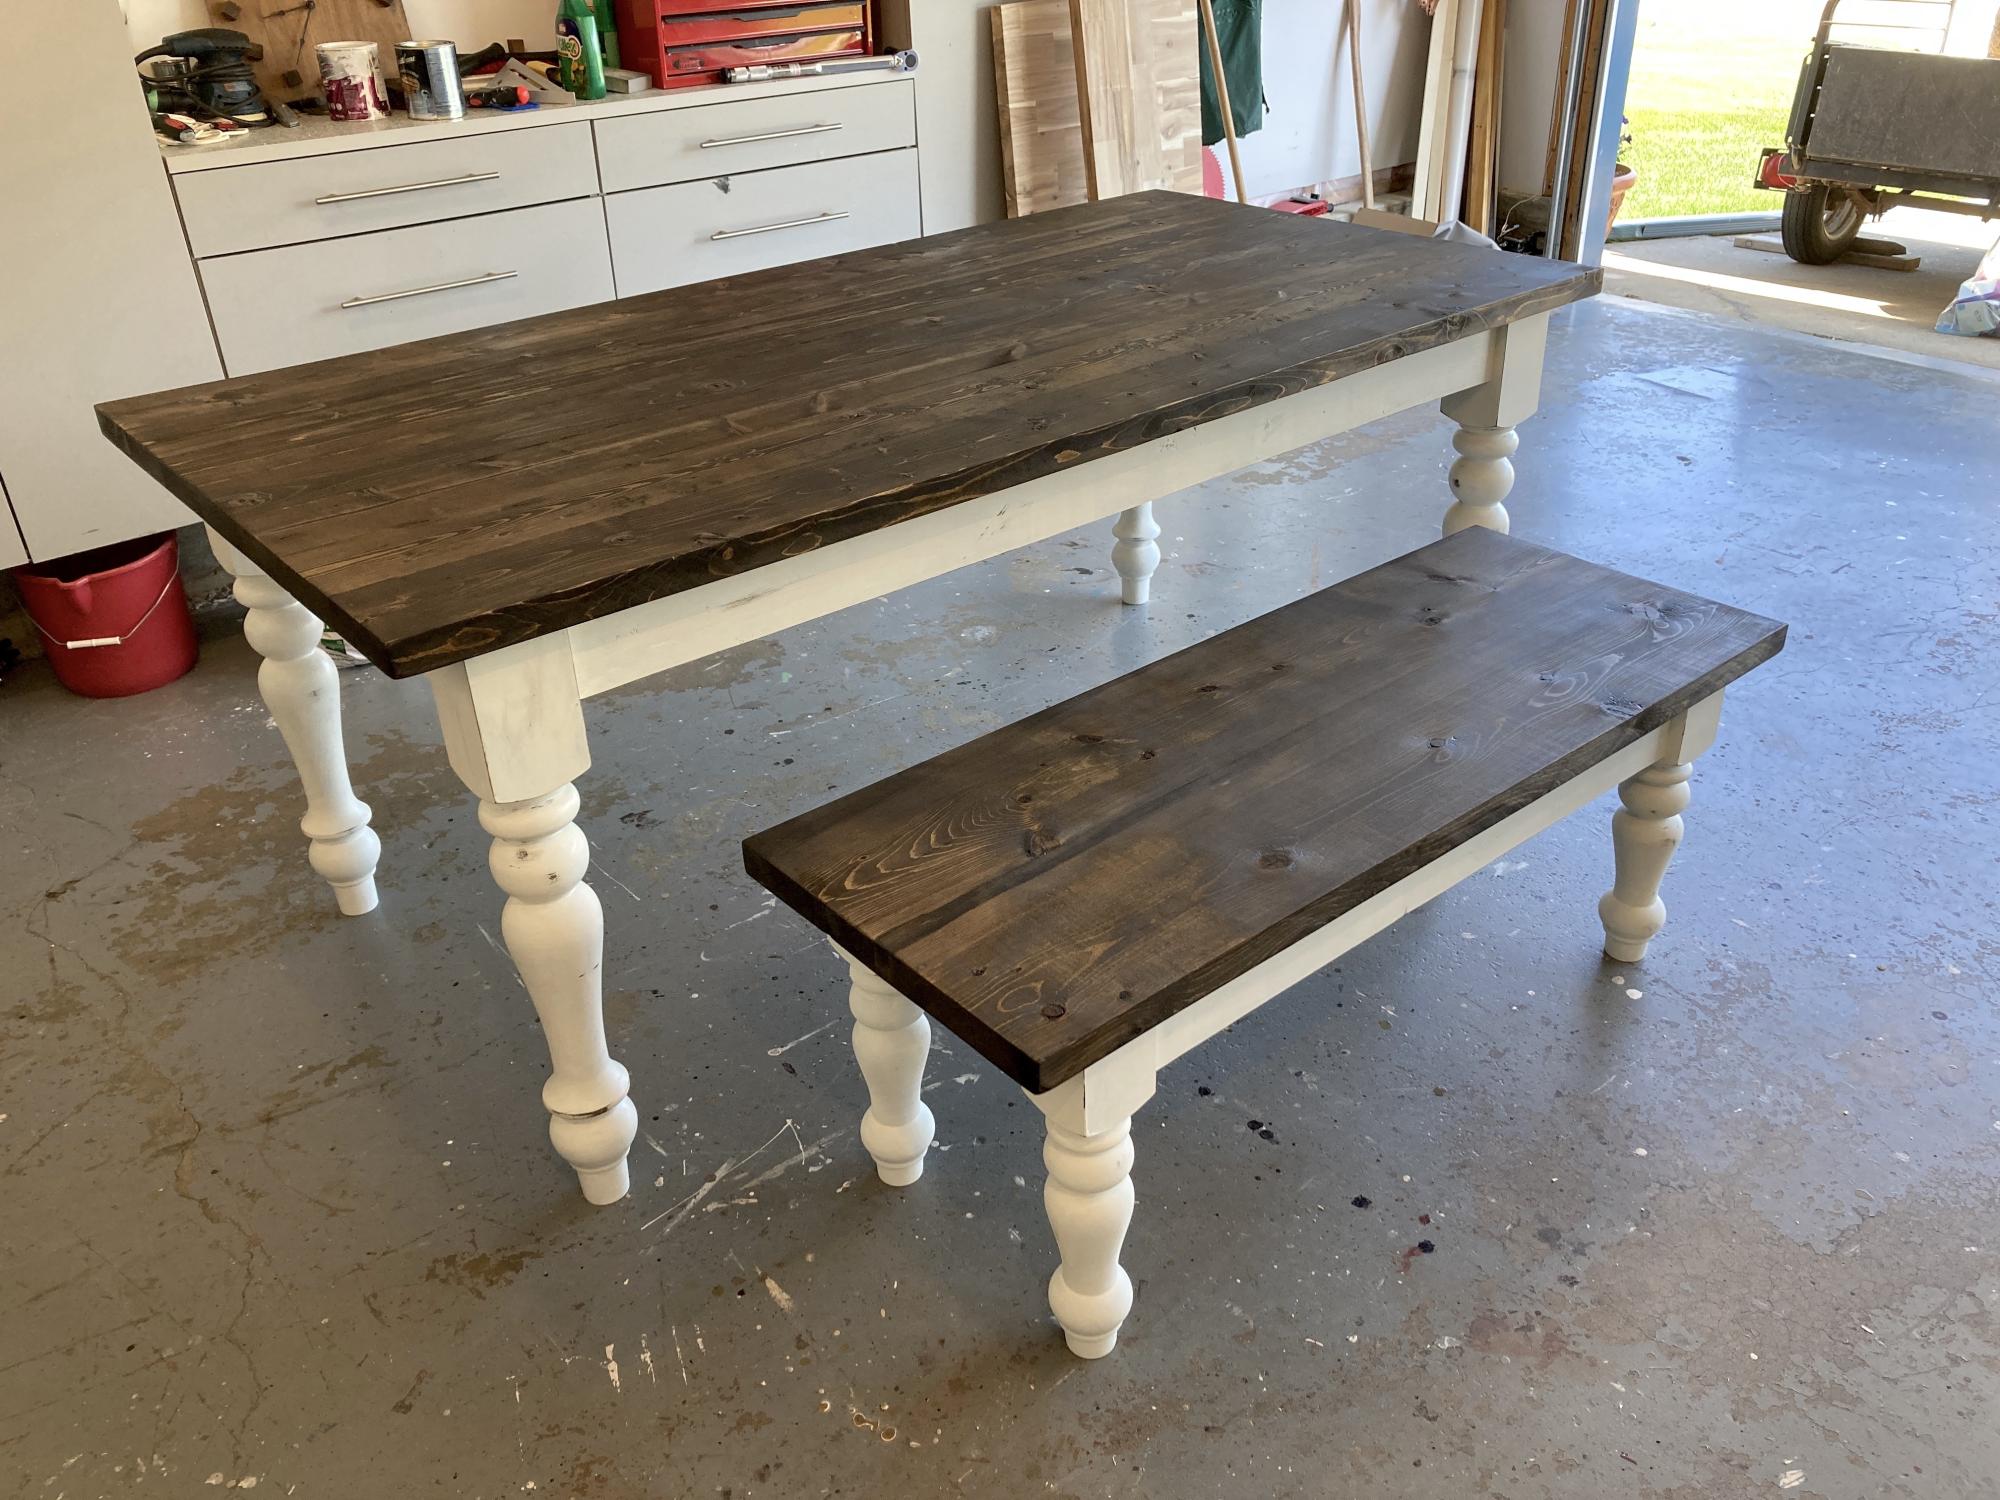
I have built several of these tables but this was the first one with turned table legs. They were somewhat expensive but I think the final product looks great with them. I actually stained the bottom aprons and legs the same colour as the top and then put on two coats of an antique white followed by a little scuffing up with sandpaper. I also cut the aprons from 2 x 6's so they were actually 4" in width. I used MinWax Jacobean stain which I had never used before. I then applied three coats of Varathane Satin finish. Not the best photo from my garage but no way I was getting it inside my house for a better photograph. Thanks for the great plans Ana.

Built from Plan(s)

Comments

Faux fireplace mantel

Submitted by Anonymous (not verified) on Sat, 02/11/2023 - 06:14

Took the faux mantel a step further and created a faux brick interior by cutting into the wall and building a simple wooden "hearth" to rest the candles on. I've had many people over to my house and they all thought that this was a real (although out of commission) fireplace. Faux brick panels were purchased on Amazon which comes in a plastic-y kind of material. Not quite styrofoam, but some type of foam that is easy to work with. Came in a white color, but I simply rubbed it with shades of beige and gray paint to achieve the look I wanted.

Comments

adirondak chair set

Submitted by KL728MX on Tue, 01/05/2016 - 12:12

custom set of adirindack chairs i bulit for my deck. they are angled in at 20 degrees. i came up with the plans myself after looking at an older set i had purchased that were falling apart.

Estimated Cost
150
Estimated Time Investment
Weekend Project (10-20 Hours)
Finish Used
Olympic rustic cedar outdoor waterproof stain
Recommended Skill Level
Intermediate

Workbench modified with casters

Submitted by ogie287 on Tue, 04/02/2019 - 20:06

I love this workbench! I added casters so I can move it around the garage, outside, wherever it's needed. I just took 4 inches off the bottom of the legs. My hubby is admiring my handy work and planning on making one for himself.

Estimated Cost
$130
Estimated Time Investment
Afternoon Project (3-6 Hours)
Finish Used
None
Recommended Skill Level
Beginner

Comments

JBeecher

Wed, 01/25/2023 - 14:31

Love this with the casters! So beautiful. I'm new here and wondering at what point you took 4 inches off the legs. Did you build the table and then just cut off the legs? Or did you adjust the measurements of the cuts? Thanks in advance! :)

JimCoz516

Mon, 01/30/2023 - 02:32

The overall height of a 4-inch caster wheel is a little over 5 inches with the mounting bracket, so that also needs to be taken in to consideration. 2nd photo shows the overall dimensions, but to me the bracket and brake area appear to be a bit more than 1.03 inches. https://amzn.to/3DkMKzB
I think the best bet would be to have and measure the overall wheel height, prior to measuring and cutting the lumber.

Farmhouse Coffee Table [Beginner/Under $40]

Submitted by Anonymous (not verified) on Sat, 03/25/2023 - 03:46

Than you Ana, My first time ever that I have made anything - my coffee table taking pride of place. Looking forward to making my next project from your plans.

Comments

Dining Room Table

Submitted by Anonymous (not verified) on Tue, 04/04/2023 - 06:31

This table was made out of Pecan. The legs are pine. I think the basic plan was from Ana-White.com but I am not sure.

Built from Plan(s)

Comments

New bed for my youngest

Submitted by Anonymous (not verified) on Mon, 04/10/2023 - 15:45

Moved into a new house after a fire destroyed almost everything, rather than buying new beds for my kids, we decided to build! They turned out beautifully, and the kids love them! Decided to modify the camp loft bed, removing the stairs and using the foot of the bed a ladder style.

Comments

Lack Inspired Shelfs - made bigger

Submitted by ride4lamar on Mon, 12/19/2011 - 07:39

We have the IKEA Lack furniture in our living room and wanted the shelves to match. We also wanted them to take up more of the wall. the shelves measure 80" tall by 47" wide and are made out of 2x12s. Three of the shelves are 15" and the other is 24" since it is to be used for larger display items.

The shelves are secured with 3inch deck screws, sunk in and filled with wood filler.

Built from Plan(s)
Estimated Cost
$140 total for 2 shelves. $115 for wood, $12 for paint, then the cost for sandpaper and screws.
Estimated Time Investment
Day Project (6-9 Hours)
Finish Used
Sanded with 120 grit, and painted with Martha Stewart white high gloss.
Recommended Skill Level
Beginner

Princess Castle Loft Bed

We used the plans from this site to build this for our daughter. We did however make the bed part a bit more sturdy to ensure that no one would get hurt and to make sure it could support any weight. We added 4 2x4s across the bed like rafters and screwed the slats on top of them.

Estimated Cost
$350
Estimated Time Investment
Week Long Project (20 Hours or More)
Finish Used
Paint
Recommended Skill Level
Intermediate

Kitchen Cabinets

Submitted by Anonymous (not verified) on Wed, 10/02/2019 - 21:30

I followed the kitchen cabinet building plans to build all new upper cabinets up to my ceiling. I built all new drawers with soft close drawer slides also and built the refrigerator enclosure cabinet.I did the entire remodel myself including the new doors out of MdF.

Finish Used
Emerald urethane paint
BIN Shellac Primer

Comments

Ana White

Tue, 11/05/2019 - 10:41

We are so thrilled to let you know your entry WON the Best Brag contest!  There were many amazing entries, and it was tough to choose.

Look out for an email from us shortly!

Husky Farmhouse Table

My Sister thought this table would be a perfect edition to her new Farm House styled home that she was building. My sister asked a local wood turner if he had any old chunky legs sitting around...and he did! He sold these beauties to her for $20/each, steal of a deal.
We followed the Husky Farmhouse Table plan except with a few modifications. We used 5x 2″x8″x72″ pine boards instead of the 2″x6″ boards. I thought it was necessary to add some supports to stiffen up the table top, so we cut 3 pieces of 2″x4″ about 25″ long and glued and screwed those boards into the underside of the table top.
Next we substituted 1″x4″ furring strip board for the 2″x4″ skirt and eliminated the 1″x2″ trim and put a cute routed bead around the skirt. Since the table legs are round at the top instead of square, we changed the skirt attachment and screwed the legs to the table top. We cut the skirt boards to fit and screwed them in place.
The table turned out gorgeous, my sister adorned this table with fun ombre chairs. Thanks Ana for the plan.

FYI: tutorial for the silver travertine herringbone floors on blog:-)

Built from Plan(s)
Estimated Cost
$120
Estimated Time Investment
Day Project (6-9 Hours)
Finish Used
Minwax Espresso gloss, and Minwax Classic Black gloss. 2 wet coats of espresso gloss, followed by 2 wet coats of classic black. The Espresso went on with a redish color, the black made it very rich!
The legs and skirt are painted white, we plan on using antiquing glaze to get a more defined look.
Recommended Skill Level
Beginner

Comments

kristihw

Thu, 01/02/2014 - 15:41

I love this table. I have been enjoying a lot ever since my sister built it! Thanks Ana for giving us this great idea. I have received a lot of compliments from visitors. It wasn't too hard to build either. Definitely worth it!

Outdoor Pool Cabana

Submitted by Anonymous (not verified) on Thu, 10/31/2019 - 20:21

I wanted a huge cabana for my outdoor pool area to have a place guests could kick back and relax if they weren’t swimming. I took the plans from the one arm and armless outdoor sofas and modified the plan to include posts and a lattice top for shade. This inspired plan was finished off with cushions from at home and features seating comfortably for 9. Everyone loves this area in the backyard to kick back! At night we have solar lights twinkle at the top and they complete the project perfectly with a soft twinkle.

Estimated Cost
$250 before cushions
Estimated Time Investment
Weekend Project (10-20 Hours)
Finish Used
Nothing yet. Needed to wait for the pretreated wood to finish drying out.
Recommended Skill Level
Intermediate

Comments

Seasonal And Holiday

Rustic X Bench for Entry

Made 2 changes to the plans which was using a 2 x 4 as a center top board to add some variety to the board width and also decided to go with breadboard ends which also used 2x4

Thanks for the plans!

Built from Plan(s)
Estimated Cost
$50
Estimated Time Investment
Afternoon Project (3-6 Hours)

Rolling Shelf

Submitted by imsomark on Tue, 04/19/2016 - 06:31

Thank for this plan, I needed something in the corner of my living room and this ended up being perfect. I followed the steps for the frame of the bookshelf as the plan outlined but made a few other changes:

1. I put the EMT pipe a bit lower than Ana's plan, more like how the RH shelf looked. I drilled a hole 5 inches from the top of each shelf, and about 3/4 of an inch from the back (5 inches up, 3/4 over)
2. I used flat iron spray paint for the EMT pipe and caps
3. I used caps instead of having the pipe ends sticking out
4. I used 4'' rigid caster wheels, found on etsy for $15 each
5. I used weathered oak stain
6. I couldn't find the right size corner brackets so I bought a 1.5'' wide steel flat bar from Lowes and made them myself. I cut the bar at 6'', put it in a vise and hammered it in the middle to be at 45 degrees, and drilled holes for the screws.

Built from Plan(s)
Estimated Cost
Wood - $50
EMT Pipe - $4
Pipe caps - $10
Casters - $80 (including $20 shipping)
Stain - $7
Spray paint - $7
Steel flat bar - $5
Screws - $5

Total - $168
Estimated Time Investment
Weekend Project (10-20 Hours)
Finish Used
Weathered Oak
Recommended Skill Level
Intermediate

Jim's Corner Cupboard

Submitted by jimmyray7 on Fri, 04/22/2016 - 13:05

This was my first large build, and it went fairly well. A few little issues here and there, but I'm the only one who will notice most of them.

Built from Plan(s)
Finish Used
White Latex paint finished with Minwax Polycrylic (spray paint can - not recommended. Next time I'll brush or wipe on the poly).
Recommended Skill Level
Beginner

Vanity Table

Submitted by Aggiegirl on Sun, 01/26/2020 - 06:08

I started with the Cindy Wood Console Table but modified it. I wanted the center to be open so it could be used as a vanity table. I omitted steps 2 and 4 and altered step 3 so that the length of the centerpiece is only 8 3/4 long. I also omitted step 7. In step 8, I made the front-facing go all the way to the bottom, my cut was 27 5/8. All other steps were the same. 

Since it is a vanity table, I also made a bench to go with it. I used 1X4 for the legs and side pieces. The total dimensions of the bench are 22 inches long, 12 1/2 inches wide and 18 inches tall. I had to buy an additional 10 feet of 1X4 to add this to my project.   The cuts for the front and back of the bench are 14 7/8, the sides are 3 7/8 of 1X4.  I used pocket holes to put the legs, font, back, and sides together. Because of using pocket screws, make sure to put the sides together first, then the front and back. I used leftover 1X2 pieces to create a railing on the inside of the bench for the seat base to rest on. I put the railings 5/8 inch from the top of the bench and secured them using wood glue and 1 1/4 inch screws. I used leftover plywood as the seat base. I cut the plywood to be 10 1/2 by 20 inches. 

Estimated Cost
150 - 200
Estimated Time Investment
Weekend Project (10-20 Hours)
Finish Used
I painted it white so that it would go with my daughter's dresser and side table she already had.
Recommended Skill Level
Advanced

A Frame Chicken Coop

I built this chicken coop a few years ago for my cousin. I was happy with the plans, and the ease of the build, and she was happy at how easy it was to move. **This picture does not show the wheels installed.

Built from Plan(s)
Estimated Cost
$150 CAD
Estimated Time Investment
Day Project (6-9 Hours)
Recommended Skill Level
Intermediate

Concealed Wall Desk for Computer

Submitted by Gabie on Mon, 11/20/2023 - 10:51

I built this fold-up desk, out of sheer necessity. It's rather unassuming when closed, yet fully functional when open, with built-in power outlets and light, a large screen, a nook for the laptop and the chargers, etc. It's tailored to my needs and specific size limitations, but I think you could make a great general plan of it for anyone needing a small-space hideaway desk.

Our take on Modern Chairs

Submitted by Anonymous (not verified) on Tue, 04/28/2020 - 17:27

This was our first try at chairs and they came out super! Even our Yellow Lab, Cassie was pleased! We made a few mistakes on the first chair which were easily corrected. The only thing I would add to the buy list is a 2x2 .

Estimated Cost
$40
Estimated Time Investment
Afternoon Project (3-6 Hours)
Finish Used
Thompson’s Water Seal