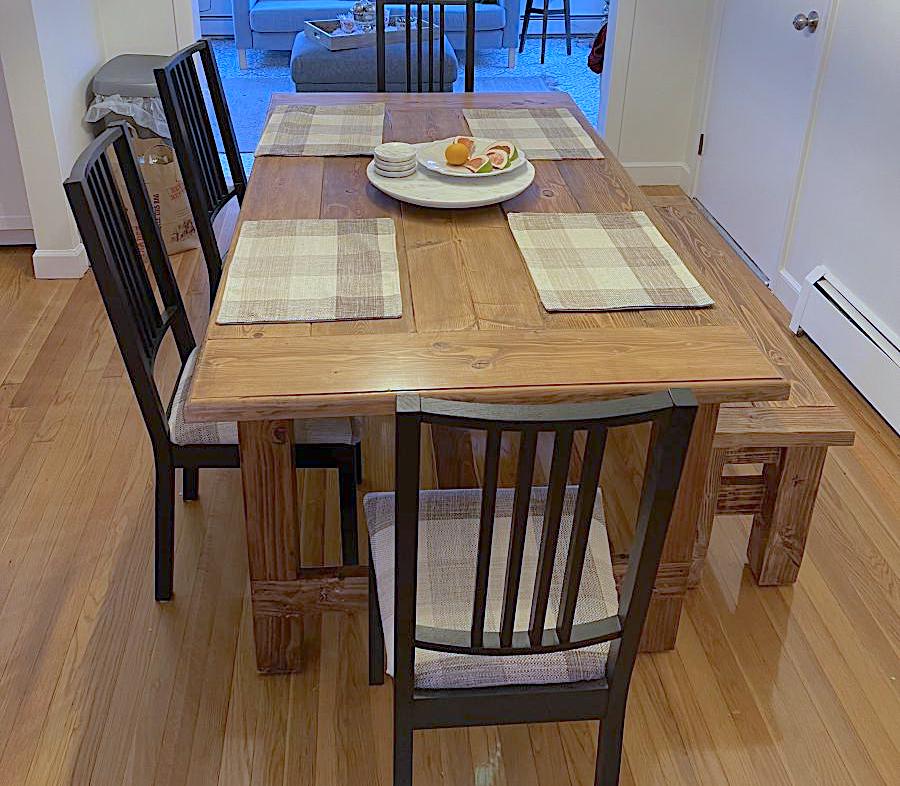
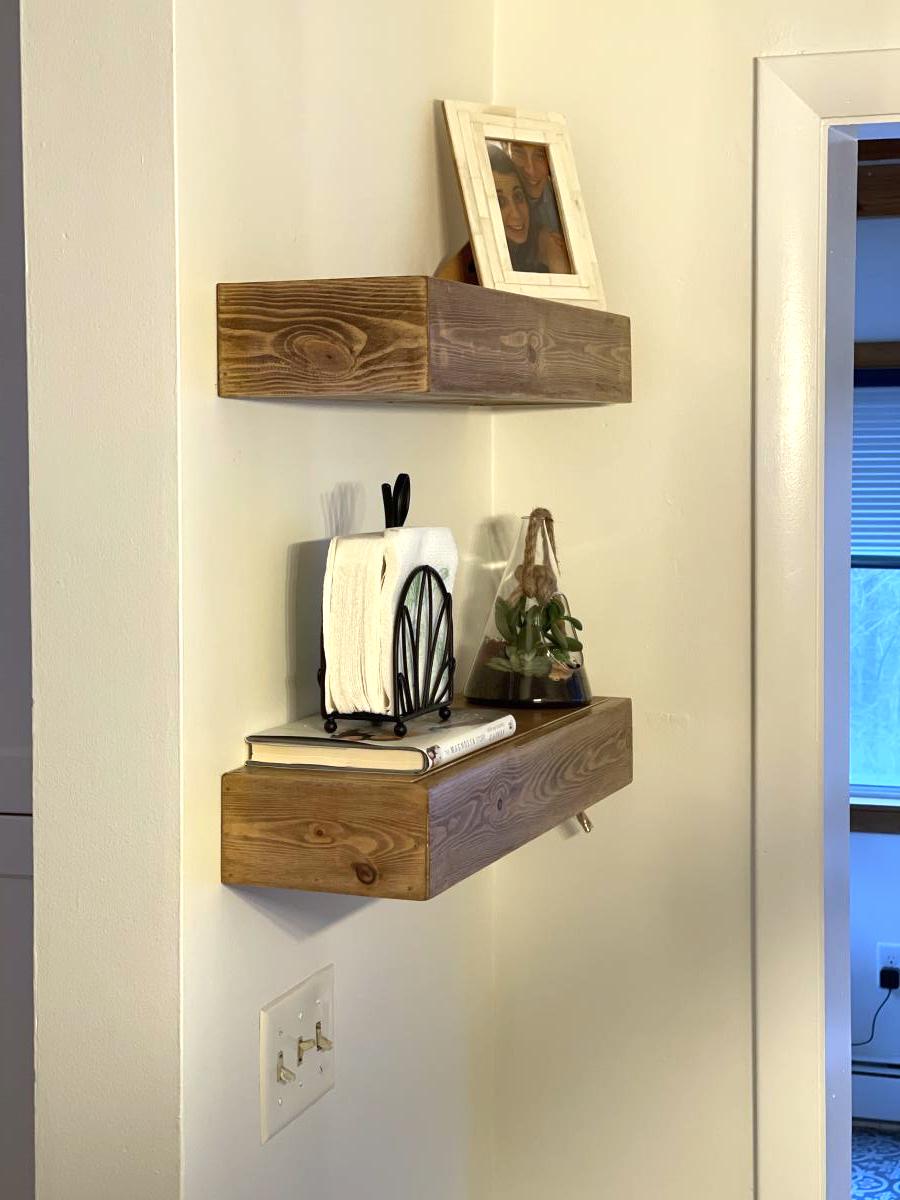
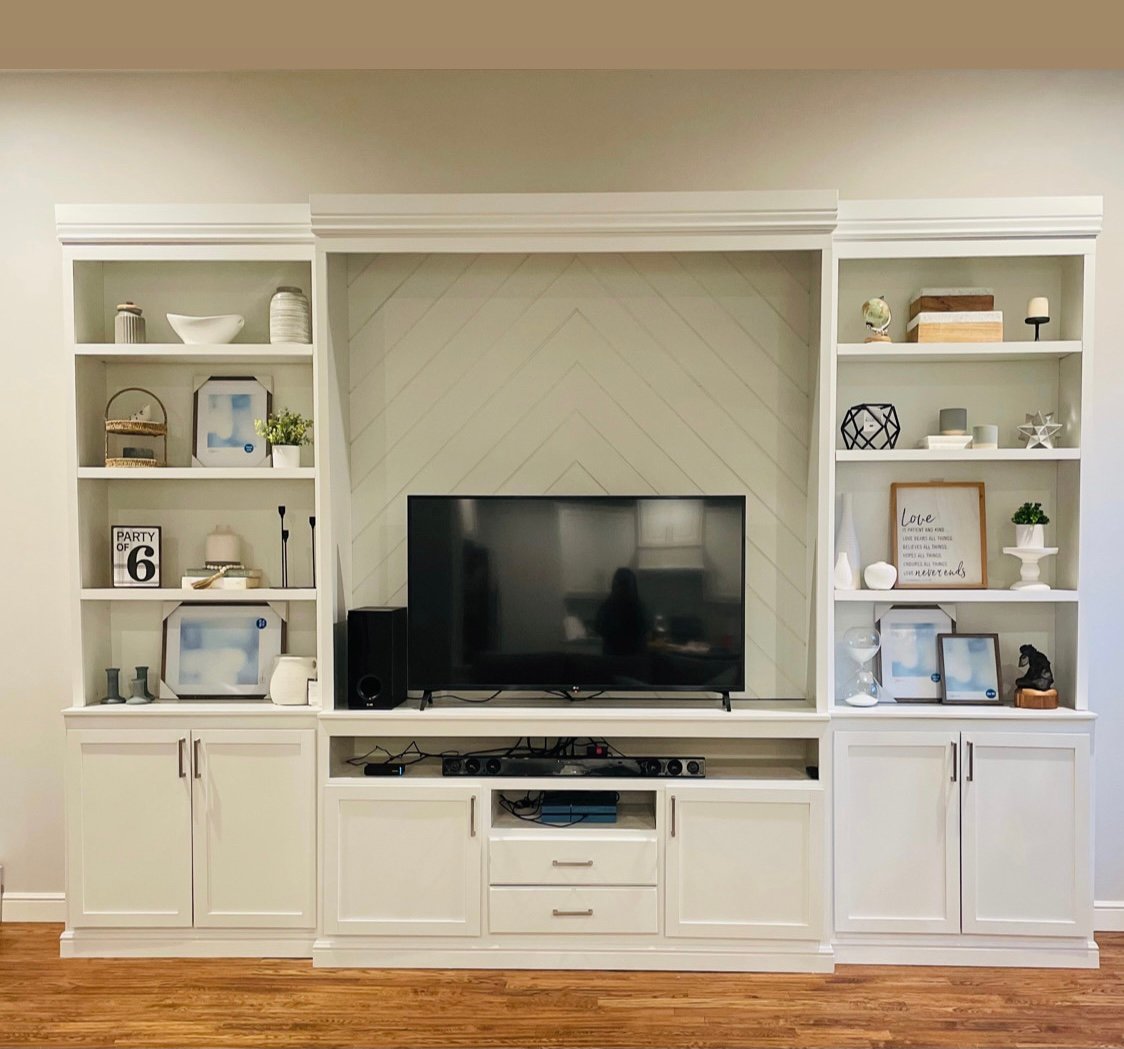
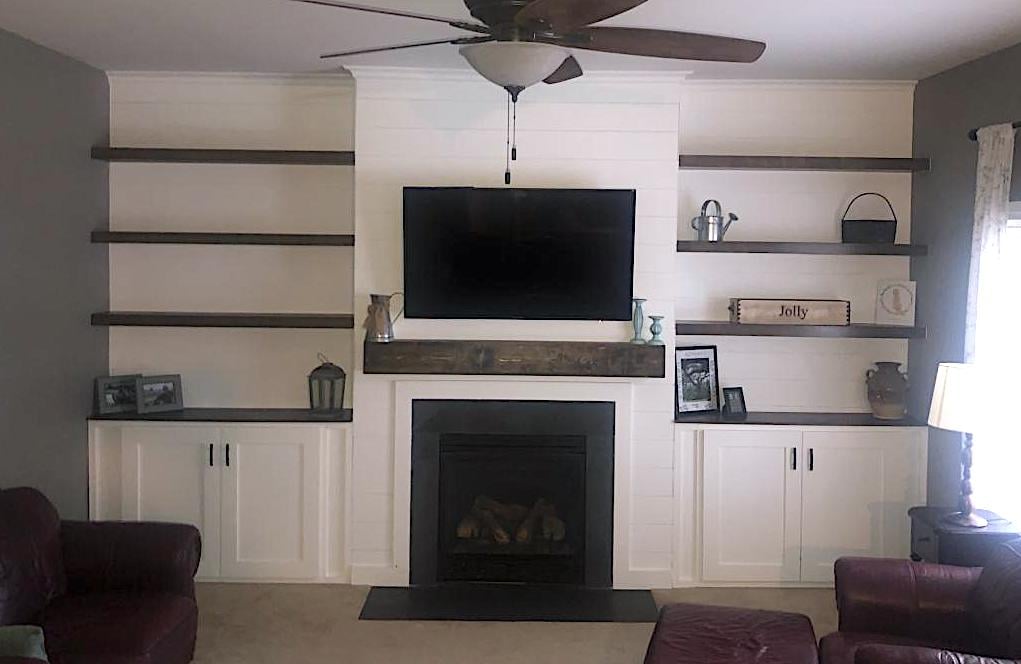
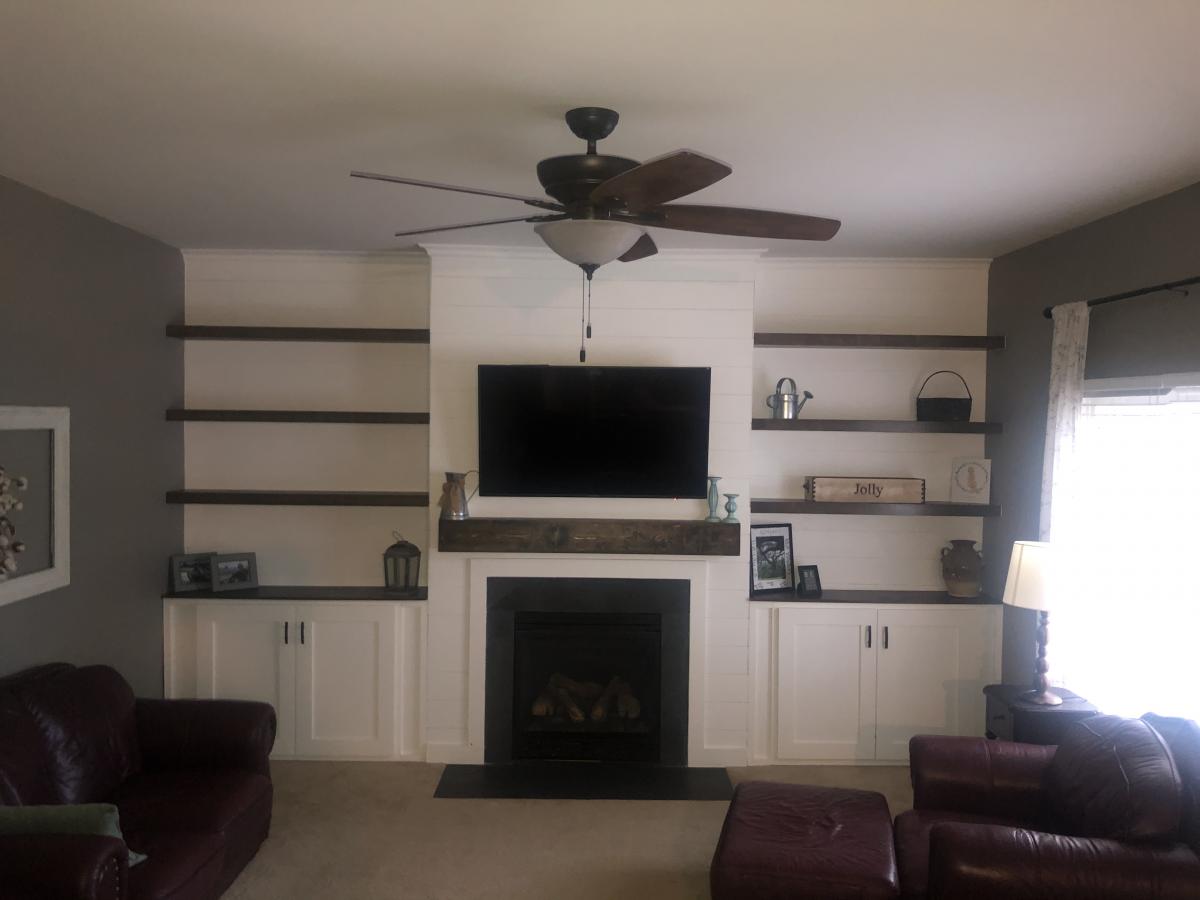
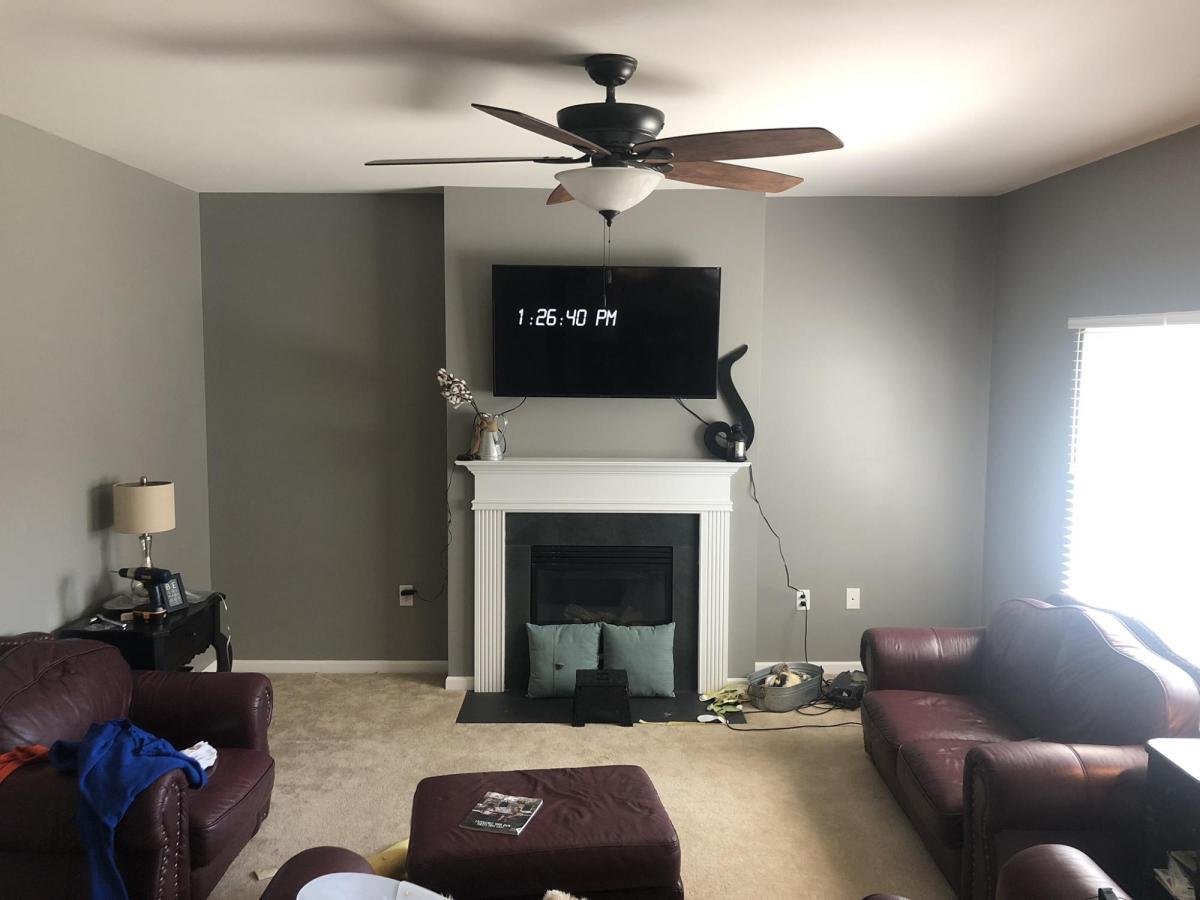
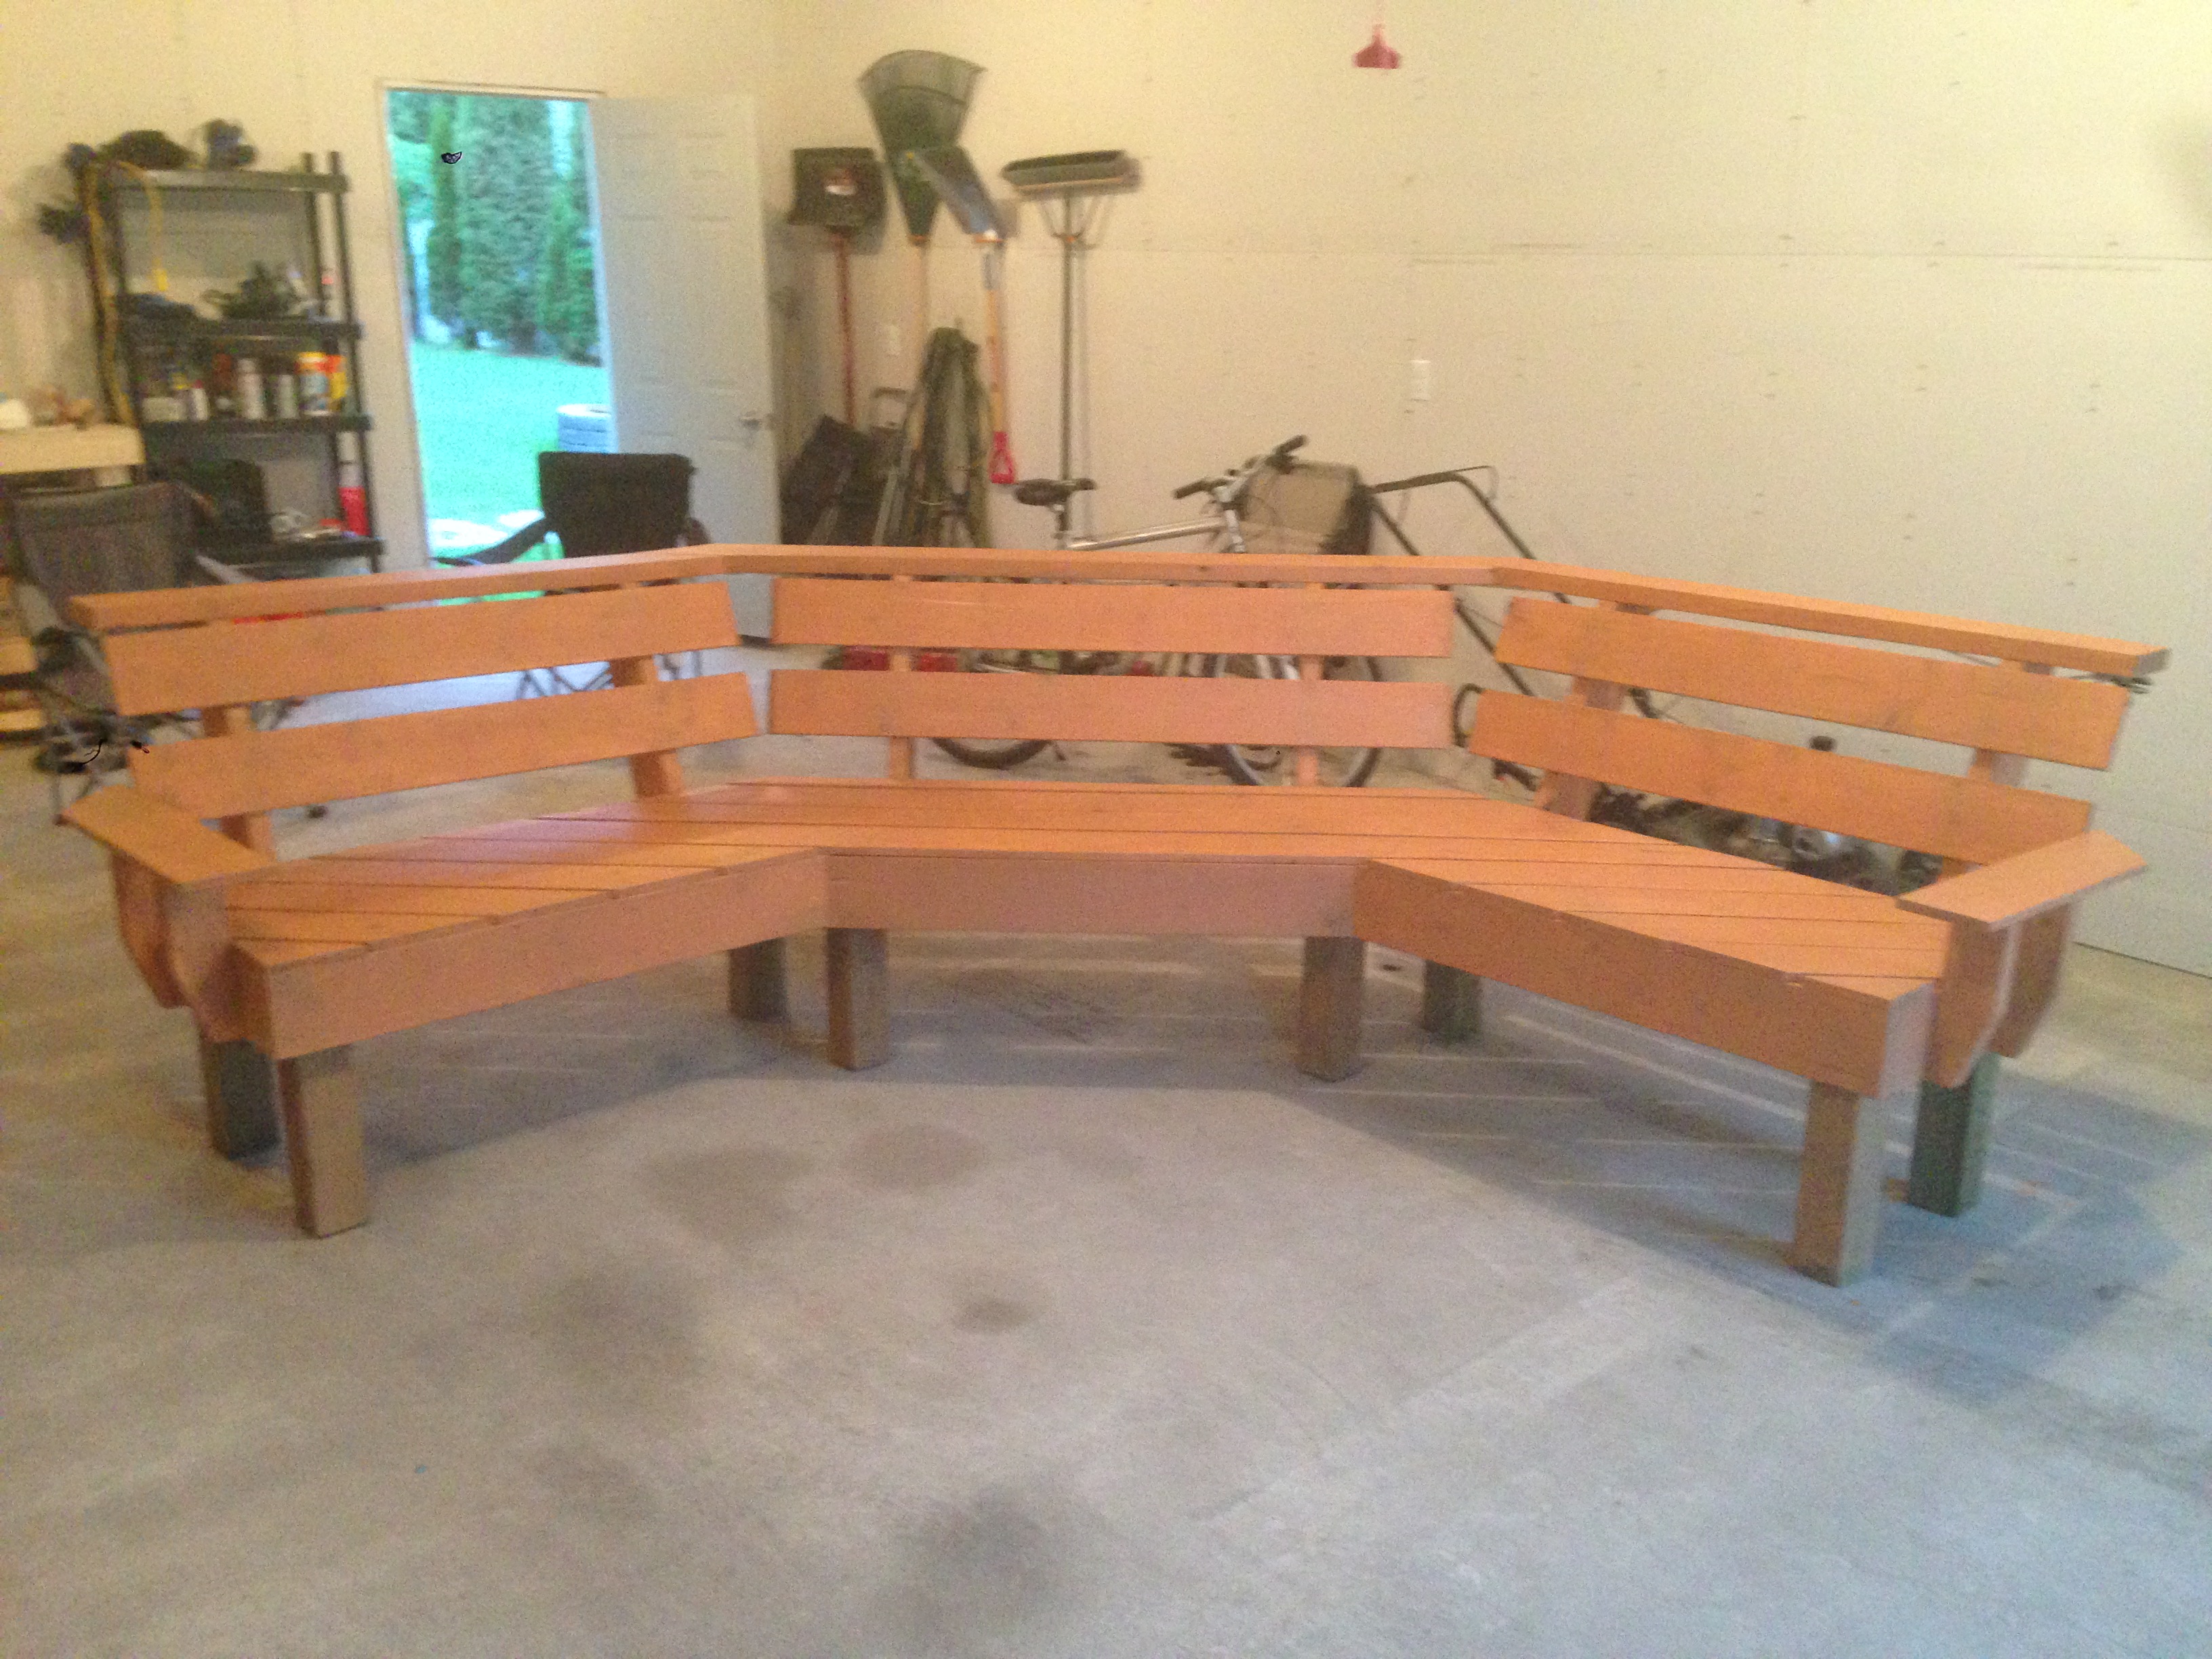
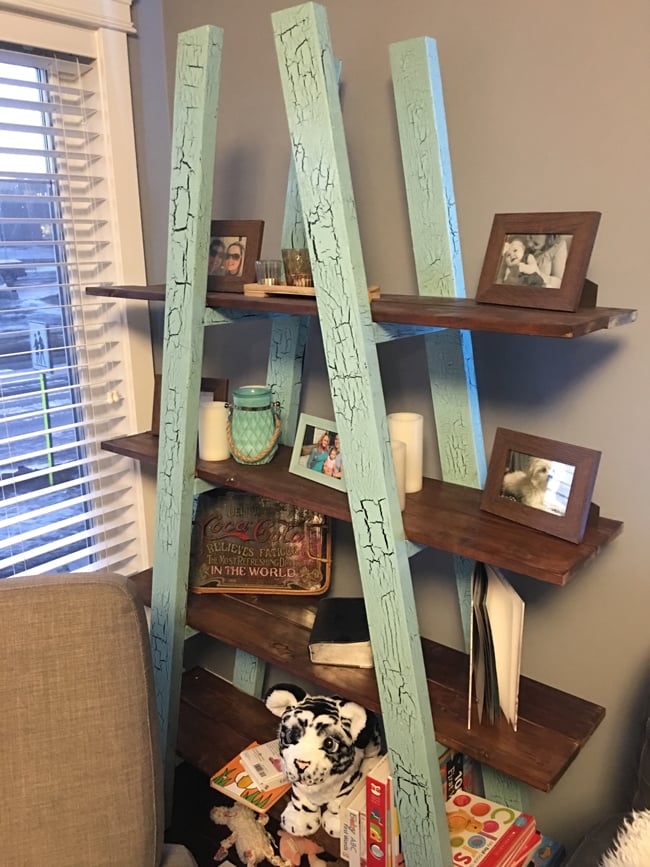
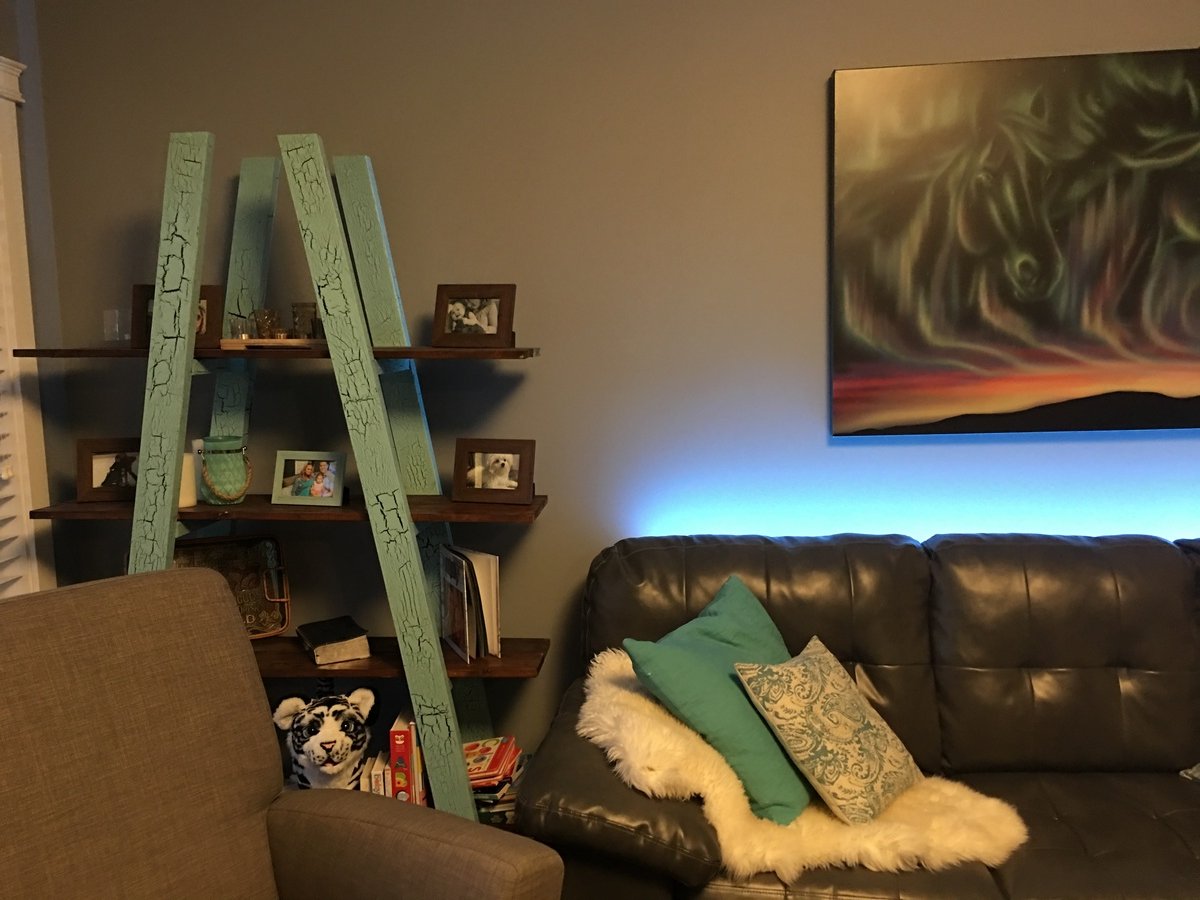
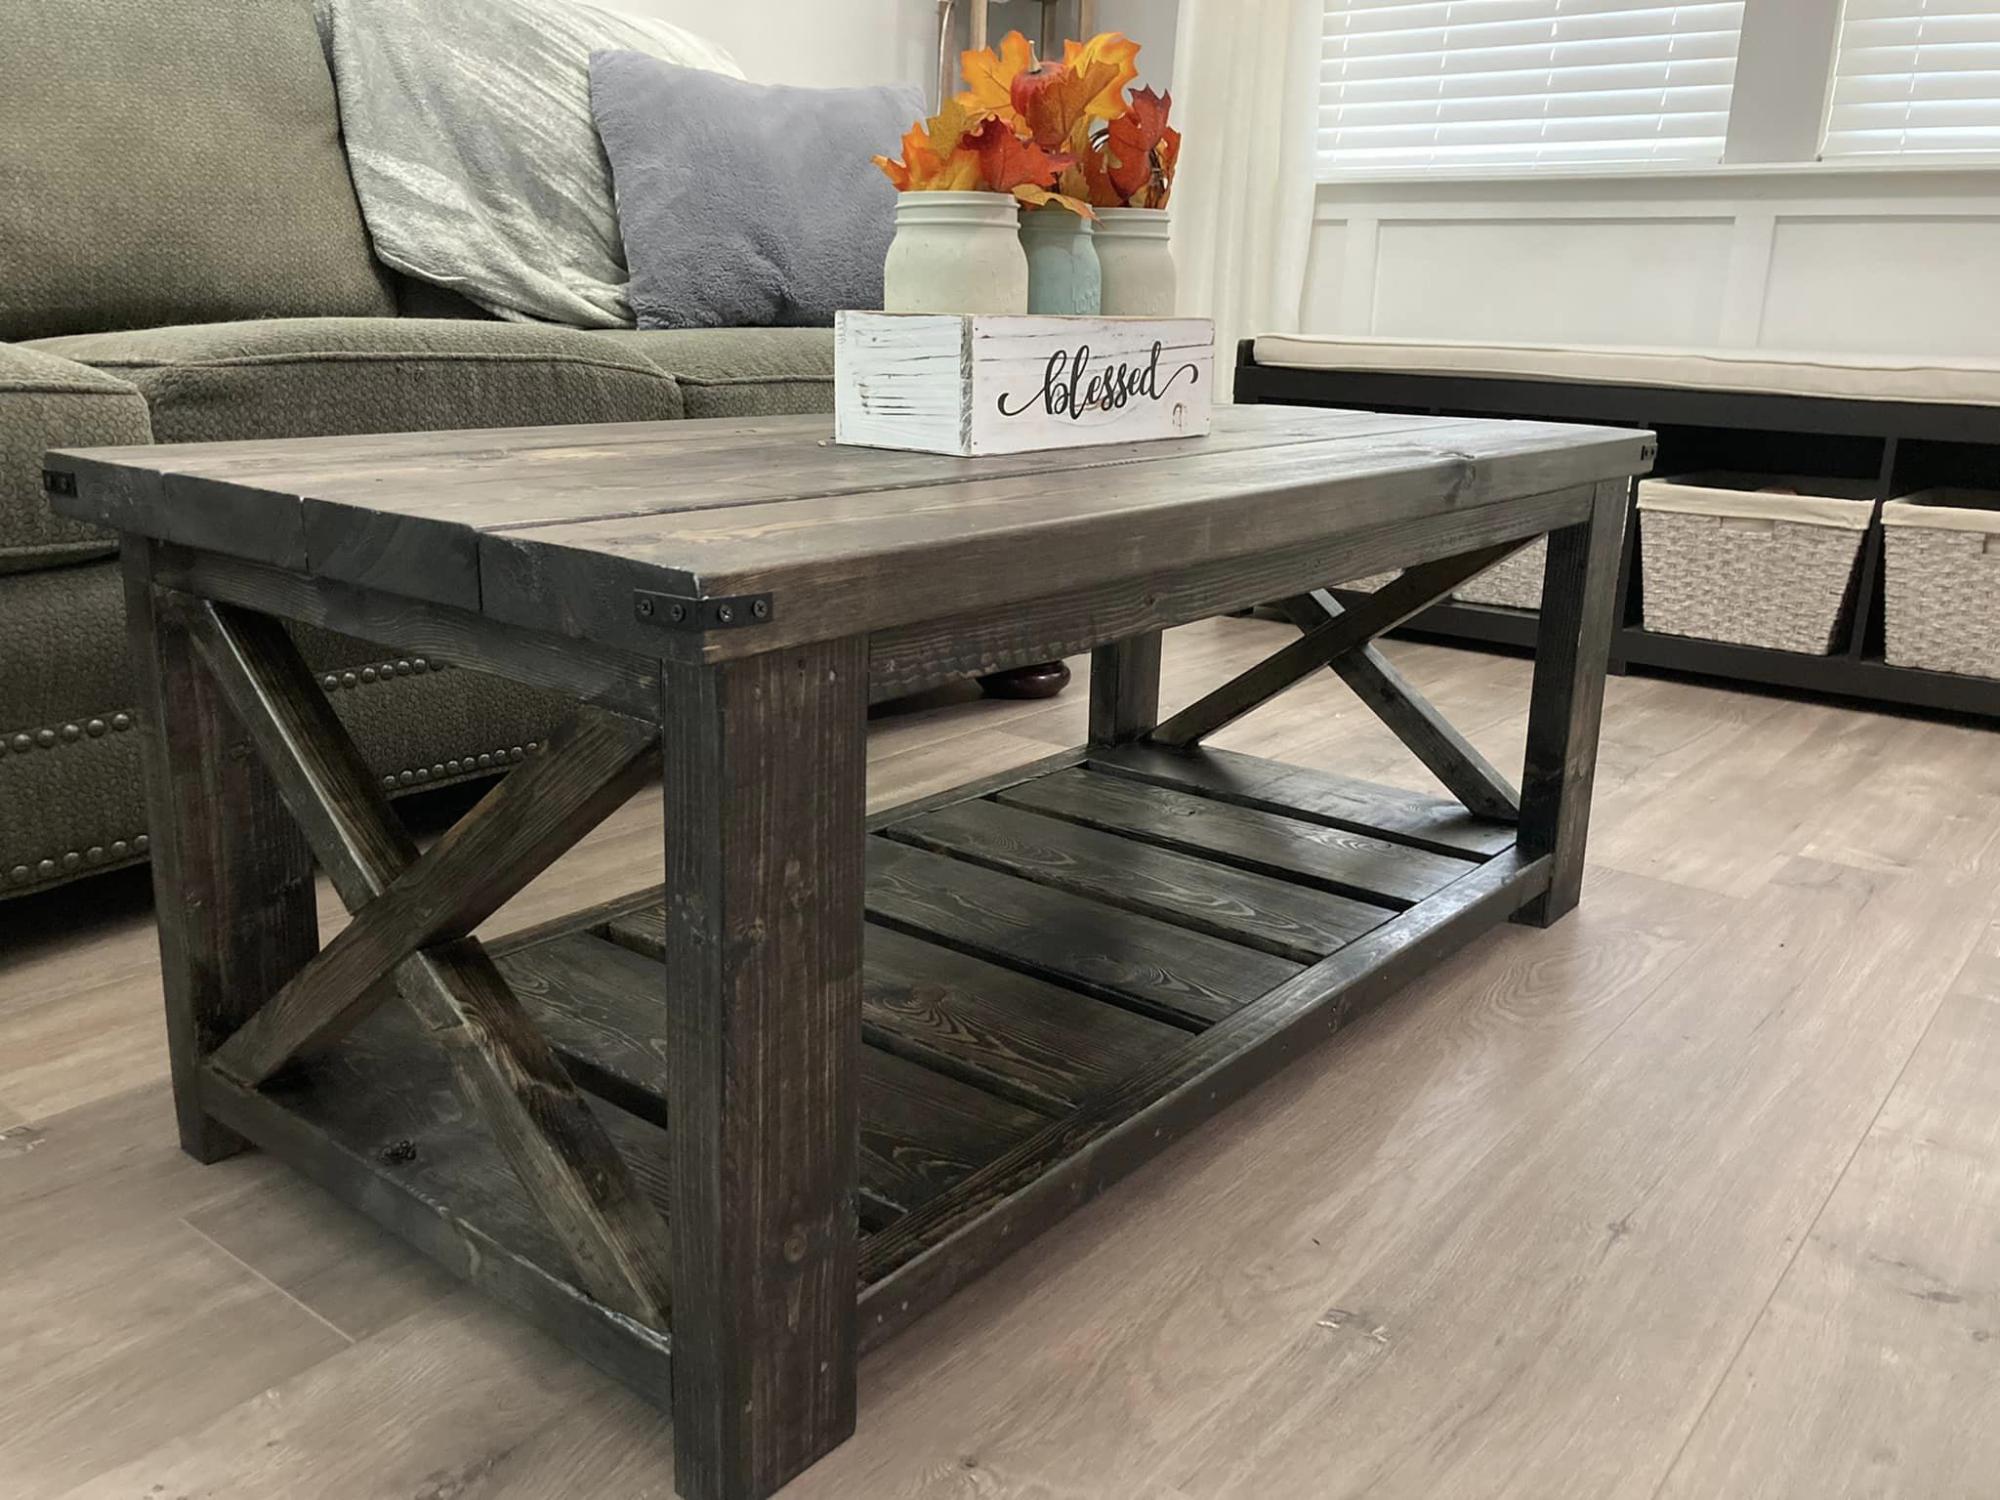
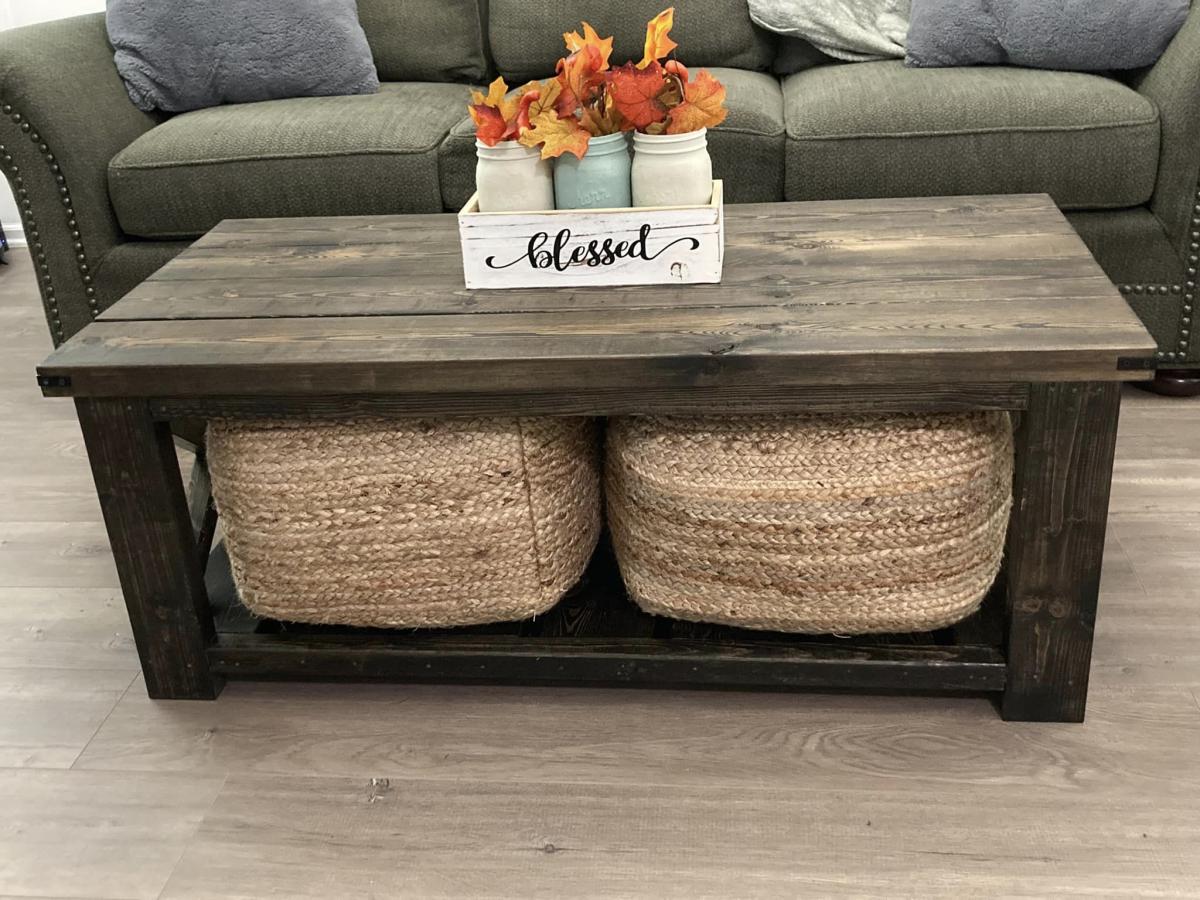
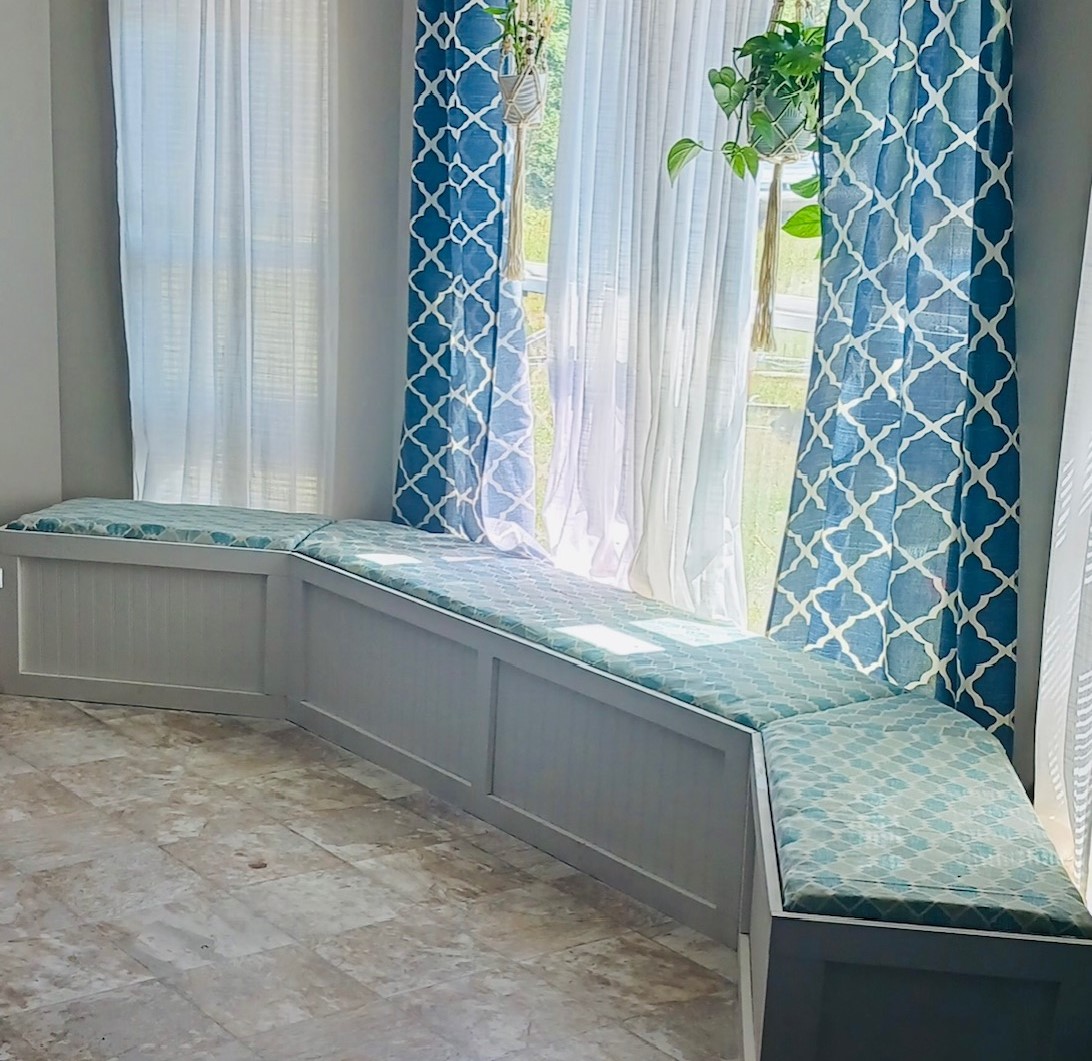
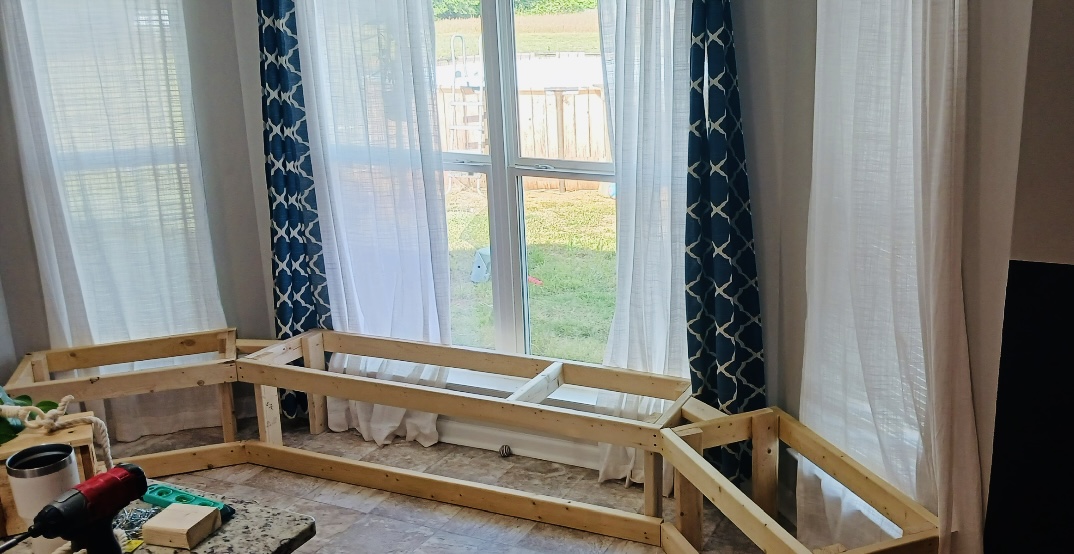
Farmhouse Table/Bench and Floating Shelves
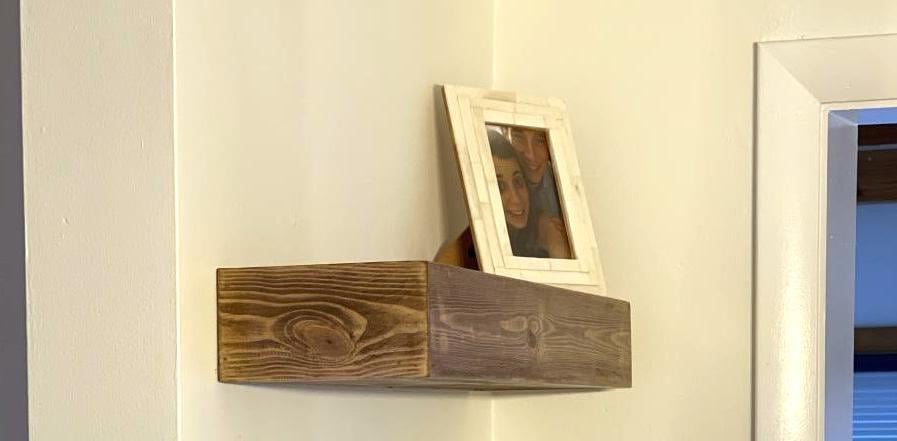
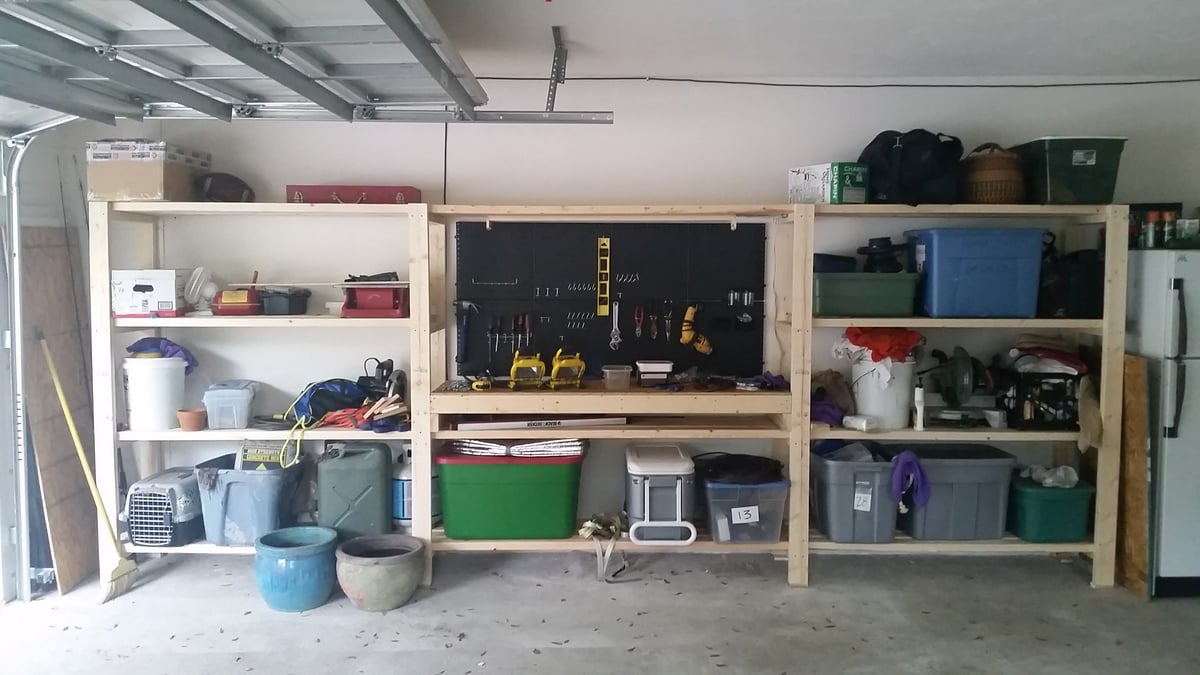
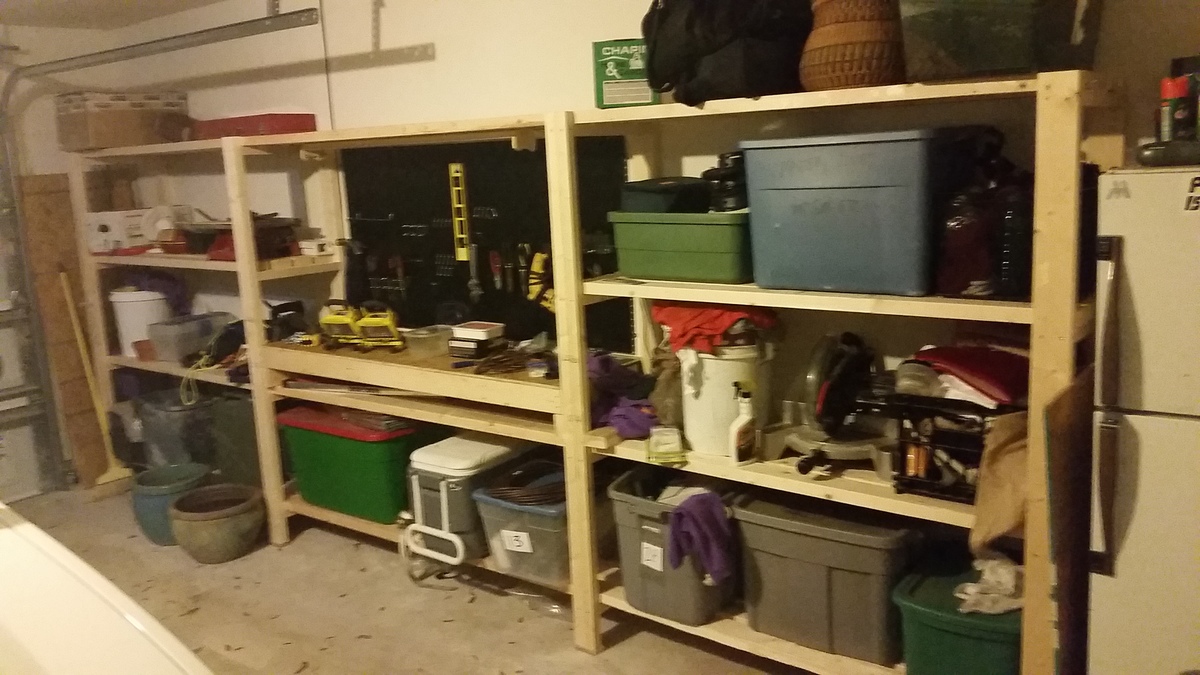
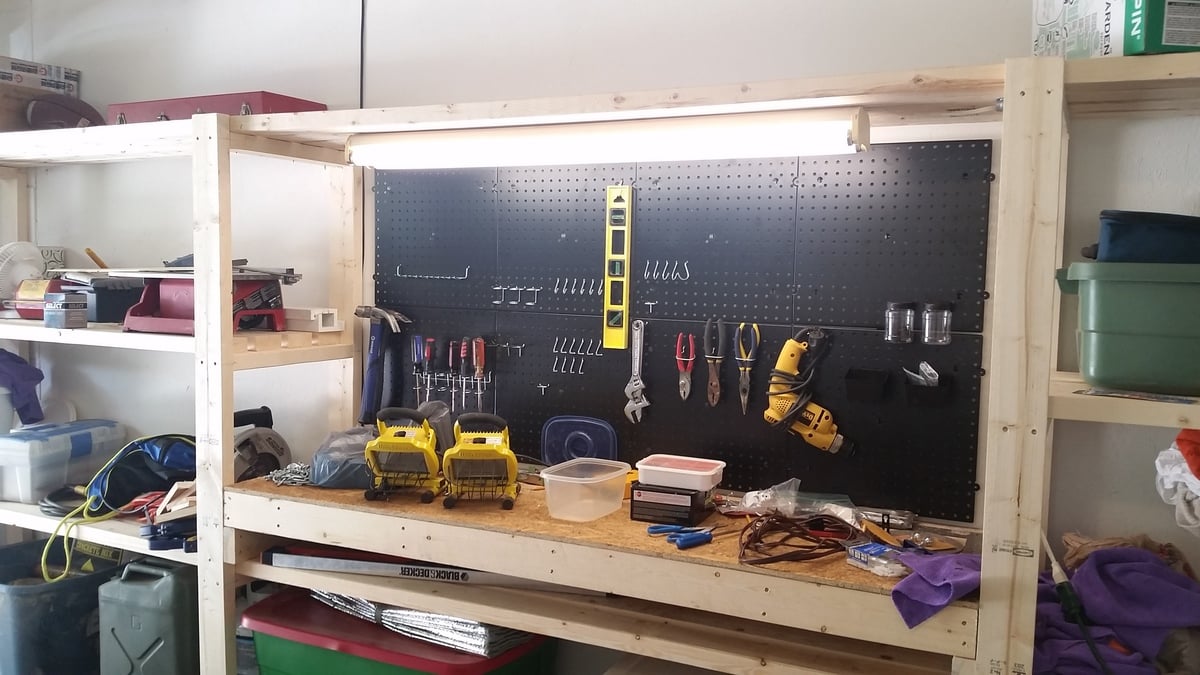
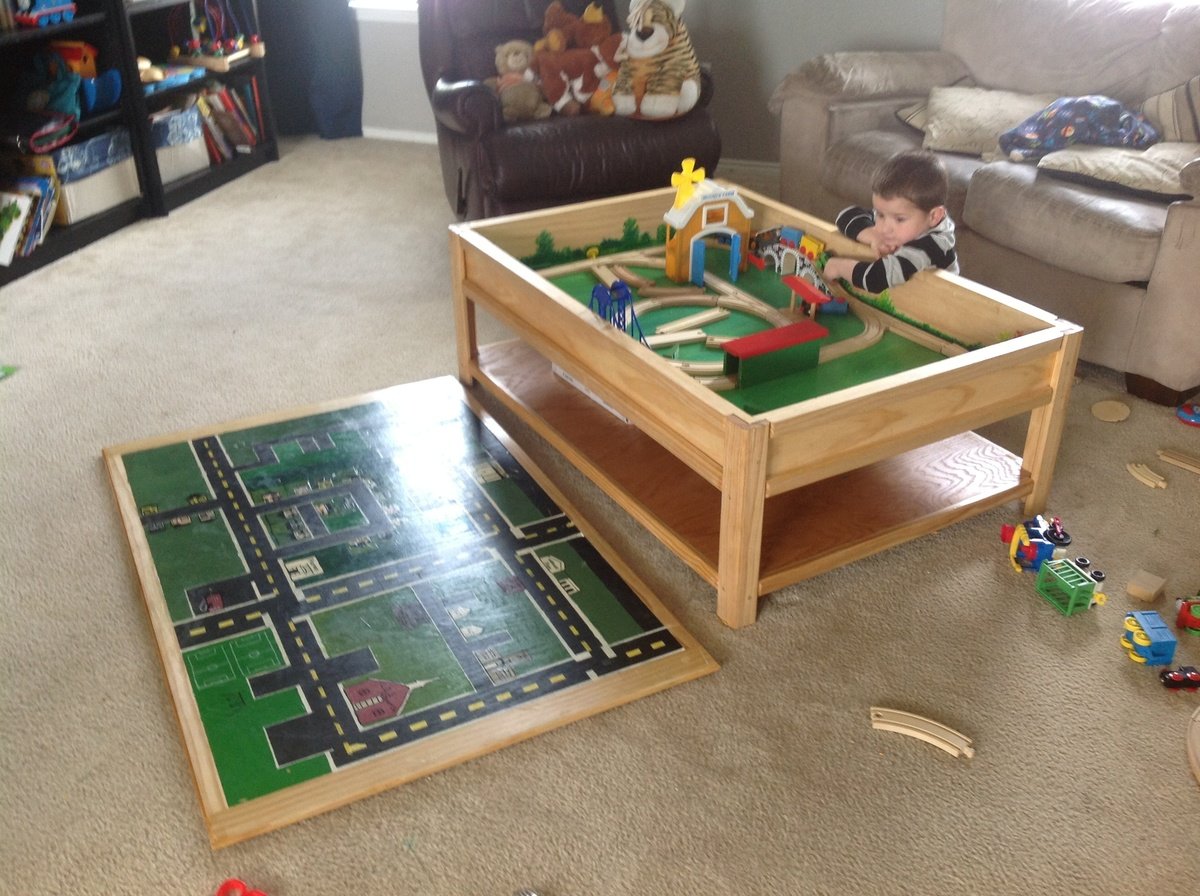
My daughter wanted to create the Farmhouse look for her New England home. Had so much fun building the Table, Bench and Floating shelves. The Plans were perfect, and of course customizable (she wanted it a little shorter). My next project is a real workbench for my garage. I think the only issue is the New Jersey winters.
Built from Plan(s)
Estimated Cost
$250
Estimated Time Investment
Weekend Project (10-20 Hours)
Finish Used
Early American Stain
Recommended Skill Level
Intermediate


Comments
Ana White Admin
Tue, 12/15/2020 - 11:34
Lovely!
Excellent job, just beautiful in her space!