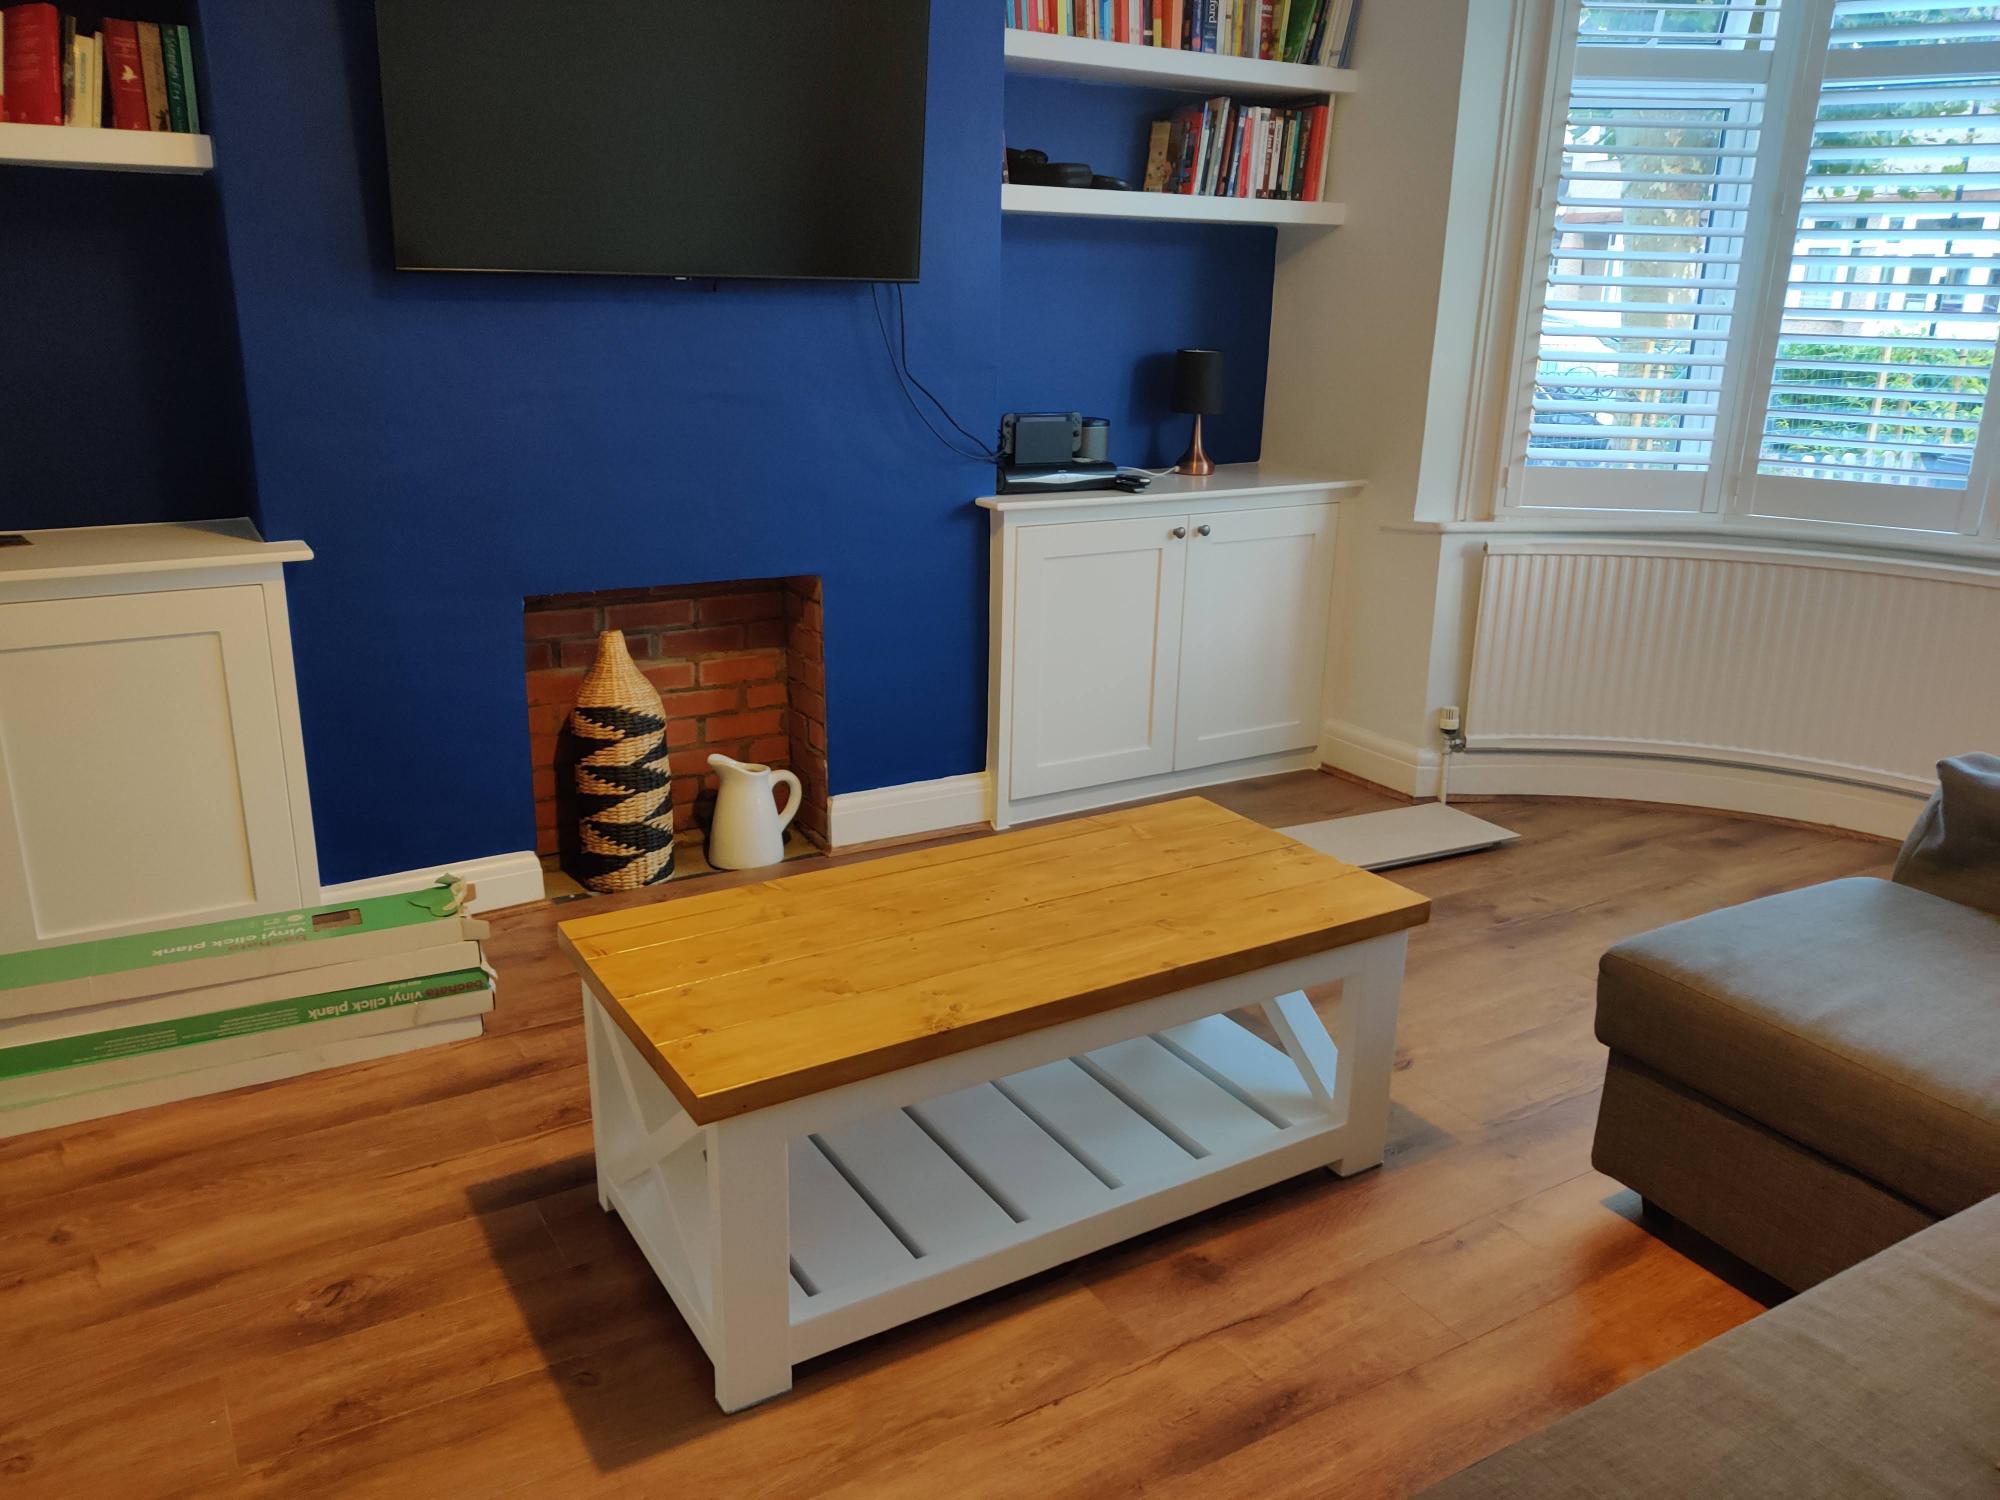
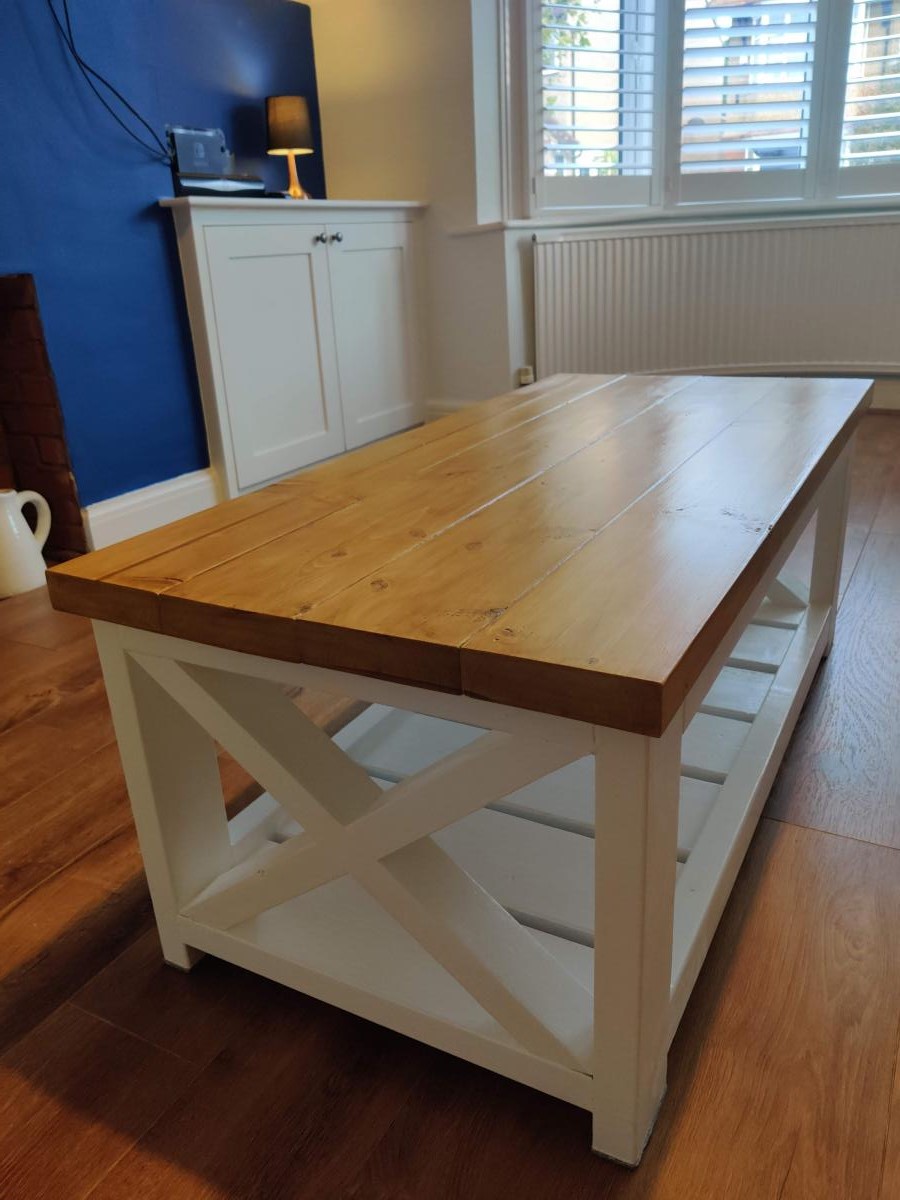
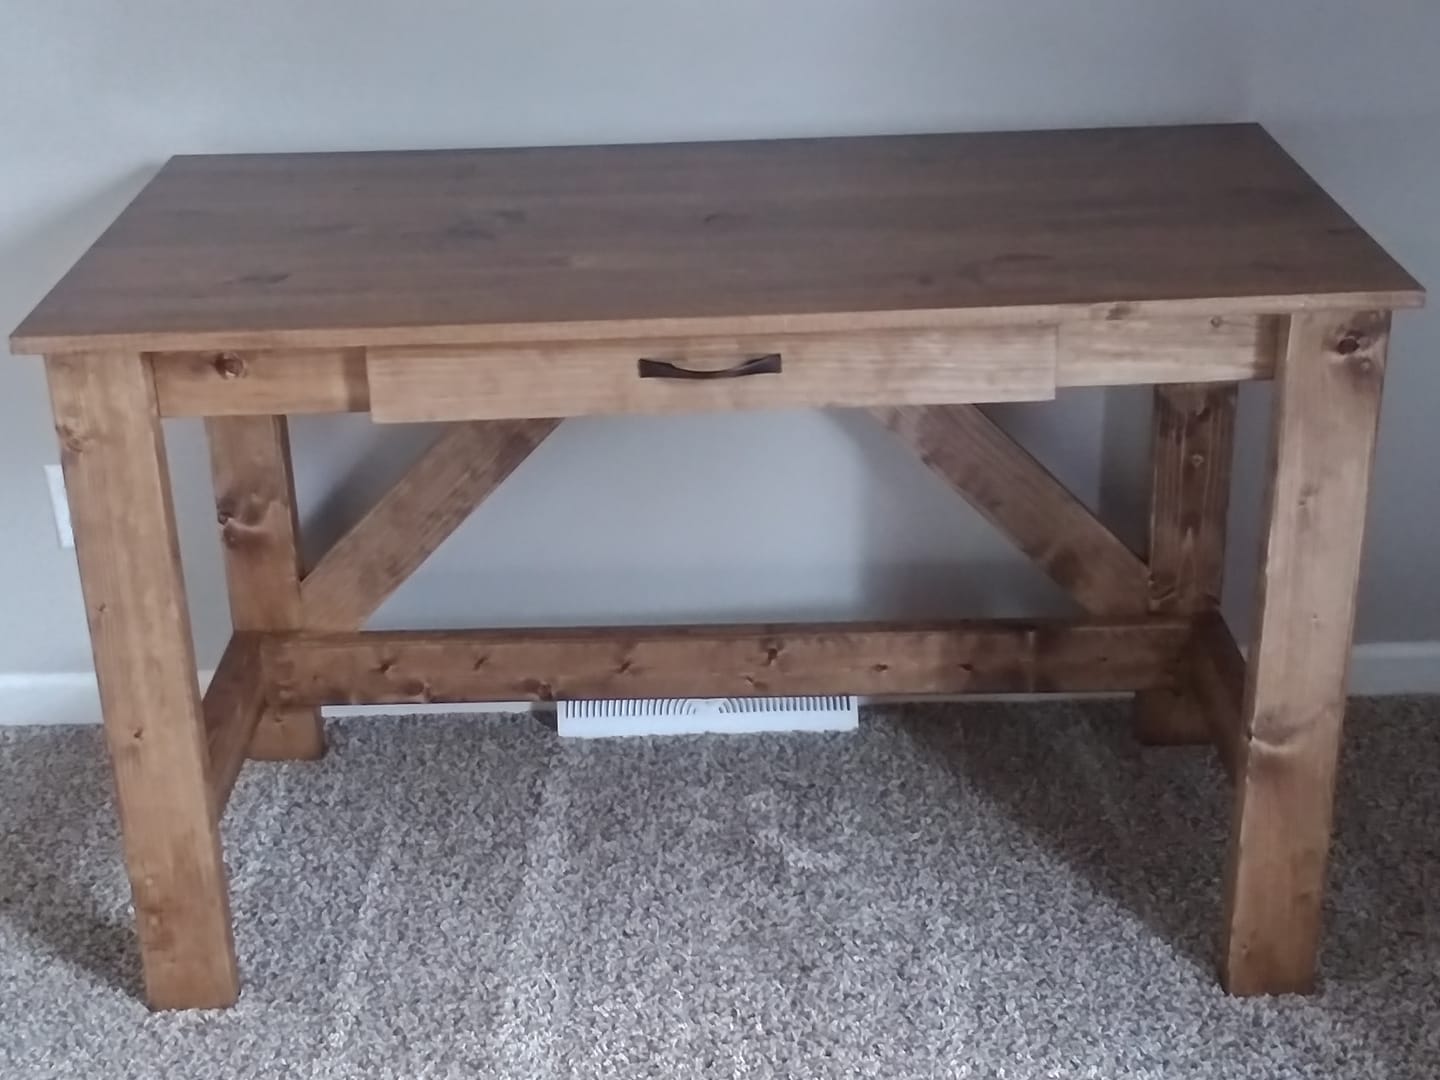
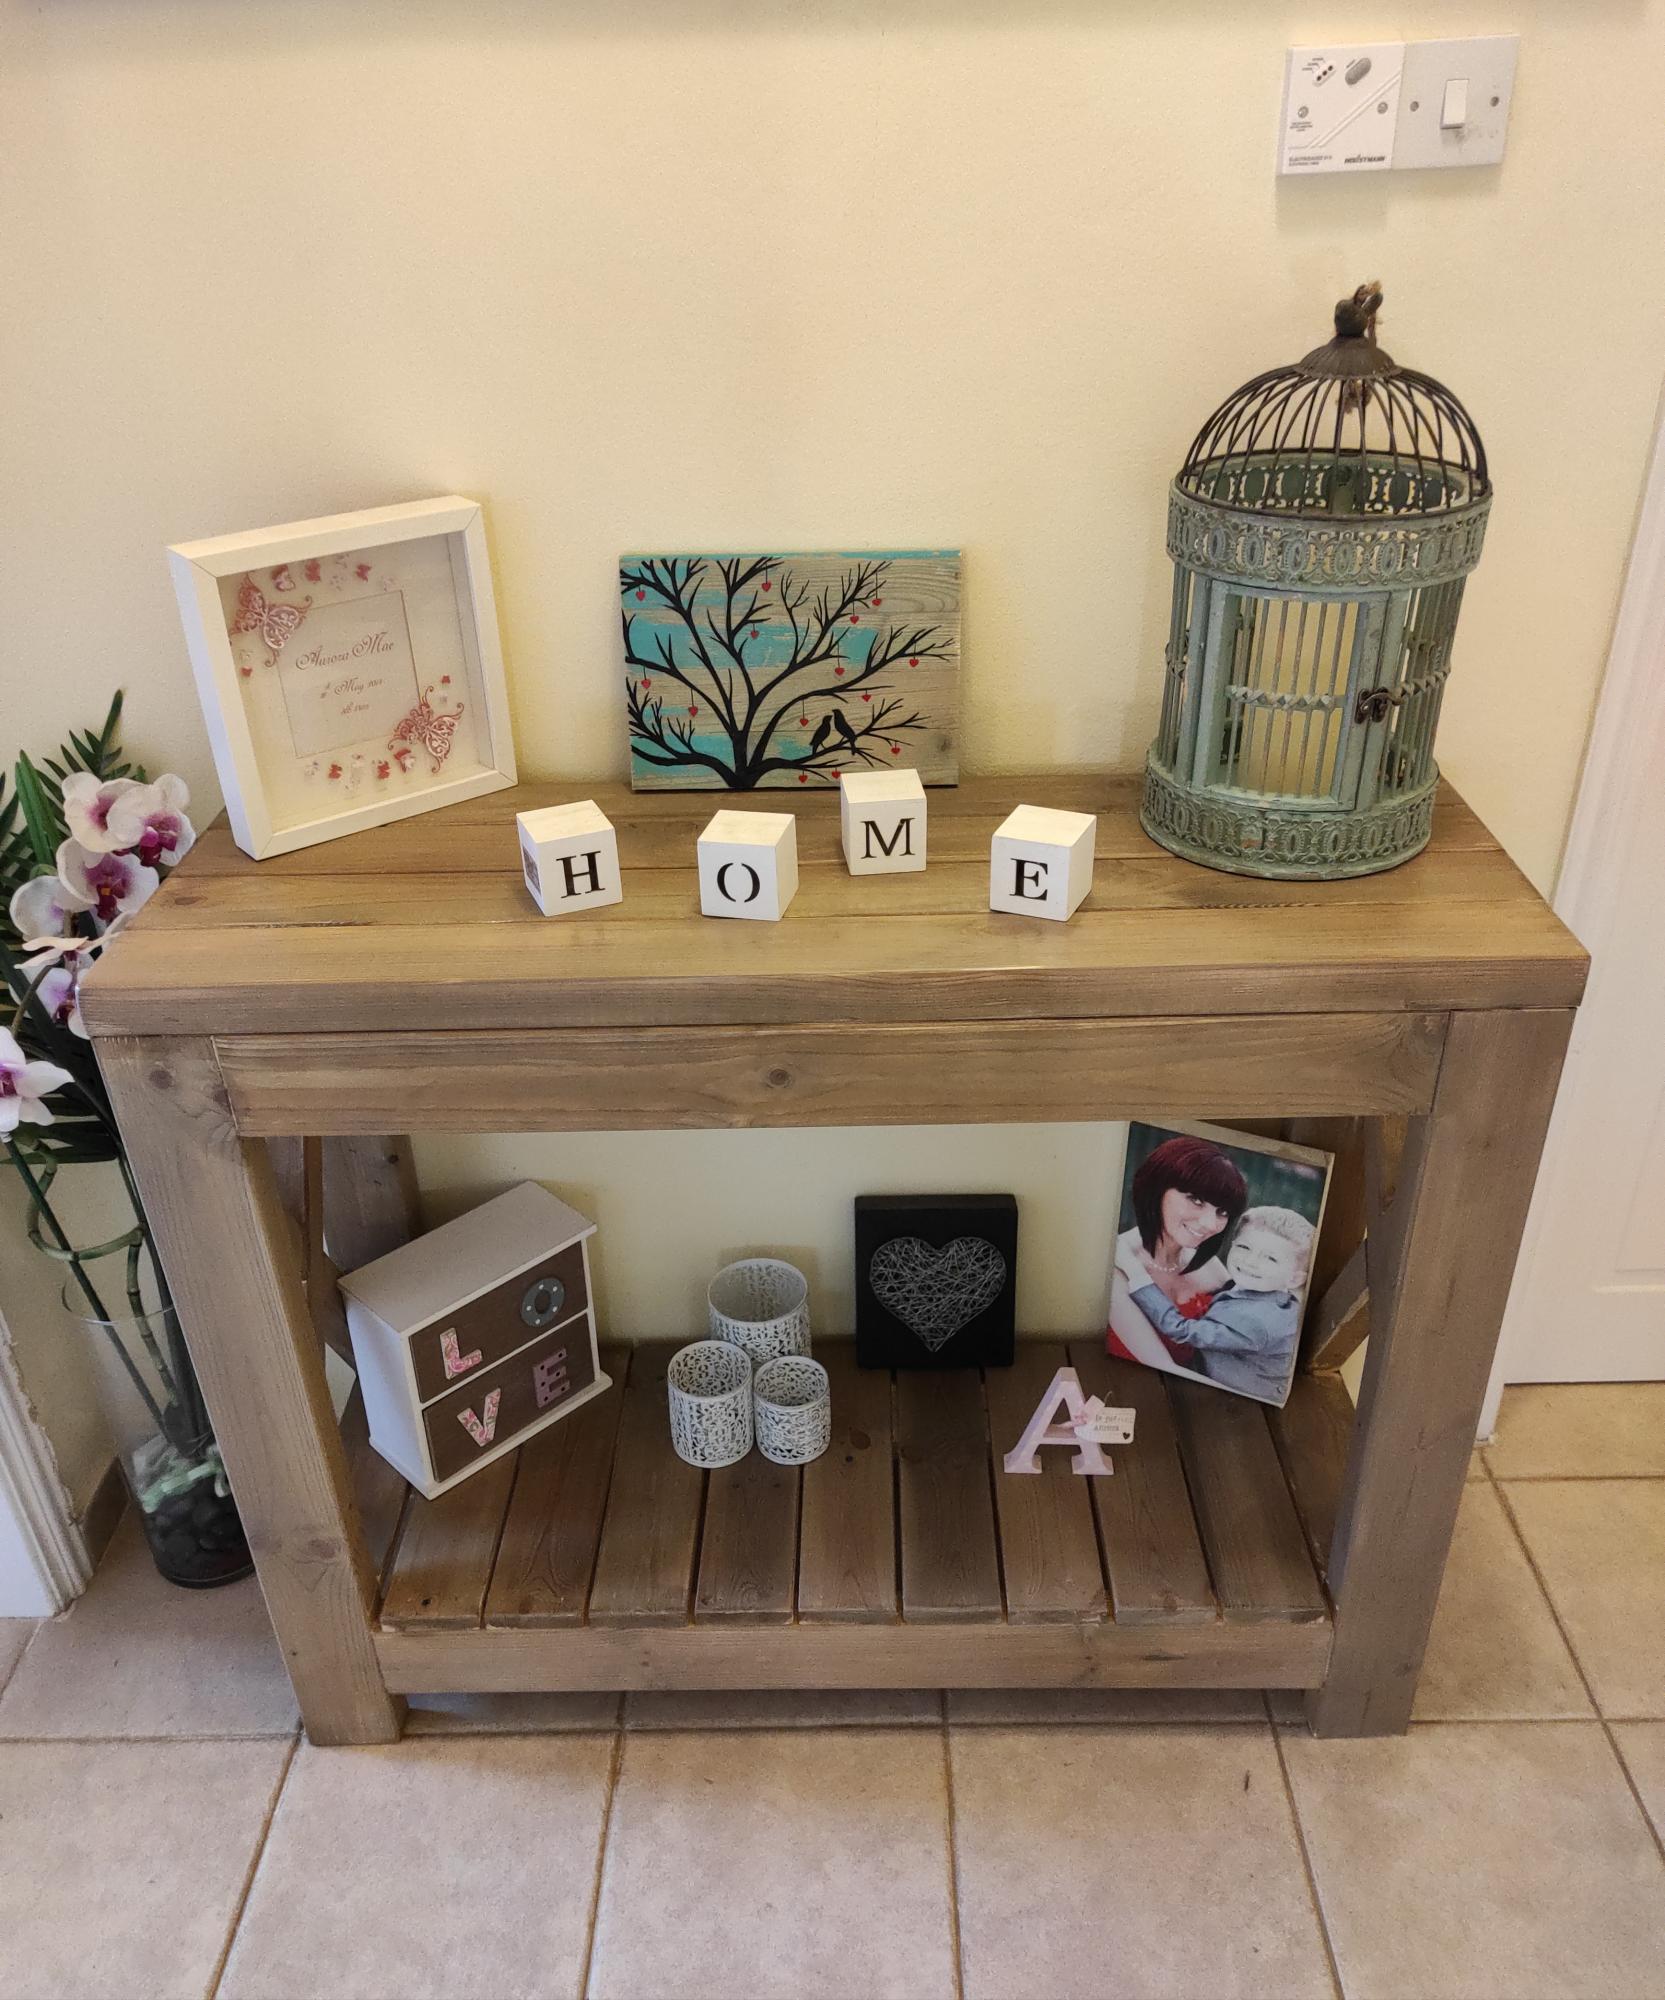
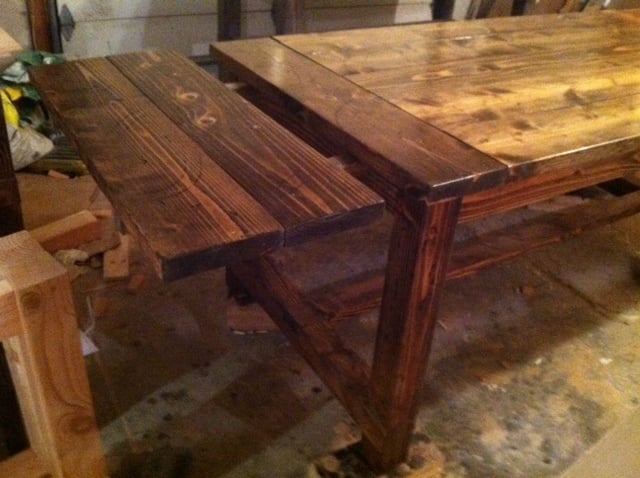
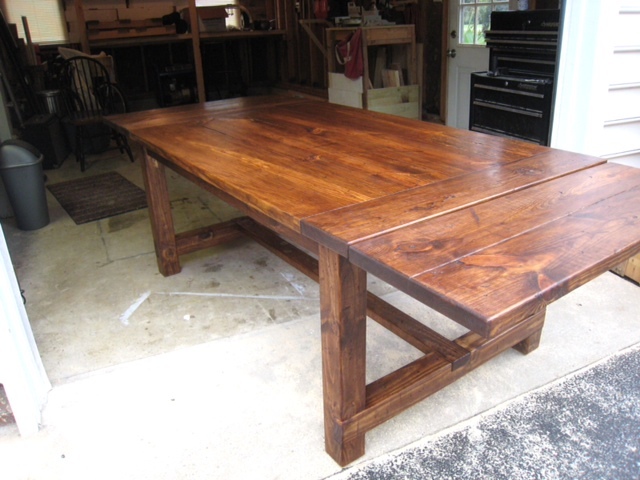
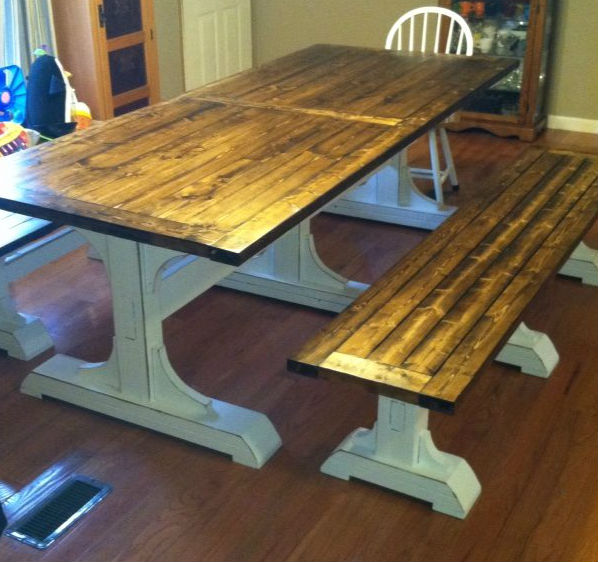
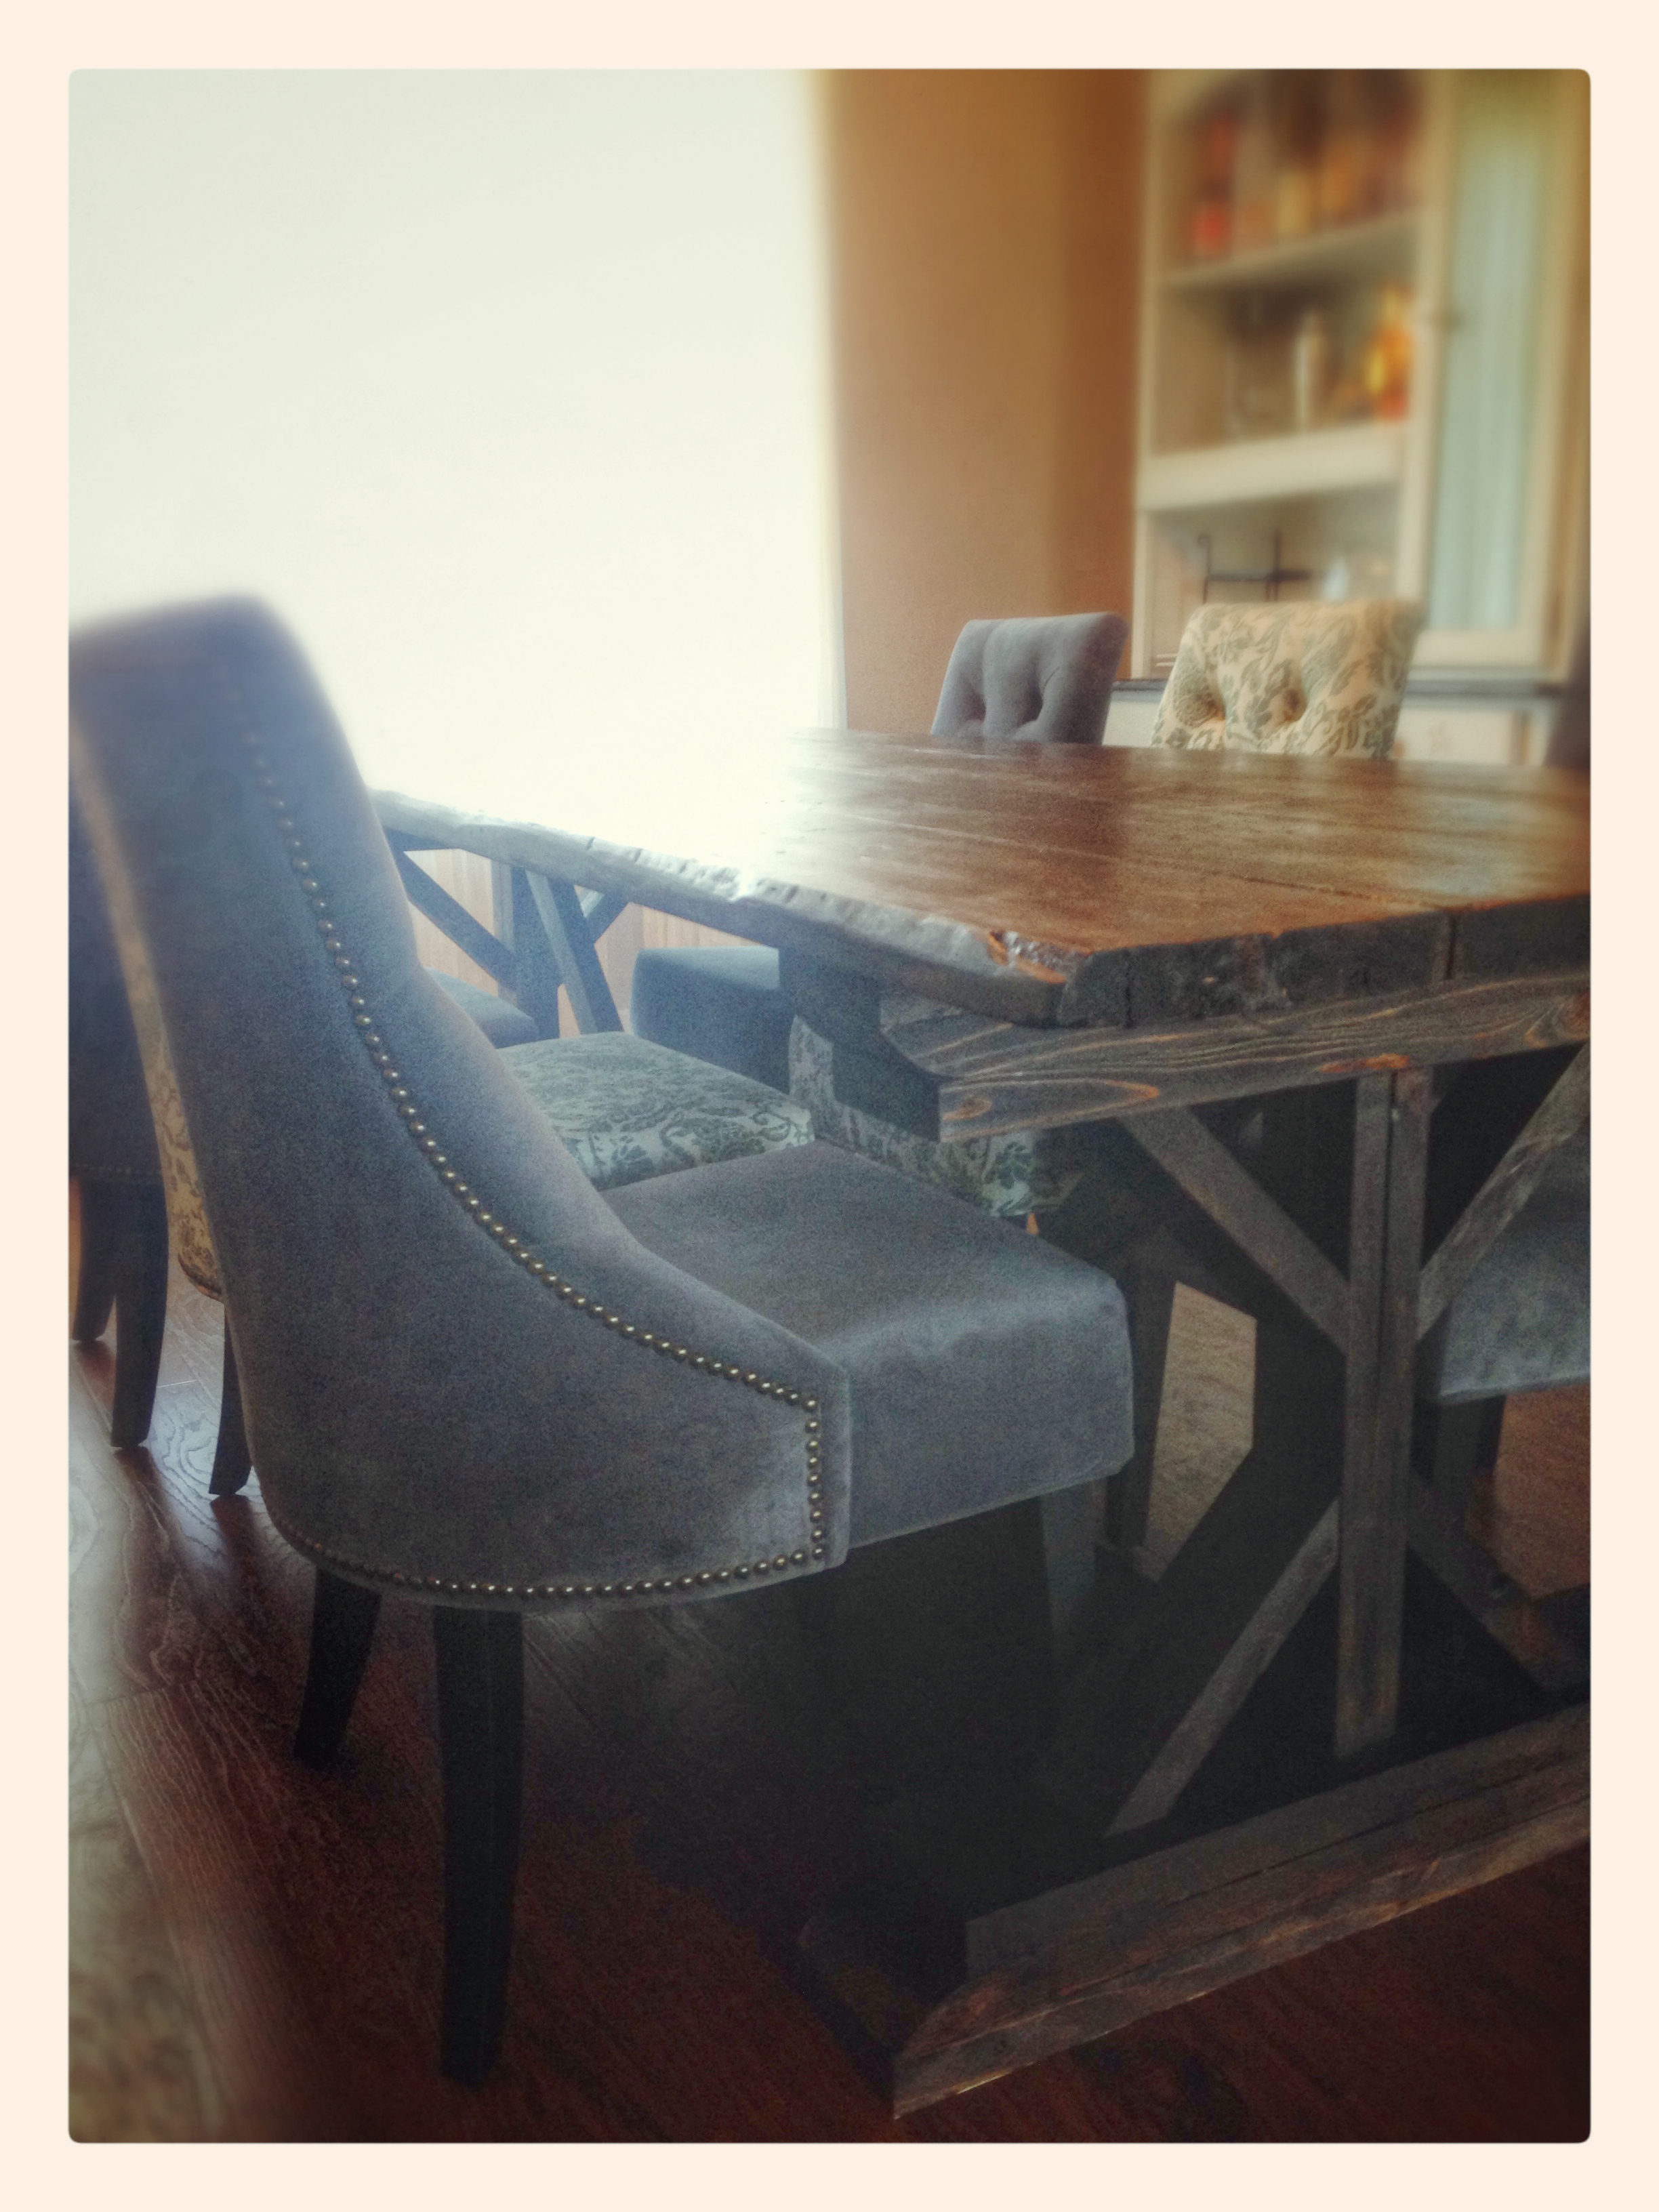
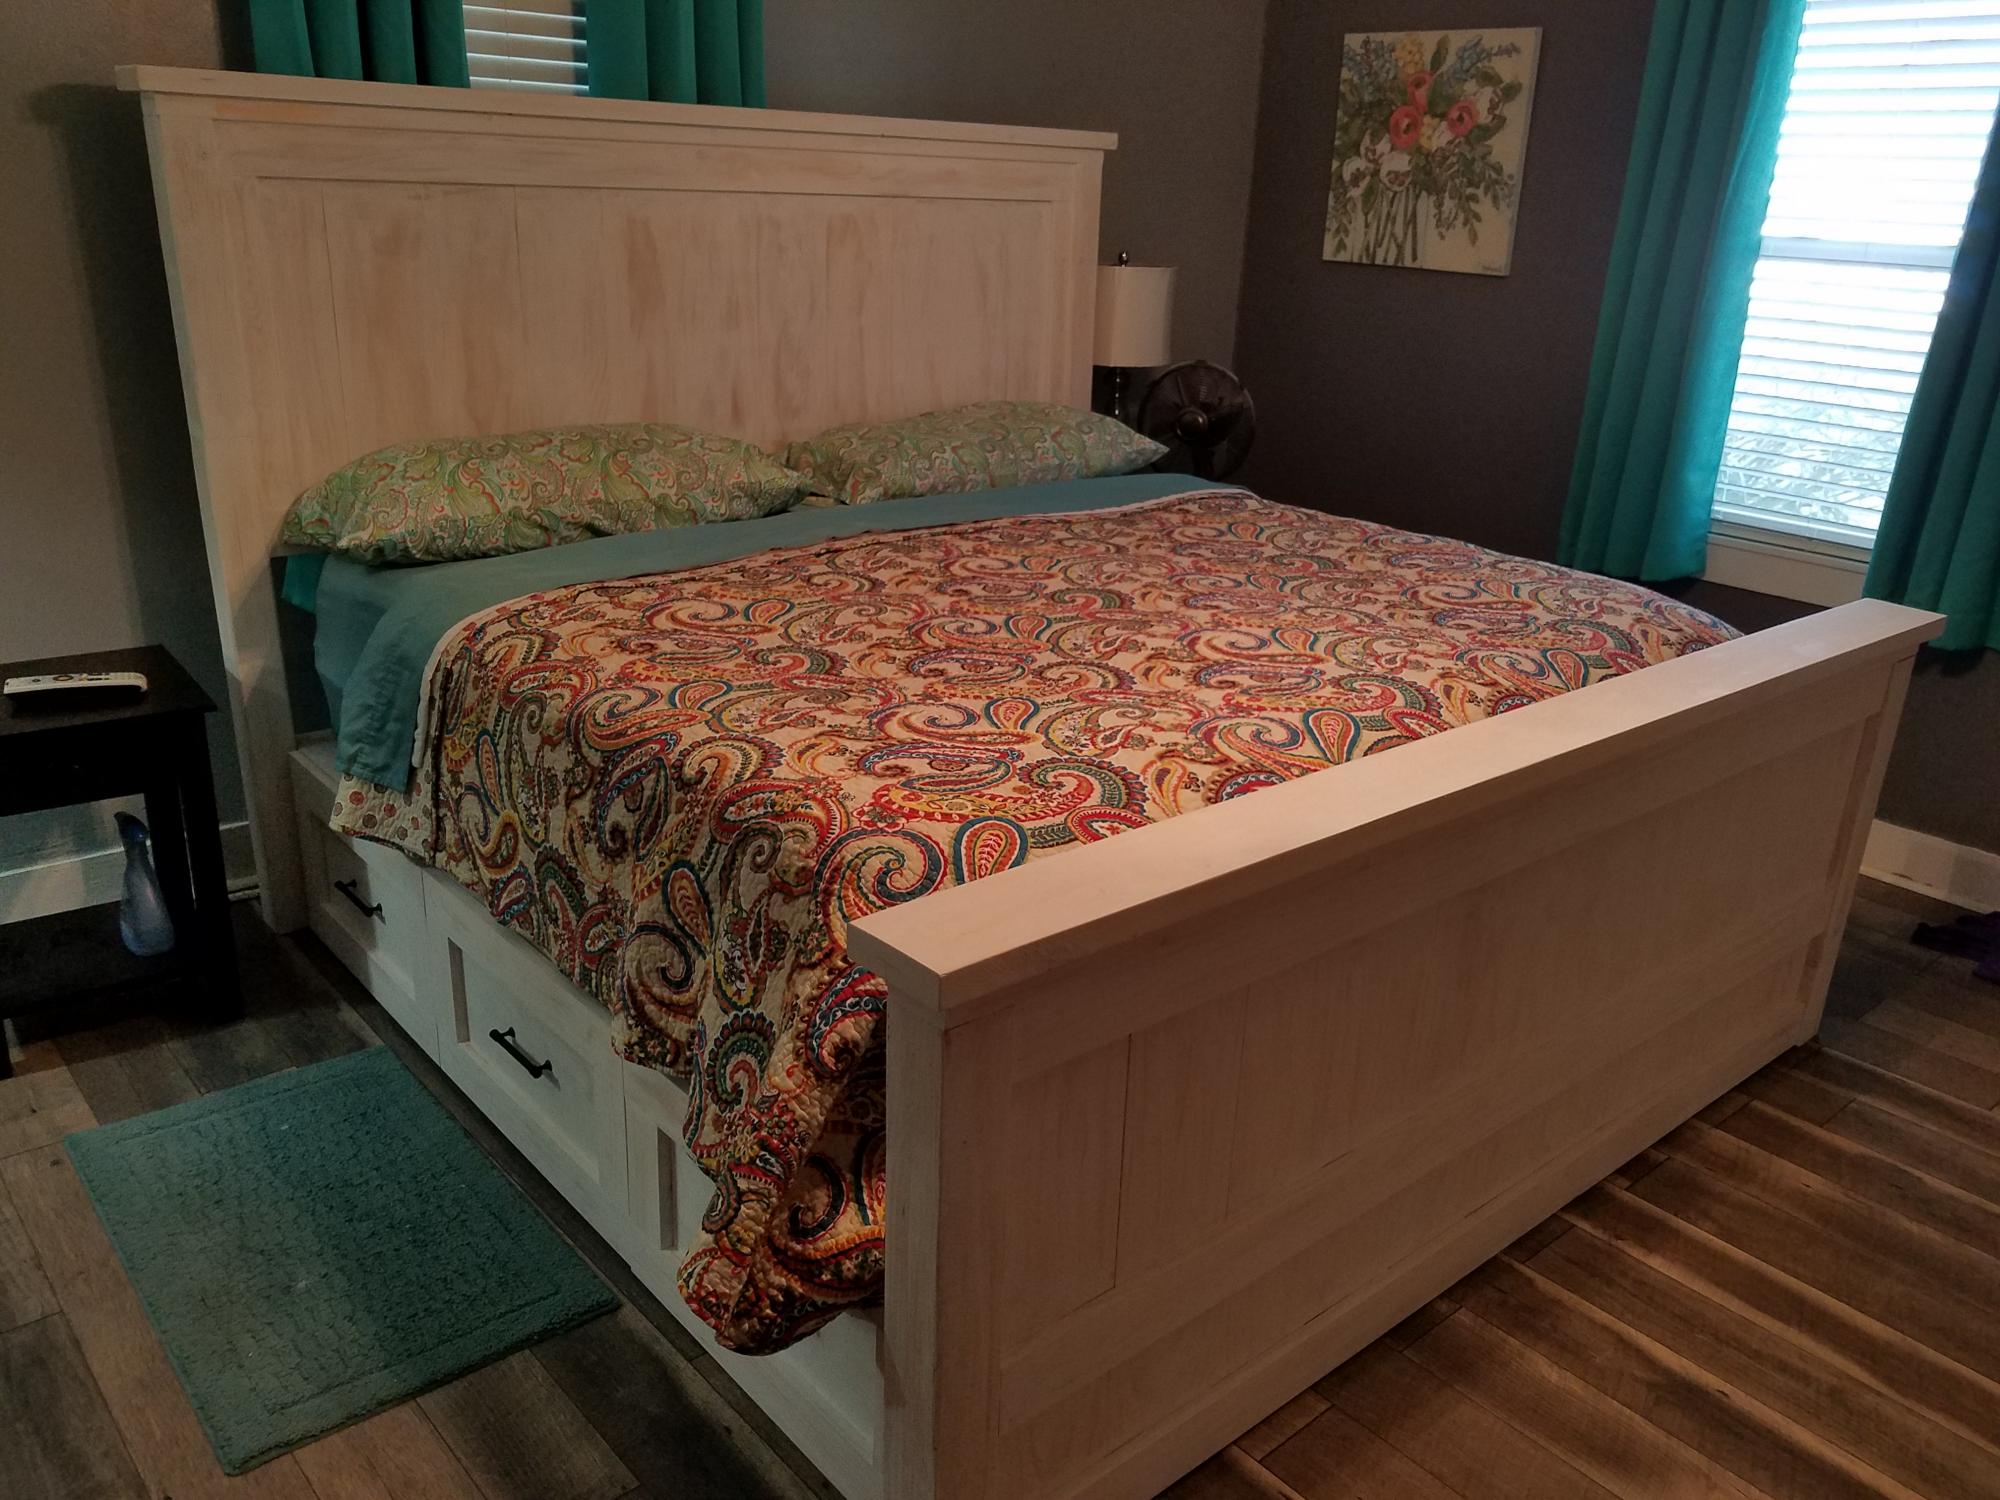
A lot of work but worth it!
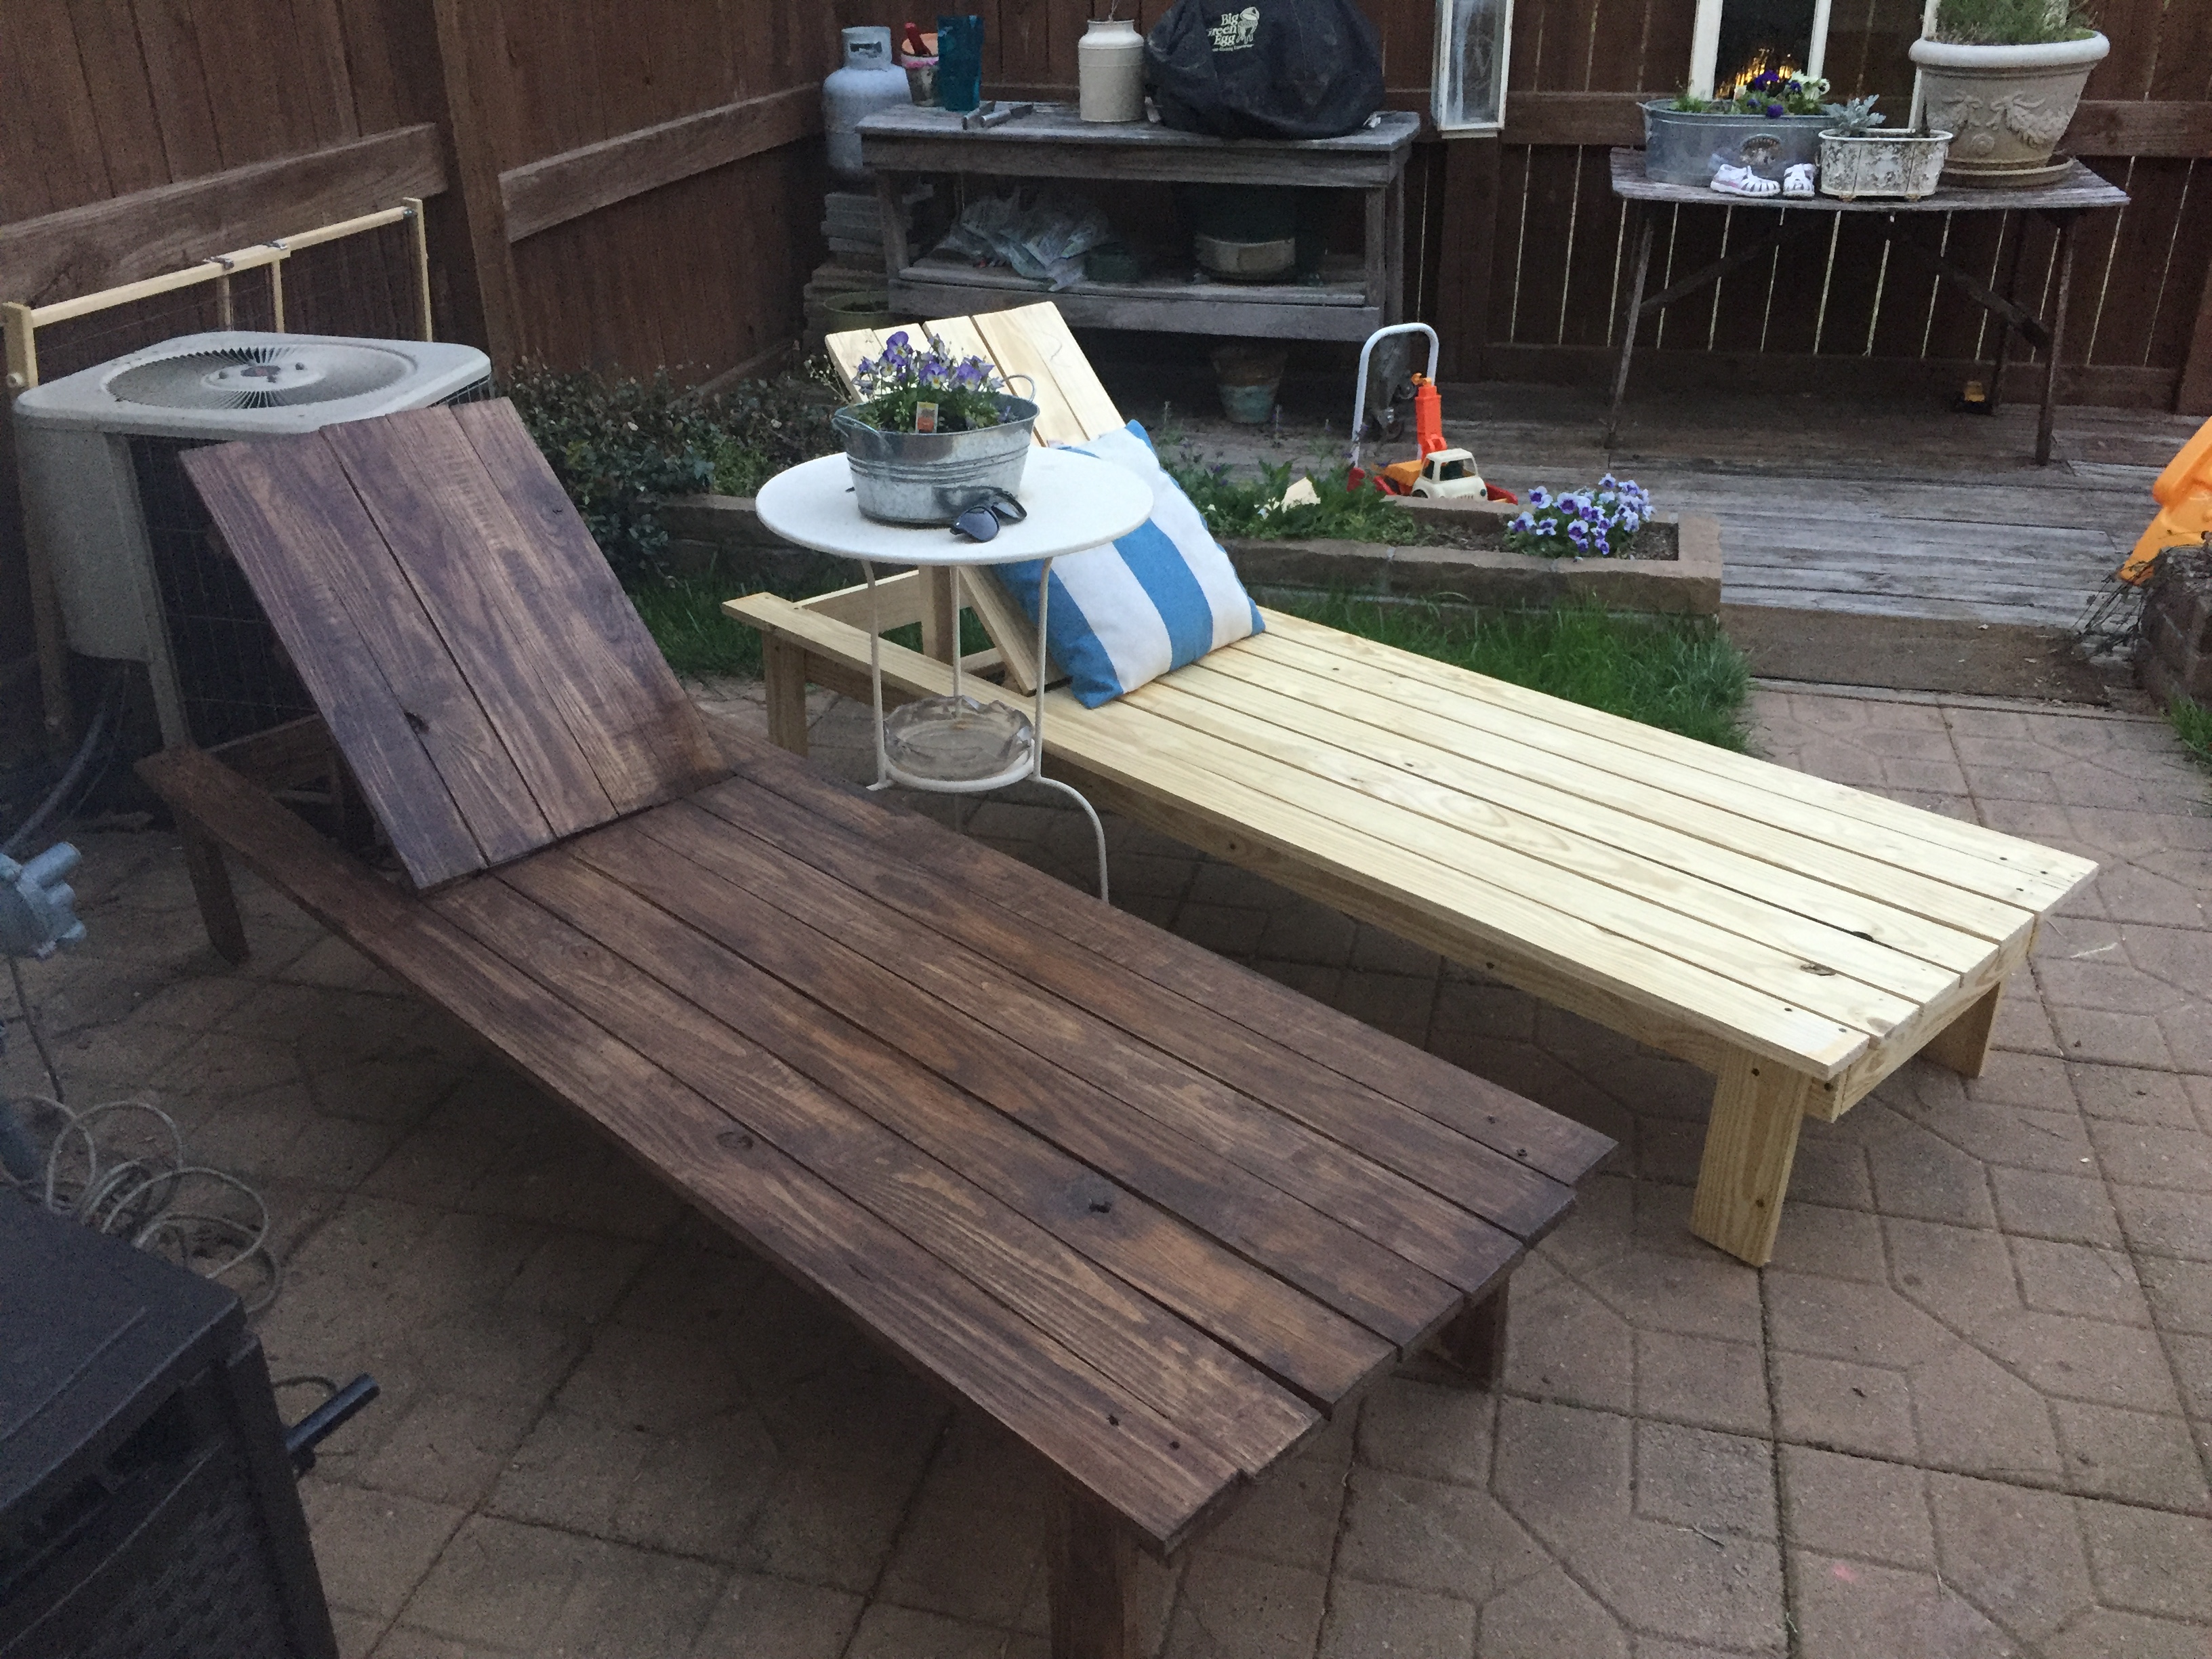
A few things that would be helpful - power tools! Nail gun, drill and table/miter saw would all be helpful. I also would stain the pieces beforehand and touch up after. But overall, SO pleased with the final result.
Built from Plan(s)
Estimated Cost
$100 for 2 single loungers.
Estimated Time Investment
Weekend Project (10-20 Hours)
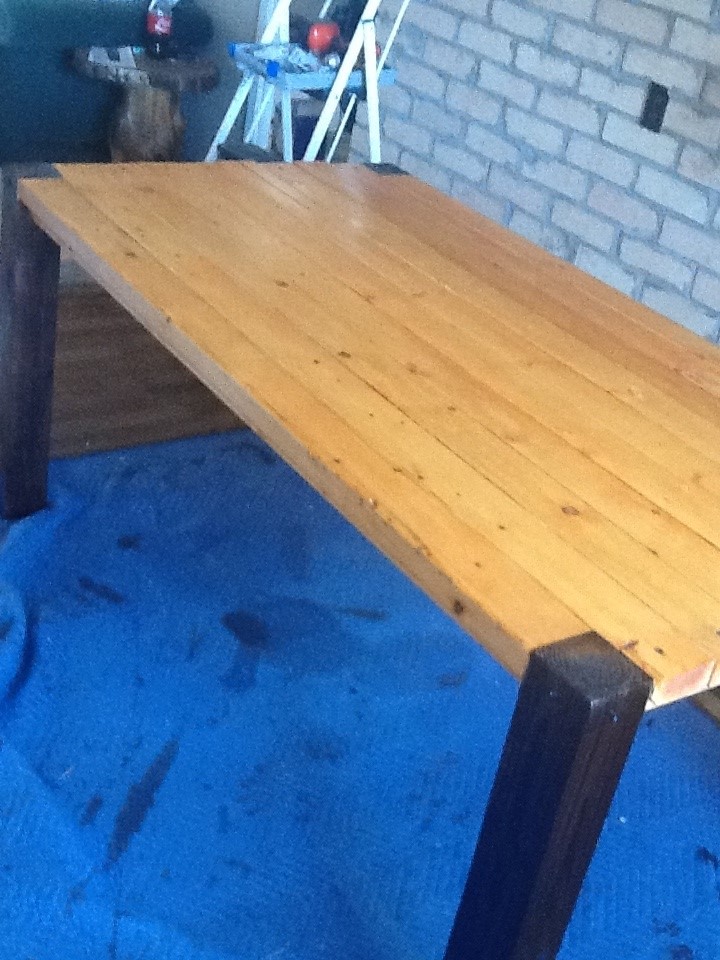
Finish Used
Deck stain
Recommended Skill Level
Intermediate