Playhouse Loft Bed
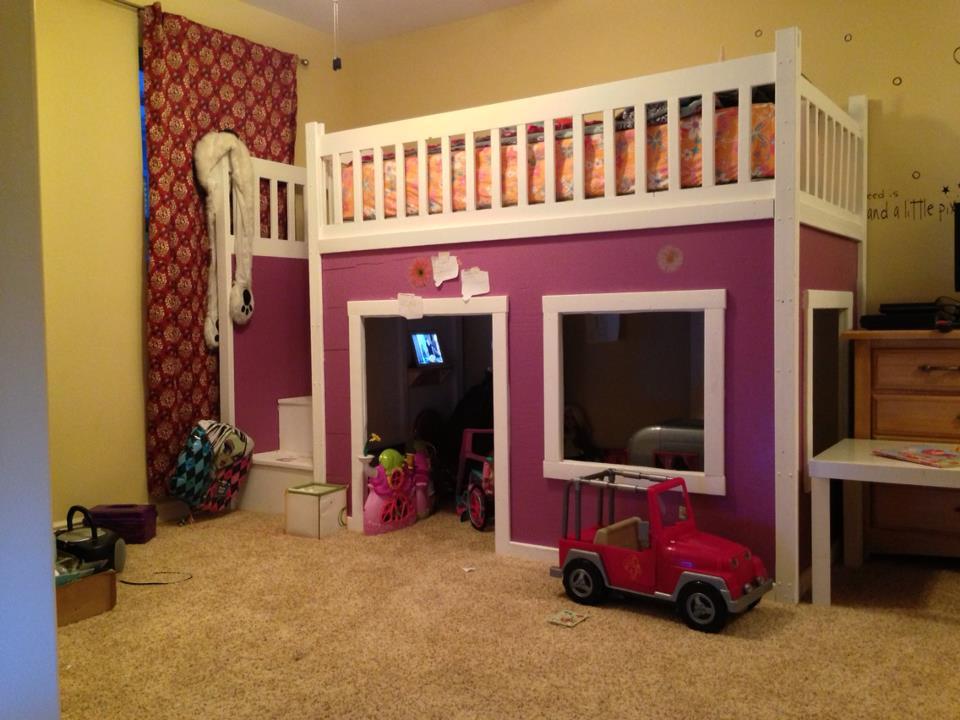
Bed built off of plans. For one person this was a big job to finish in 3 days, but I was able to get it done before Christmas.

Bed built off of plans. For one person this was a big job to finish in 3 days, but I was able to get it done before Christmas.
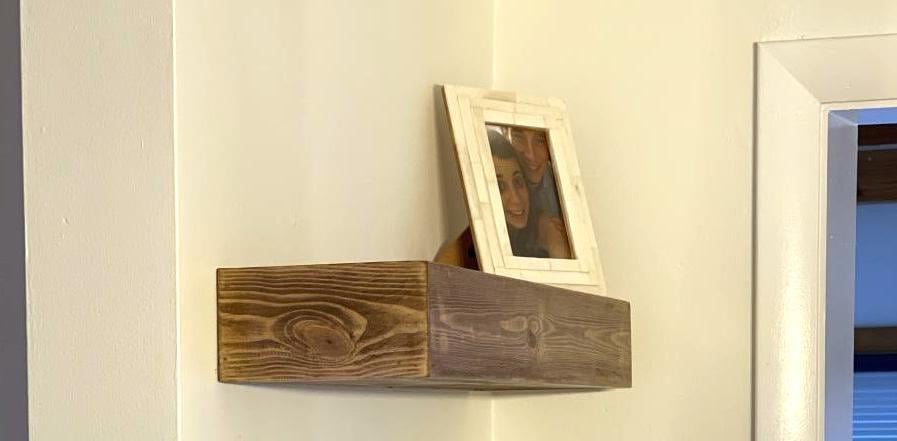
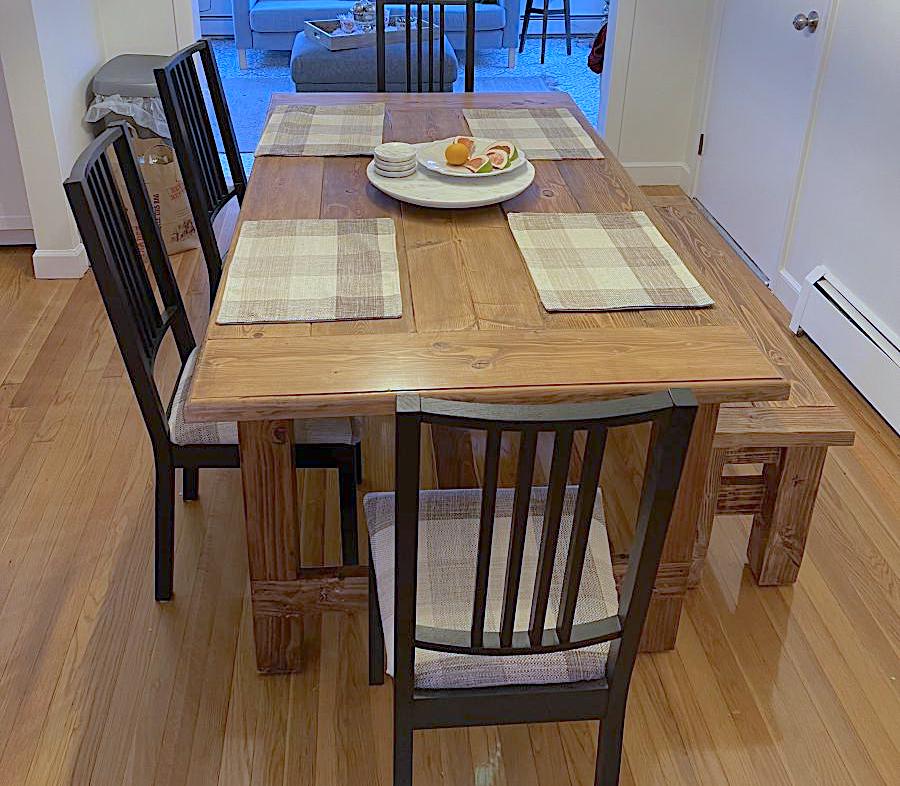
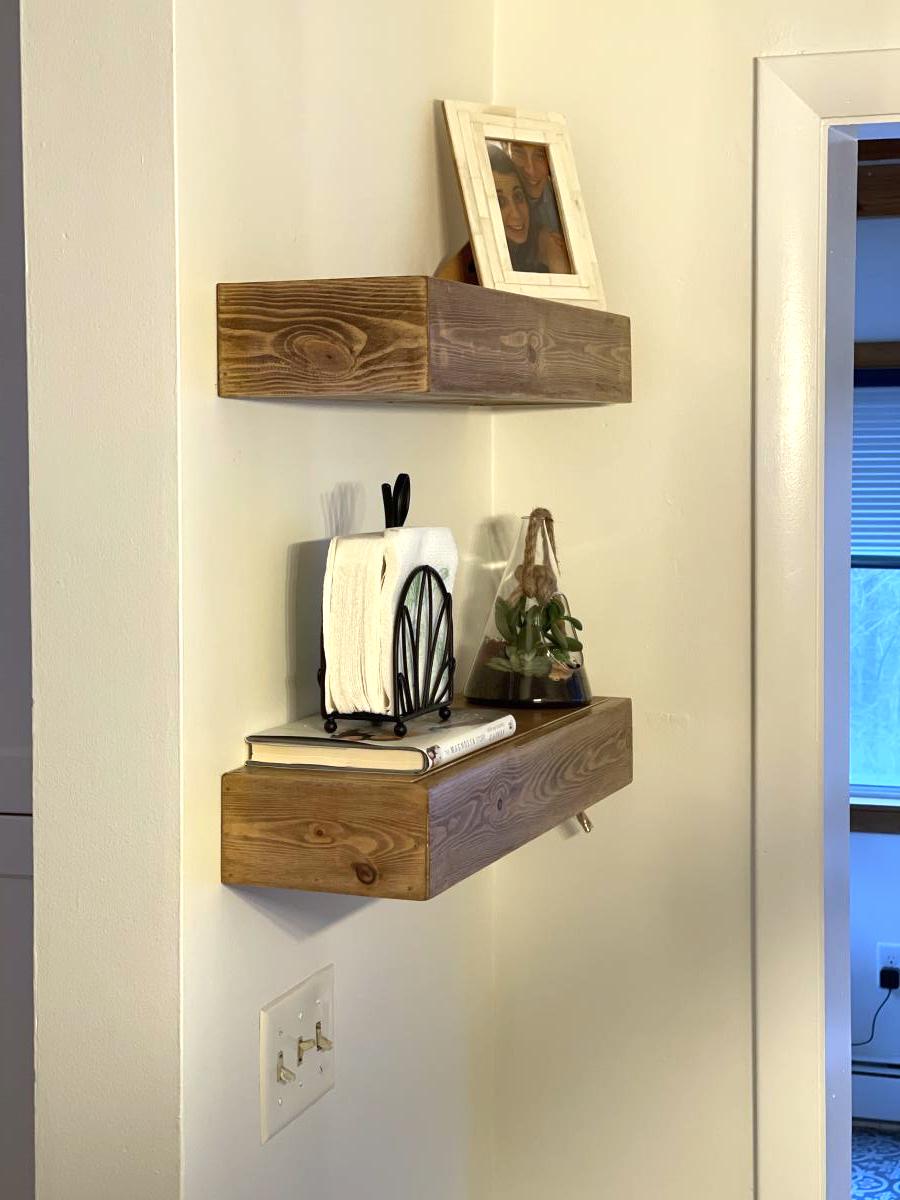
My daughter wanted to create the Farmhouse look for her New England home. Had so much fun building the Table, Bench and Floating shelves. The Plans were perfect, and of course customizable (she wanted it a little shorter). My next project is a real workbench for my garage. I think the only issue is the New Jersey winters.
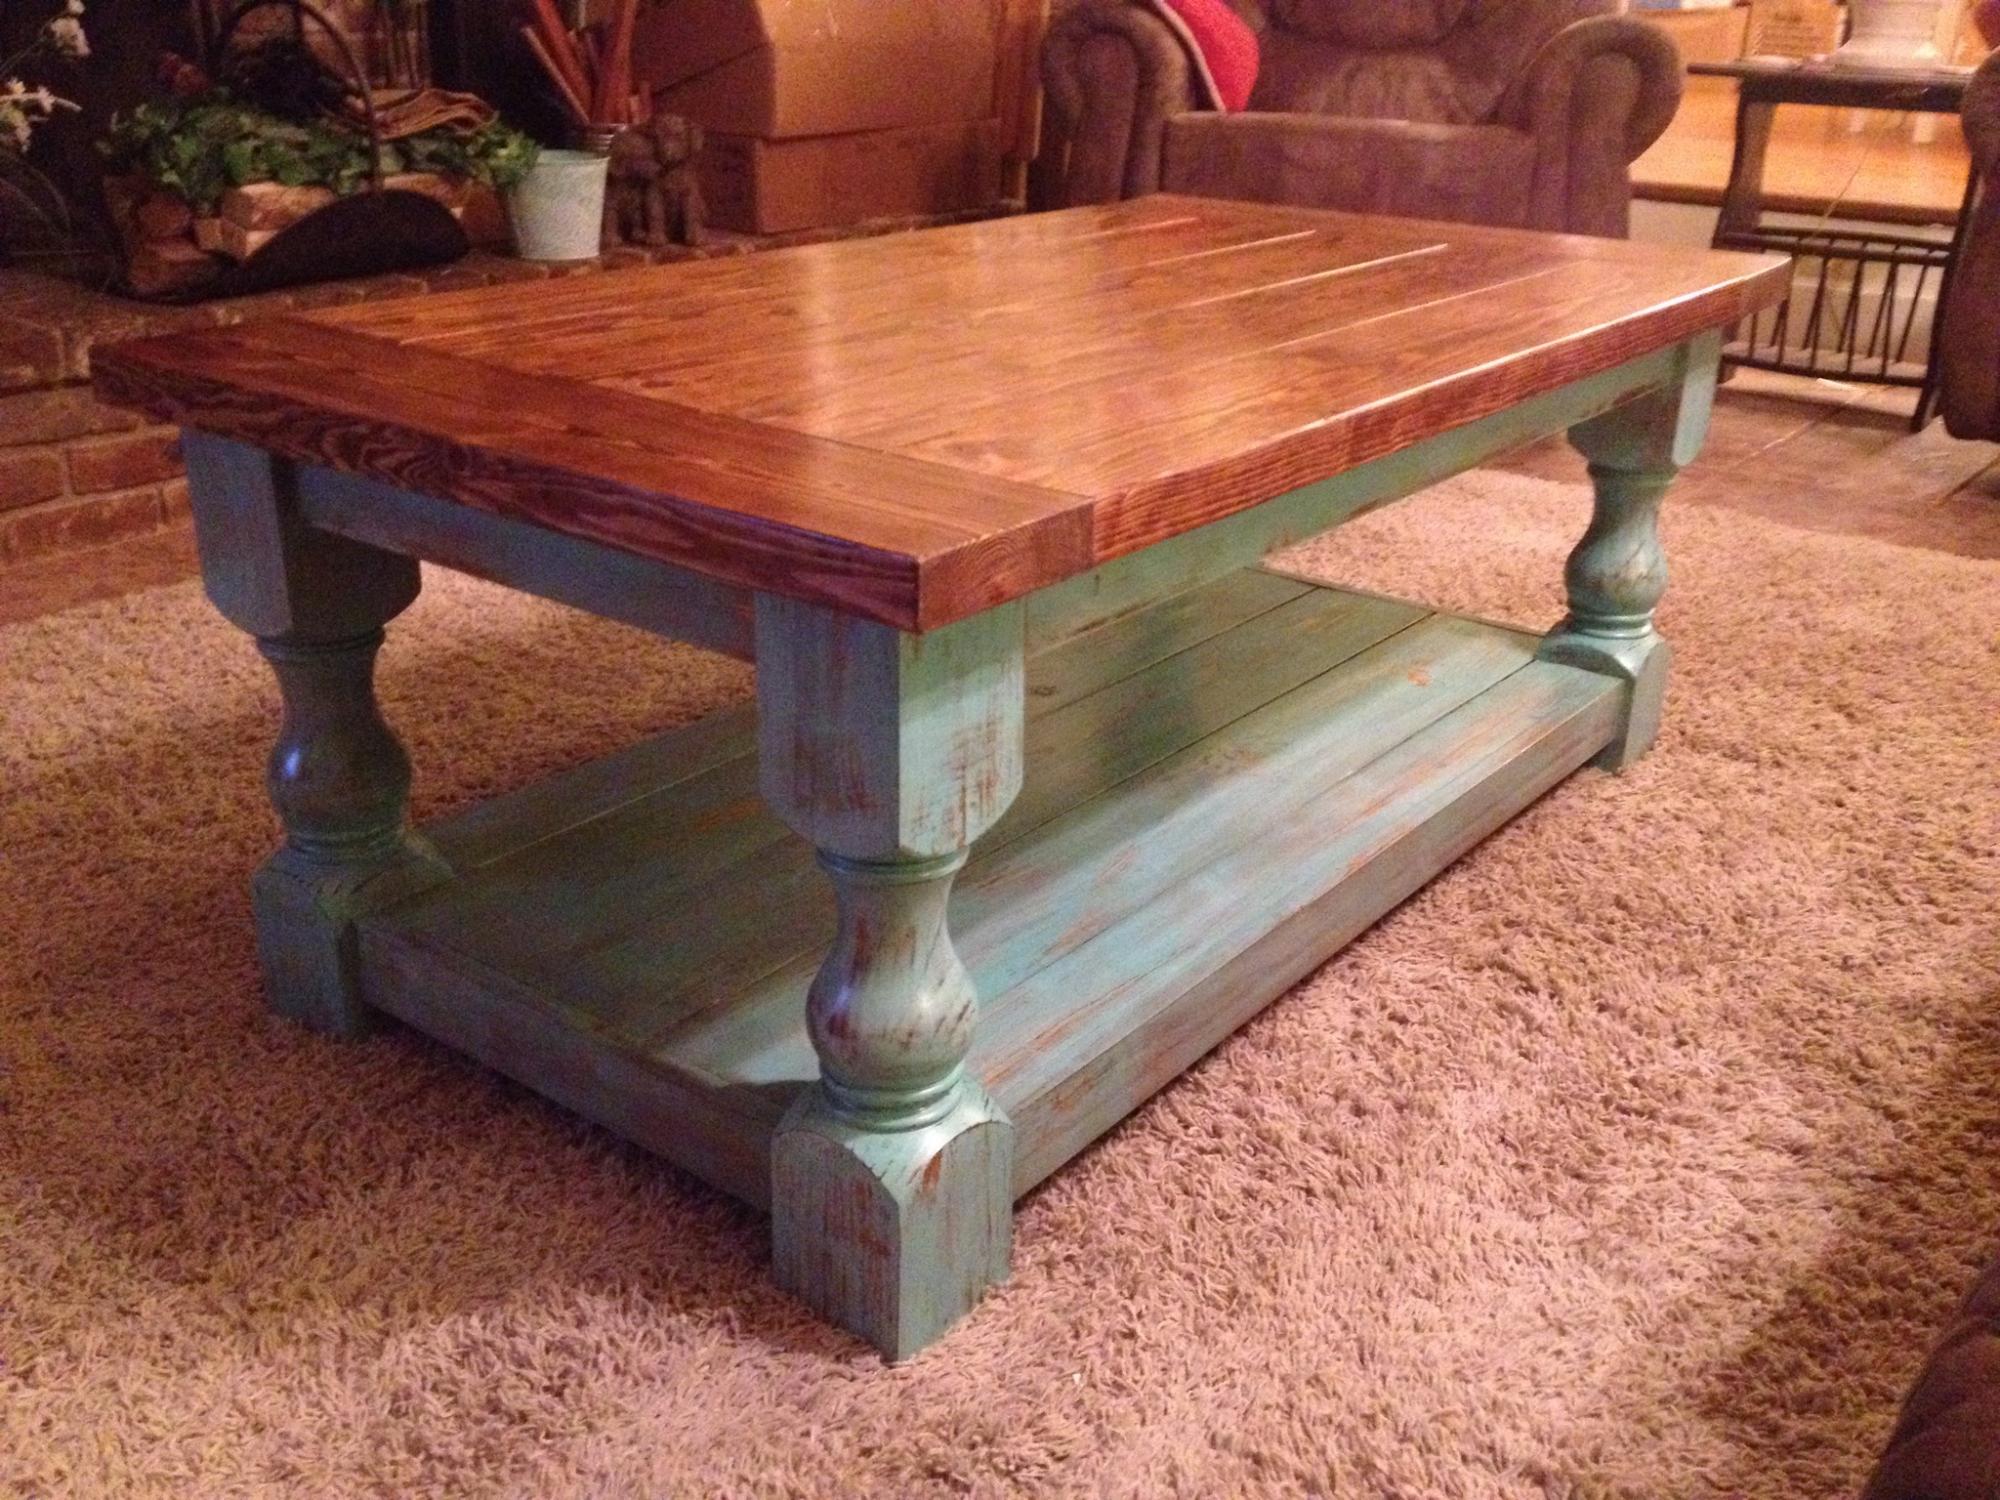
I ran across this when looking for ideas for a coffee table. My wife wanted a rectangular table, rather than a square - simple adjustment. I ordered the legs from
Osborne - great selection and good service.
I decided to try and use the plans on Ana's site but with a twist. I wanted to limit myself to using only pallets. I think it turned out great! I can't upload all the photos because they exceed the maximum size limit. If I was able to you could see how each chair is slightly different and has a lot of character. I finished them with a waterproofing oil which I highly recommend over other finishes.
Mon, 04/10/2017 - 08:51
This is exactly what I'm looking for !! Fantastic build and re-purposing is always better.
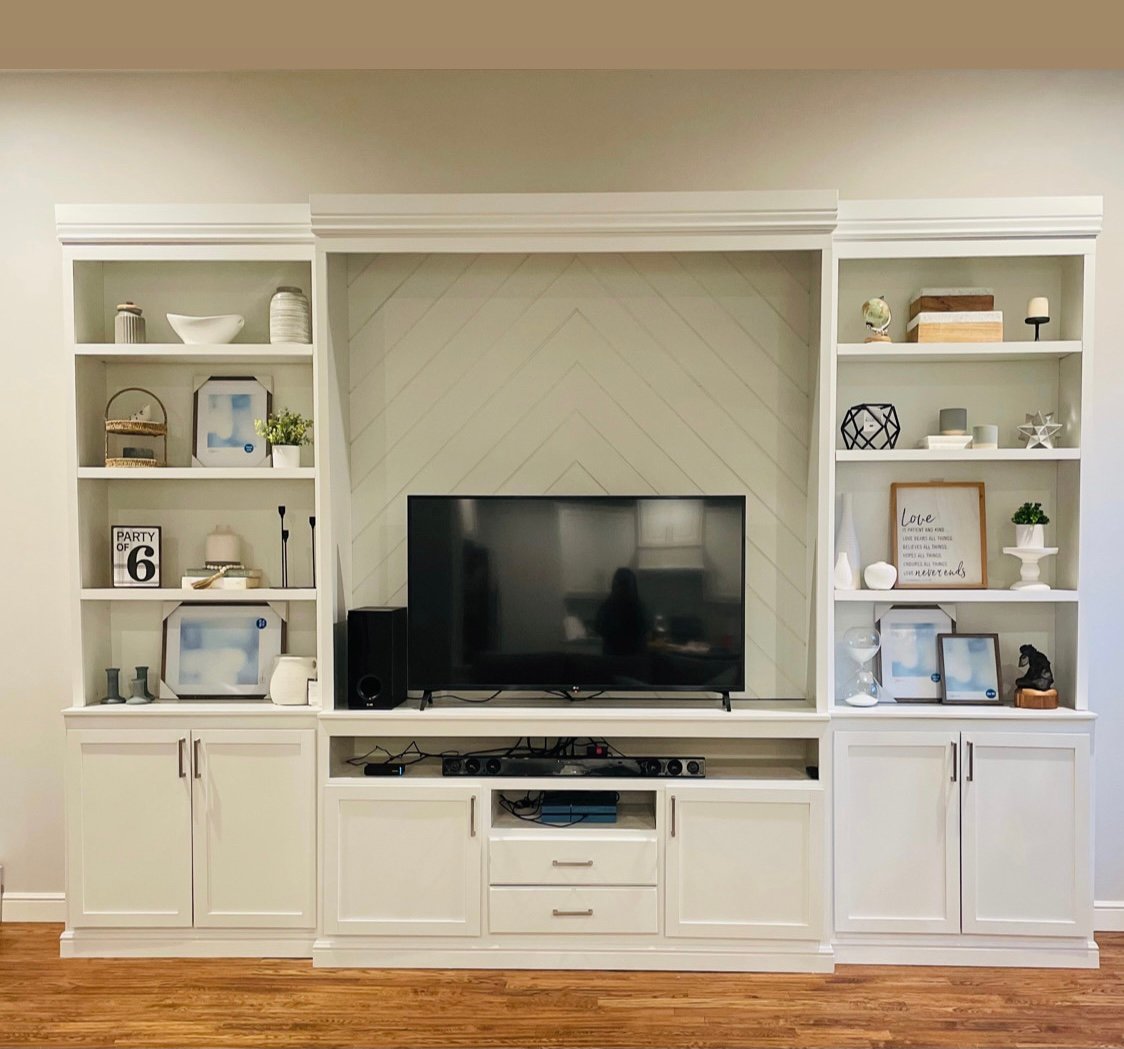
My Biggest build so far. We have a large living room and needed something large for that wall. I really had fun on this one. It took longer than I wanted but in the end, I’m really proud I finished. This was my first time to use the router and learned how build shaker style doors. -Instagram.com/theorthfam
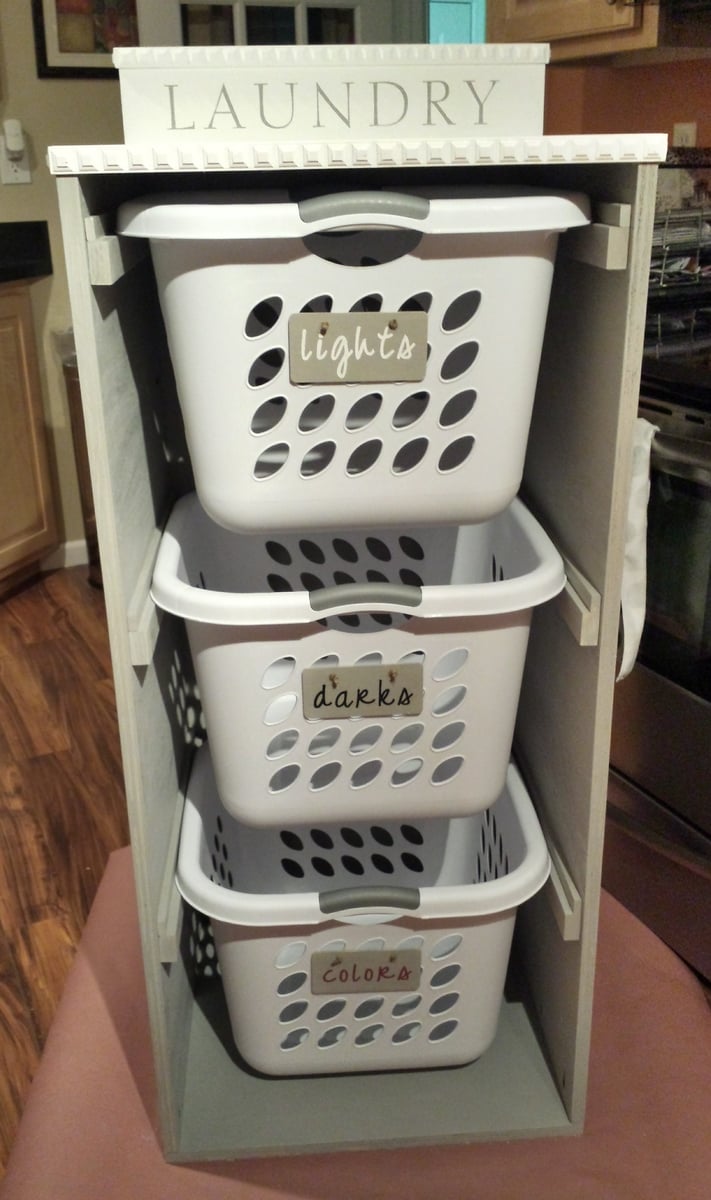
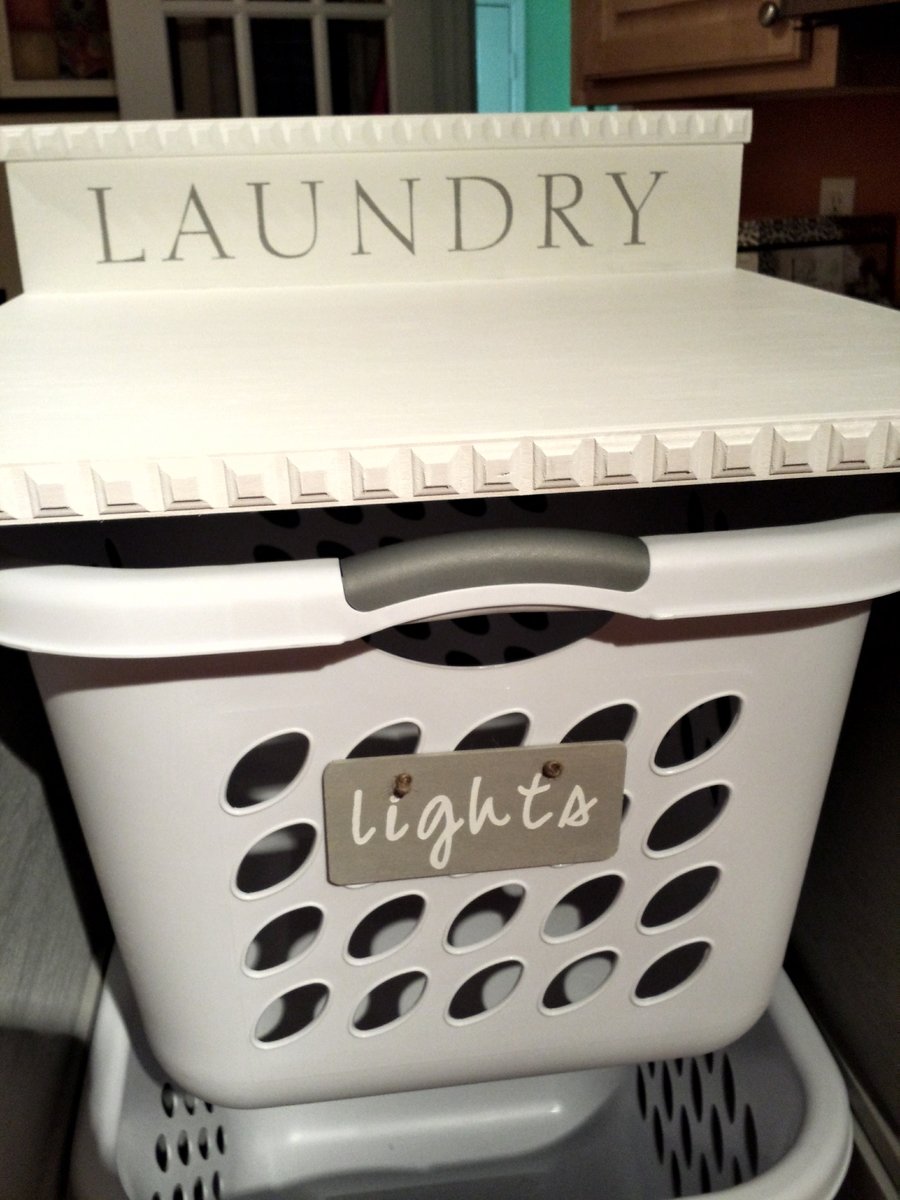
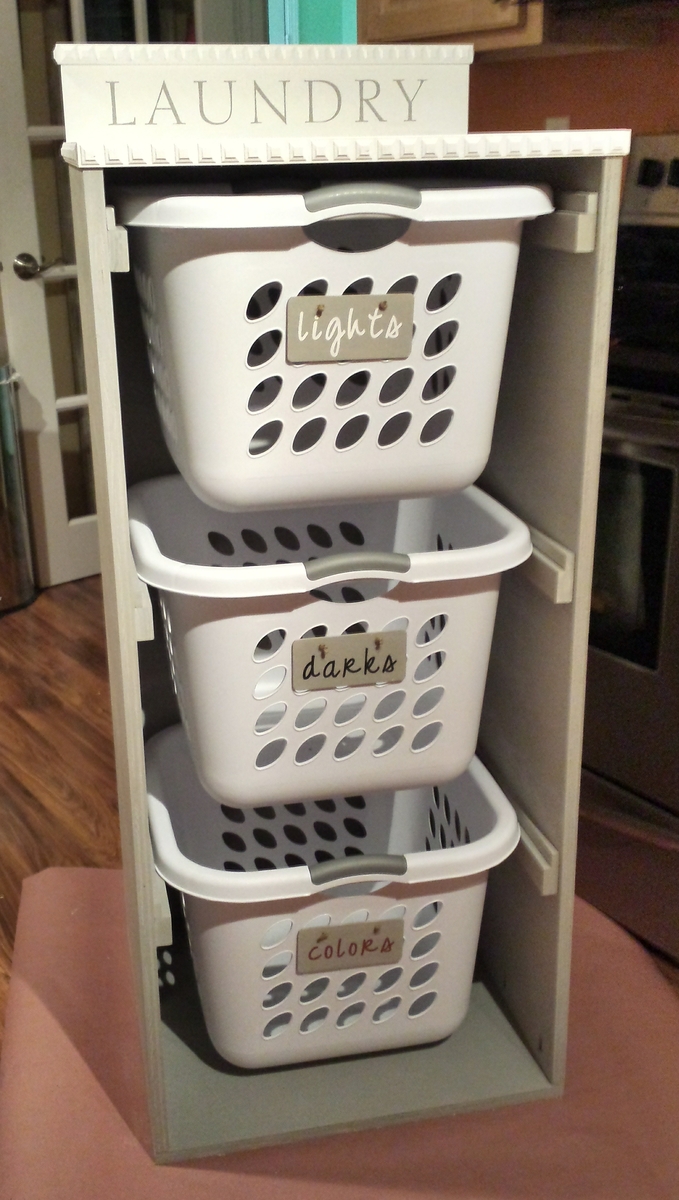
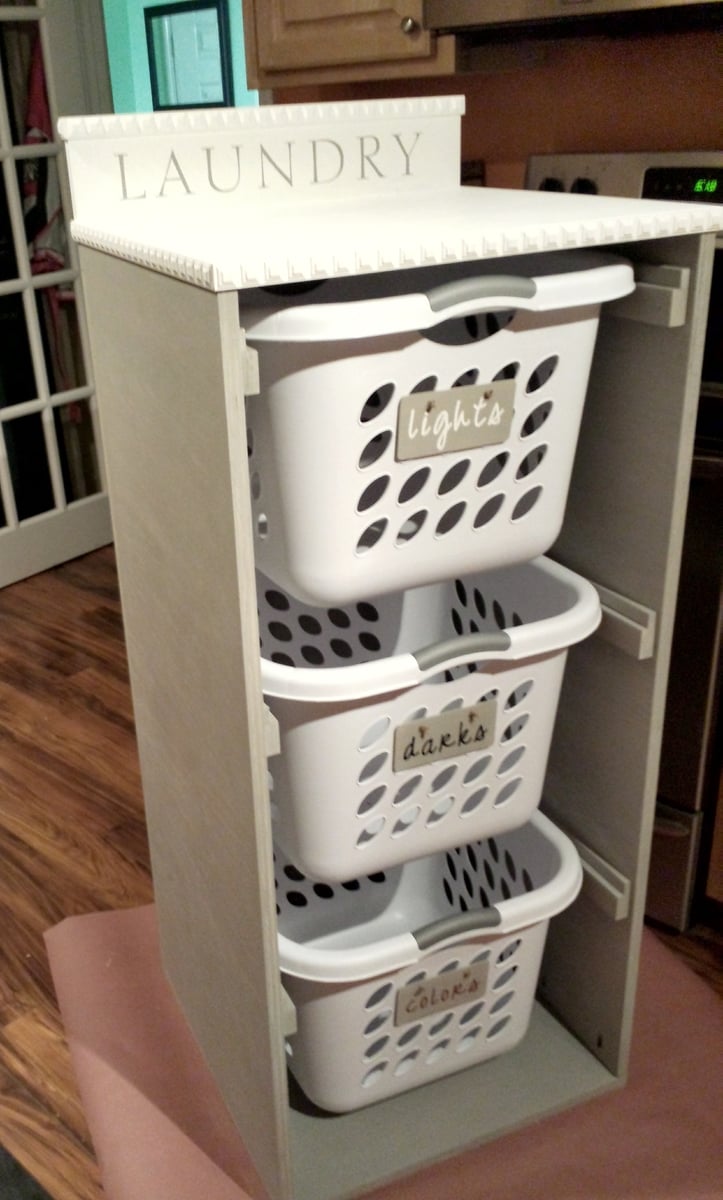
Used square laundry baskets instead of regular rectangular baskets. The square ones aren't as deep but are a bit taller so I had to modify the plans. I added a backsplash and some wooden tags to the baskets to designate them for certain colors. I also added some decorative trim and finished the bottom in a gray stain and used white chalk paint for the top.
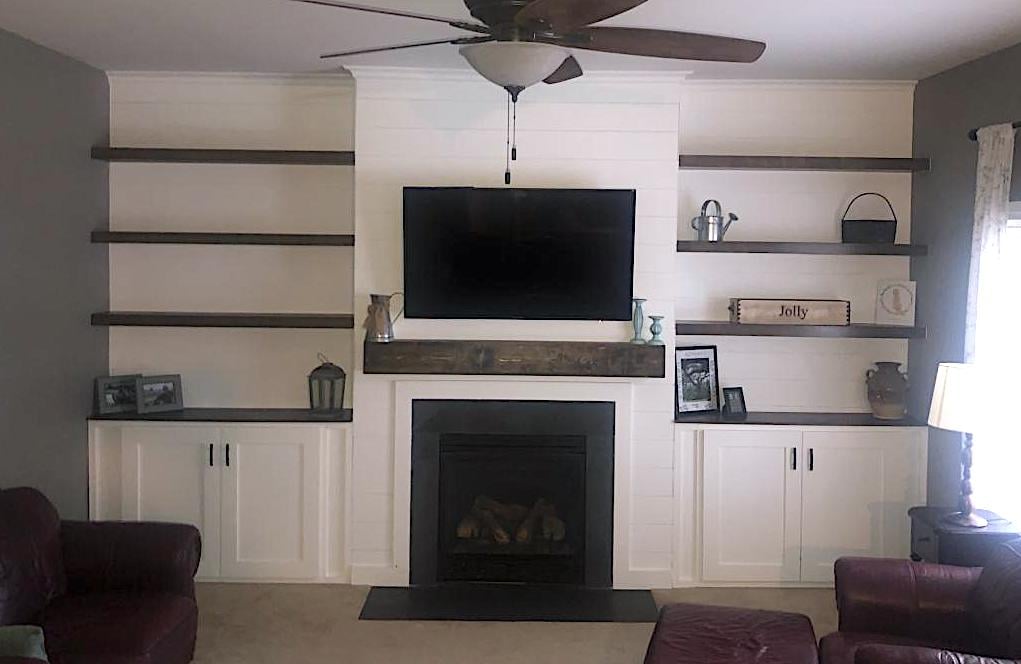
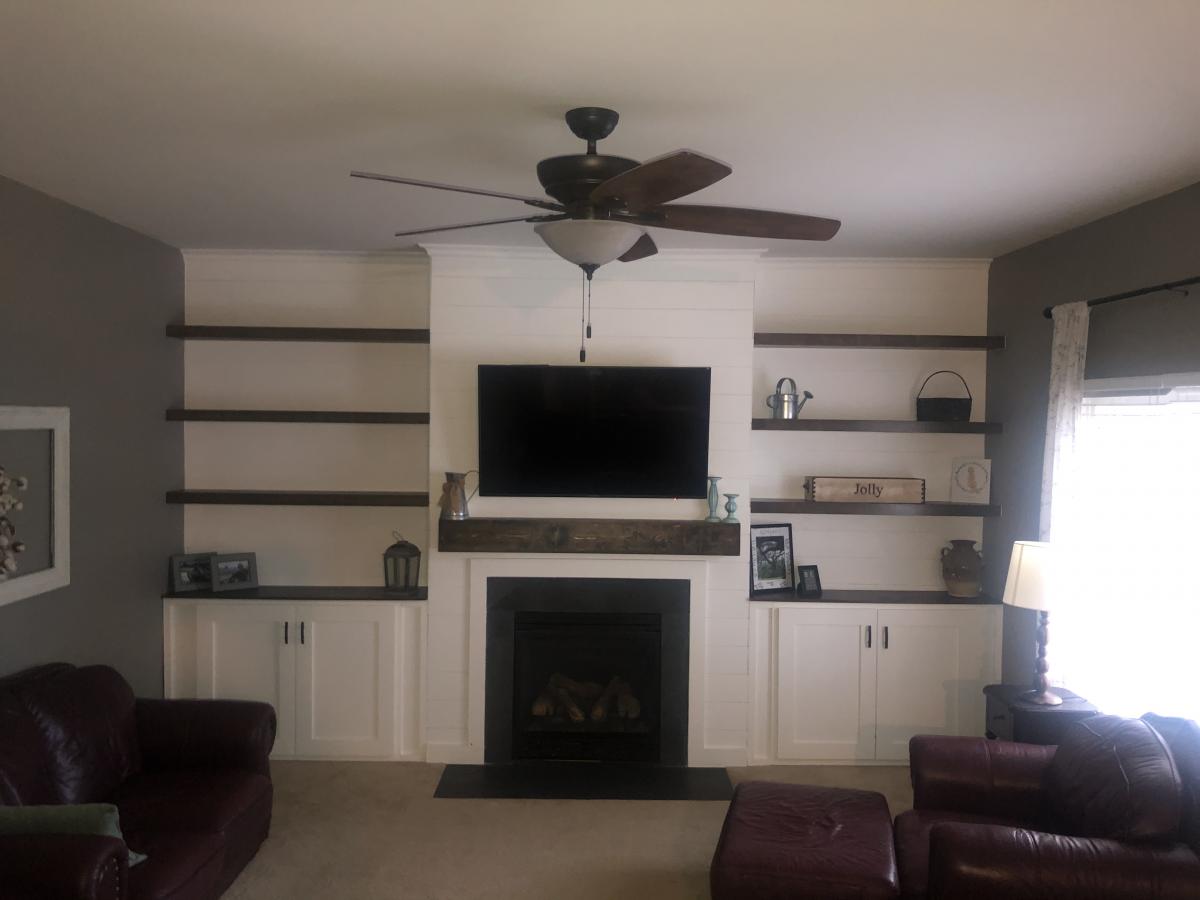
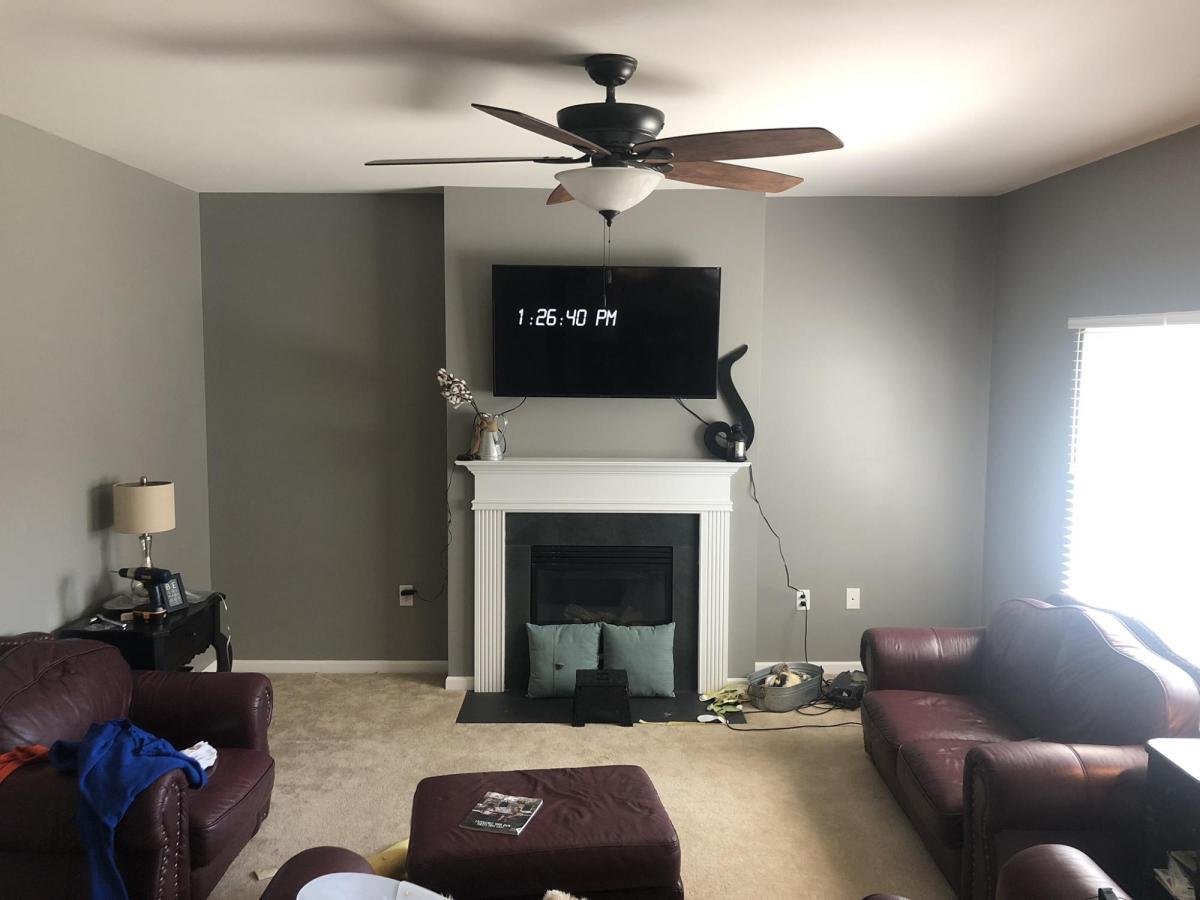
We have lived in our home for 2 yrs now and have been trying to figure out what we wanted to do with the plain boring wall with cords handing from out behind the tv due to no power outlet on that wall. We finally decided to do the whole wall in shiplap but the the cost of lumber going through the roof I went with 1/4 underlayment that I had ripped down to 6in strips at my local hardware store. I cut them down to size with my miter saw the painted them white before I attached them to the wall with 1 1/4 brad nails and used nickels for my space in between each row. The cabinets are 36 in tall. The carcass is made fro 3/4 in MDF and the face frames are made from 1x3 pine and attached with wood glue and brad nails. Cabinet doors are made from 1x4 pine for the frame and 1/4 underlayment for the center. I used my hand router to route out a 1/4 deep groove for the center to drop into the frame I used wood glue and brad nails to attach it to the frame and filled in any gaps with paintable caulk. They are attached to the studs in the wall with 3 in wood screws. The mantle is made from 1x6 pine boards and attached to a wall bracket made from 1x6 that are attached to the wall in each stud with 3 in wood screws. The mantle is attached with wood glue and 1 1/4 brad nails. The shelves were made out of 1/2 Poplar 4x8 plywood sheet ripped down to size. The wall brackets are made from 1x2 pine attached to studs with 3 in wood screws. And the shelves are attached with wood glue and 1 1/4 brad nails. I added 3 1x2 spacers to each shelf between the top and bottom board to prevent them from sagging before attaching the face of the shelves with wood glue and 1 1/4 in brad nails. This project took about a month to complete because I worked on it during free time. Also this was the first major build I have ever done so I was also learning along the way. Some parts were frustrating but most of it was fun and a great learning experience. Also this project evolved as I was building it. My wife loves the finished product. Now it’s time to find my next project.
Sun, 05/30/2021 - 11:05
What a beautiful space you created, thank you for sharing!
Tue, 12/05/2023 - 11:47
Surprisingly makes your living room appear so much larger compared to the before picture! Thank you for sharing your photos with us and congrats on a great result!

Great plans allow for versatility and easy customization. Put the whole thing together in a day w/ one other person. My set up is 16' long - 5' on the side shelves and 6' for the workbench. Added a pegboard and fluorescent light under the top middle shelves. I'm also designing a slim drawer to go under the workbencheck area. Thanks a bunch!


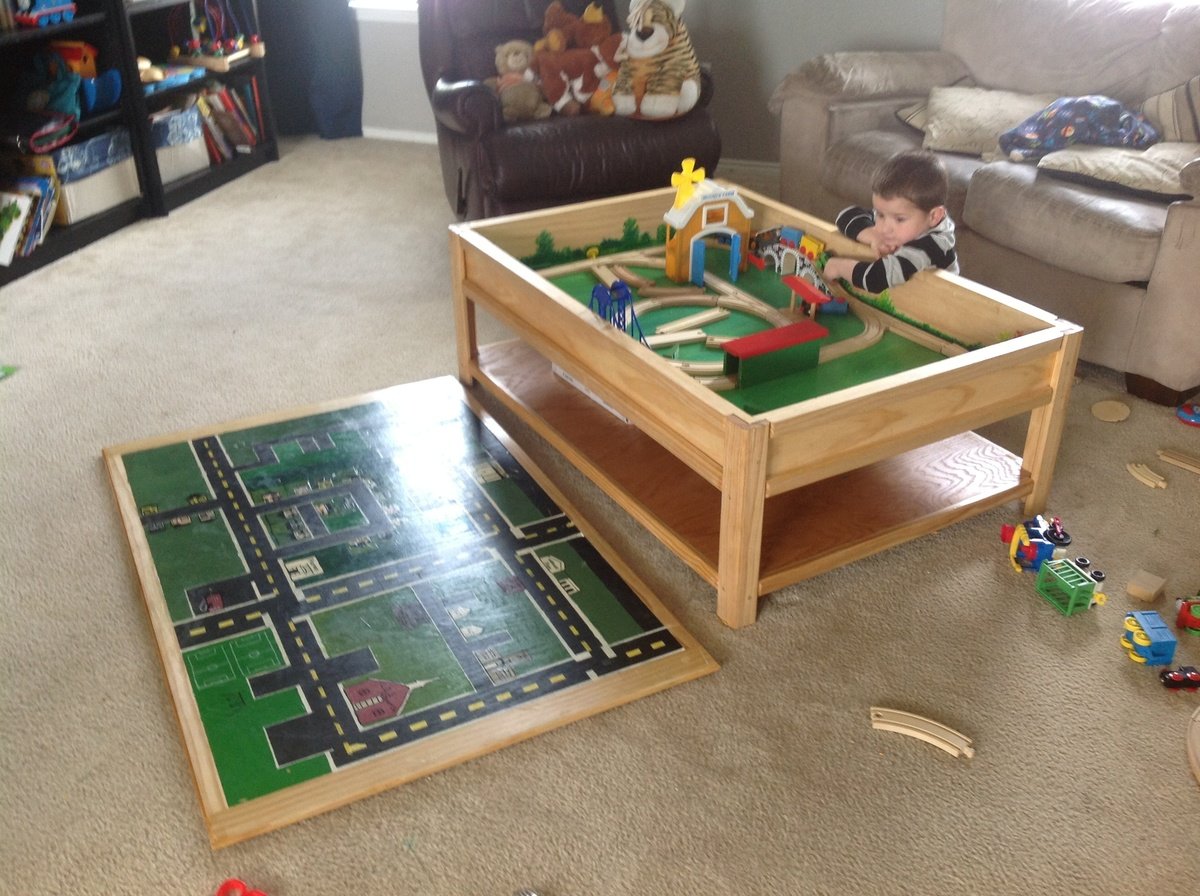
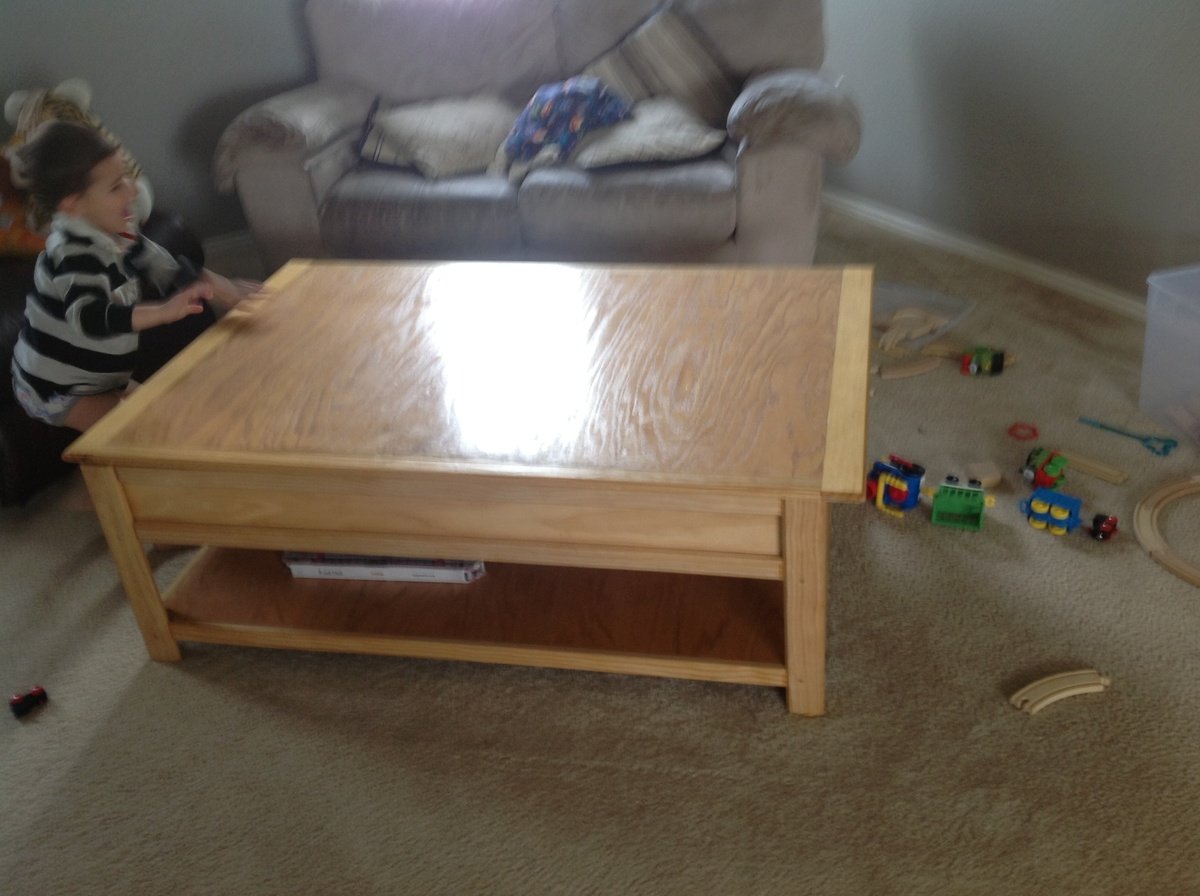
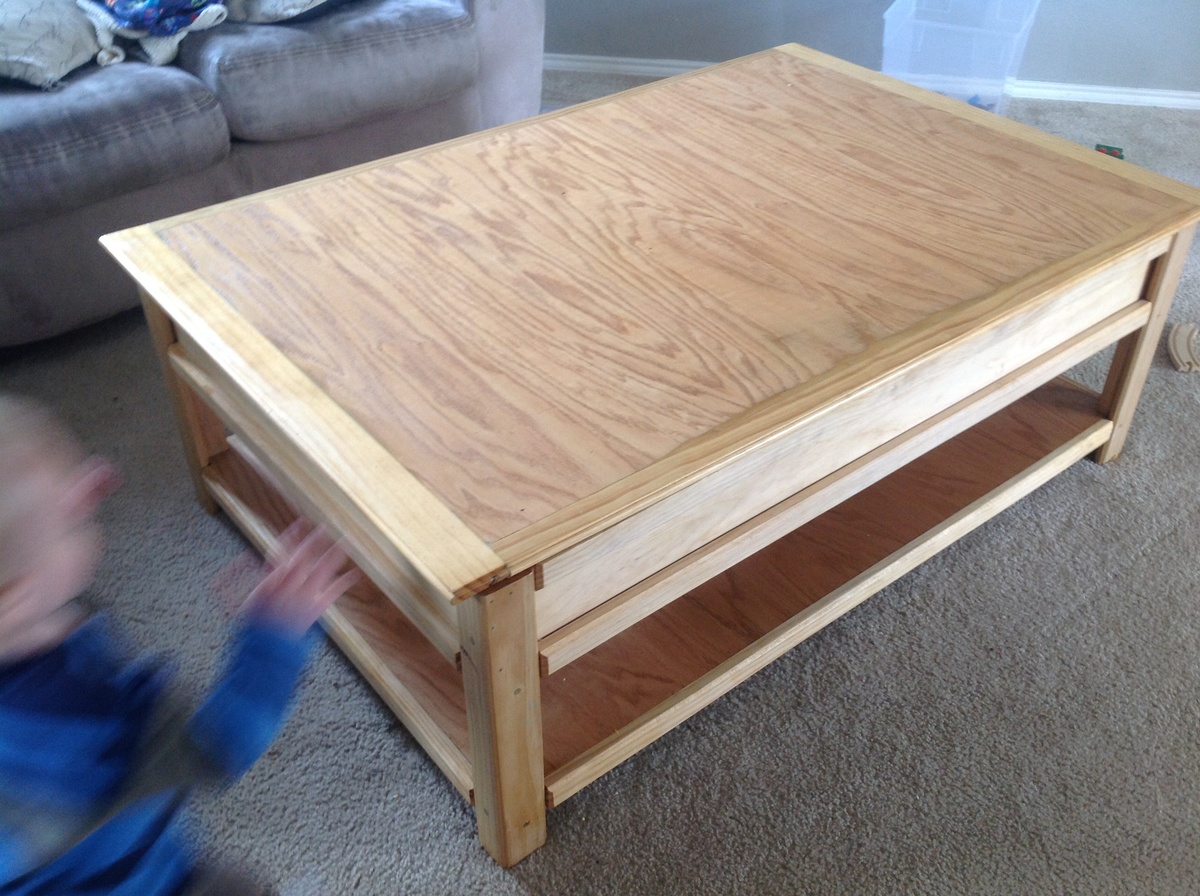
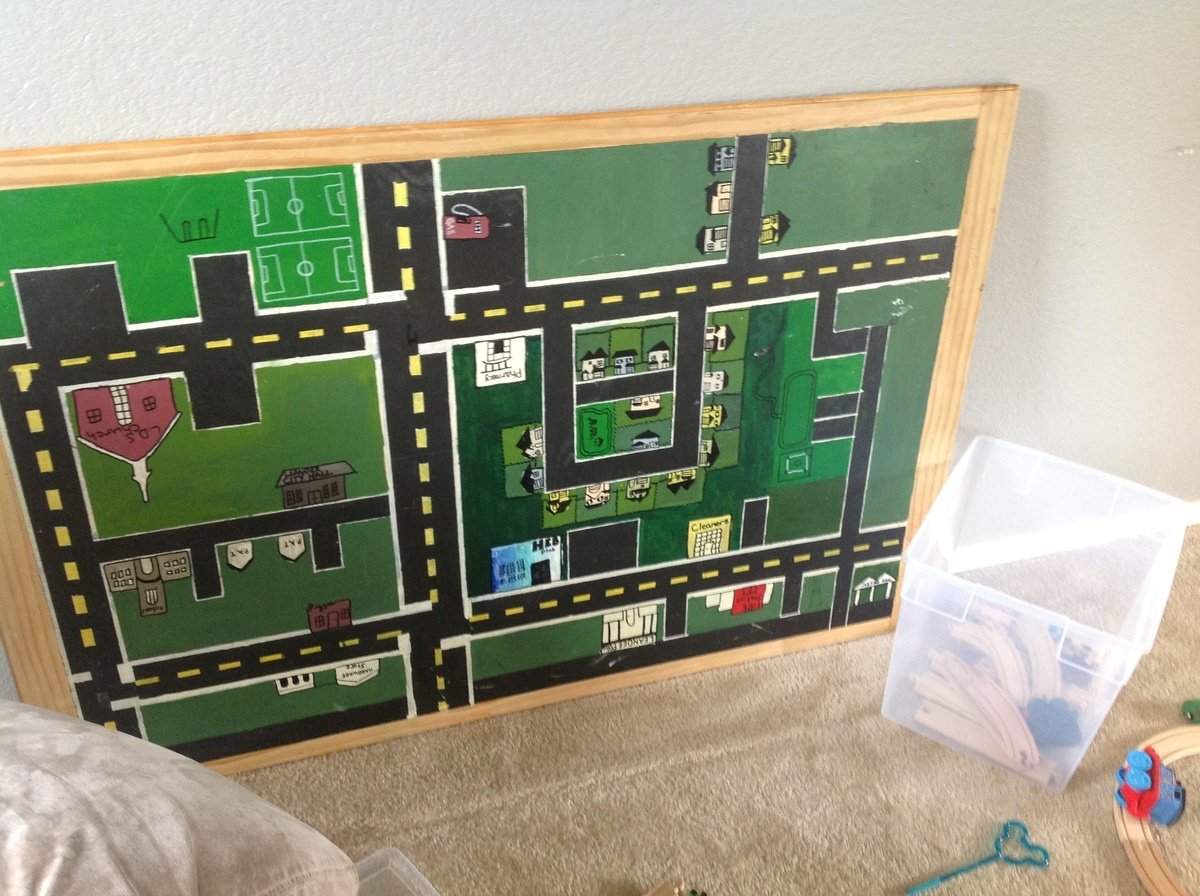
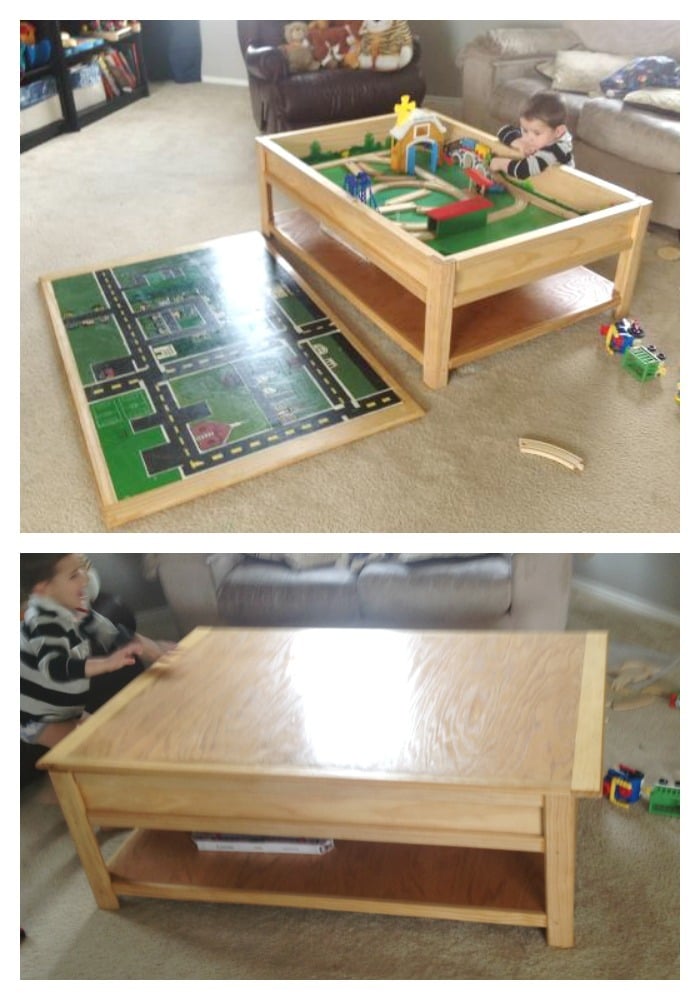
We customized the train table a bit and laminated the top into one solid piece so that we could paint a car map of our neighborhood on the underside. It's heavy! But with two boys in the house it's never really on anyways! :)
I built a wooden toy truck using a leftover 1x4 board in my garage. For this build I used Ana White's plans for the wood wheelie cars. This was a quick and easy project and my first project using my scroll saw. Not too shabby for my first go at toy making. However, I am not happy with the finished toy. If I did it all over again, I would take my time with the finish. Also, the driver was not perpendicular to the truck's body when I created the holes for the axles, so the truck leans slightly. My son does not seem to notice its flaws, so I will try to overlook them as well! Check out the blog link for more project details!
I followed your idea but i think my bench is a touch smaller. I decided to add arm rests on each end, I kept the top beverage ledge or "Bever-ledge" as I call it and ofcourse I added rope lighting along the underside. This was my first ever DIY project.
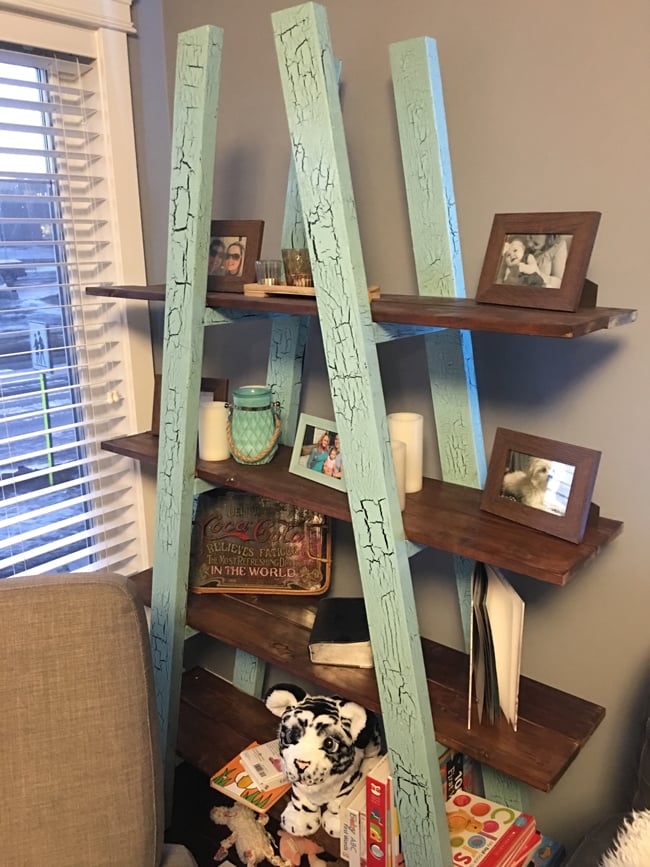
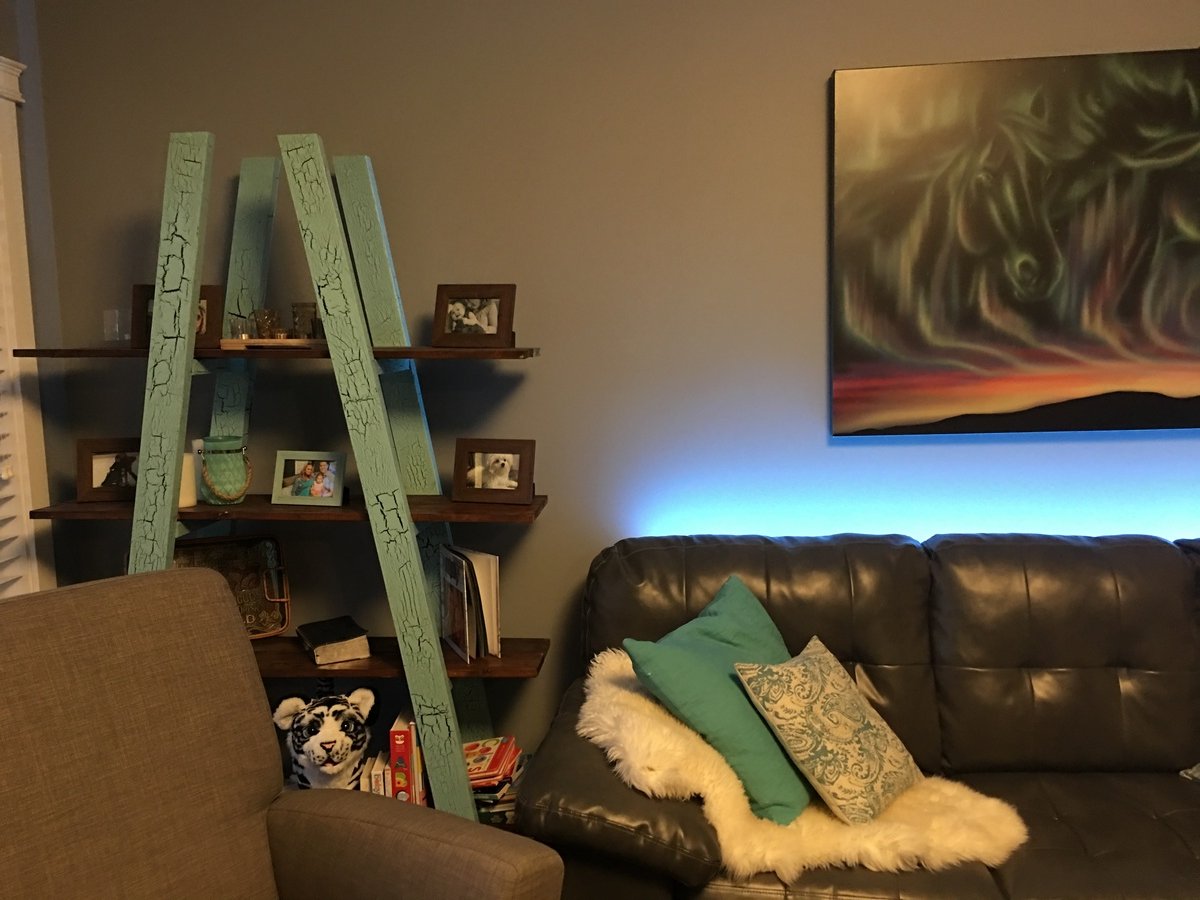
We needed to fill the corner in the house, wasn’t sure what project to do forever! We liked the look of the rustic furnitures and decided to go forward with this truss shelf design.
We used a crackle paint with a black base and turquoise top layer and finished the wood planks with a pickling solution to weather the wood.
Let me know what you think.
Maldonado thanks for the prints for this awesome design!
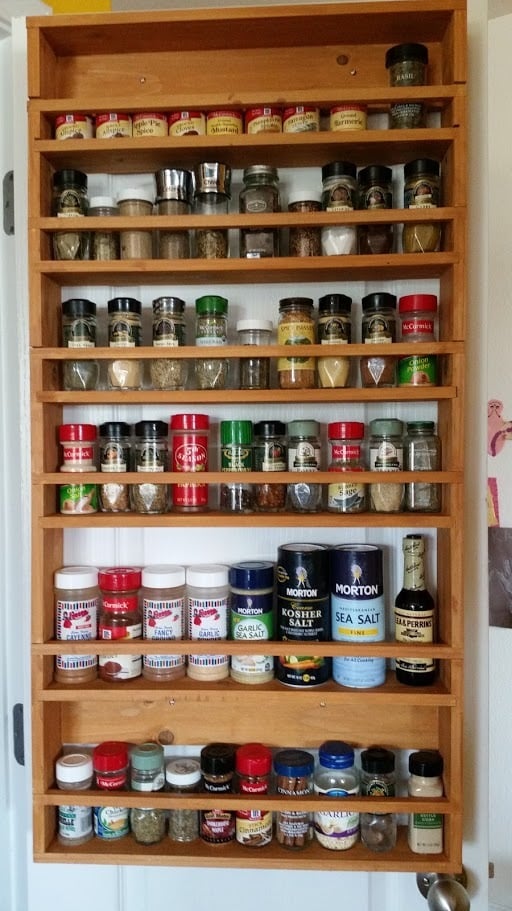
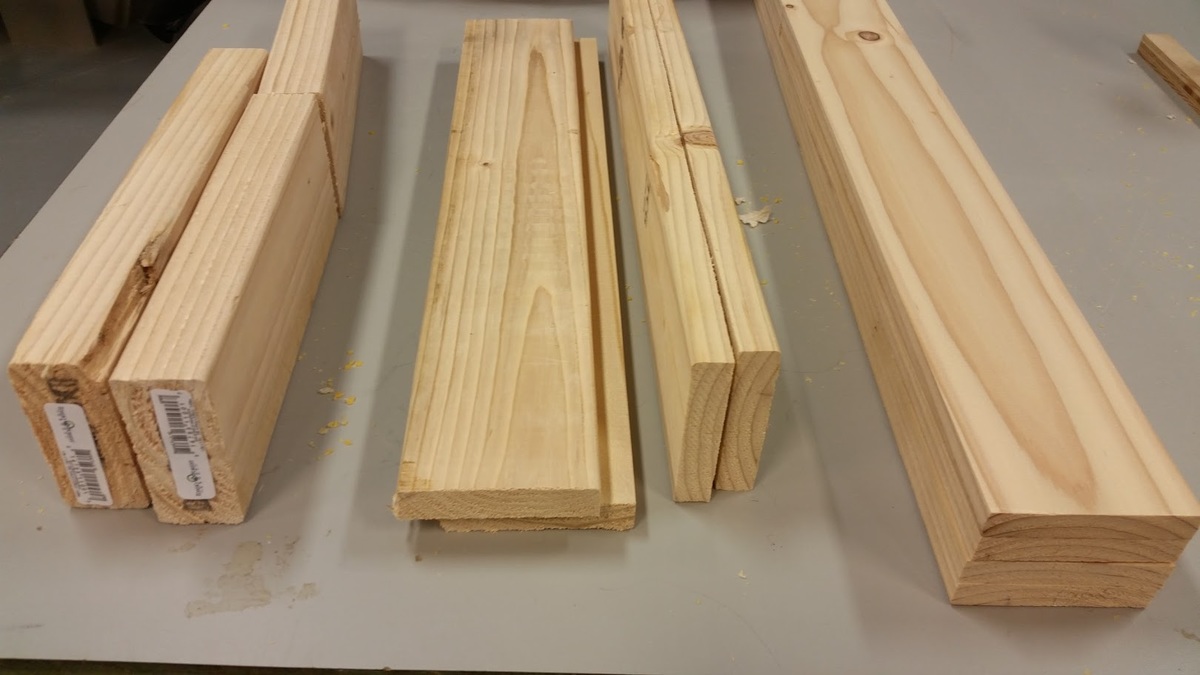
Bought only two 2x4s to complete this project. Ripped and chopped and milled like crazy to get it down to the dimensions of the plans. The pine is a little flimsy, I wouldn't recommend it unless you're on an extreme budget, but it CAN be done! Just know that any of the cross-bars that have a knot-hole will probably snap sooner than later. (Luckily I milled extras!)
Another cost tip is to skip the backing. I used two supports from the main material instead of any plywood. Watch out for wracking when doing the glue up and it'll be just fine. Fully supported with less weight too!
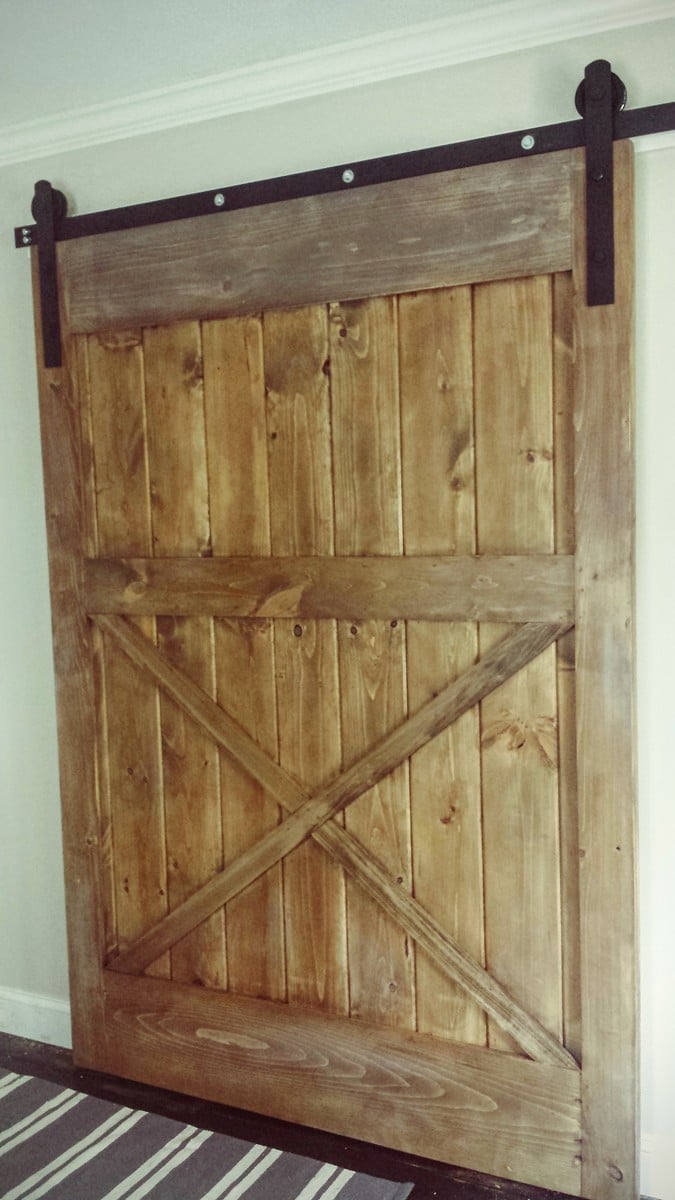
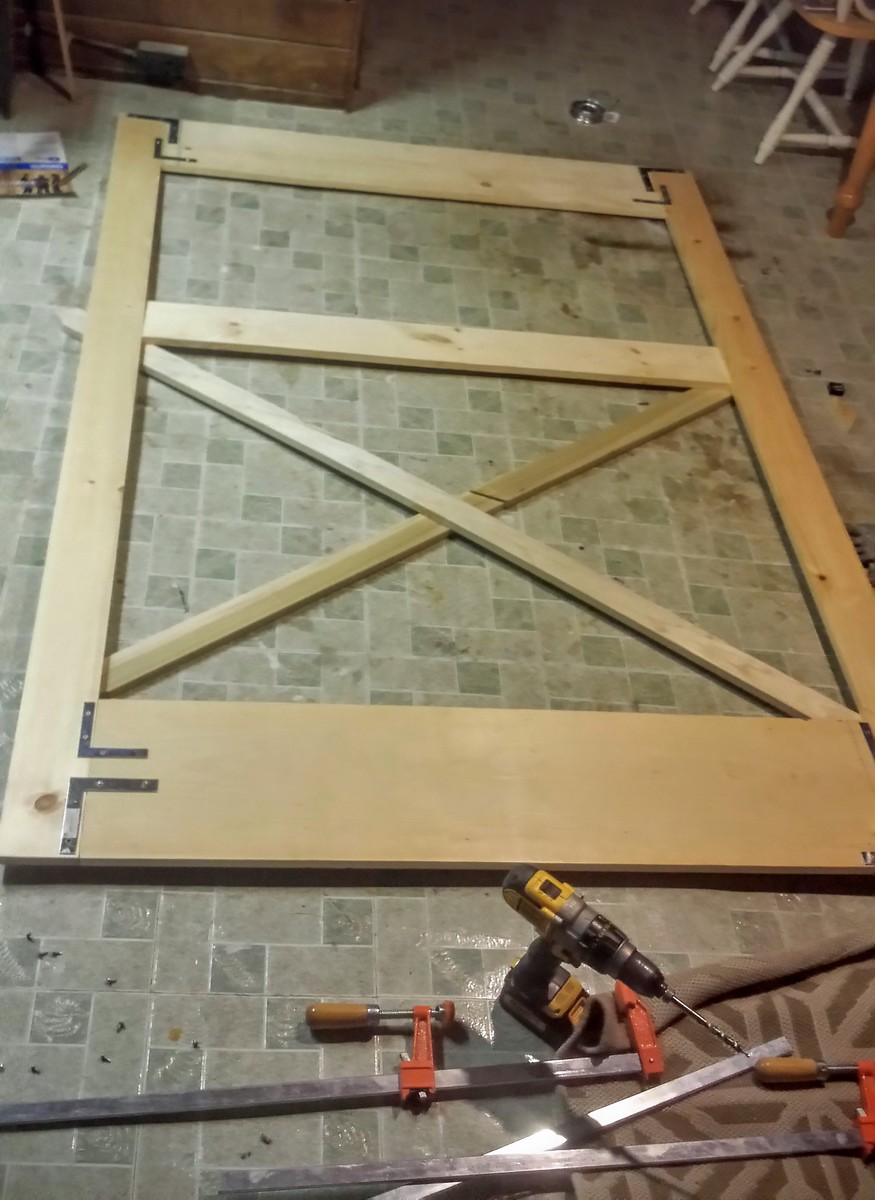
To date this has been my favorite and fullfilling DIY project!! Skills were learned, $$ was saved and it looks fabulous!!! It wasnt easy but it wasn't impossible. April WIlkerson provides a detailed tutorial on her website along with a fantastic youtube video on her channell. I hope this inspires someone else to take on this challenge!! If you have any any questions please feel free to ask me!! Enjoy.
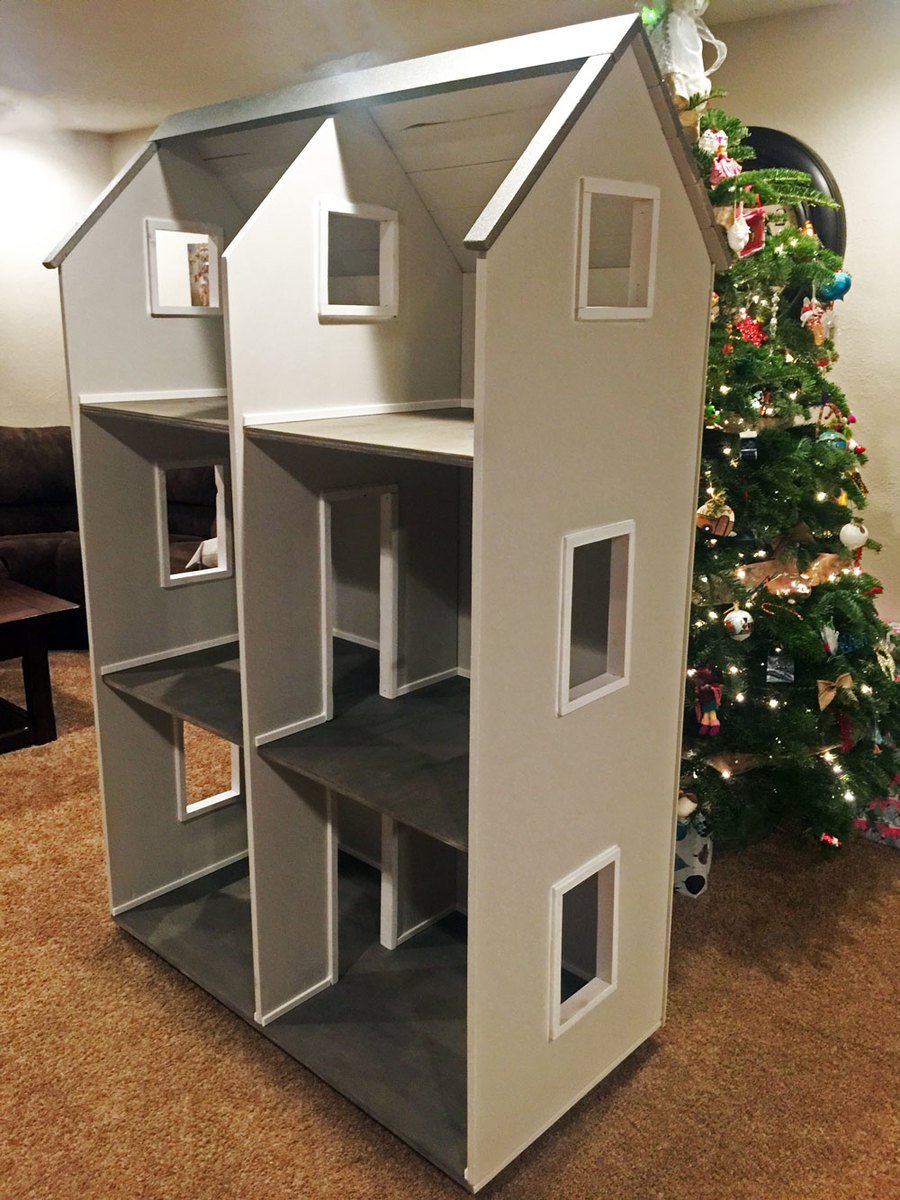
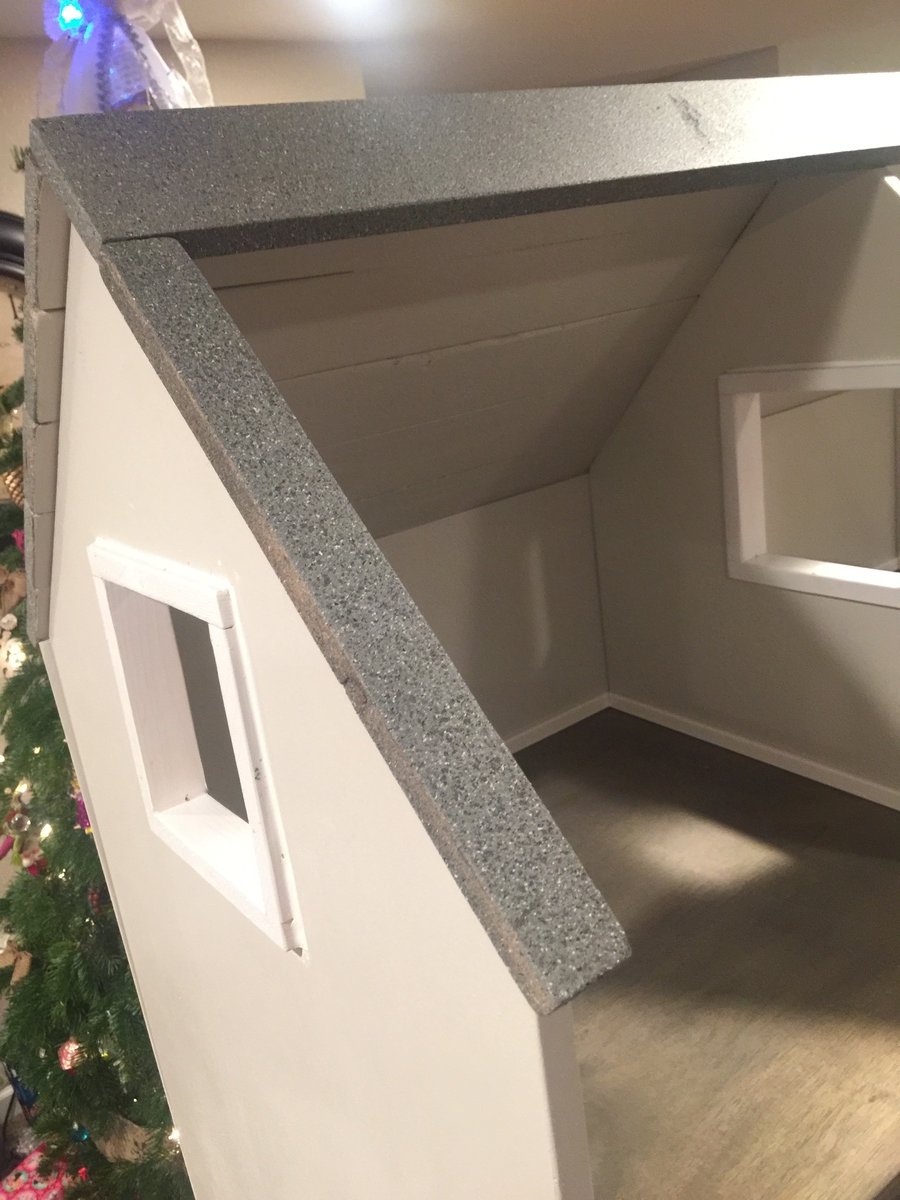
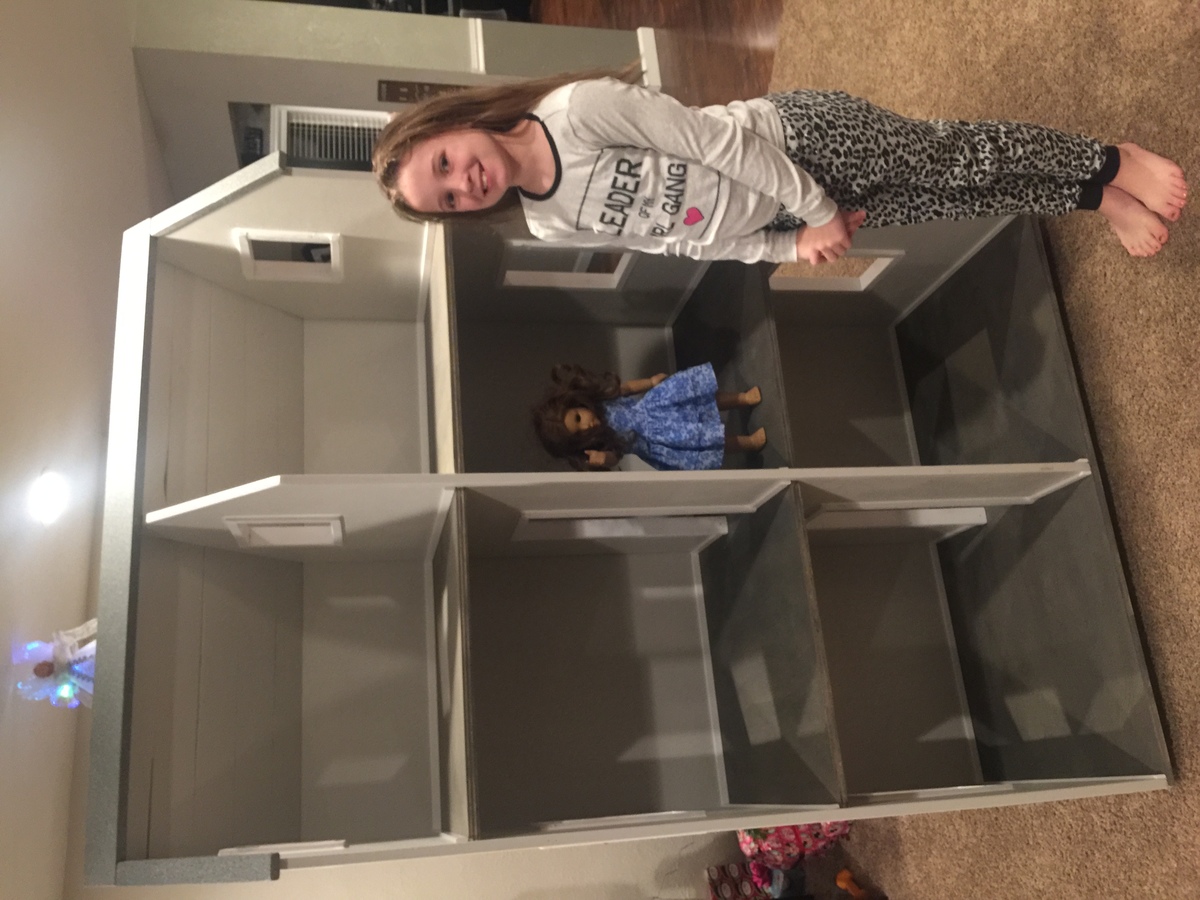
I built this American girl doll house for my daughter. I wanted to give her something to keep her youth alive!
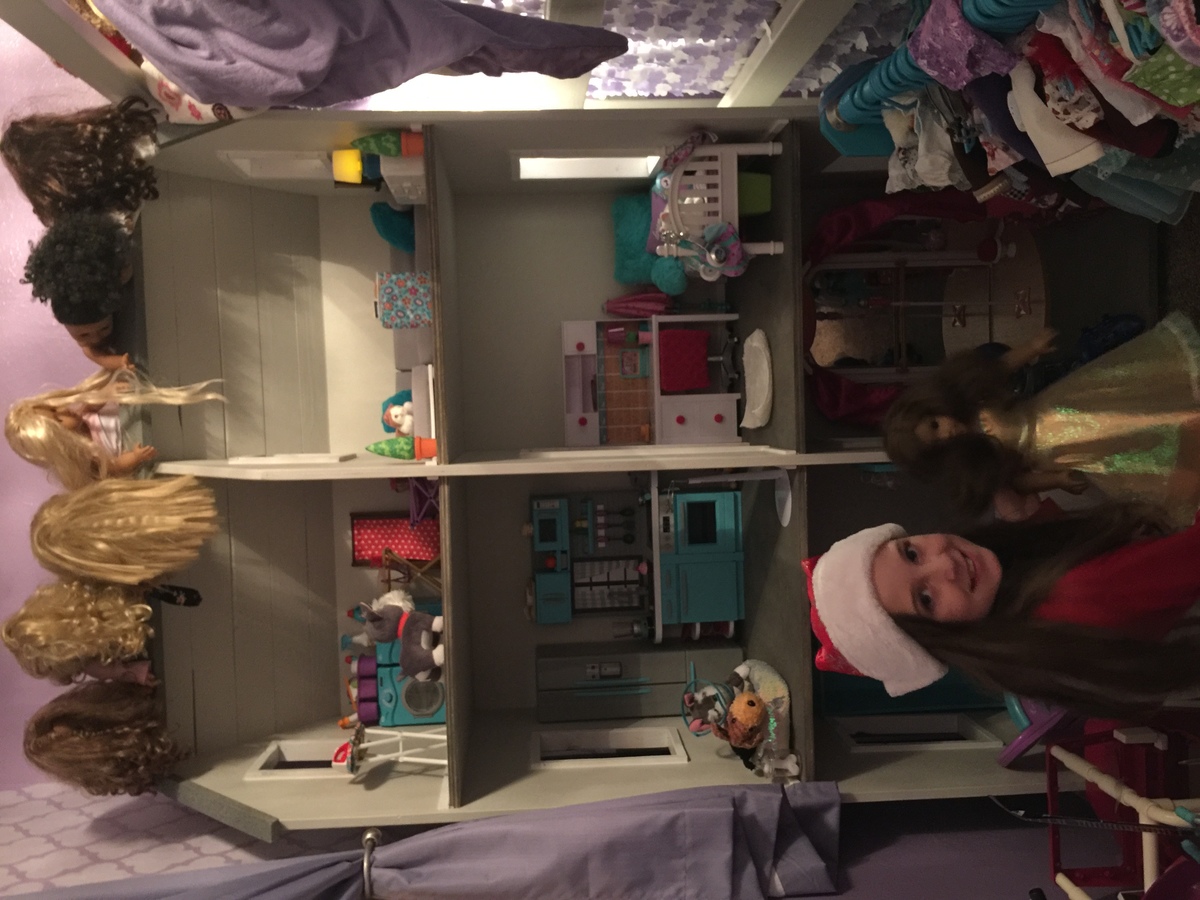
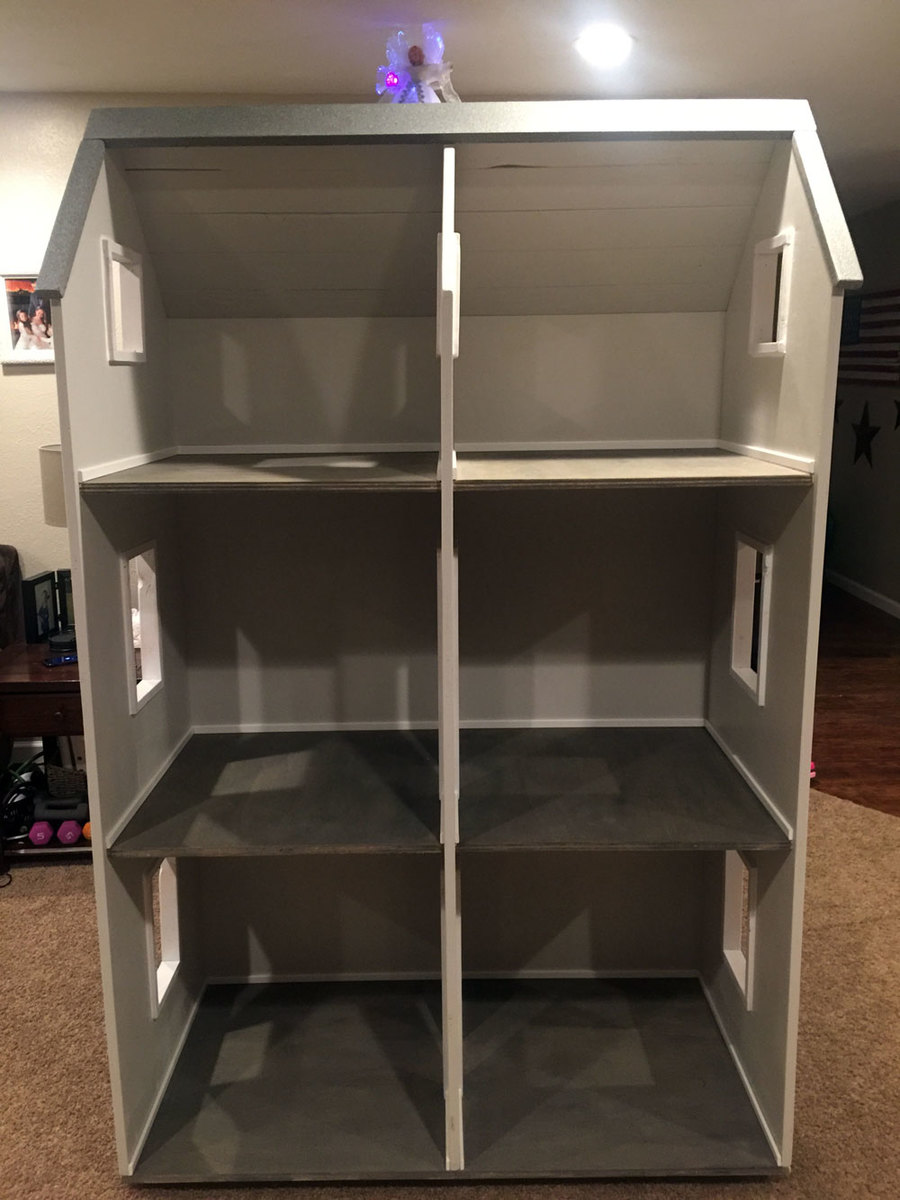
Sun, 01/06/2019 - 16:43
What an amazing Christmas gift! Super dad! Thanks so much for sharing a photo and building! Ana
Sun, 01/06/2019 - 21:46
Thanks Ana! This is her momma that built it for her. I wanted to tackle something on my own and challenge myself. Your plans were amazing to work with. Thanks for taking the time to make these plans so easy to understand and follow. She is very happy with the doll house! Happy New Year! -Abbey
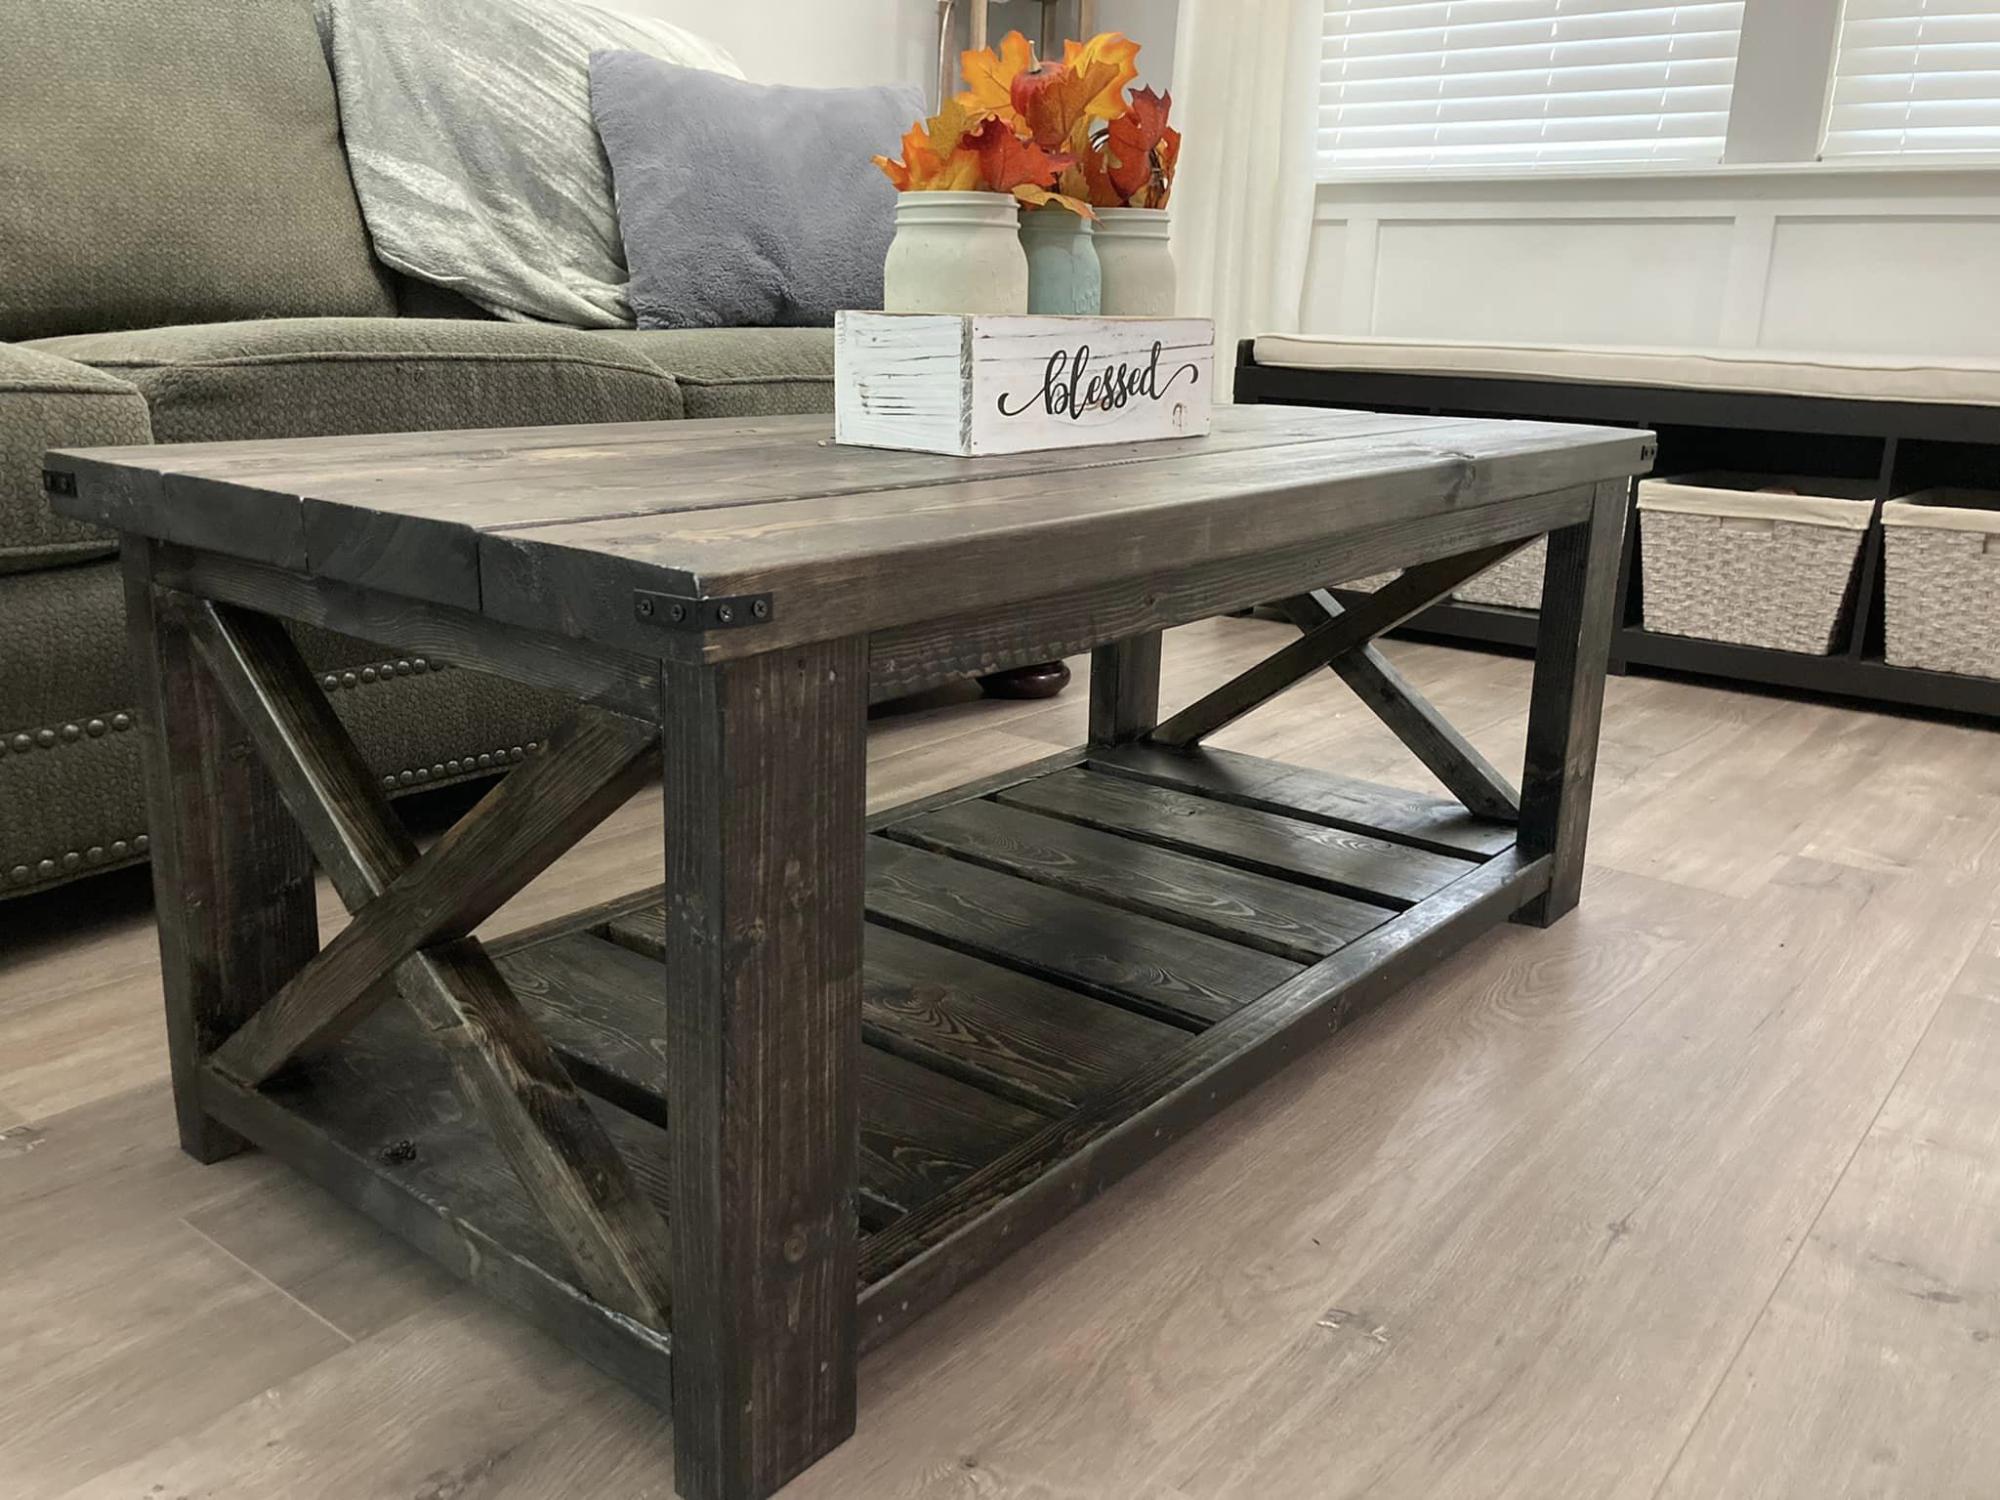
Thank you so much for sharing your plans!! You are so generous! This is my first attempt at building furniture!
Check out my TikTok at - https://www.tiktok.com/@floridagirl092/video/7152573909735427370?is_fro…
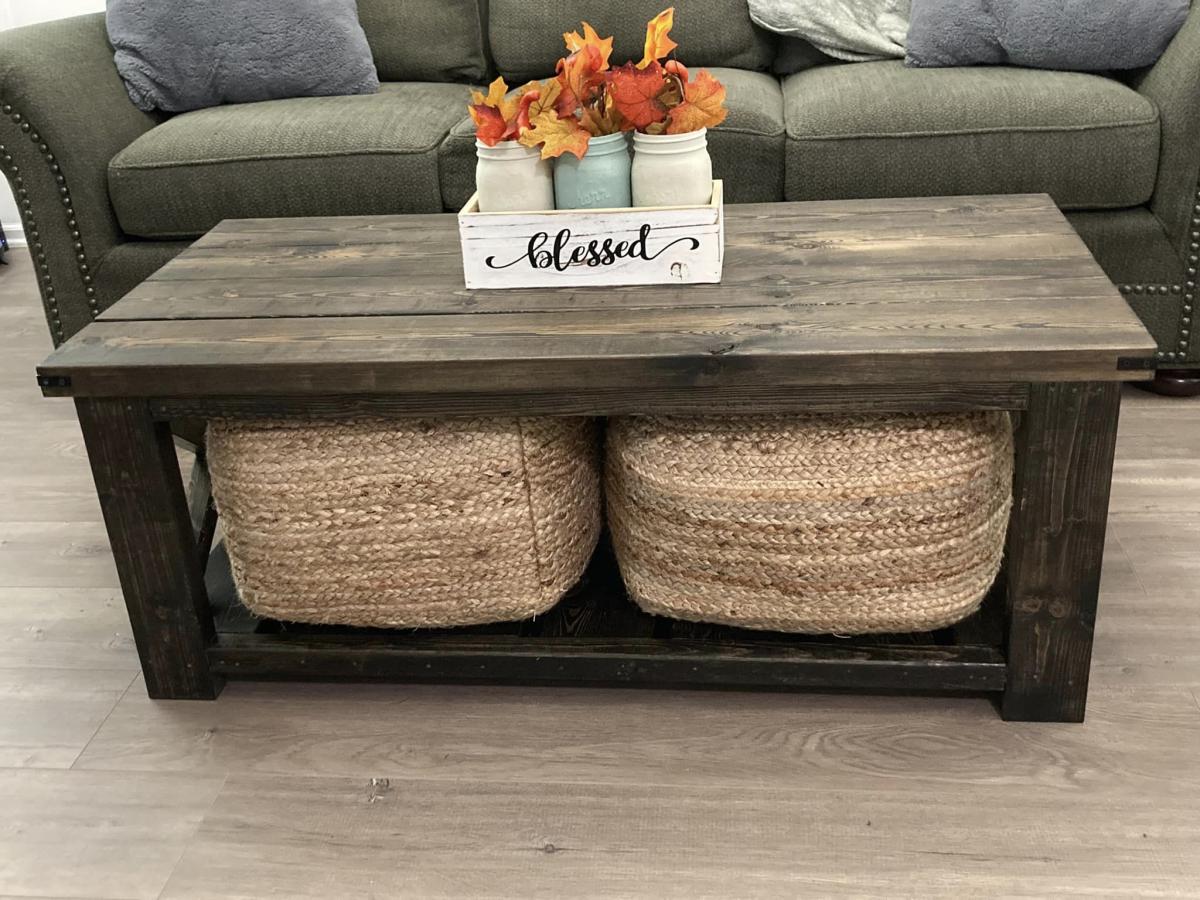
My daughter moved into her first apartment and asked me to make her a dining room table. I used the plans found on Ana's website and made a slight modifcations. I used 5/4" pine boards to build the tops and regular douglas fir 4x4s and 2x4s for the bases. All screws are hidden exept the lag bolts I painted black and used to bolt the end trusses to the center truss which gives it kind of a industrial type accent. Thanks to Ana White and Shanty 2 CHIC for the great plans. My daughter loved the table and bench and she is going to find chair for the other side of the table.
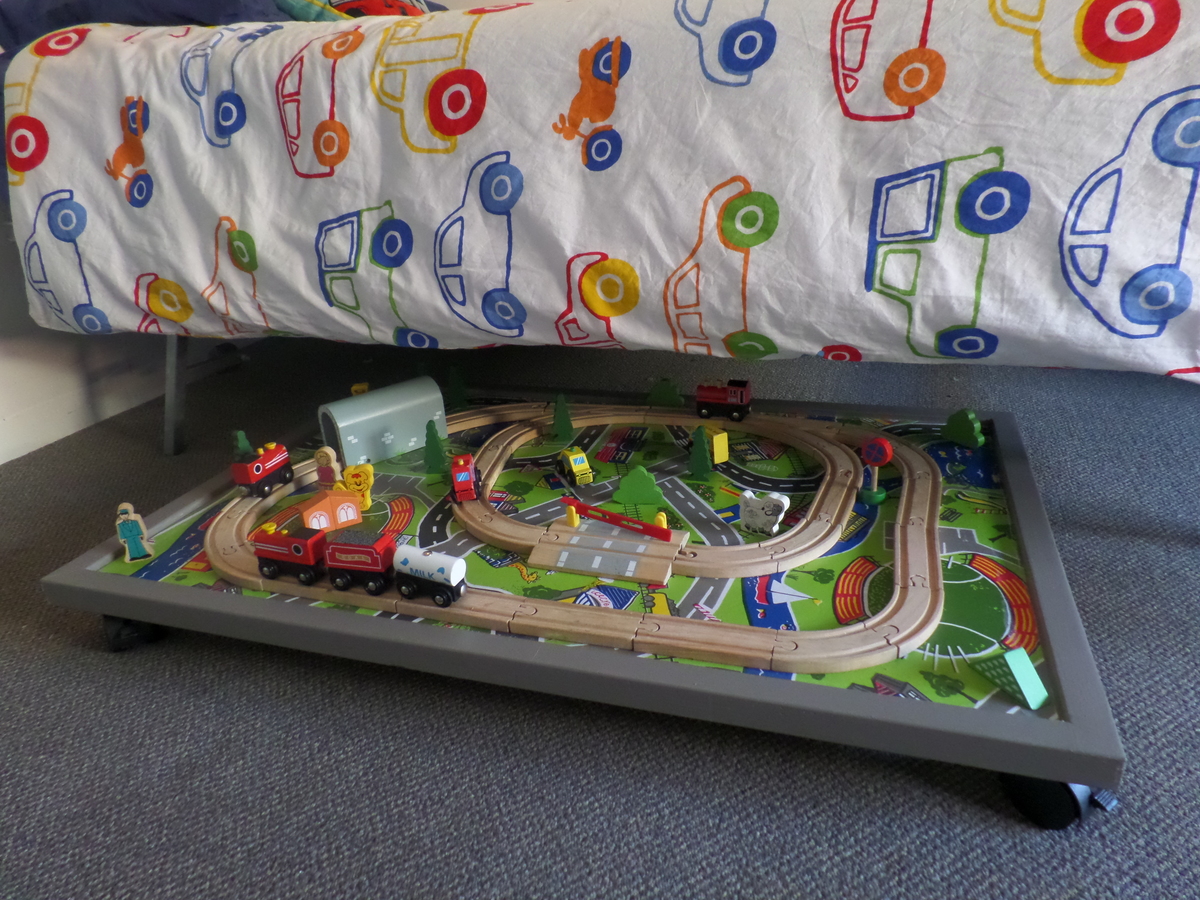
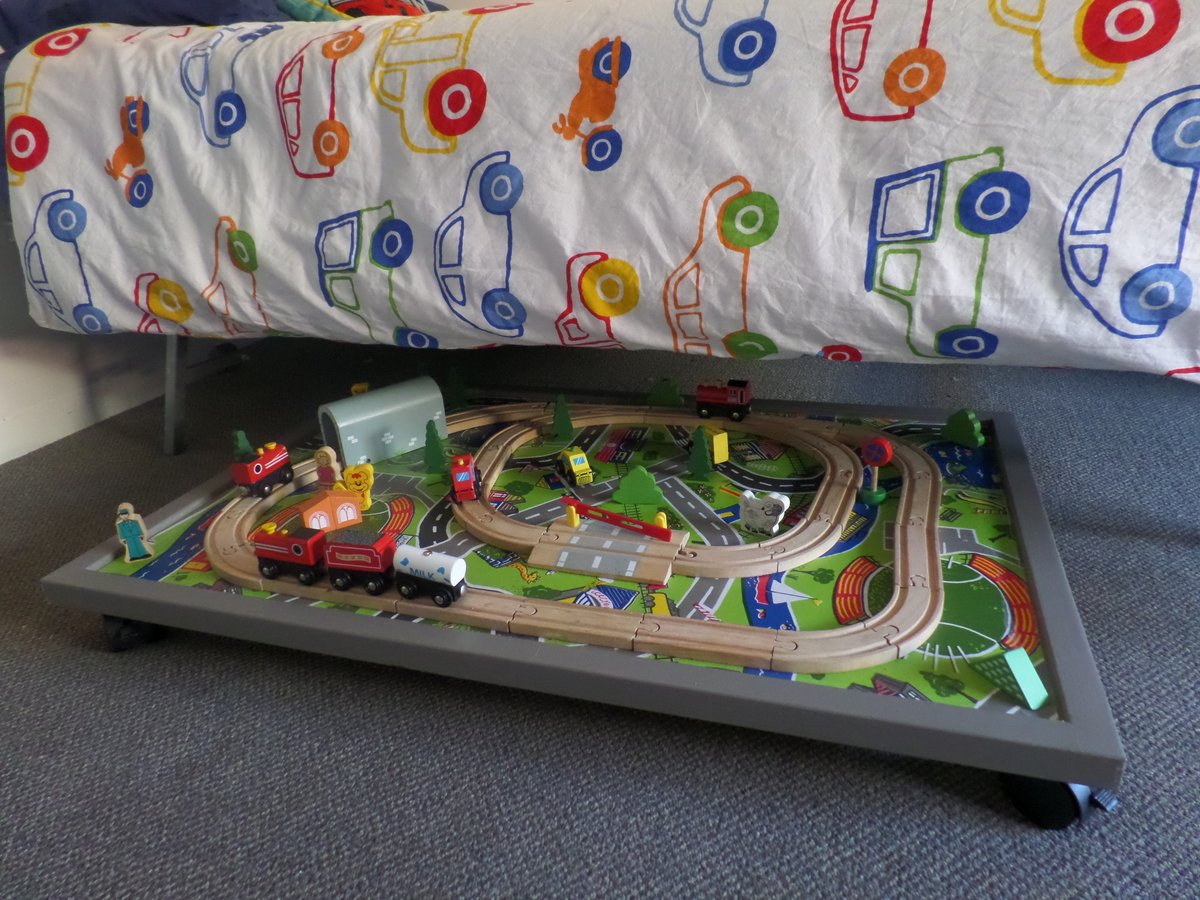
I actually made this before I came across your plans! My son loves it and i love that he can 'play and roll away!'
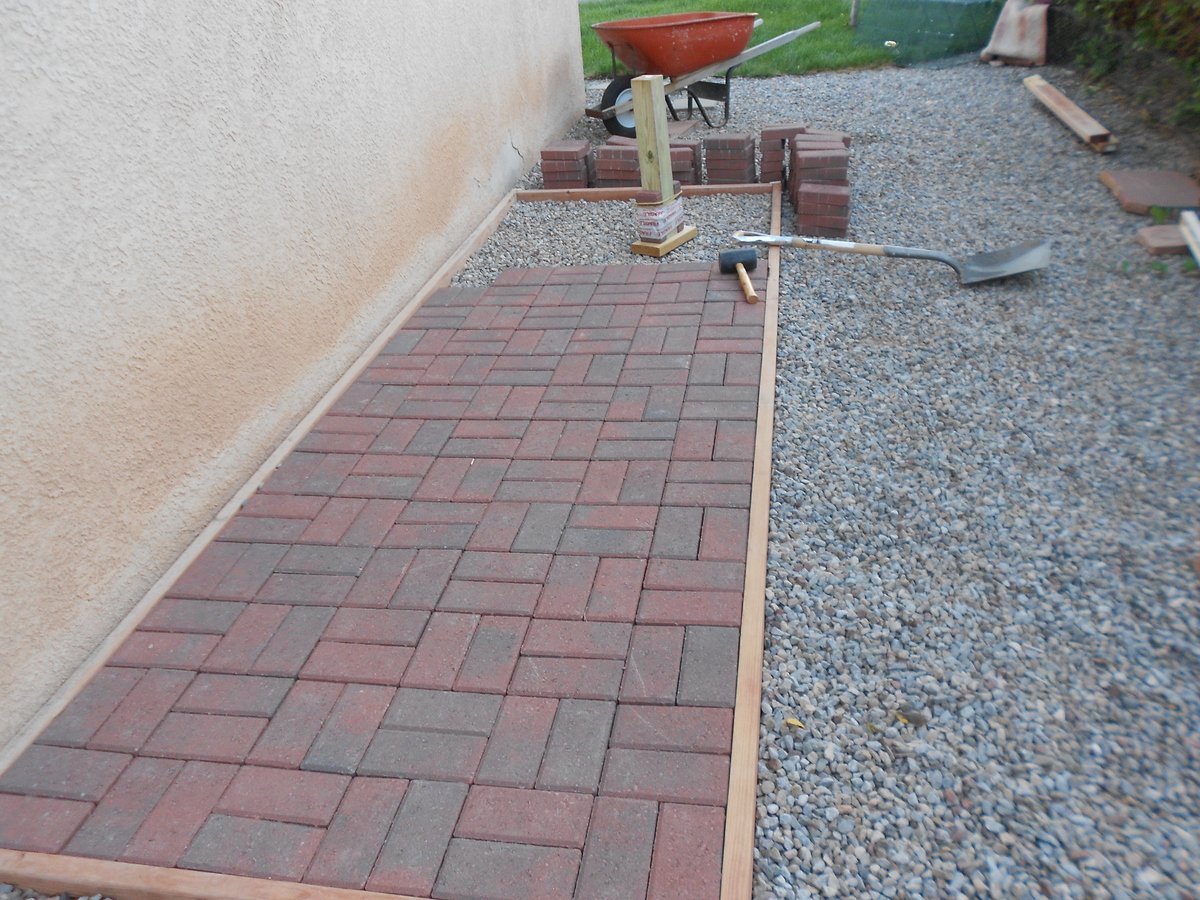
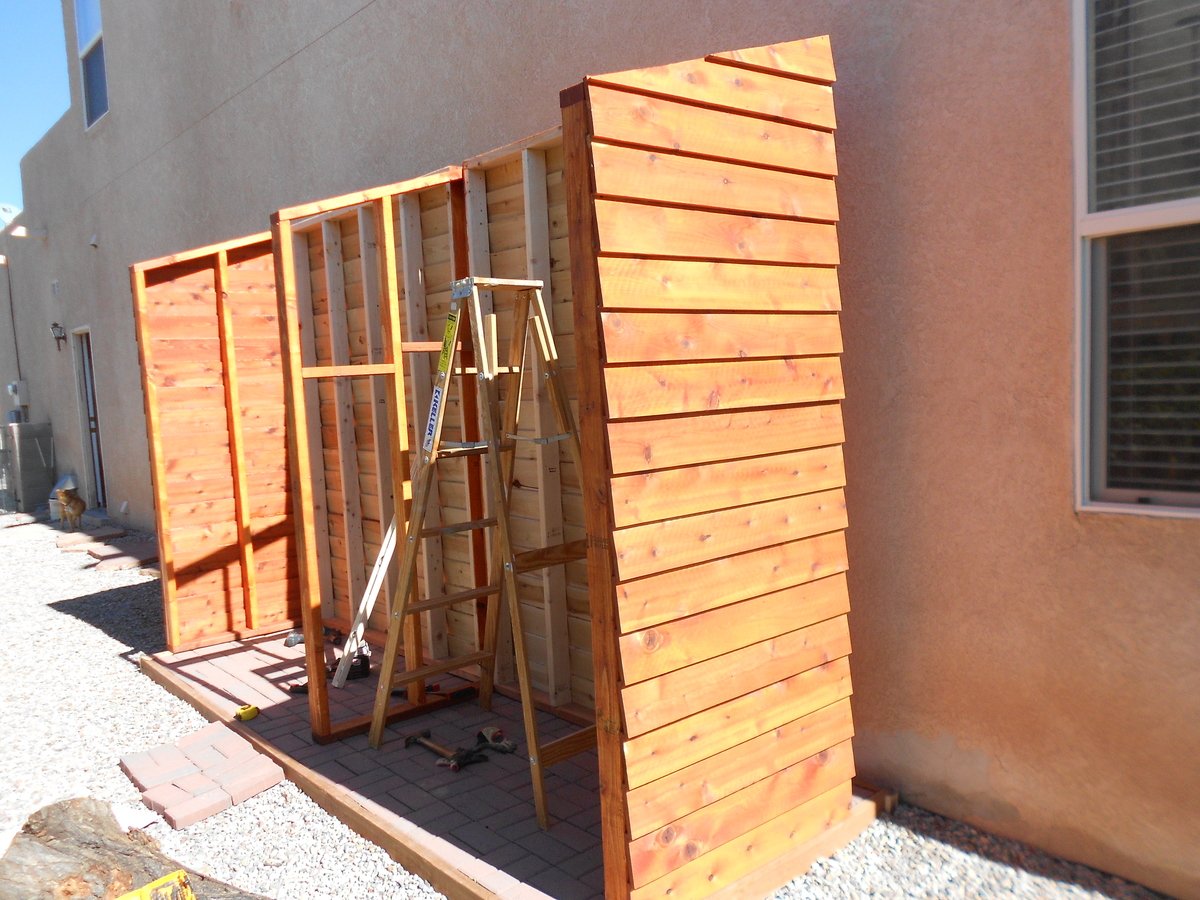
I read and studied every comment and brag post about this shed. I must have read the plans a hundred times before I got up the courage to tackle it. It’s a very attractive and affordable shed design. I thought a double wide version would be perfect for our long, narrow side yard, and it is! I mostly stuck to the plans except for a few things. I made it 10” taller overall so there would be plenty of head clearance under the doorway. That was a very easy modification. I used 2x4s for the walls instead of 2x2s because we have high winds in our area. That modification was a little bit more challenging, but I planned it out and it worked! Also I used 2x6s for the headers instead of 2x4s. I also added 2x4s at the thresholds because I couldn’t image making it stay square without them. I basically made two sheds joined by a common wall in the center. I did not increase the depth, mostly because I was afraid to mess with the angles and how that would change the pitch of the roof. Joining two sheds together meant that I didn’t have to put the exterior pickets on the middle wall. But it also meant that I had to build 4 doors. Yuck. They were difficult to get lined up and level, but I was amazed it actually worked and that all the doors operate properly and smoothly. I was questioning the wisdom of my decision to do 4 doors while I was in the thick of it, but now that all the work is done, I love that I can open all 4 doors and have easy access to absolutely everything in the shed. Very convenient! I told my dad I was building a shed and he recommend that I add cross braces. It seemed sturdy enough without them but it certainly can’t hurt. My dad knows everything about building and I know nothing, so I took his recommendation. If I were to do this again, I would overlap the cedar pickets by 1” instead of ½”. My pickets were not quite wide enough. I could swear they shrunk after I applied the stain/uv protection. I used liquid nails along each lap but it didn’t hold. Where the glue DID hold tight, the wood split lengthwise. Anyway, for whatever reason, gaps appeared and I spent a fortune on clear silicon applied on the interior walls to make it water tight. I had to keep going back for “just one more tube.” So with hind sight I would have been better off just buying a few more pickets and increasing the overlap. Another thing I might do is make it deeper. I decided against it initially because I was worried that increasing the depth would make it flimsy. Now I don’t think that would be a problem. This shed is sturdy. I can’t say thank you enough. Great plans and a great website! I am completely hooked.
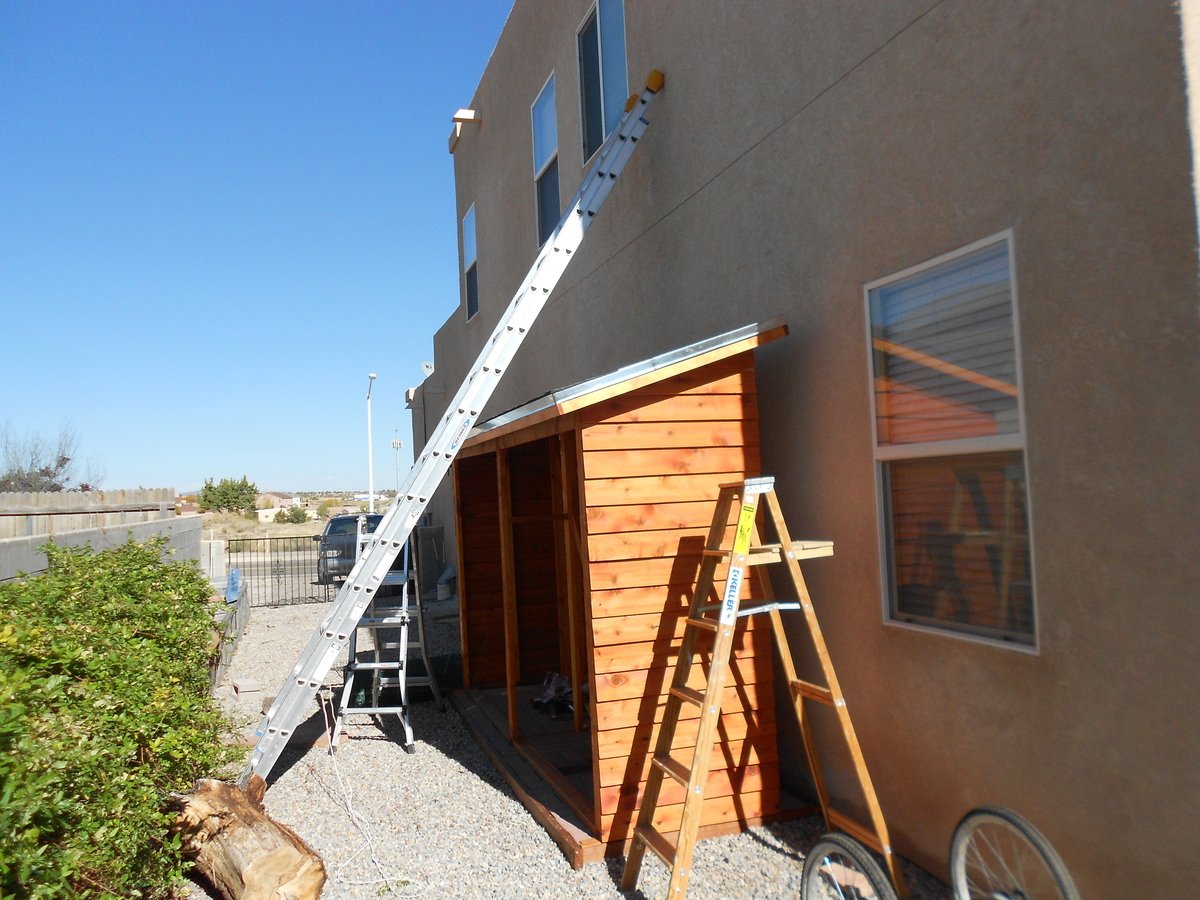
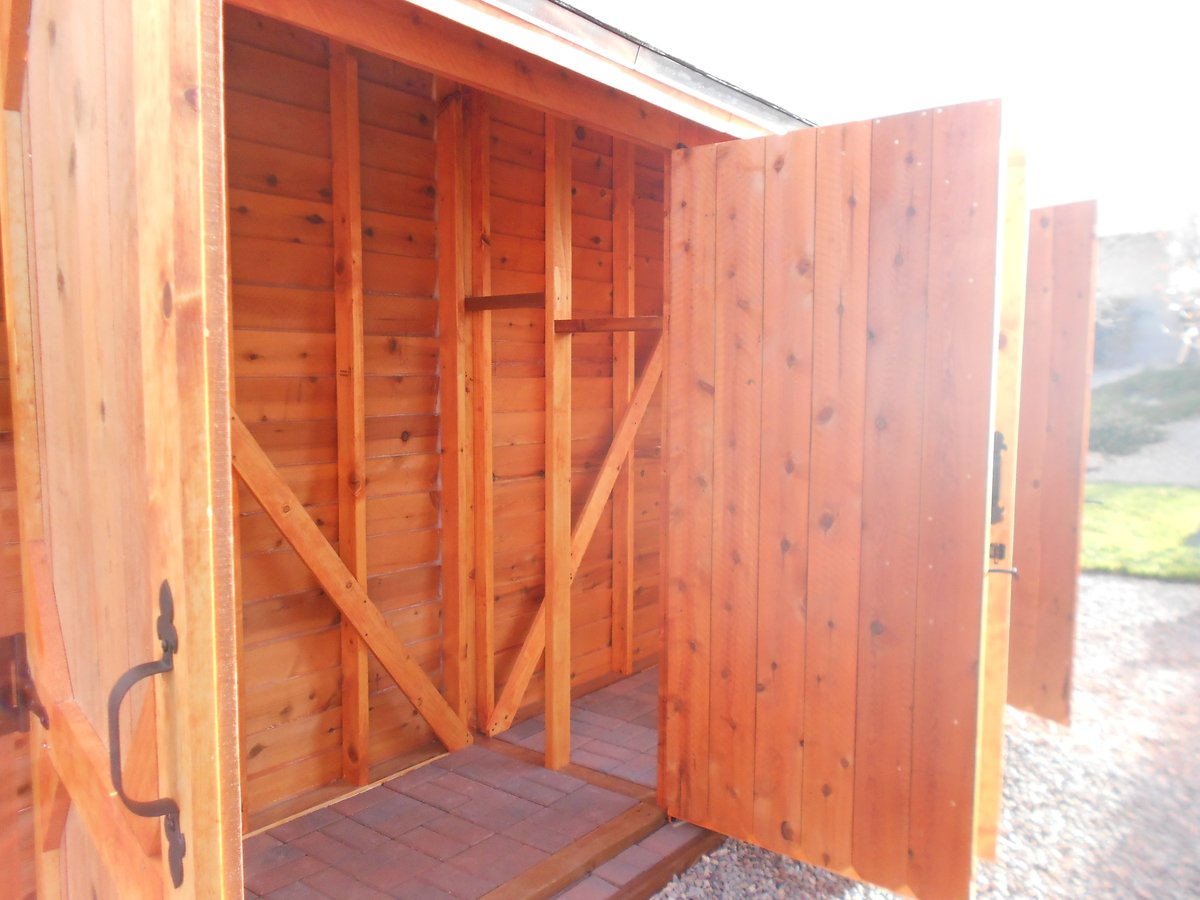
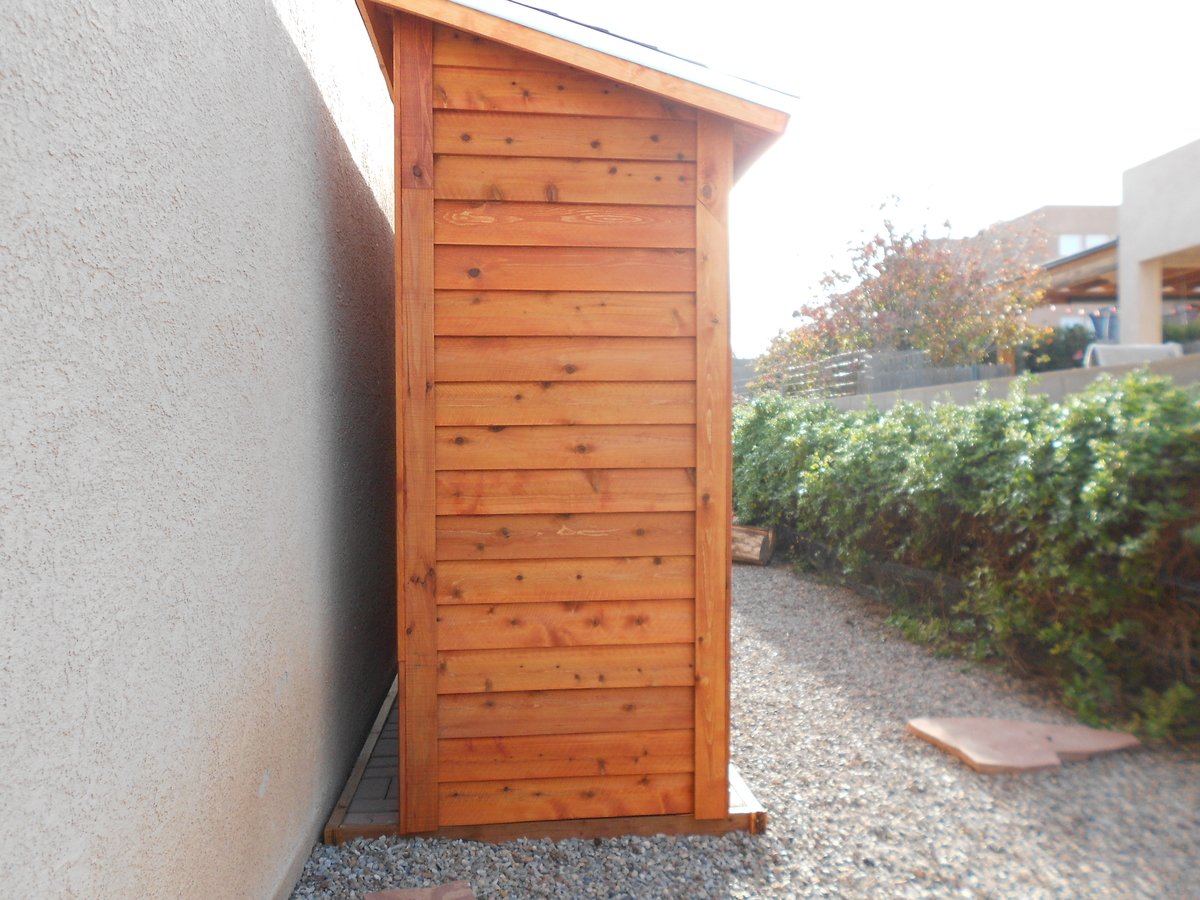
Mon, 11/11/2013 - 14:51
Thank you Ana! I can't thank you enough for introducing me to the best hobby ever. Your plans are the best!
Mon, 11/11/2013 - 12:01
Great Work. Any estimated cost of what this would cost to build?
Mon, 11/11/2013 - 14:56
I kept every receipt from caulking gun to stains and brushes. I just now added it up and it came to (cringe) just under $900. But I have lots of left overs for another shed and it's still a huge bargain. Other sheds that are similar to this plan are much smaller and start at $1,999 and up! I think it was well worth it to have a sturdy bargain shed that's also beautiful.
Sat, 01/22/2022 - 23:01
It looks great with the stain. I think your Dad's advice was good. Also I like that the heavier timbers add rigidity to the frame.
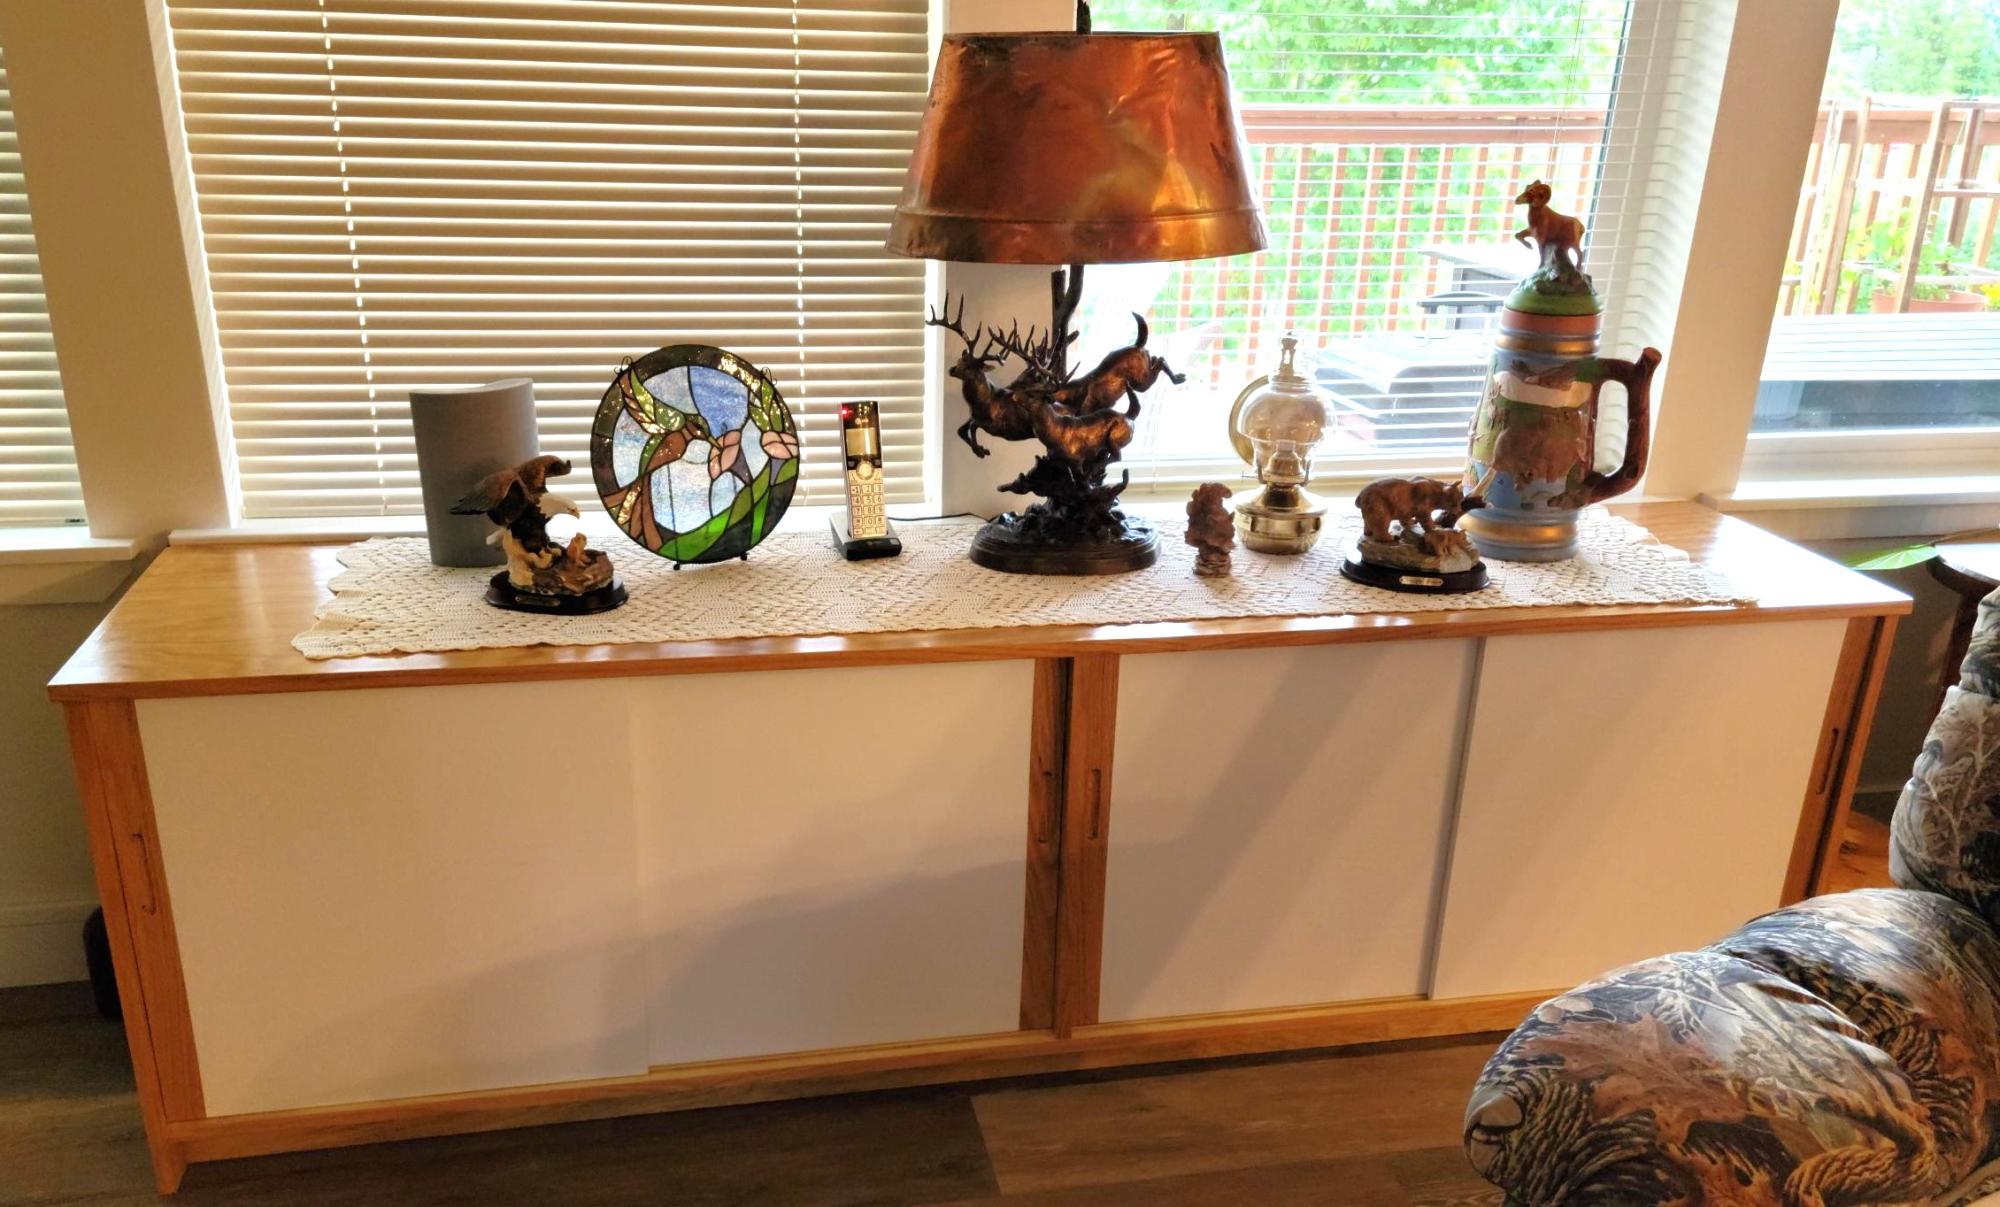
This cabinet was inspired by an Ana White project. My wife wanted more storage in our new home, and we had a sofa table at this location. But it was just a top, no shelves. I custom fit it to be flush with the window sills at the top and ends so it takes on a bit of a built in appearance. The top and bottom are oak faced plywood, all edges covered with iron on oak facing. As I was short of the expensive plywood, the ends, shelves and kick are doug fir plywood with a light oak stain; while not a perfect match gave a pleasing result that guests have not caught. The doors are 1/2" MDF, with a 2" solid oak end glued on where I routed the slots to open them. Slots are 1/4" +, 3/8" apart, and the top and bottoms of the doors routed to leave a 1/4" rail. The bottoms of the bottom slide slots have a slick poly tape in them, which really helps the doors to slide easily.
Sides and interior are brush finished with 3 coats of semi-gloss polyurethane, while the top has 5 coats. The MDF on the doors has one sprayed coat of white primer (oil based to avoid bringing up the MDF) with a final sprayed coat of mat finish enamel. I need to do one more step, light sand with 320 grit and paste wax the top to get that really fine finish.
While not as easy as Ana makes it look, it turned out pretty well. That hard part on a piece this size is getting all the pieces cut precisely, and I mean with less than 1/32nd difference, to provide a good fit. As it was I had to custom cut the oak opening ends on the doors to account for the small differences in widths at the top and bottom to obtain a nice fit against the sides. Next time I'll triple check all finish dimensions to make those small adjustments in parts before assembly, then triple check again for placement during assembly.
While I'll always see the small "errors", my wife is very pleased with the finished cabinet.
Al King, www.KingTechnologics.com

Ana, you're the BEST!! Thank you so much for sharing these plans. This was a very simple build ... my problem was trying to decide how to paint and decorate it. There's a lady in our little town that cut out the letters for me. I think it turned out so cute. I'm working on a Christmas collection for our church auction next April and thought it would be fun to have Christmas in April :-). Thanks again Ana!!!
Comments
dmcarwin
Sat, 12/29/2012 - 08:09
Looks great, I am sure it is
Looks great, I am sure it is well loved!
Stephanie Blake (not verified)
Sat, 12/29/2012 - 08:19
Looks Awesome!
My 6 yr old recieved this bed for Christmas as well and we decided to let her choose the paint colors. This looks great with the purple and white! I love it! I showed her this picture and she likes it too. :)
bhoppy
Sat, 12/29/2012 - 09:41
3 days!
It looks awesome! I love the purple too:-)