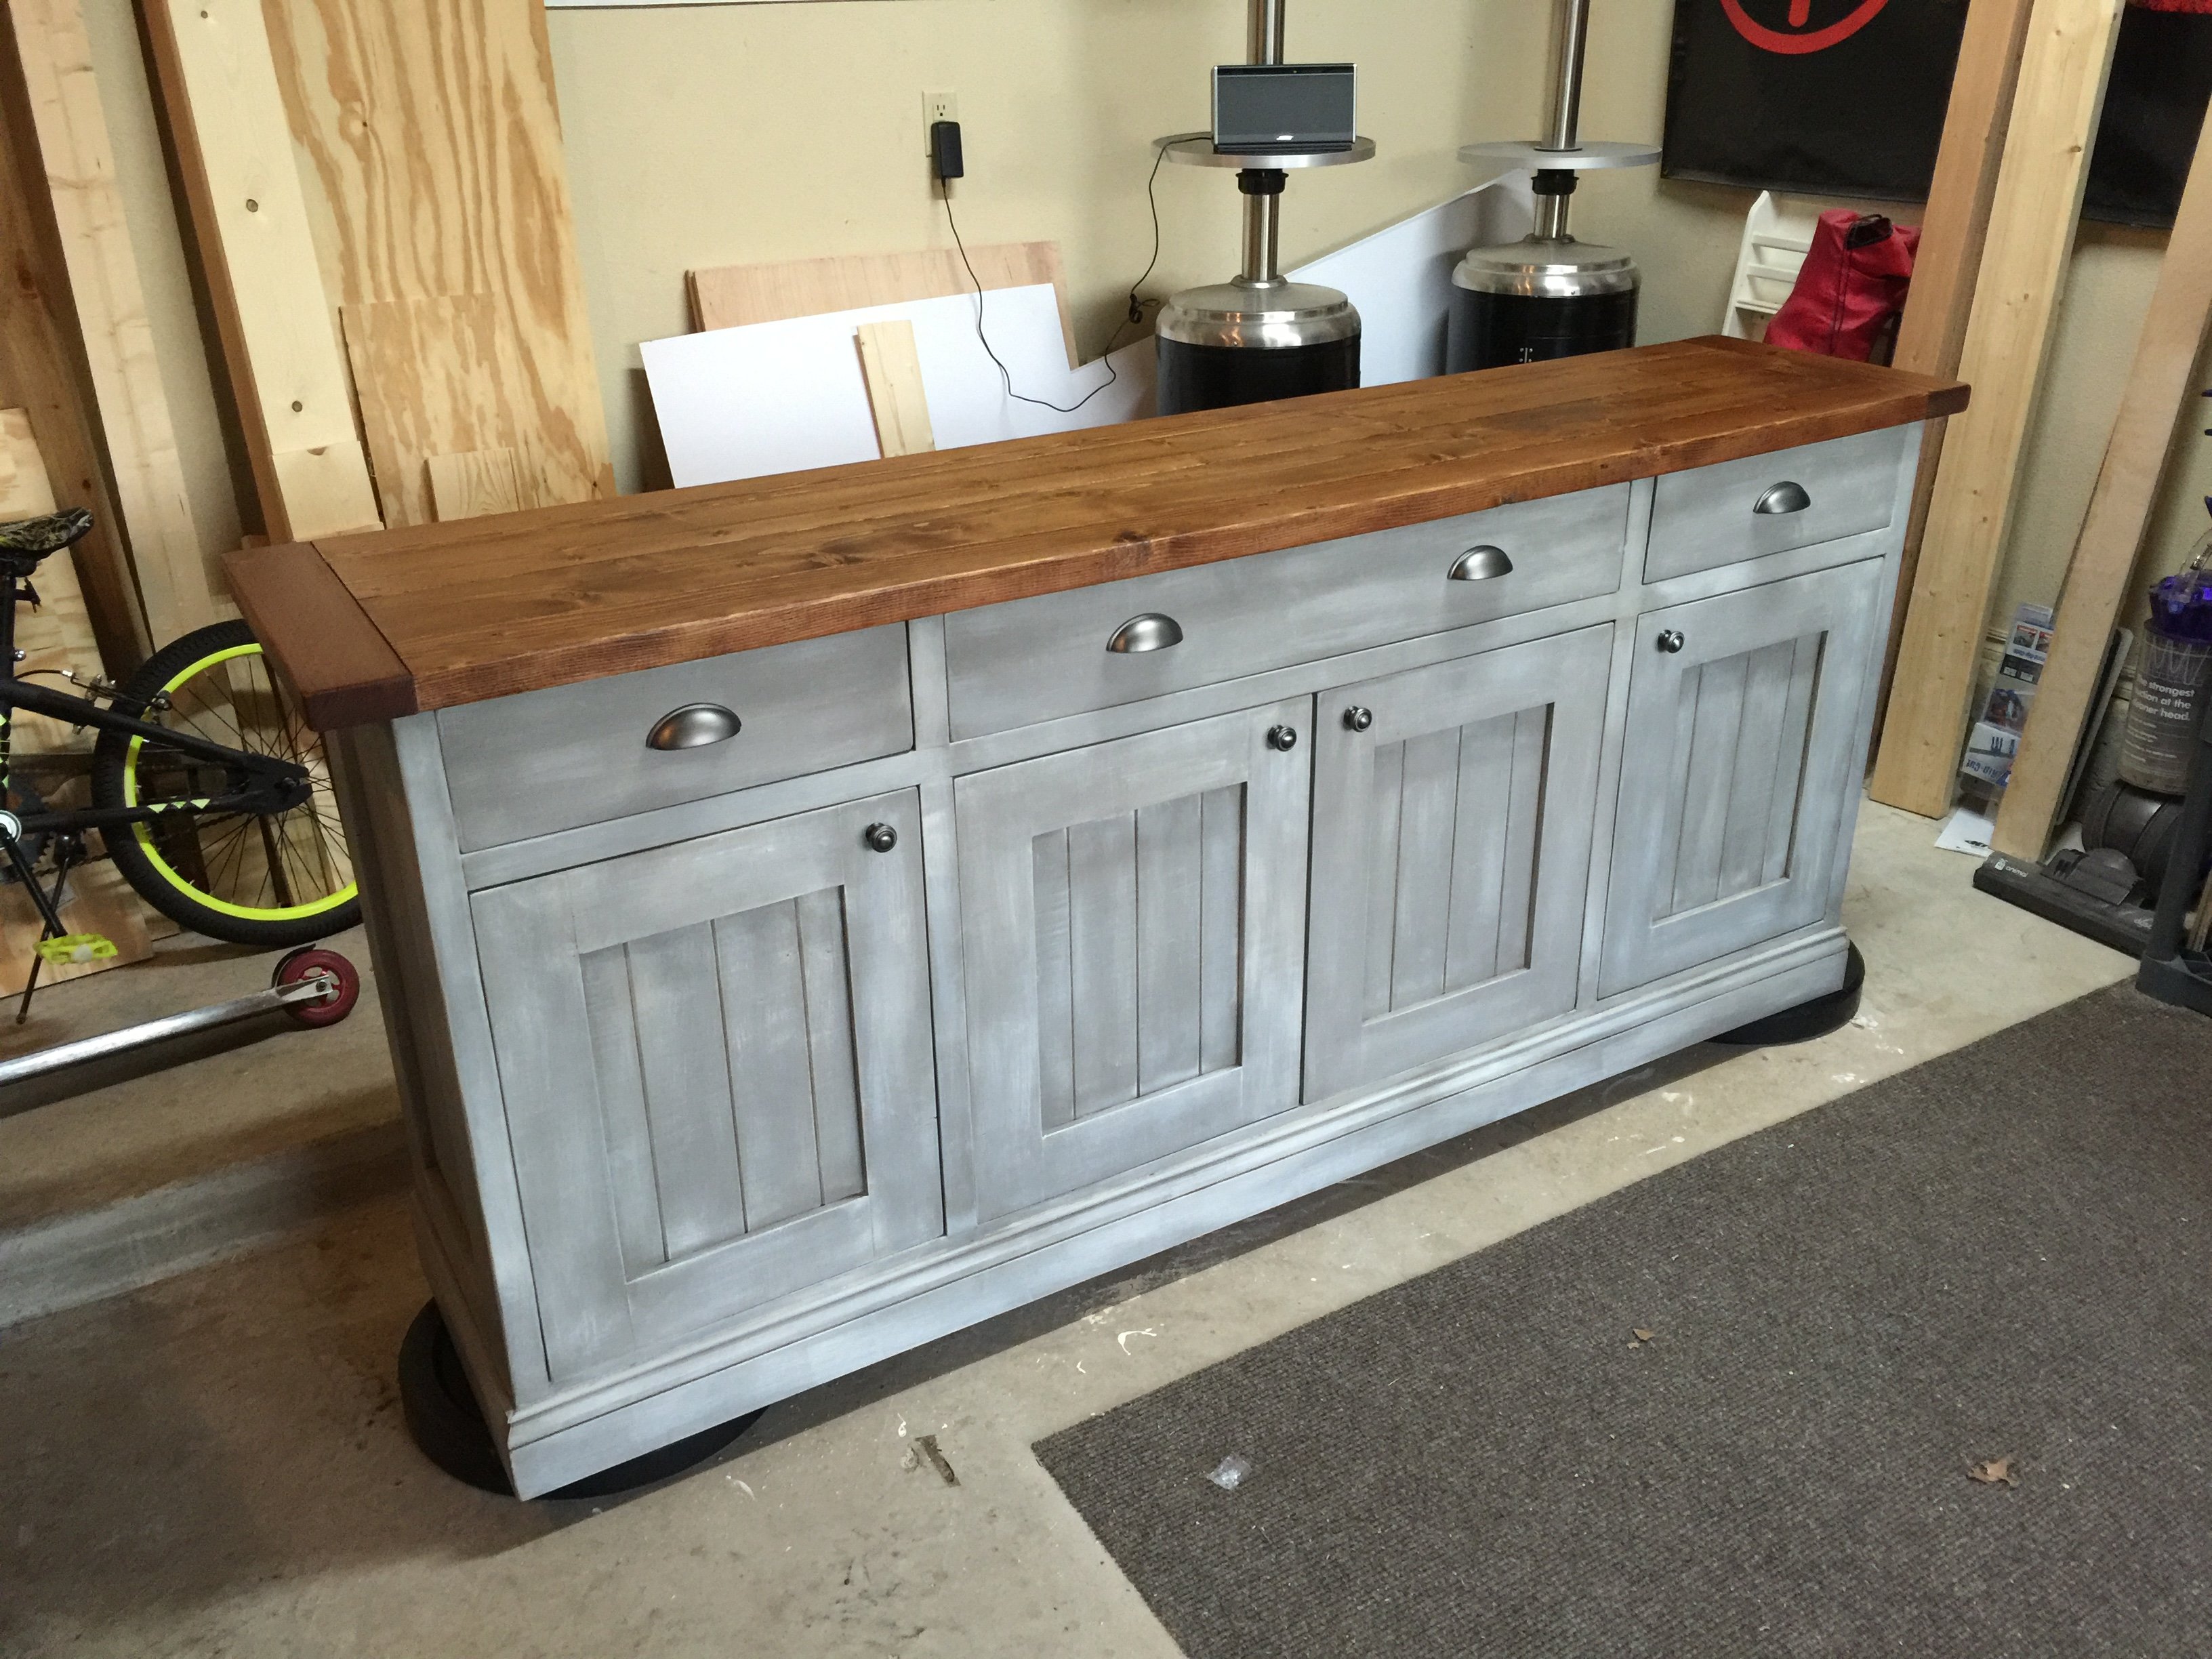
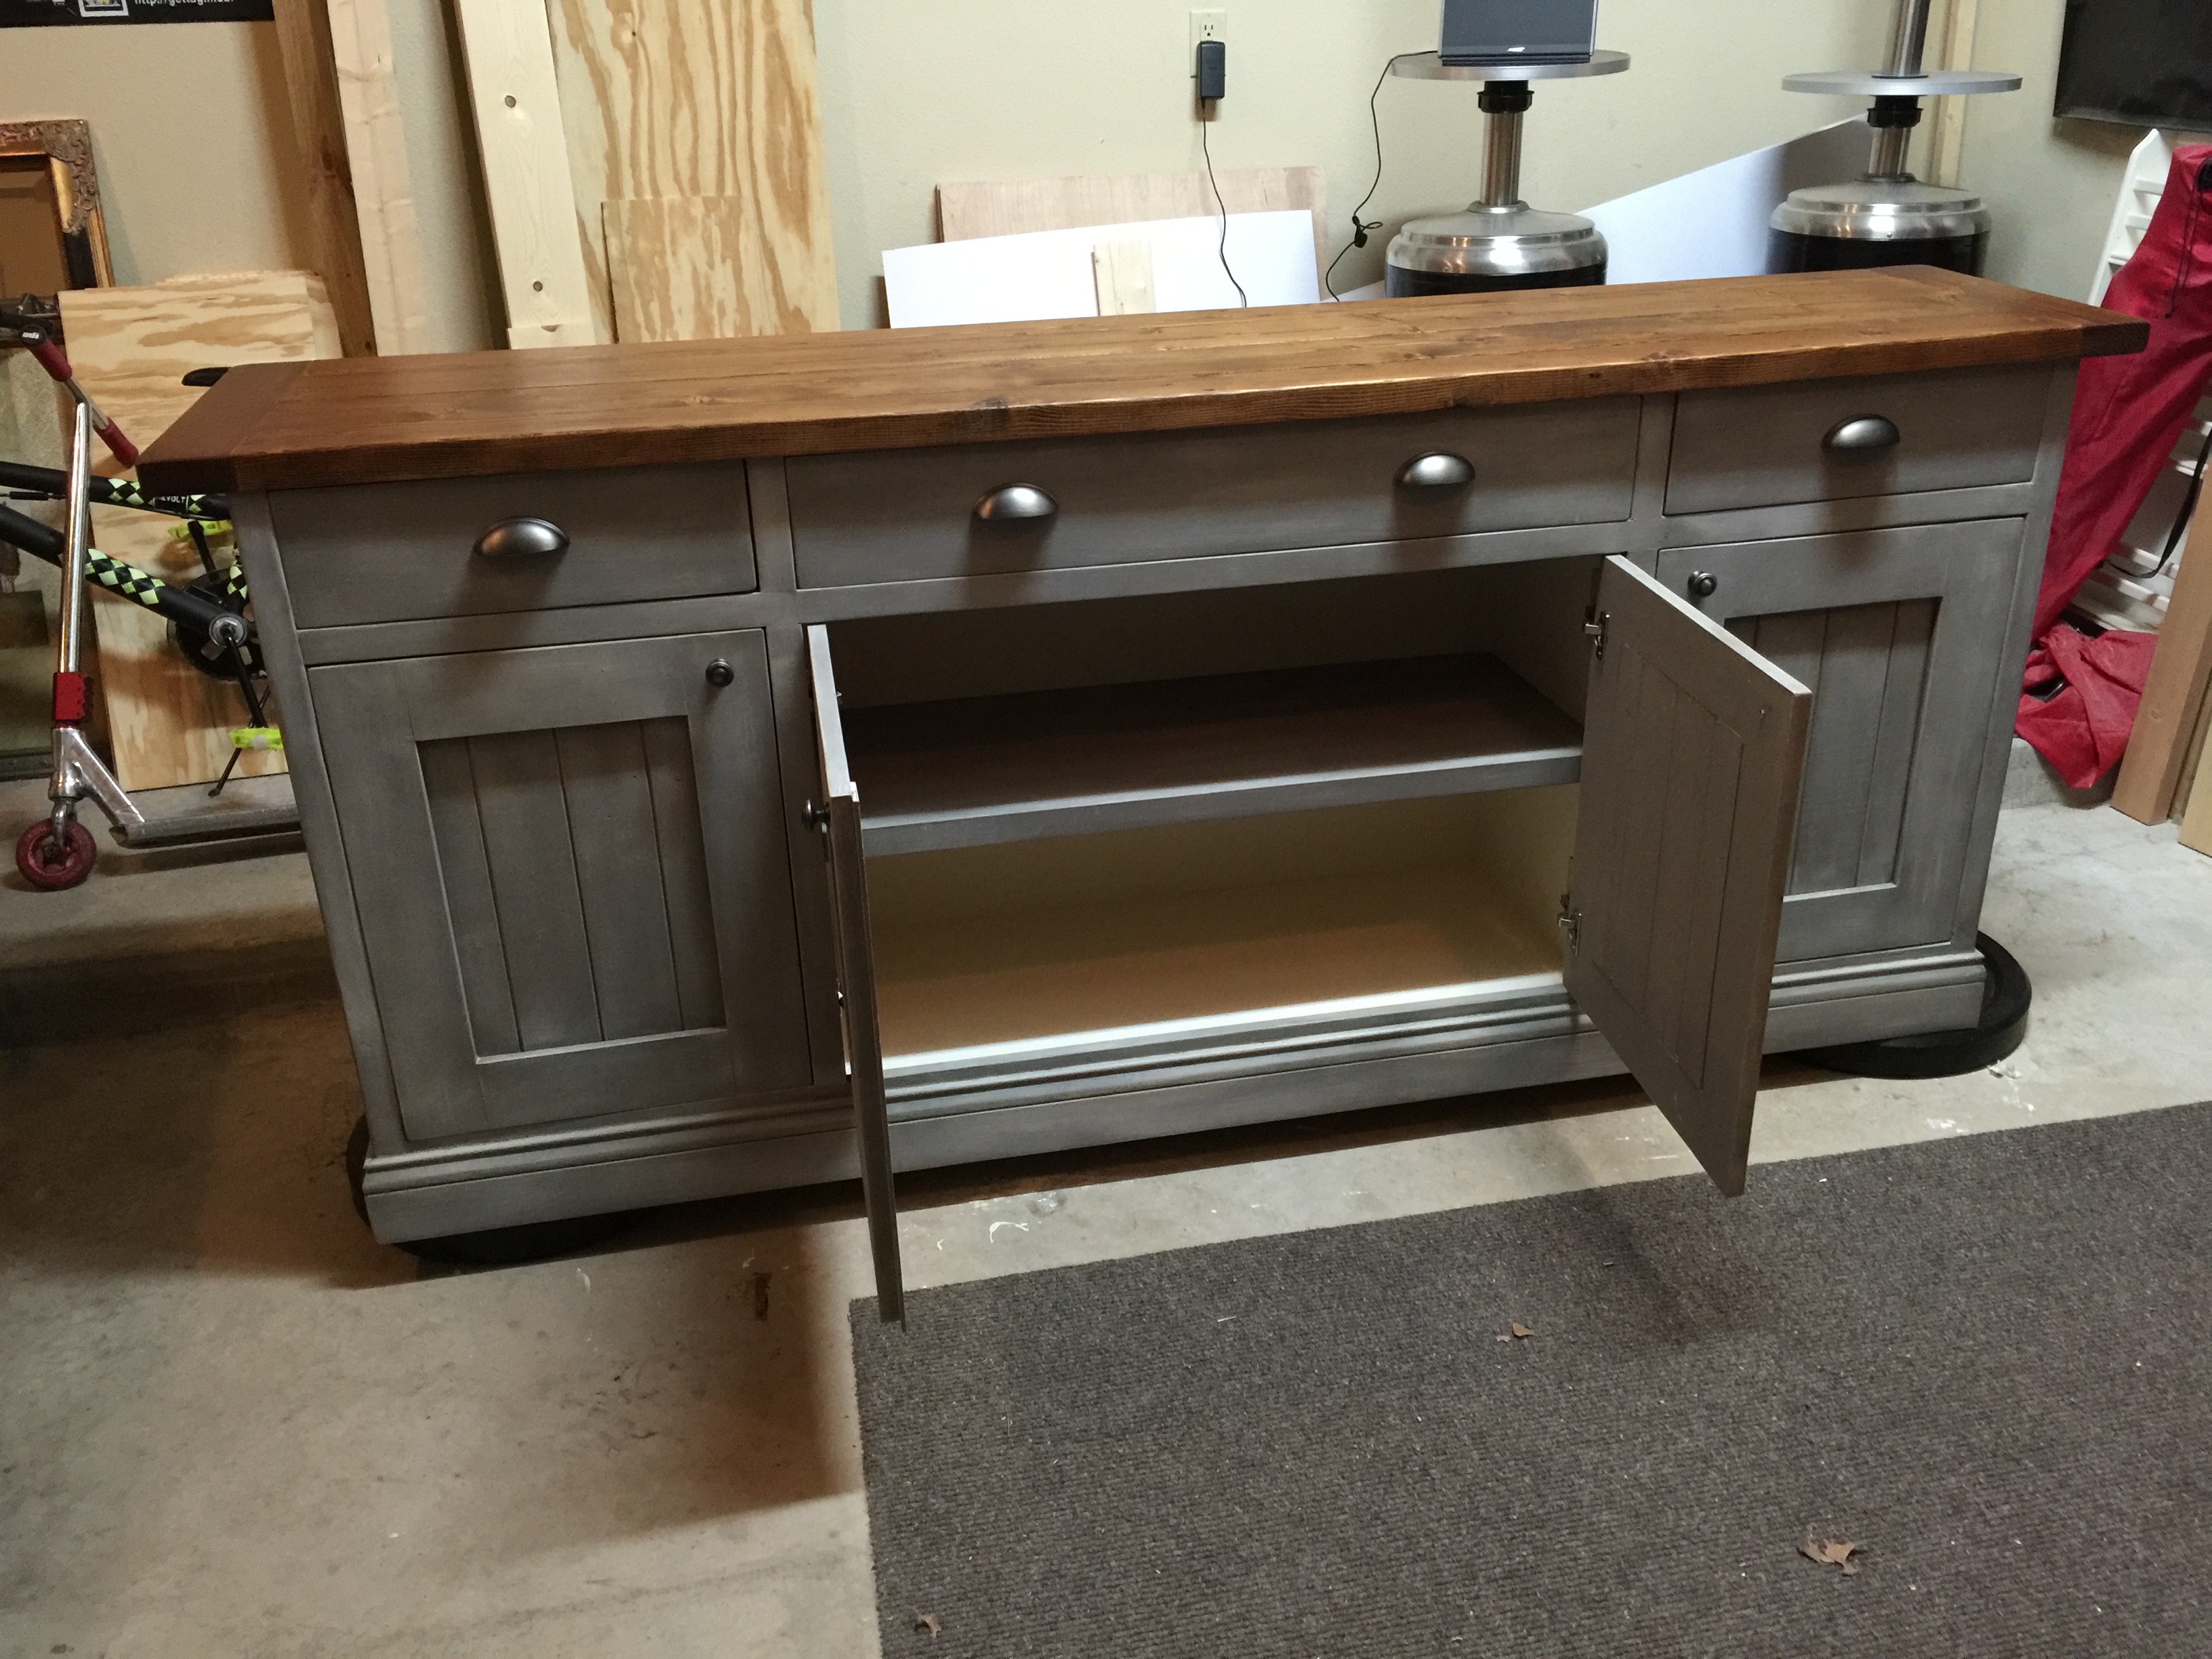
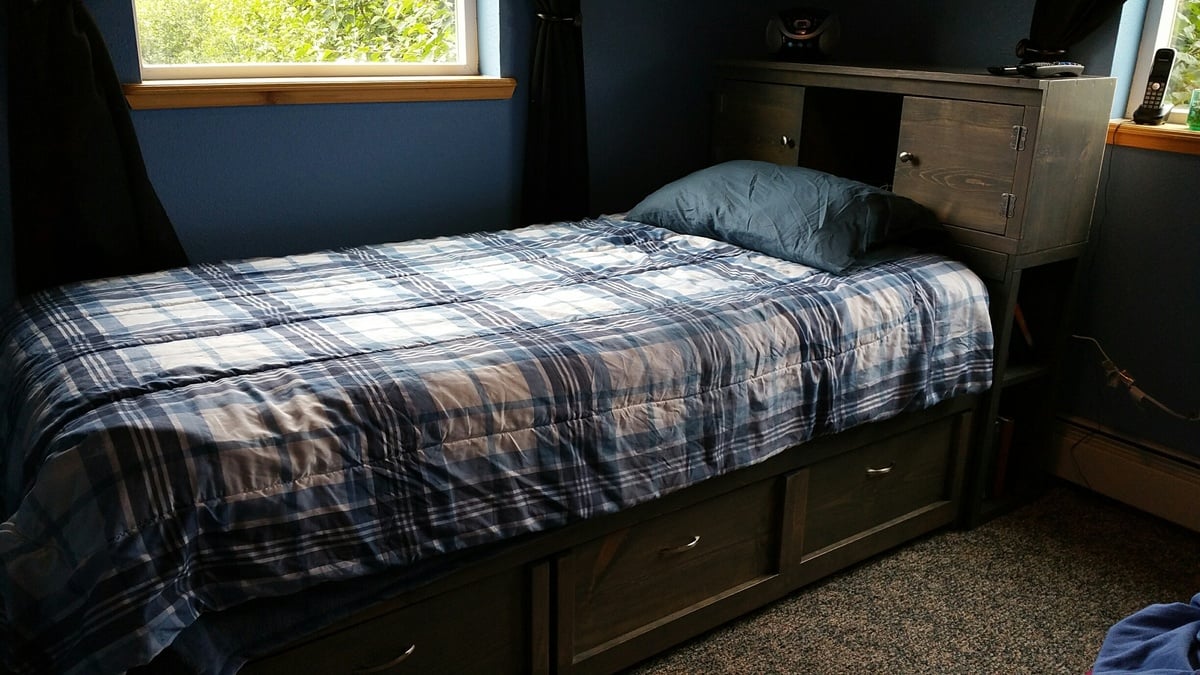
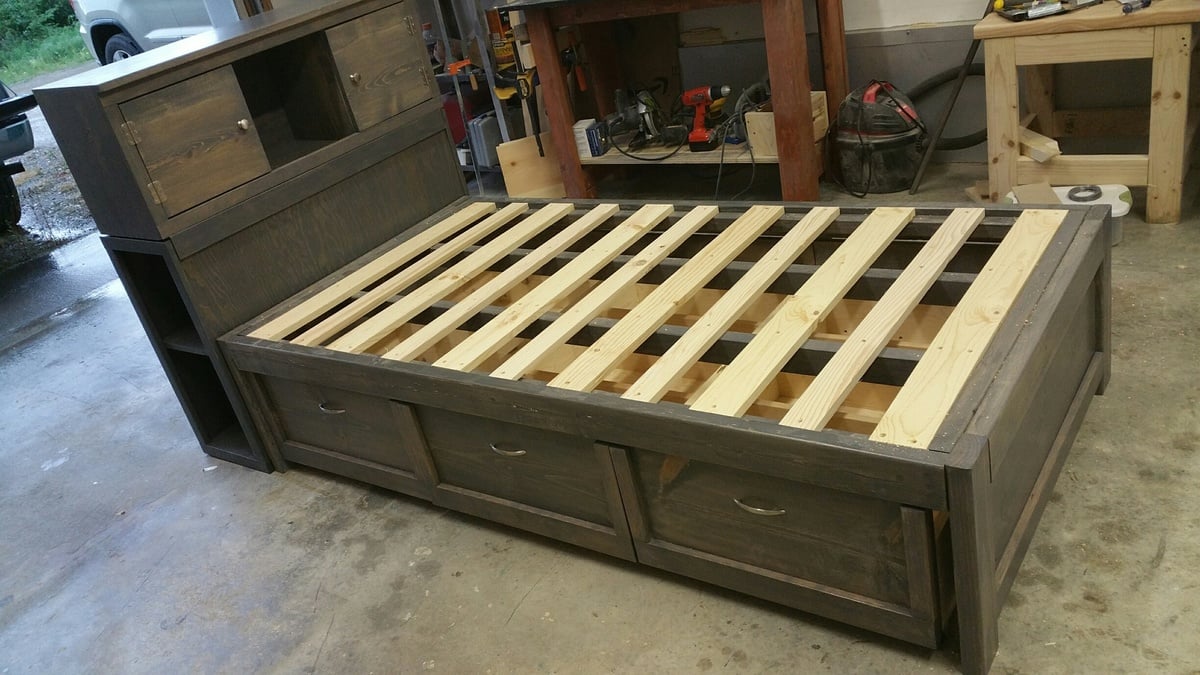
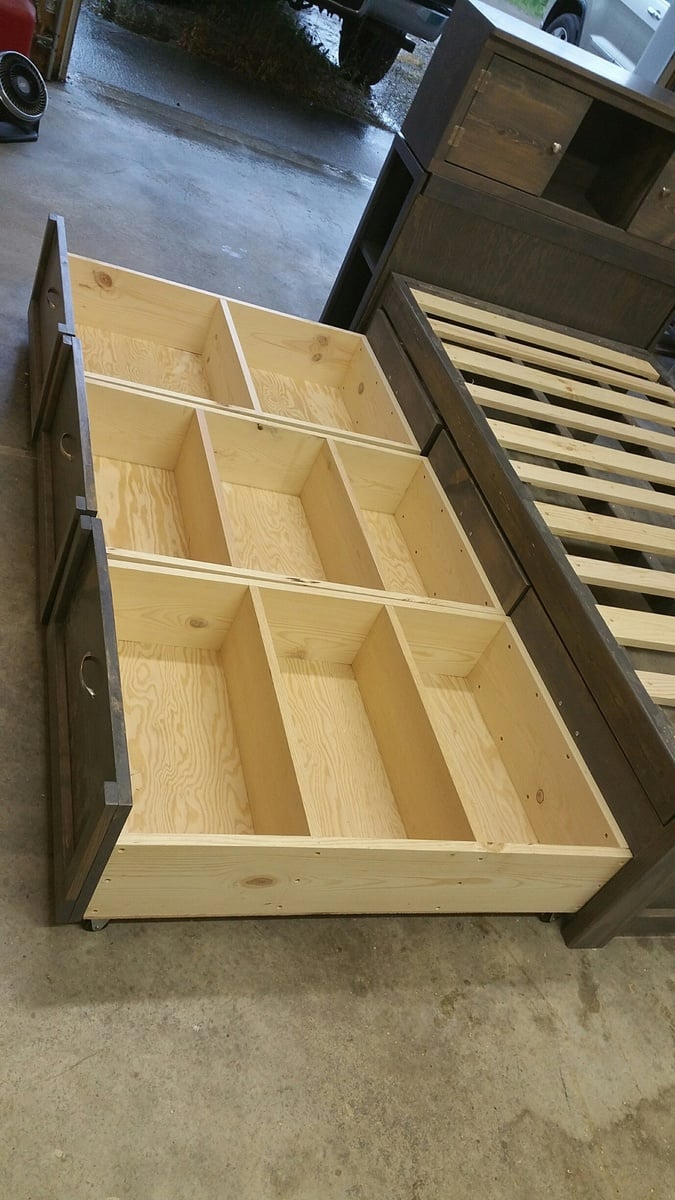
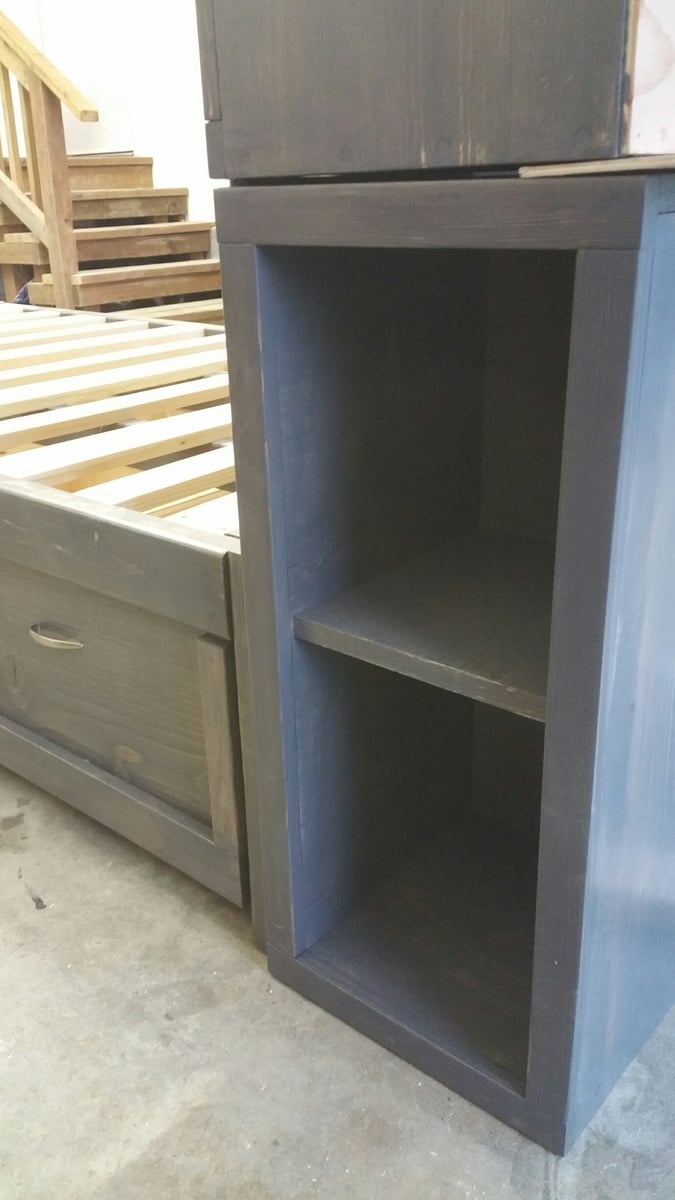
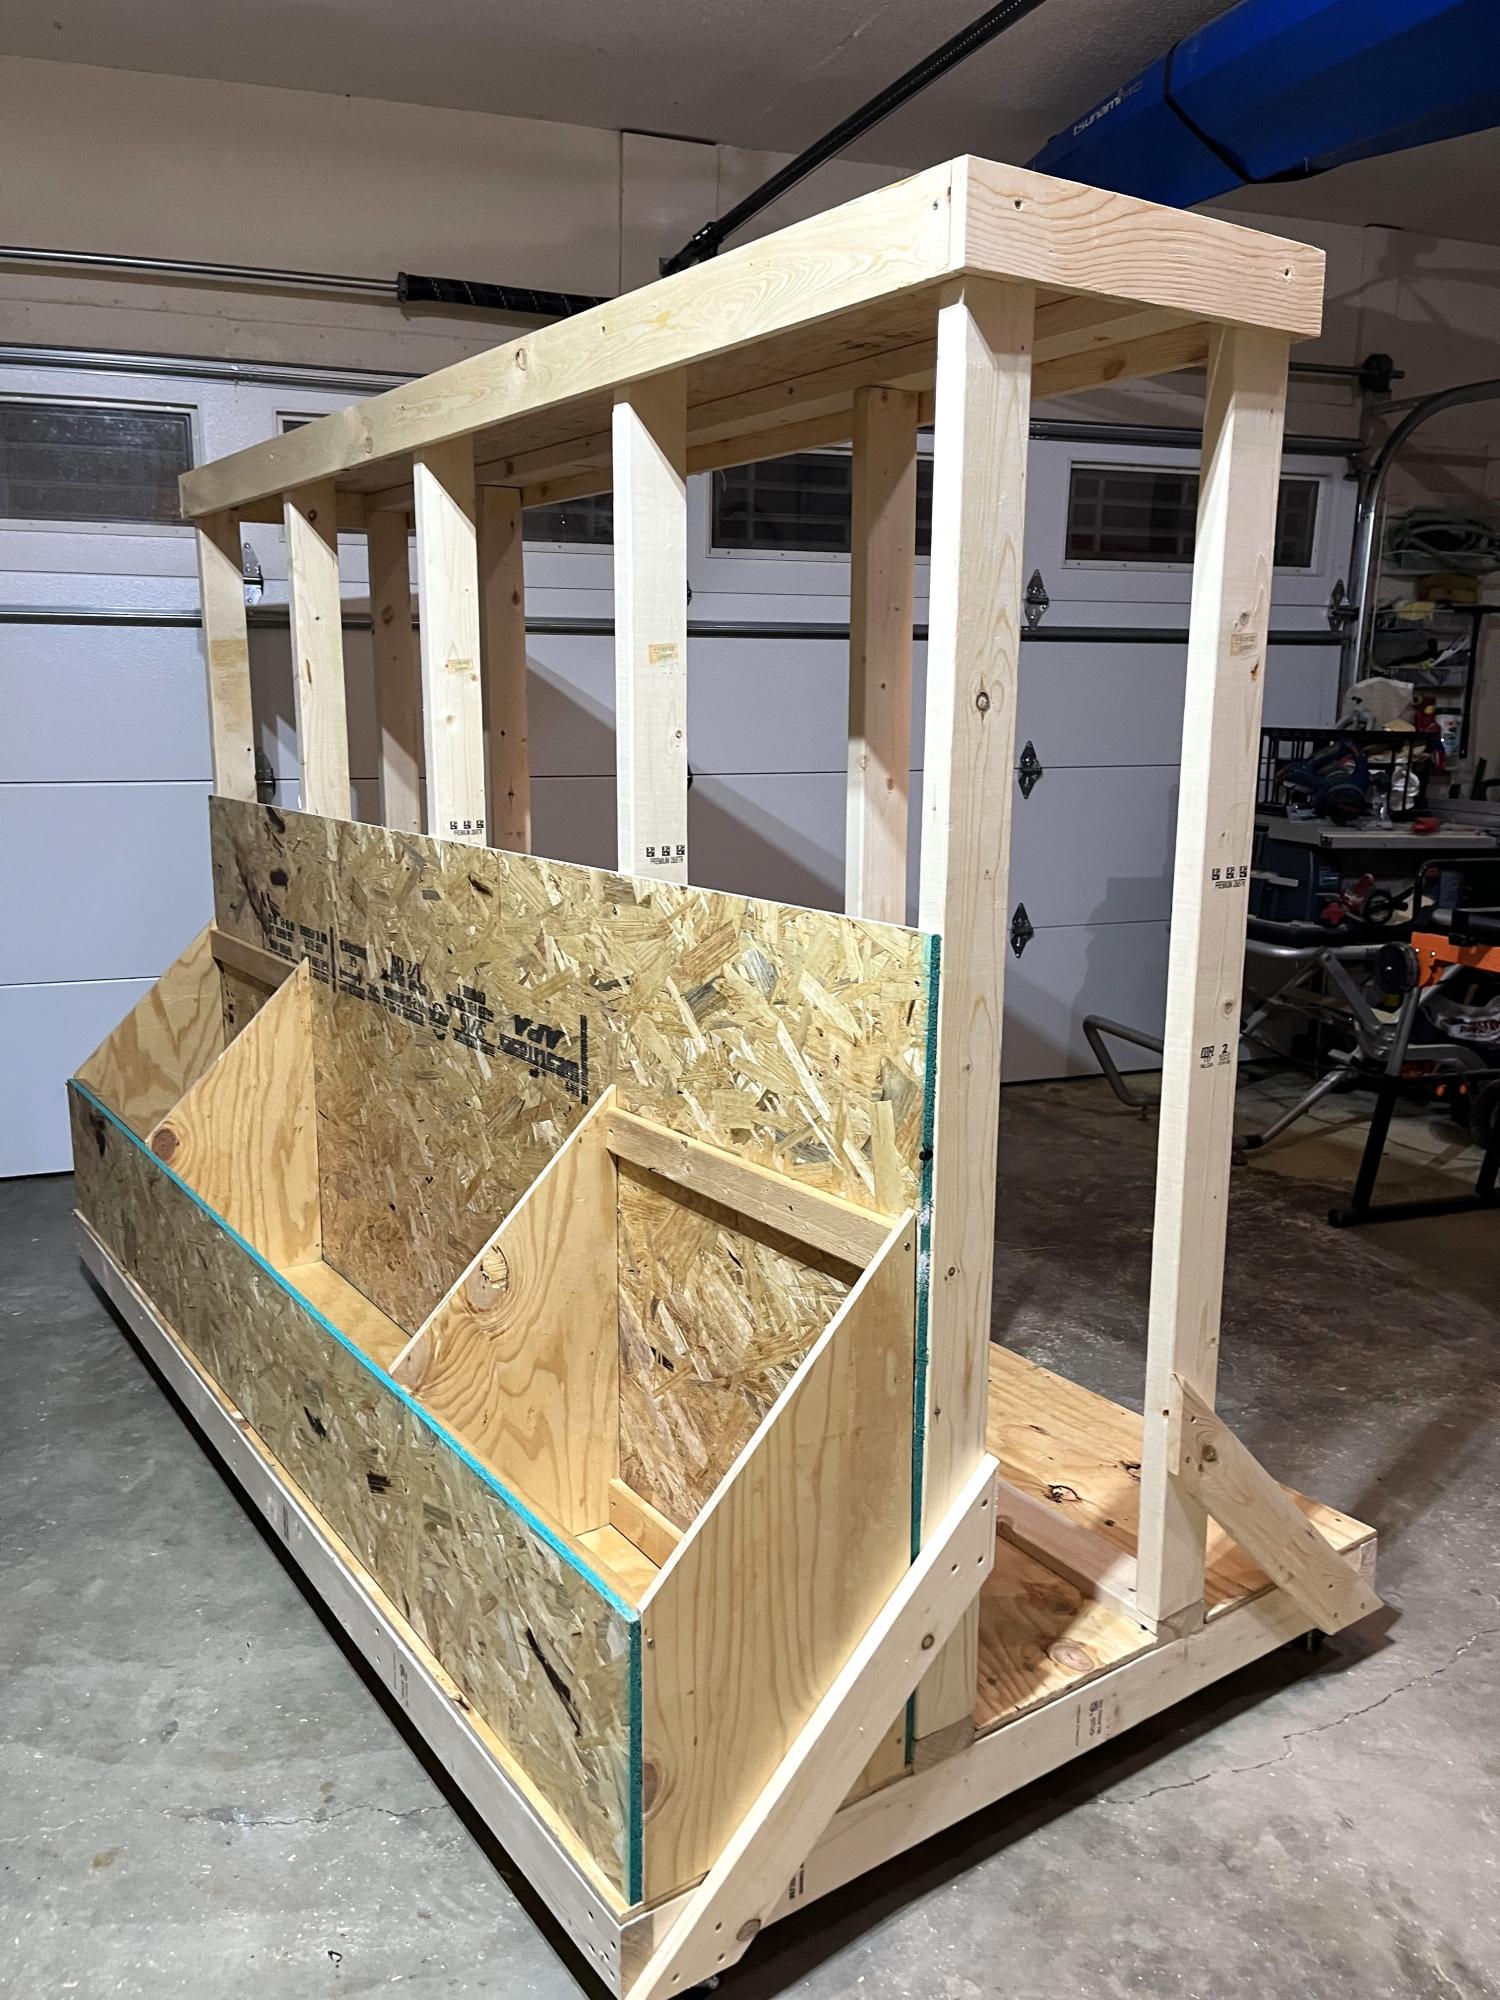
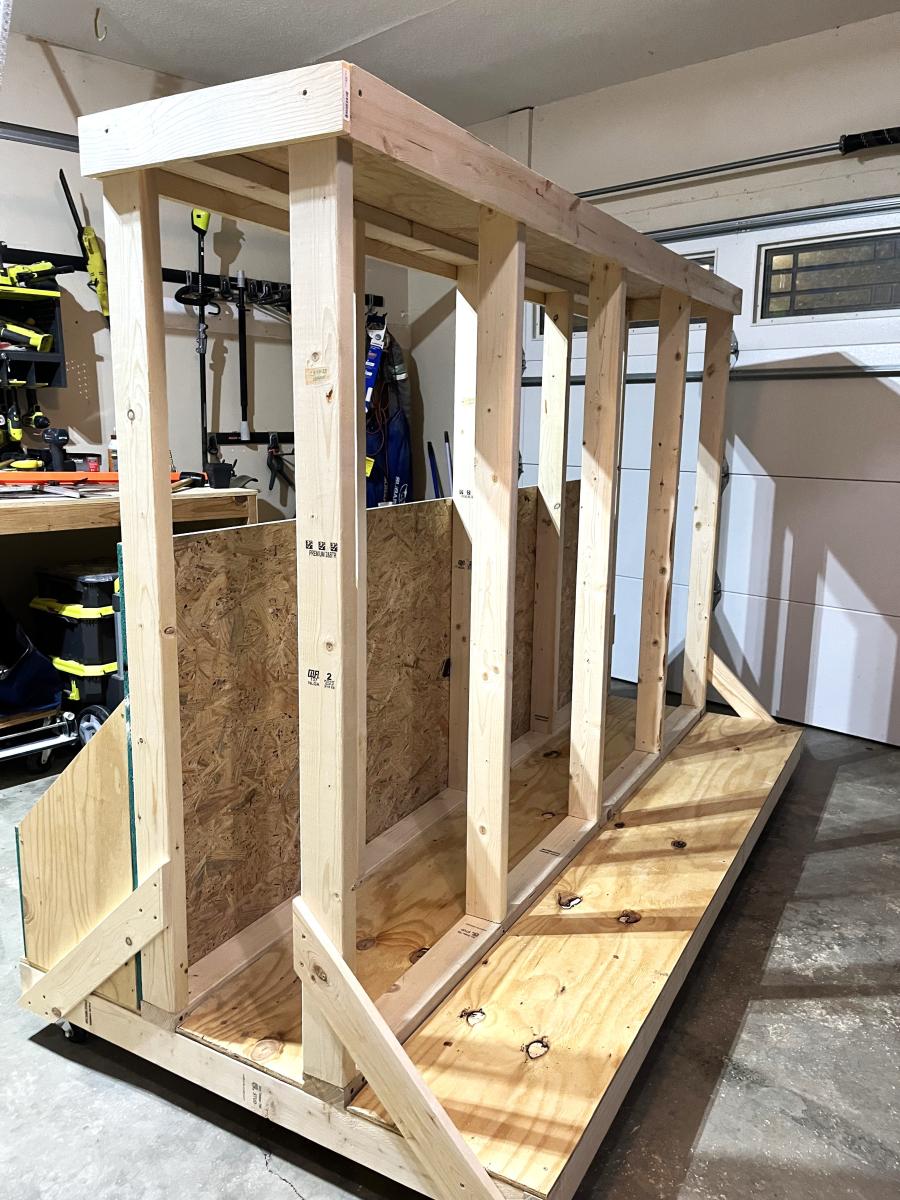
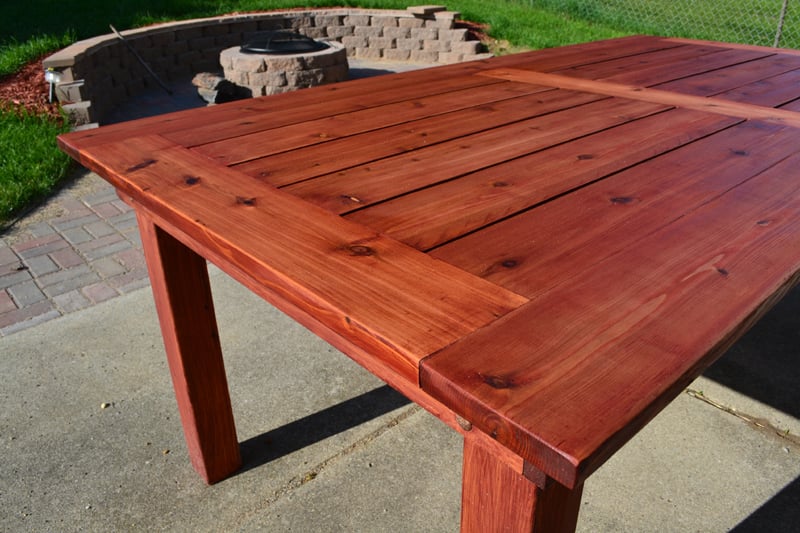
Planked Wood Sideboard
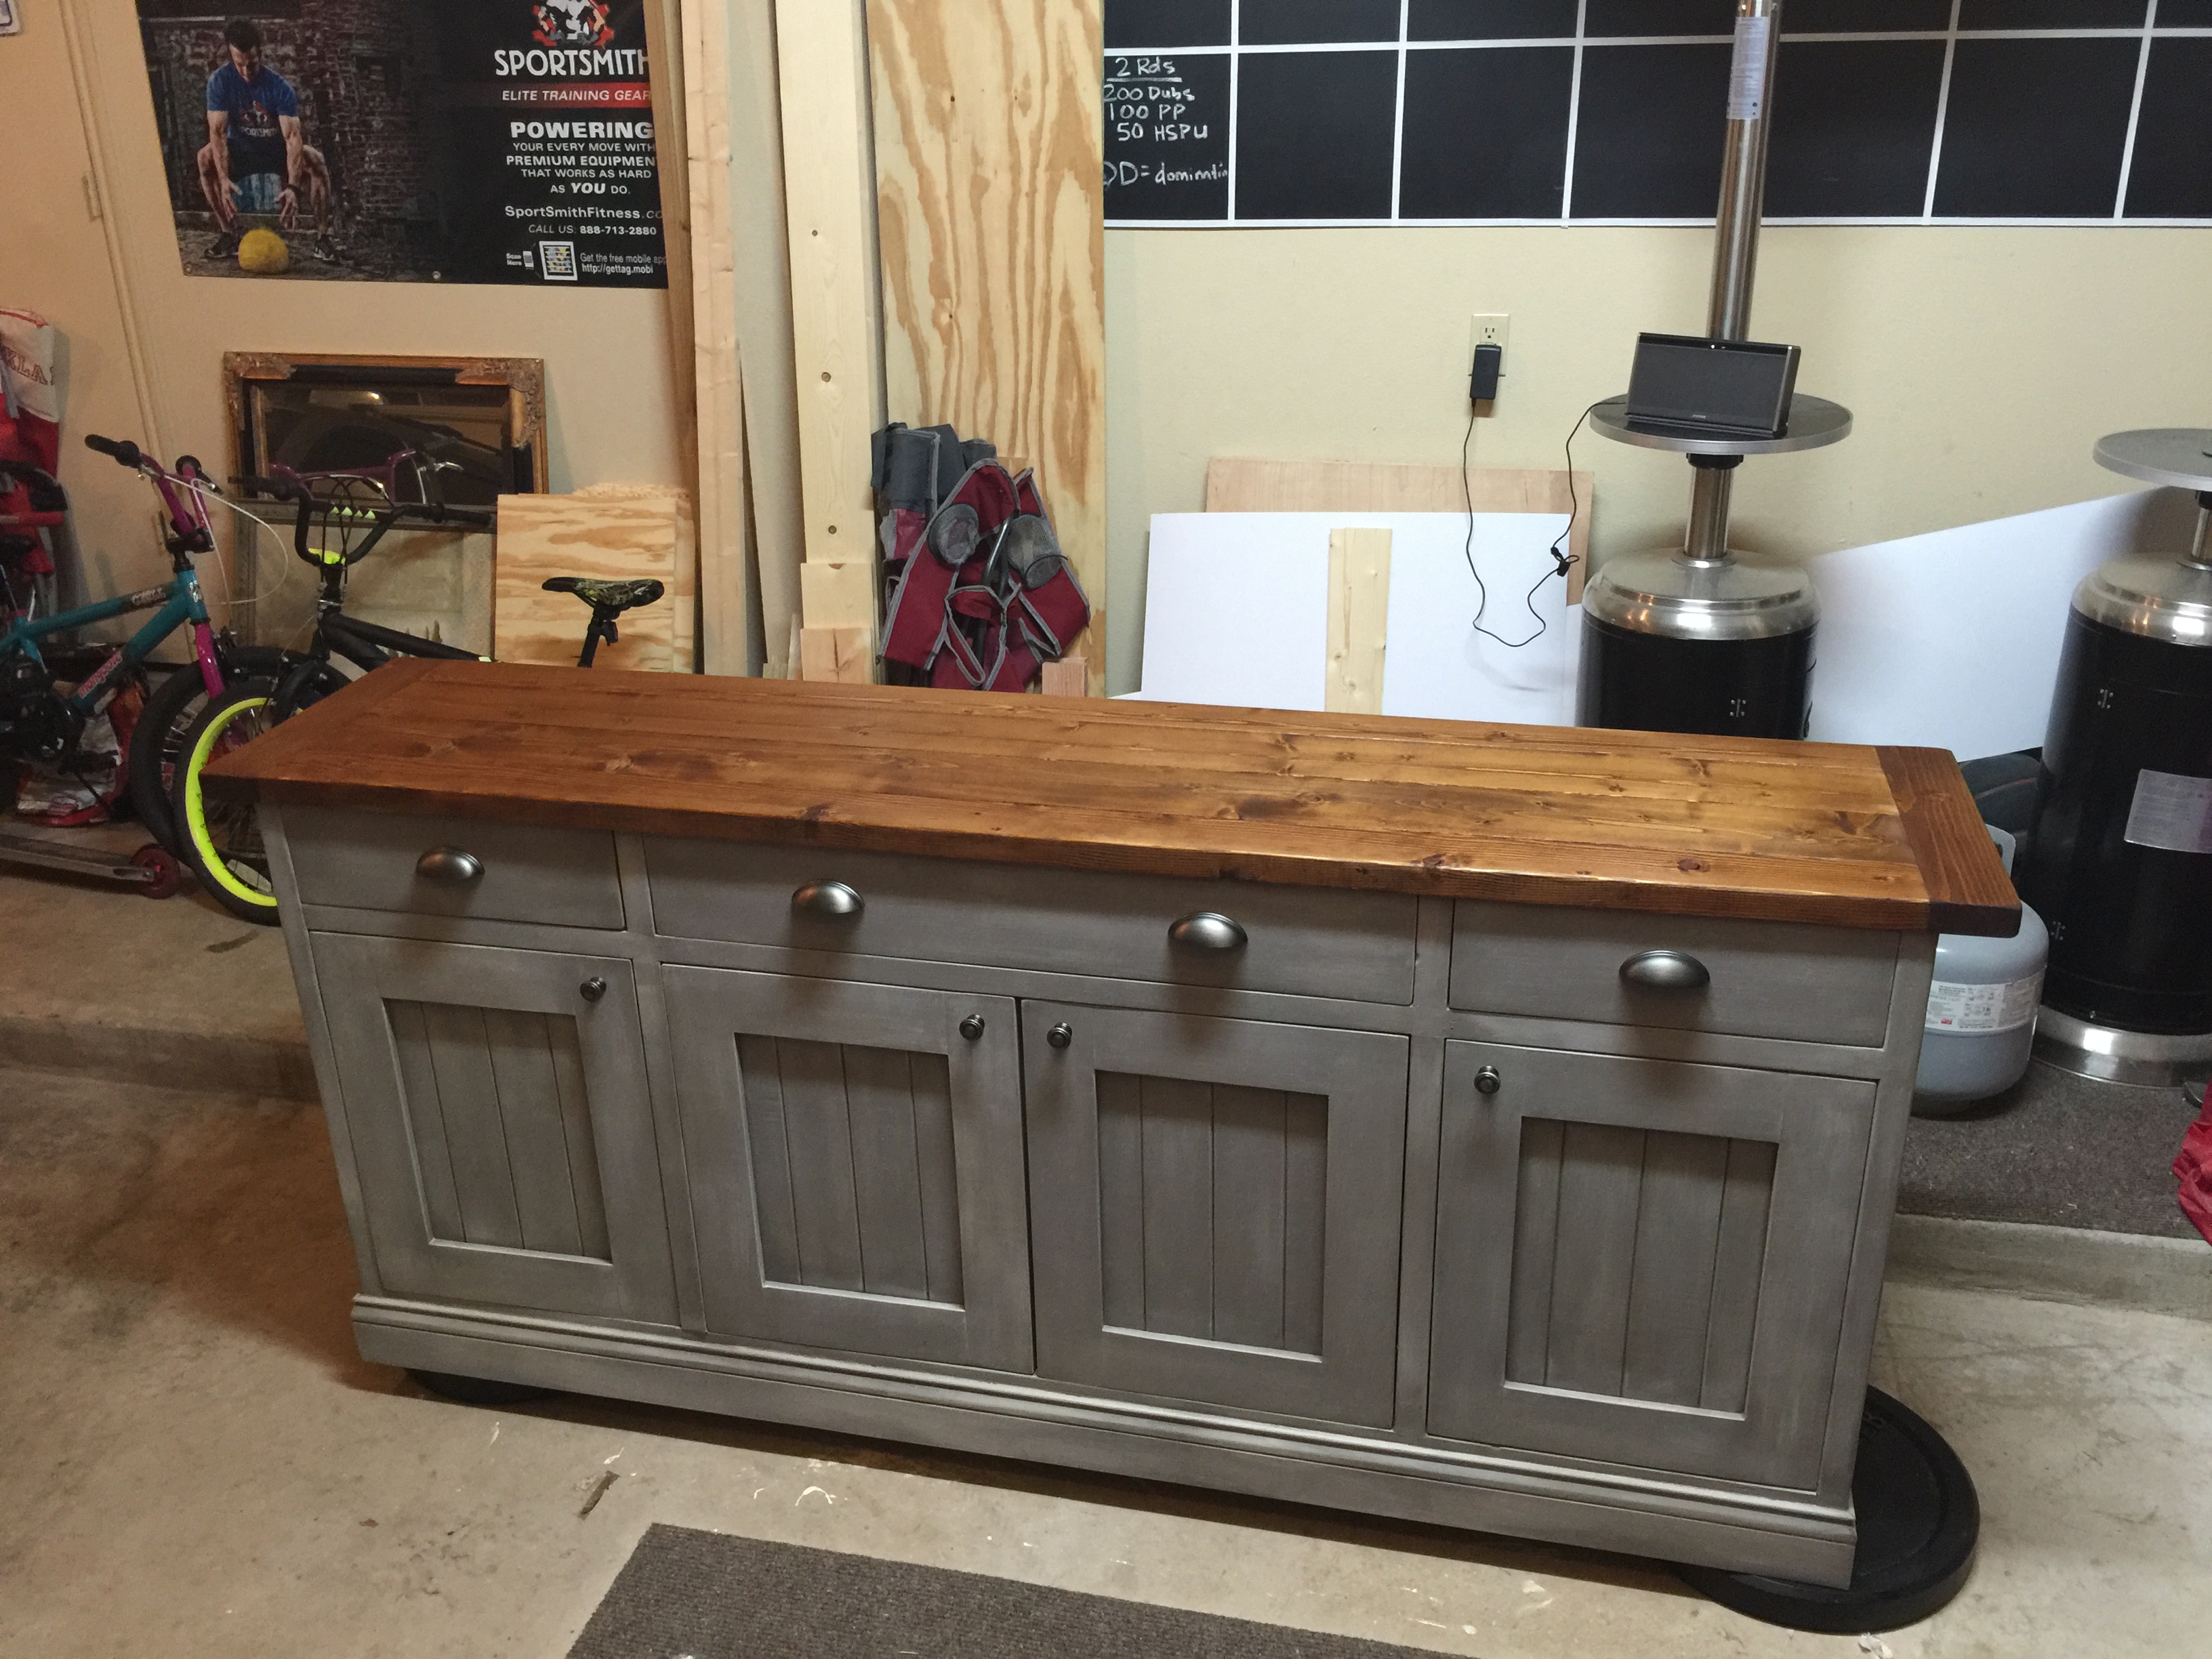
I used Ana's plans and Hillary's suggestions to build this extra large buffet. It took probably 25-30 hours if you consider the extra trips to Home Depot and Lowe's because I didn't yet have the proper tools. I used Annie Sloan's French Linen as my base coat, Old White as my dry brush coat, Annie Sloan Clear Wax throughout and Dark Wax in the crevices. This was my first big league build, so I had to recruit a skilled neighbor for assistance with the drawers and doors. My two recommendations would be to ensure the piece is square at every step, and to cut the wood as you go. Don't make all the cuts at once because there will be adjustments.
Built from Plan(s)
Estimated Cost
450-500
Estimated Time Investment
Week Long Project (20 Hours or More)
Finish Used
Annie Sloan French Linen dry brushed with Old White
Recommended Skill Level
Intermediate


Comments
handmadewithash
Fri, 10/30/2015 - 20:14
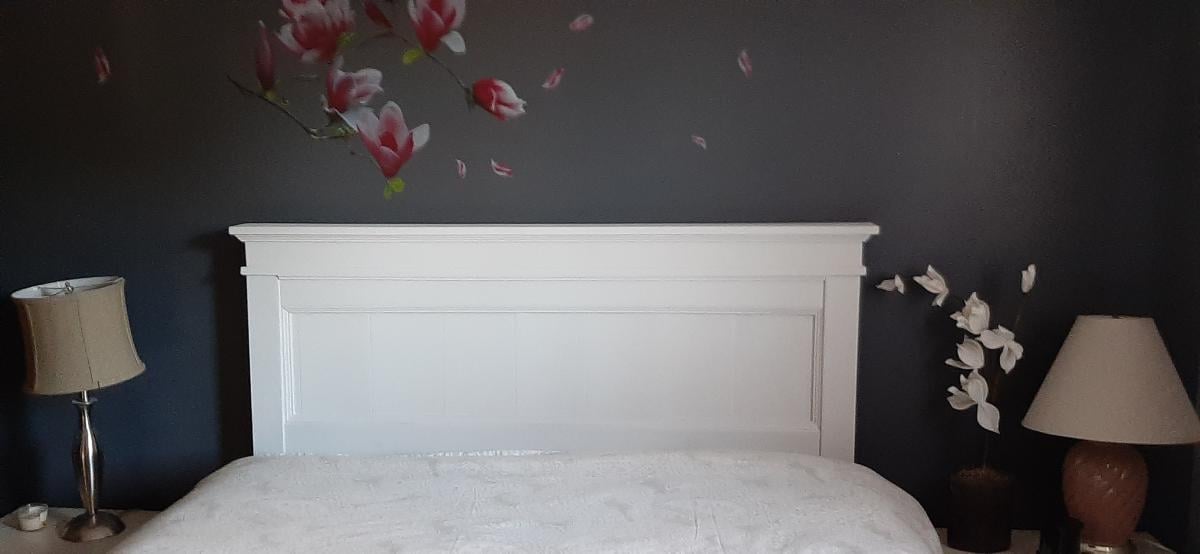
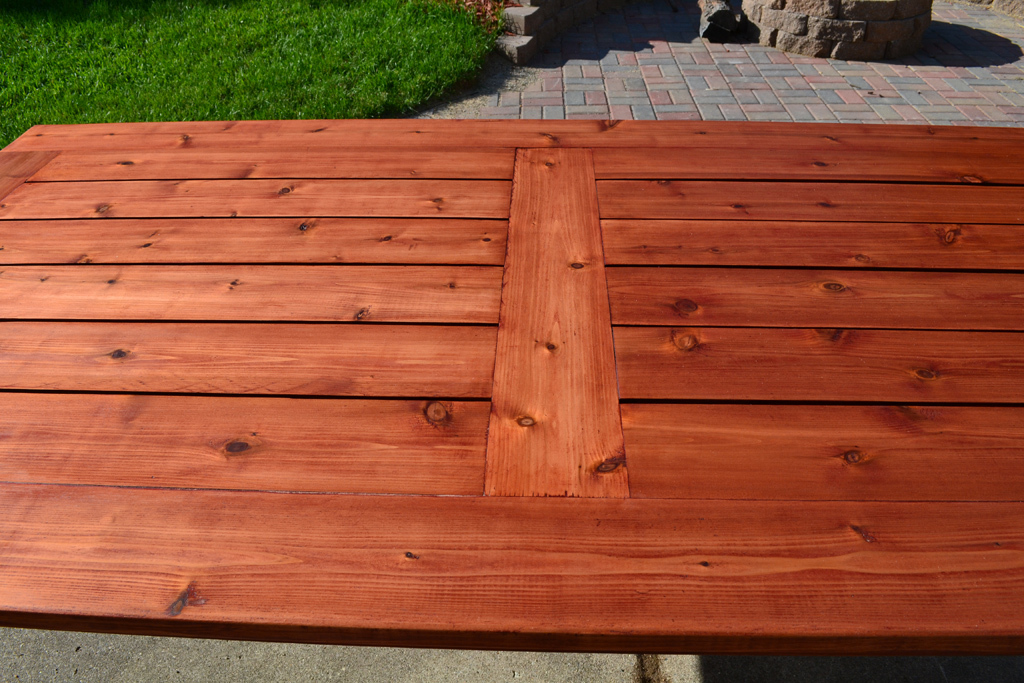
this is awesome! I love the
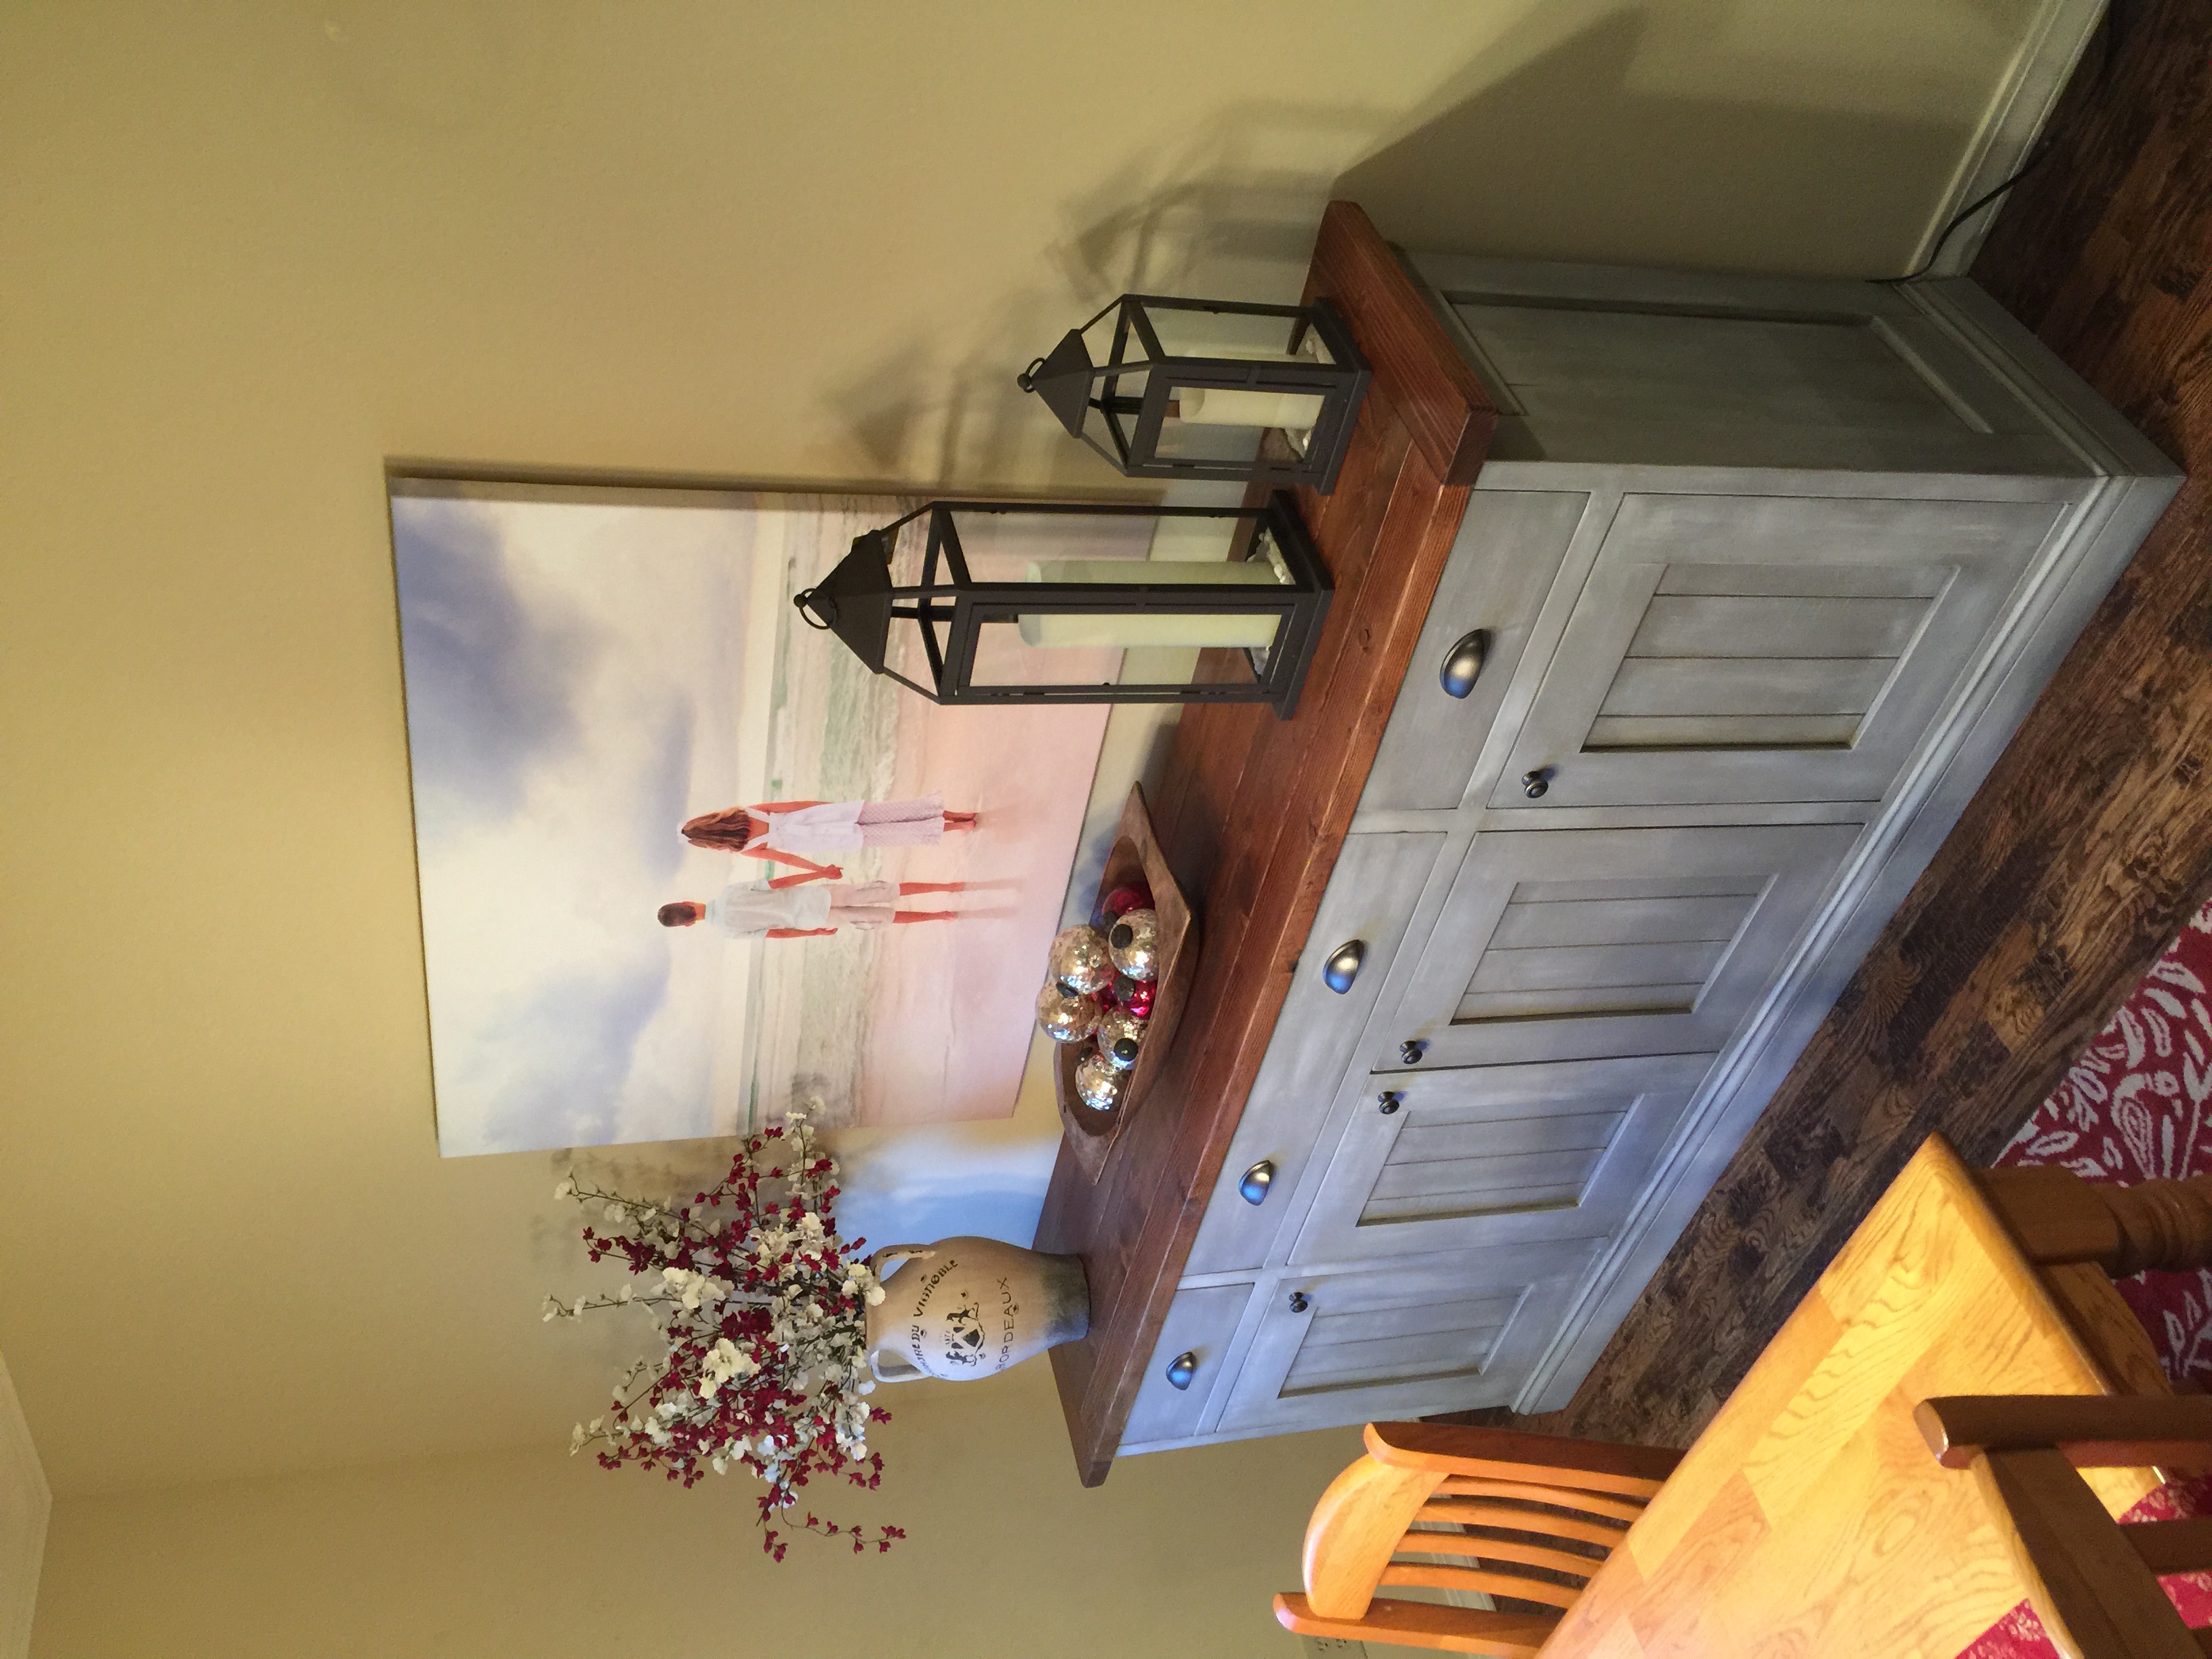
this is awesome! I love the colors. Especially the color for the top. What stain is that?
mquimby12
Thu, 11/05/2015 - 12:12
Thanks for your comment! I
Thanks for your comment! I used Minwax Early American and a matte poly finish. My intention was to paint the top, but someone convinced me to stain it to see how it would look. I liked the stained version better.
DWinMadison
Wed, 11/04/2015 - 09:06
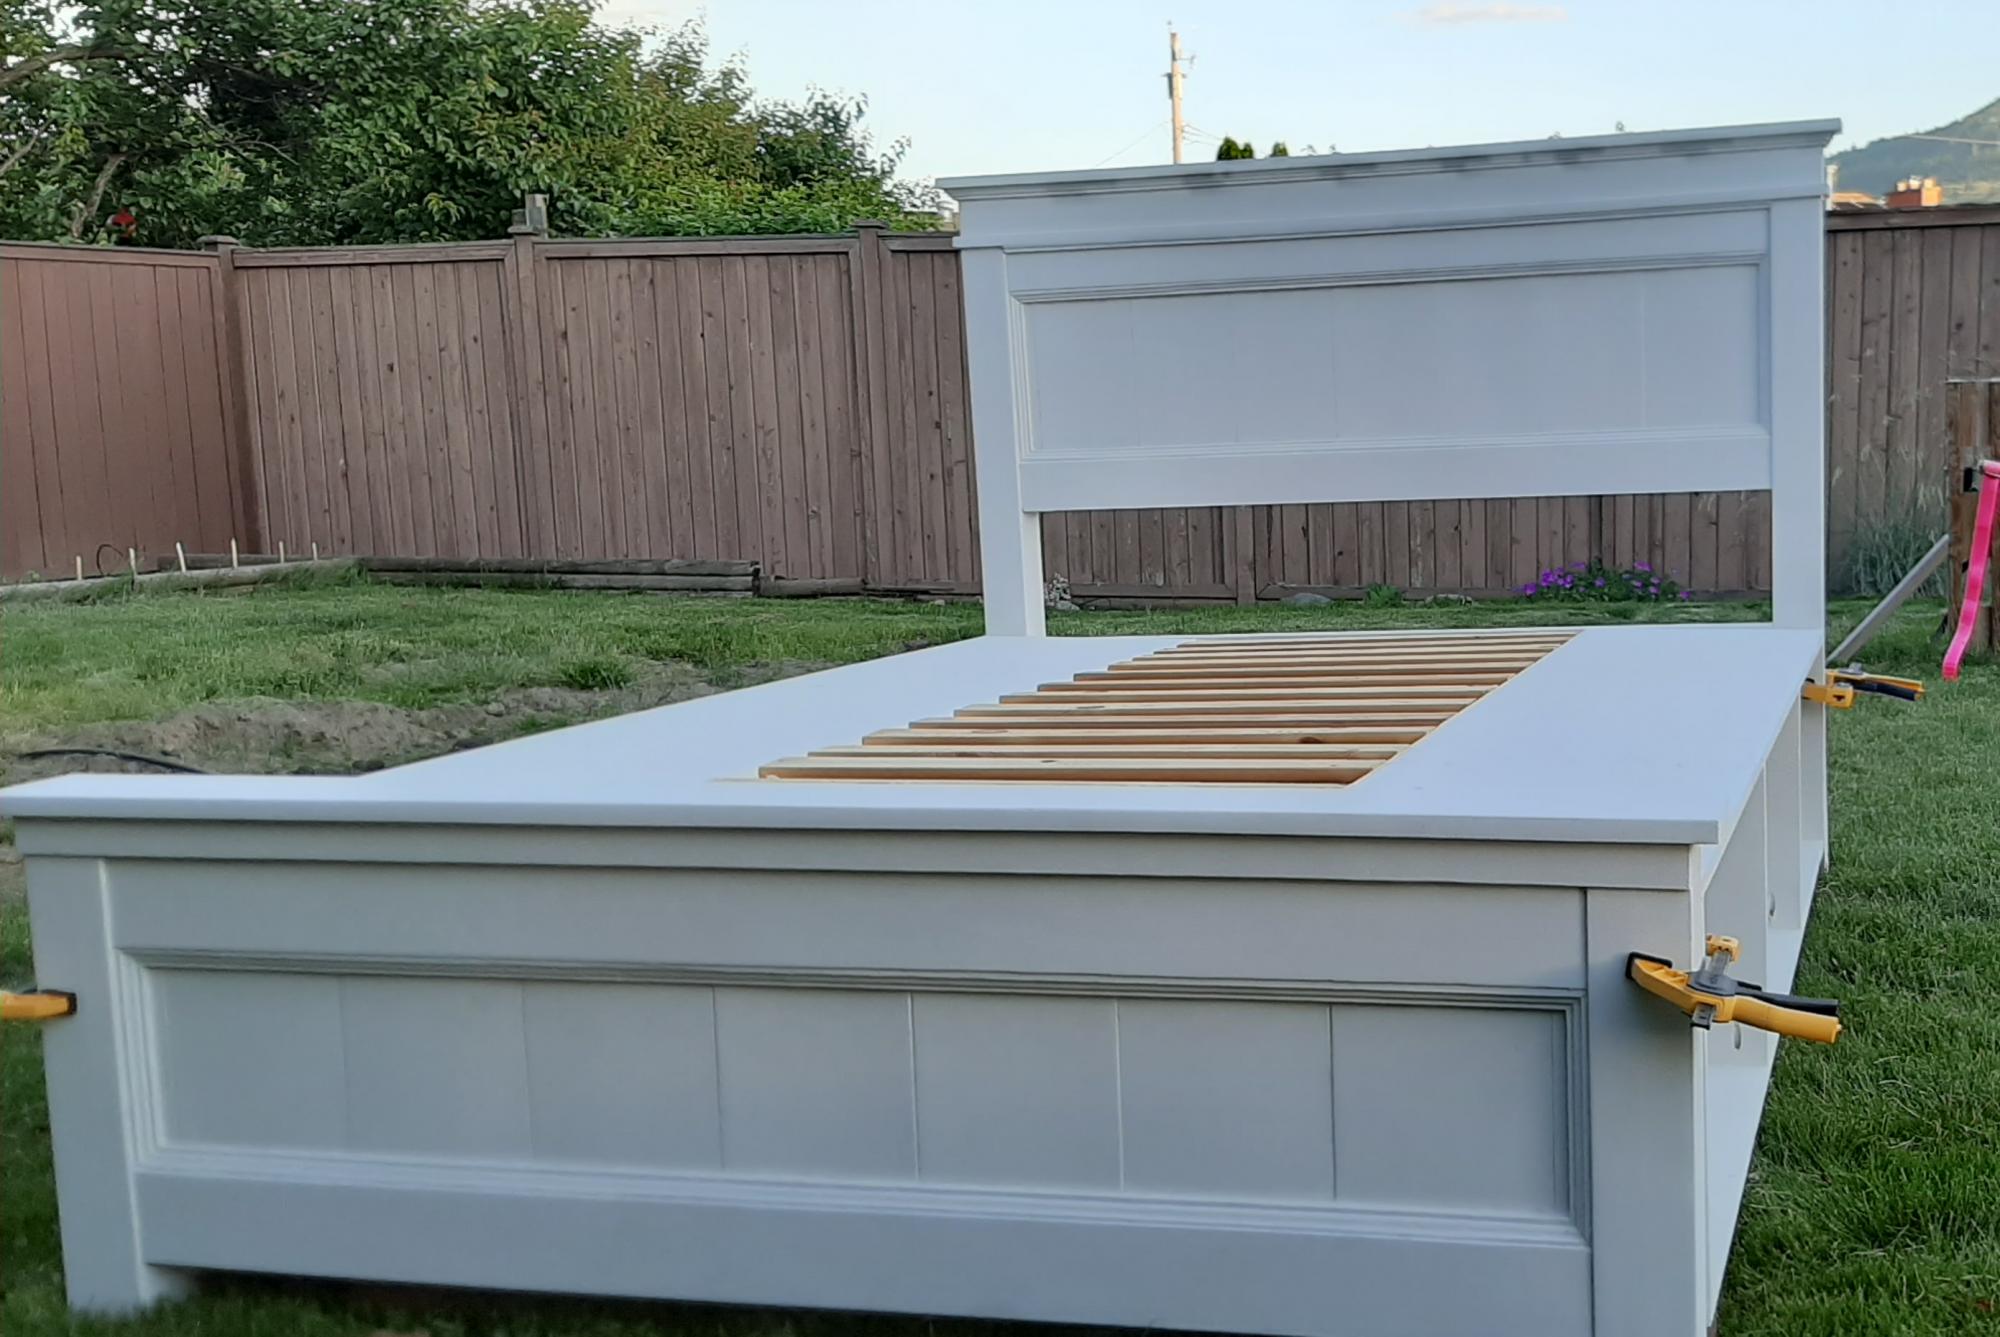
Beautiful work.
I'm building this a we speak....got the sides finished this weekend. Question: Did you router the exposed front, top and side edges?
mquimby12
Thu, 11/05/2015 - 12:10
I think you mean along the
I think you mean along the bottom? If so, I basically purchased some baseboard moulding at Lowe's. I didn't care that it was primed because my plan was to paint it.