Beginner Workbench

This was the first work bench I ever built. Your plans made it so easy. Thank you so much for sharing. - Michele White
Built from Plan(s)
Seasonal And Holiday
This was the first work bench I ever built. Your plans made it so easy. Thank you so much for sharing. - Michele White

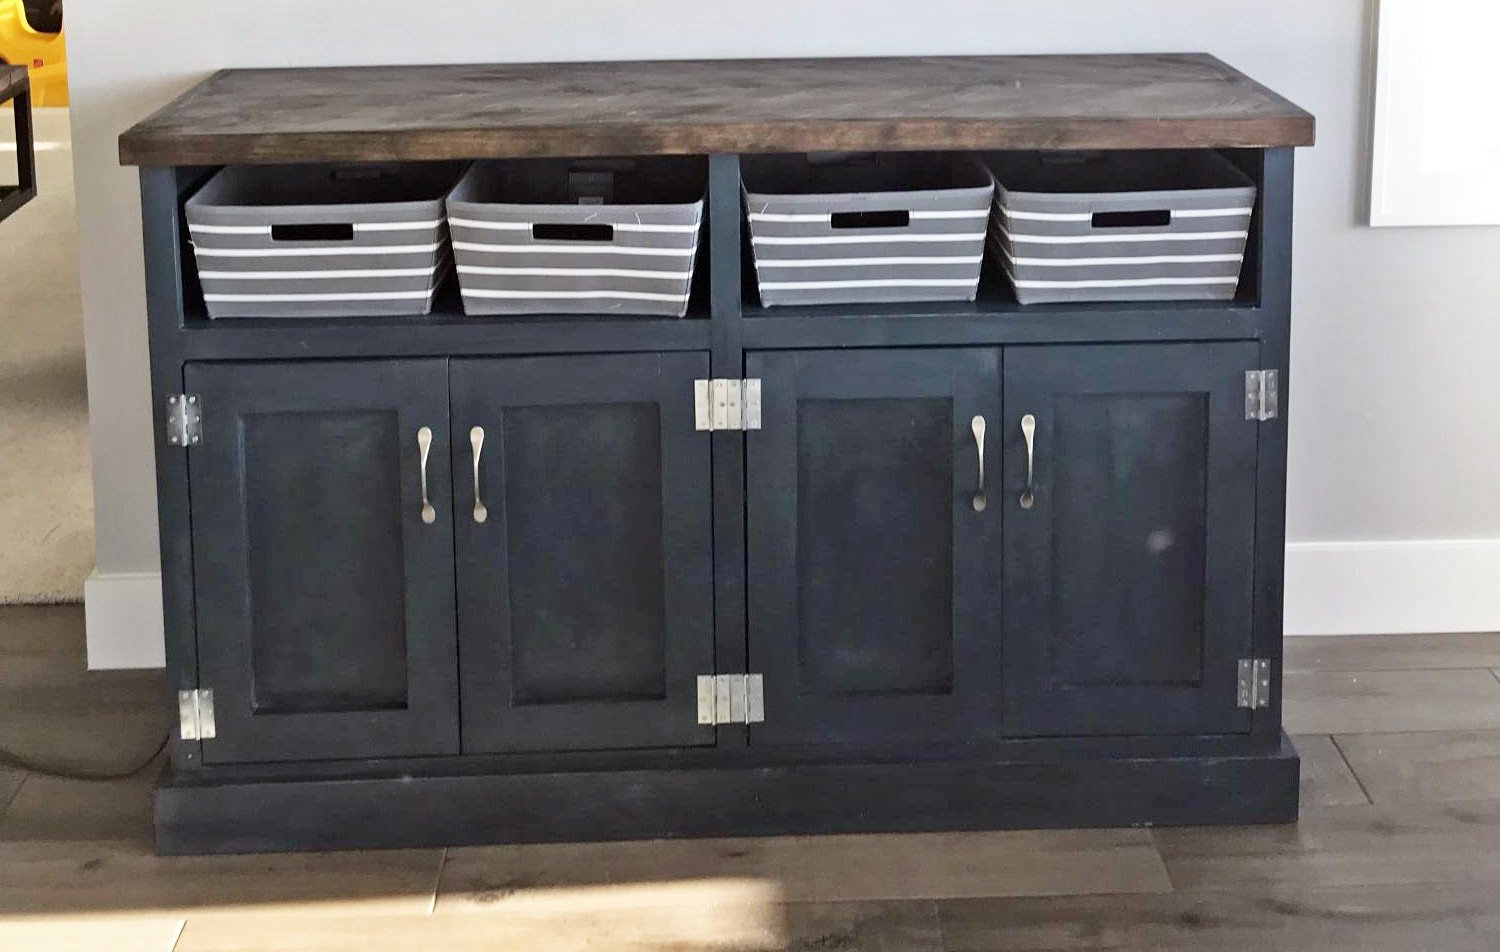
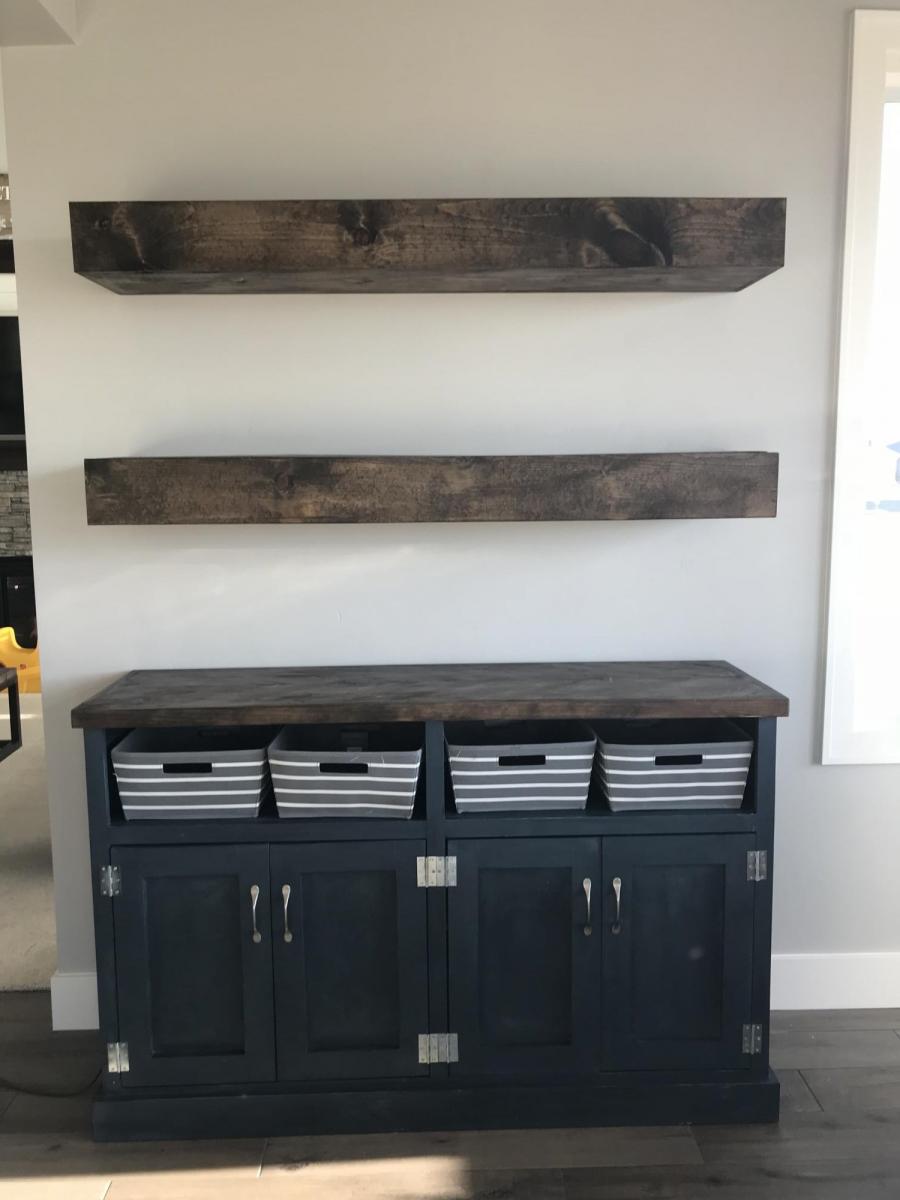
Jelly Cupboard
It took me only 2 afternoons to build it, but finding and installing the right hinges took me several days! I wish there was a tutorial about simple but hinges on Ana’s website.
Also, there is one mistake on the cut list. Instead of 4- 1x3 @ 11” it should be 4- 1x3 @ 14”. * Fixed - Adri Herman
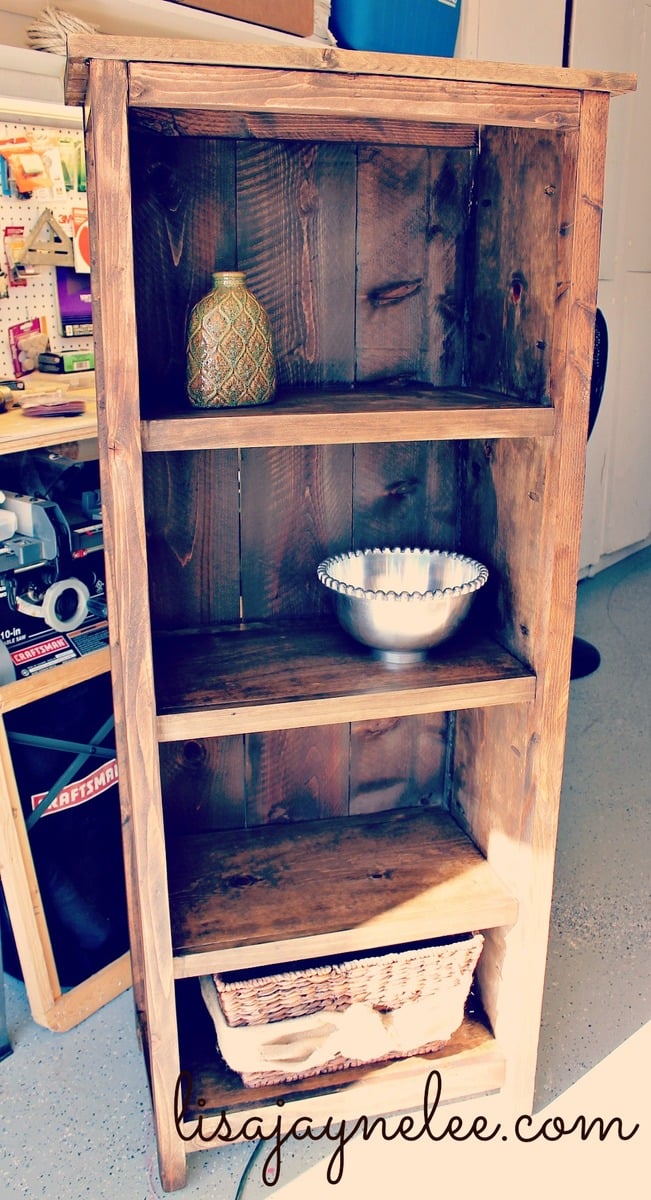
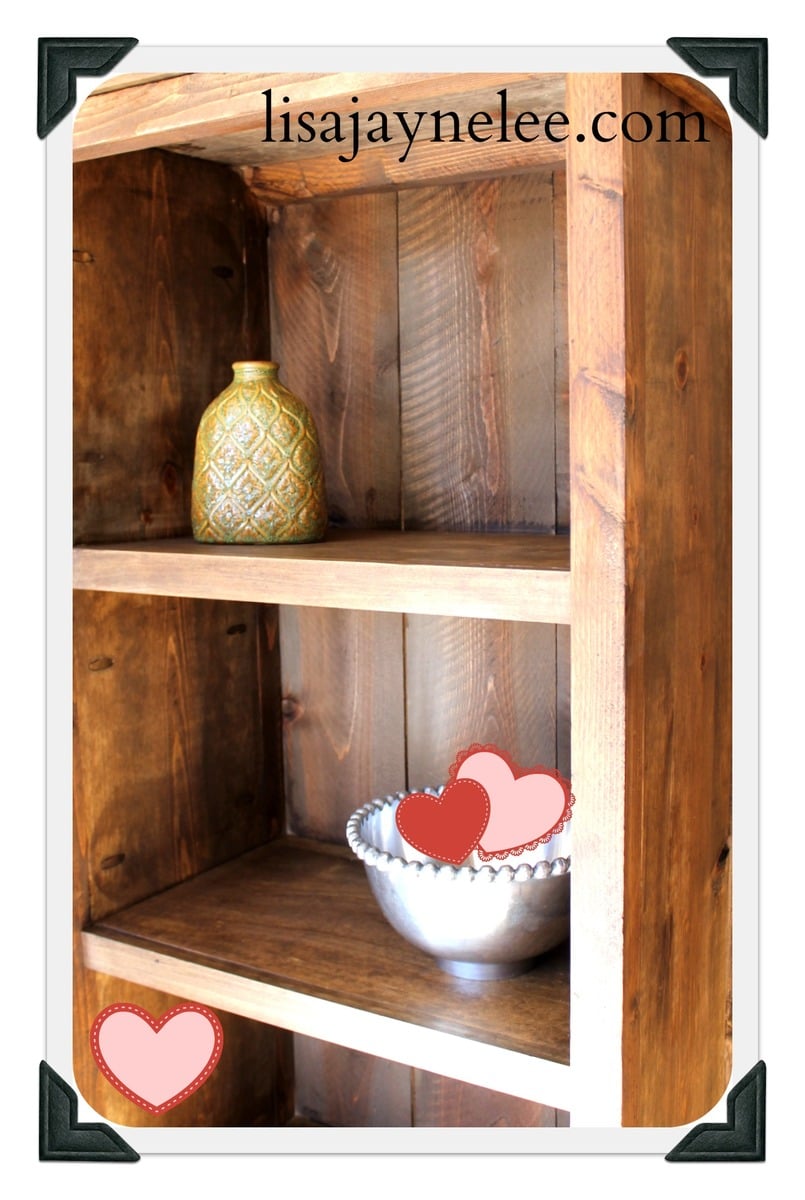
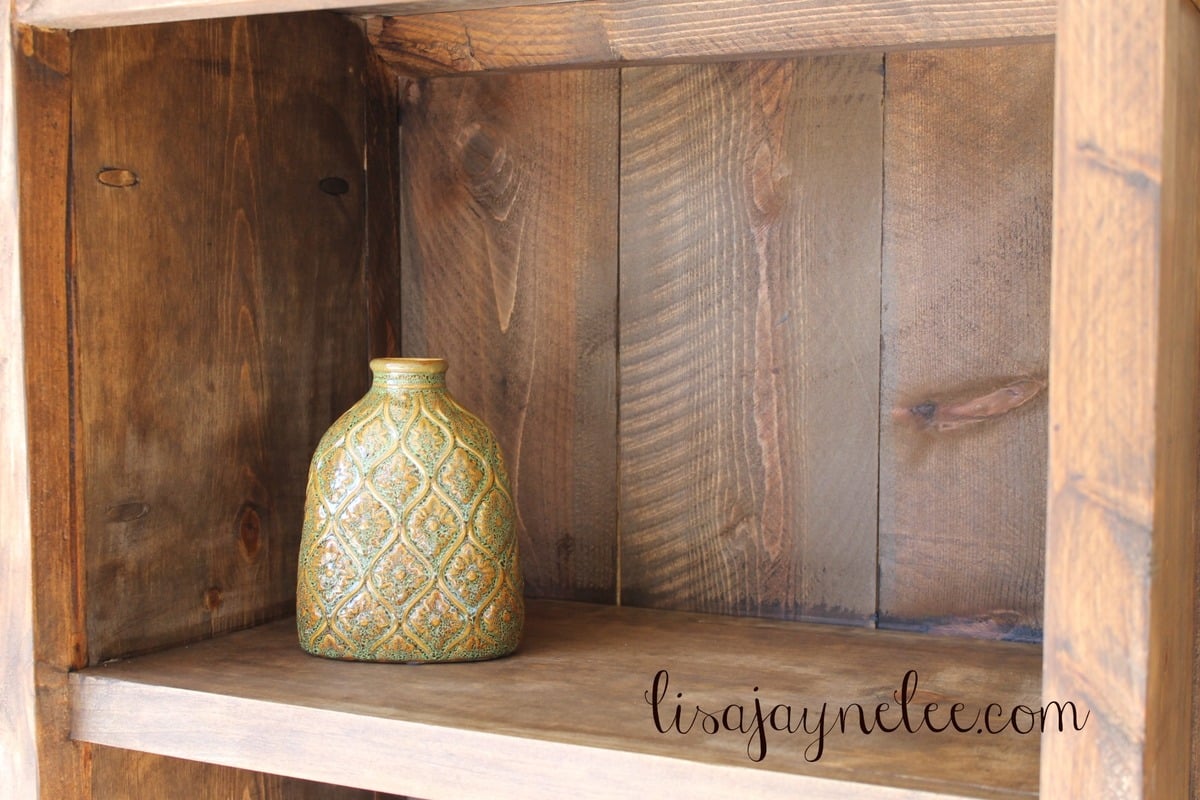
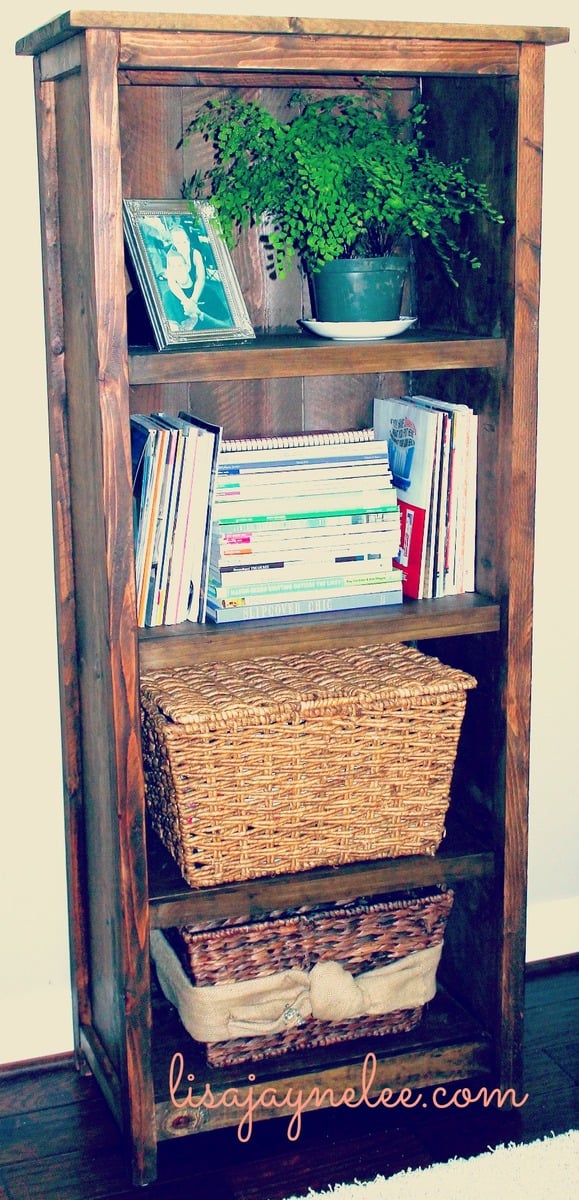
This was my first major build with plans from Ana. I actually found this bookcase via Shanty2Chic. It went smoothly and all in all took me a few evenings about an hour at a time. I have 3 kids so it did take me a little longer to finish. I am so impressed with myself and so is my husband. I used a 10" chopsaw for most of the cuts. I also used my KregJig. Thanks Ana!
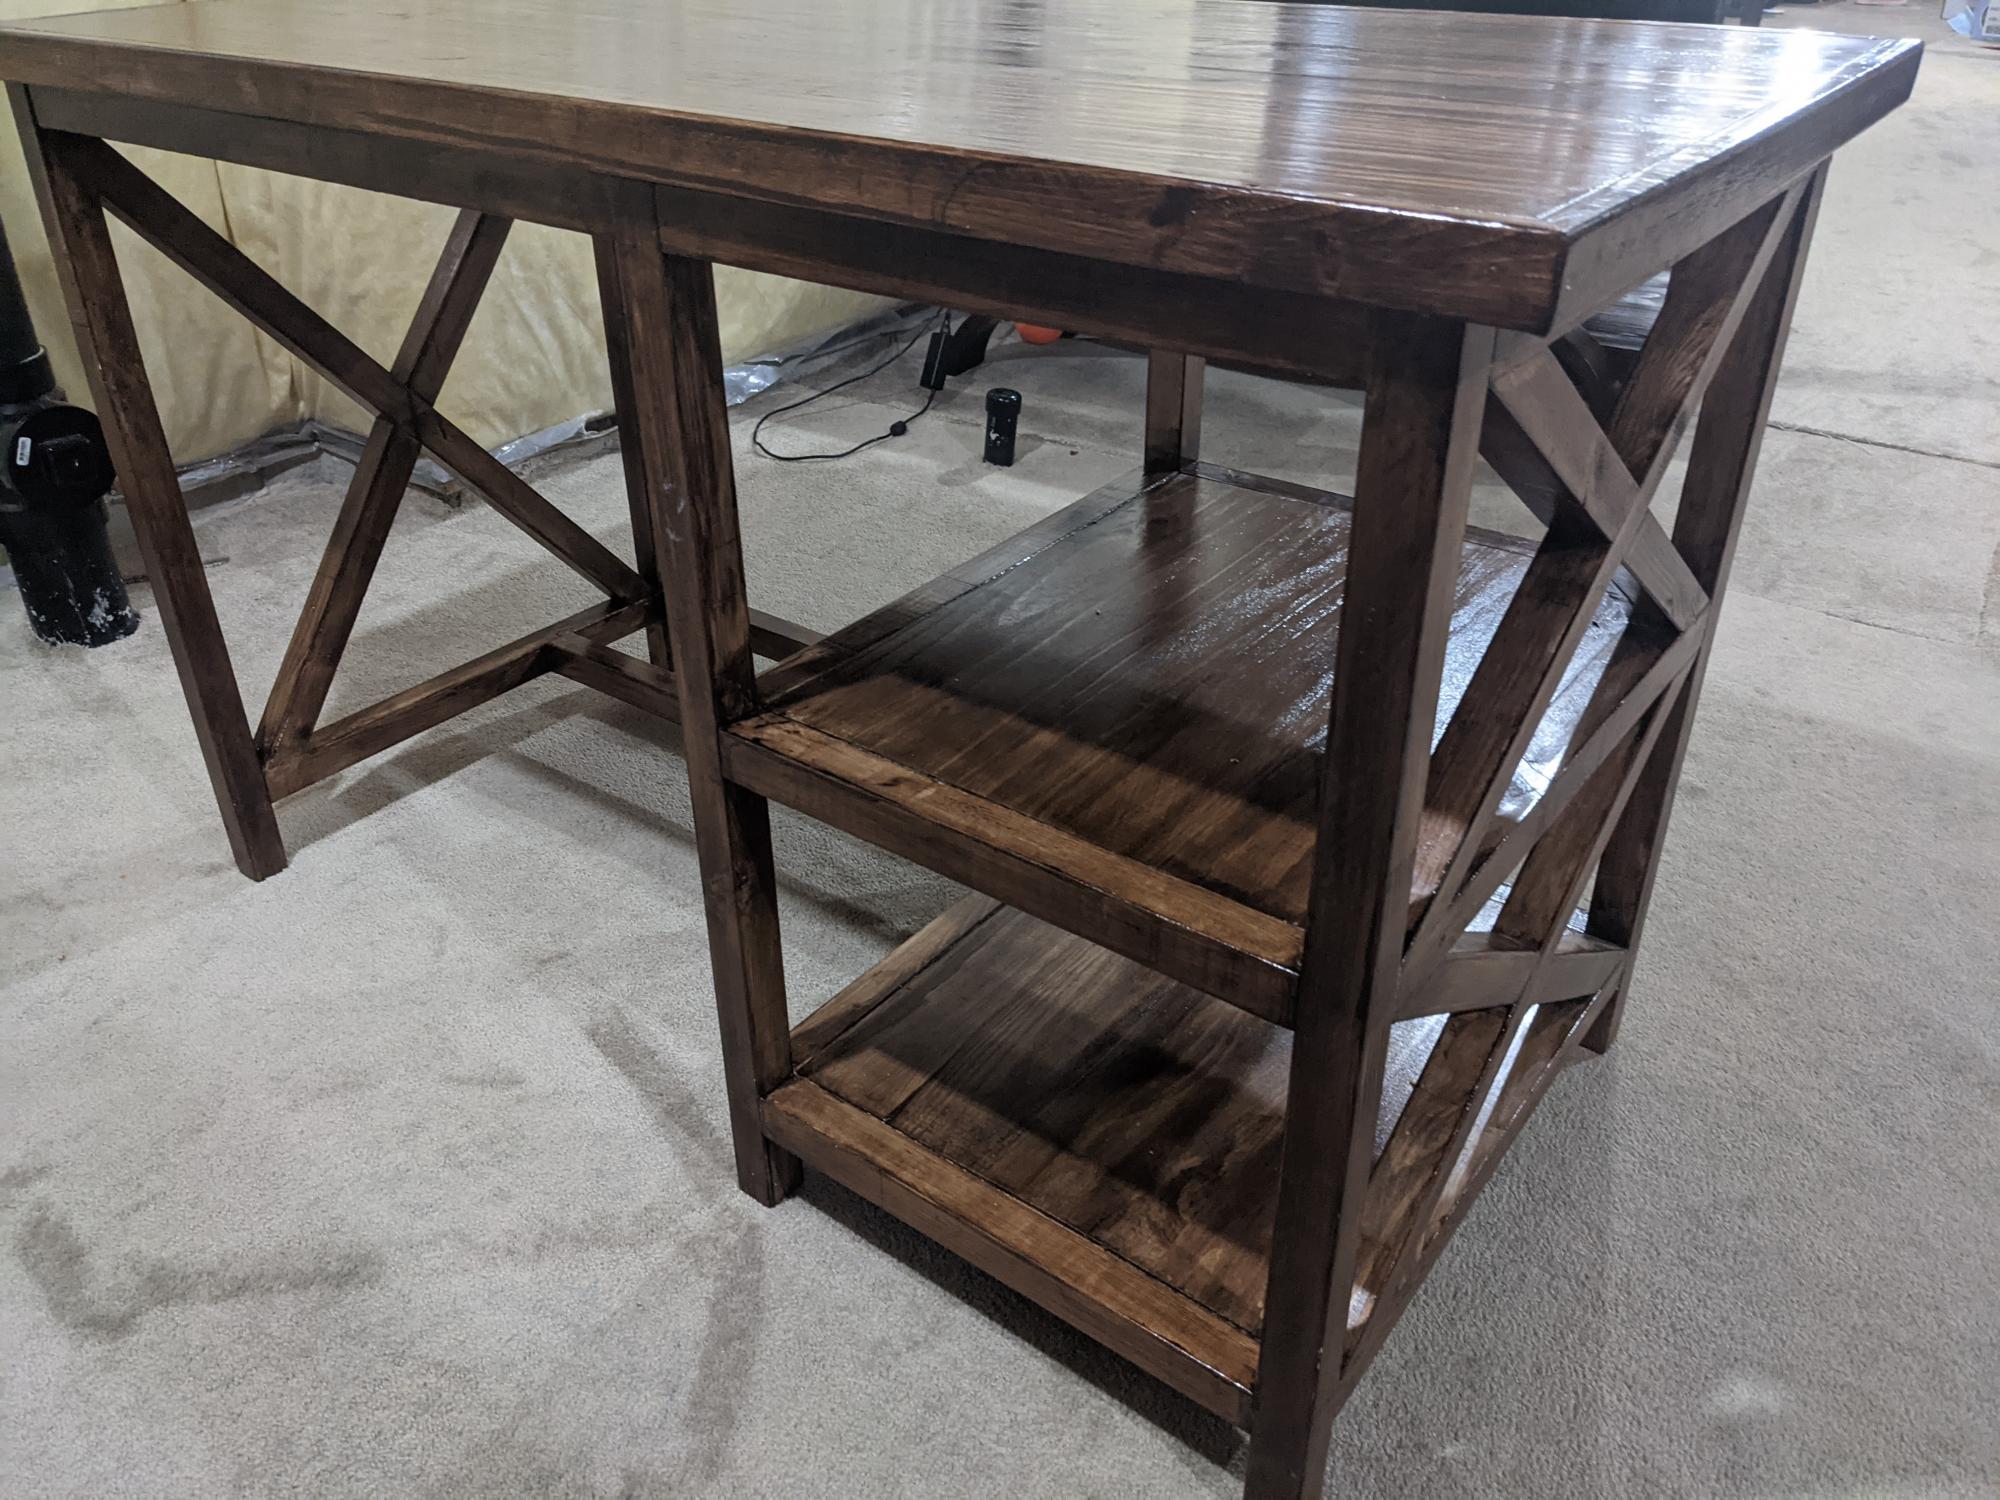
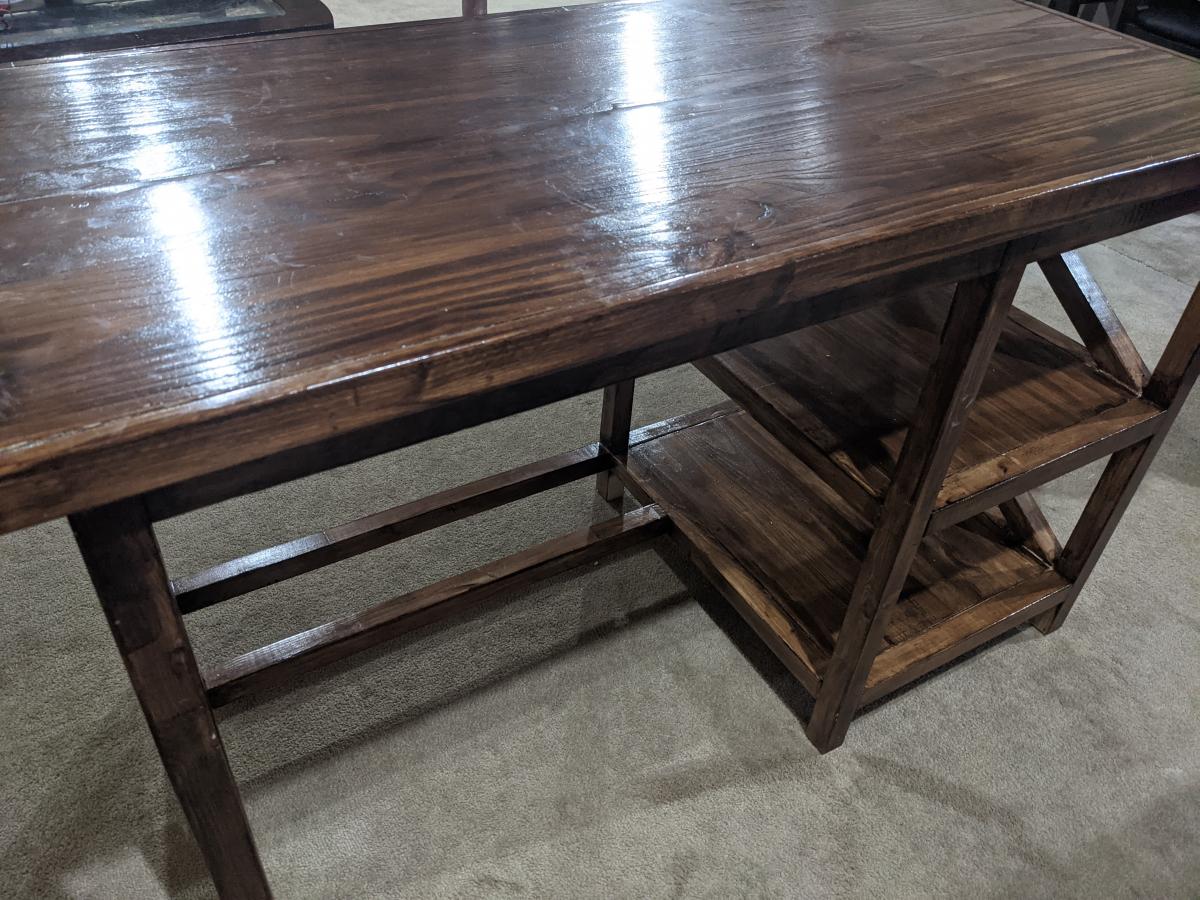
Made this farmhouse desk from the plans. It came out very well.
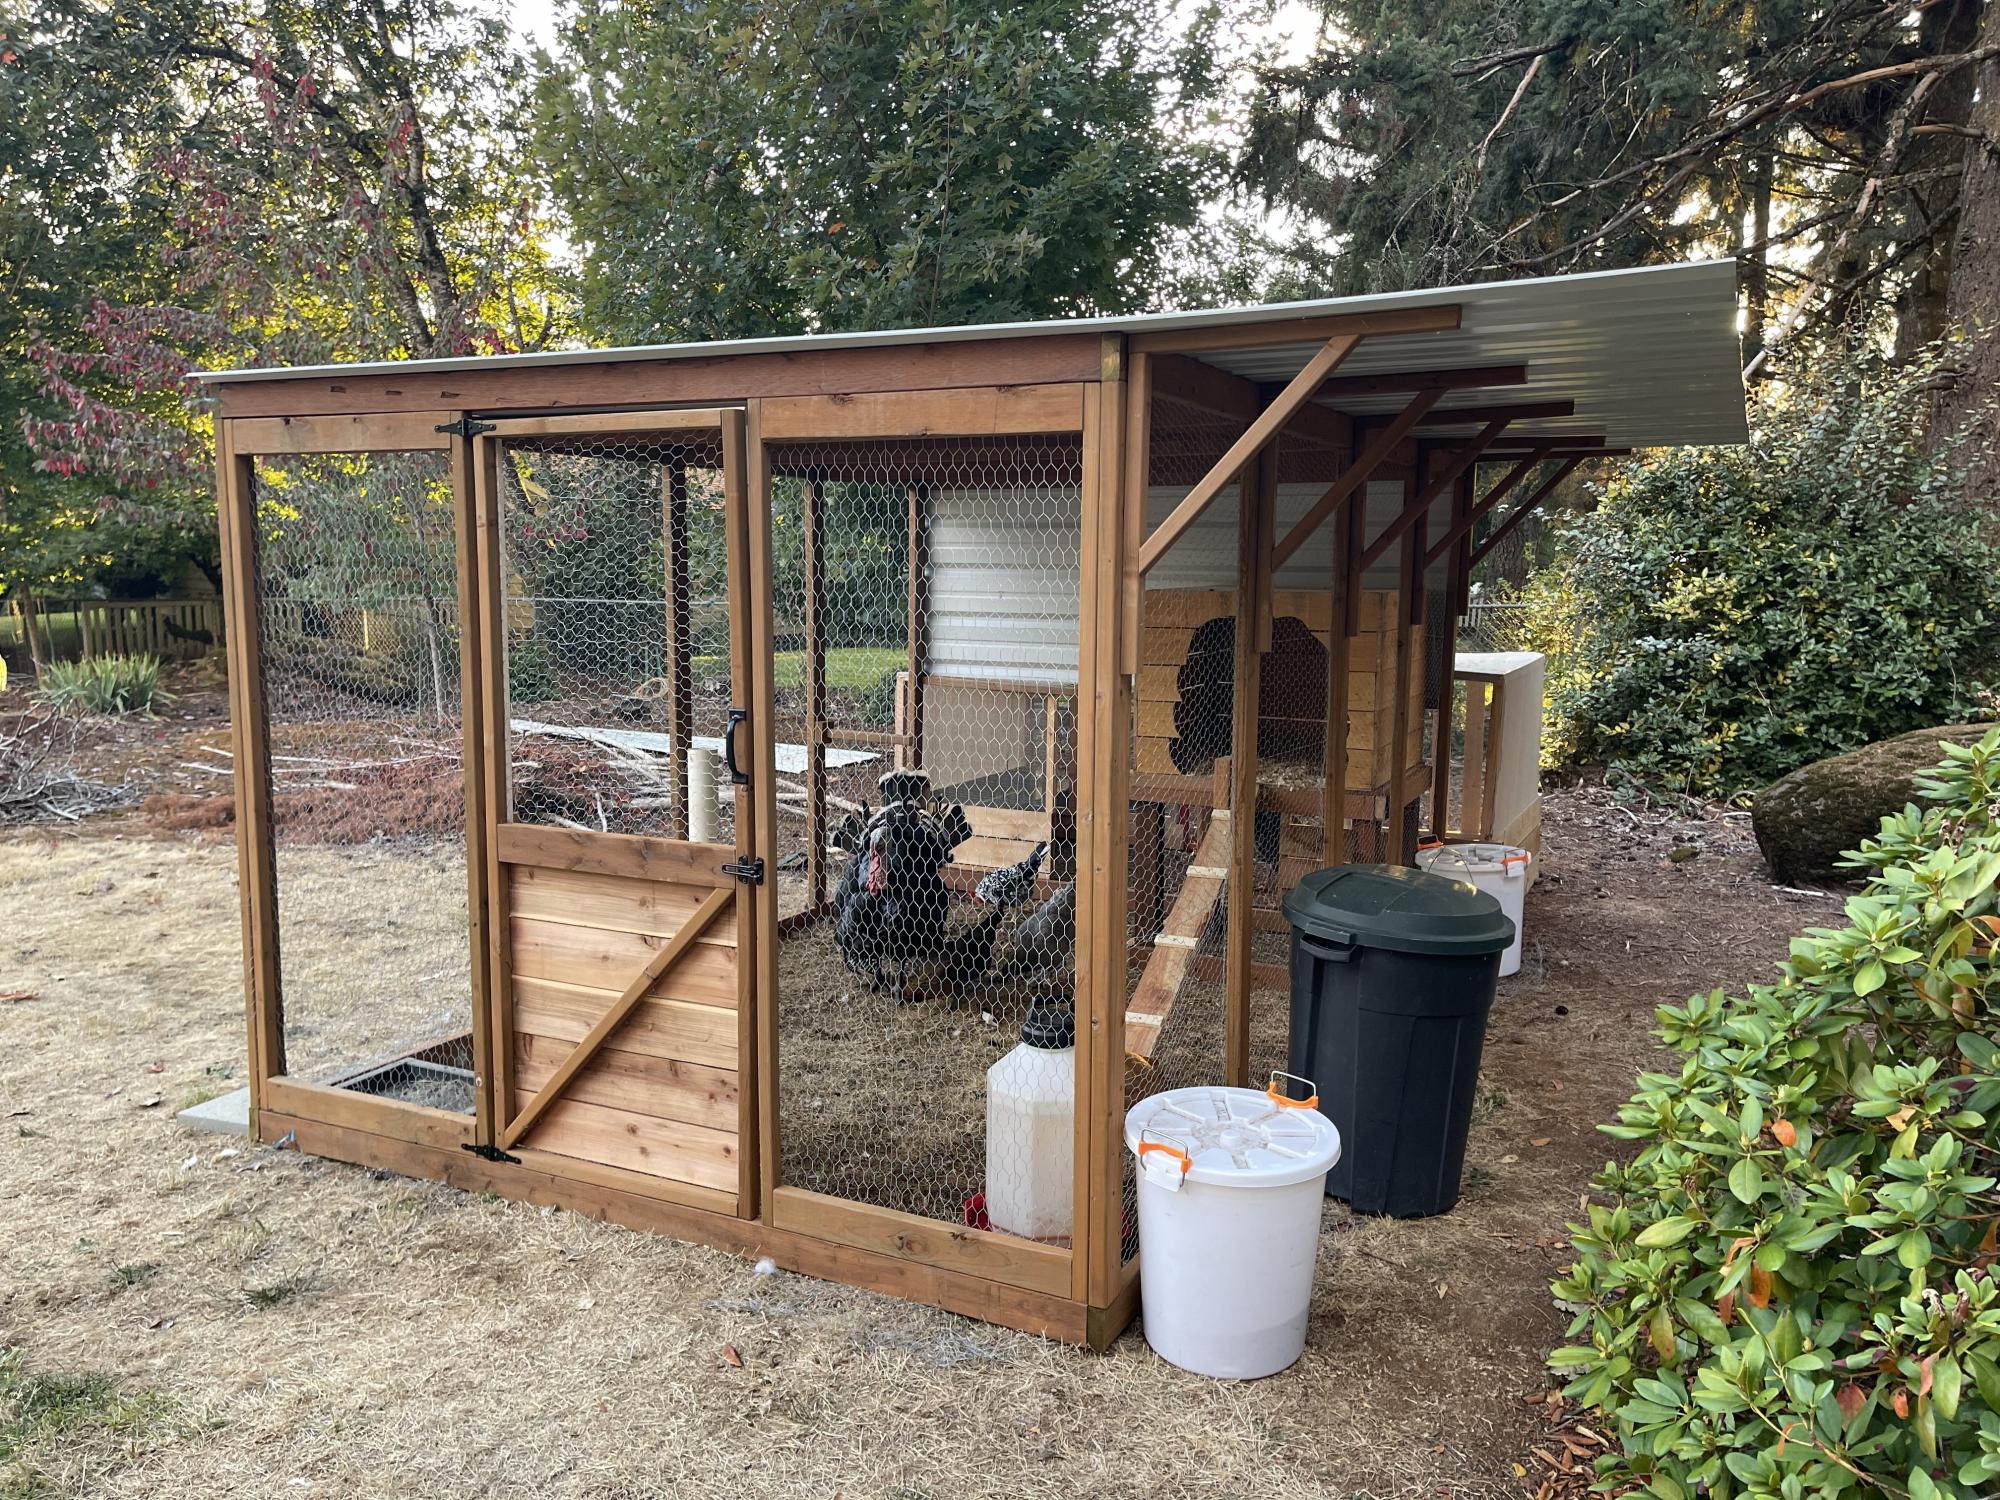
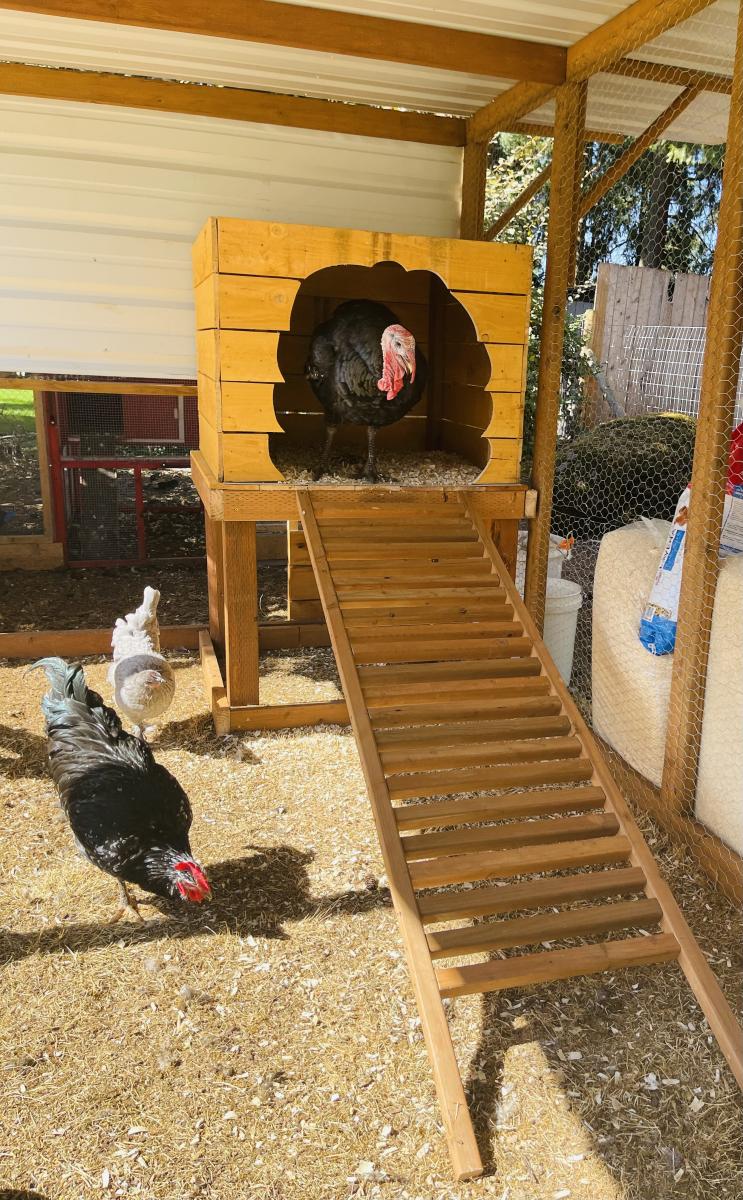
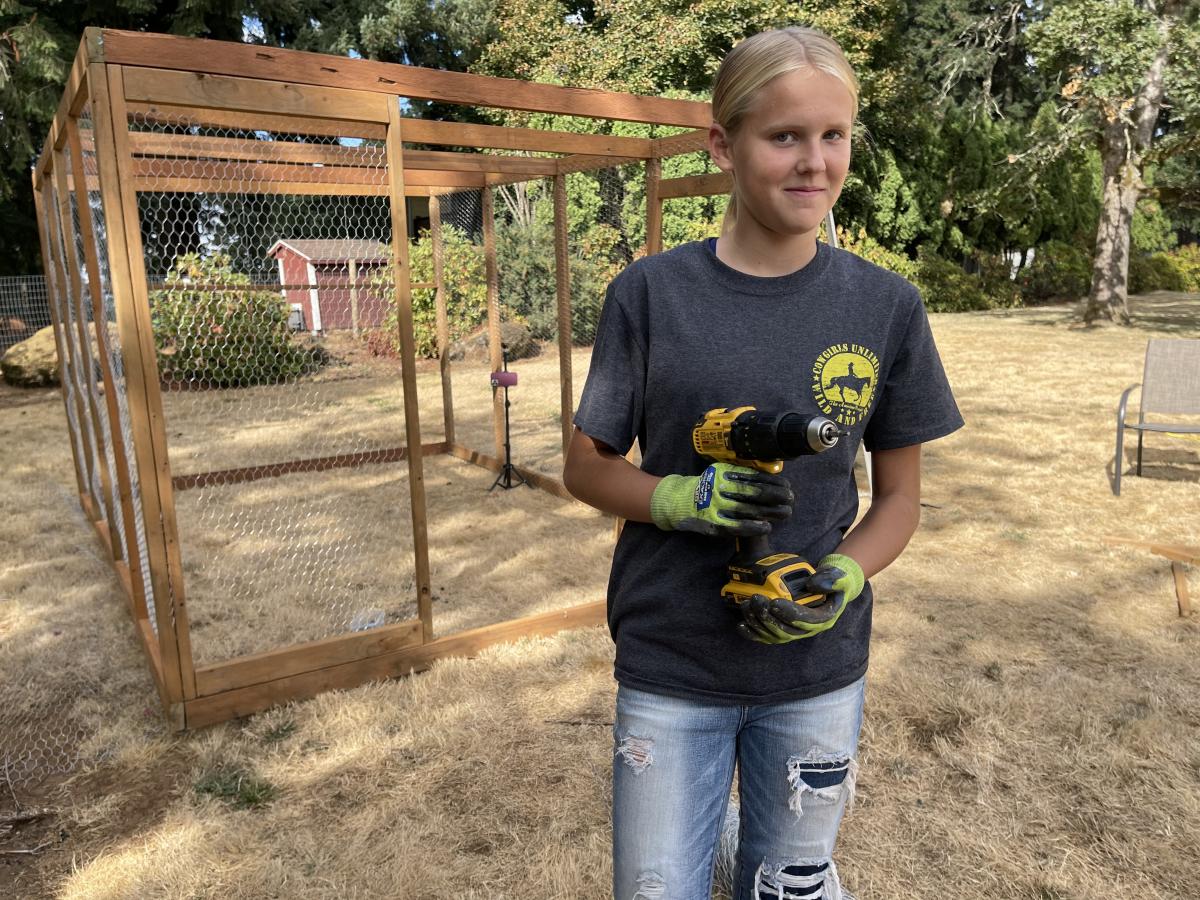
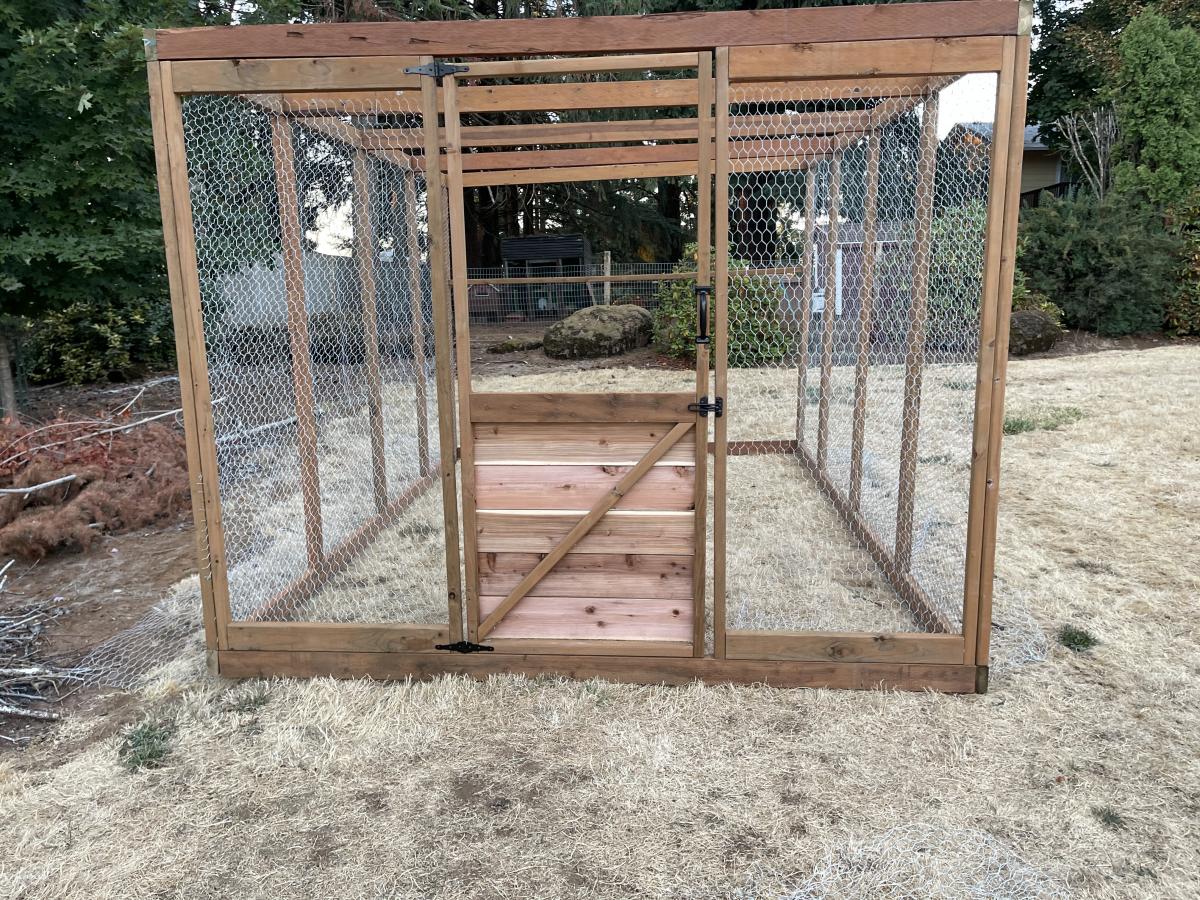
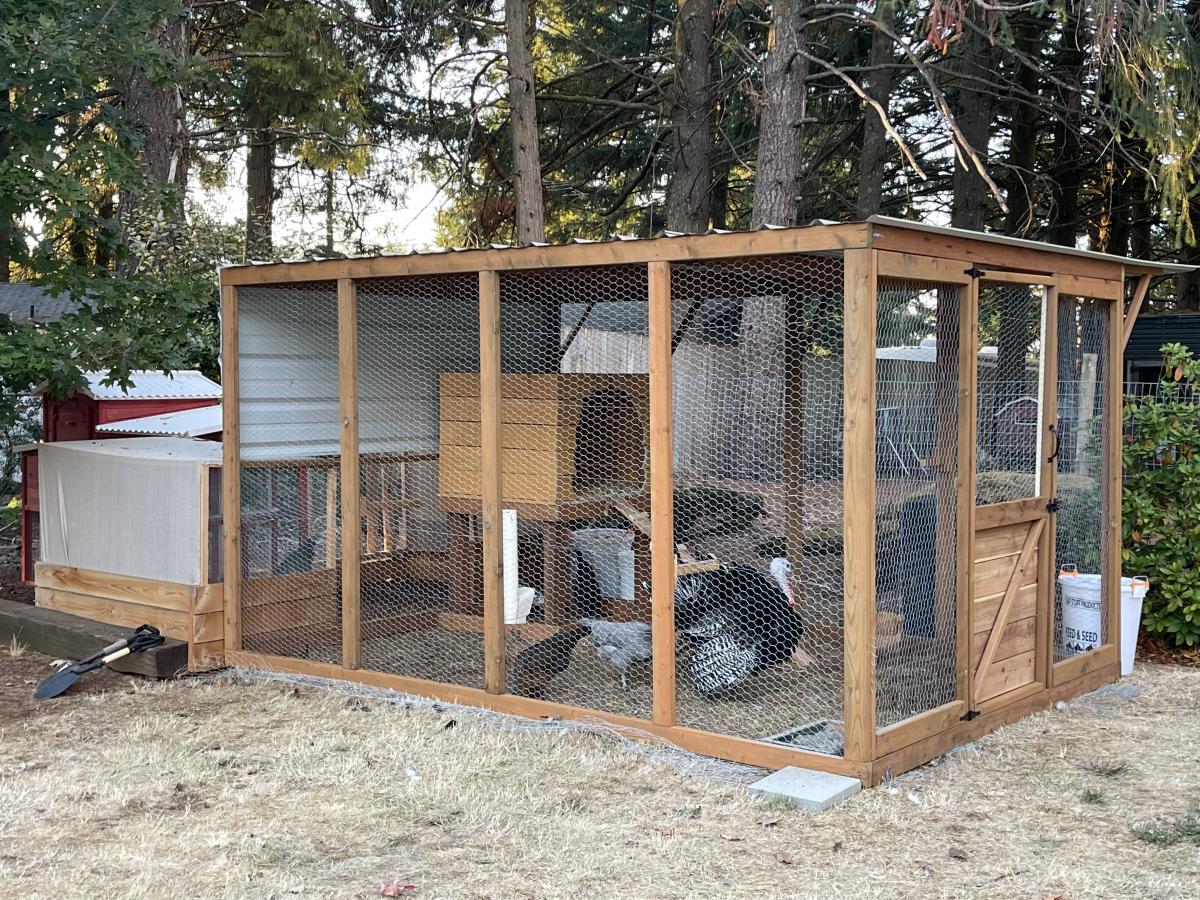
My daughter helped me build this enclosure. We used Ana's chicken run plan, but just made it taller so we could walk in easily. We added an overhang to store food and pellets under, for the supports we used Ana's easy shelves angle support plan, and finally we used the playhouse base plan for the base of turkeys house. All plans used are linked below. We ran the chicken wire out under the structure and still need to bring in some large rocks or pavers, but so far no issues with predators. Turkey was getting too big to fit in the smaller coop, so we decided to have fun with his house and used cedar fence pickets and some treated 2x4's, built a box and jig sawed the shape of a turkey. As you can see in the first photo the ladder for turkey wasn't big enough, all the other chickens were in his house, lol. So I beefed up the ladder and he happily can put himself up at night now:) Overall a super successful project, I wasn't sure what to do with the top and just at that point, the neighbor walked over and offered the metal, talk about a huge win and the perfect solution! We attached the run to the previous smaller structure and now they have so much more room and are laying like crazy:) Finally, I think this would make a great dog kennel as well...
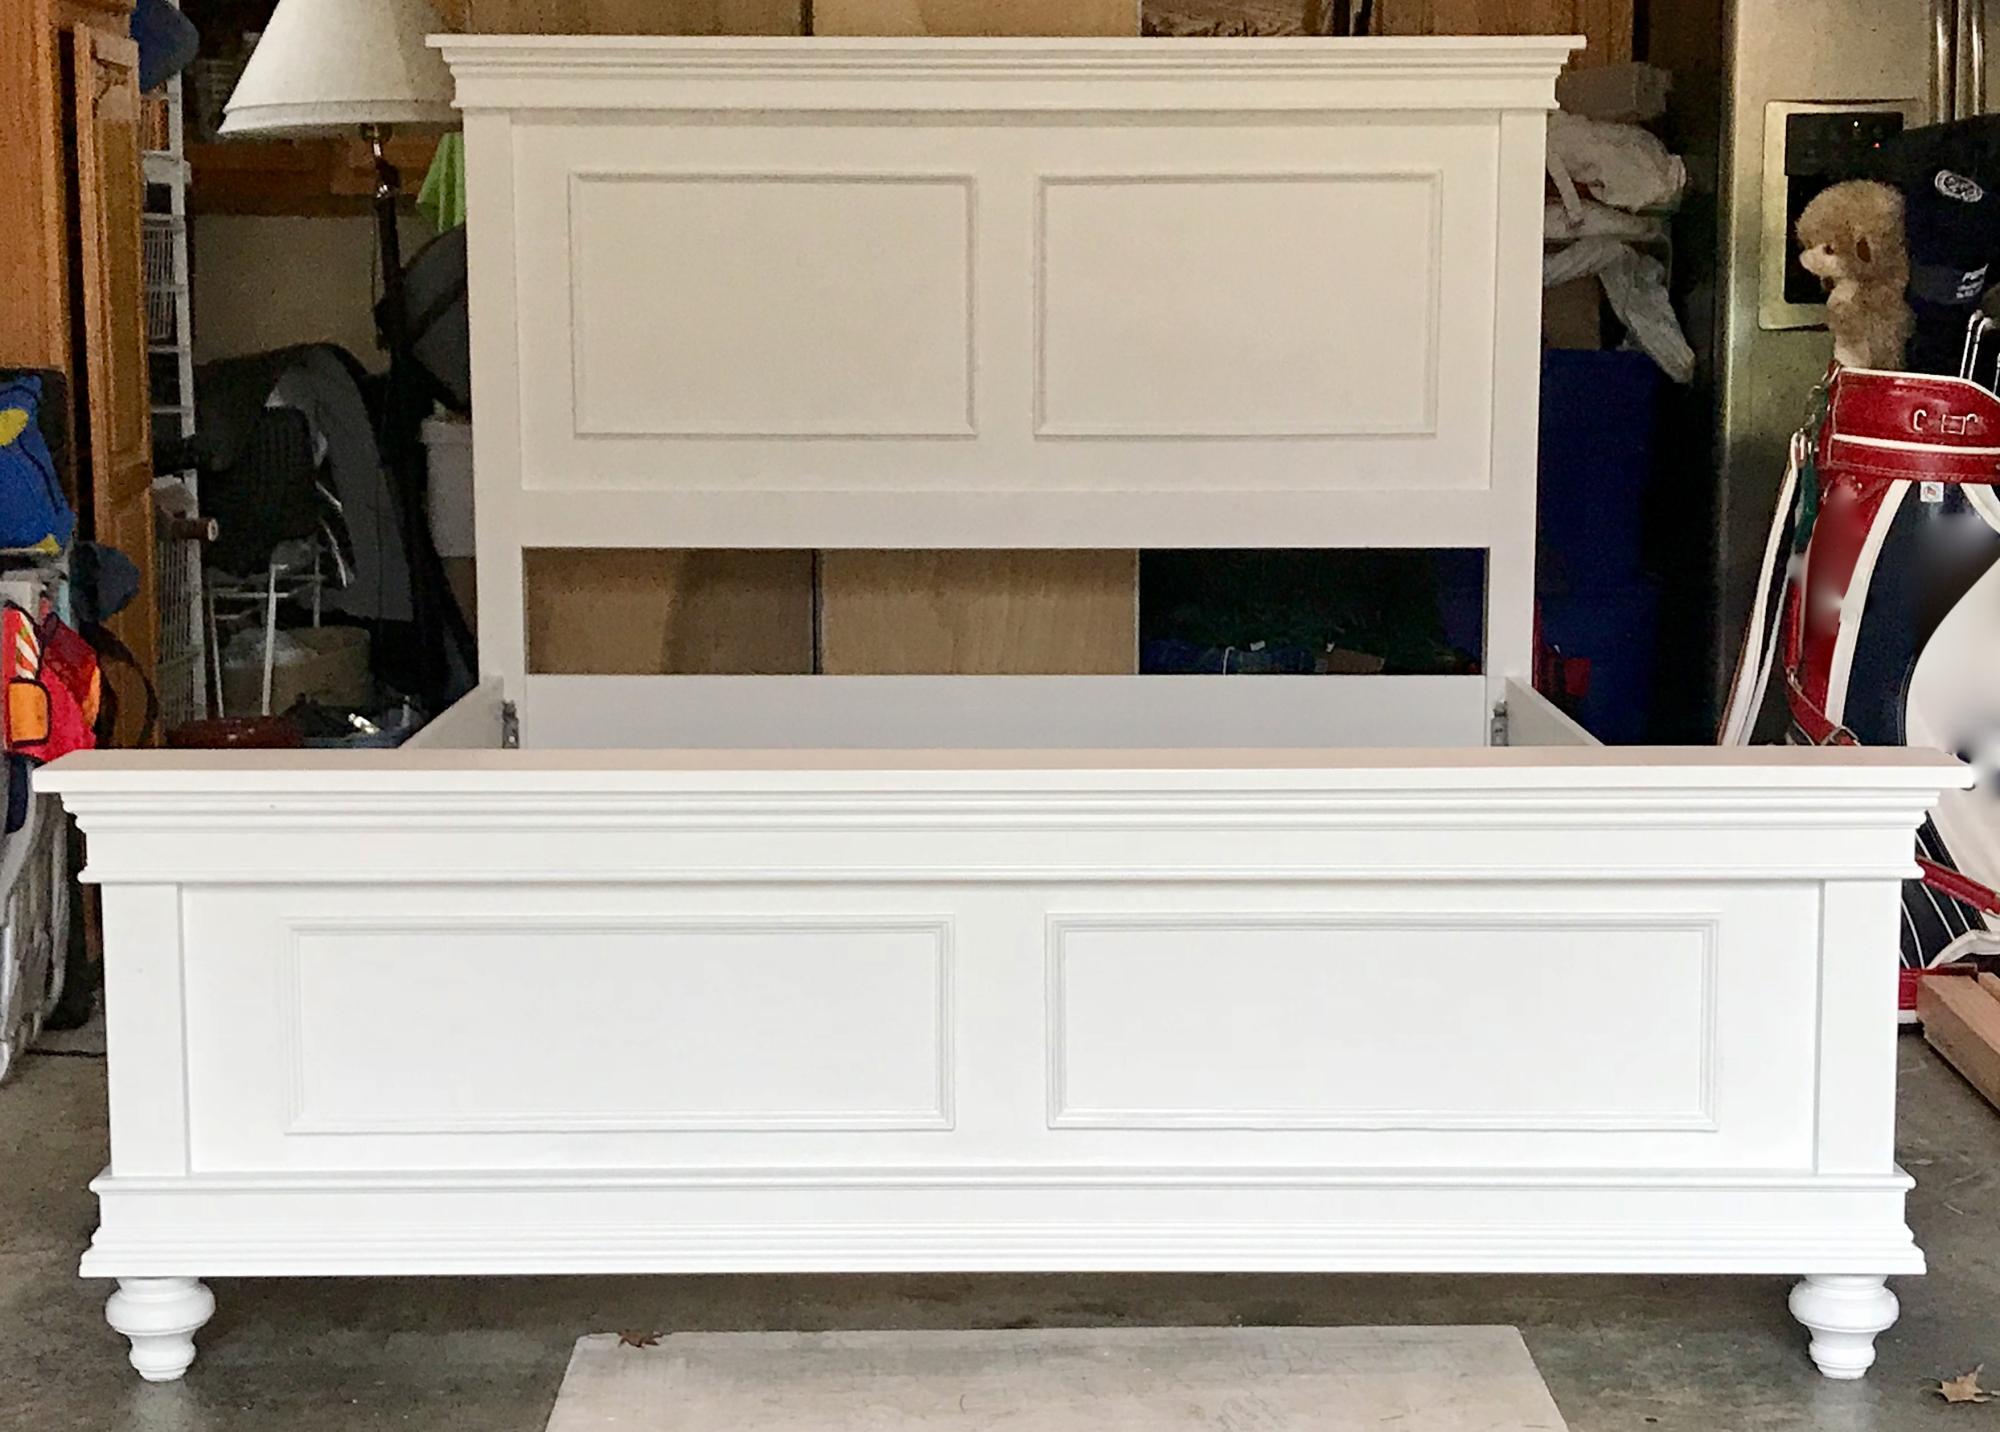
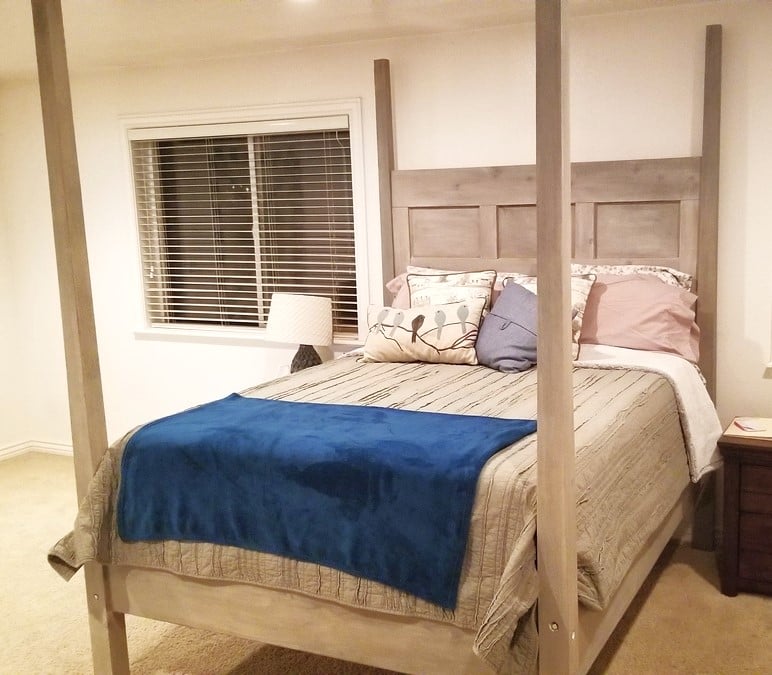
I saw the Ana White Farmhouse king bed and used it as inspiration. I made a few modifications and adjusted the measurements to fit a queen bed.
Thanks for the inspiration!
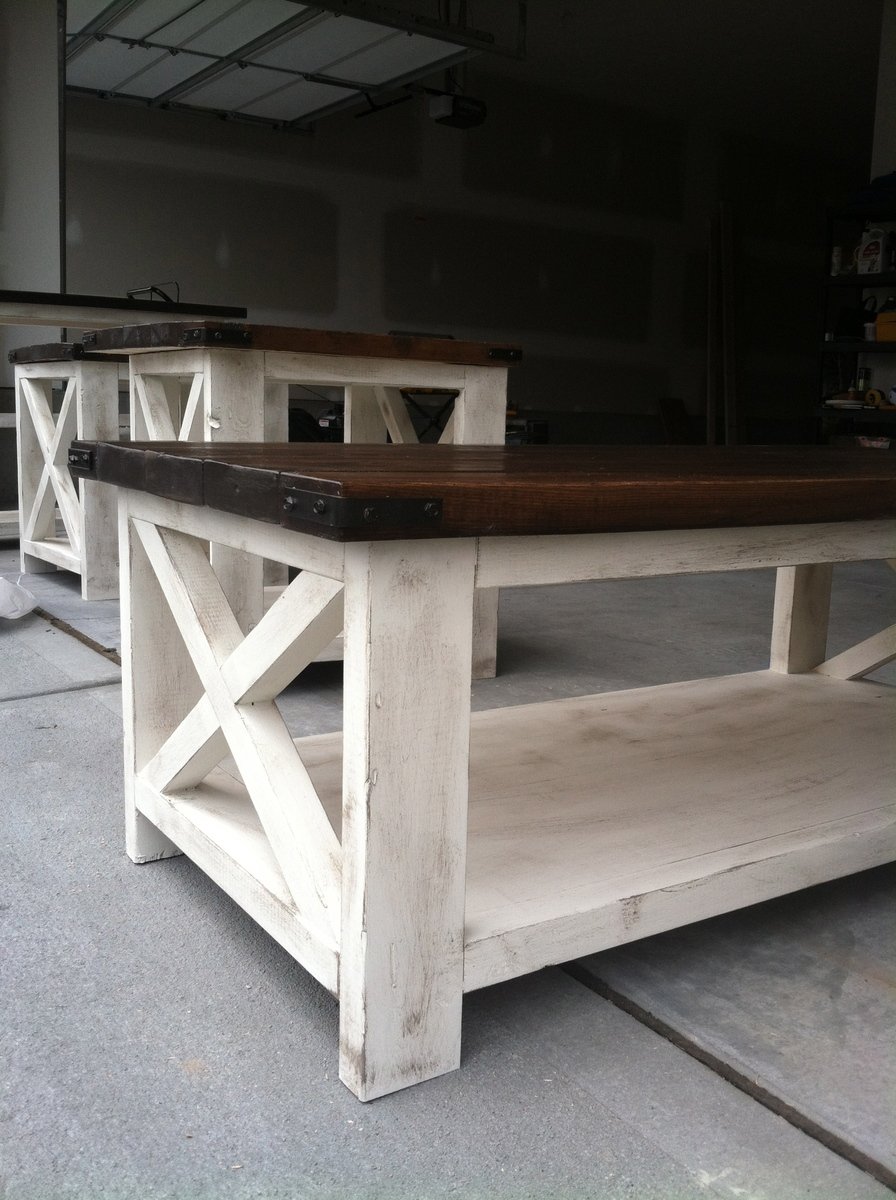
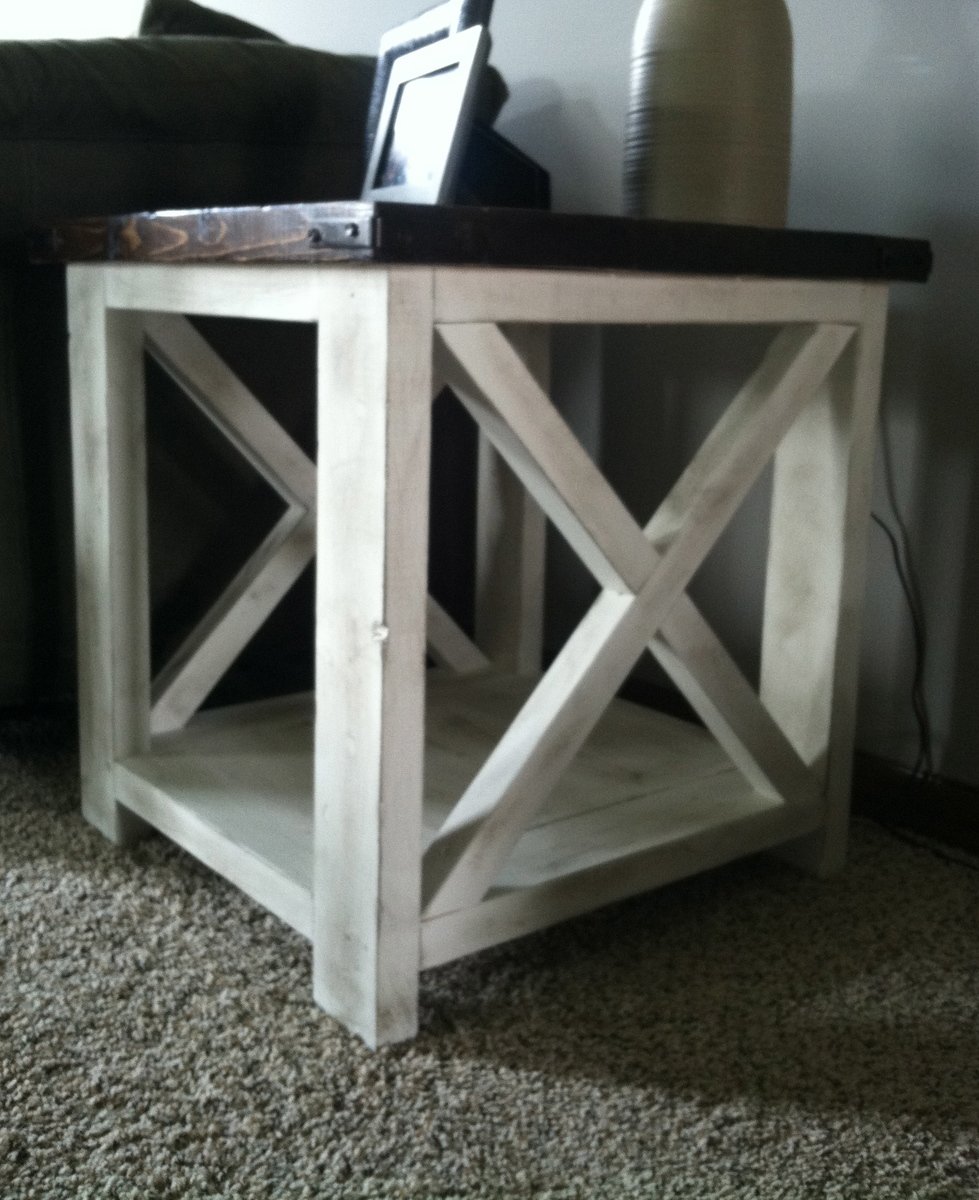
This was a weekend project with my husband, dad, and mom. My dad builds custom homes so we were able to knock all 4 projects out in approximately 10 hours with his expertise. We adjusted the measurements for each of the tables according to our space and couch height. Every piece of the Rustic X collection is gorgeous and I couldn't be happier as to how they turned out.

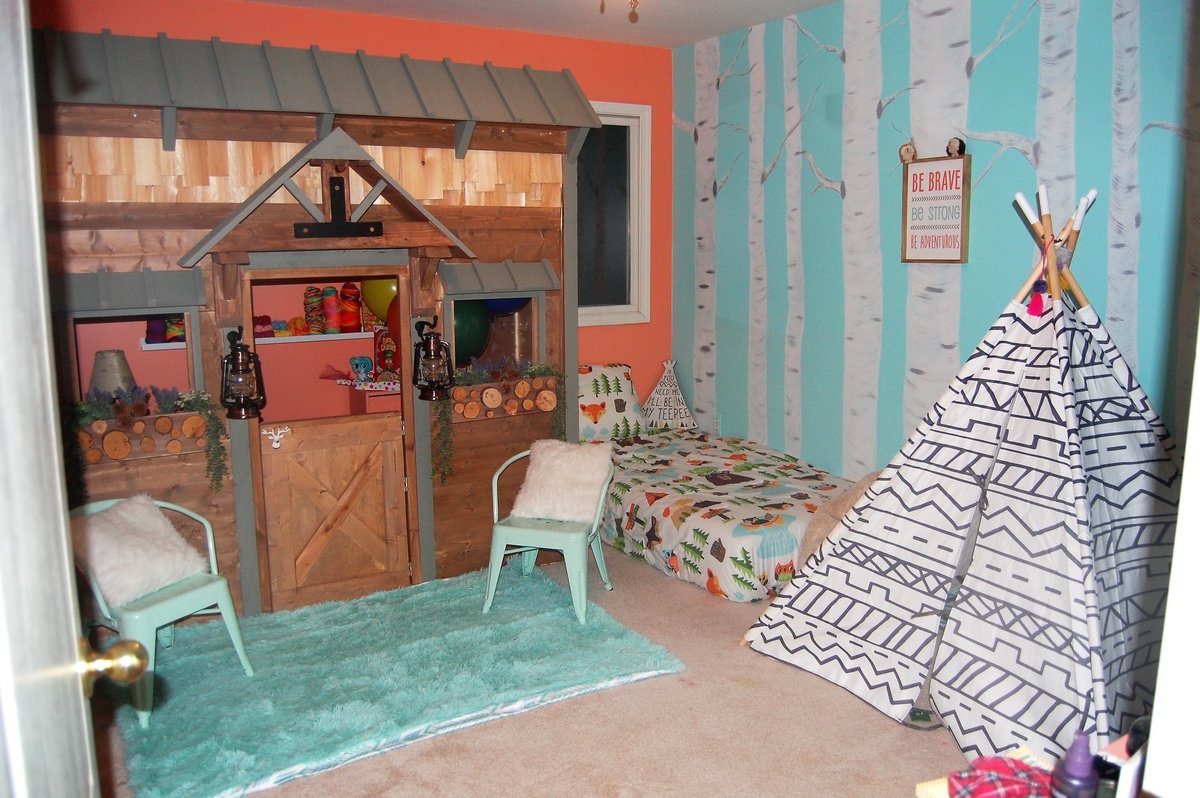
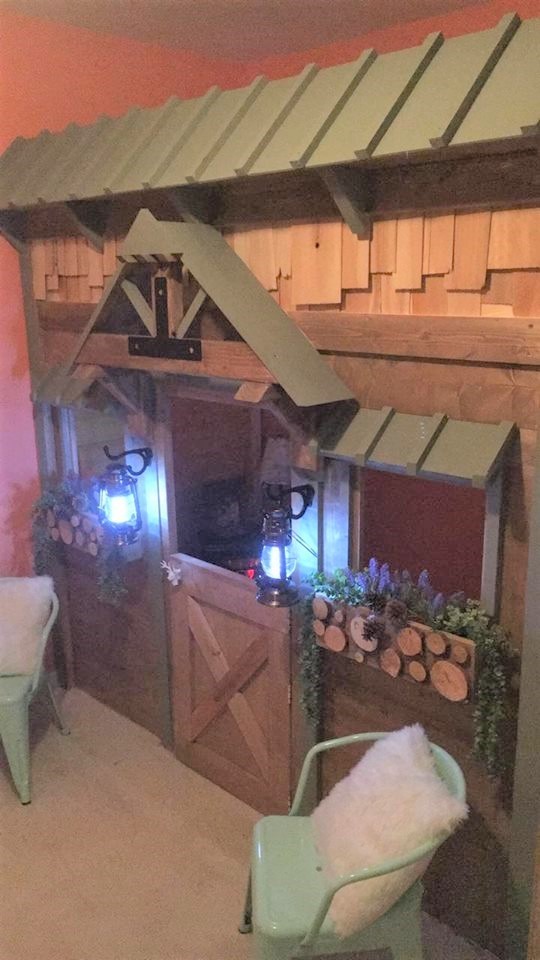
So thankful for these plans! My daughter requested a cabin loft bed that could double as a "crafting nest". I only had to make a few architectural modifications, but I built this by myself in five days, so I would say it's a very DIY-friendly build! My daughter loves it and it adds functional and aesthetic appeal to the room!
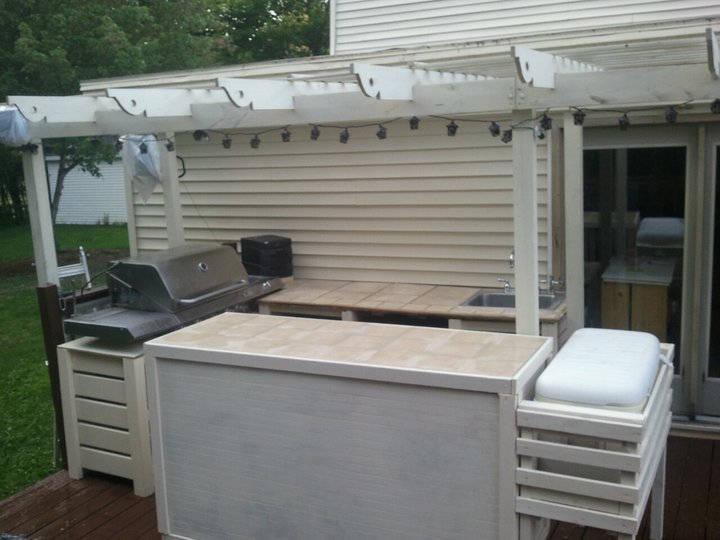
This is the new outdoor kitchen I had been working on - finally finished! It was inspired from the kitchen island plans - I like the slats, and thought they would work well outdoors for air flow and water drainage. I worked around the existing grill, and it is all modular, so it can be moved if necessary (such as painting or treating the deck). It includes cupboards underneath the bar, dorm fridge and sink with storage under the countertop. The cooler stand raises the cooler up to 'user' level (no more bending!). Because I'm an avid recycler - most of the products used were recycled items. All told (not including the already purchased grill) - this kitchen cost me a total of approximately $95.00 (I had a lot of the materials already). This project took me approximately 5 weeks working on it part-time after hours. I built one cabinet at a time, then the countertops.
Wed, 07/06/2011 - 10:12
I would love to see more pictures of of your bbq kitchen. This is just what we need. Thank you for sharing.

Wed, 07/06/2011 - 17:29
This looks really awesome Colleen! I was thinking about putting a sink like that on my deck. What kind of finish did you use for the countertops? Would you please post more pictures of it? Great job!
Thu, 07/07/2011 - 04:42
Thanks Kmatt & Viola...I'll try and get some more pictures up asap. For the bar top and countertop I used tile, and treated the grout lines many times with a waterproofer. Both tile and grout were purchased at our local ReStore - a total of 20 cents a piece for the tile, grout was $3. Not bad for a countertop!
Thu, 07/14/2011 - 16:57
What kind of top did you put under the tile? Plywood, cement board?
Wed, 07/20/2011 - 11:48
Wow, this is really amazing! This is just what we need for our new deck - something modular and not too expensive to build. Do you have any more pics? I'd love to see what the area in front of the grill looks like. Very, very nice work.
Mon, 03/05/2012 - 10:54
Hi, I was wondering if you have the plans for the kitchen around the bbq grill, i would love to make this for my husband for his birthday.
Mon, 04/09/2012 - 18:38
Hi, this is great. Is there anyway you can post pics of the front of the bar where the sink is and especially the bbq, I want to build around my existing bbq grill but dont know how. thank you so much.
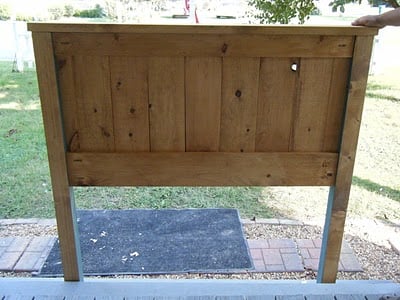
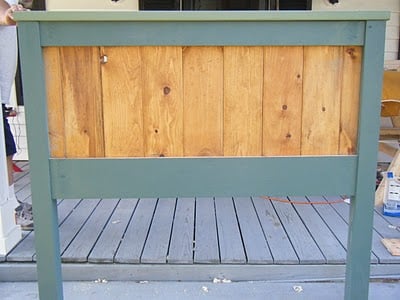
A little taller, and a different finish, but built from scratch inspired by your design. Thanks so much.
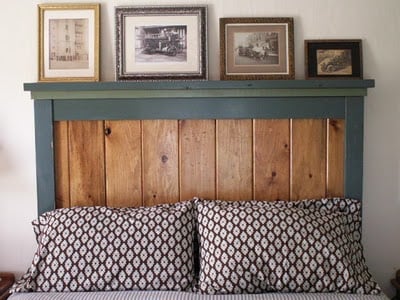
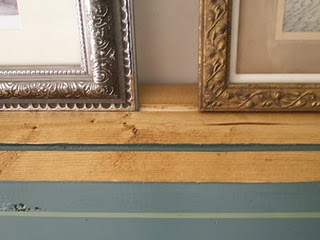
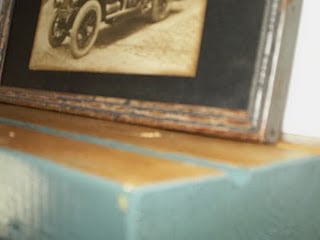
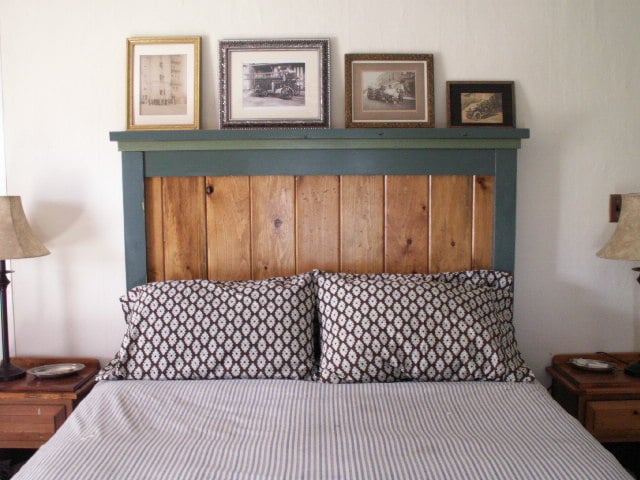
We eventually will build the rest of the bed, but for now we needed a headboard. Hubby helped me with this one, since it was large, I loved having an extra pair of hands. This headboard is reversible, so if our tastes change, we can unbolt it and flip it over to the side that is just stained and polyurethane. Pretty neat! This headboard is extra tall, because we have our bed frame up on risers, and we wanted a picture shelf but didn't want it interfering when we sat up in bed to read or what-not. Hubby used the router to make grooves in the top before we attached it, so our pictures wouldn't be crashing down on our head! Our metal bed frame comes just shy of the outer edge of the legs of the headboard, so when we build the rest of the bed, the side rails will meet the edge exactly. We placed the headboard behind the bed frame to mark where to drill the bolt holes and attached the headboard to the frame with 4 inch long, quarter inch wide bolts with washers and nuts. Two on each side.
Sat, 10/22/2011 - 20:35
and the reversible idea is great.
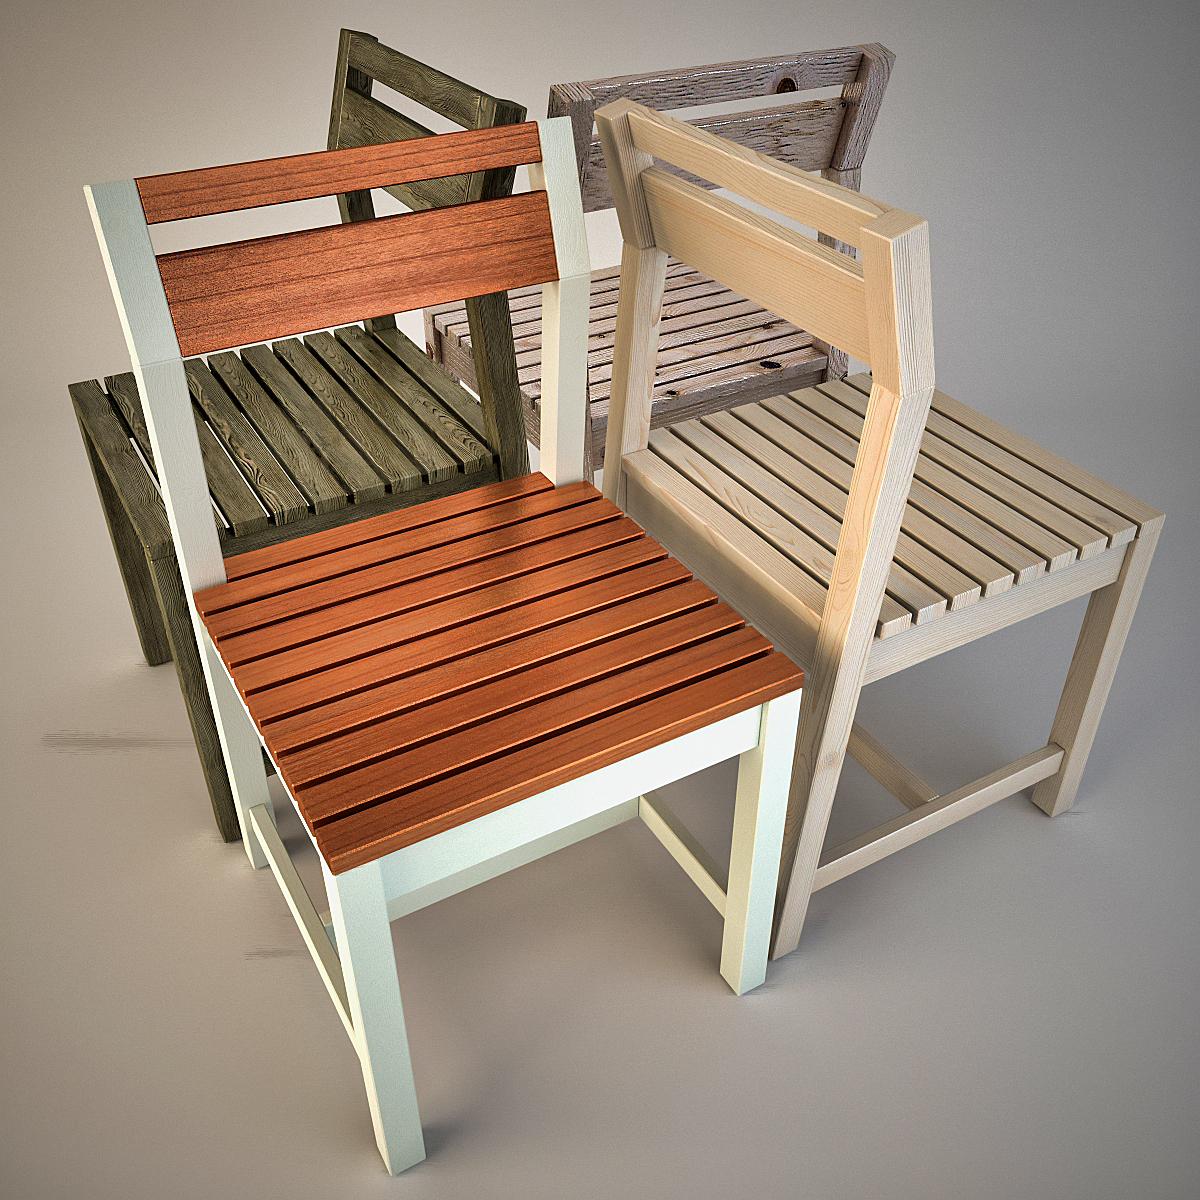
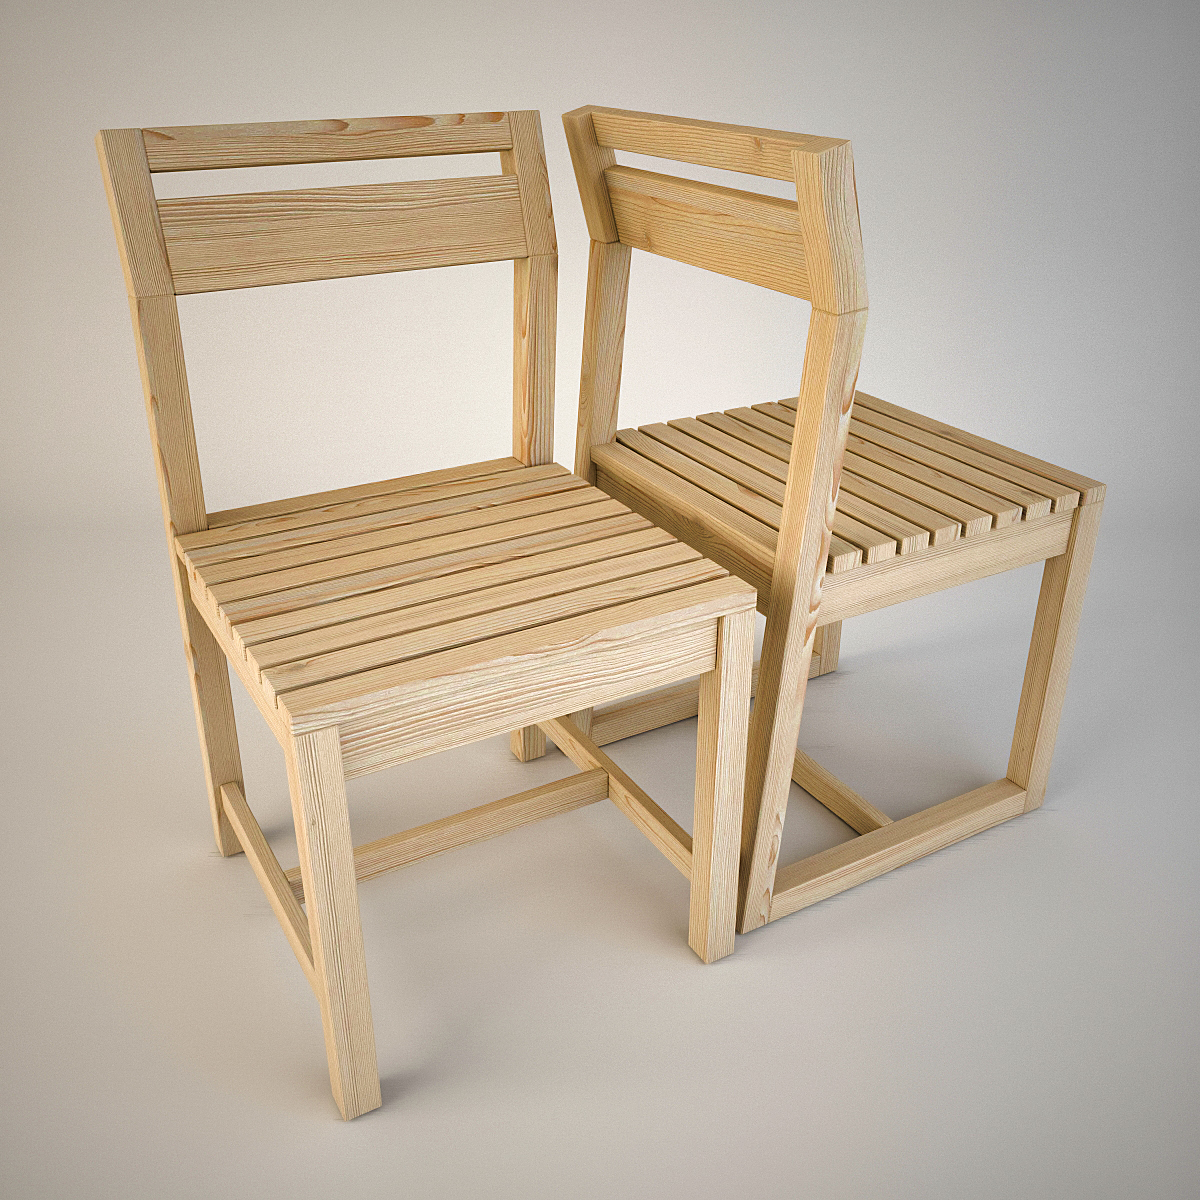
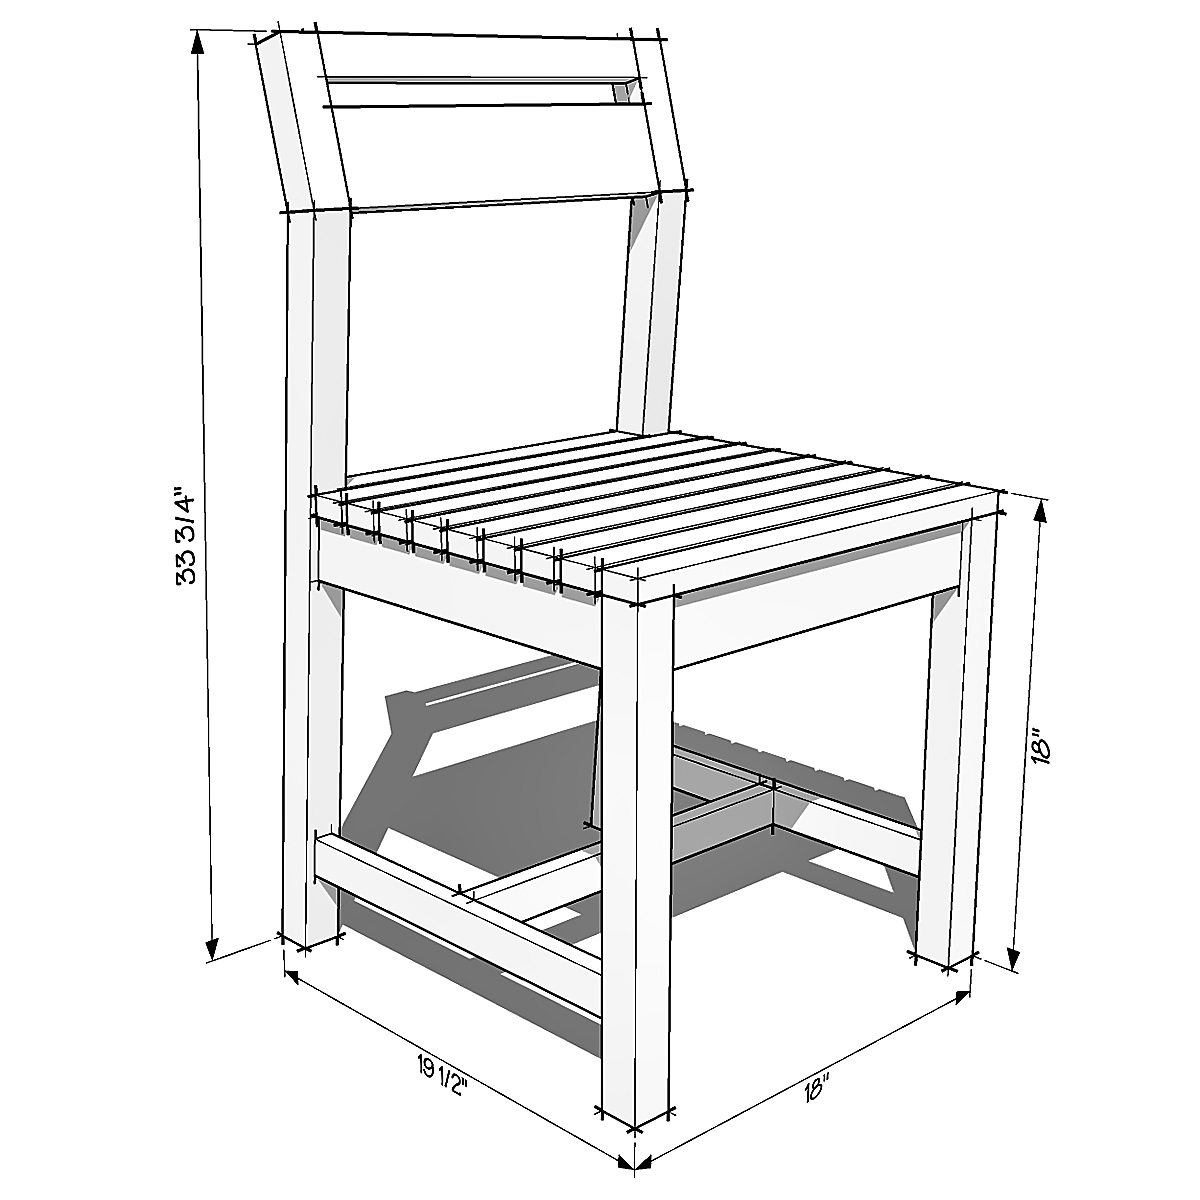
Hello Ana, I decided to modernize your project a little ...
This is 3DS MAX ... ;)
Thank you for your work ...
Regards, Serge...
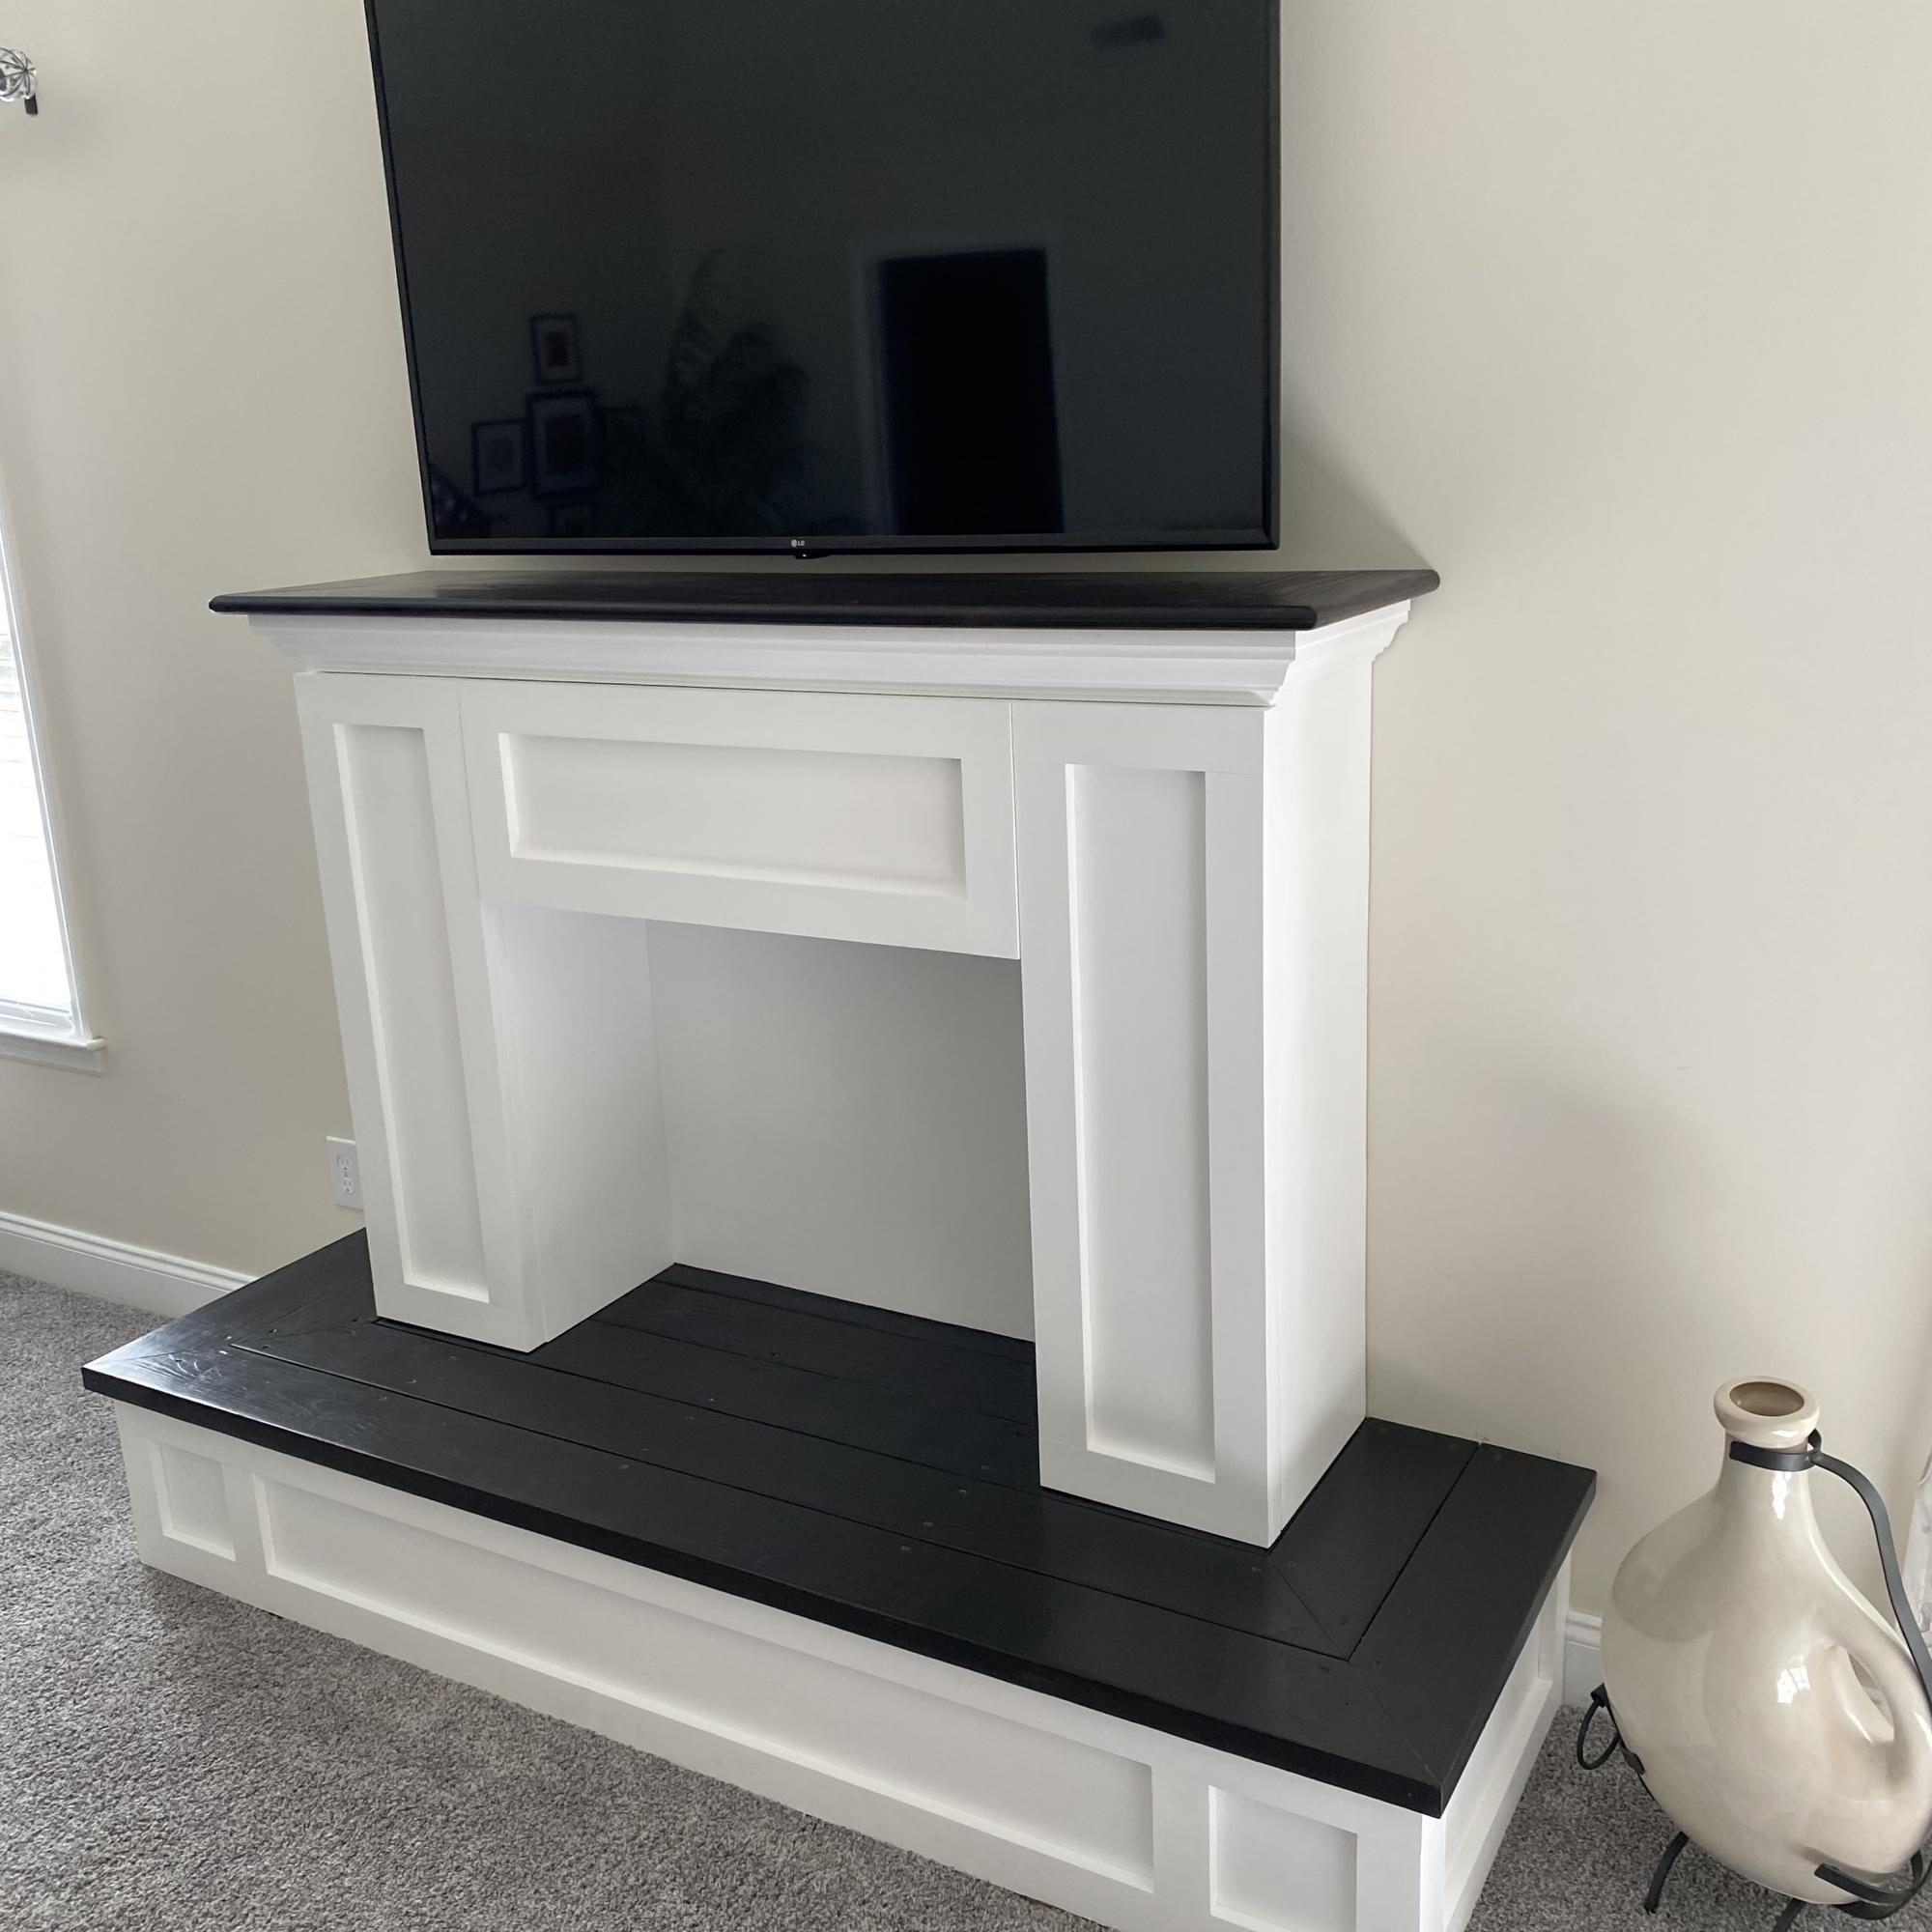
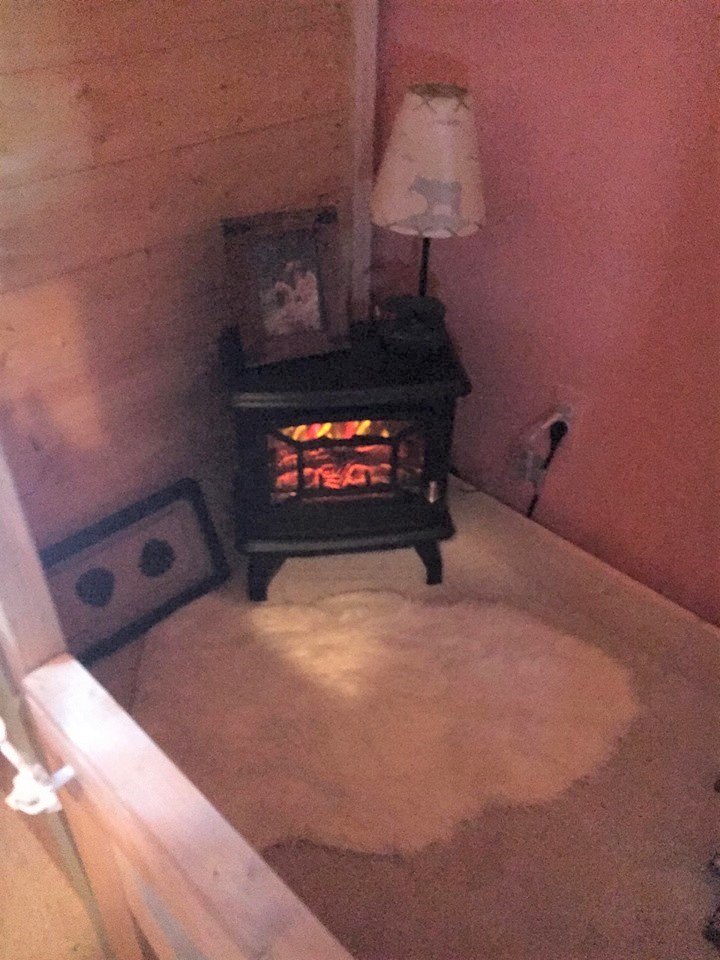
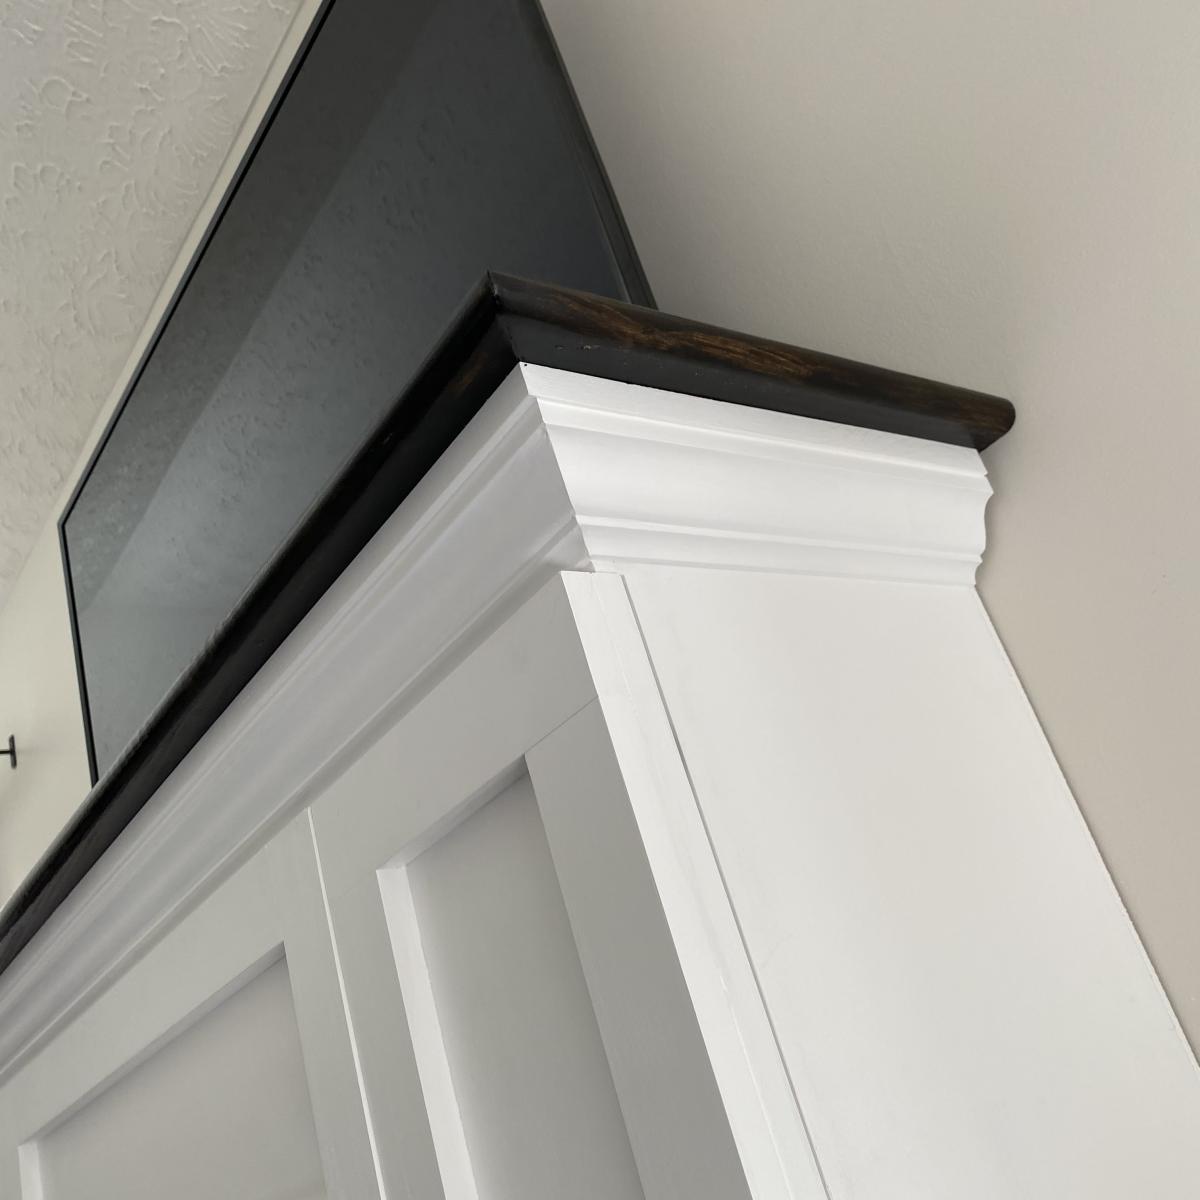
I built the faux fireplace from your plans and wanted to share it with you. Thank you and God bless you. - Joe
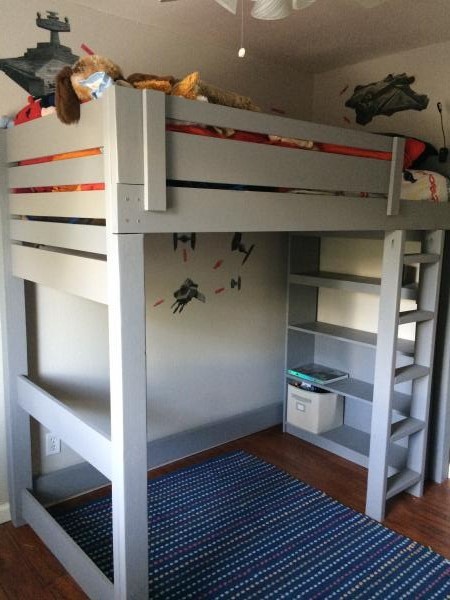
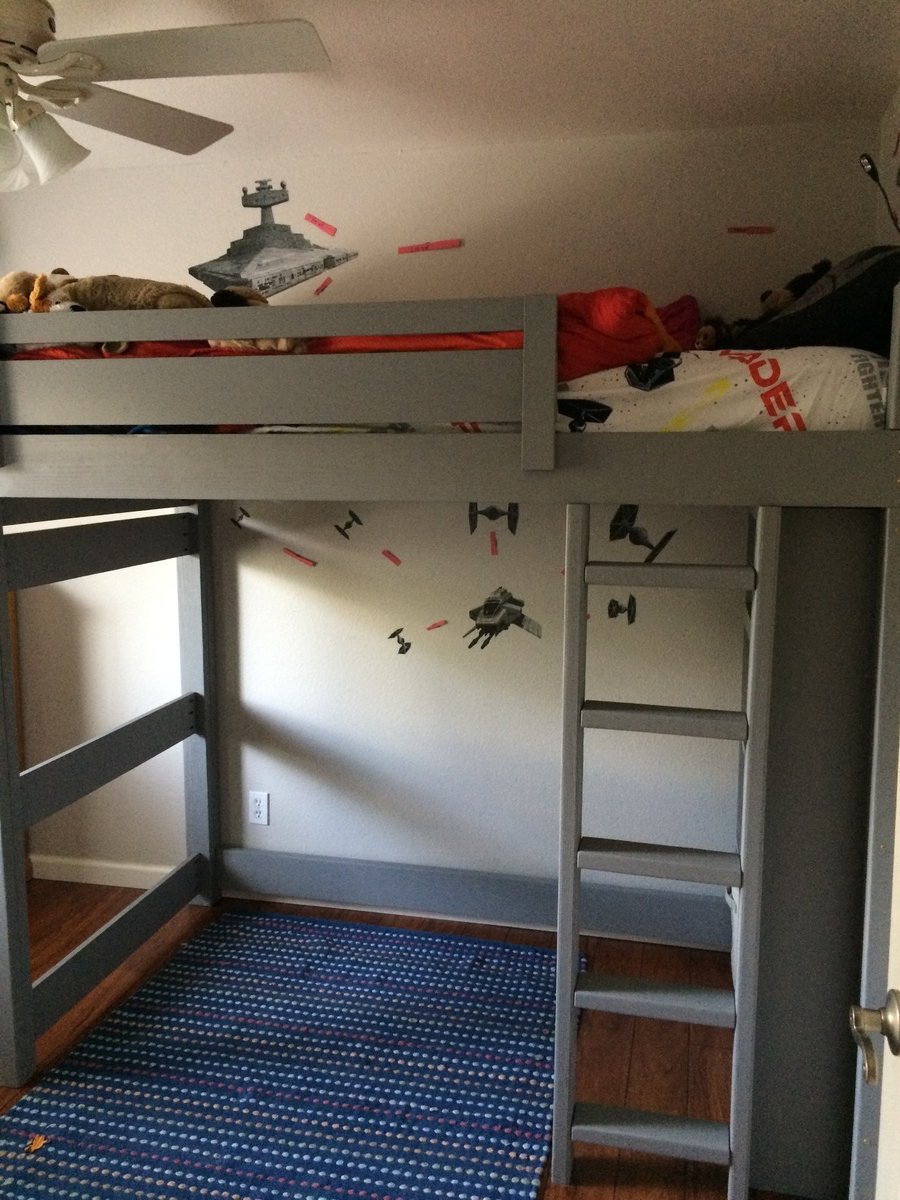
This is a mix the "Side-Street bunkbed" plan and the "How to Build a Loft Bed." I used "Spax" 3 inch wood screws to attach the side rails instead of bolts used in Side Street plan. I used KregJig pocket holes for everything else.
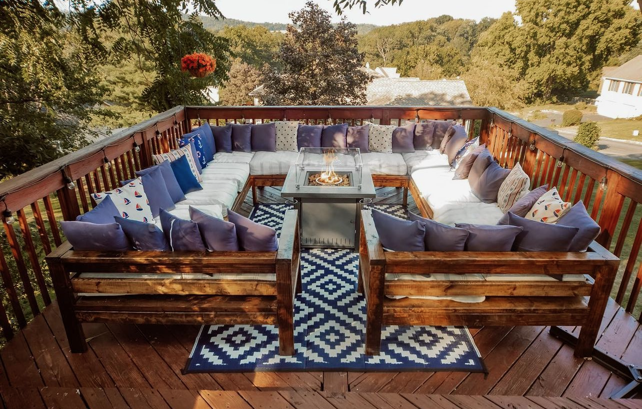
Outdoor Sectional

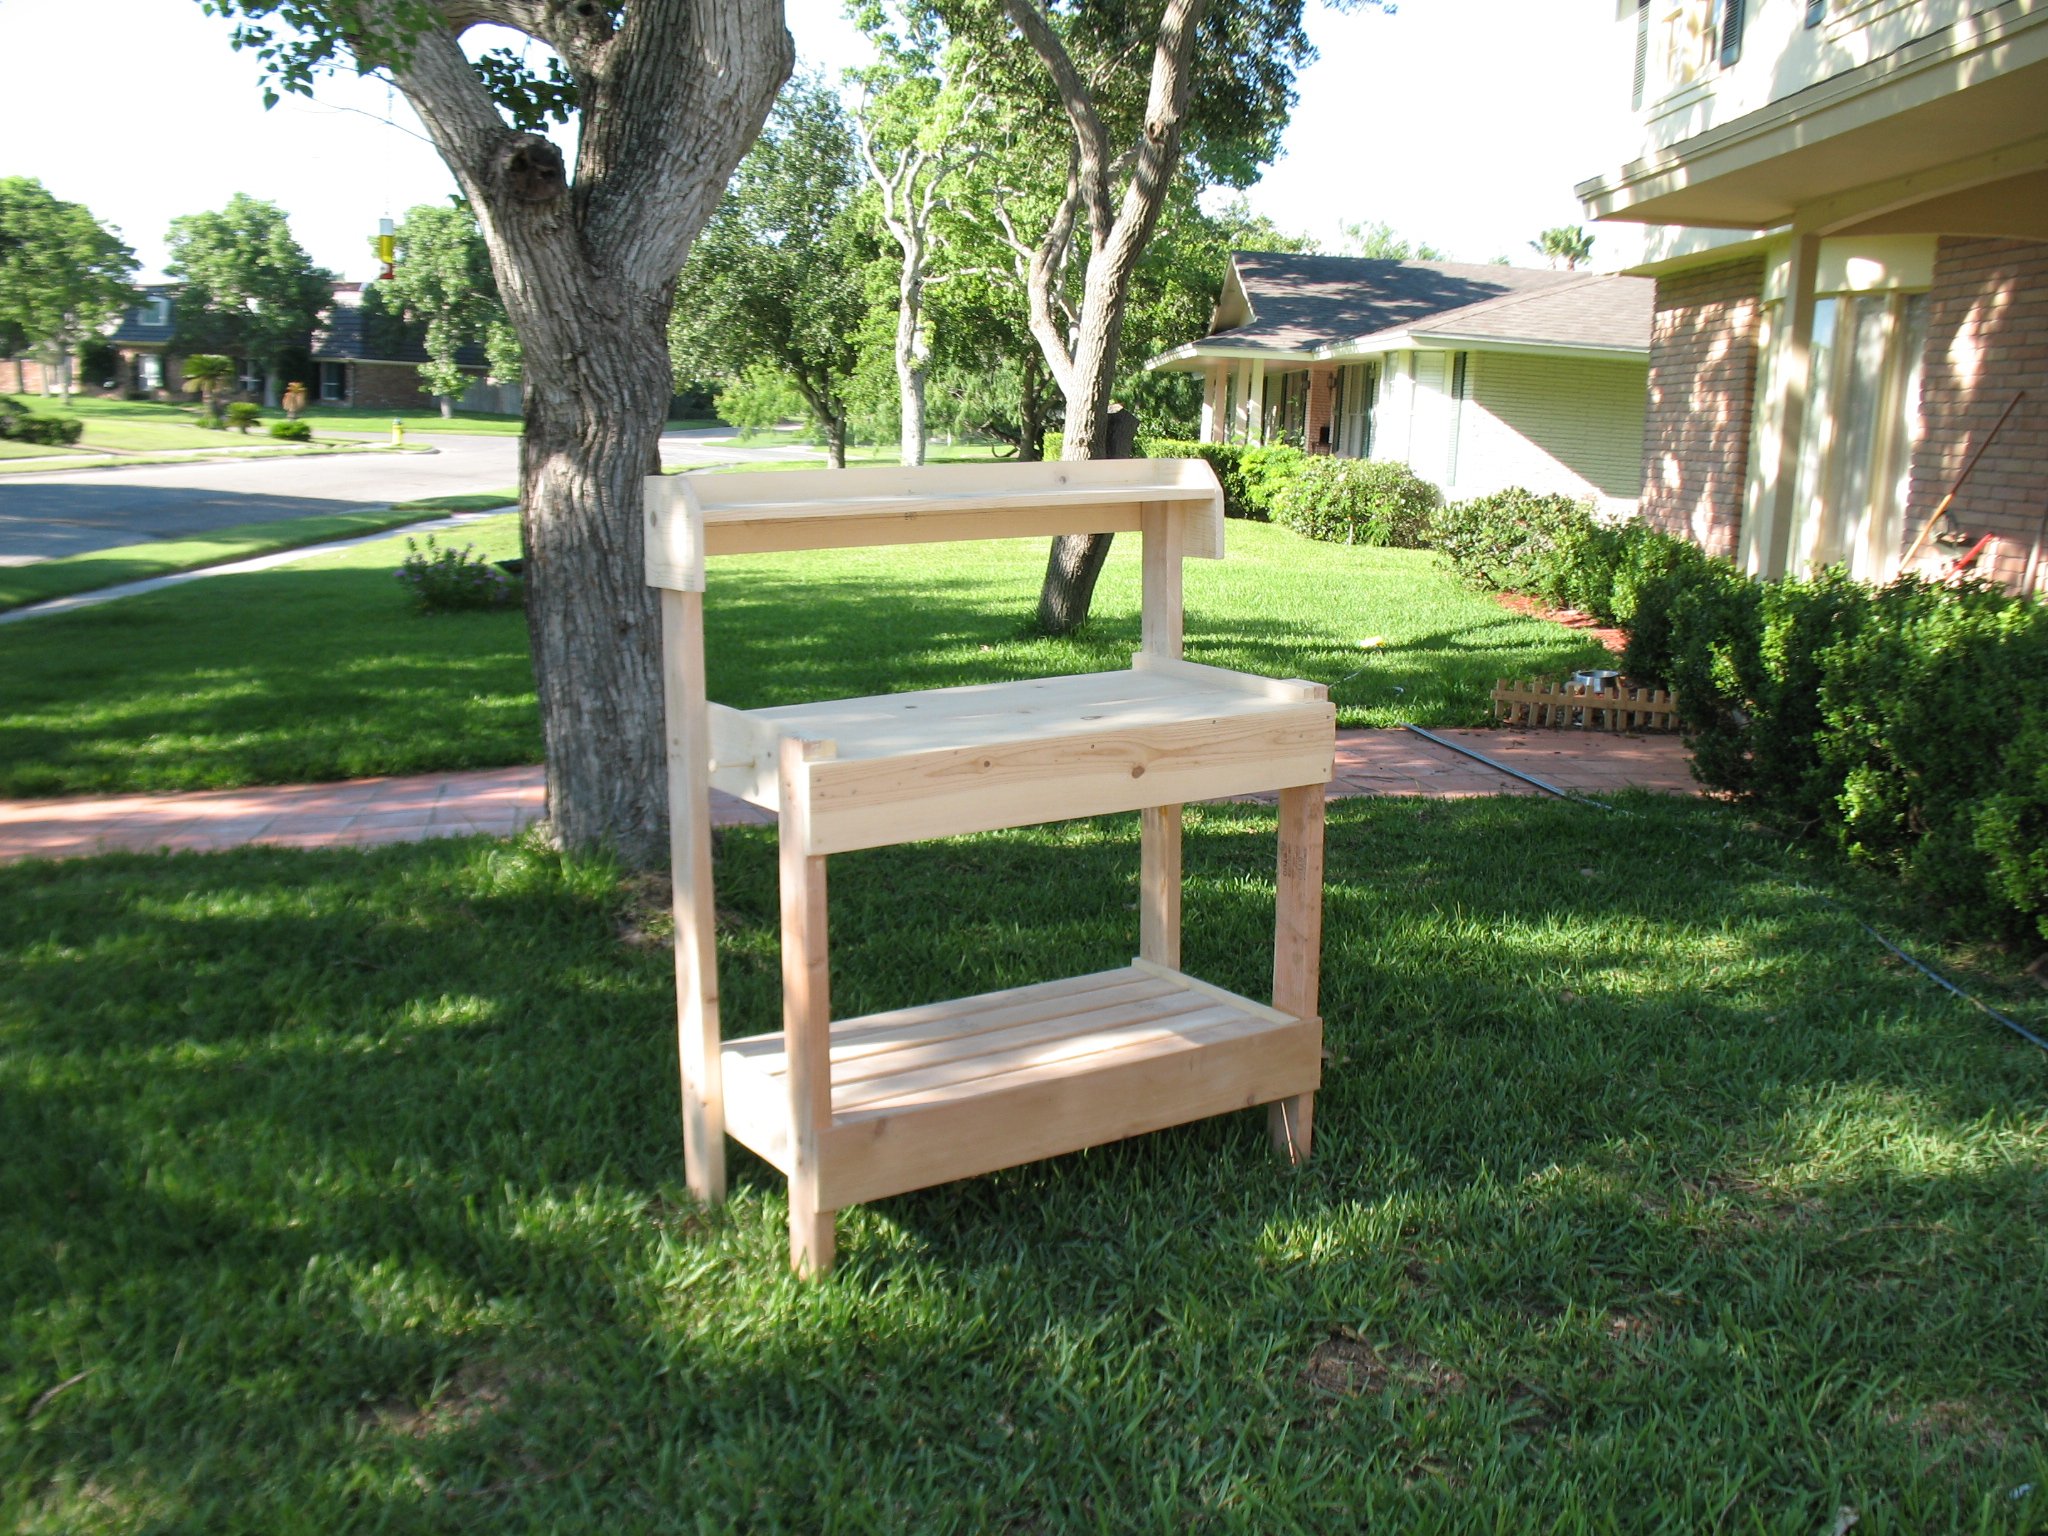
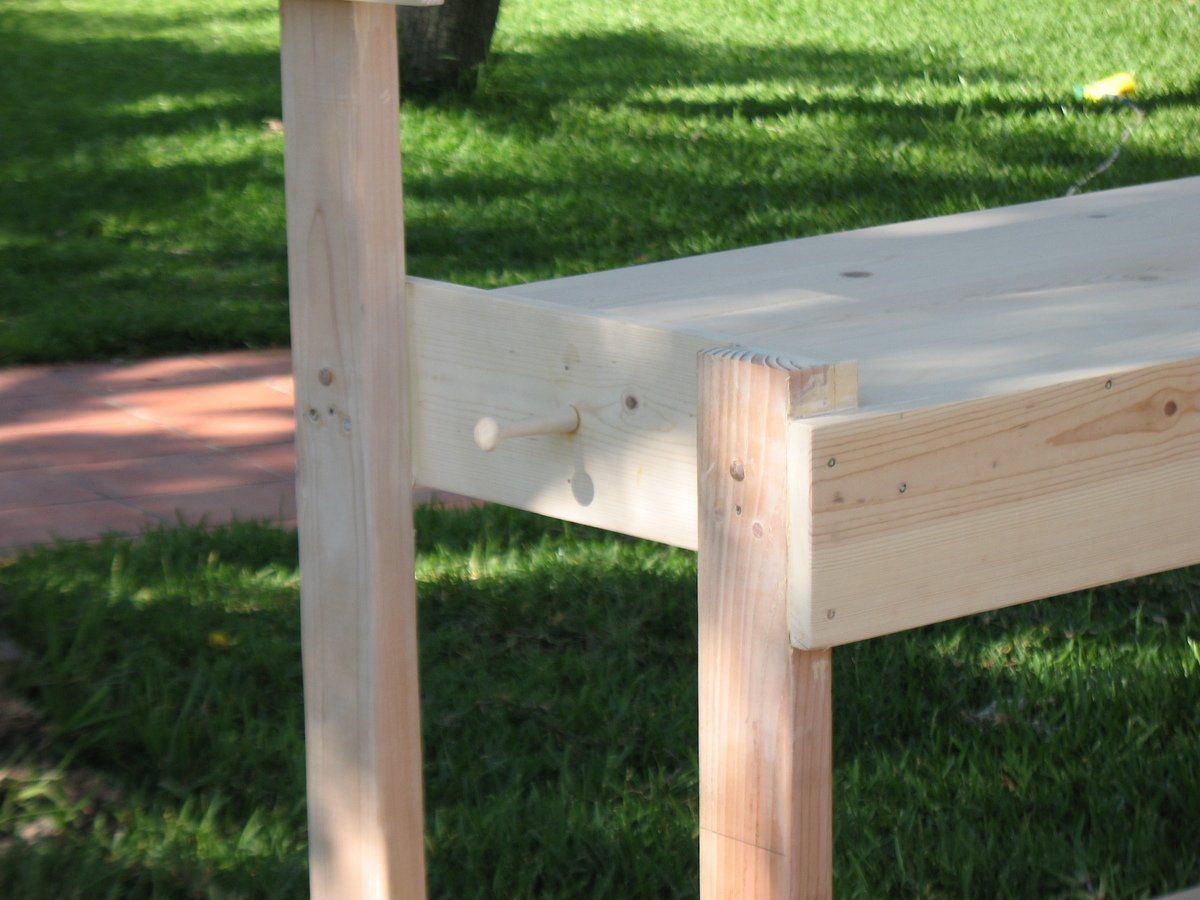
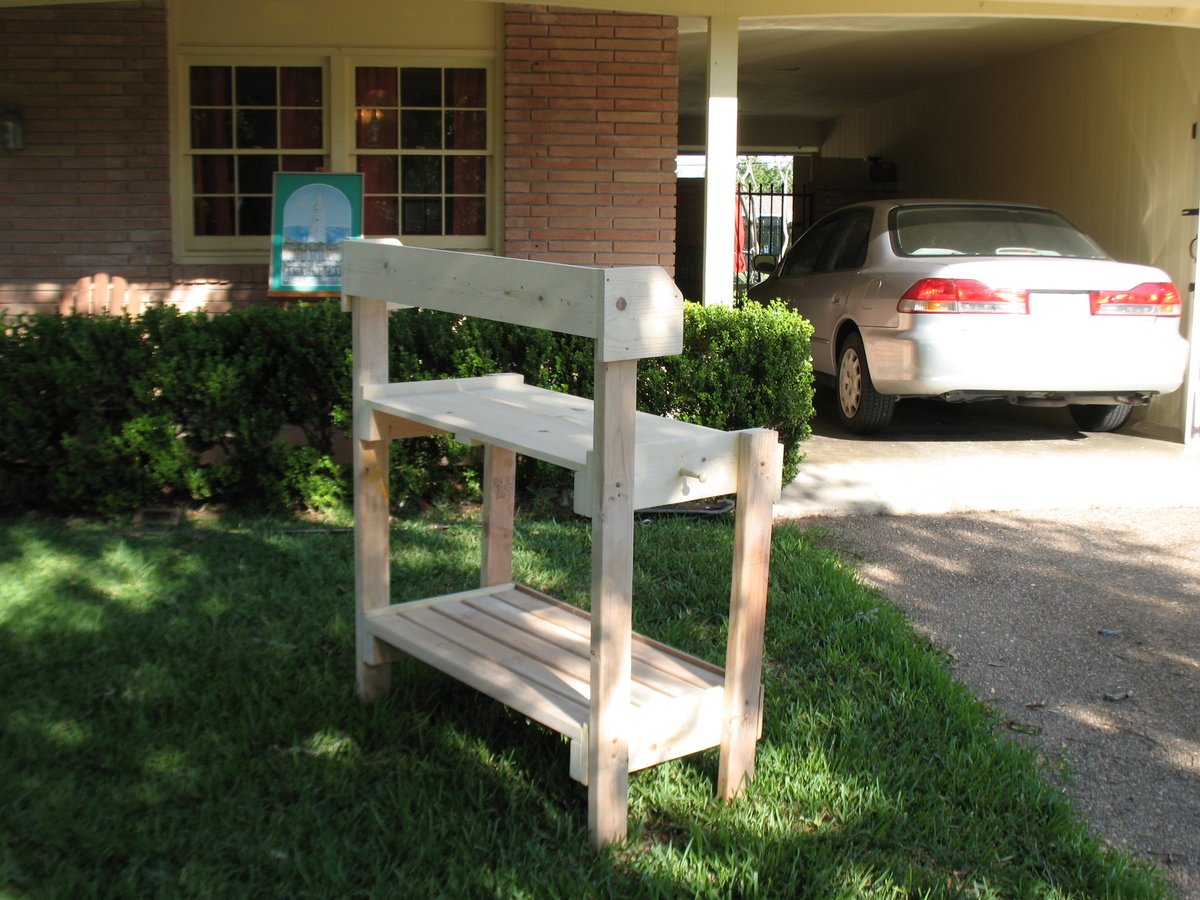
A friend of mine said she needed a potting table (aka bench) so I offered to make her one. Got the plan for the simple potting bench and went to work. The friend wanted a lip on the left and right sides of the top self and she wanted the top shelf to be solid. So adding the lip was no problem and I added the same but smaller on the bottom shelf. I built the solid top from three pieces of wood held together with pocket joints and glue. Worked great. With just a little sanding it is a beautiful flat solid piece of wood. Much better and cheaper than plywood. Since I do not like to rip lumber the final top self was about an inch or so deeper than the plans but that was easily adapted to. It is a good lesson to cut as you go along rather than cutting everything at the onset of a project. You make changes and it effects other aspects of the build. I added a Shaker peg on each end to hang a bar towel or a trowel whatever suits your fancy.
Most important is to continually check for square joints. Especially if you don't have the fancy tools and jigs. I got lucky and my final bench was square and level in all directions.
The build takes about 8 hours (plus a couple of days for priming and painting) using mostly hand tools. If I do another one I am going to substitute lighter and thinner wood. The 2x4 shelves and supports are over kill. I think it will give you a better and nicer looking final product. Keep Ana on The Web,,,,
Sun, 05/20/2012 - 17:10
I also added a face to the exposed lumber ends in the front and for the top and bottom shelves. The bottom face is actually a piece of old cedar fence I found in the garage. Sorry I forgot to mention in my first Brag ...about the potting bench.
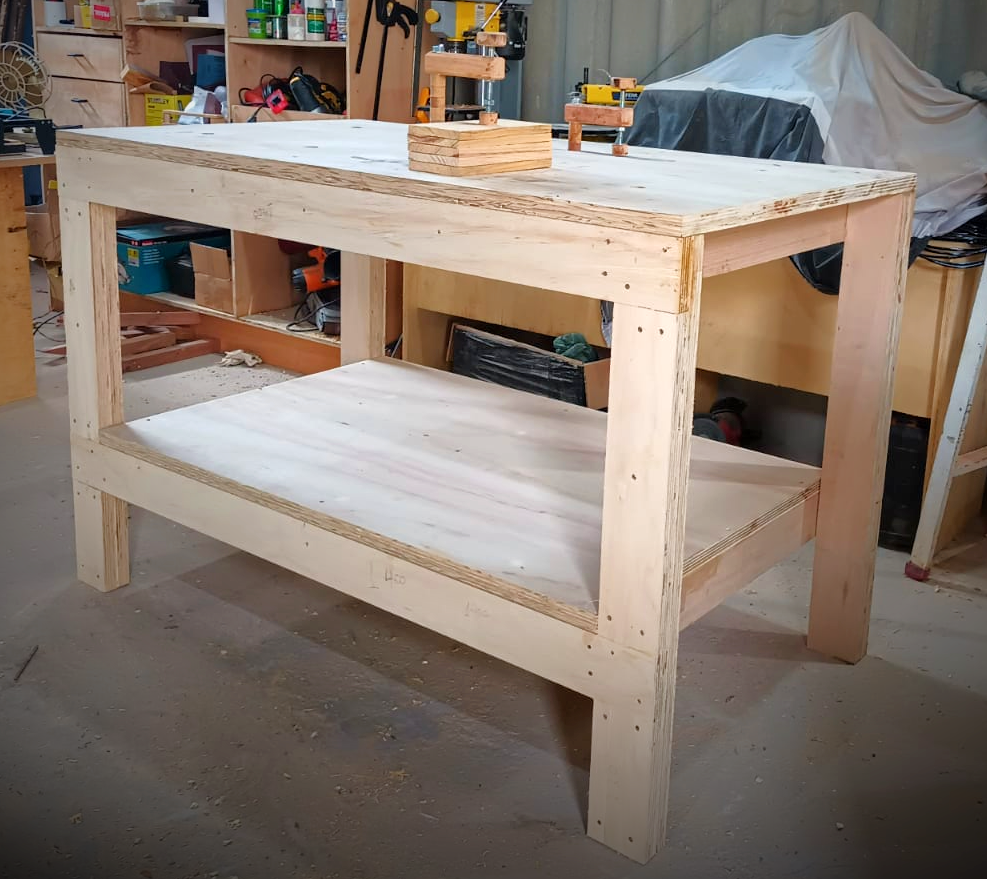
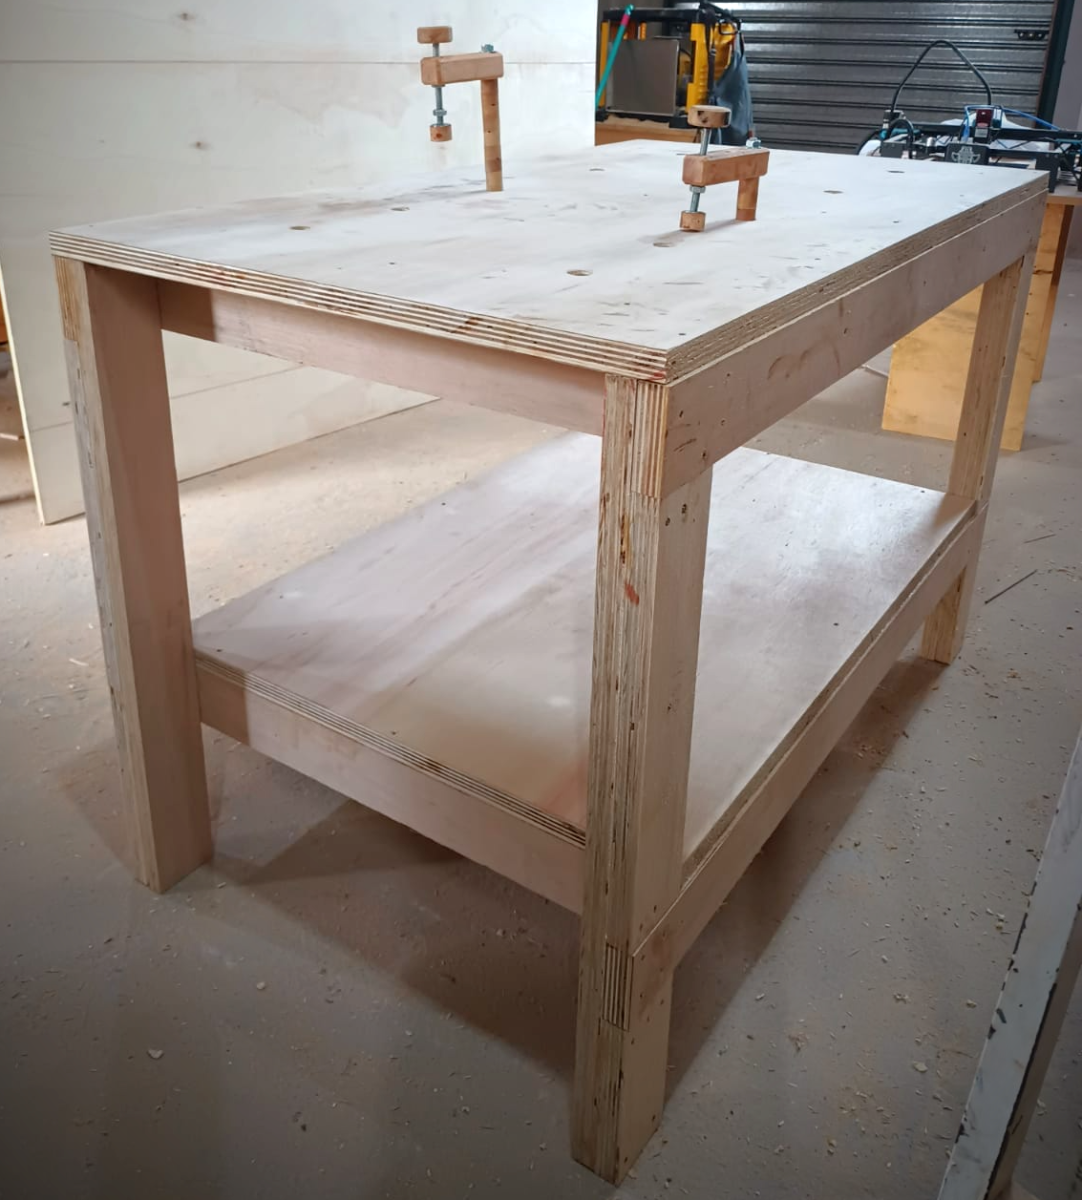
I had been looking for a carpentry bench project for some time that was easy to make and had the ideal dimensions for my space.
Here's what I did.
I added holes in the table to work with wooden clamps I made.
The end result was better than I expected. It's been very useful.
My sincere thanks to Miss White for this project.
Gidenilson A Santiago
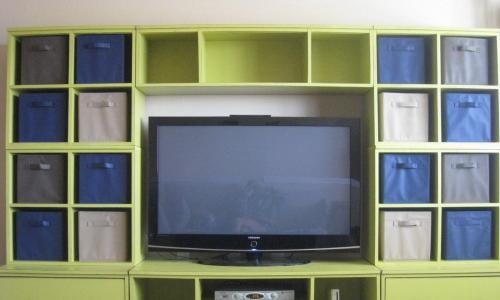
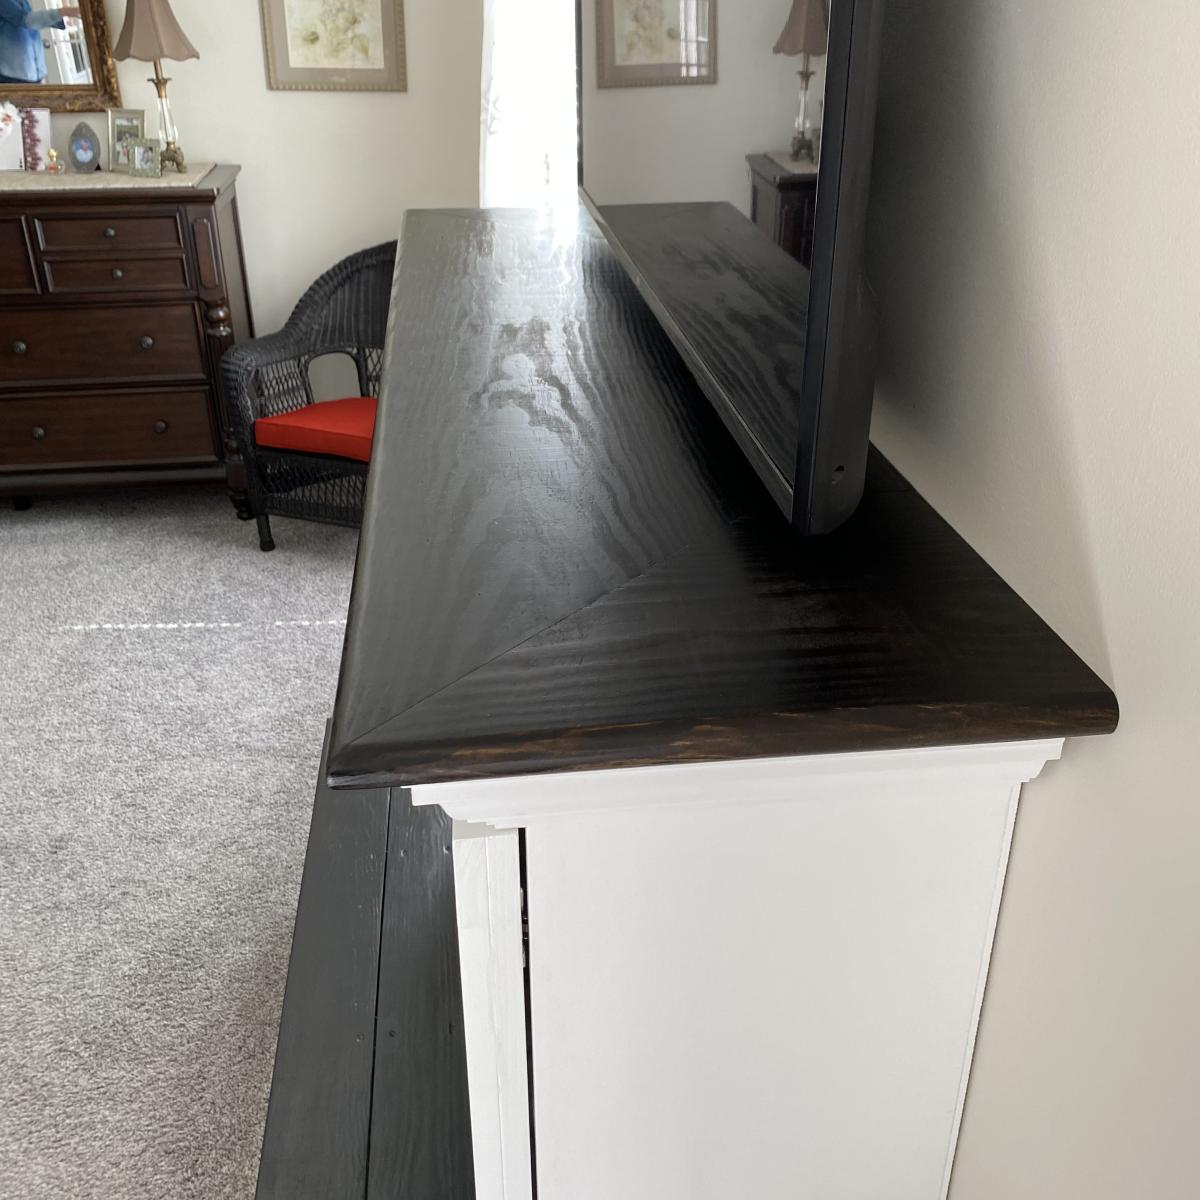
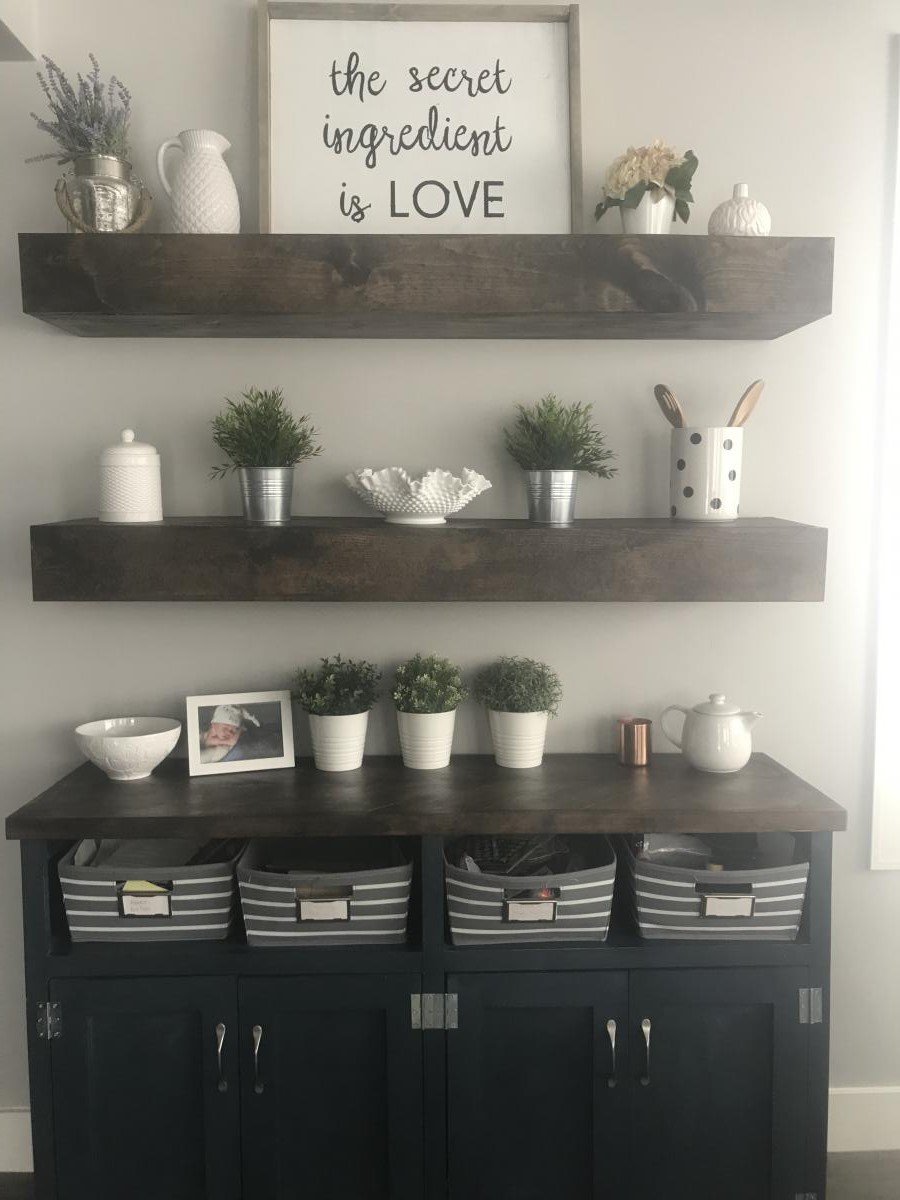
Console used as art center with modified chevron top. To make the top I use 1/2” plywood cut to the desired size of the top (minus 1.5” in width and length), nailed chevron pieces (made from 1 x 4 boards) to the top and trimmed the edges with 1x2 boards.


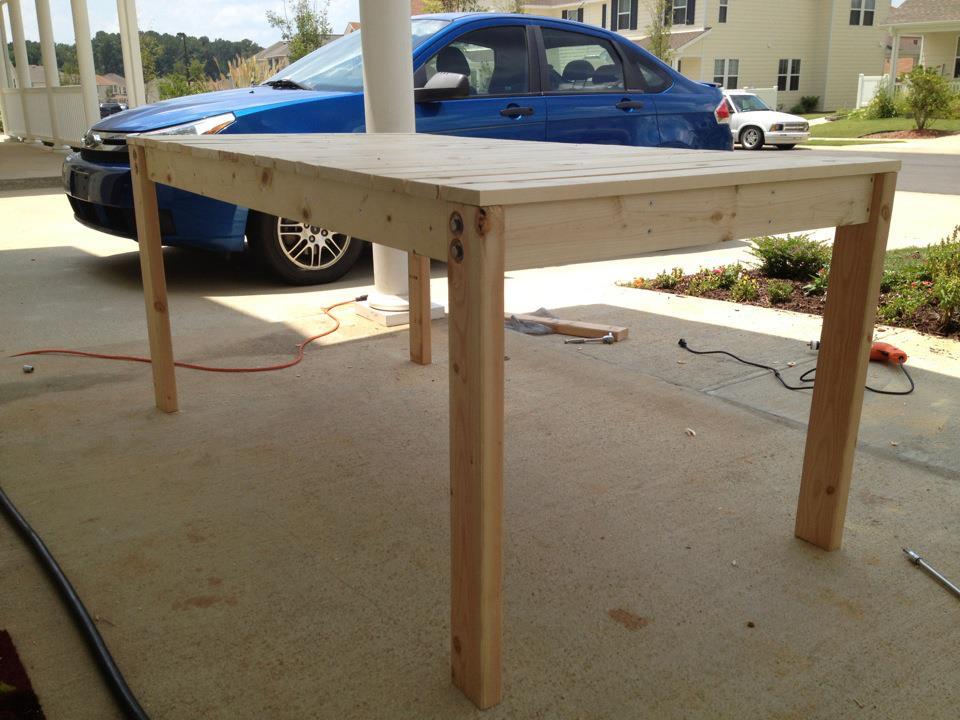
Followed the directions for the simple outdoor dining table. Mine is still unfinished. Plan to paint and primer it white. There were some errors in the plans. Do not screw the top framing together with butt joints and still expect to be able to put the leg bolts through. They will hit each other. It was only a real problem for me on one of the legs but if I had knownthere would be a problem I would have found another way from the start.
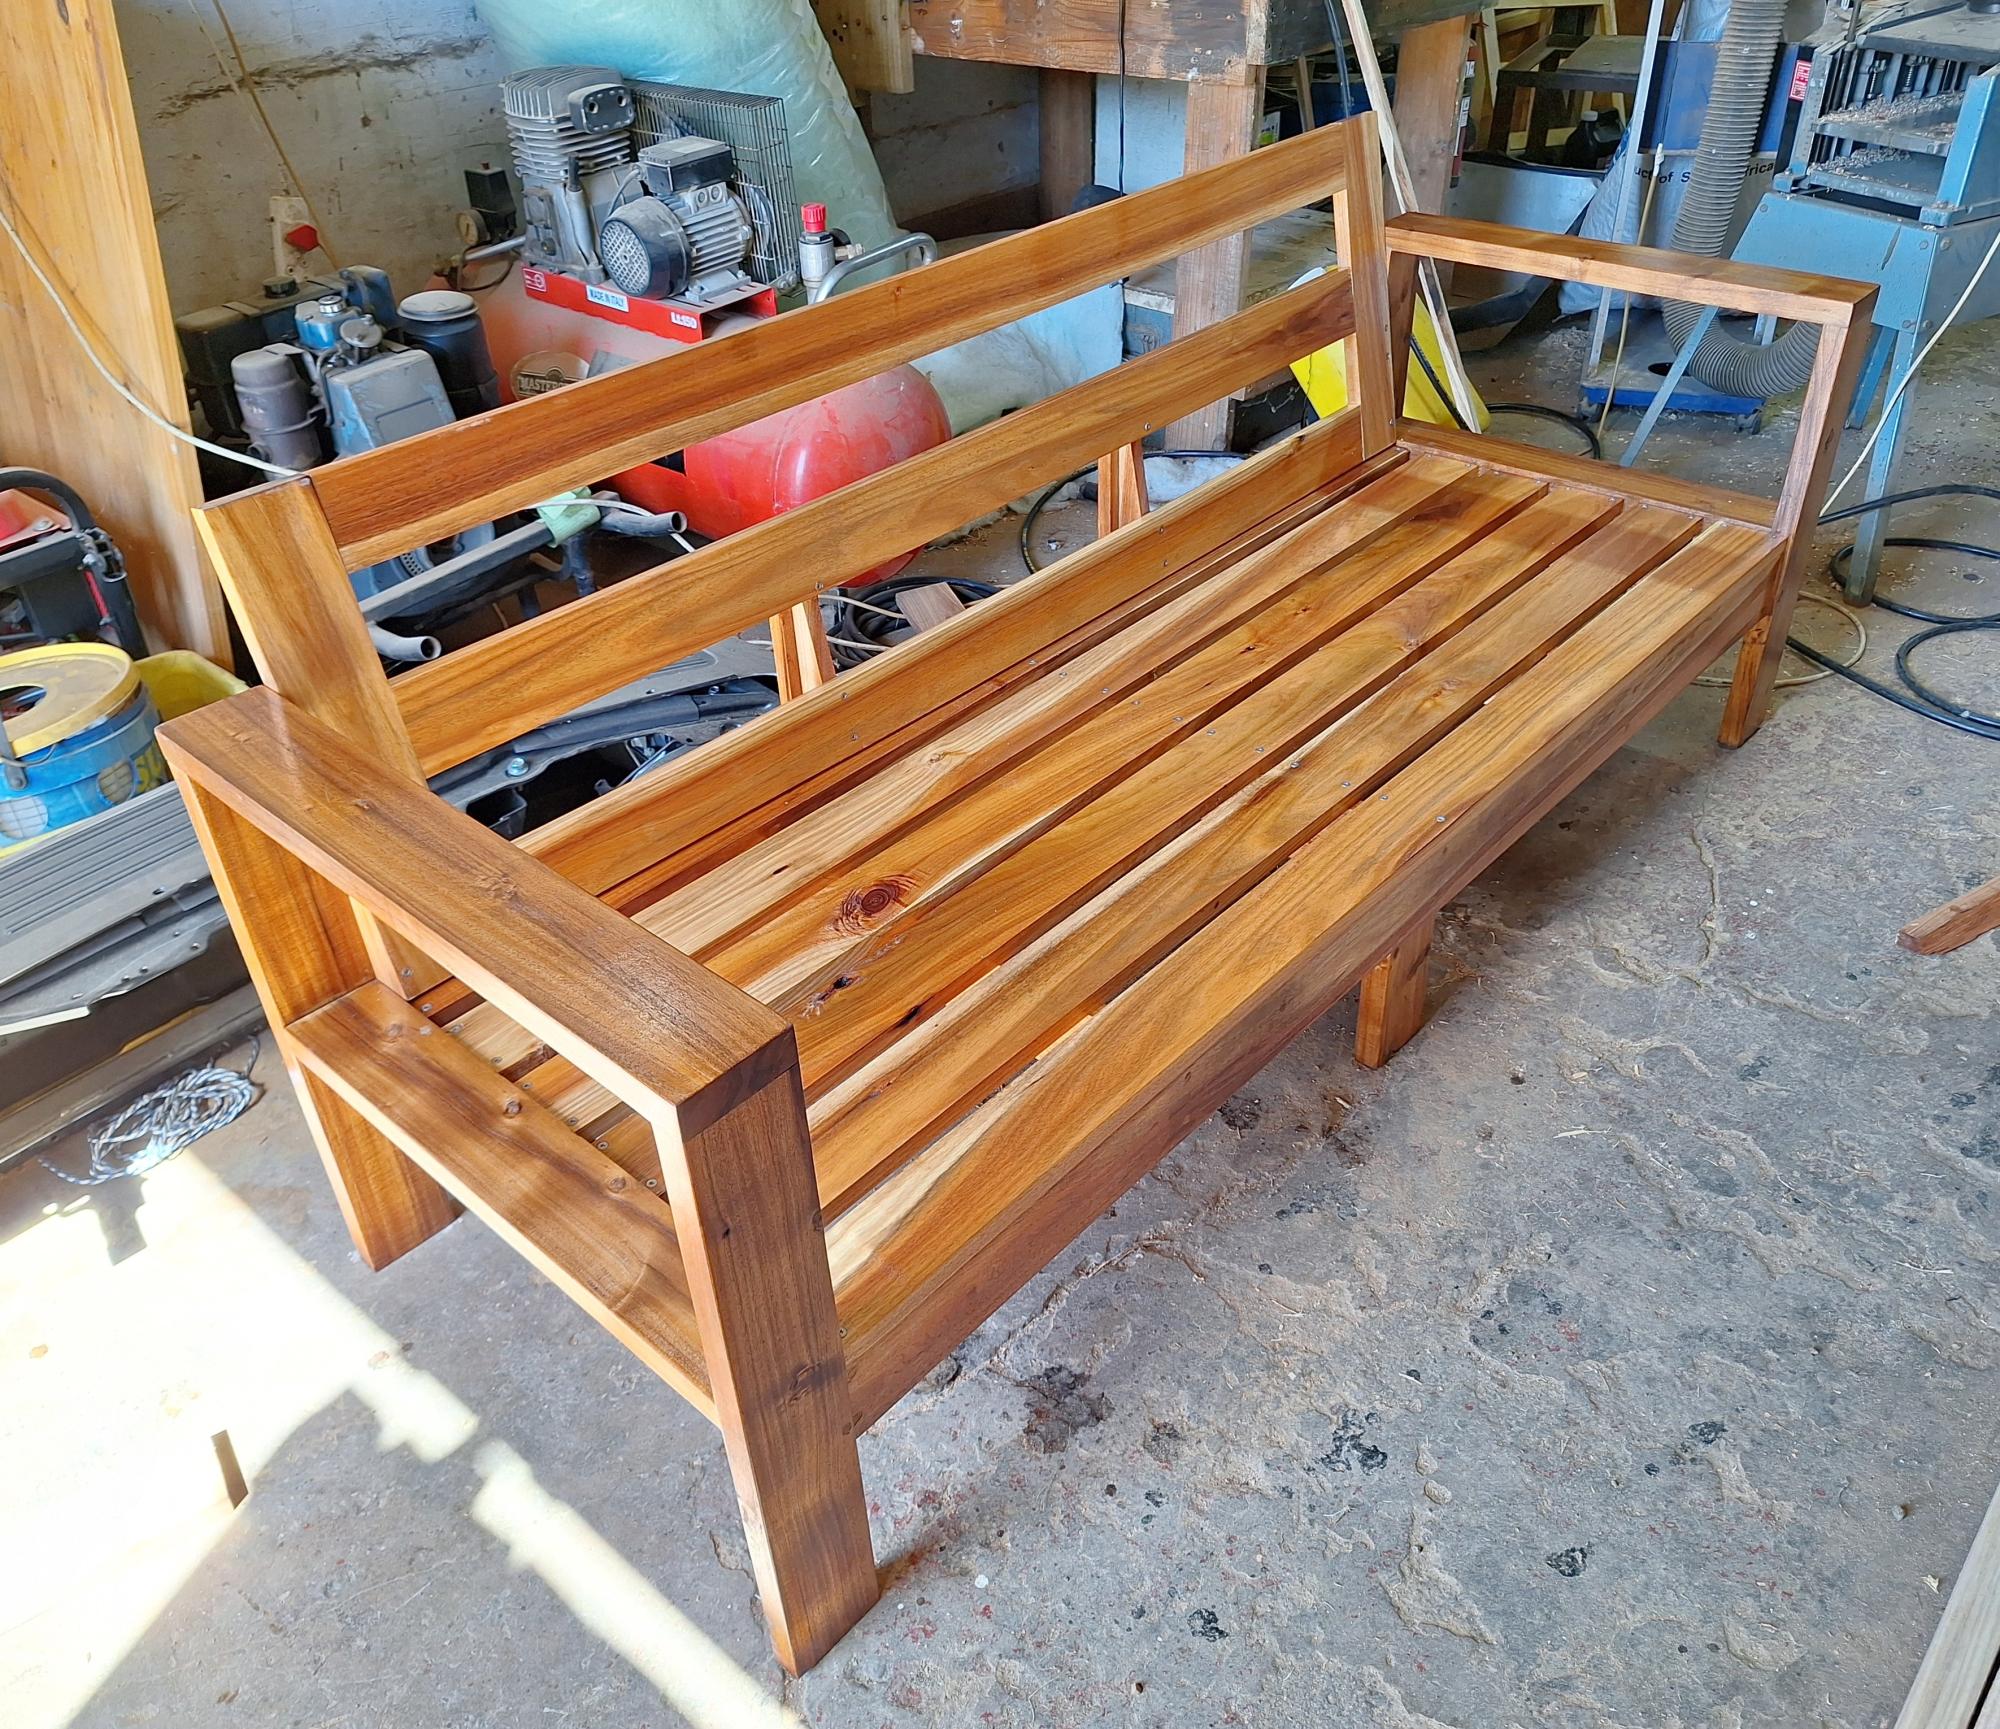
I built this outdoor sofa out of Blackwood. I tweaked Ana's plan to include a backrest and a support in the front, as my planks are only 23mm thick.
Gordon Smith

Radiator Cover! My son was starting to crawl and be interested in the giant radiator in his room, so it was time to cover it. I'm so happy with how it turned out and since we left 4-5 inches of space from the top, we can use it as a space to keep his air filter & light. I left 2-3 inches around the sides as well and put a board across the back for support and to keep the cover in place.
Margaret Cember