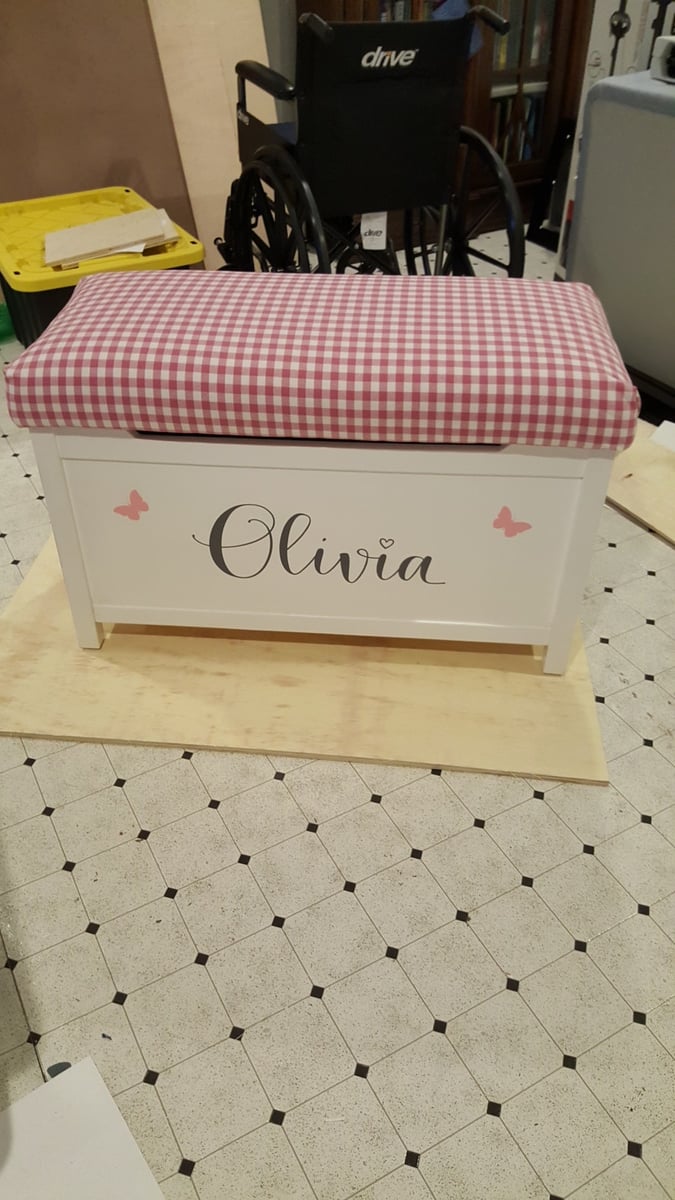
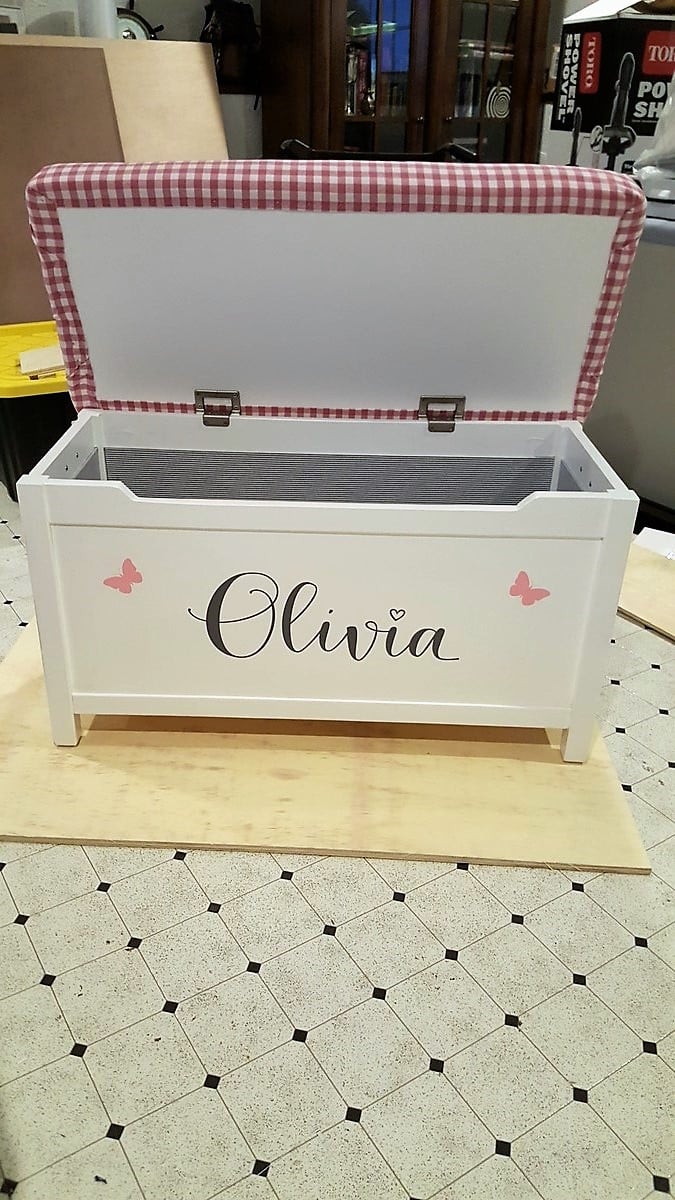
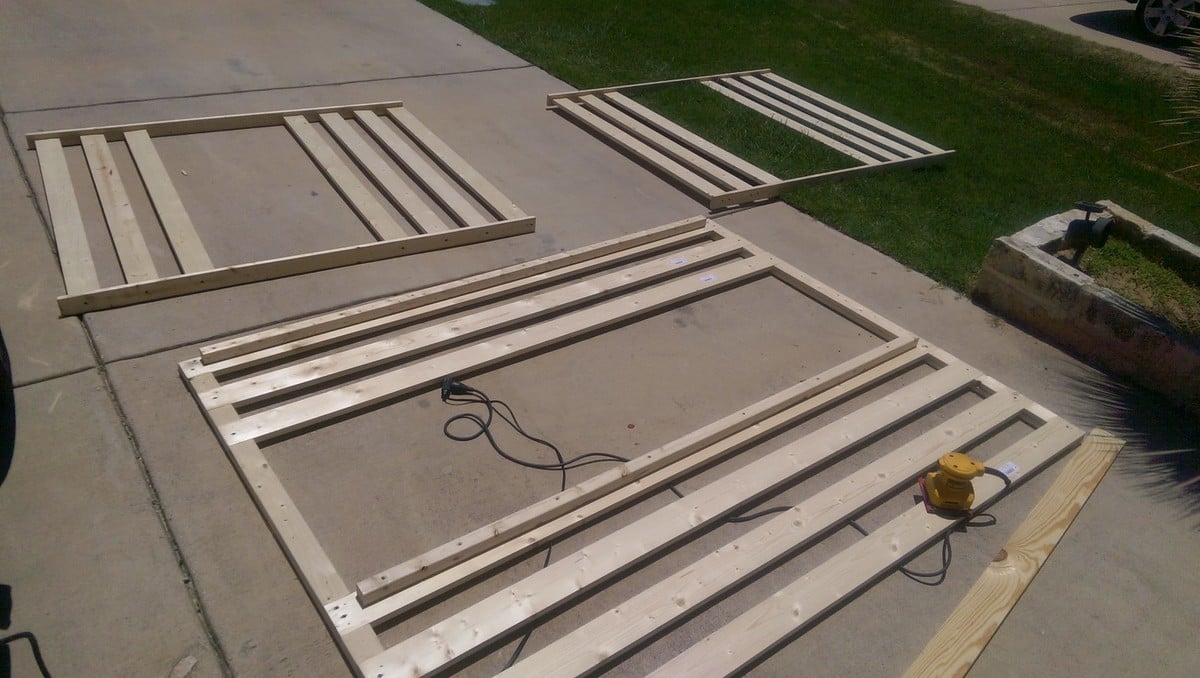
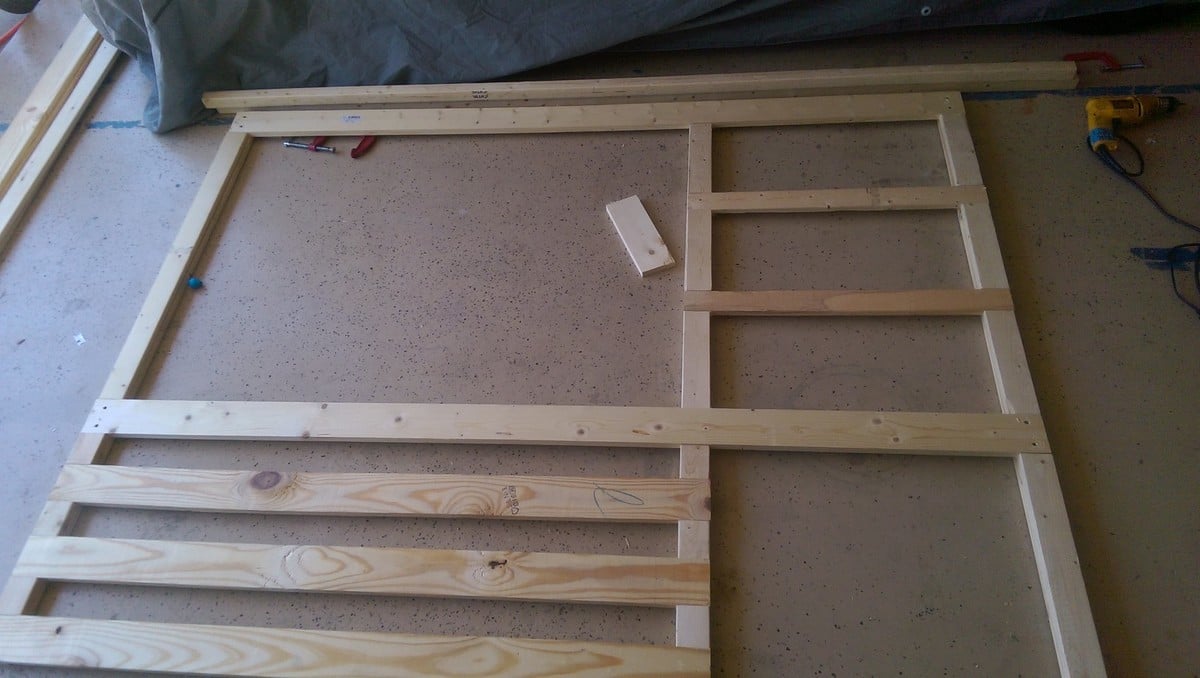
Thanks for the great plans! I built this toy box with my dad for my soon-to-be niece.
We followed the plans closely, but added four additional parts:
1) Added 3 inch foam, batting, and fabric on the top of the toybox
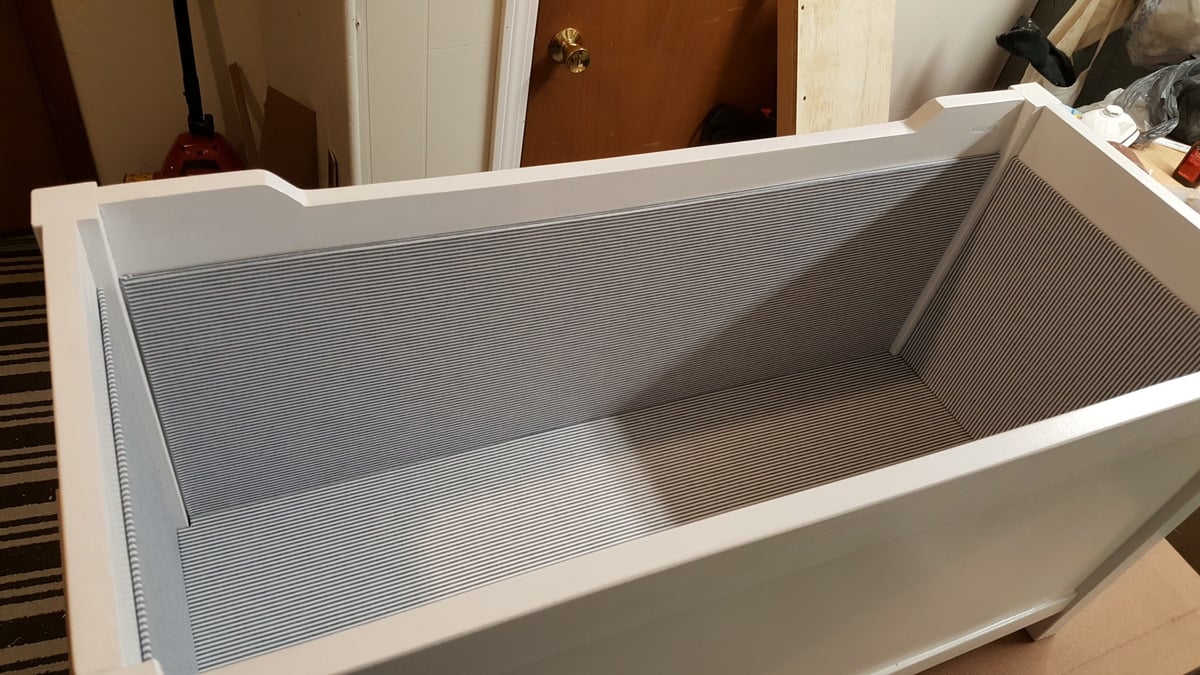
2) Lined the interior. We used 1/8 inch harboard. We cut the harboard to size, used spray adhesive to attach the fabric to the harboard, and then attached the hardboard to the toy box with loctite adhesive.
3) Added two handles to the side
4) Used a vinyl sticker pruchased from Etsy with my neice's name on the front
We used semi-gloss paint and finished the toy box with sem-glass polycrylic (brushed on, not the spray can).
Enjoy!
Best,
Mike