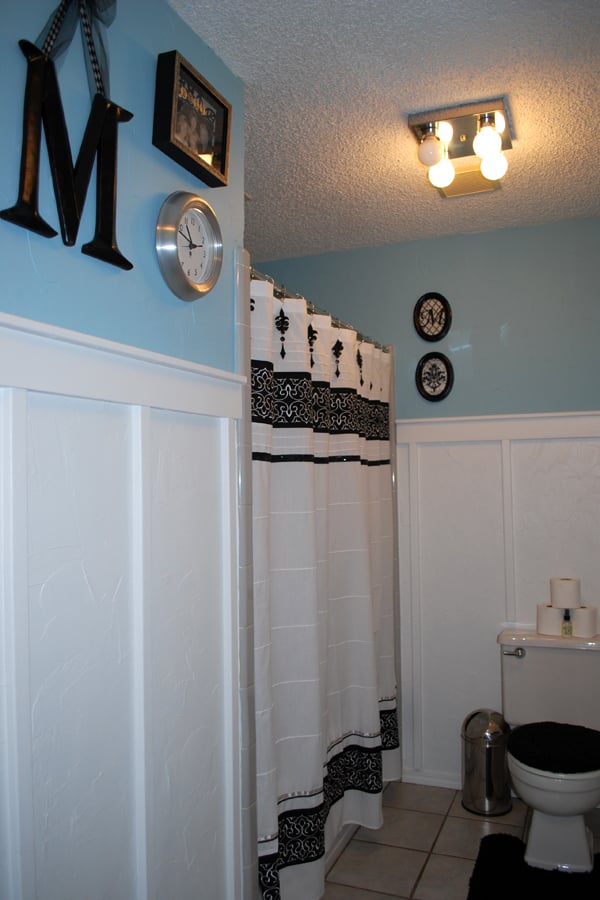
Board and Batten Bathroom
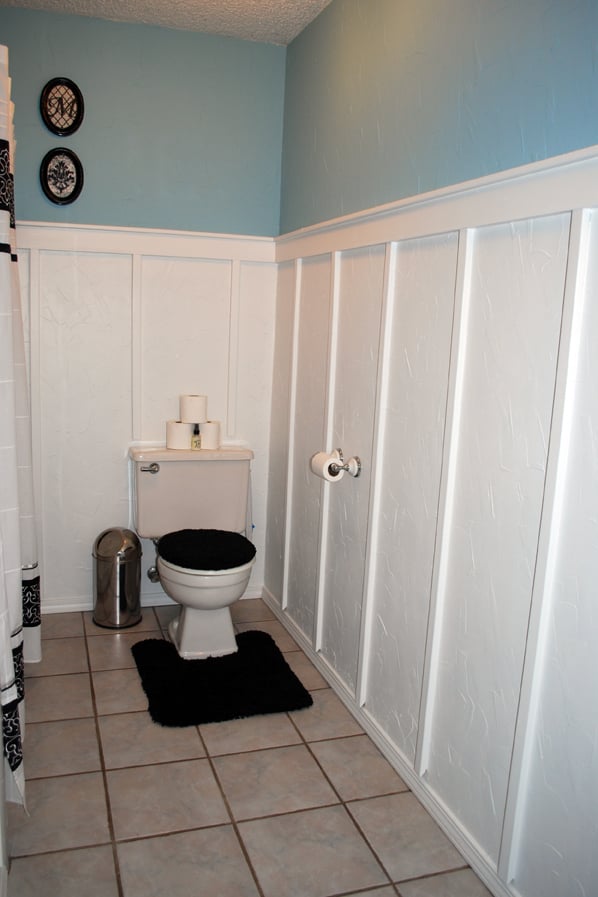
My first project with raw wood and power tools! All I have is a circular saw and electric sander, but it went really well. It took about 3 days because I couldn't work straight through (silly life and all it's appointments!). Thanks for laying out all the prep work with your instructions, Ana!! My next project is a cubby shelf for towels.


Estimated Cost
$76
Estimated Time Investment
Weekend Project (10-20 Hours)
Finish Used
Satin Finish Latex paint by Valspar. Upper wall color is Valspar High Noon in Flat Enamel finish.
Recommended Skill Level
Starter Project


Comments
sgilly02 (not verified)
Tue, 10/11/2011 - 21:29
Beautiful transformation
What a nice change! Great job. You should be proud of yourself!
loniwolfe
Tue, 10/11/2011 - 21:38
Amazing!
That looks really great! I was just thinking about doing this in our bathroom, thank you for posting this! Now I'm definitely doing this! Great great job!