Community Brag Posts

Refinished Red Oak Fireplace Mantel

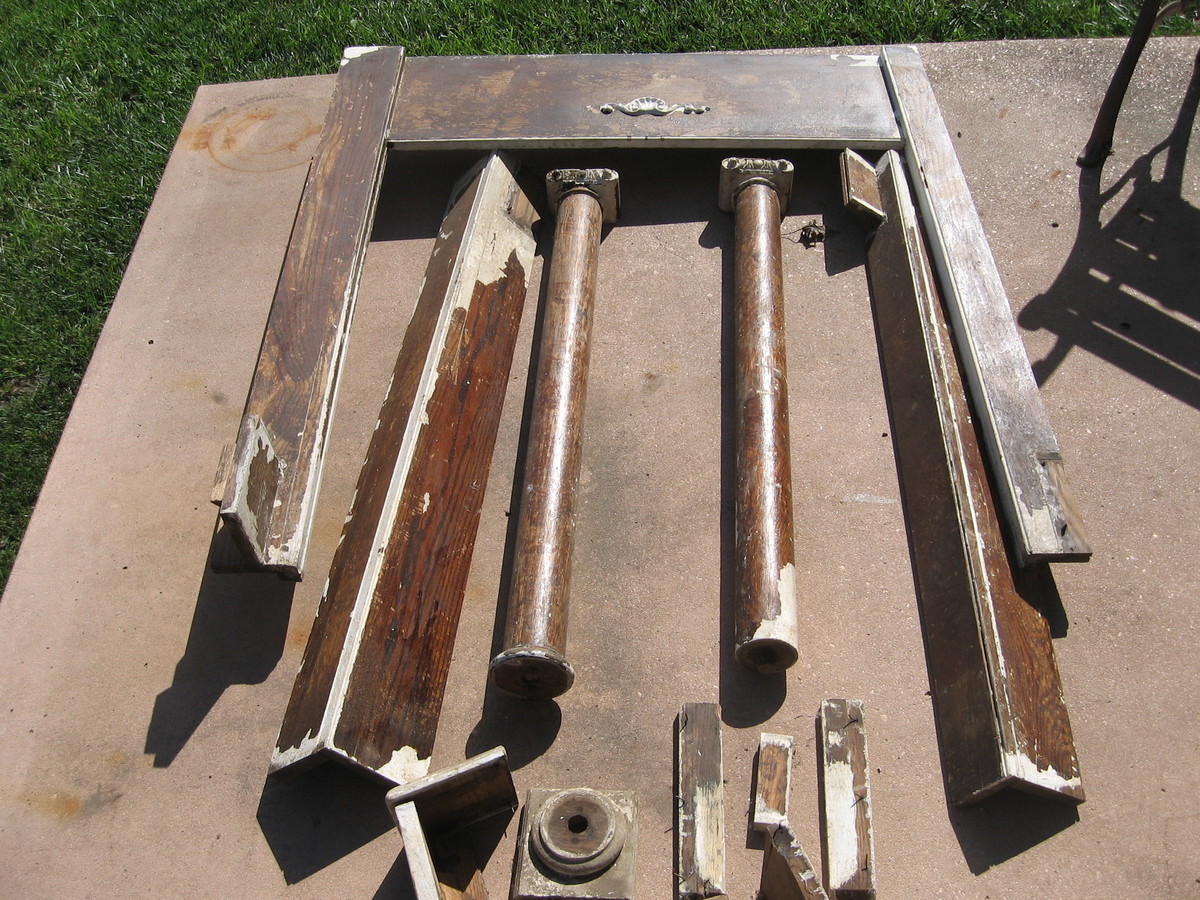
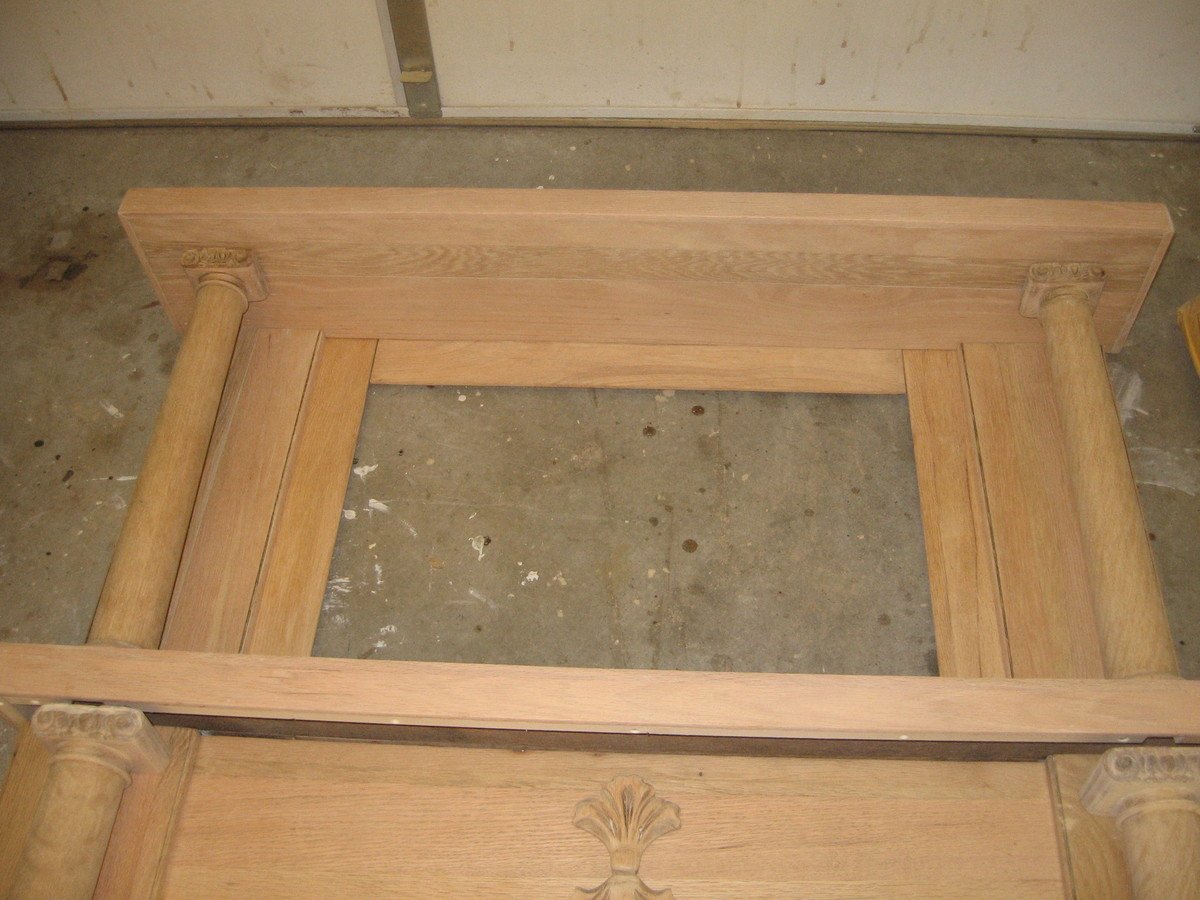
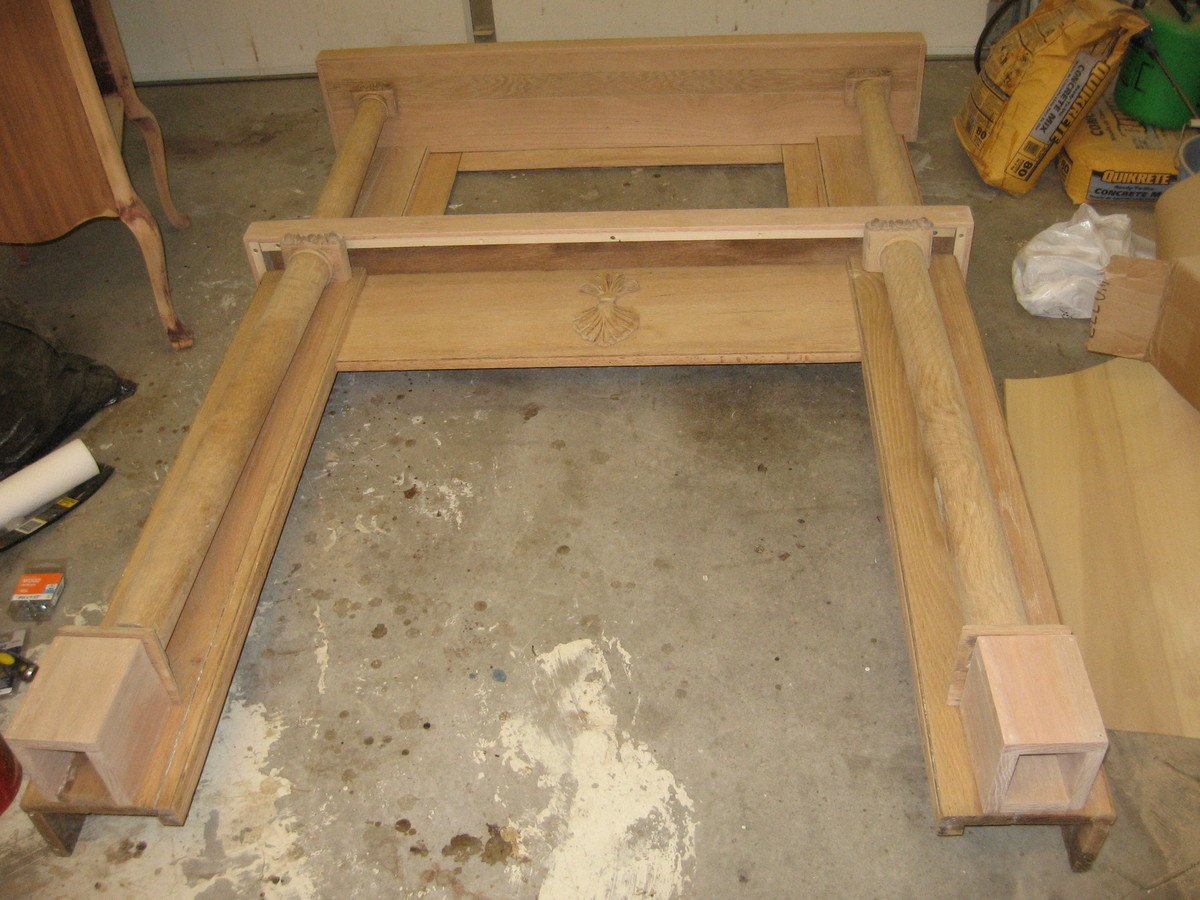
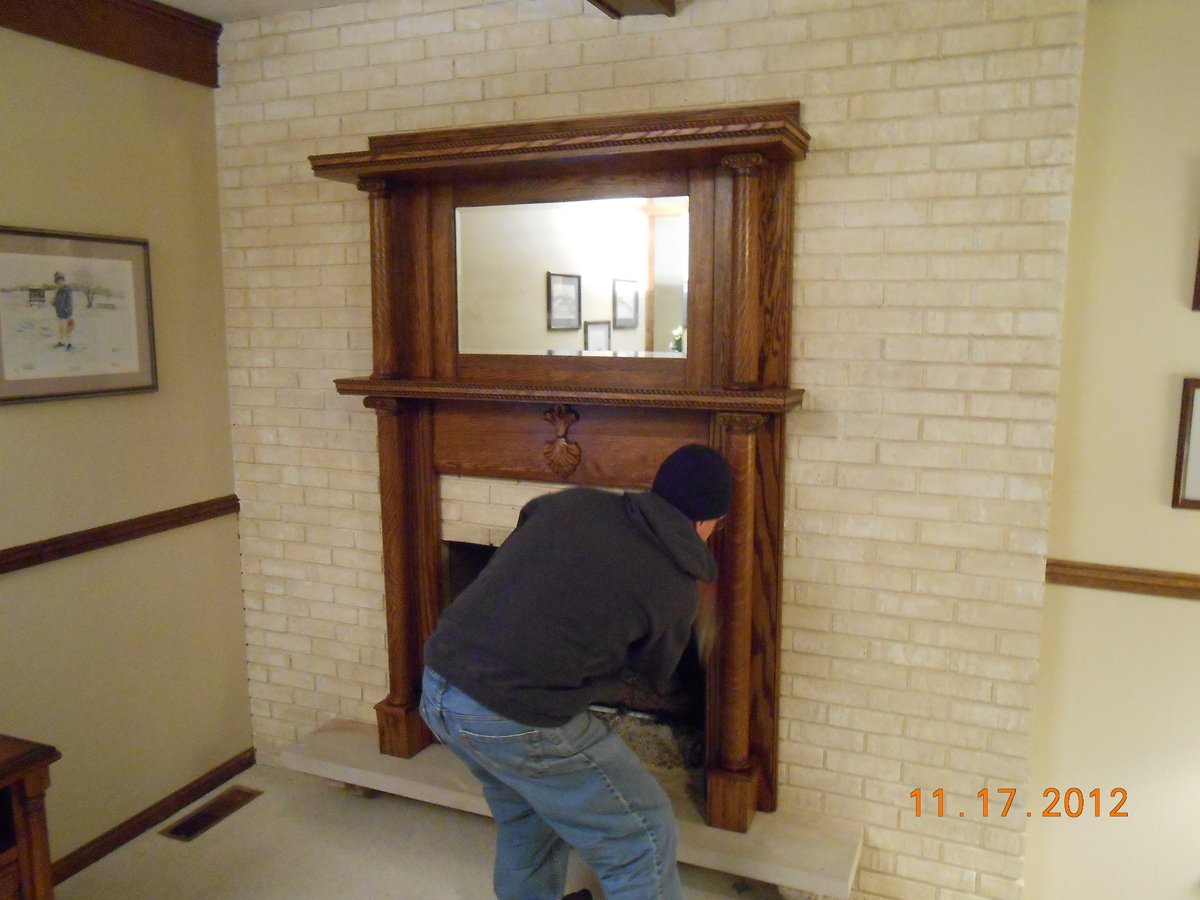
This is a century old red oak fireplace mantel I bought off of Craigslist. It came out of a home in Louisville, KY. It was in bad shape as you can see in the photos. I stripped it and replaced the veneer that needed it. I had to modify it a bit to install it to my mother-in-laws brick fireplace. The mirror is mercury glass and beveled. I did add some red oak rope trim which I beveled to give a more formal look. I countersunk some holes along the sides that I covered with some red oak trim. This allowed me to attach studs to the brick and then attach the mantel to the studs. The very top shelf was rotted so I found some beautiful spalted red oak and rebuilt this. The former onlay on the front was beyond repair and I found the current salvaged onlay on Ebay for around $10. I am really happy with how it turned out.

Estimated Cost
$200-$40 initial cost and about $160 in improvements
Estimated Time Investment
Week Long Project (20 Hours or More)
Finish Used
The stain is Minwax Early American. I gave the old growth wood 2 coats and the newer wood and trim 3 coats. I used Minwax fast drying satin polyurethane. I used three coats throughout the project. I applied 2 coats of poly and then sanded with 220 grain sandpaper before applying the third and final coat.
Recommended Skill Level
Intermediate

Comments

Electric Heaters (not verified)

Wed, 01/23/2013 - 04:05

Fireplaces can be a good option for heating the room as that consume low space area and provide heating in affordable prices. the most amazing thing about modern fireplaces is that they can be easily move anywhere in the house.

Camp Loft Bed

Submitted by carongirls on Sat, 09/27/2014 - 15:48

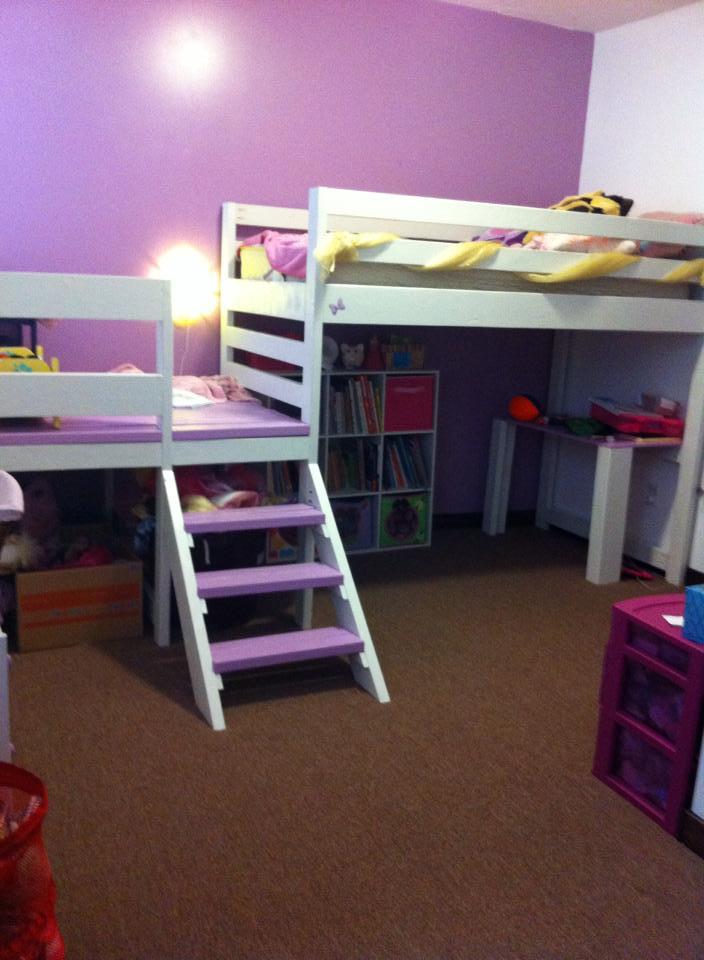
I extended the landing and added rails. 

Estimated Cost
$200
Recommended Skill Level
Beginner

Comments

wrigleysmama

Mon, 06/01/2015 - 12:06

I love your modifications with extending the landing. Do you have more pictures that show the whole thing? Did you by chance write down any notes with what you did differently? We are building this bed next week and would love to make a "deck" like you did.

In reply to by wrigleysmama

Ana White

Sun, 01/22/2017 - 10:39

Hi, Ana here!  I might suggest something like this -

[[{"type":"media","view_mode":"media_original","fid":"3154931926","attributes":{"alt":"","class":"media-image","height":"834","typeof":"foaf:Image","width":"891"}}]]

Basically just increase the length of the side pieces first to however long you would like the deck to be.

Then, if you need extra support, add legs on the inside of the platform where needed.  On the front side if you are doing railing you could even extend the front leg up so it is part of the railing too.


You may need to add additional supports for the deck boards, shown in green above, but this should be easy enough to do.


Hope this helps!

Playhouse Loft Bed With Stairs And Slide, Playhouse Loft Bed, Loft Bed

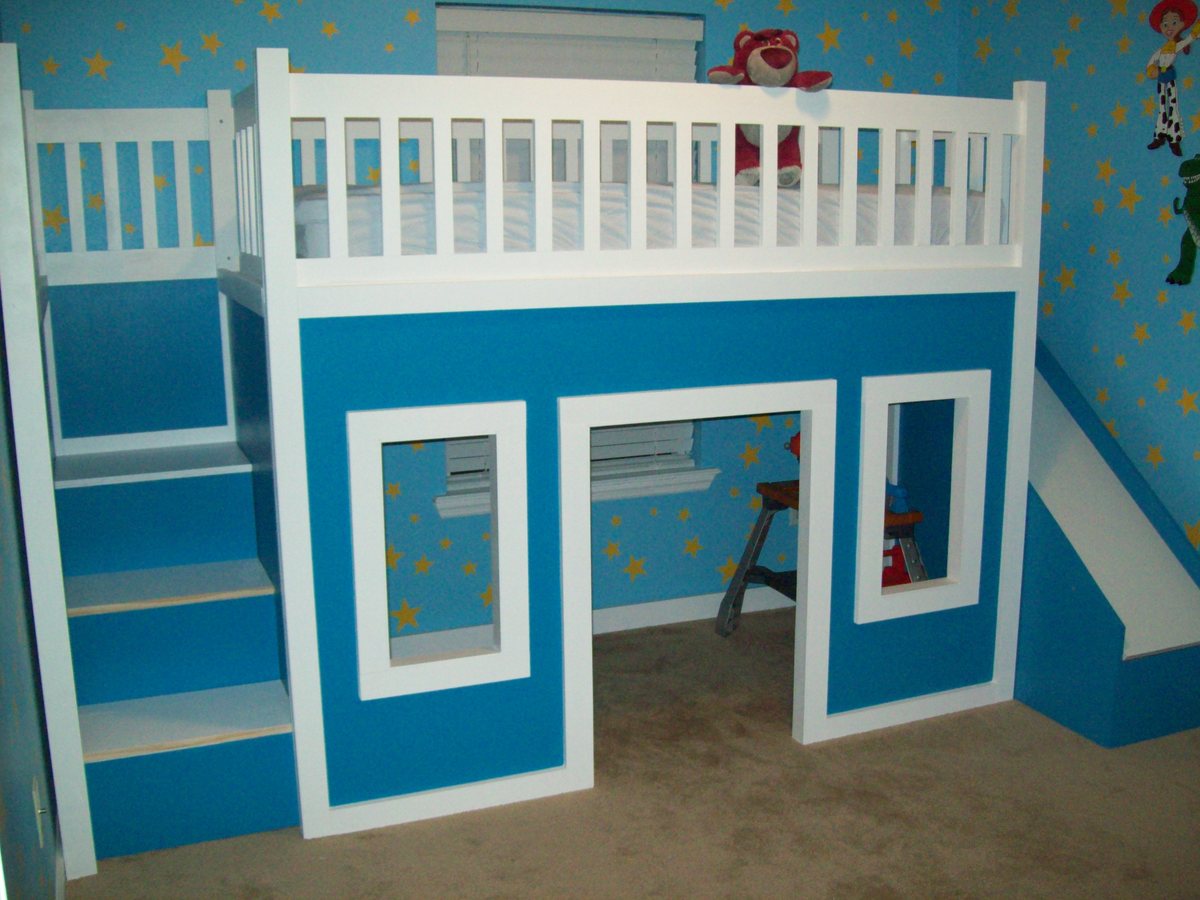
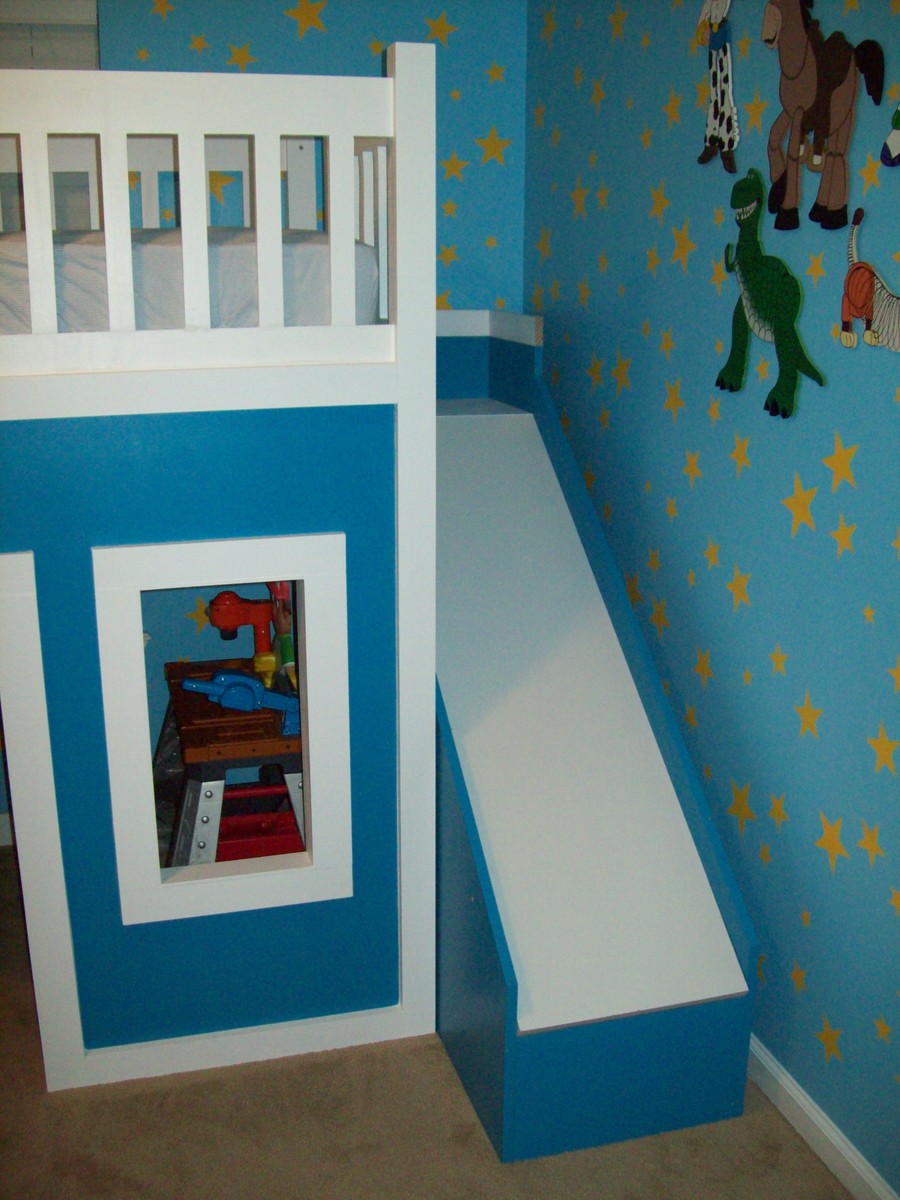
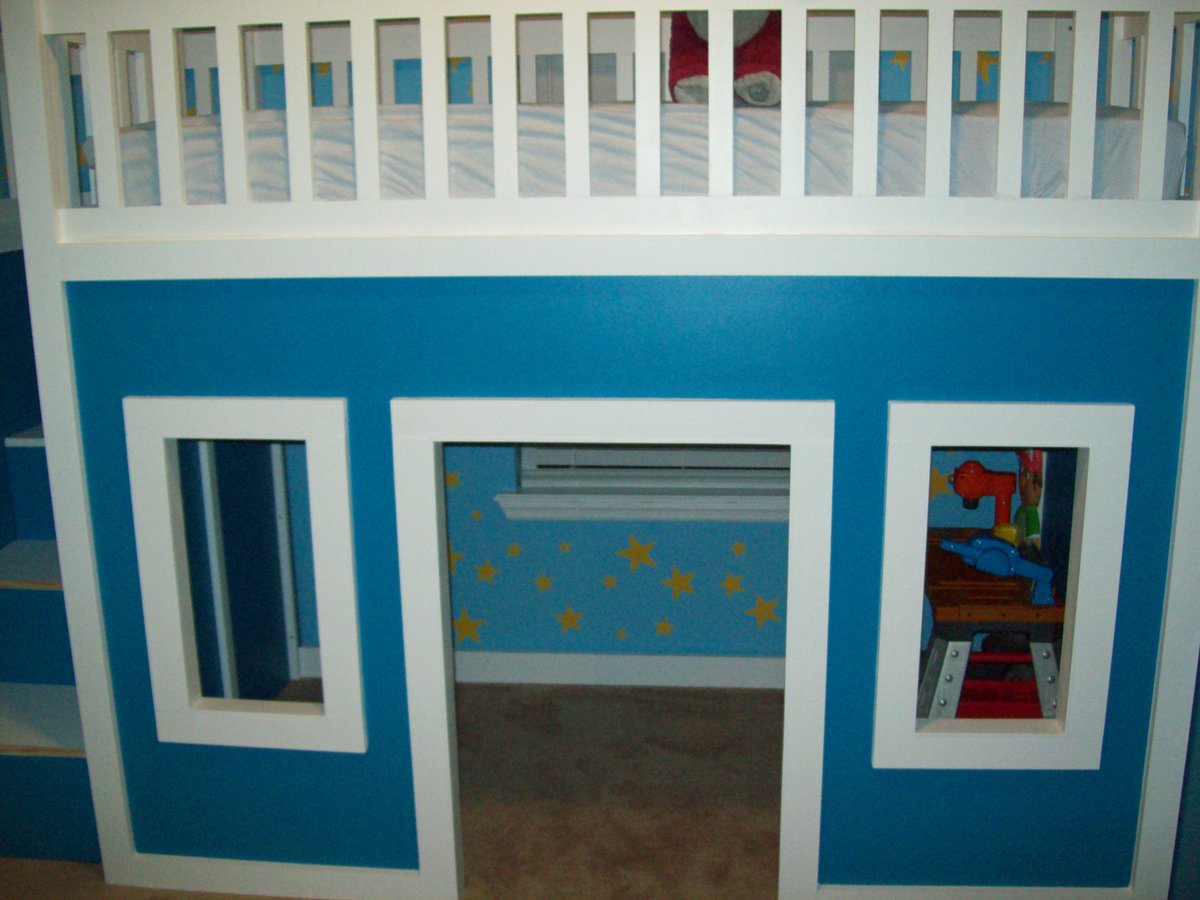
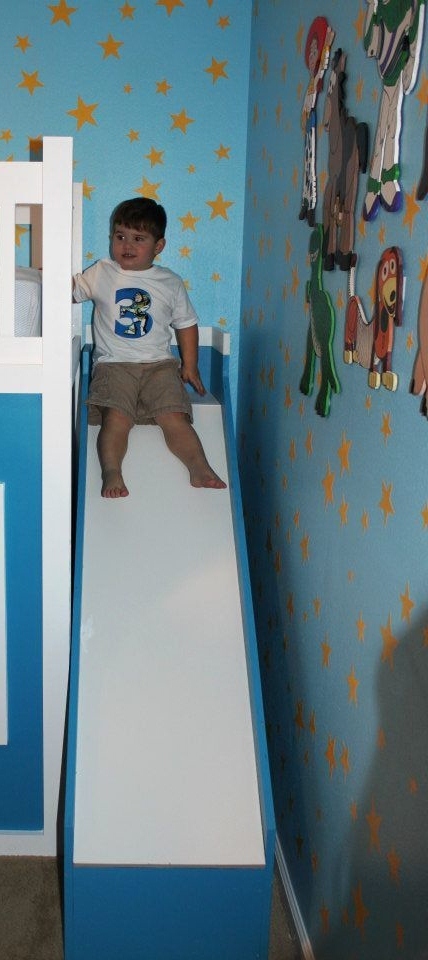
My son was about to turn 3 and I really wanted to redesign his bedroom as a birthday surprise. We went with a Toy Story themed room, he just loves Toy Story. I started off by painting the walls blue with yellow stars like Andy's room in the movie. I added some custom painted art work and then it was off to find a cool playhouse bed. My husband and I were shopping around and we could never really find what we were looking for in the store. So we decided to build one ourselves using plans from this website. I used the playhouse loft bed and the playhouse loft bed stair plans, for the bed and the stairs. I used the castle loft bed plan as inspiration for the slide. The project took us about 5 weeks from start to finish. We both have full time jobs and we did most of the work on the weekends. I looked at each plan very carefully and made notes. I had to modify the stair plans slightly to fit the space where we wanted to put the bed. The stairs look narrow, but they work just fine. My husband and I can both use them to get up in the bed. The stairs feature hinged stair tread with built in storage. We built them like that at first, but then later decided to make them stationary stair treads, with plywood. I didn't like the way the hinges looked and the top stair was so deep that I was worried my son would fall in there and get stuck. The storage idea was neat, but his safety was more important to me. The bed turned out really nice and VERY sturdy. Both my husband and I are able to get up there with my son (not at the same time). Another modification that I made was instead of slats to hold on the mattress, I used a piece of plywood. I wanted the roof in the playhouse to look finished, and I didn't want to see his bedding hanging down from the slats. I painted the top of the plywood white, where the mattress goes to blend in with the slats, and the other side was painted blue to match the walls inside the playhouse. I did modify the playhouse front facade to have 2 windows and one door. I like the symmetrical look. The total project cost about $400. I used birch plywood and select pine boards, and about 6 quarts of paint. I noticed AFTER we had finished the bed using the birch plywood, that Home Depot had cabinet grade plywood on a random end cap, that was just as nice for $12 less a sheet. If I could do it all over again, I would definitely use that!. I wanted the paint to have a nice smooth finish, without having to do a lot of sanding or patching. We had Home Depot cut the plywood to the dimensions we needed. I had my husband cut the rest of the wood dimensions listed in the plans, and then I painted all of them before we put the pieces together. I used a small roller and self priming paint. The paint finish looks great. After assembling the bed I can not imagine what I would have gone through trying to paint it after the fact. The slide was a bit tricky, I looked at the plan for the castle loft bed and attempted to use those dimensions, and for the most part they worked. But when we went to assemble the slide, we did end up recutting some of the wood to different dimensions. I used a piece of the melamine coated closet shelf material for the slide. It is already finished in white and its nice and slick, like a slide should be! I hate MDF, but for this it seemed the best fit. We cut the top edge at an angle to meet up with the slide platform. PLEASE BE CAREFUL with this material. After it was angle cut the edge was razor sharp and I sliced my fingers up. Once it was installed it butted up perfectly to the slide platform, and the edge was hidden and not a danger. But use caution during the install. Clamps are your friend! We used Kreg clamps for everything. They kept the wood in place while we were screwing the parts together. The coolest thing that my husband came up with was clamping two identical pieces for plywood together, and drawing the template for the slide support walls. Then he used his circular saw to cut them out. We ended up with two mirror image pieces. They looked awesome. I left them clamped together when I sanded the edges as well. We really didn't have any building experience other, than building tables and chairs for children, We got the deluxe Kreg jig kit and a miter saw on Craigslist for $50 each and they were both practically brand new. This was the first time we had ever used a Kreg jig and we are both addicted. That thing is the bomb. We locked my son out of his room for a week while we assembled everything. We had the big reveal at his birthday party and all of the guests were excited to see it after seeing my facebook teaser posts of our progress. There were 8 kids up there at one time and the bed did not budge. They all enjoyed the slide. I did the planning and paint and my husband did an awesome job making all of the cuts and sanding everything. We are both very proud of the final product. My son love his new big boy bed. DISCLAIMER: This bed is not recommended for a child under 6 years old. My son is mature for his age and we monitor him carefully.

Estimated Cost
$500
Estimated Time Investment
Week Long Project (20 Hours or More)
Finish Used
BEHR PAINT IN BRIGHT WHITE AND RIVIERA PARADISE SATIN FINISH
Recommended Skill Level
Beginner

Comments

krissy2696

Wed, 07/06/2016 - 10:05

Hi, my husband is building this bed for my 6 yr old daughter, but in purple blue and white. We adding the slide too. May I ask what size bedroom you guys have for your son, and did the bed fit well? Did you have to make any adjustments for it to fit in the bedroom?  Thanks in advance! Your bed looks great! I hope ours turns out as good.

Christine N in PA

Just My Size Closet

Just My Size Closet!

Built this from Ana's plans with a few modifications.

Started with a big empty box after ripping the old stuff out and finished with this look.

Adjustable shelves and all !

Built from Plan(s)
Estimated Time Investment
Weekend Project (10-20 Hours)
Finish Used
Whatever white paint my wife bought !!
Recommended Skill Level
Beginner

Outdoor Sofa - Front Porch

Submitted by mclaudeg3 on Fri, 11/06/2020 - 16:47

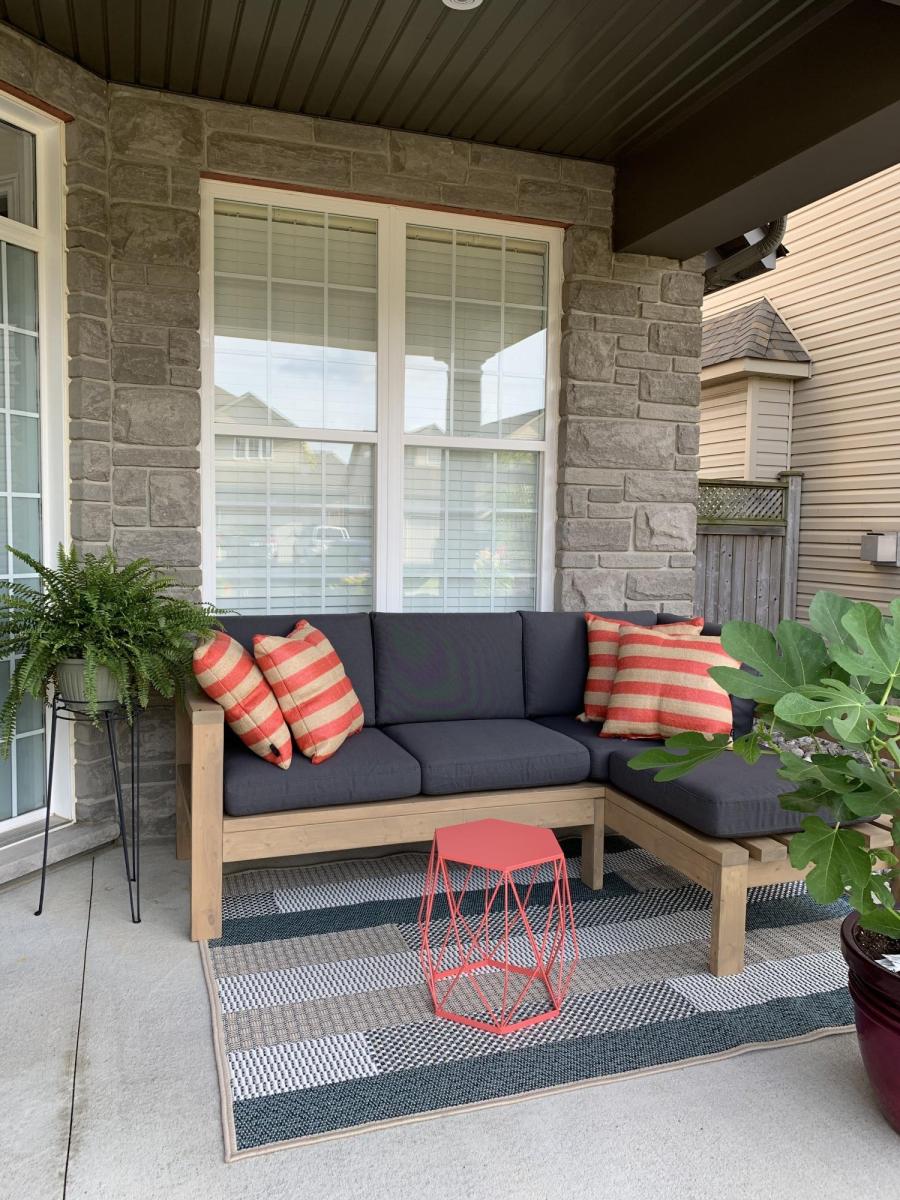
This project was quite easy and did not require many tools. The plan allowed me to adjust the measurements easily so it could fit in that space. I used regular 2x4’s and treated the wood with Mountain Ash colour in a semi-transparent stain from Sherwin Williams, I just love the colour! I build 2 - 2 seaters exactly the same. The one side has no arm, as I wanted it to look like a lounge chair. I love to sit in the corner and stretch my legs 😊. I bought the cushion covers from IKEA, and got good quality foam.

Estimated Cost
Wood ~$300
Estimated Time Investment
Weekend Project (10-20 Hours)
Finish Used
2 coats of semi-transparent Mountain Ash stain from Sherwin Williams.
Recommended Skill Level
Beginner

Comments

Seasonal And Holiday

Rekourt Dining Table and Benches to Match

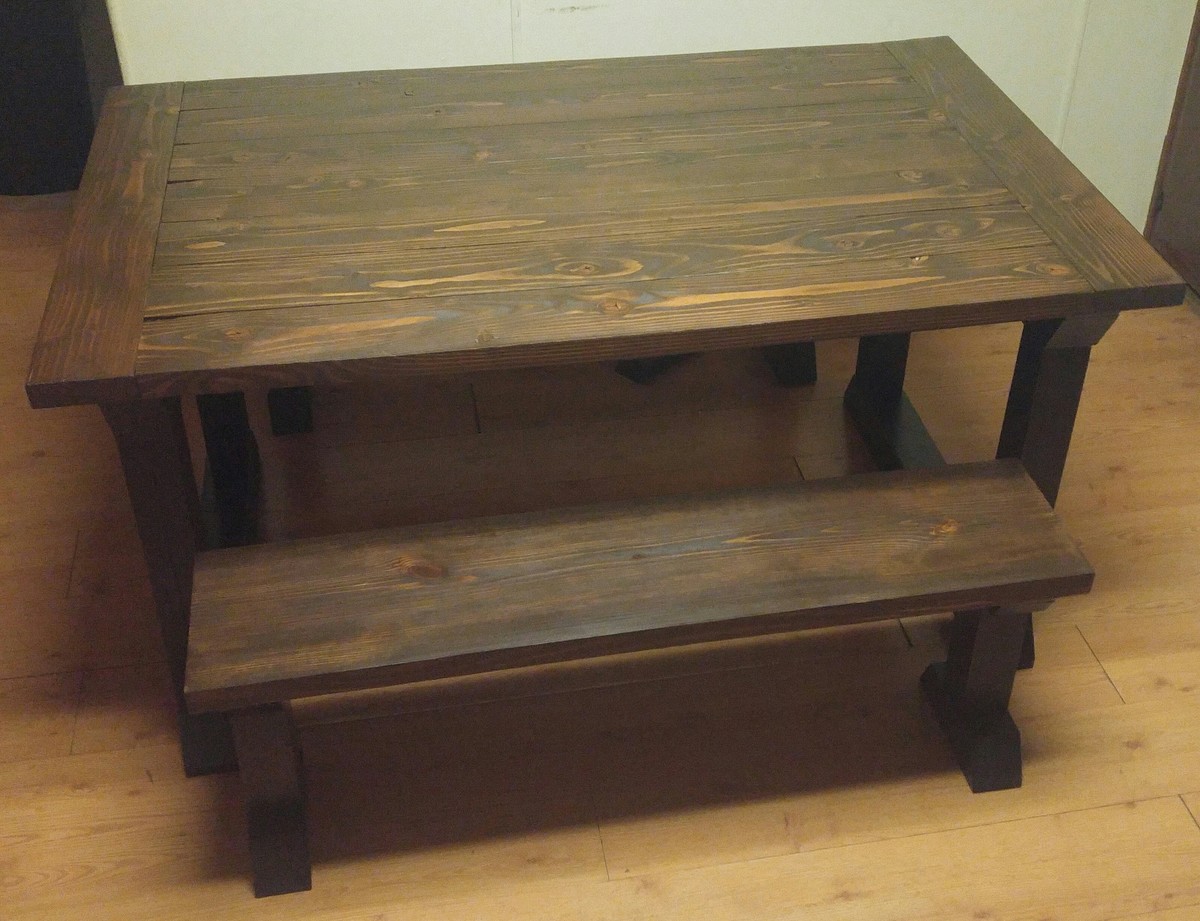
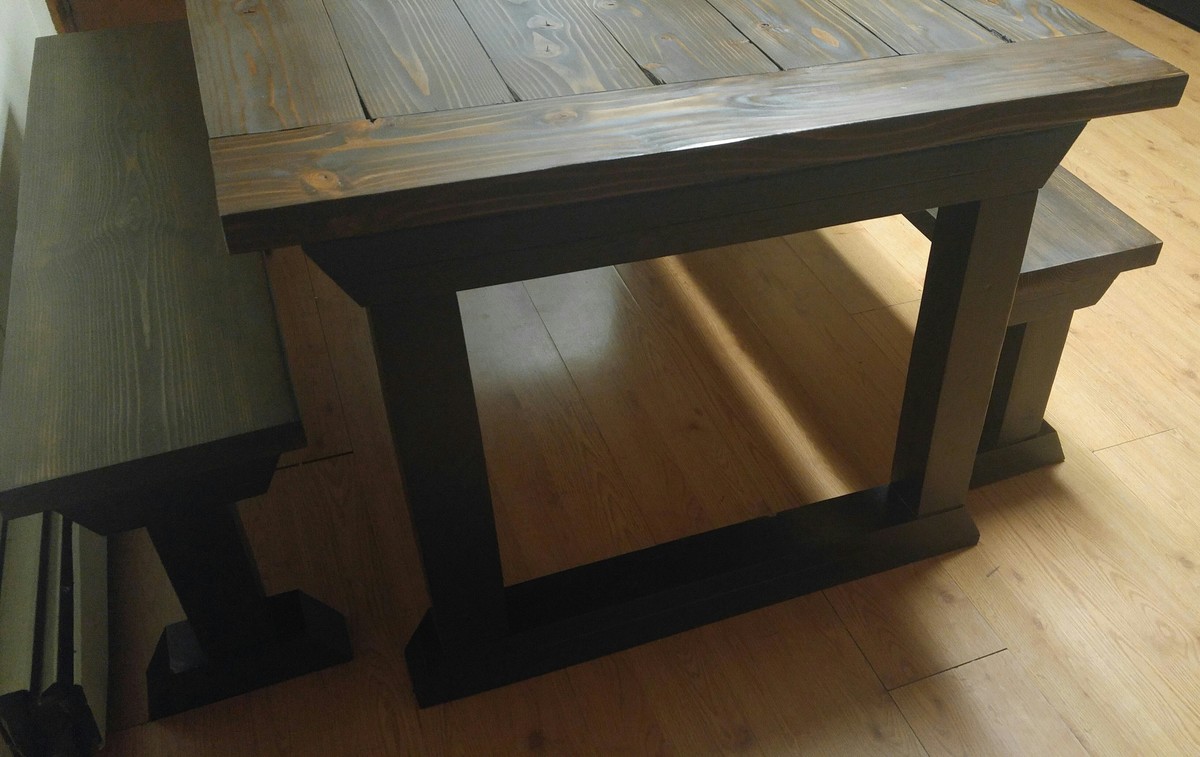
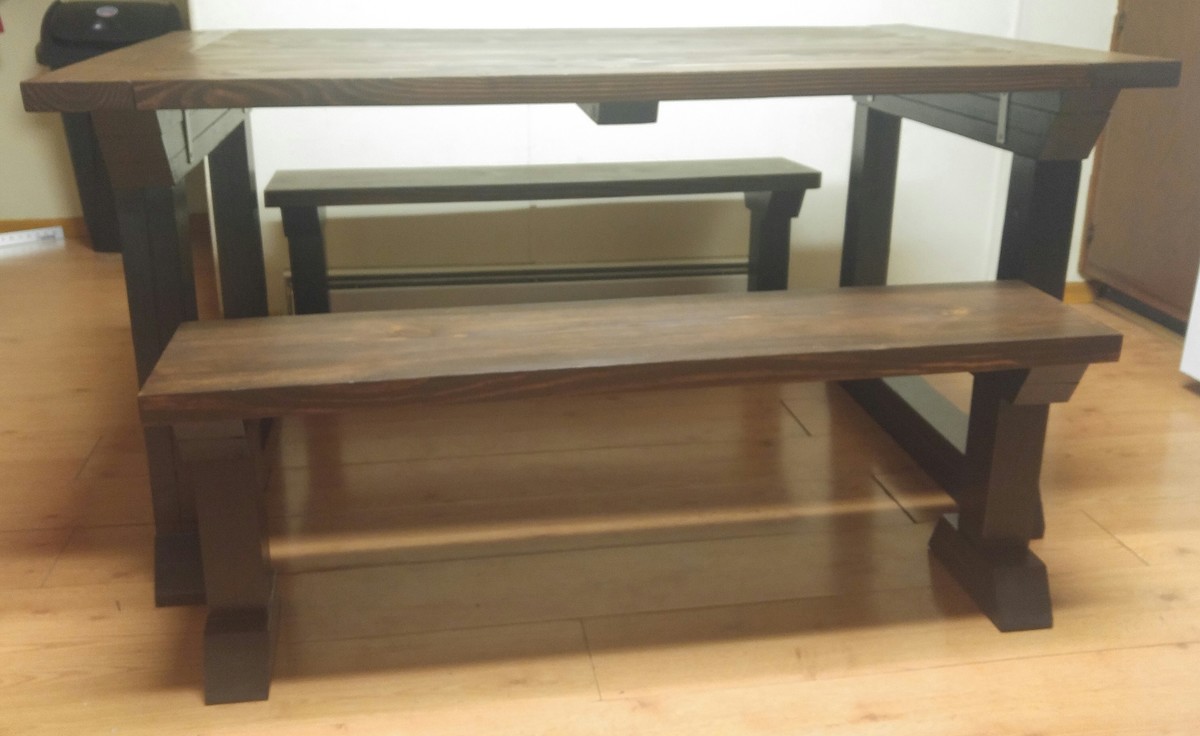
I used the Rekourt plans for the most part, but I did change it a bit. I needed a smaller table, so I adjusted the plans to accommodate this. The table is 5 feet long with matching benches that are 4 feet. I eliminated the 2nd cut on the 2x4s used to construct the table base to simplify the look. I also made custom benches to match, as I could not find any plans that were an exact match on the site. This is the first time I've built anything, and it took some trial and error and a lot of muscle. It was well worth it though!

Estimated Cost
$200
Estimated Time Investment
Week Long Project (20 Hours or More)
Finish Used
Glidden High Endurance in Black Onyx Eggshell
Minwax Wood Finish in Dark Walnut
Minwax Fast Drying Polyurethane
Recommended Skill Level
Intermediate

Play kitchen

Submitted by Anonymous (not verified) on Sat, 12/26/2020 - 16:28

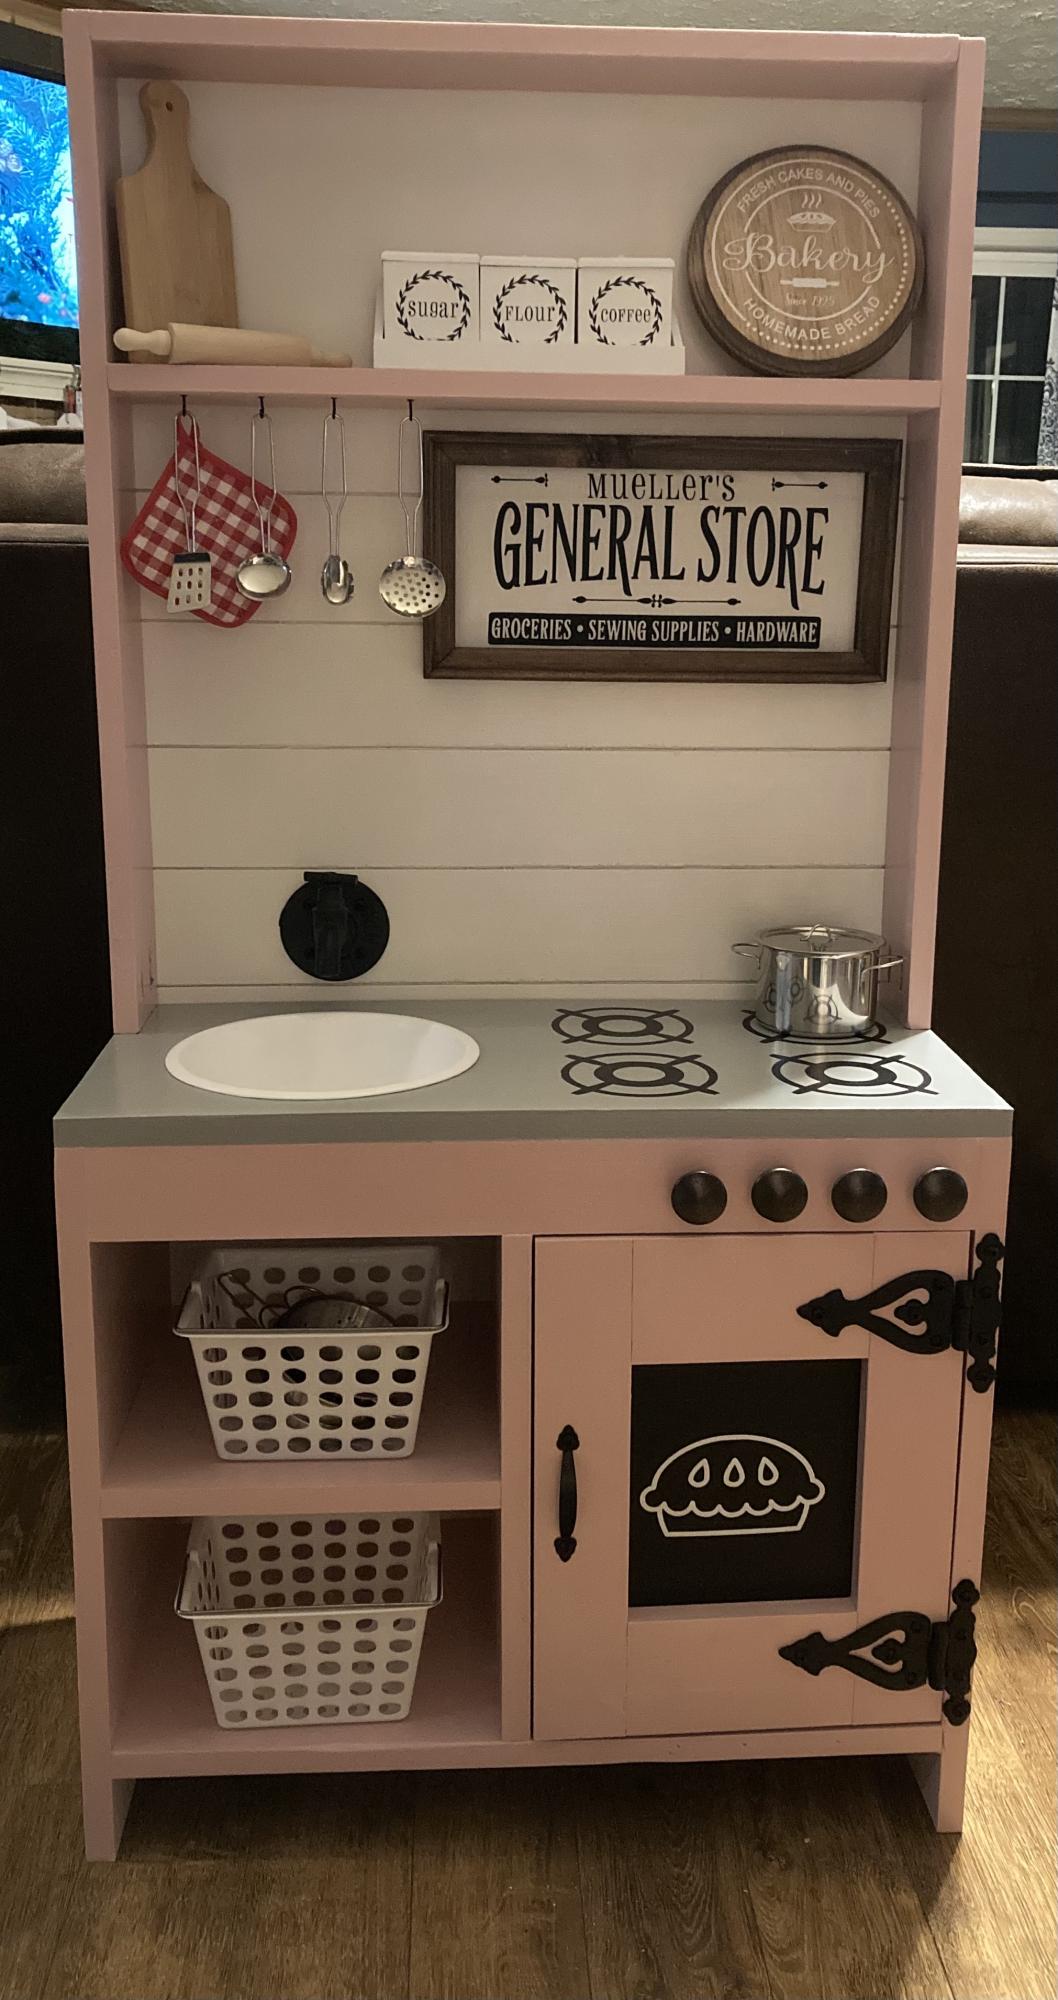
Made this for my grand-daughter’s birthday!
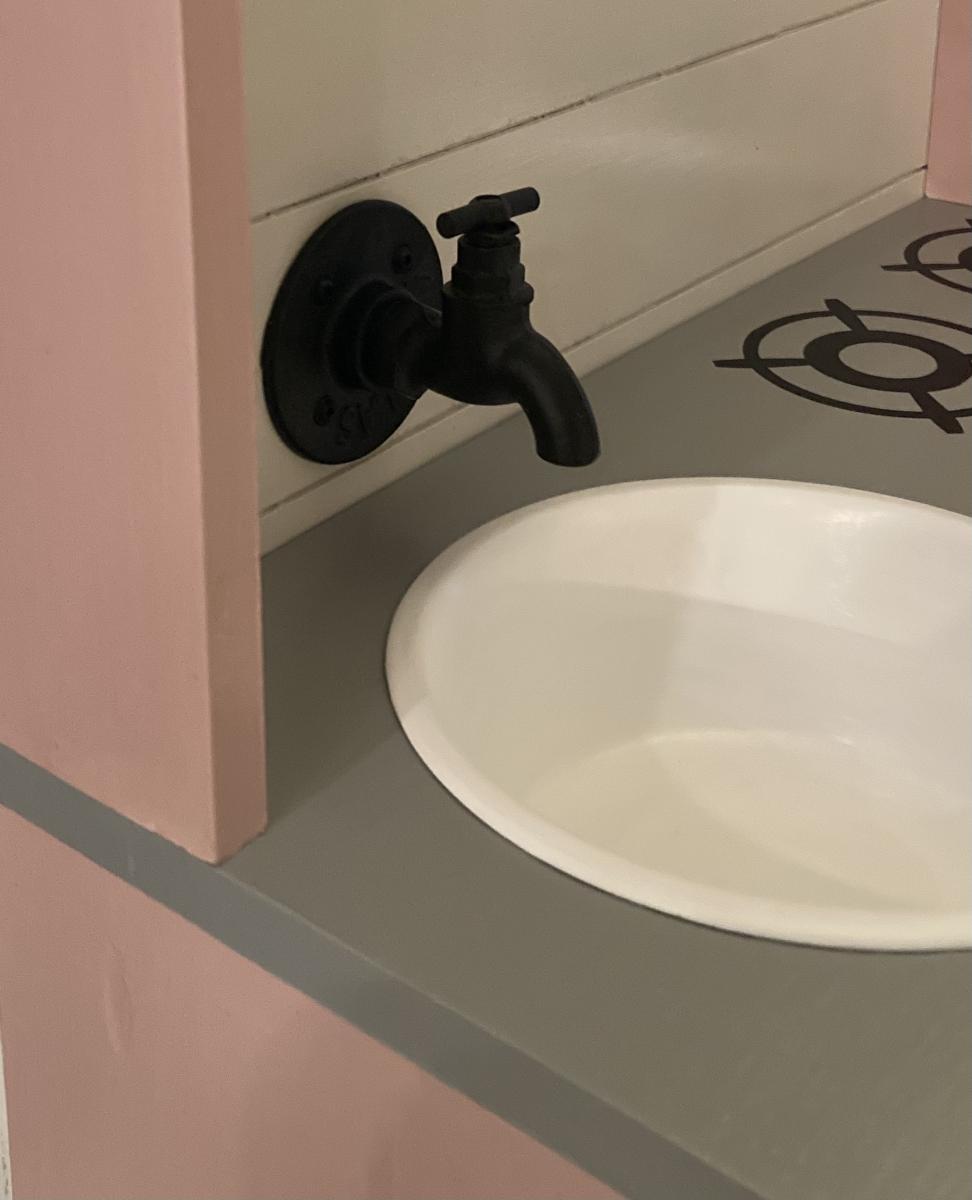
I used the play kitchen with back wall plans. I used my circular saw to make 1/8 grooves for the shiplap, a dog bowl for the sink painted with enamel paint, the faucet is actually a coat hook I purchased from Amazon. The hutch is made from basic 1x4’s. The burners were made from an svg from Etsy as was the pie in the oven and the sign above the stove. Super cute, fun project!

Built from Plan(s)
Finish Used
Waverly paint in Ballet Slipper pink, gray chalk paint and white paint. Sealed with polycrylic.

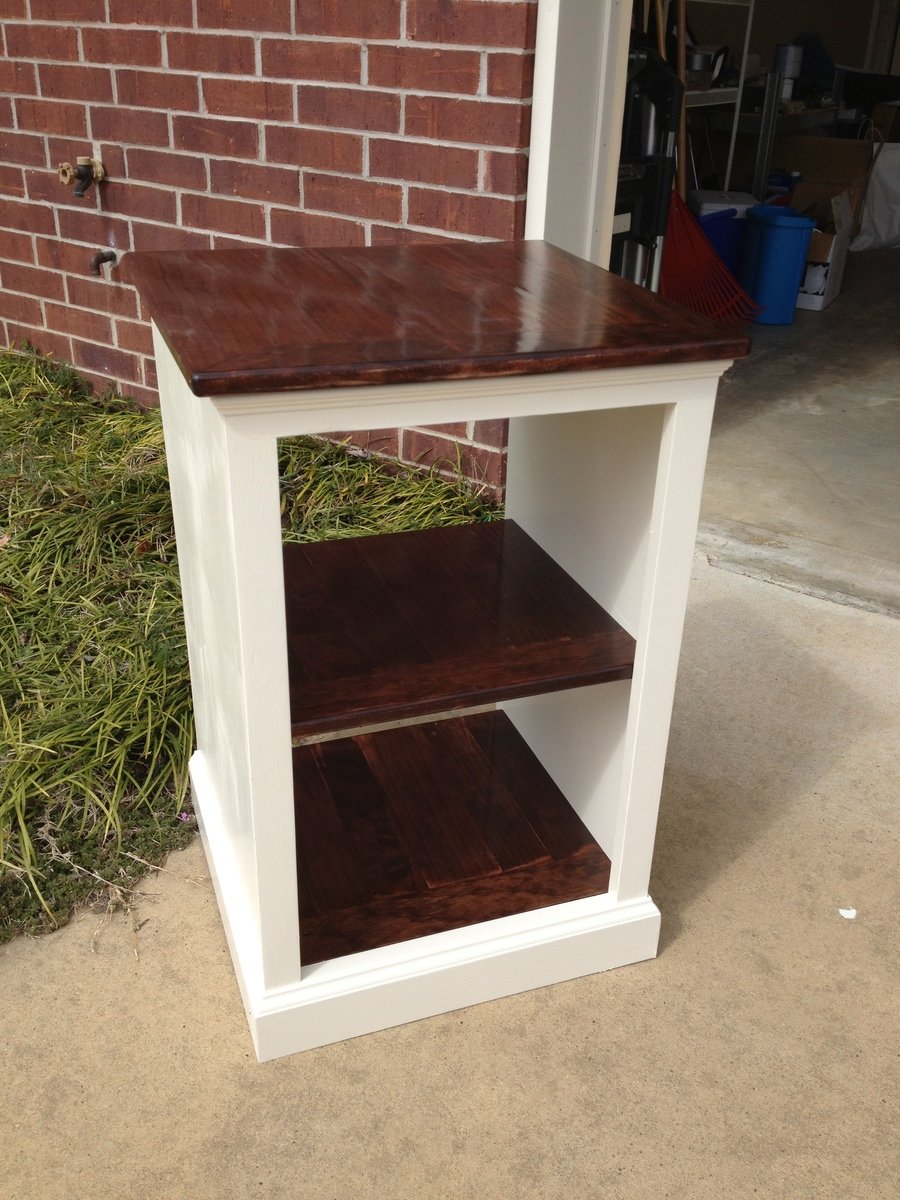
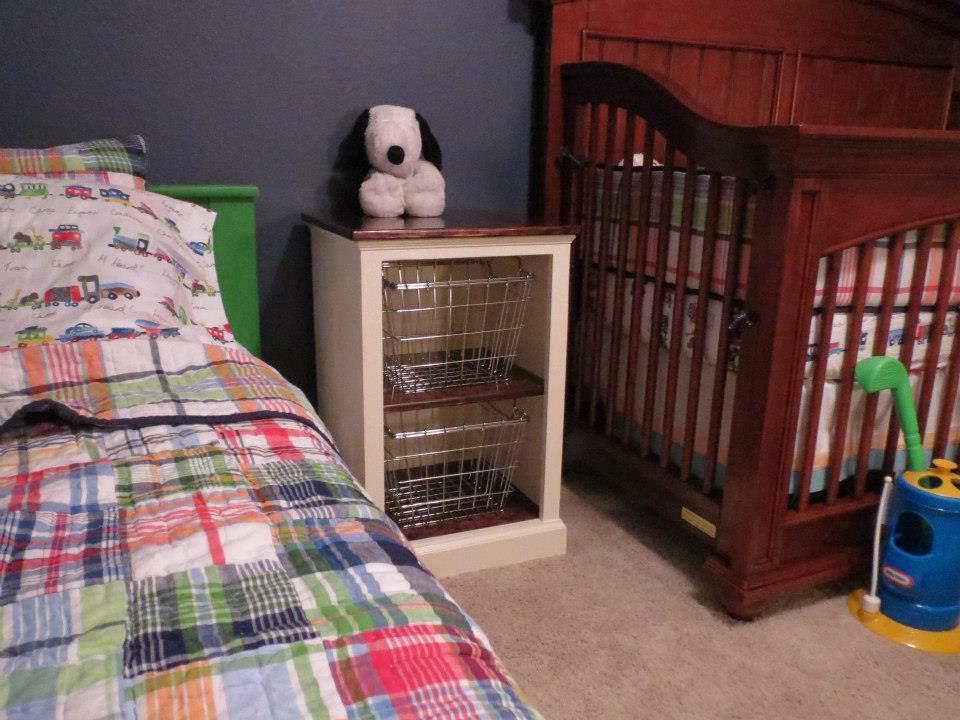
Painted and Stained Katie Open Shelf Nightstand

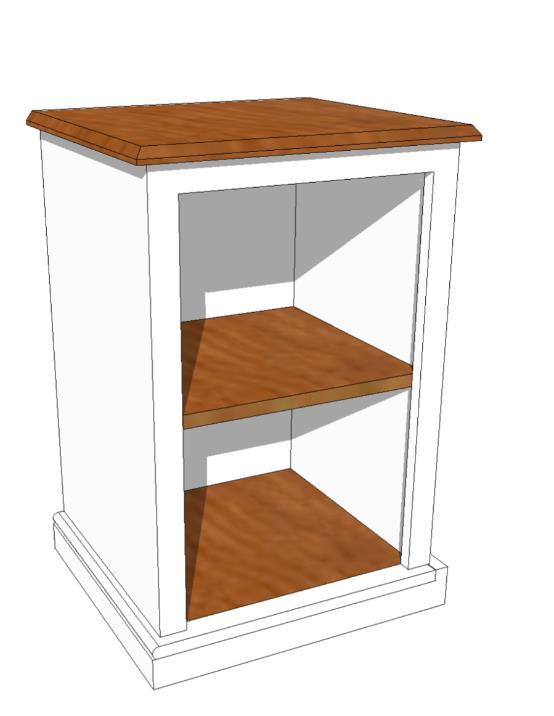
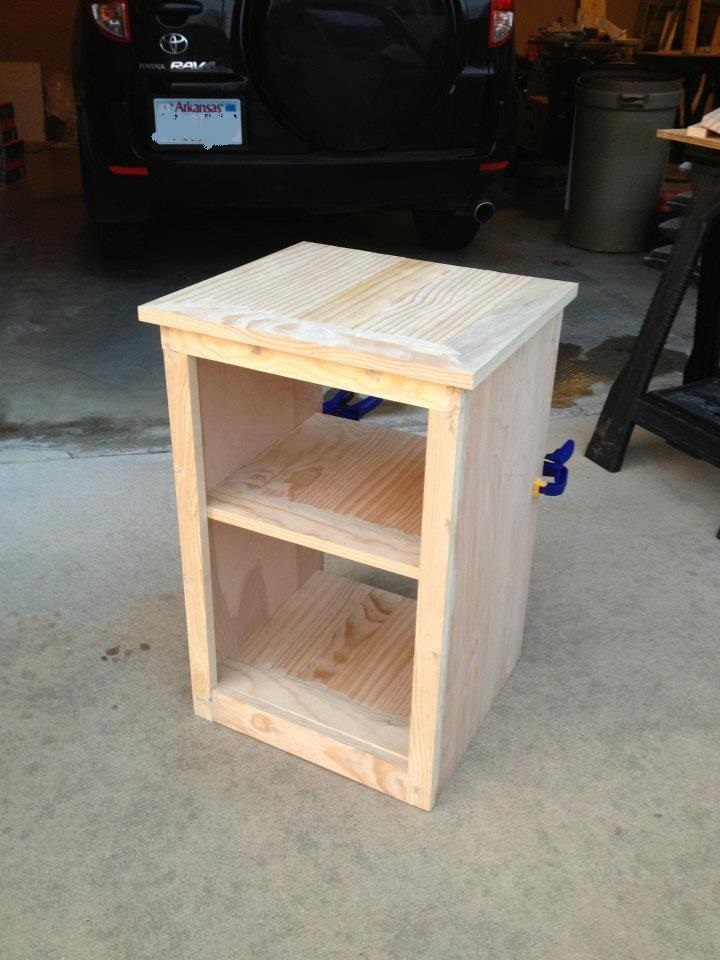
Followed Katie Nightstand plans, but stained the top and both shelves. Open areas were built to accommodate some wire baskets we found at the Container Store.

Estimated Cost
90.00
Estimated Time Investment
Day Project (6-9 Hours)
Finish Used
Valspar Off White (can't remember exact color) in semi-gloss and Minwax Wood Finish in Red Mahogany/Gun Stock (2/1 mix) with 2 coats high gloss Polycryic over top.
Recommended Skill Level
Intermediate

Laundry Pedistal

Submitted by Anonymous (not verified) on Thu, 04/27/2017 - 12:15

We have a very small laundry room that does triple duty as a dog kennel and mud room. This riser is a perfect storage solution! The fact that I can see directly to the back of the Washer, and transfer clothes without bending over, is an added bonus! The building plans are sturdy and easy to follow!

Estimated Cost
$100
Estimated Time Investment
Weekend Project (10-20 Hours)
Finish Used
High gloss egg shell interior paint by Behr
Recommended Skill Level
Beginner

16' x 16' Storage Shed

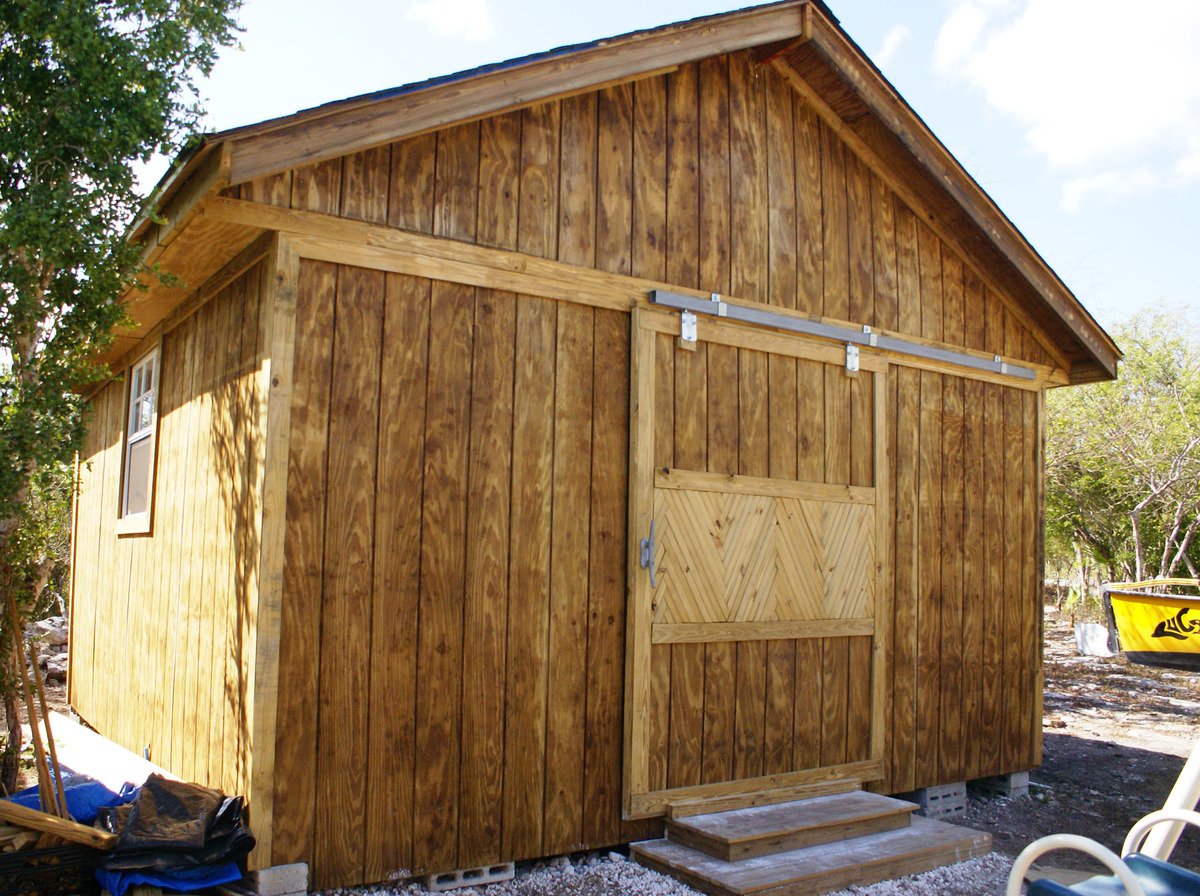
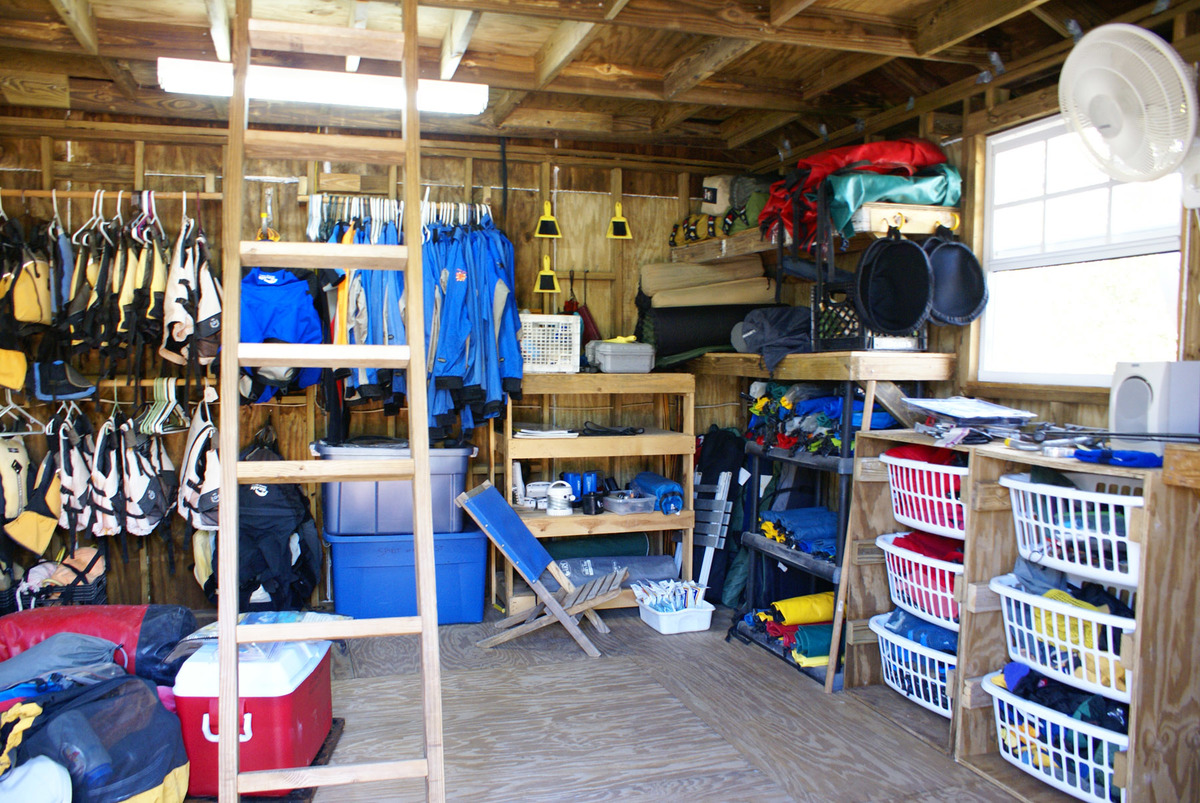
Thanks to the tips and tricks we picked up from Ana here, we were able to build our very own storage shed. We use it for storing our kayaking, sailing and camping gear for our company down here in the Bahamas (which is still a bit unorganized in the photo). It works so much better than what we had before in multiple kit sheds. We even have a loft up top for extra storage, electricity in there with a fan, fridge and lights... MAJOR UPGRADE :) We still need to paint it and finish a few things, but we are very thankful to have it up and being used.

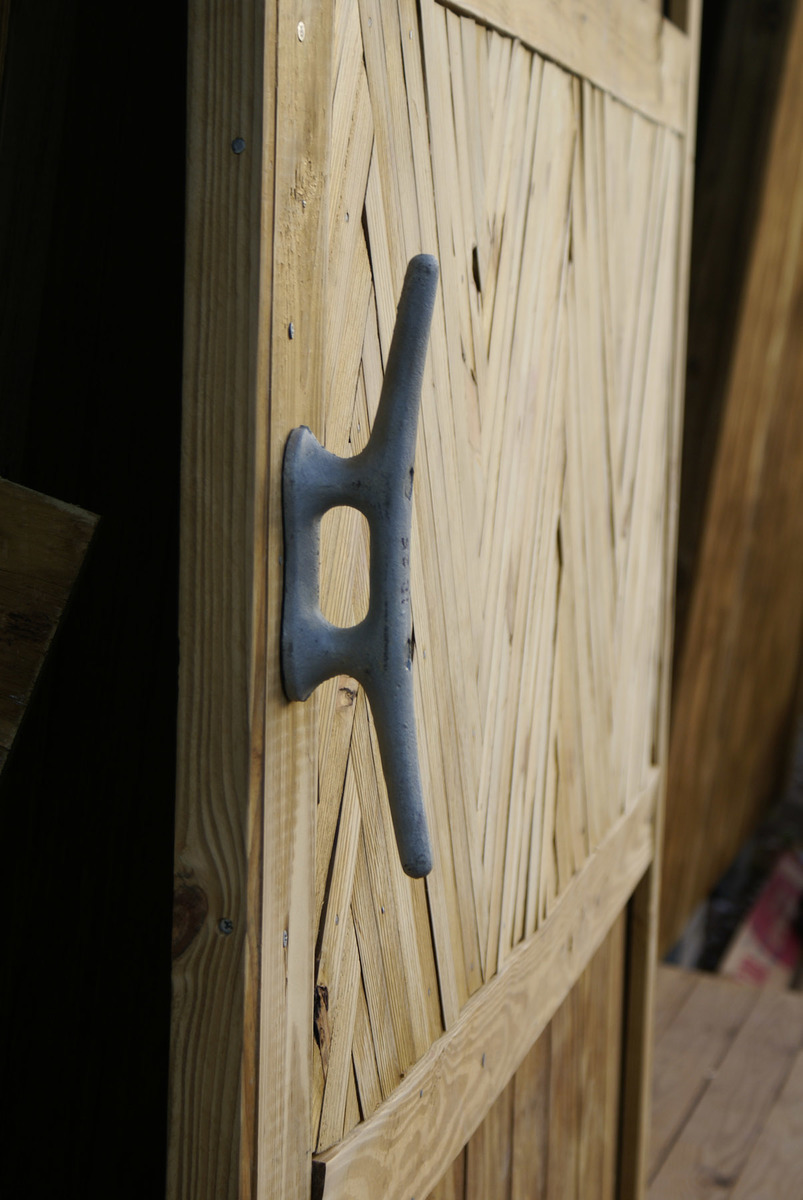
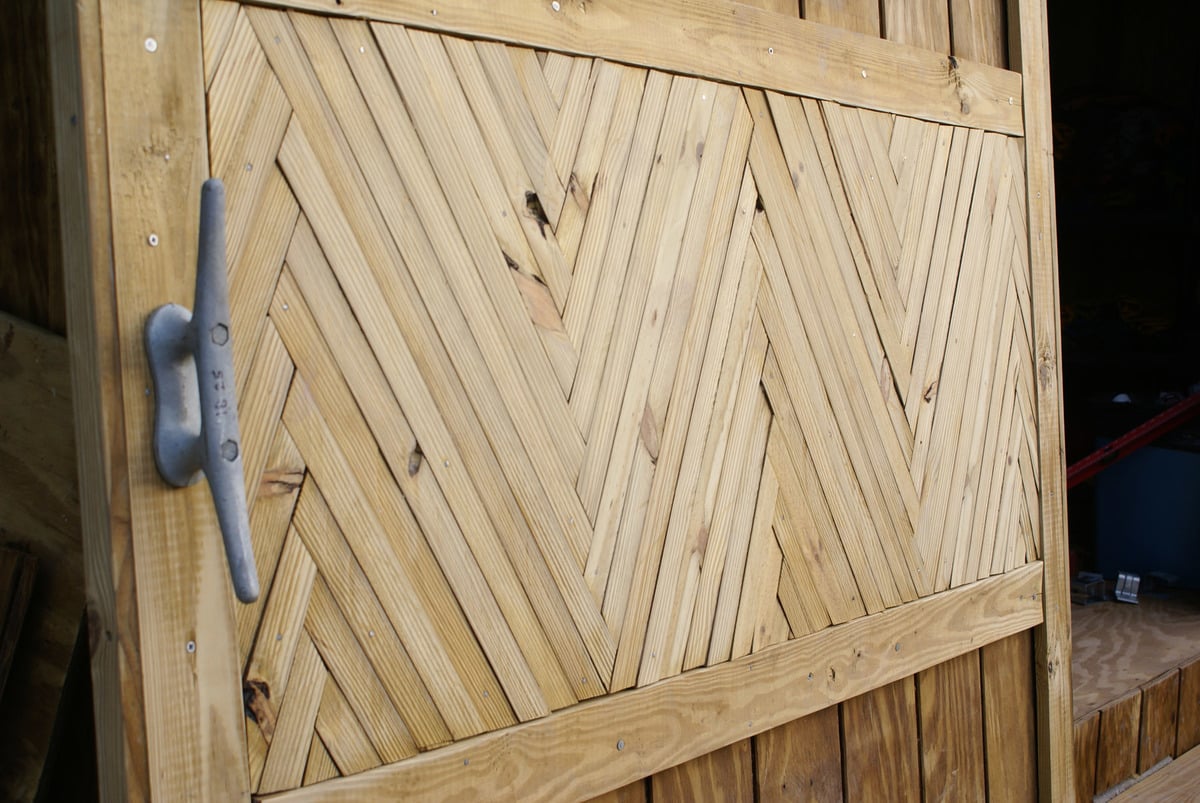
My favorite thing is the door handle (a boat cleat) sliding barn door and the herringbone design for 'eye candy' :)

Thanks go out to Ana and her wonderful site! I would have never attempted this without the foundation I built here!

Estimated Cost
$4,000 (living on an island in the Bahams so it's a bit higher here)
Estimated Time Investment
Week Long Project (20 Hours or More)
Finish Used
Still need to paint it!
Recommended Skill Level
Intermediate

Comments

jbayer80

Sun, 04/14/2013 - 20:37

What did you use to make the sliding door? Can you upload pics? I really want to make one for my bathroom but all the hardware I find is really expensive.

spiceylg

Mon, 04/15/2013 - 11:30

Great job and love that you also incorporated her laundry basket dressers!

mistievn

Sun, 05/05/2013 - 11:19

It looks amazing! Would you happen to have plans to share? We are in need we do not even have a garage. This would be perfect.

In reply to by mistievn

exuma_momma

Sun, 05/05/2013 - 13:58

Not really any plans that would help. We just drew some rough sketches up some paper and kind of went from there. Between Ana's site here and this book: http://www.amazon.co.uk/Building-Shed-Build-Like-Pro/dp/1561586196 we just pieced things together with the space and money we had. The book just helped me a lot to plan it out, and then all of the building techniques Ana has taught me on here came in handy. It's a group effort :) Hope this helps!

Bunk Beds {land of nod inspired}

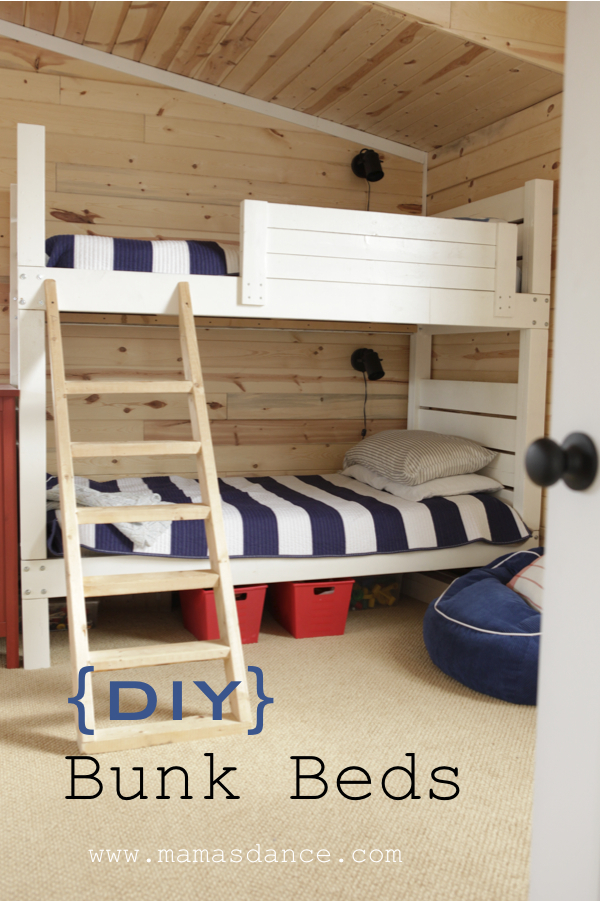
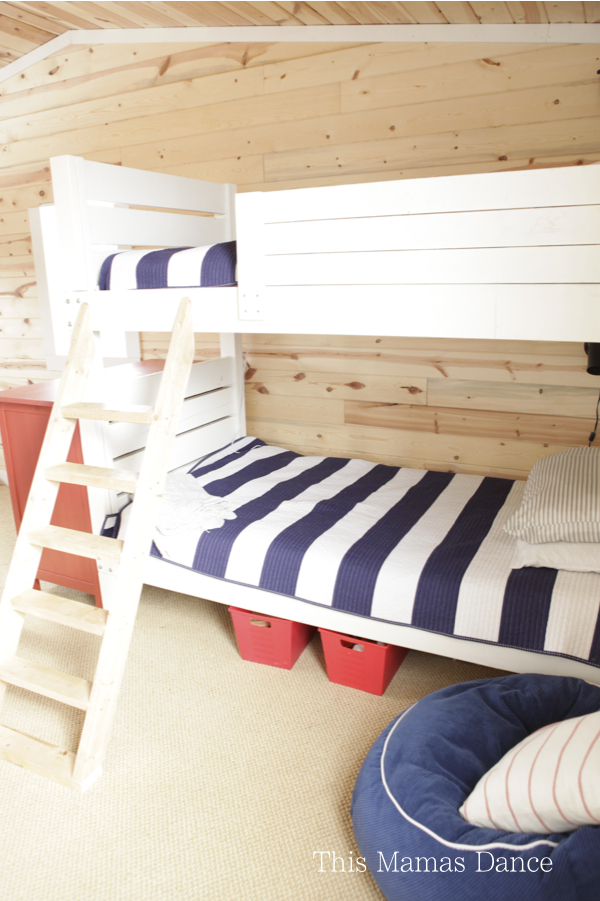
We built these bunks for our boys, ages 4+6. The plans were super simple to follow.  The frame was built out of scrap 2x6's and 2x4's. We did have to make a modificatioon on the ladder- it came up just short for some reason, so we added a 2x4 to the bottom.

Built from Plan(s)
Estimated Cost
we only had to purchase nuts and bolts, so this didn't cost much. If you were to build from scratch I think it would be between $100-$200 CAD
Estimated Time Investment
Day Project (6-9 Hours)
Finish Used
Latex Paint in Semi-Gloss
Recommended Skill Level
Beginner

Comments

We love the skylights in our version of your greenhouse!

Submitted by Anonymous (not verified) on Tue, 08/31/2021 - 08:23

This was the perfect post-retirement project for me. It was a lot of work, but very rewarding.
I documented most of it on my blog.

We sure love this greenhouse!

Built from Plan(s)

Comments

rick1956

Wed, 09/01/2021 - 05:37

Thank you! They definitely added a LOT more work, but we've already used them a lot. The plants are sure glad for them. I'll post pictures of the finished greenhouse when it's finally there.

Backyard Oasis

Submitted by nengel21 on Tue, 10/04/2022 - 11:17
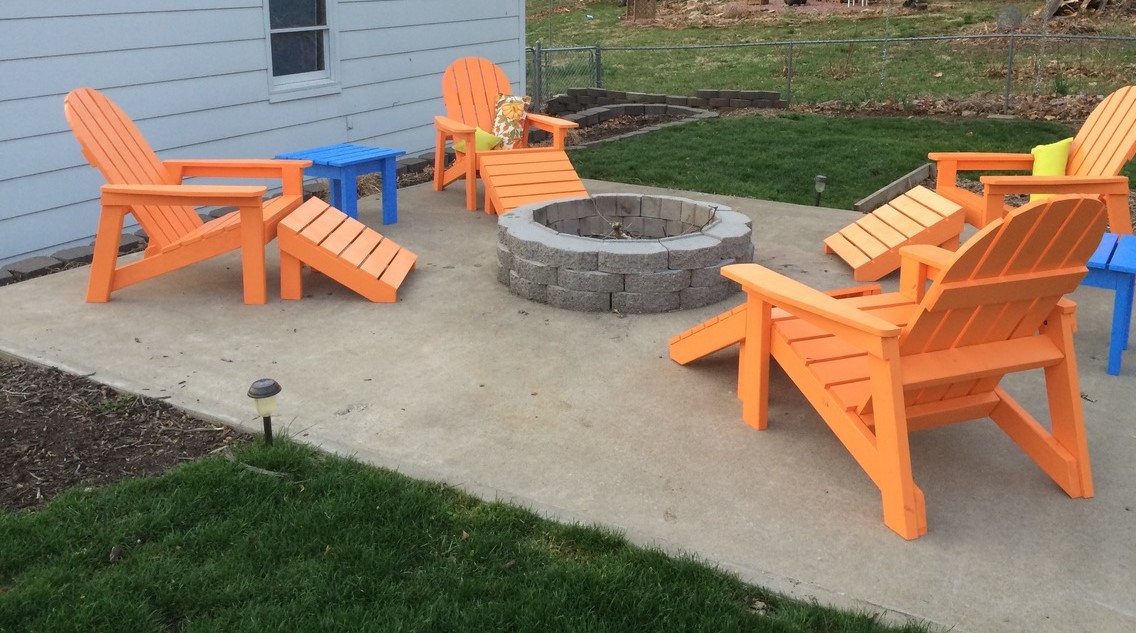
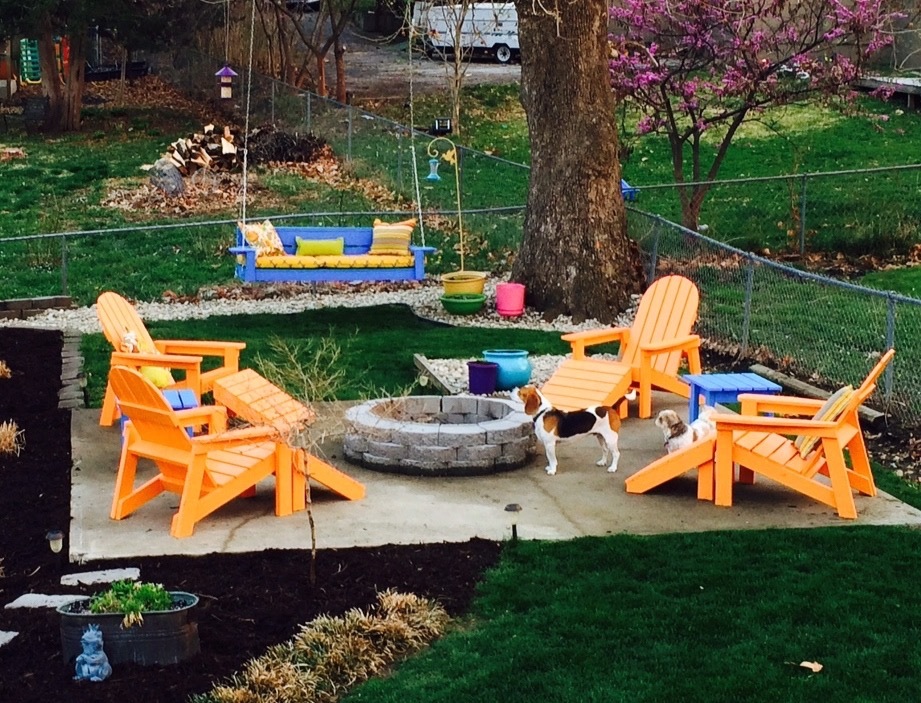
The beauty in these plans were the very basic construction. Using mostly 2” x 4” and 1” x 4”, the chairs were super easy to put together and are sturdy enough to hold up to any backyard oasis bash. The biggest takeaway from the project: Don’t buy paint while hungry. You end up with ‘Carrot Cake!’
Estimated Time Investment
Week Long Project (20 Hours or More)
Finish Used
Exterior Latex Paint
Recommended Skill Level
Beginner

Comments

bobaina

Mon, 05/11/2015 - 03:24

Ok, I was thinking of just how great these chairs would look around a fire pit.... and then I seen this. I may have to talk my husband into this for a summer project! Great build. Love the bright colours! And the poochies are cute too :)

Cedar Boxes made with Pallet Wood

Submitted by flashfire on Fri, 09/15/2017 - 22:19

Thanks for the plans, I was able to make this for a friend's birthday. I made it from pallet wood and it was so easy, I did a mitred top though because I wanted it to look neat and trim. .

Built from Plan(s)
Estimated Cost
Nil
I used pallet wood
Wood glue & screws I already had
Estimated Time Investment
Week Long Project (20 Hours or More)
Finish Used
Linseed oil
Recommended Skill Level
Beginner
Seasonal And Holiday

My version of the Simple Outdoor Dining Table

Submitted by cchalifour on Wed, 11/24/2021 - 19:48

My version of the Simple Outdoor Dining Table
- All Cedar

Built from Plan(s)

Comments

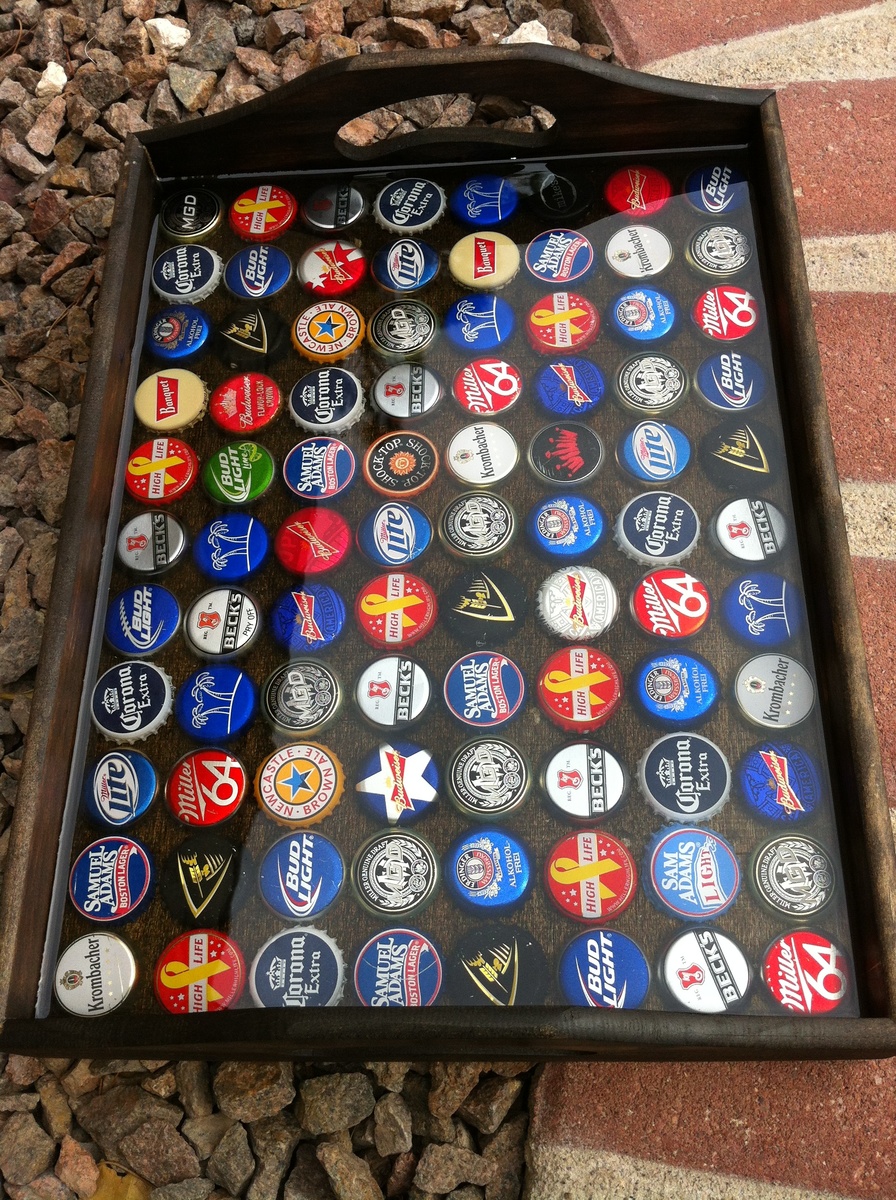
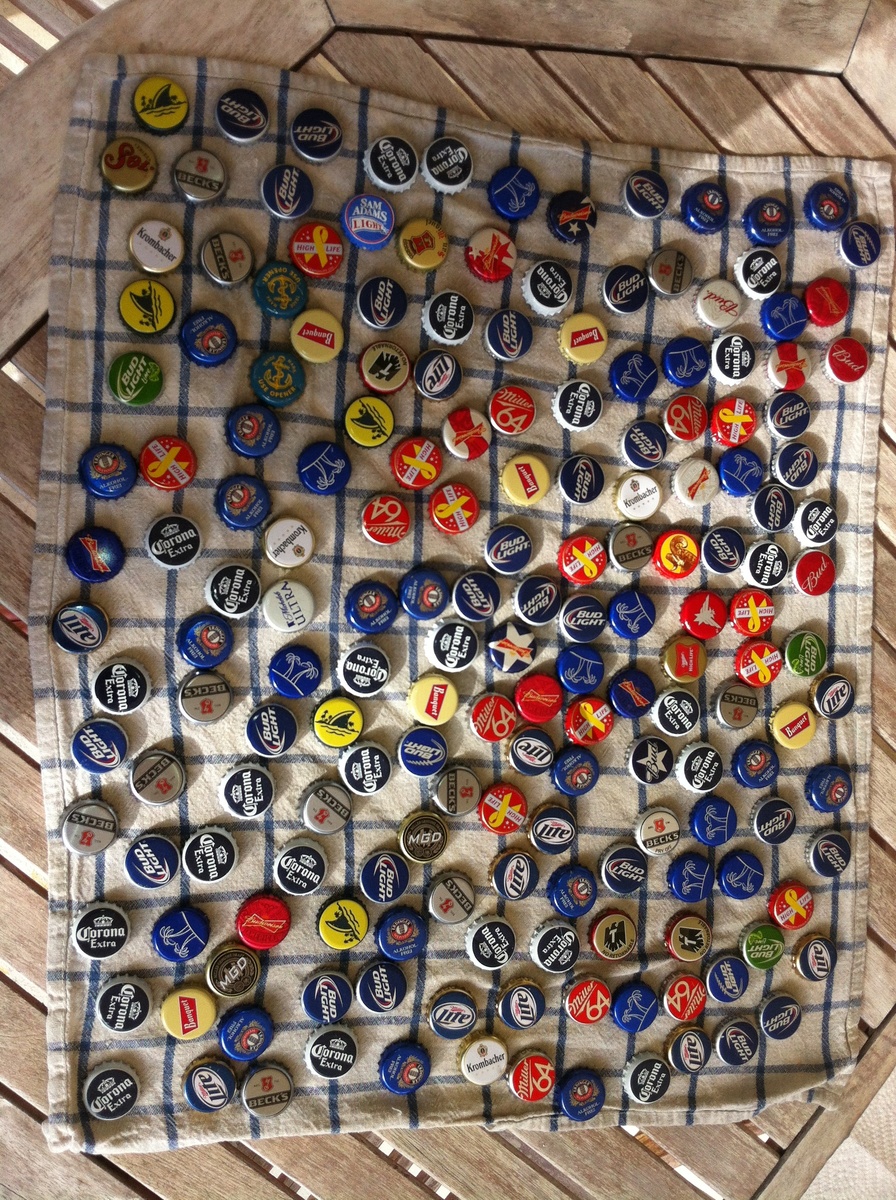
Bottle Cap Tray

Submitted by Jann Antos on Wed, 07/03/2013 - 18:29

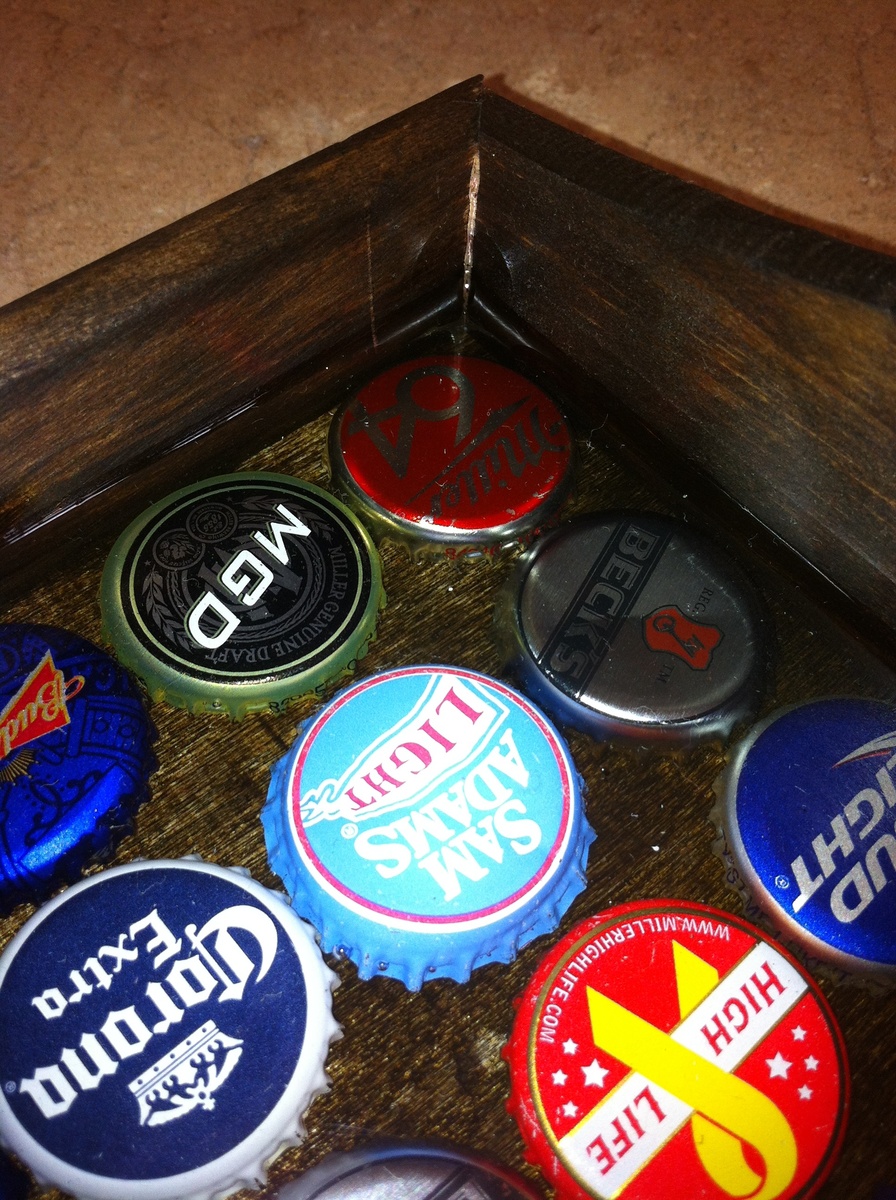
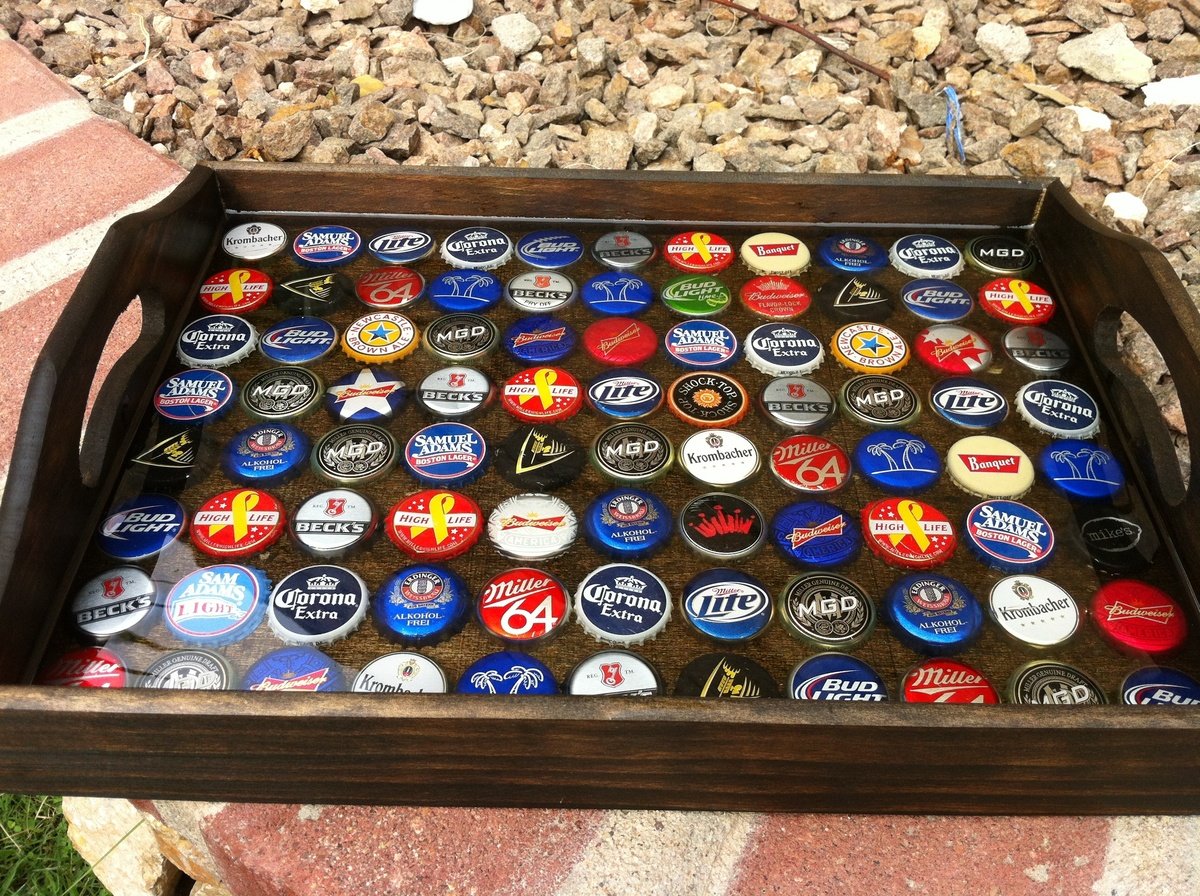
How to build a Bottle Cap Tray AND what NOT to do.

These Bottle Cap Trays are sold for 45+ Bucks online. I spend maybe 15$ on it.

You need a lot of Friends drinking a lot of different Beers... For this tray i needed 88 Caps. I also asked Bartenders and Co-Workers to collect Caps. As more colorfull you get as better. Twist off Caps are the best behause they do not have dents.

I bought the Tray at Hobby Lobby for 3.99$ (you can also build one from a Plan from this Side) and after sanding with 220Grid i stained it to fit my Home Bar. After lay out the "Design" i removed them all and lay them in the back of the now empty tray.

2 Ways to glue the Caps to the Board:

1. Hot Glue (be carefull the Caps get very Hot)
2. I poured just a small amount of the Epoxy in there and pushed the Caps into the Ressin...

How to mix Ressin...

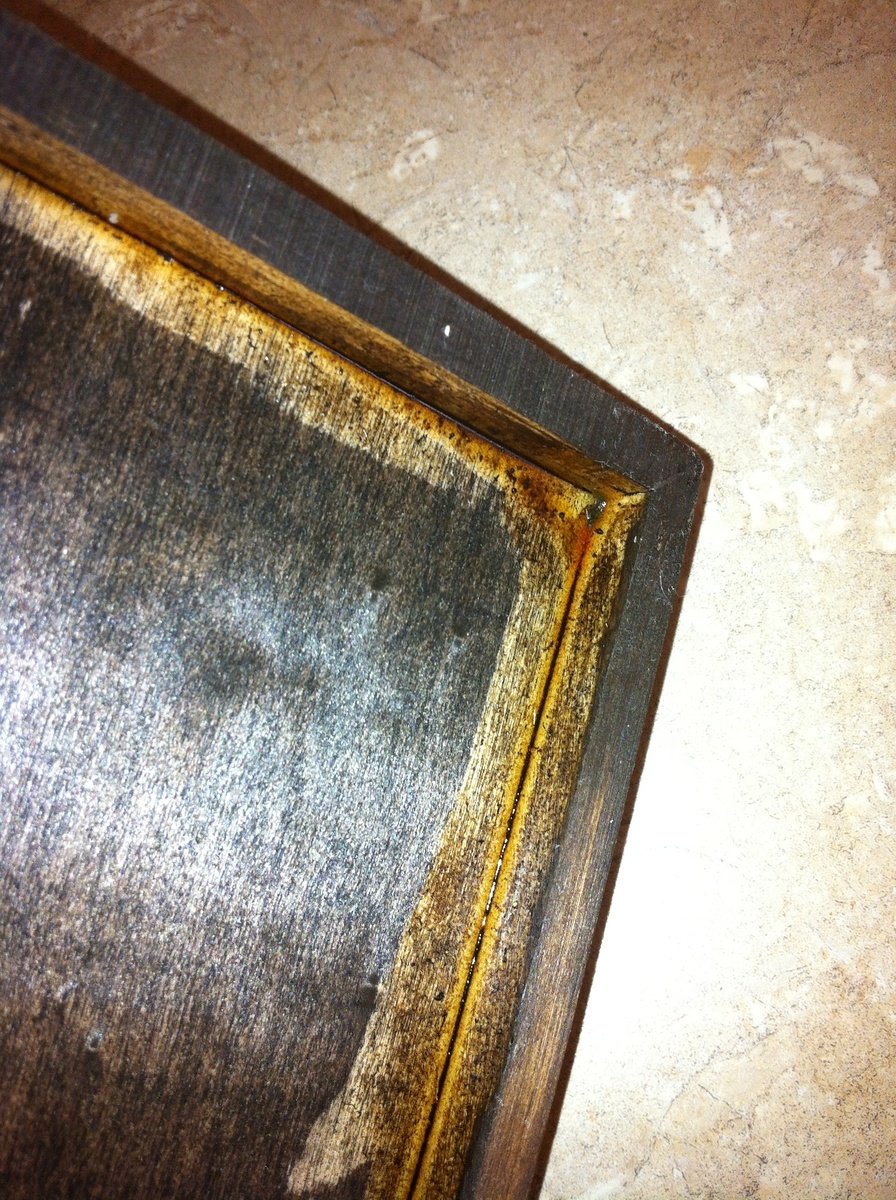
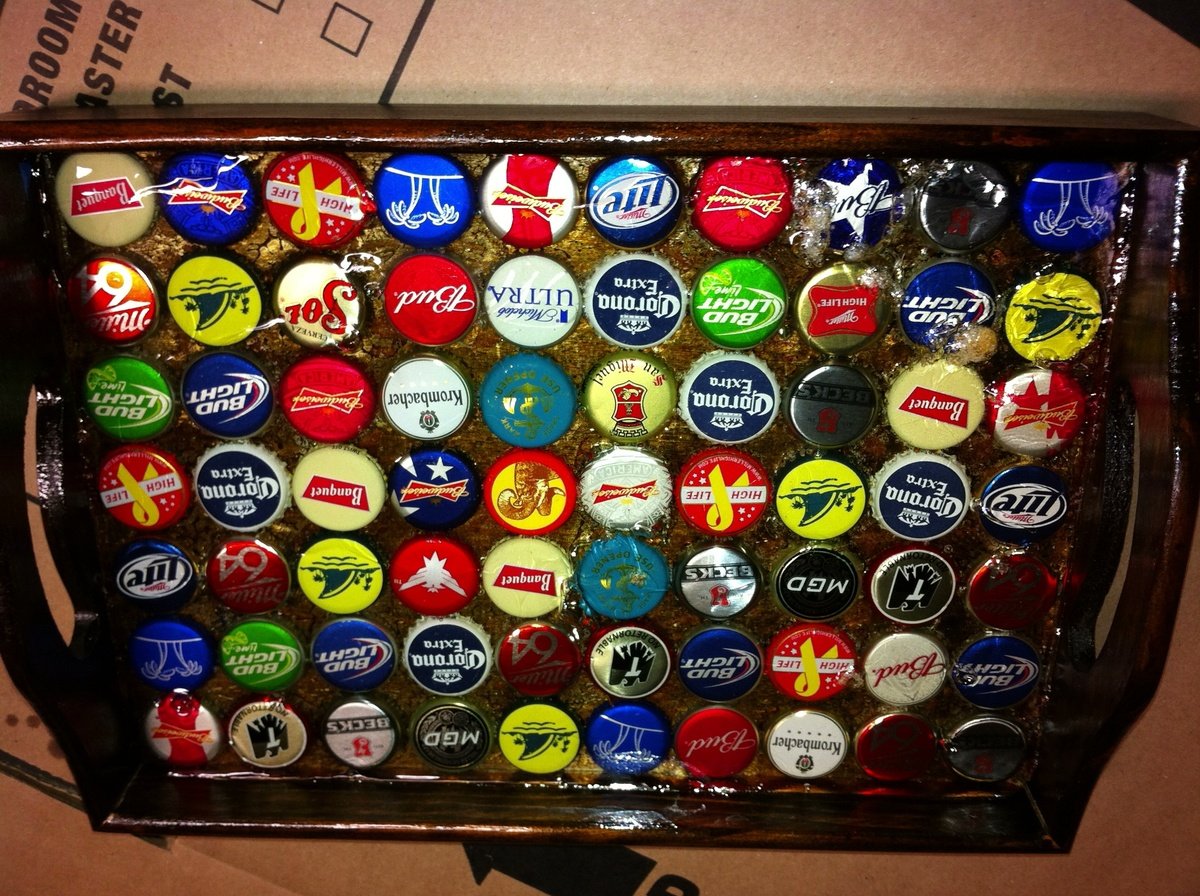
Read the Manuall!!! The first 2 Trays i poured to much and then it gets very very hot and ruin everything (see second last Picture). 2nd Glue the board to the Walls, if the Ressin runs out of the Tablet it is also a great mess!

I Used 2 small cups messured it and Mixed it in the Red Solo Cup...

Put the Tablet on an even surface (protect it) and pour a small amount into the tray... Level it and then put the Caps in there and use a torch to get rid of the Air Bubbles. I needed 3 layers to Cover all Caps. Keep it Dustfree during curing - very important .

I let it cure for 12 Hours bevor the next layer was applied. Total Curie after 72 Hours...

Sorry for Bad English - i am German...

Hope that helps to build your own Bottle Cap Tray...

And made it as colorfull as possible. I aranged them to face One Side but you also can turn them happy around.

Thanks for comments and Reading

Jann
Estimated Cost
15$
Estimated Time Investment
Weekend Project (10-20 Hours)
Finish Used
Minwax Espresso Stain
Polyurethane
Shellac
Recommended Skill Level
Starter Project

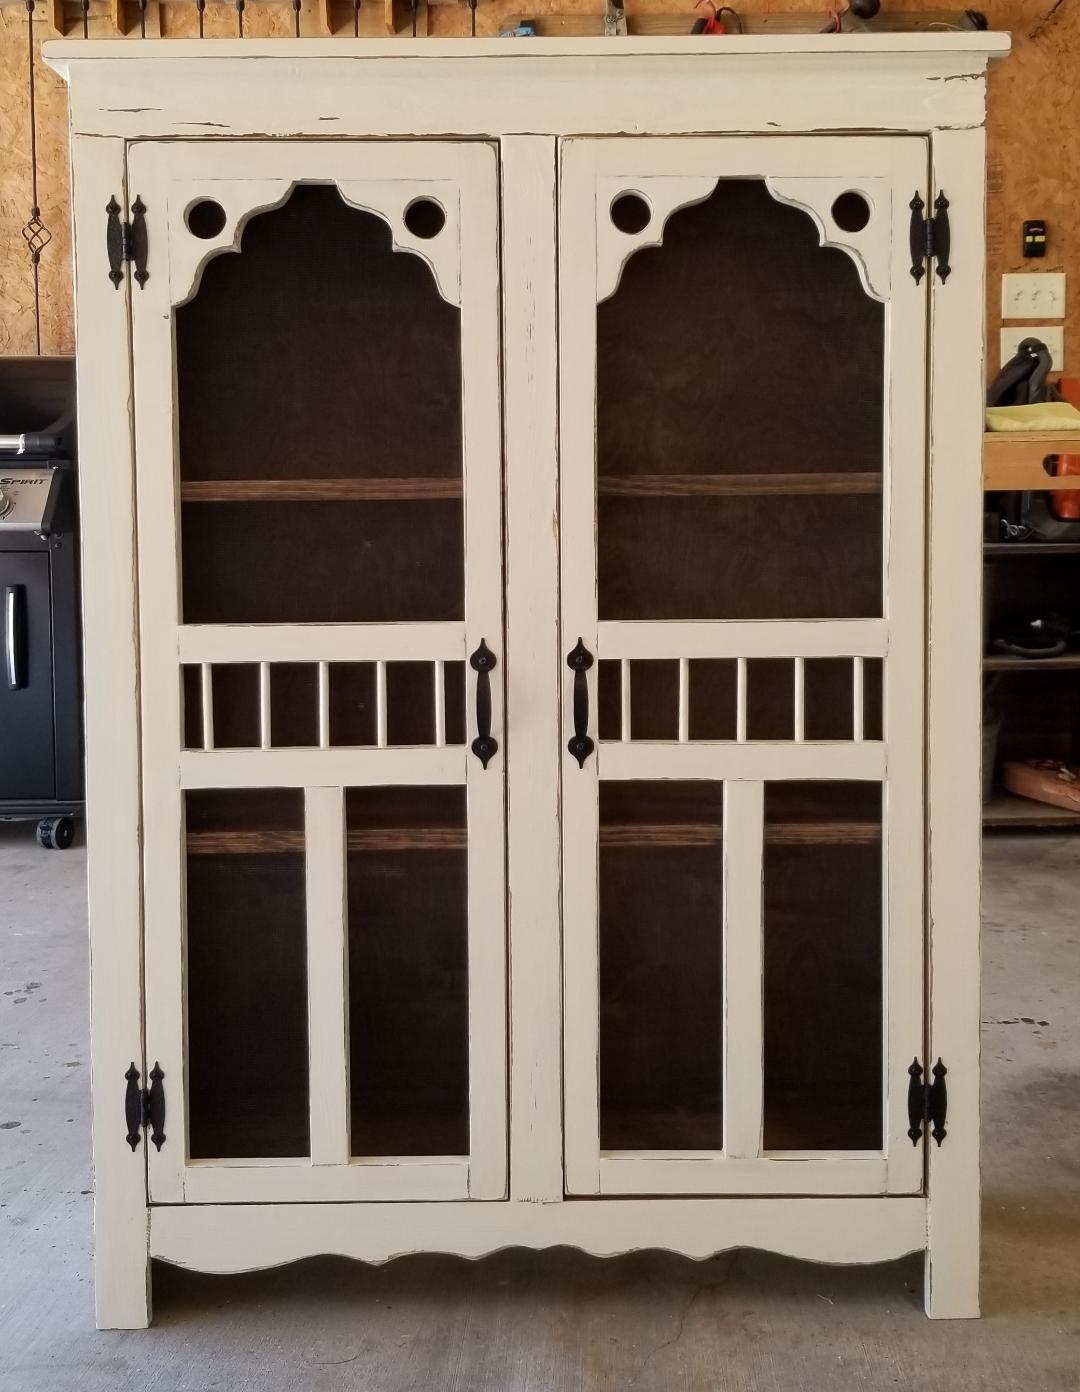
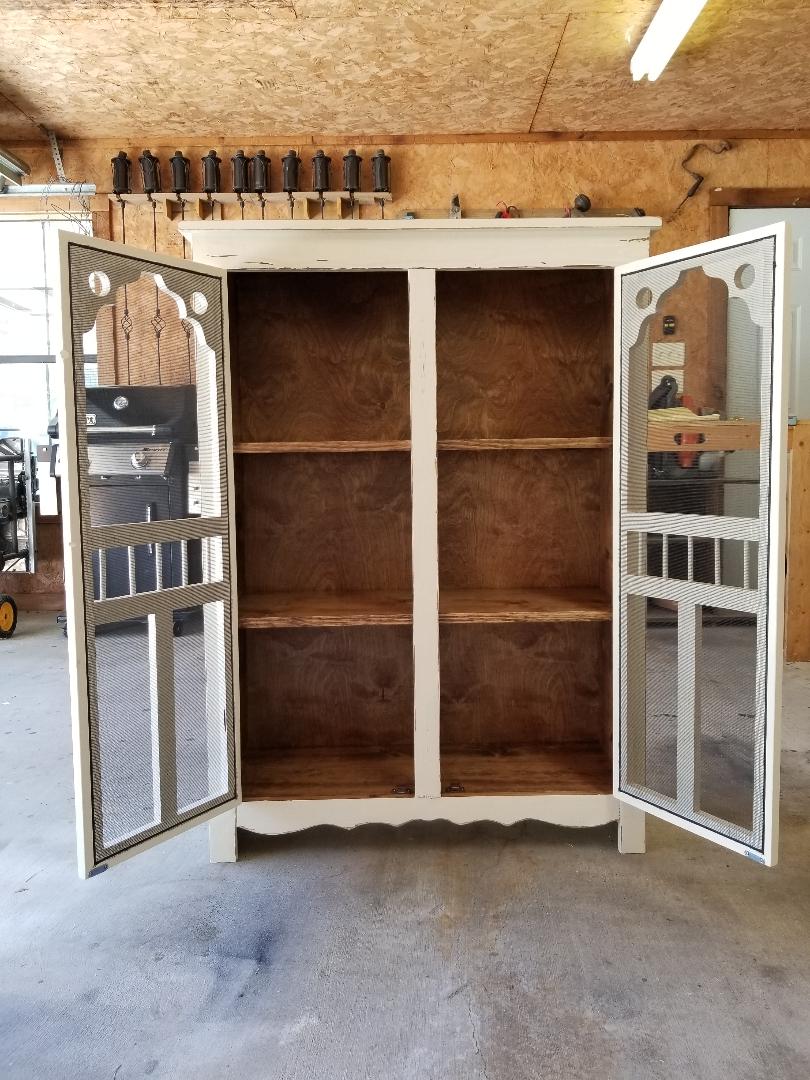
Patrick's Jelly Cupboard

Submitted by srodge1 on Thu, 01/06/2022 - 16:48

I love, love how this turned out. I was originally going to build it exactly as the plans are written, but somehow a screen doors came into the design. Thanks again Ana for sharing!!

Built from Plan(s)

Comments

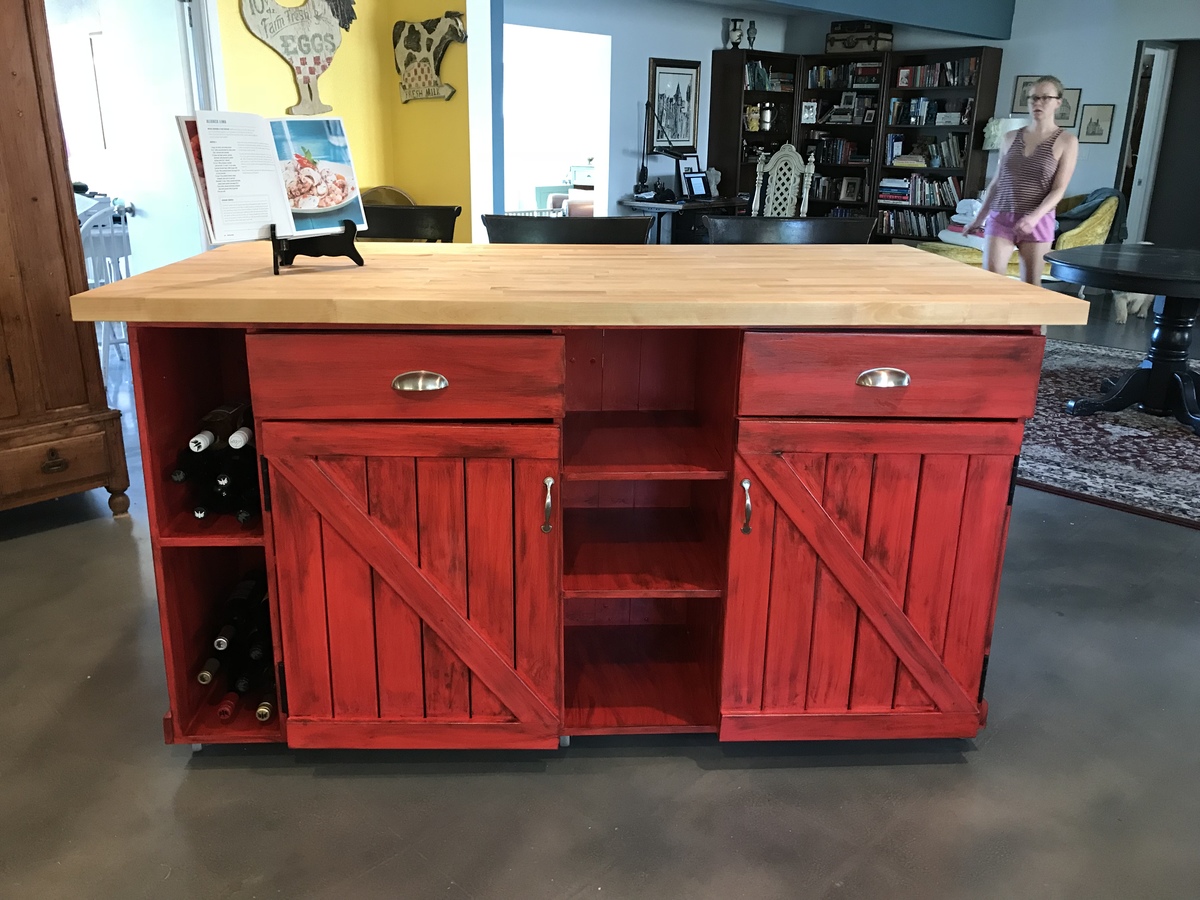
Farmhouse Kitchen Island

Submitted by Leahdineen on Wed, 01/31/2018 - 13:59

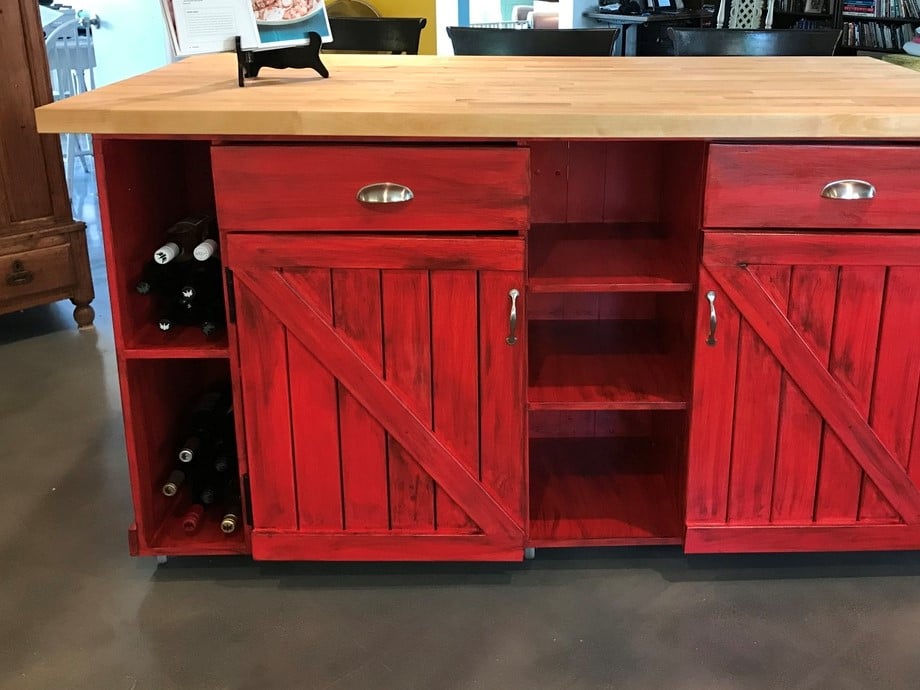
We modified the plan and made many changes along the way and here’s our finished island. We’re thrilled!

Estimated Cost
$800??!
Estimated Time Investment
Week Long Project (20 Hours or More)
Finish Used
Paint then coffee then stain with mineral spirits finished with polyurethane
Recommended Skill Level
Intermediate

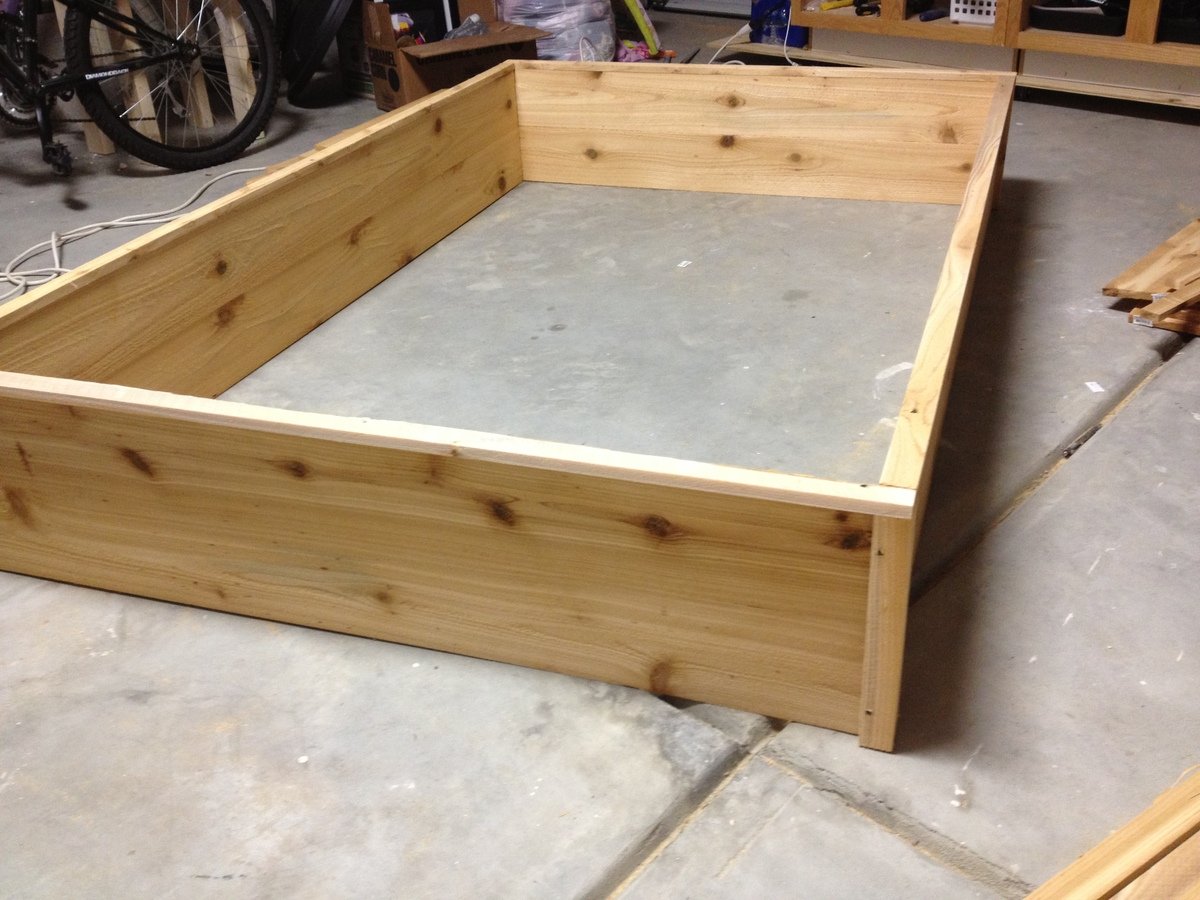
Cedar Planter Boxes

Submitted by KaityJene on Wed, 07/17/2013 - 19:59

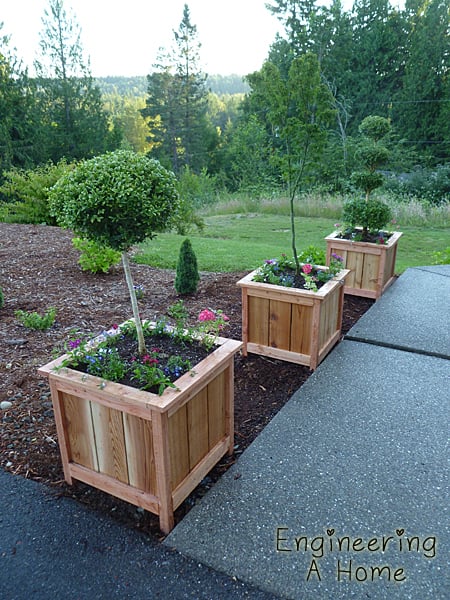
They were simple to make and the plan was easy to follow. The only modification I made was adding the 1x3 topper in place of the longer legs sticking out of the top.

Built from Plan(s)
Estimated Cost
$23
Estimated Time Investment
Day Project (6-9 Hours)
Finish Used
Thompson's Water Seal which I just brushed on using a cheap paint brush.
Recommended Skill Level
Beginner

Comments

Debi G

Fri, 07/19/2013 - 06:36

Adding these to my to-do list for spring (yes, I plan ahead). I'm thinking of elevating and elongating them to fit around a bay window.