Sturdy Workbench
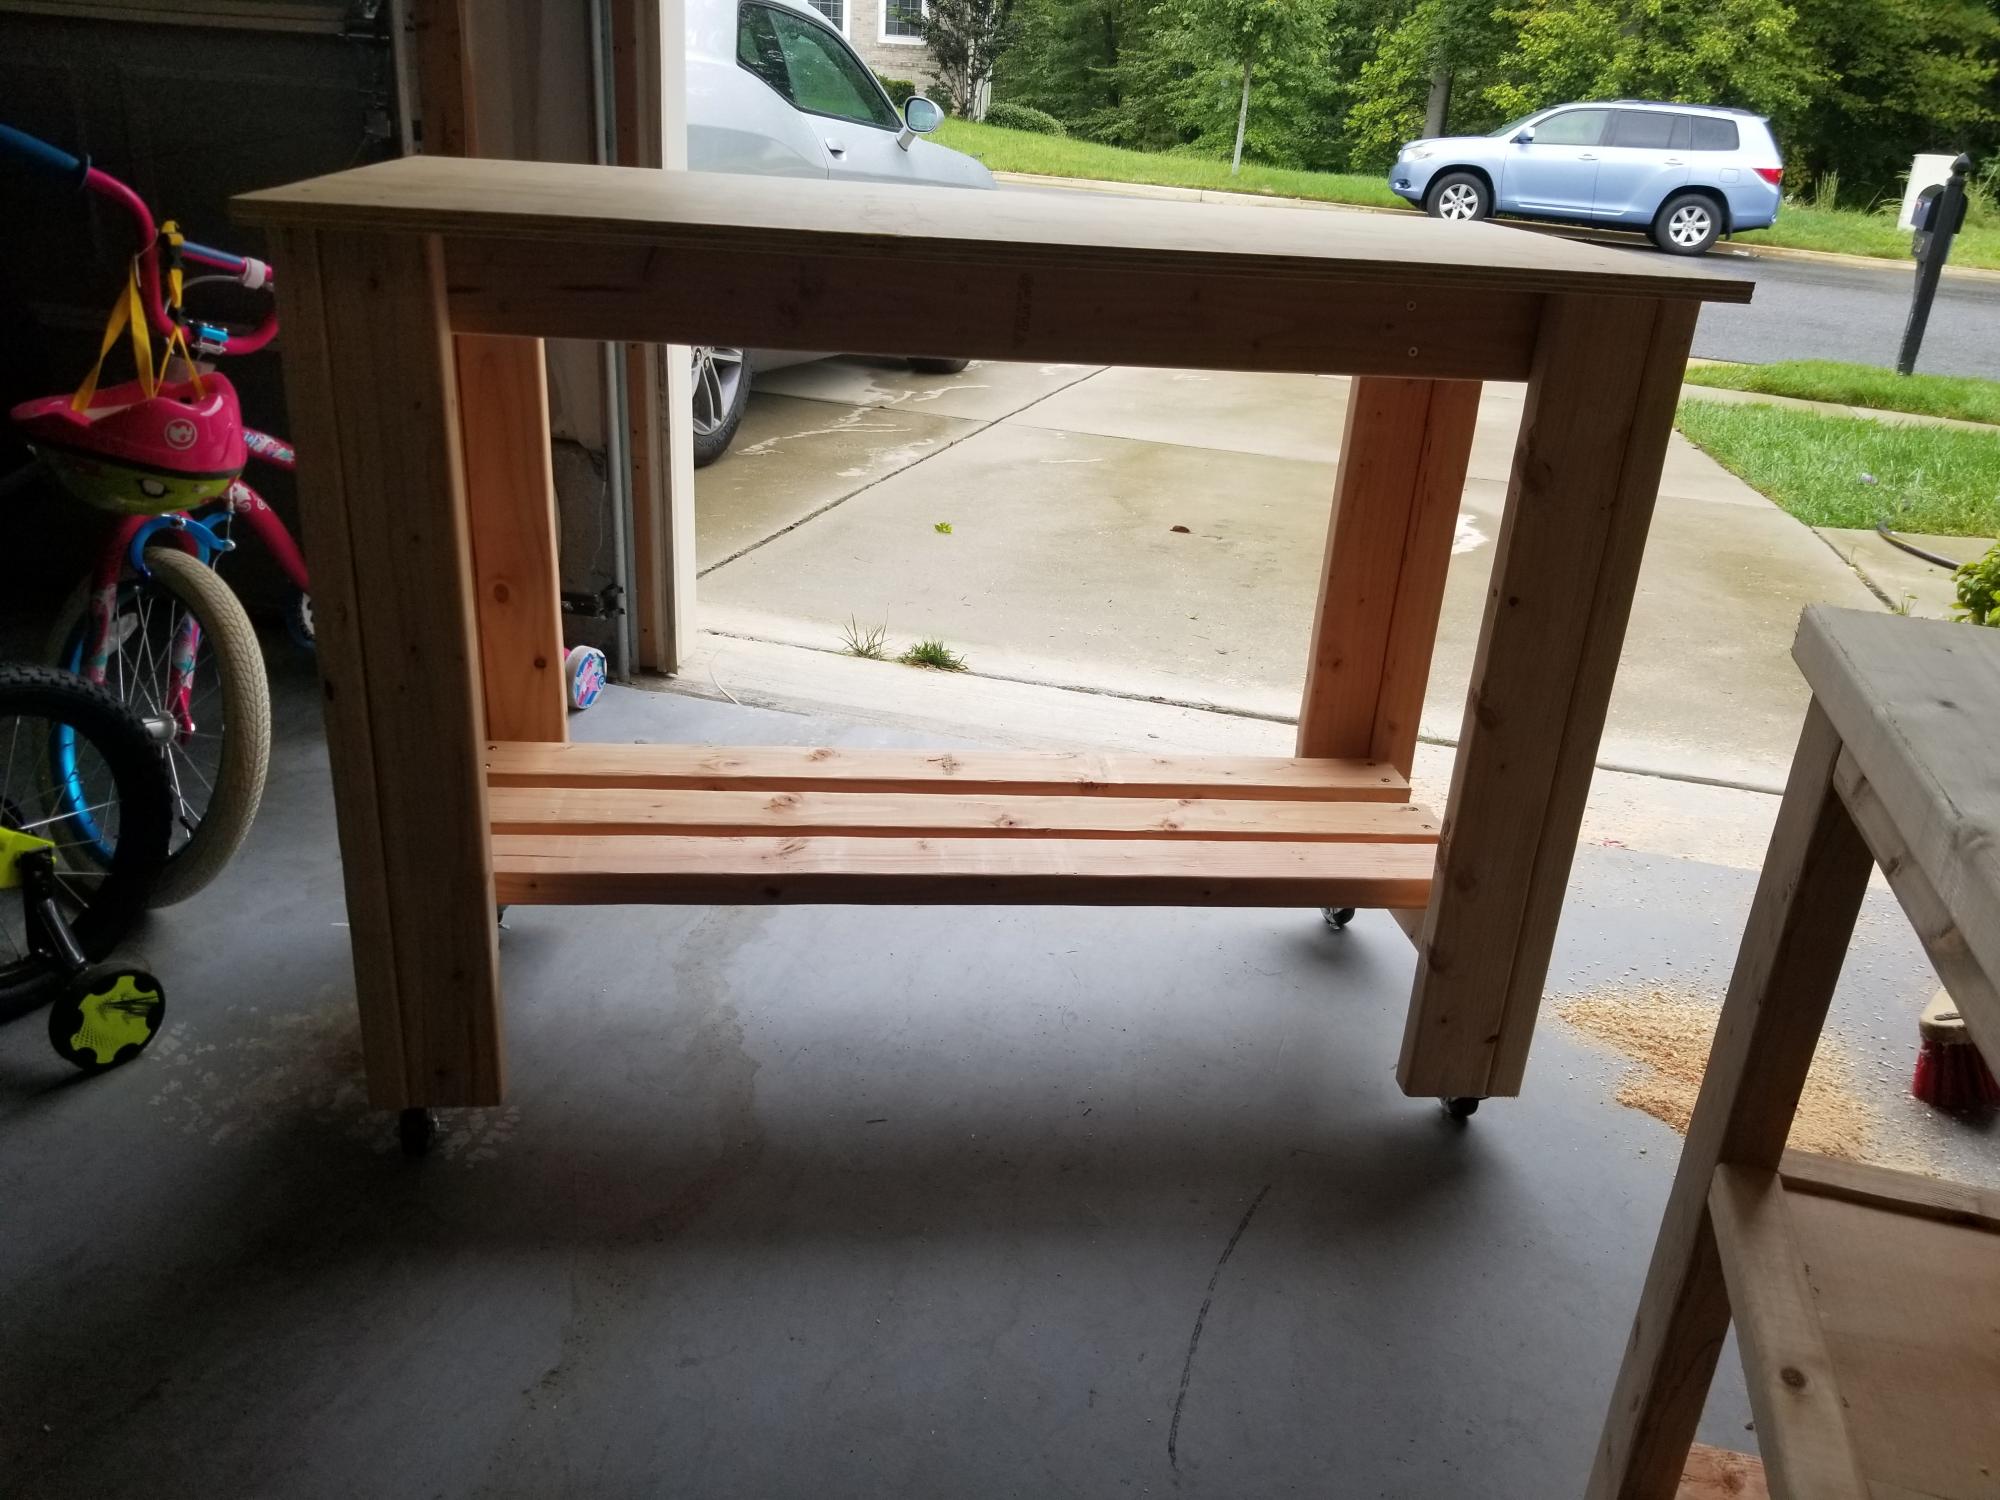
Did a couple builds for my family out of state and quickly realized that working without a station is CRAZY. Addedd wheels for mobility as I left it there.
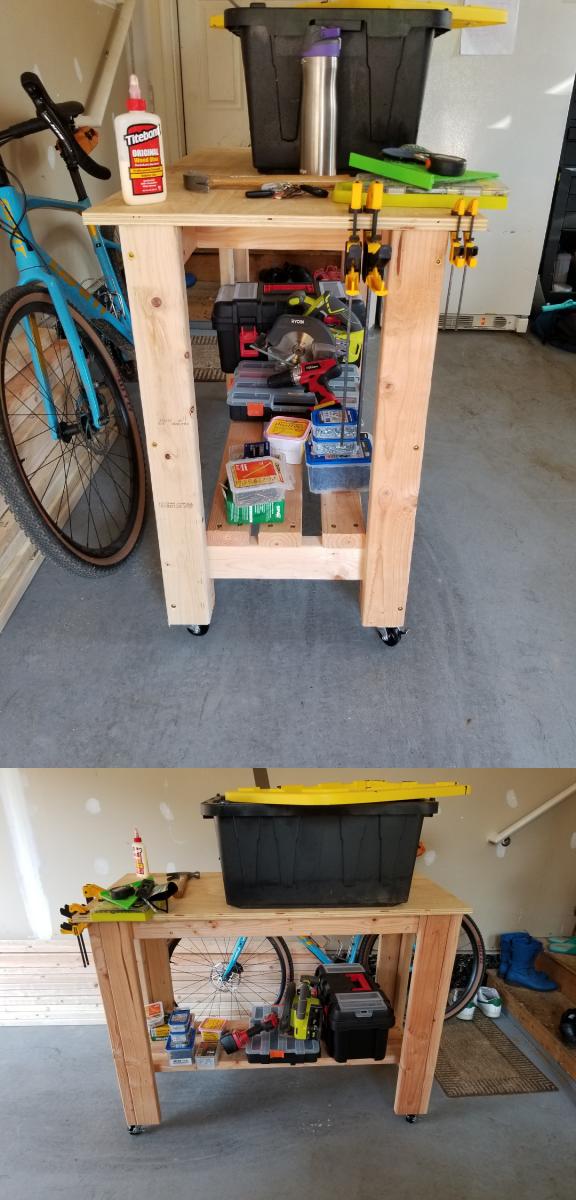

Did a couple builds for my family out of state and quickly realized that working without a station is CRAZY. Addedd wheels for mobility as I left it there.


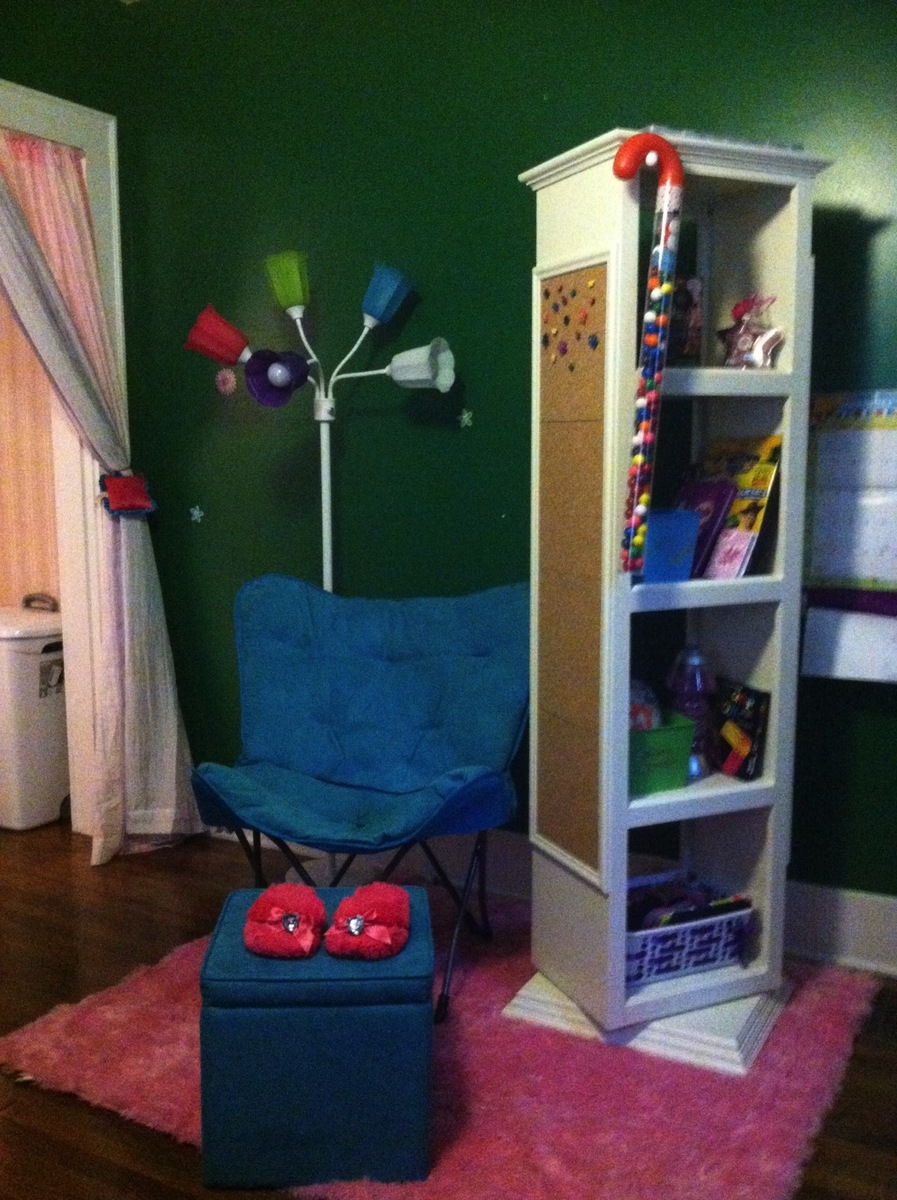
I saw a cabinet like this on Pottery Barn's website (for $600) and I knew I wanted to build it for my 12 year old niece and could do it cheaper. I have only built one other thing so I am a beginner. I do not recommend this as a first project because if it wasn't for my husband figuring out the "lazy susan" part and fixing a couple other "oops" then it would not have turned out as great as it did.
I started with the plans for the 5 Cube Tower Bookshelf and then went from there. I ended up with only 4 shelves because of a miscalculation on my part. I cut off the legs and added crown molding to the top. Used plywood for the 3 layered base and quarter round for the decorative look. The base is heavy, which I wanted because of the 2 pegs on opposite sides for hanging things (she's 12 and purses, scarfs, clothes...there is no telling what will be hung there). I added molding to both side of each opening so that as it spun things would not slide off. I have no explanation for the lazy susan because my husband figured all of that out.
The Cork board and mirrors were easy. I bought the cork in a pack of 4 squares at Walmart and the mirrors in a pack of 6 squares from Lowes. We placed and glued them on before adding the molding around the edge. Fyi: I tried to use the $5 full mirror from Walmart but it was to wide. I bought some cute buttons and cut off the loop part to glue flat metal tacks to the back. She now has decorative thumb tacks. I painted it white and then top coated it with polyurethane.
We absolutely love this and so does she. It is in her room and I think looks amazing. Can't wait to share my next projects that are almost complete.

Wed, 01/02/2013 - 01:19
So great! I just found this at PB Teens last night and thought NO WAY! For $600!!! I had exactly the same idea as you did.... Build a 5 cube tower and make it spin. Ana rocks! Thanks for sharing!
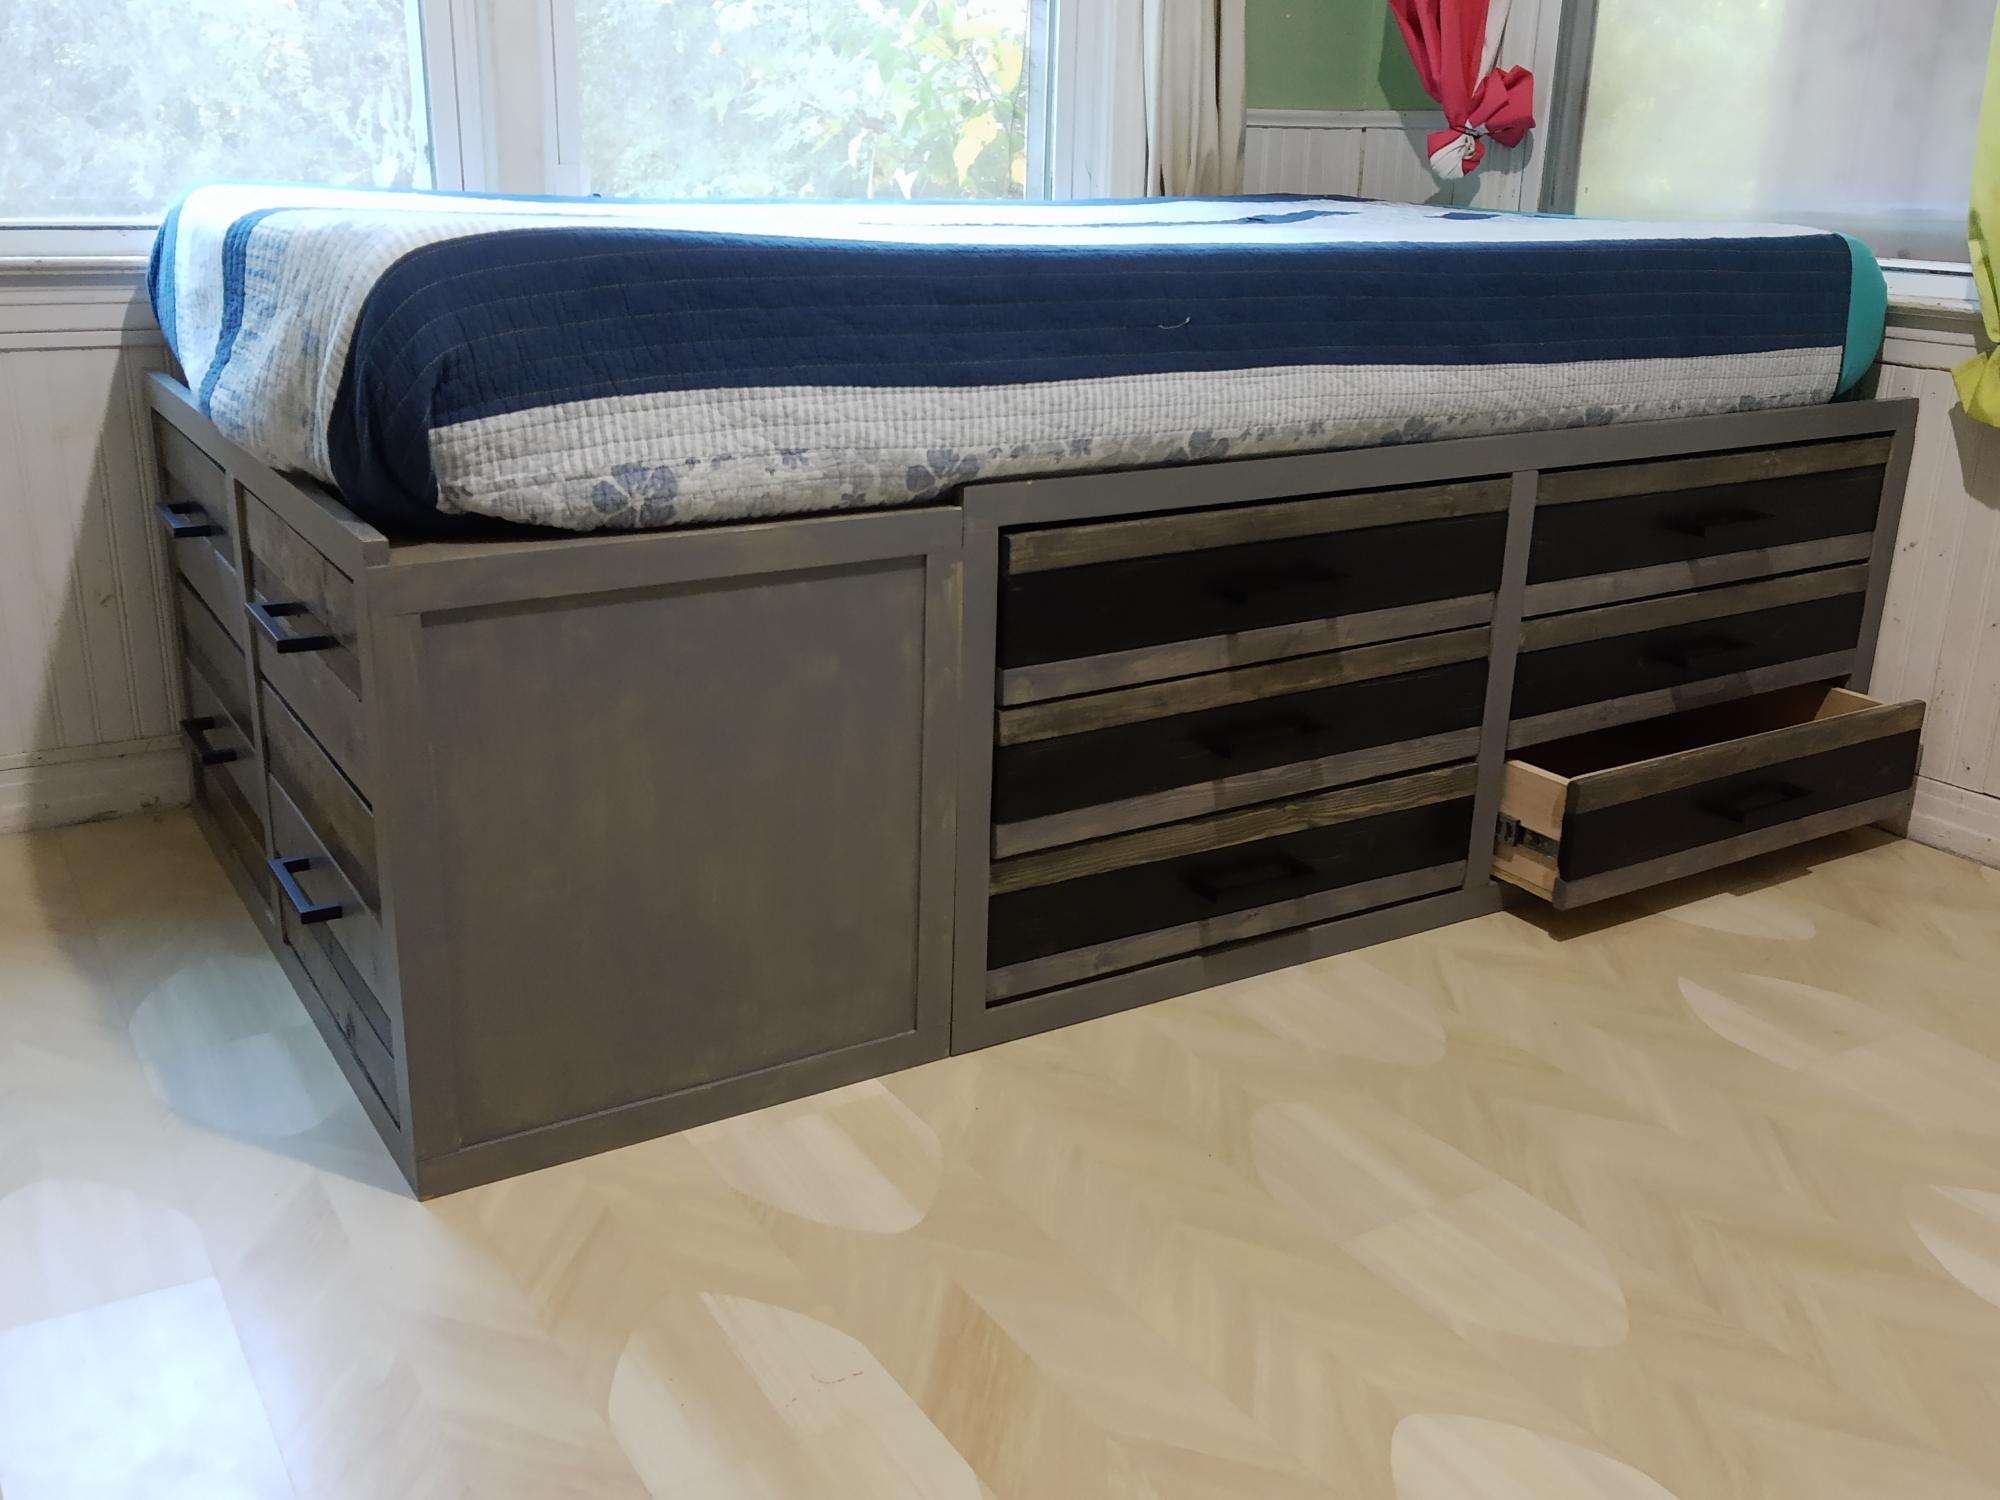
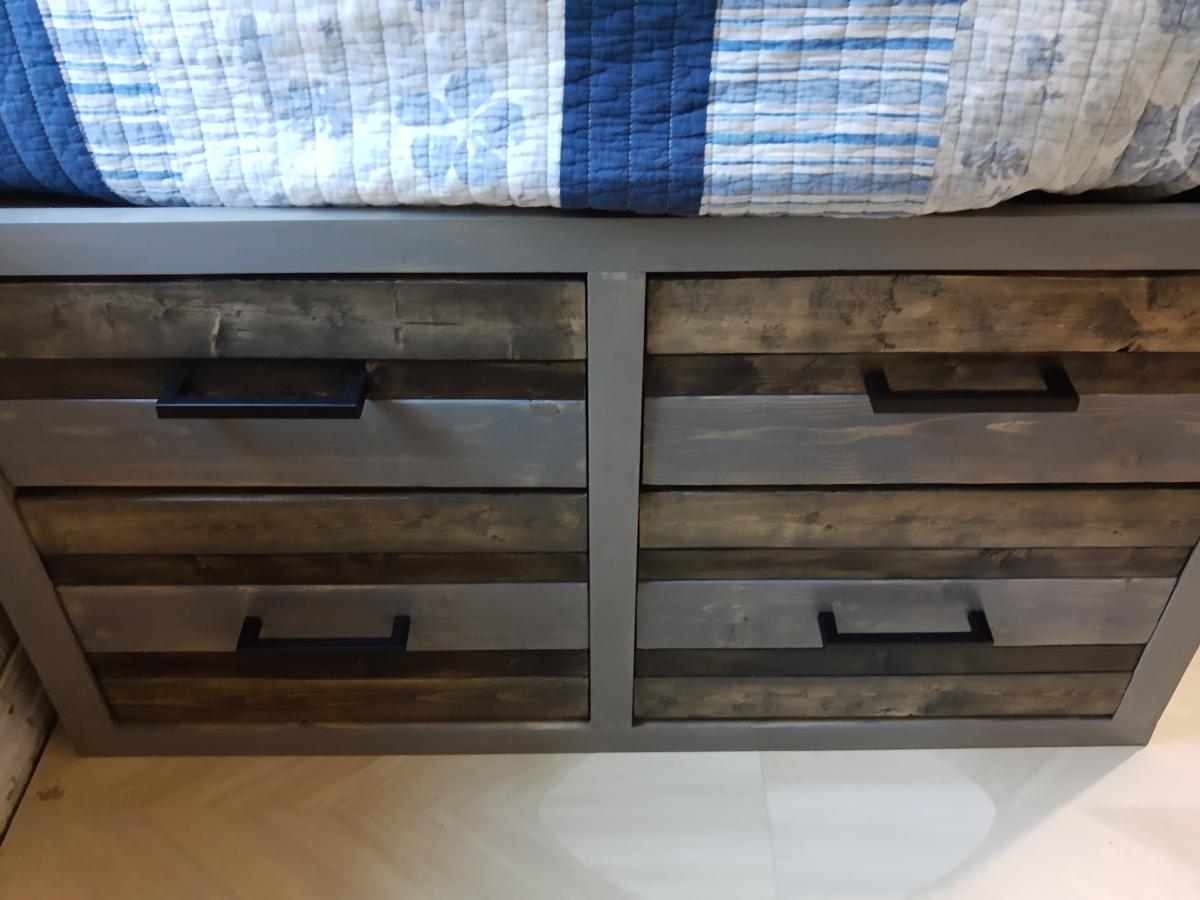
I doubled the height of the Classic Storage Bed to create 6 side drawers and 4 bottom doors for my daughter's twin bed. She lives the extra storage in her small bedroom. Thanks for the inspiration!
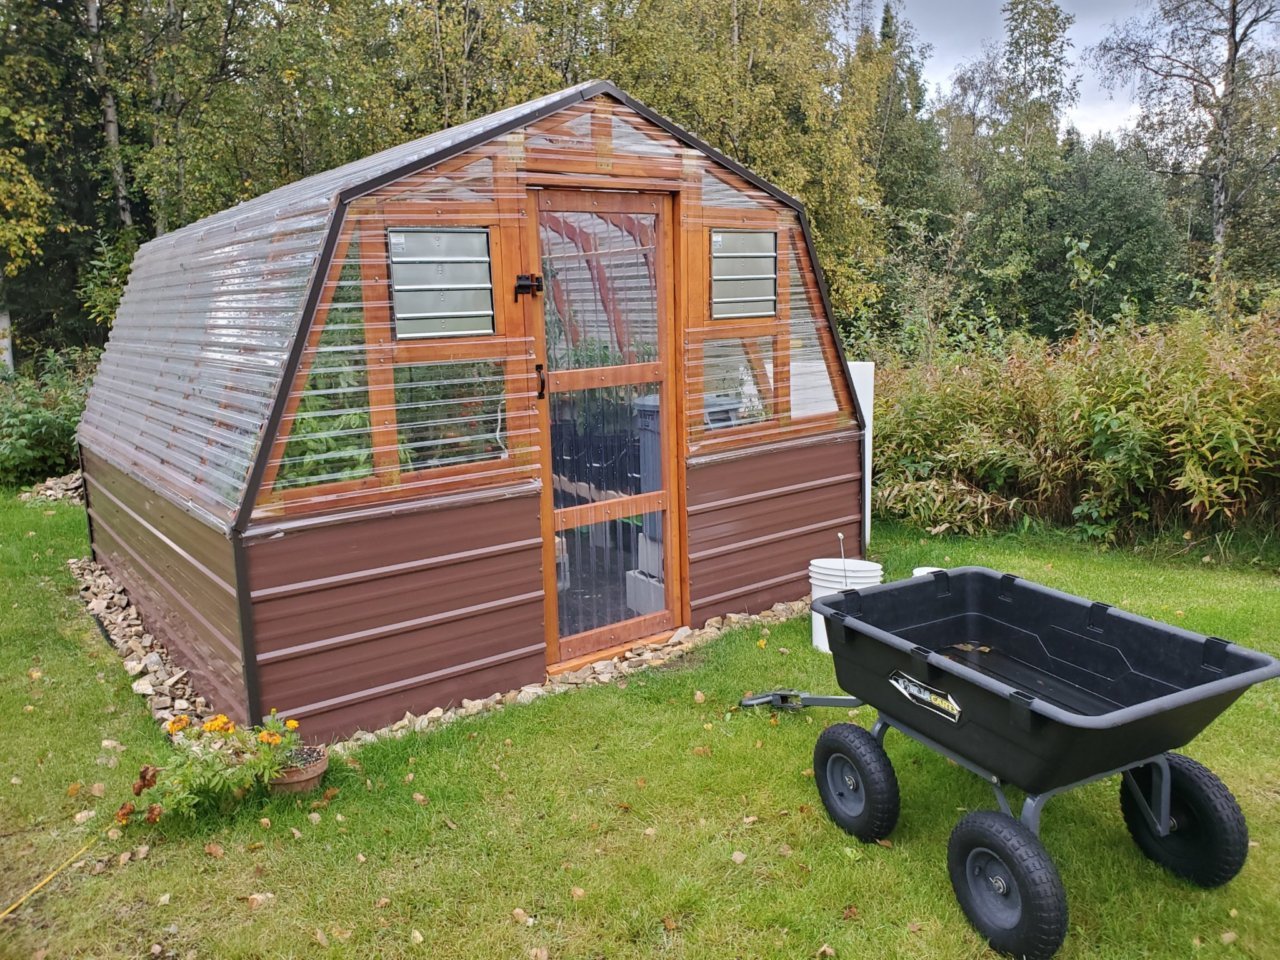
It was truly great for us to find a greenhouse design from a fellow Interior Alaskan blogger. We kept coming back to this design, enough times to where we decided to actually build it.
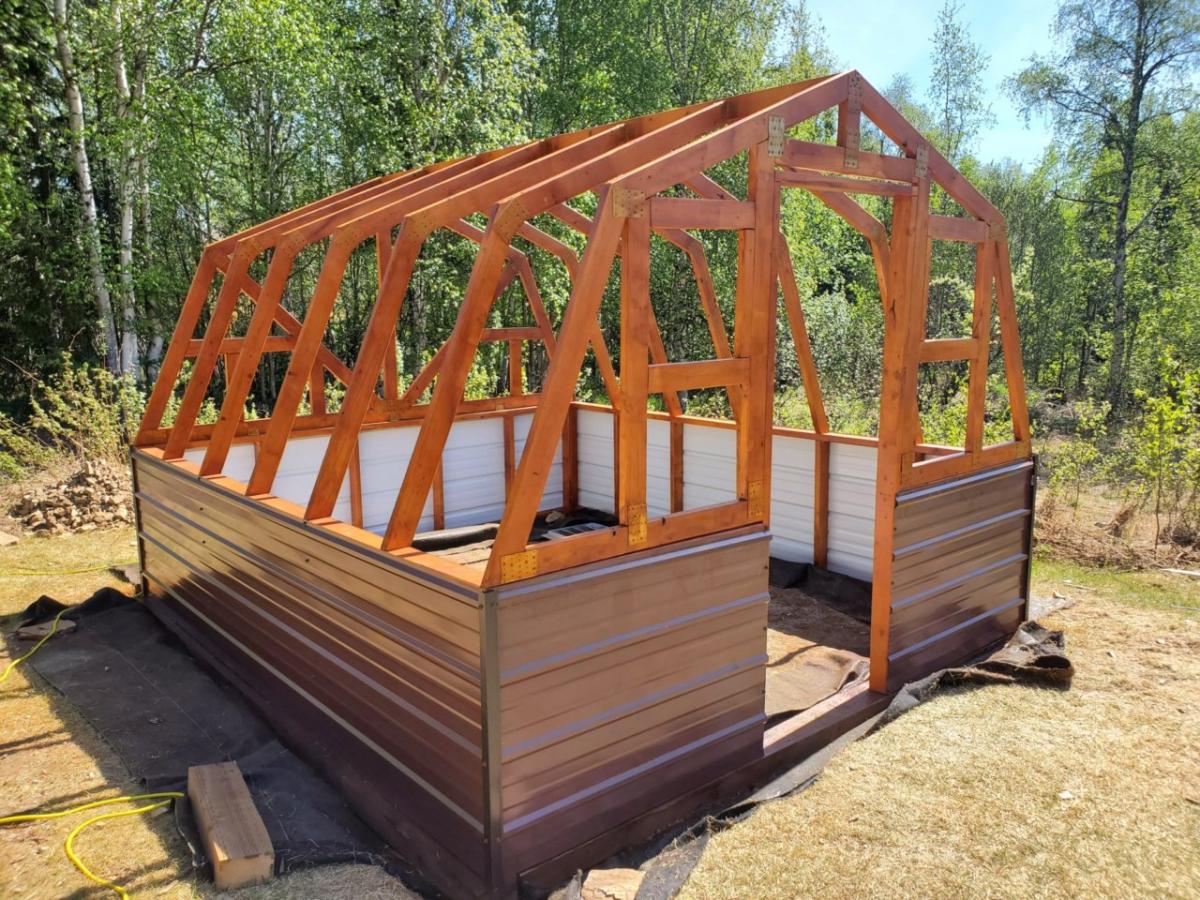
We would be the first to admit that tackling a gambrel style building was slightly intimidating and not what we had in mind for our very first self-built building! But, we faithfully followed the cut lists and directions. It turned out beautifully! If you're in the same boat, have confidence that you can build this too!
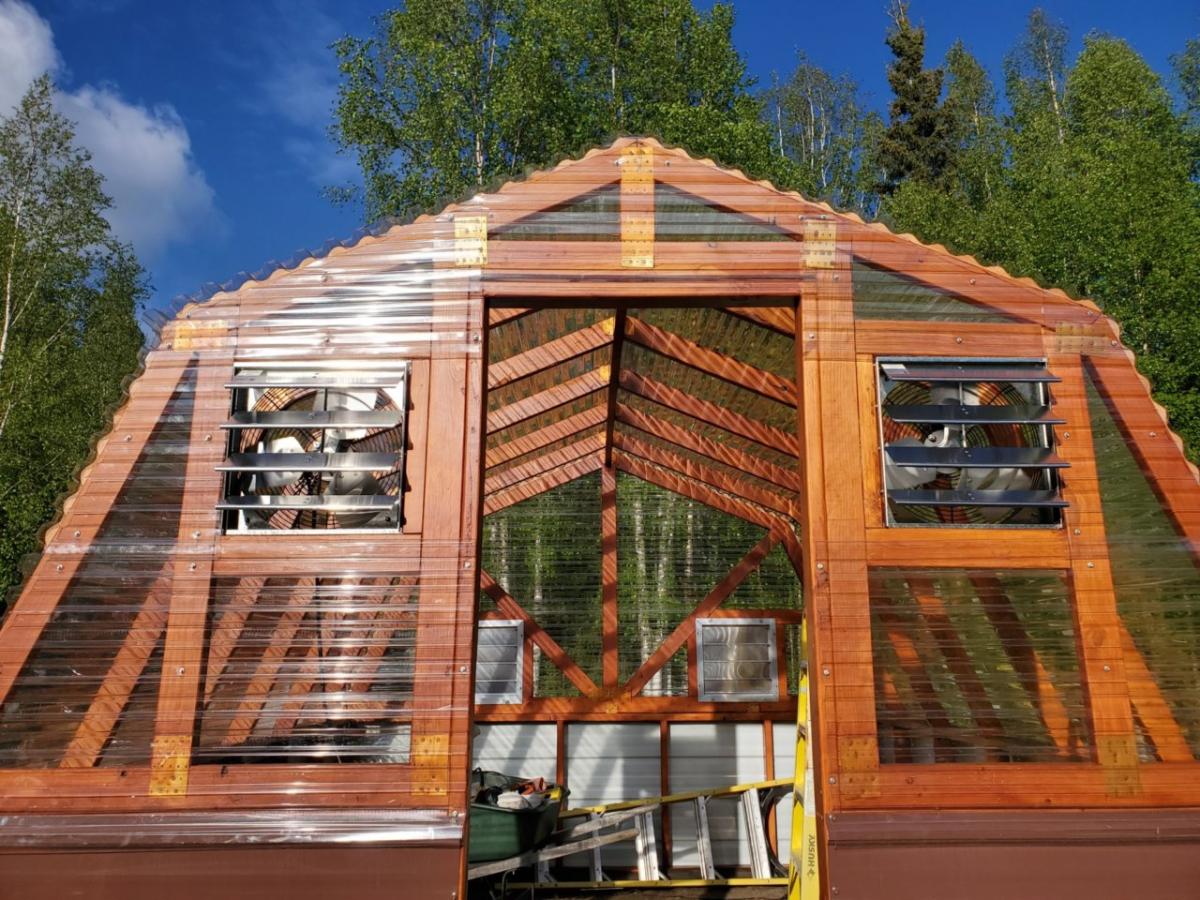
We love the options available for making it your own. We decided to stain the greenhouse lumber of ours to match our cedar sided home. We also built a semi frost-resistant foundation, since we're a little north of Ana at 65 degrees and sometimes experience frost heaving. We also added full climate controls to ours, adding both fans and louvers that keep our greenhouse at perfect temperatures.
The performance has been great! Building this greenhouse has been the single greatest thing we have done in our years of subarctic gardening. We might even consider building a second greenhouse down the road. No matter how big your greenhouse is, it's never quite enough!
Thanks for the great plans, Ana! We appreciate your work!

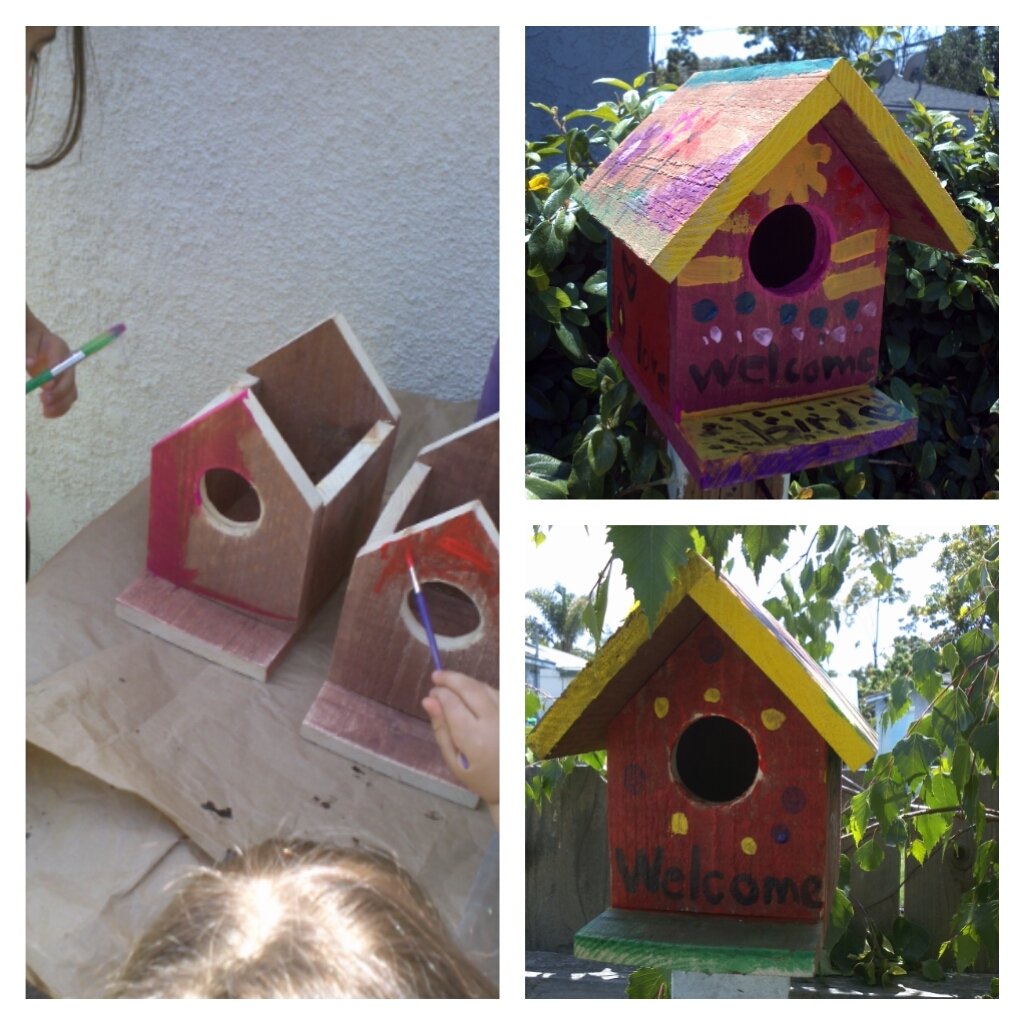
My two daughters really enjoyed helping daddy make these birdhouses but most of the loved painting them.
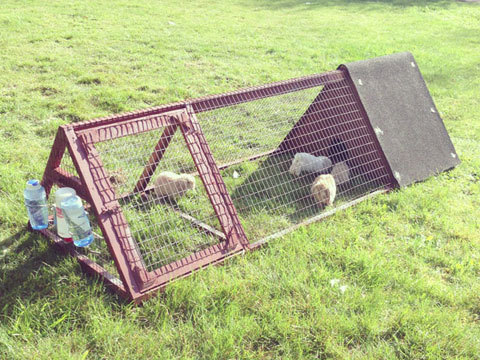
This is a rabbit hutch I created for my kids 5 rabbits. The thing that makes this hutch really nice is if you have a large lawn you can just move the hutch a little bit every day and the lawn gets mowed, fertilized and you don't have to worry about cleaning up all the rabbit droppings. I also mounted a rabbit feeder on the inside of the house door to keep the food dry, which has worked really well.
Here is a short blog of all the steps in its construction:
http://design.medeek.com/gallery/RH3080_COPALIS_2013/RH3080_COPALIS_201…
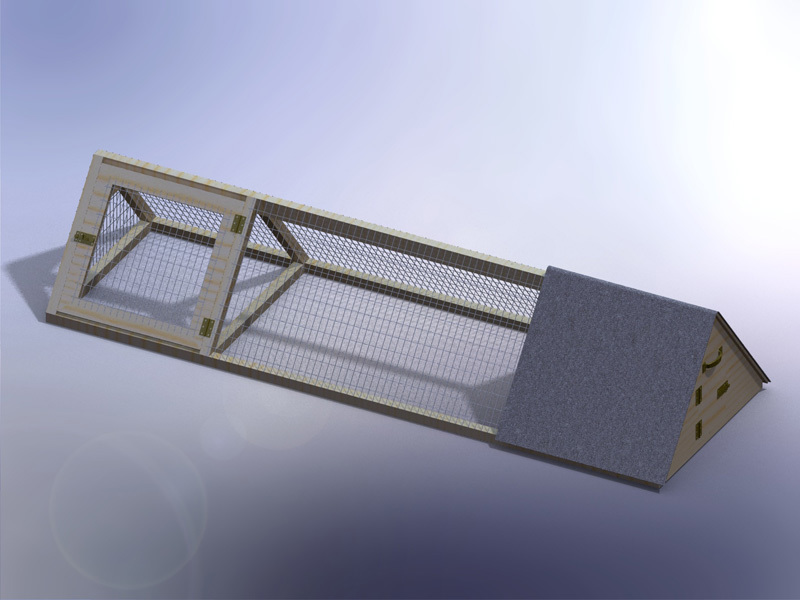
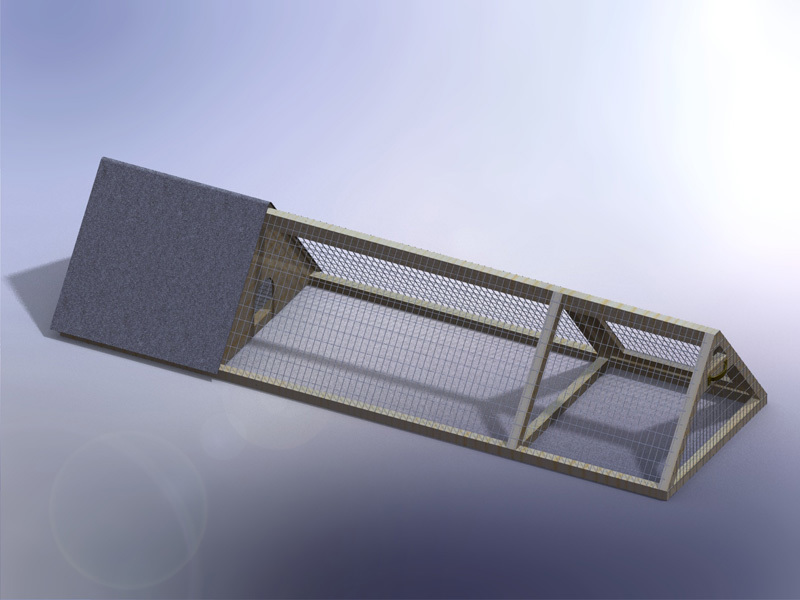
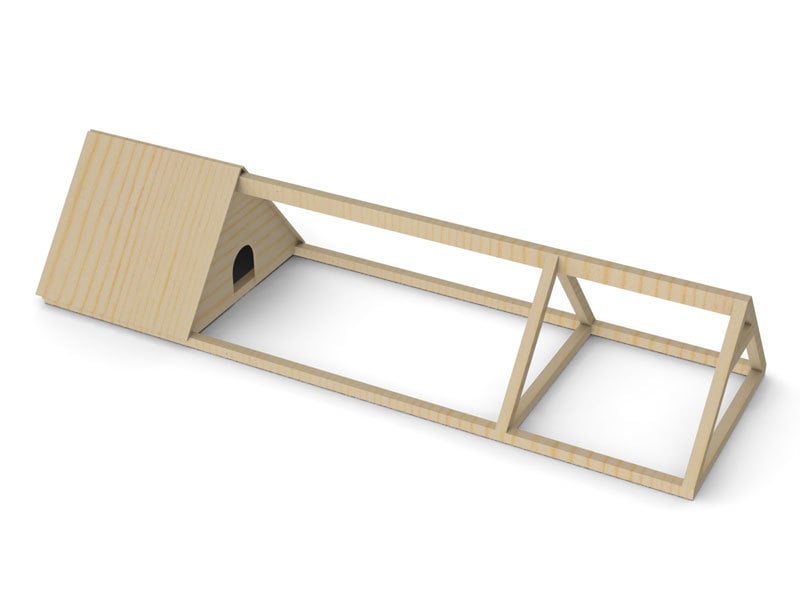
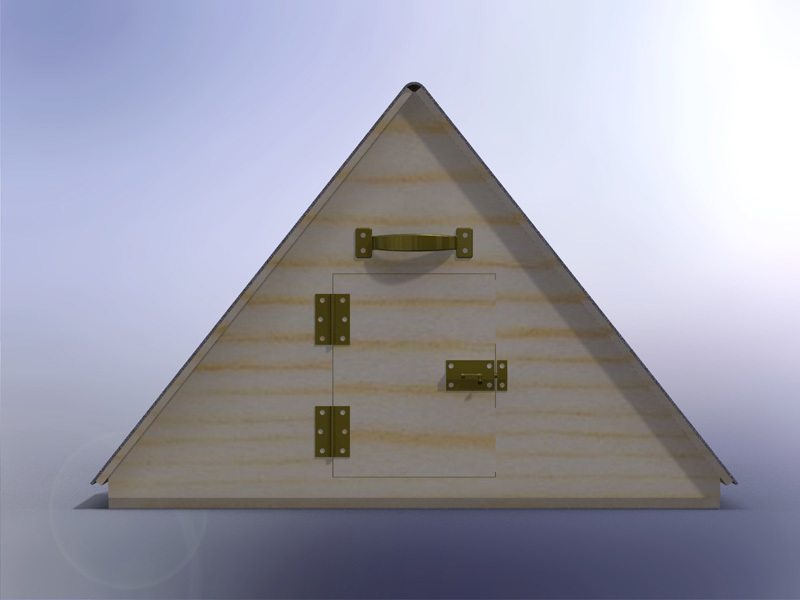
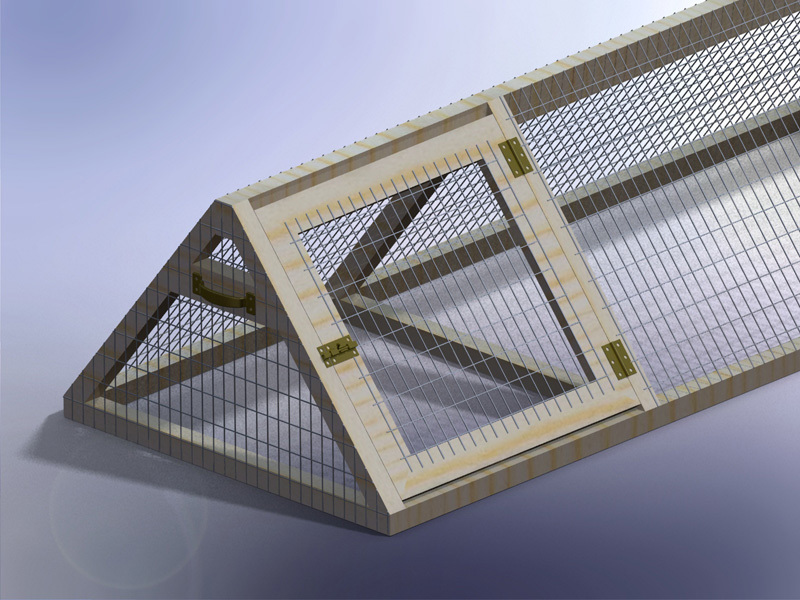
Sun, 05/05/2013 - 01:52
I apologize I haven't got the completed planset up for this project yet but I will try to get it up in the next couple of weeks as well as a very complete materials list. You will need to go to a farm/feed store to get the correct 1"x2" wire and 1/2"x1" wire for the floor. Do not go to Home Depot and use the cow wire they have or the hardware cloth for the floor, neither of which are the correct choice. Home Depot has the lumber but not the wire. If you have any questions or even improvements to my design I would be interested in hearing from you.
Sun, 09/13/2015 - 19:18
Finally got around to uploading the plans. I still need to create a material list for this plan but the basics are there now. We've had rabbits in it for about a year but recently we've tried some guinea pigs and it works great for that as well. The guinea pigs can pretty much live off just the grass and dandelions but you do need to move it daily to give them plenty to eat.
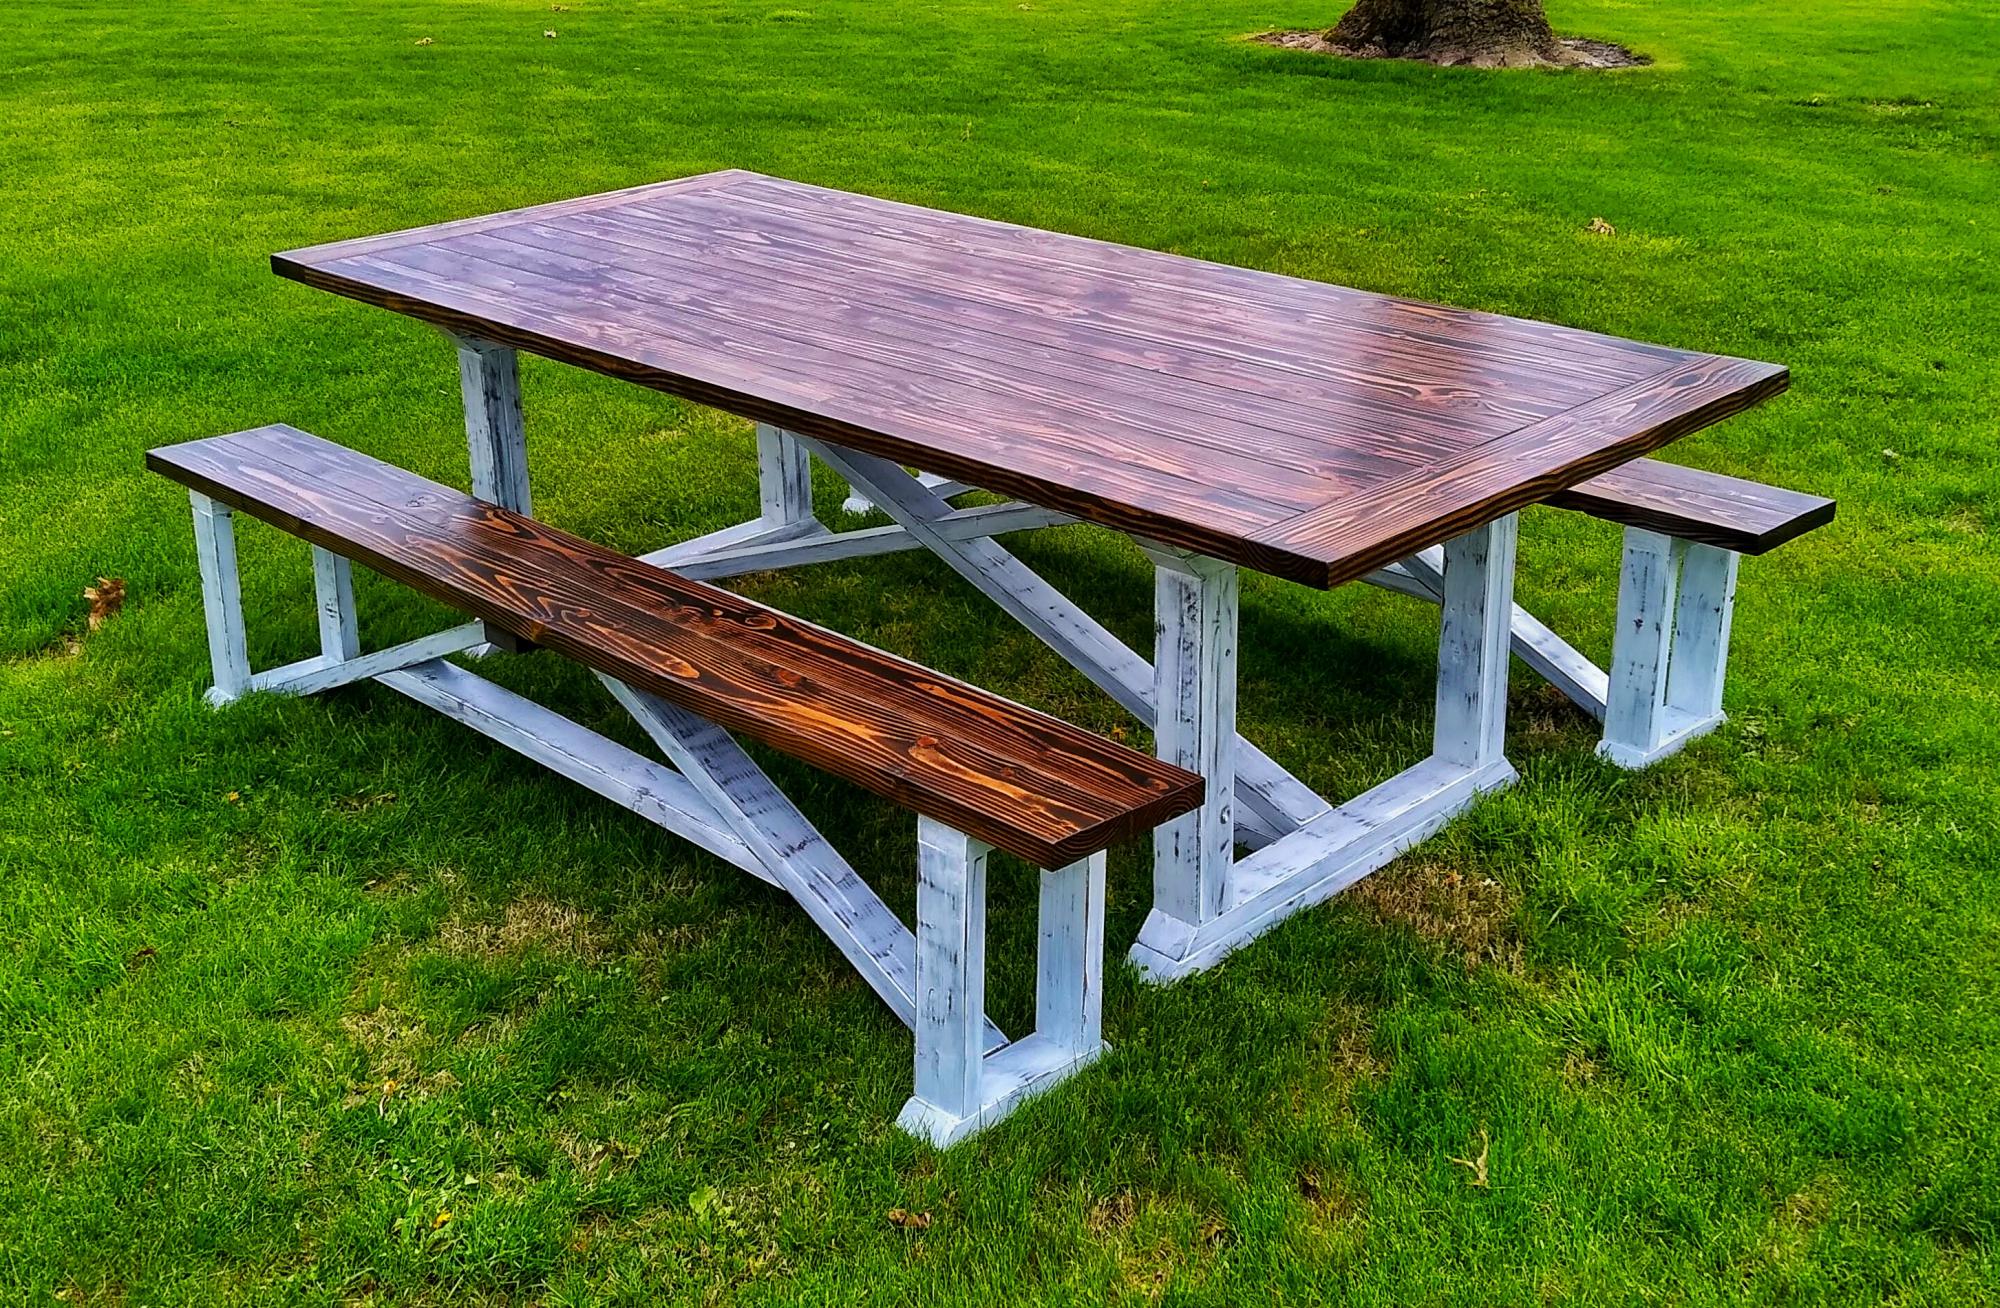
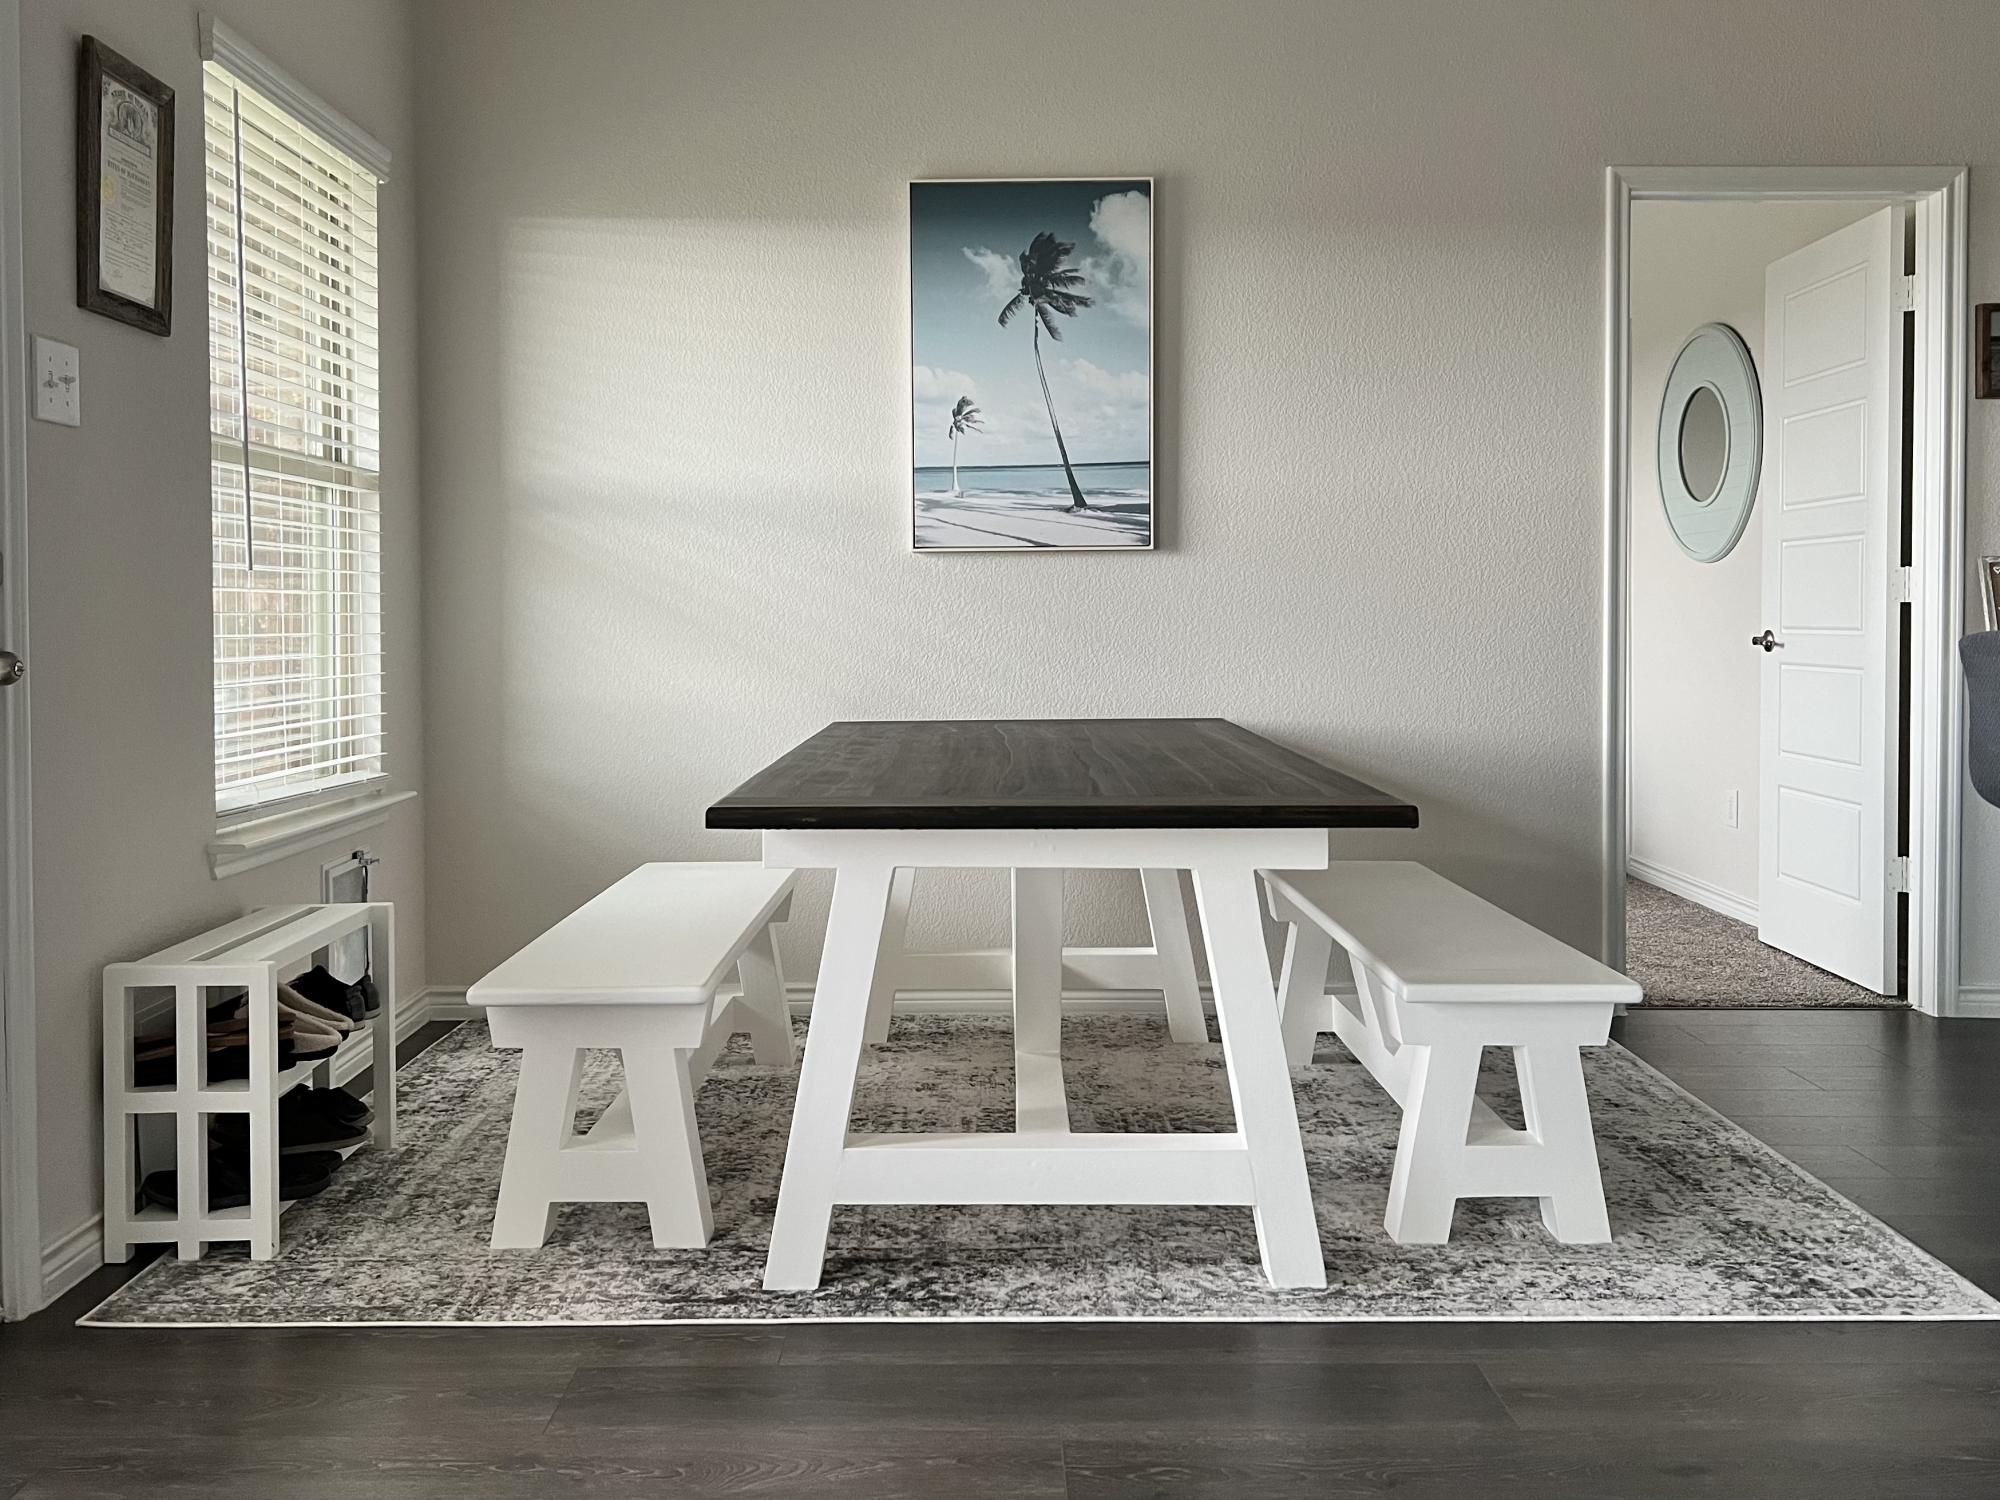
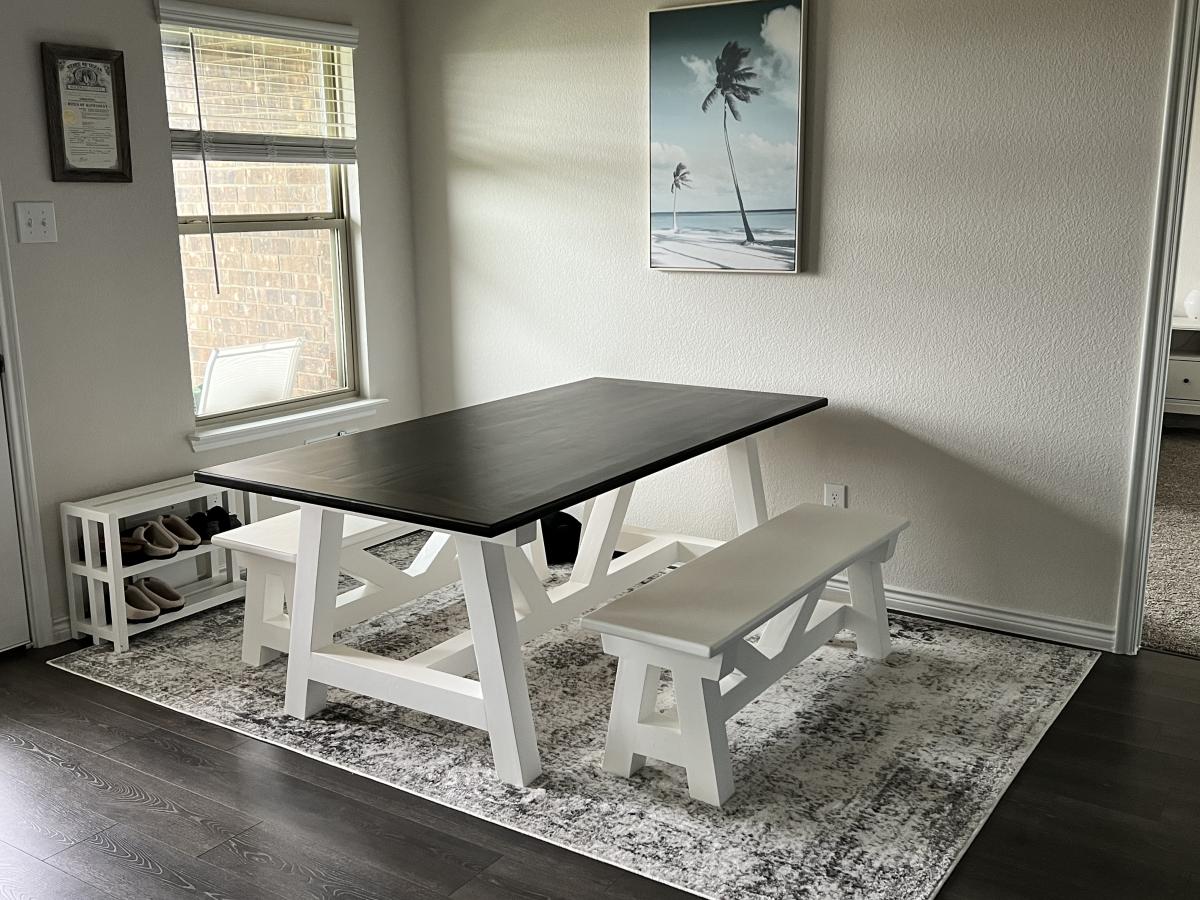
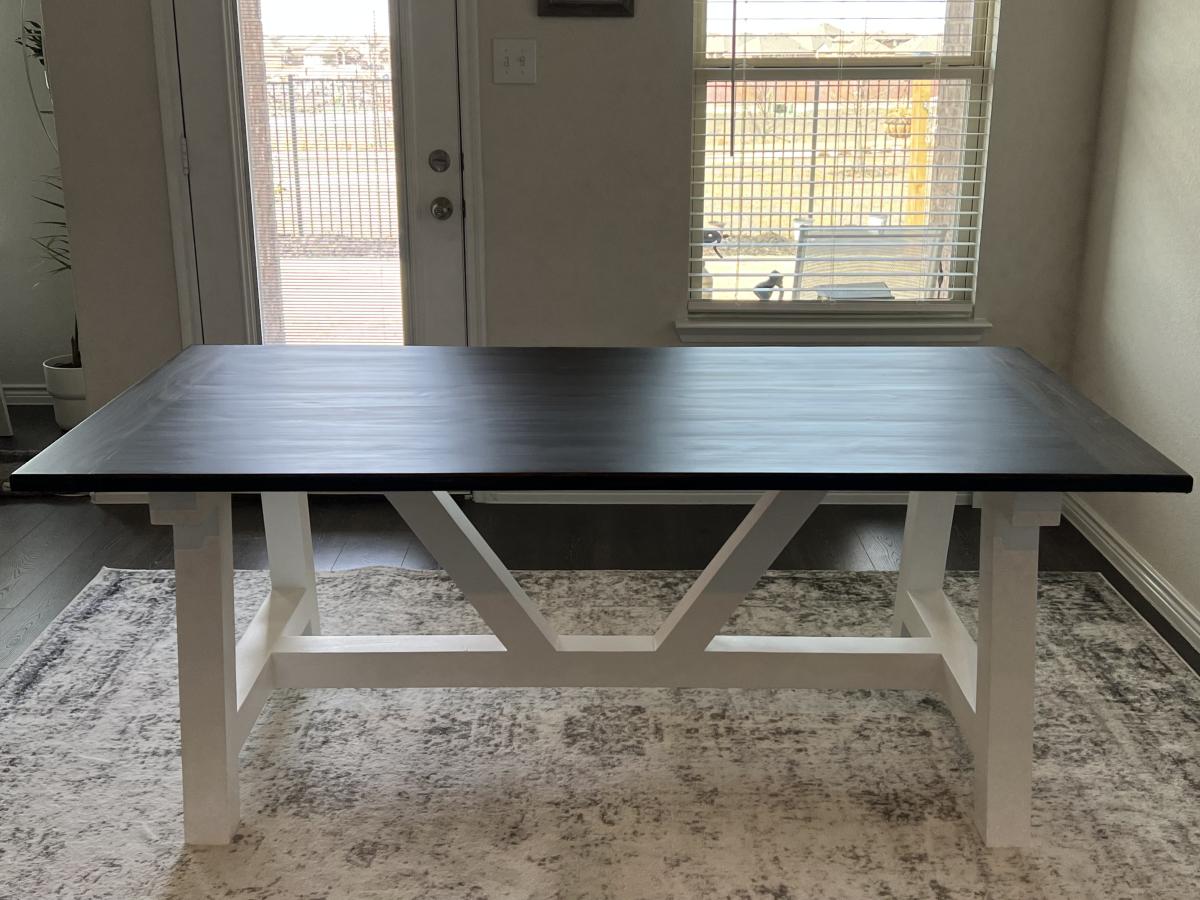
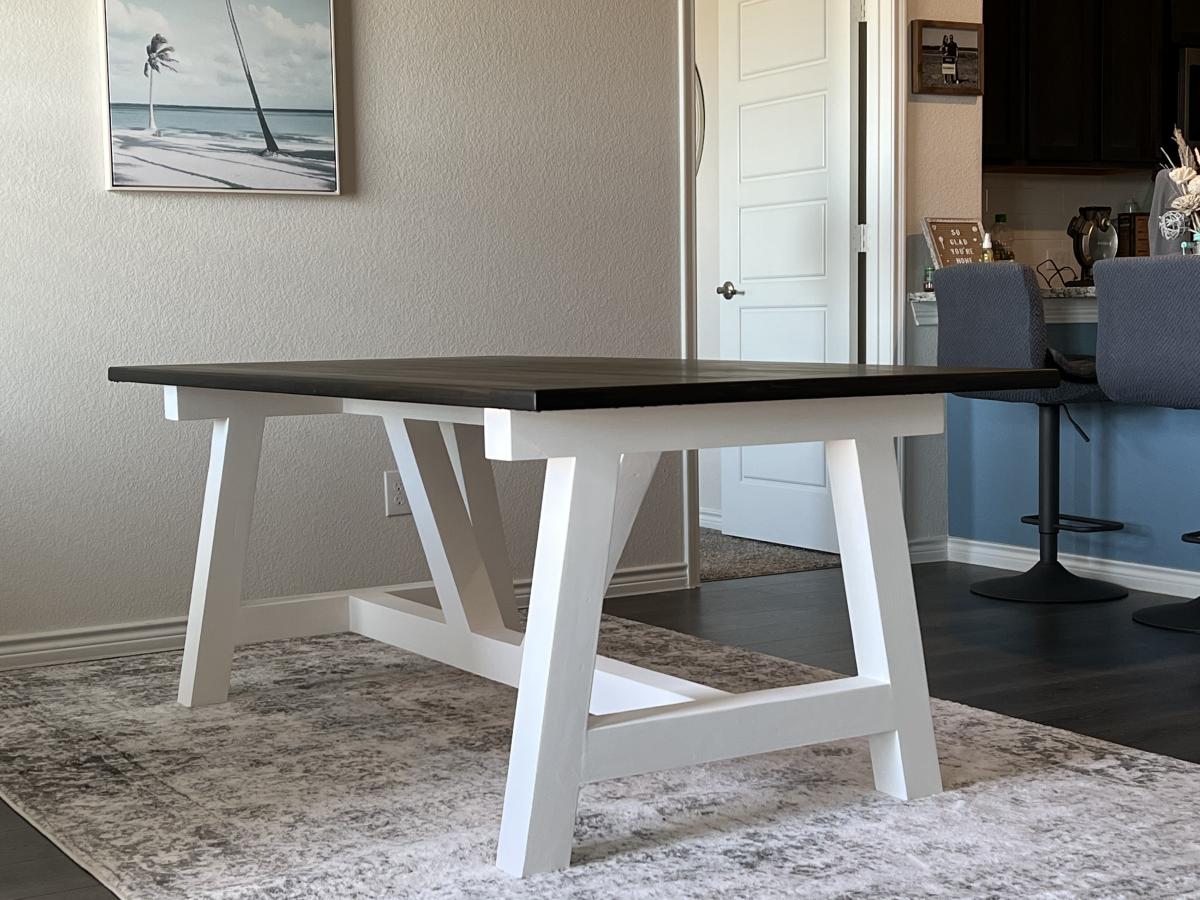
This was my first Farmhouse Table build. 8ft long with 2 benches. Distressed white with True Brown tops.
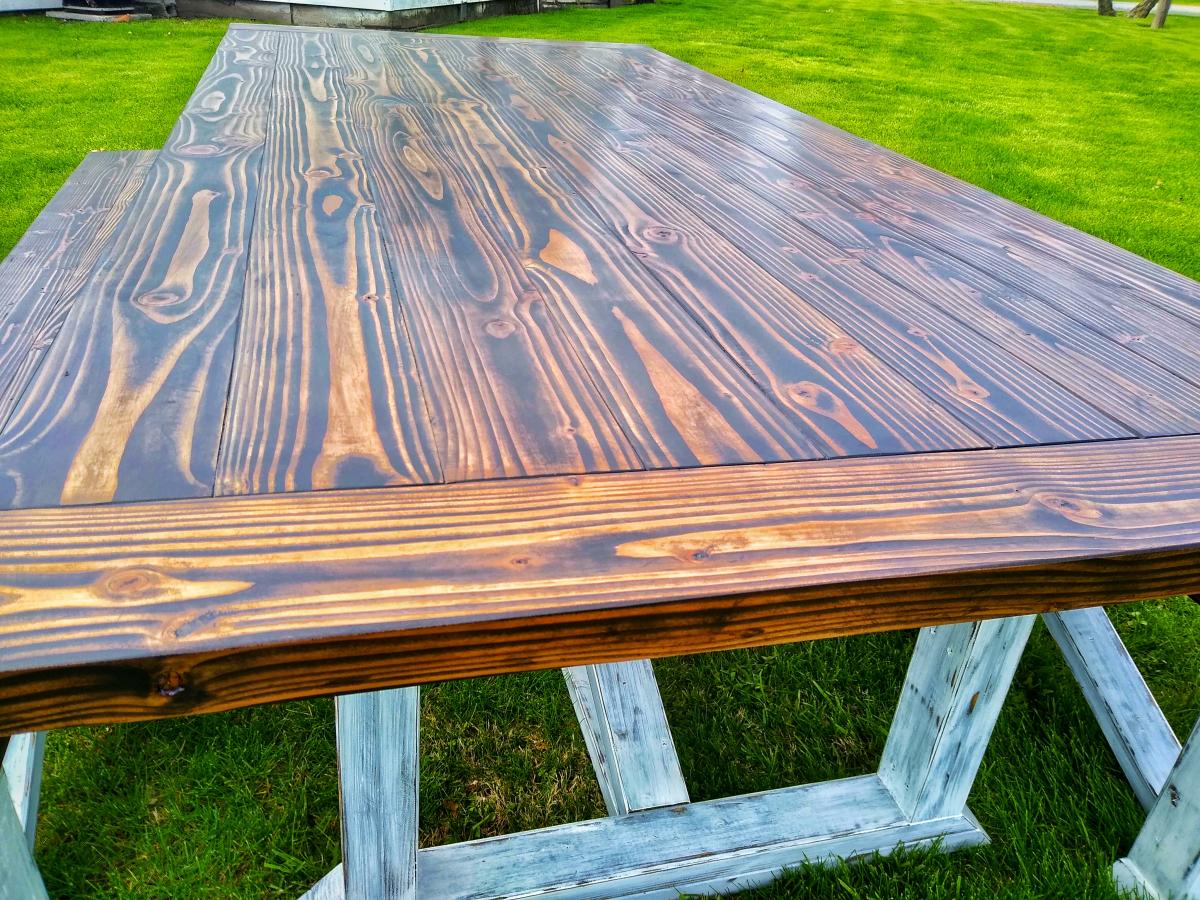
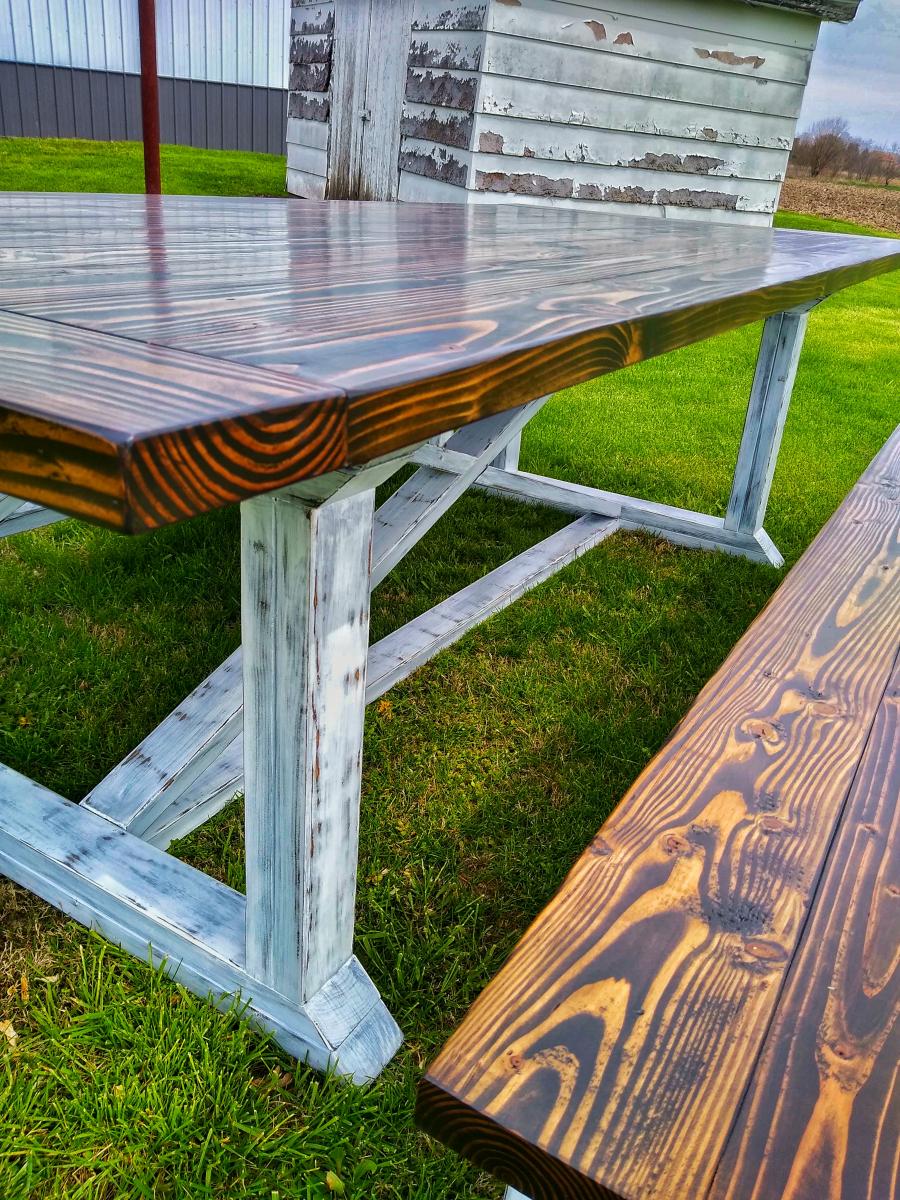
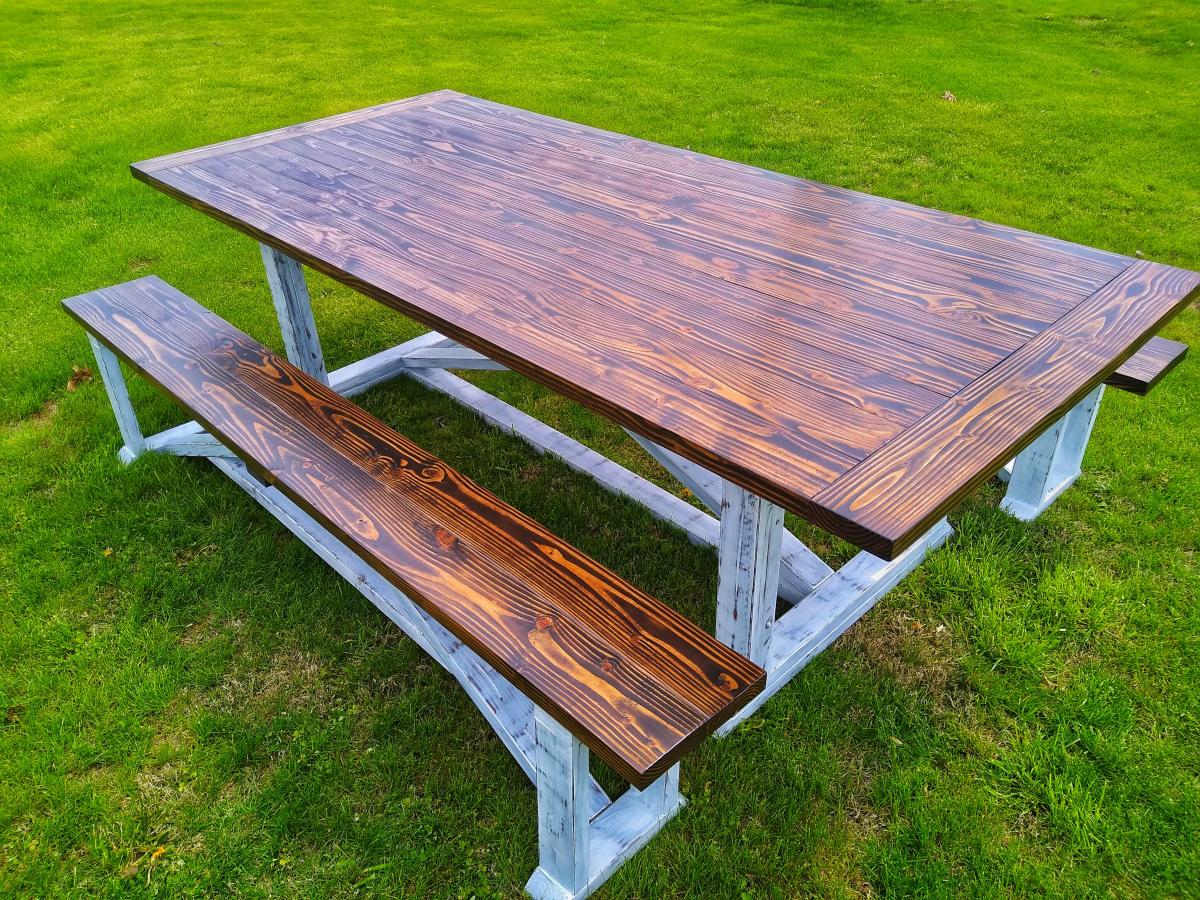
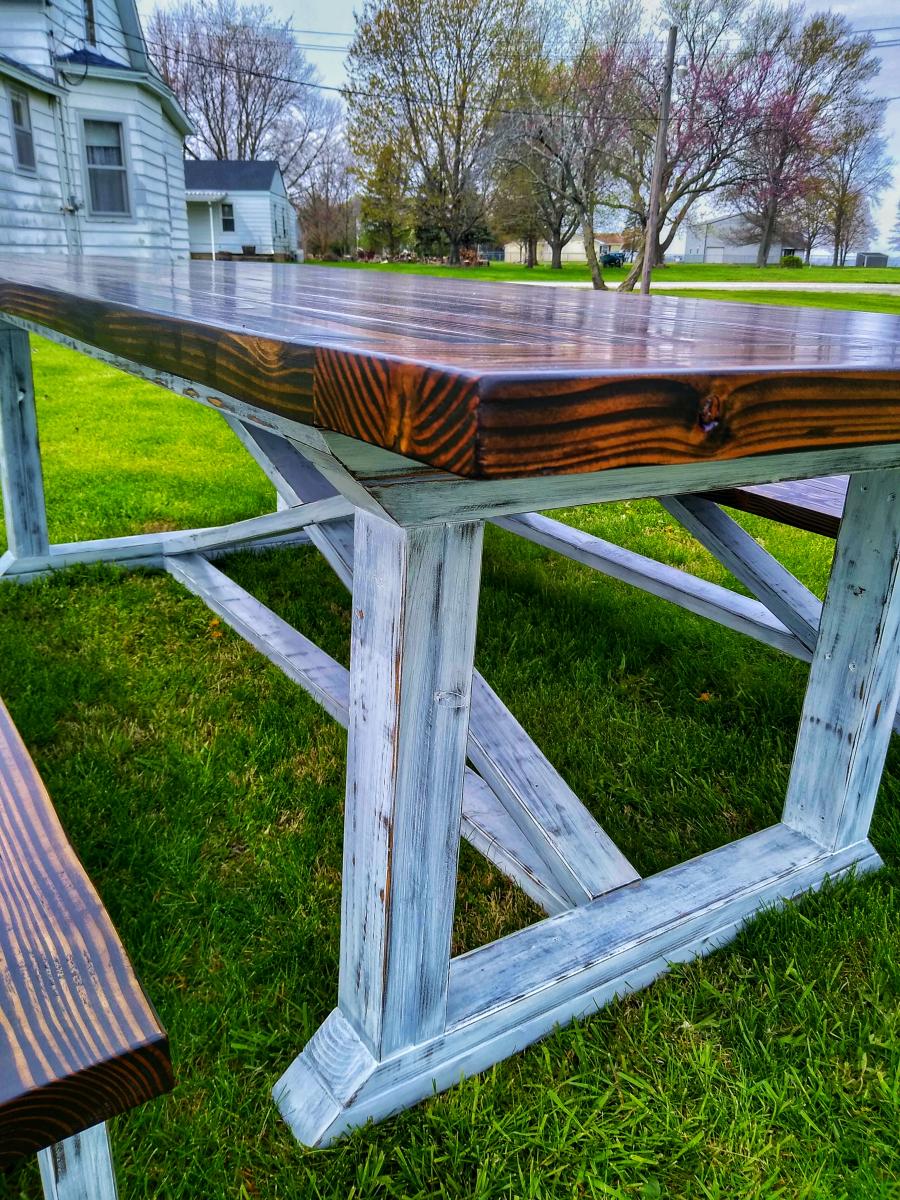
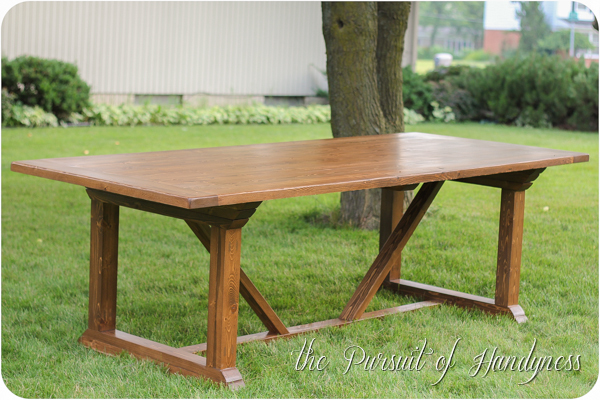
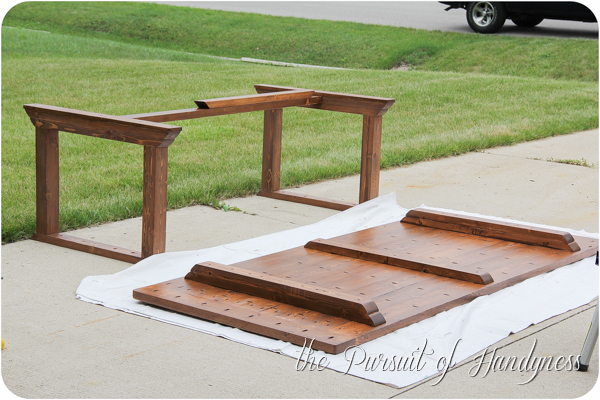
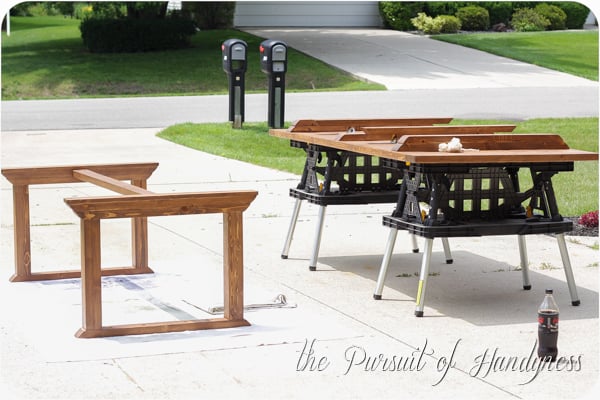
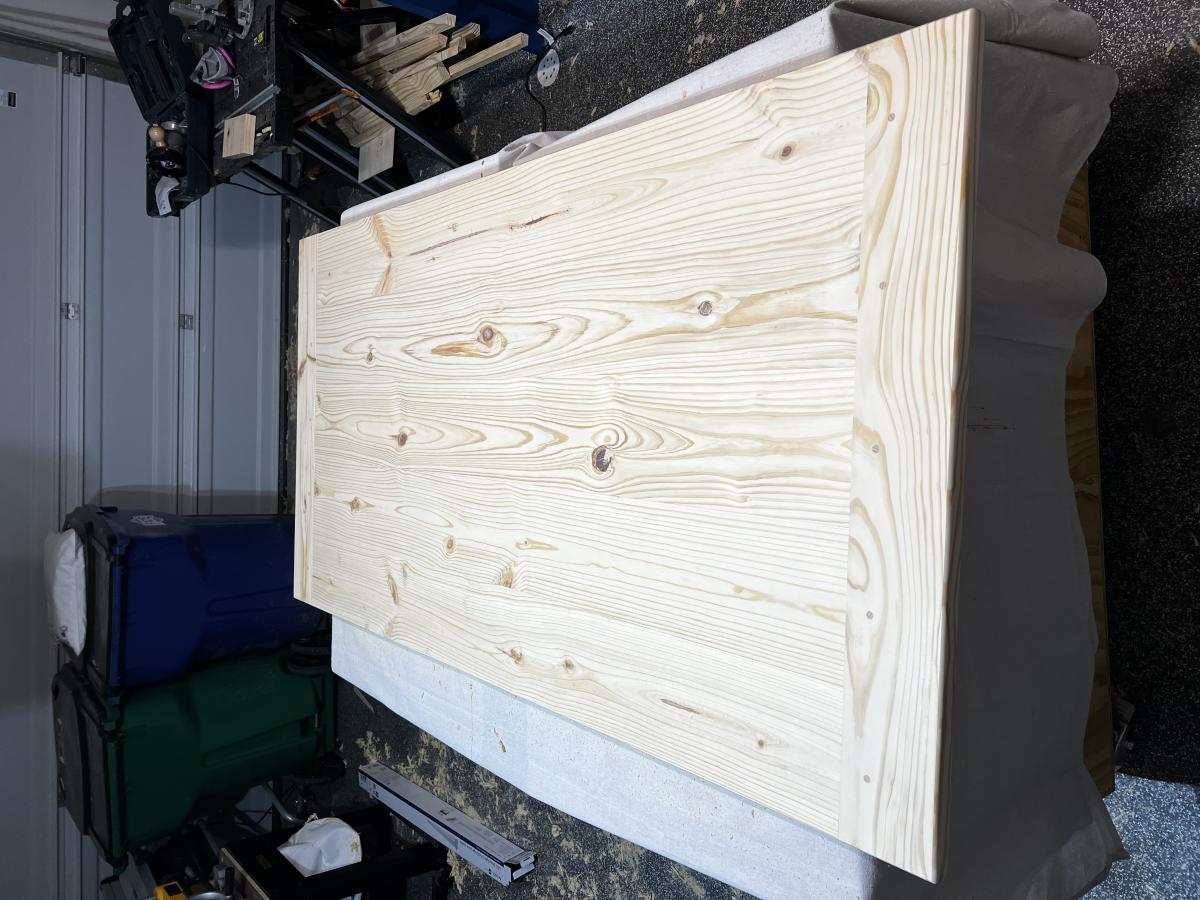
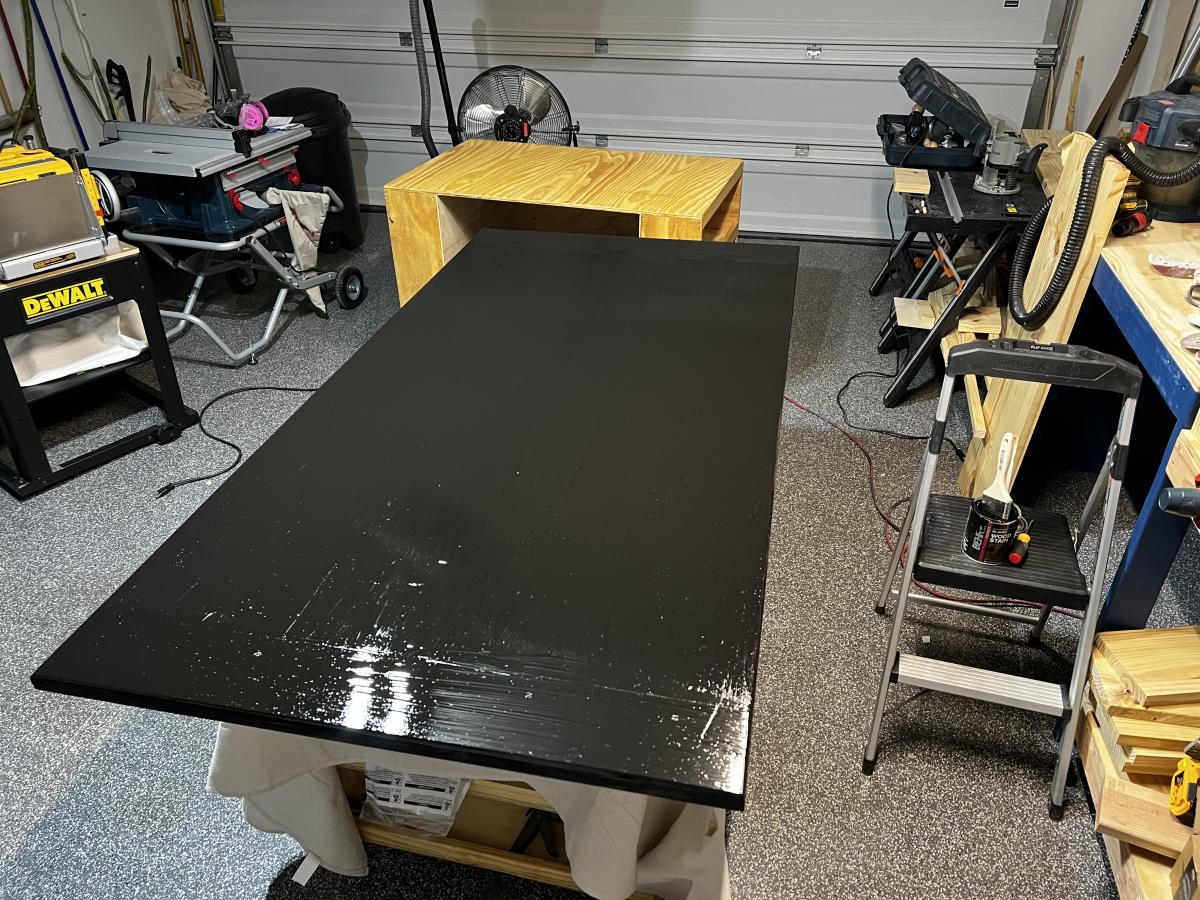
I used Ana's plans and only made one adjustment. I could not cut the 50 degree angles on my miter saw so I just borrowed the "V" design from one of her other plans. This table is really heavy and sturdy. A helper is necessary to flip the table top back and forth.
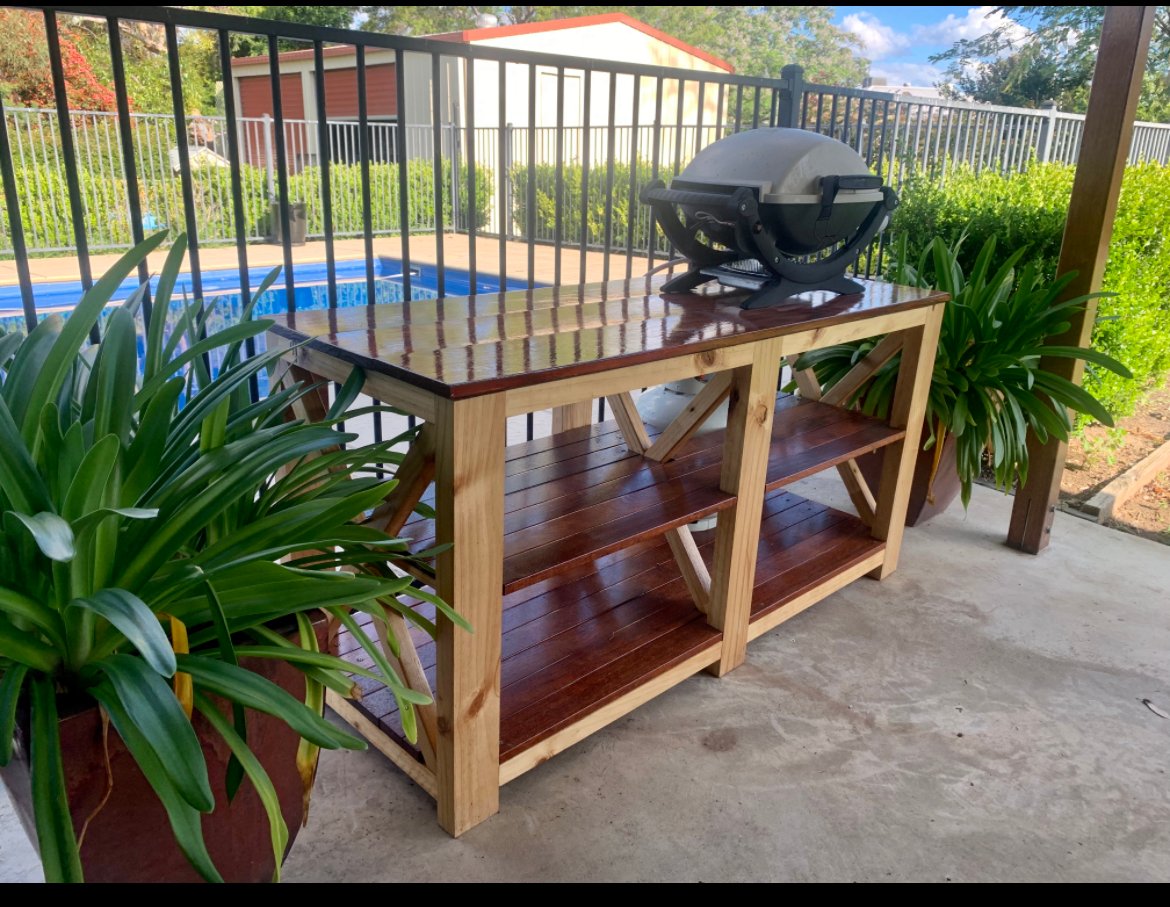
I’ve built 2 of these and on my 3rd now. This is the 2nd one and isn’t a desk obviously but a bench for my Weber BBQ and storage underneath

Needed a shed to store bikes and mowers, etc, so I'd have more room in the woodshop : ) I made a lot of modifications to the plan to fit my space and make it much larger. The completed size is 7 foot tall at the peak, 6 feet deep and 5.5 feet wide. I made it as a 3 sided shed, using the wall as the 4th to save on cost, increase air flow, and make the exterior house wall accessible. I also made an egress in the back of the shed in order to get behind the shed if needed.
Instead of roofing shingles, I opted for ribbed metal sheets and one clear sheet in the middle to make a skylight, so there would be light in the shed. This is my favorite part of the project. It was a huge pain to attach the roofing from a ladder with very limited access, but it looks great and I love the light coming in. We have very little rain in CA, so I'll have to wait until winter/rainy season in order to test out its waterproofing.
Since the shed sits between the house and the neighbors block wall fence, and I wanted to use as much of the space as I could, I decided to design the shed to have the side wall against the house rather than the back wall, as shown in the plan. This took a large amount of modifications, but with careful planning and measuring, it can be done. This also meant blocking off access to behind the shed, so I cut an egress in the back wall and added hinges so you can lift the back cut out panel, and rest it on a stop block attached to the fence behind it in order to have access. That's what woodworking is about- problem solving. Love it.
As you can see by the full shed picture, it fits a large amount of stuff- 2 adult bikes, mower, edger, trimmer, chainsaw, hedge trimmer, garden tools, shovels, etc, with plenty of room for more. I now have a free corner in my garage that I've already filled with a DIY rolling workbench and more pegboard space for tool hanging. Woodshop increased space= happy Brittany.
I should also mention that building the frame and adding the pickets was quite a quick and easy job. The hardest and most time consuming part was the roof (I didn't have metal cutting tools), rolling each very heavy wall to the site (I was alone) and the previous 2 weeks in which I built the paver patio the shed sits on. Hard work, but worth it. I love it!


Thu, 08/20/2015 - 05:56
And for under $300! Nice touch with the skylight also. Two thumbs up.
In reply to This is awesome! by Cross35
Thu, 08/20/2015 - 09:42
Thank you! I'm very pleased with how it turned out!
Mon, 04/27/2020 - 10:28
SWEET!!! What a great use of space! That skylight was a brilliant idea. No lights needed to see what you need to get at in there. Well done!
In reply to SWEET!!! What a great use… by carewarner
Mon, 01/25/2021 - 13:15
It has been incredibly useful for storing! One thing about the skylight- Over time the sun has warped it and there is now a hole and crack there. So I wouldn't plan on the clear roofing being a long term solution- I will be replacing it with either thicker clear roofing or 2 layers.
Wed, 05/06/2020 - 13:15
Love the design and space saver idea, brilliant! How can I get the dimensions? Tks
In reply to Love the design and space… by shed man
Mon, 01/25/2021 - 13:25
I just went out and measured- 6' wide and deep, 7' tall at its tallest point, tapering down to about 5' tall. Hope this helps!
In reply to Love this! by V2theicki
Mon, 01/25/2021 - 13:14
I based it off of this plan, but heavily modded it to fit our space. https://www.ana-white.com/woodworking-projects/small-cedar-shed
Hope that helps!
Tue, 06/23/2020 - 20:26
This is exactly what I want to do for the side of my home , I also would love to get the plans for this .
In reply to This is exactly what I want… by ajg1972
Mon, 01/25/2021 - 13:16
I used Ana's plans here, but heavily modded it to fit my space: https://www.ana-white.com/woodworking-projects/small-cedar-shed
Sun, 02/21/2021 - 09:39
Did you use cedar pickets?
And what did you use for the roofing material?
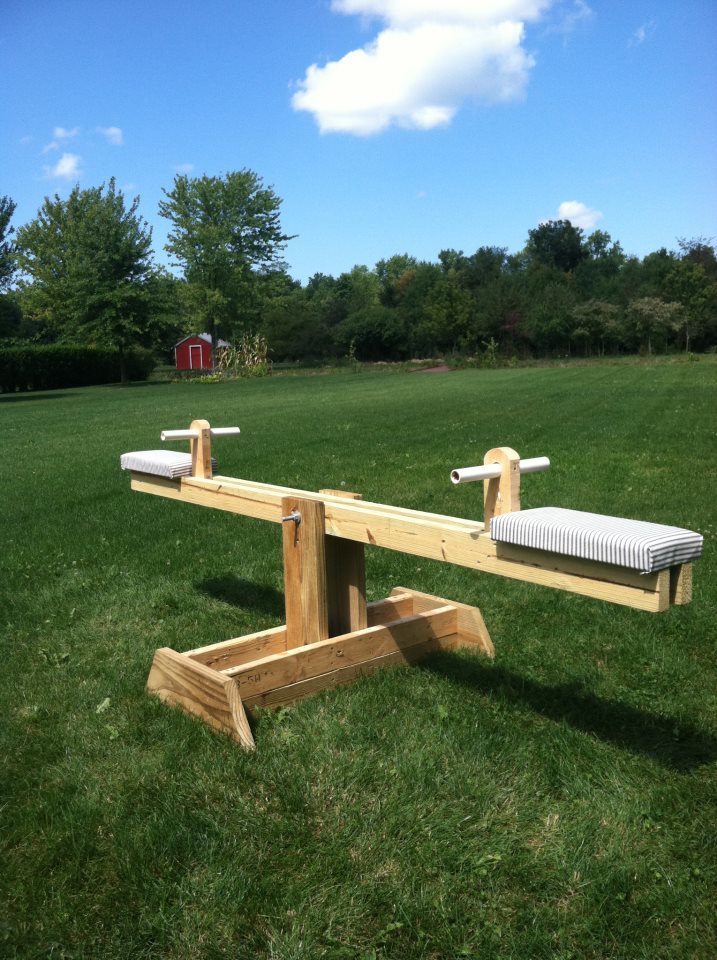
This is one of the cheapest projects for my kids I have ever completed!! And the most rewarding. I think everyone of my neighbors has been on the teeter totter...including adults :) My kids just love it and I am thinking of making a few for my nephews for Christmas. I was able to find all the wood I needed in my scrap pile. I had the PVC pipe and bolt already also so all I had to make a trip to the store for was the foam for the seats. My son helped me build this in an hour. I liked the unfinished look so I just sprayed it with a little Thompson Water Seal. Thank you Ana White!!
Built this from the plans and customized so it was a finer finish. No pocket holes, went with dowels and glue. Some screws in base for added strength.
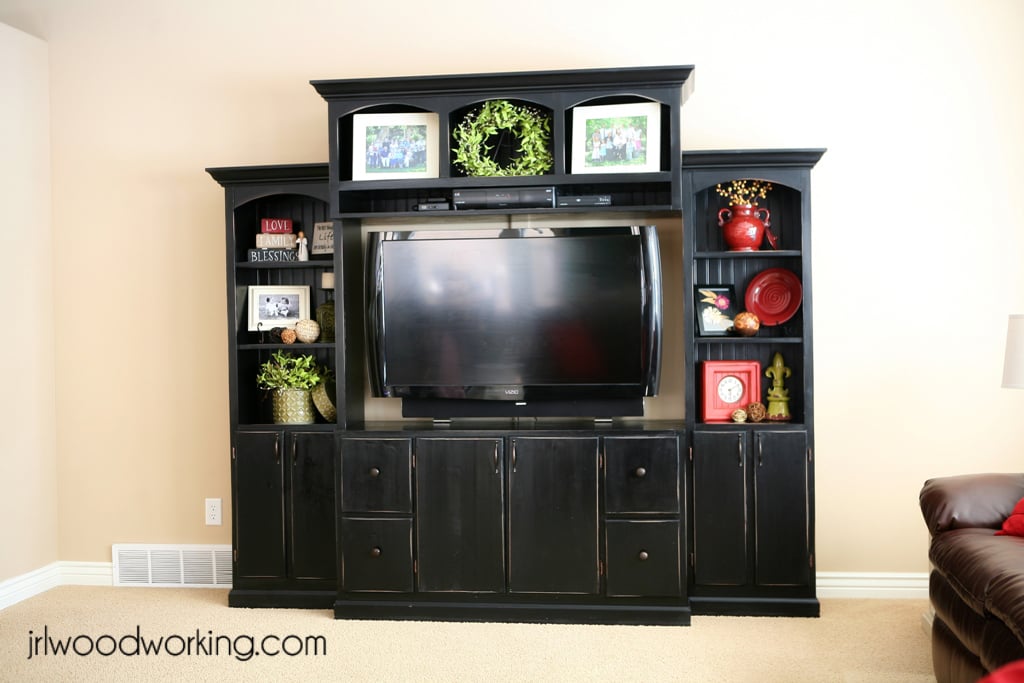
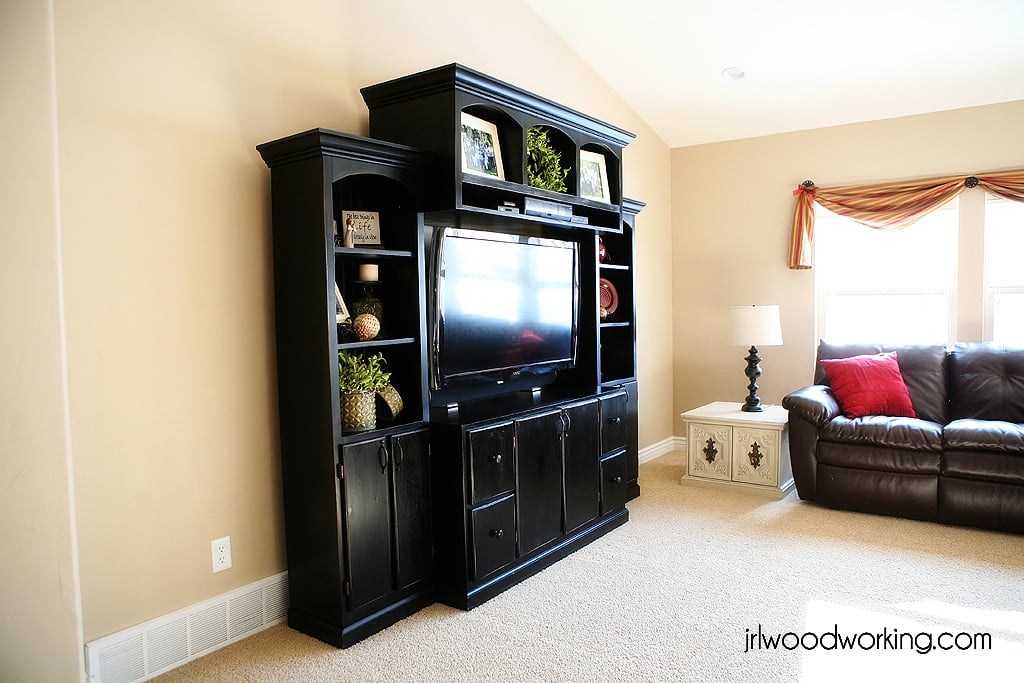
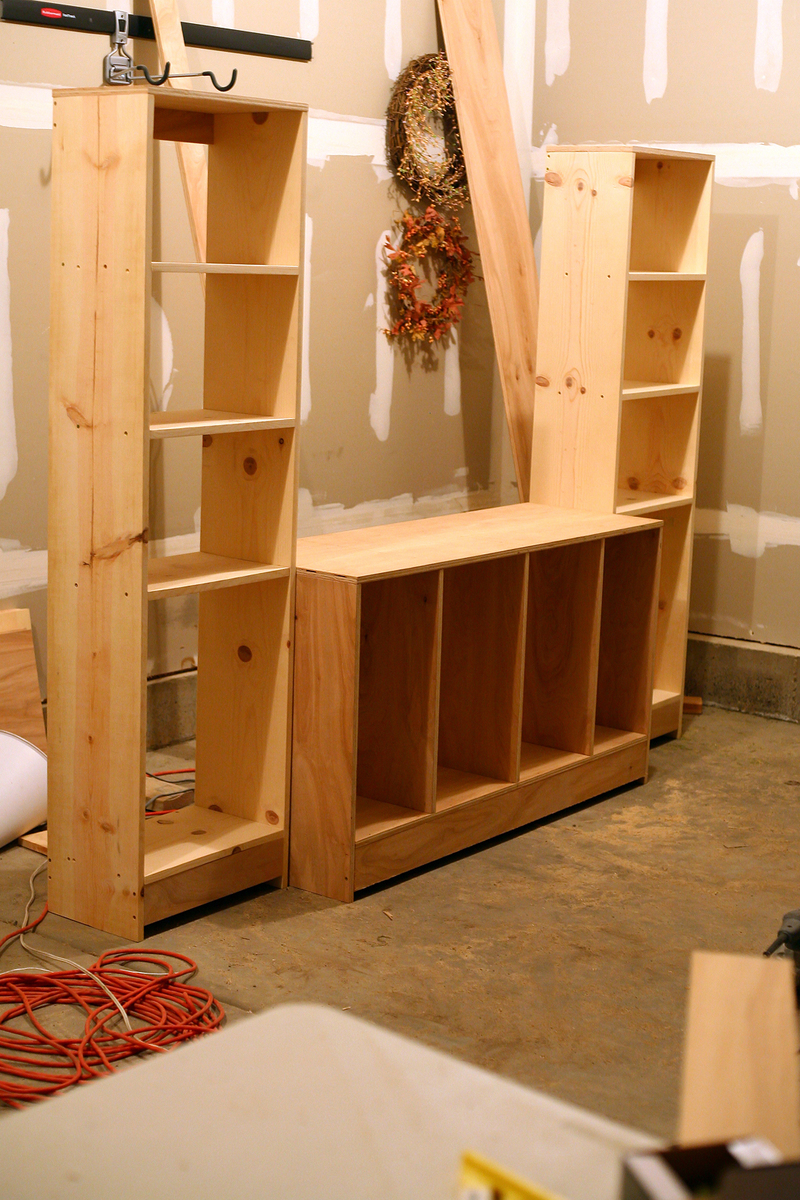
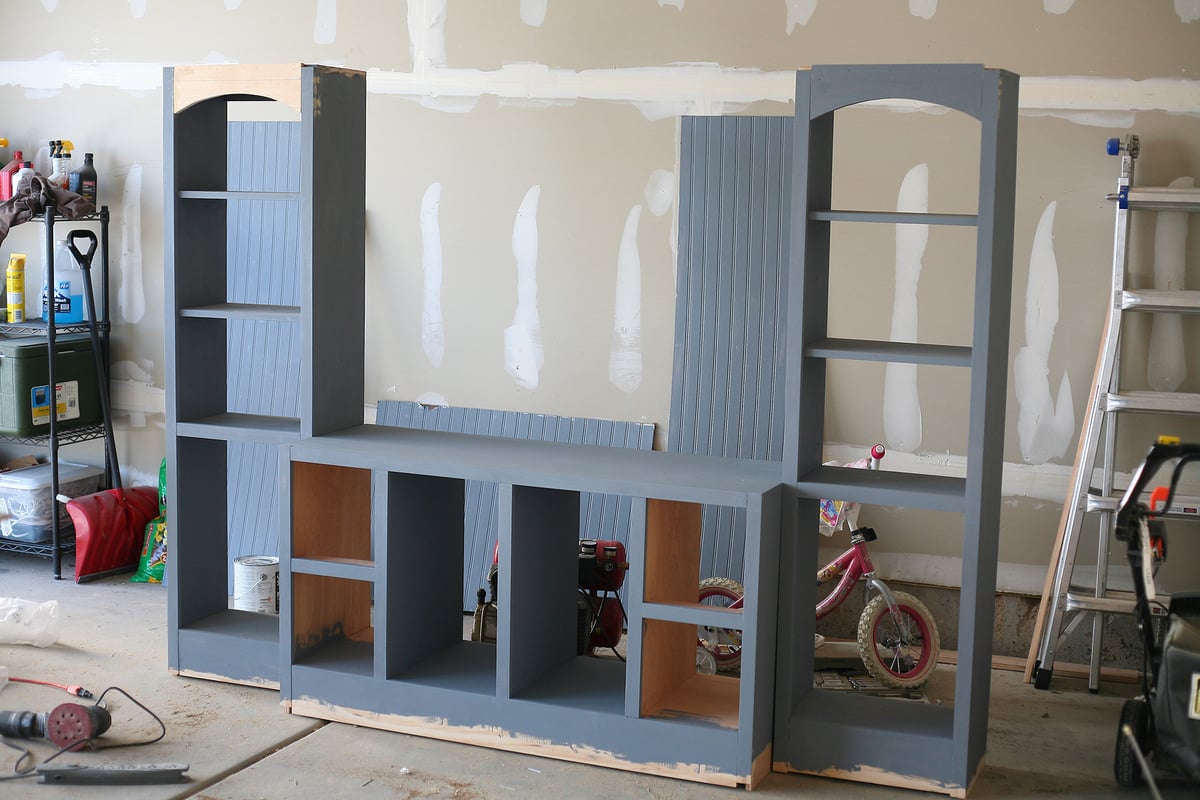
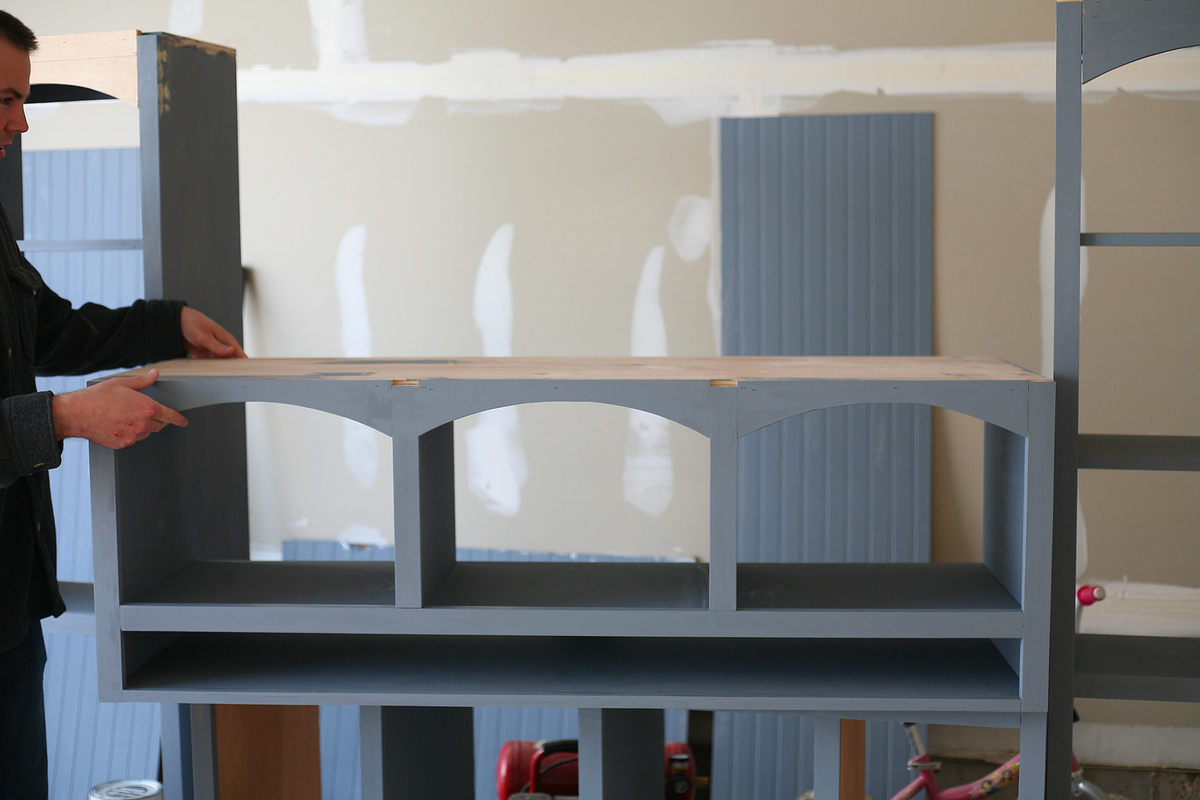
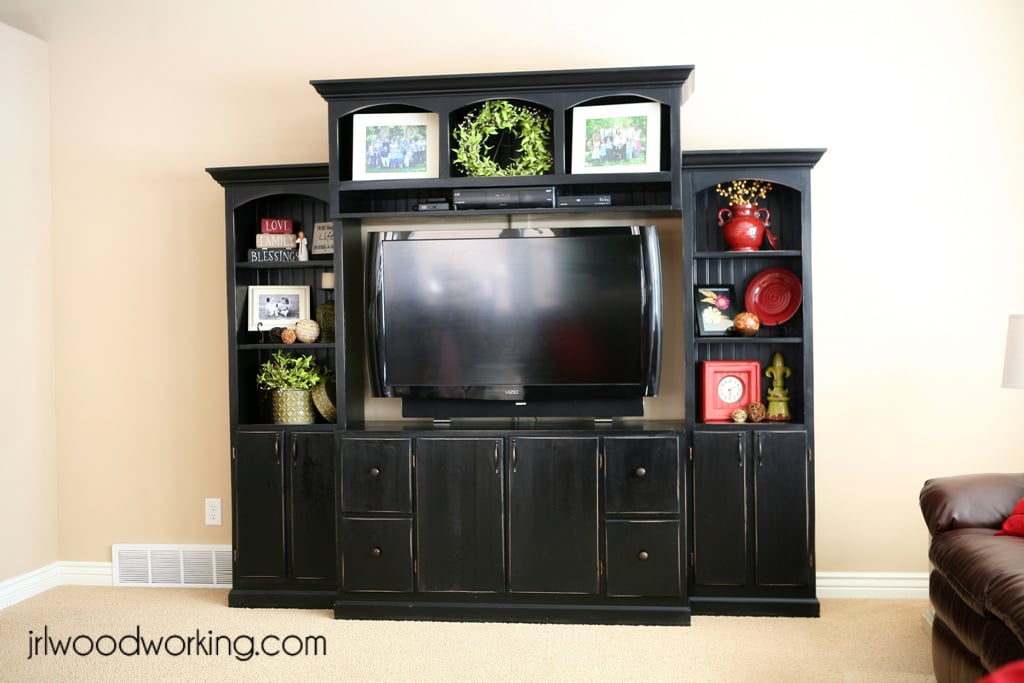
We purchased our first LCD TV, which meant we needed a new entertainment center to put it on. We looked at quite a few furniture stores and couldn't believe the price tag on the big centers. I wanted more than just a TV stand, so I convinced my husband to help me build an entertainment center ourselves. I looked at a lot of different entertainment centers, even a few on this site, and then I drew up a picture of what I was envisioning, tweeking things here and there (I have three little kids so I needed to make sure the center piece was high enough to keep little fingers off my expensive TV, and I also knew I wanted all Satellite Receivers and DVD players out of reach), and we went to work figuring out dimensions. We designed the TV opening around the exact dimensions of our new TV (it's a 46" tv, if that helps you imagine the opening size) and then figured out the rest of the dimensions after that. Once we had the dimensions figured out, my husband went to work calculating what materials we would need. Then we got to work. We built the center in four different pieces (two side shelf units, the middle bottom stand, and the middle top piece). We spent every night for the next week working in the garage to build the entertainment center, and it turned out absolutely beautiful! And the best part? The price, of course. In total, we spent $546.00. That includes wood, trim pieces, paint, primer, hardware (knobs and hinges). Not too bad for a beautiful entertainment center made of real hardwood!
In reply to Wow! This is absolutely by Lori E (not verified)
Mon, 08/08/2011 - 12:14
Thanks!
Thu, 07/28/2011 - 09:38
This is beautiful! Do you have any tips on cutting and getting the crown moulding to fit right?
In reply to This is beautiful! Do you by Diana (not verified)
Thu, 07/28/2011 - 16:17
I was worried the crown and bottom moulding would be tricky, but it wasn't too bad. To make sure it all lined up perfectly, we screwed together all the pieces (the top center piece to the two side shelving pieces and then both the side shelving pieces to the bottom center piece) first. We had it all put together just as it would be in the house and THEN we measured and cut the crown and base moulding. I had painted all the moulding first and then just touched it up after we put it on the entertainment center. I think we wouldn't have been able to get it to line up perfect if we hadn't screwed it together first, screwing it together get it a nice snug fit.
Mon, 08/08/2011 - 07:16
If I didn't actually see the building process of the entertainment center, I wouldn't have believe you built it yourself!
In reply to Beautiful! by kaytrishjr
Mon, 08/08/2011 - 12:13
I wouldn't believe it either, if I hadn't been the one spending so many hours in the garage building and painting! Thank you! :)
Wed, 08/10/2011 - 13:59
This is exactly what I need! Happen to have the dimensions? I know I could modify it to fit our TV but I'm really wondering how deep your side bookcases are. Thanks!!
Wed, 08/10/2011 - 14:16
Thank you! The dimensions are as follows:
Side Bookcases:
19.5" Wide
12" Deep
72" Tall
Center Piece:
54" Wide
19" Deep
84" Tall
Hope that helps!
Wed, 08/10/2011 - 14:35
I appreciate your quick response and help!! We're in the process of planning this one right now! :)
In reply to Fabulous!!! by sdking1981
Thu, 01/03/2013 - 10:23
We finally got cracking and put together formal plans to build this piece. Go to our website to see them, here's the link:
http://www.jrlwoodworking.com/2012/12/furniture-plans-custom-entertainm…
Good luck! Let us know if you build it!
Wed, 08/31/2011 - 23:53
Wow! Your entertainment center is beautiful and seems wonderfully functional! Just wondering what the height is of the ledge for the TV in the center console. We have little ones too and need TV and componenets to be out of reach! Also, would you mind sharing which plans you used as inspirations for each part? I think it is the Basic Collection for the bookcases and the Tommy for the center? Is that correct?
In reply to Height of TV Ledge by Guest (not verified)
Wed, 01/18/2012 - 14:19
Hi, sorry for the slow reply! I am not 100% sure (I can't find my tape measure!) but I think the TV ledge is either 30 or 36 inches high. I wanted it high enough that it wouldn't be hard to watch the TV while sitting, but enough that it would be hard for little fingers to touch the TV.
Mon, 11/21/2011 - 16:24
Hey Kristen,
Your entertainment center looks beautiful!
Did you use Pine wood for the entire project or did you use plywood for the top of the side book cases and the top part of the Media center. Did the paint cover up all the knots?
In reply to Wonderful/Question by azca33 (not verified)
Wed, 01/18/2012 - 10:59
Thank you! We used plywood on part of it, mostly for the center pieces. If I were going to do it again, we would have used plywood more because it was knot free and much straighter. The paint did a good job covering up the knots, and I am overall really happy with it!
In reply to Wonderful/Question by azca33 (not verified)
Wed, 01/18/2012 - 11:00
Thank you! We used plywood on part of it, mostly for the center pieces. If I were going to do it again, we would have used plywood more because it was knot free and much straighter. The paint did a good job covering up the knots, and I am overall really happy with it!
Sun, 01/01/2012 - 16:27
My husband was sure we wouldn't be able to tackle building an entertainment center until we saw your photos. We are excited to take on this project. Yours turned out beautifully! Can you fill us in on the finishing that took place after this blog ends: doors, etc.?
In reply to Doors, etc. by JennieB (not verified)
Wed, 01/18/2012 - 14:22
Thank you, we love it! And we loved building it ourselves and saving a ton of money while we were at it. Sorry for the slow reply on this as well. We cut and measured the doors, gave them a simple finish by routering the edges, and hung them. For the drawers, we build a basic box, added the runners, and then finish nailed the drawer front onto the box. They work perfectly! I distressed all the edges once everything was completely finished and hung.
Wed, 01/18/2012 - 06:52
What is the style/ color of knobs and pulls you used on this project. I am in process of building this. ALso, what is the cherry stain? Did you use that on the distressed parts of the center??
Thanks for your help!
Chris
In reply to Entertainment Center/ Apothecary Center by Chris Manitz (not verified)
Wed, 01/18/2012 - 14:27
Congrats on building the entertainment center! You will love it! I ended up using brushed bronze knobs and hinges (similar to this: http://www.handlesets.com/rusticware-950-1-1-4-modern-mushroom-knob-fro…). They turned out perfect with the black paint. They stand out enough, but not too much to distract. As far as the stain, I just used a Minwax Cherry gel stain. I would wipe it on the areas I had distressed (around the drawers, cabinet doors, edges, etc.) then let it sit for awhile and then I wiped it back off. It gave the distressed areas enough color to not look raw, but it still stands out. I hope that answered your questions!
In reply to Plans by Jeff (not verified)
Thu, 01/03/2013 - 18:35
Okay, the plans are now posted here:
http://www.jrlwoodworking.com/2012/12/furniture-plans-custom-entertainm…
Hope that helps you out!
In reply to Plans by Jeff (not verified)
Thu, 01/03/2013 - 10:23
We finally got cracking and put together formal plans to build this piece. Go to our website to see them, here's the link:
http://www.jrlwoodworking.com/2012/12/furniture-plans-custom-entertainm…
Good luck! Let us know if you build it!
In reply to entertainment center by Brandi Vancott (not verified)
Thu, 03/01/2012 - 18:56
No, sorry, there are no official plans for this. I just drew a picture of what I wanted and my husband calculated everything out from the picture. The general dimensions are listed above, though, if that's any help!
In reply to Love this by Carey (not verified)
Tue, 02/25/2014 - 13:36
Yes, you can find the plans at http://www.jrlwoodworking.com. Best of luck!
Fri, 03/02/2012 - 16:40
You guys did a beautiful job! I am so glad to see someone built almost the exact unit I was picturing. :) Ana's inspiration strikes again!!! I didn't see one, so wanted to ask if you blogged this elsewhere so I can read more details about the process. Thanks!
In reply to You guys did a beautiful job! by Cheramie (not verified)
Thu, 01/03/2013 - 10:24
We finally got cracking and put together formal plans to build this piece. Go to our website to see them, here's the link:
http://www.jrlwoodworking.com/2012/12/furniture-plans-custom-entertainm…
Good luck! Let us know if you build it!
Mon, 12/31/2012 - 13:40
Okay, I finally posted (actually, my husband did) plans for our entertainment center. They can be found on our woodworking blog here: http://www.jrlwoodworking.com/2012/12/furniture-plans-custom-entertainm…
Please take a look at them and let me know if you have any questions. Hopefully this will help other to build their own similar projects.
Sat, 03/16/2013 - 15:53
I love the the shelf above the TV. If you make that shelf about 6 inches tall, you would have enough room for a center channel speaker, or for an XBox Kinect.
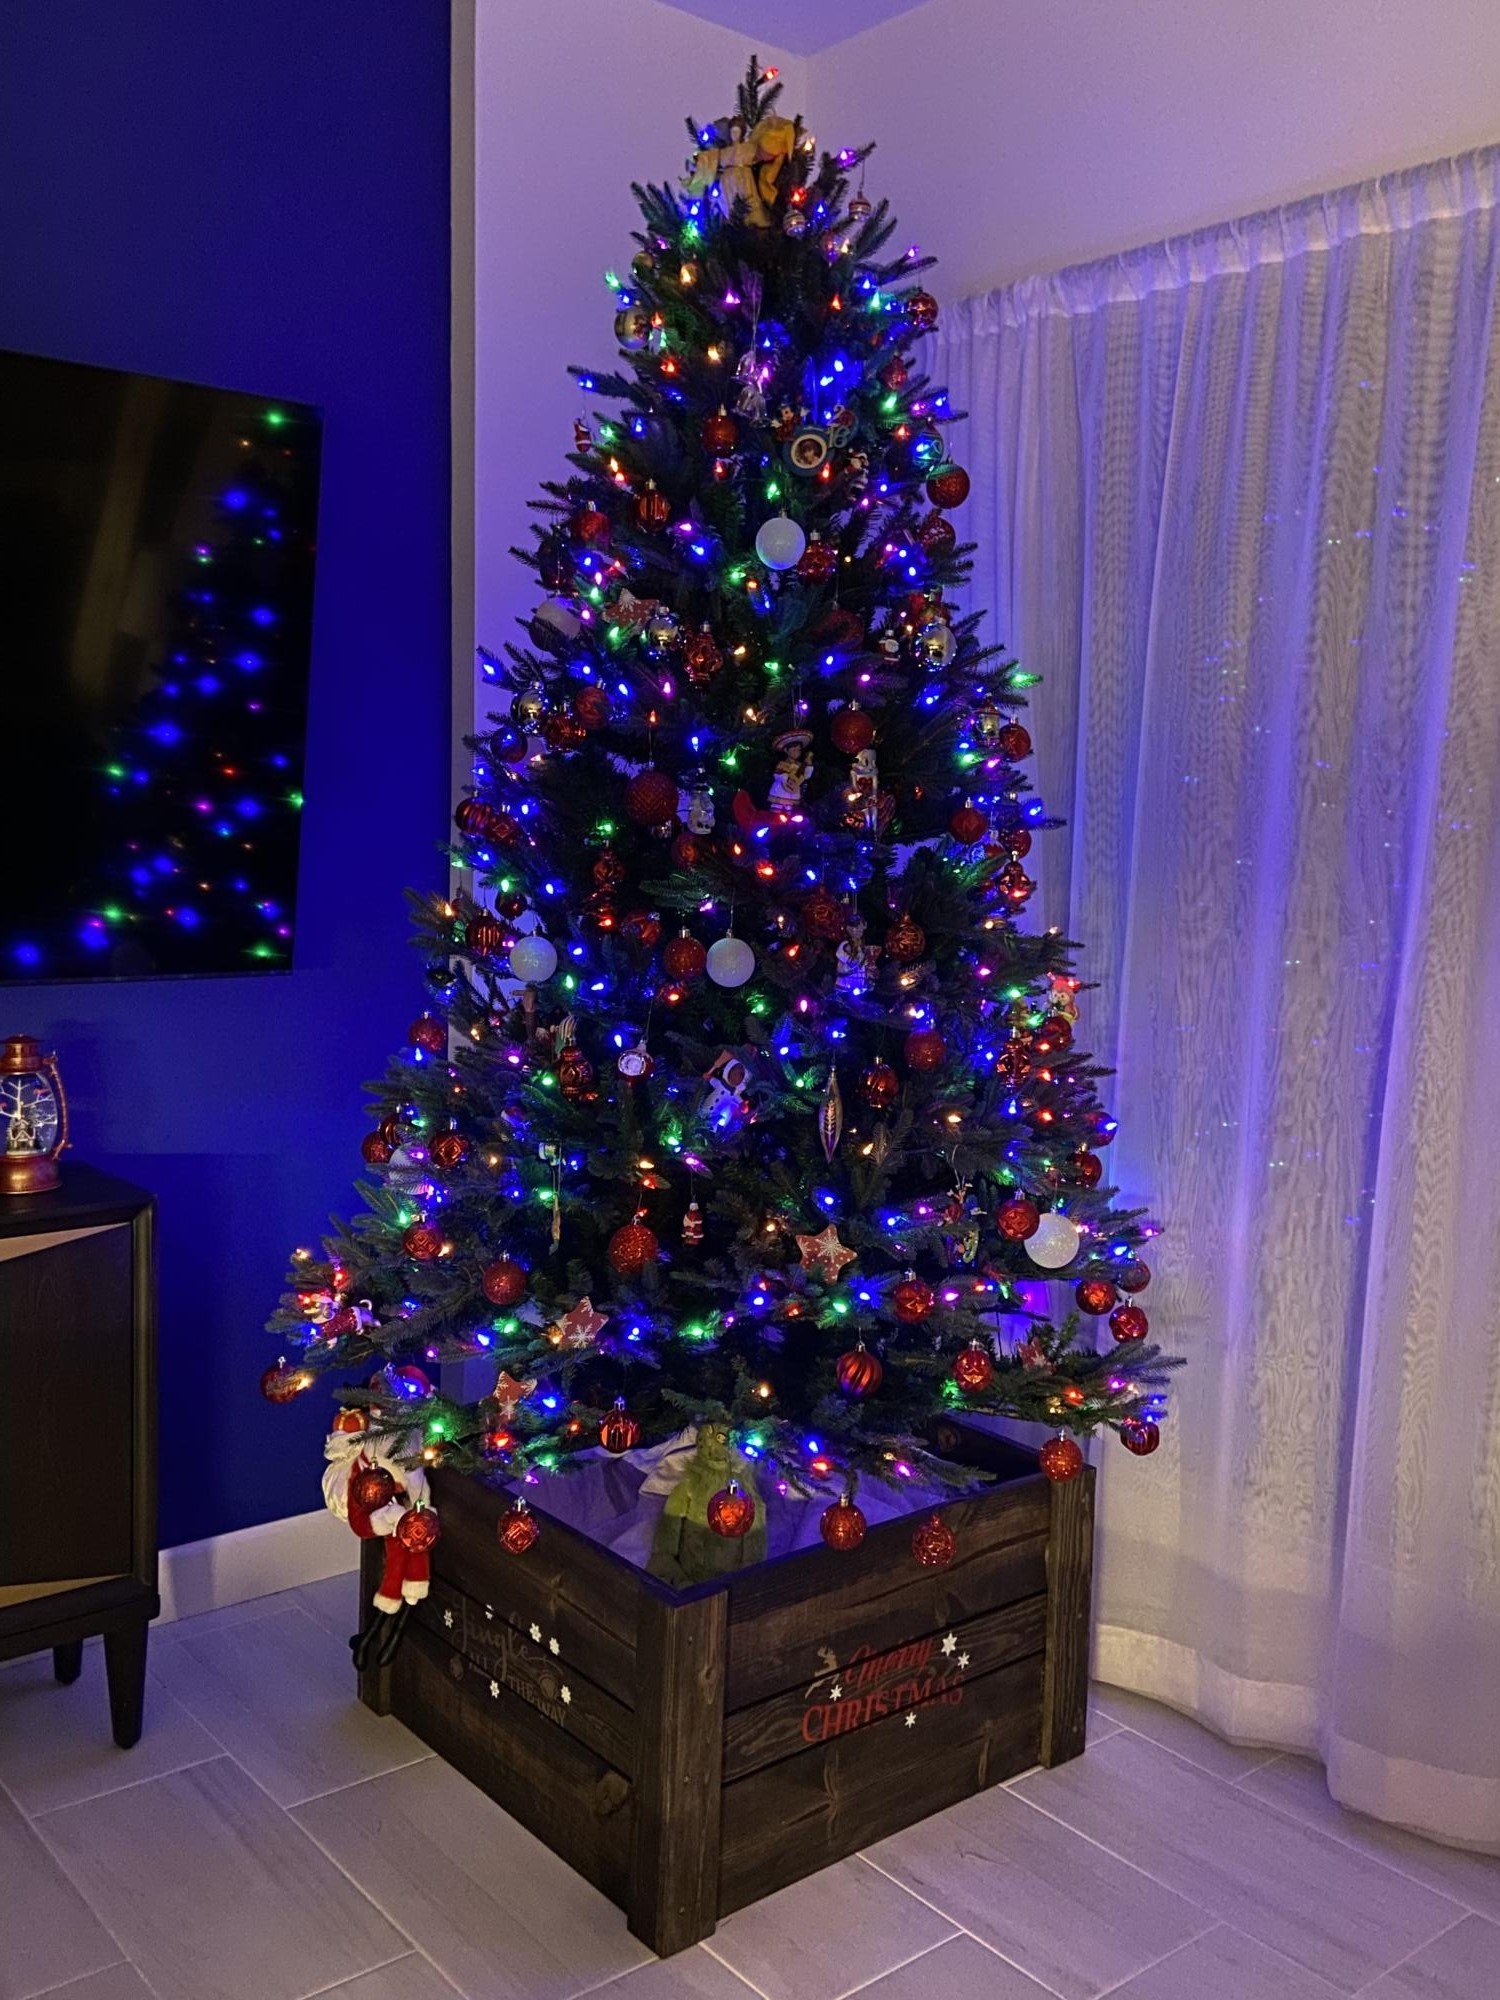
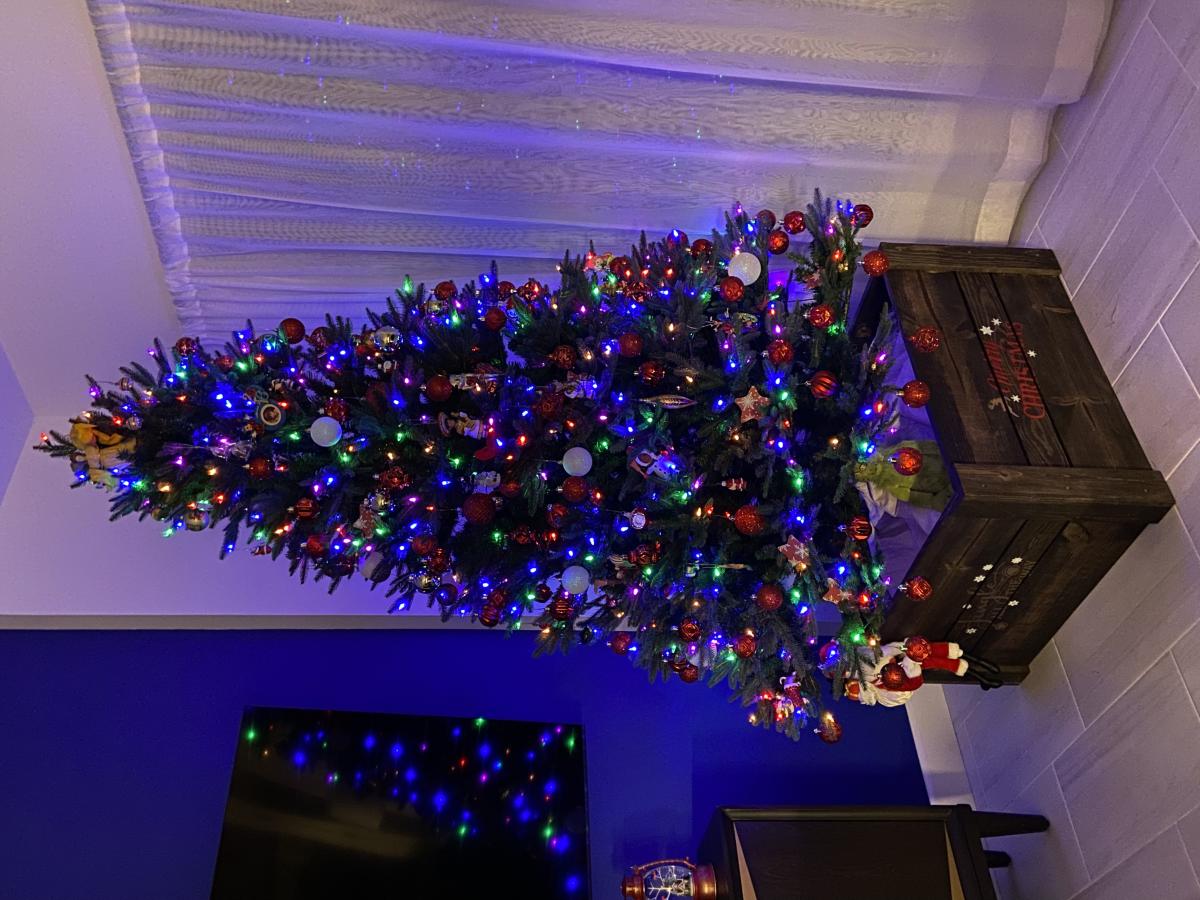
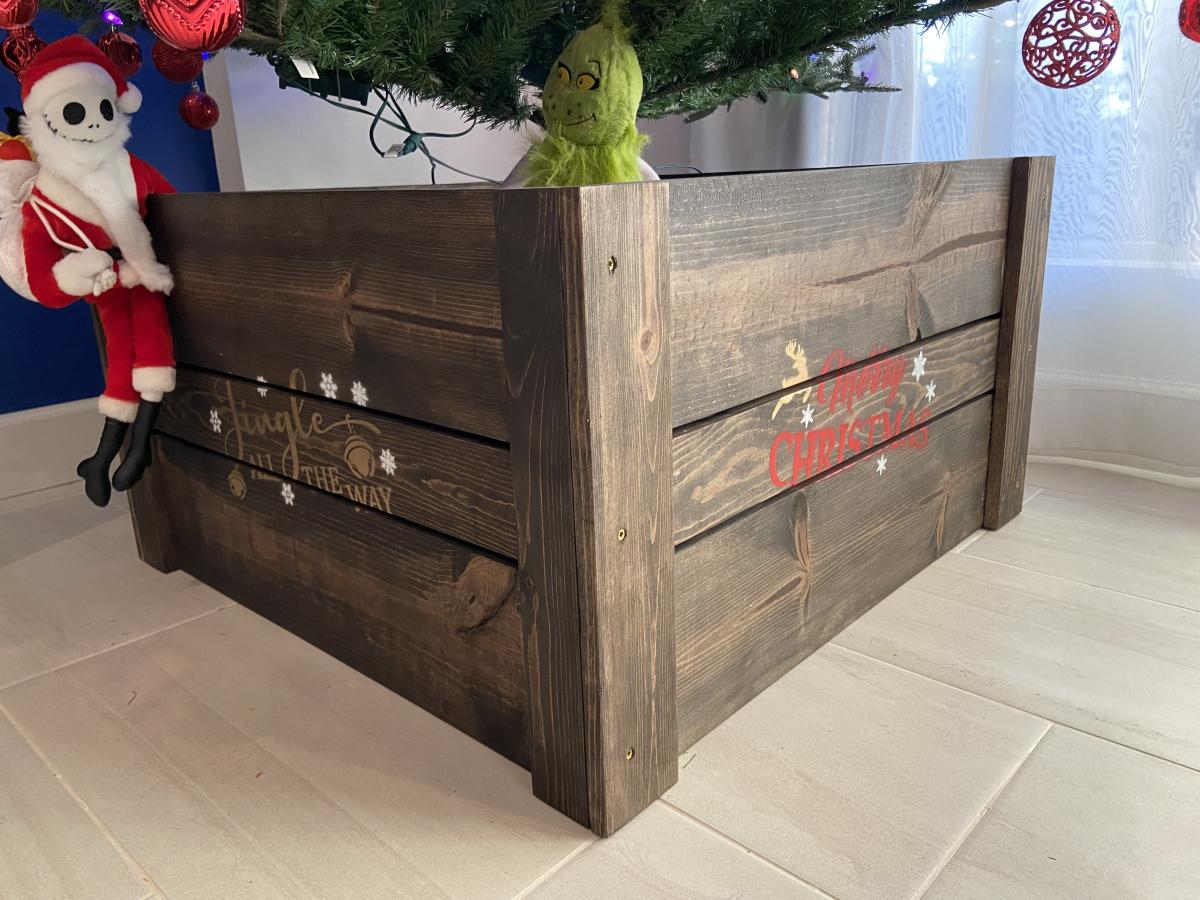
I made this plan at my wifes’s request. I added a platform on the inside for our artificial tree and stencils on the outside of each side. Plan was relatively easy. We love the look. Bonus, made the tree taller. George from Arizona.
Sun, 11/27/2022 - 10:59
Love the stain choice and the added stenciling, thanks for sharing!
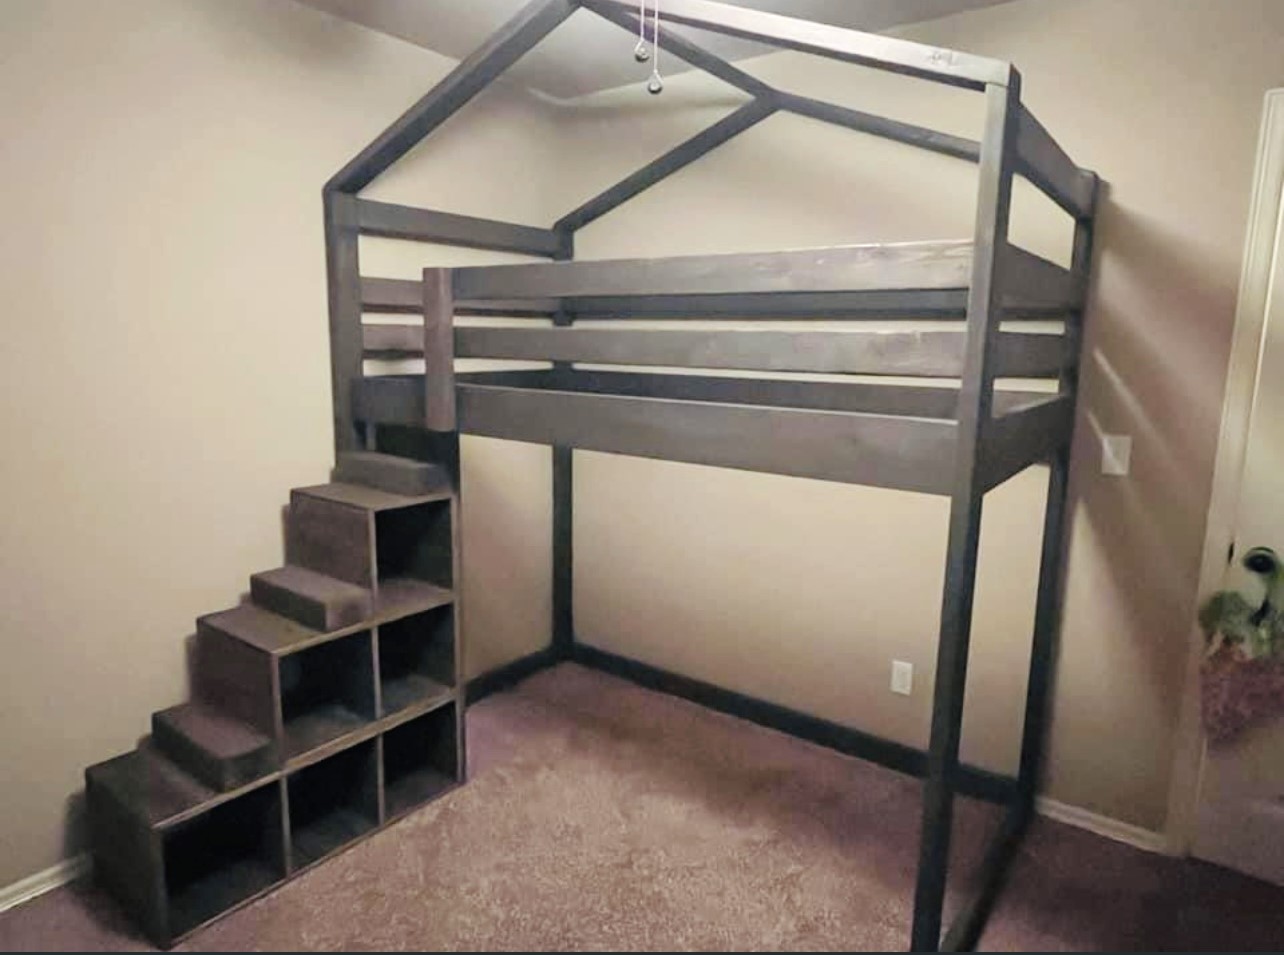
Modified the junior loft plan to add a house design element and storage stairs, by Amy Mott
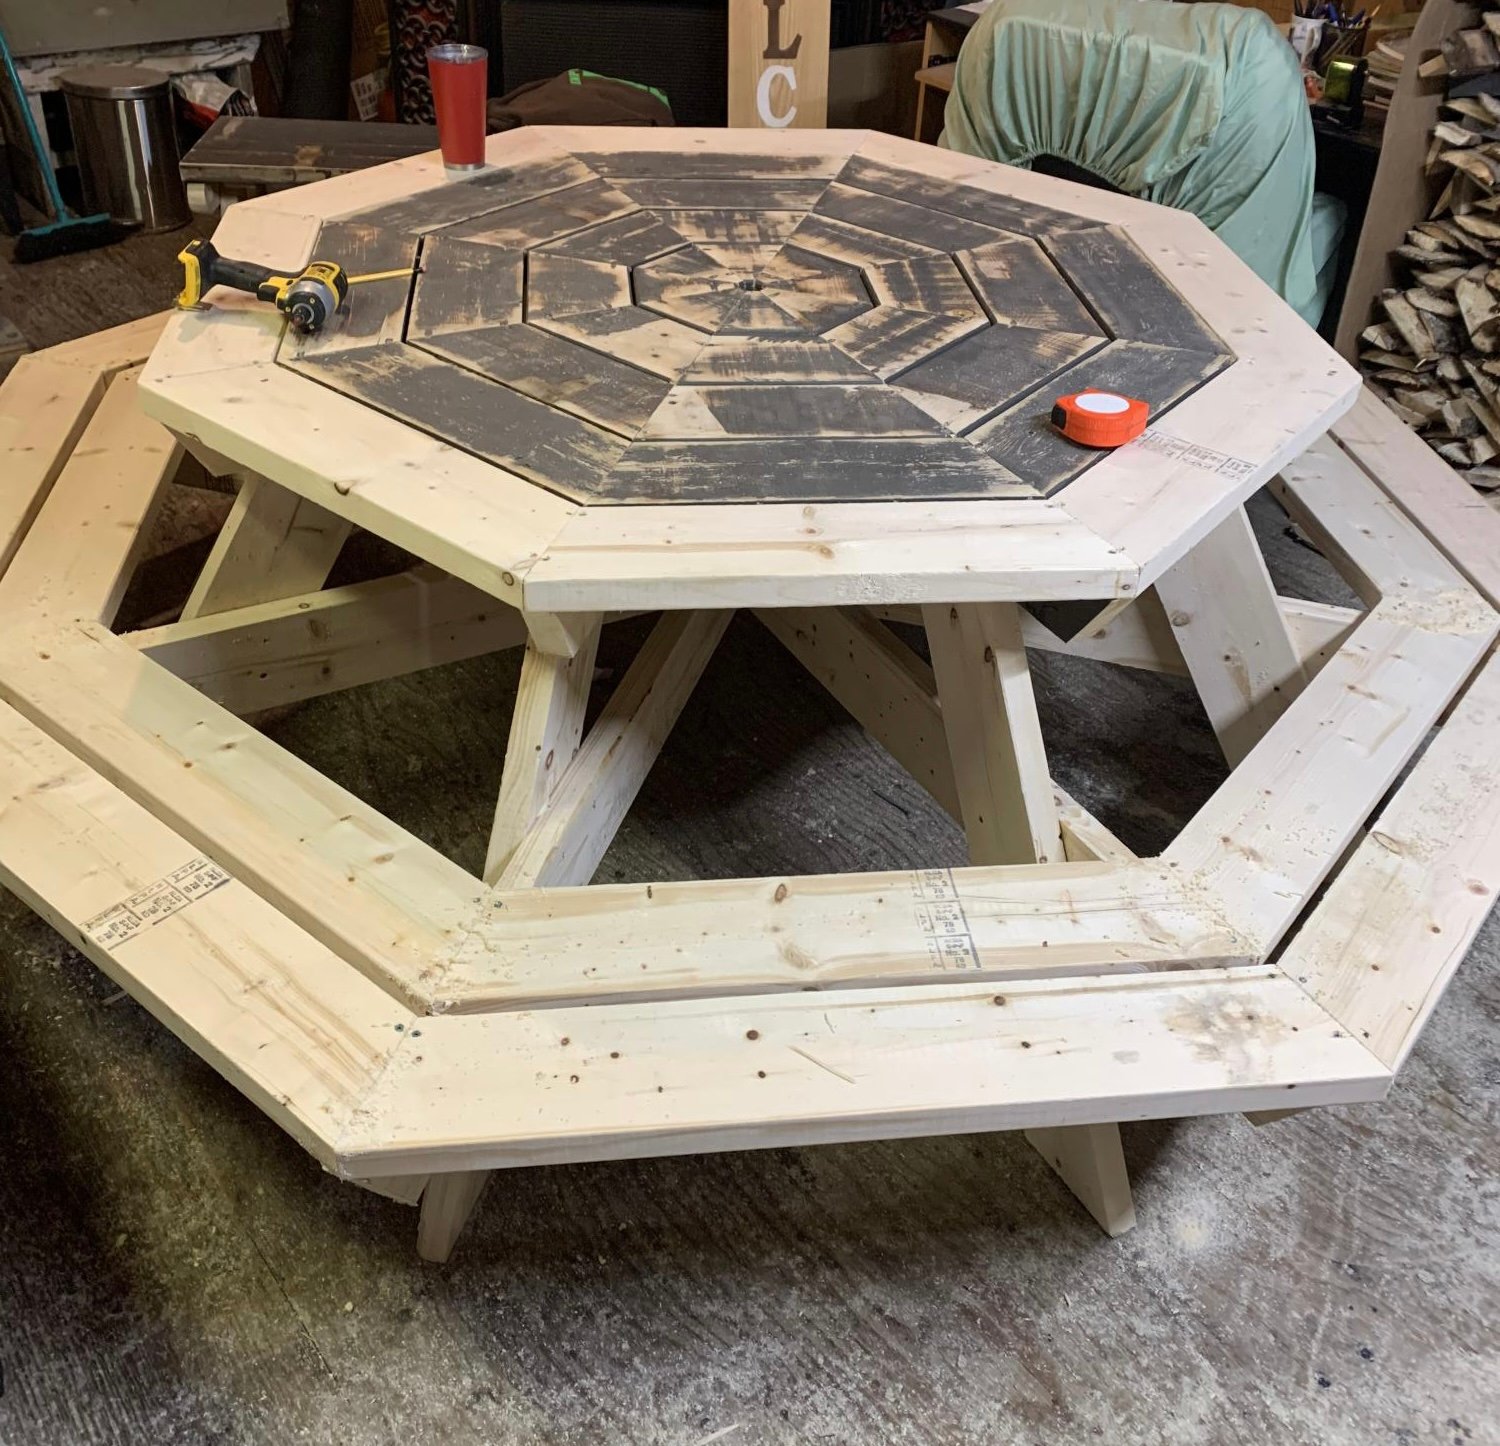
Great project . Easy plan to read .
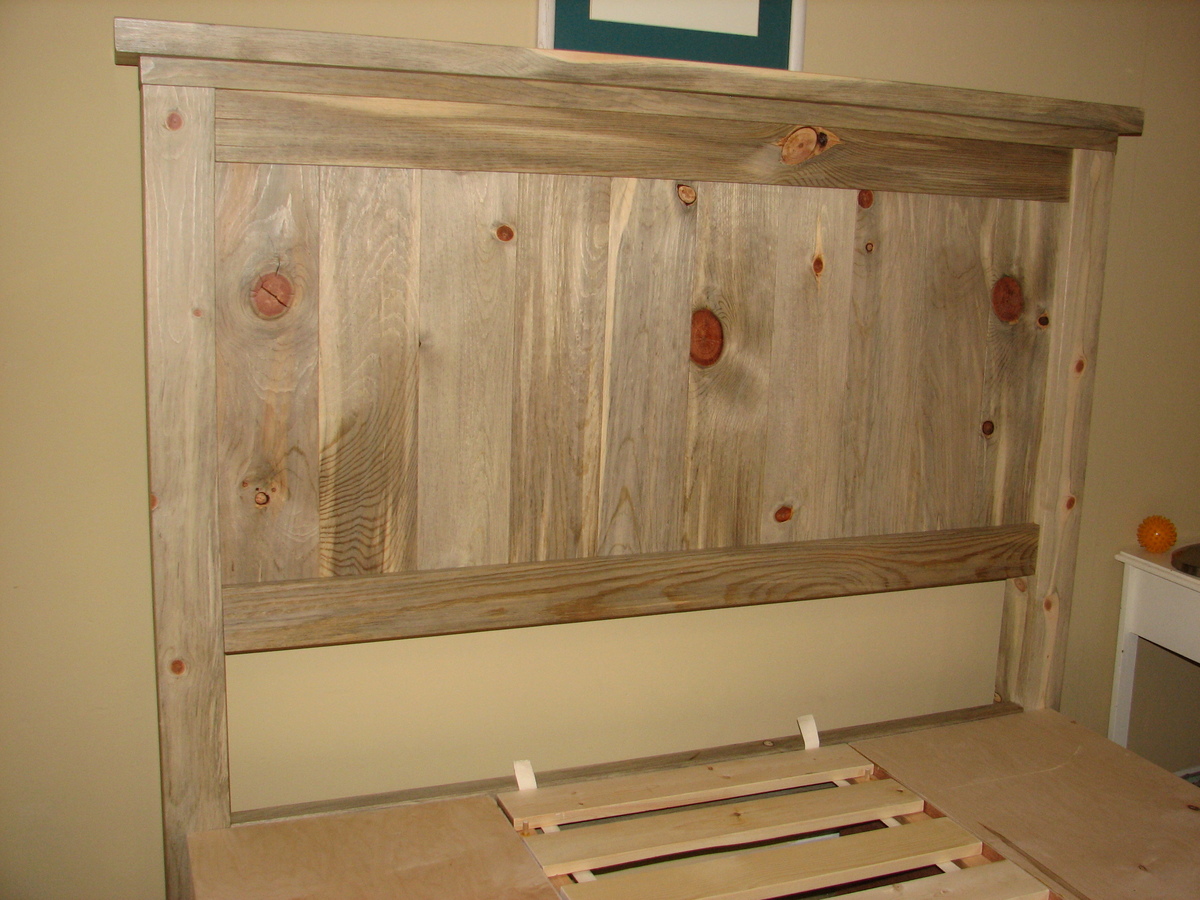
This project was inspired and guided by the plans for the
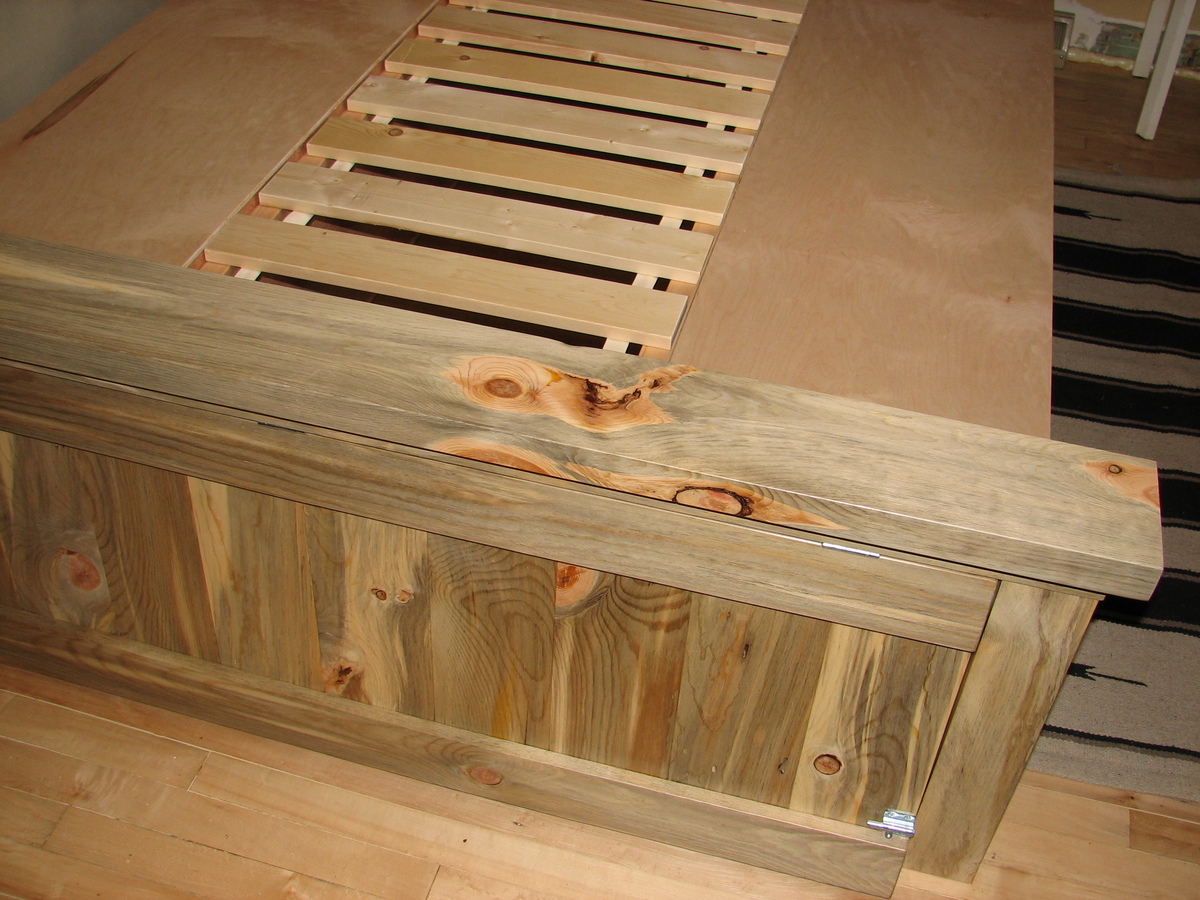
Farmhouse Storage Bed with Hinged Footboard by birdsandsoap.
The most visible parts, head and foot board, are made of beetle-killed blue stain Lodgepole pine, locally sourced and milled.
The boxes are made of 3/4" maple plywood and rest on a frame of 1 by 2's. I am still working on the 6 drawers, which will have blue stain pine fronts as well.
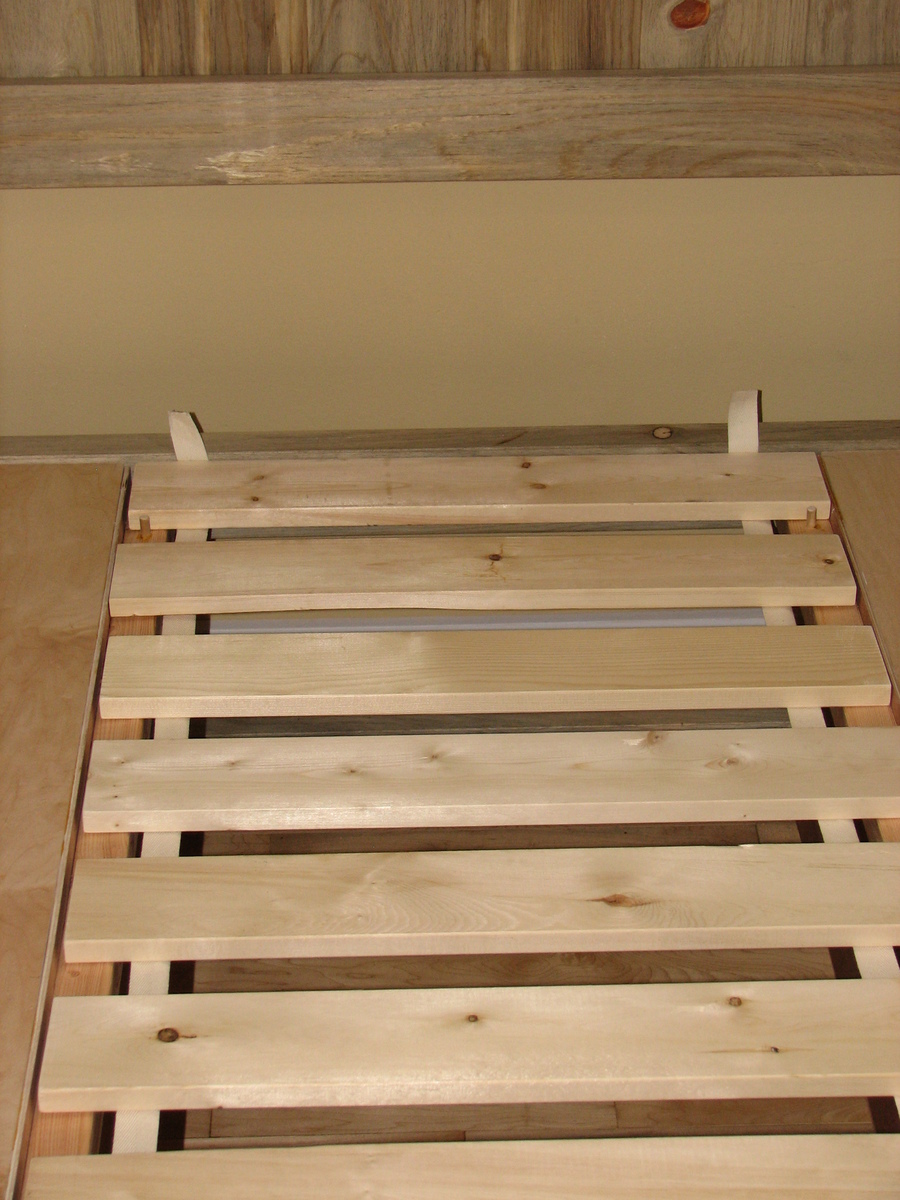
The bed slats between the boxes are stapled to webbing and the first and last slat are held by dowels drilled into the supporting rails to prevent the slats from sliding around.
Knock-down design - by removing the few (non-loadbearing) screws that fasten the head/foot boards to the boxes, the bed can be disassembled into manageable/movable components.
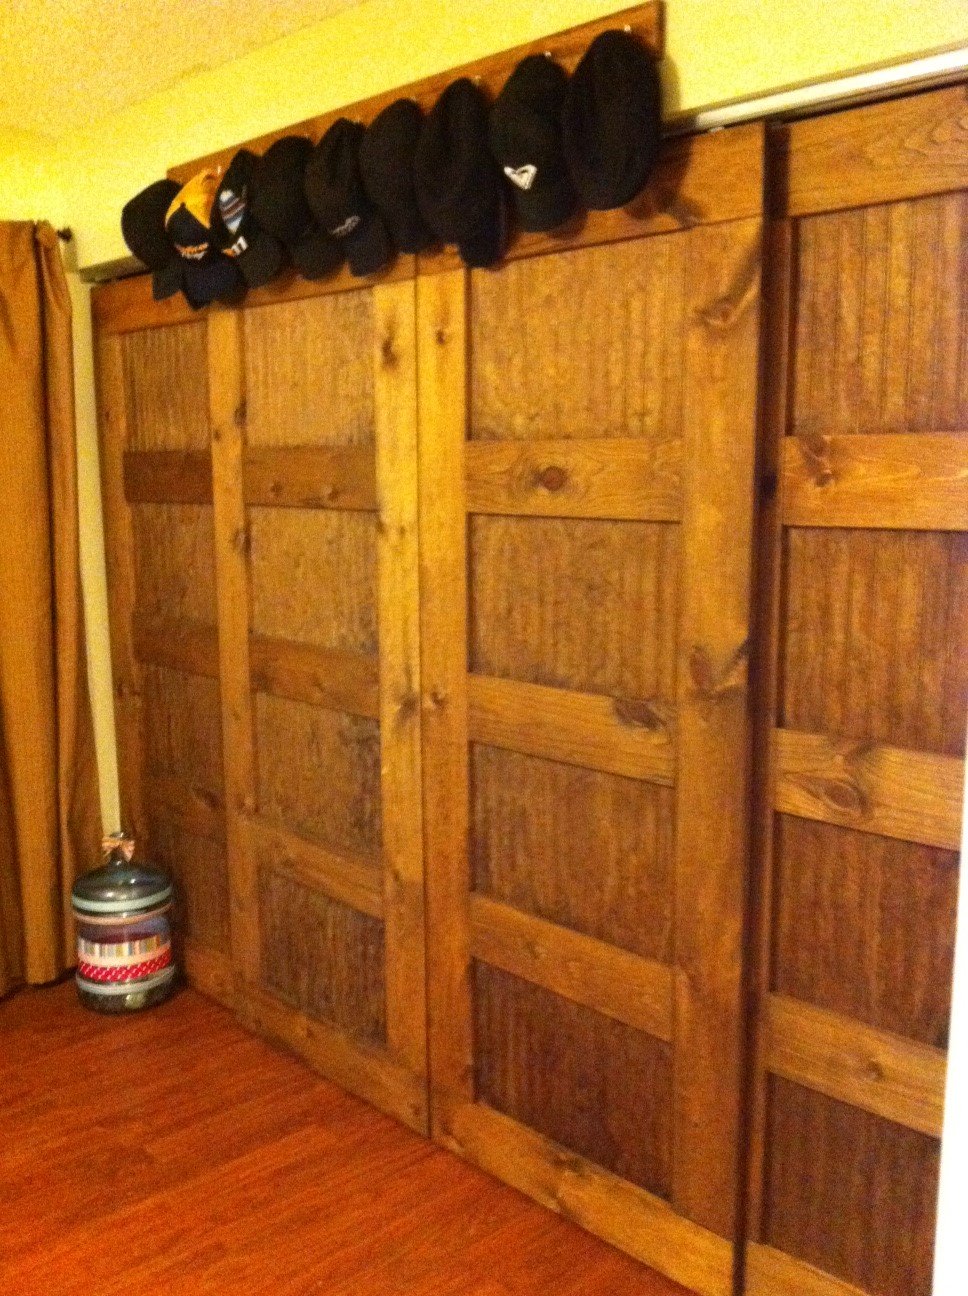
I loved the Idea of new closet doors and hated the idea of bi-folds. My house is crooked it seems. The doors don't sit straight and bi-folds always fall off their tracks. When I came upon the plans for Bypass Doors from Old Paint Designs I was hooked! I made 4 doors for the hallway in 1 day, oiled it with Danish Oil in Dark Walnut, hung it the next day and what a difference!! Glass is rather expensive in Hawaii and so is plexi-glass so I opted for Bead Board which gave it a more "country" feel instead of a more modern feel. I wish I could have used glass but the $150 price tag just wasn't fitting into my budget very well. My hubby loved the bypass doors so much he asked me to build them for our open closet. 2 days of work, 8 doors, 2 closets done!
Thu, 01/26/2012 - 13:48
Those turned out great. Love the bead-board and color.
Thu, 01/26/2012 - 23:24
Wow! Those turned out great! I love the idea of using beadboard - so creative!
In reply to Wow! Those turned out great! by oldpaintdesign
Fri, 02/17/2012 - 17:13
Thank you for your plans...love them. I've been asked to help a friend of mine build some doors for his house!
Tue, 08/28/2012 - 15:27
Great job on the doors! I am interested in doing this myself. I will have to make 4 doors for my closet as well since I have such a large opening. Can you tell me what the measurments of your closets are? Also what are the dimensions of the pine that you used? Thanks a bunch!
In reply to Bypass Closet Doors by Jilley27 (not verified)
Tue, 08/28/2012 - 18:44
My closet opening is about 8' across. Each door is 26" wide and 79" tall. I made them so the would have a 1" overlap on each side...
I used 1x6 @ 8' lengths of pine. I like the really knotty pine with lots of character! Have fun building! These were pretty simple to make once you get all the boards cut.
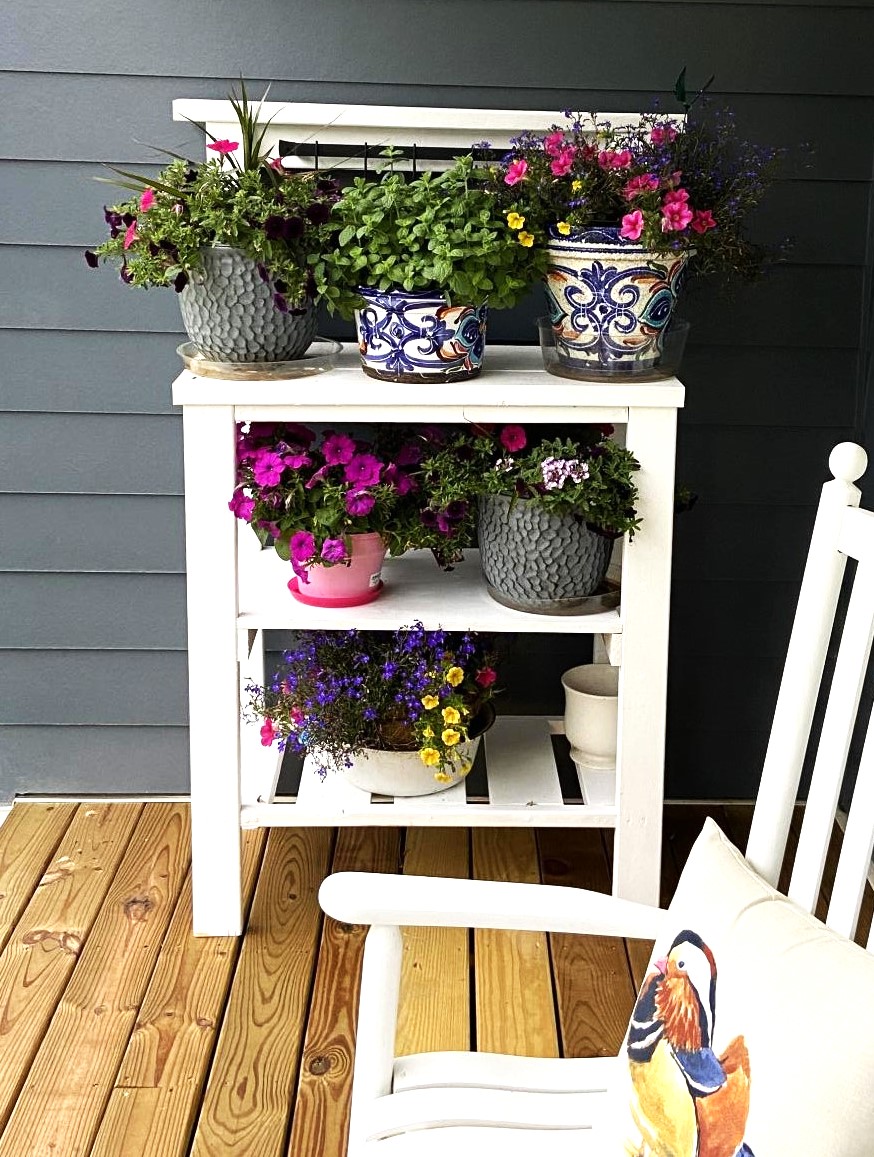
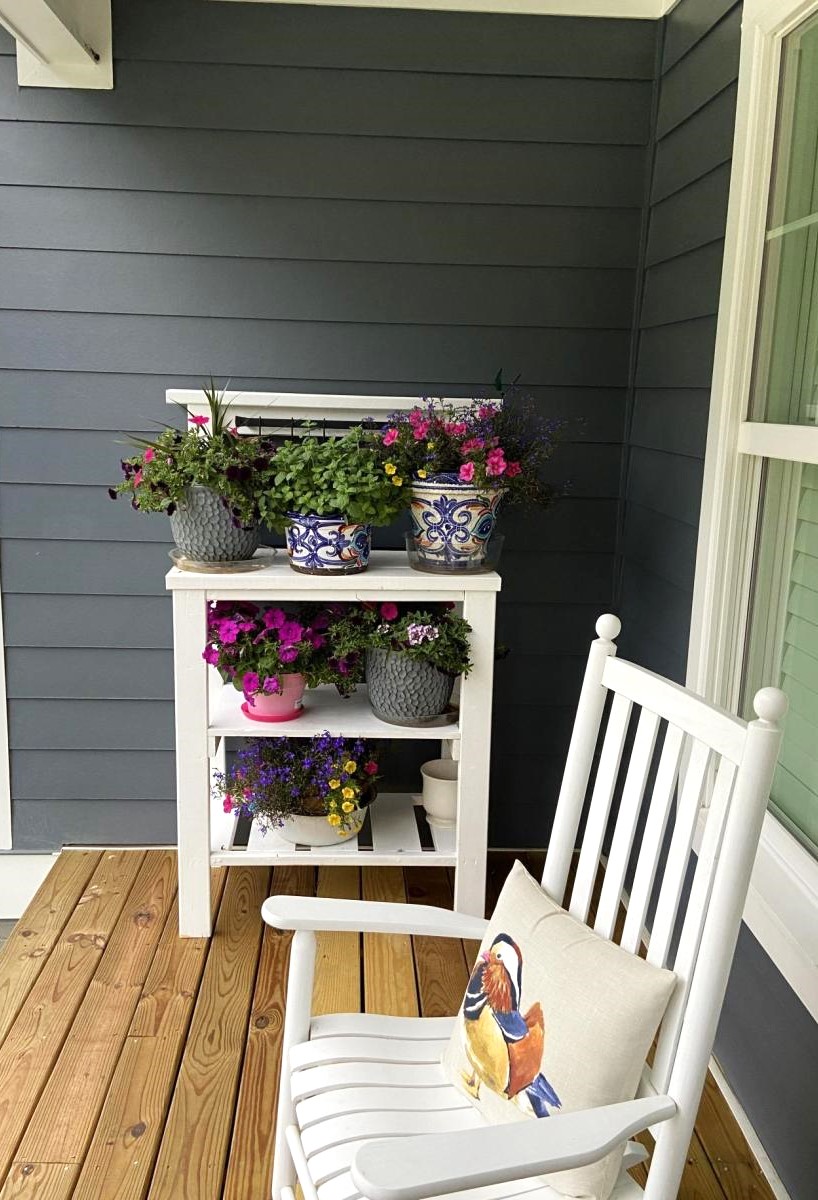
Proud of this, my very first build. Thanks to Ana White for the detailed, easy to follow plan. Can hardly wait to start the next project!
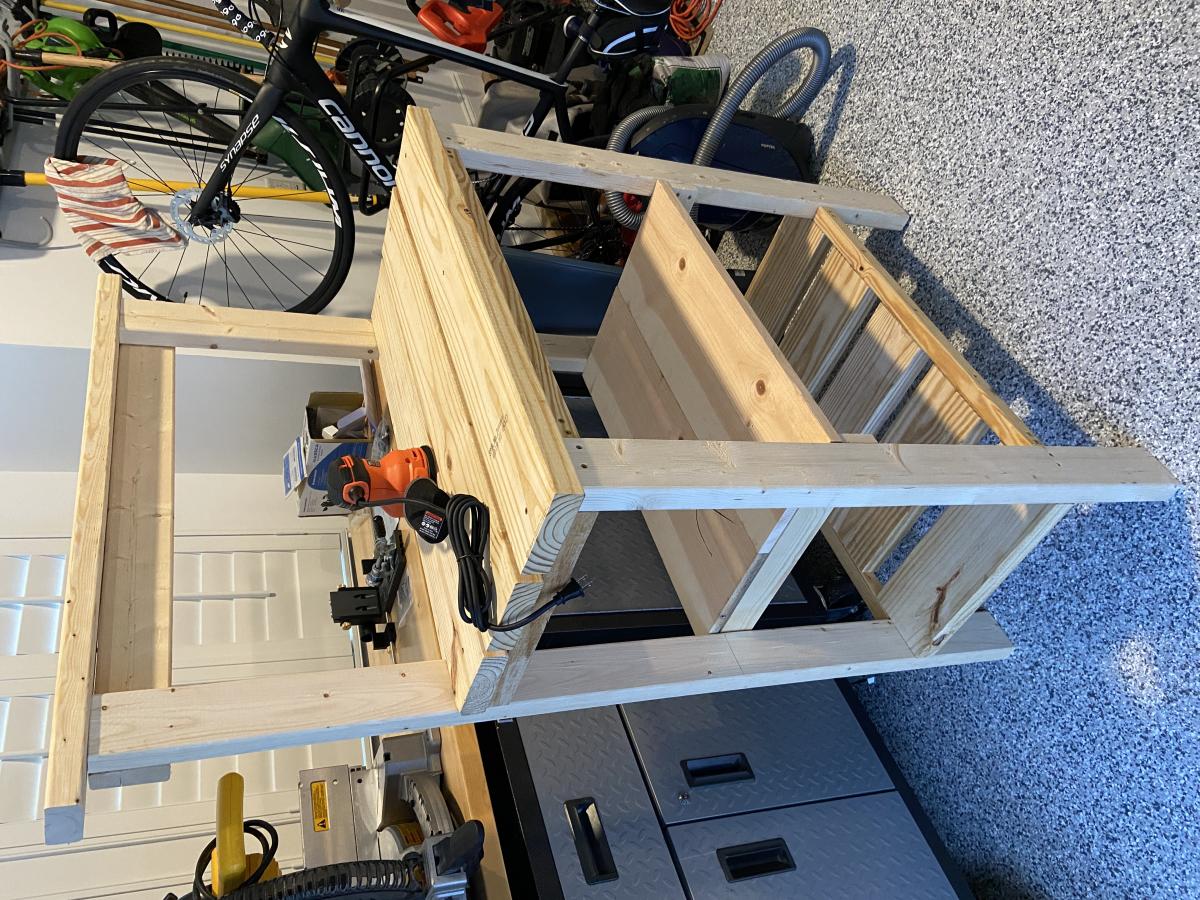
Fri, 06/16/2023 - 22:02
Absoutely love this, way to go! Can't wait to see your next project.
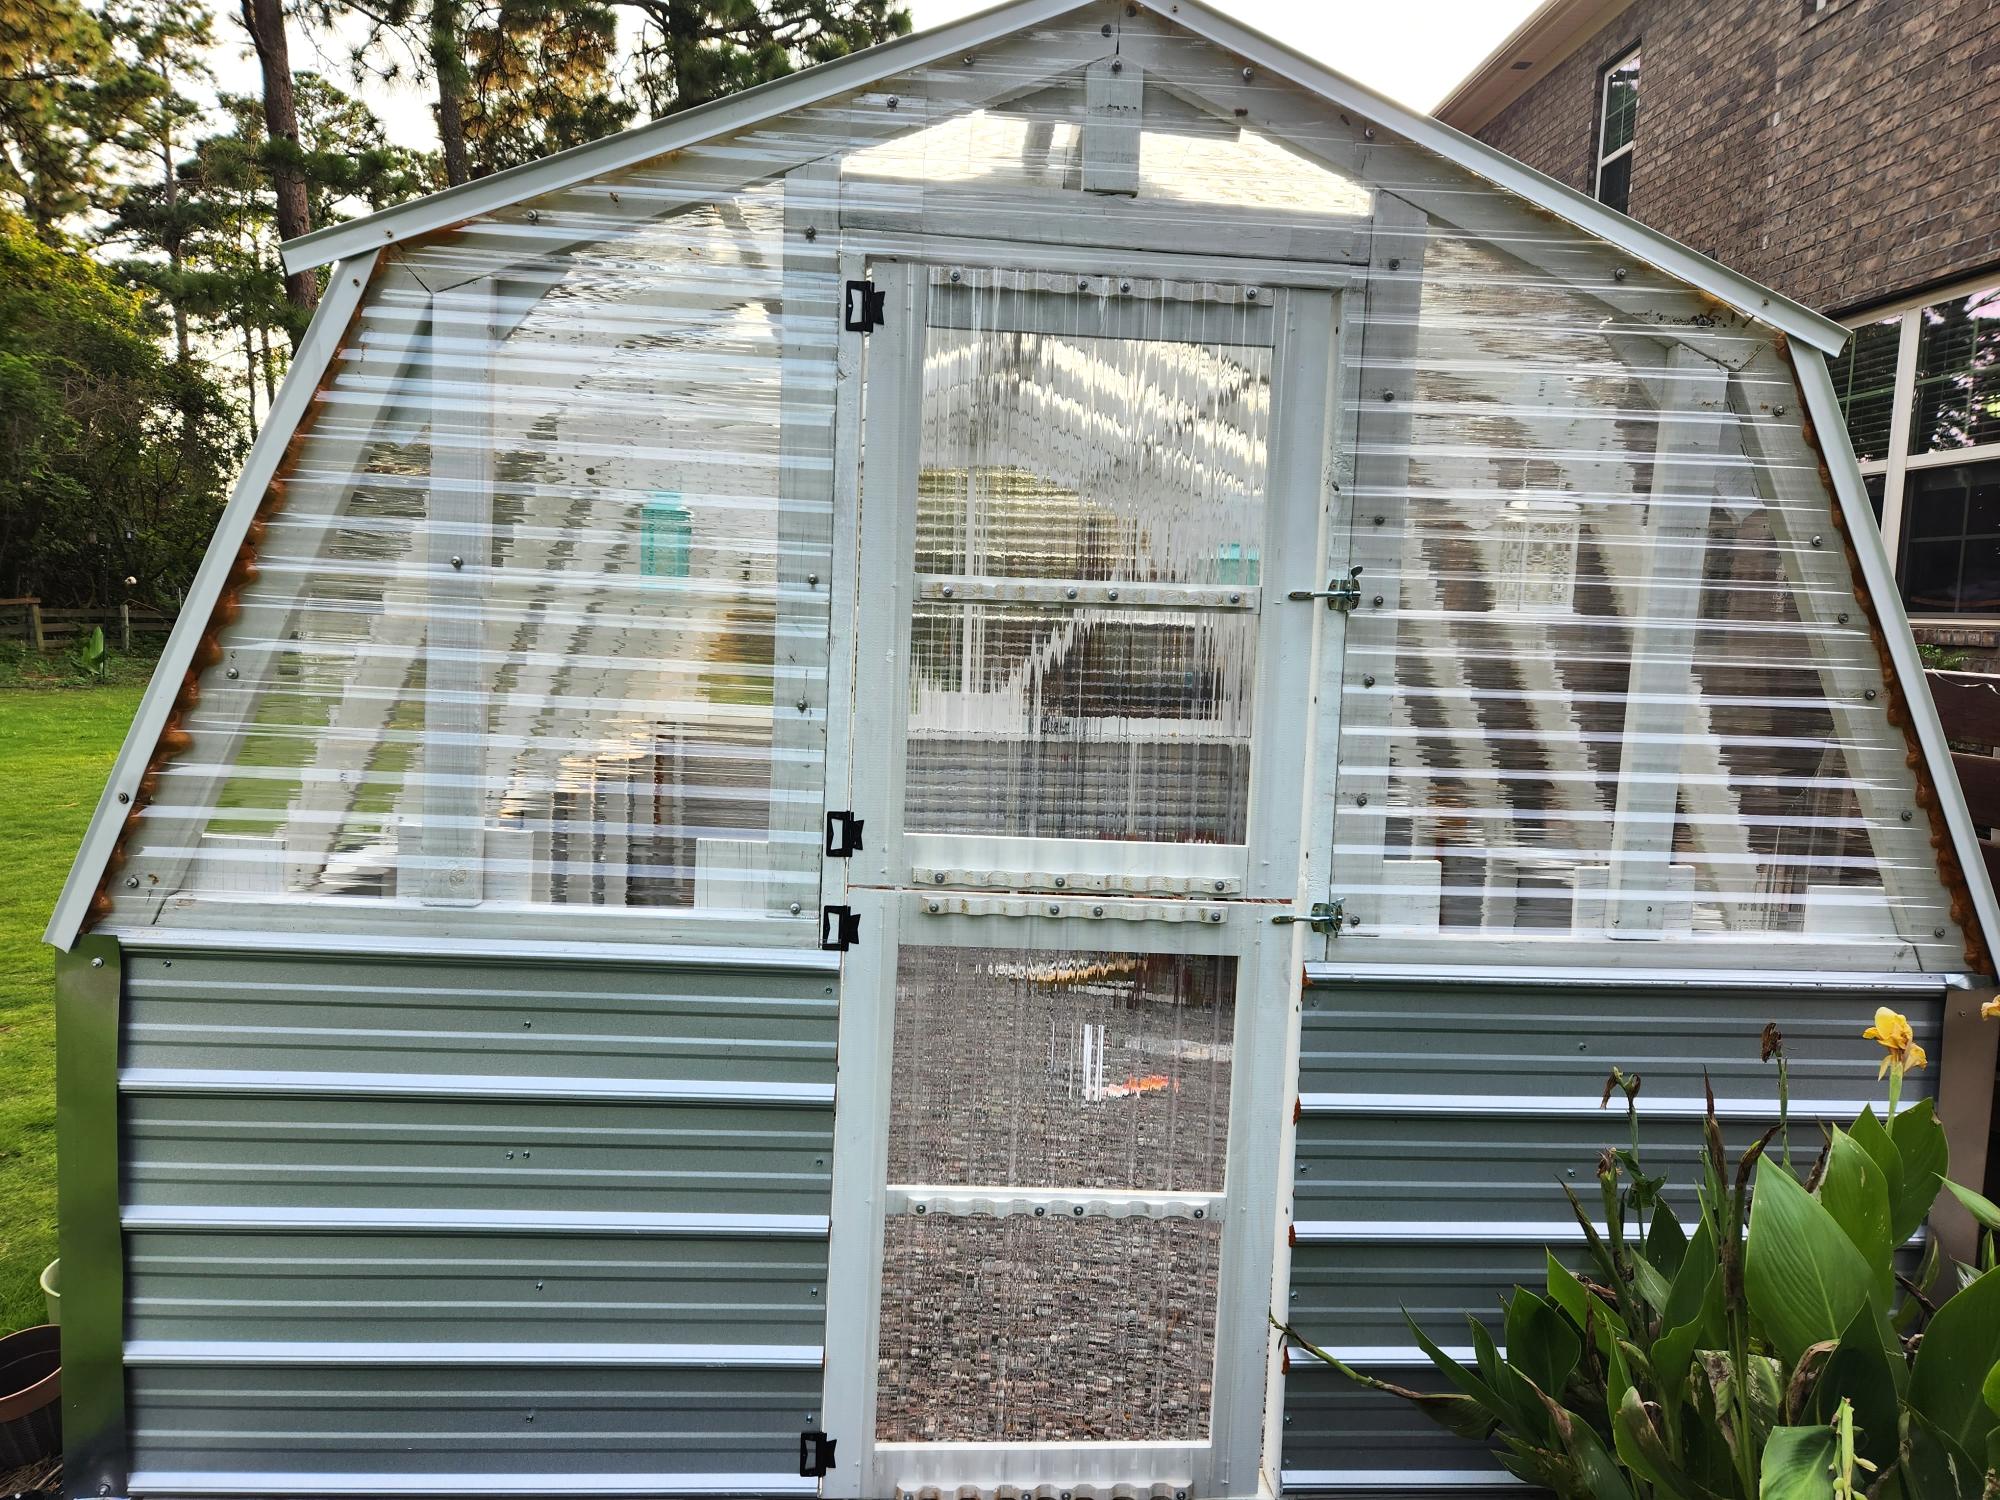
Modified roof orientation and extended to 16