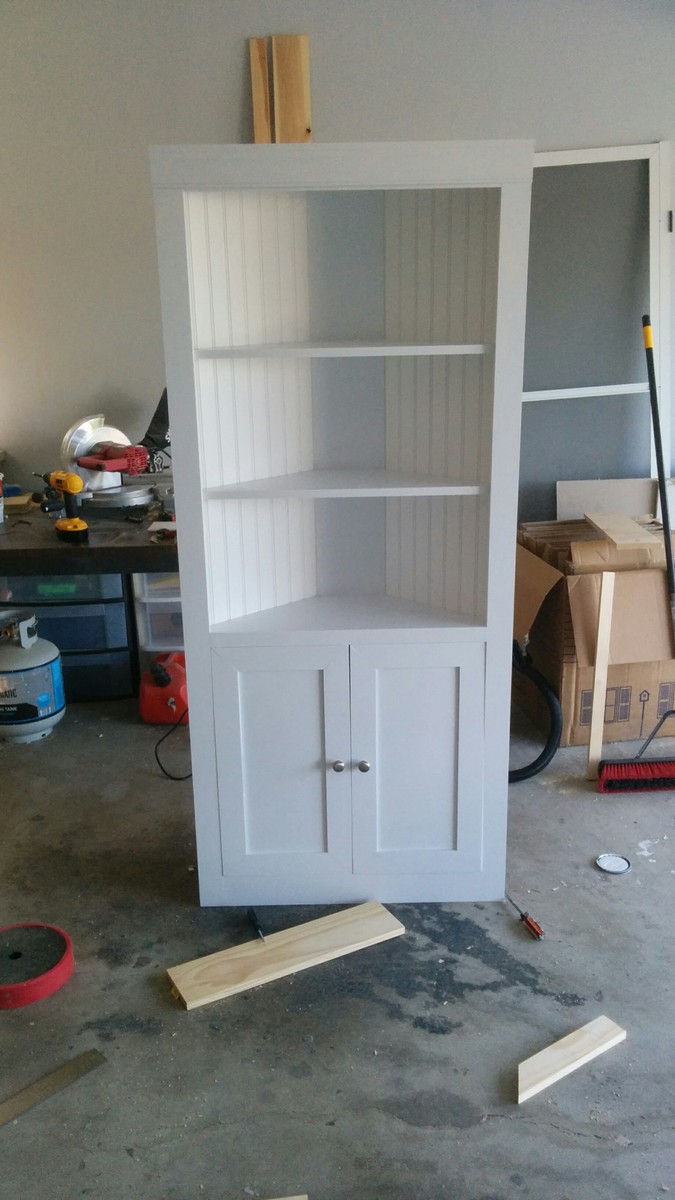
Corner Cupboard
Estimated Cost
100$ before paint/hardware
Finish Used
White Paint
Recommended Skill Level
Intermediate
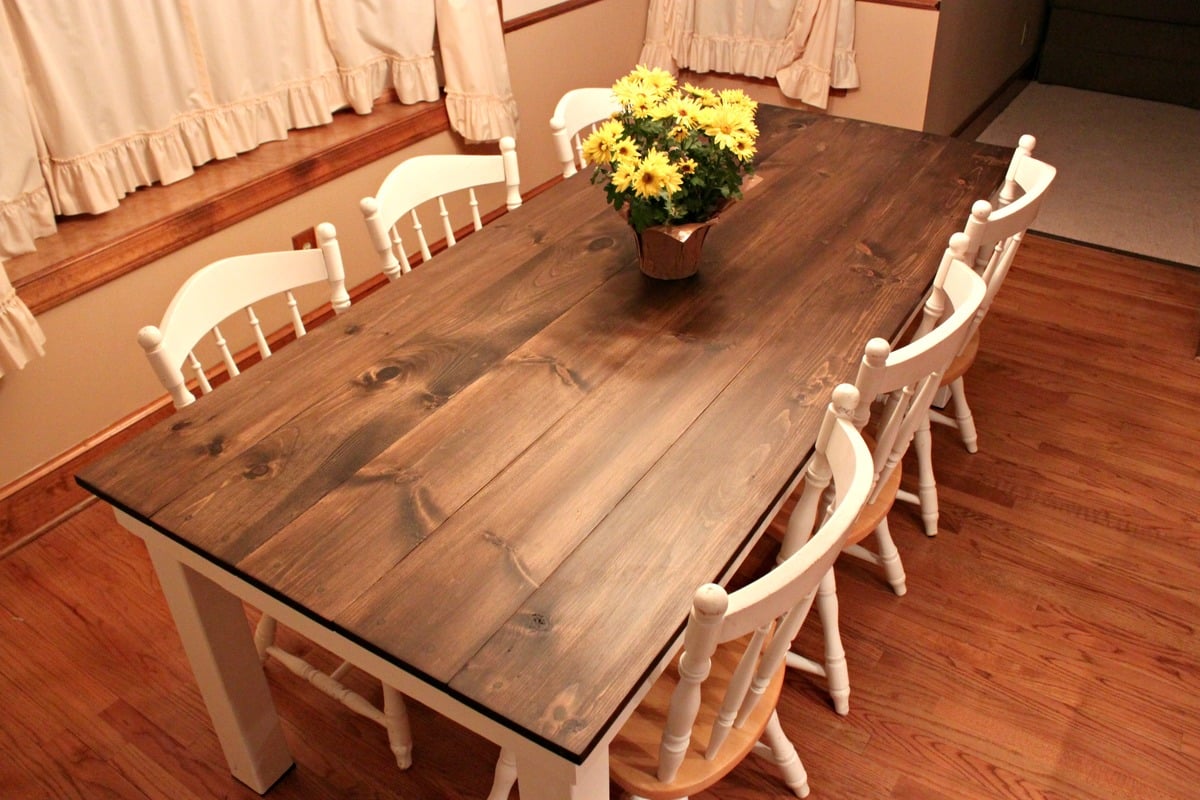
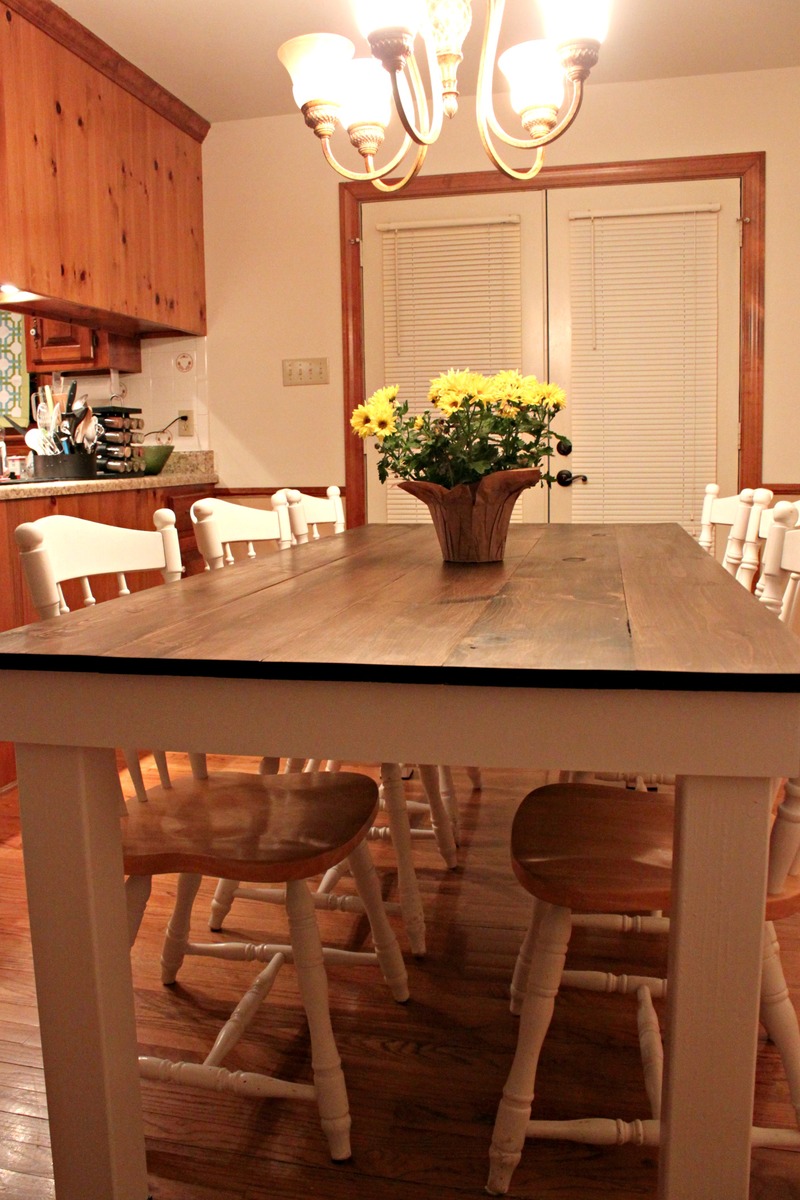
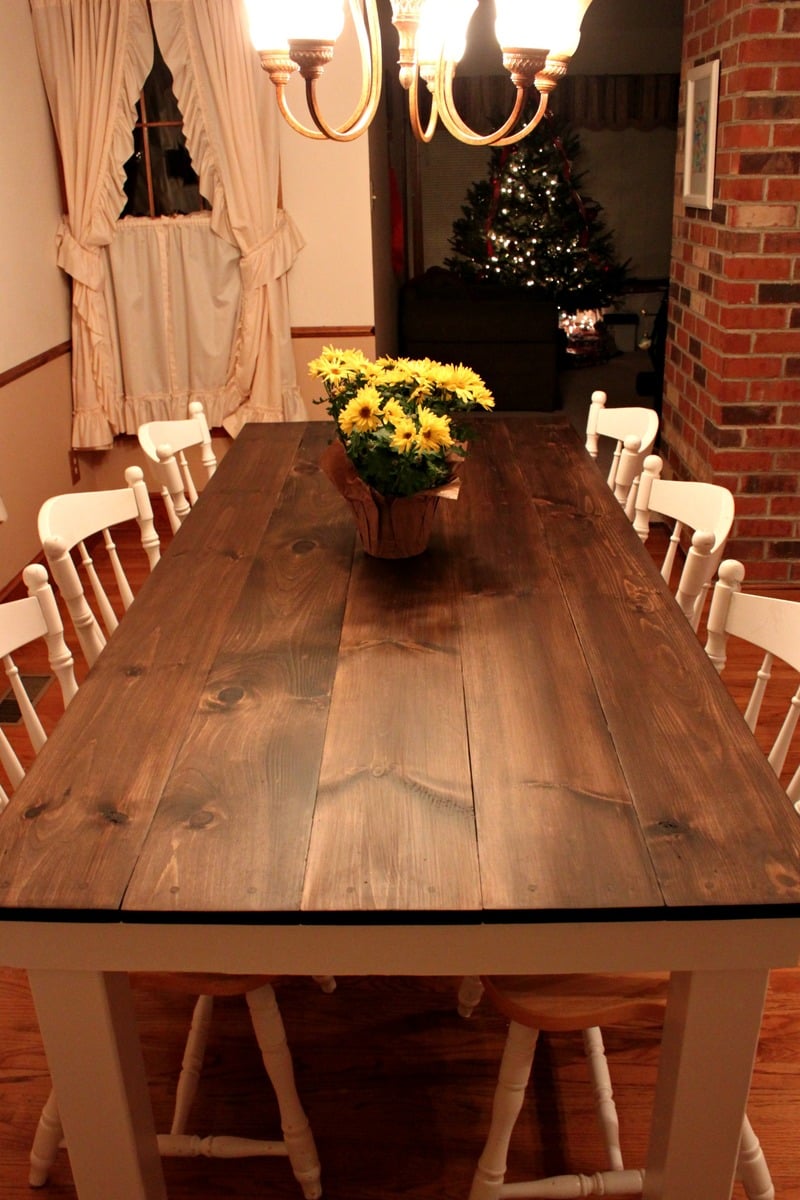
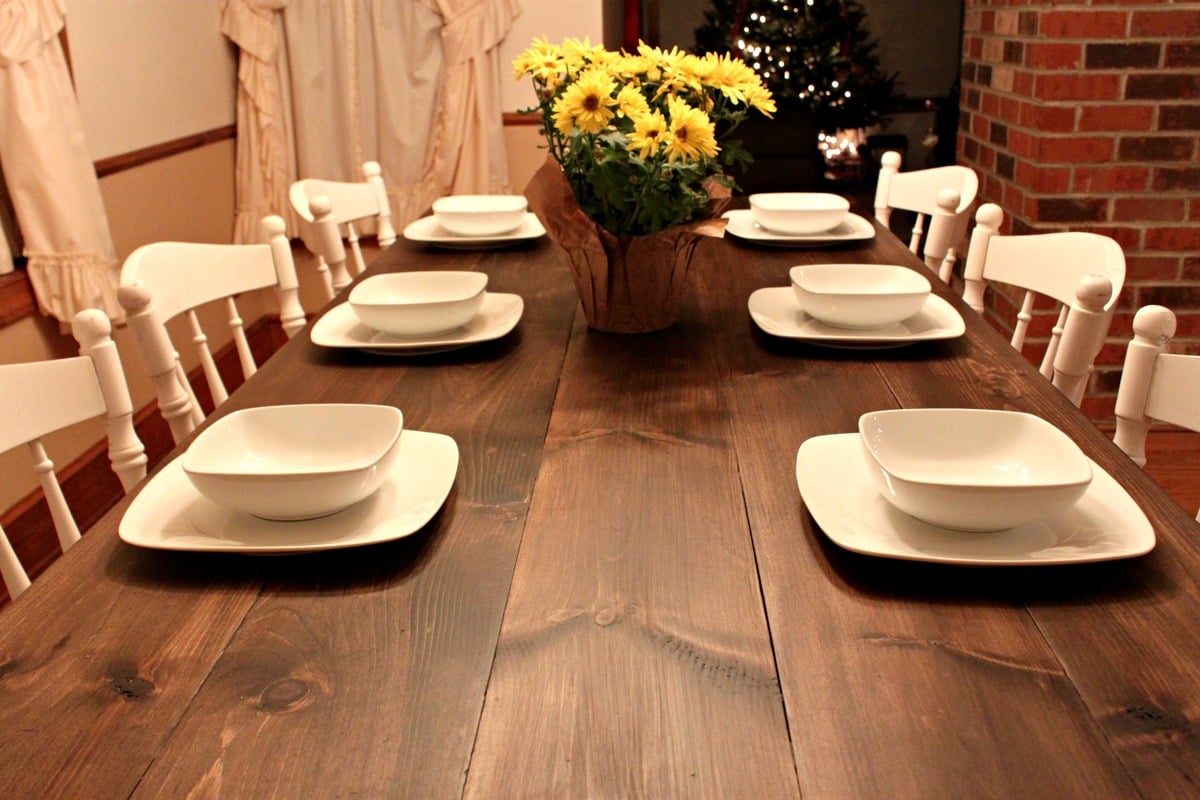
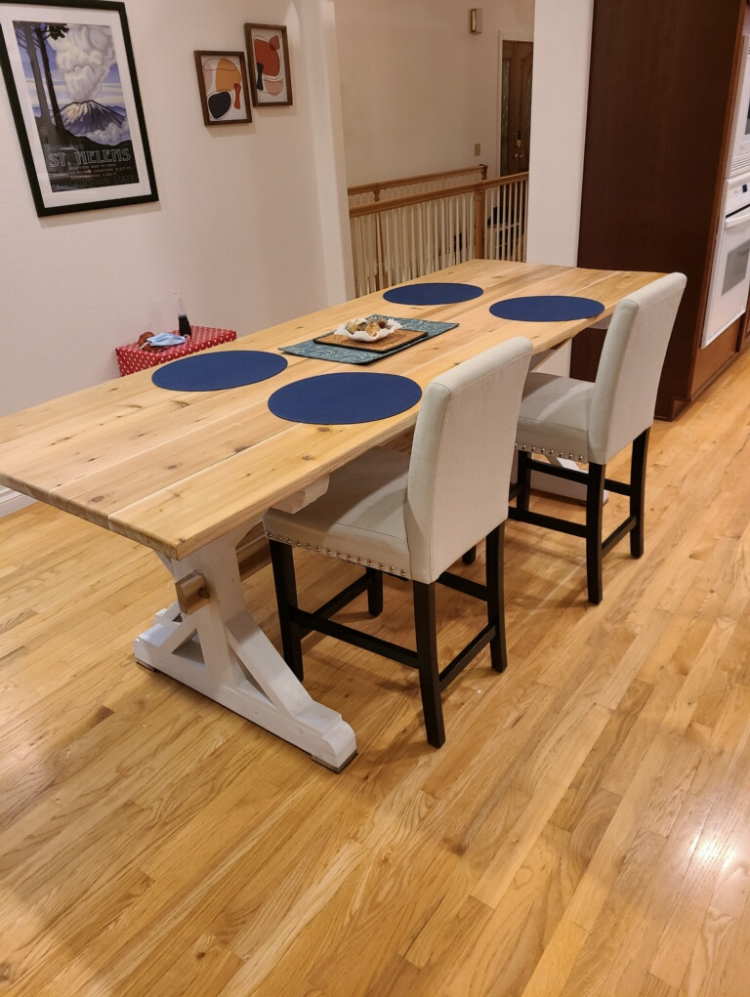
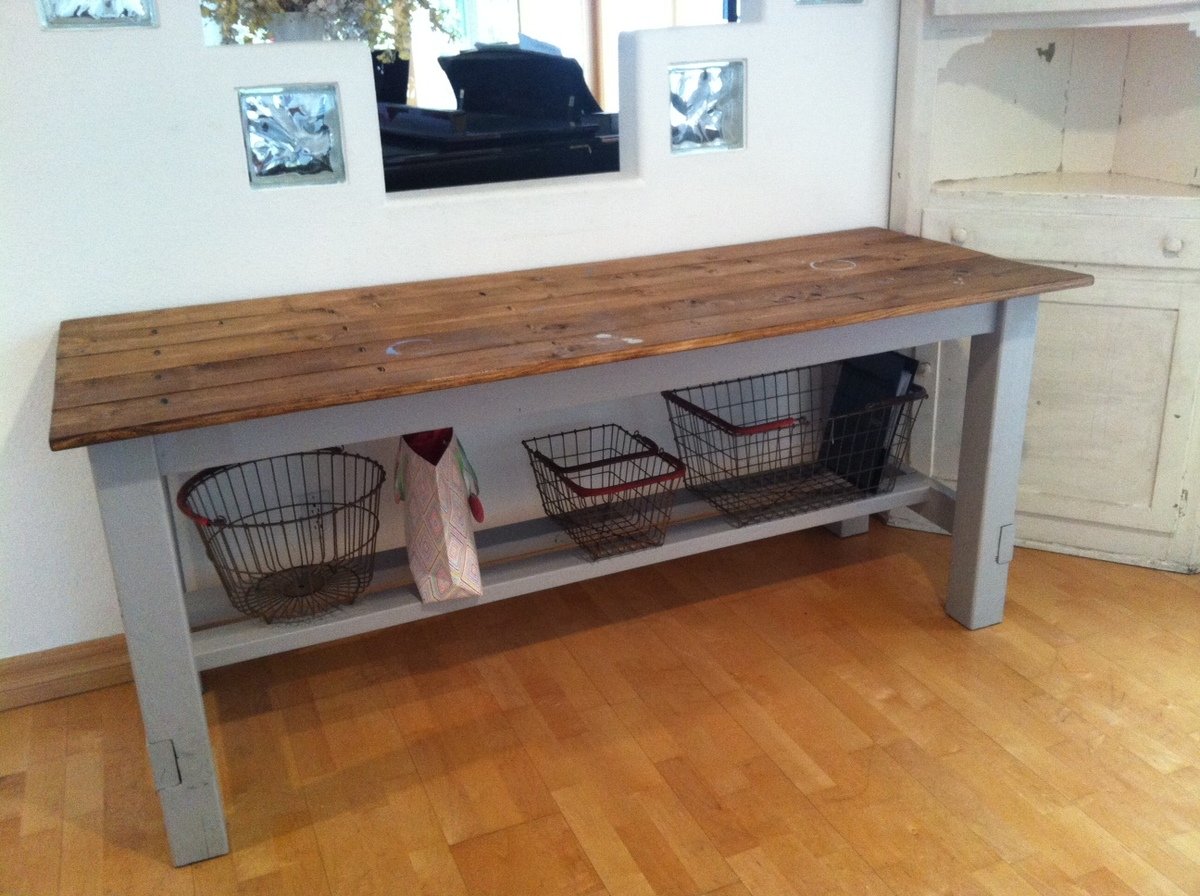
My husband and I love entertaining, but our small kitchen table was just not cutting it for both our space and our hosting abilities. We decided that instead of searching for the perfect table and spending a ton of money, we would just build our own table. We found that Ana's Rustic Table plans best matched what we were looking for, but my husband being the detailed person that he is didn’t just want to take her measurements and run with them. So we taped off the floor around our old table to decide how large we wanted our own table to be.
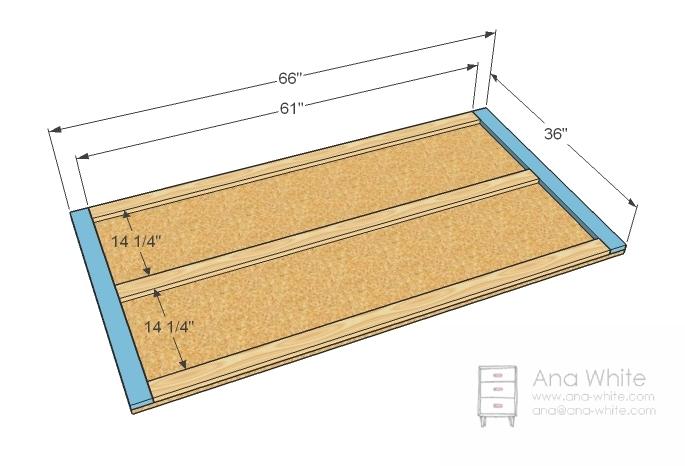
 We basically followed Ana White’s plans to a T.
  Until it got to the legs. Ana White used 2×4′s for her legs, but we decided we liked the look of chunkier 4×4 legs instead.
  We also did things in a different order, like attaching the legs to the apron before attaching the table top. This did make everything way easier when it came to painting, no tape needed.
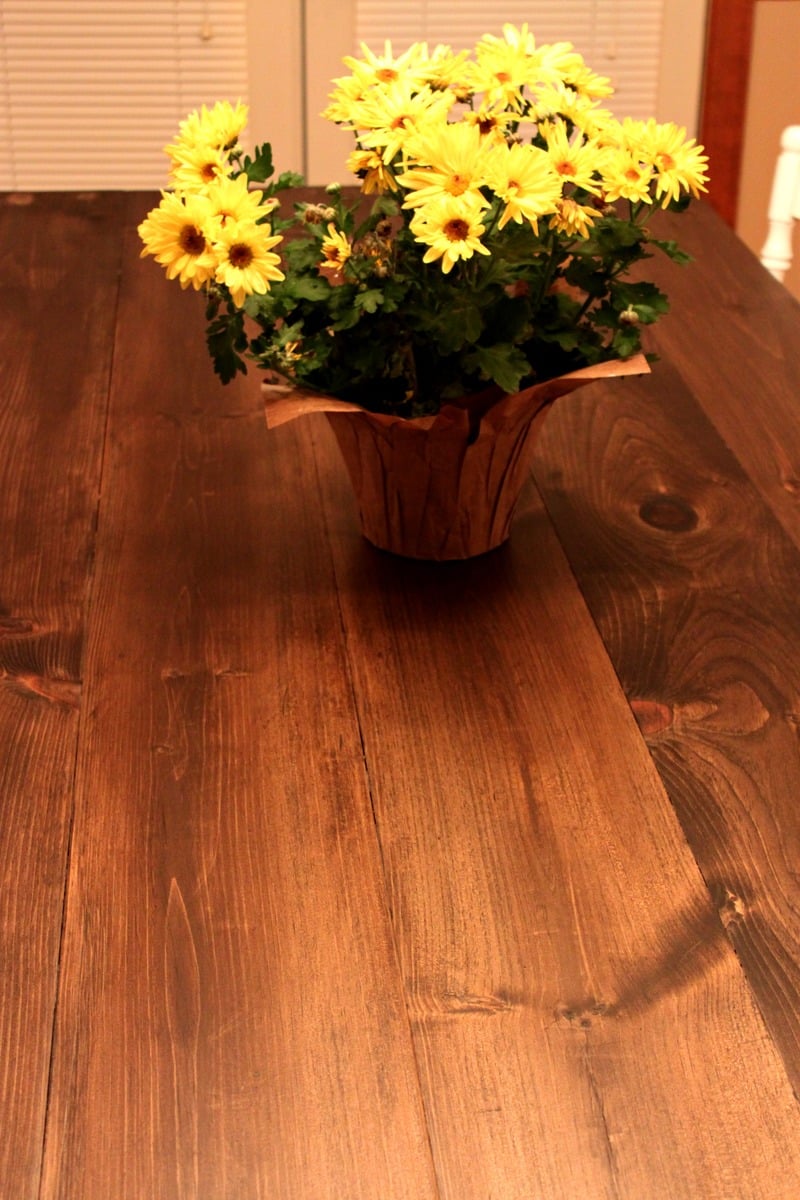
  We also stained the bottoms and sides of the tabletop boards before attaching them to the apron. After the top was attached I stained the top side and applied about 3-4 coats of Matte polyurethane. I like the matte finish because it doesn’t add any sheen and makes things look even more rustic; however, we’ll have to add a regular coat of poly as well because the matte is too soft for something that will see such rough use over the years.
  And now for what you’re all wondering about, how much did this project cost us?
Mon, 12/31/2012 - 09:43
Your table is gorgeous! You did an amazing job.
I am getting ready to attempt my first two projects, bookshelves and a buffet table. I had a couple of questions about how you got such a consistent stain.
1) The Stain - What kind of stain did you use? How many coats did it take? Did you use a conditioner first?
2) Wood filler - How did you get the wood filler to match the stained areas so well? What kind did you use?
Thanks for the advice! I was thinking I would have to paint the buffet but after seeing your table I think I may actually attempt the stain.
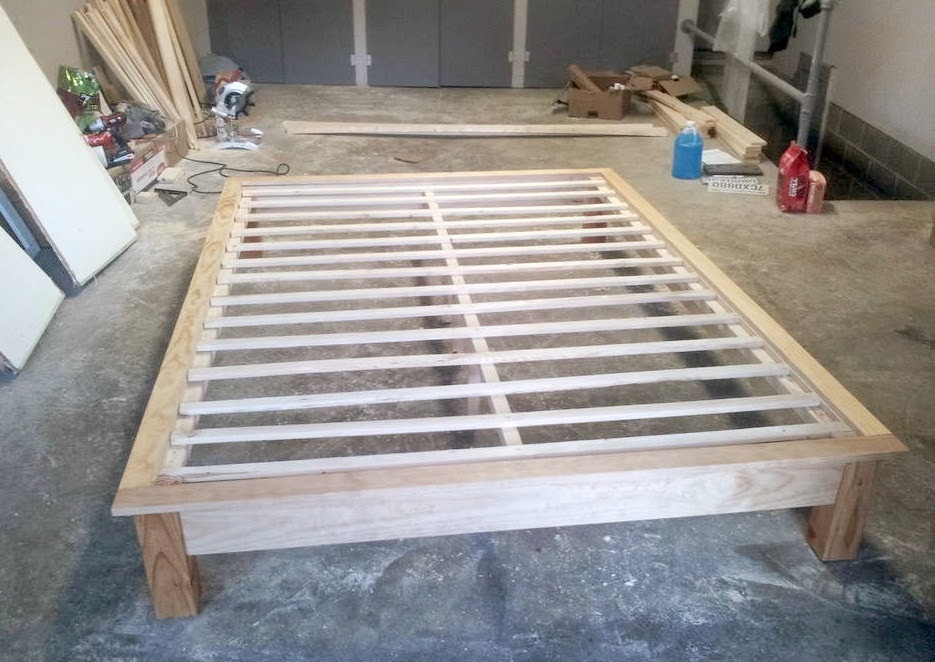
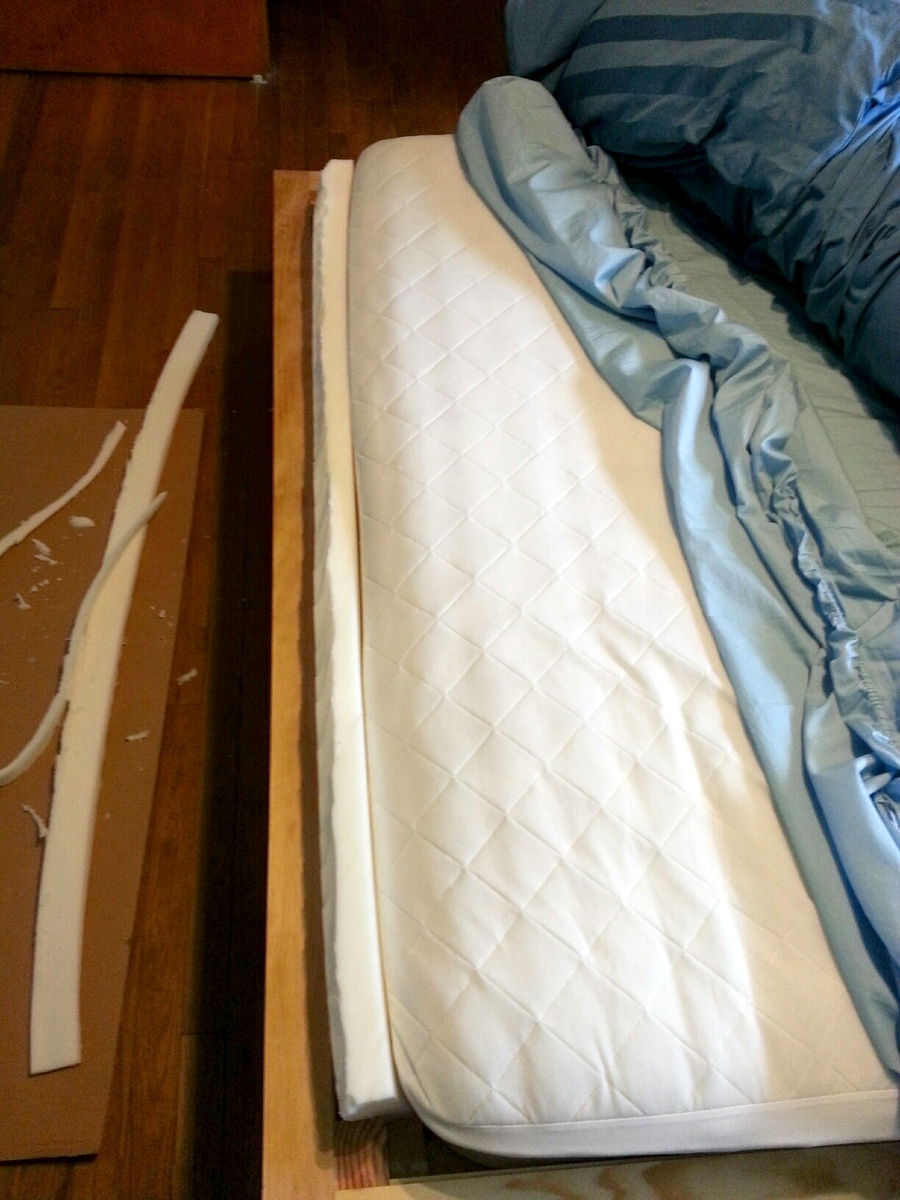
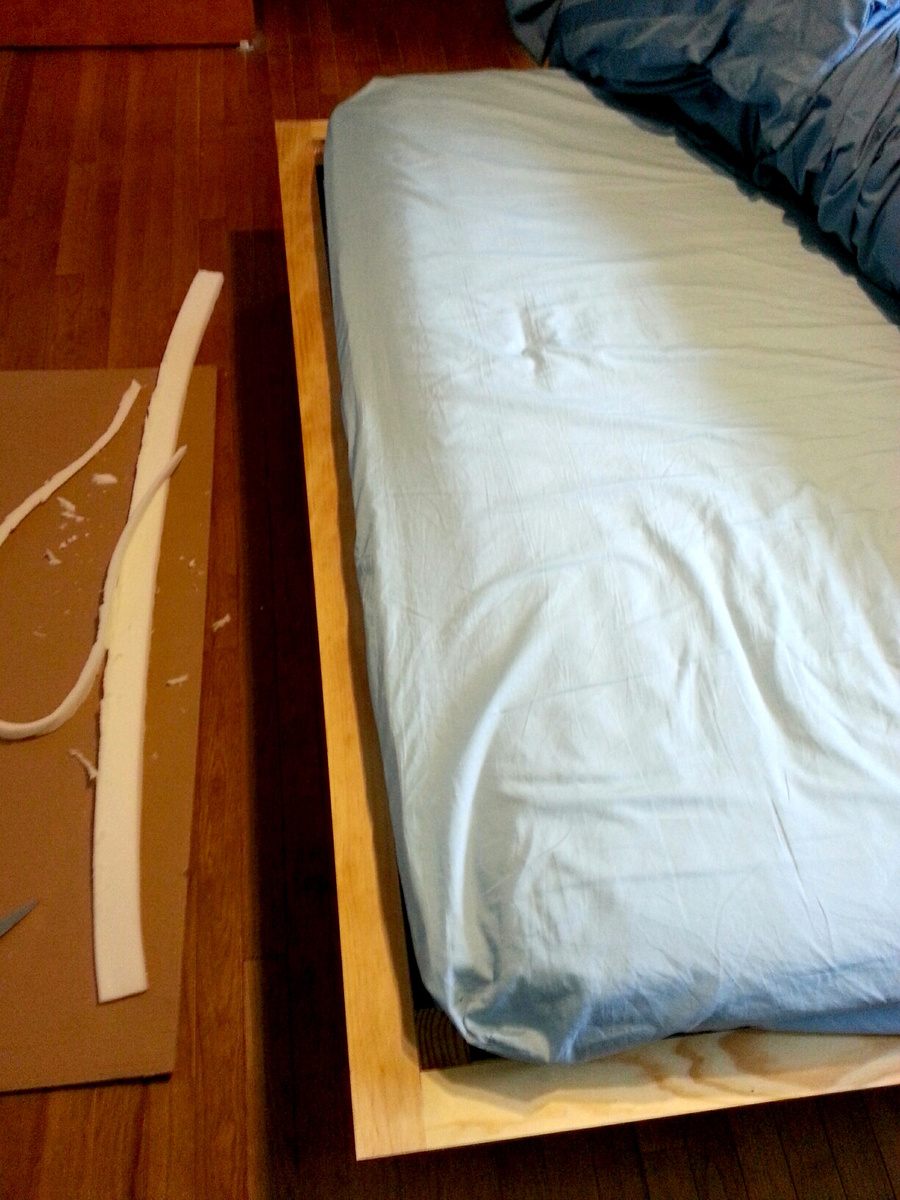
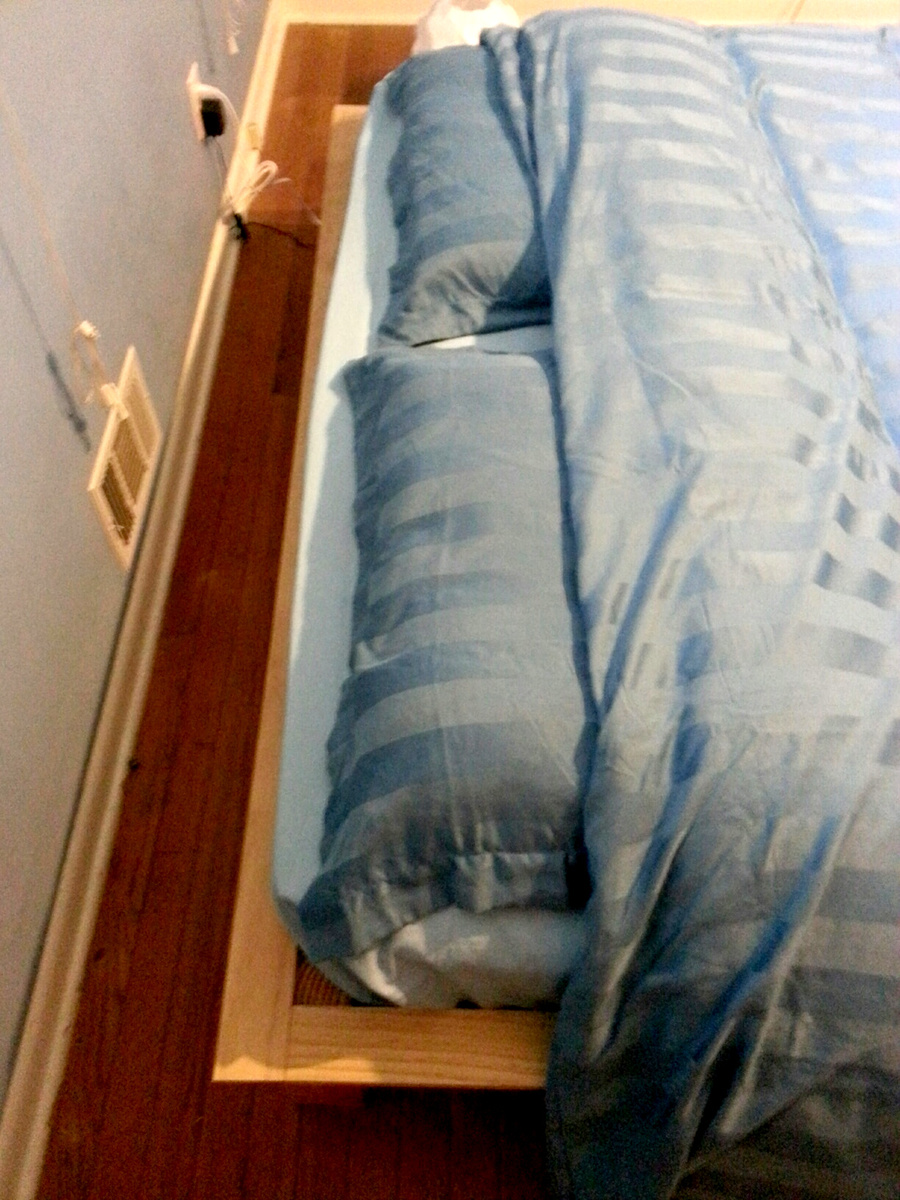
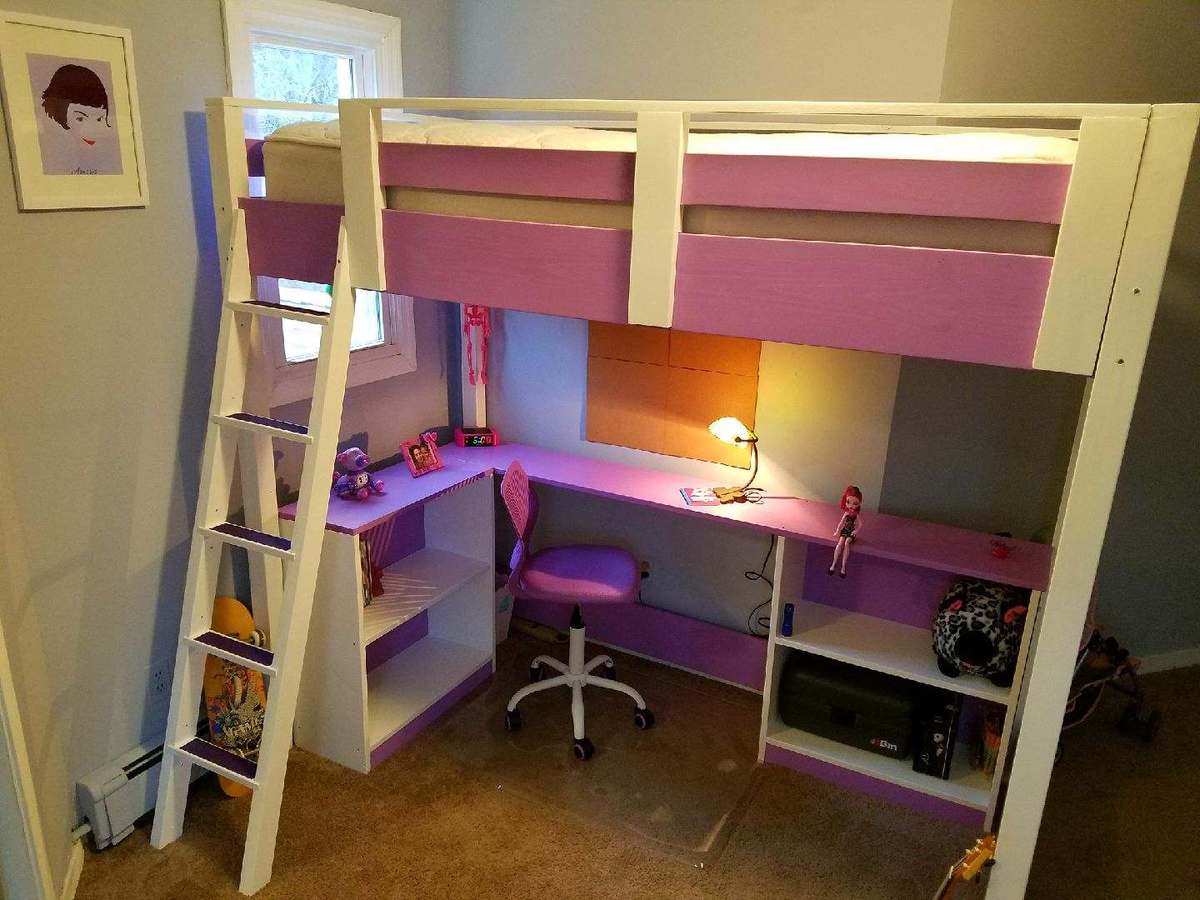
My hubby is 6'5'' tall. Since most matresses are 80 inches long, he mostly ends up with his feet hanging out of the bed (since you don't lay your head down at the very beginning of the mattress, right?). So I tried to solve this problem by making the bed 4'' longer than the plans suggested. I added 2'' of foam on each end of the bed, so now its 84'' long and my hubby fits perfectly!
Thanks for the great plans, I had a blast building my own bed!
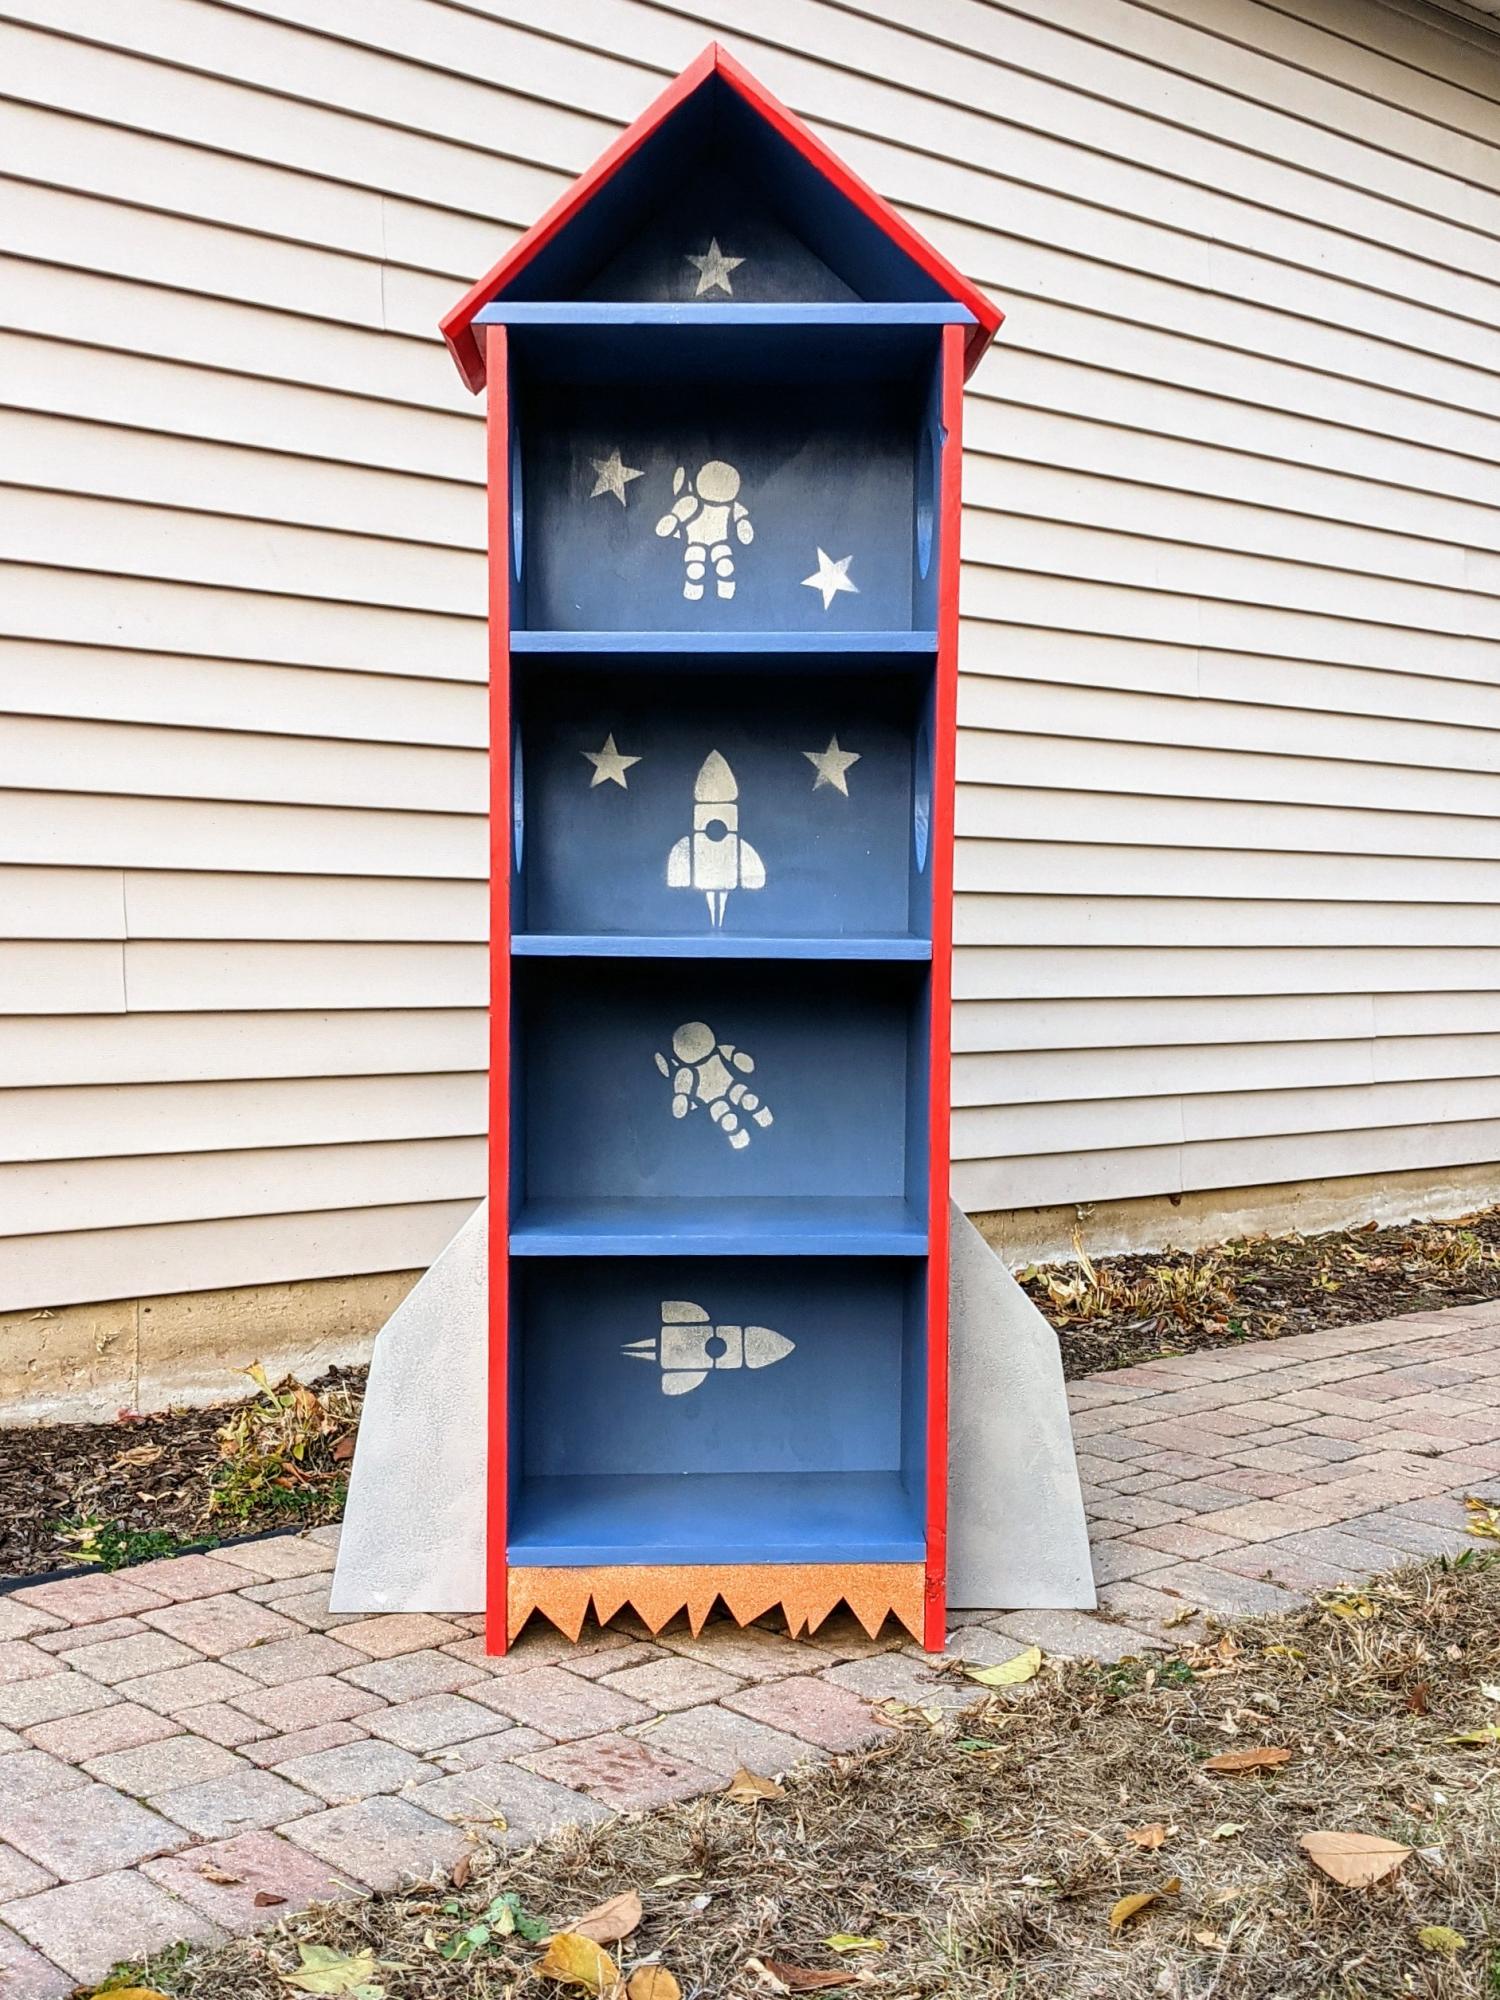
Pretty much followed the steps as outlined in the rocket bookcase plans. Googled astronaut and spaceship stencils and free hand drew those on construction paper. This bookcase is heading to my 3 year old son's room and he's pretty excited to fill it with toys and books.
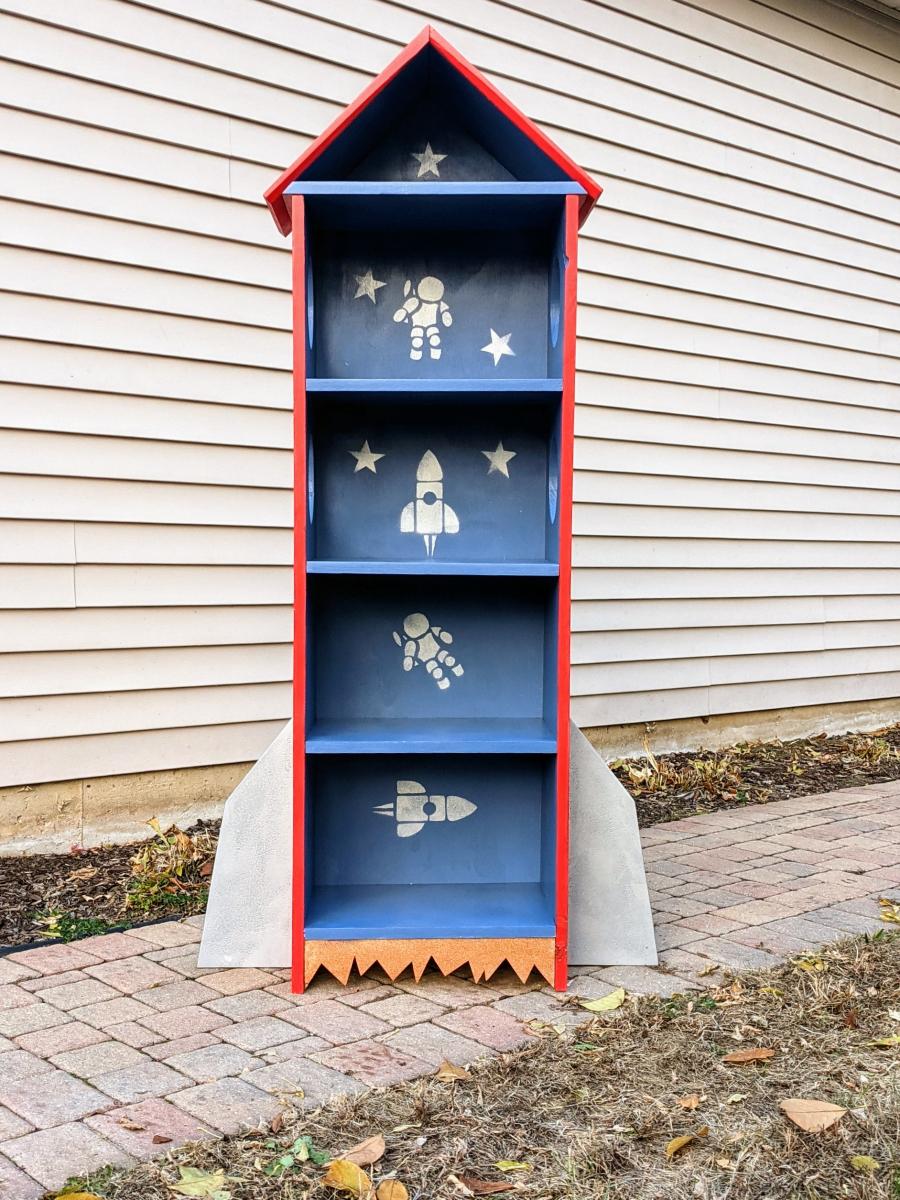
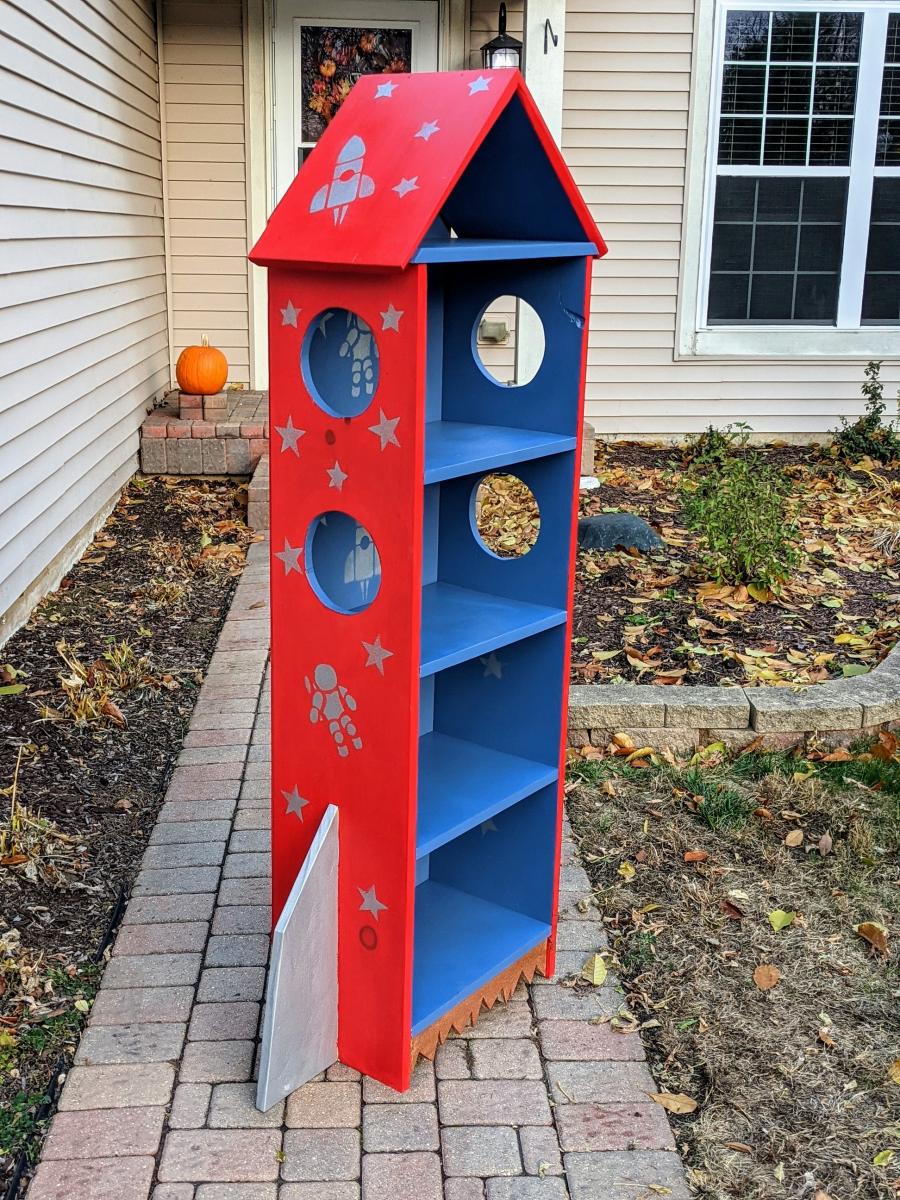
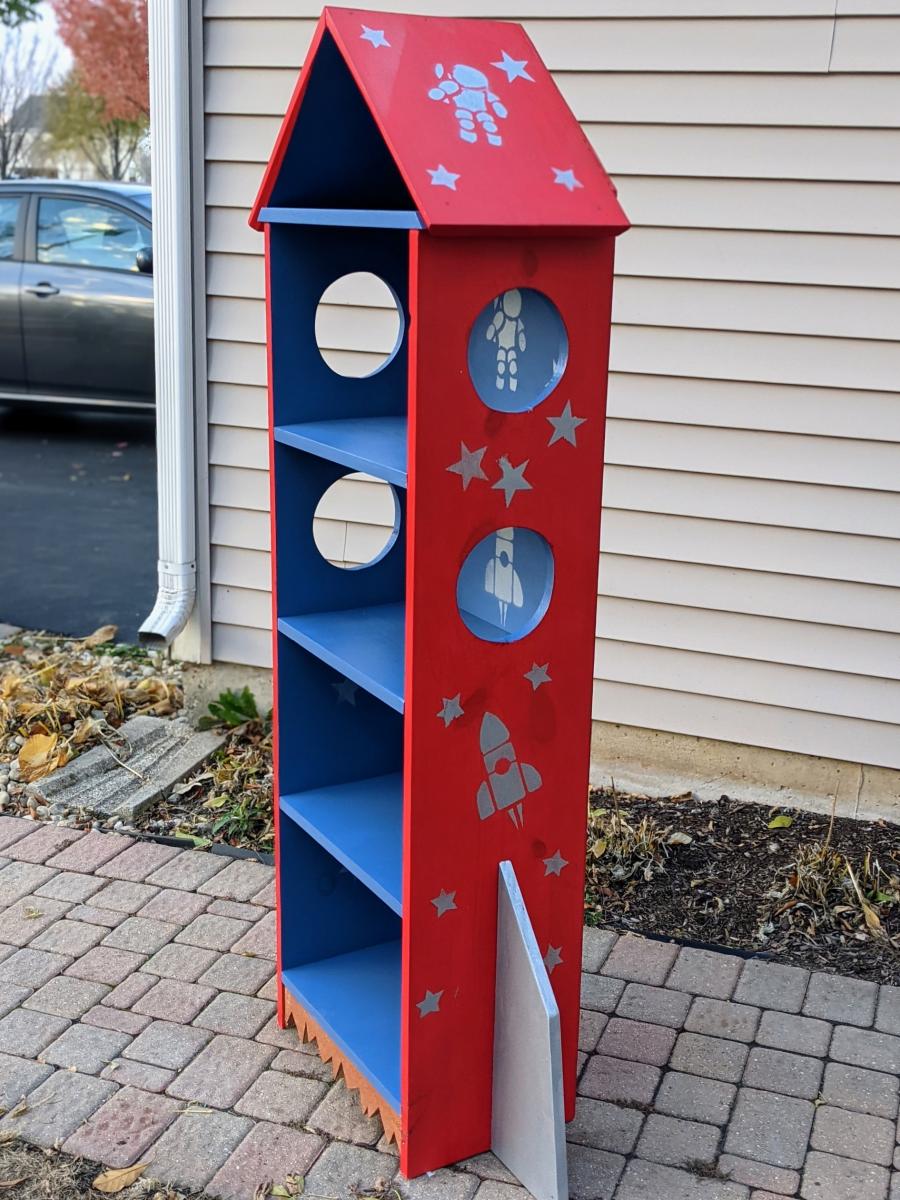
This was my first project that I've built and I feel really great about how it turned out!


Thu, 01/24/2013 - 14:25
Great job! Your bookshelf looks solid and the color is crisp against the darker wall. Love the frames too!
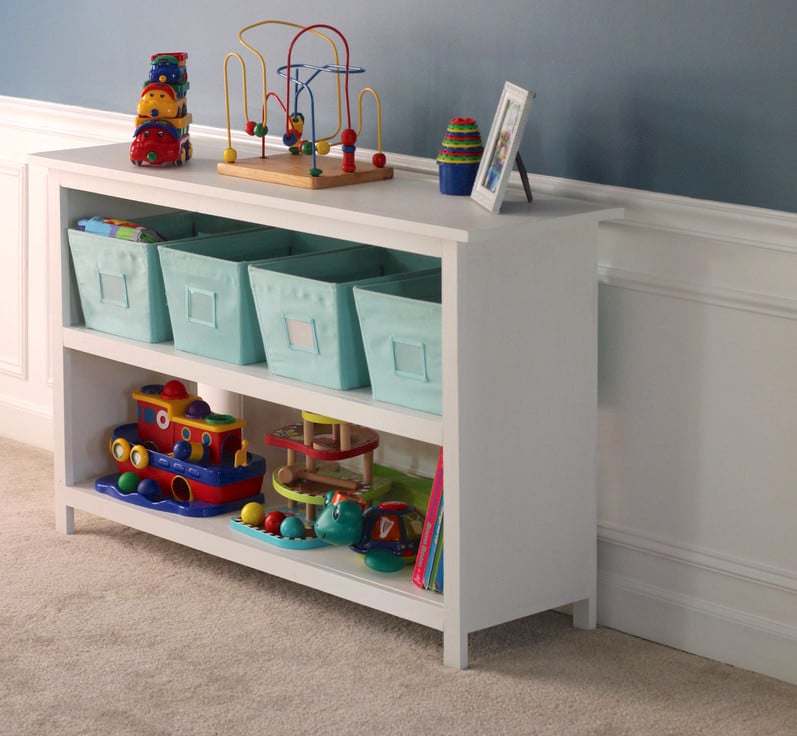
This is the first project I have ever built. It was super satisfying to make.

Mon, 12/14/2020 - 09:53
Awesome space, thank you for sharing your first project, love the finish!
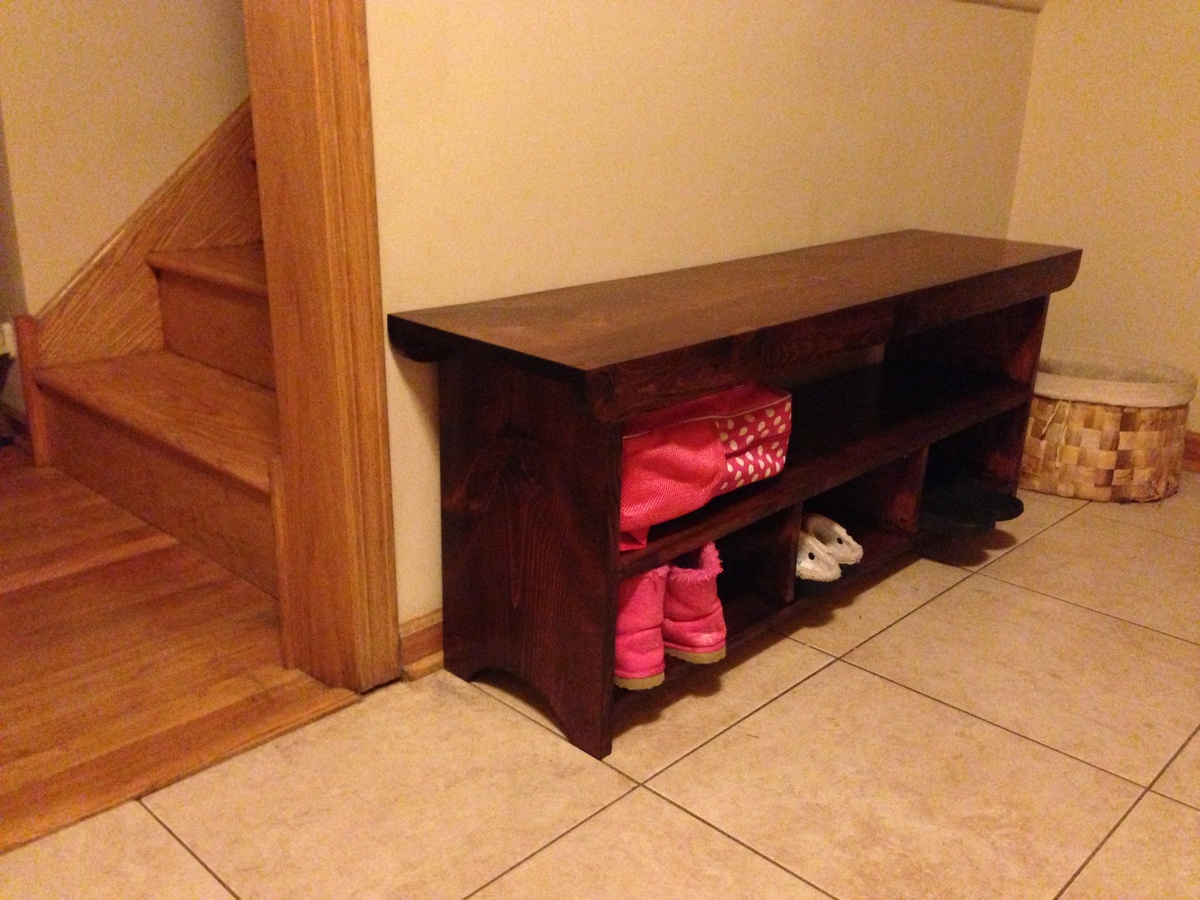
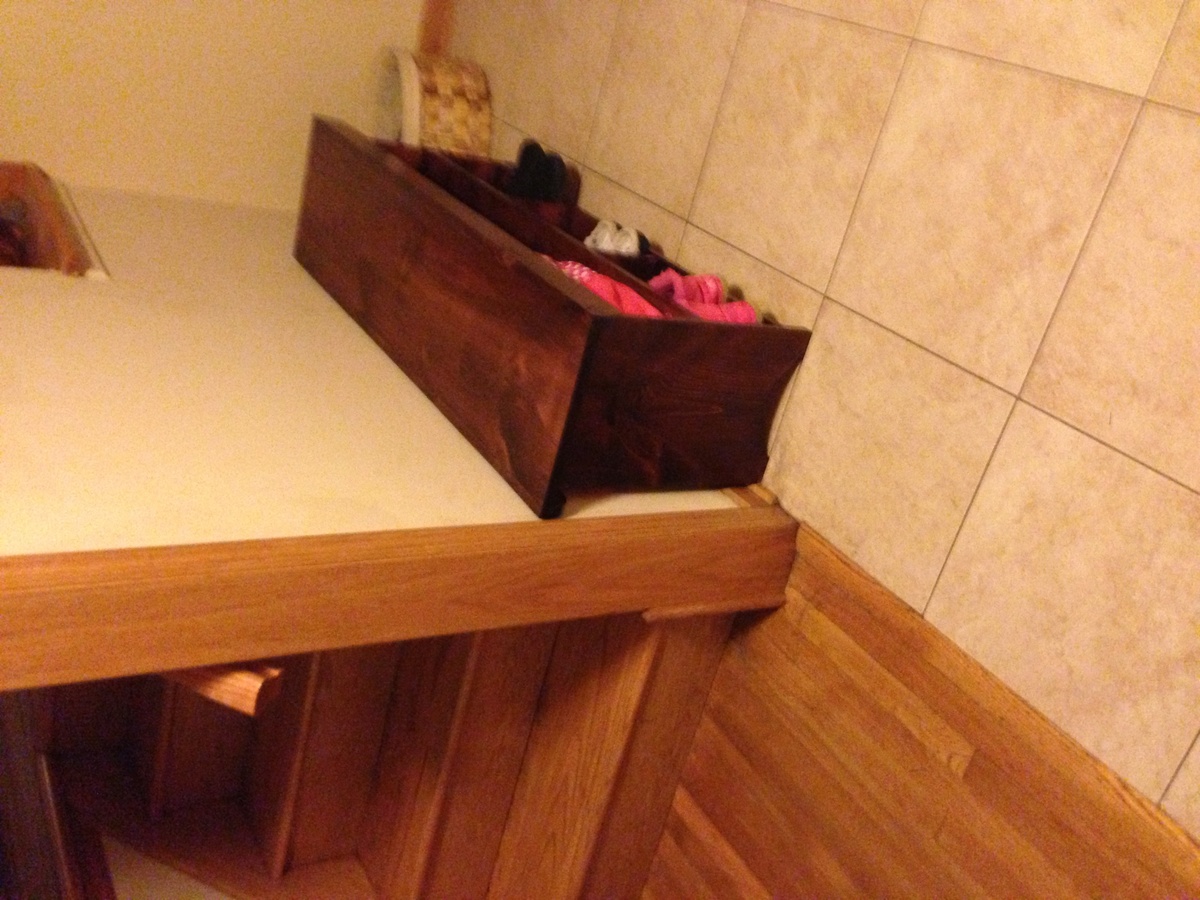
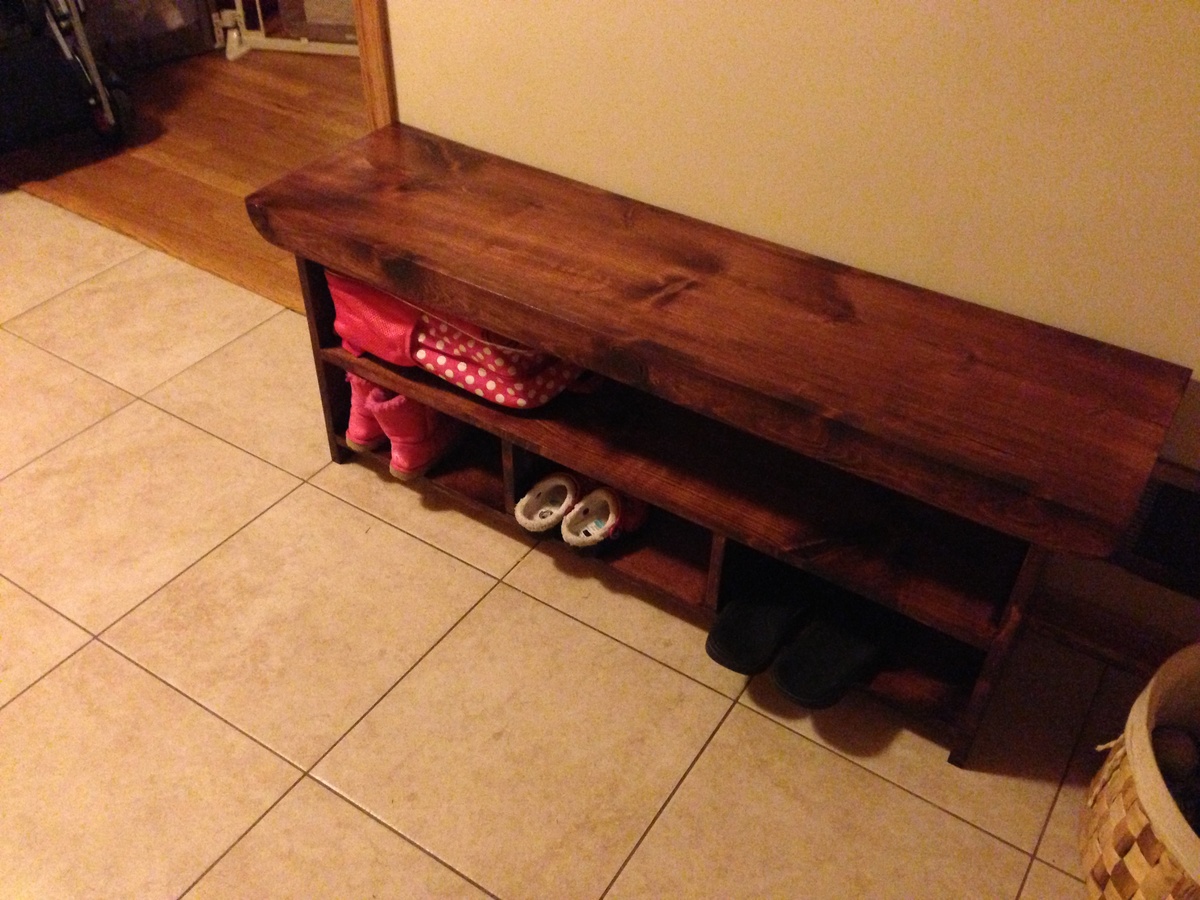
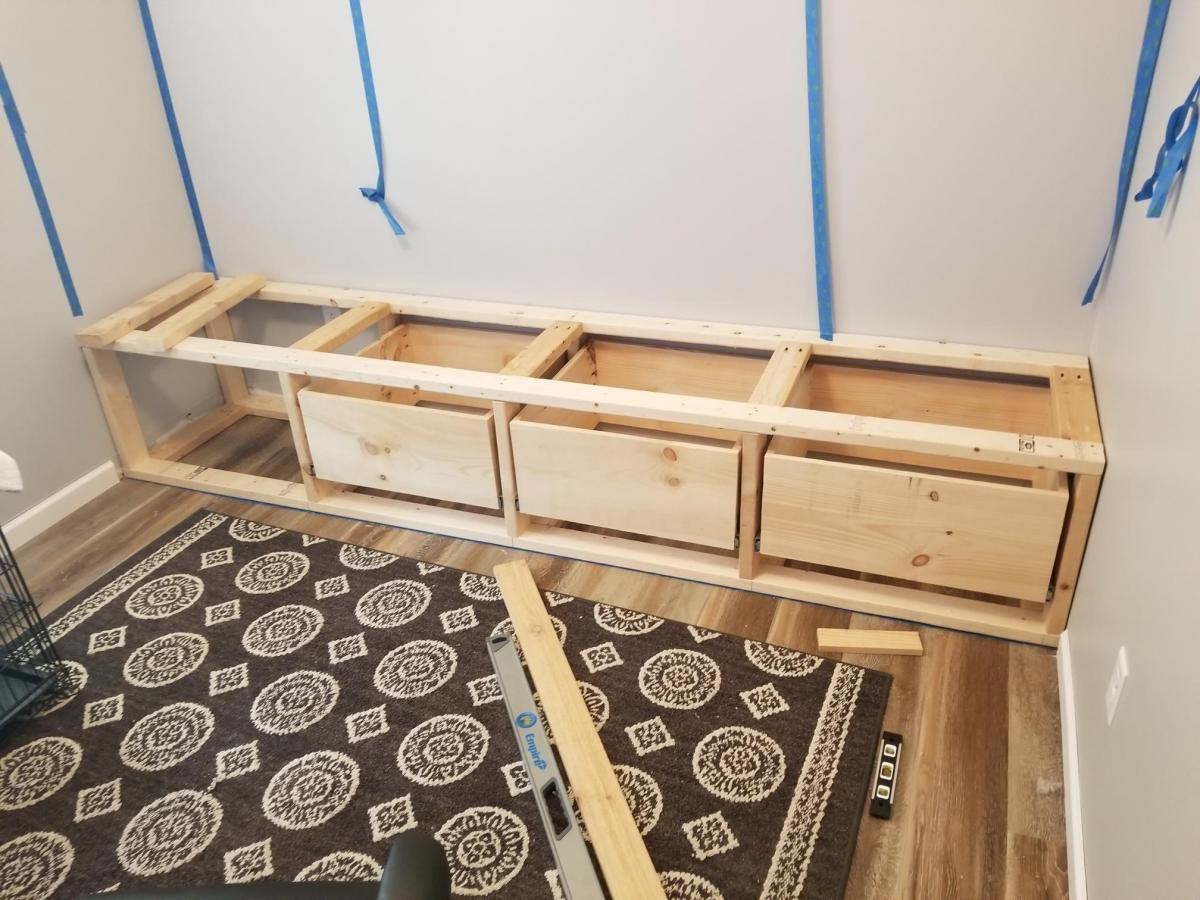
We needed a bench to hold shoes and bags on the foyer, and this plan fit the bill. I stretched the bench one foot so 3 kids could sit on it and to add one more cubby. I used pocket holes everywhere I could, so I had to modify the assembly order. We're excited to start using our new bench!

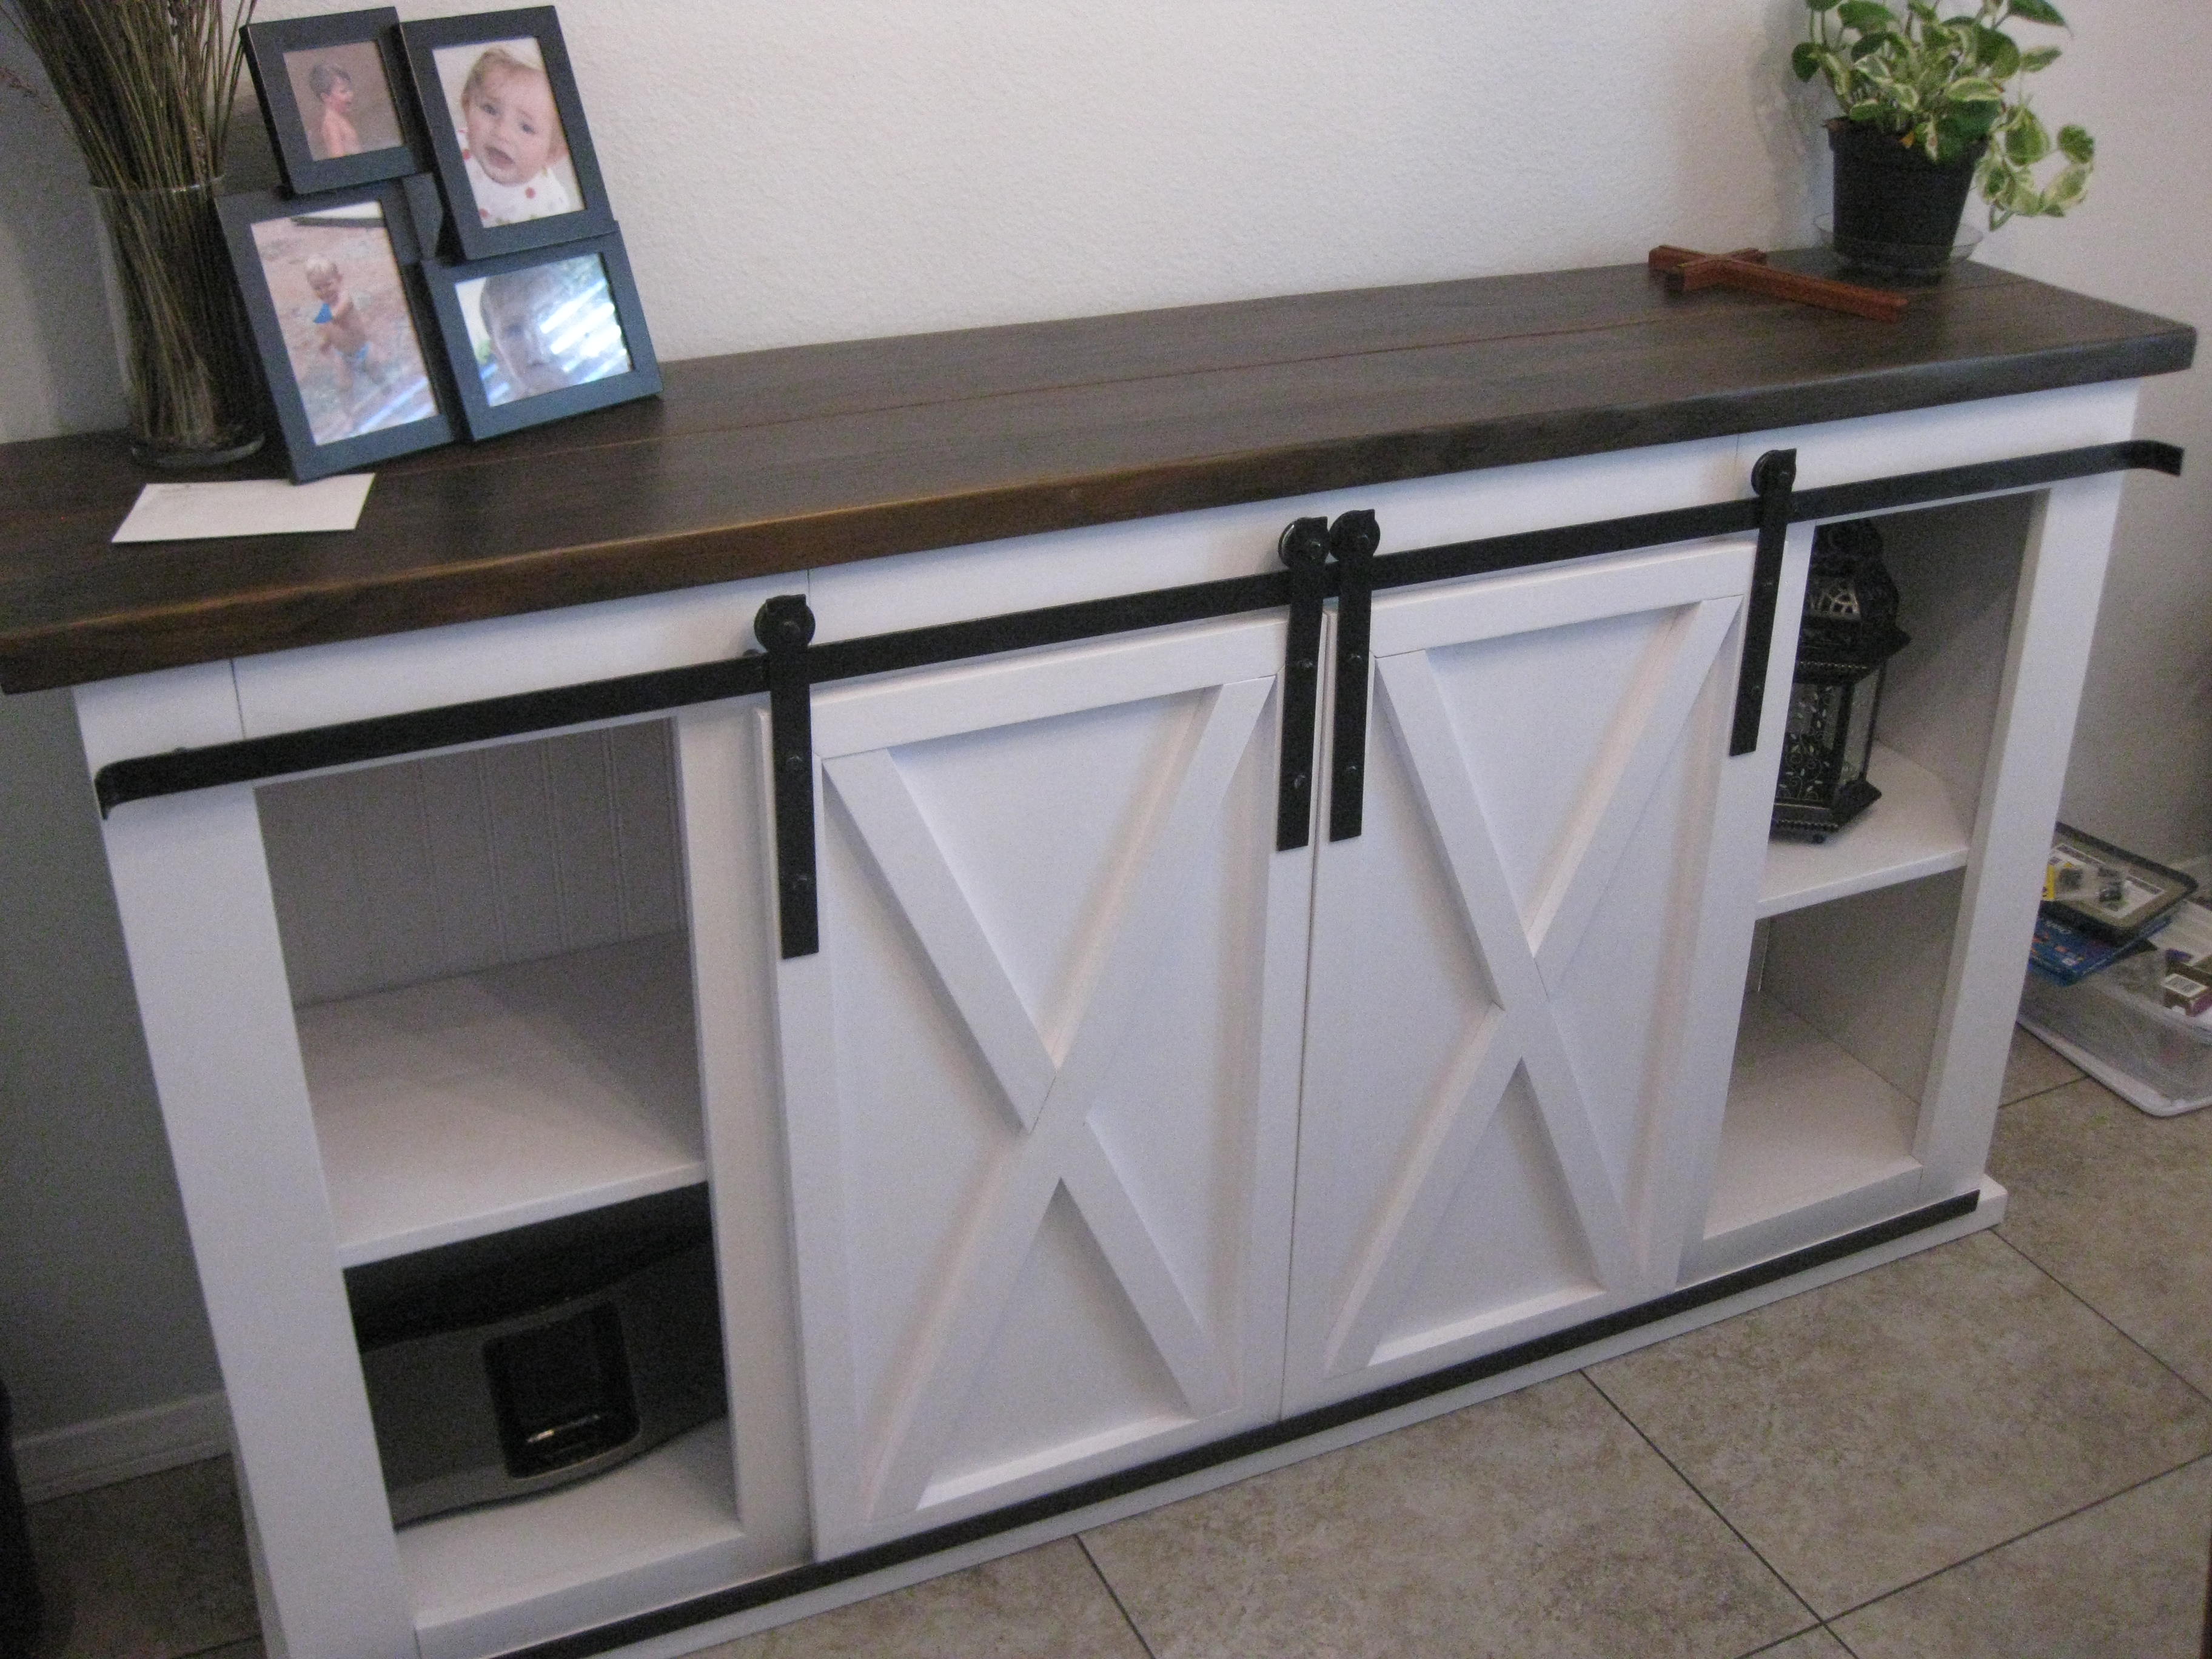
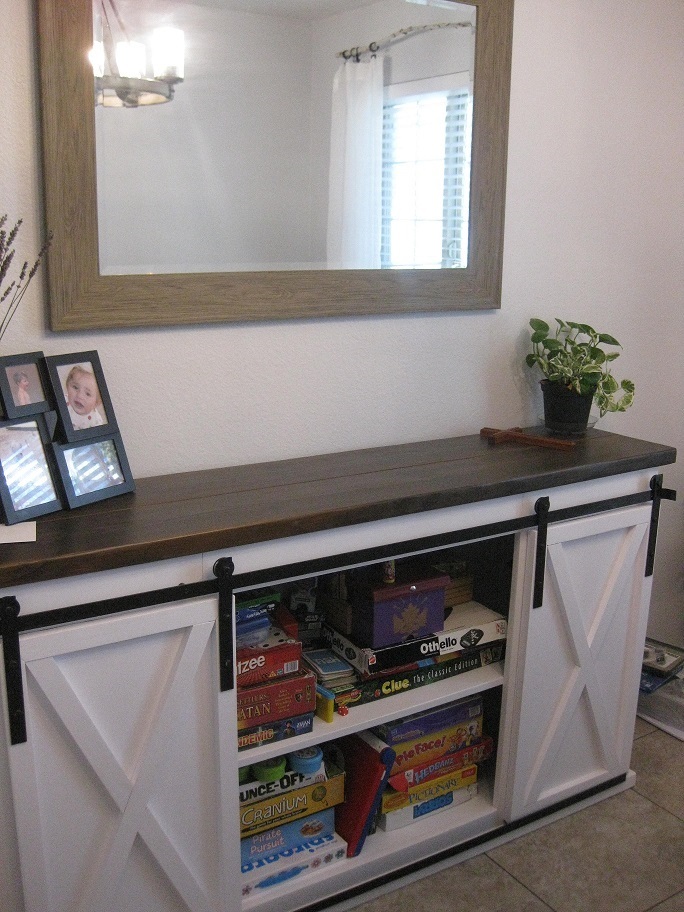
We have very little storage in our house and wanted someplace to store board games. This works great in the dining room. I made the hardware using patio door rollers and used my jigsaw to cut steel and aluminum bars to fit. I hammered the ends of the track in a curve and put a track on the bottom of the cabinet to keep the doors more flush against the cabinet. I spray-painted all the metal and bolts to match. It is 36" high, 13" deep and 63" long. I didn't use the center board in the front because I wanted to accomodate for larger games.
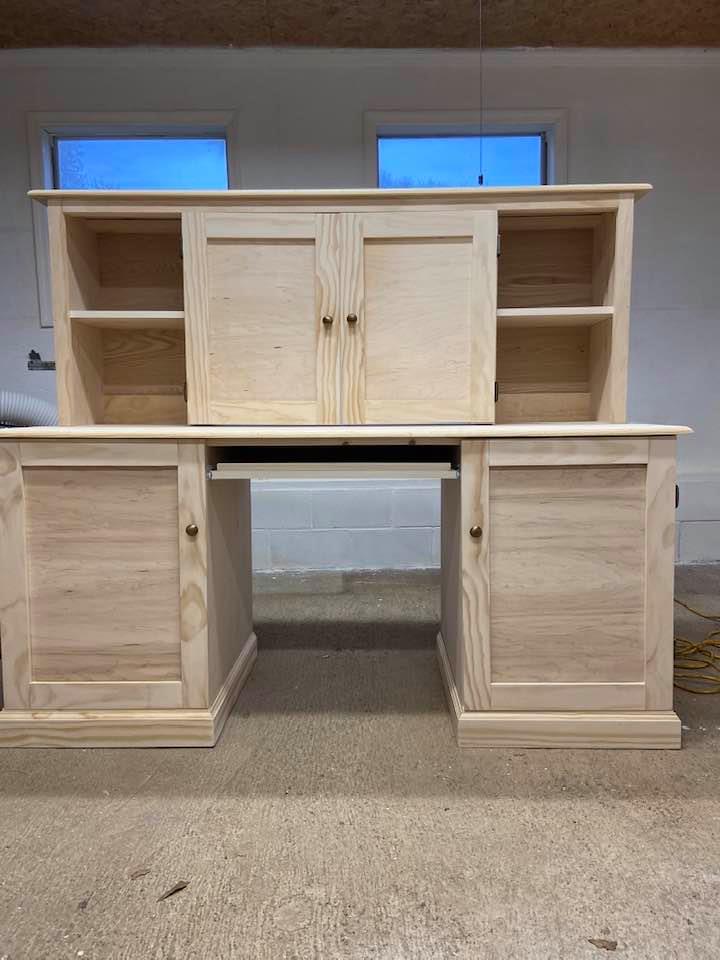
My cousin needed a computer desk but wanted it to look like a piece of furniture when not in use since they have limited space. The left side stores her tower, the right side has a pullout shelf for her printer and storage for printer paper & supplies. She works with 2 monitors so the center on the hutch will accommodate both but be hidden when she isn't working. This was a fun project and using Shelfhelp made it a joy to build. They will be my "go-to" place when building large pieces of furniture.
Sat, 12/19/2020 - 10:30
Thank you for using Shelf Help! It looks fantastic:)
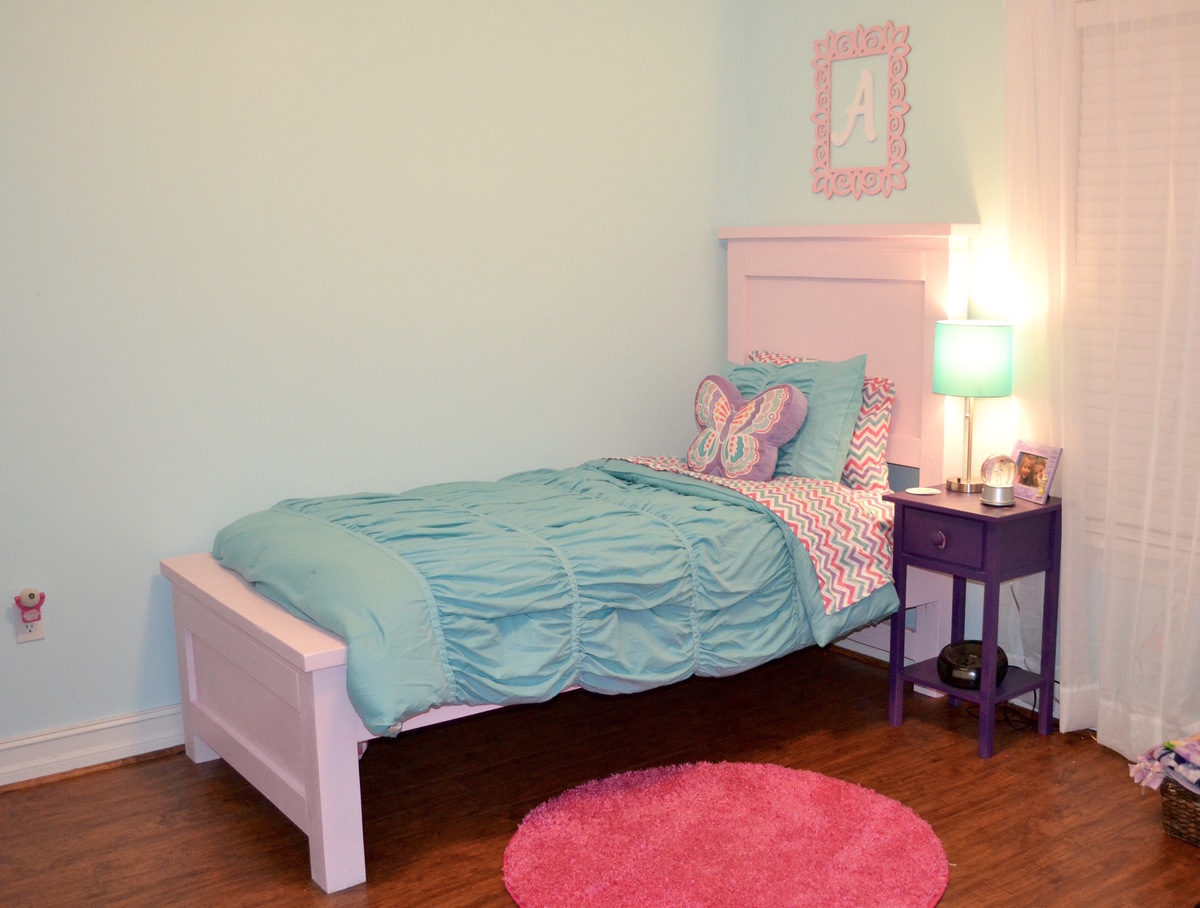
I used elements of both the Emme Twin Bed and Farmhouse Storage Bed to create this perfect bed for my daughter. Thank you so much for your fantastic plans Ana!
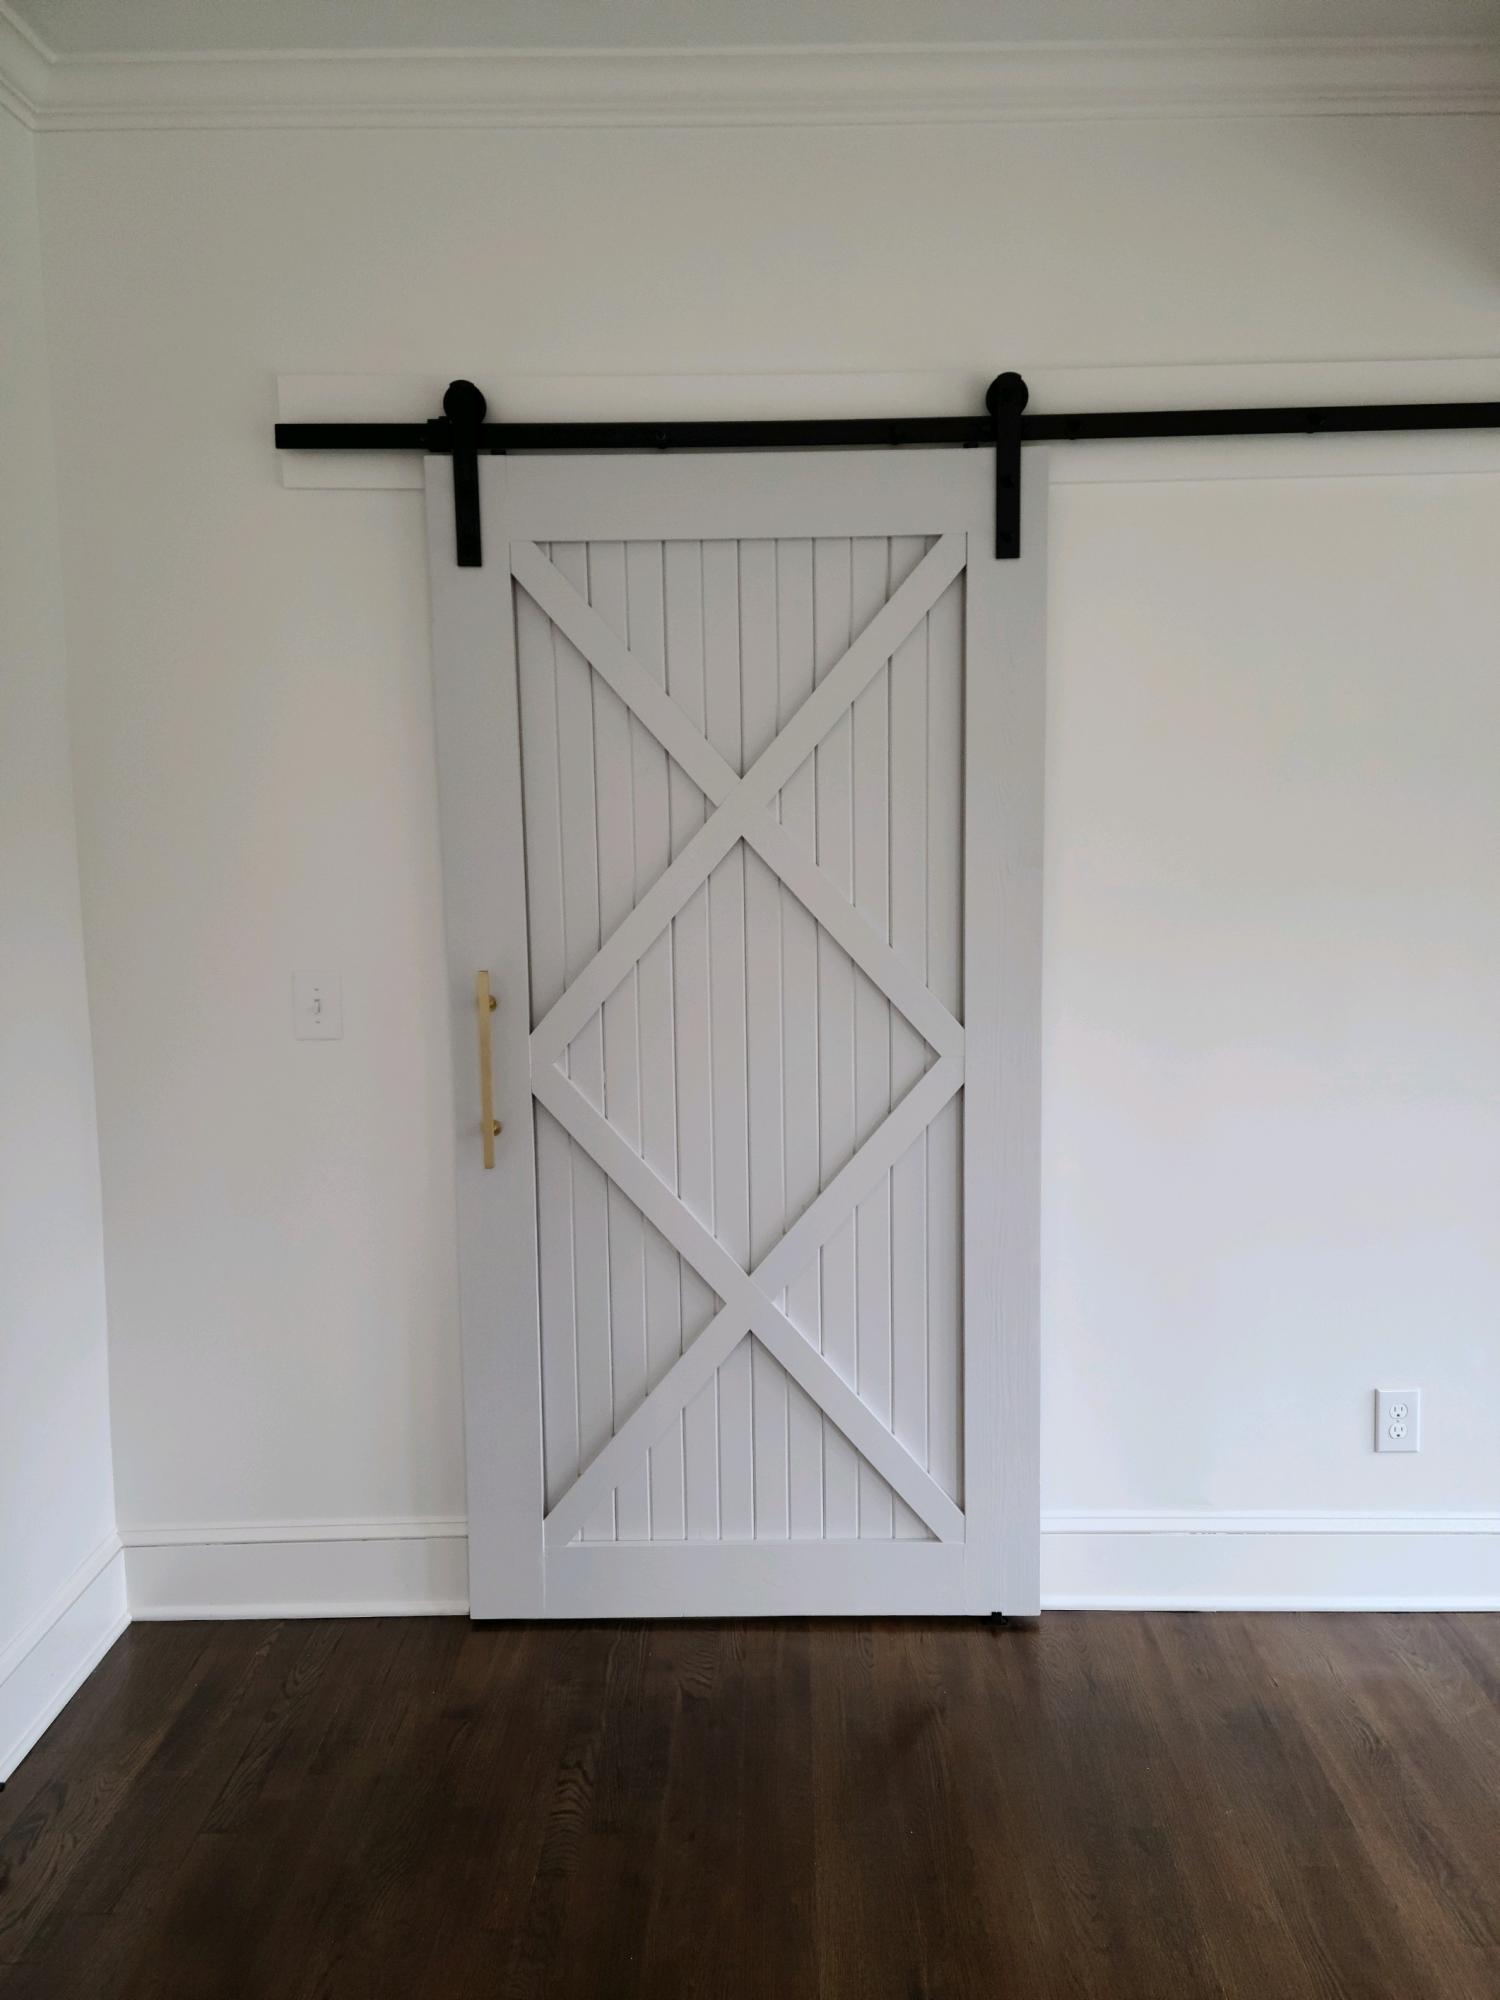
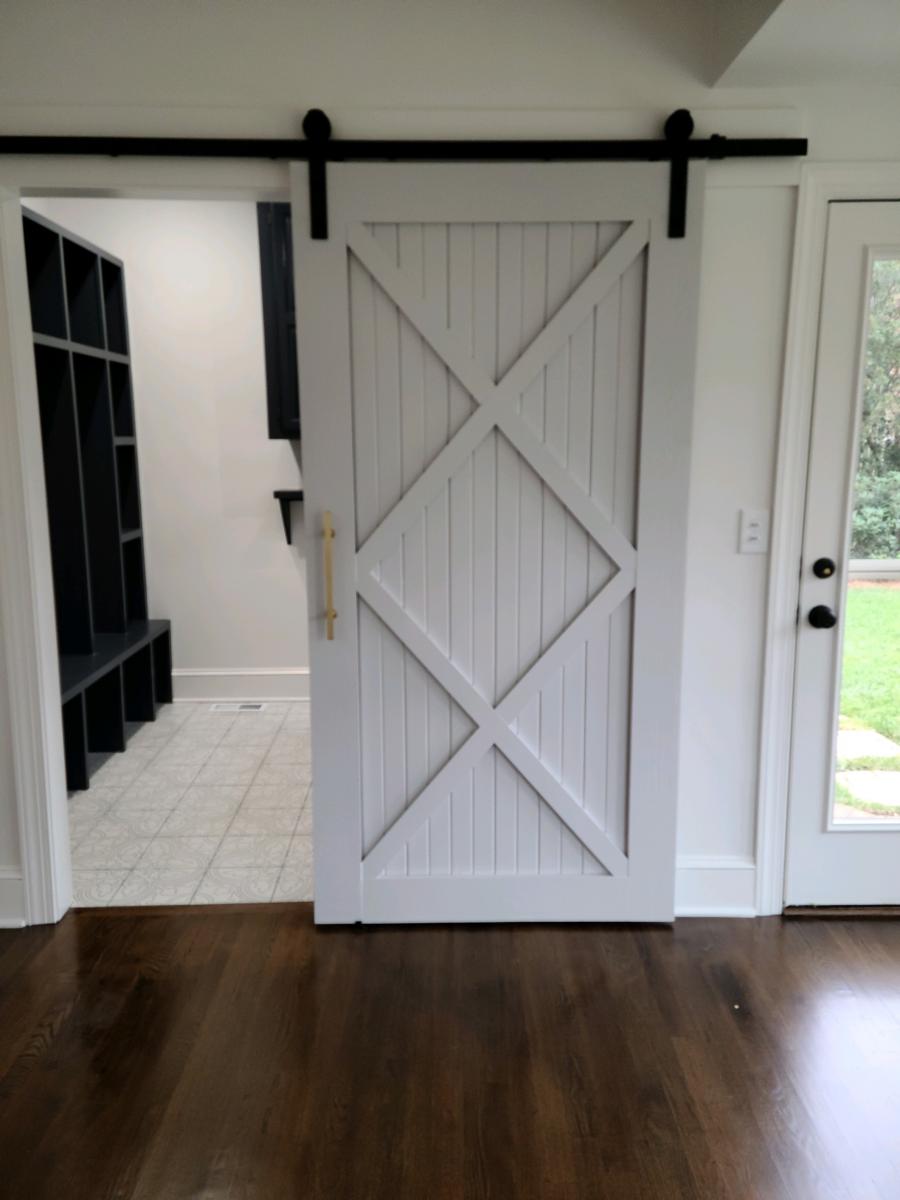
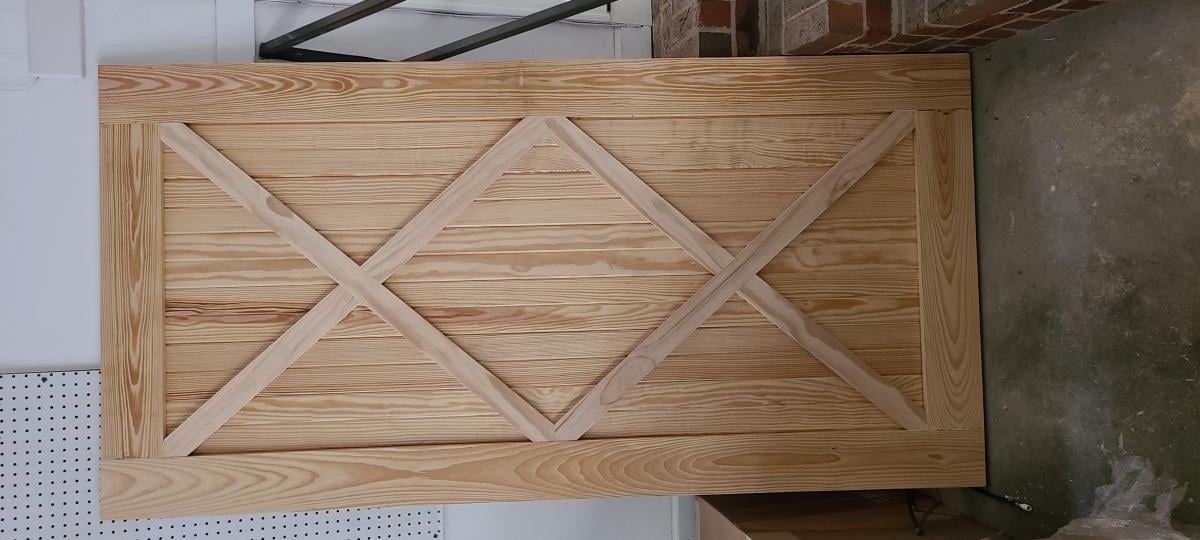
This is a sliding barn door I built for some friends. It's constructed from standard pine boards and premade tongue and groove beadboard planks.
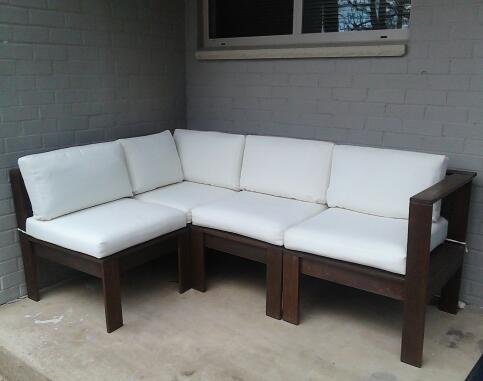
So glad these plans were posted so that I could build my own outdoor sectional. I built two armless and two corner/end pieces. I used cedar with American Walnut stain and clear/satin spar urethane. I purchased the cushions online. They only had 24x24"; so for the back cushions, I used a seam ripper to open the cushion, cut the foam and extra fabric, and re-sew.
Wife found a post where someone did a riff on farmhouse X table where instead of supports at the floor and top of the base, there was one support in the middle of the X. The riff made the table taller than the original (which I didn’t realize till we had the x bench put up against the ‘riff’ table - about 3 inches too low which I’ll fix this weekend. It only works ok for my 6’7” brother law lol.
Other alterations i made - turned the X support into through tenons (my first - future ones will be cooler) and decorative cross 2x2 under the table top similar to the way they are on the bench.
Turns out, looks pretty cool with taller bar chairs!
Fri, 01/08/2021 - 10:21
It's absolutely beautiful, love the height with the taller chairs!
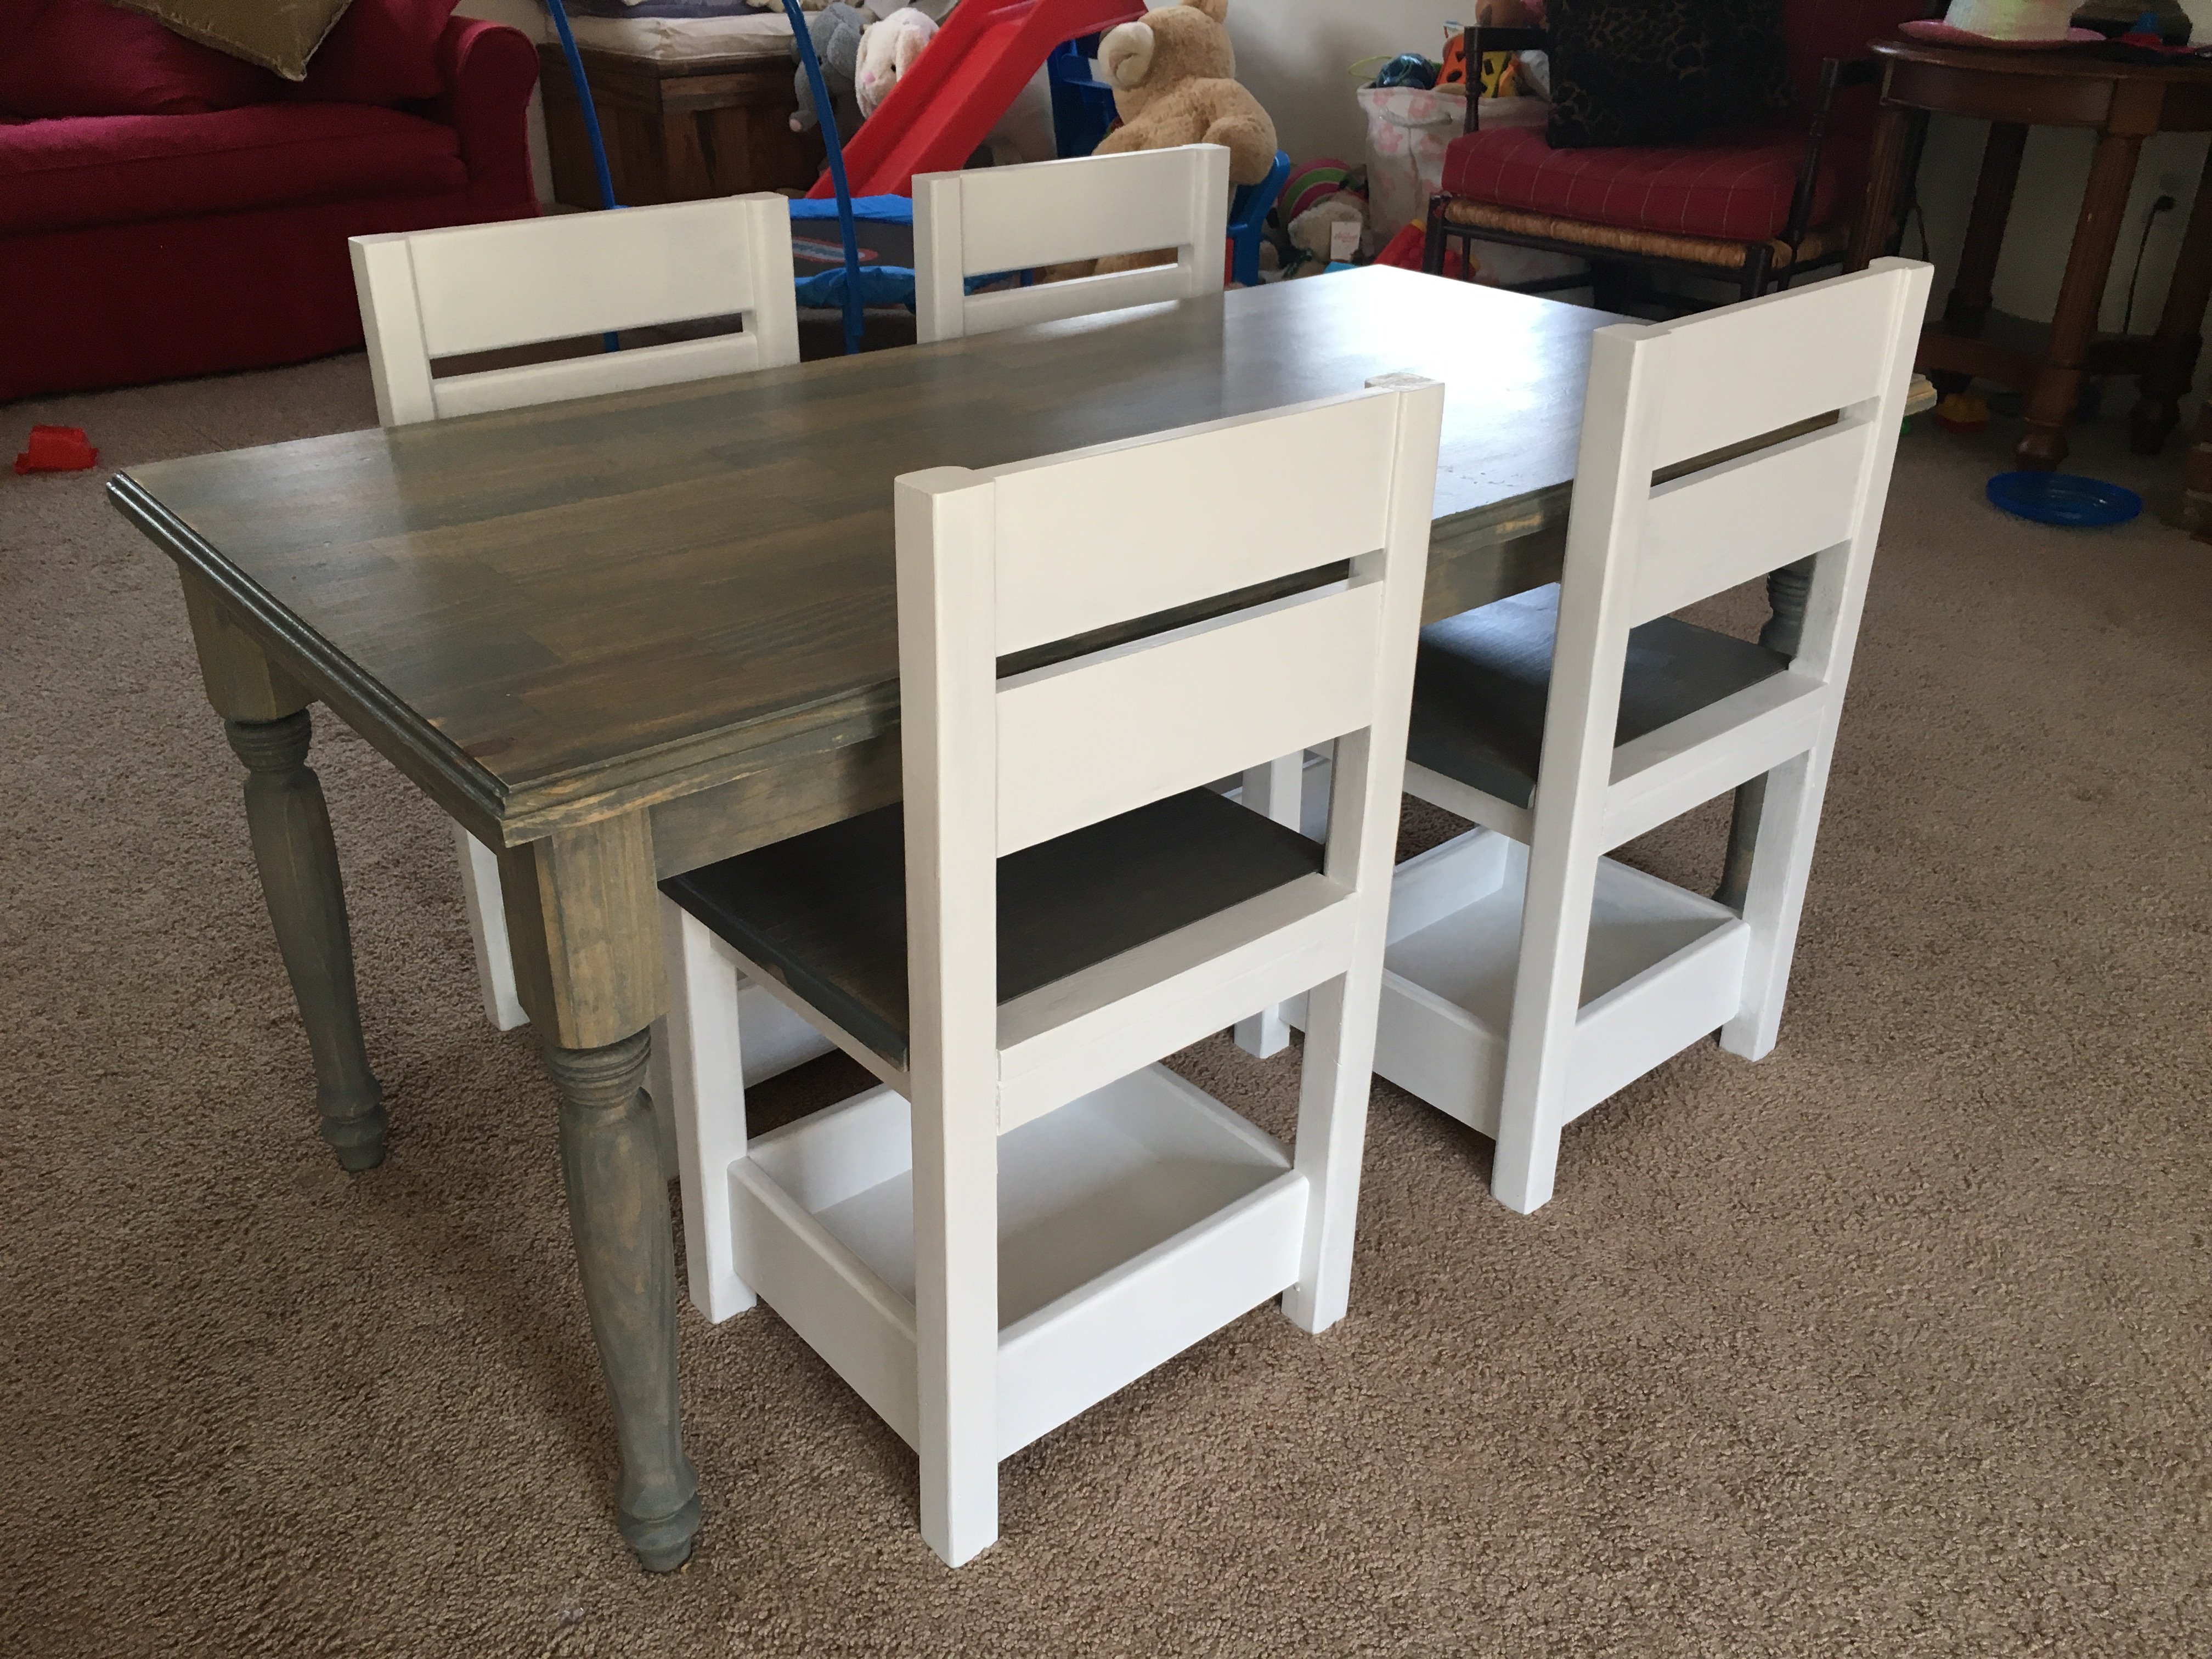
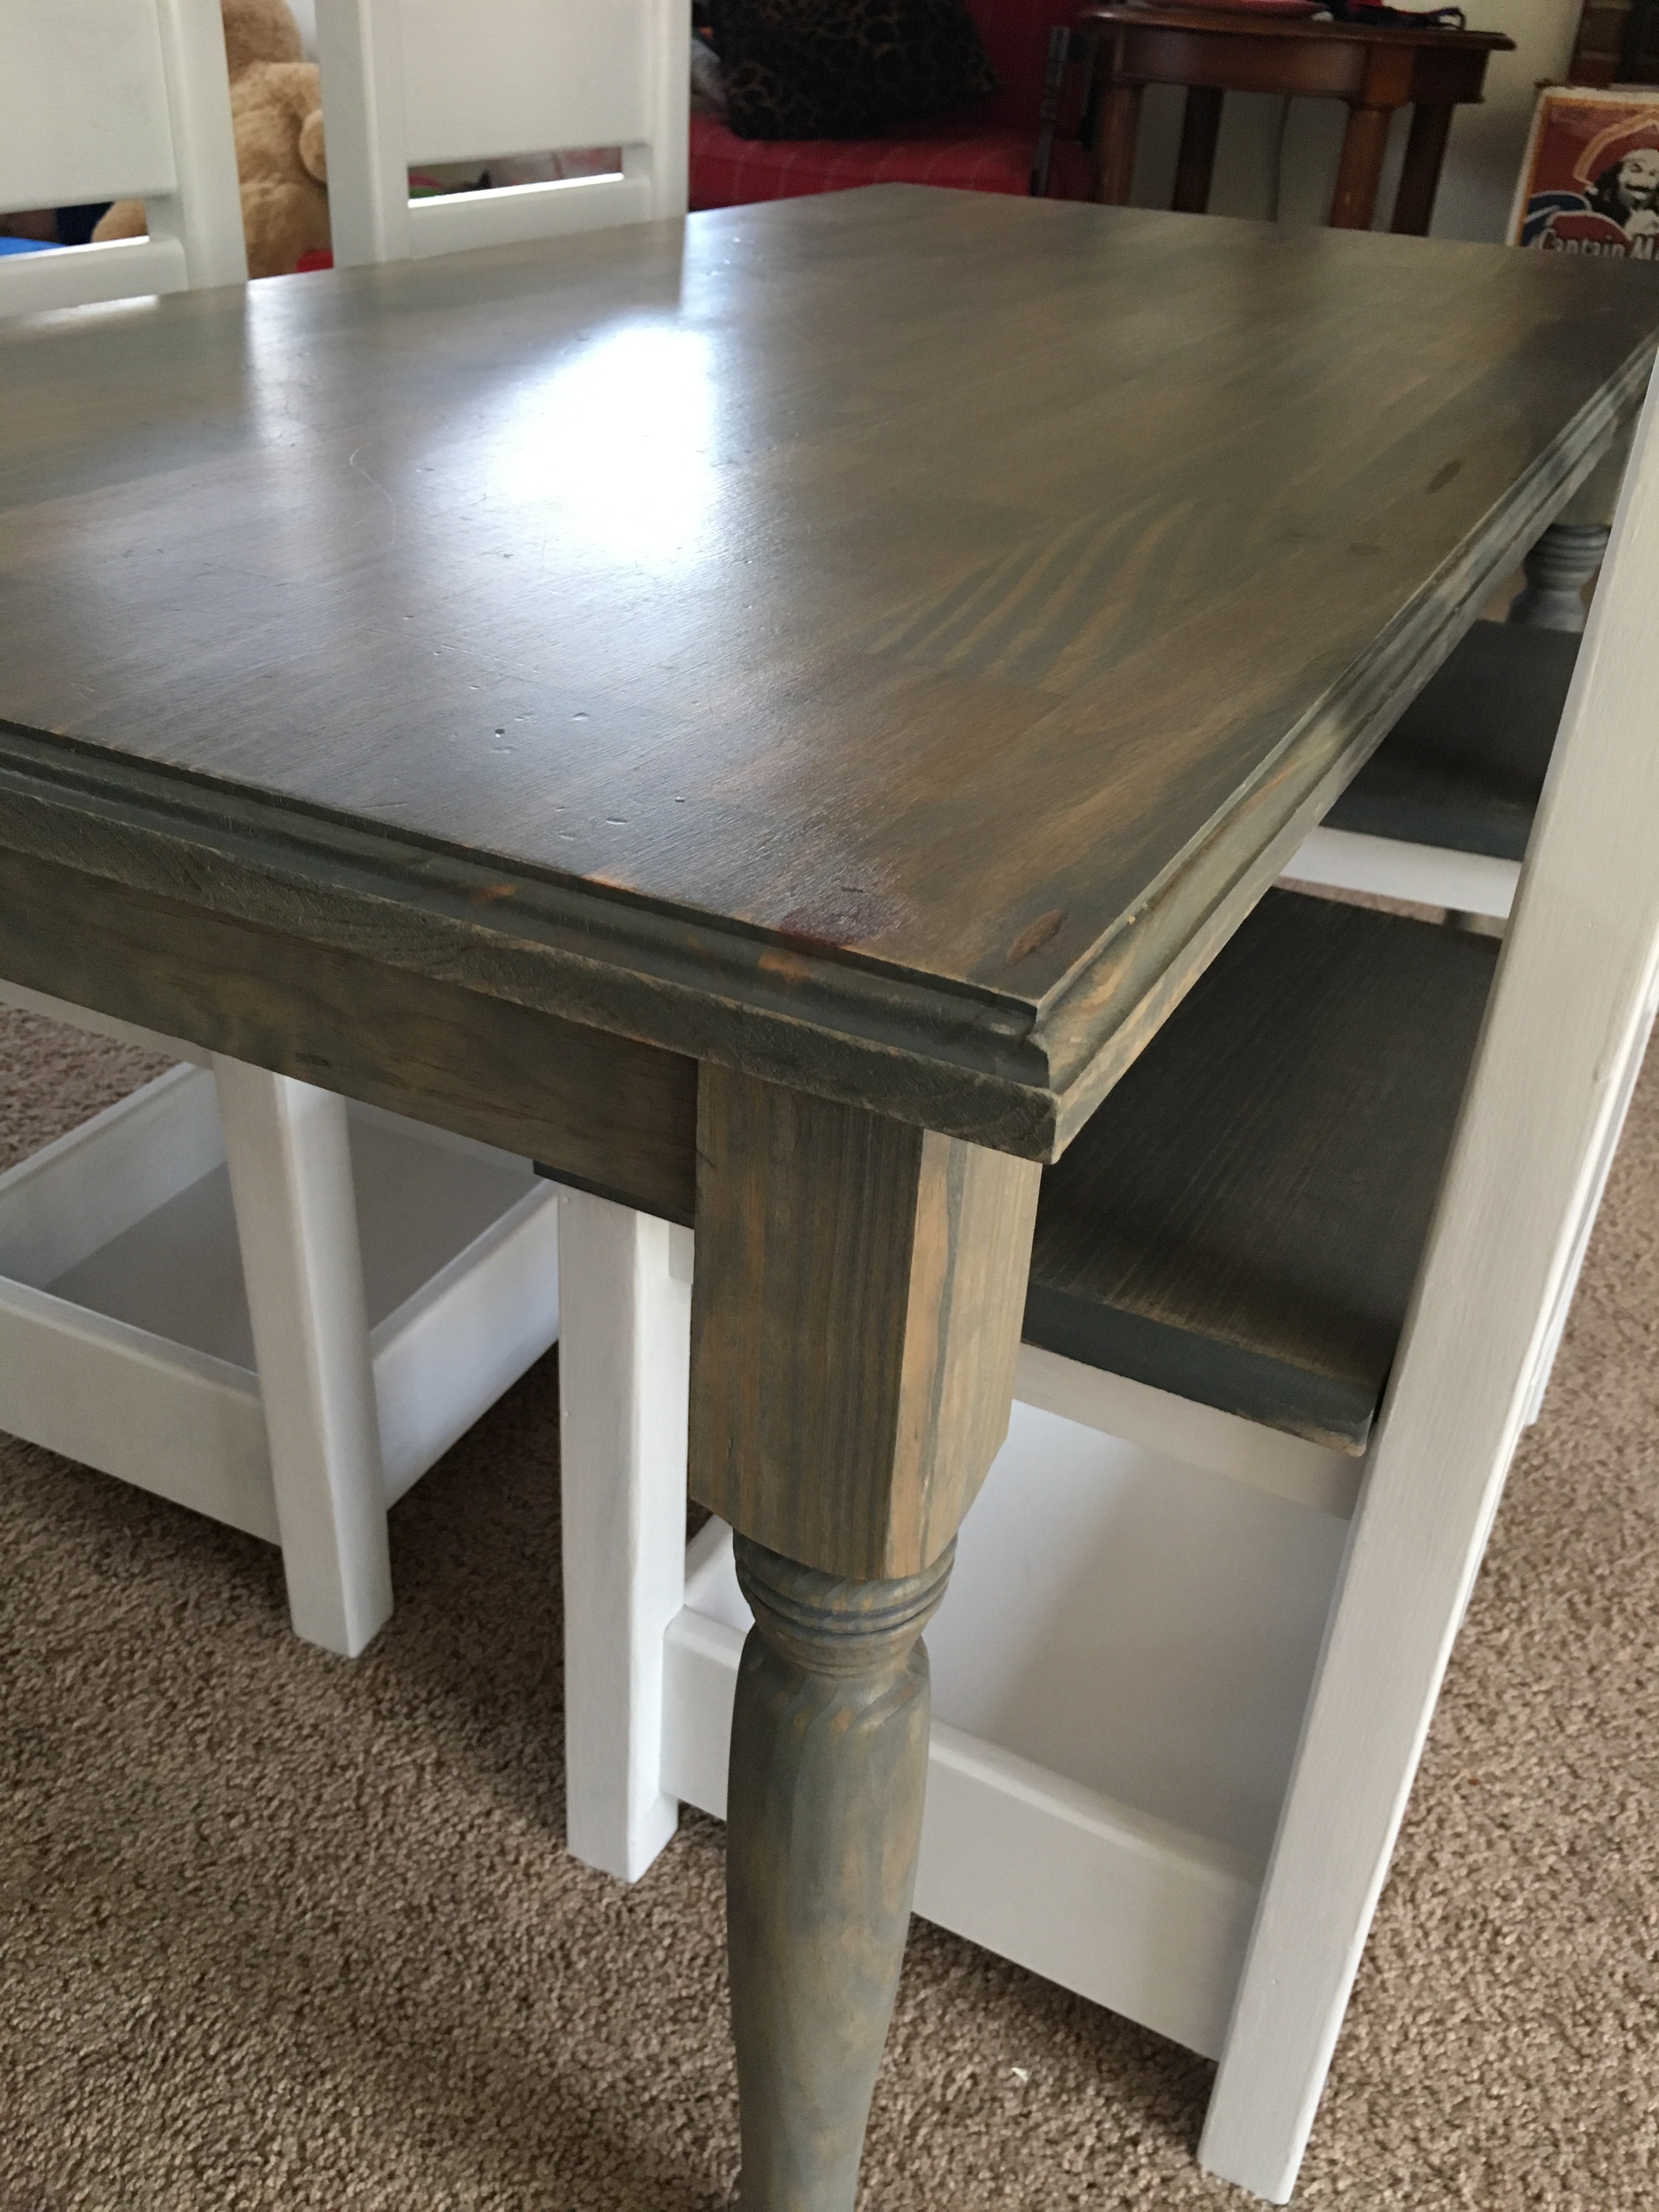
I built the children's farmhouse table and 4 storage chairs for my 2-year-old twins. I followed the plans exactly, except the addition of some minor details using my router: I gave the table top a nice edge using my Roman Ogee bit, rounded the front and side edges of the seats for comfort using a 1.5" roundover bit, and rounded the inner corners of the back on both sides and the top and bottom of the back rests with a 1/2" roundover bit. I bought a roll of drawing paper from Ikea in the children's section, and it will be attached underneath using a removable dowel so we can pull a sheet of paper out from under the table for coloring or to use as an easy-cleanup paper cloth if they eat at this table with their cousins!
First "big" woodworking project. A lot of fun and my daughter couldn't be happier
This was my husband and I's first furniture building exercise. We've been looking at farm tables but the prices were astronomical ($500 to 1,000+)! So, we came across this plan and thought maybe we could do it. And we did!
It took us about a weekend...we have two kids - ages 3 and 6...so we have frequent interruptions...including my daughter spilling my brand new quart of paint...so another trip to Home Depot.
We made some alterations to the plans...to fit our needs.
List of Alterations:
- Moved apron back (and would move it back more if I built again) 1" further.
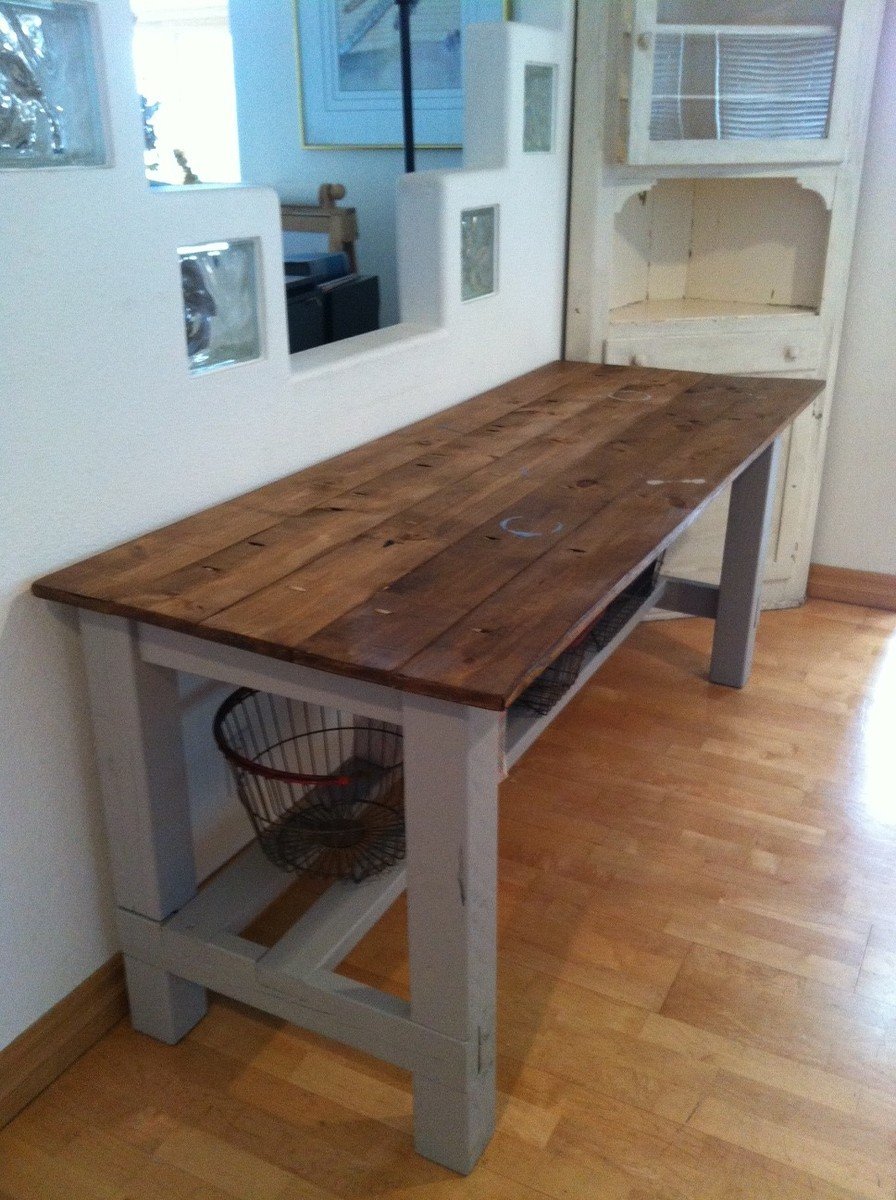
- Added another stretcher on the bottom so that we could put a shelf there. We will probably add wood to the shelf in the future. Another blogger used a free pallet that he took apart. Seems like a good idea. Also moved the stretchers toward the back so that stools can sit under the table and be out of the way. Our table (as seen in the pictures) is up against a wall...so it made sense.
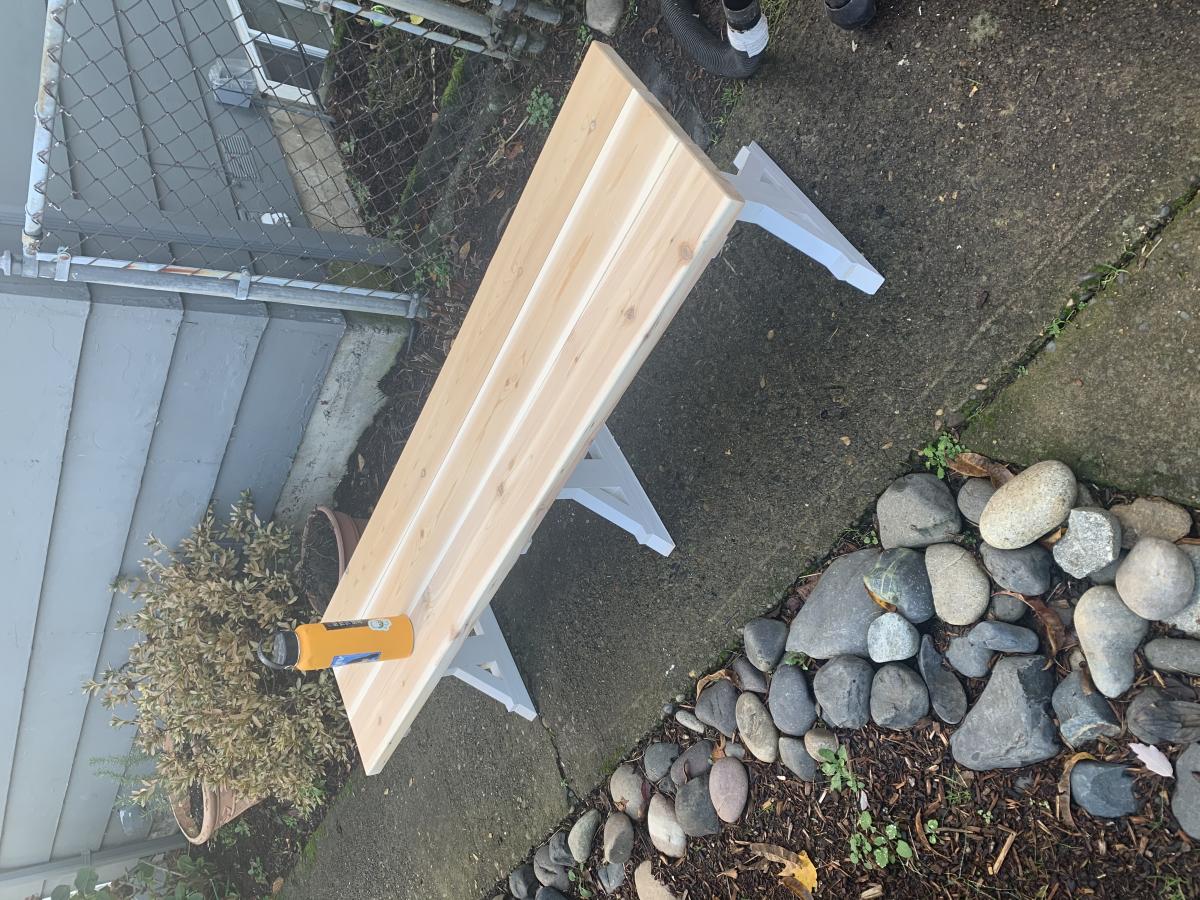
- Didn't add breadboard - the look was too finished for us.
- Used 1", 2x6 pine boards for two reasons - 1) liked the thinner material. 2) needed a smaller table than then 2x8's would let me do.
Tools:
We did have to buy tools to accomplish this project. My husband has a lot but obviously not enough.
- Purchased a table top miter saw - Harbor Freight - $89 on sale. Our circular saw just wasn't powerful enough (battery operated) and too hard to use.
- Purchased the full Kreg Jit (because it has the clamp mechanism) - $99
Thanks for looking!


Wed, 02/20/2013 - 21:37
Lovely! The deliberate stains are a cool feature! Can't wait to see the "real" top.

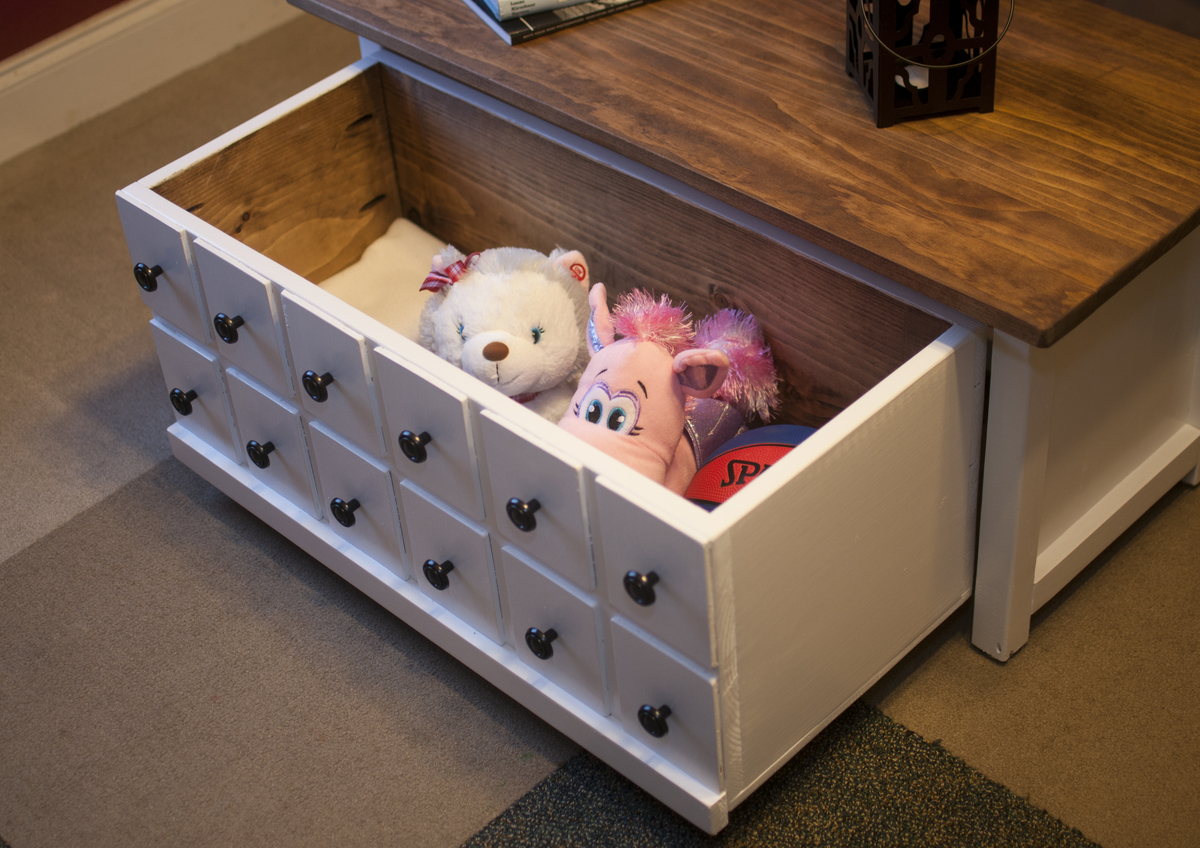
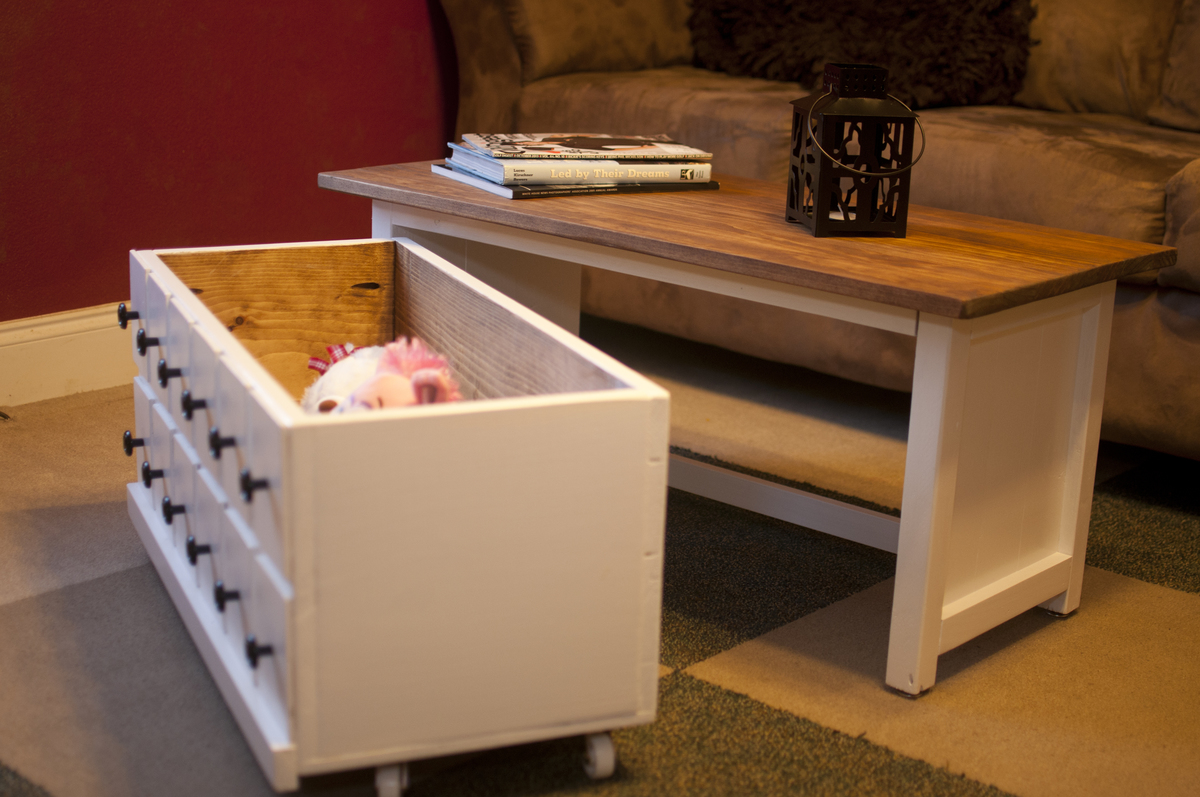
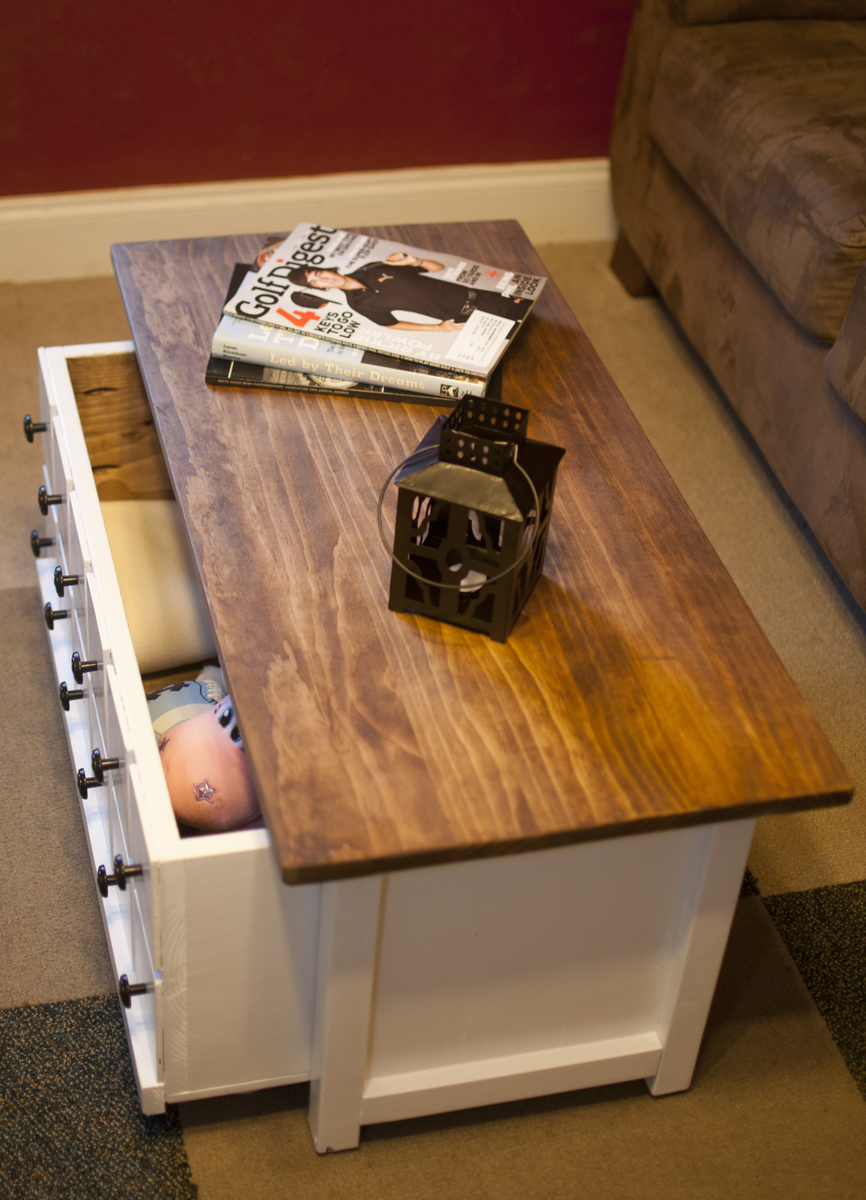
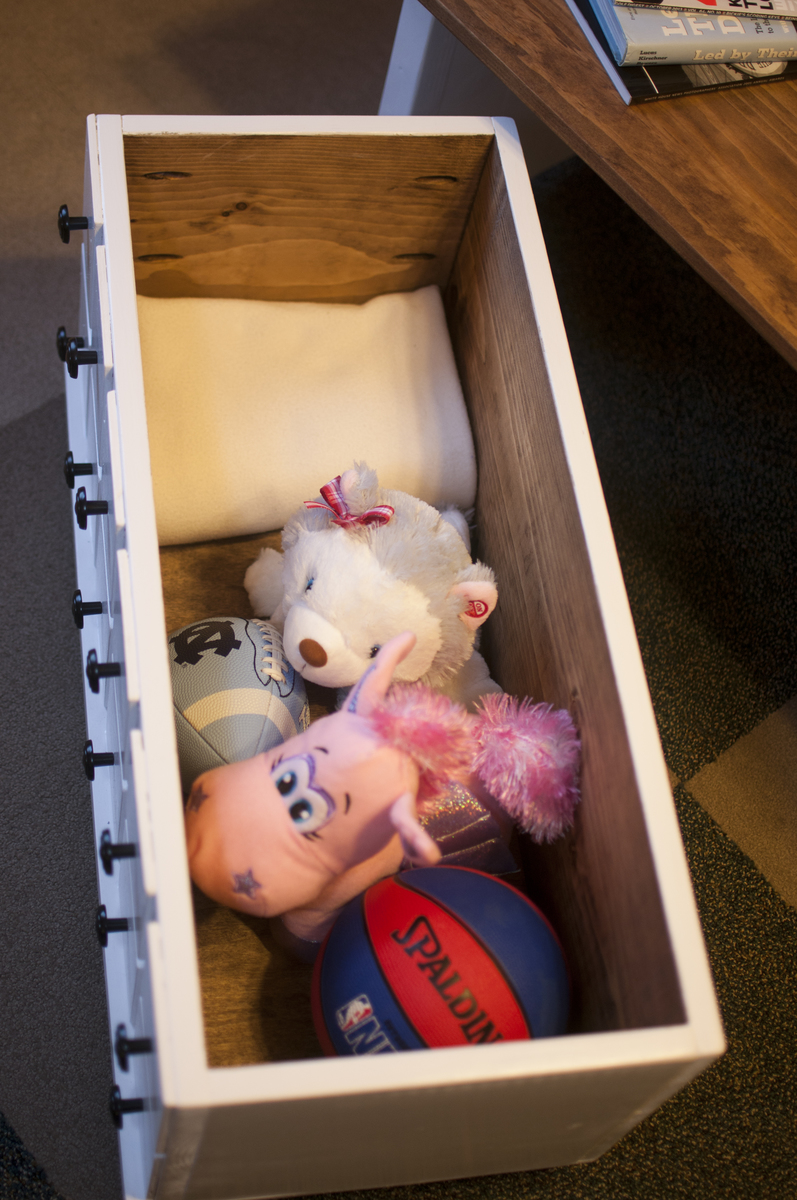
Made a few adjustments to the farmhouse toy box. Made it a little bigger and added Xs out of 1x2s around it to give it a little extra something! I'm using it as a storage coffee table and I couldn't be happier with it! So in love!
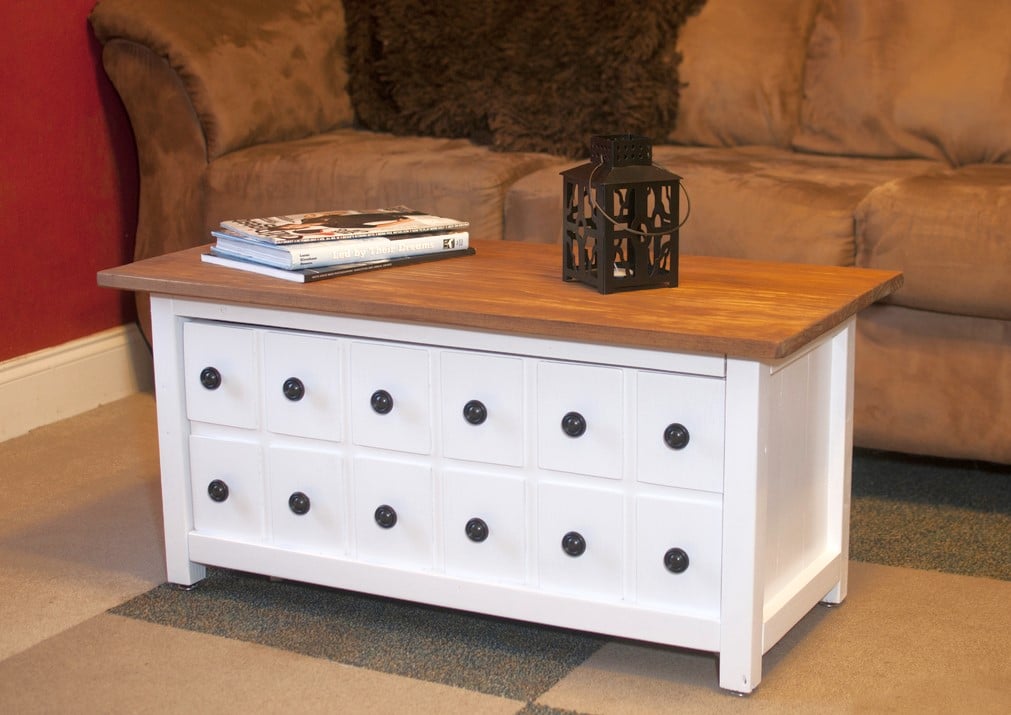
I found the original plans and LOVED them, but my house is tiny, so I was forced to re-work the plans to fit my space! This is a good bit smaller, but every bit as awesome! ;) I decided not to distress it, but I may down the road if it starts to scuff up! ;) Project took about a week long including finishing time. Actual build time was 9-10 hours over two days.

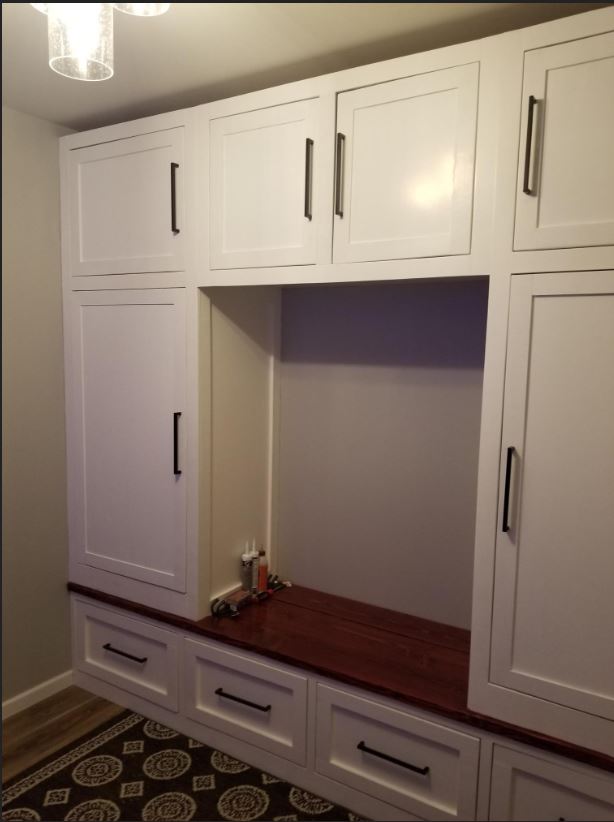
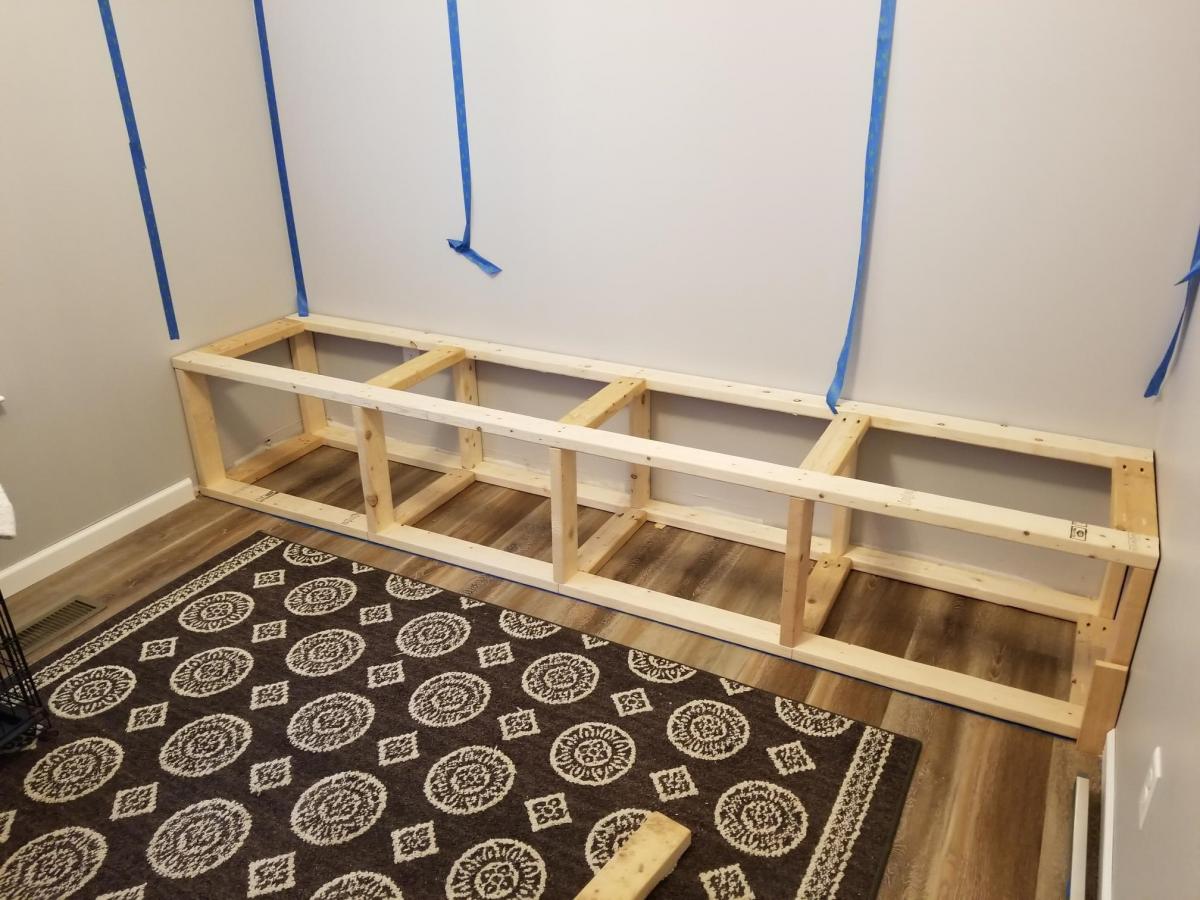
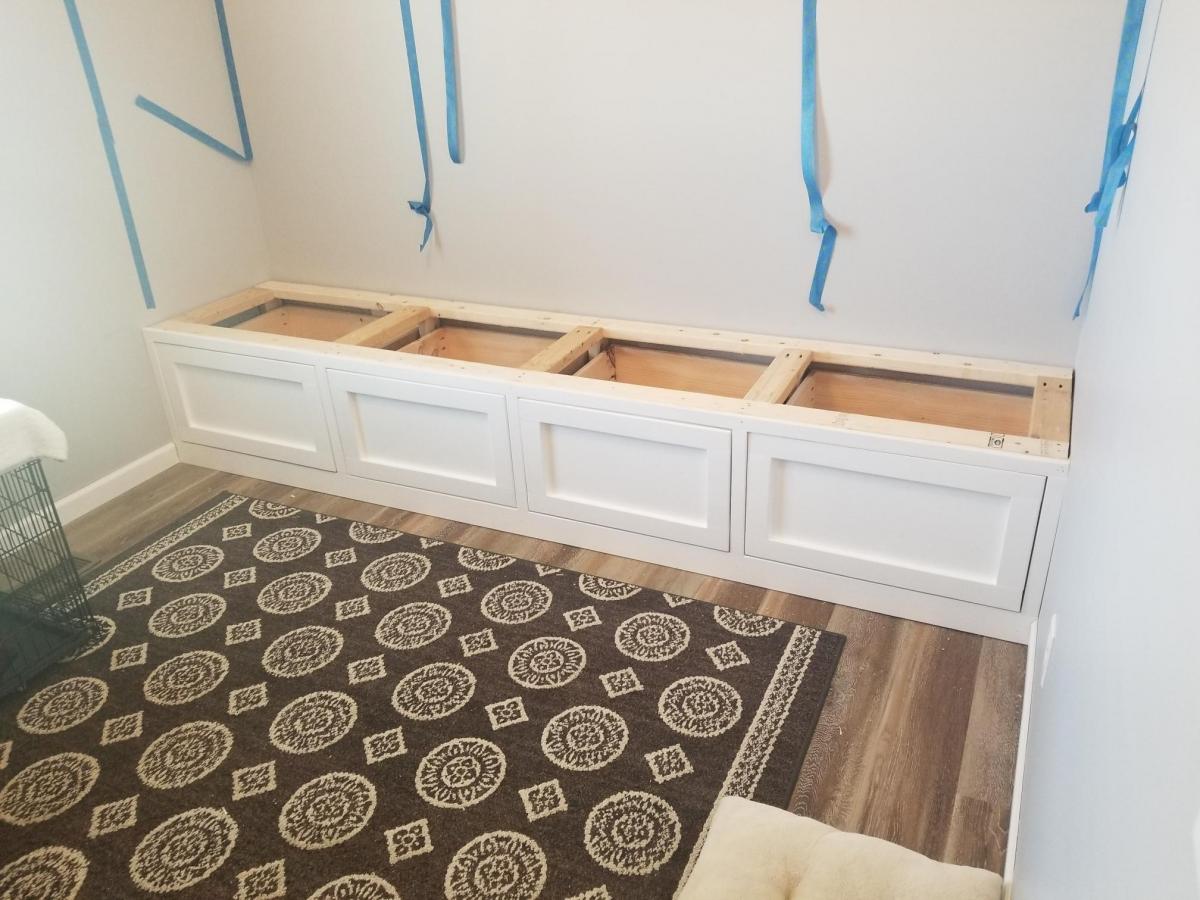
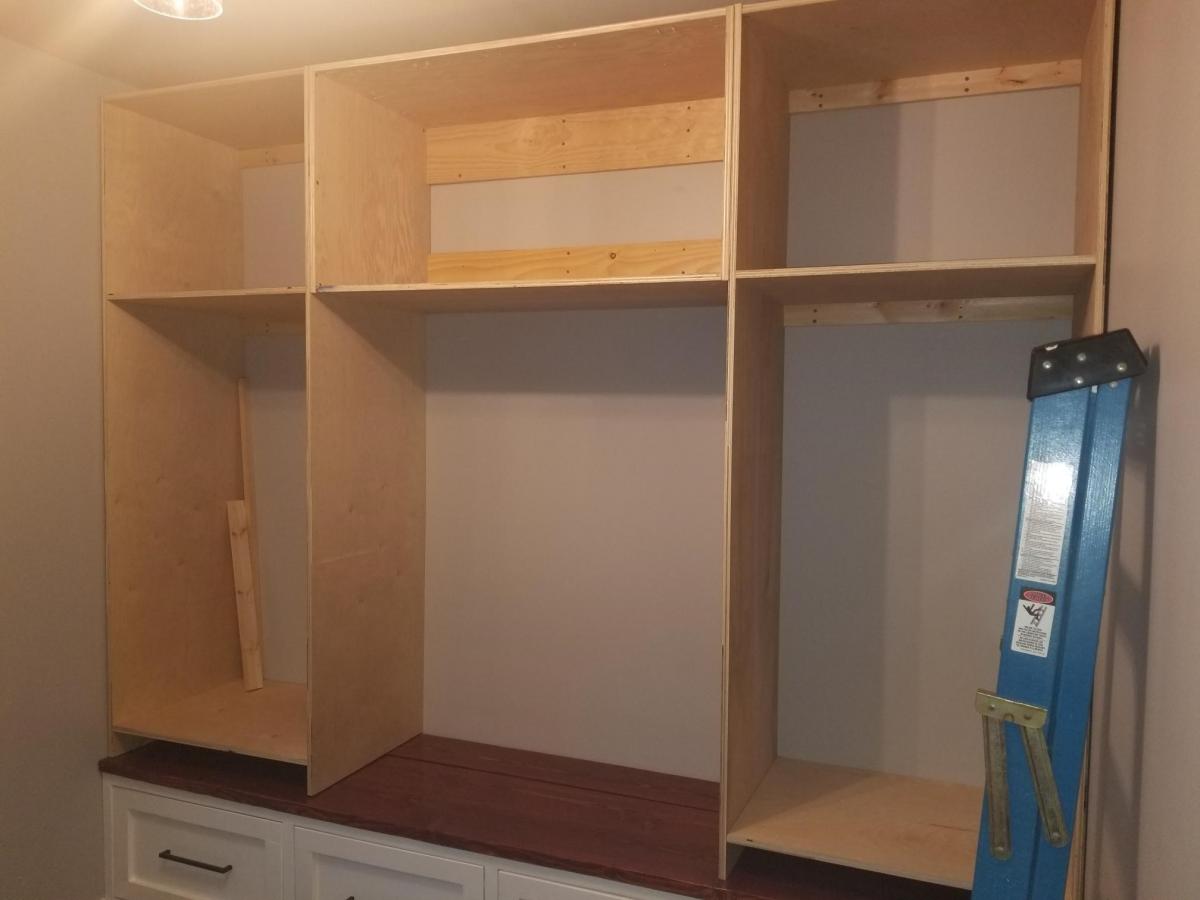
Built this new Mudroom / Office from some plans i found on your website and I absolutely love it! It has turned out better than I Expected and I learned soo many new things when planning and building this out!


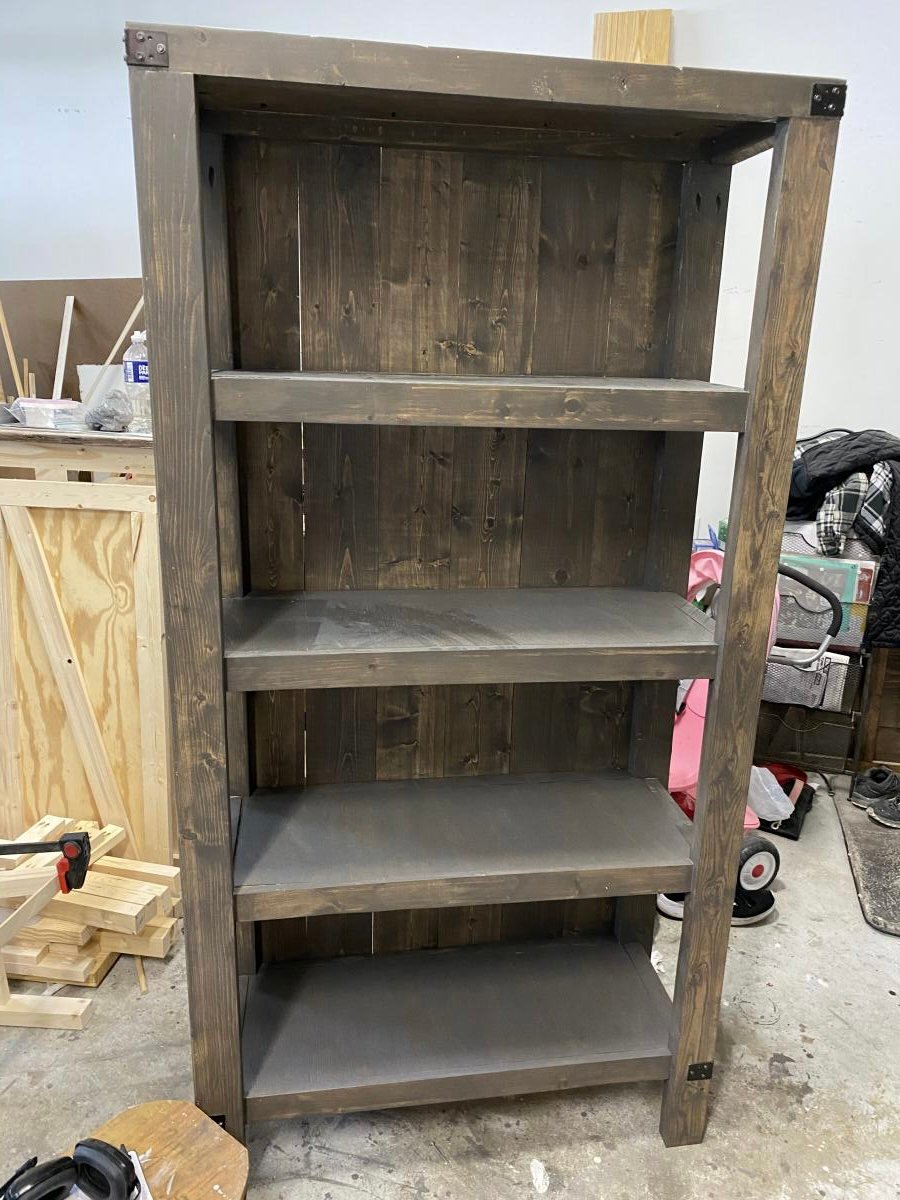
My husband has been hounding me to build him a bookshelf for his office. I actually used wood that I already had in my garage. The next time I build it, I will follow it exactly... I used plywood on the shelves and planks on the back... next time, I will do the opposite, but I really love it!!

Fri, 03/19/2021 - 09:31
The brackets add that farmhouse industrial feel, great job!

Thanks for the free plans. I did have to make modifications for the doors. i hid the hinges to give it a clean look. i used cedar for the trim and Plywood Siding Panel T1-11 4 IN OC (Common: 19/32 in. x 4 ft. x 8 ft.; Actual: 0.563 in. x 48 in. x 96 in.) for the doors. i used a metal flashing for the roof so it will vent.


