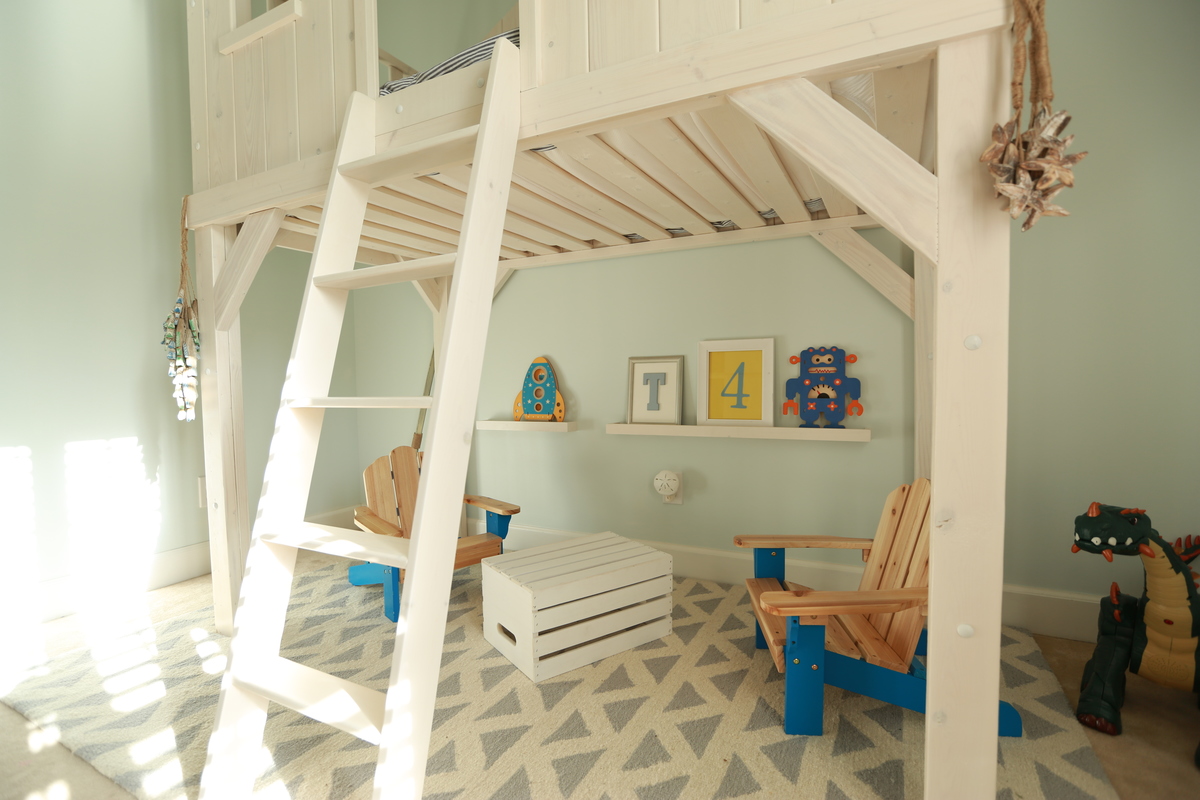
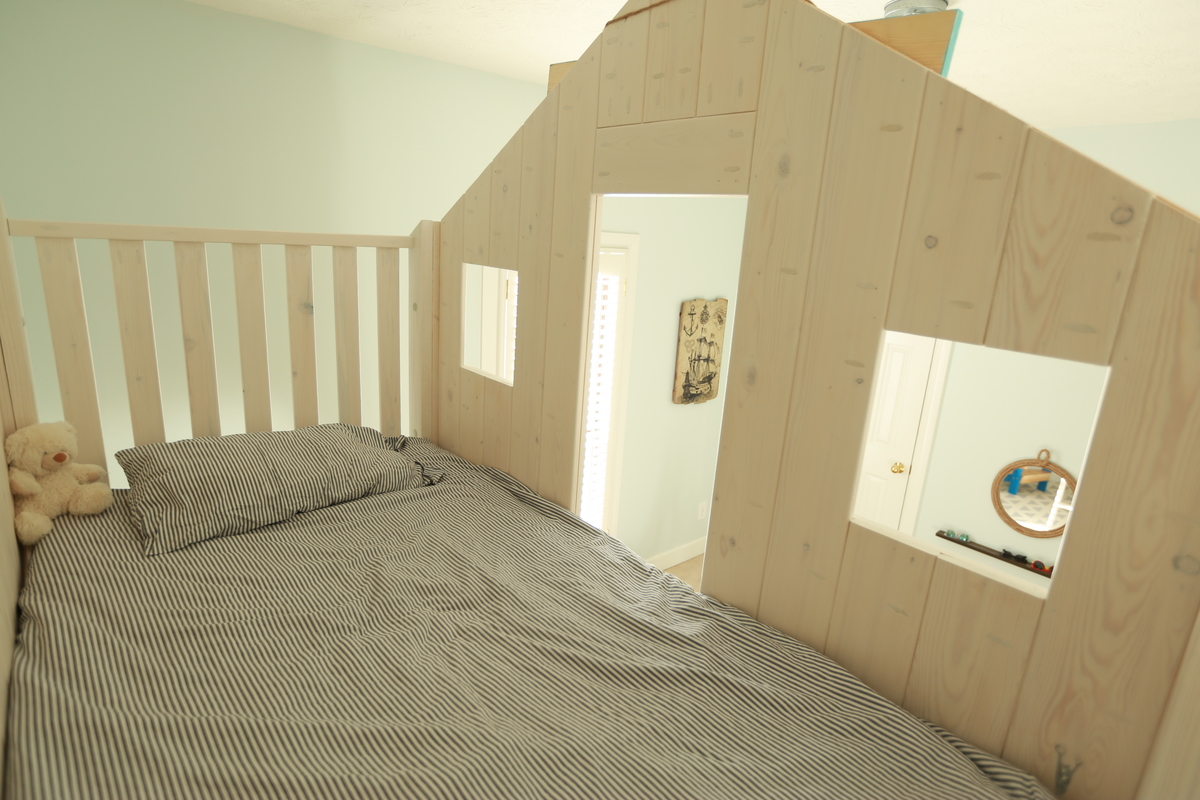
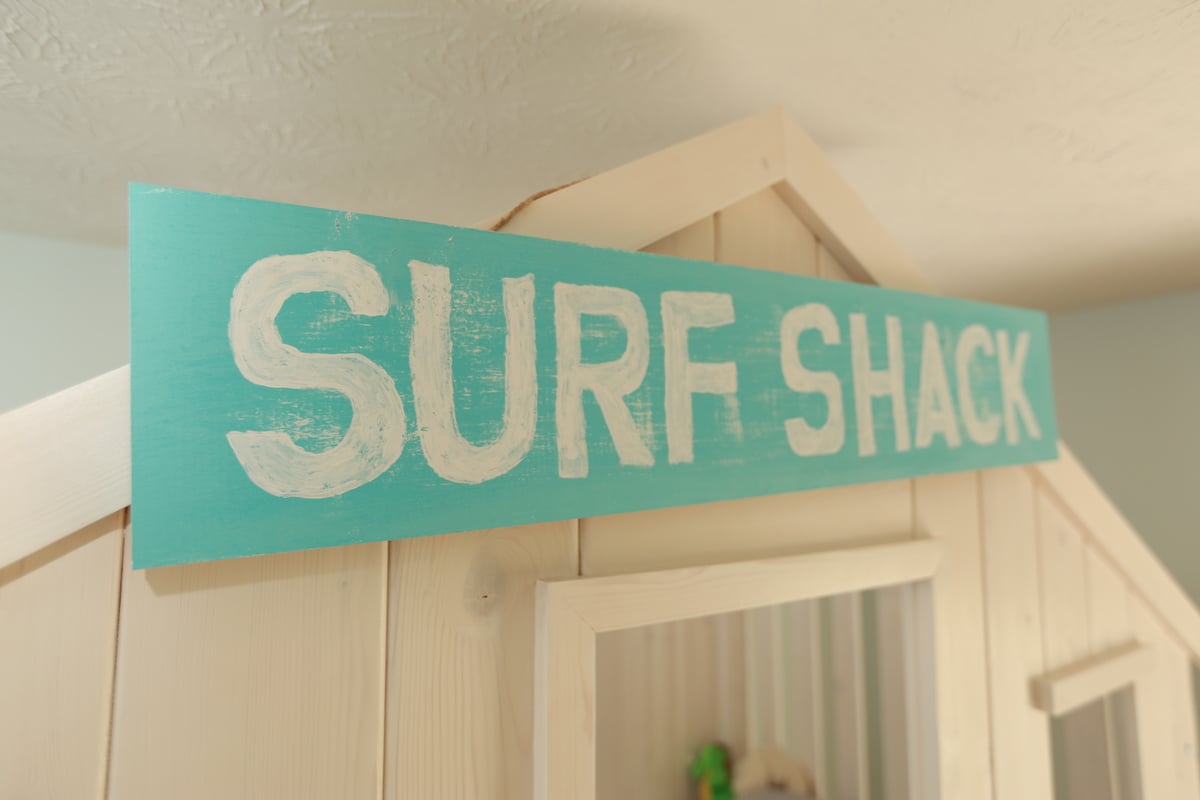
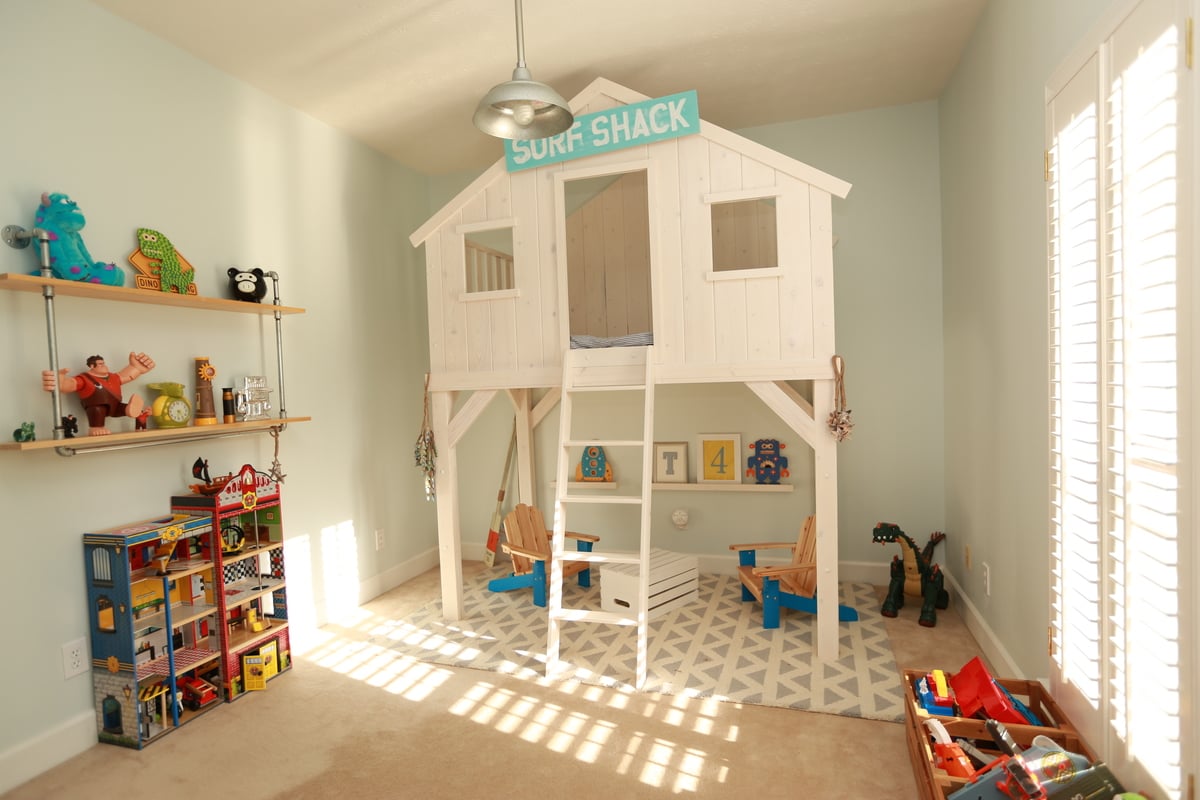
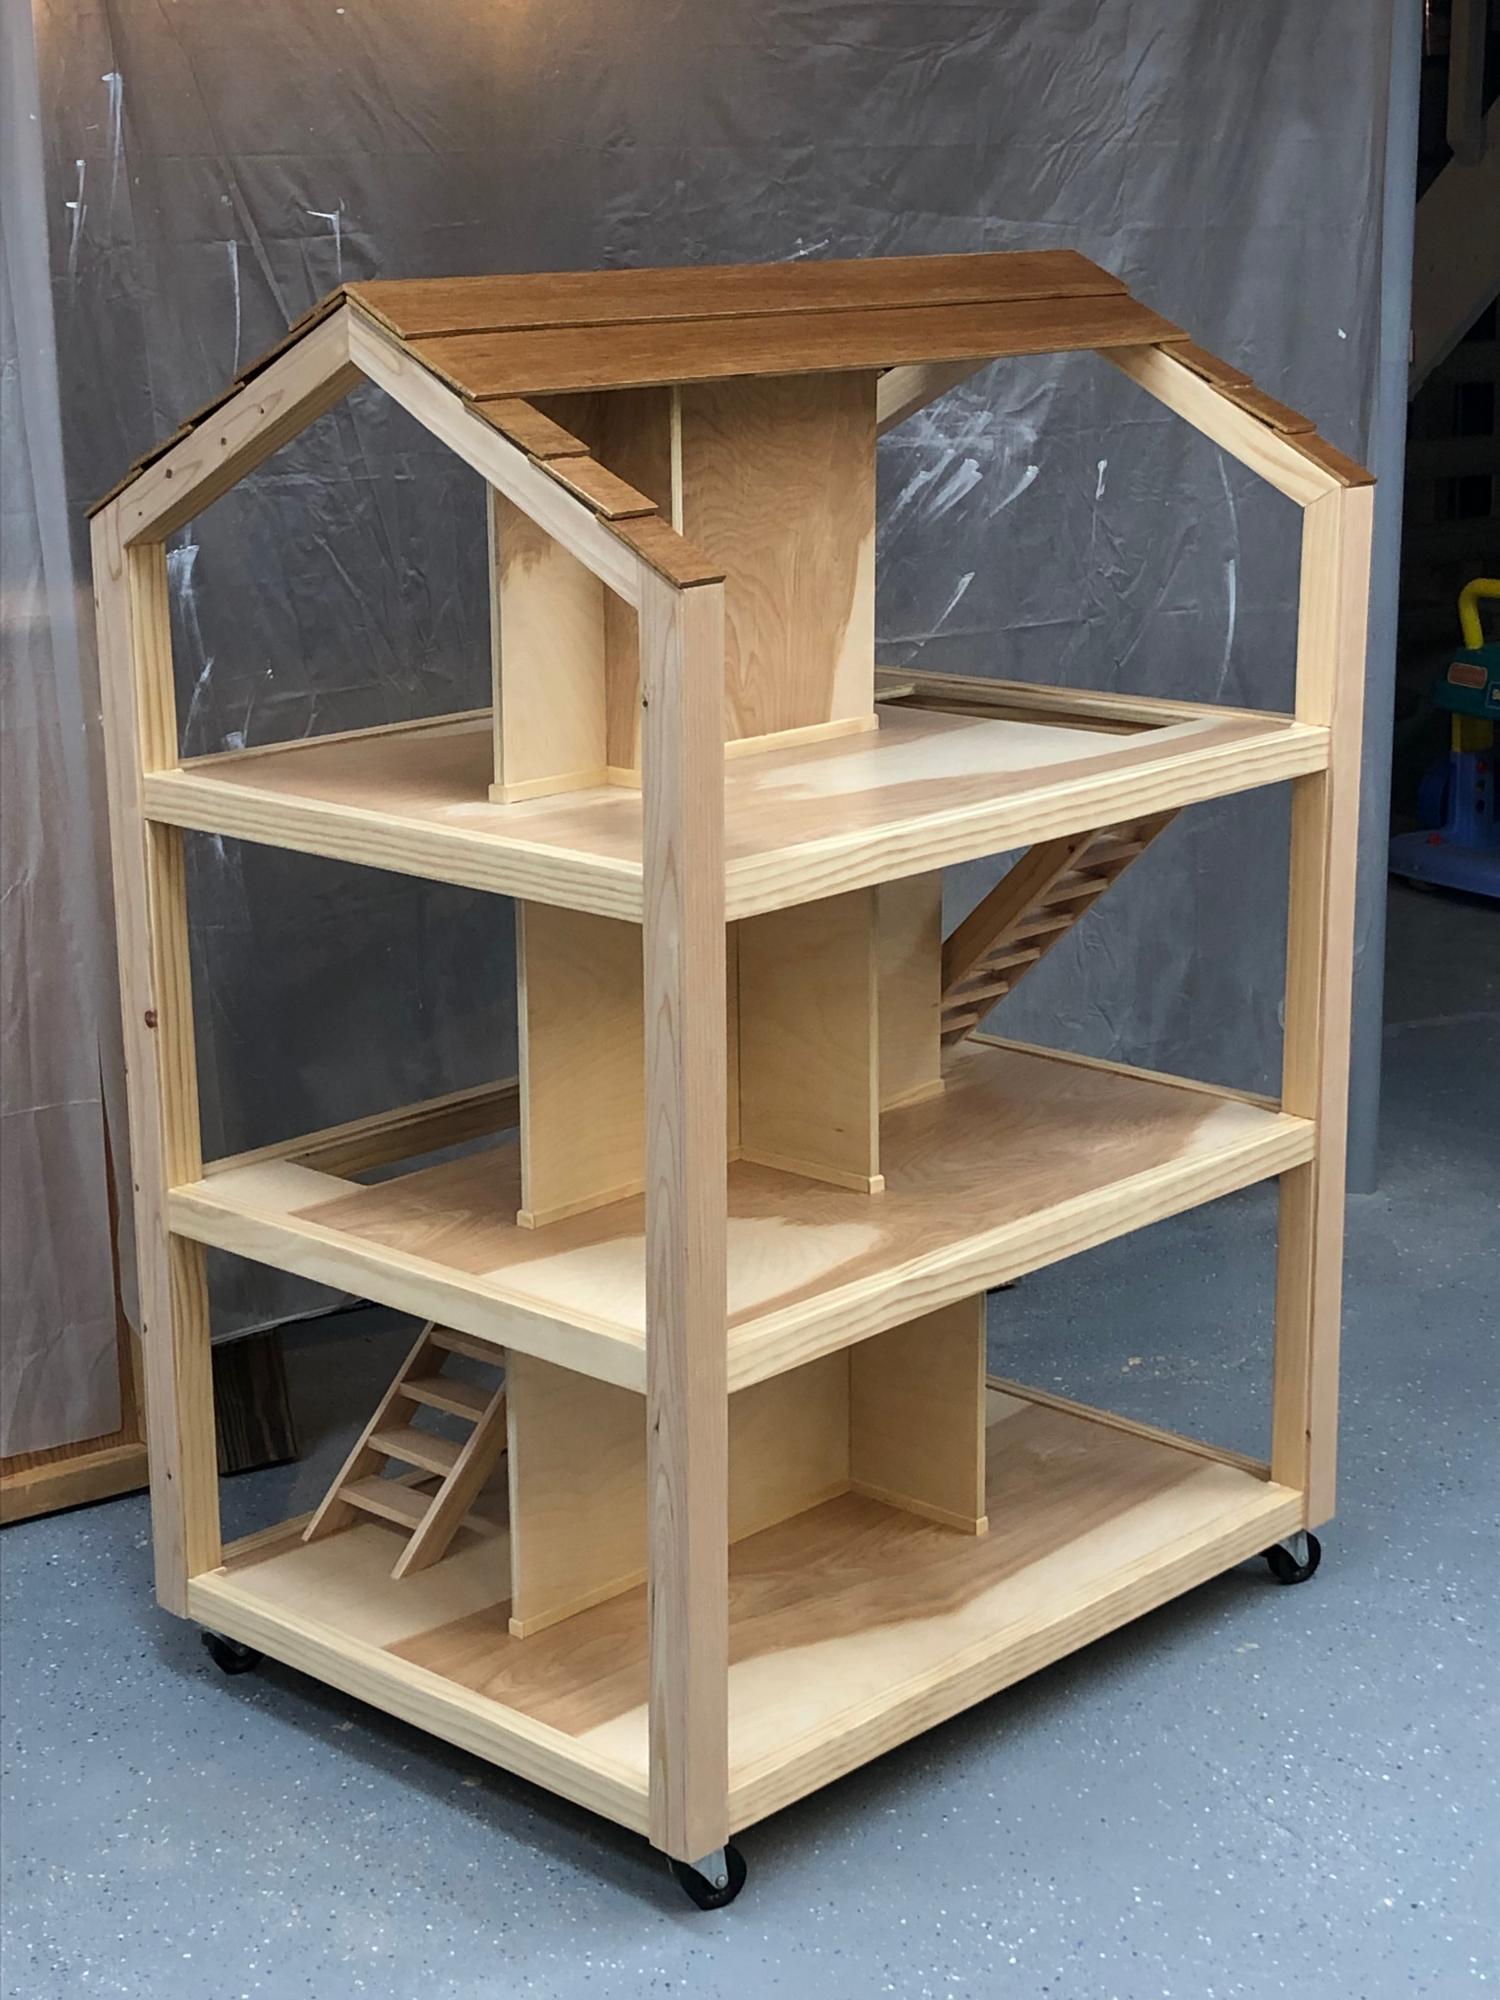
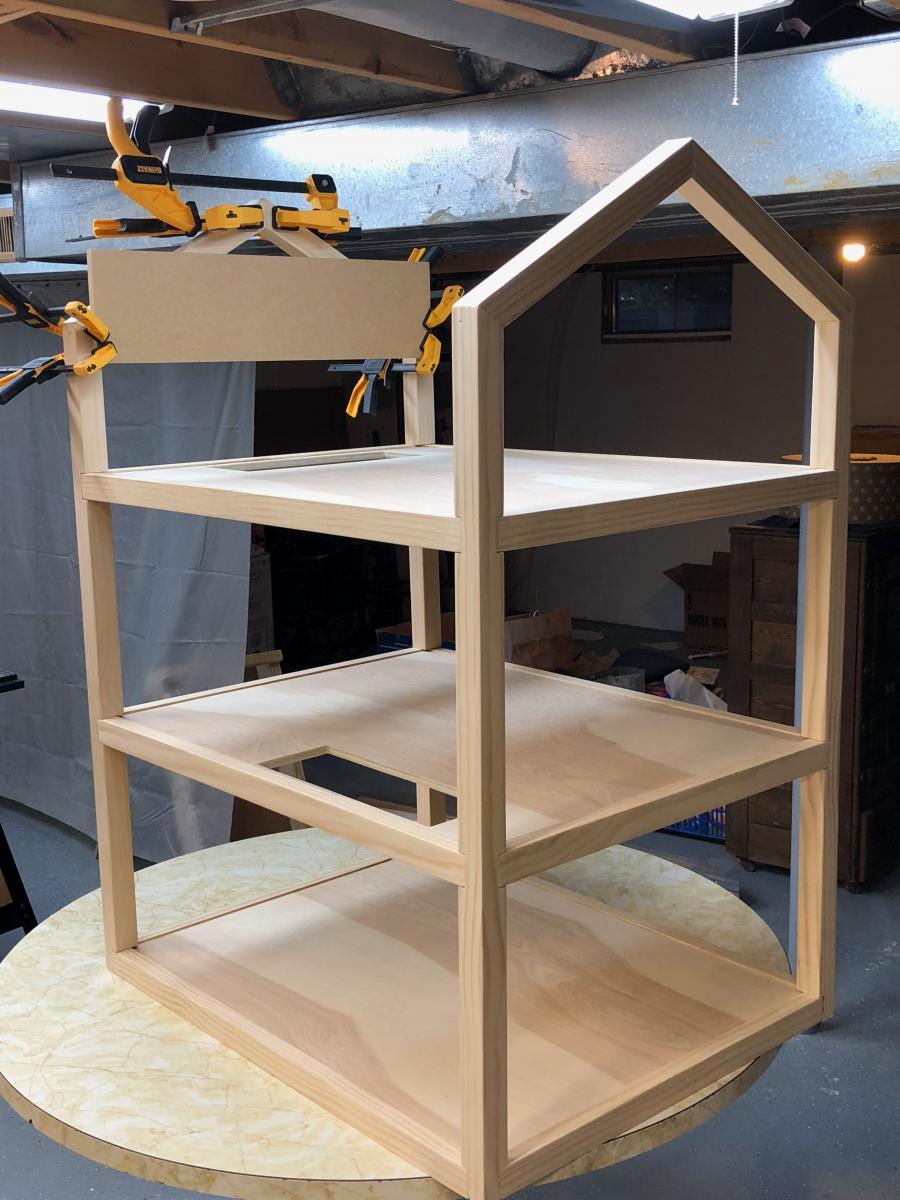
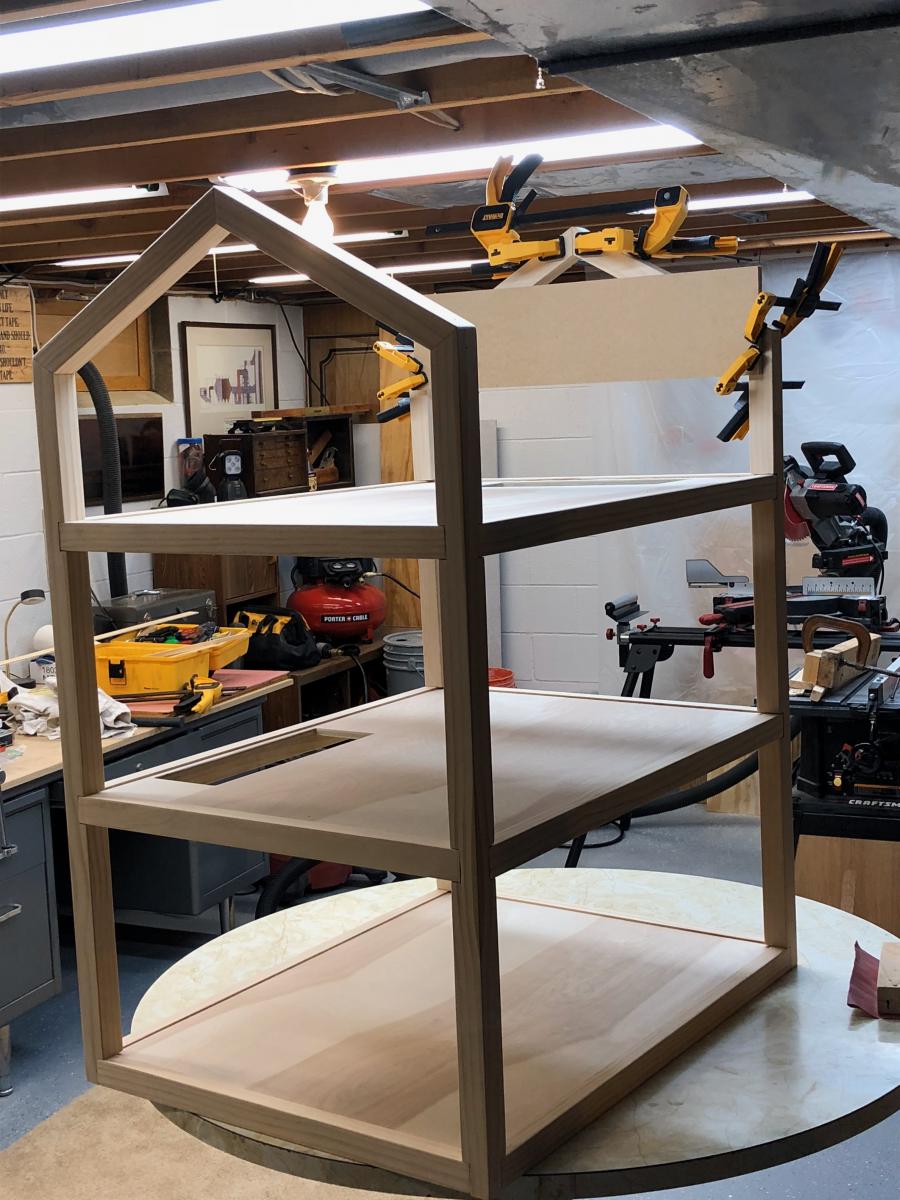
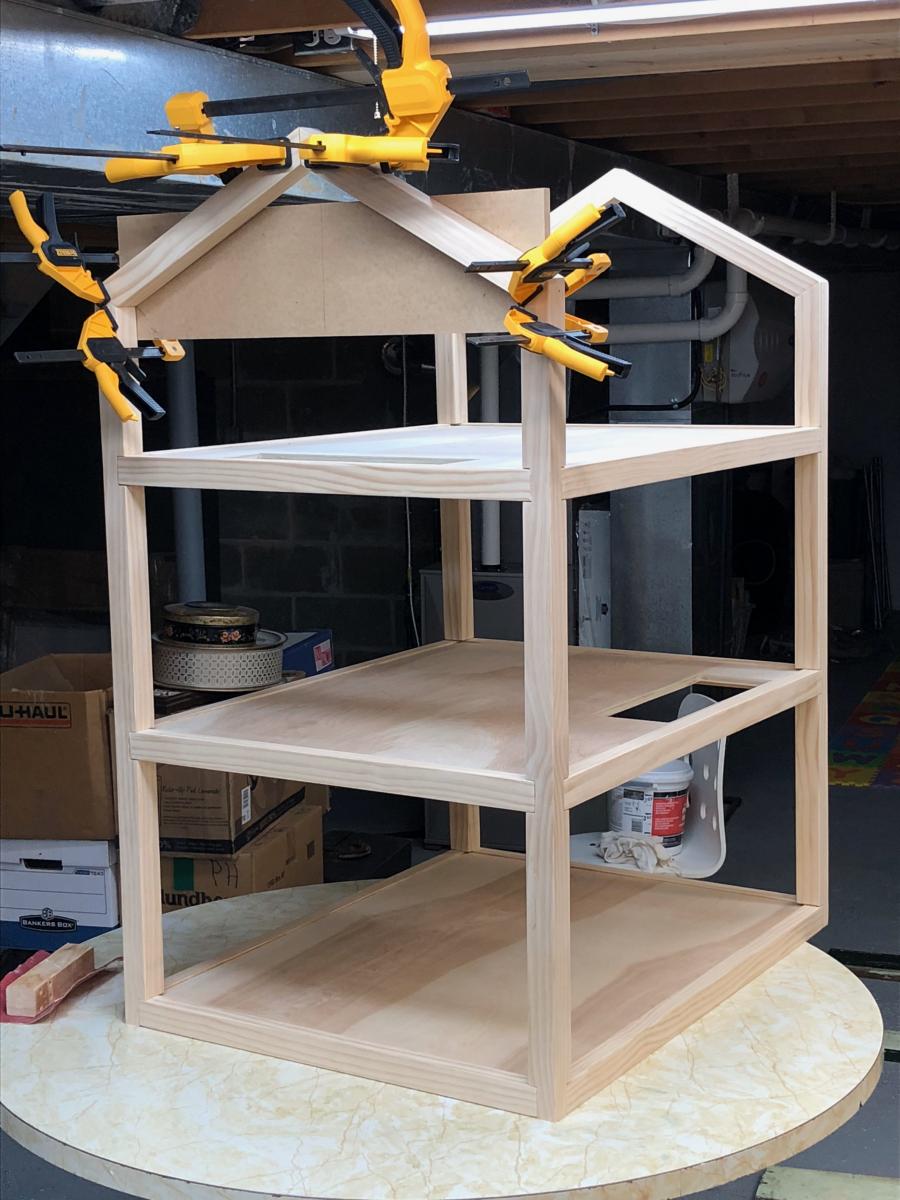
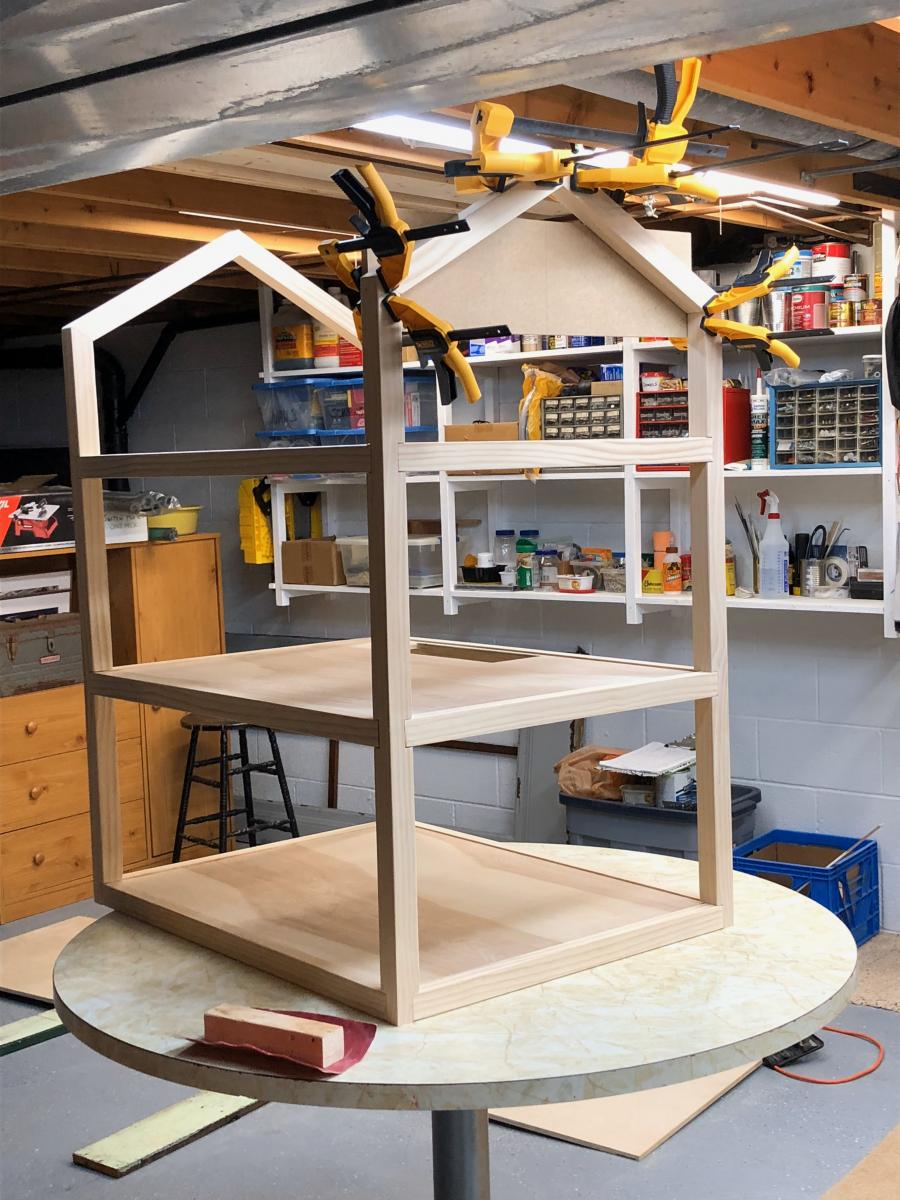
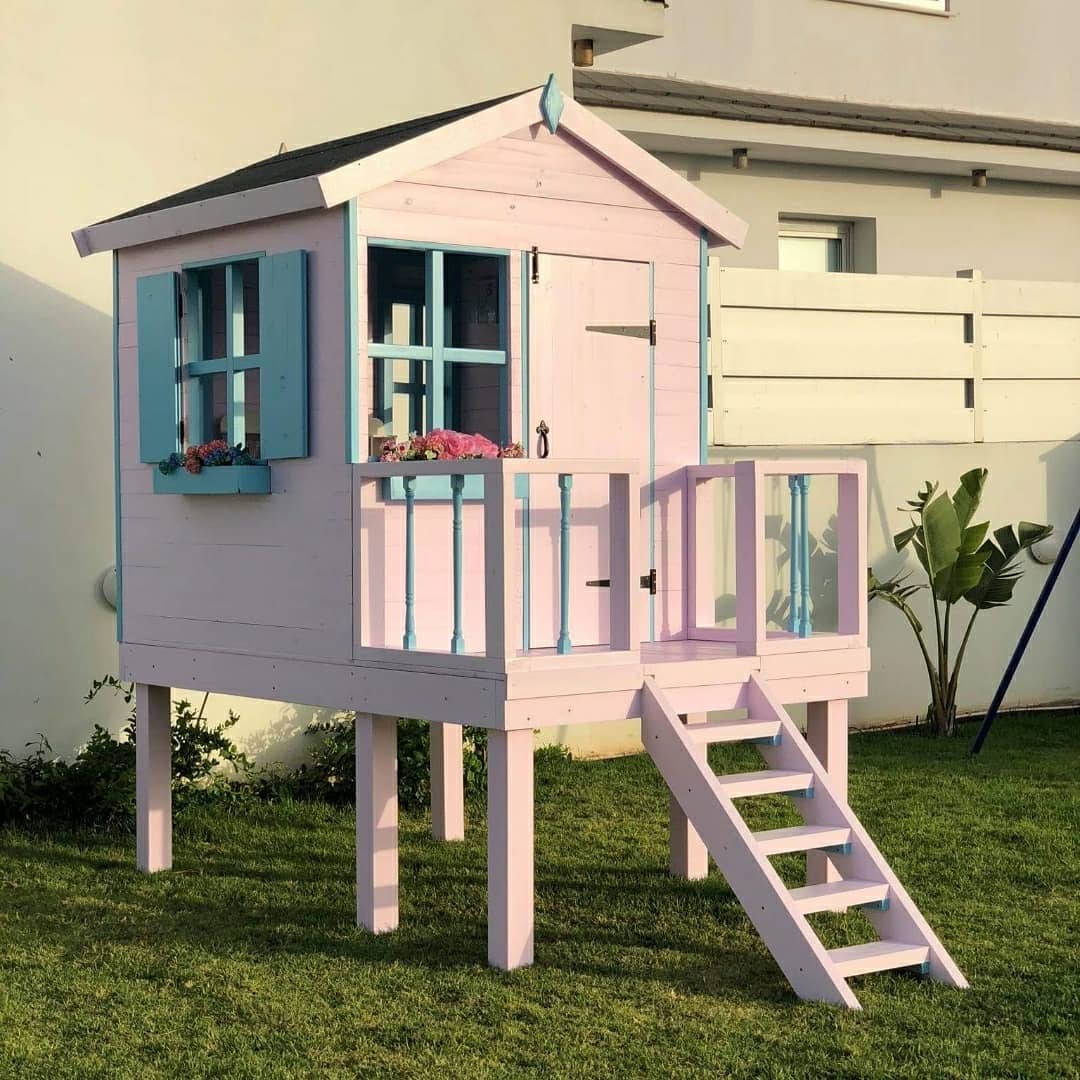
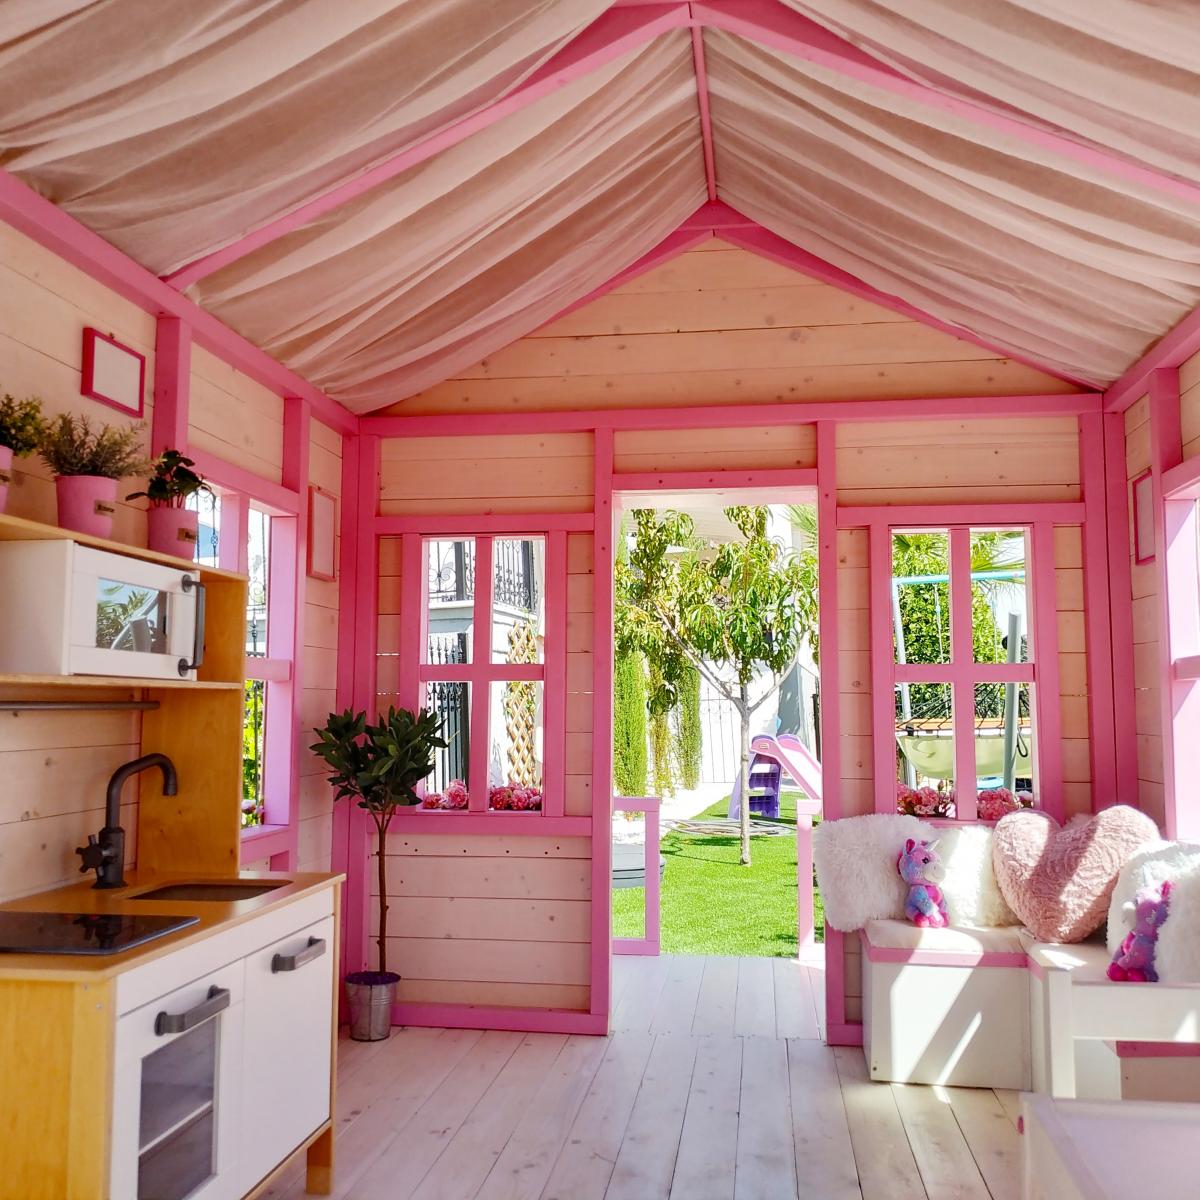
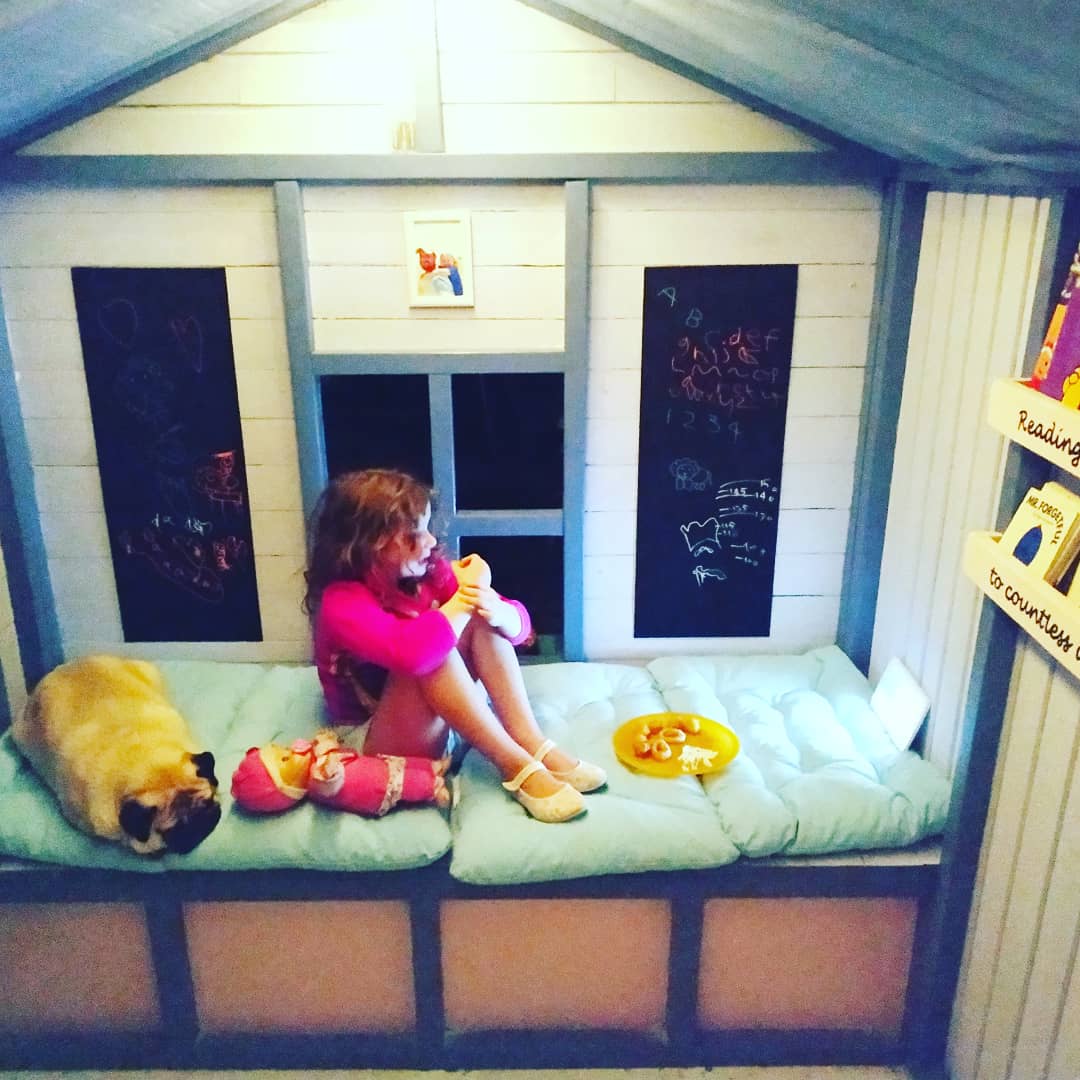
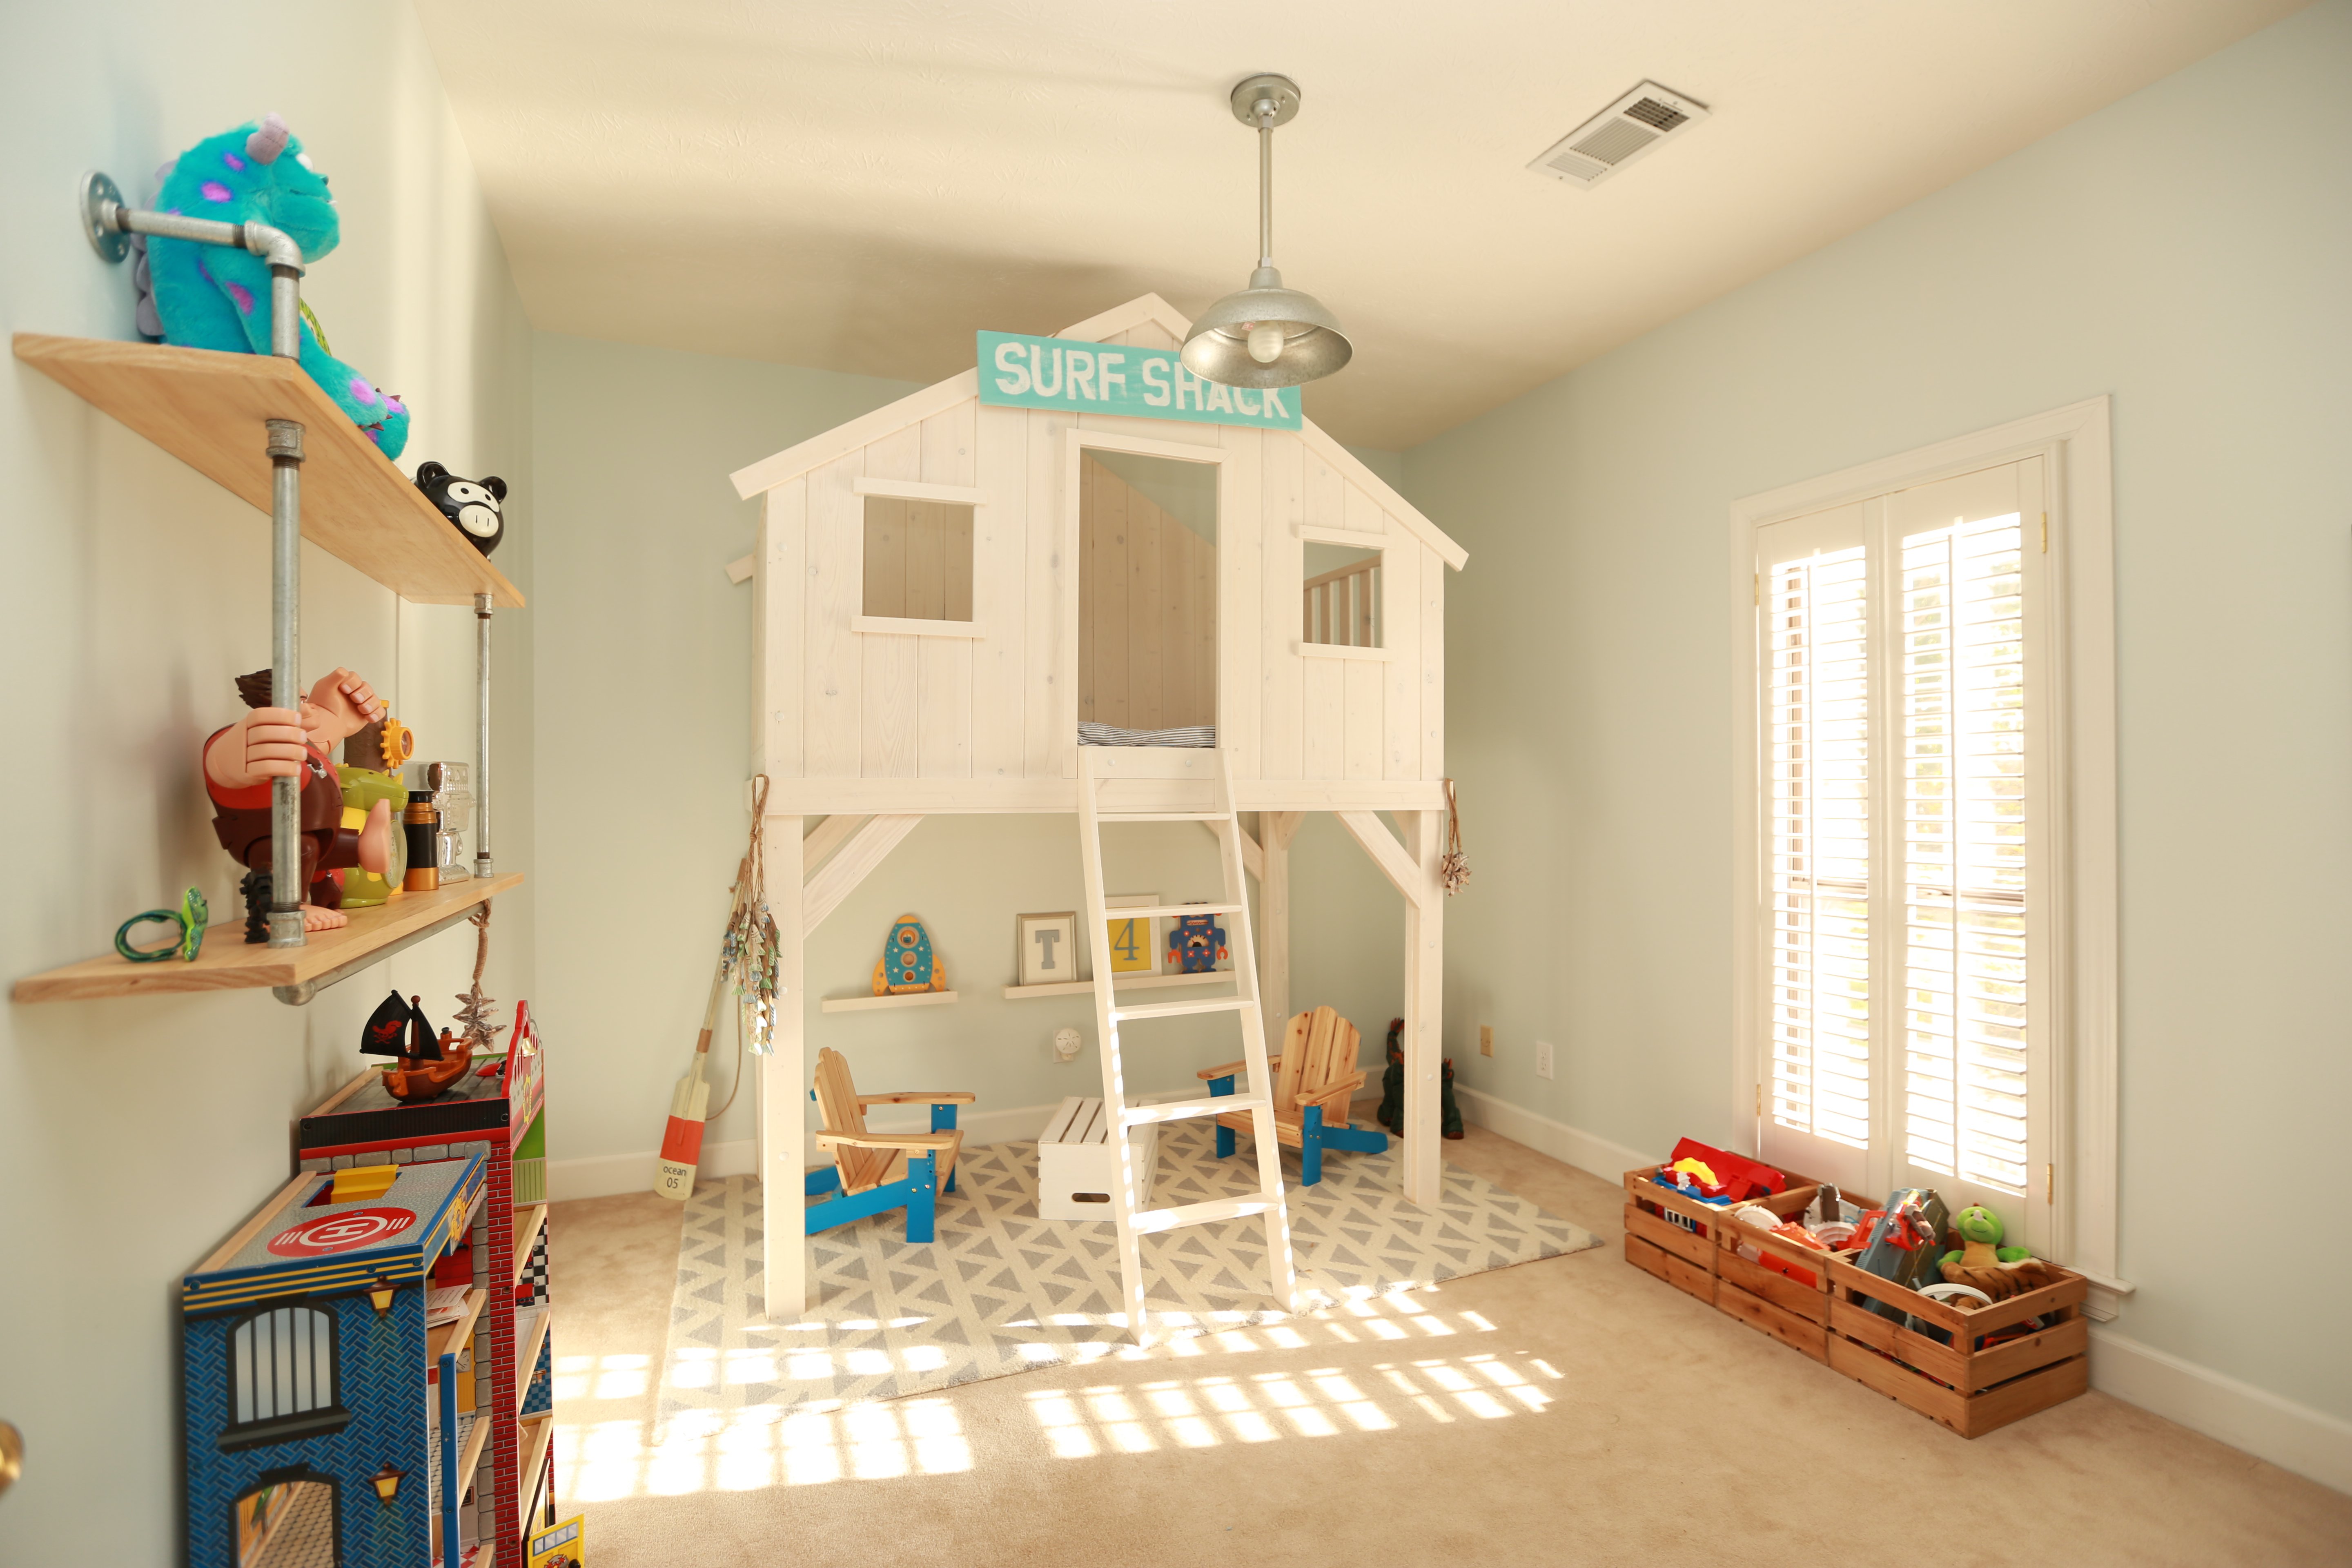
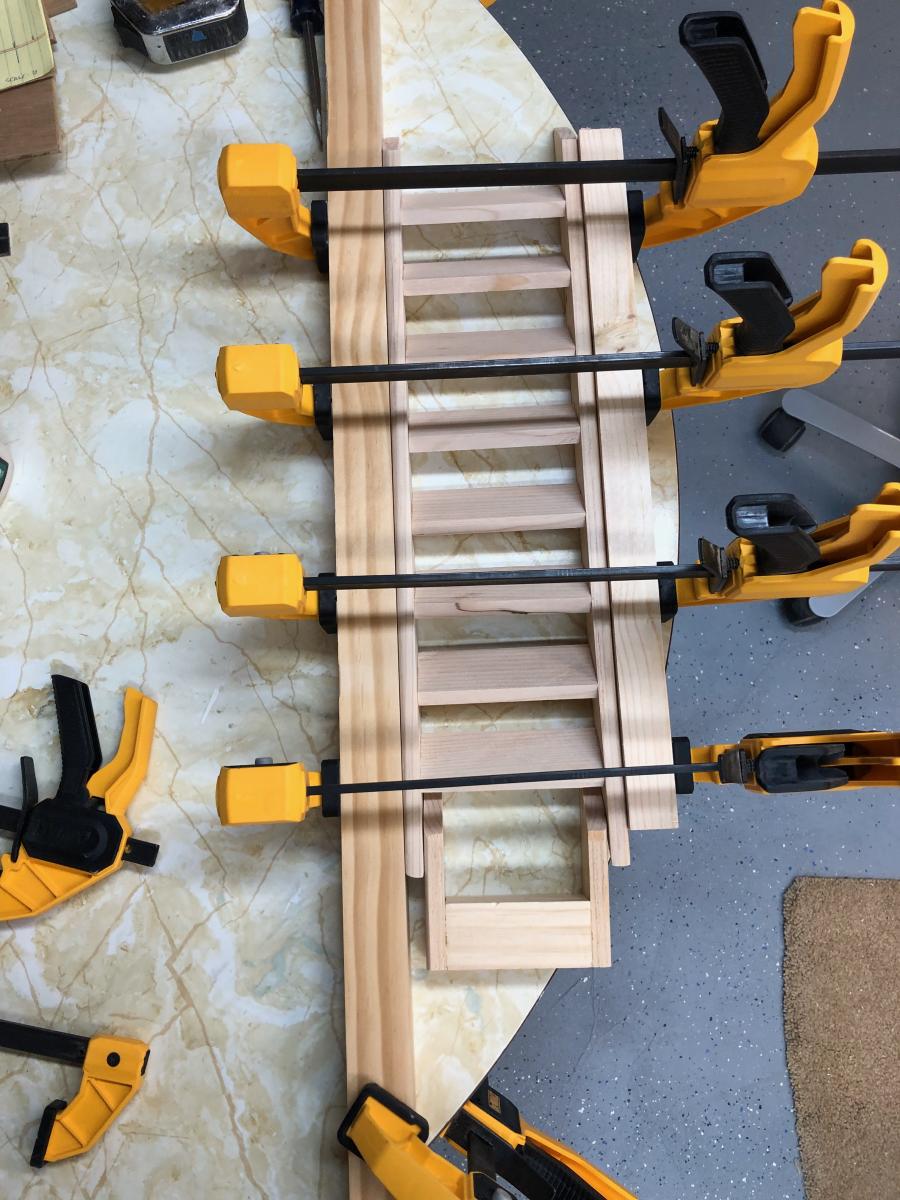
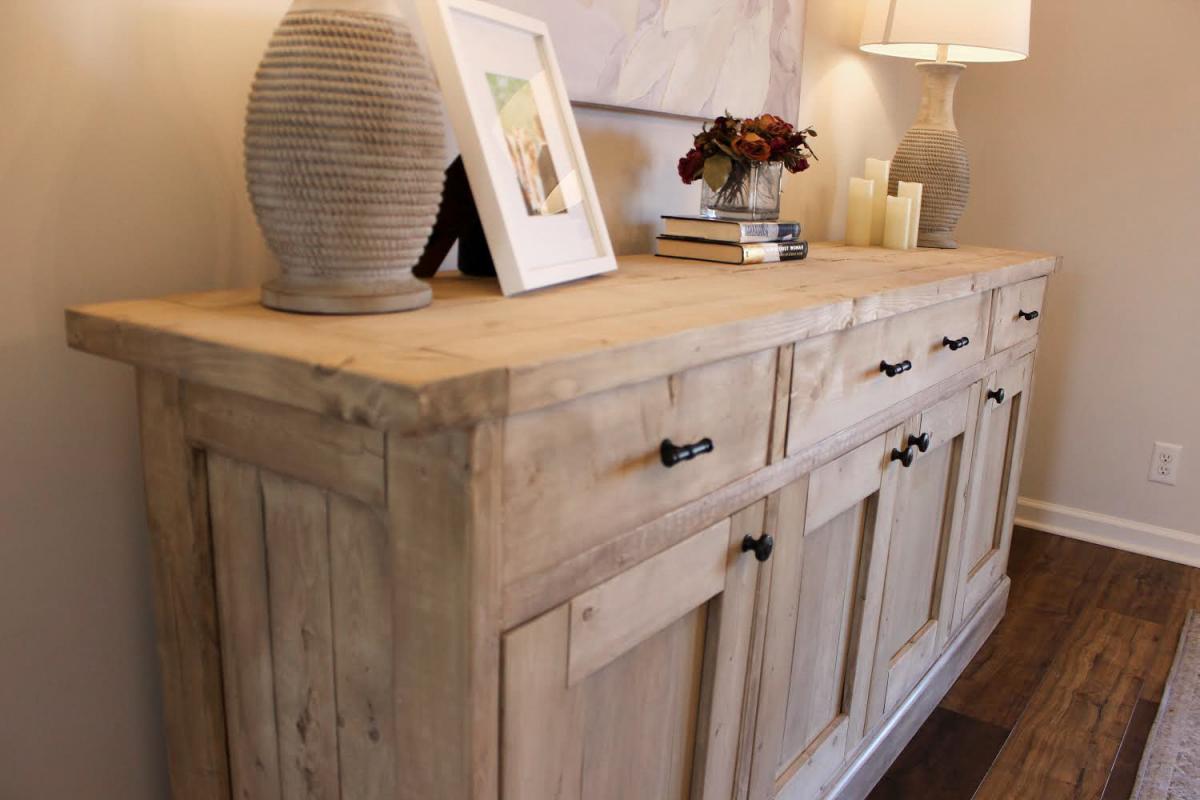
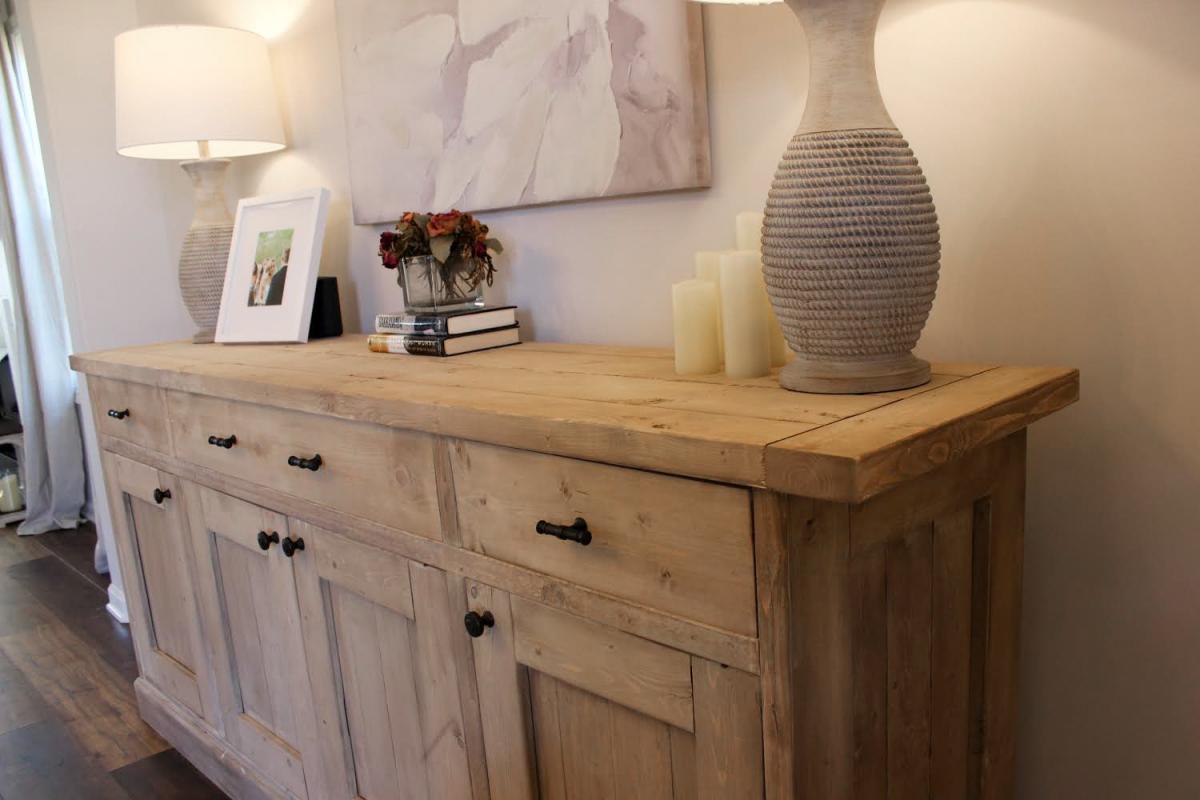
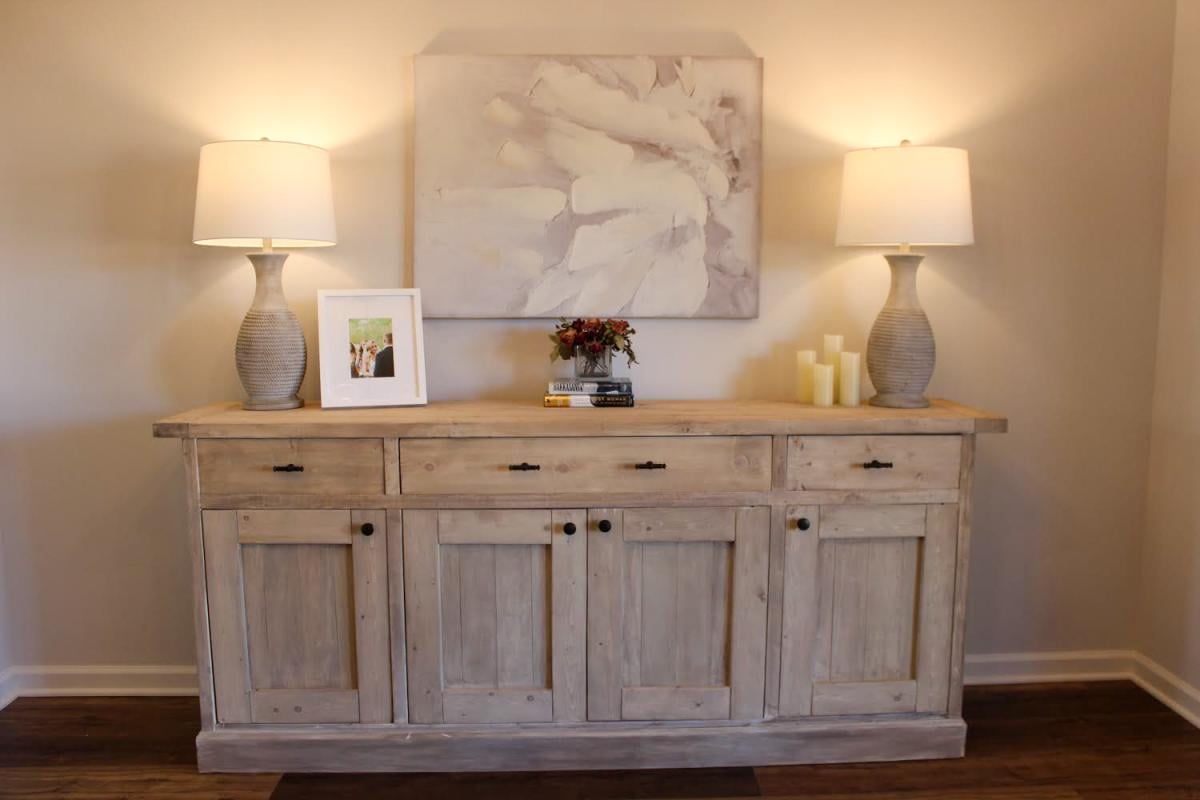
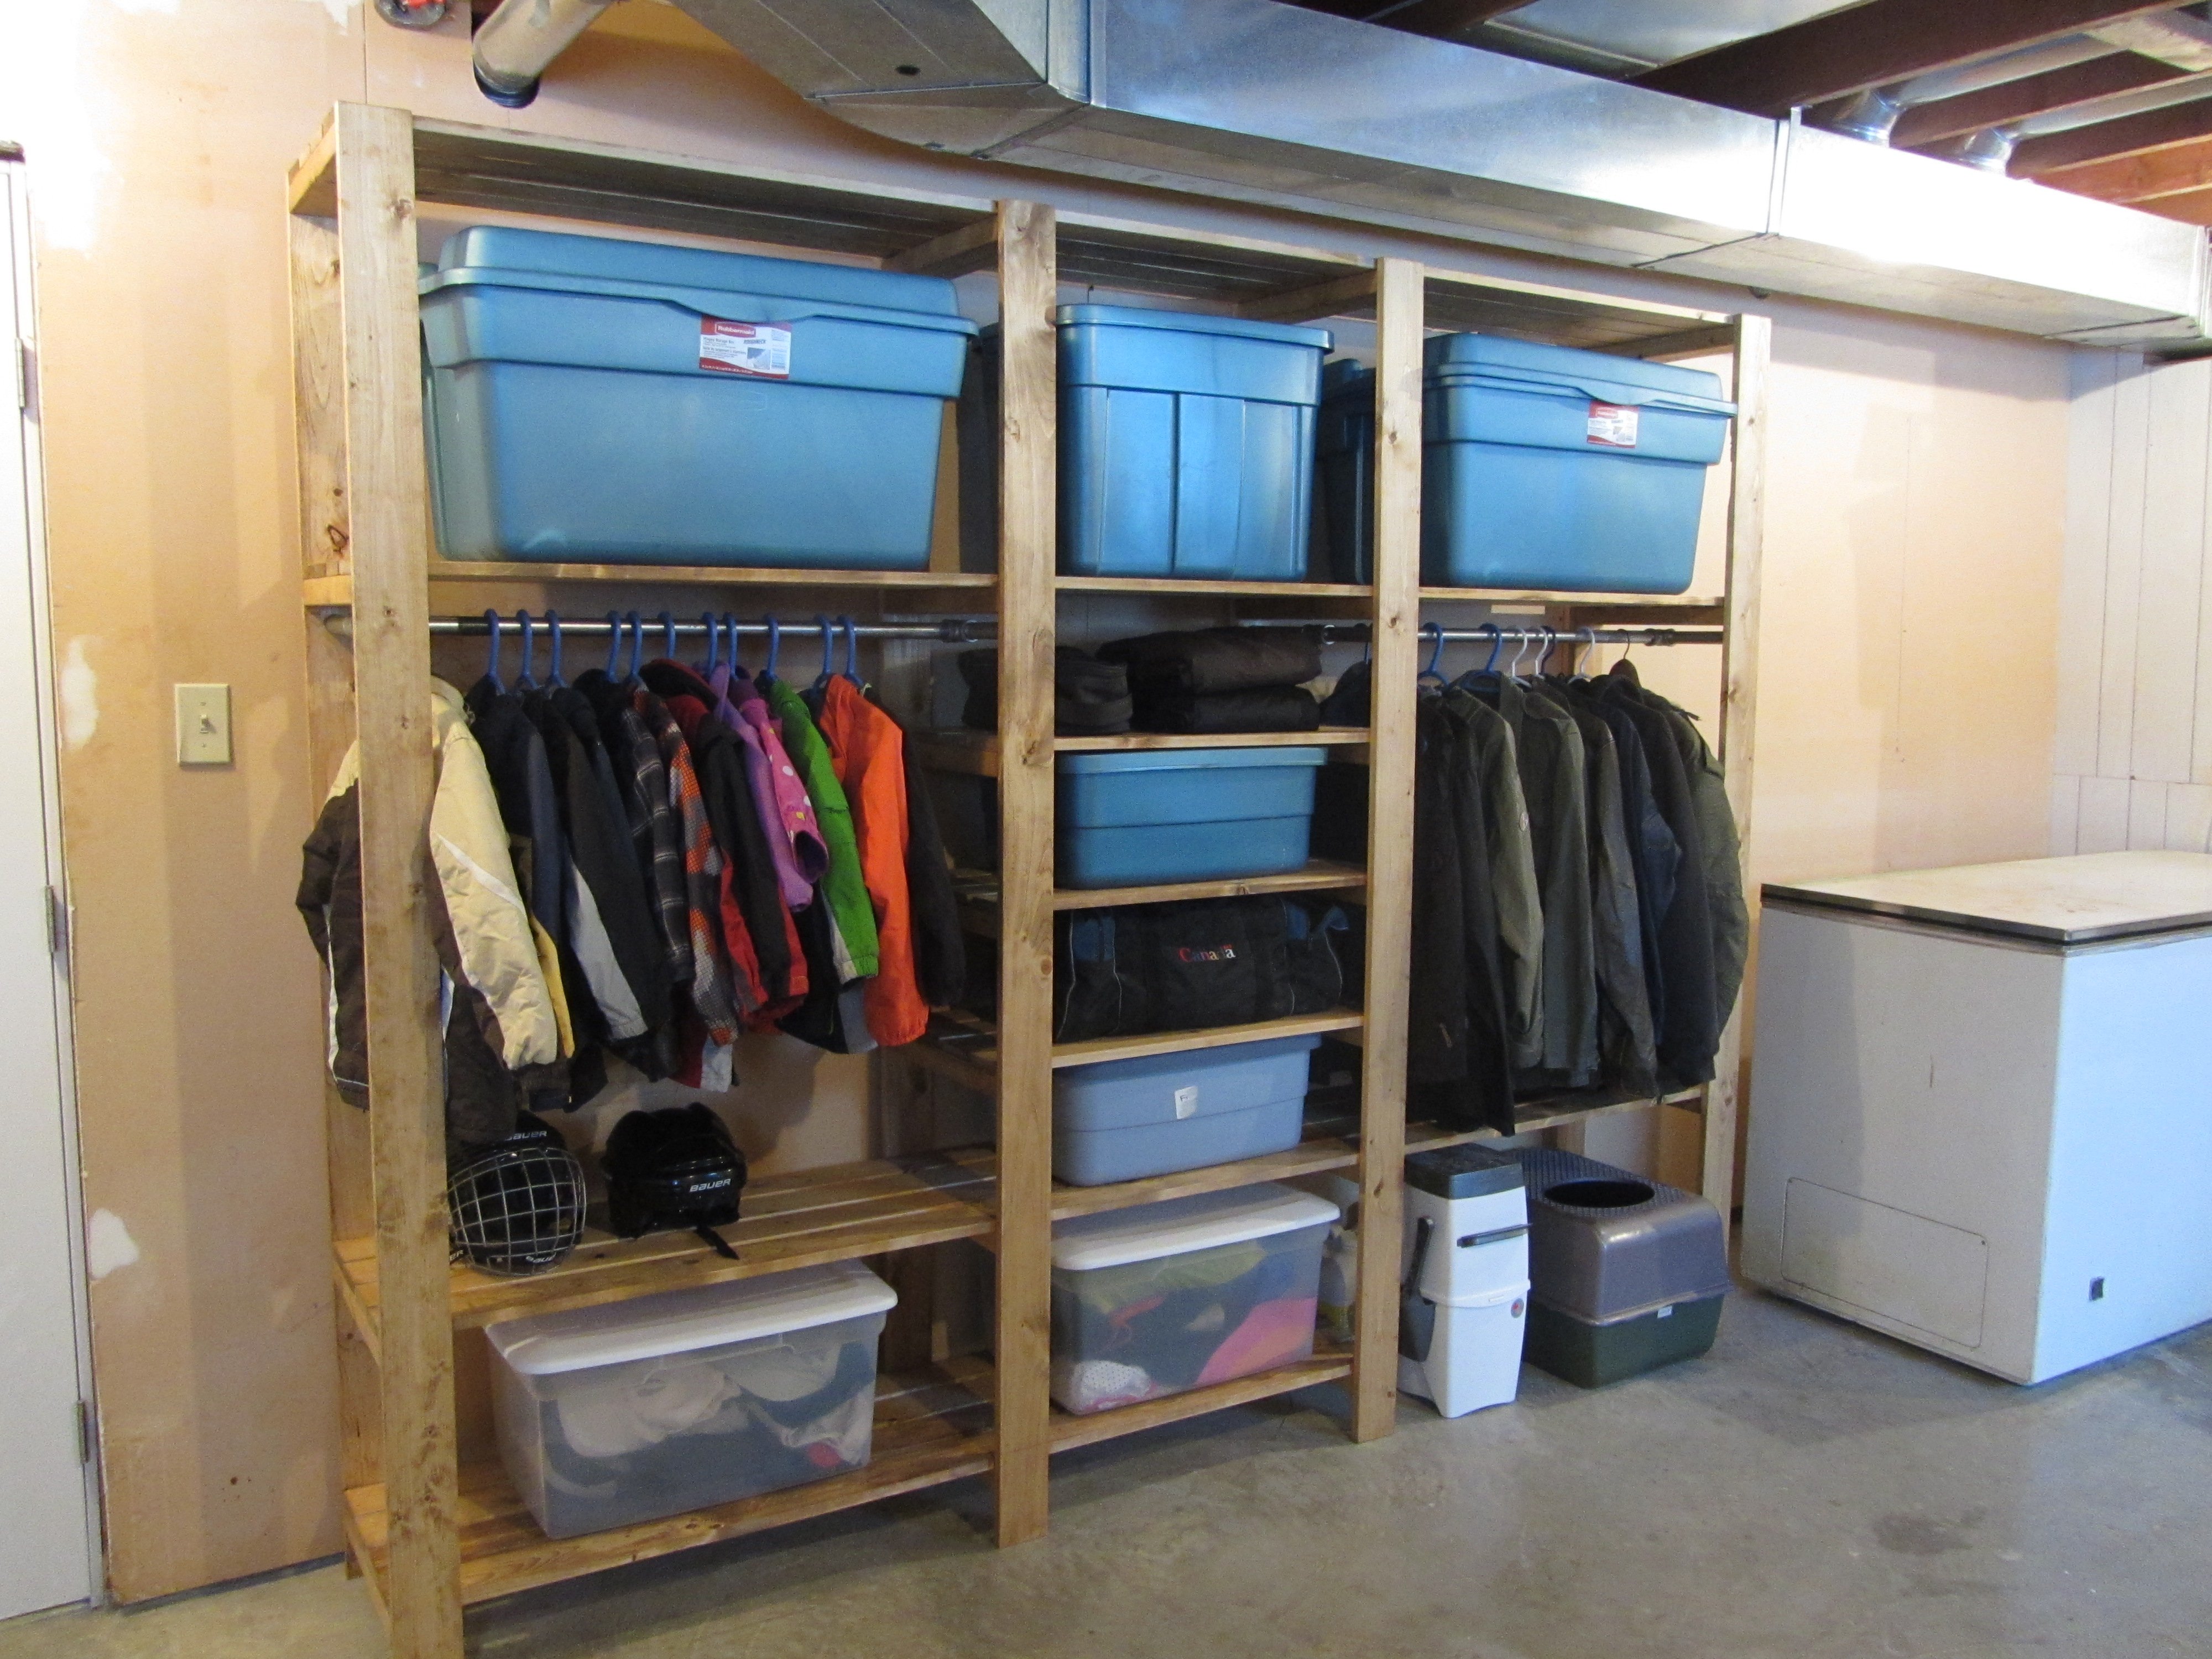
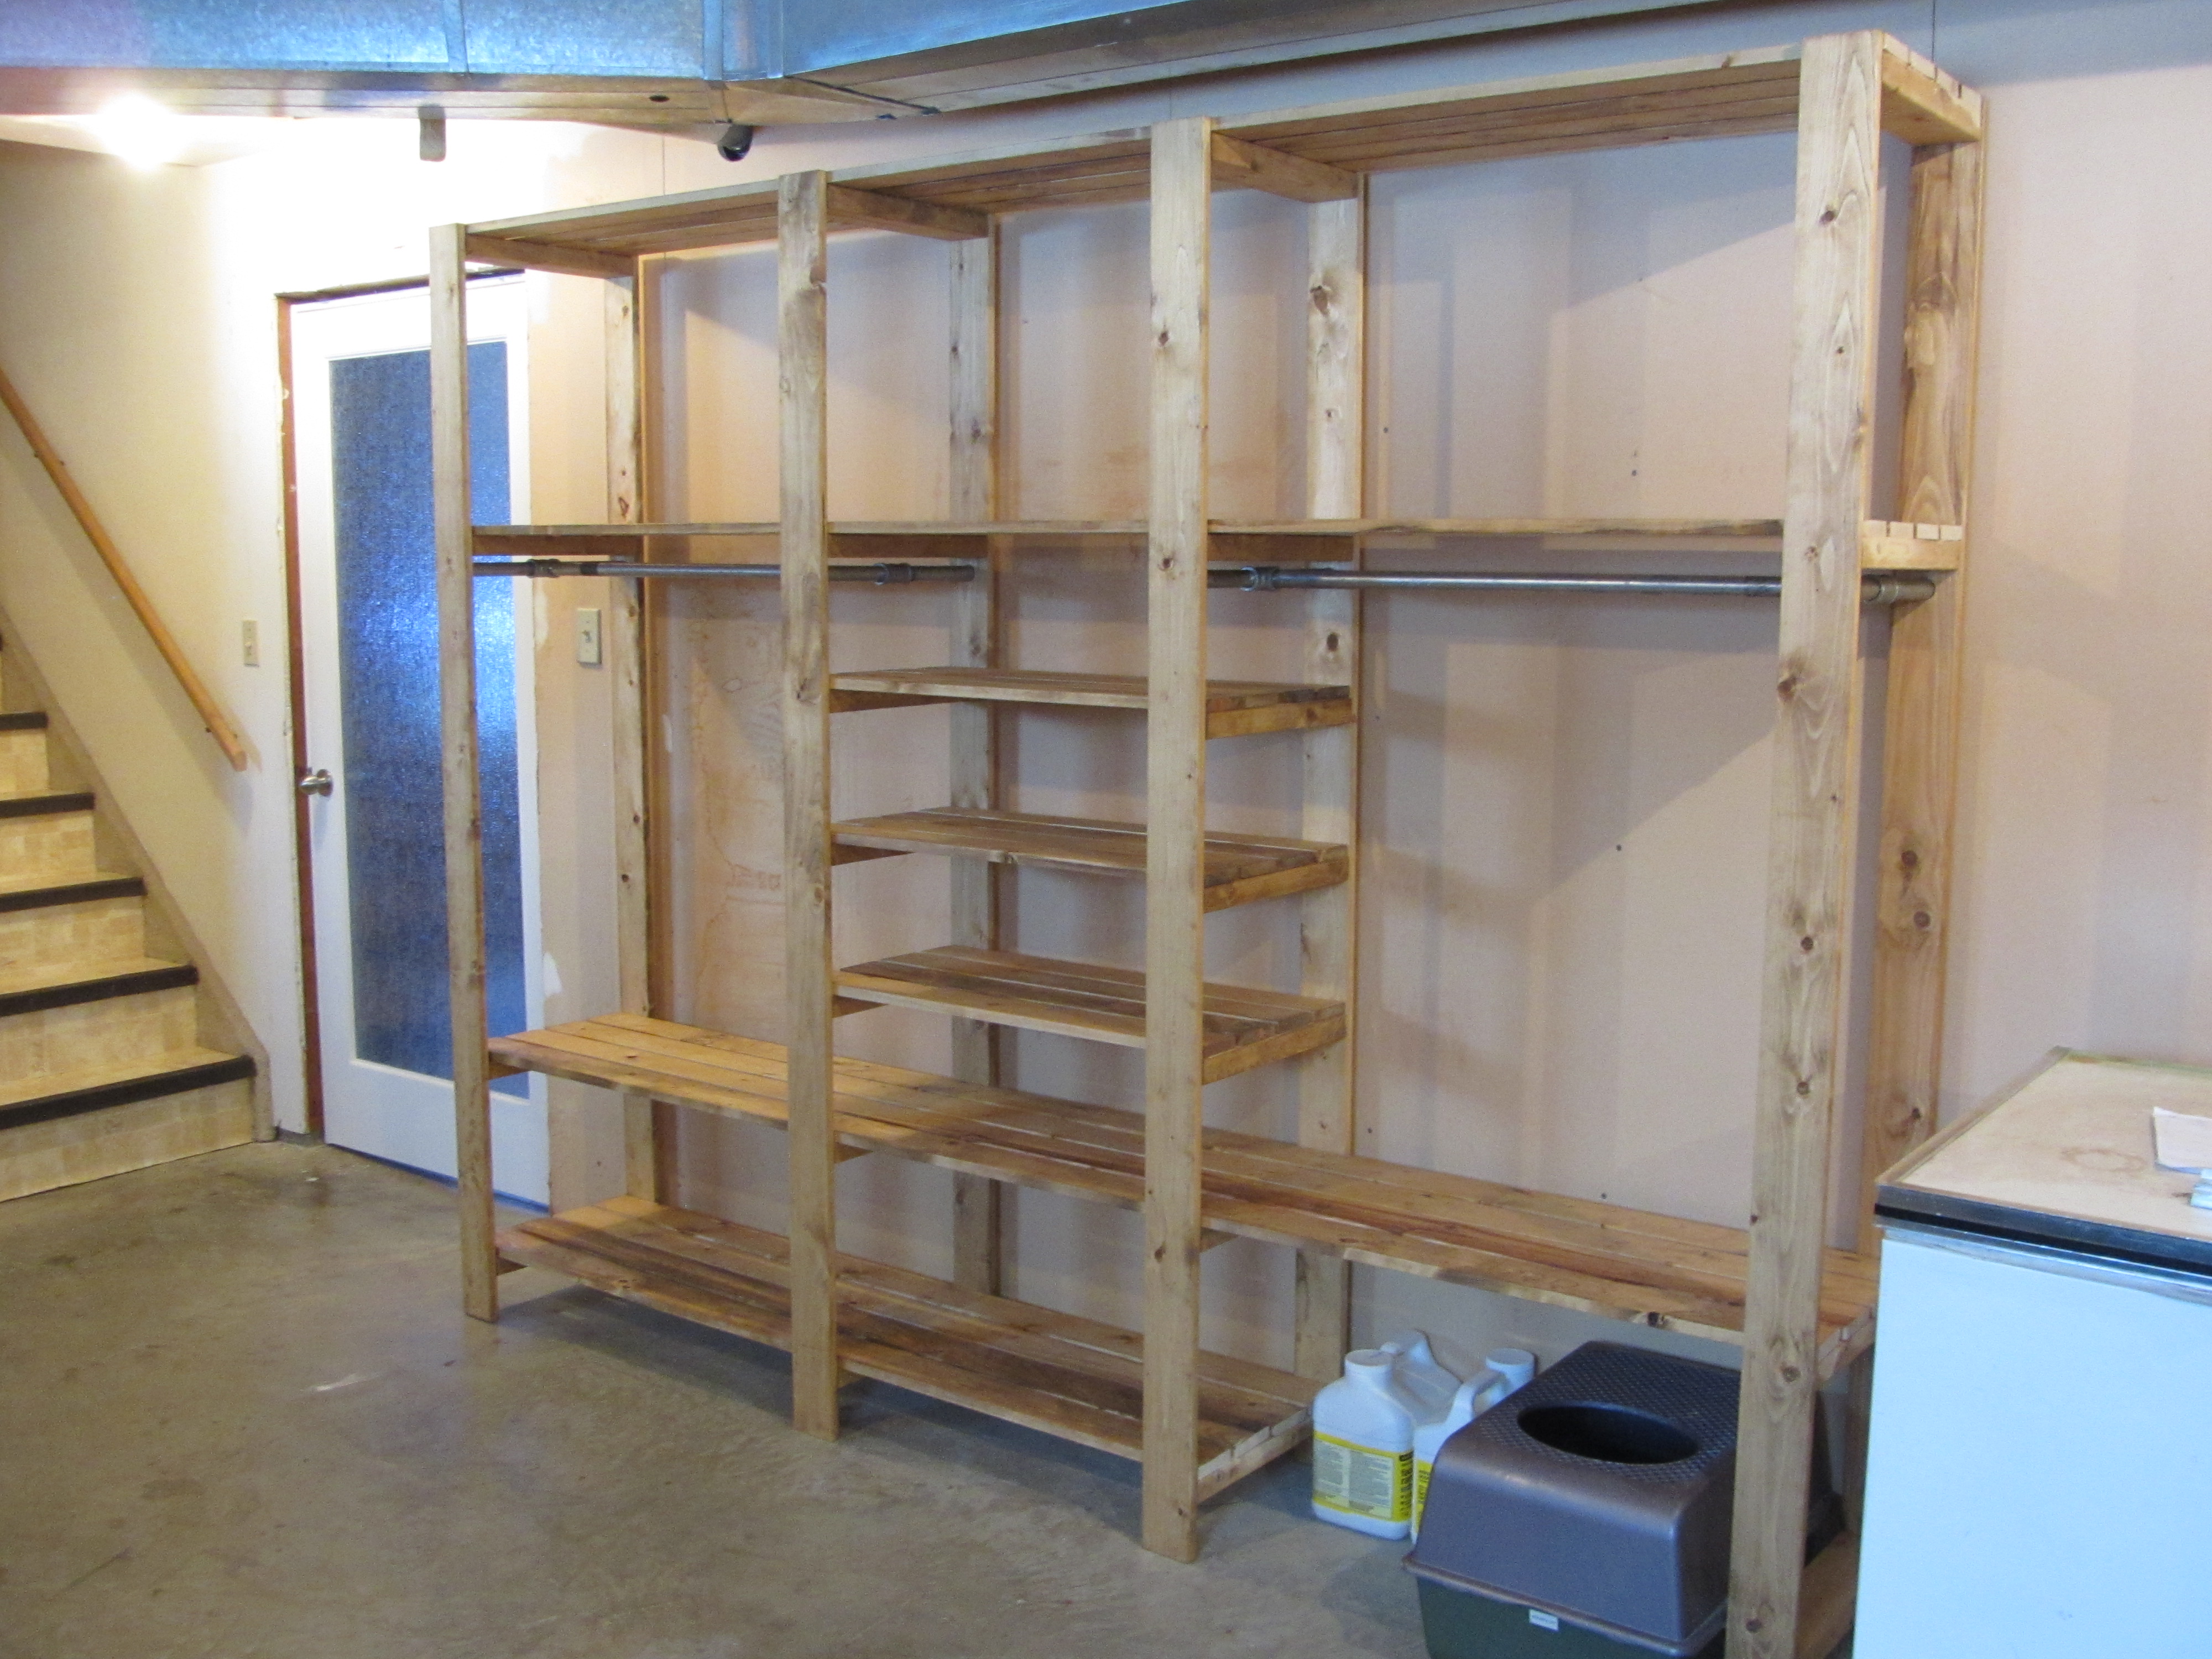
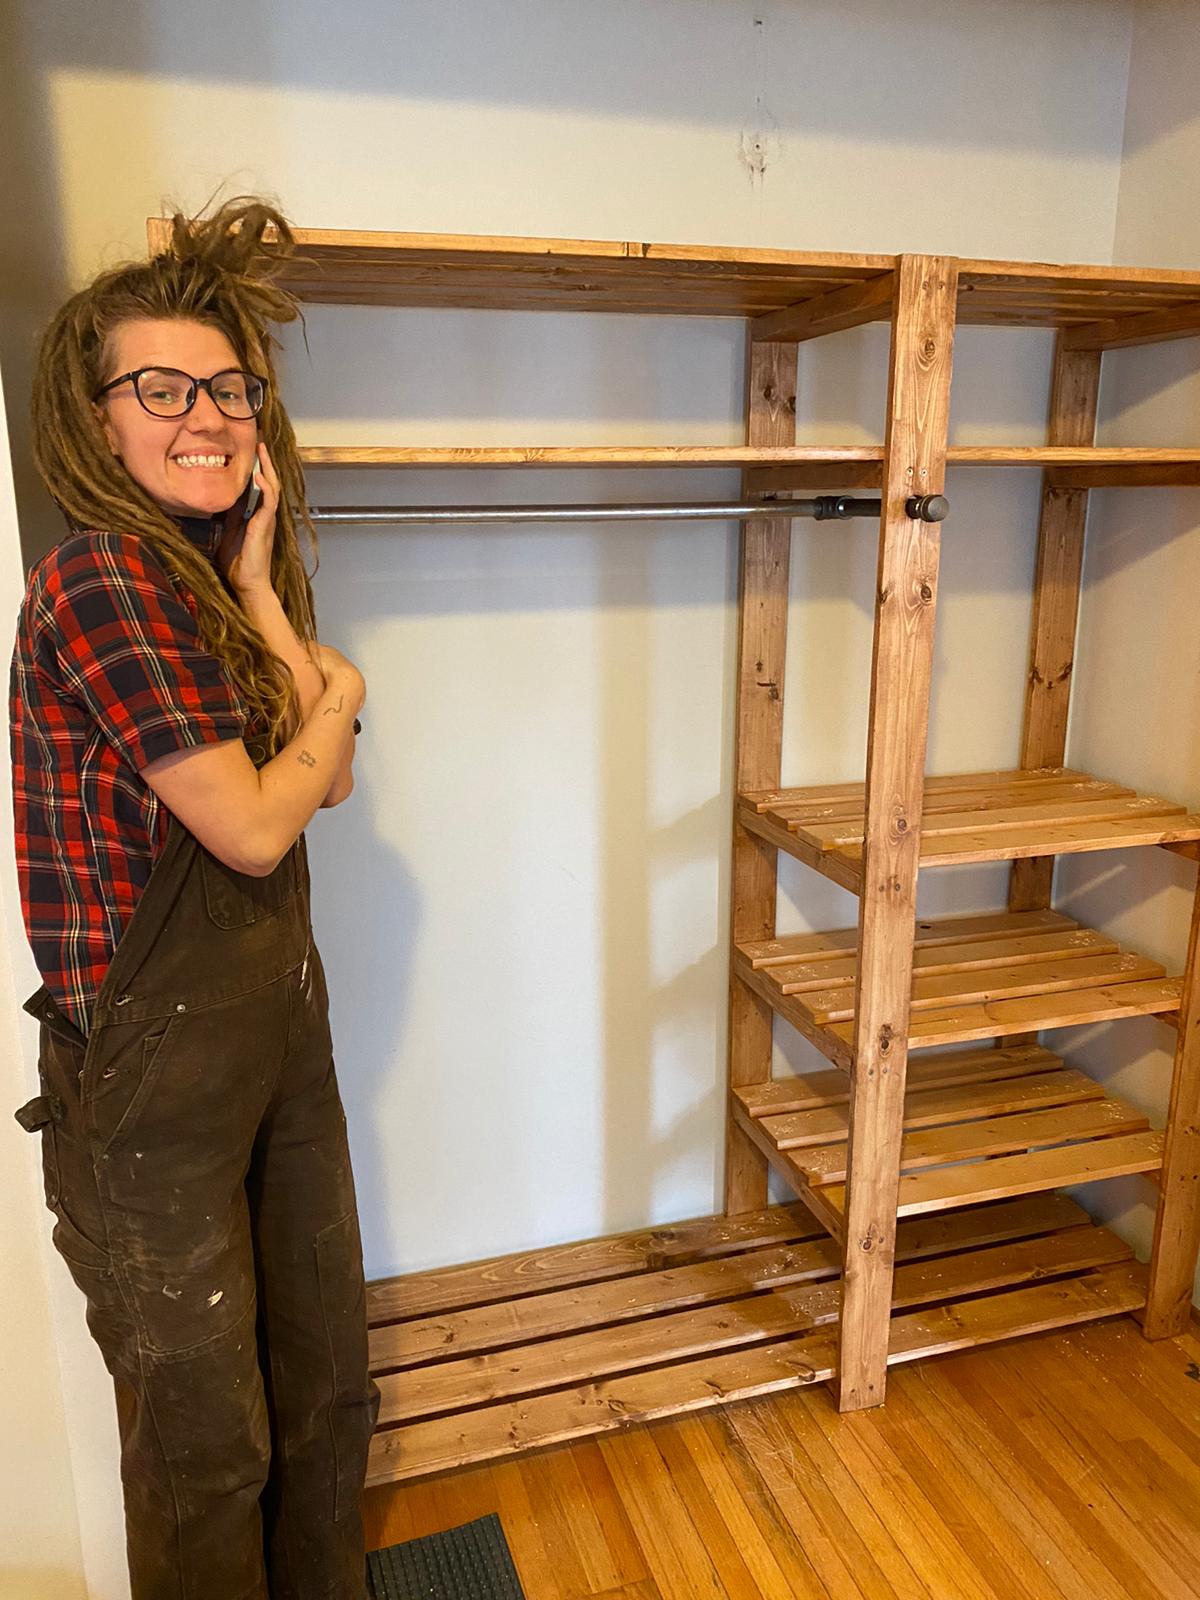
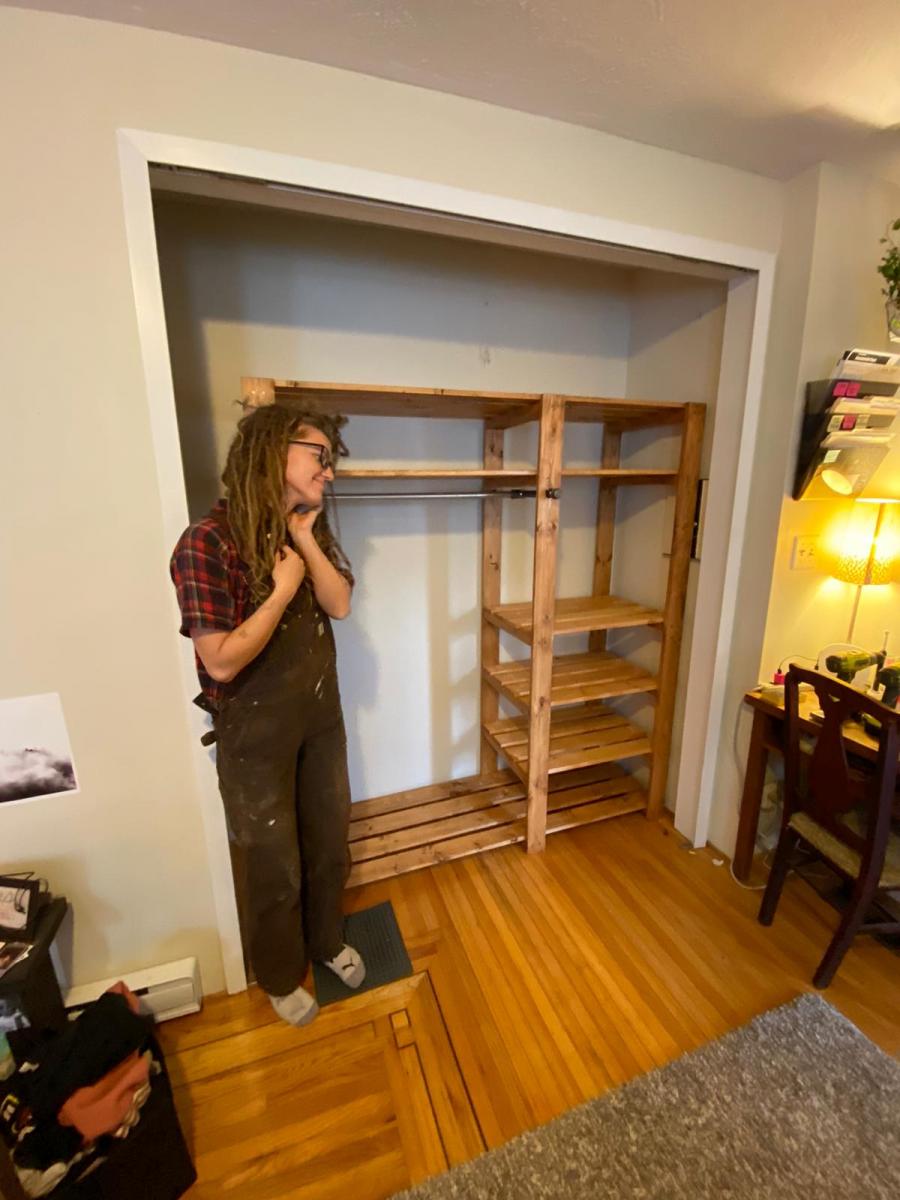
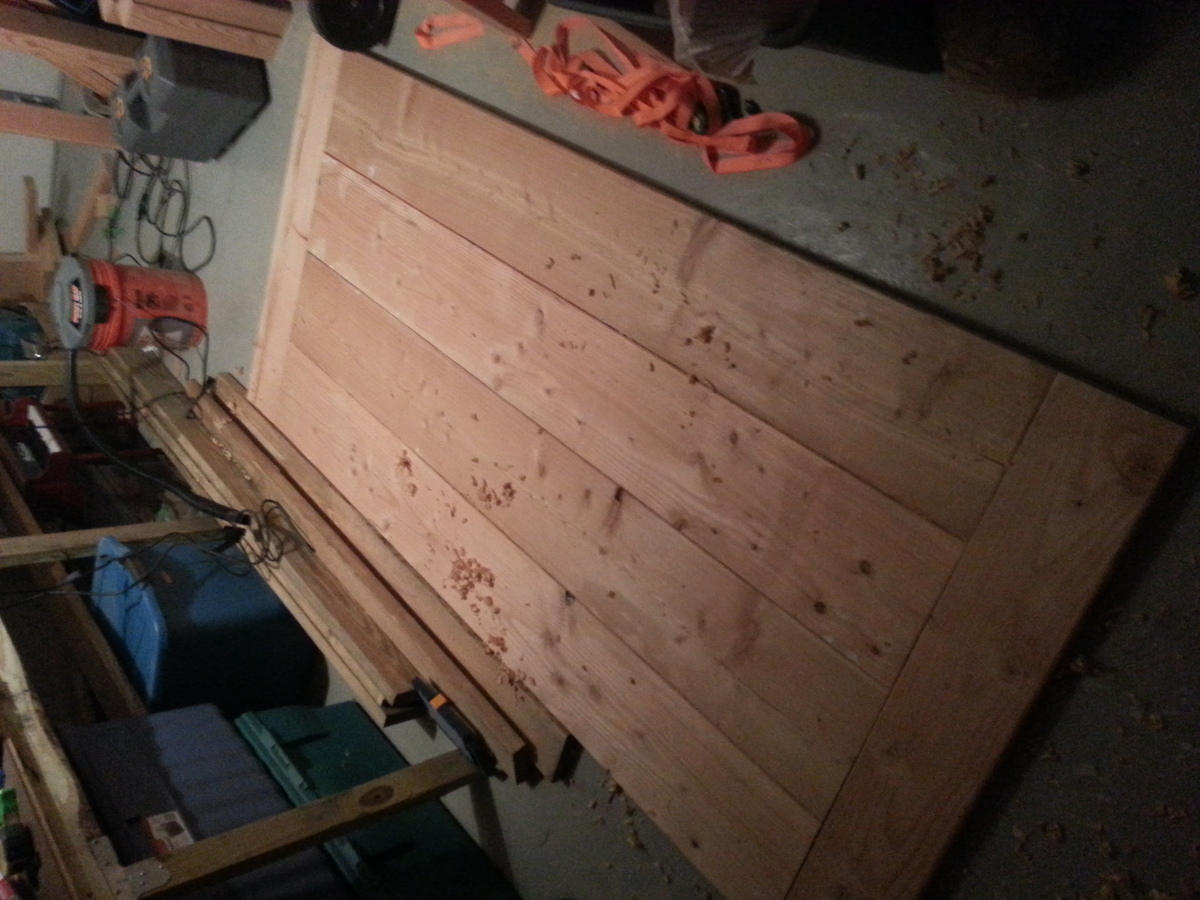
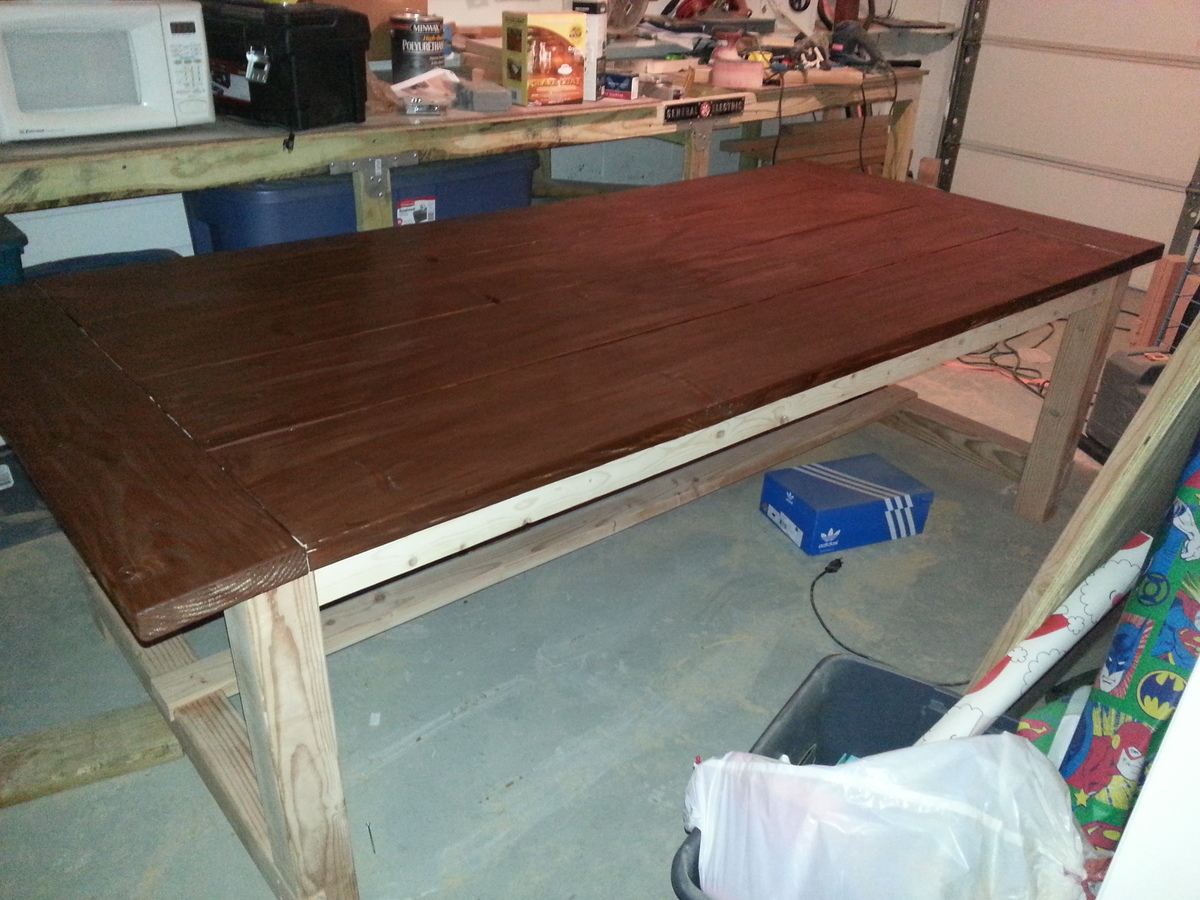
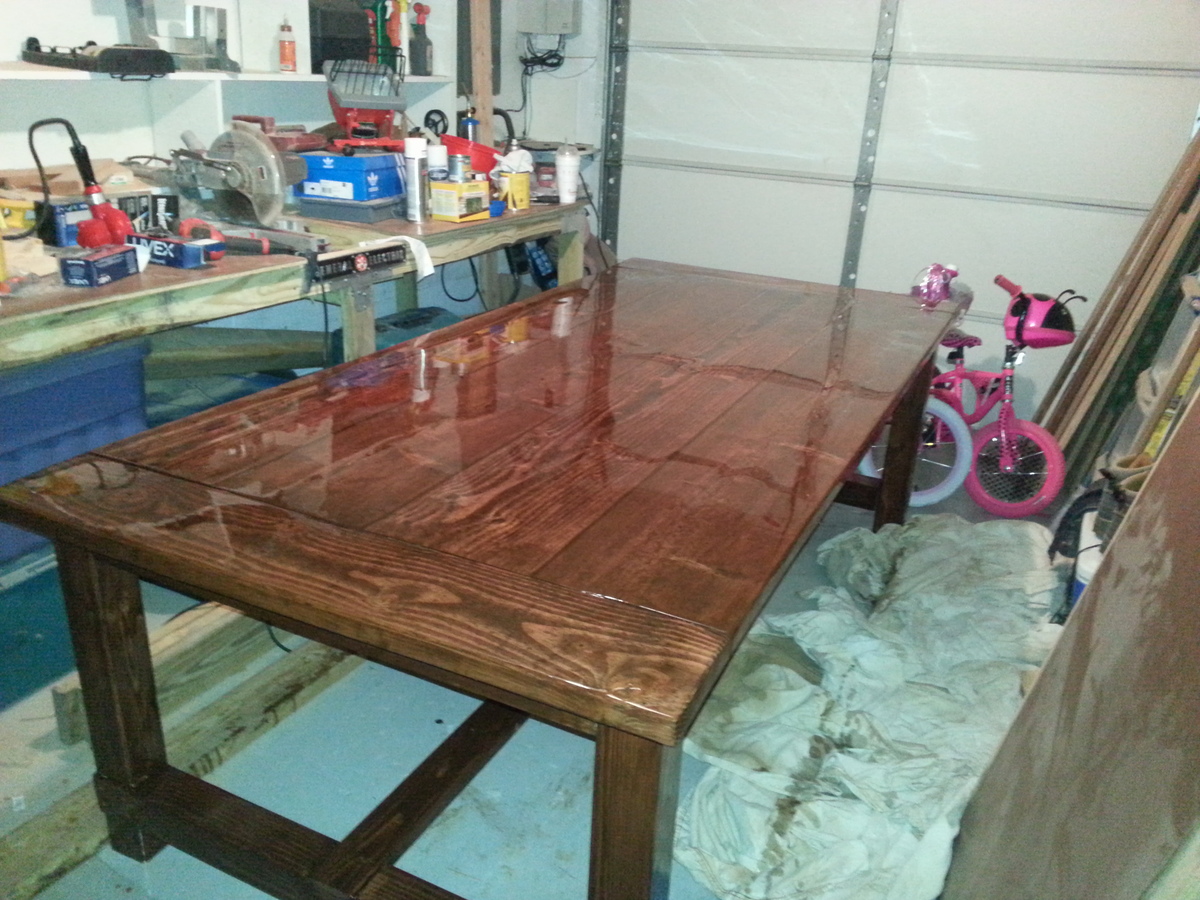
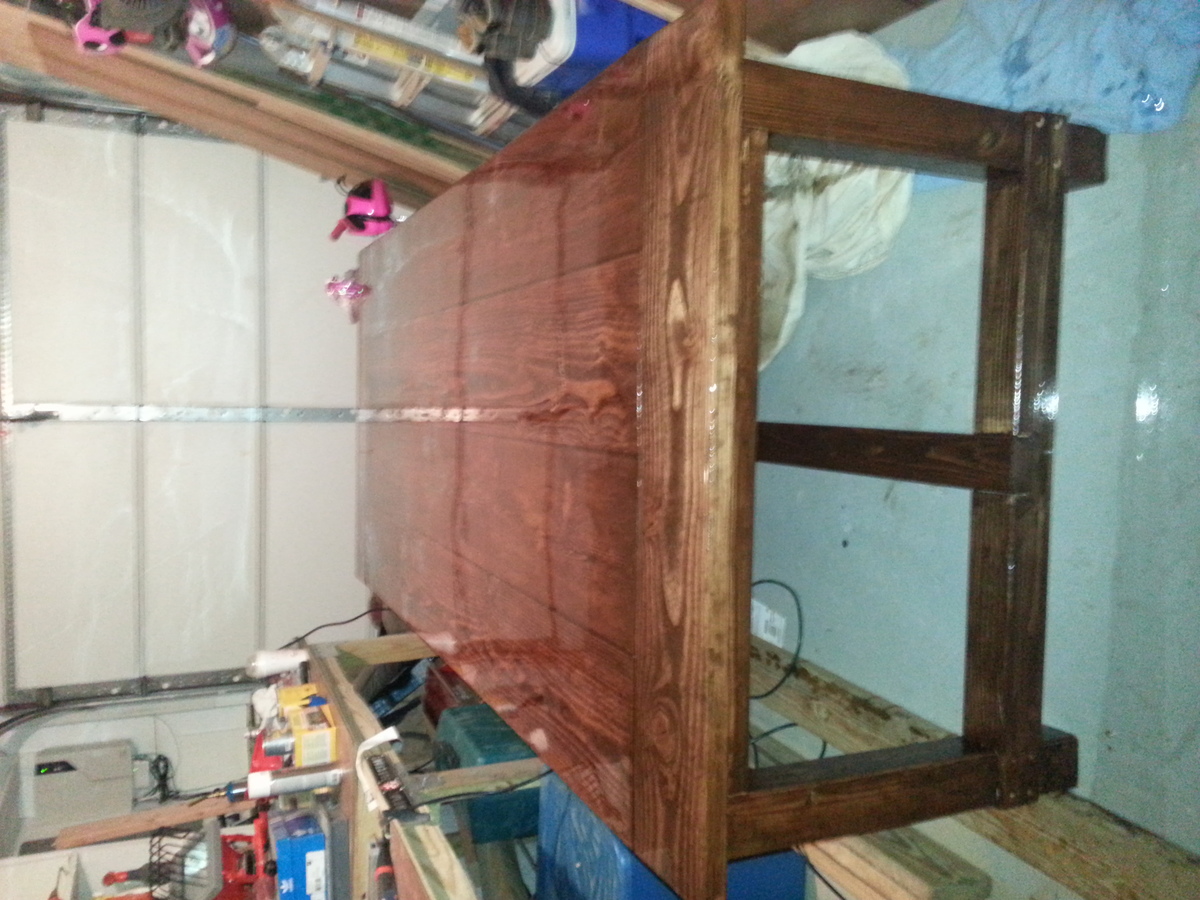
Community Brag Posts

My spin on the Counter Height Farmhouse Table from Amazon White’s free plans!

Submitted by Anonymous (not verified) on Sat, 03/20/2021 - 06:52

The counter height farmhouse table plans were so helpful! Thank you Ana White! I replaced plywood on top with 2x8s and added a shelf underneath the table for some kitchen storage! I am in love thanks again😍 Follow me on Instagram @abbbclark_homeee for more home renovations, decor and DIY!

Estimated Cost
$200
Estimated Time Investment
Day Project (6-9 Hours)
Finish Used
Weathered oak oil based stain
Recommended Skill Level
Beginner

Comments

Toddler Stools

Submitted by sraper2 on Tue, 04/16/2013 - 20:16

I thought you had a plan for these but I'm looking through and the closest I can find is the Vintage Step Stool. Either way it is because of your site that I have learned and become comfortable with building so I thought I would share these stools here. I made a little toddler chair to go with them to that you can see on my blog. Thanks for helping to make things like this possible!!

Built from Plan(s)
Estimated Time Investment
An Hour or Two (0-2 Hours)
Recommended Skill Level
Beginner

Comments

Produce Stand

I really enjoyed this project!  It was very easy and inexpensive.  I used Weathered Oak stain to make the pine look aged.  I also countersunk all of the screws and used oak button dowels to give it a finished look.  I learned how to create the wording and images through YouTube.  Search: how to transfer an inkjet photo to wood.  Cool trick.

Estimated Cost
$35
Estimated Time Investment
Afternoon Project (3-6 Hours)
Finish Used
Weathered Oak
Recommended Skill Level
Beginner

Comments

Debbie742

Tue, 12/01/2015 - 04:50

My sister in law would like one of these and I'm wondering what angle cut you used for your support boards?  I like the idea of going corner to corner vs trying to get each one centered and not making a mistake. I'm also wondering about spacing and if you kept the measurements the same as "Over The Big Moon" ?  Thanks so much!!!


Debora Cadene

The Modern Fire Pit

Submitted by prelude on Mon, 10/04/2021 - 13:20

I started out several years ago building the Modern Adirondack Chairs using Ana White's plans. Customers loved the modern design and I was able to fulfill orders in any color or stain. Customers even asked if I could make a children's and adult size chair. These pans are available upon request.

As the trend towards outdoor living increased due to the pandemic, I expanded my product line to tables, benches and patio planters. I even created my own design for a fire pit rack and bench based upon Ana's designs.

Today, I have a thriving business for commercial and residential fire pit furniture and accessories.

I continue to follow Ana White for inspiration and ideas, George

Comments

Danielle's Shoe Crates

Submitted by zigmommy on Wed, 03/09/2011 - 14:54

We went a little crazy bringing pallets home once I got the idea that we could build something so cool and functional out of only a small amount of new lumber! We've had these about 6 months now and they still look great and serve our family in a very real and functional way! My boys have been WONDERFUL about keeping all their shoes in their crates!

Estimated Cost
About $10 per cart
Estimated Time Investment
An Hour or Two (0-2 Hours)
Finish Used
Just lots of sanding and Mod Podge to seal the customizations!
Recommended Skill Level
Starter Project

Modified Ten Dollar Floating Ledges

Submitted by Radcrafter on Thu, 04/16/2015 - 22:33

I love these shelves.  So simple to build and still make a big impact.  I built mine just a little different from the plan.  I used 1x3 furring strips for the bottom and back pieces instead of 1x4's and then ripped a 1" strip from another 1x3 for each shelf to create the front trim piece instead of a 1x2.  The shorter front trim piece gives me just enough ledge to keep the frames from slipping off the ledge, but provides maxium display area for the art work.  

For three shelves just like these you need:

  • 7 -  1 x 3 x 8' furring strips 
  • Special Walnut Stain from Minwax
  • Satin Poly for finish (I also used Minwax for this too)

They were assembled using 2" fiinishing nails and lots of wood glue.

Built from Plan(s)
Estimated Cost
$20-30 approx for 3 shelves
Estimated Time Investment
Afternoon Project (3-6 Hours)
Finish Used
Minwax Special Walnut Stain, Satin Poly
Recommended Skill Level
Starter Project

Becca Trunk

Submitted by DMax2010 on Sat, 04/25/2015 - 17:44

Love this trunk! It was my first attempt at moulding and I probably should have practiced on scrap wood first (recommend)! But it turned out great and one of my favorite pieces (because it's filled with toys).

Built from Plan(s)
Estimated Cost
Not sure, I purchased the purebond plywood and the moulding but pretty much had the rest already
Estimated Time Investment
Day Project (6-9 Hours)
Finish Used
Body of trunk:
Minwax Express Color in Walnut (base)
Behr Premium Plus Flat in Juniper Ash
Rustoleum Soft Touch Matte Poly

Top:
Minwax Express Color in Walnut
Rustoleum Soft Touch Matte Poly
Recommended Skill Level
Intermediate

Kids Country Bench Modified: First Build

Submitted by EllenFitz on Sun, 03/13/2011 - 19:20

My husband and I put this together to fit a spot that was just slightly off of what standard furniture would accomodate. Looking for something simple as a first build, we went with the Kids Country Bench and made some changes along the way.
We made 3 cubbies on the bottom shelf for extra storage and a little extra stability, since our boards were more bowed than we preferred. We also removed the front and back aprons. In the front we just attached a 1x2 that we ripped into a 1x1 as a trim piece. In the back, we centered a 1x2 to give a slight lip in the back.
I don't have a jigsaw, so we used my FIL's Scroll Saw. That was interesting ... but the sides turned out ok. Not perfect, but ok.
I was hoping to finish this with a high gloss product, but since the boards we ended up with more 'rustic' than I anticipated, I decided to embrace that and go with a distressed finish. I used a spray primer, and then one coat of Sherwin Williams yellow, covered with a dry brush of Sherwin Williams blue. I then sanded the corners and edges and finished with a spray top coat.
We had lots of fun, although it took us a long time. We were only working in small shifts, in between naps. If we had managed to get, say, 3 straight hours to build, I think we could have finished in in that time period.
This was a great starter project, and it's nice to know that we can make MINOR modifications to a plan and not have it fall apart on us :)
Thanks for the inspiration Ana!

Built from Plan(s)
Estimated Cost
$50
Estimated Time Investment
Afternoon Project (3-6 Hours)
Finish Used
Distressed/Dry Brush paint
Recommended Skill Level
Starter Project

Kitchen Island, Trash Can Storage

Submitted by Anonymous (not verified) on Thu, 11/11/2021 - 21:46

I absolutely love this kitchen island/trash storage/prep station. I had so much fun building this with my father in law who is a professional carpenter. I had built several other projects, but with this project and his help, I feel that I can finally say I am an "advanced" builder :)

I had so much fun with this, and I can't believe how it turned out.

Comments

Rolling shelf turned laundry cart

Submitted by makermave on Sun, 11/21/2021 - 16:17

This is my first build! It came together really easily. I modified the dimensions to fit my space. I didn’t add the black pipes, simply because I couldn’t find all the pieces, or the corner brackets, and I think it looks great without them. I added a handle (a towel bar I found on Etsy) to pull it in and out. I used rough cut cedar, and have not finished it. I’m not sure if I will. I wanted to spray paint the wheels, but the person that helped me attach them (a.k.a. my dad) was ready to to help me before I had them painted! But I love it, and it really adds functionality and stoage to this little gap between our washers and dryers.

Built from Plan(s)

Comments

Little Kids Picnic Table

Submitted by Cassie1686 on Tue, 04/12/2011 - 23:35

Thanks to LoriInVegas for her help with the legs on this project!  My legs were so wobbly, even thought I was super careful to cut them evenly.  So, I unscrewed all the screws besides one, in each leg, and then re-screwed everything in one by one, being sure it was steady after each screw.  I built this for my 3 year old and 1 year old daughters.  The table was a bit smaller than I had imagined, but it's sooooo cute!  It will fit them both for now, but definitely no more than one child on each side, and I assume my 3 year old won't be able to fit comfortably much longer.  I plan to build the Bigger Kids Picnic Table this weekend!  I painted the entire table in chalkboard paint so that the kids could go crazy decorating it.  I plan on putting a cute little basket in the middle of the table to hold their chalks.

Built from Plan(s)
Estimated Cost
$15
Estimated Time Investment
Afternoon Project (3-6 Hours)
Finish Used
Behr Paint, mix 1 cup paint with 2 tablespoons unsanded grout. Paint and let dry. Prime the surface for chalk by coloring entire surface with chalk and wiping clean with damp cloth before using.
Recommended Skill Level
Beginner

Kid's Adirondack Chairs

Submitted by tlcbbp on Sun, 04/24/2011 - 16:43

The first one I built (the white one) was a terrible failure because I rushed through it and didn't read directions! Also, I used only scraps that I had on hand. The blue one went smoothly because I used the right materials and took my time.

Built from Plan(s)
Estimated Cost
12 - 15 dollars
Estimated Time Investment
Afternoon Project (3-6 Hours)
Finish Used
The blue paint is oops paint from Lowes & the white is spray paint
Recommended Skill Level
Beginner
Seasonal And Holiday

My First woodworking Project!

Submitted by minhnguyen on Mon, 06/08/2015 - 11:39

I really wanted to build something for our first home so 3 months after moving in (and 7-8 months pregnant) I started on our dining table. To fit our dining room, the measurements were modified to have a 7ft-table, with the bench just long enough to slide all the way under the table. The legs are made of 4x4s of Douglas Fir and everything else is pine. I also removed the stretchers underneath because I wanted to be able to have chairs on the ends. The table seats 8 people very comfortably. It took me a little longer than anticipated, since I couldn't do any of the lifting until my husband came home, and he stained it with 2 coats of Rustoleum Weathered Grey stain and 2 coats of poly (with my light sanding in between each coat).

Estimated Cost
$100
Estimated Time Investment
Week Long Project (20 Hours or More)
Finish Used
Rustoleum Weathered Grey Stain
Minwax Fast-Drying Semi-Gloss Polyurethane
Recommended Skill Level
Beginner

Comments

Storage beds (twin) with Corner unit

Submitted by Dinabu on Tue, 05/03/2011 - 08:48

We made these beds for my daughters, who were ready to pass on the bunkbeds to their little sisters. We have 4 girls in one room, so use of space is crucial! I originally wanted the hutch as well, but as you can see in the picture, we had to work around a wall cut out, so we modified the corner unit to have a larger shelf area to fit the space. We also left the sides open to be able to slide containers in to store out of season clothes and blankets, though the ends have a backing.

Estimated Cost
$250-$300.
Estimated Time Investment
Weekend Project (10-20 Hours)
Finish Used
Gloss white paint.
Recommended Skill Level
Beginner

Reclaimed wood loveseat - in-work pictures

Submitted by JoanneS on Mon, 06/22/2015 - 19:08

Couldn’t wait to share this one. I’ll post the finished pics on here once the painting is finished and the cushion is sewed.

This build is a reclaimed wood version of Ana’s Simple White Outdoor Loveseat. We’ll be using this inside. This started as a way to repurpose those blue vinyl cushions (which I made 11 years ago for a hot tub bench – these had been stored in the garage for a few years). Using reclaimed wood on hand – reclaimed 2x4 studs, an oak 1x12 shelf and some pine 1x12 scrap ripped to 1x6 for the aprons, plywood from an old entertainment center ripped to 1x4 size, some 1x4 that used to be trim, a left-over 1x2 and S4S, and some left-over 1x6, constructed the frame and back. After I got that together, Hubby suggested we add some wide arms so it wouldn’t need to have a side table. That was the only wood I had to purchase on this one – a 1x6x6 for the arms, and a 2x4 for bracing the arms.

So far this has been a weekend project, including re-sizing the plan to fit my 24” x 24” x 4” cushions, doing the math to use 1x4 size instead of 1x3 size for slats and rails, and sizing to use the 2x4 frame on their ends rather than flat, to save a tiny bit of space in the footprint. Originally there were going to be 8 1x4 rails for the back, but I was 1 piece short, so instead of having 8 rails in 1x4, I have 6 1x4’s plus the 1x6 in the center (now I have 1 piece of the 1x4 left over). And it’s very comfortable for sitting!

Still left to do: sand the filled screw holes on the arms and paint the arms, and sew the cushion. I got that high density foam with a 60% off coupon at JoAnn Fabrics. Also the fabric was 30% off (right now it’s just draped around the cushion for the photo). The fabric and foam was only $90, and I’ll have enough fabric left over for a few accents. Hopefully I’ll get to that during the week, if not, on the weekend.

Estimated Cost
Total spent: about $100 for foam, fabric, and 2 boards.
Estimated Time Investment
Weekend Project (10-20 Hours)
Finish Used
The bottom and back frame is painted with 2 coats of semi-gloss Clark & Kensington Paint + Primer in Crushed Peanut (my absolute favorite cream color). Once I get those filled screw holes sanded, the arms will be painted with that as well. Paint was already on hand.
Recommended Skill Level
Beginner

Art Table!

Submitted by Jess1221 on Sat, 06/04/2011 - 09:50

I used the plans for the craft desk and modified it a little. I made the top like a lid that just sits on top so I can take it apart easier. I also put on full extension drawer glides and made the drawer larger. This took me quite a long time because I was working on it and studying for finals! Well worth it though!

Estimated Time Investment
Week Long Project (20 Hours or More)
Finish Used
High Gloss black paint with Jamaican Aqua accent color
Recommended Skill Level
Beginner

Shark Shack

I had my eye on this clubhouse bed from the Pottery Barn kids catalog and was so excited when I came across this plan and my hubby offered to build it for my 4-year-old. I think it actually turned out cuter than the Pottery Barn version! Thanks so much, Ana!

Estimated Cost
$350
Estimated Time Investment
Week Long Project (20 Hours or More)
Finish Used
Eggshell Paint
Recommended Skill Level
Intermediate

Indoor Playhouse for nephew

Submitted by Anonymous (not verified) on Tue, 04/26/2022 - 10:18

First project with pocket holes. A little challenging for a complete beginner, but pretty forgiving and fun to make! My nephew LOVES it!

Built from Plan(s)

Comments

BENCHRIGHT FARMHOUSE TABLE

Submitted by lotusguy on Thu, 08/08/2013 - 20:12

This is my take on a few of these I have seen. It started out seeing the retail version of this table at a large furniture store with a $2k price tag on it. I really like the look of it so I decided to build one and searched for additional pictures and found these plans.

I used the plans as a guideline for overall dimensions for the table. I was using reclaimed oak fencing from an old Kentucky horse farm (who uses oak for fencing!!). This stock came in 5/4" x 6" x 7' boards so I had to get creative with the dimensions, etc. It was a mixture of red and white oak and this stuff was HARD!

The boards also came painted black with years and years of build-up and weathering. On a side note, if you ever work with reclaimed wood that has been painted or stained, please test it for lead. Lead based paint was banned around 1973 and you don't want to be planing or sanding on this stuff unless it is safe. Fortunately, I had this tested using a kit from the local big box. Most of my time was spent planing the boards down enough to show the oak but also leave some character as you will see in the pictures.

I like the look of knots and this wood had a few of them so i left the knots exposed on the support frame, however, on the top, I used a clear epoxy to fill the knots. This allowed the top to be smooth but you could still see the depth and character of the knot on the surface of the table. I did some mild distressing on the table top but nothing too dramatic as the wood really was cool. I also added the bolts near the tops of the legs and used threaded rod and turnbuckles for an industrial look.

The stain is a dark brown, almost ebony color. This went will with the black paint that was left in the saw marks after planing. I finished the table with 2 coats of satin polyurethane and and additional 3rd coat on the table top.

I have built furniture in the past but this has to be my favorite for both the history of the wood and the character.

Estimated Cost
$500
Estimated Time Investment
Week Long Project (20 Hours or More)
Finish Used
Minwax Polyurethane and Rustoleum Stain
Recommended Skill Level
Intermediate

Comments

Joni

Fri, 08/09/2013 - 20:21

One look at those painted boards, and I would have run screaming. What you did with that wood is unbelievable. This is such a one-of-a-kind piece now. The finish is awesome. Would you mind posting the color of stain that you used?

Farmhouse King Bed

Submitted by KKGaskin90 on Sat, 07/07/2018 - 17:38

We couldn’t be happier with the outcome! This bed is beautiful and everyone who sees it is impressed. We did raise both the footboard and headboard so that both gave a bit more impressive appearance and so that the footboard rises above the mattress.

Estimated Cost
$250
Estimated Time Investment
Weekend Project (10-20 Hours)
Finish Used
Dark Walnut interior wood stain by Minwax
Recommended Skill Level
Beginner